
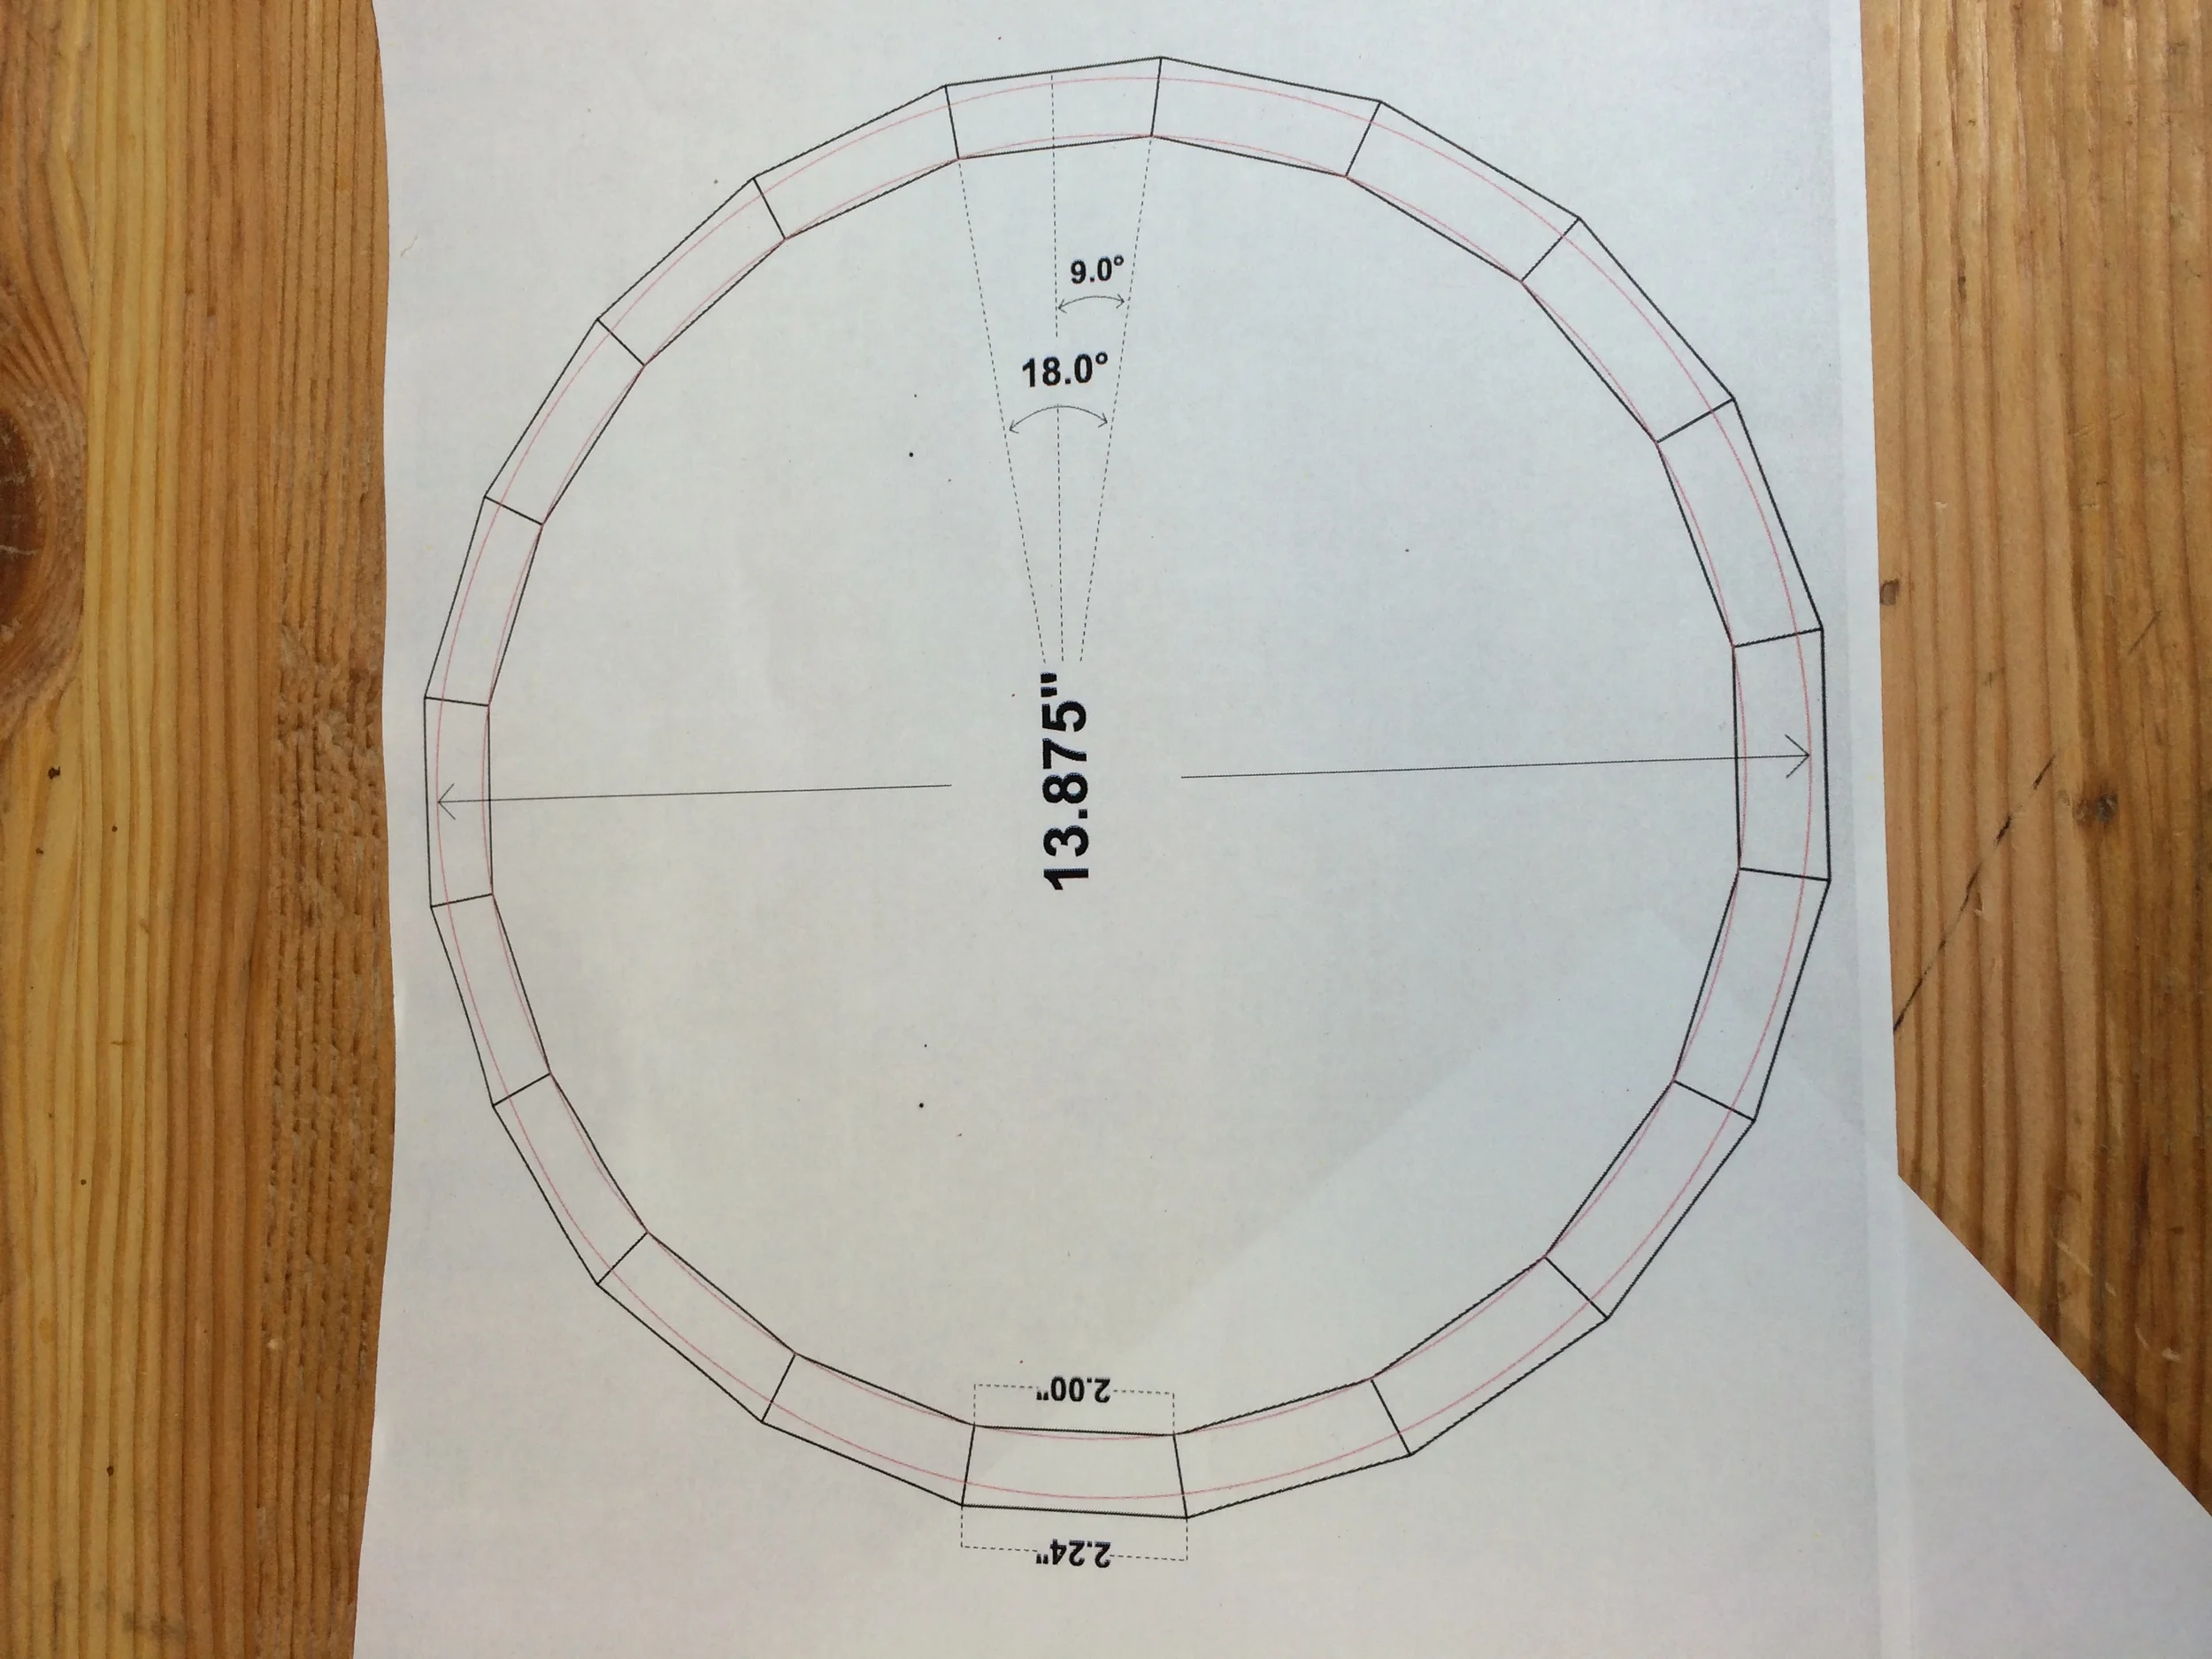
My wife is a drummer, and her snare had a thin, brass shell. While she liked the attack, it was "ring-y", and she wanted a more solid sound. I thought I would try my hand at a stave snare, and founds lots of info online on how to build and calculate the pieces.
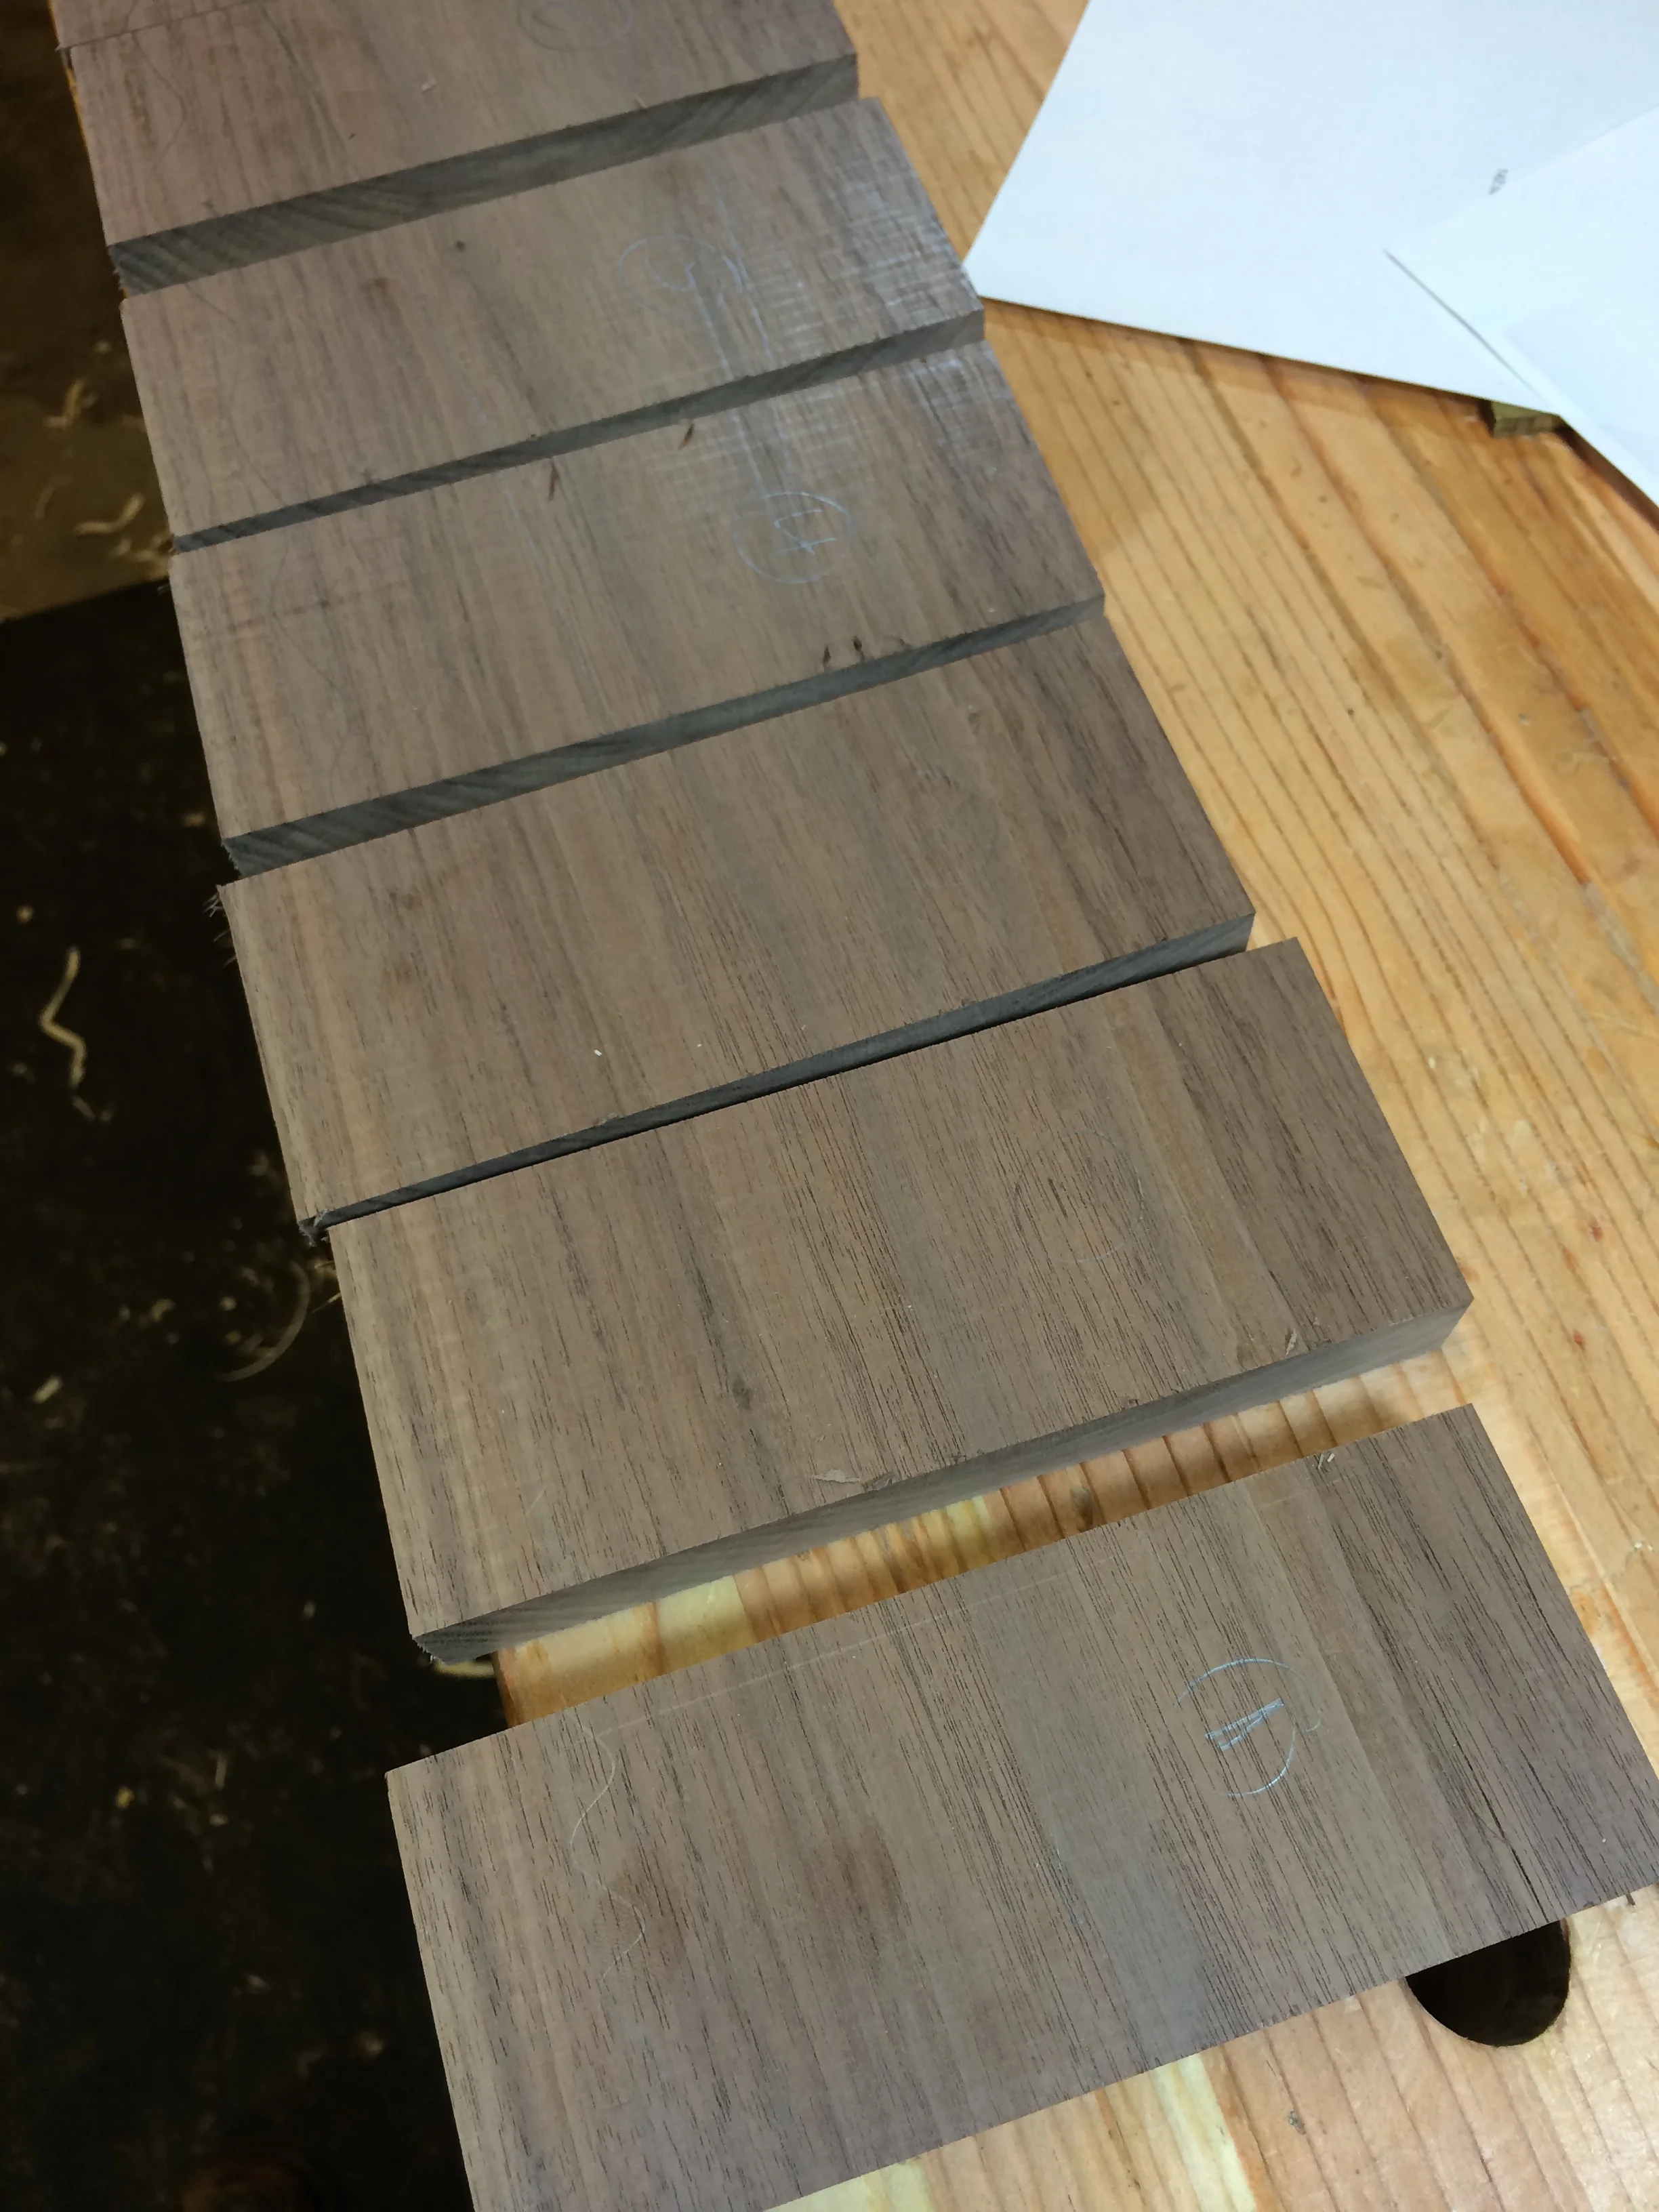

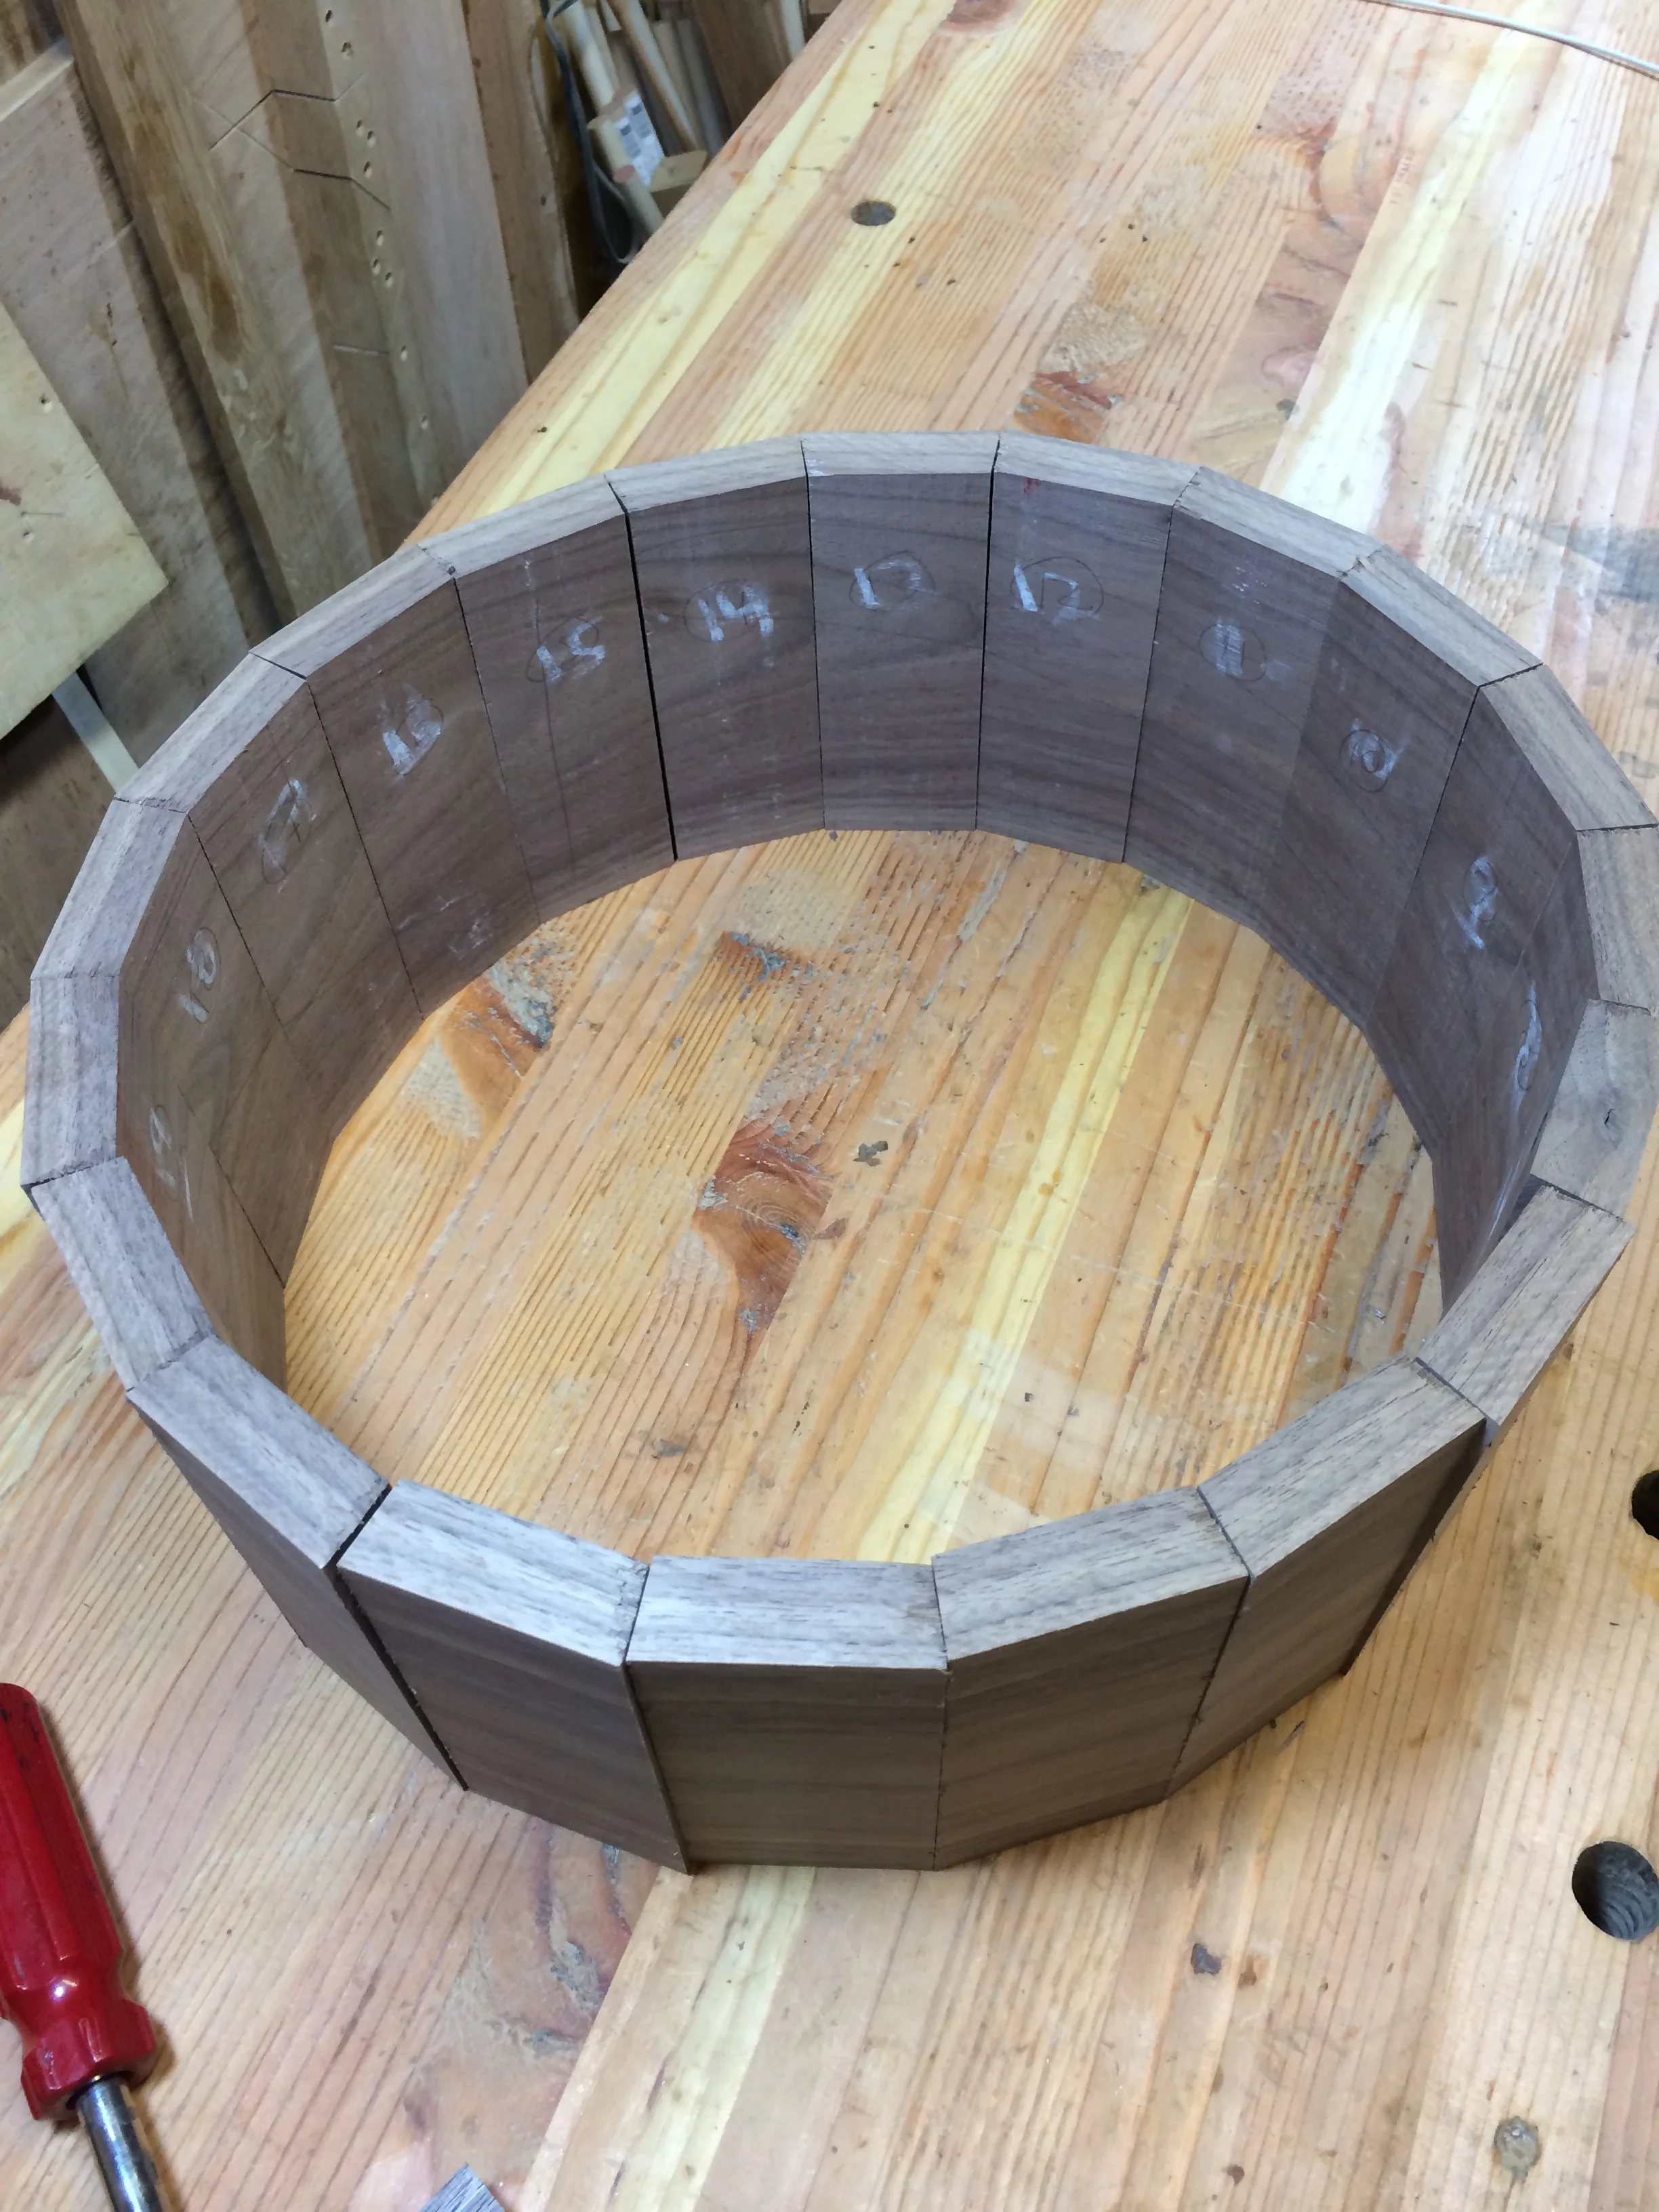
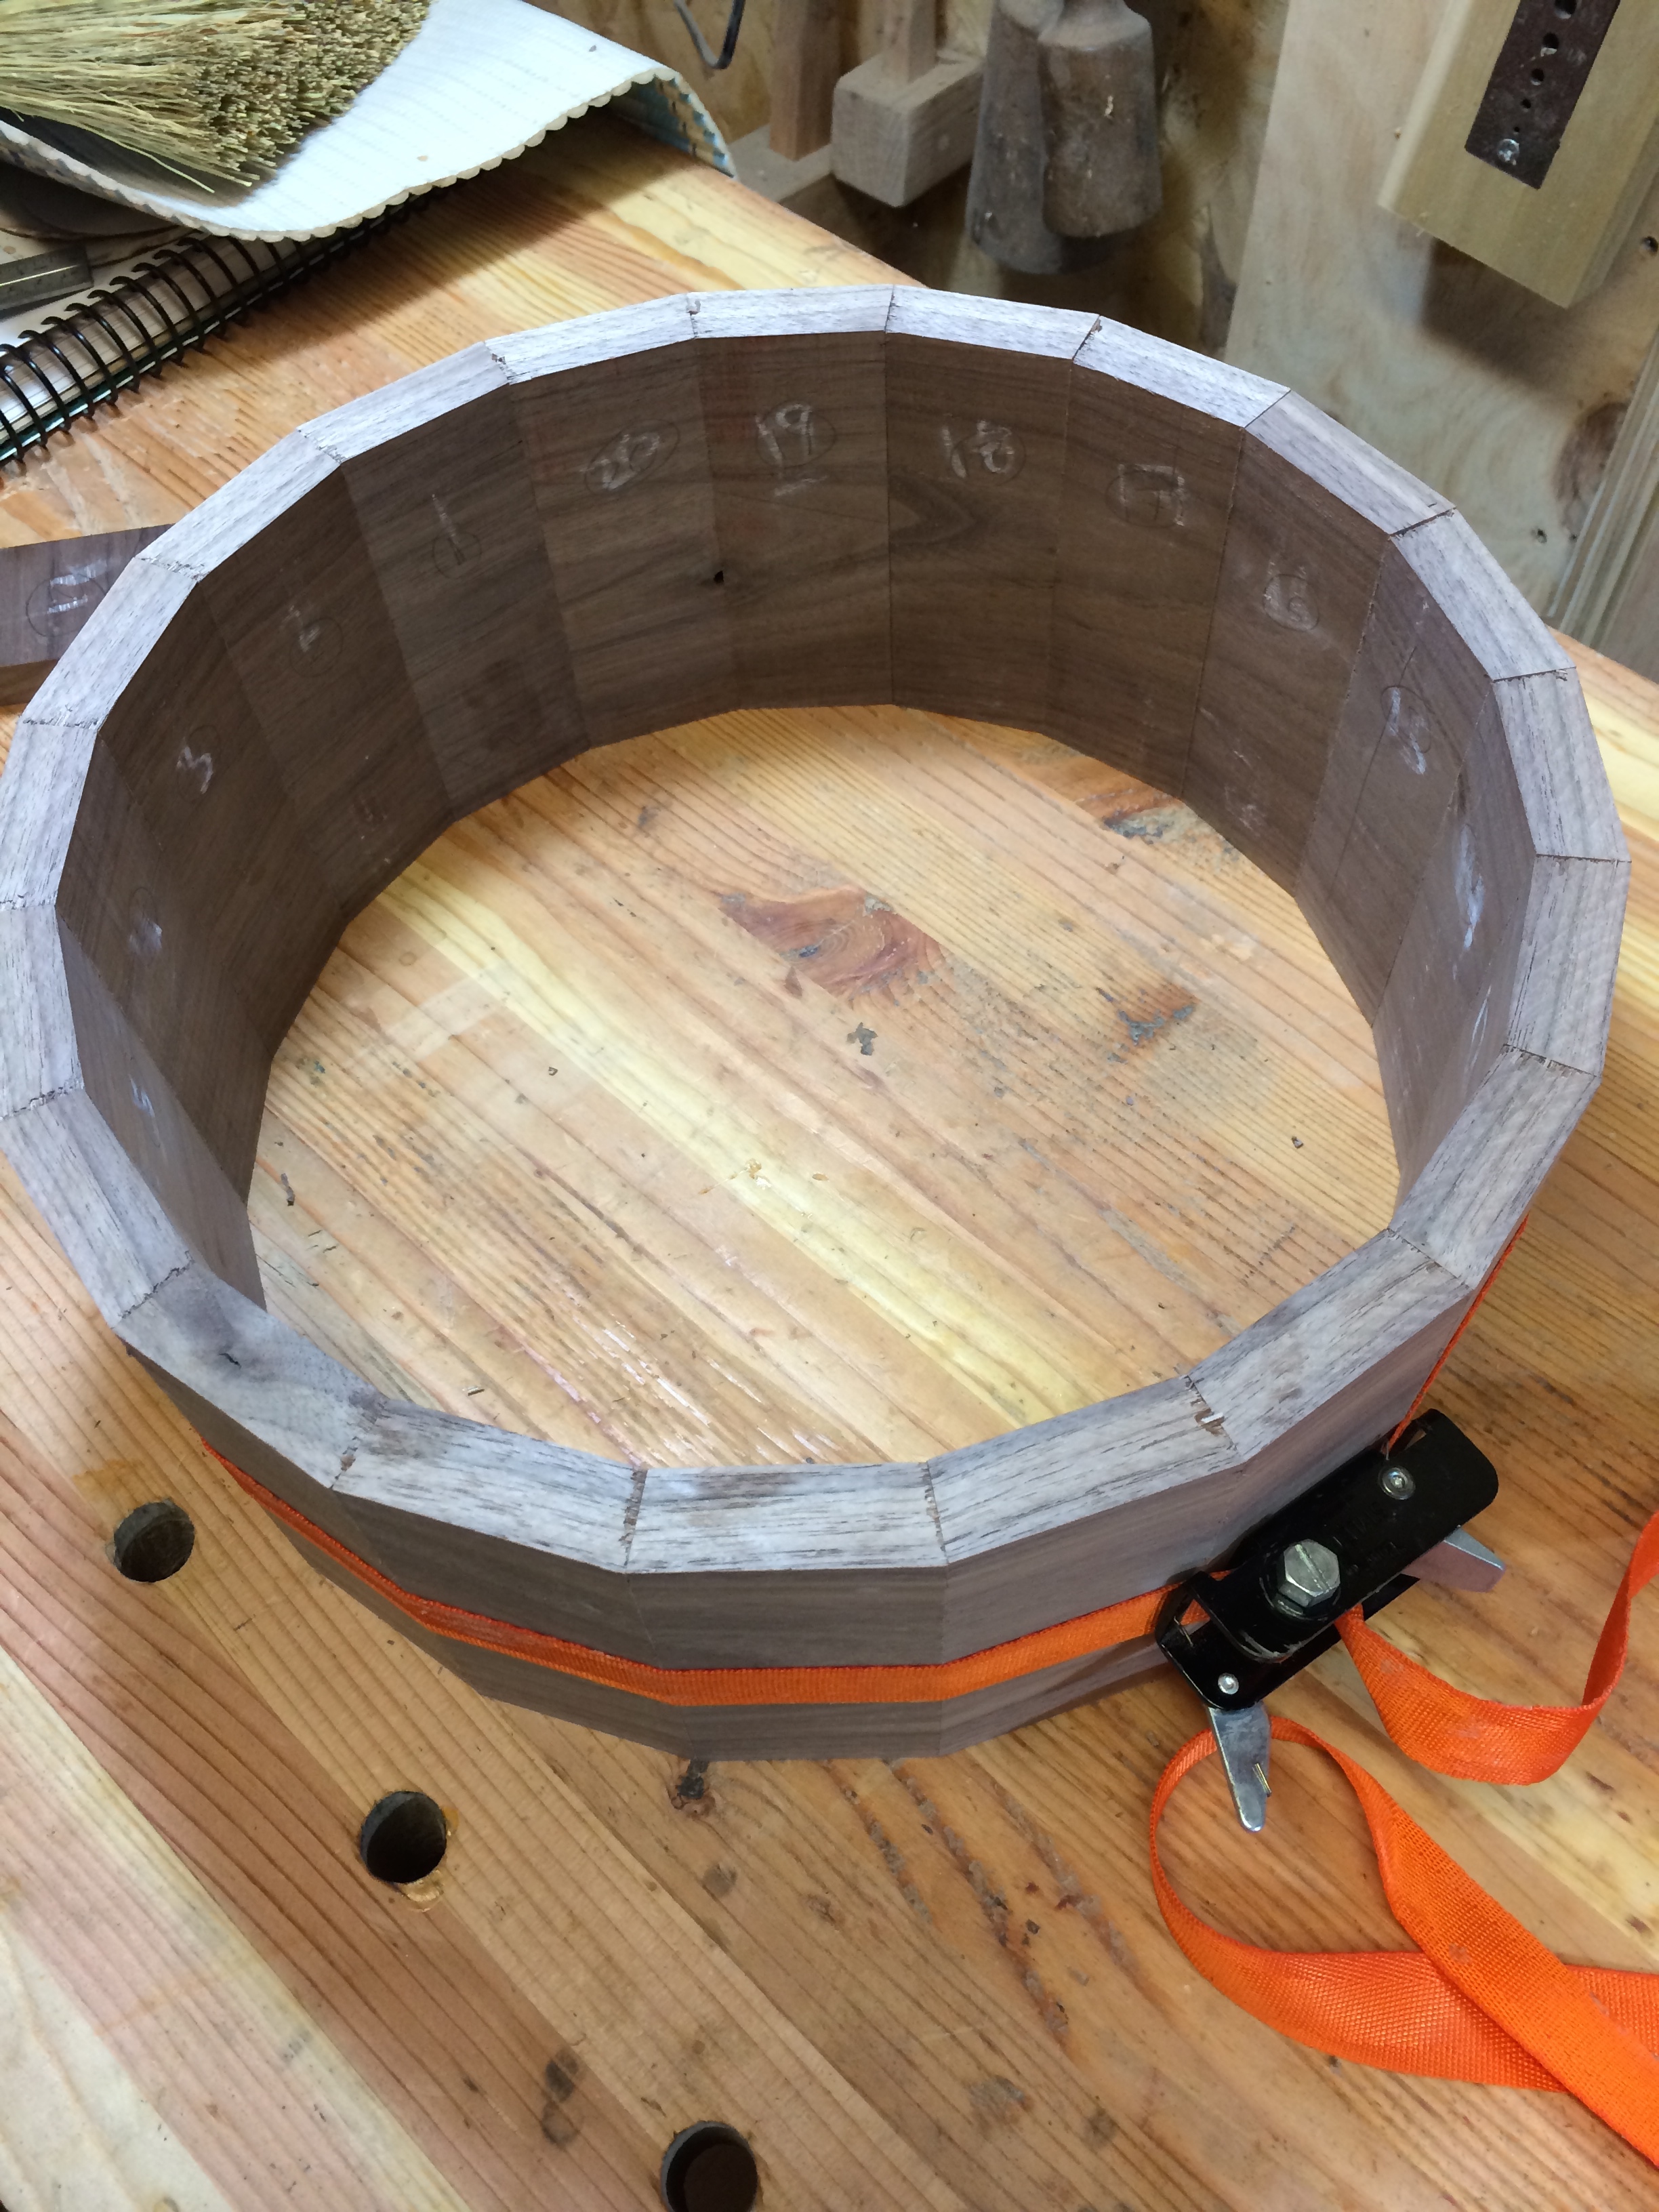
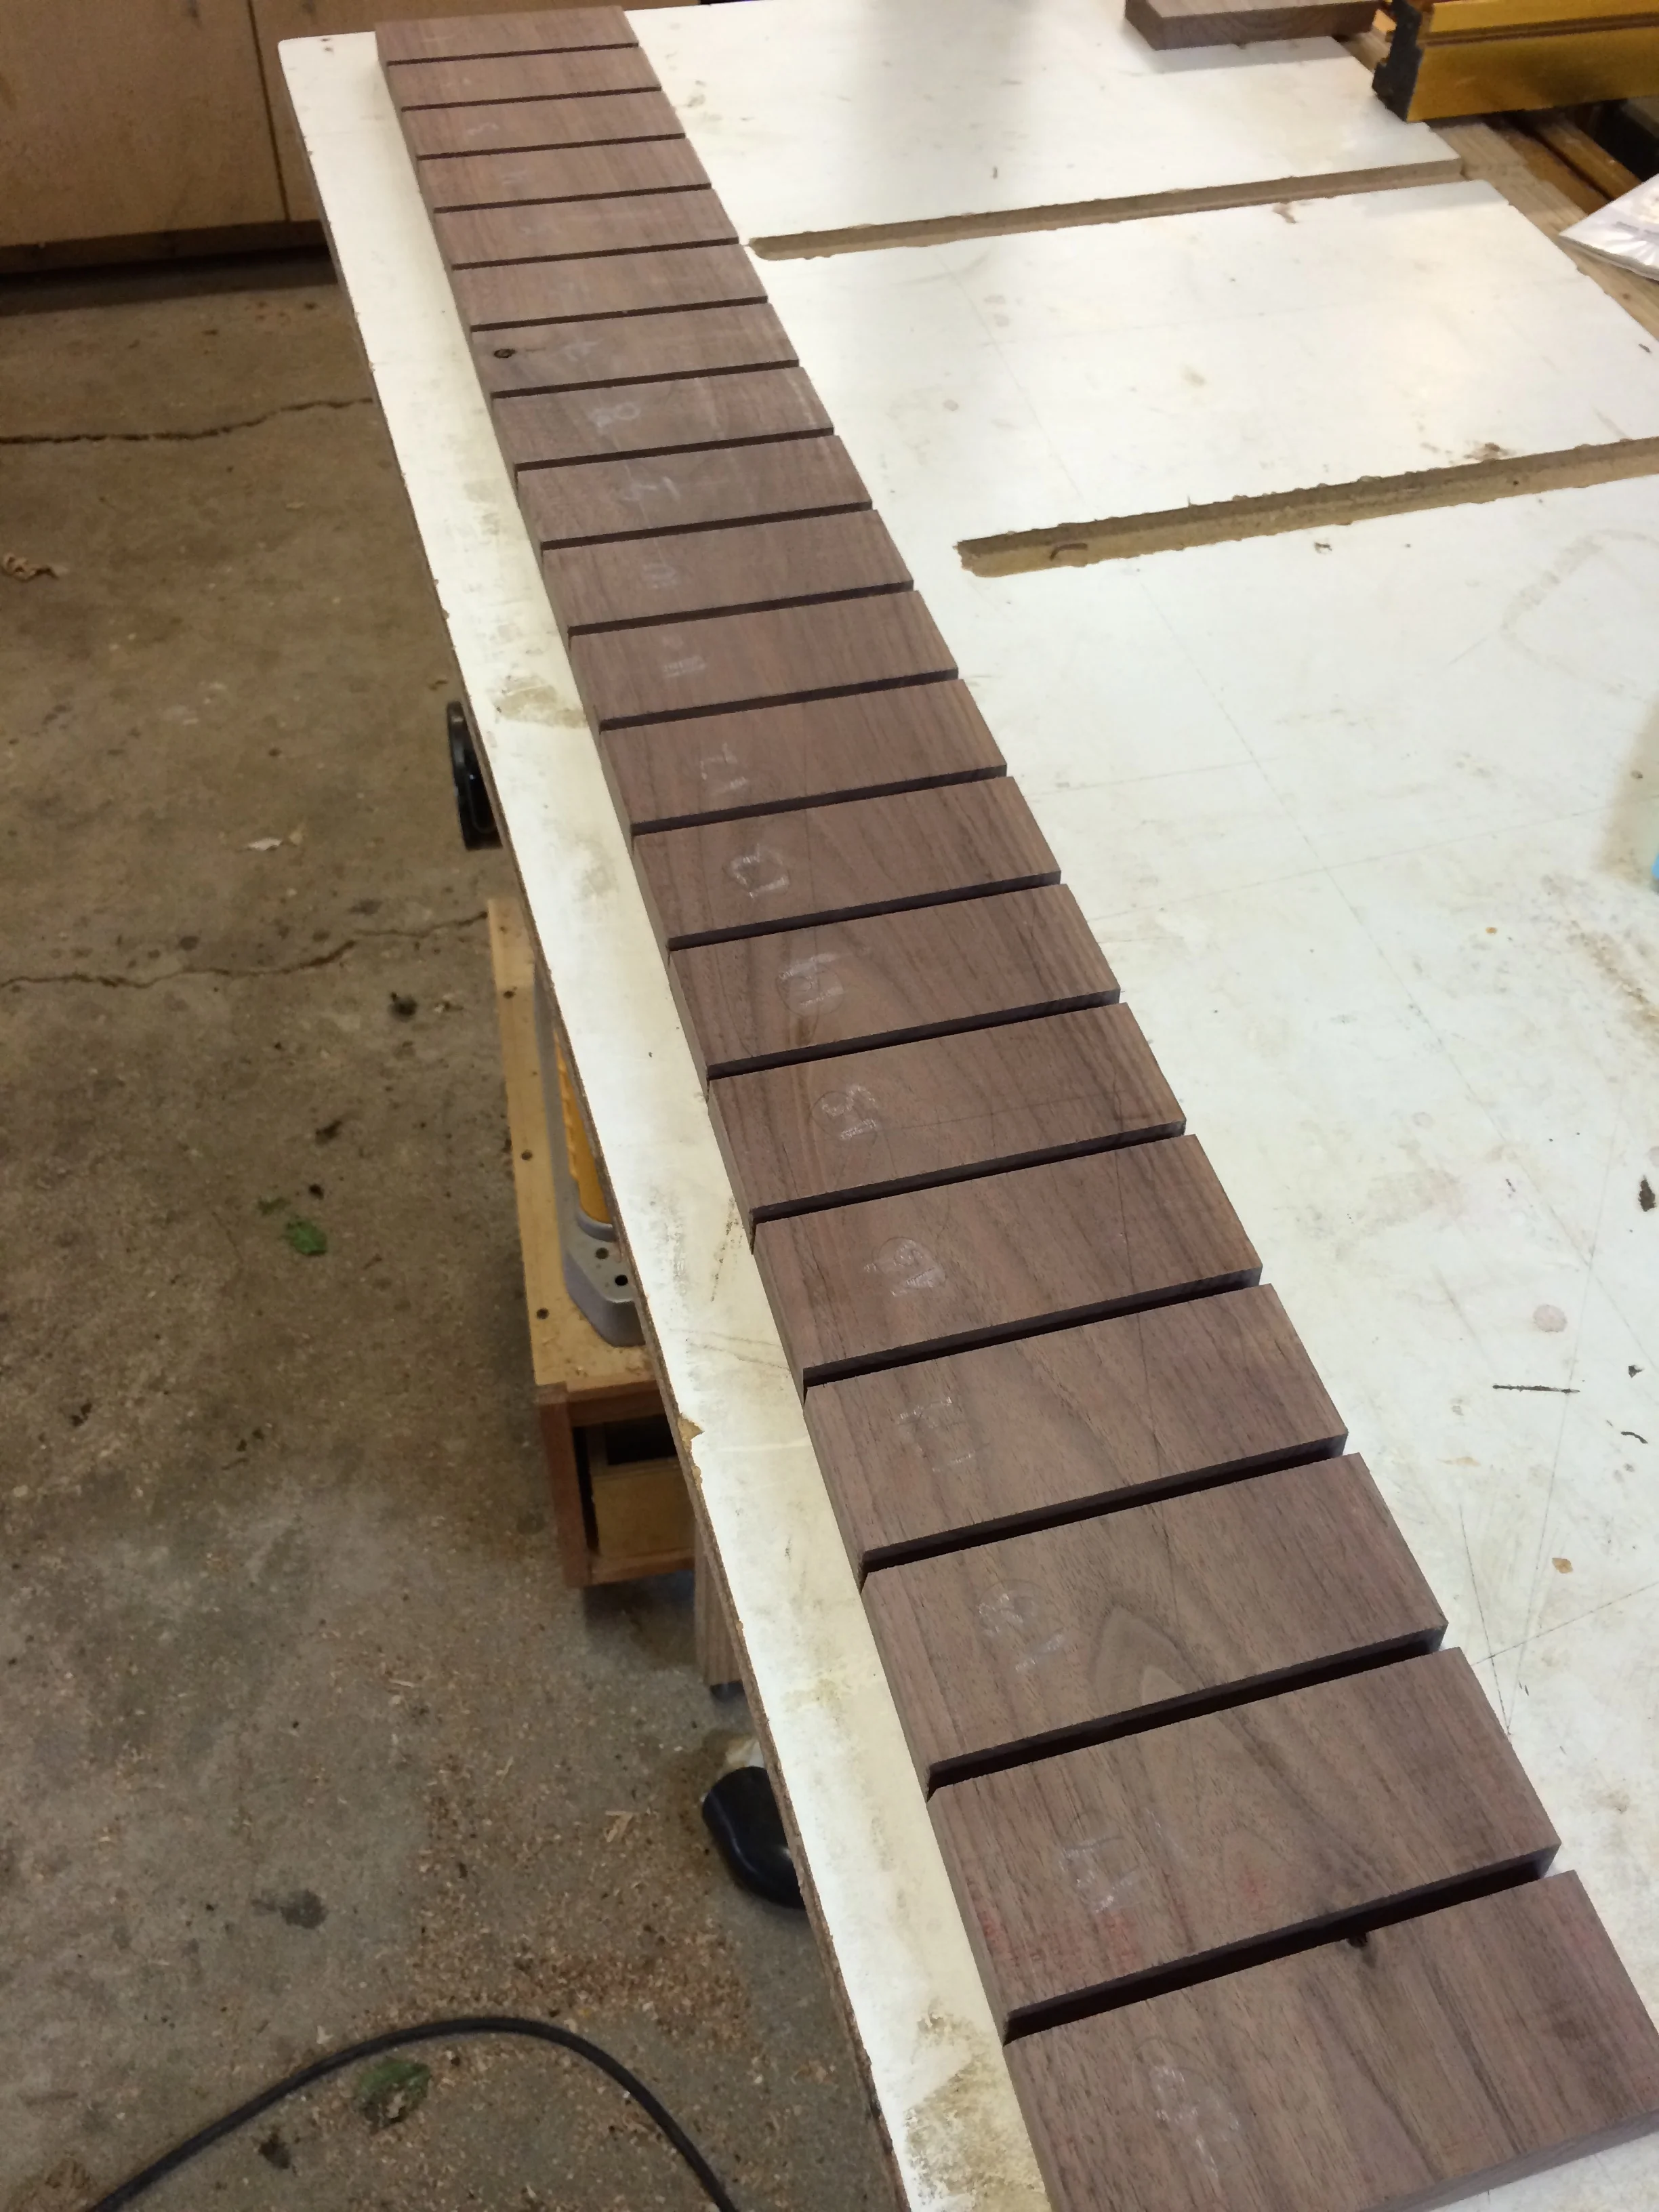
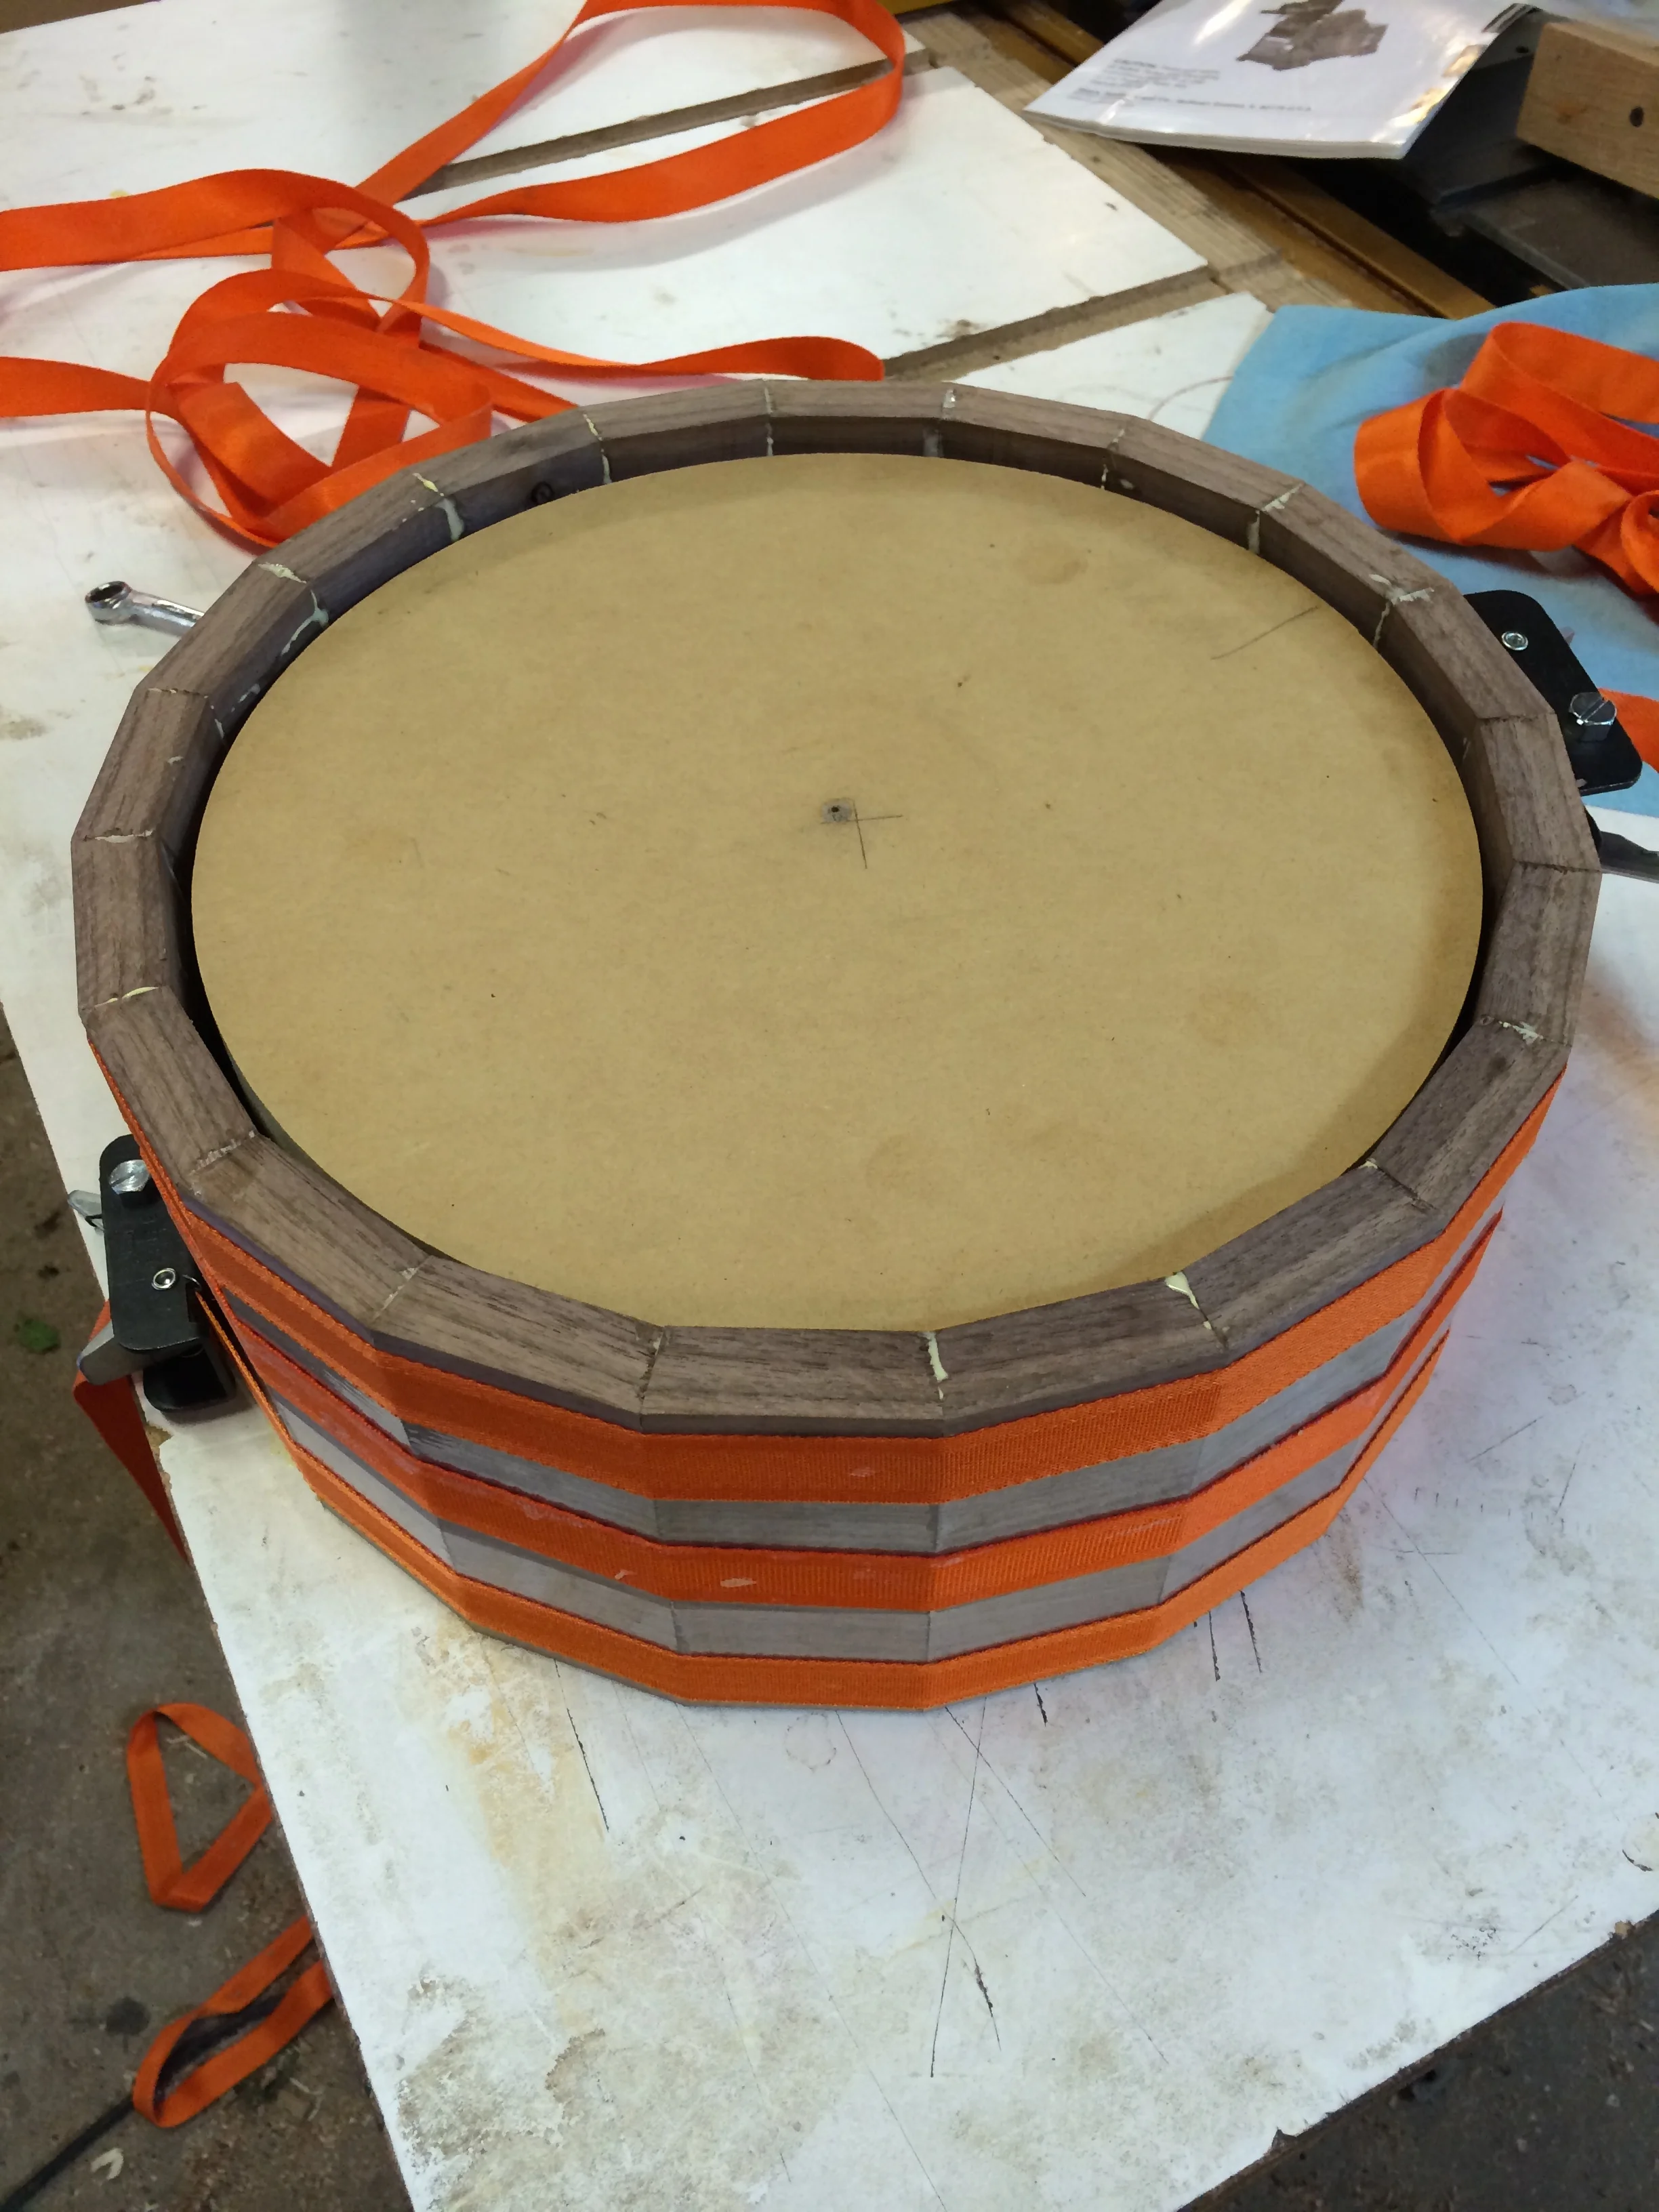
You woodworkers will notice a sort of "mistake" in the build photos. I approached this like a piece of furniture, so of course, I used a nice board, and wanted to cut the staves so that the grain was continuous around the shell. So the "mistake" (after I'd already cut the parts) was that the glue joints were all end grain to end grain. The "correct" way would have been to cut them so that the grain was oriented vertically, making for long grain to long grain joints. I decided to stick with what I'd cut, as it just looked too good. I figured that if the joints fell apart during the fairly vigorous smoothing out process, so be it.
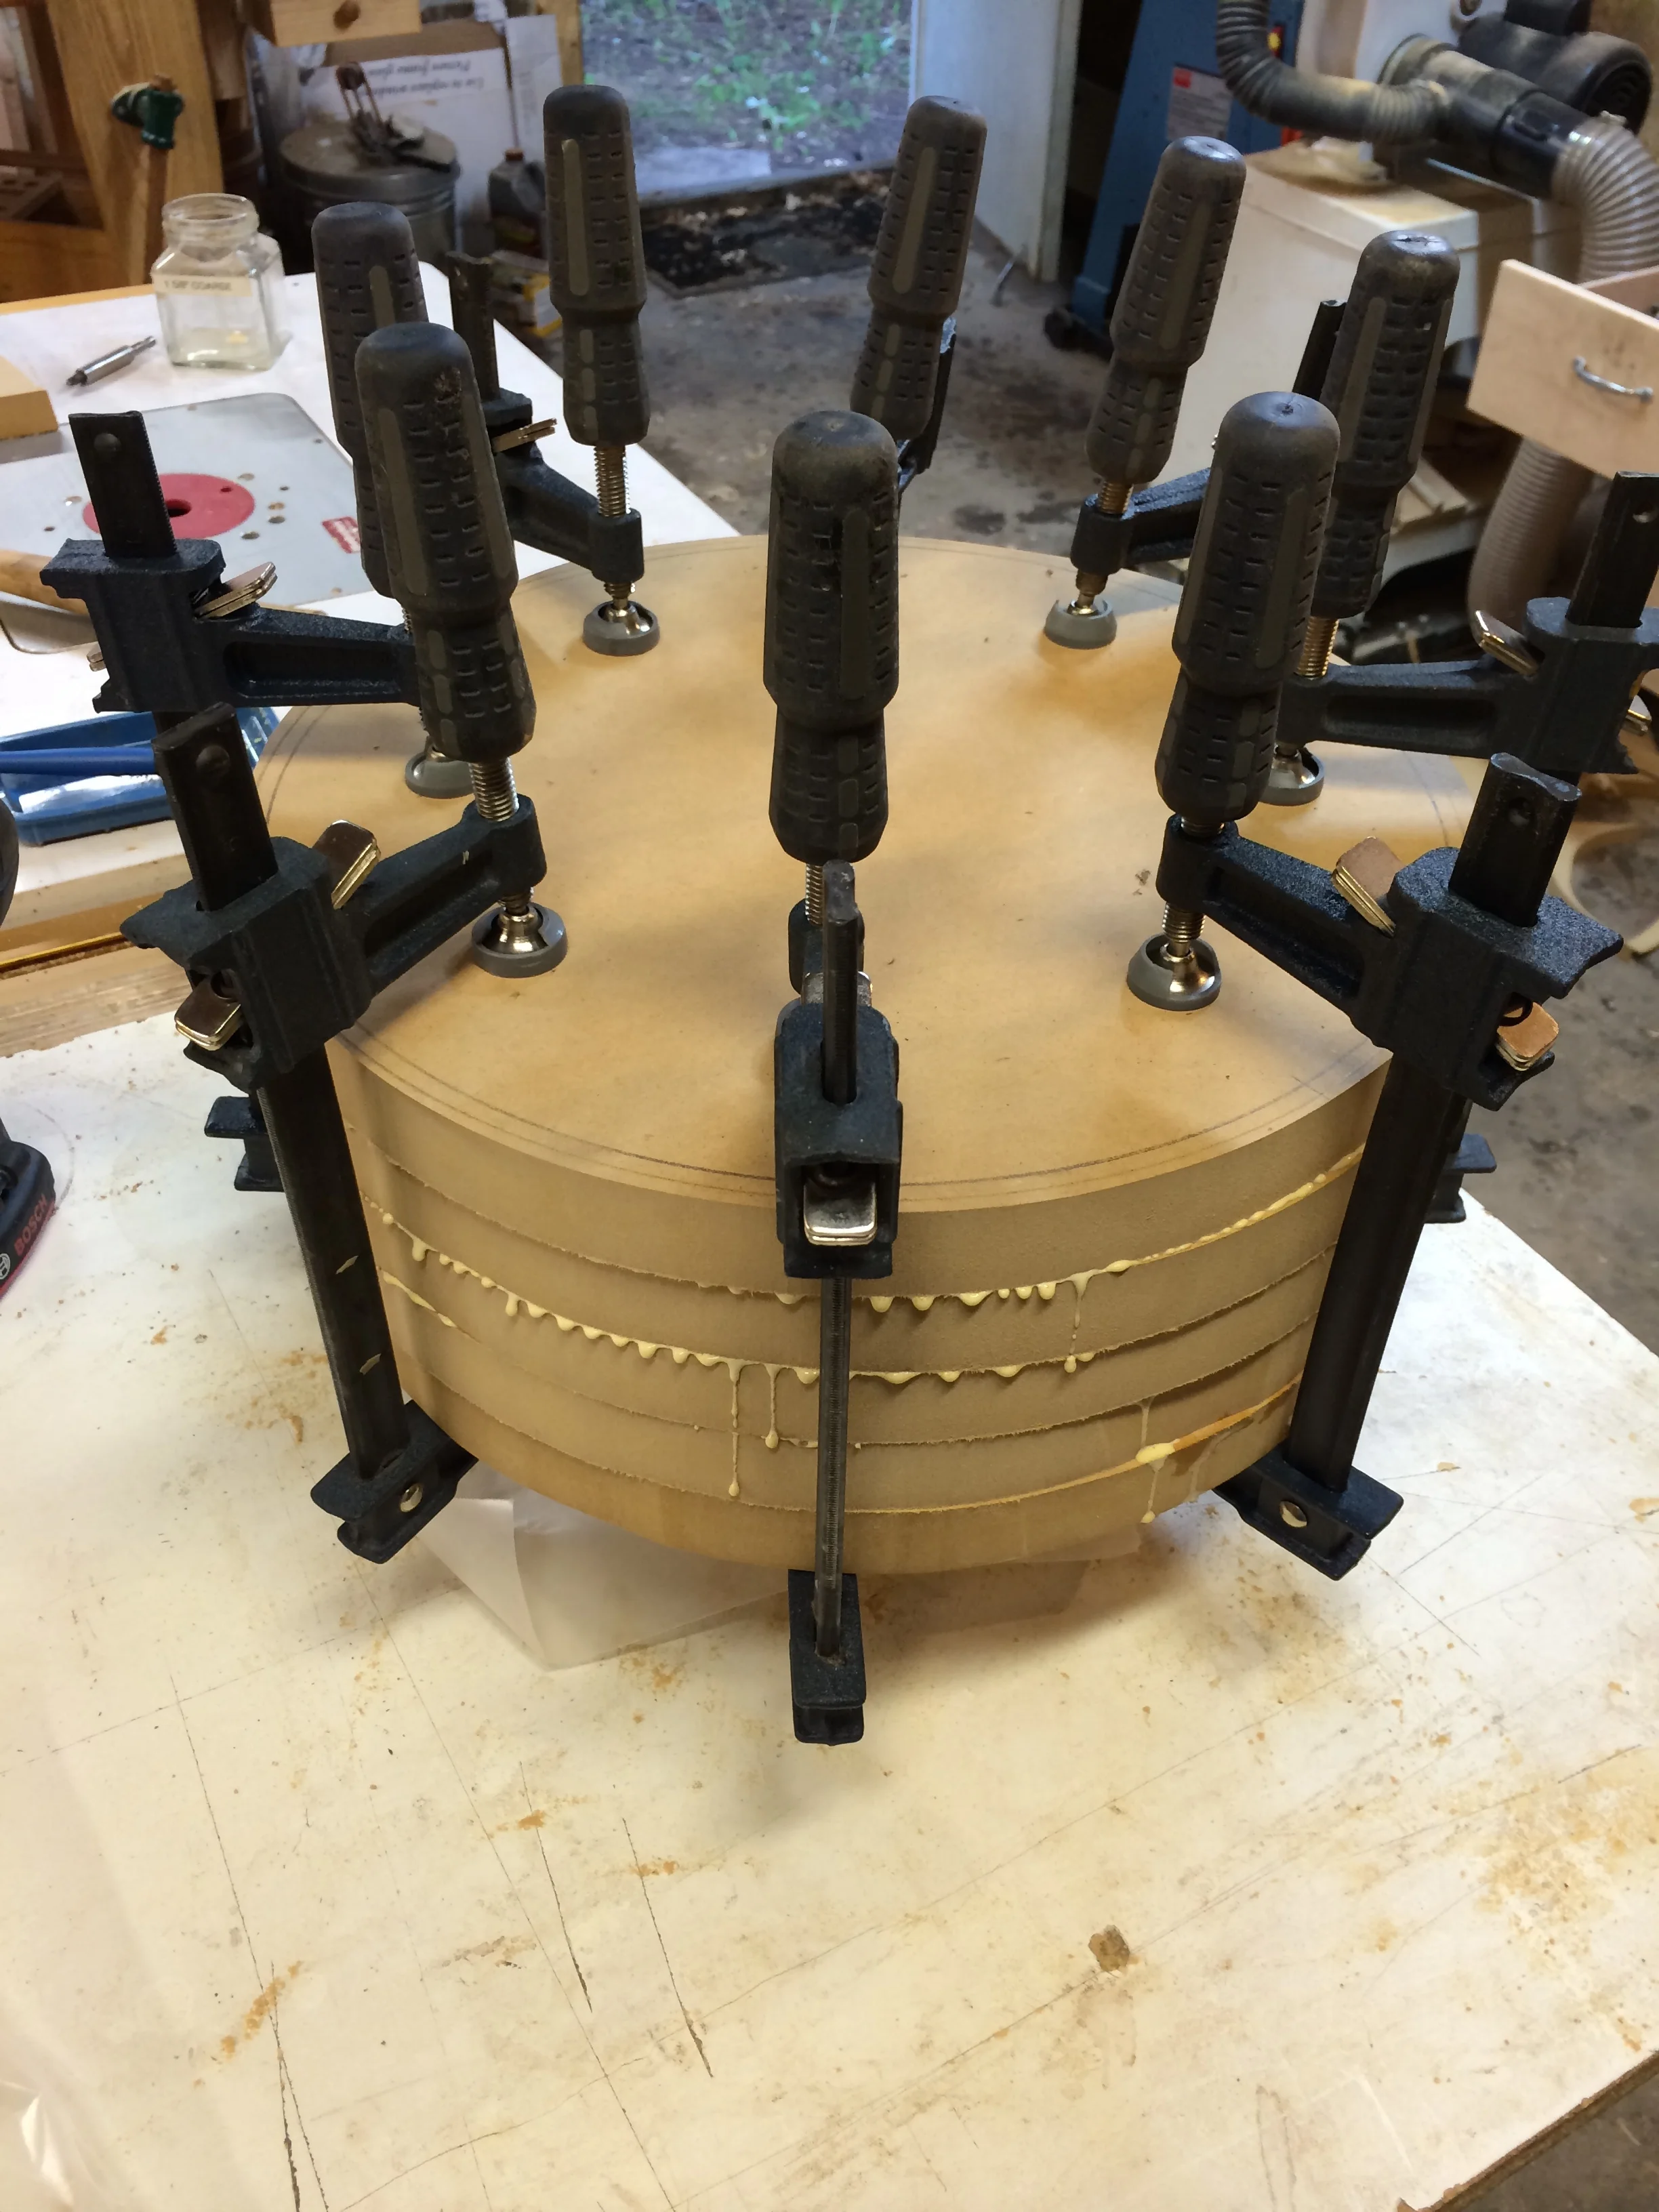
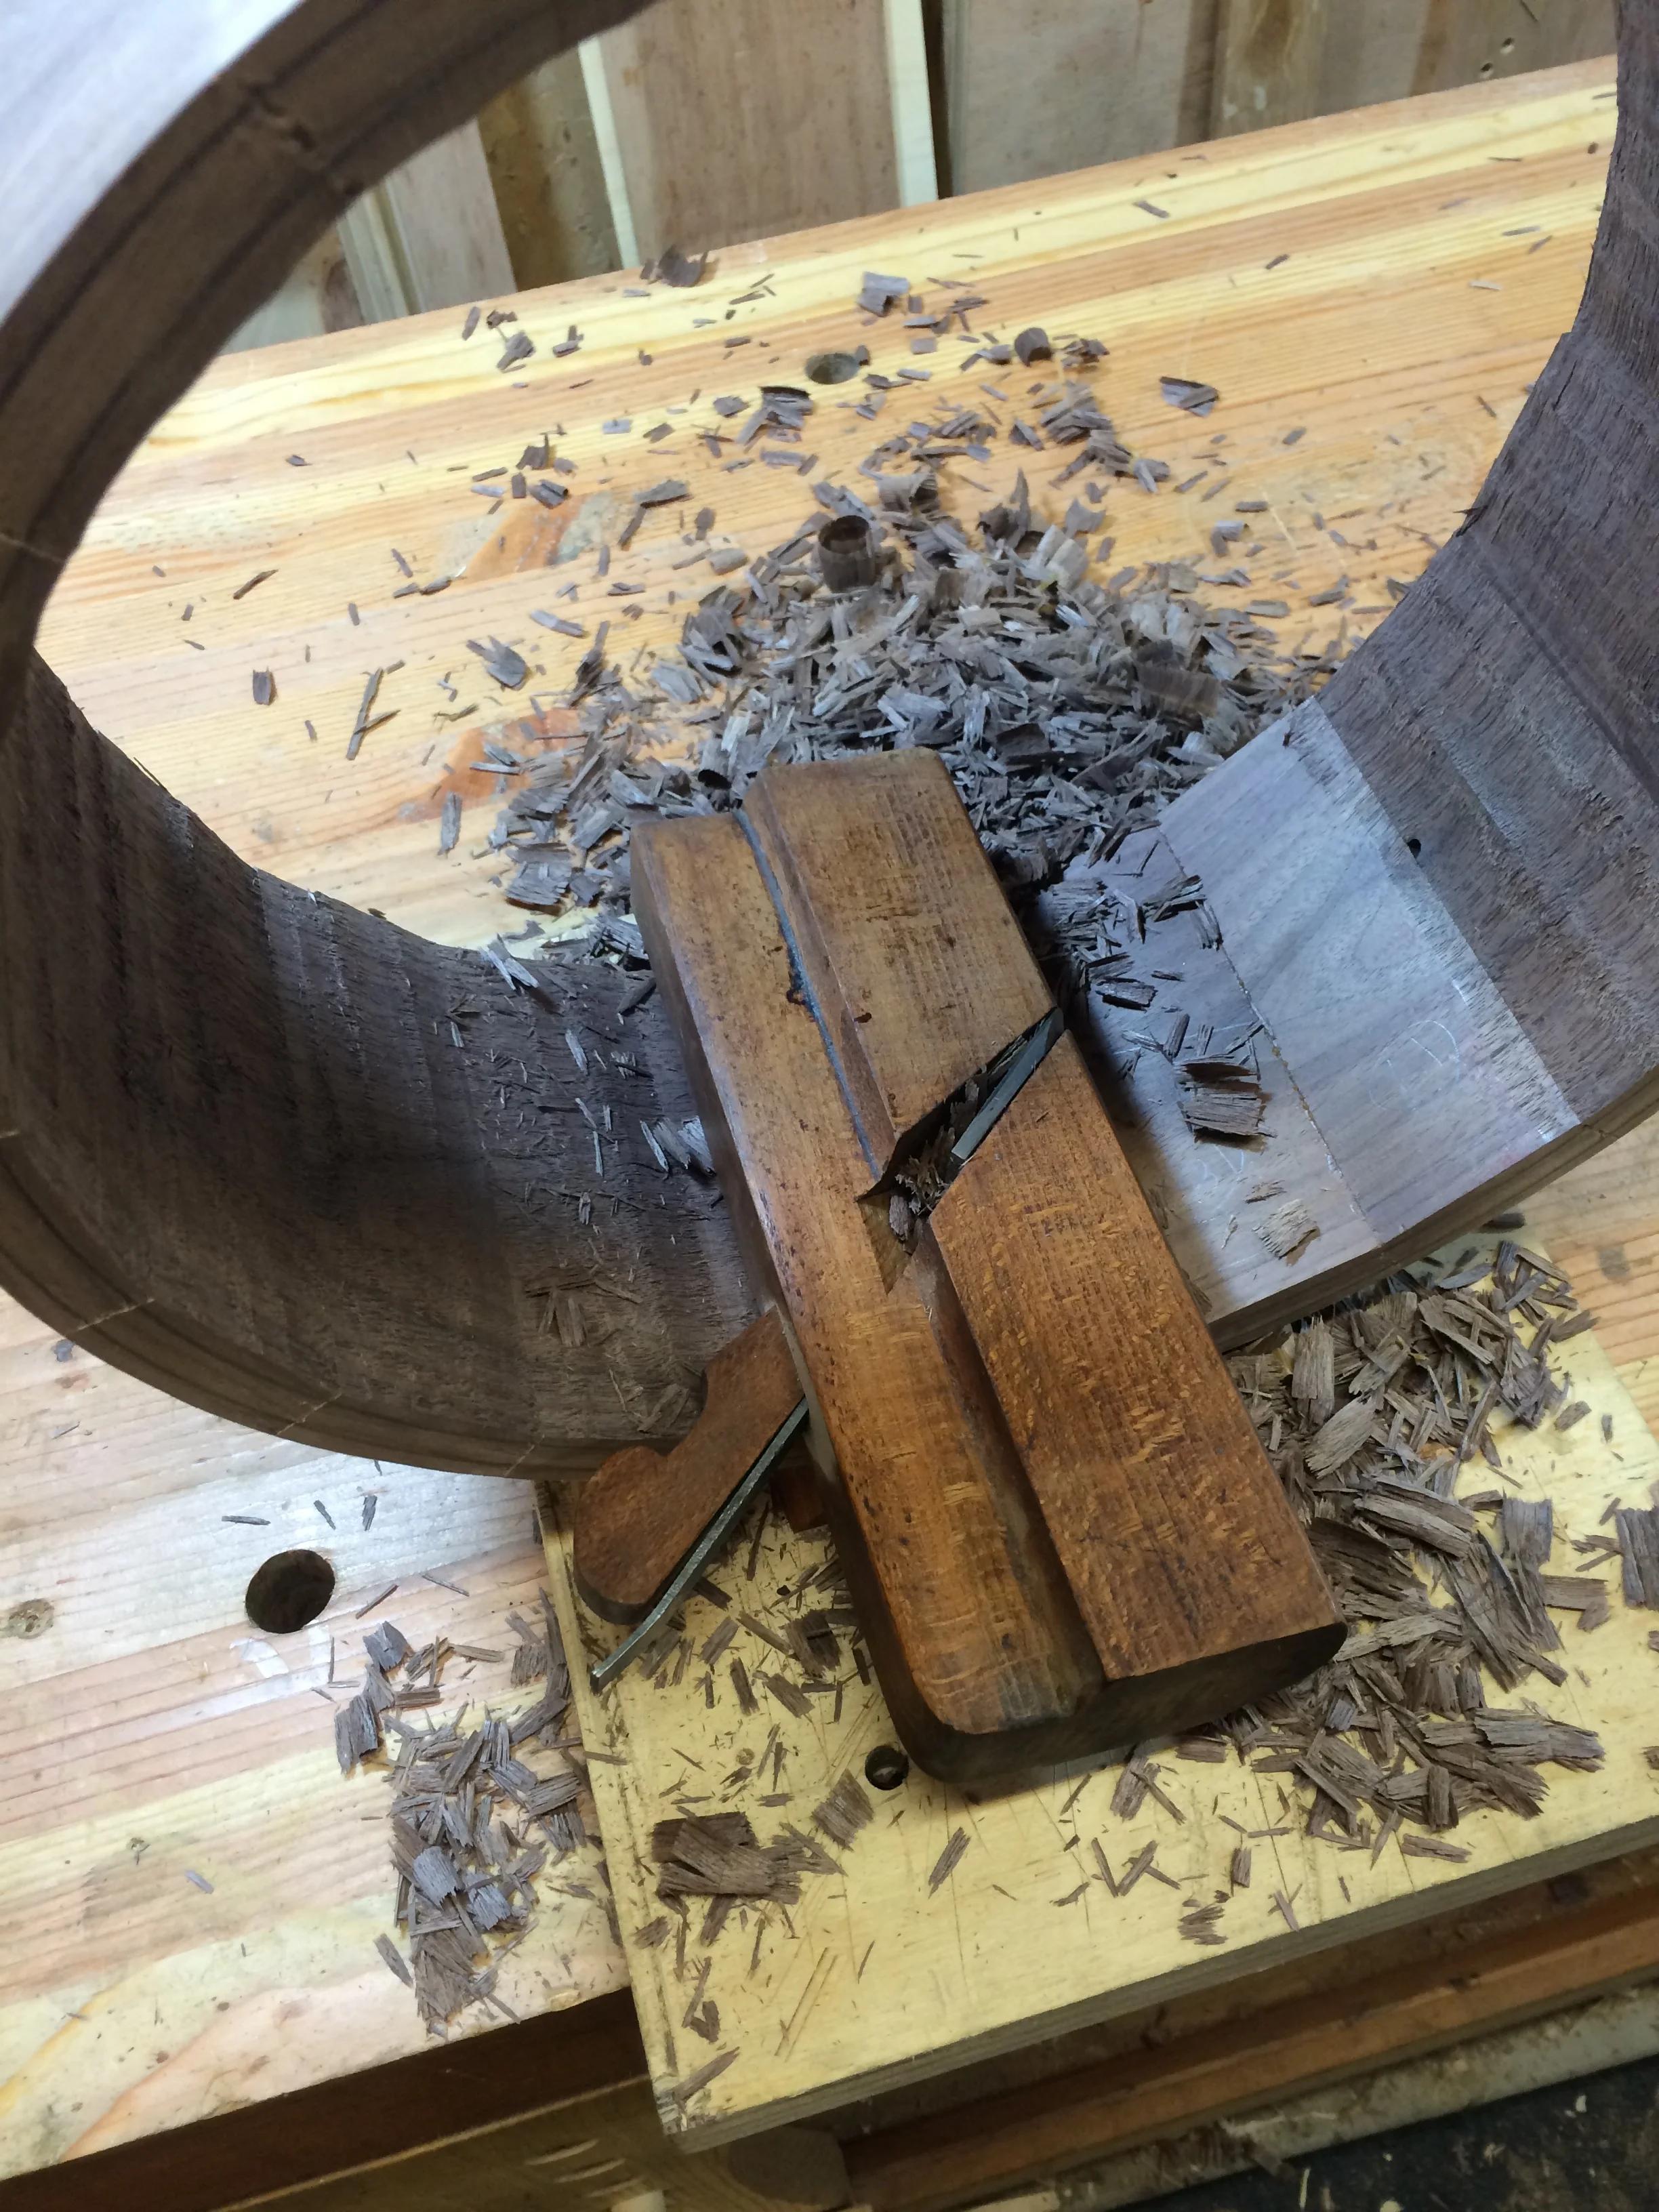
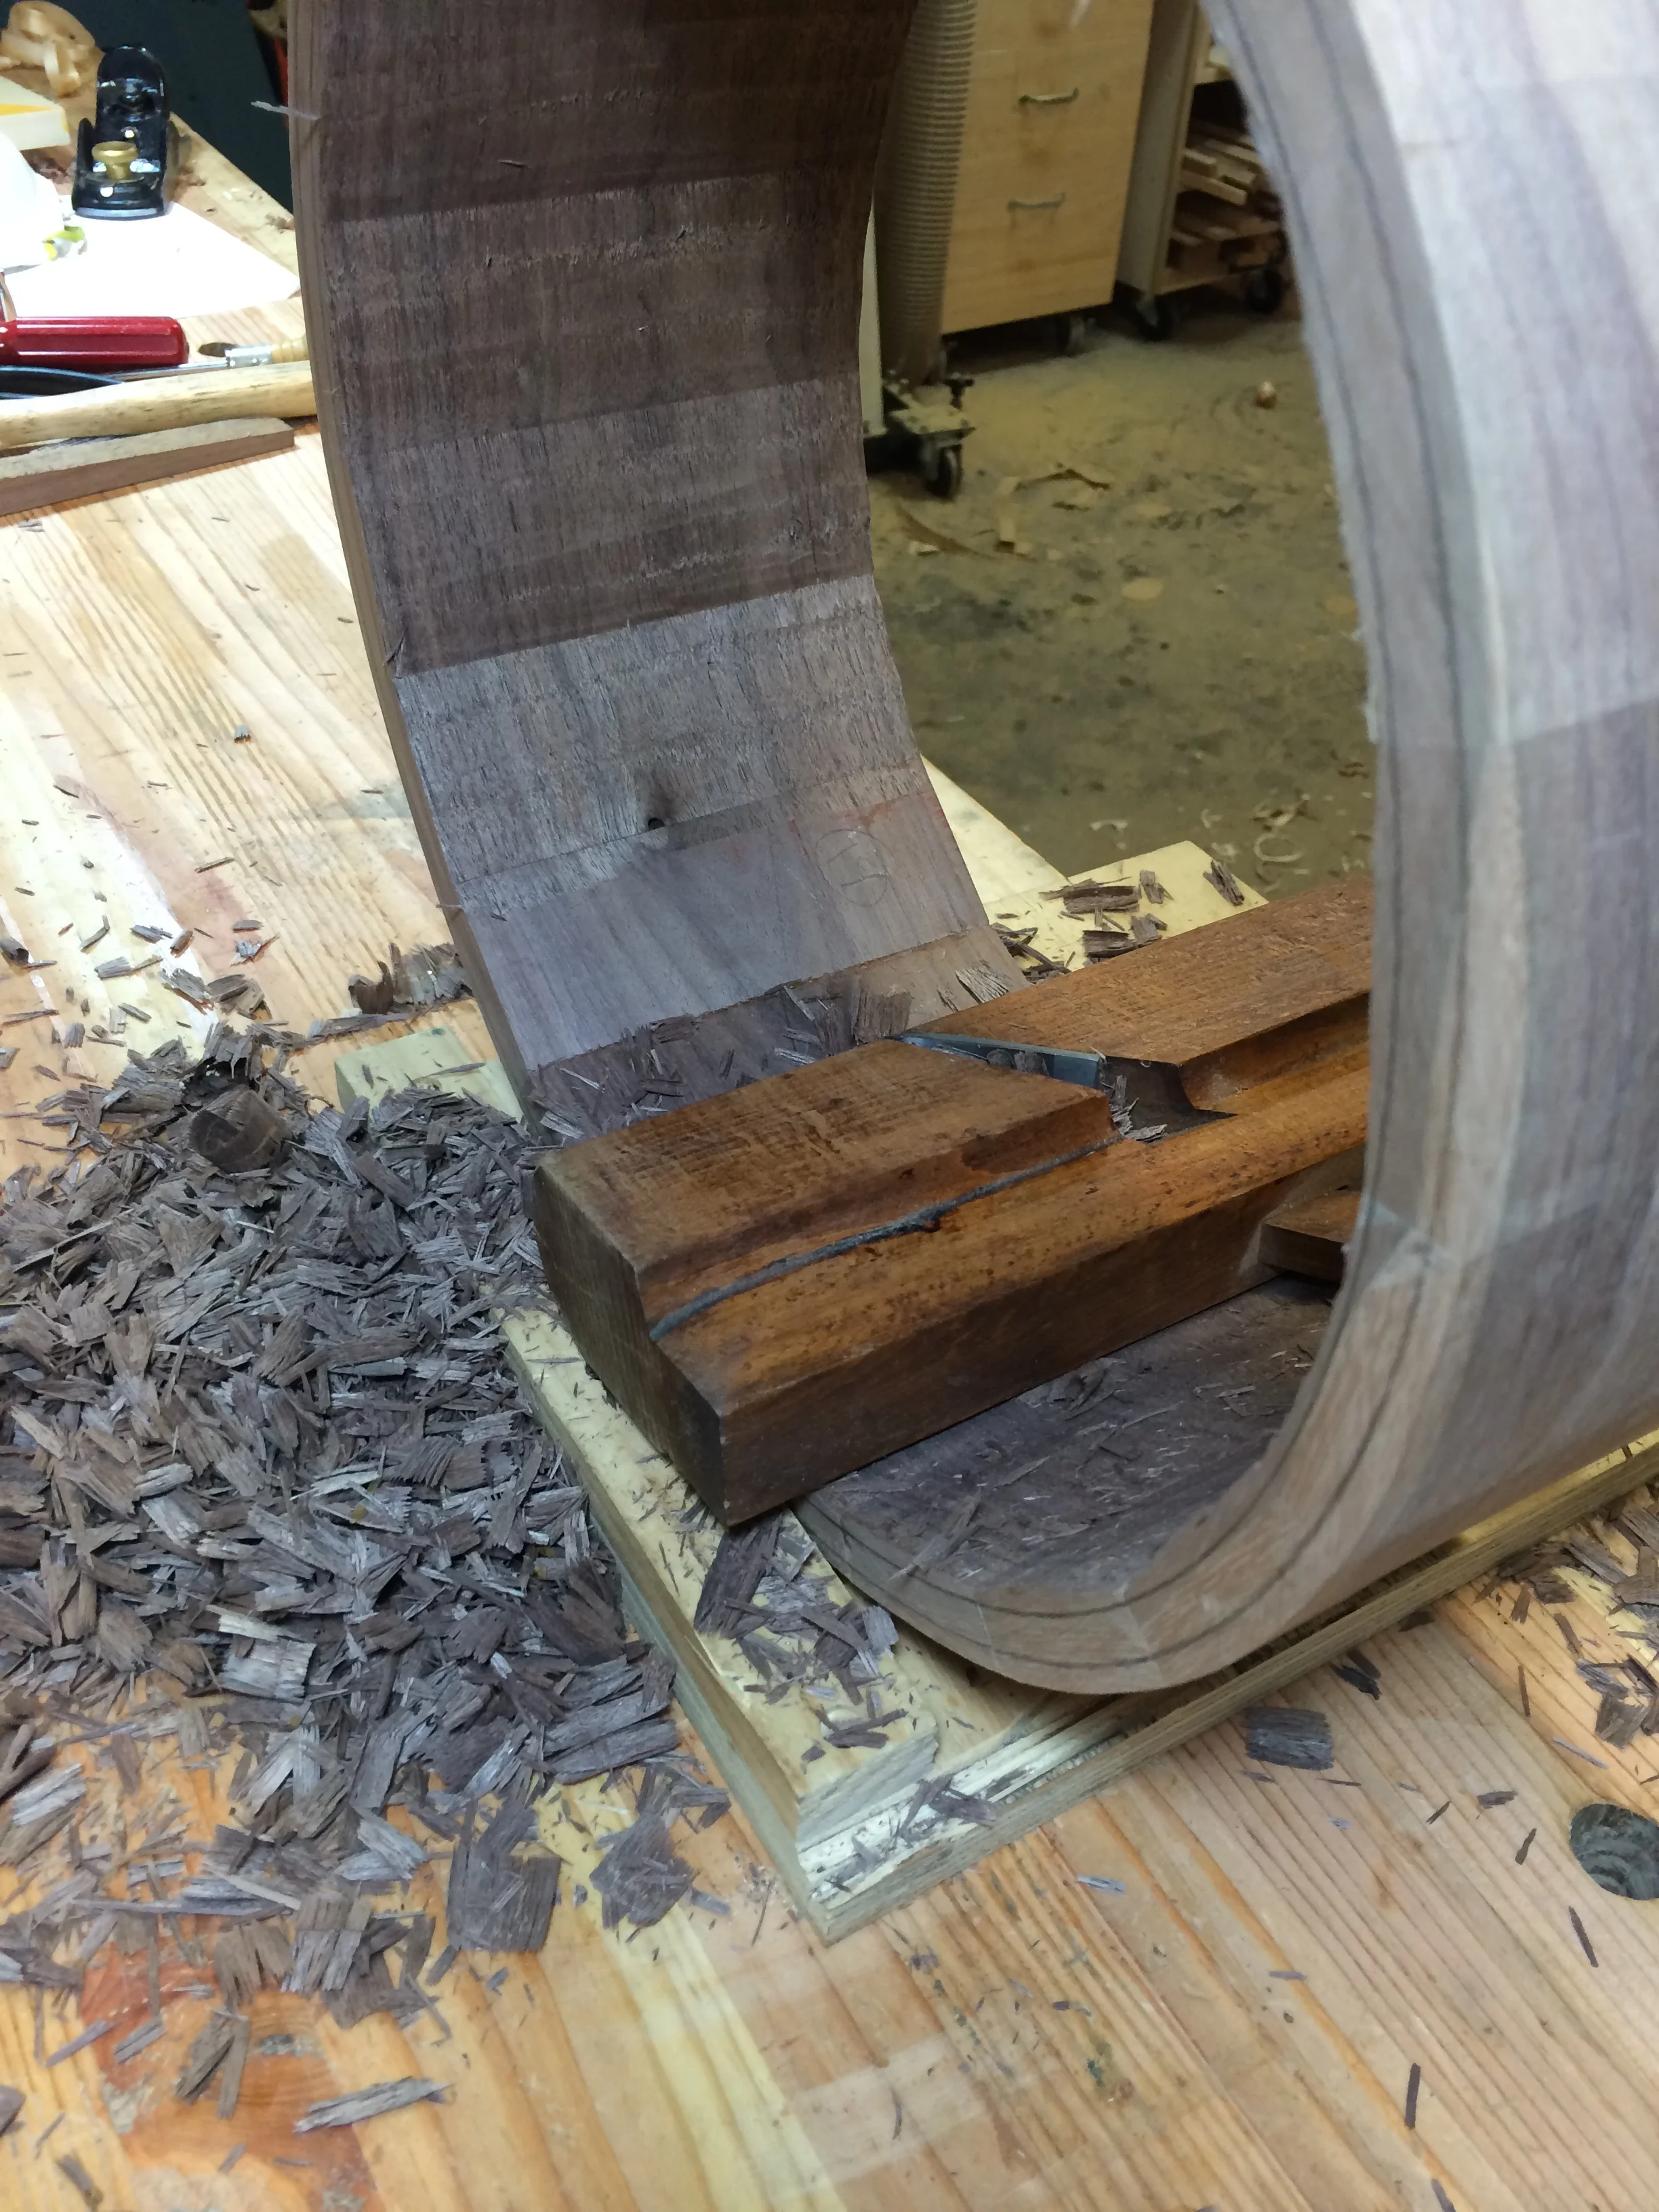
The most laborious part of this build was smoothing over the faceted faces of the staves. No Virginia, I don't have a lathe, and that meant rounding them over had to happen by other means. For the outside, I was able to use a hand plane for the high corners (which would have been easier if the grain was running vertically), and then a belt sander. My belt sander is 4", and the shell is about 5 3/4" deep, so I had to keep shuffling the shell left to right, while turning it like a wheel. For the inside, which wasn't as important, I set the shell on a bench hook, then used a big round plane to take off most of the waste, then I used an oscillating spindle sander to smooth the rest. The oscillating spindle sander only went 4" too, so I had to keep flipping the shell over, back and forth. Then it was finished up with hand sanding.
I left the inside a little thick (just under 1/2"), and we put it into her snare rims and gave it a try for sound. The thought was that if it was a little too low or dead sounding, I'd thin the walls a bit more, approaching the typical snare shell thickness of 3/8". But the sound was good, and no more ringing. The snare system she has is the Pearl Floating Snare system, which essentially just sandwiches the shell between the rims: no need to drill any holes to fit lugs. That makes switching out shells super easy. But, we kept it in the snare for a few months, and played several shows with it, and many practices. Either I got it perfect the first time out, or she just grew to like it, she felt there was no need to change the thickness.
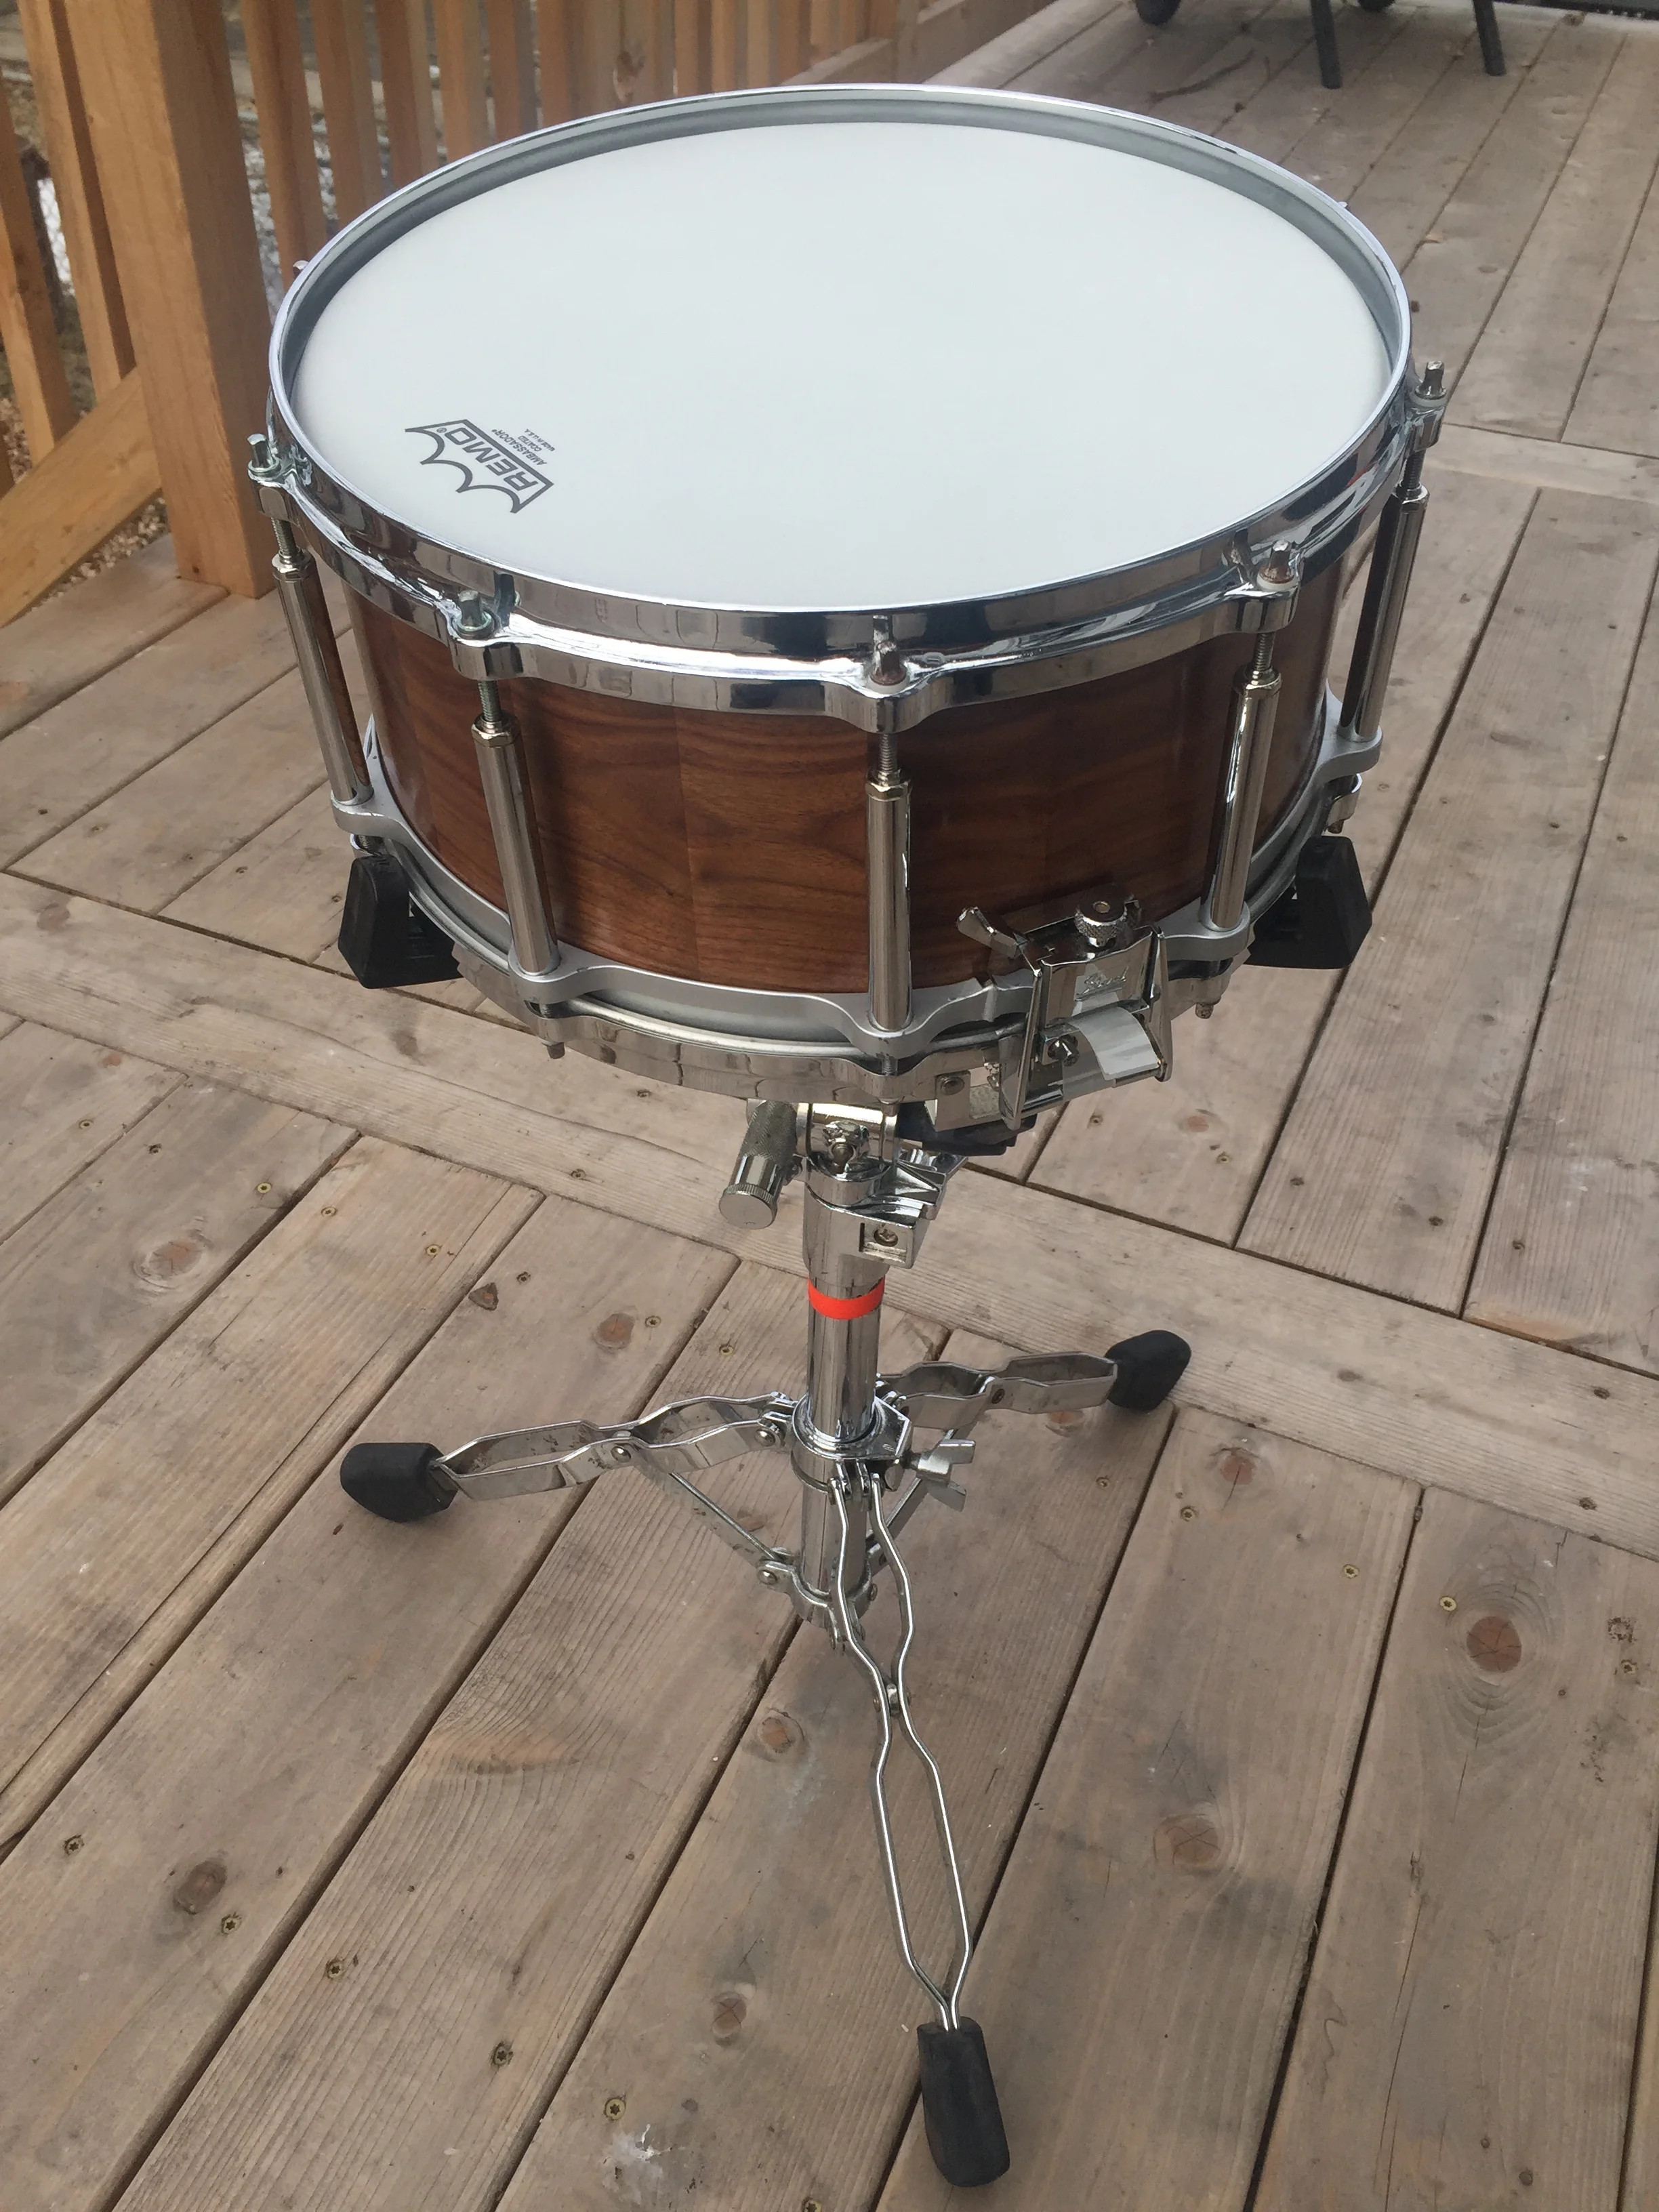
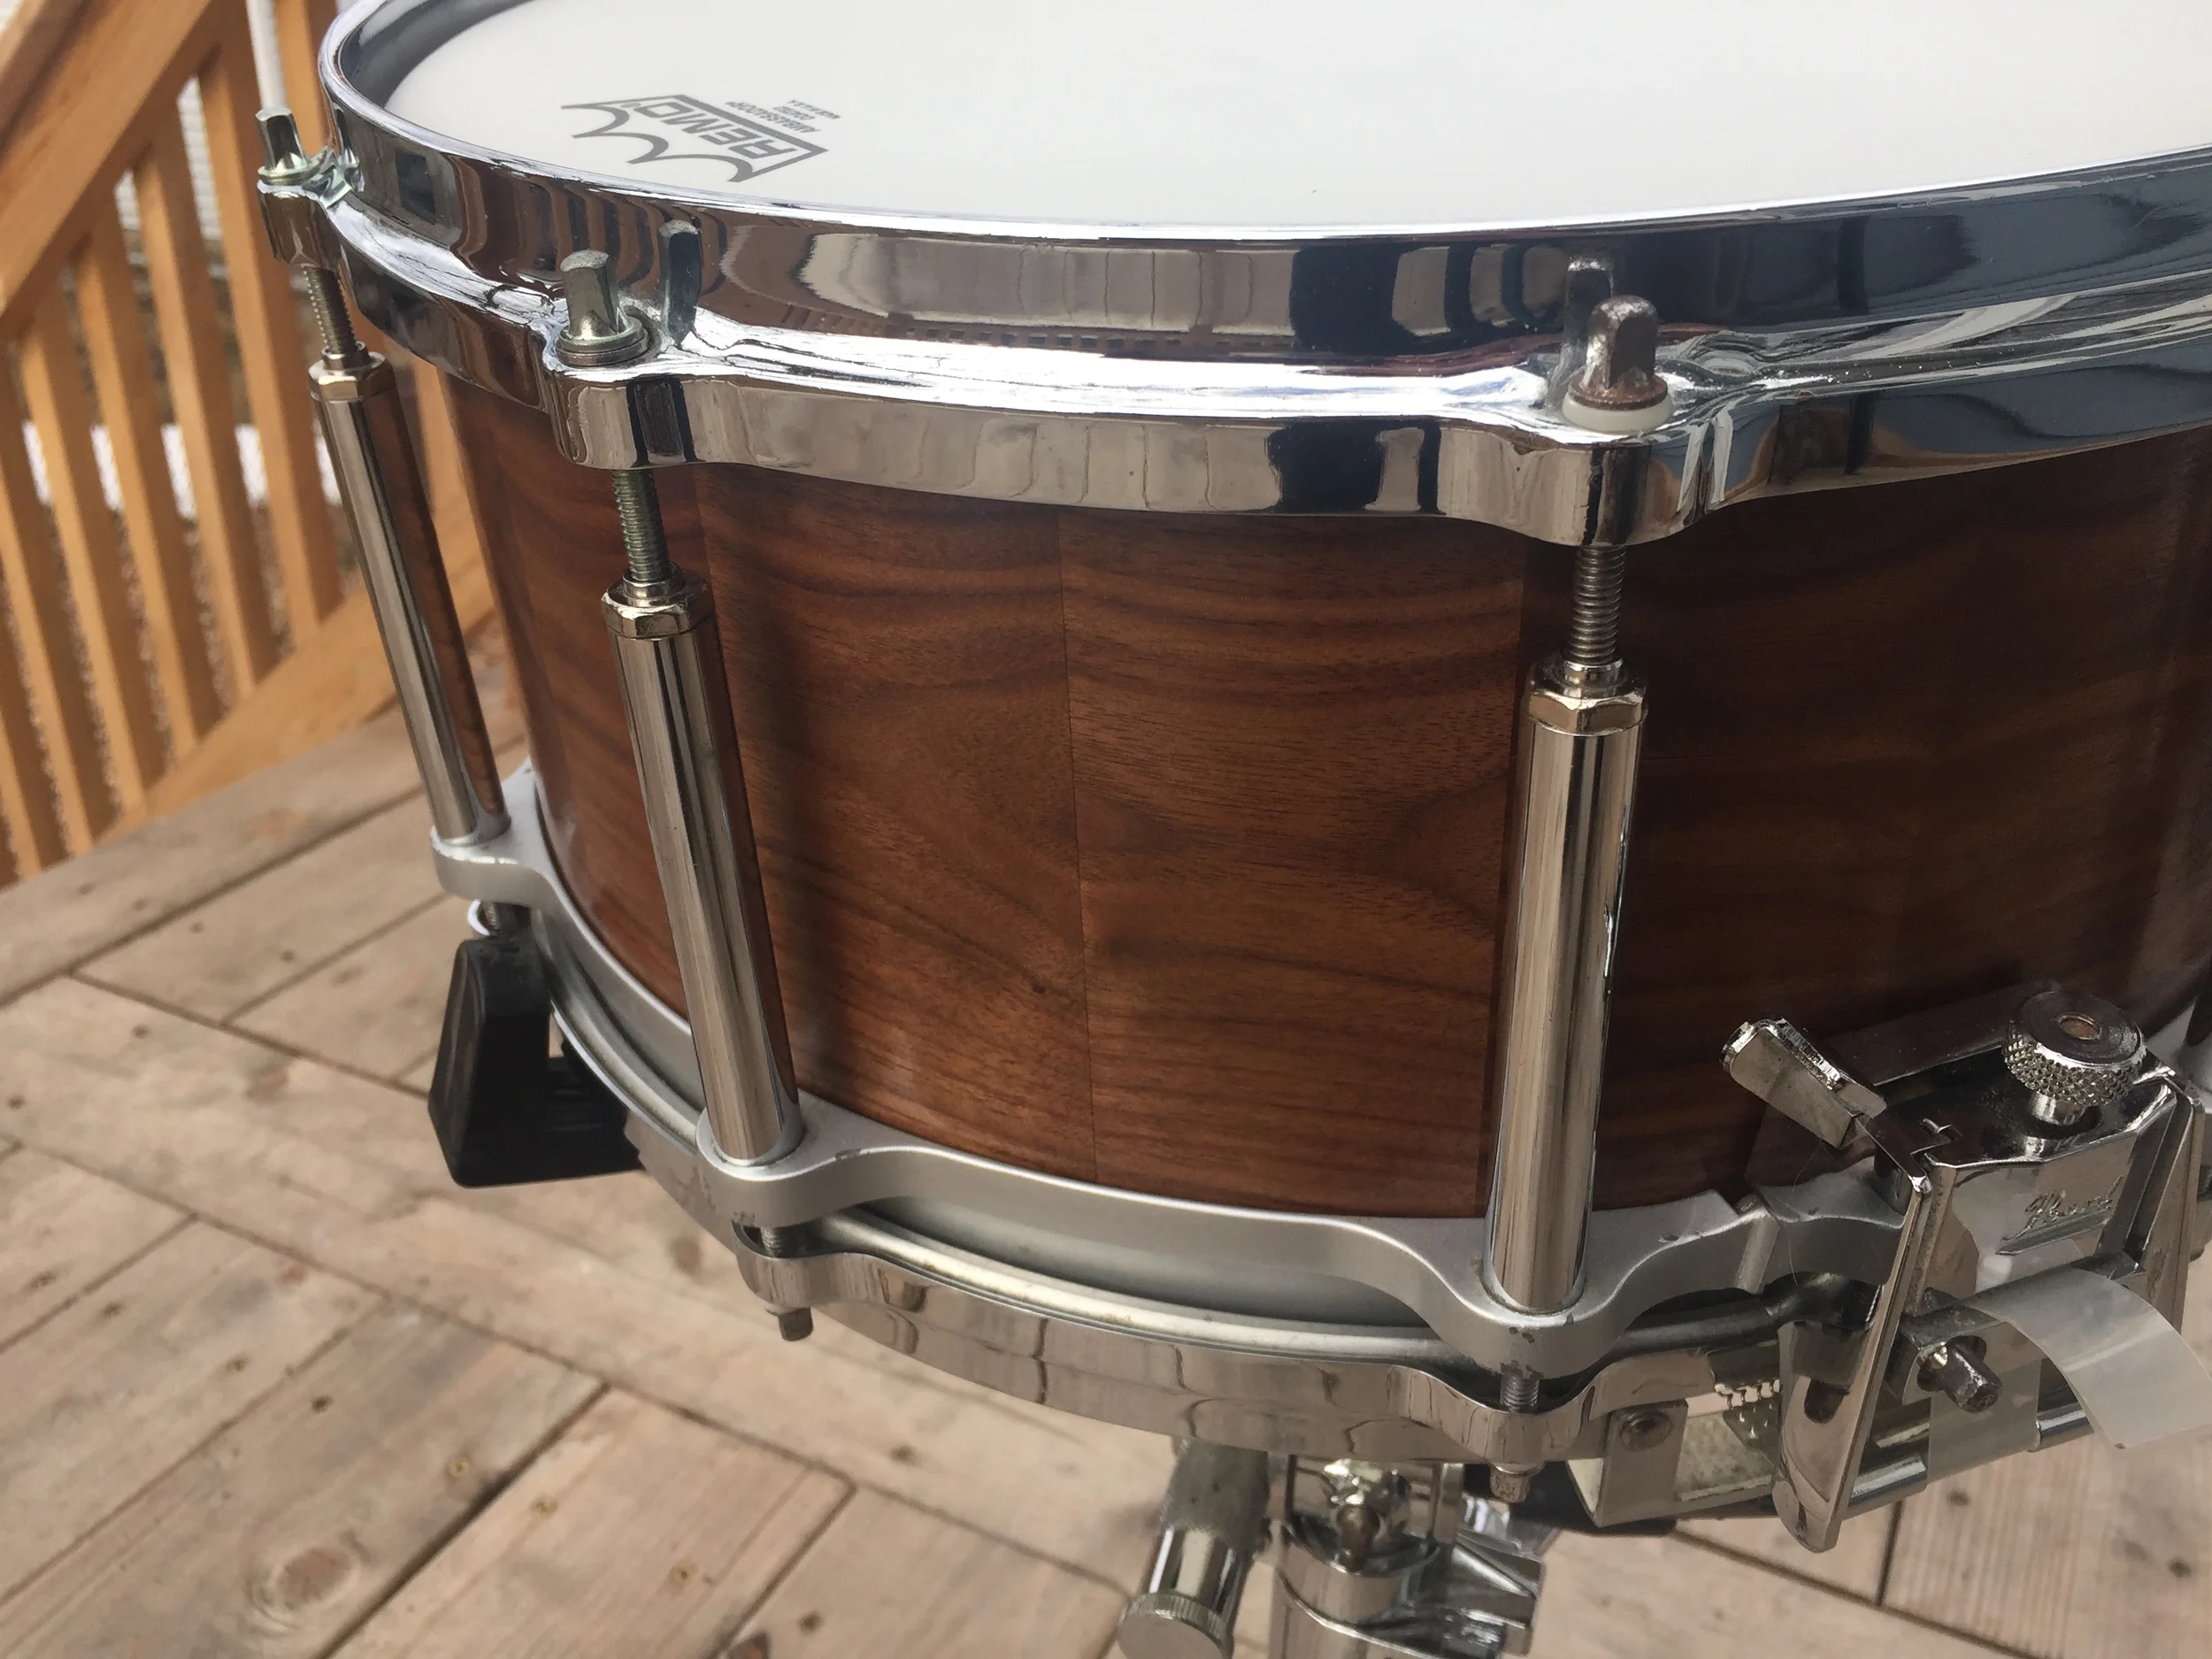
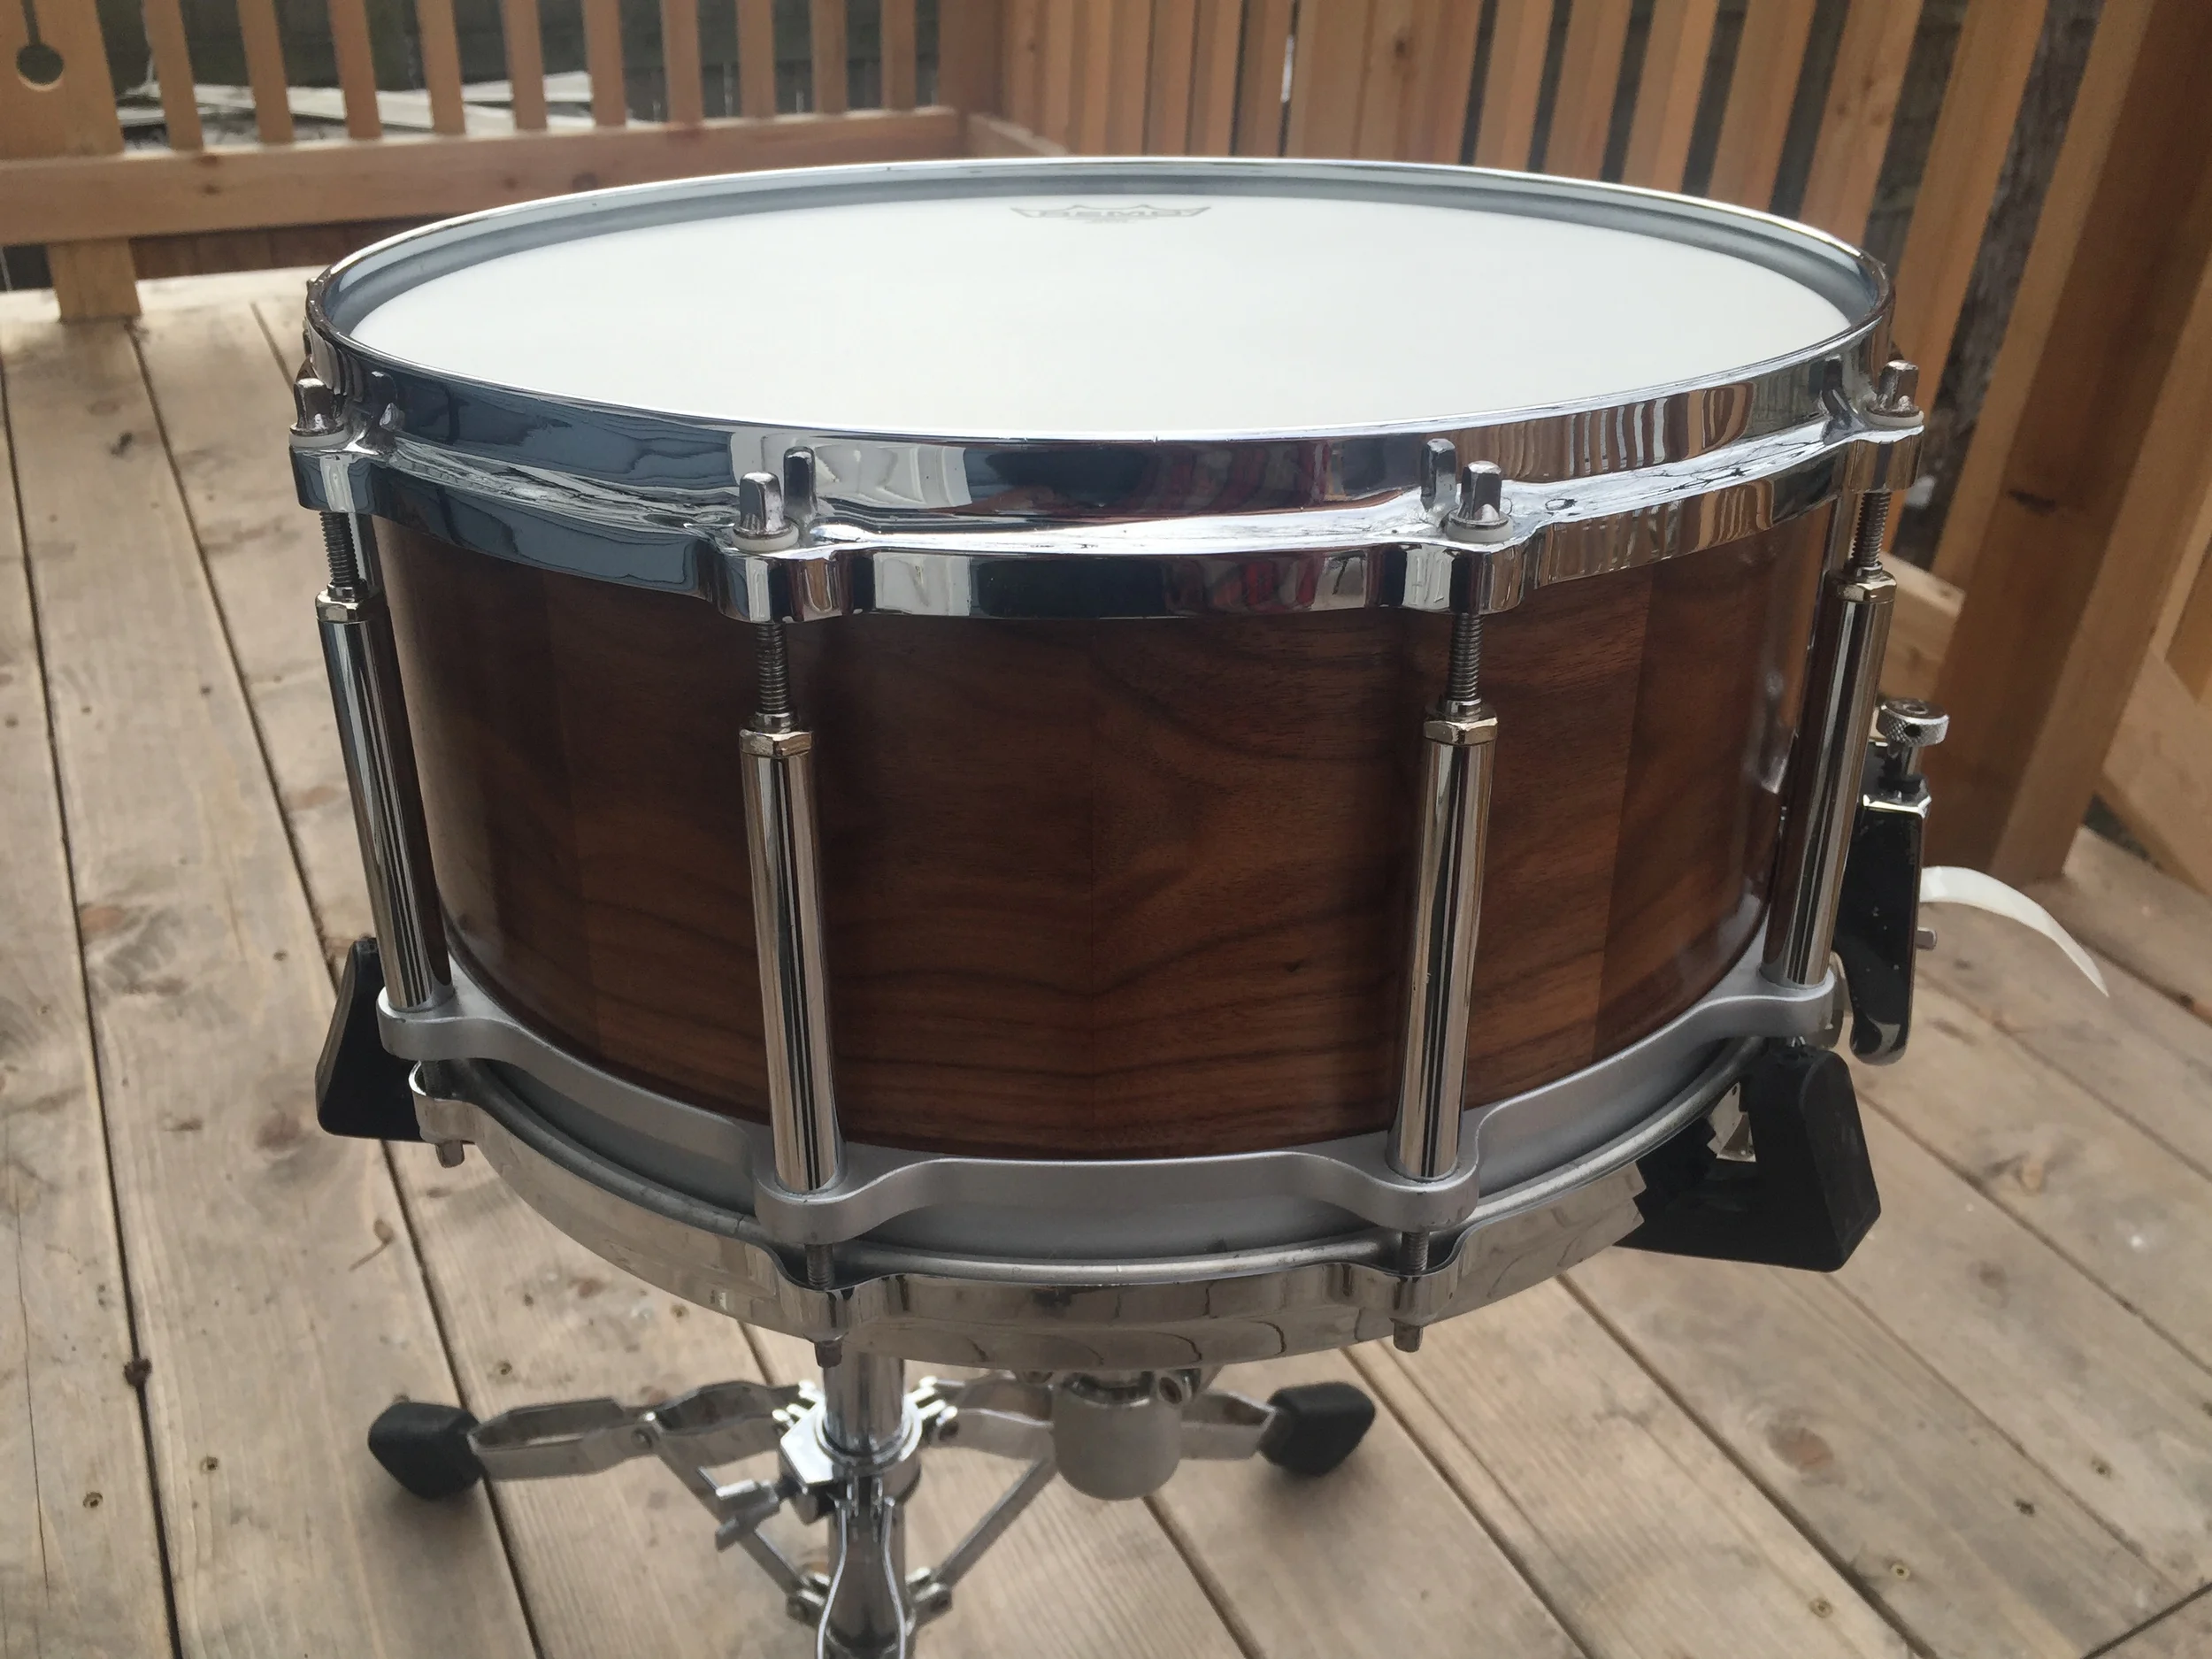
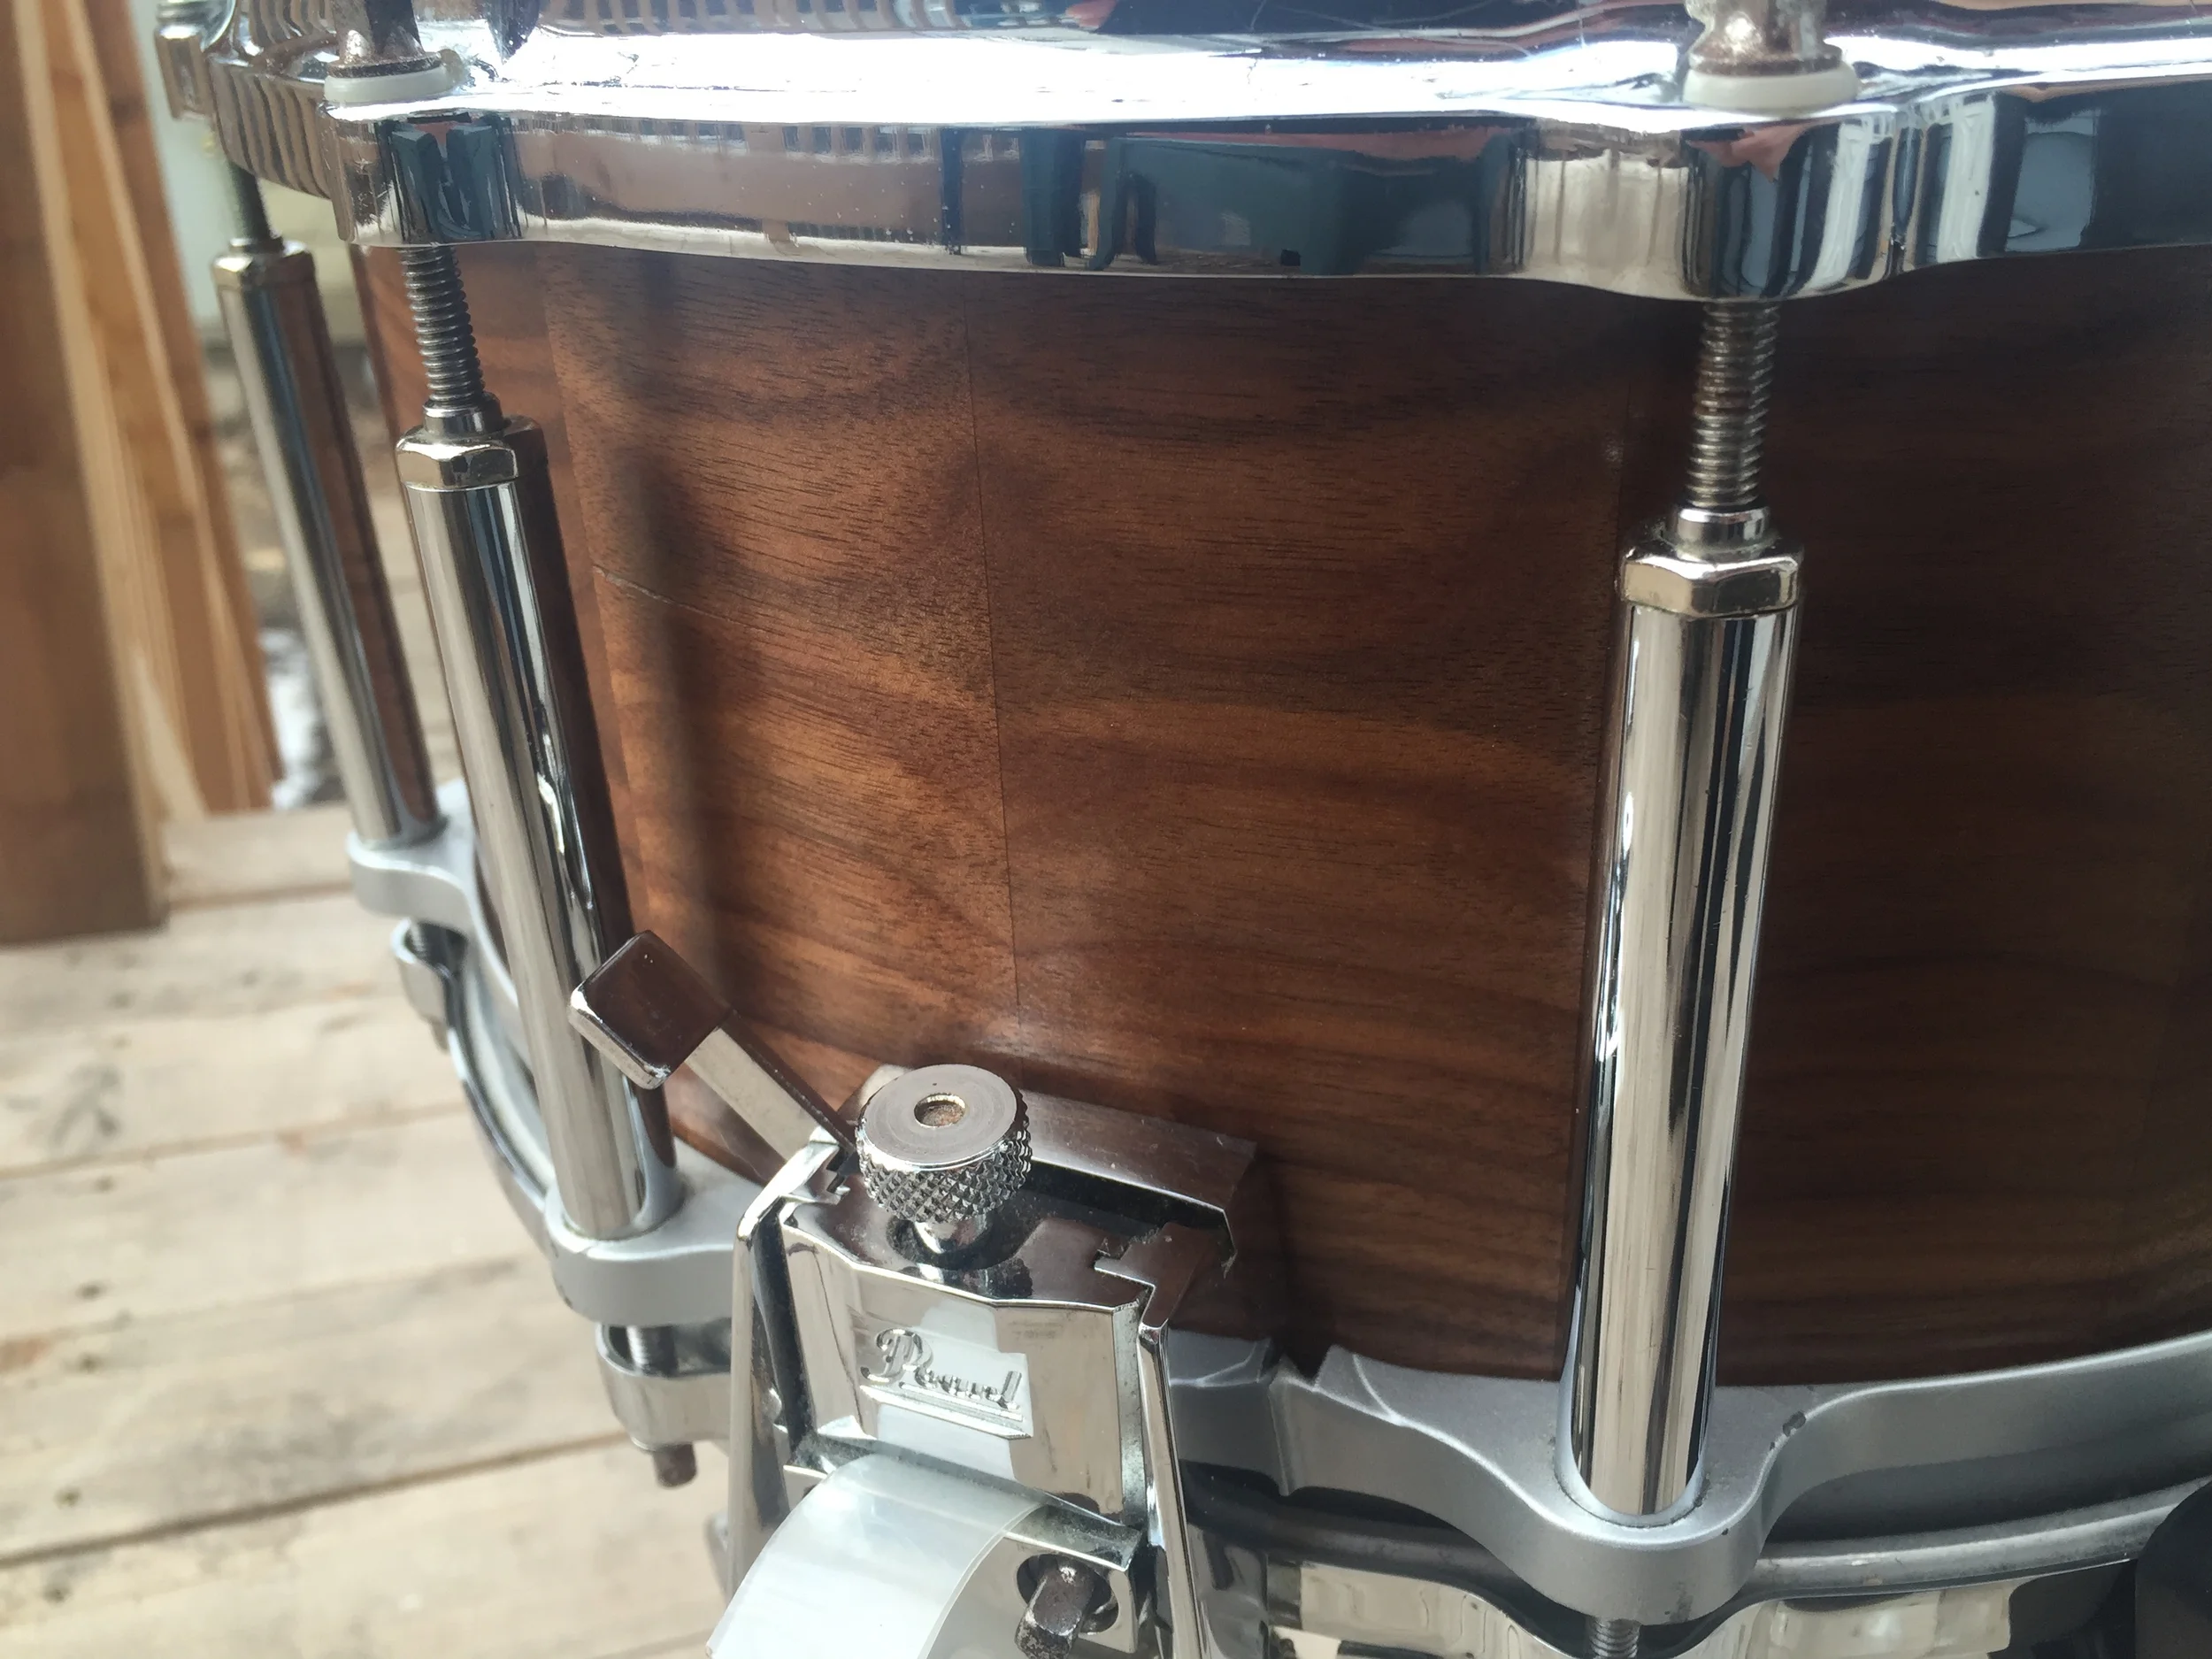

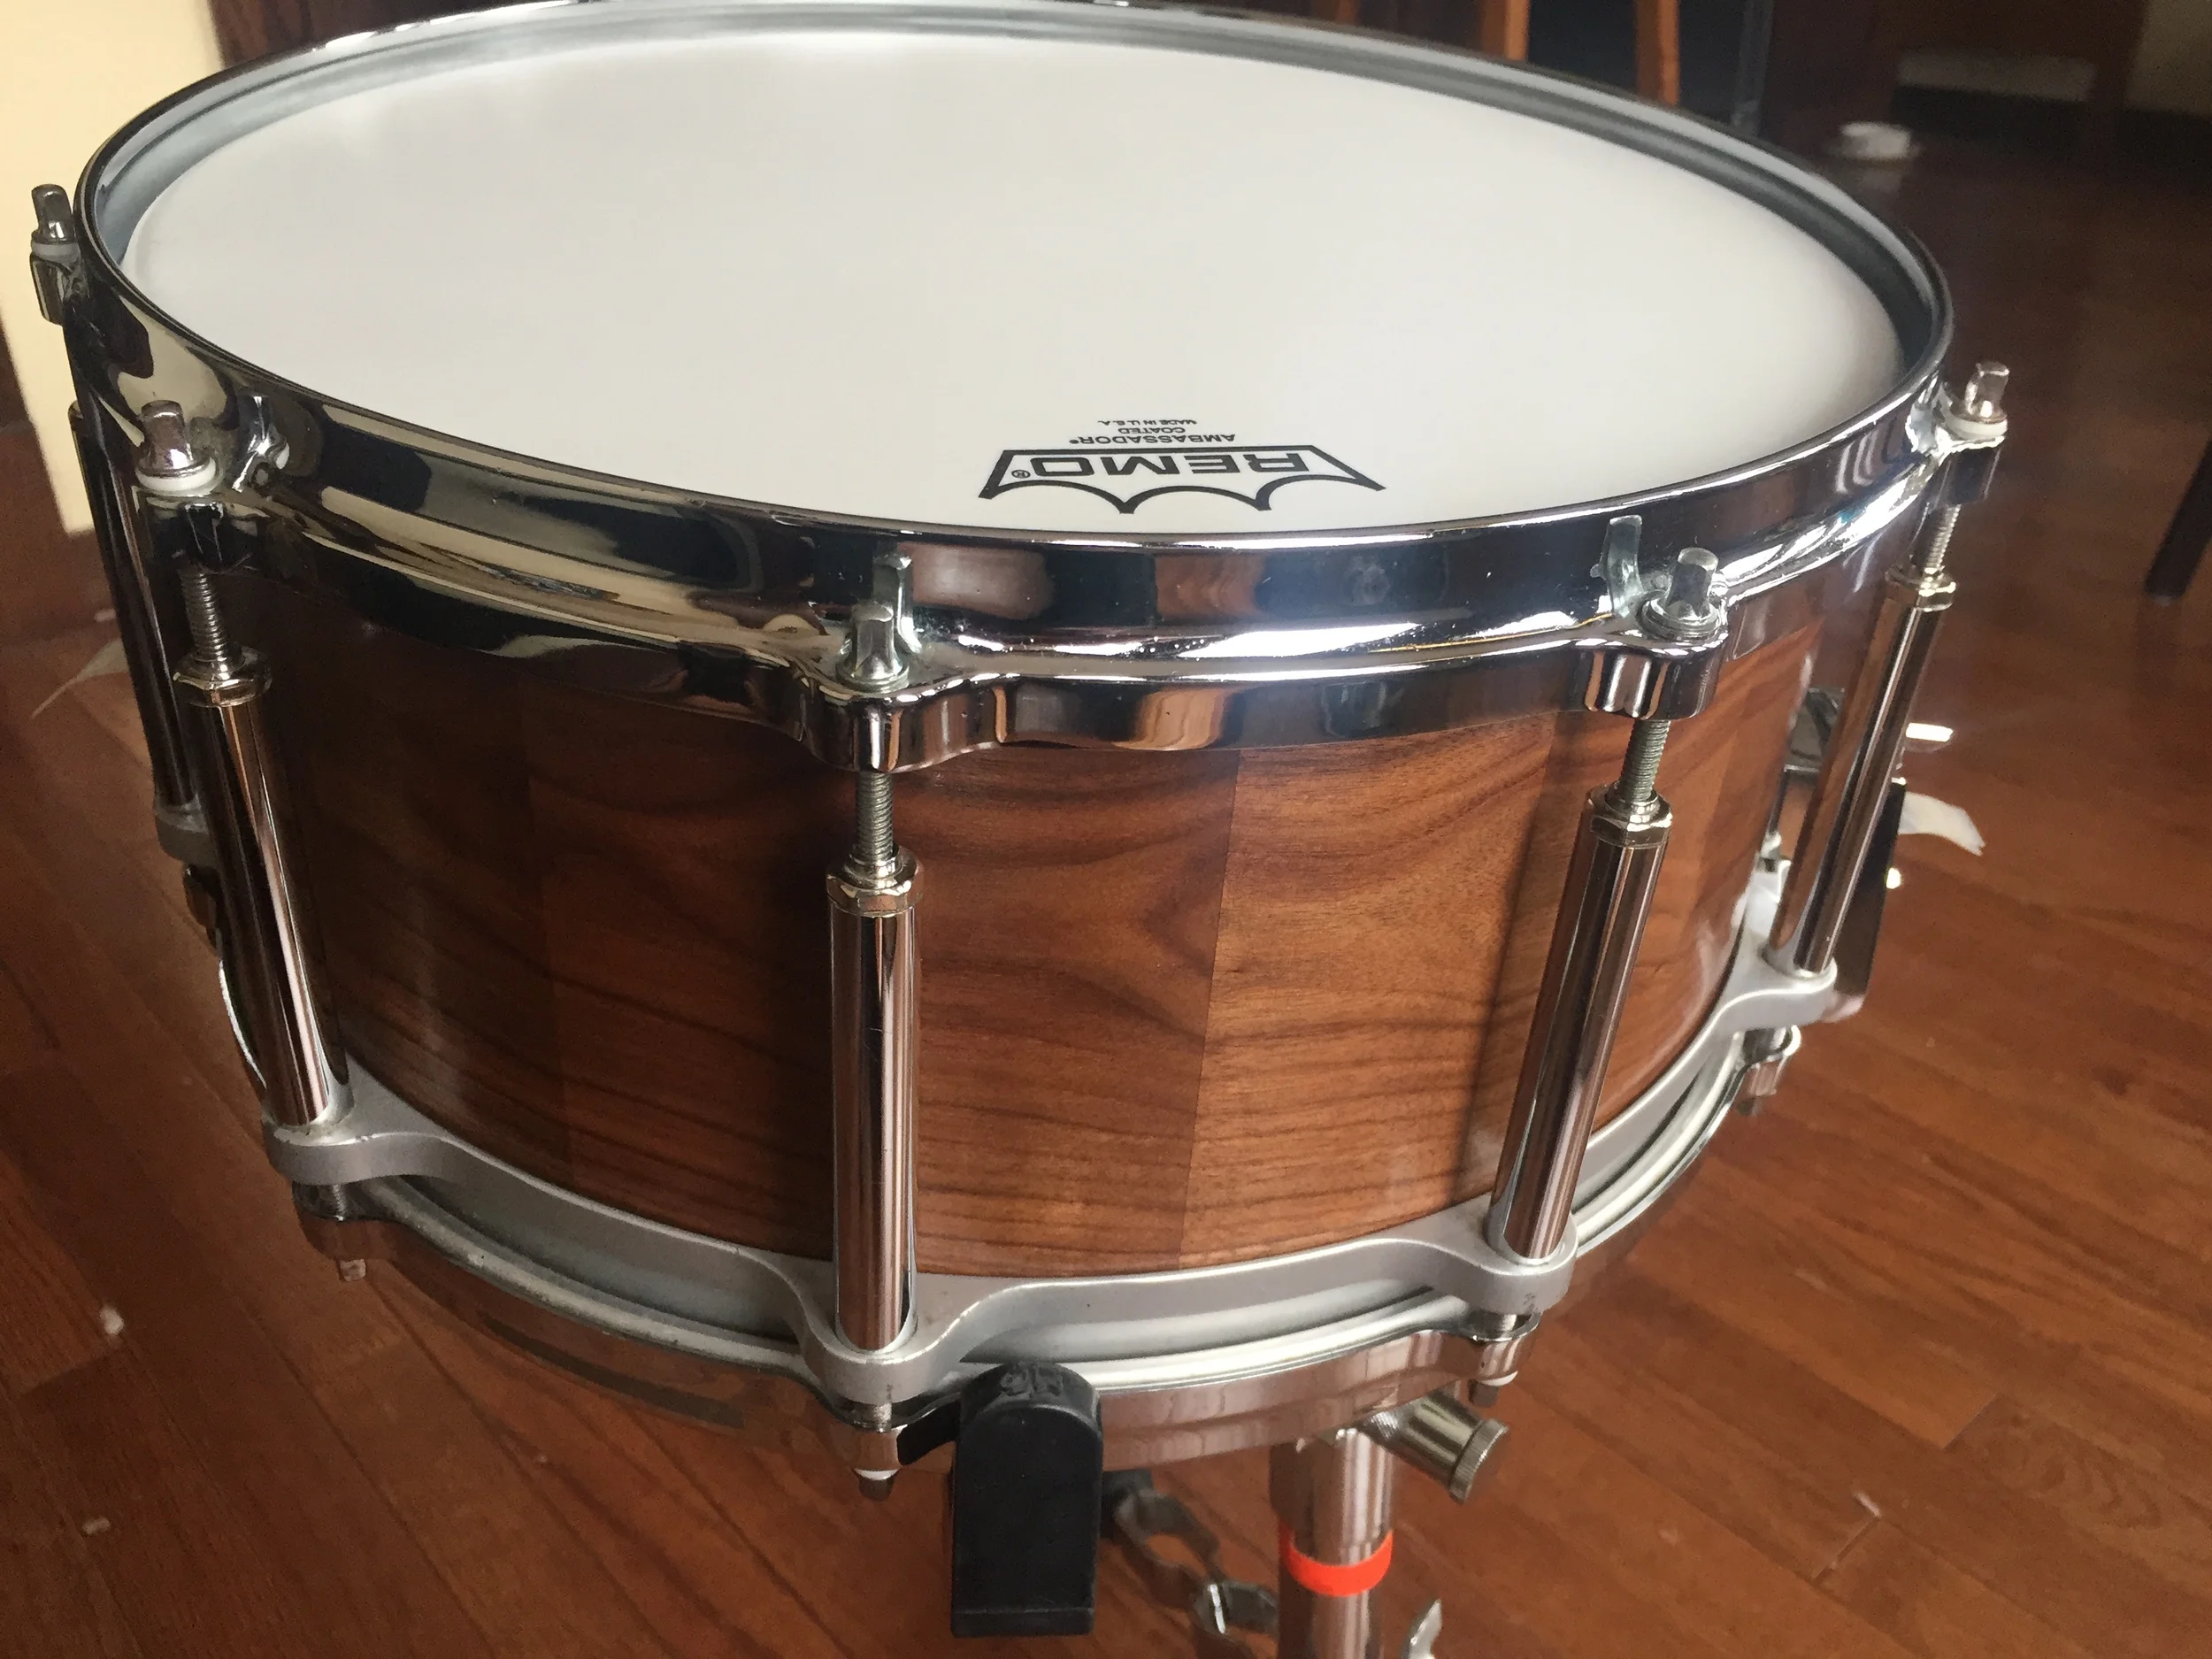
So, it was back to the shop for finishing, and that was just several layers of padded-on blonde shellac, with a coat of paste wax buffed on with steel wool. With that all nice and pretty, its a good match for the guitar amplifier head enclosure I made a few months back. Throughout the whole process of smoothing, planing, sanding, going into the snare, back out again, and finishing, the "mistake" of the long grain to long grain glue joints wasn't a problem. It is very, very solid. And of course, once sandwiched in the snare rims, is pretty well supported all over anyway.
I liked this project, and hop to do other shells from different woods, and we'll try them out and see how they effect the sound. I'll also try both types of grain direction, to see if that effects how easy or hard it is to round over the stave facets. I am also going to be getting a the in the shop, and with the right chuck/holder, should be able to do the smoothing there, which should be much faster.