
(This is a continuation of the "Drawing Table" series, click here for part 1 )
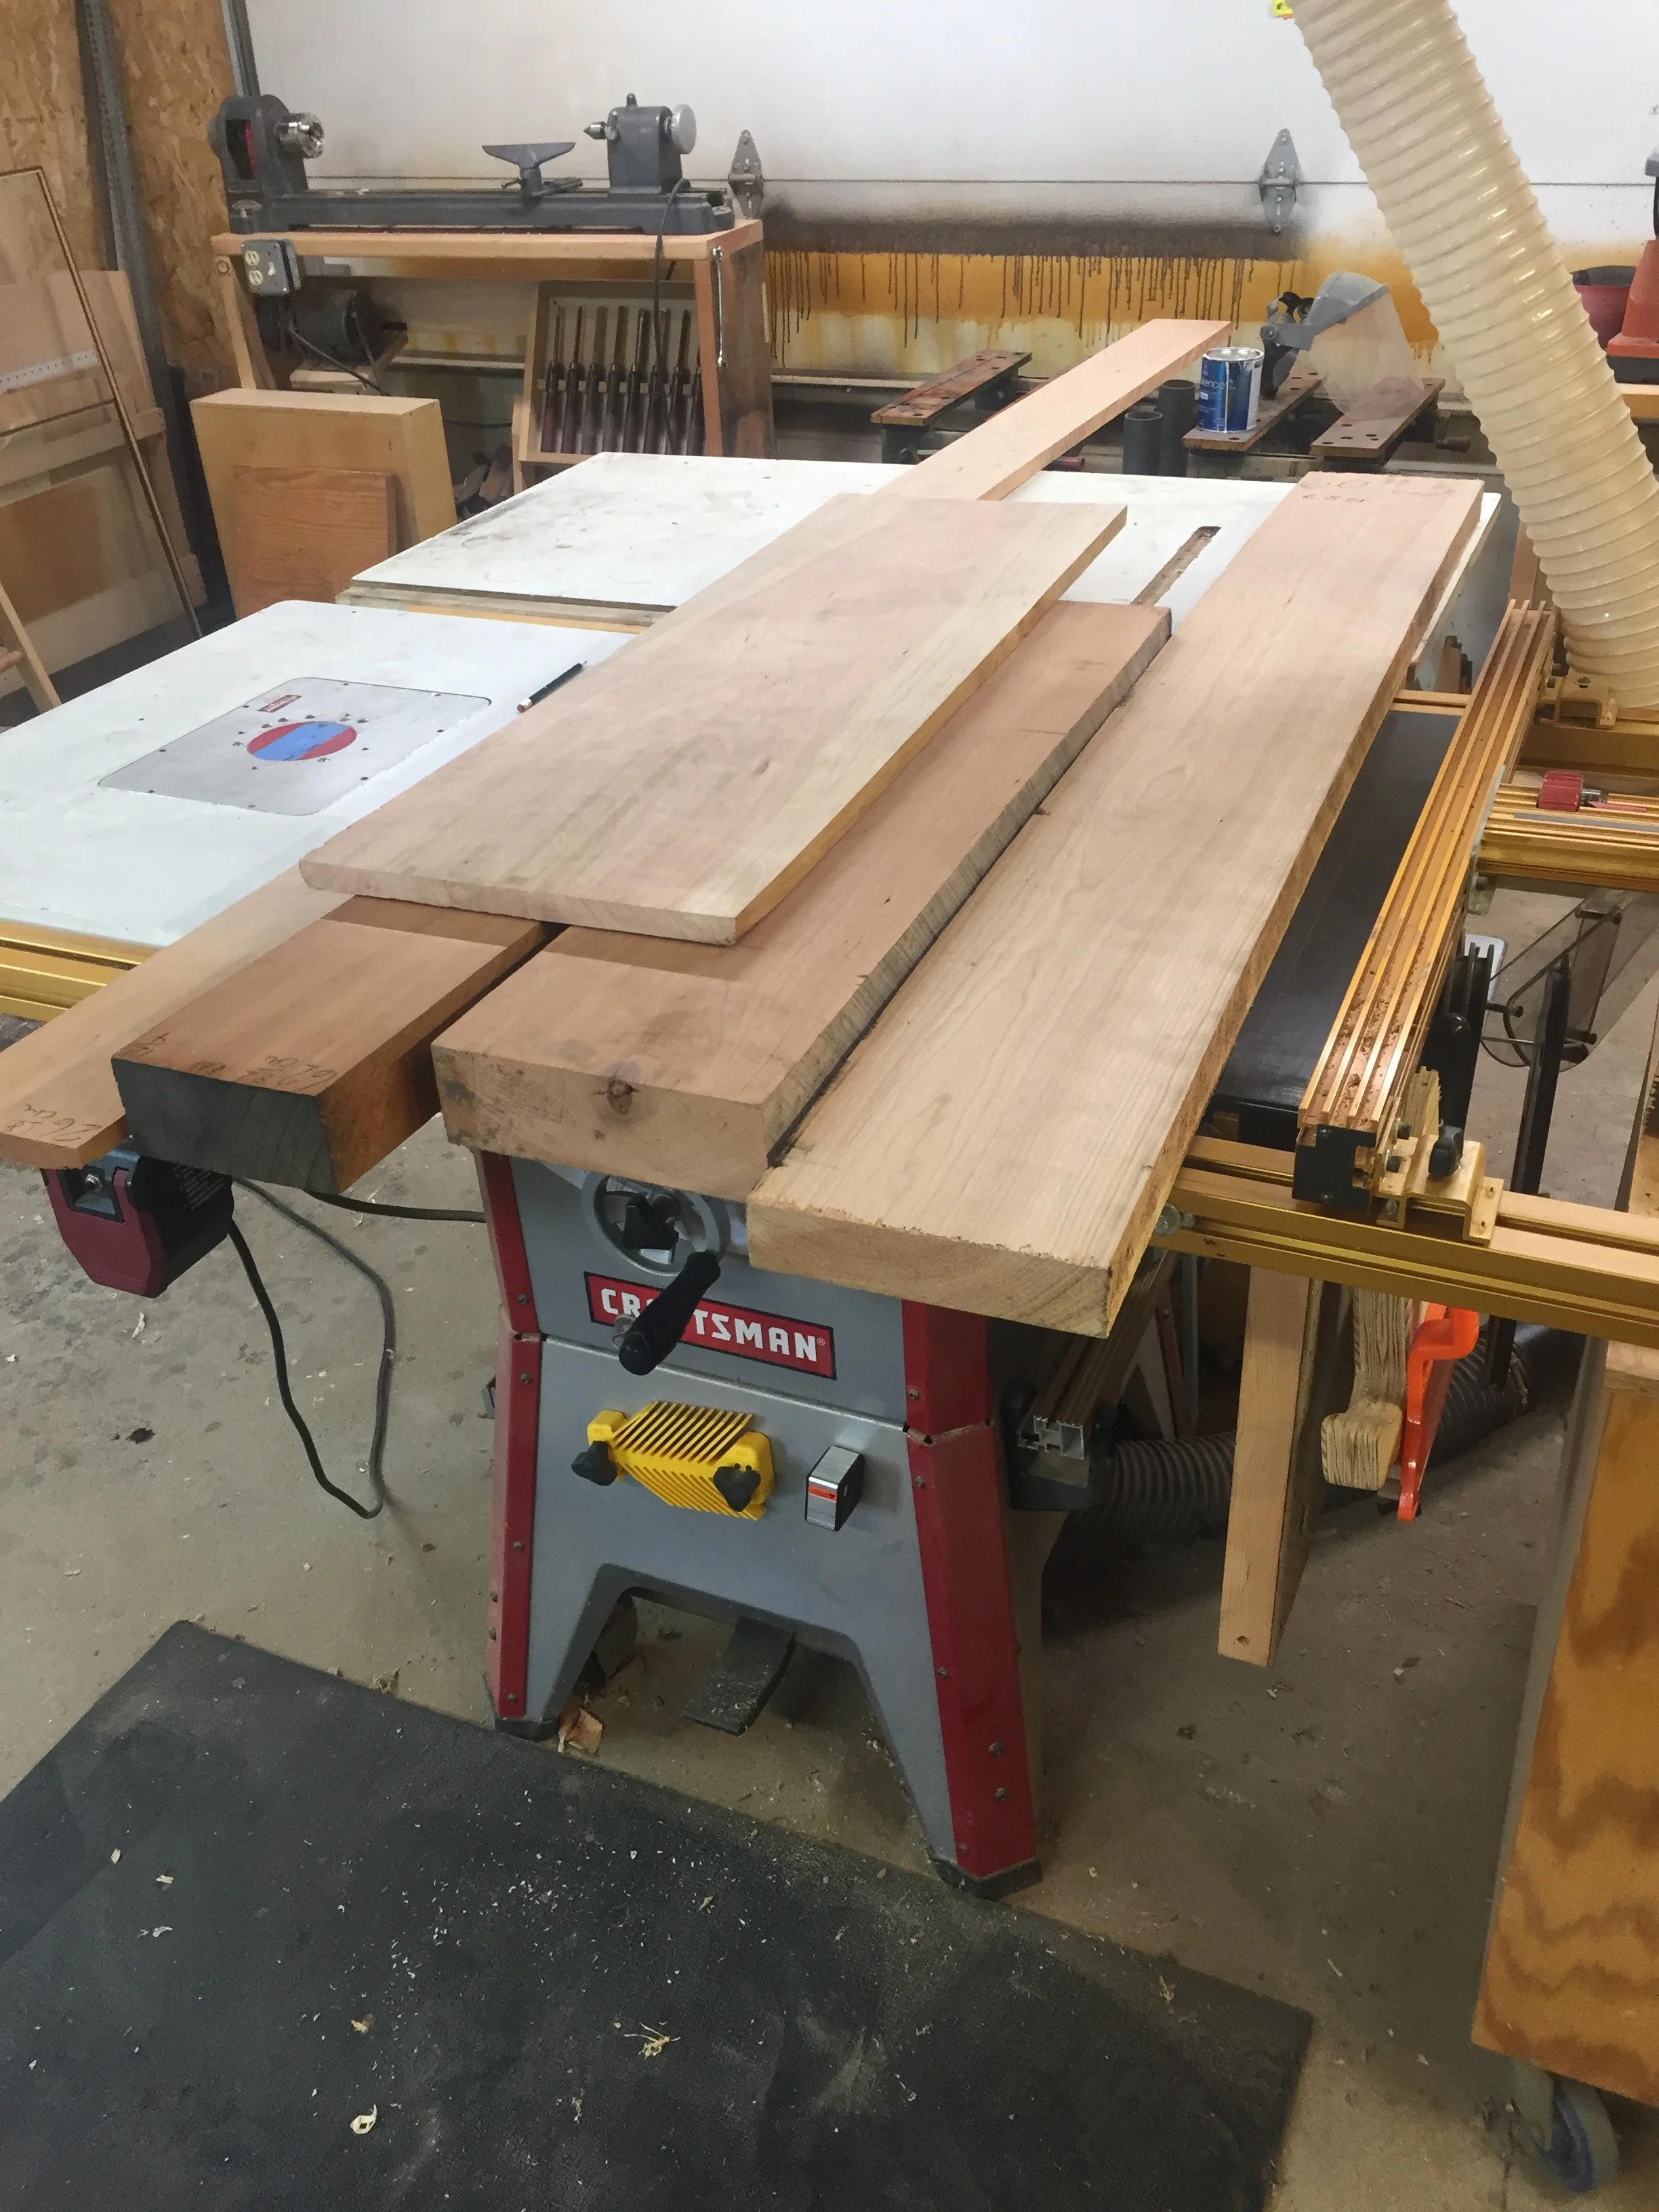
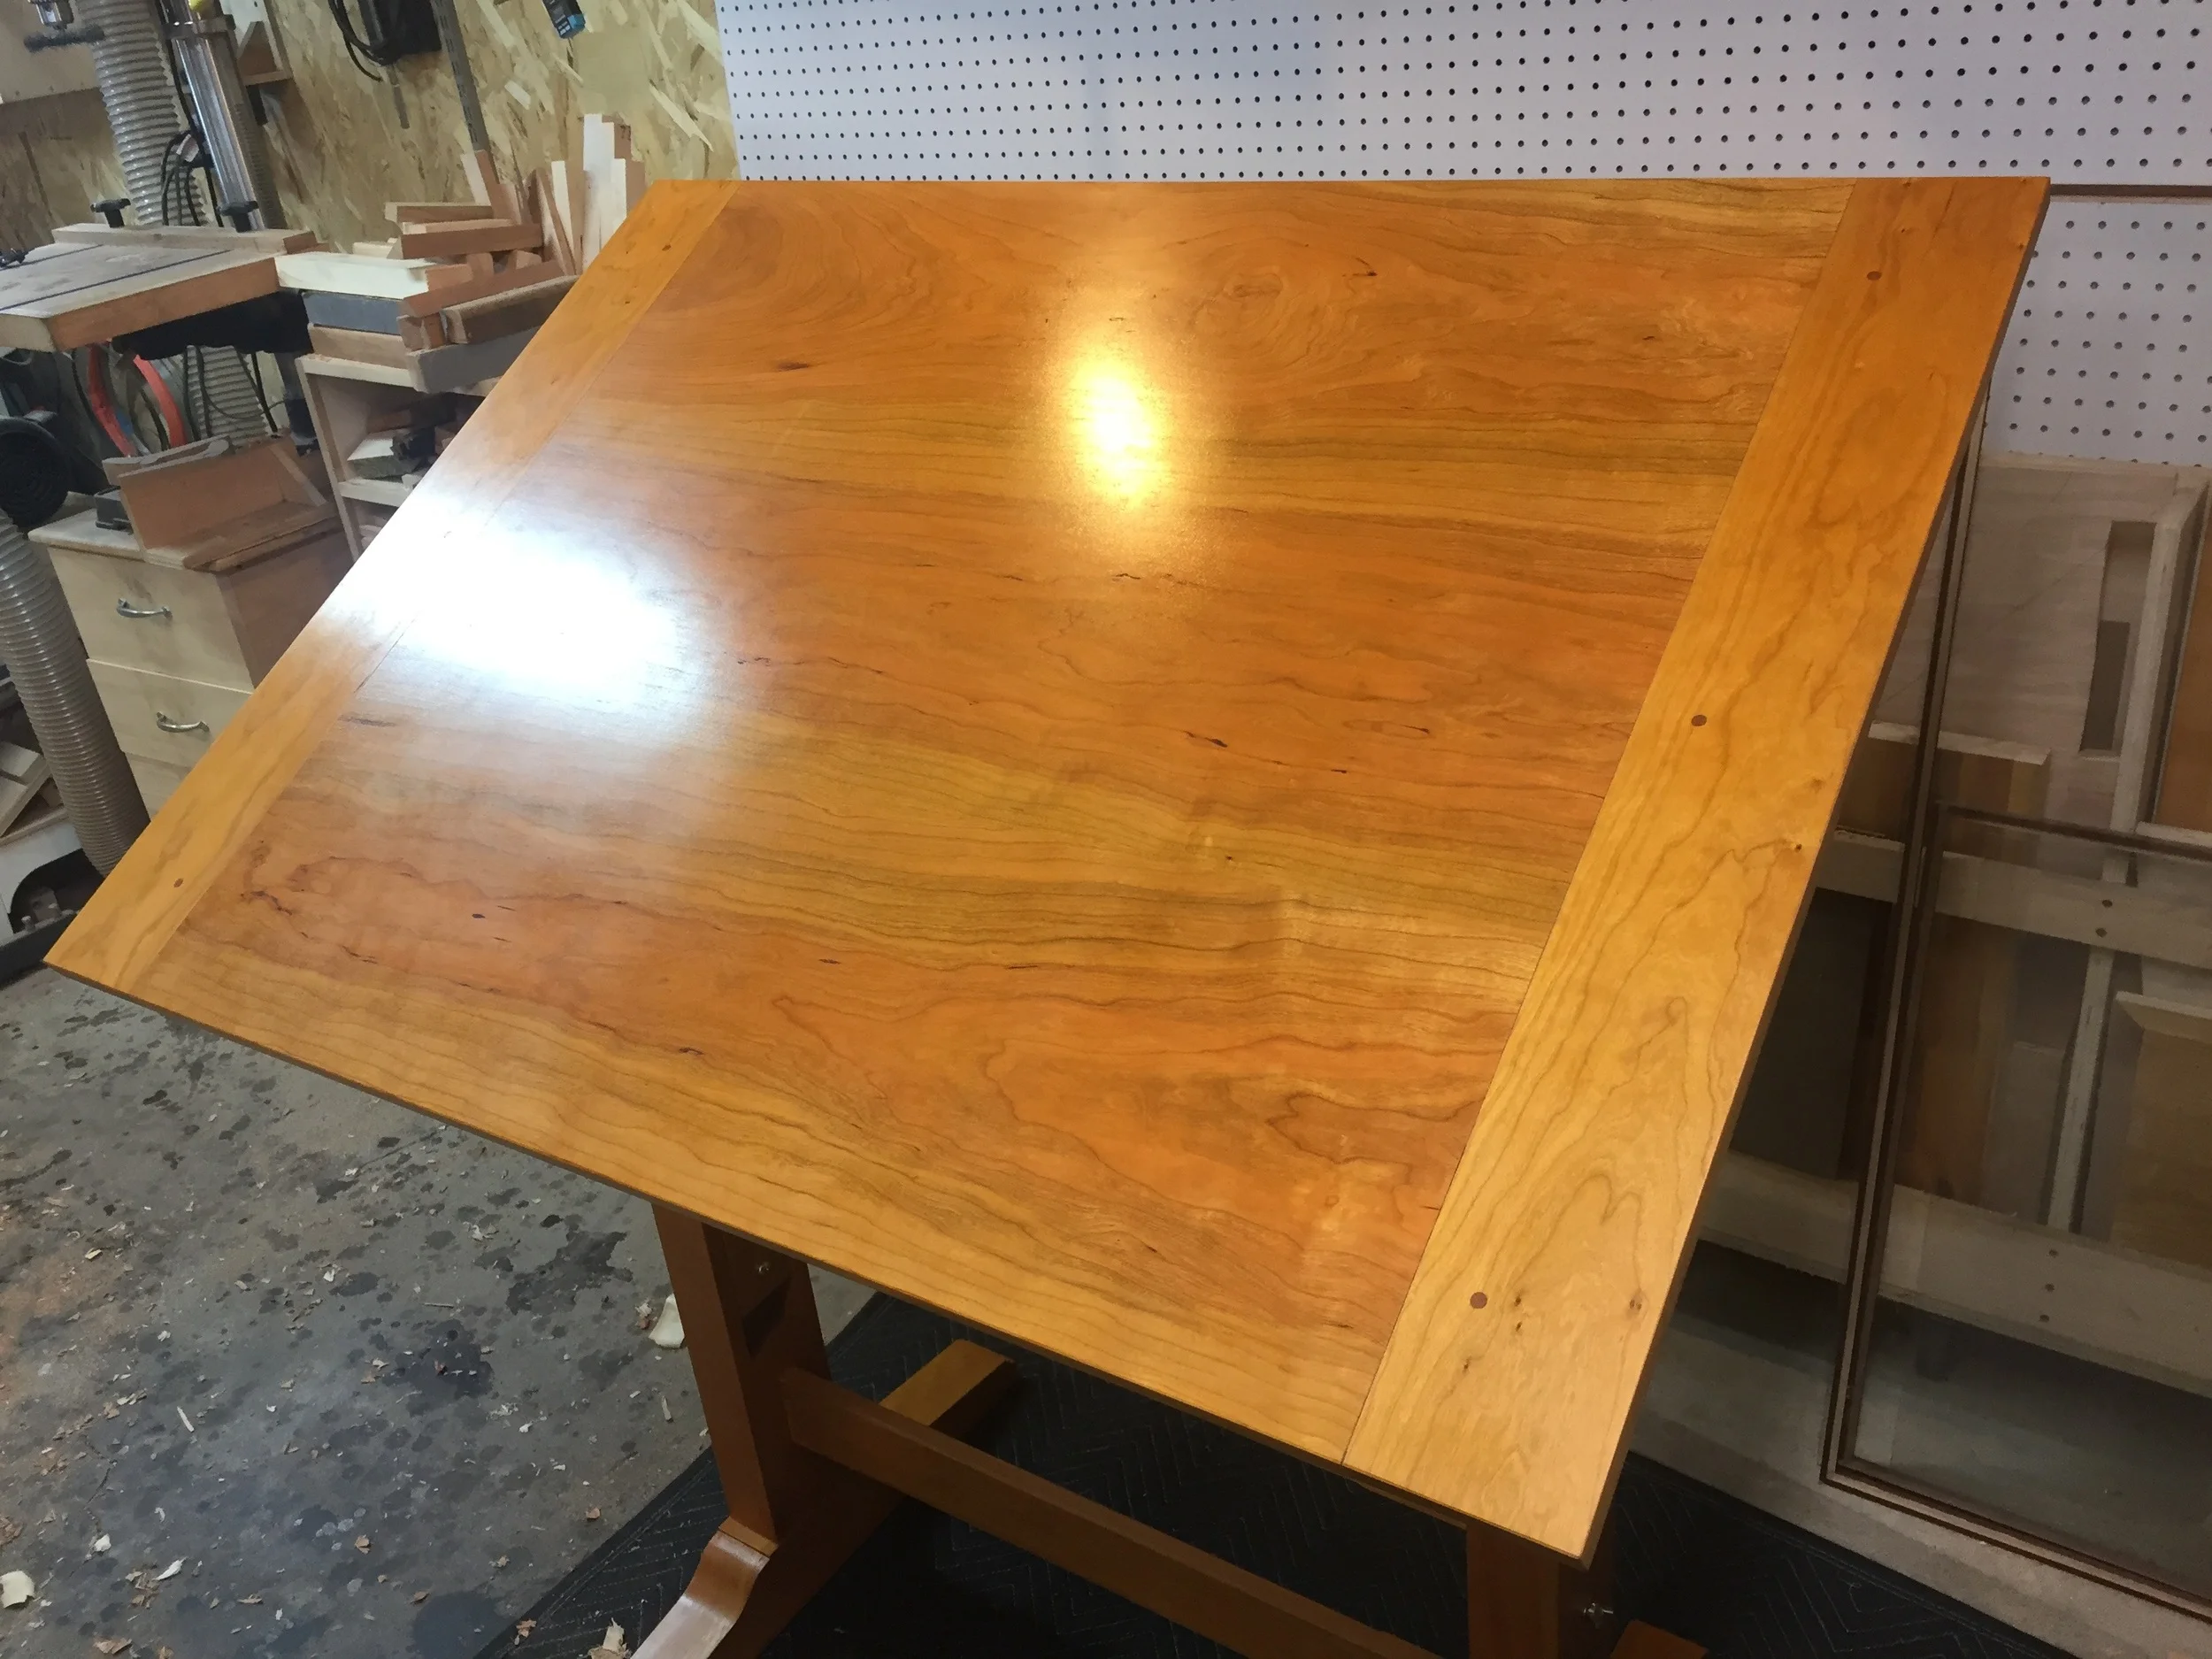
The top of the table is a classic breadboard top. And as it's the most visible part of the whole piece, I wanted to find boards with some nice figure. I found a gorgeous nine foot wide cherry board, that, when cut into three sections, would be enough for the main part of the top. It had a mix of light and dark wood, but I knew it would look great laminated together. I liked the contrast it would produce. The rest of the cherry was easy source on this run, as the hardwood dealer had plenty on hand, and back at the shop, I got to work.
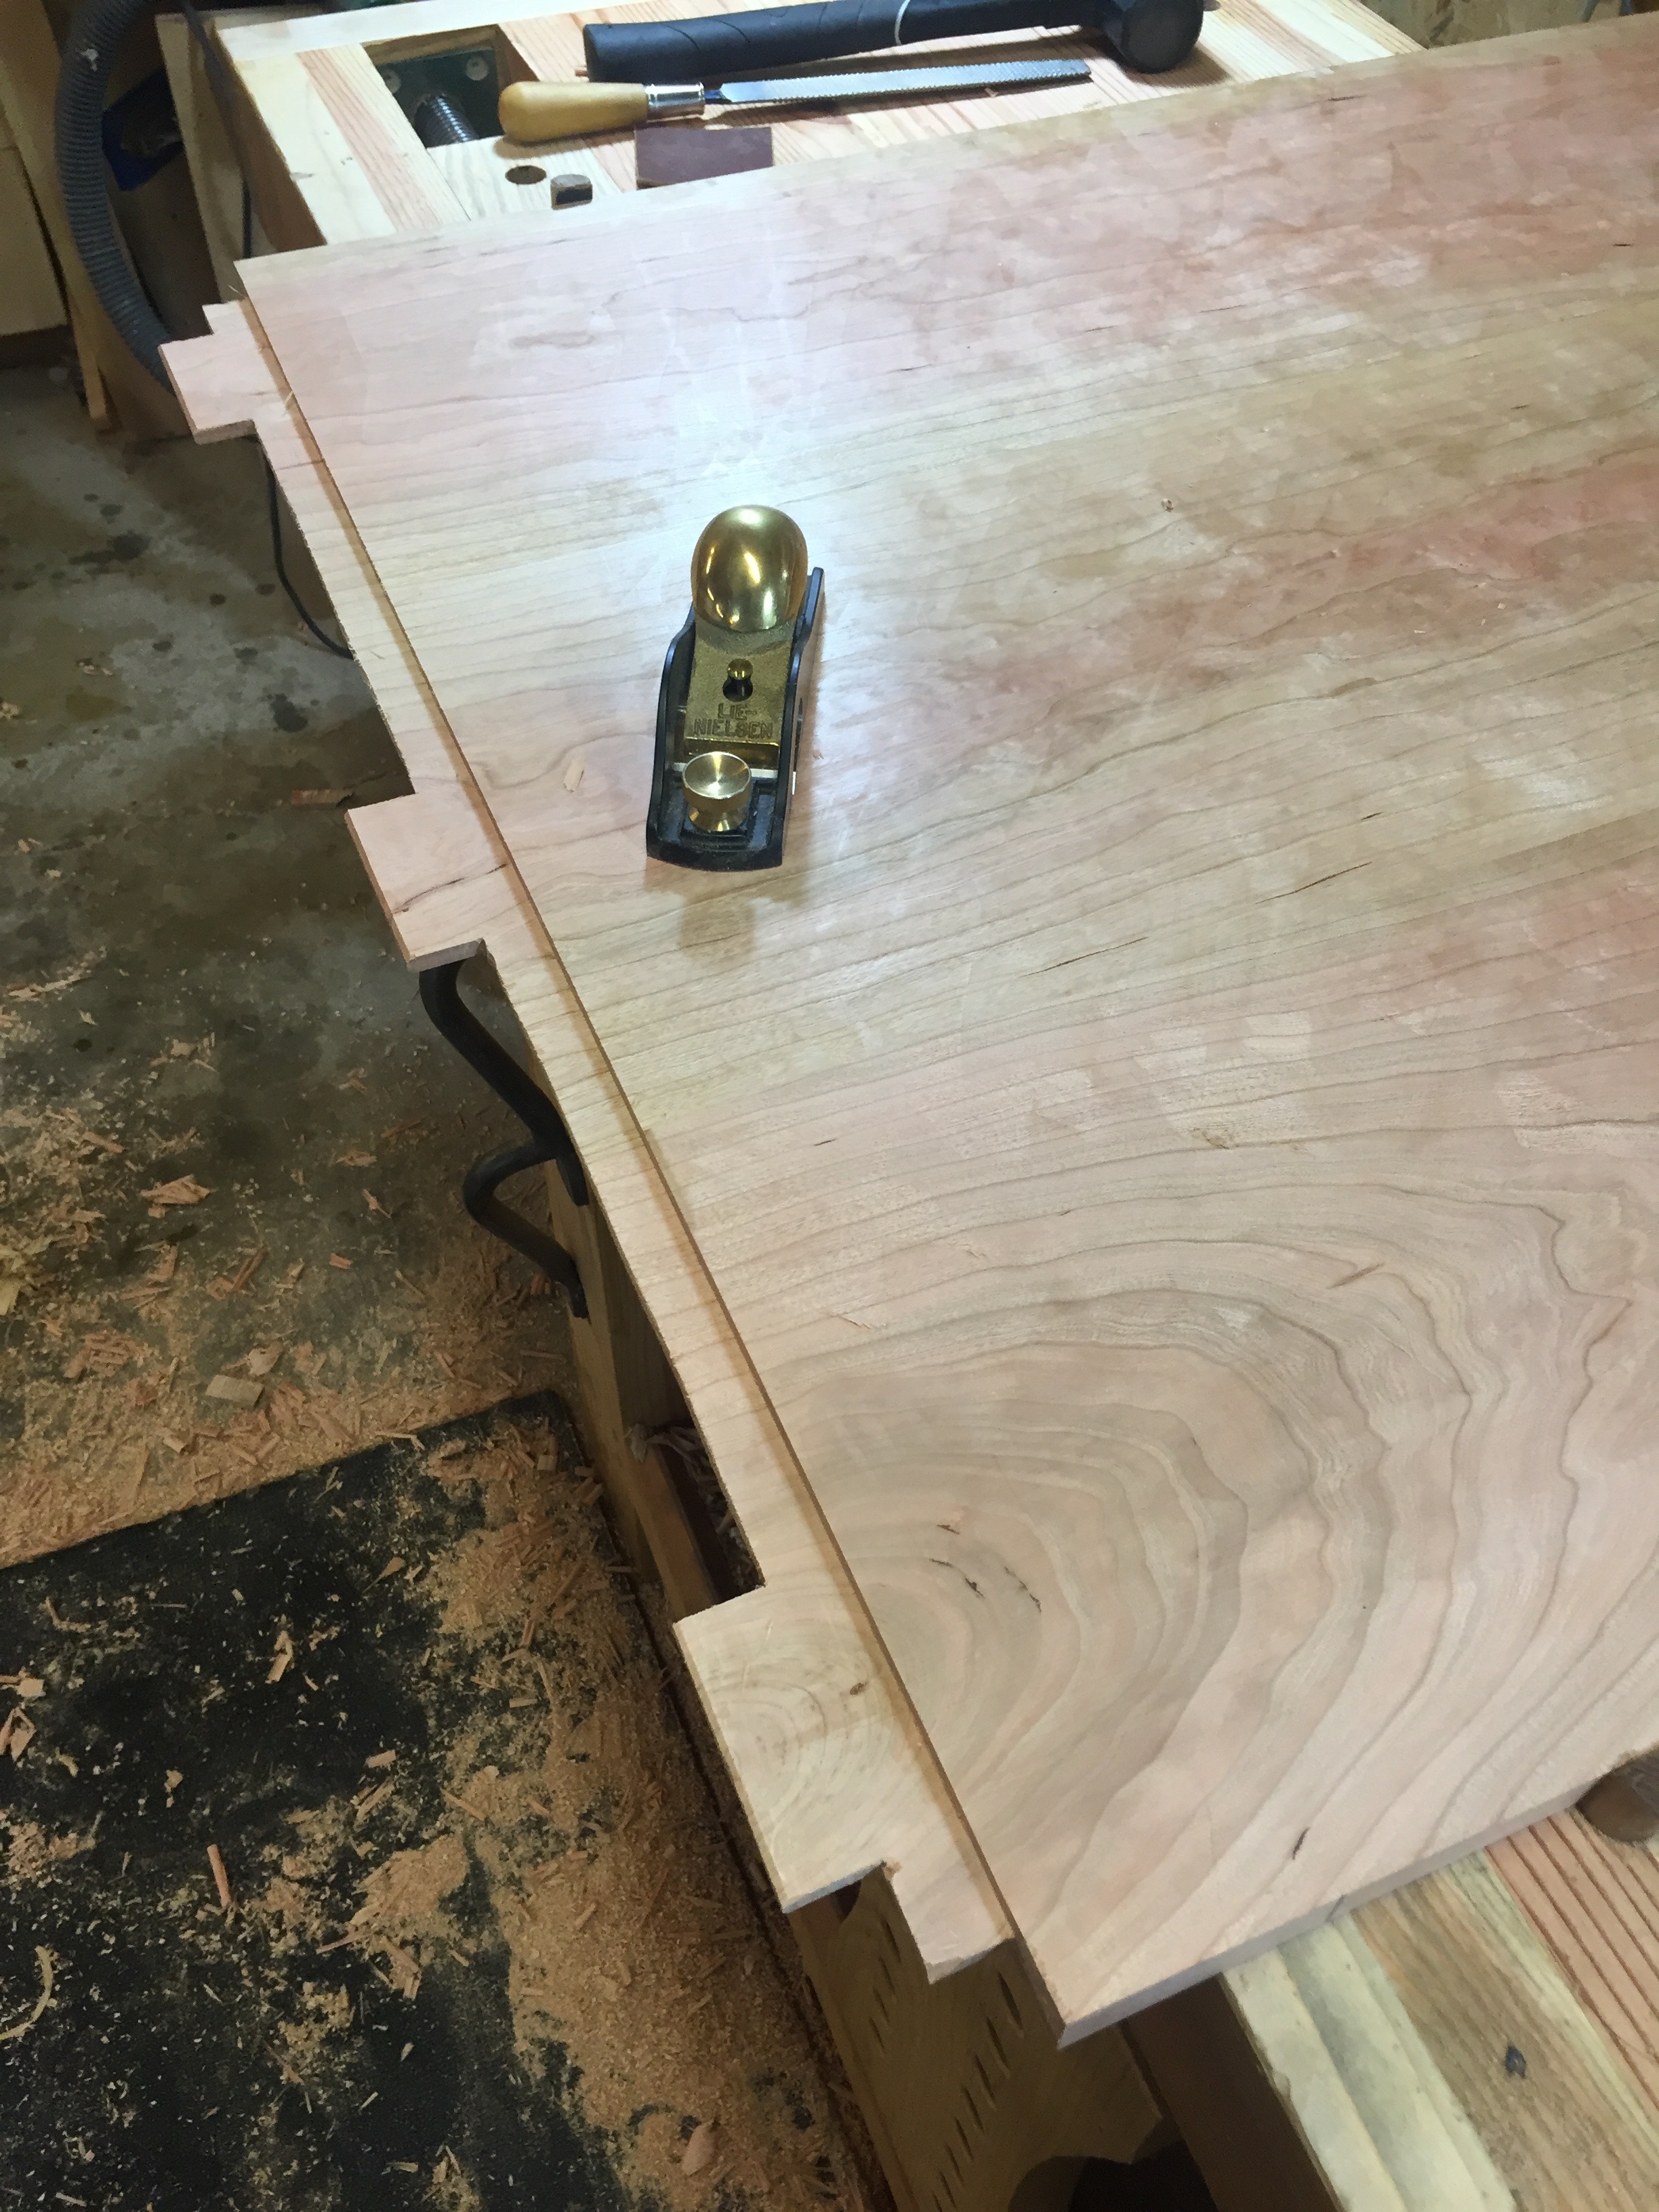
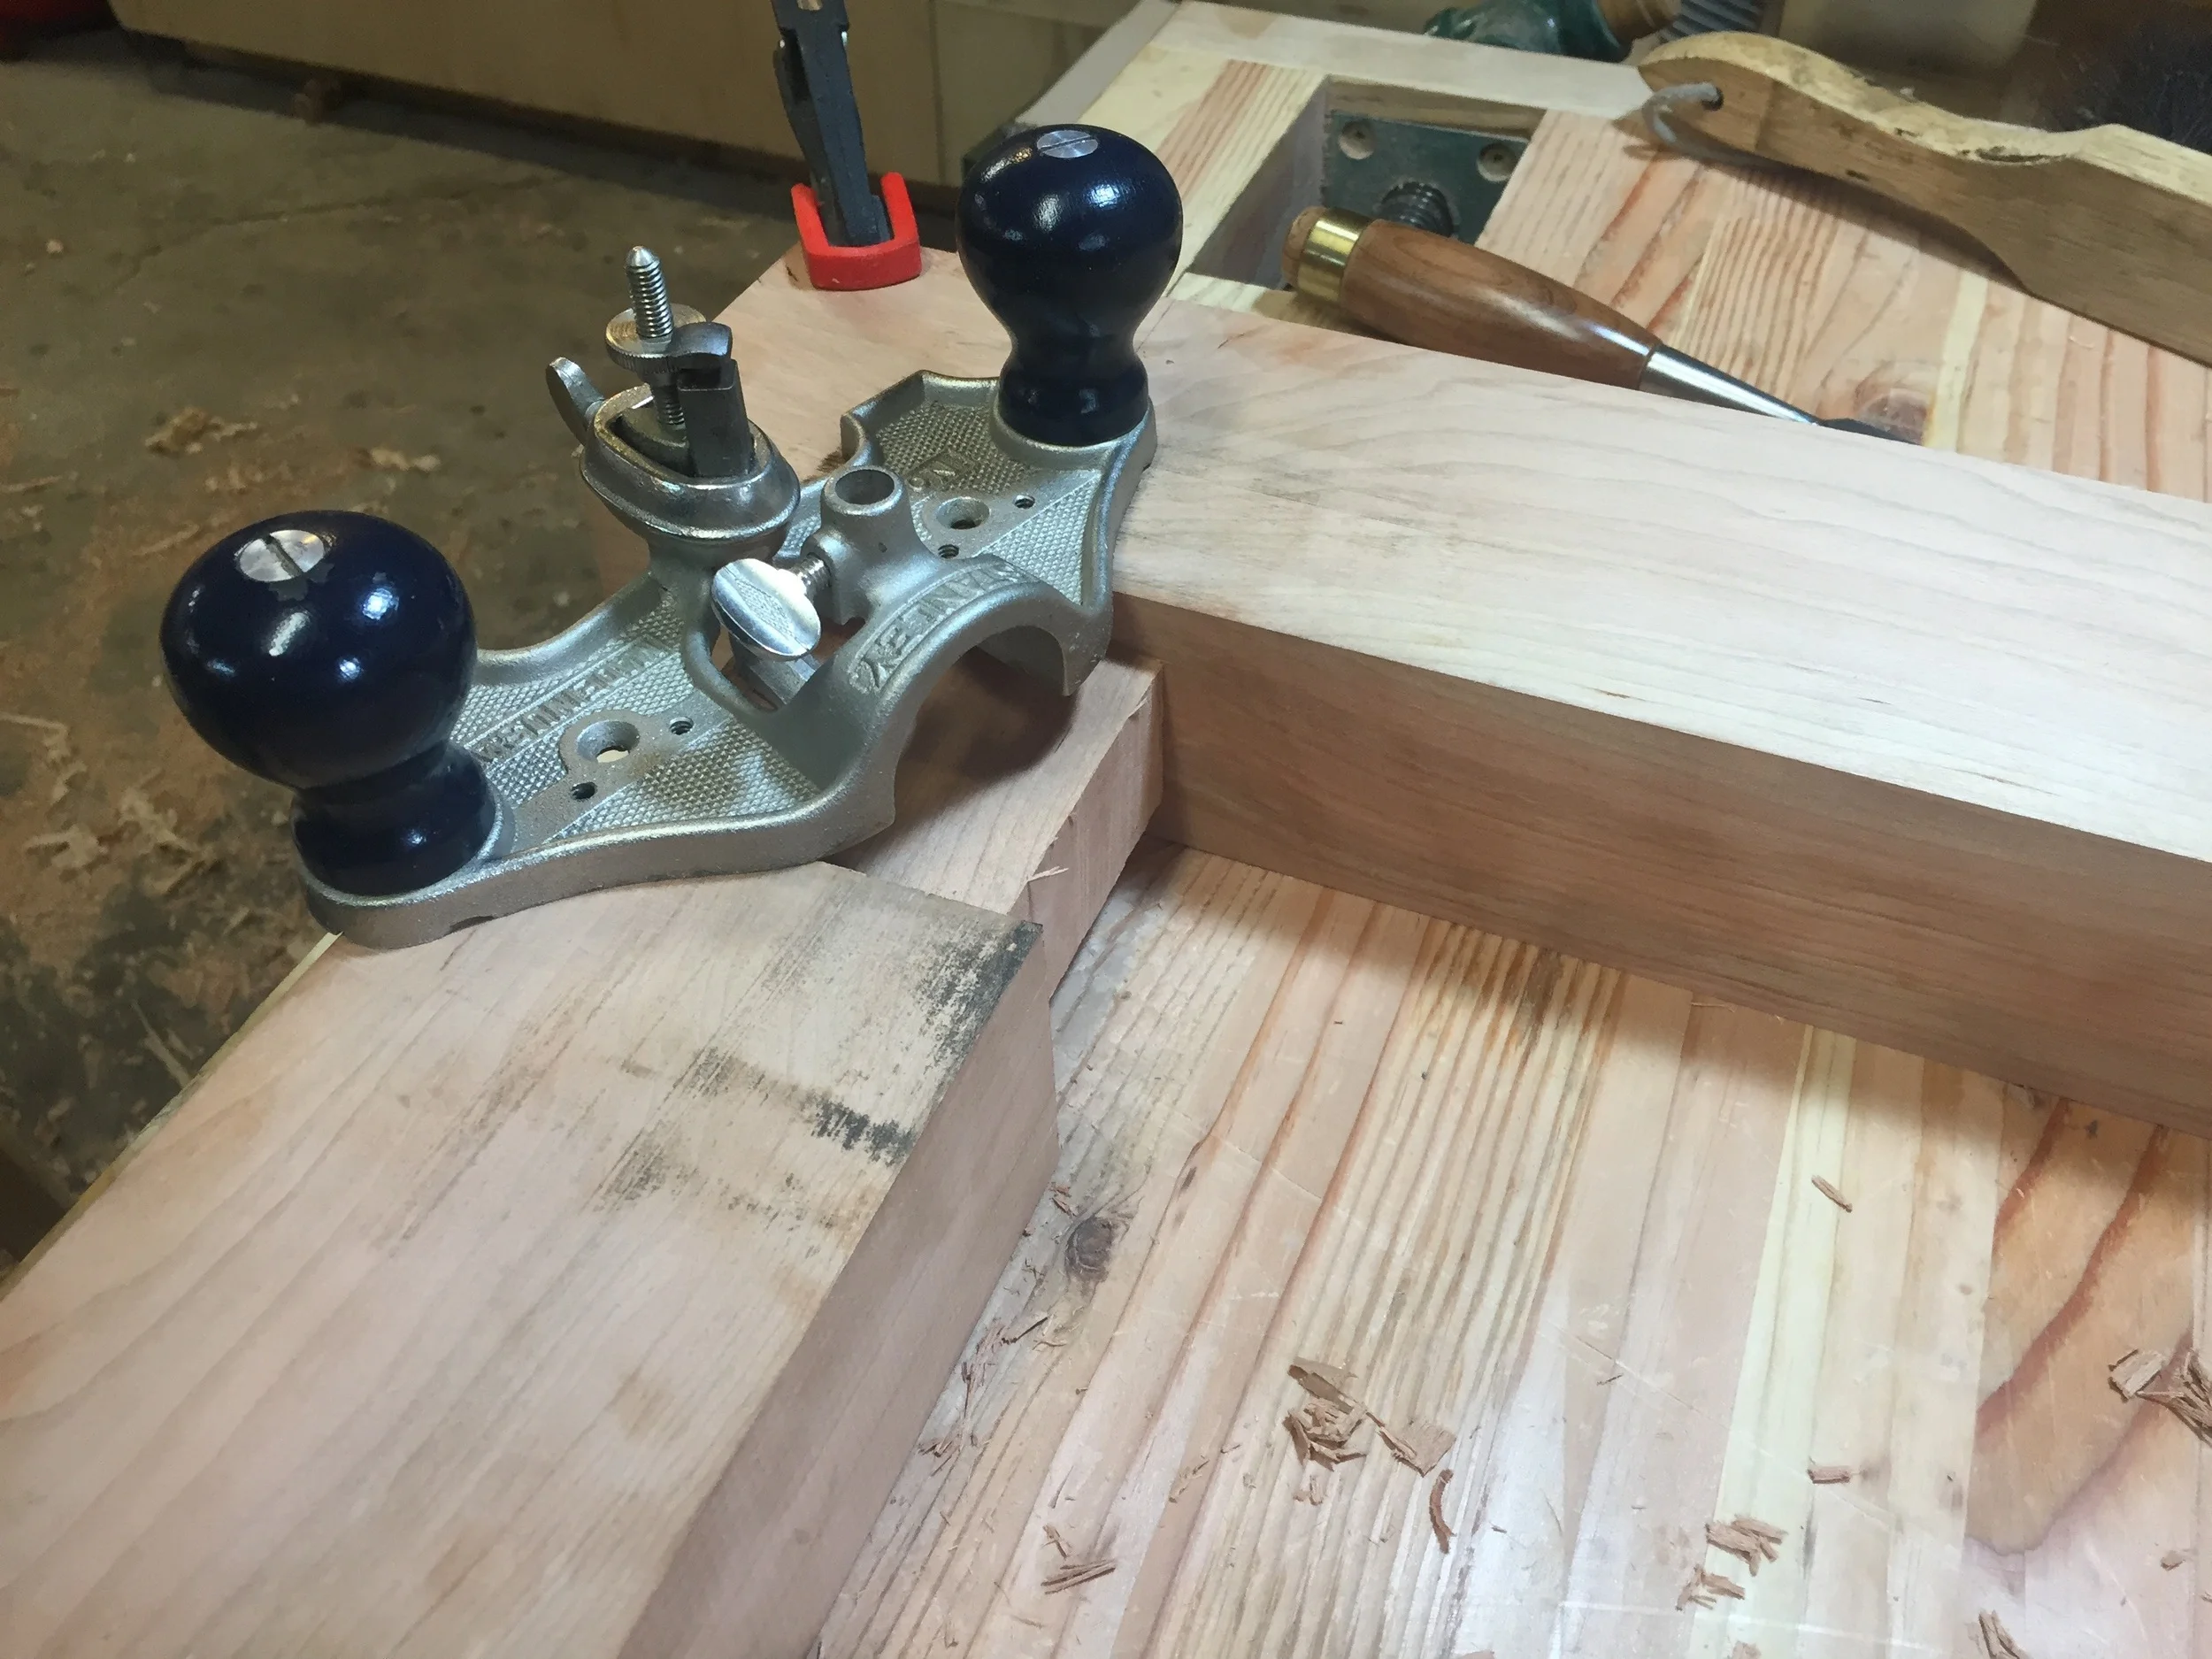
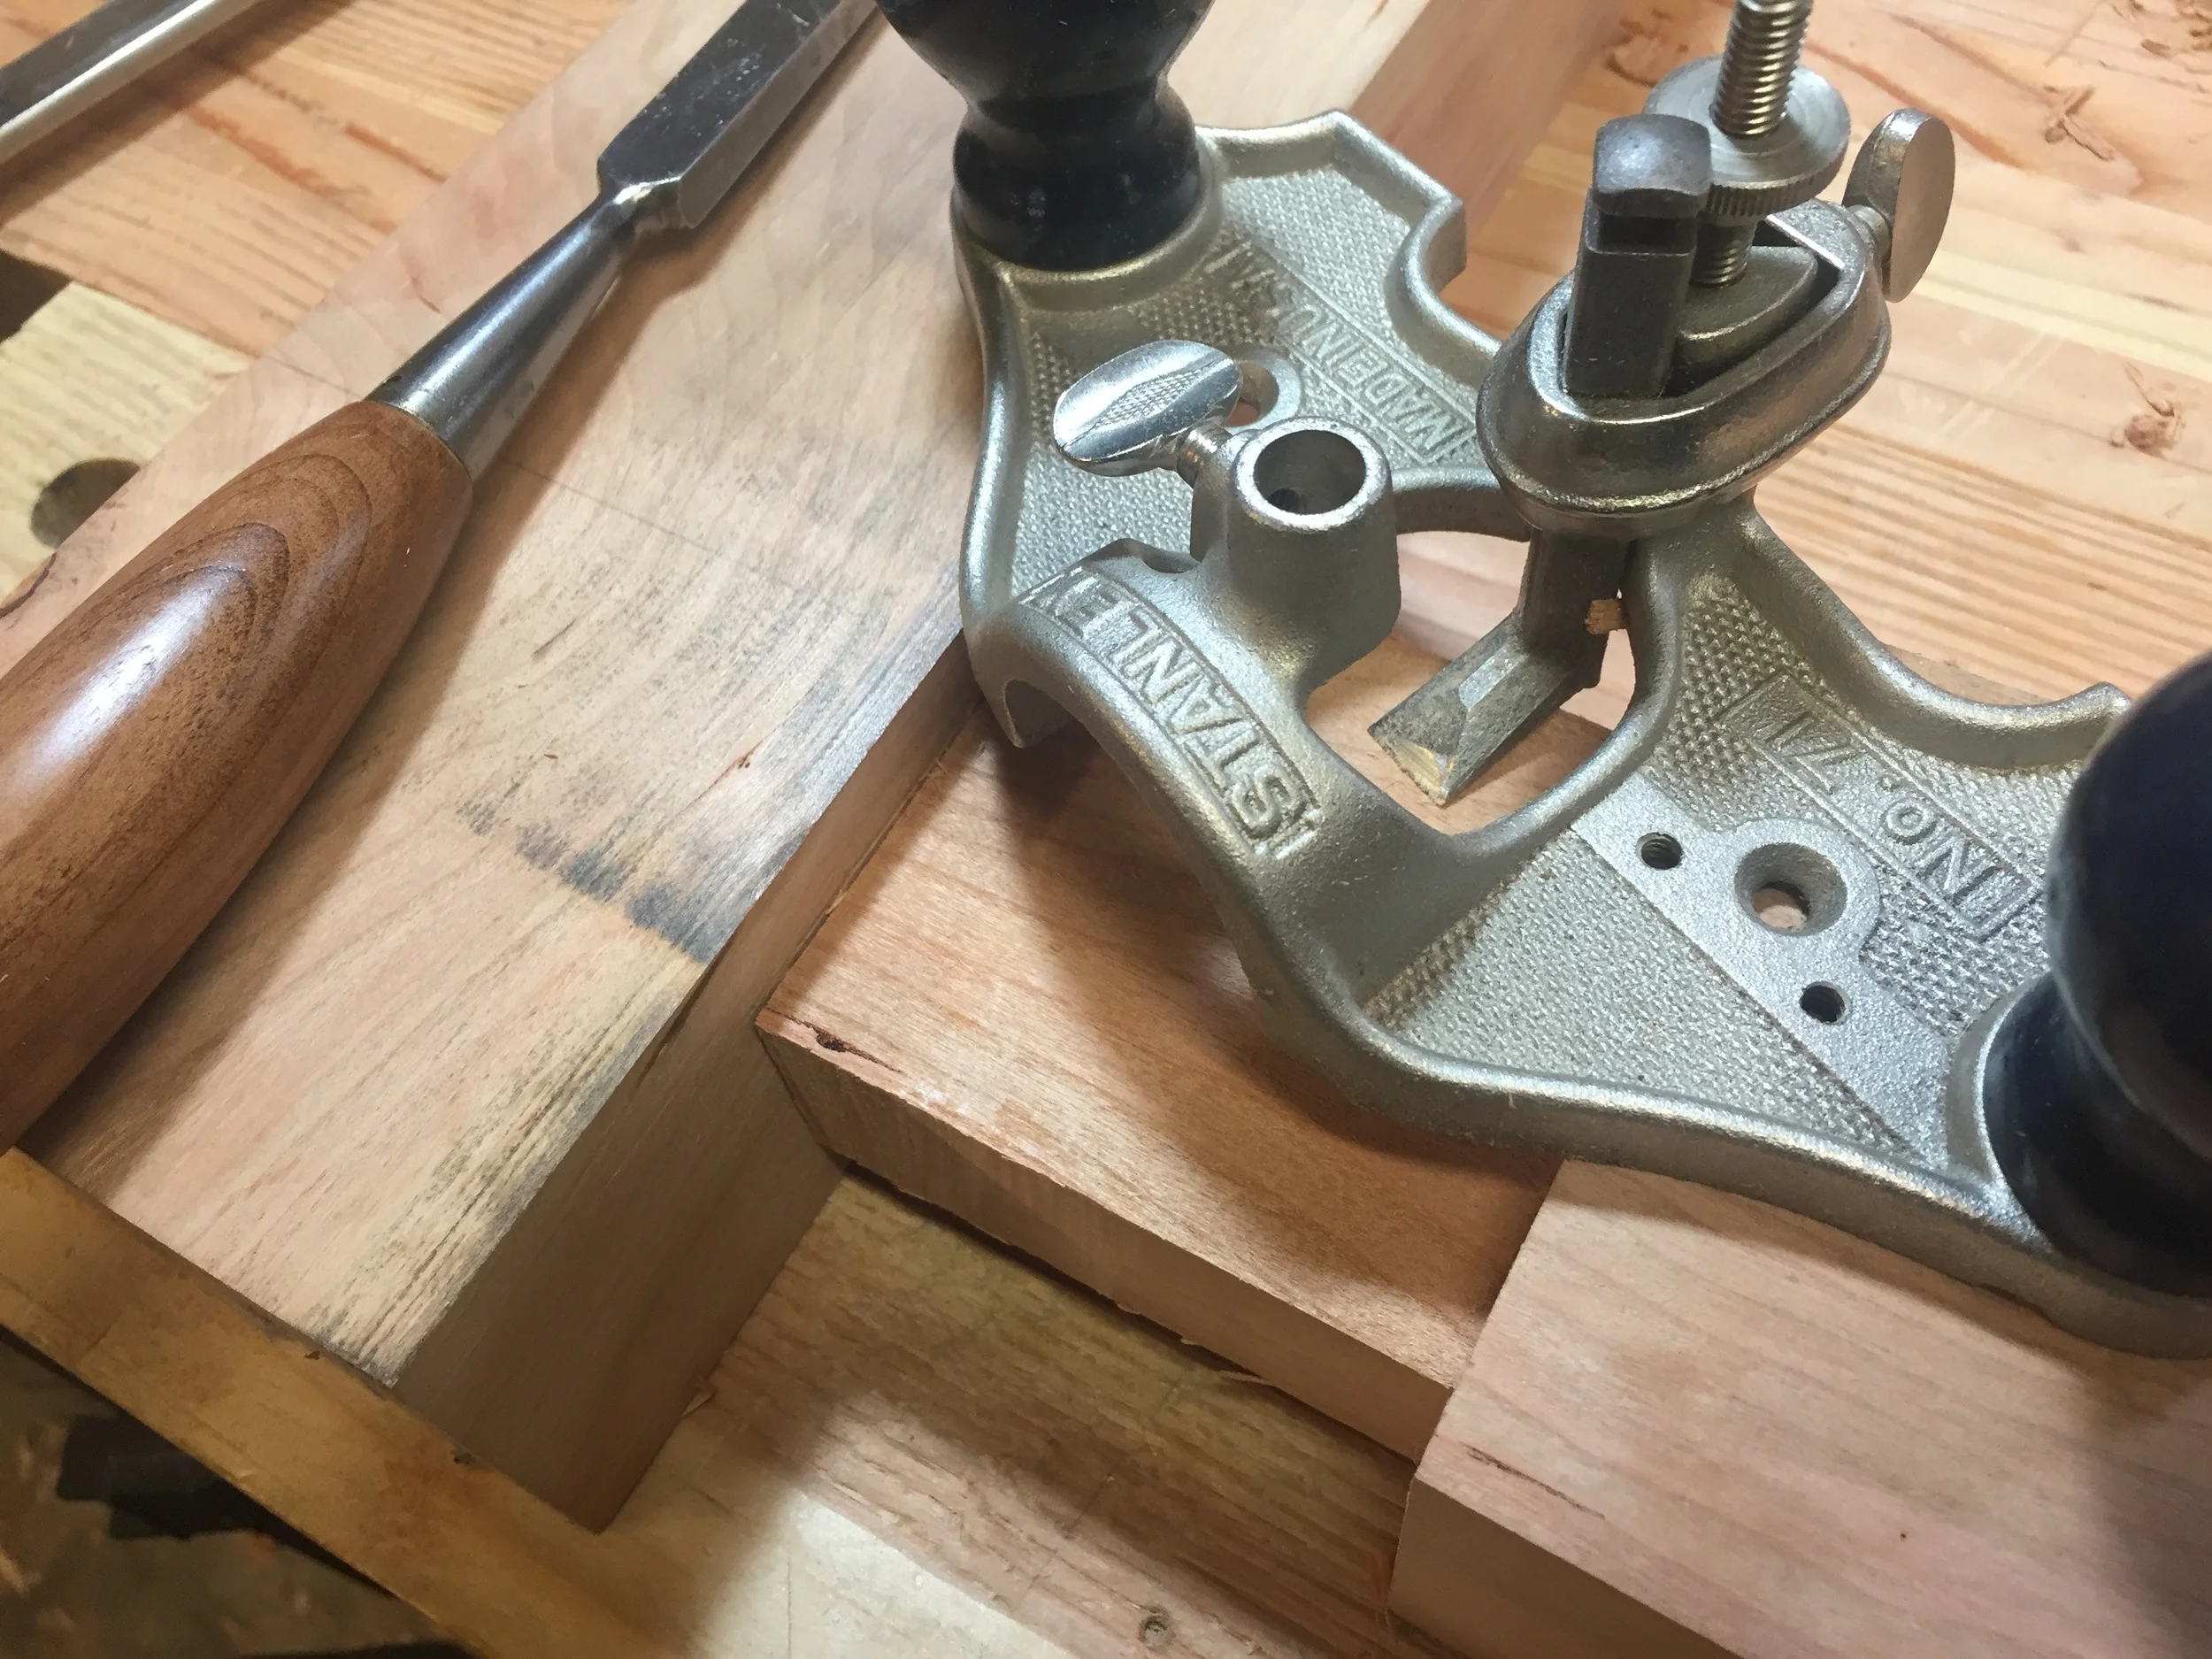
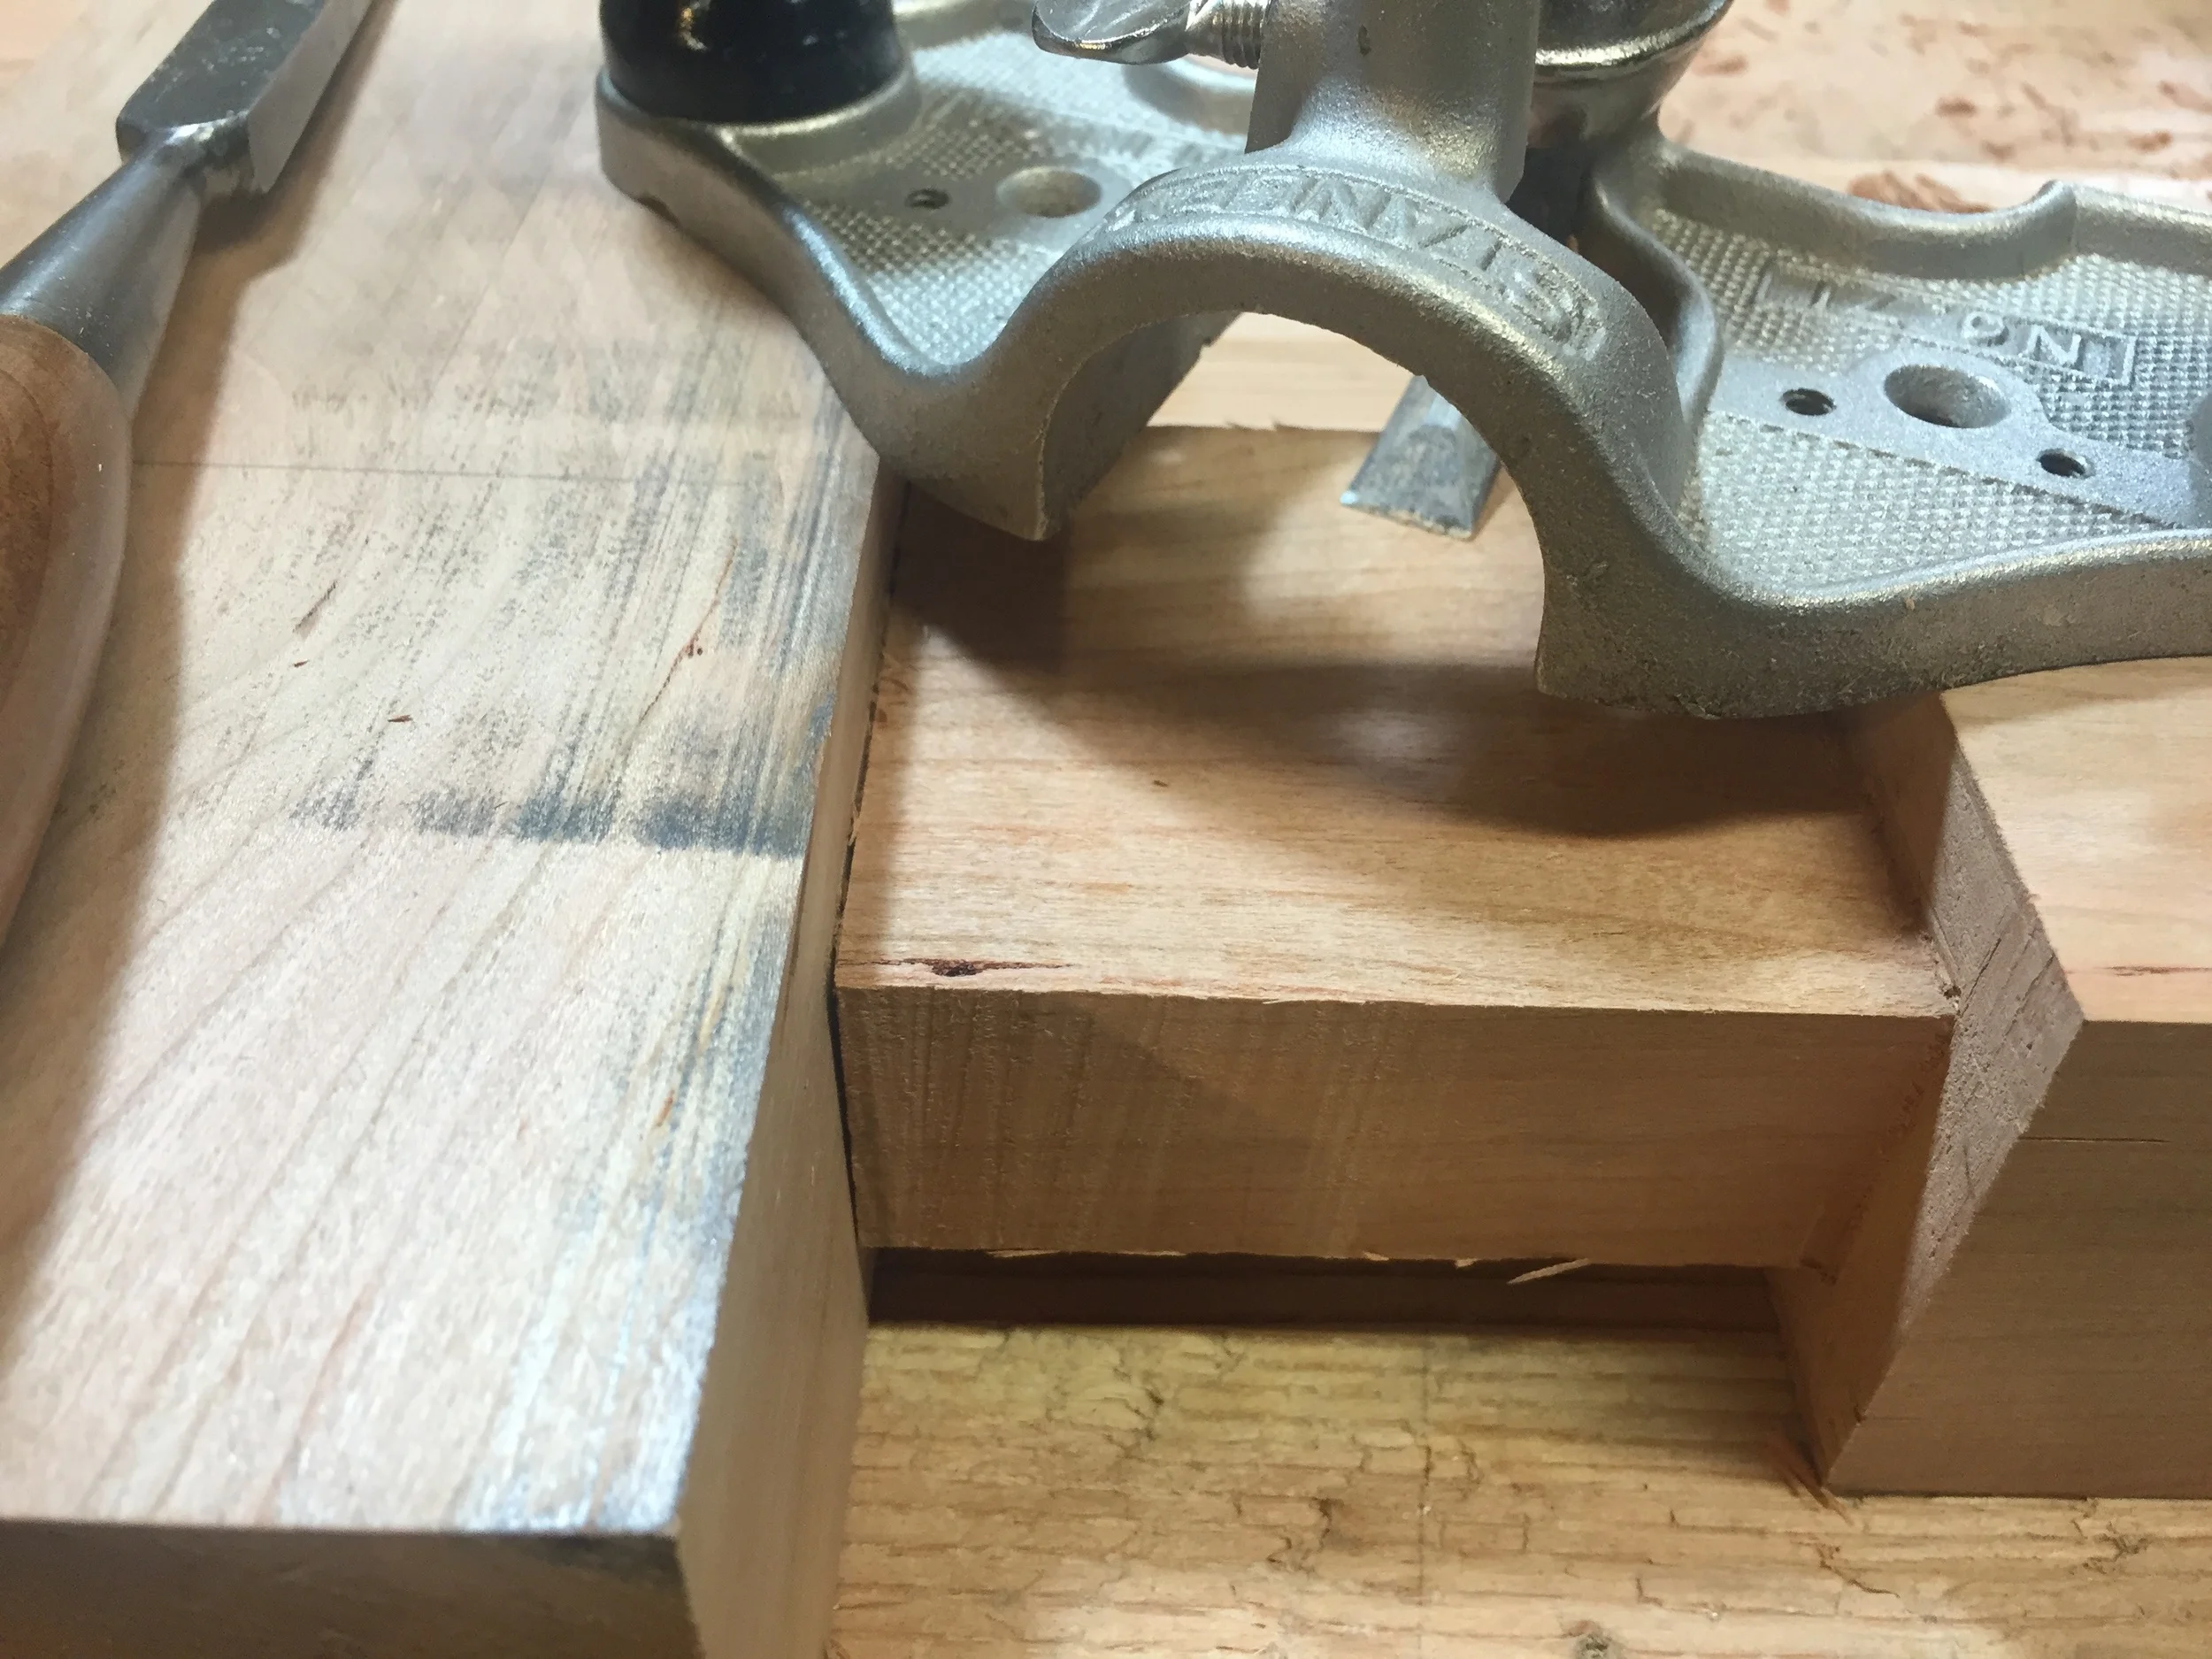
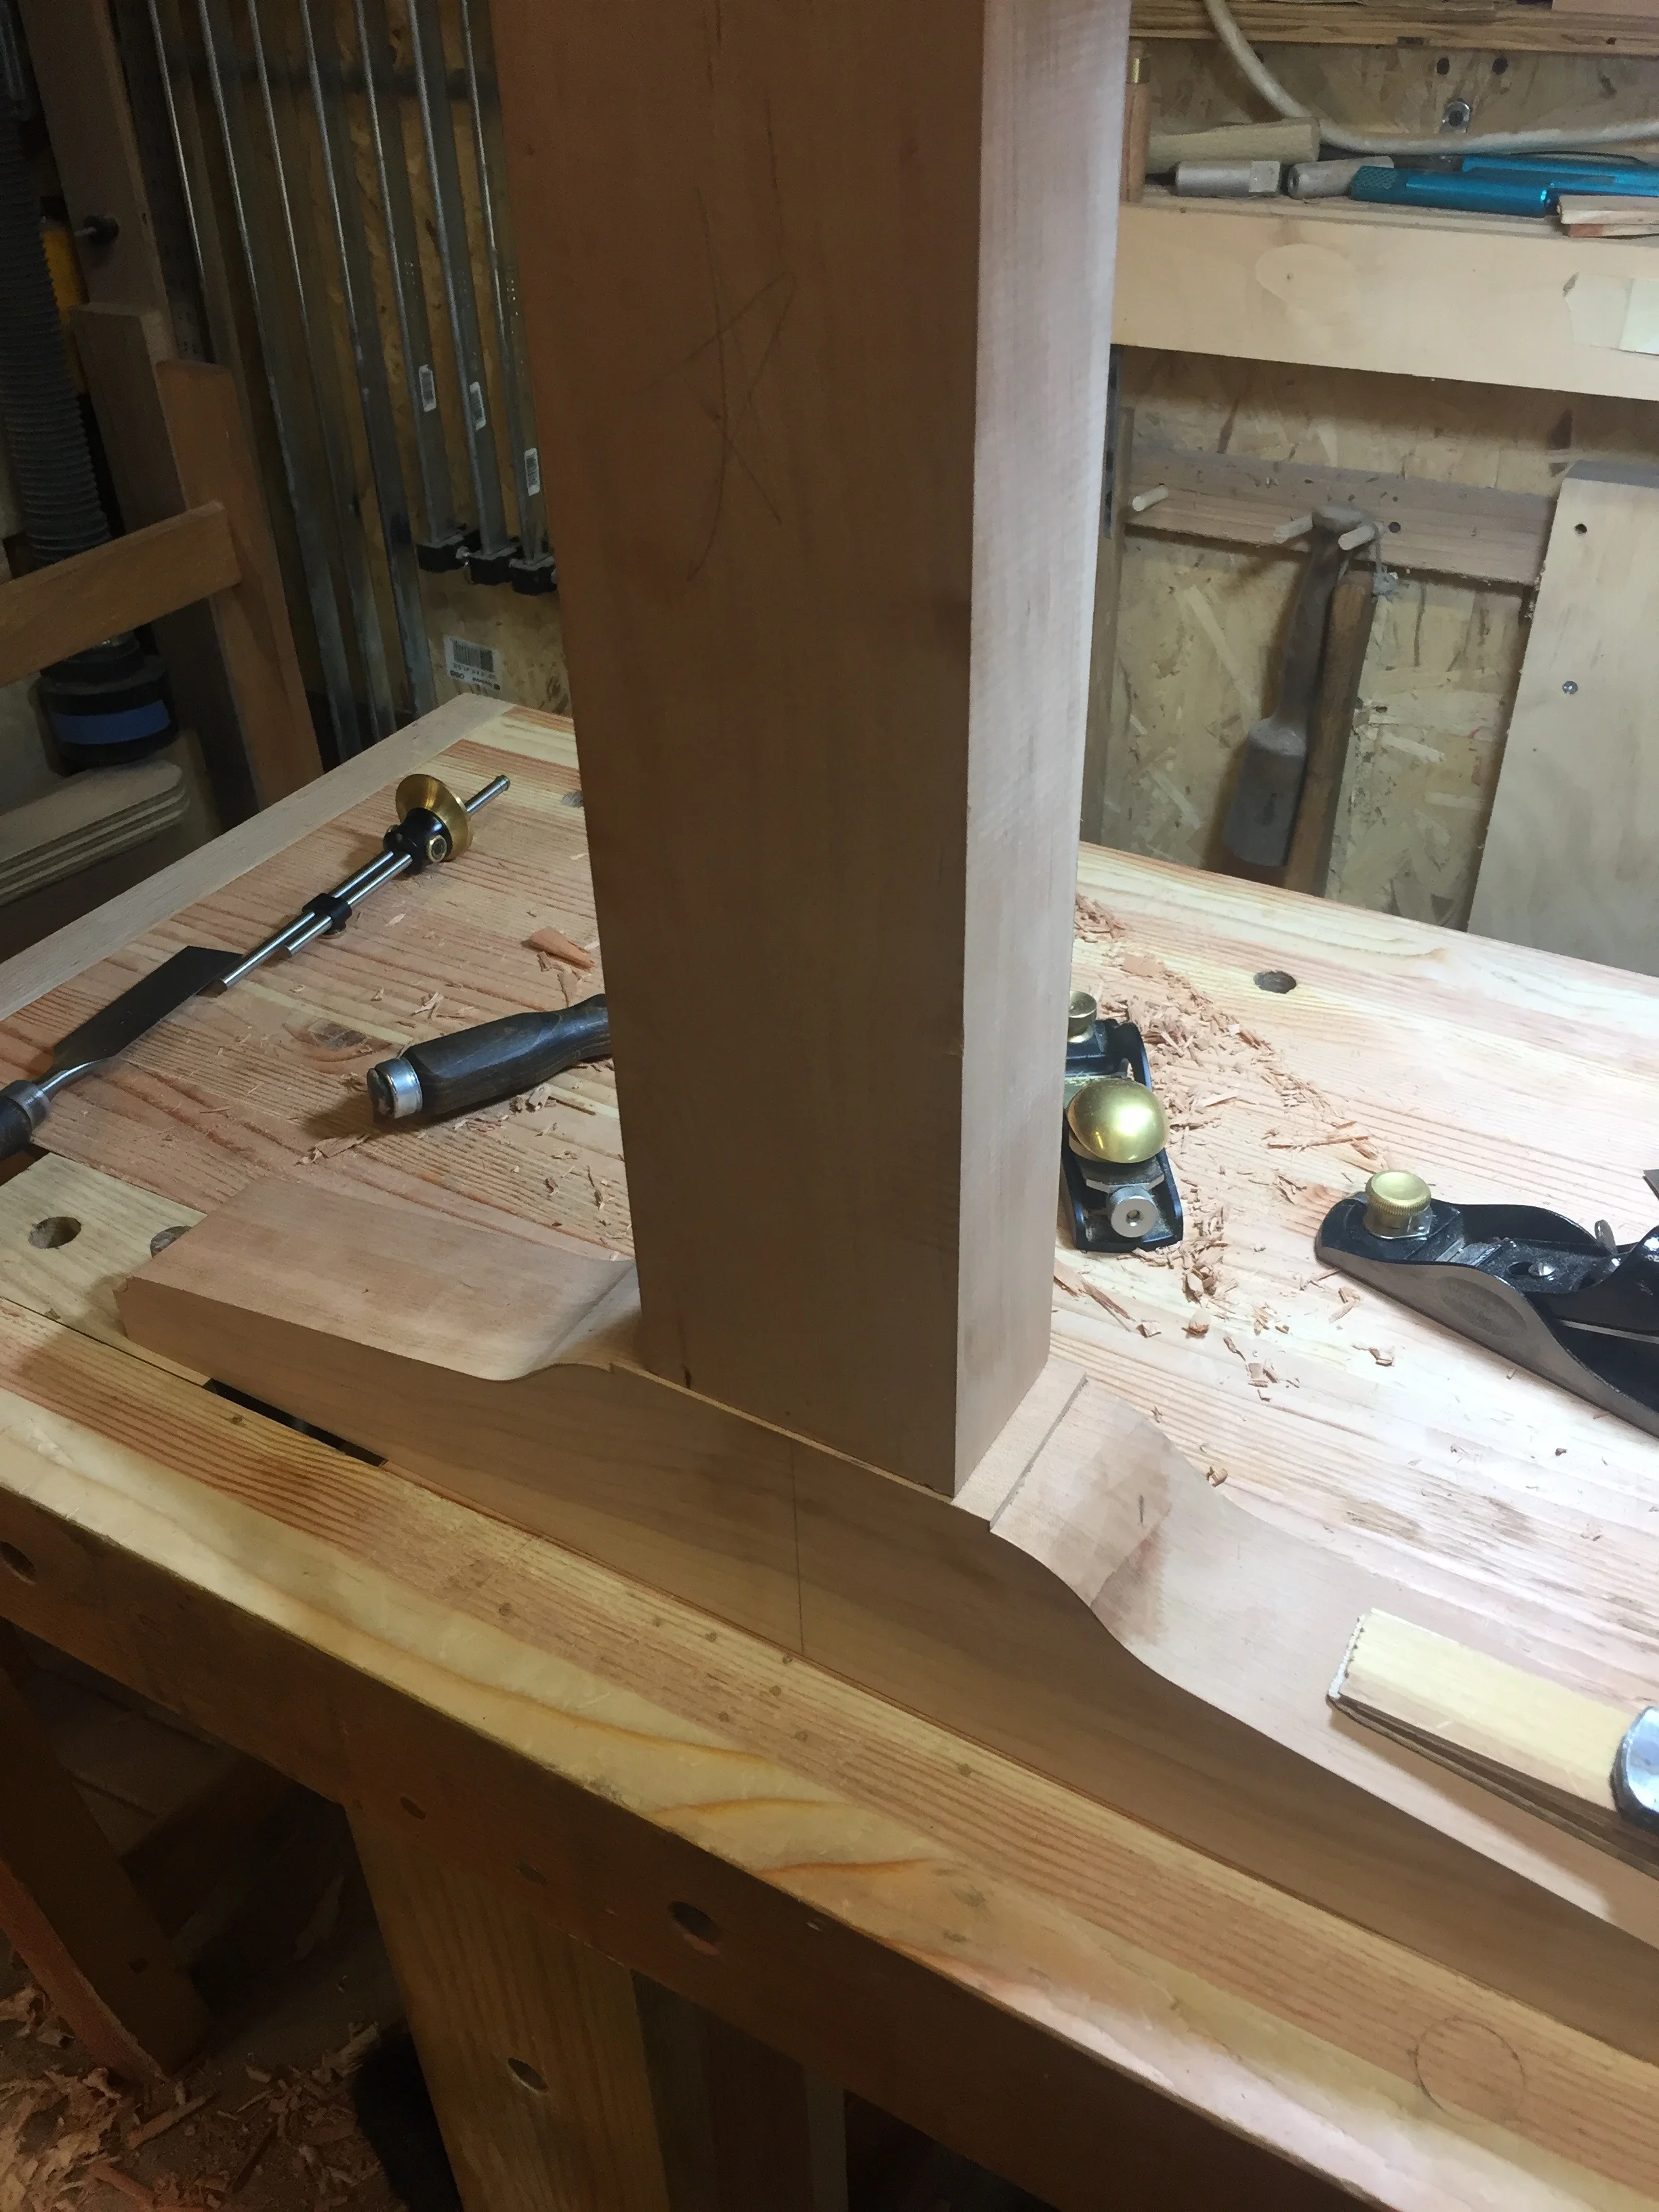
The lamination of the top went well, and before I cut the long tenons for the breadboard ends, I wanted to make the ends first. Those were cut with a hollow chisel mortiser, and cleaned up with a chisel. I was then able to transfer the mortise locations to the top, and then cut the tenons. I did those with a guide and a router, and then cleaned it up with a rabbeting block plane and router plane. I then cut out the sections to make the haunches and long tenons with a hand saw, and cleaned up with a chisel. Finally, holes were cut for the pegs, and the ends were begged onto the top, with the out two holes on each side elongated on the tenon to allow for wood movement. There's a lot of work that goes into such a top, but it's worth in, as it stays flay, level, and allows for seasonal movement.

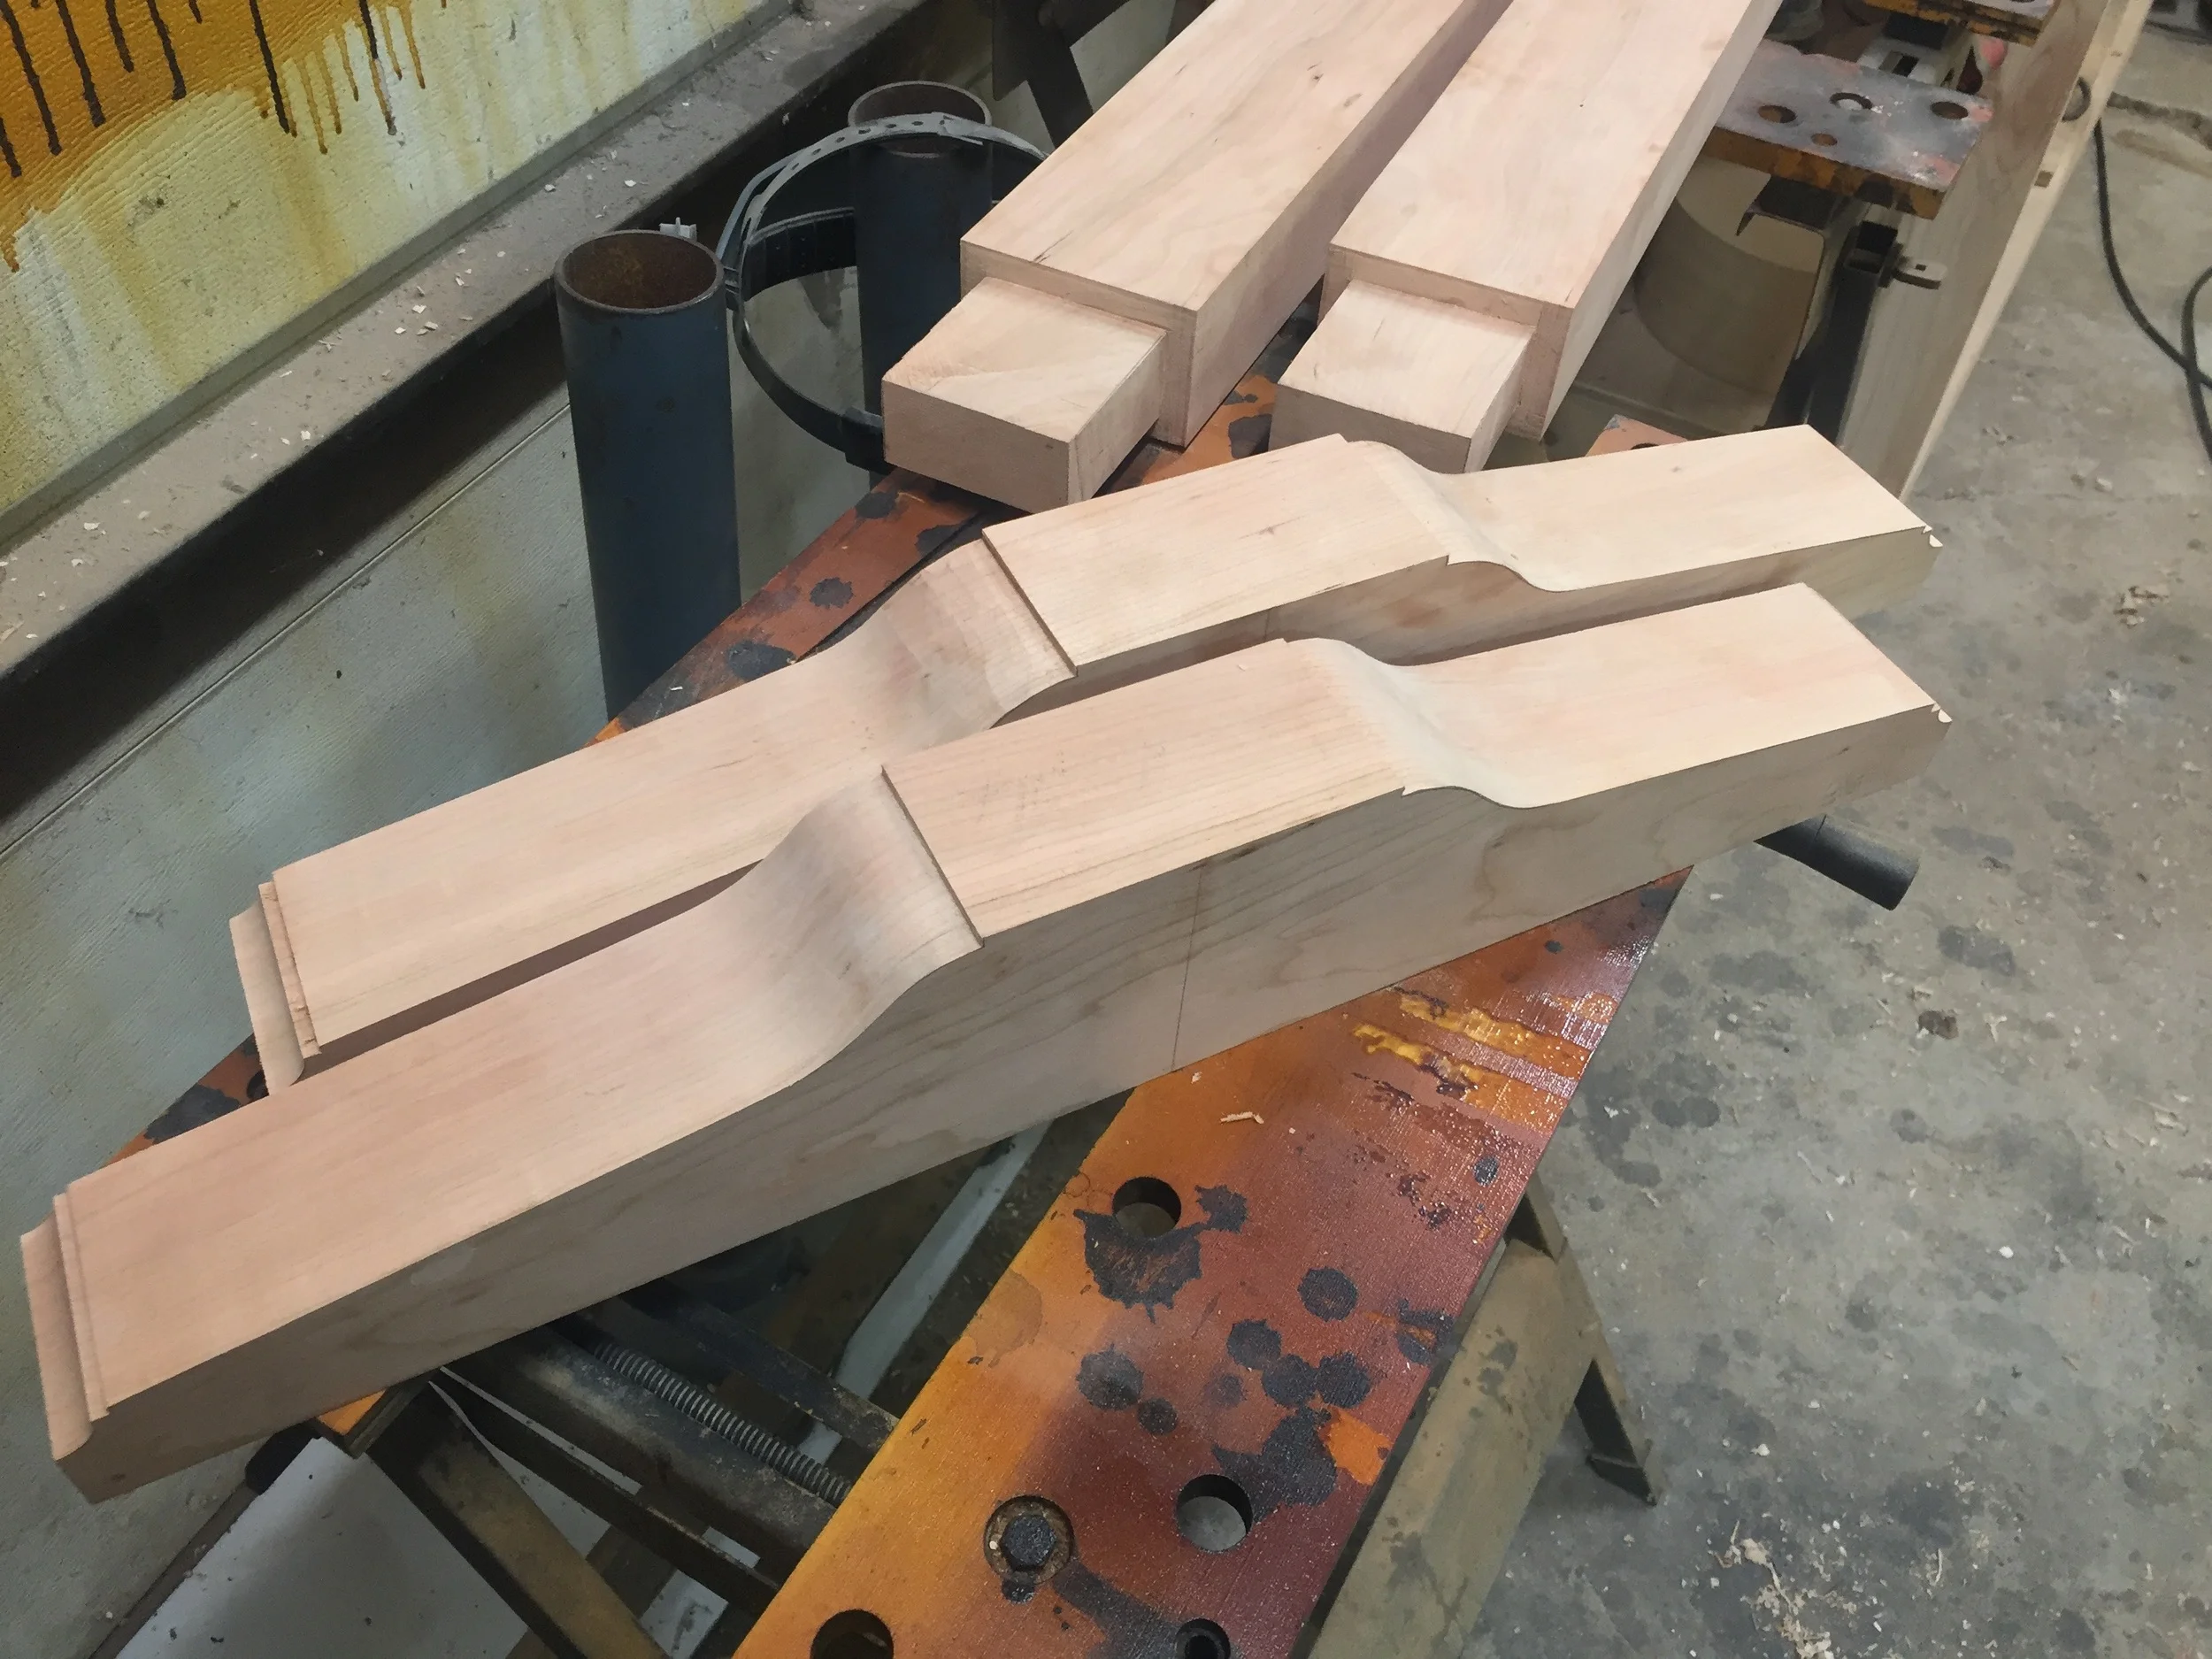
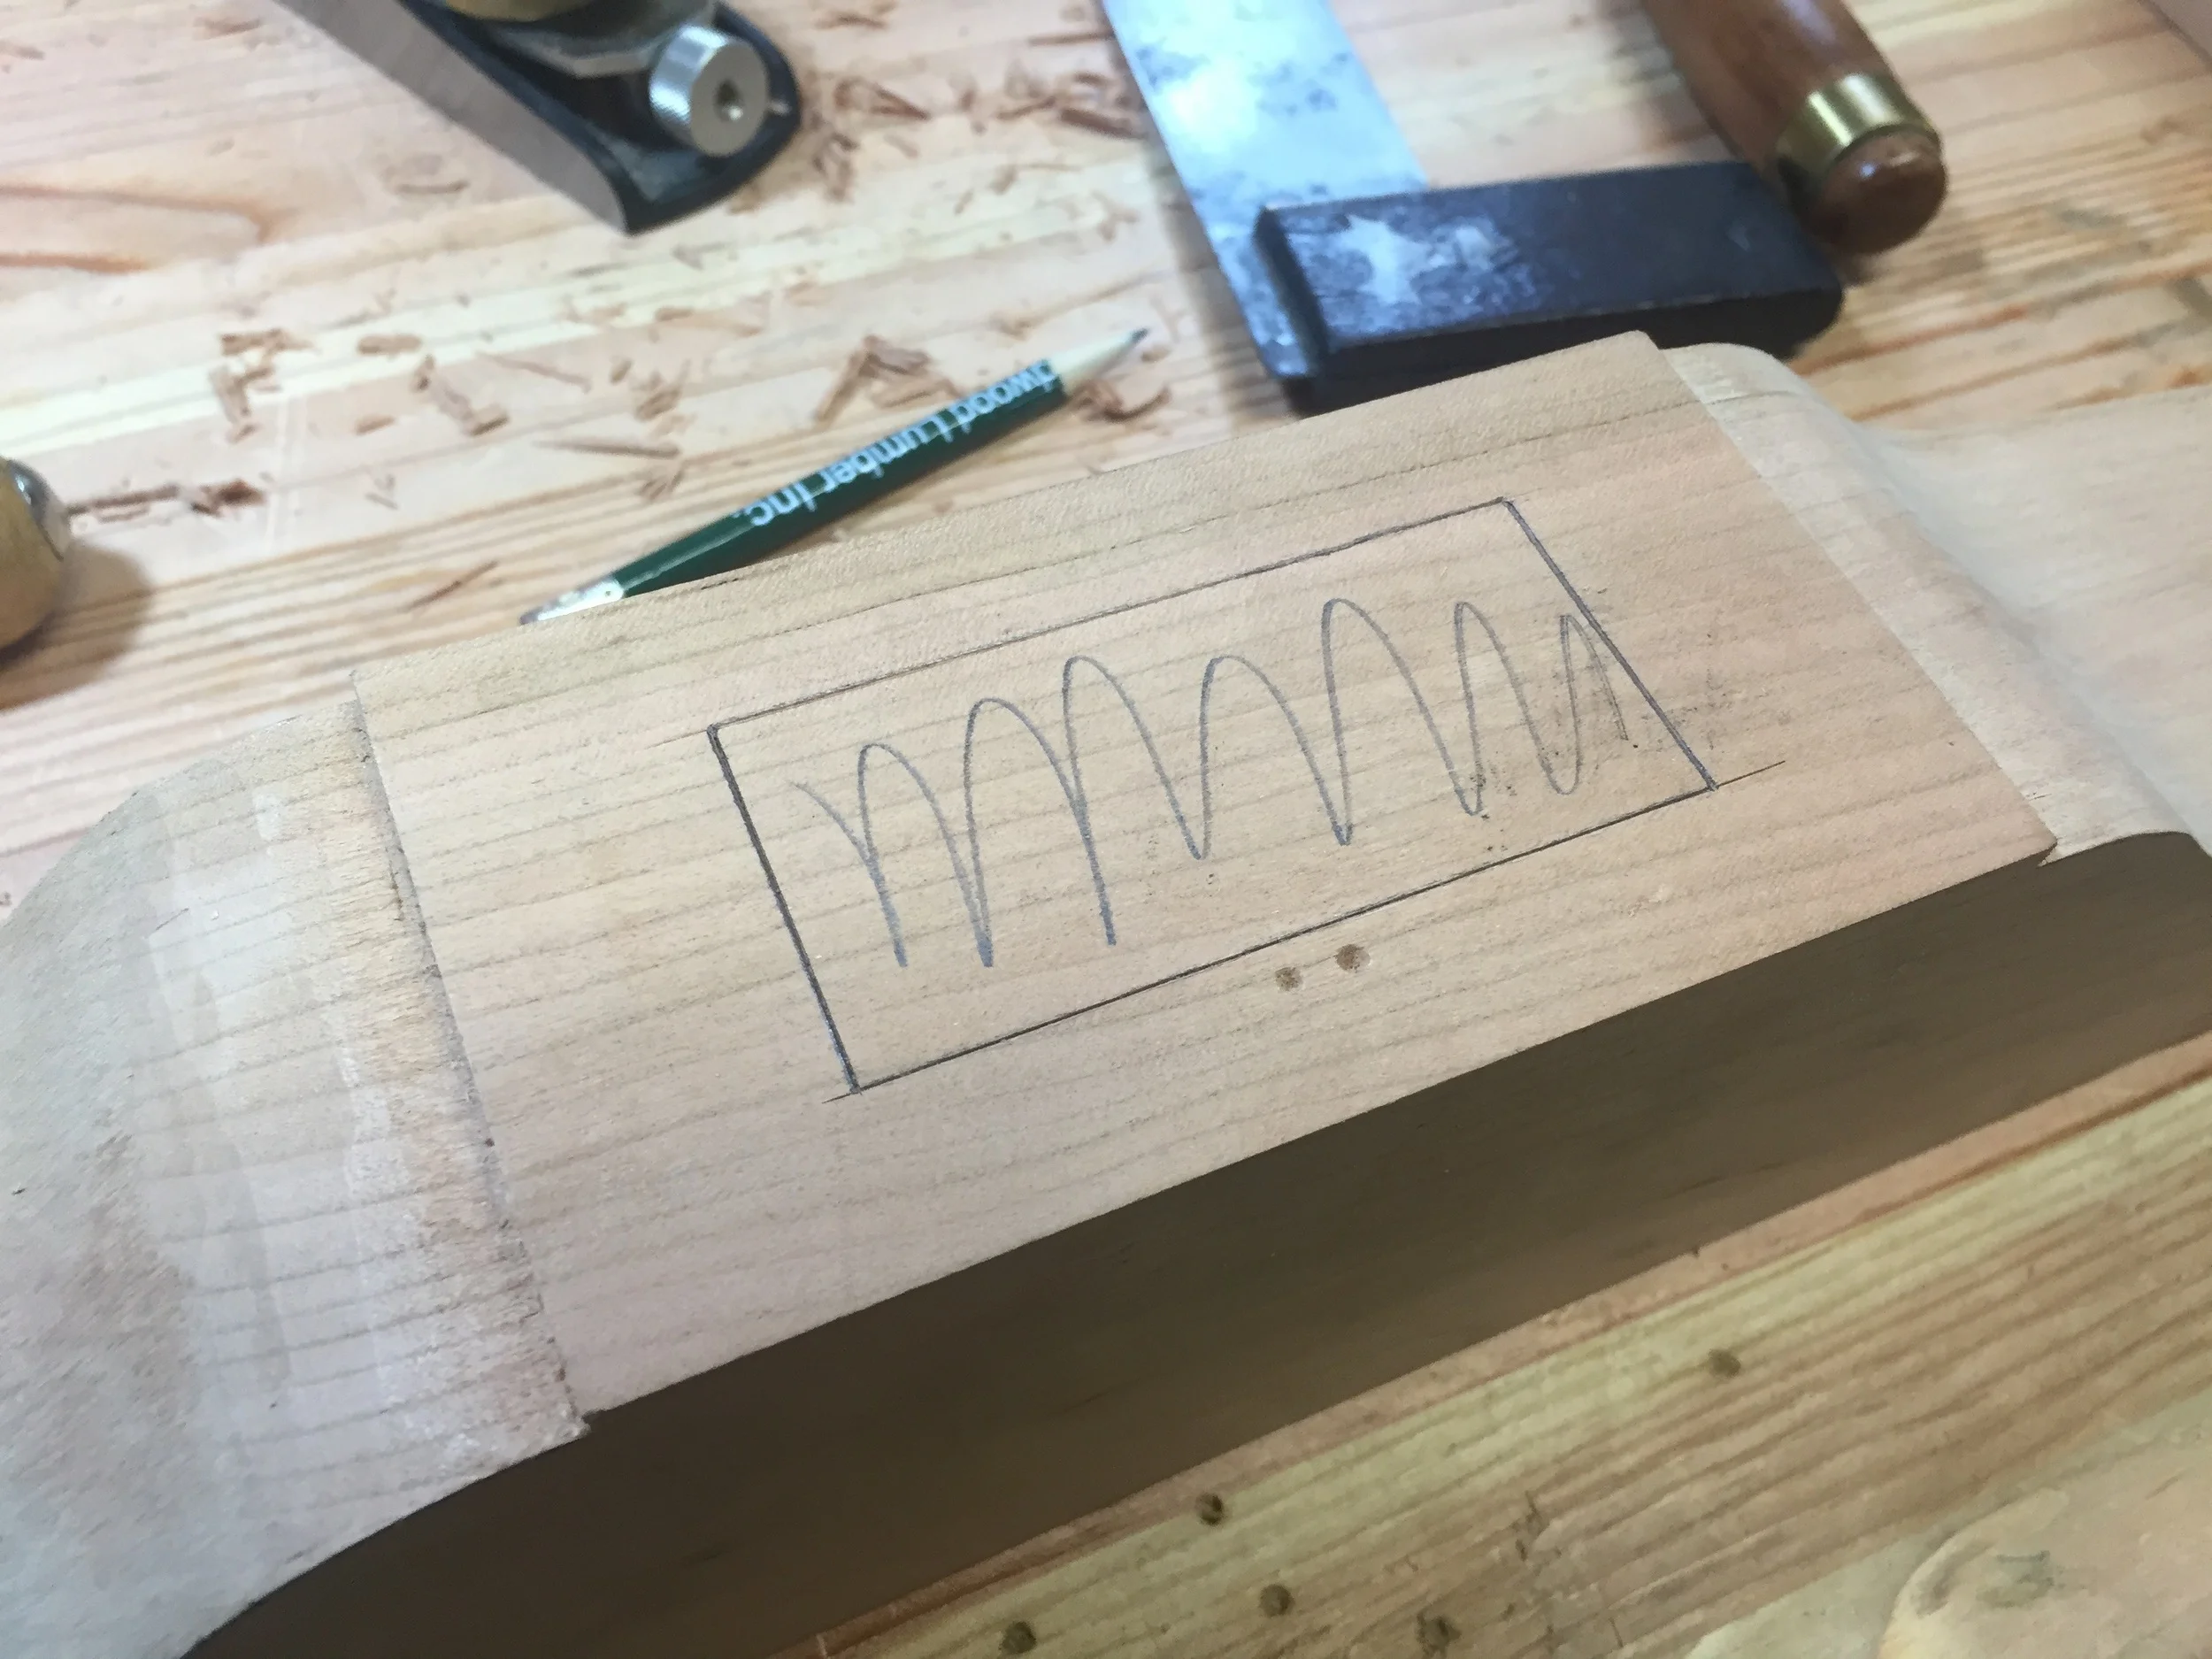
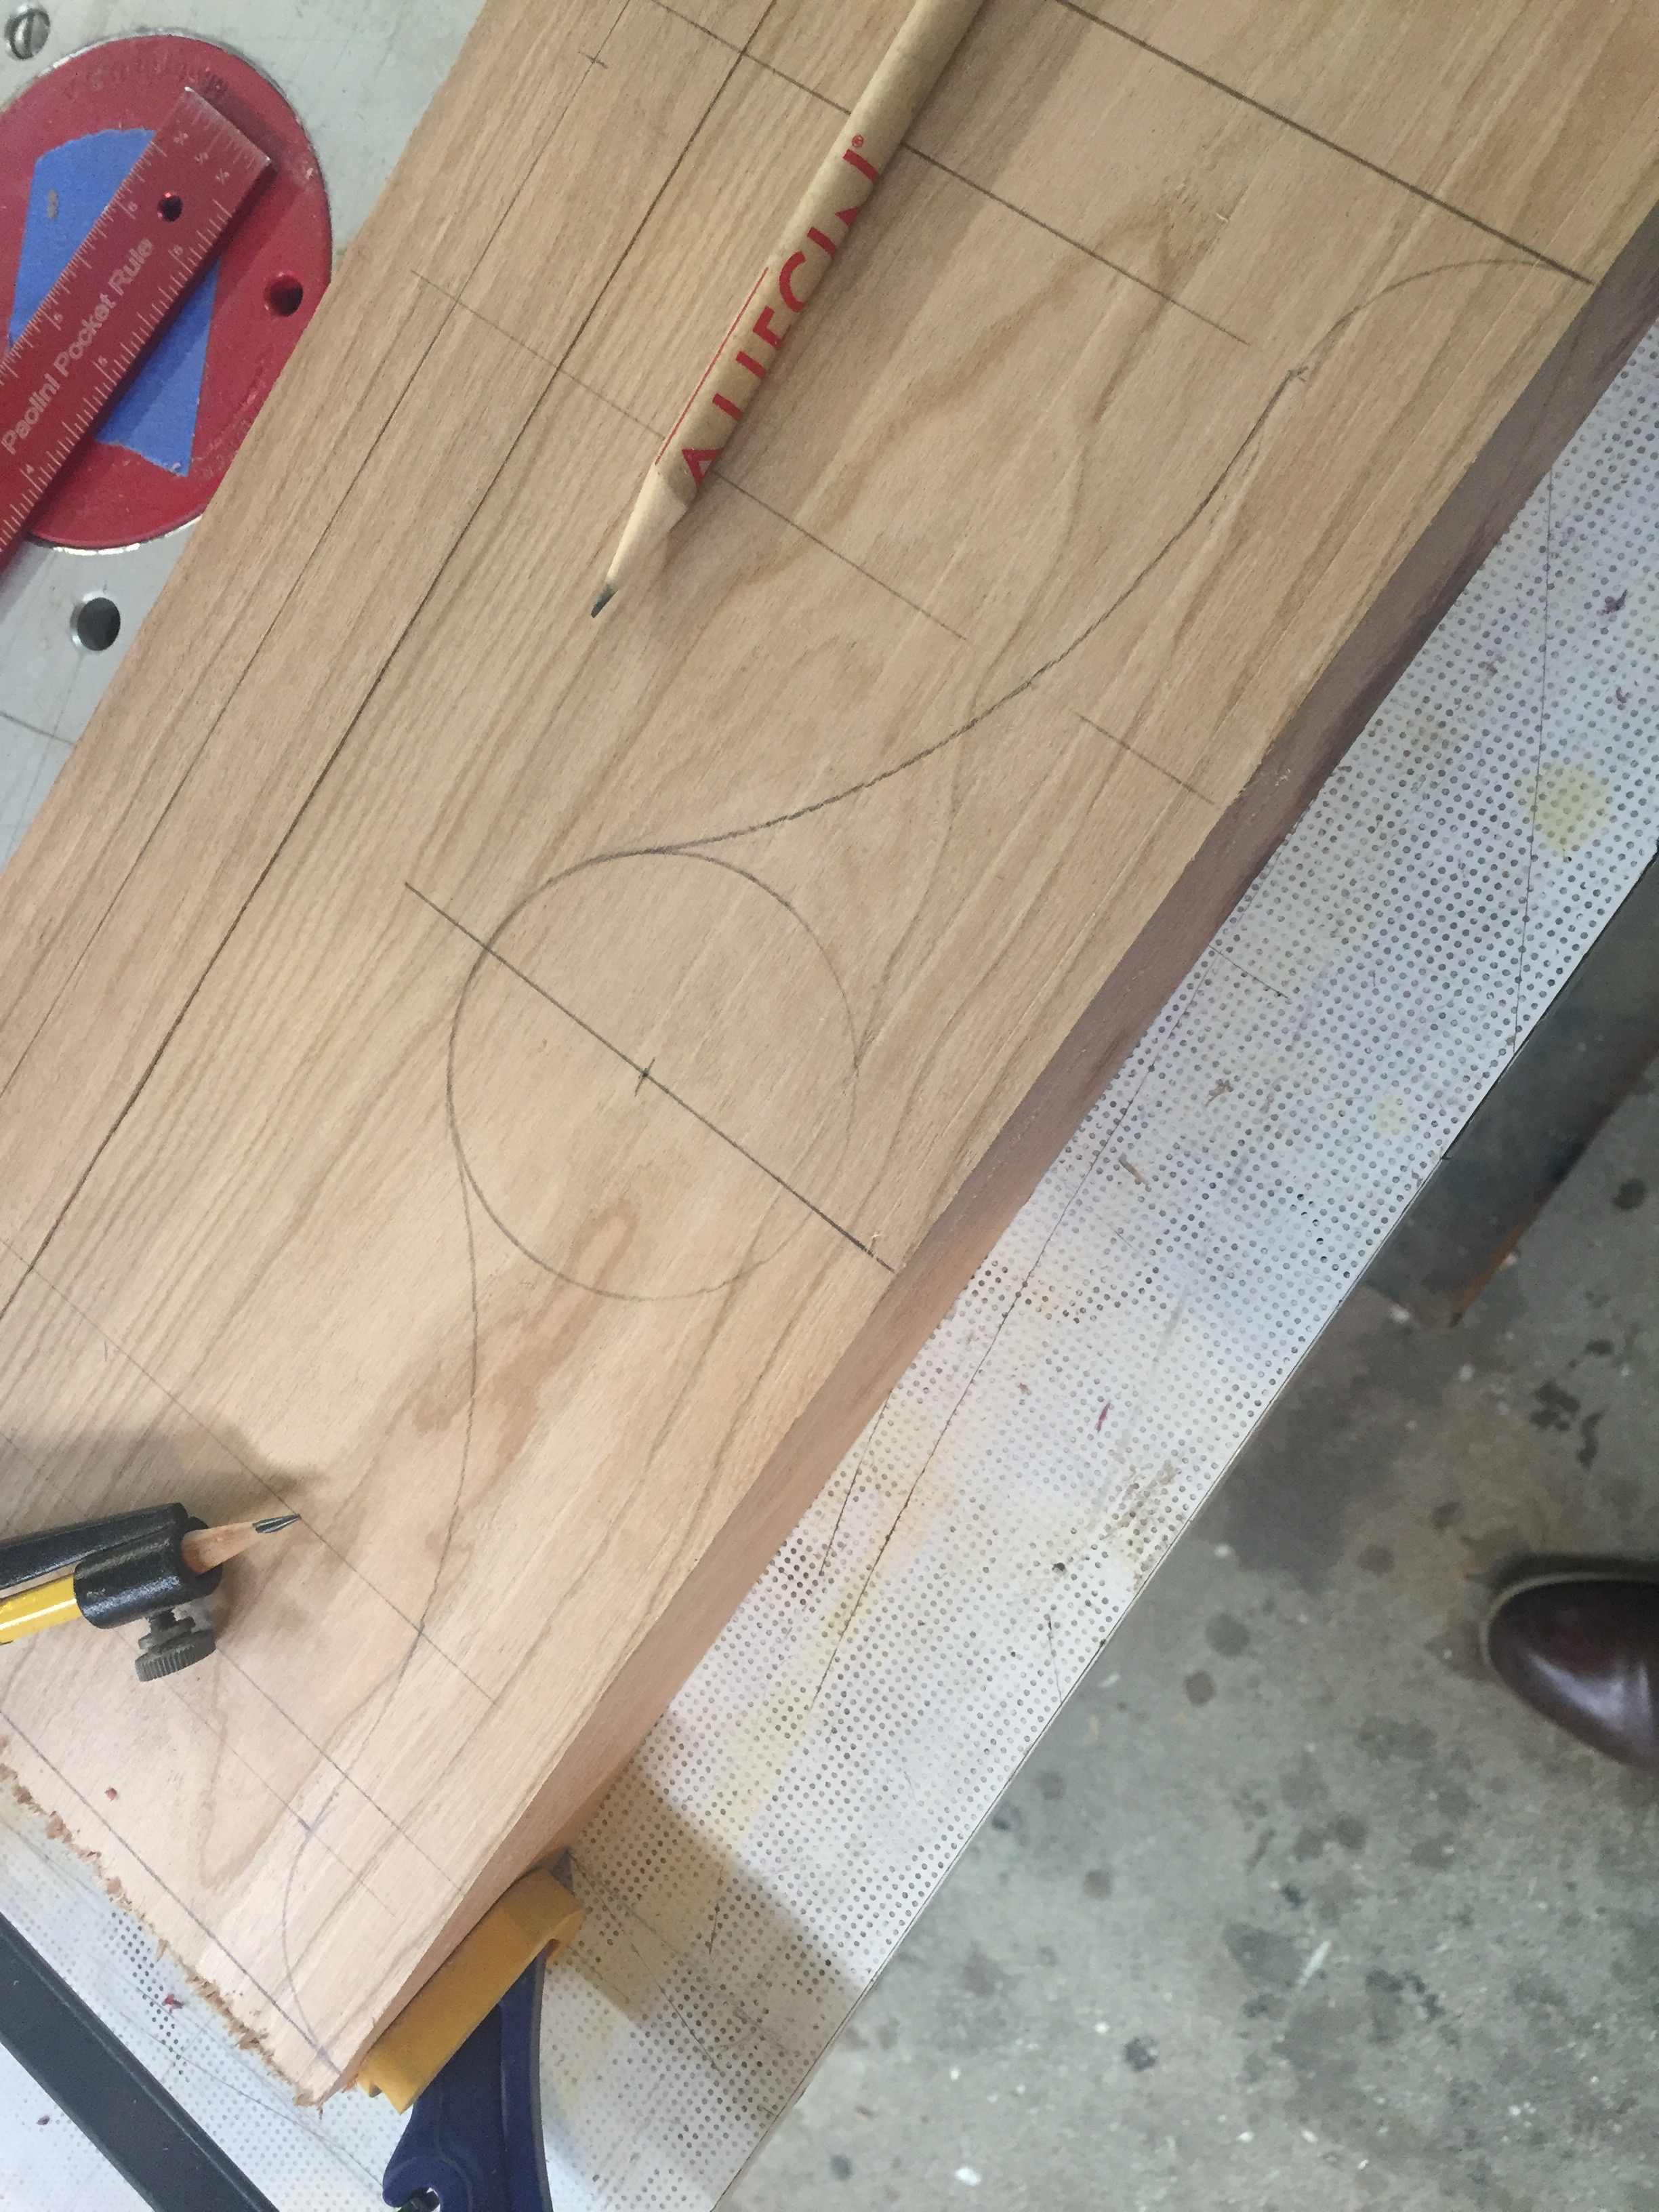
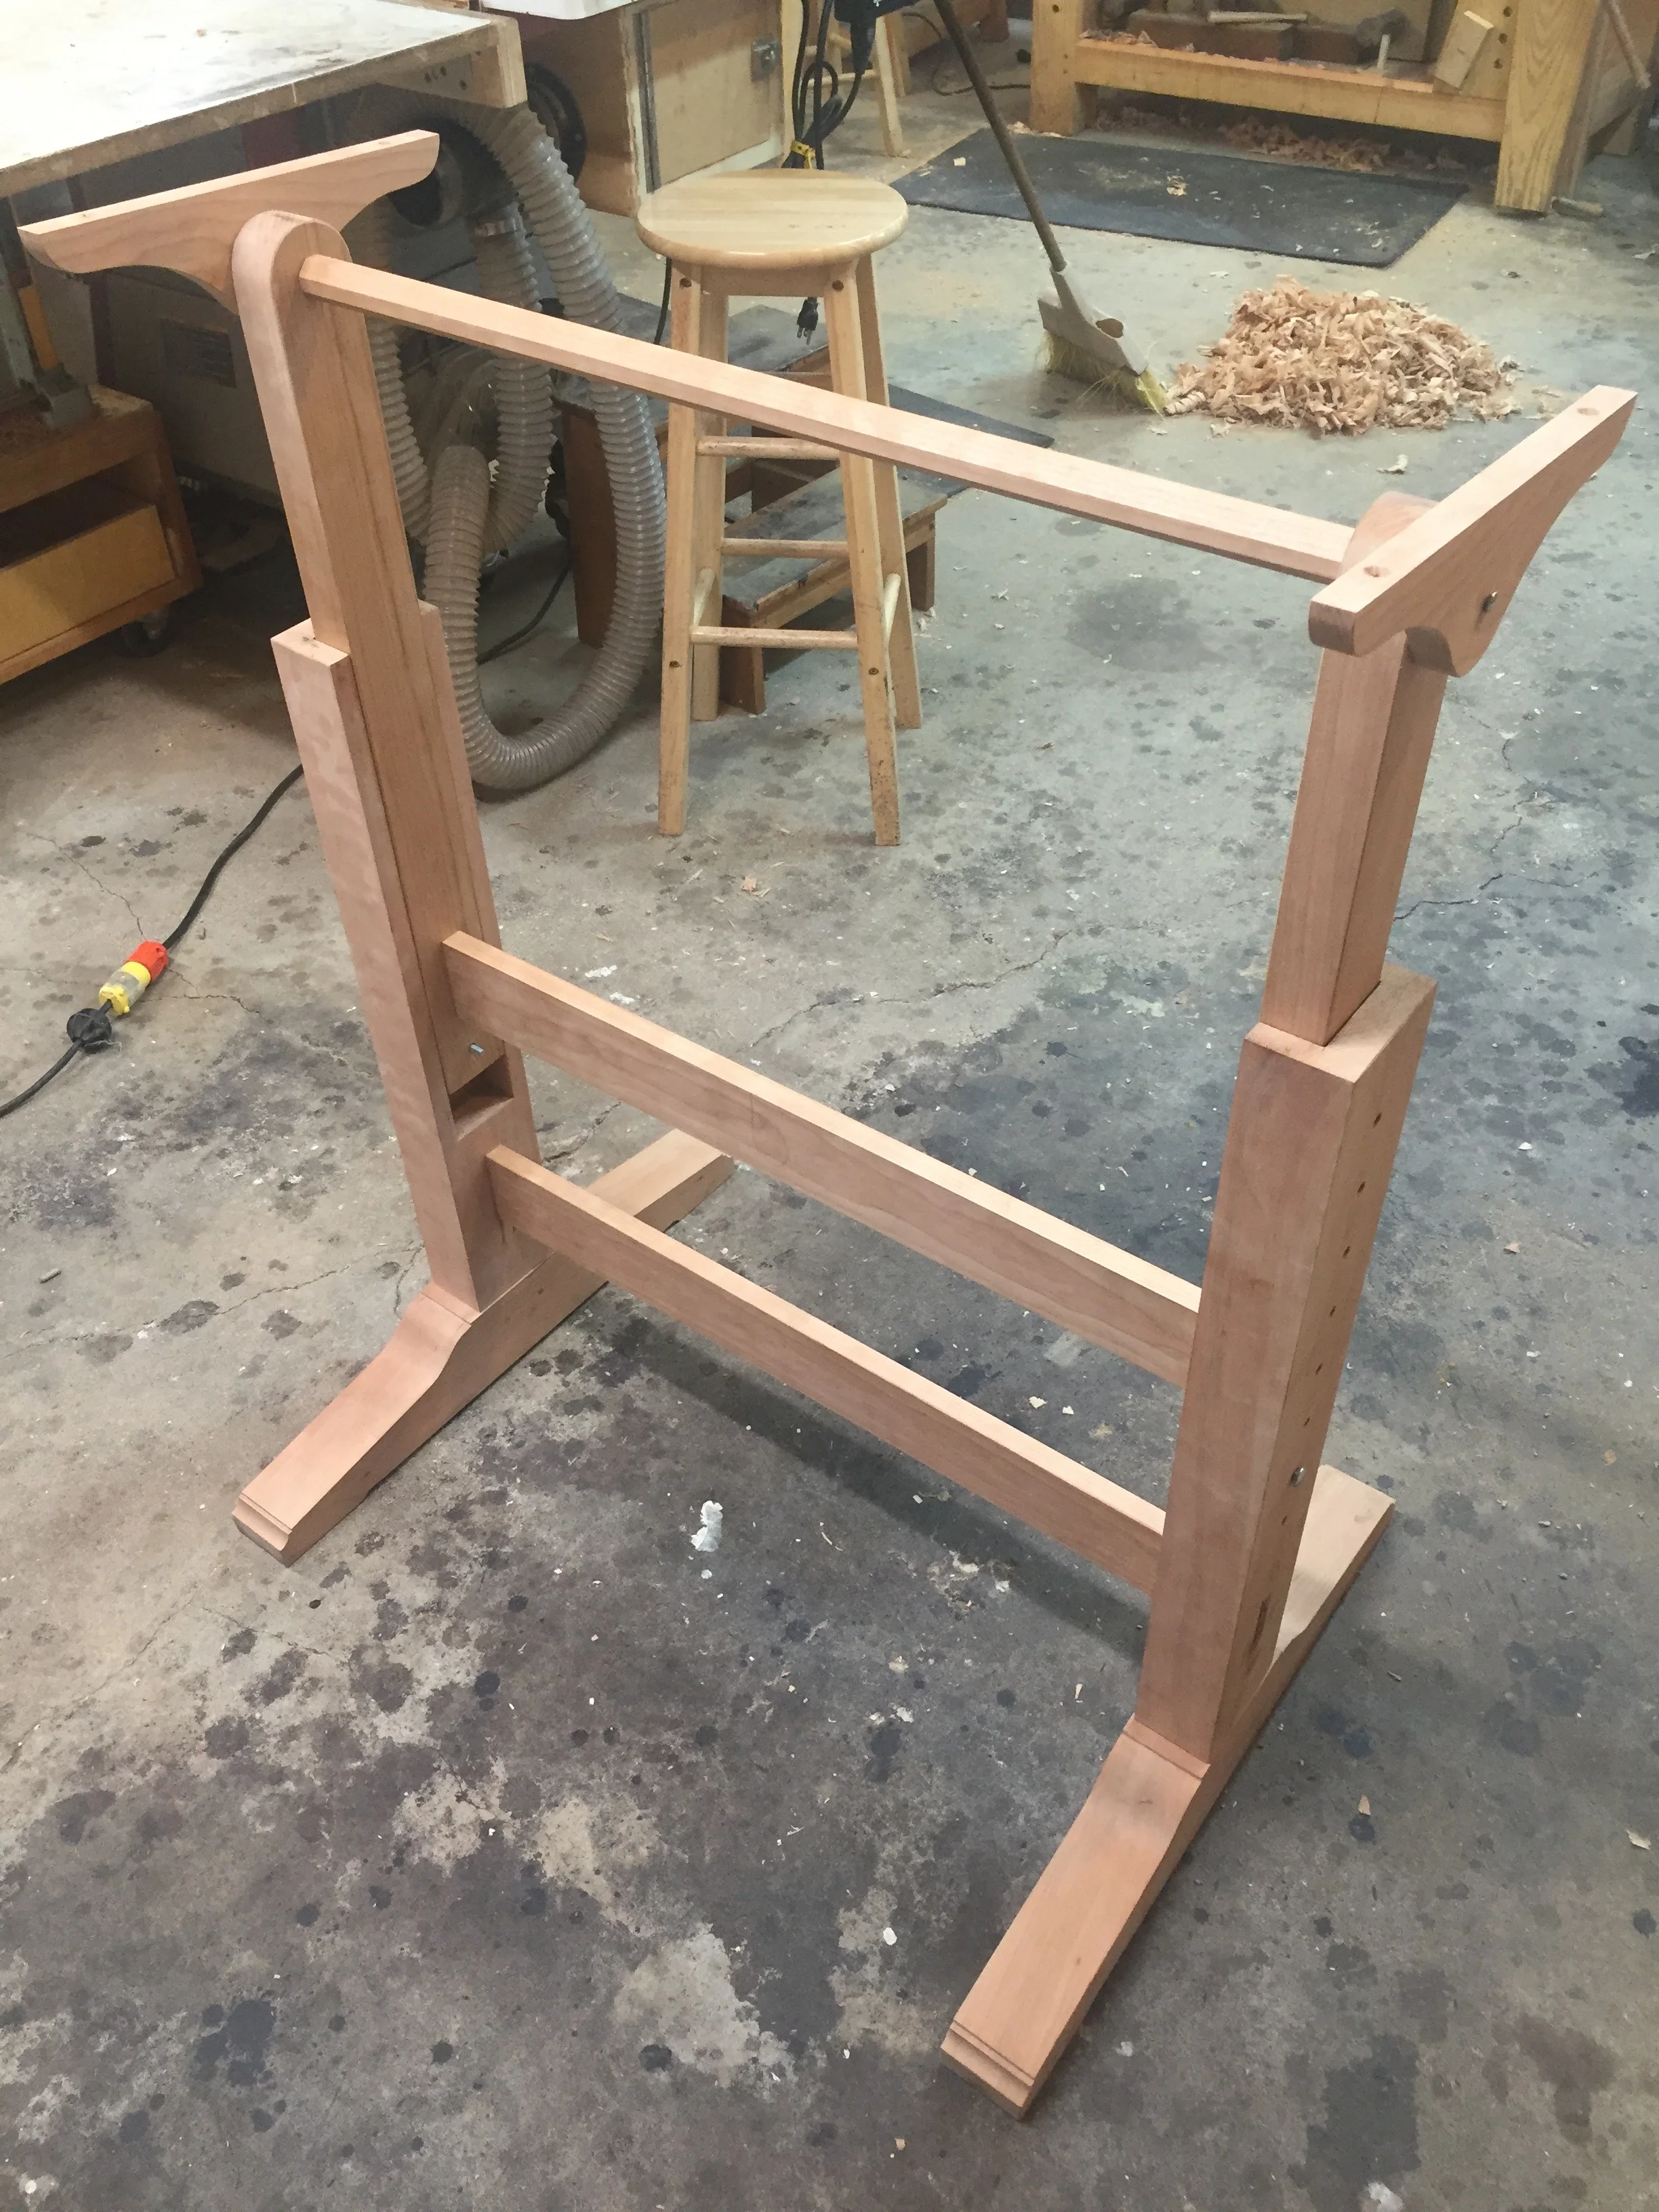
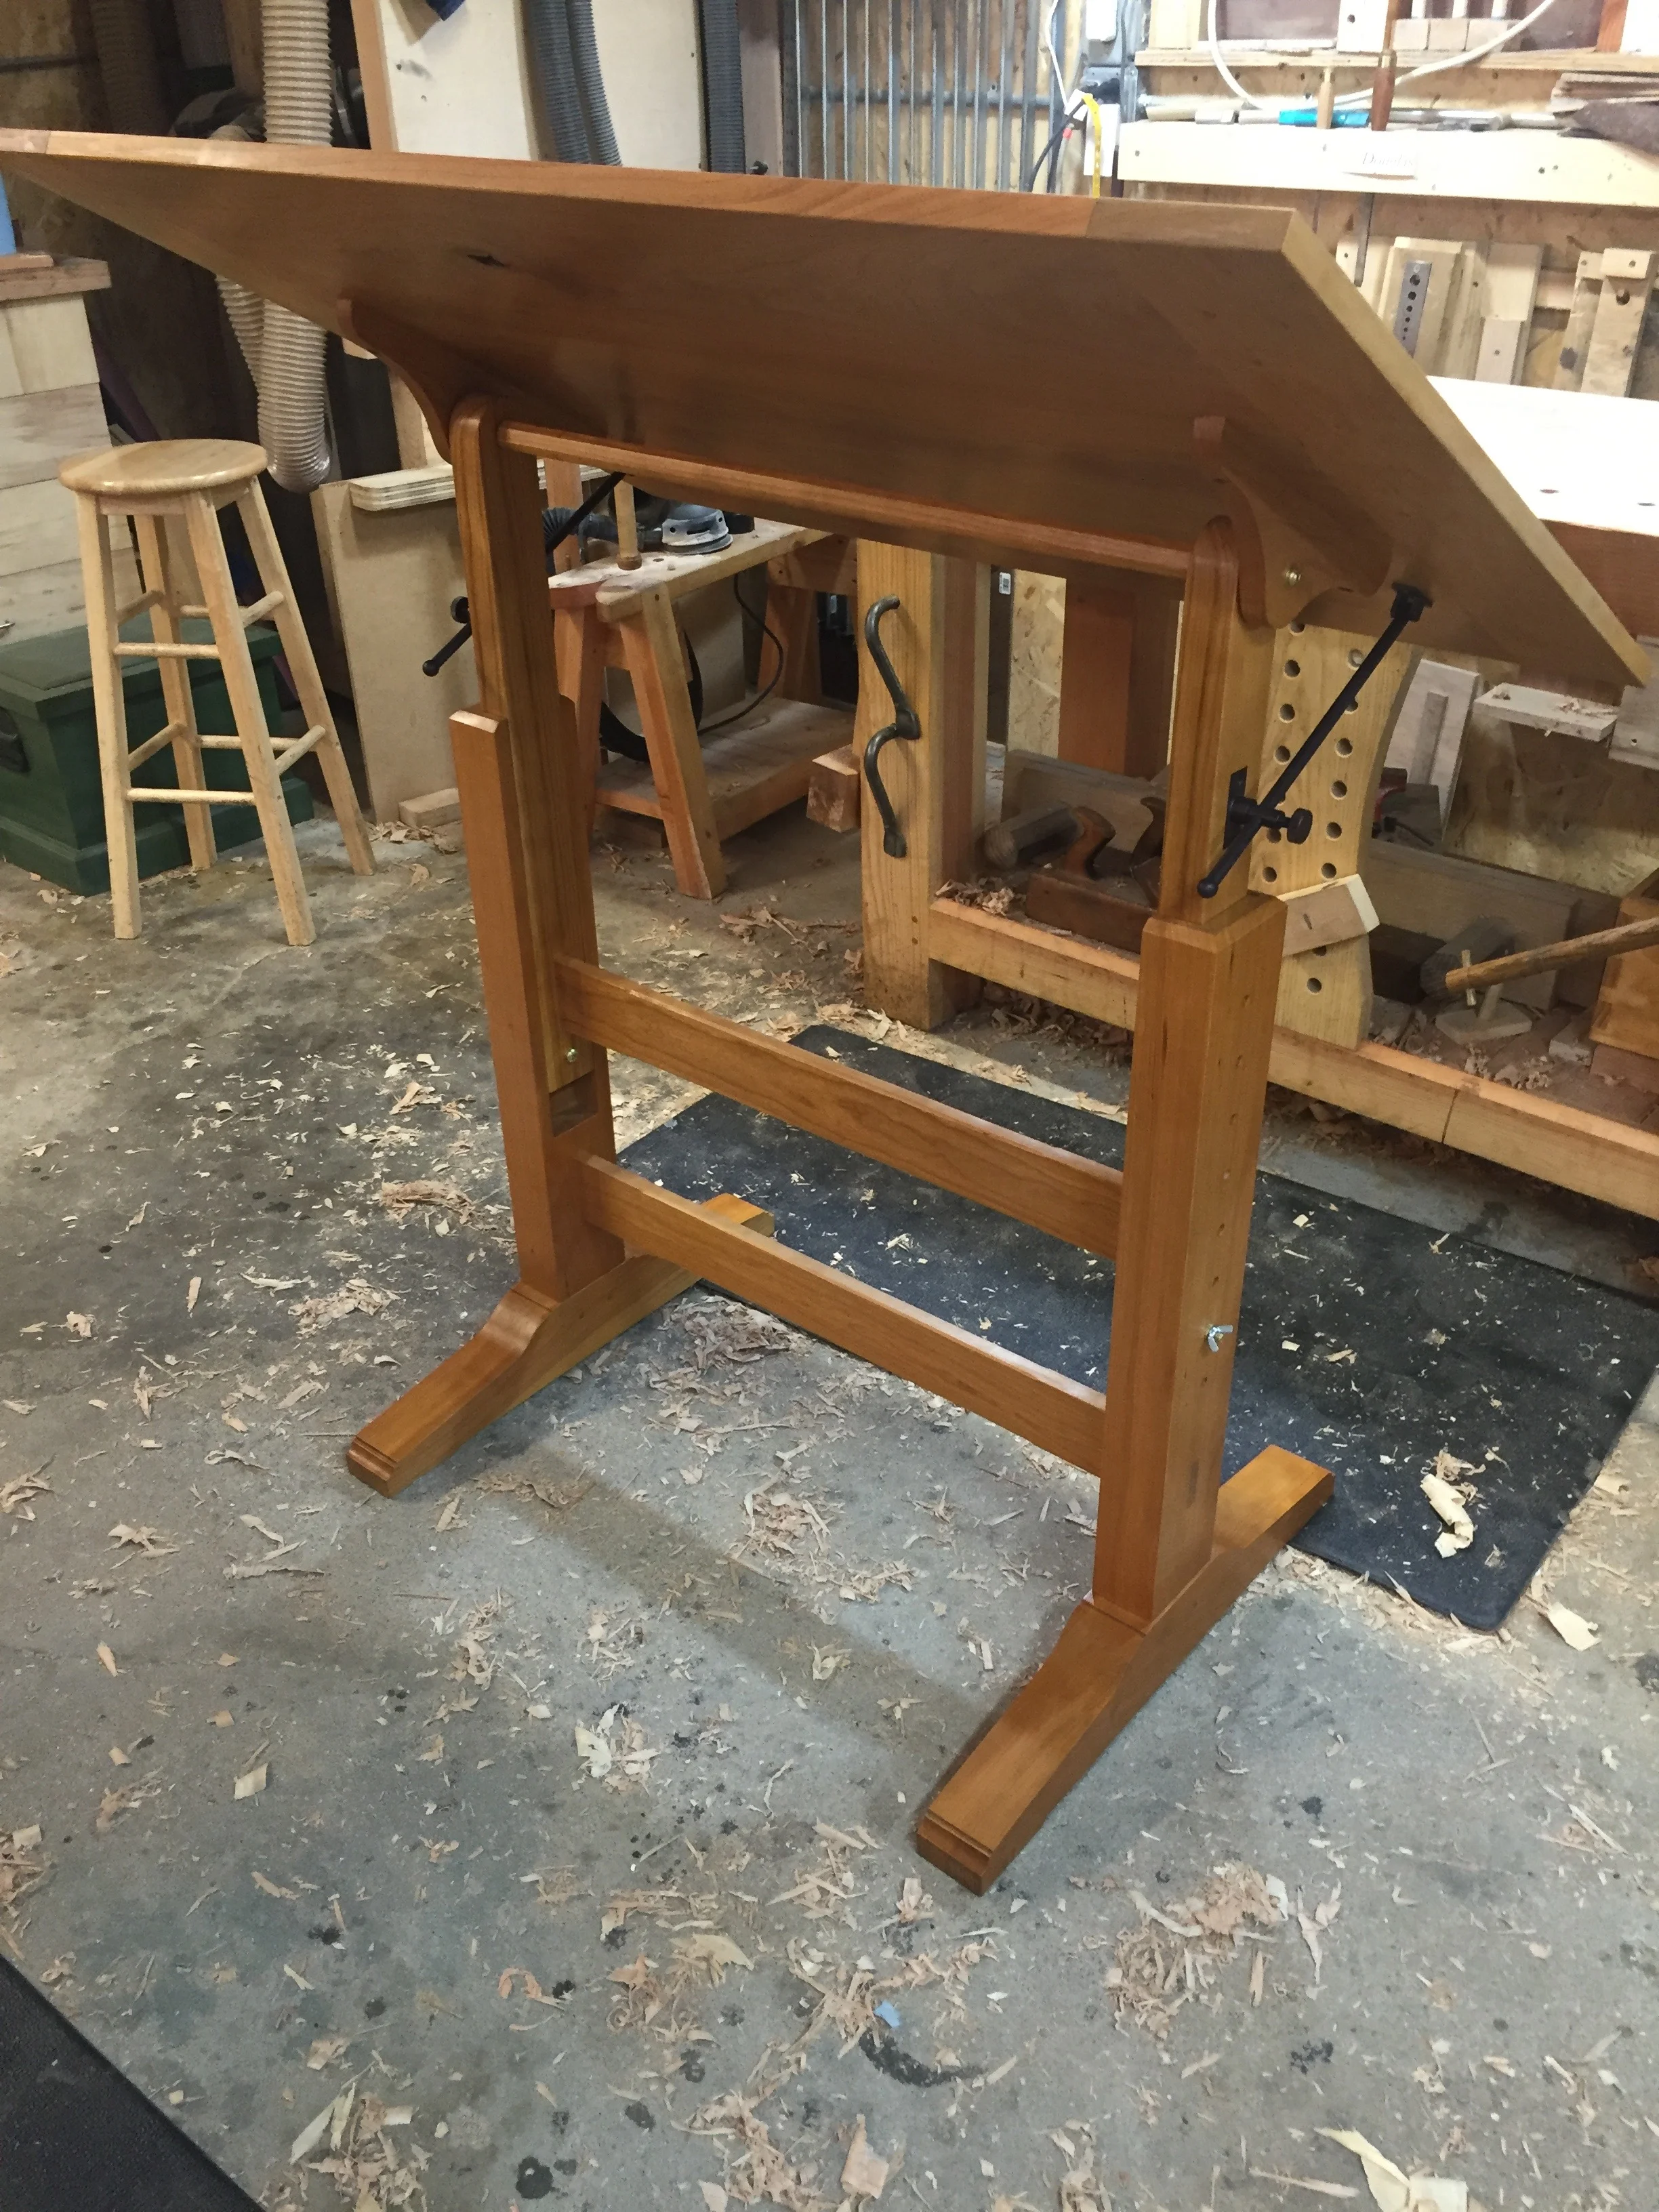
Next, I was able to focus on the legs and feet. The base features thick legs, with a dado to house the upper part and allow for adjustment, tenoned into a large mortise in the thick feet. The feet gave me a great opportunity to add an architectural element, and laid out a series of shoulders and curves. The tenons were cut by hand, and cleaned up with a router plane.
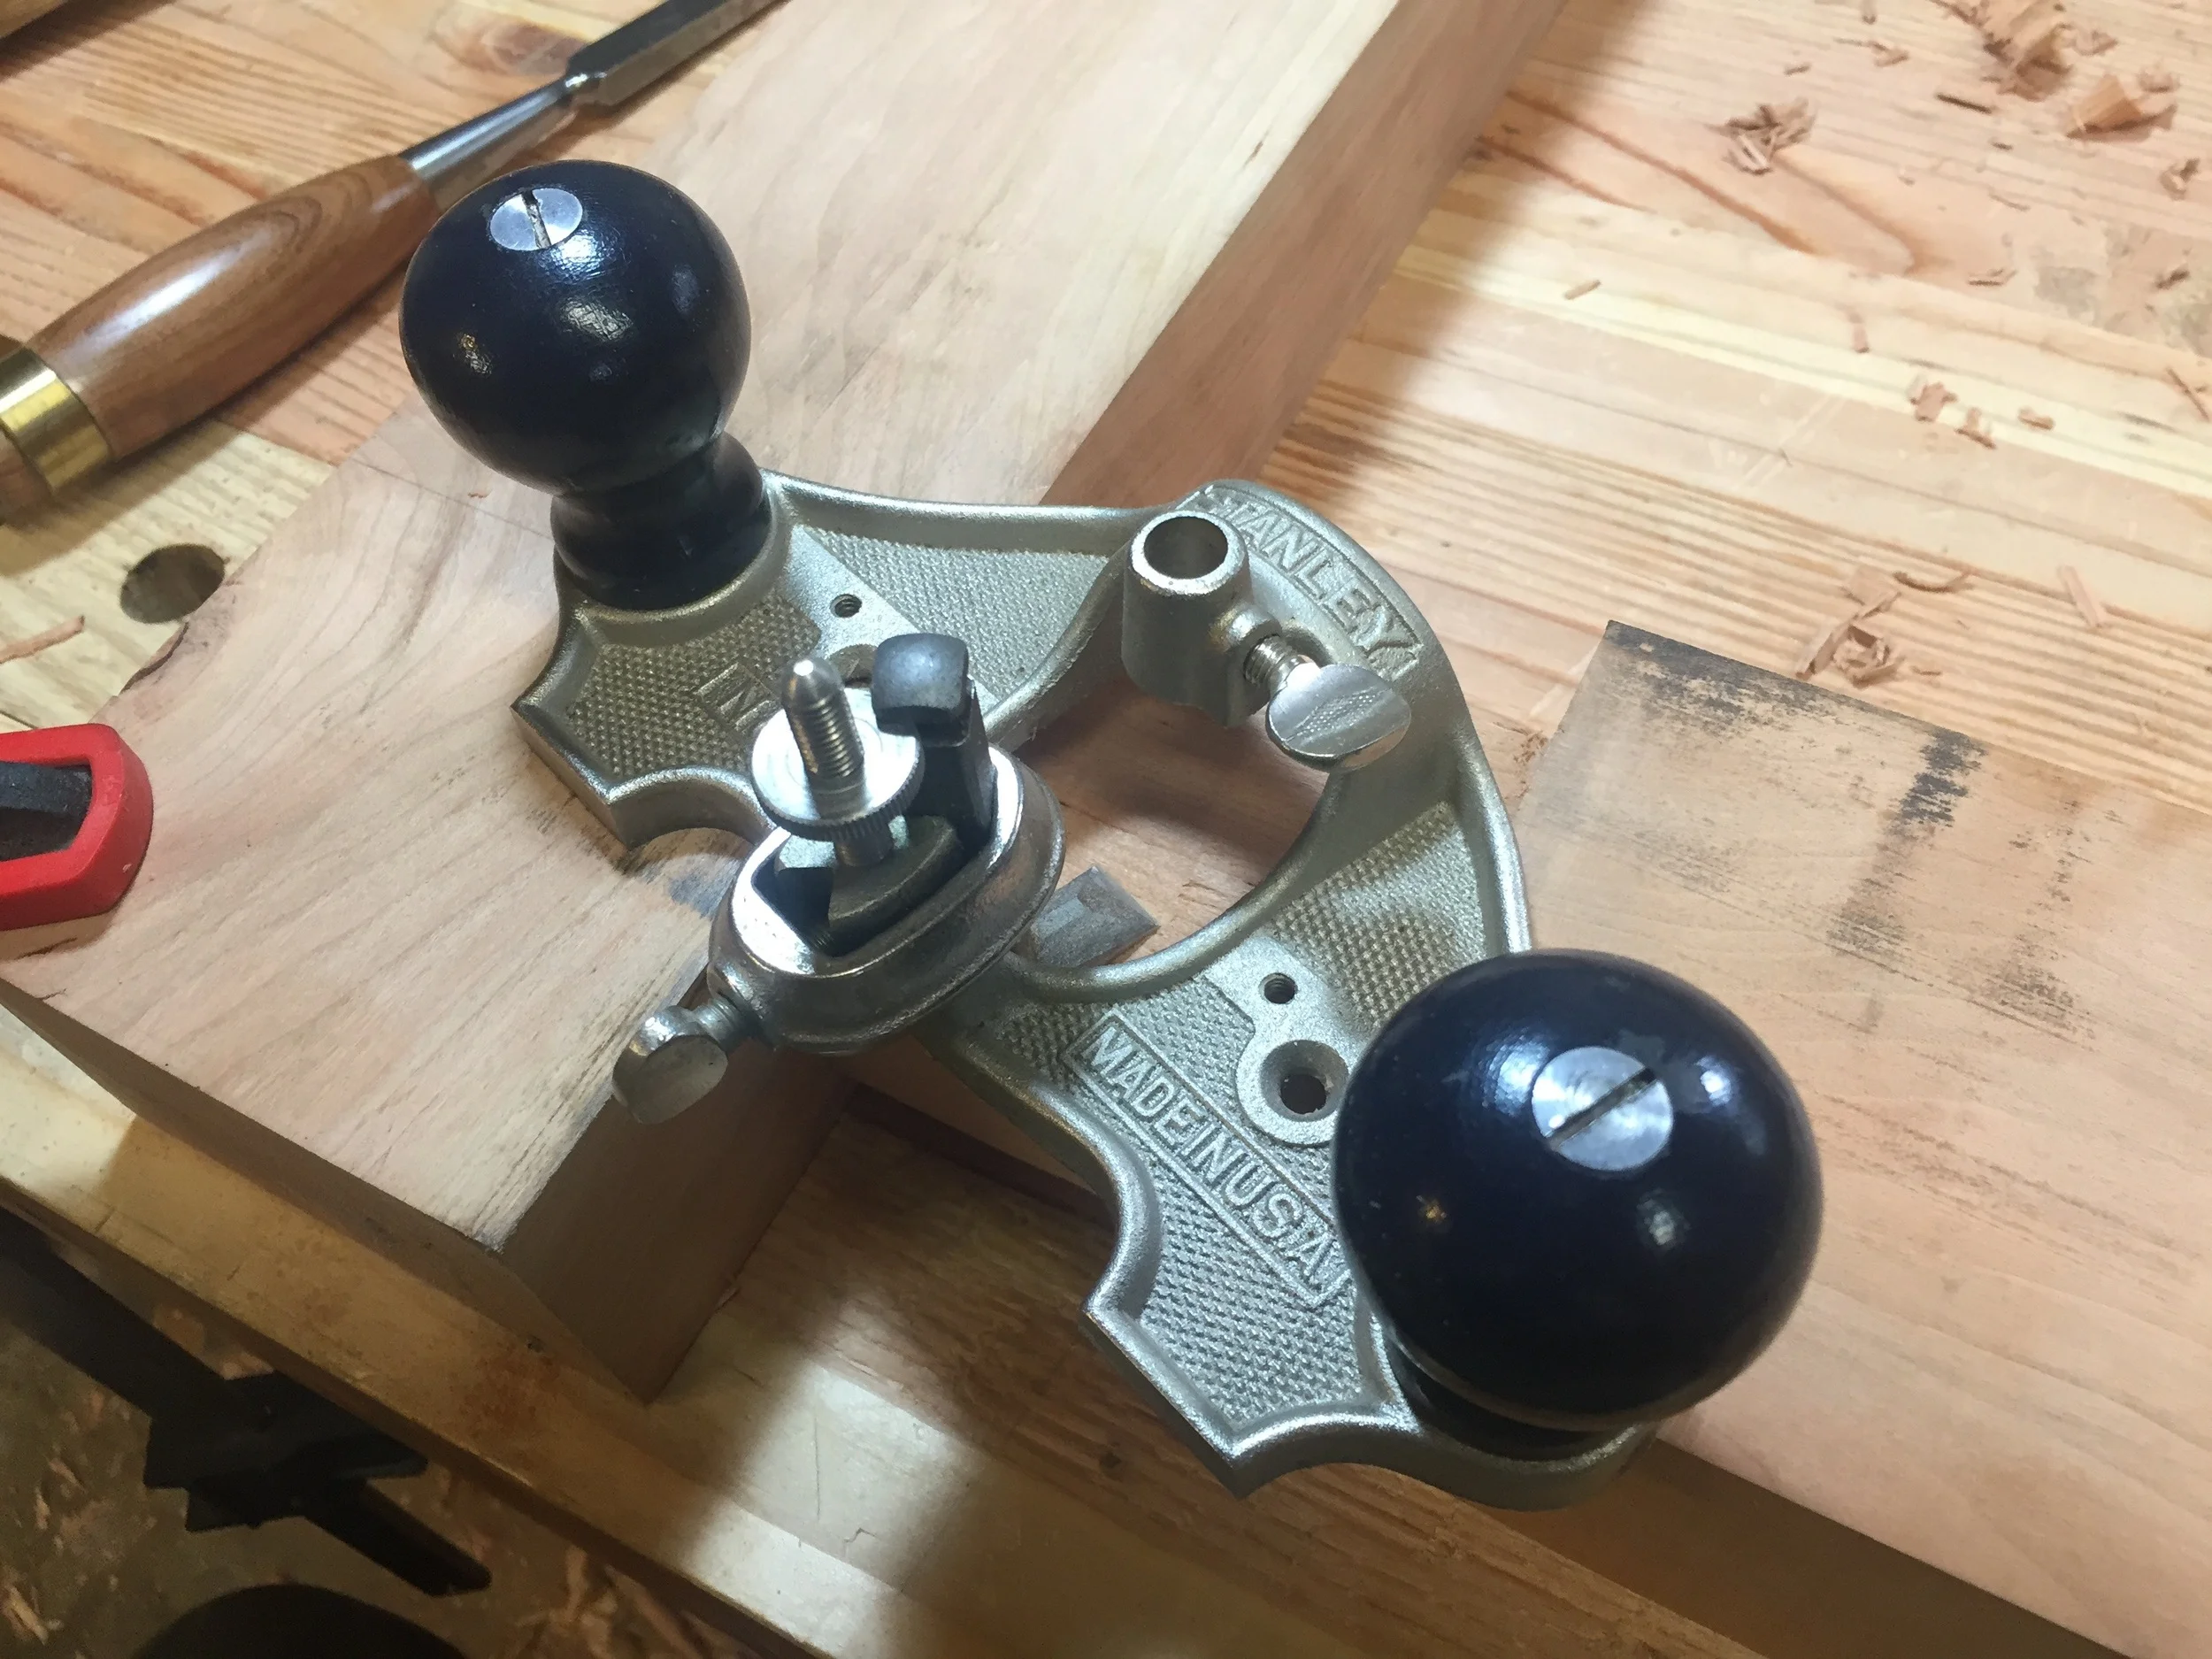
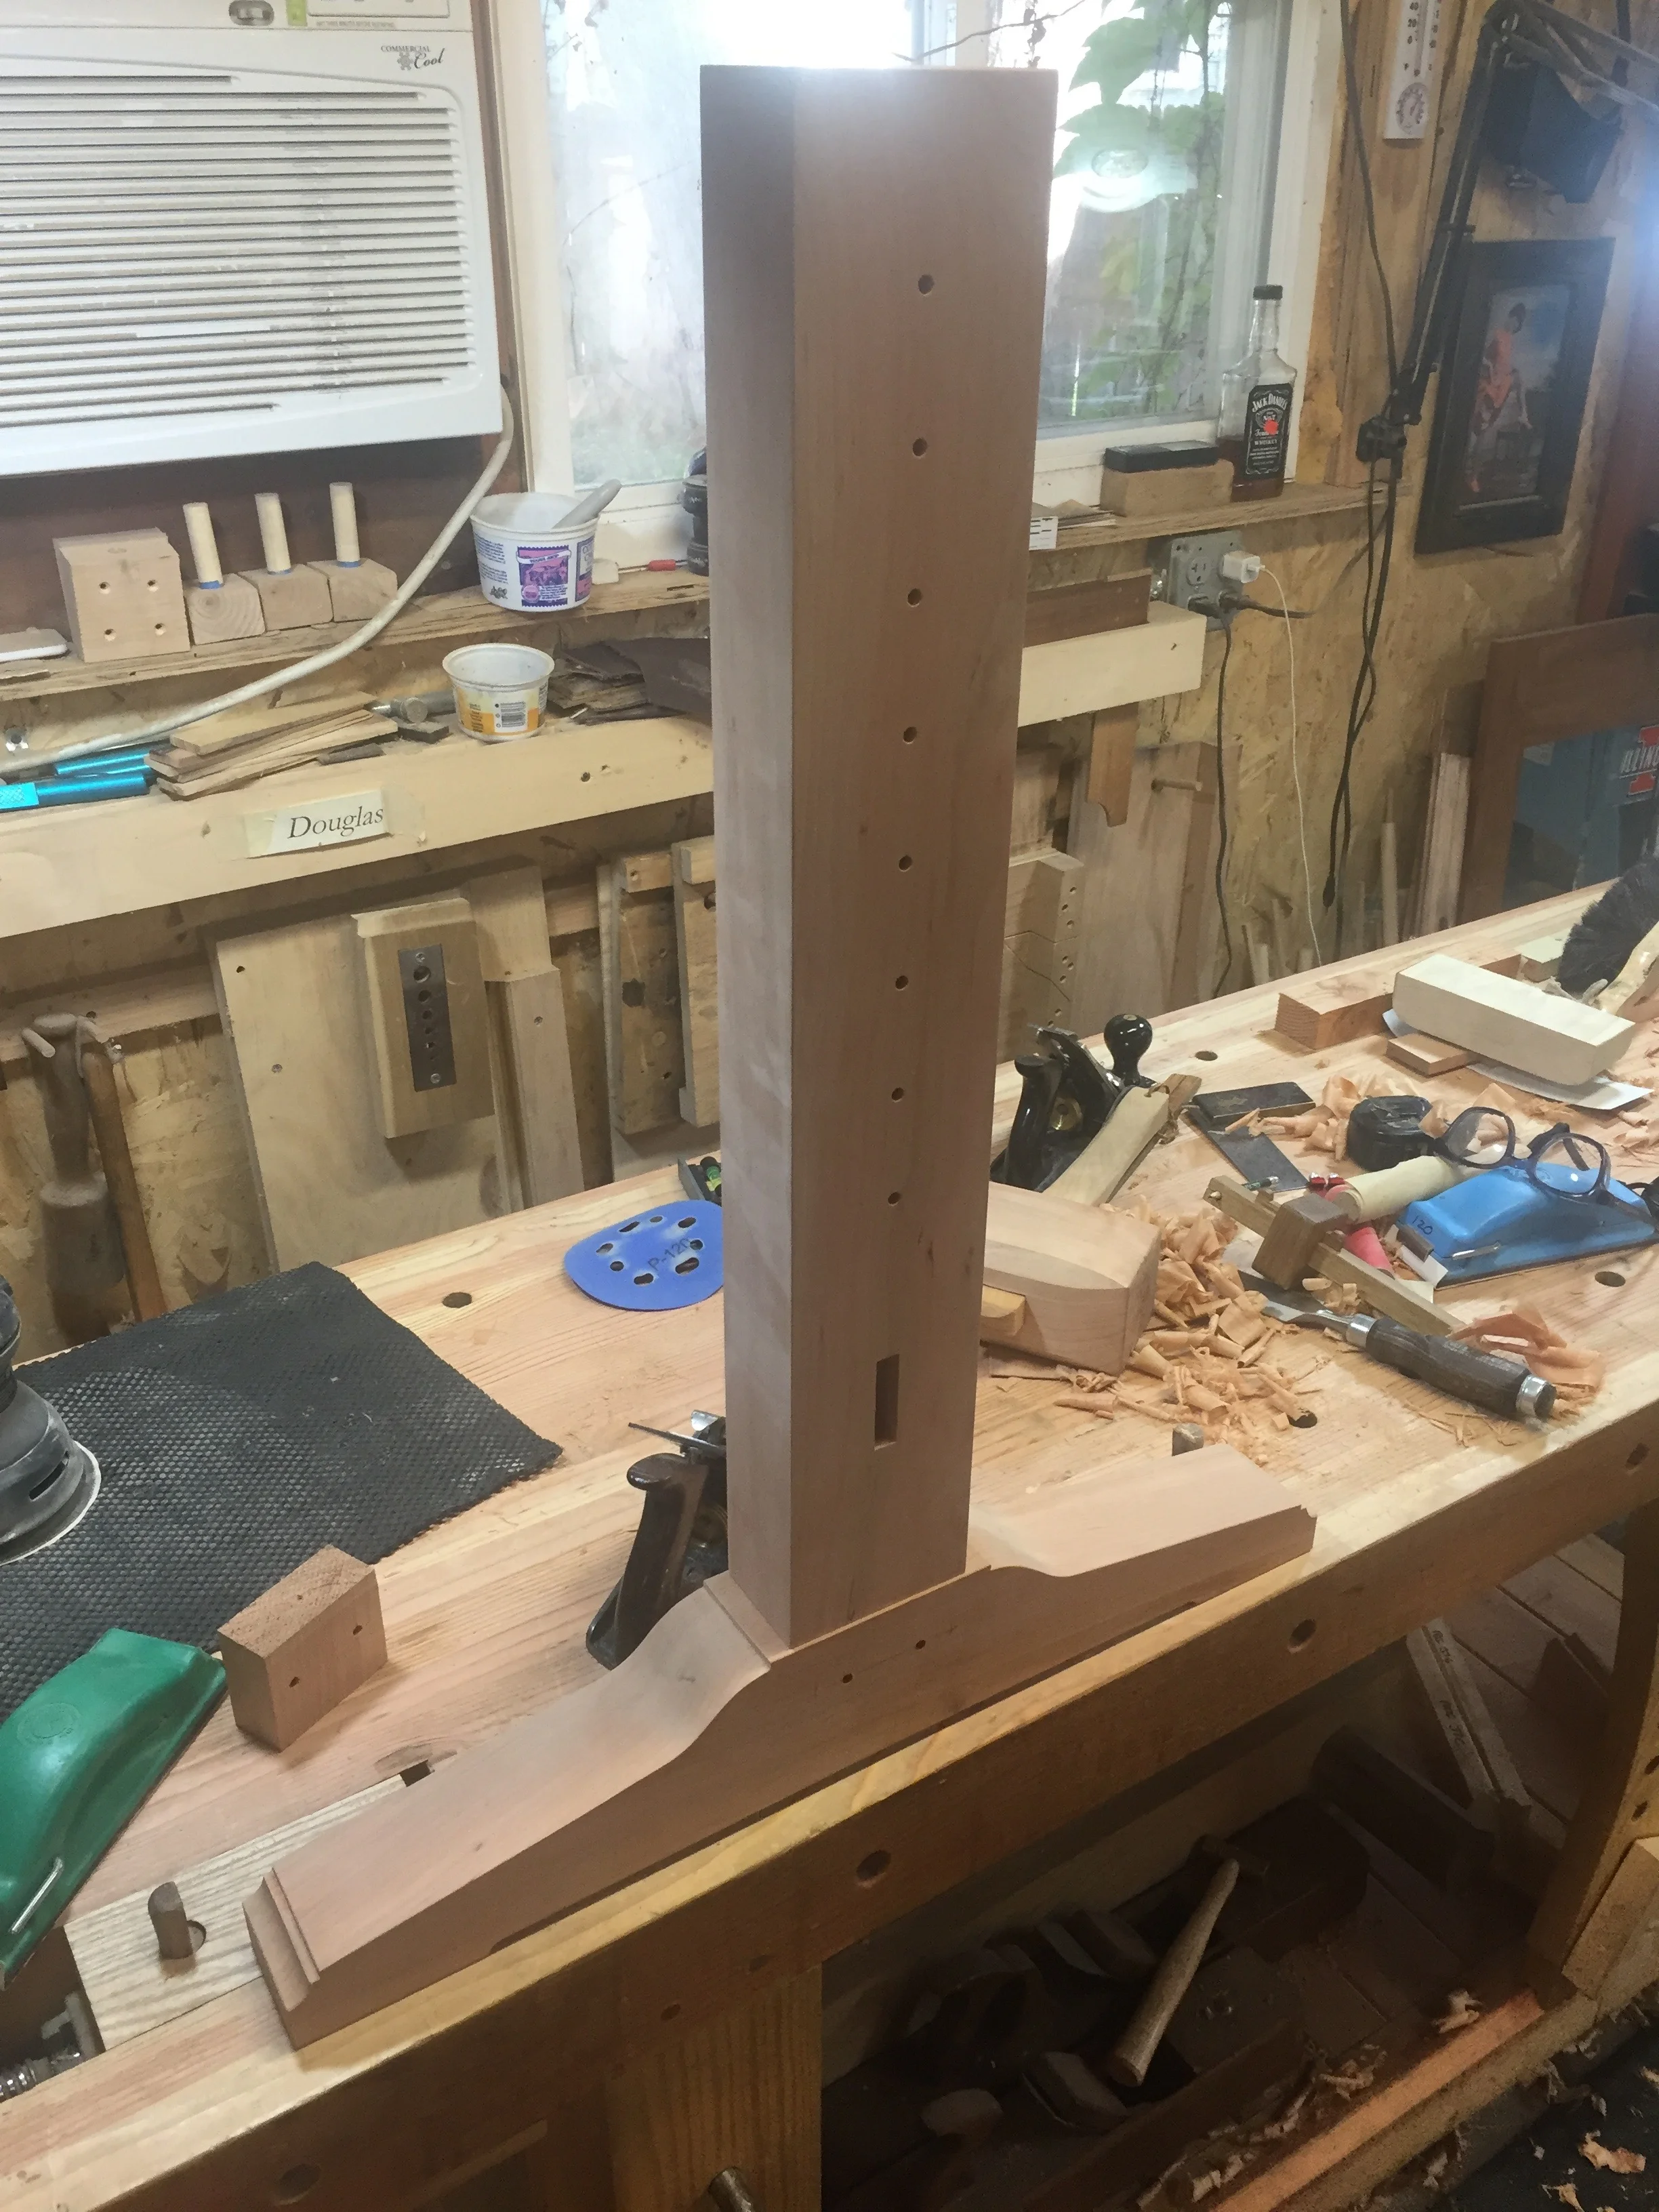
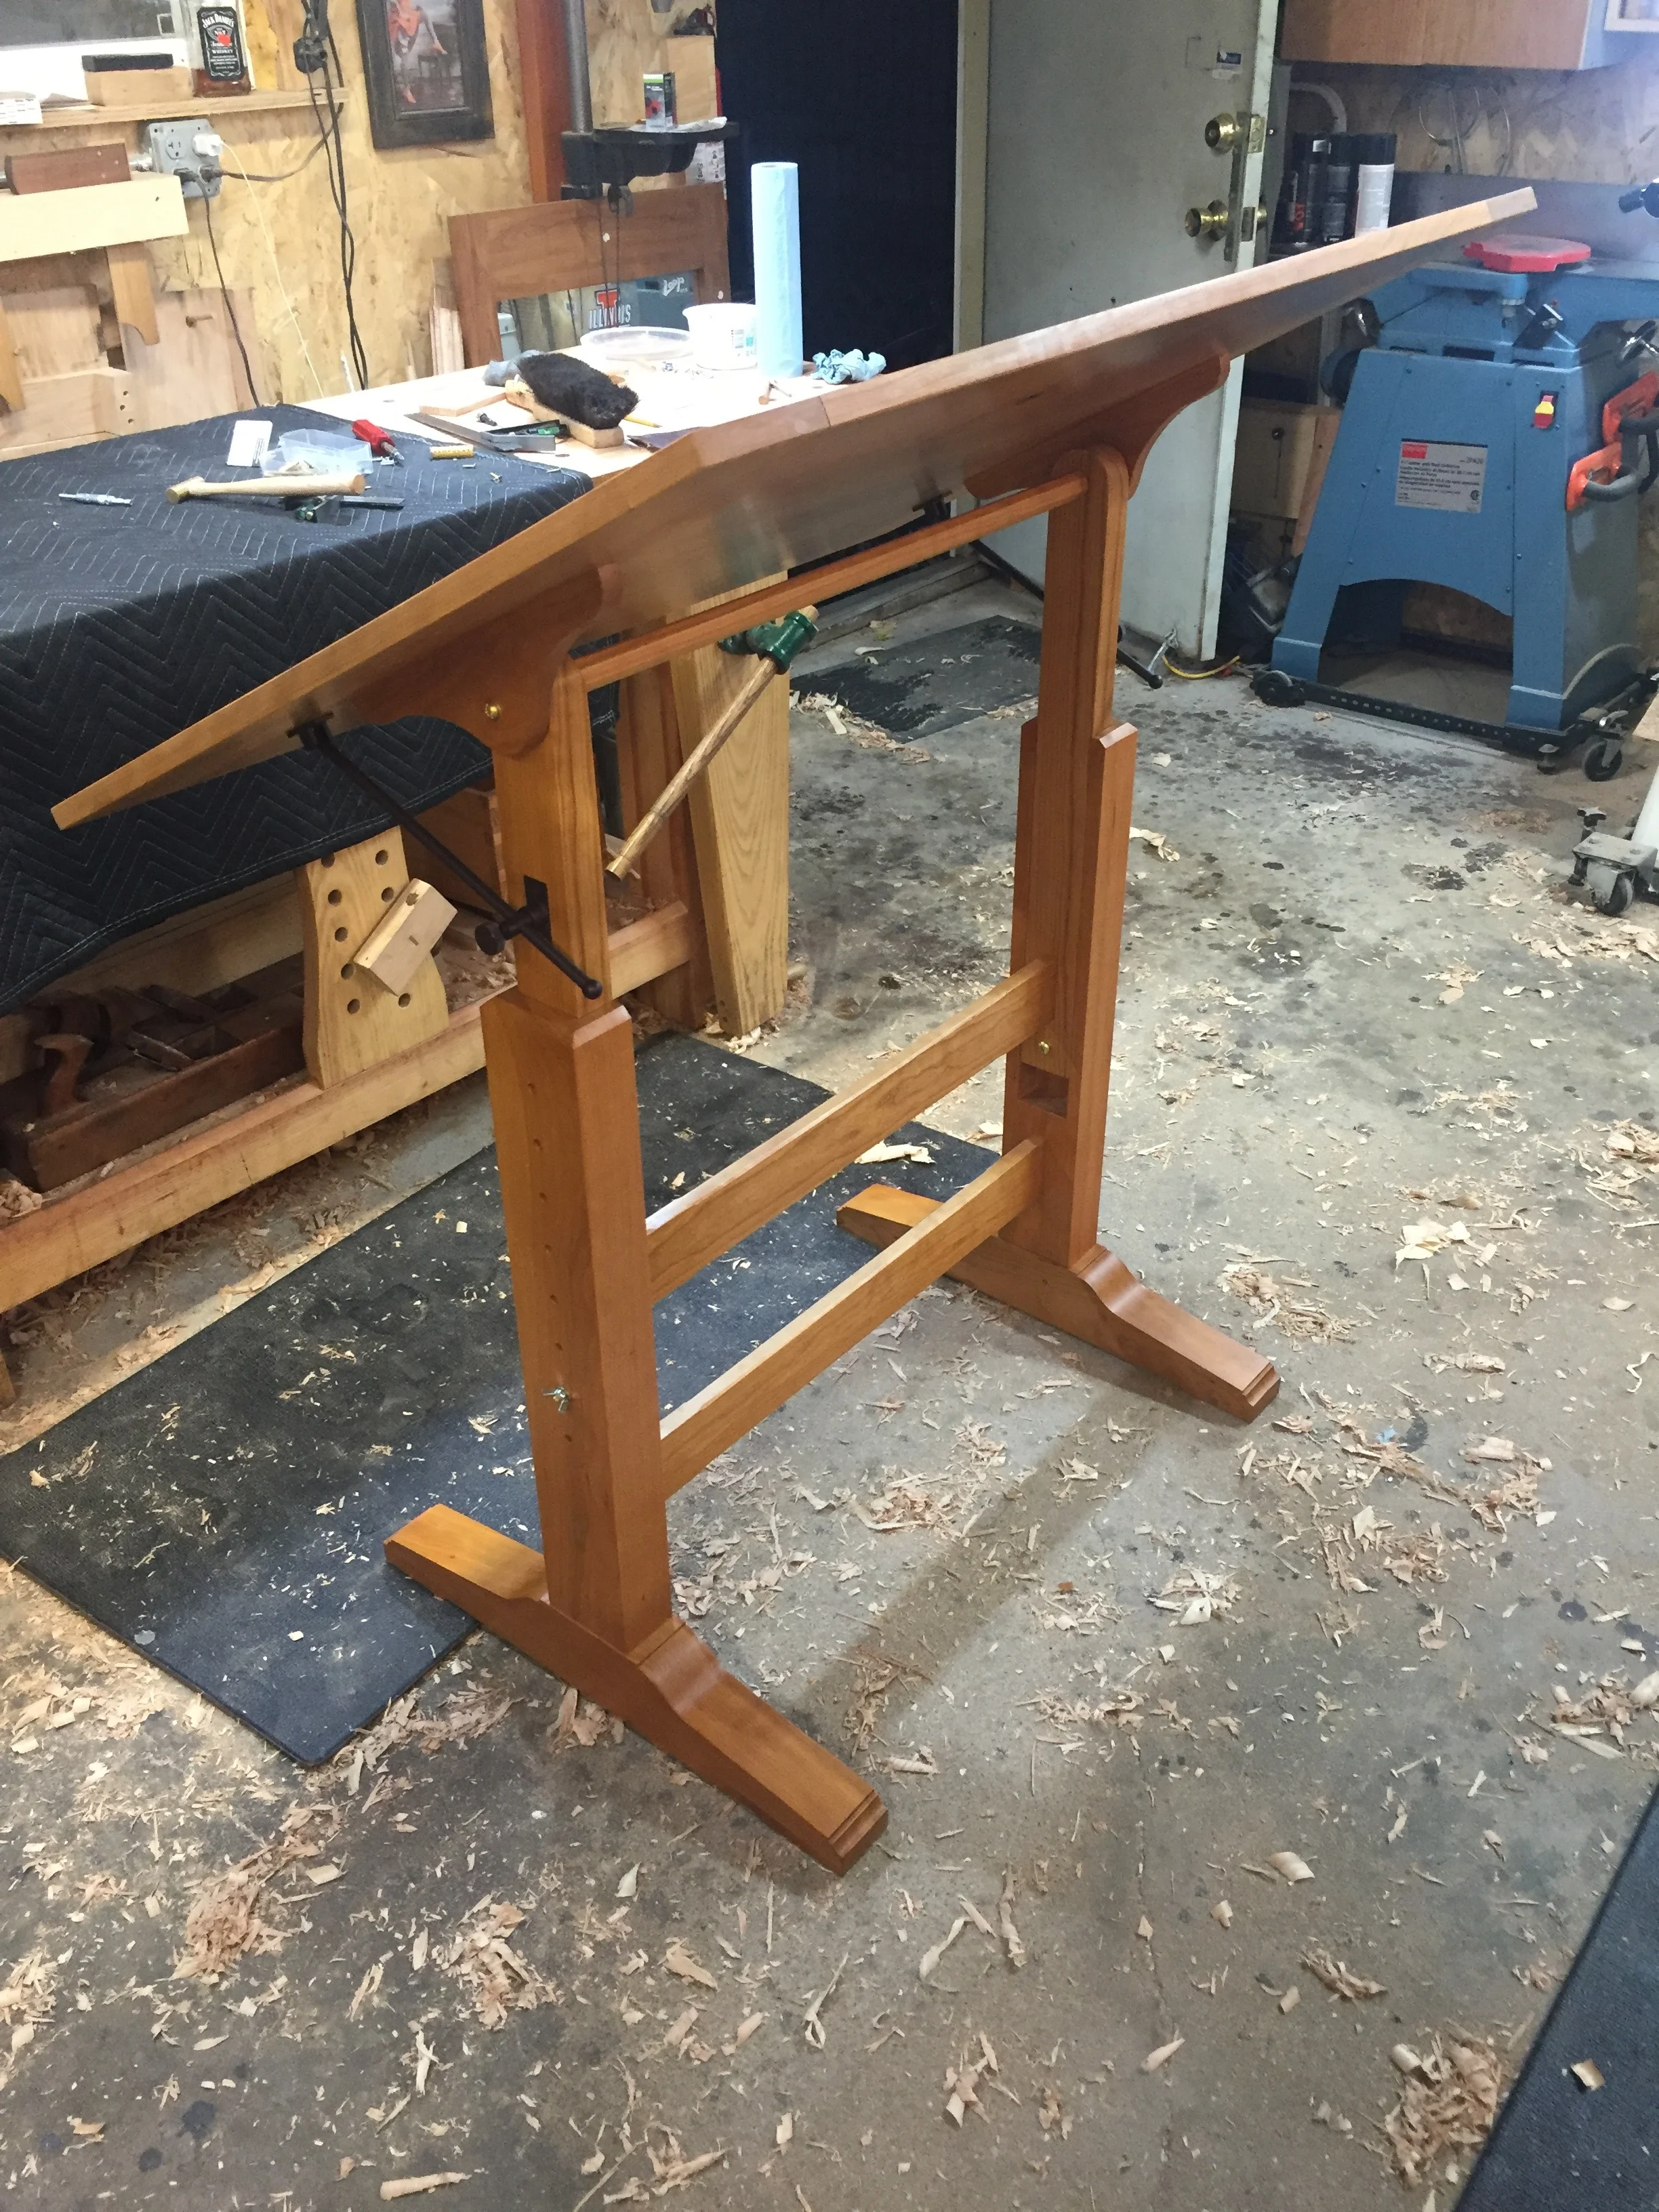
The large dados/housings in each lower leg was a tricky cut, as I had a lot of material to remove. I ended up using a large straight bit in a router table to clear out most of the waste, then cleaned it up with a chisel. The last part of the base was a stretcher that joined to the two halves, joined with a wedged through tenon. The top section was similar to the bottom, with two smaller "legs" joined by a stretcher. Both pairs of legs needed holes drilled through them to allow for adjusting the table height. Then the last little bit was the tilting portion that connected to the top. I made two shaped brackets, pre-drilled with holes for the top, and detailed with a simple curve. These were then pieced along the tilt access in line with the tilt access on the top of the top legs. To add rigidity, I added a faceted dowel between the swivel points.
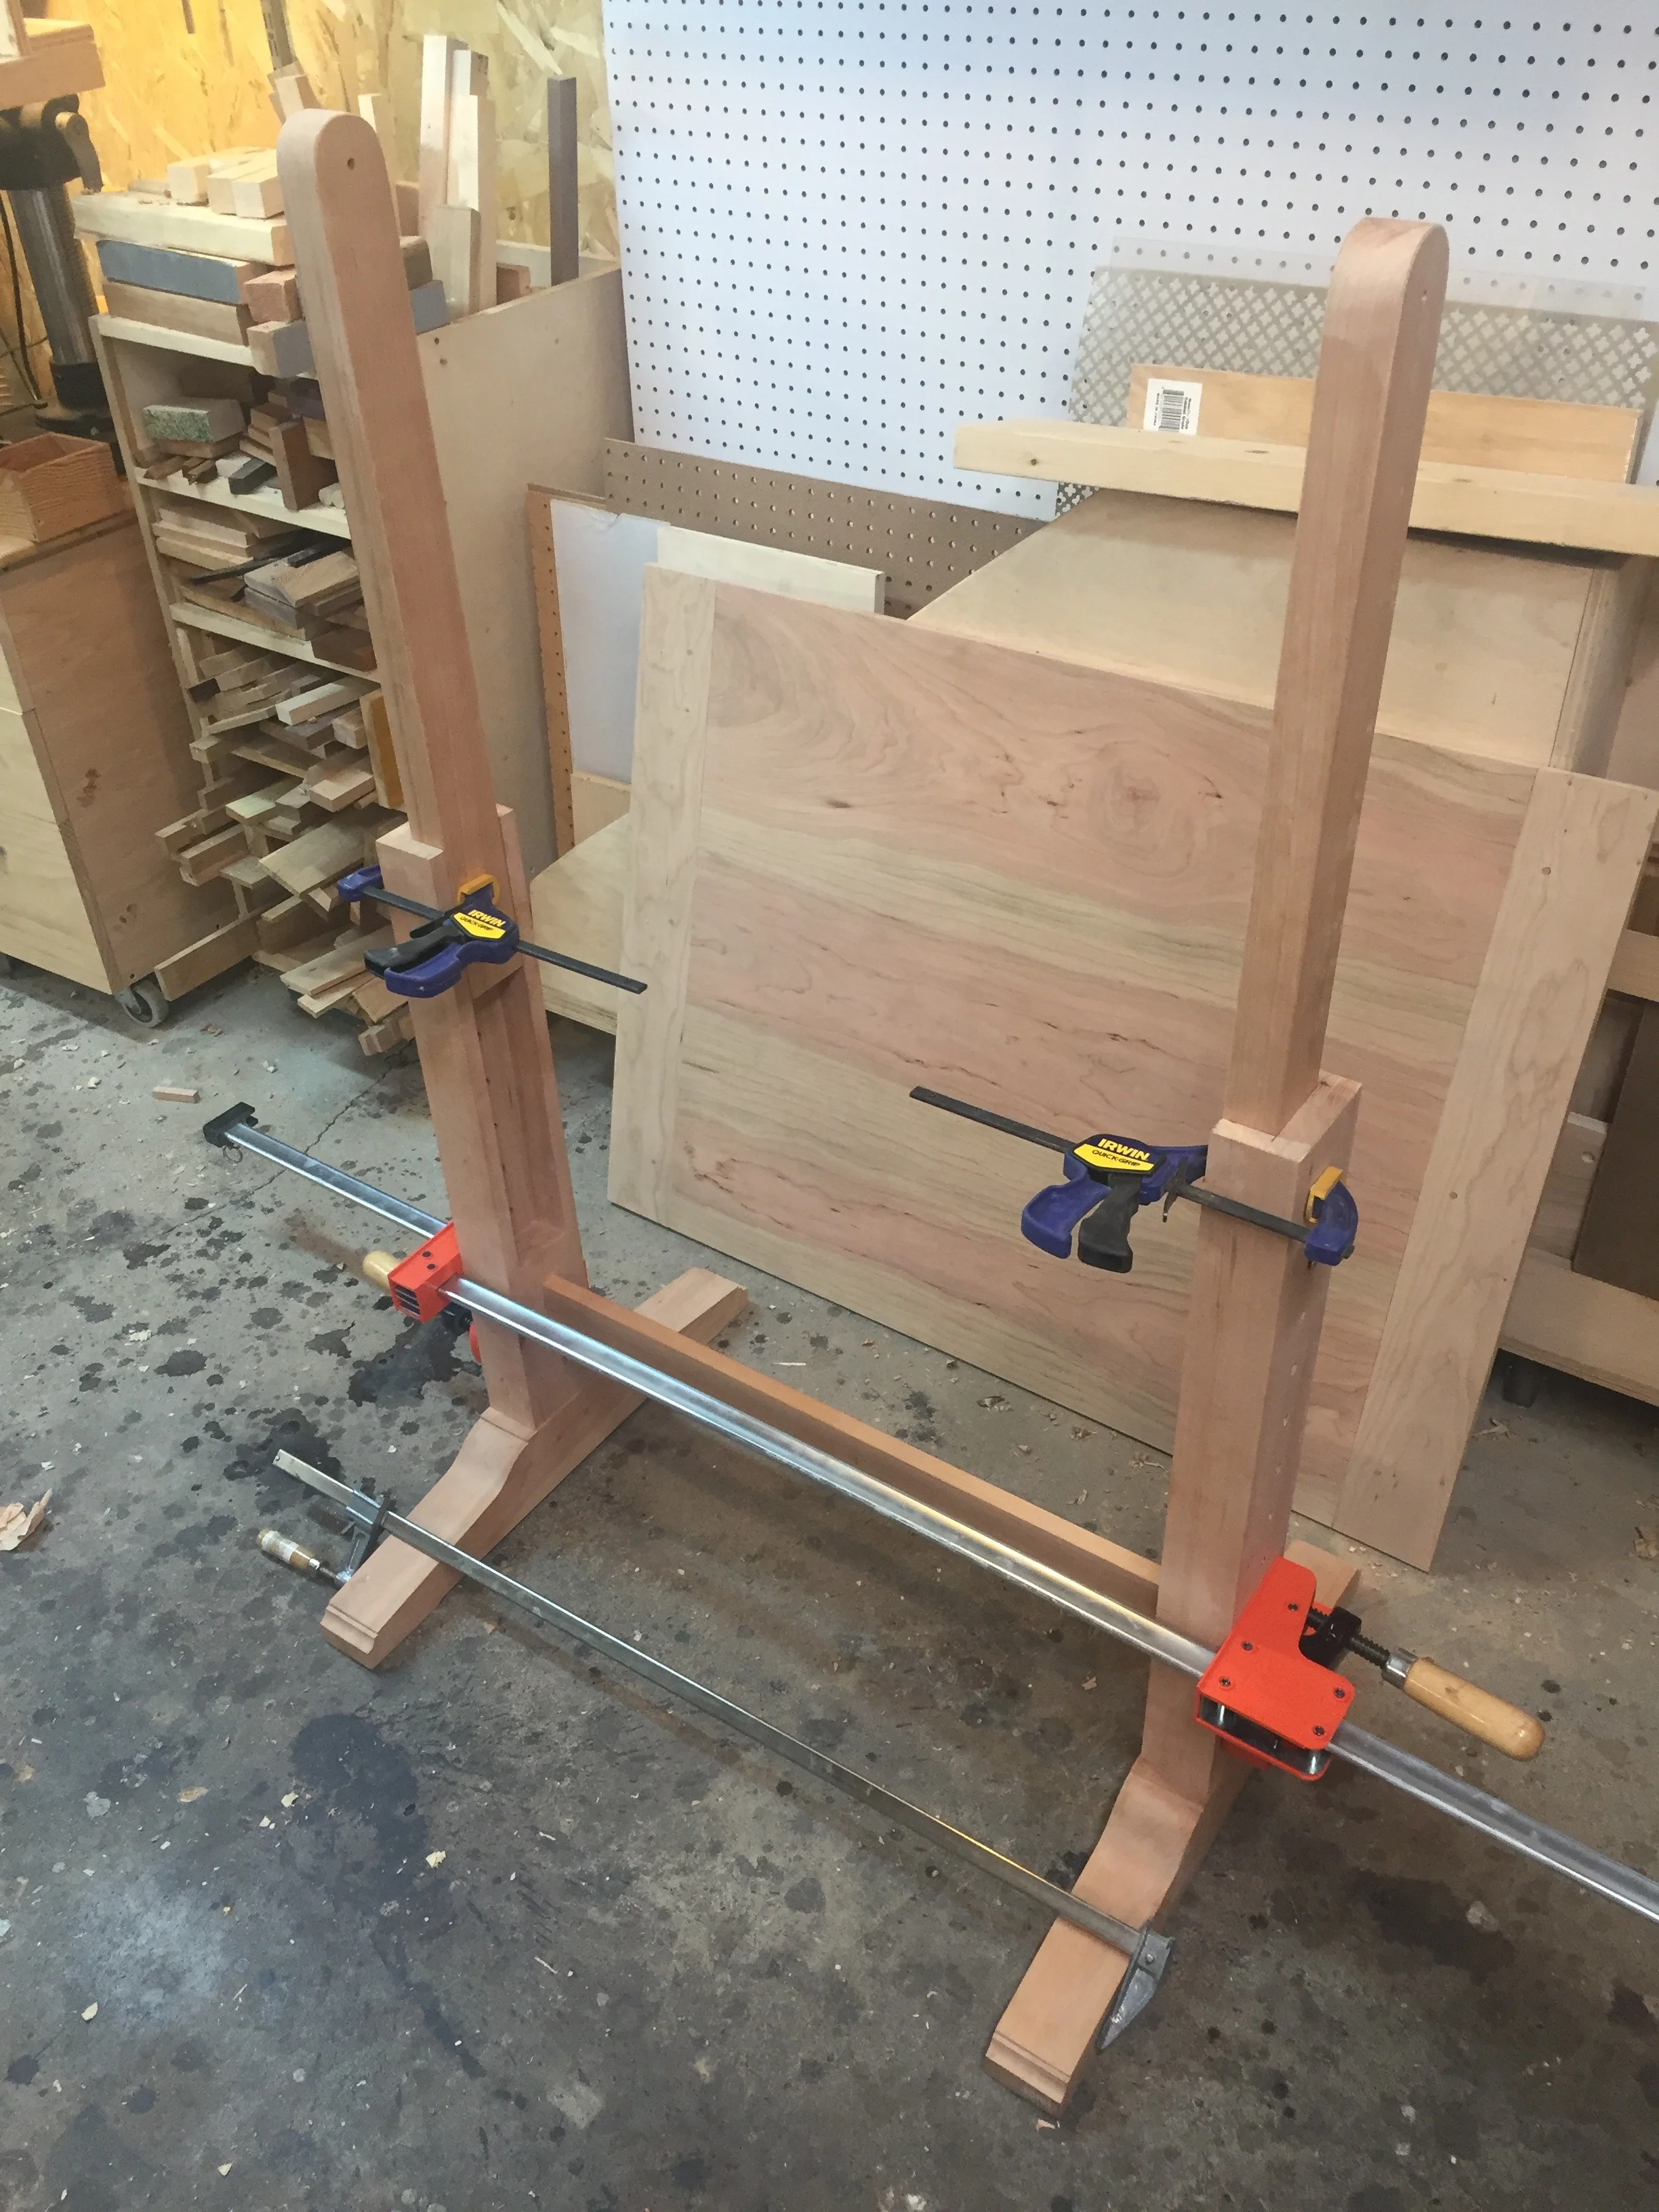

with the base together, I could attach the top, and see how it all worked together, and it did. I then took it apart, and did the fitting for the hardware, including mortising in the casement window stays that controlled the tilt of the top.
Although I still needed the bottom pencil rest, I was ready to finish, and worked on the rest while the finishing process was underway. For cherry, I usually apply a clear shellac. But in this case, I decided to try an amber shellac, which had the effect of "accelerating" the way in which cherry darkens over time. Fresh cherry is very pink, but mellows to a nice medium brown after a couple of years (sunlight depending). Adding the amber shellac gets it closer to that aged cherry look, and will result in a nice blend once the cherry itself ages. So I applied the finish, spraying each section separately; bottom base, top base, and top. After several coats of shellac, sanding in between, I applied paste wax with a 0000 steel wool pad.
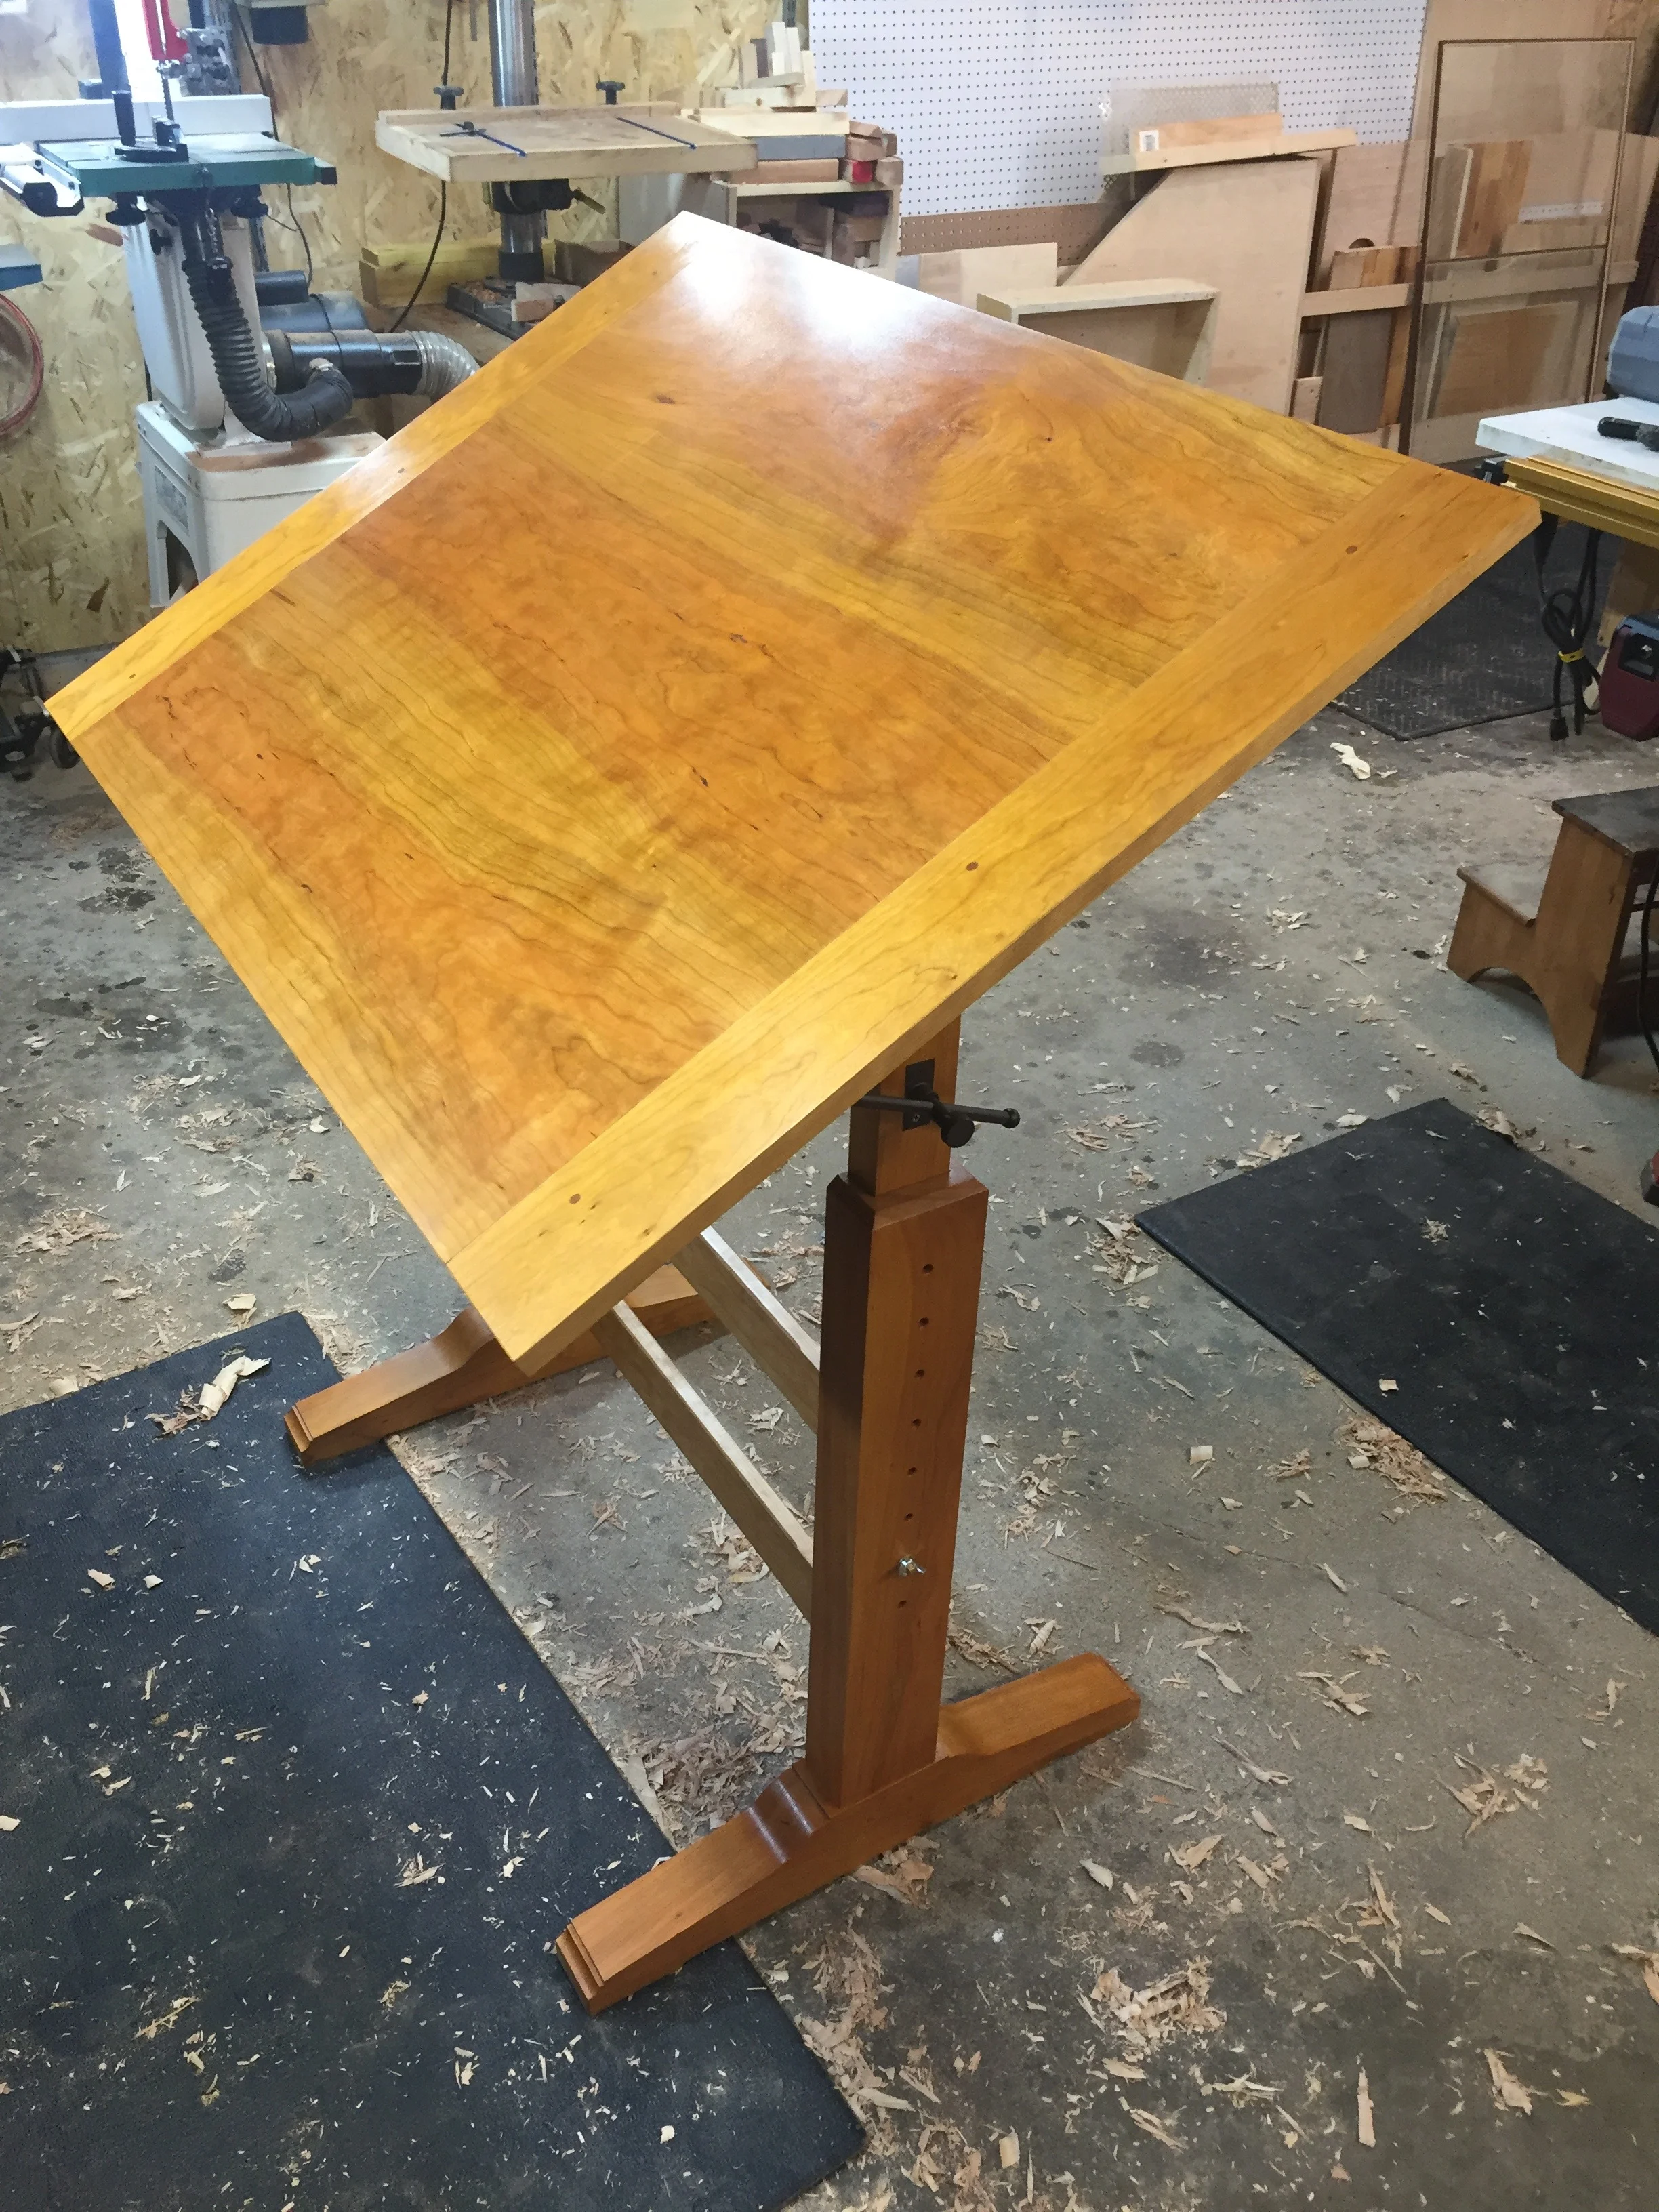
I then re-assembled everything, appealing the hardware, and finally screwing on to the front end the pencil rest.
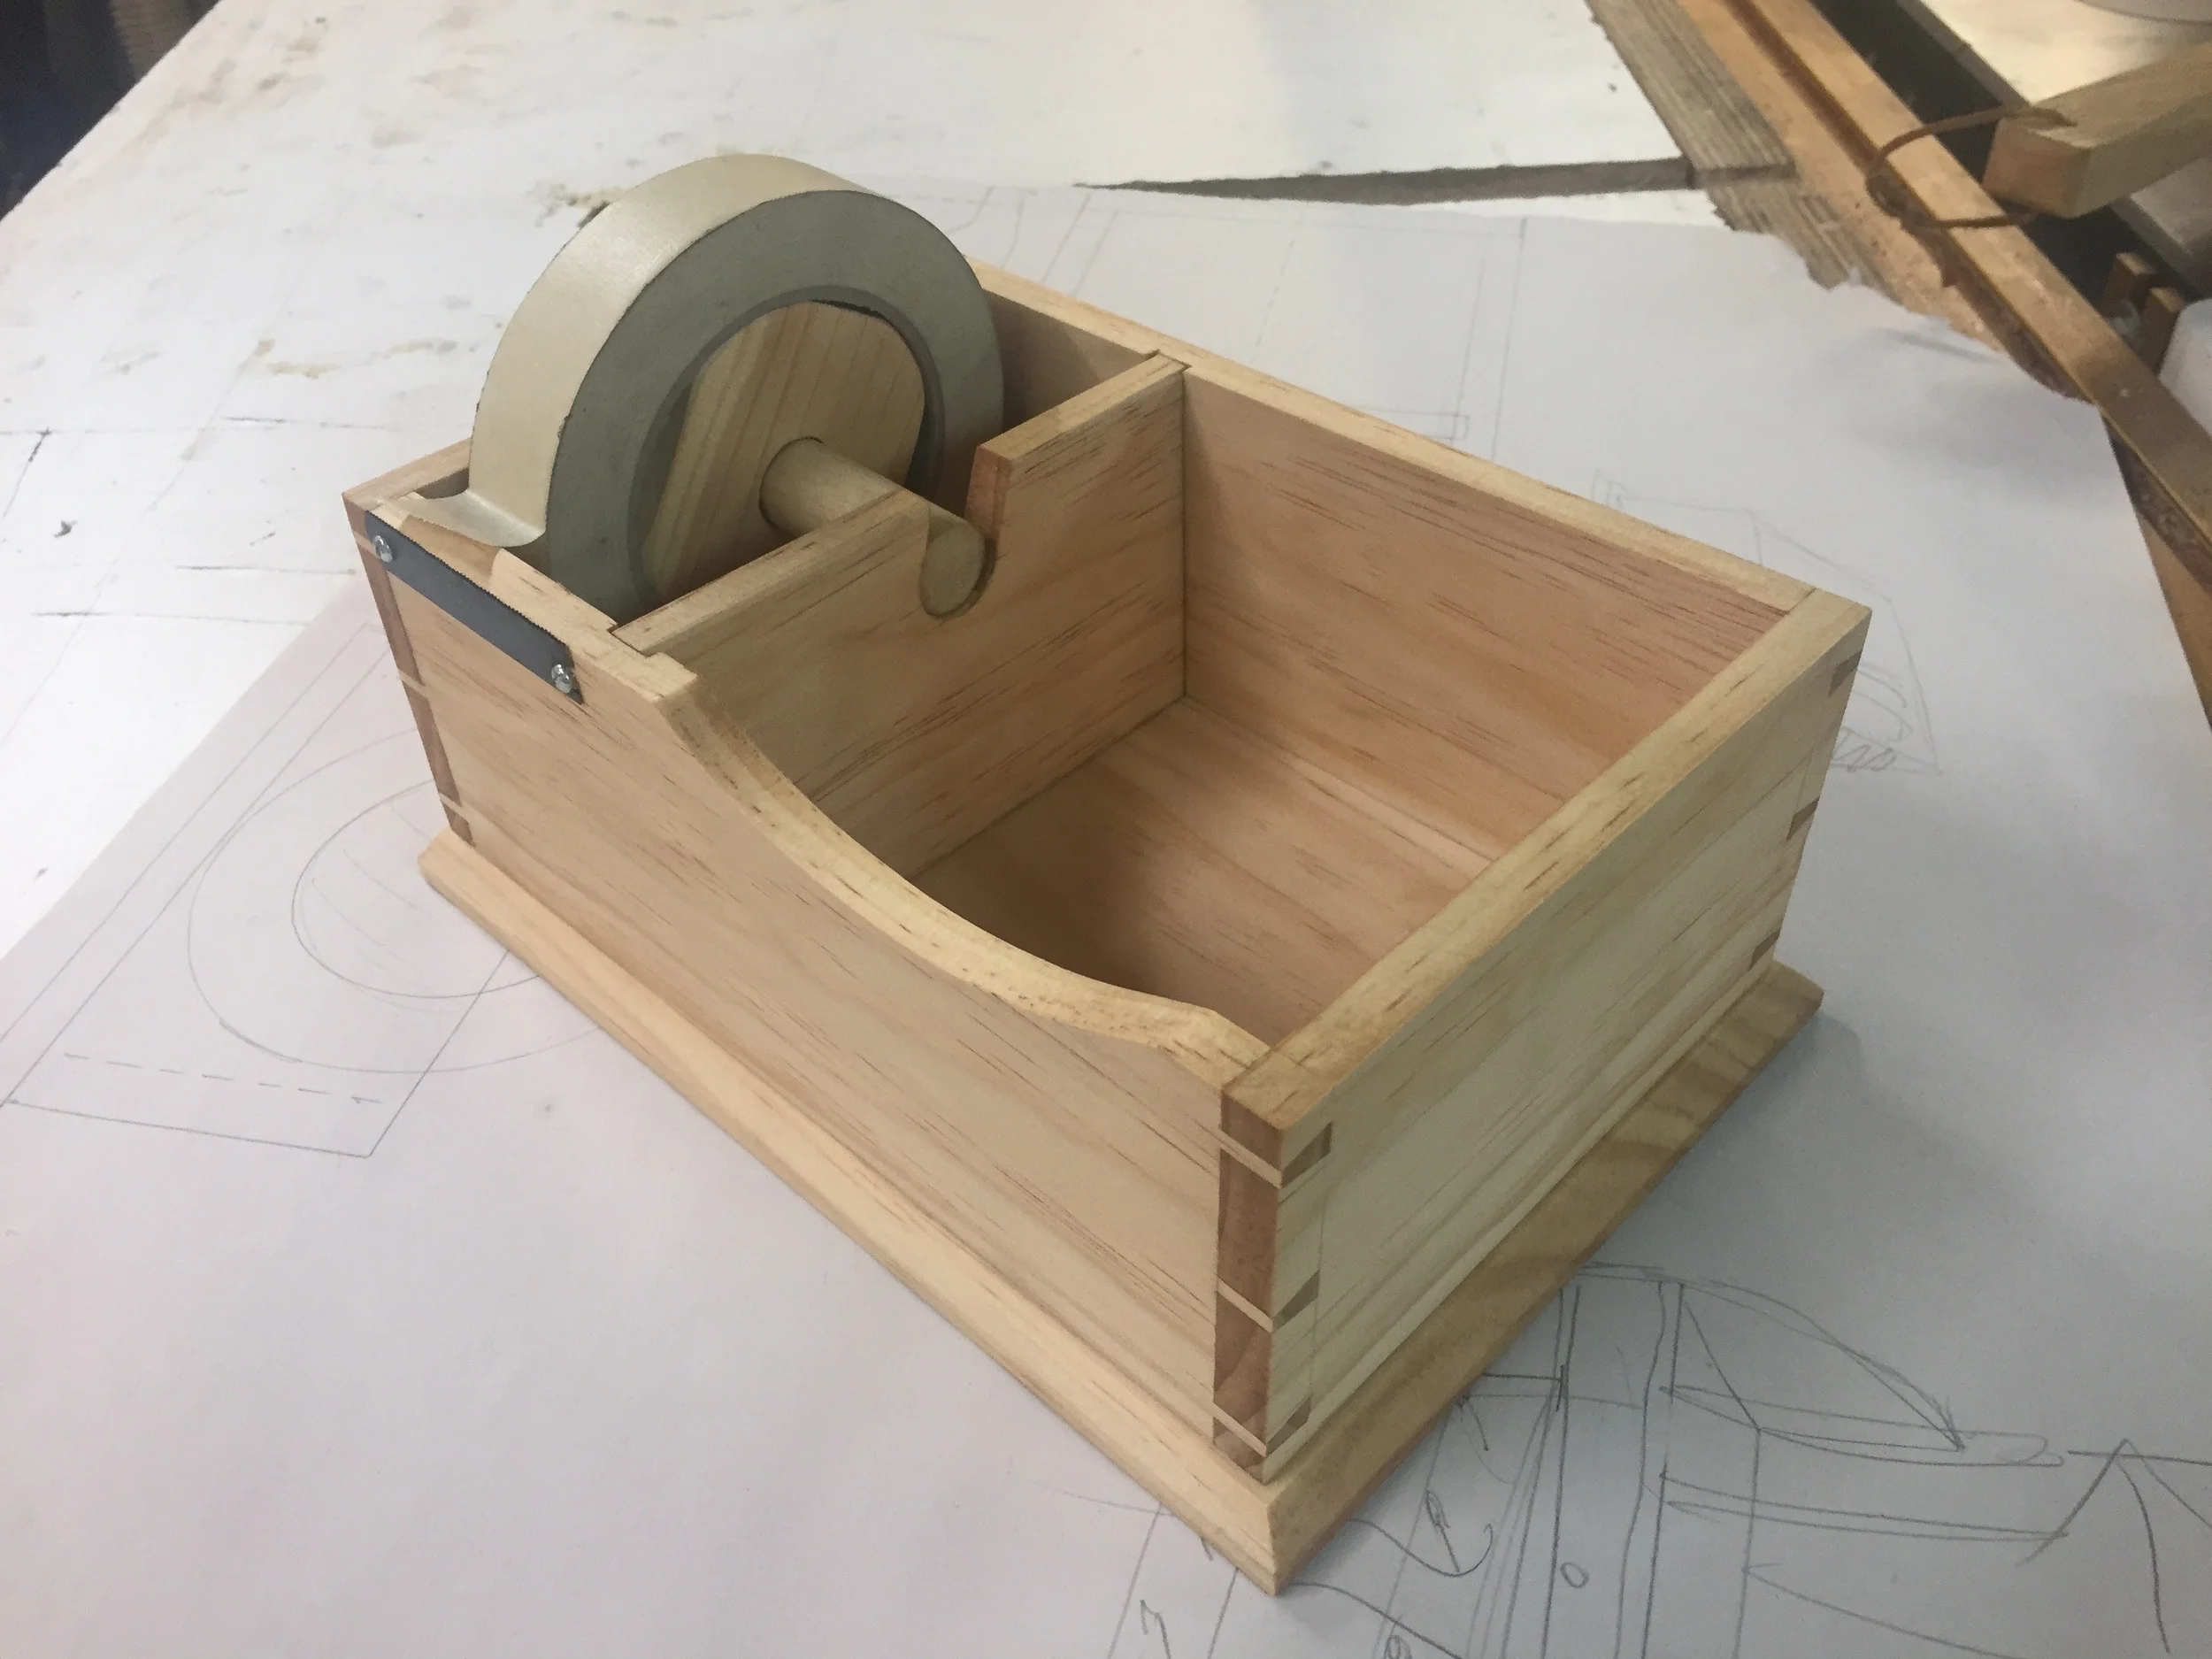
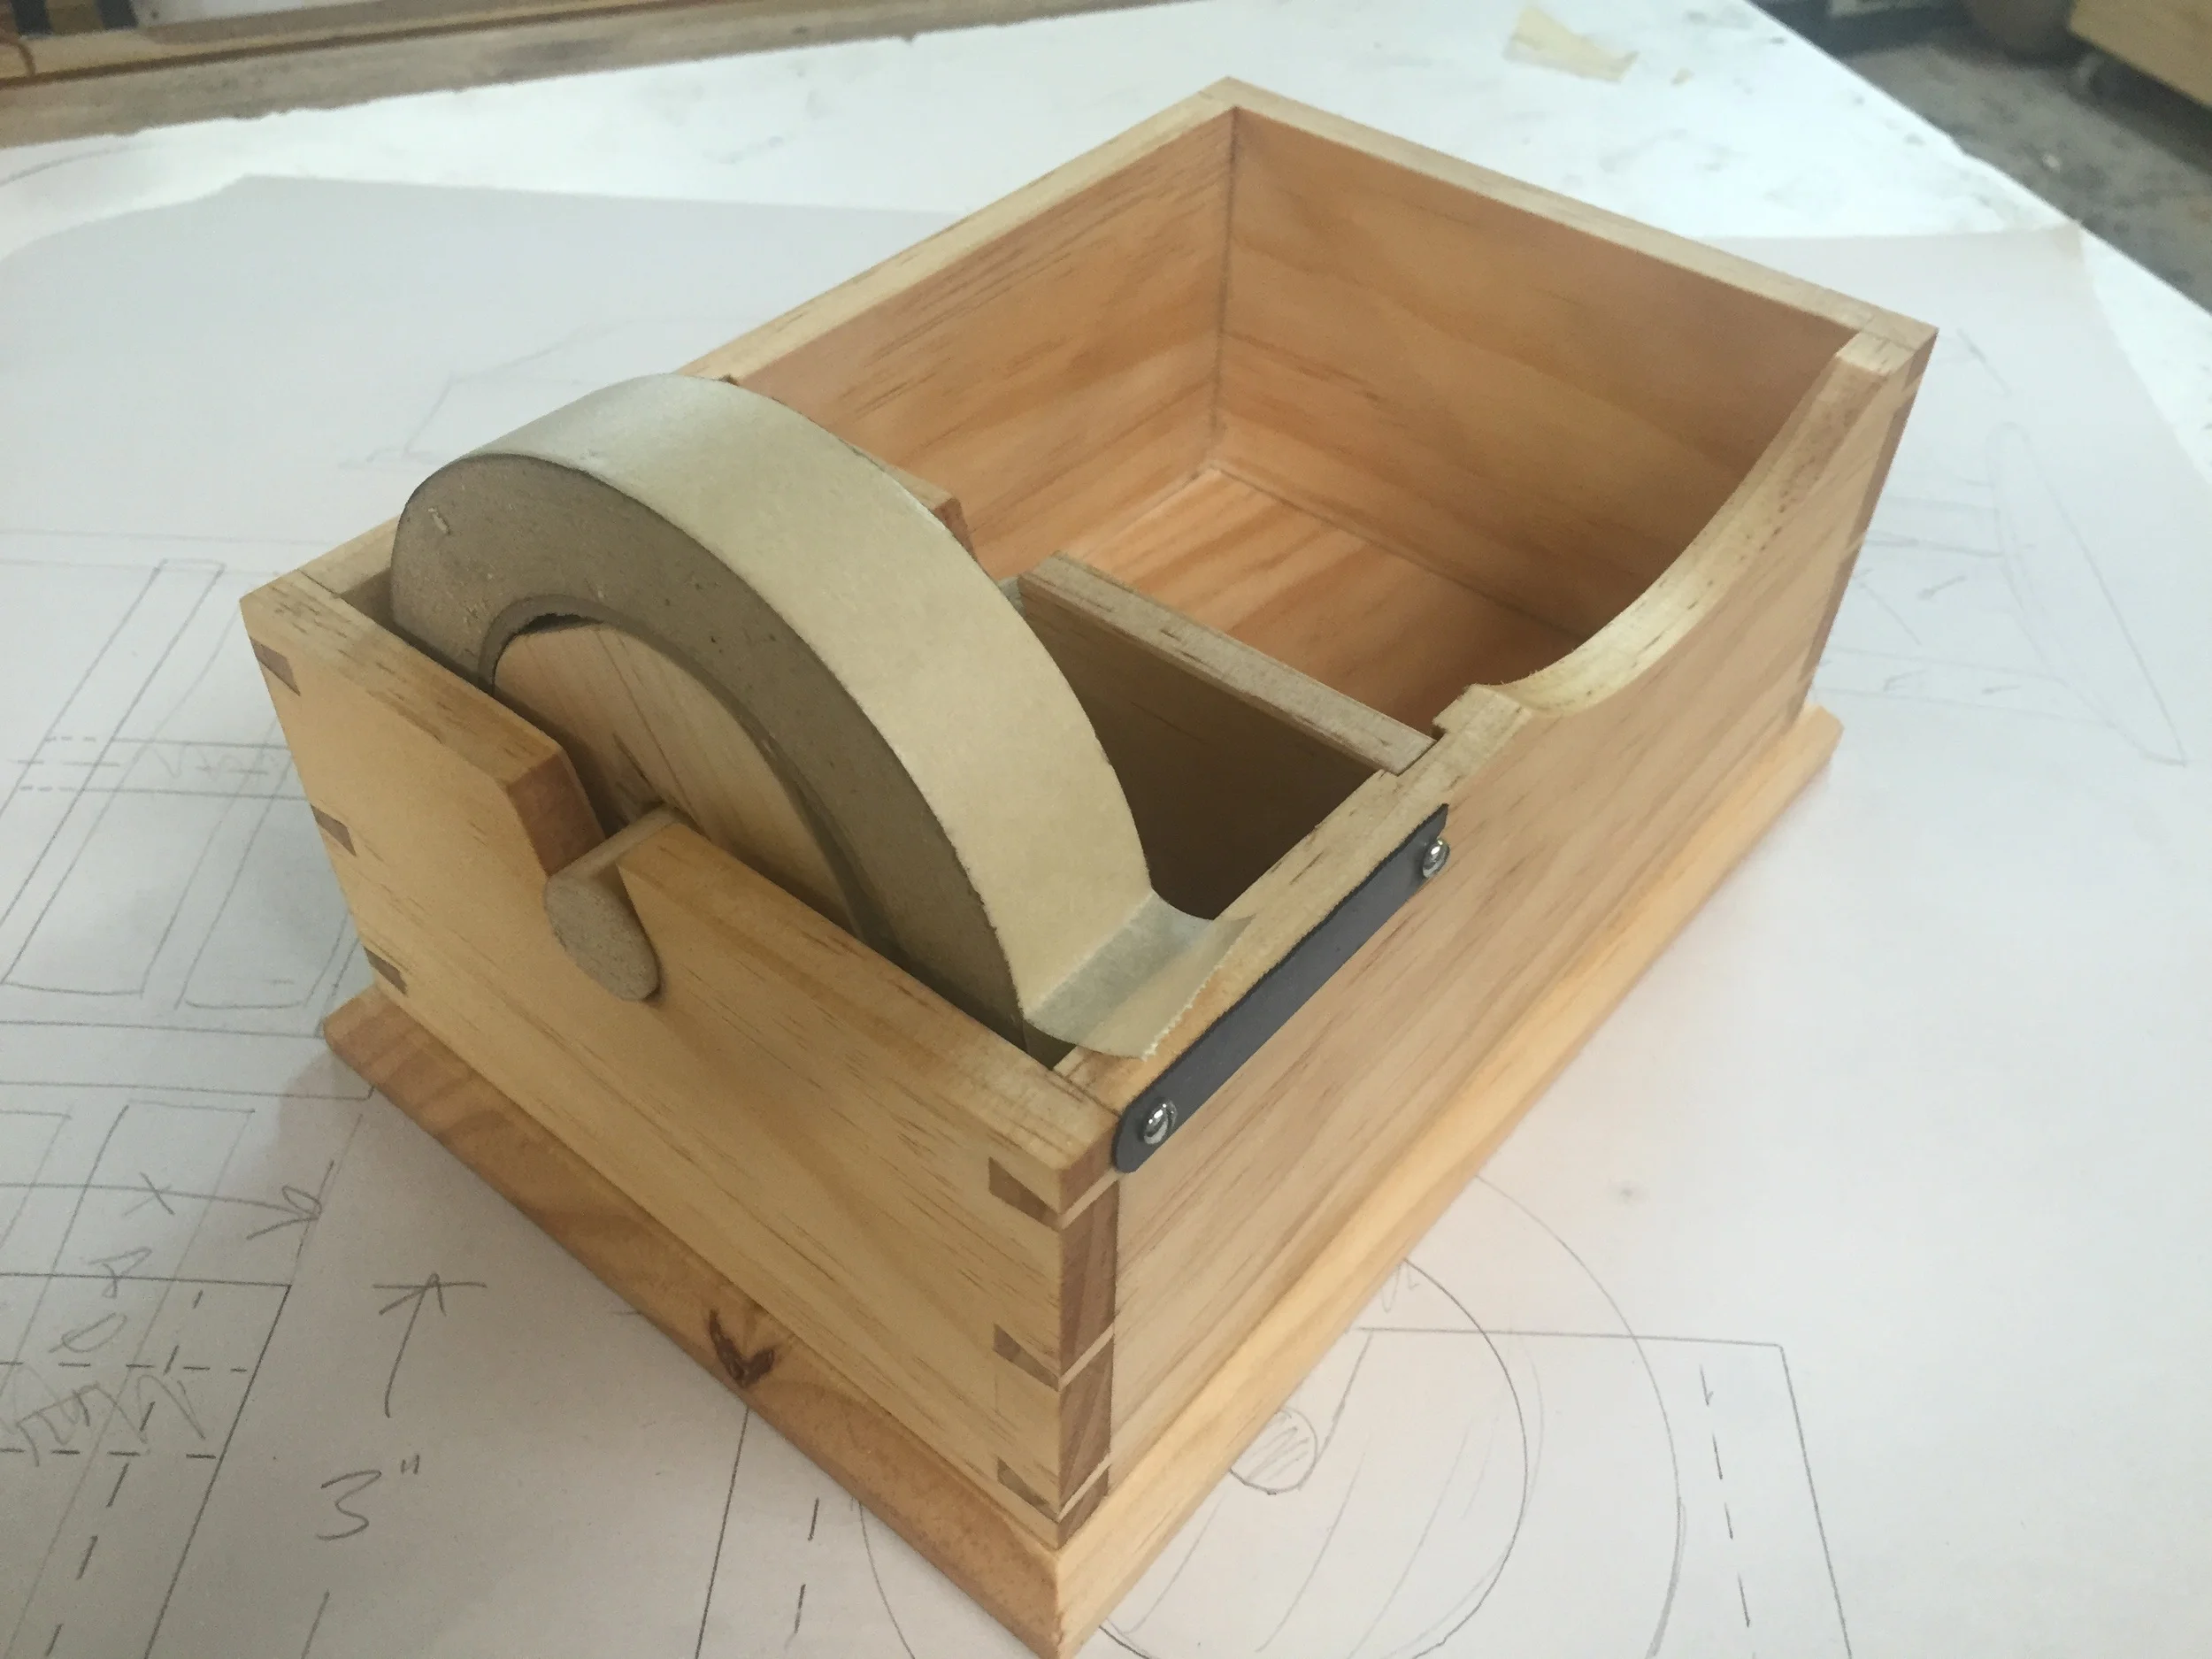
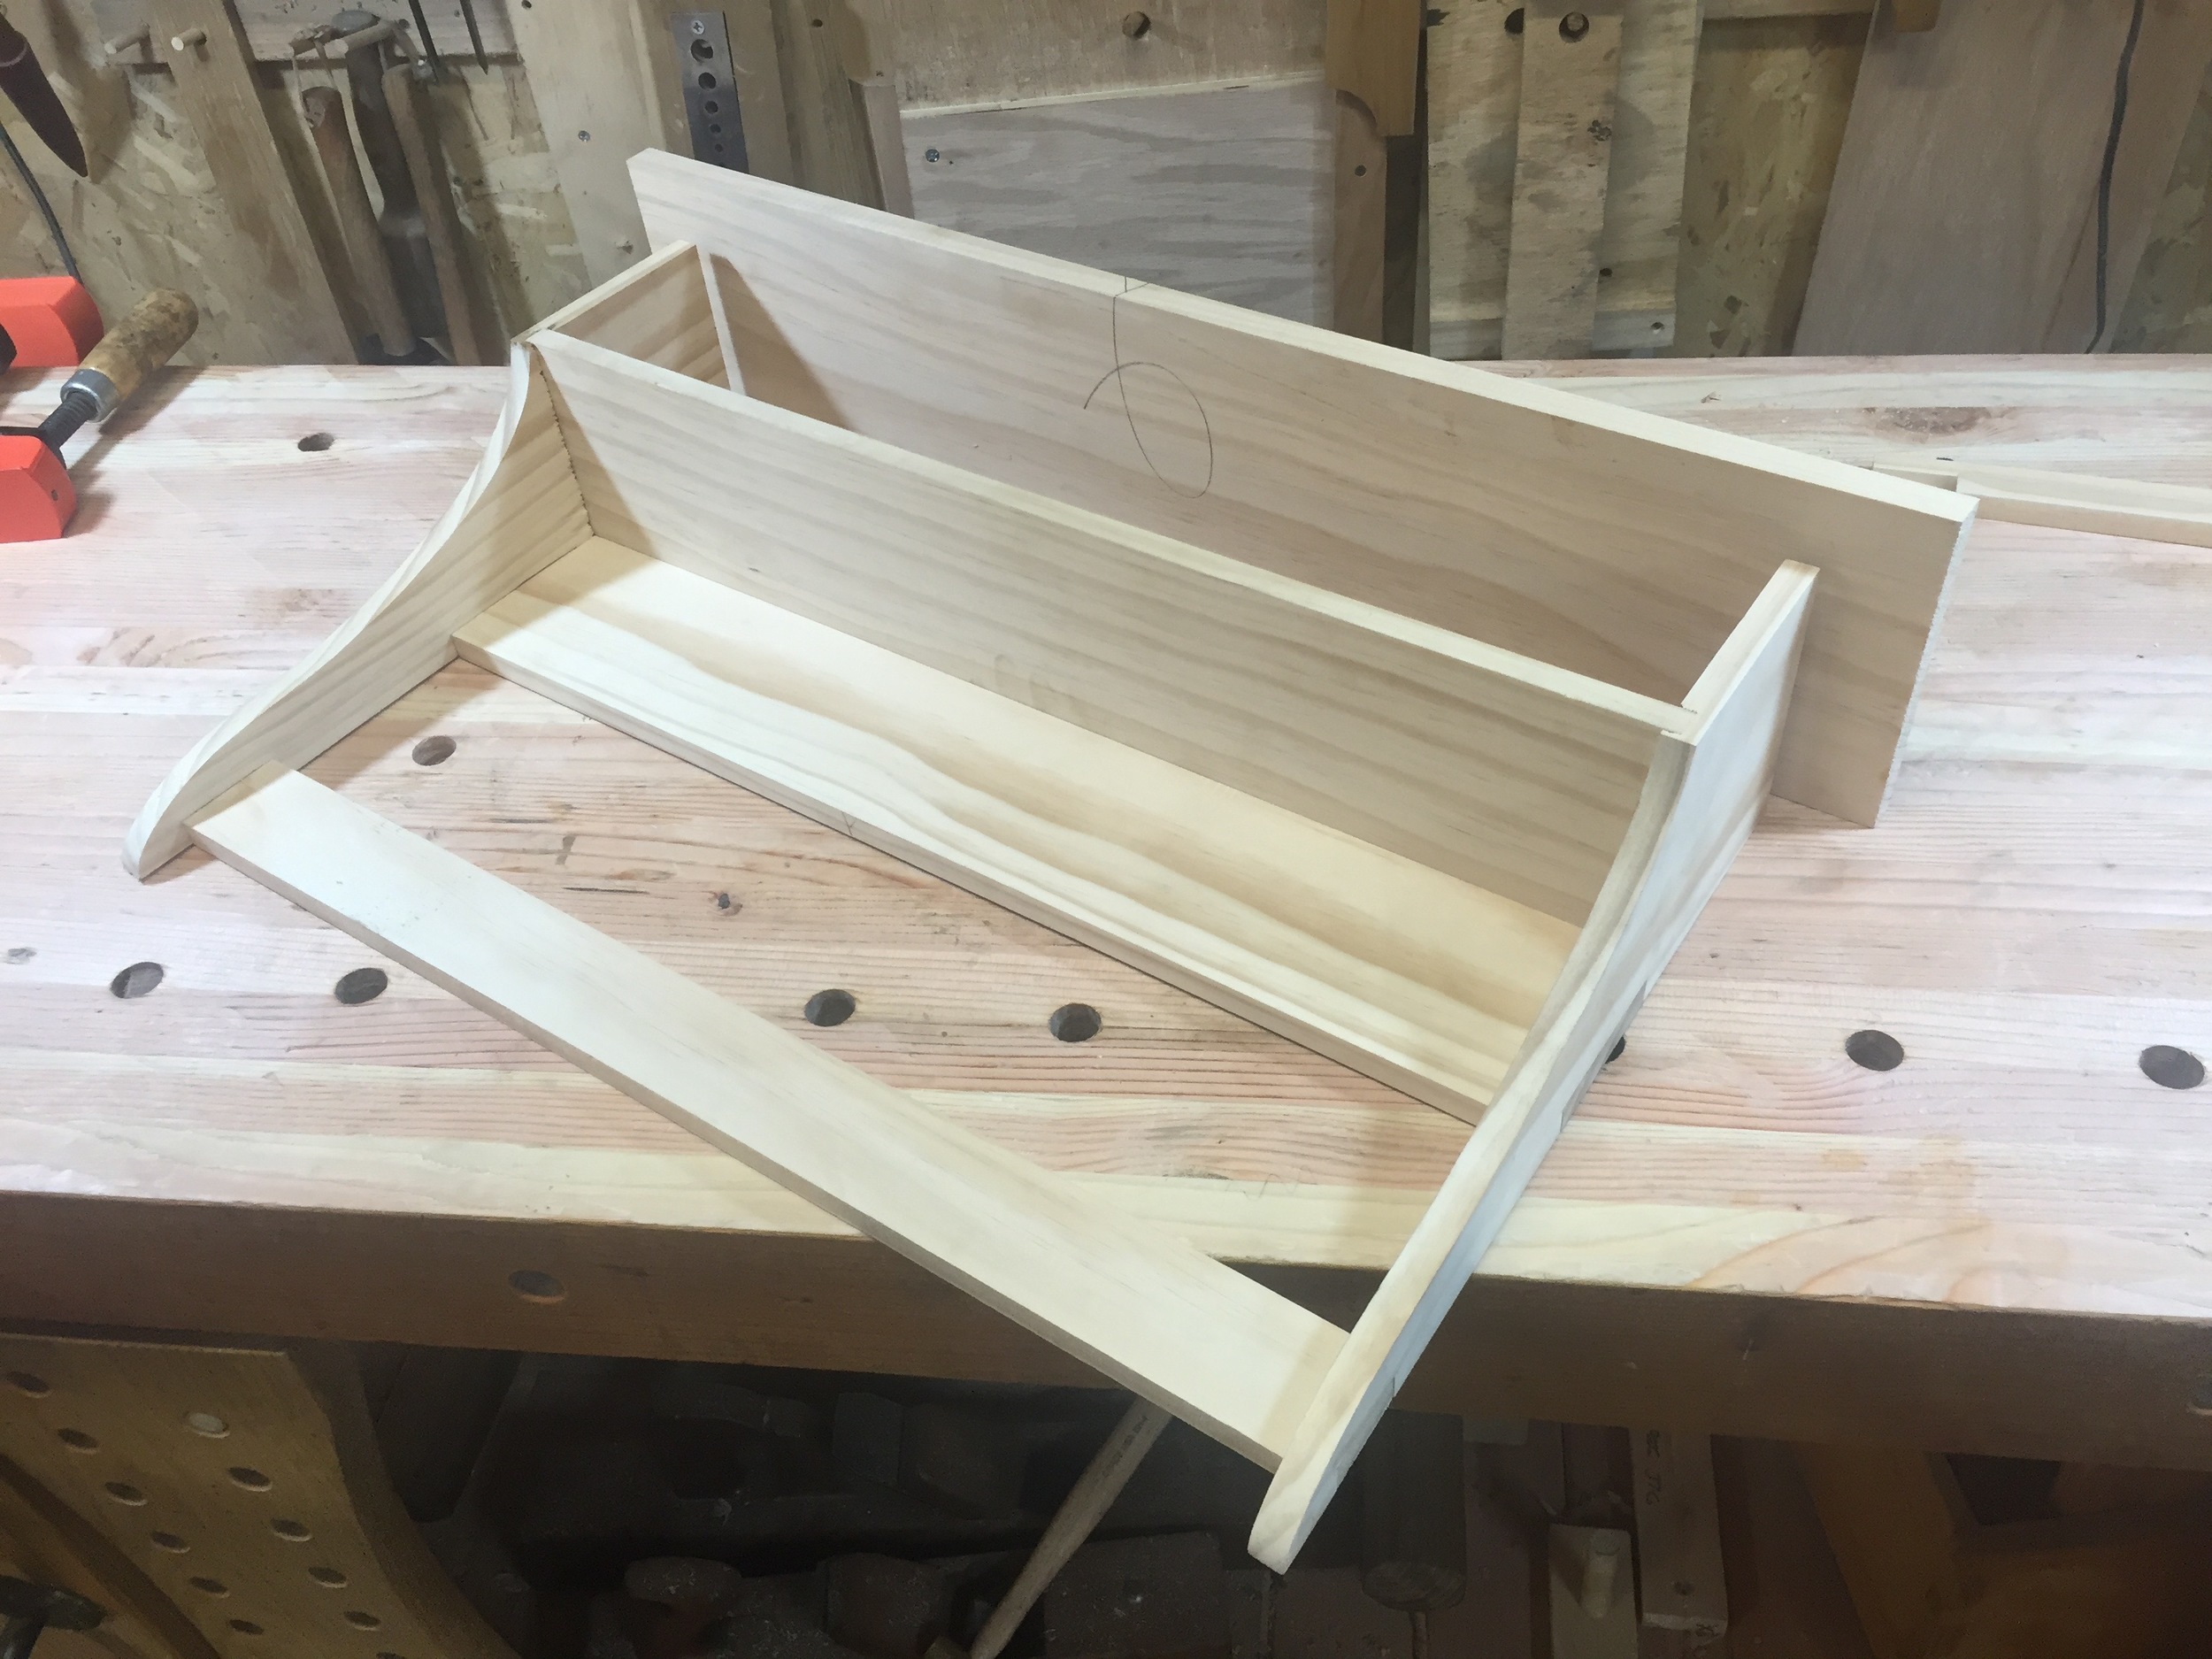
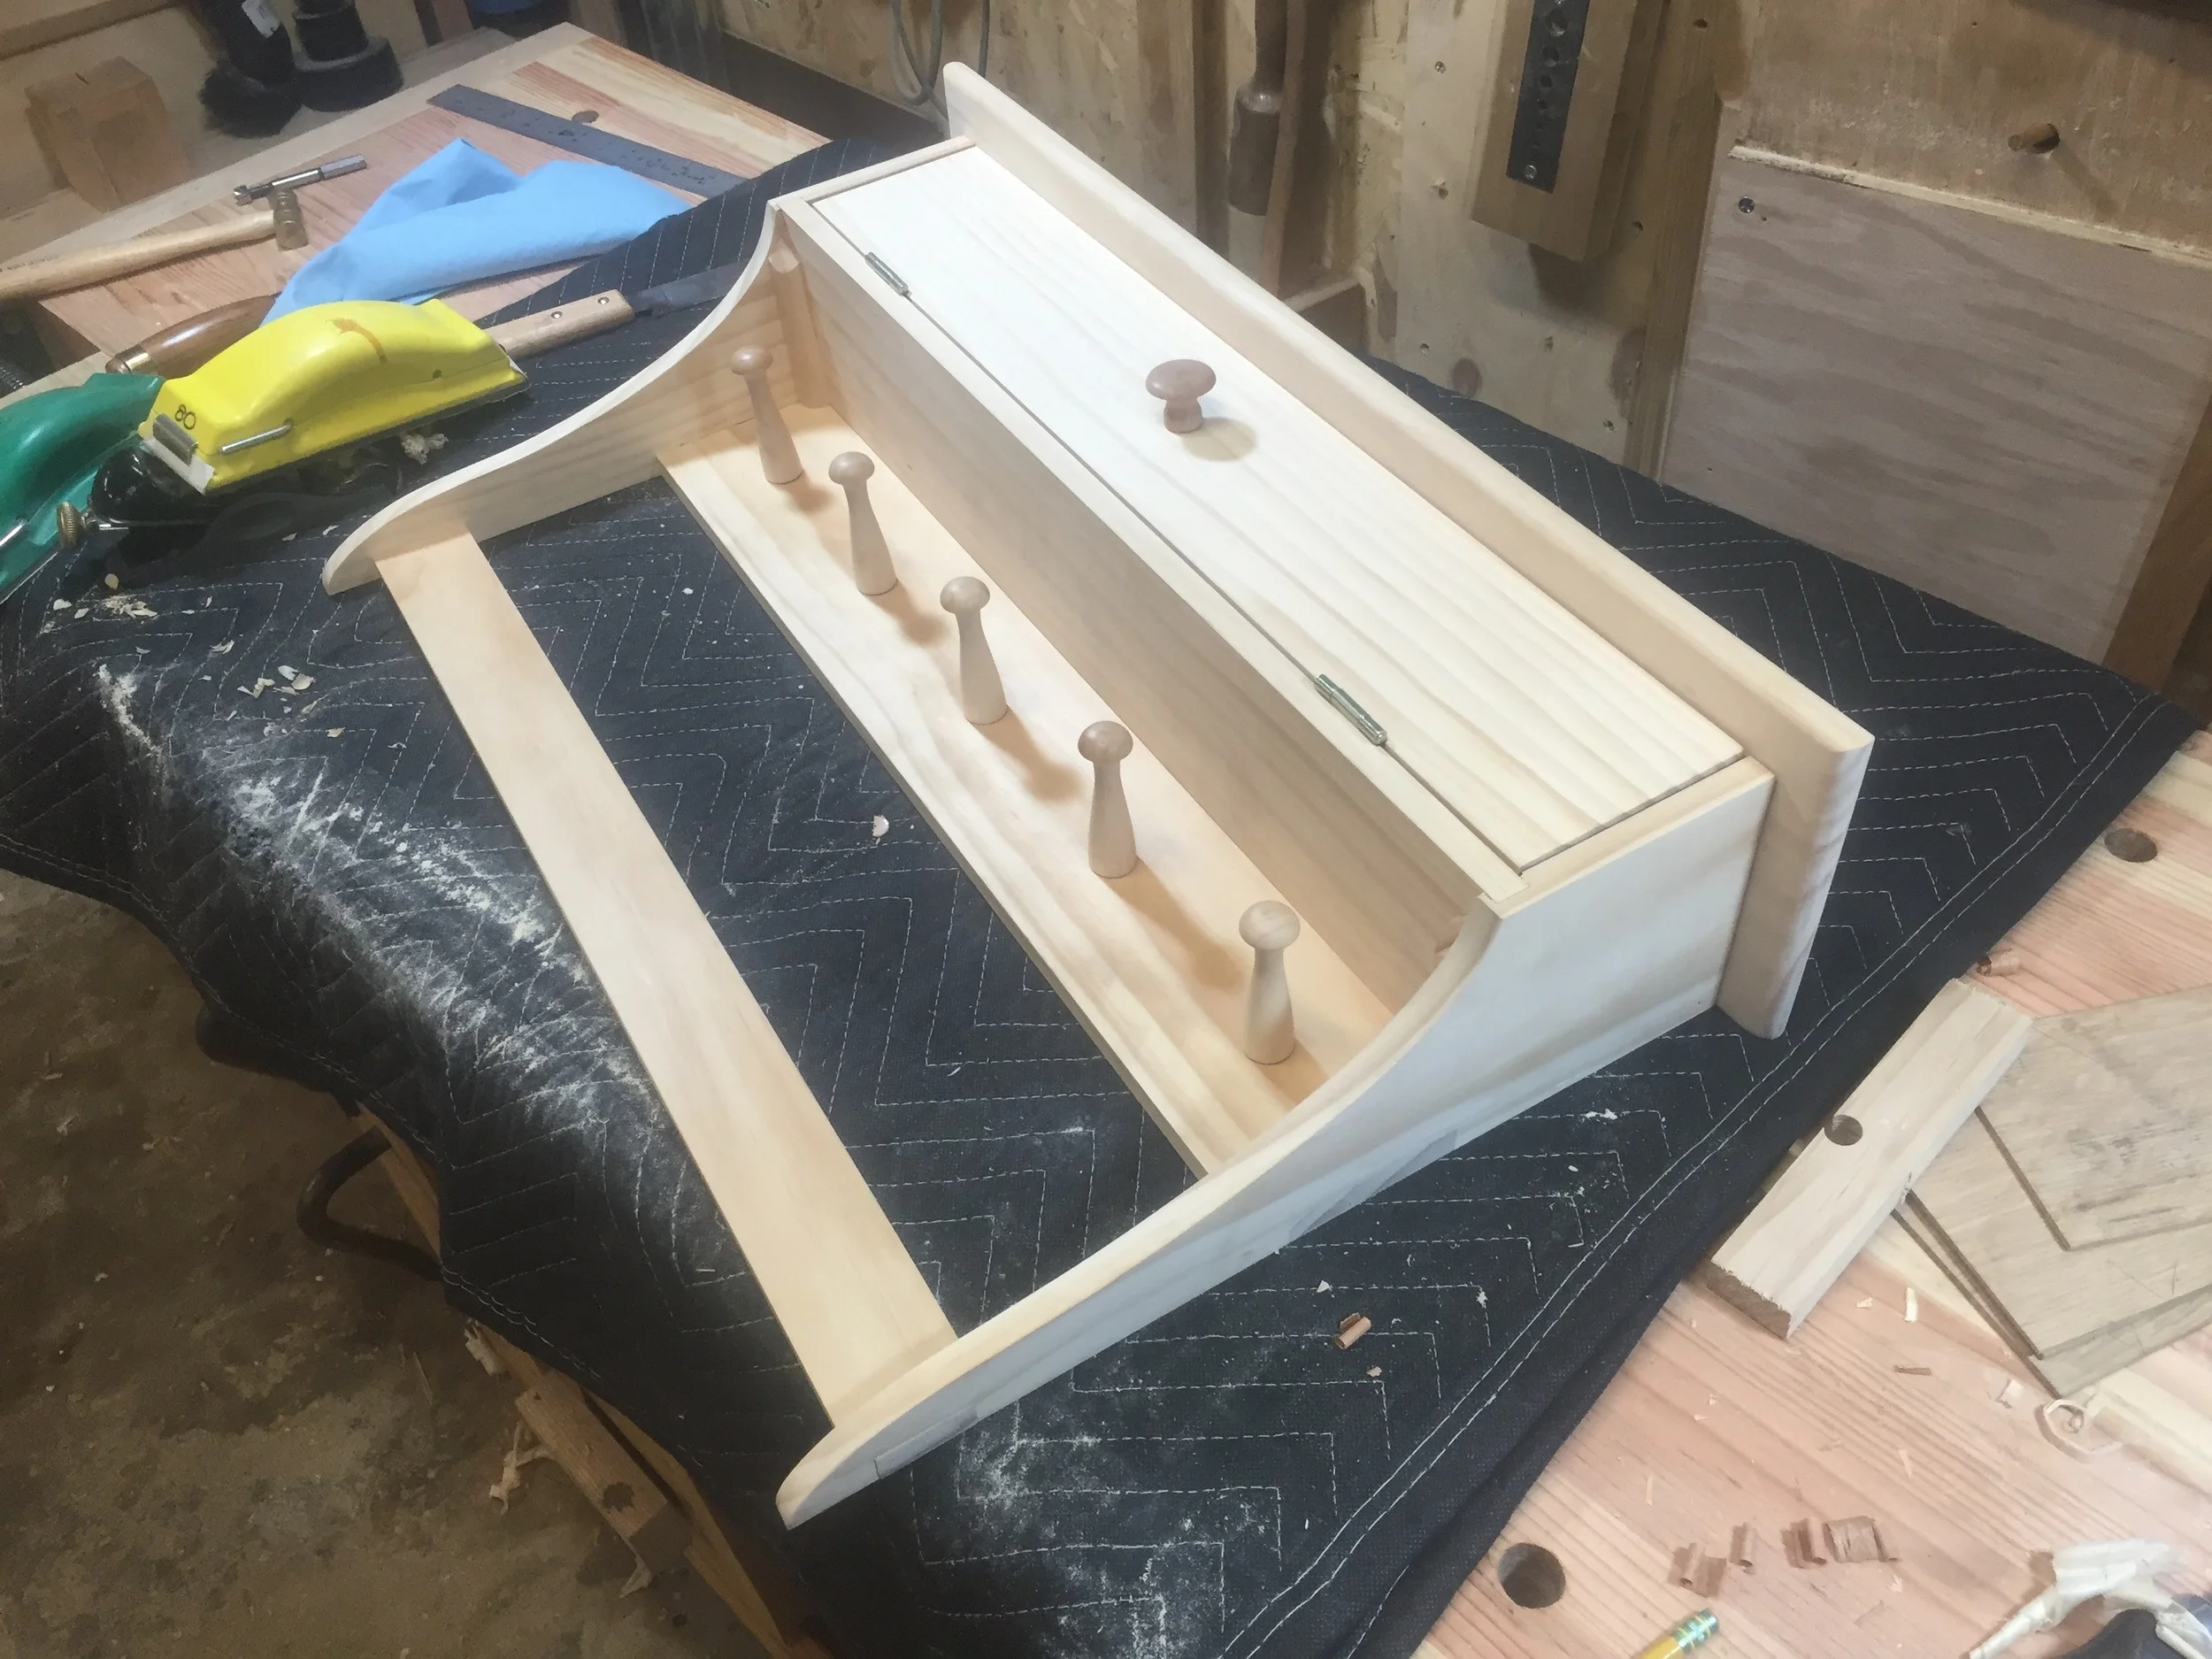
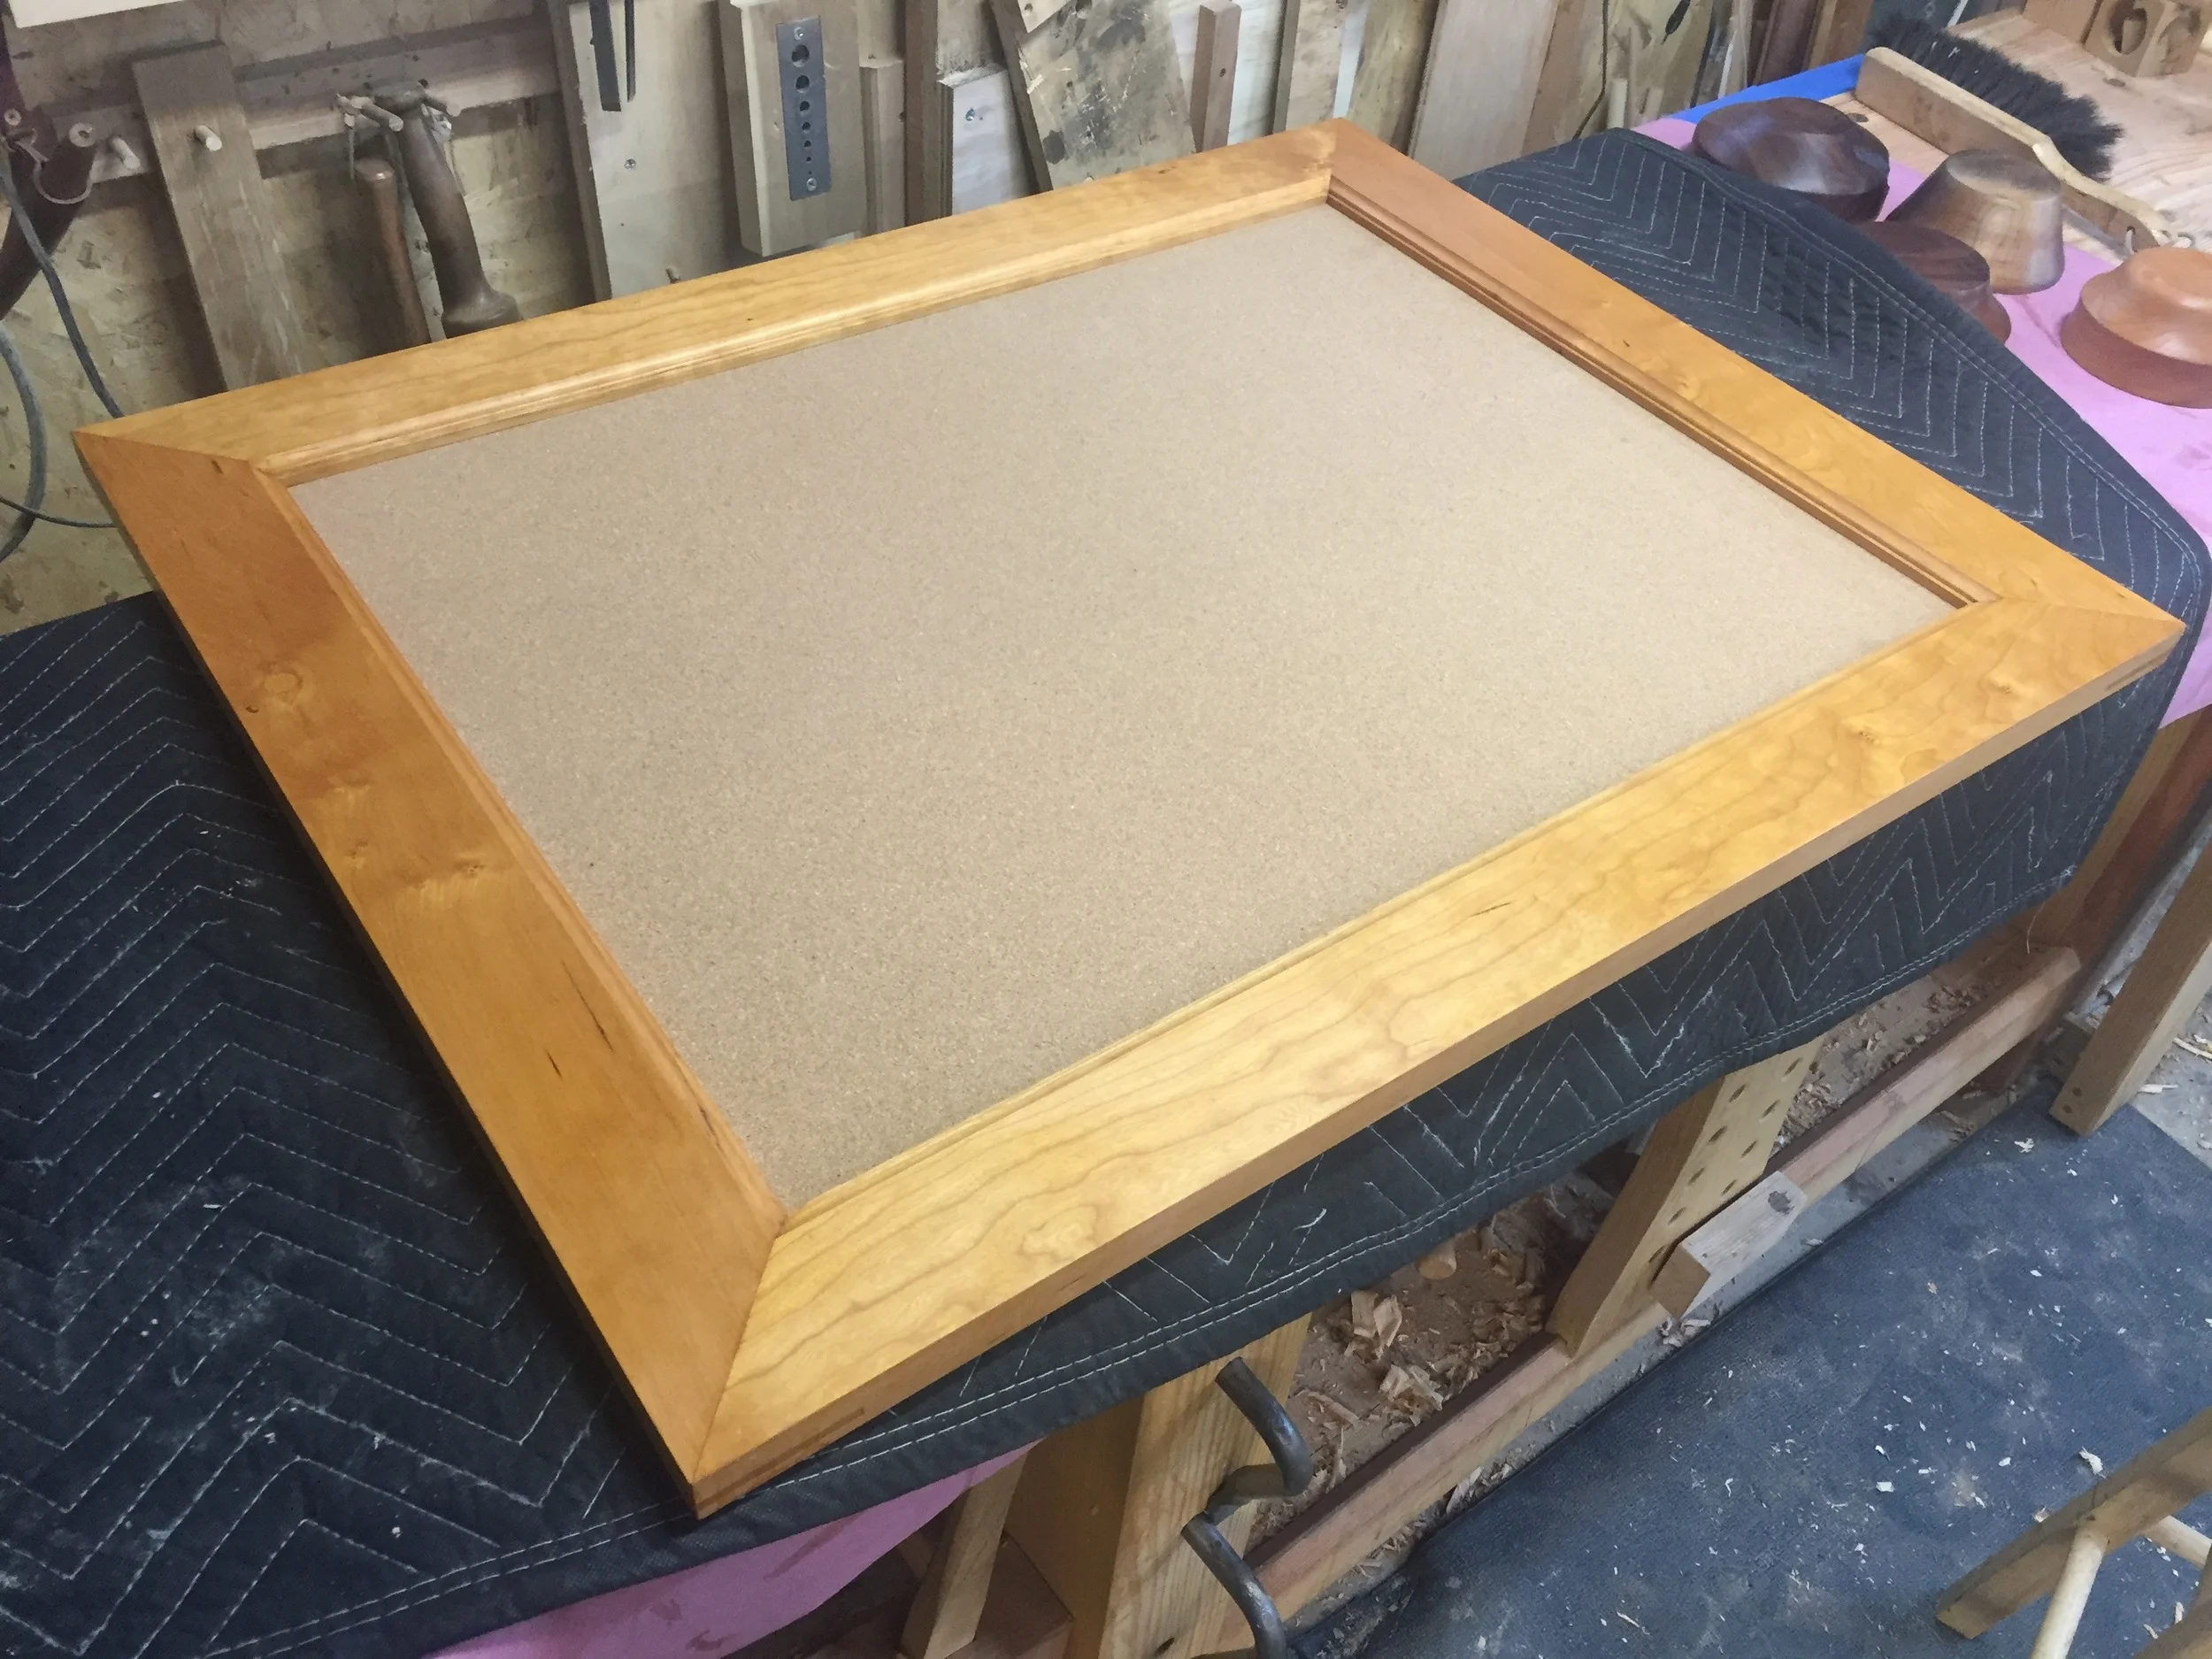
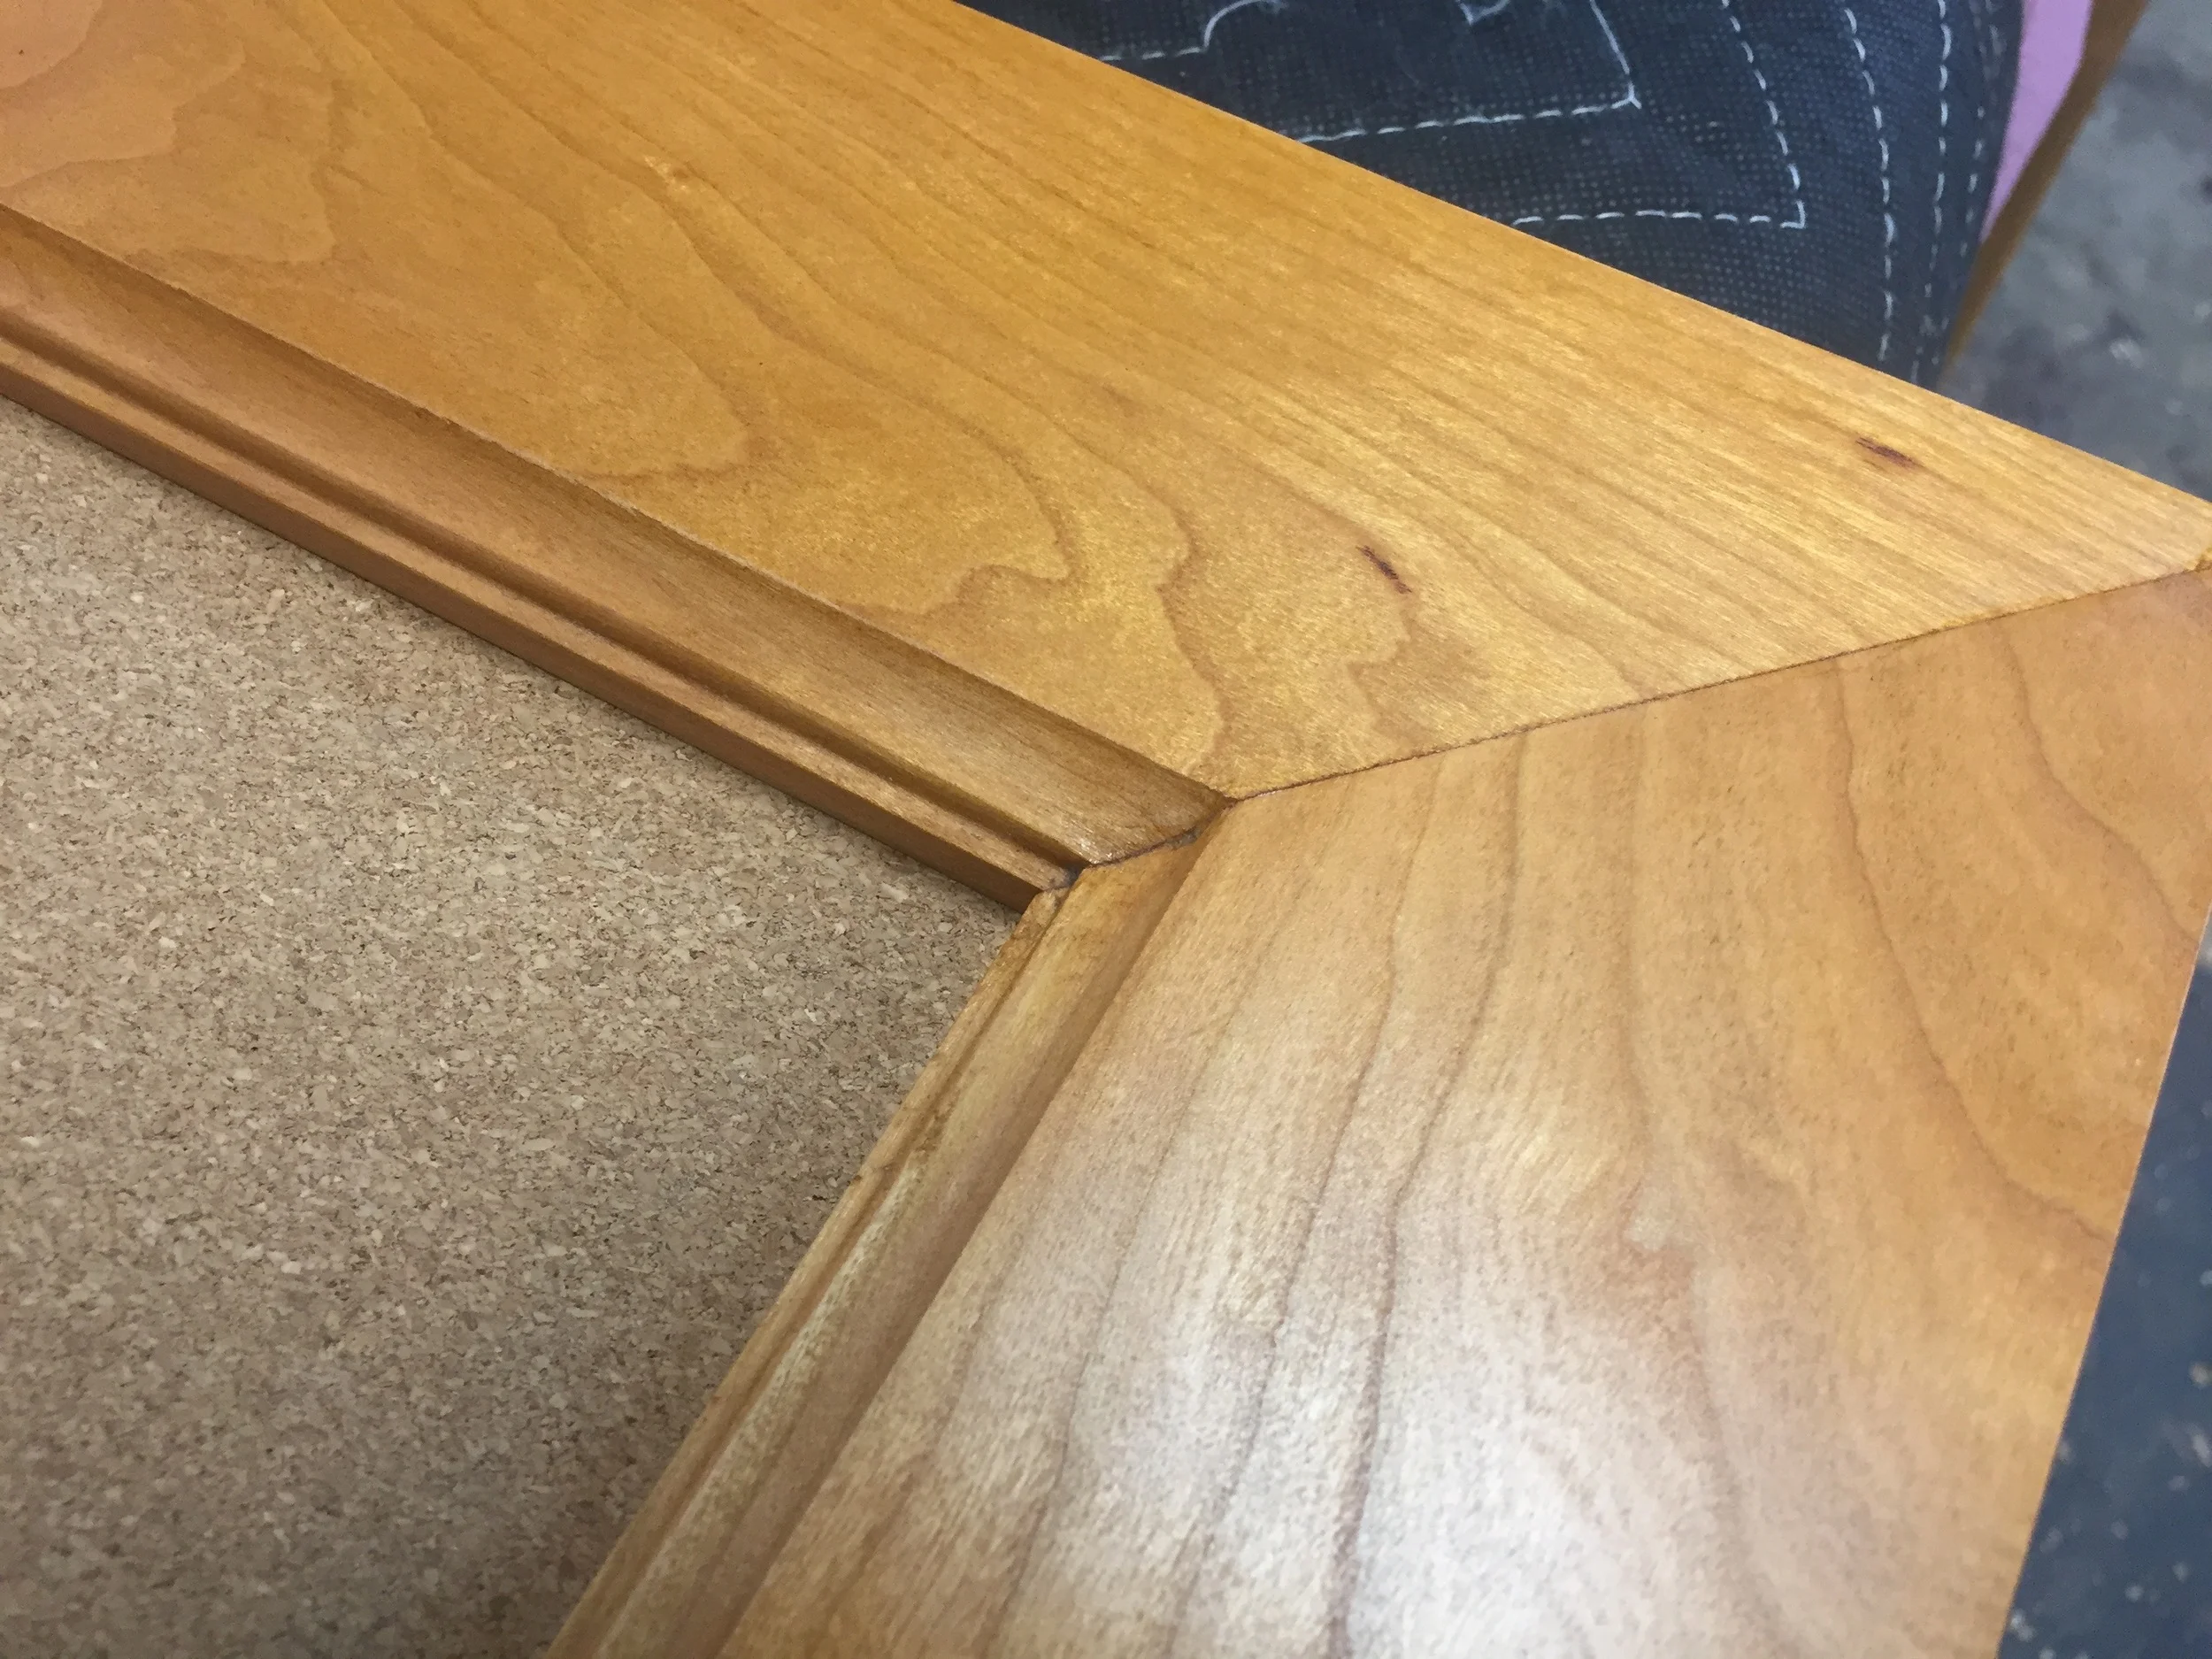
I couldn't wait to get this table installed in my office. But once I did, I soon realized I needed some accompanying parts to make the whole setup work well. So I built a few quick projects. I built a shaker style pine wall shelf for drawing and drafting tools, a cork bulletin board with a cherry frame for the wall behind it, and a little pine tape and pencil caddy to rest on the back edge. And while I originally clamped the drafting light to the top edge of the table, I later made a little wall mounted clamping surface for the light (the lamp clamped to the table made the light too shakey).
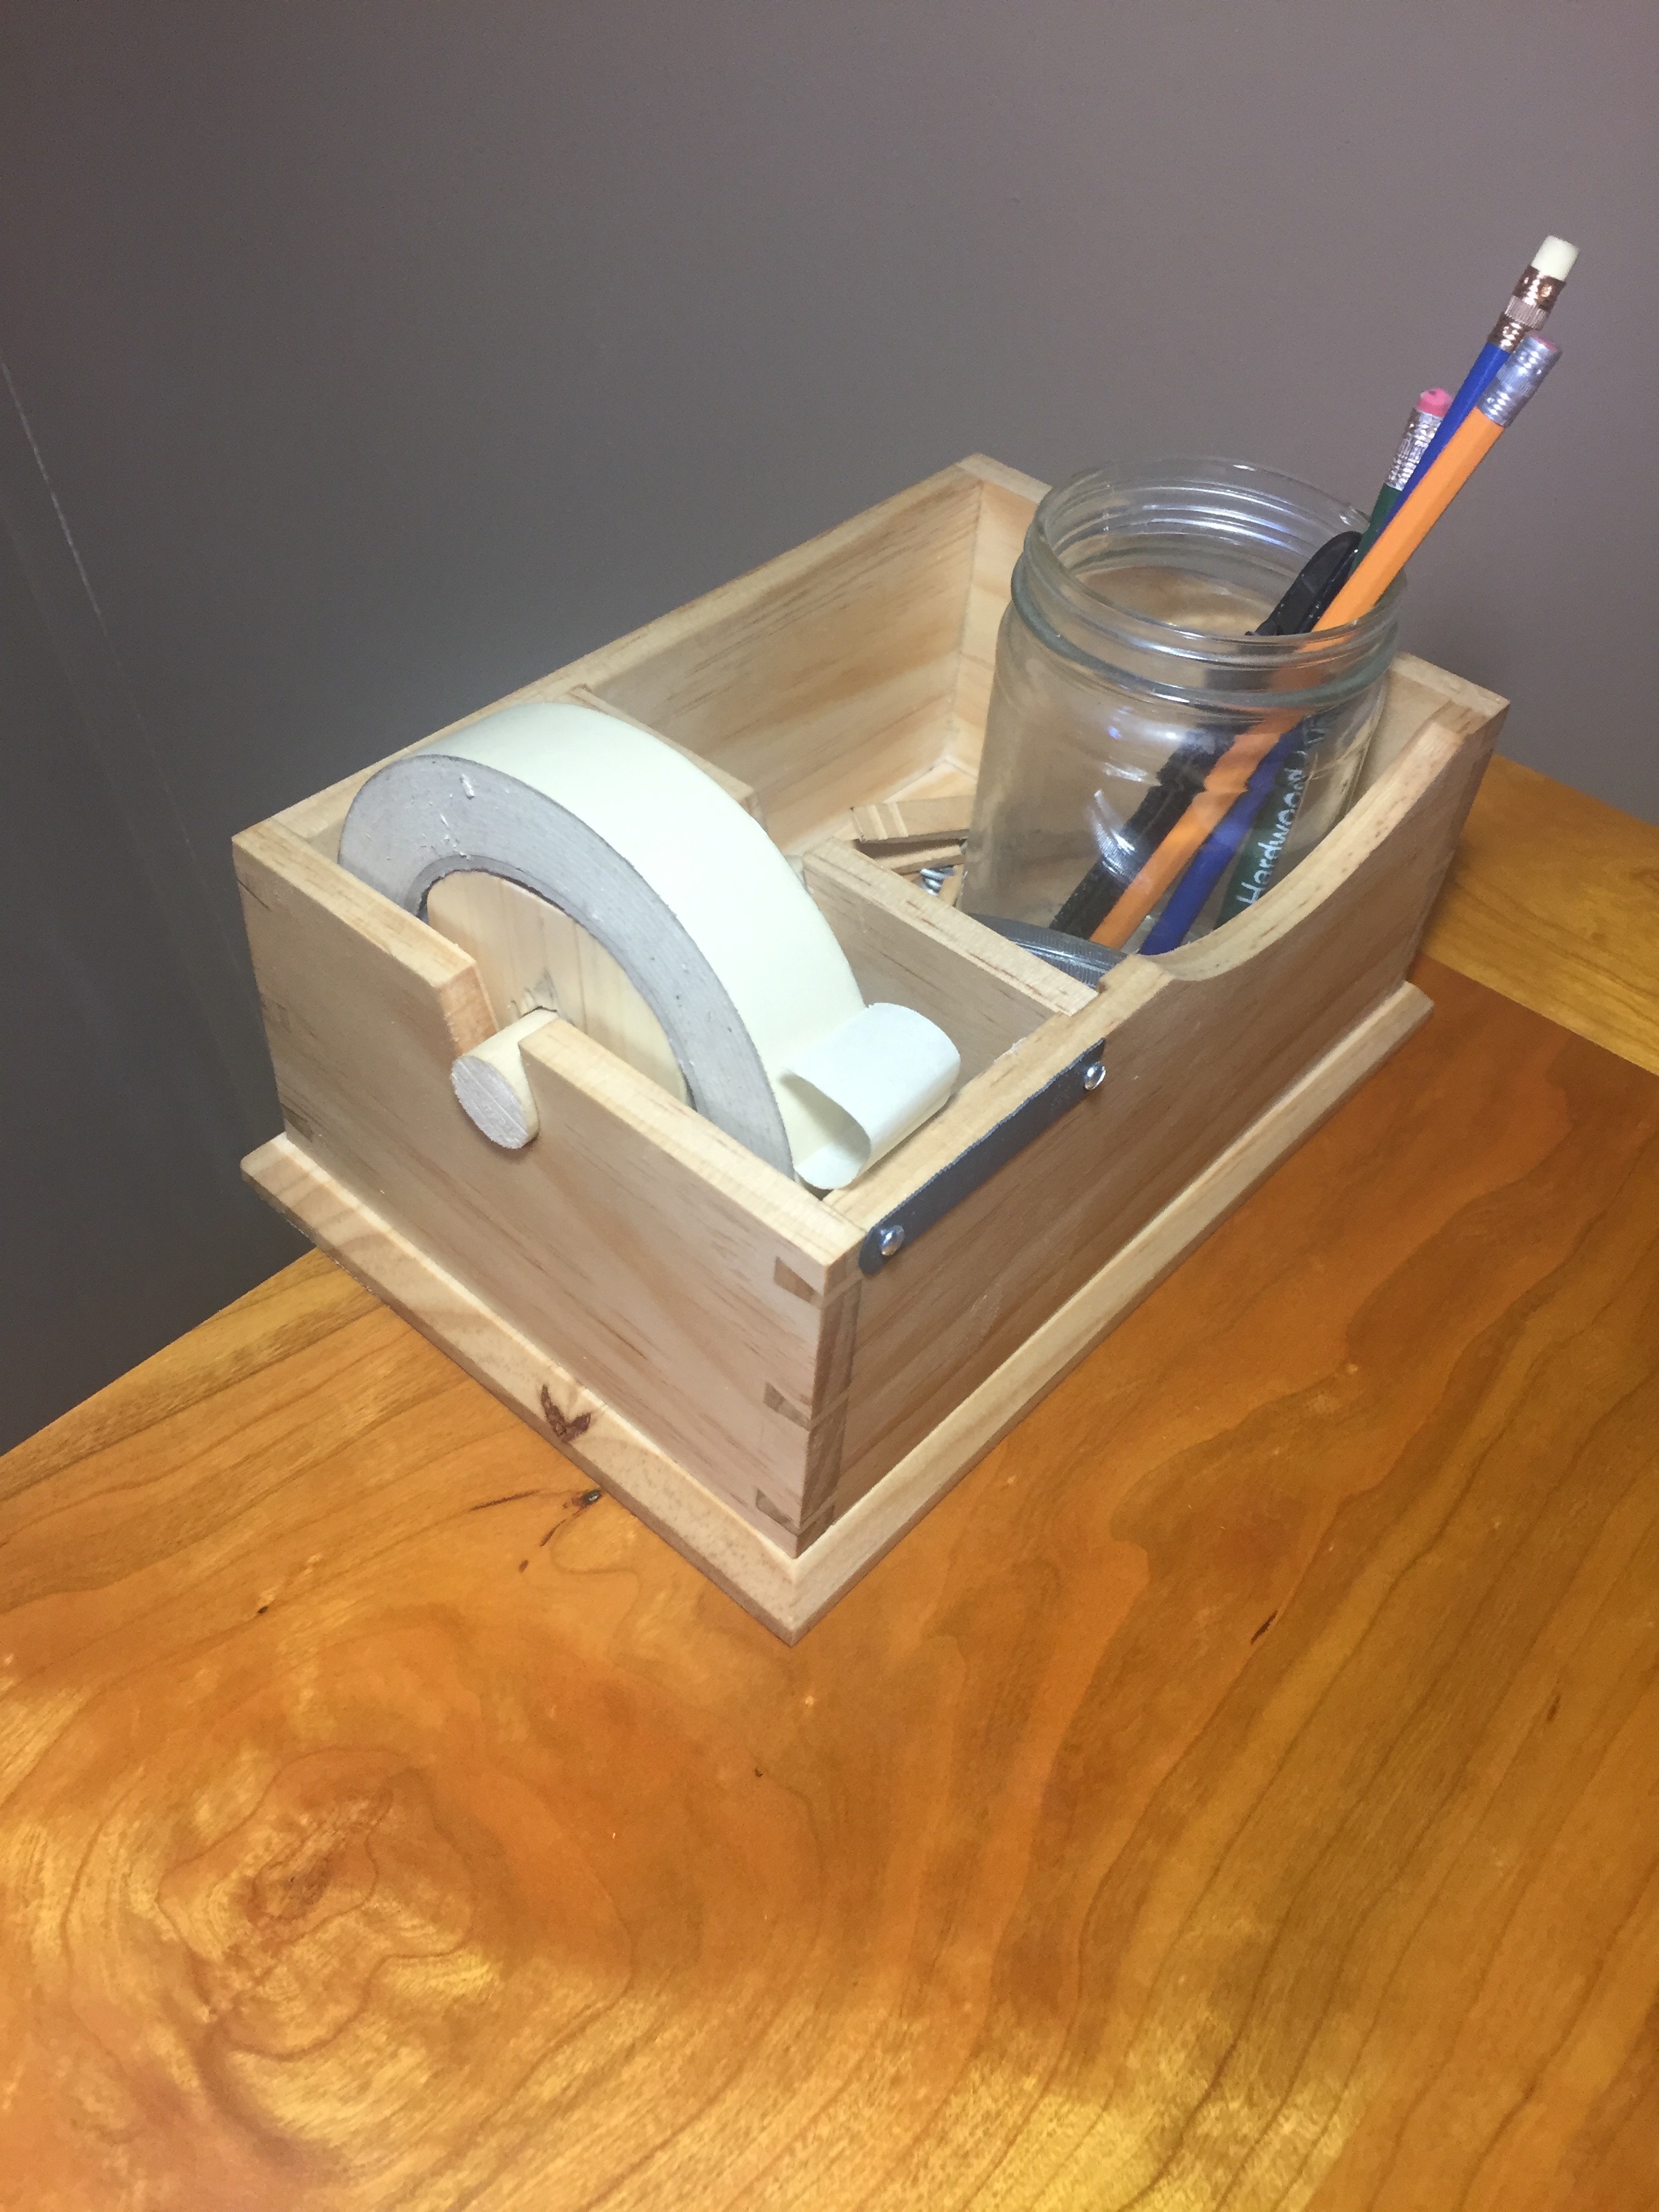
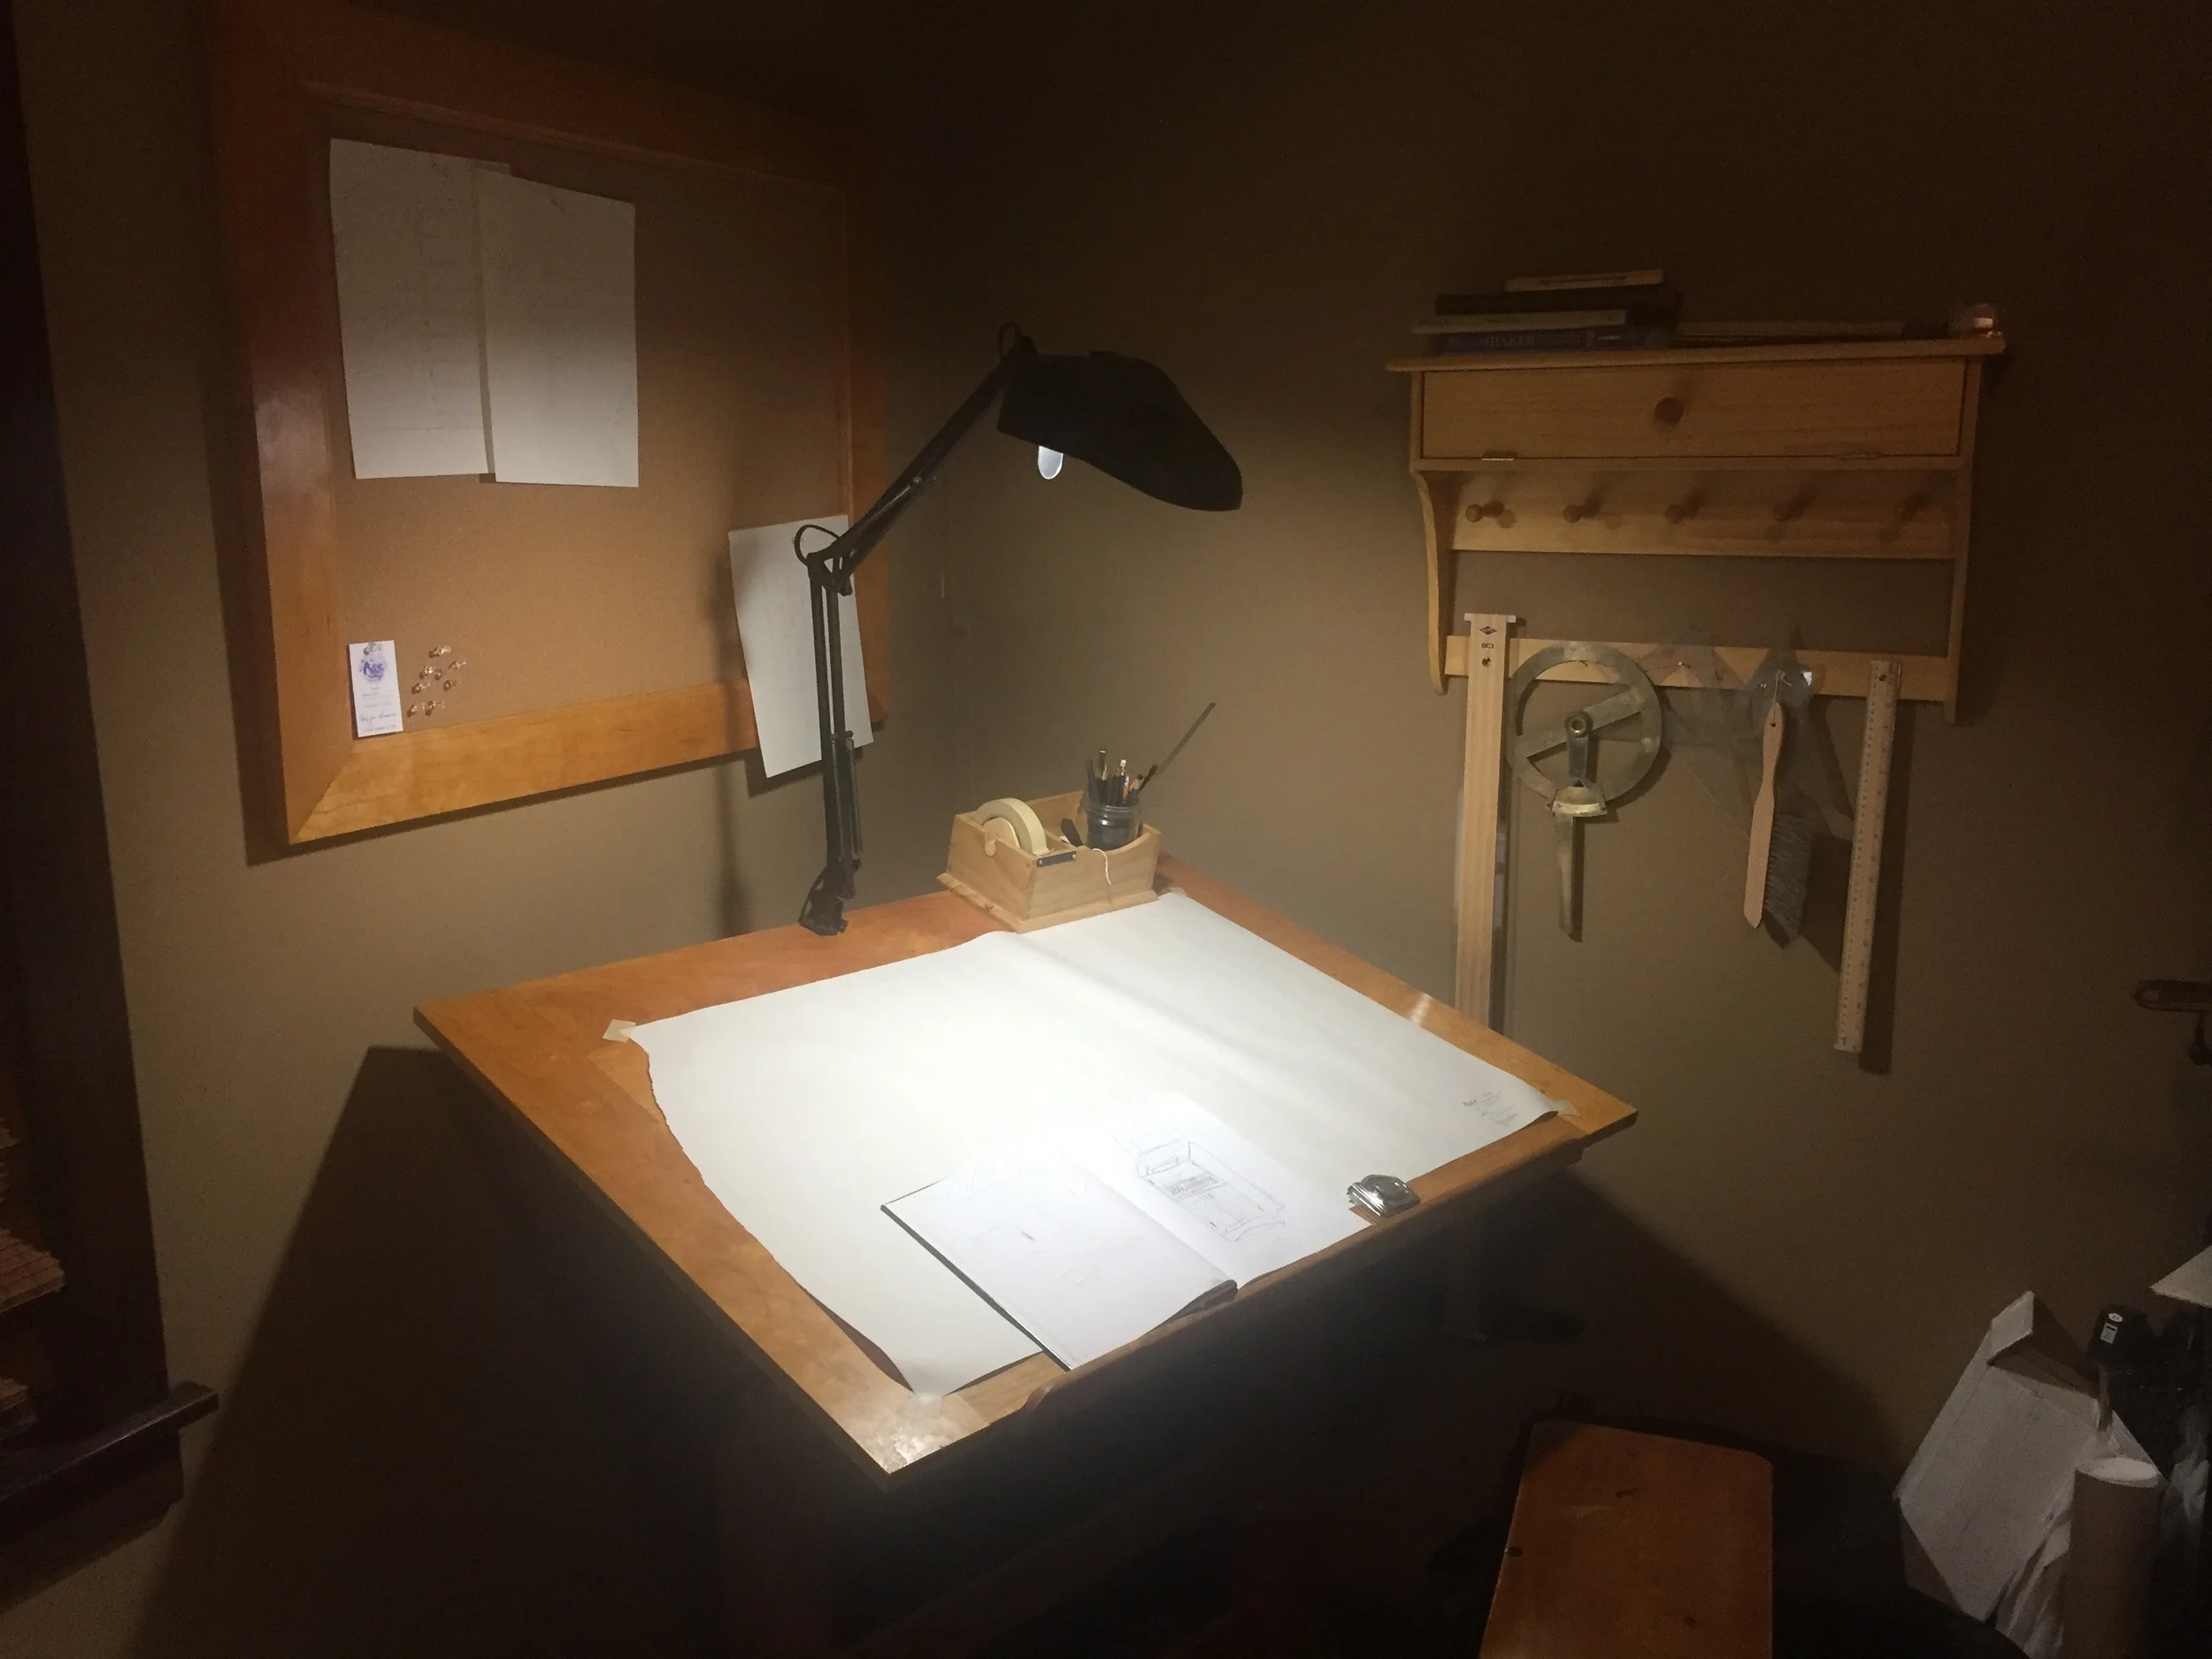
And with that, I had a nice little drawing and drafting station on my little office. The only piece I have left to build is a nice stool, as the big box store mystery wood knockoff I'm using now wants to fall apart on my any day now. Having a place dedicated to drawing has been wonderful for helping me work out furniture designs, and slowly my drawing skills are improving.
And finally, I recently had a great photo session for the piece, and posted those on the gallery. Take a look at the final piece here.
Marcus photographing the table