I've been woodworking intensely for the last five years. building, reading, learning, watching, doing. In that time, I've built a shop, an (almost) complete set of tools (ok, there's NEVER a complete set of tools), a workbench, furnished half of my house with custom period furniture (and still going), built projects and furniture commissions for customers both locally and at long distance, and more. And while I still feel new to the craft (and probably always will), when looking back at all I've done, I have to acknowledge my accomplishments. I've built solid skills. I've done my homework, learned from great sources. I completed many difficult and challenging projects. I've marketed, sold, and delivered furniture to customers. I've gone from a newbie -- being unsure, confused, and sometimes struggling, into a pretty efficient woodworker, knowing the steps I need to take, knowing the time and effort and attention required to do them, and applying those to projects that get completed. I know that simply knowing those things vs. executing them over and over again, are not the same. The first leads to the second. To improve my work, I need that experience, and I'll get that with each day I spend woodworking. I'm aware of both my strengths and weaknesses as a craftsman. And so it was with mixed emotions that I began to entertain the idea of teaching woodworking to others.
It all began a couple of years ago, when I was approached by Dave Coulthard, a woodworker from England, living in Des Plaines, a suburb of Chicago, about helping him realize his dream of starting a woodworking school. He had found me online through my website and other places where I had posted my work, and liked my craftsmanship and writing. And in his eyes, my background in IT didn't hurt either. We met and discussed his plans, and how I could help him (setting up tech/IT stuff at first, teaching classes and helping run the school later). As our talks progressed, I was flattered that Dave, a 36 year veteran of professional woodworking, classically trained in the apprentice system as a joiner, loved my work and craftsmanship. But I felt understandably insecure about teaching to to others. How could I presume to teach?
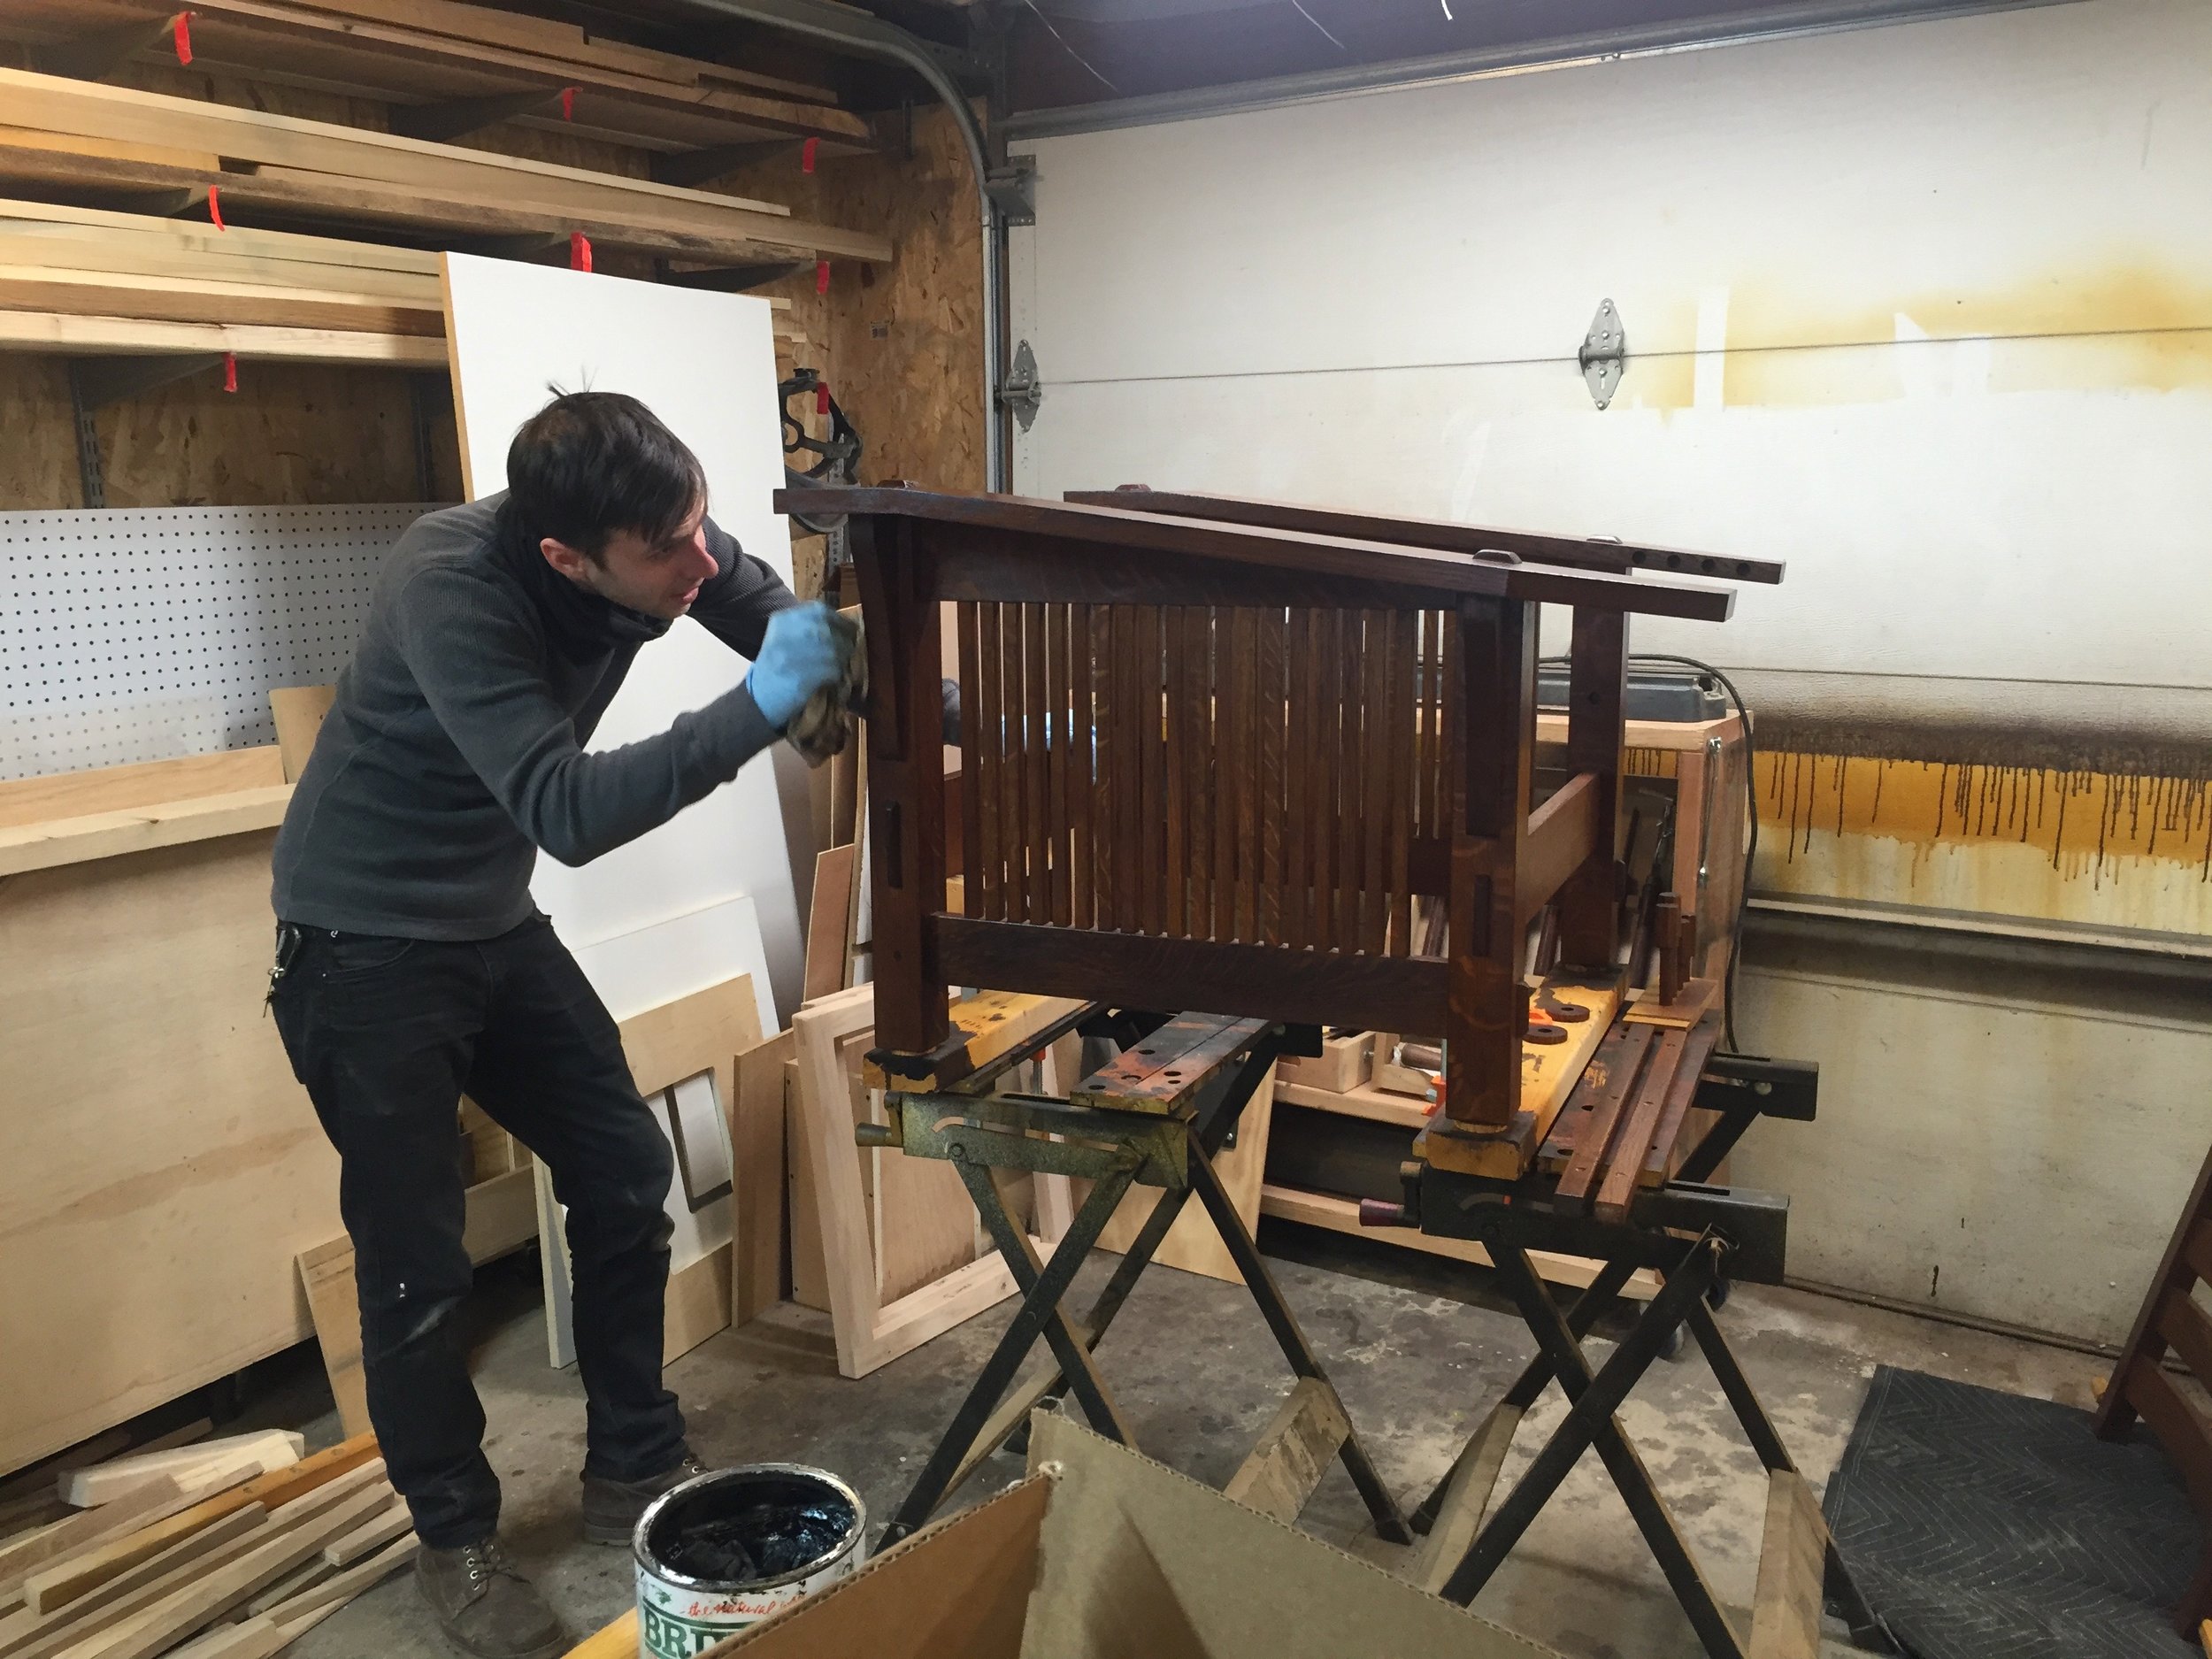
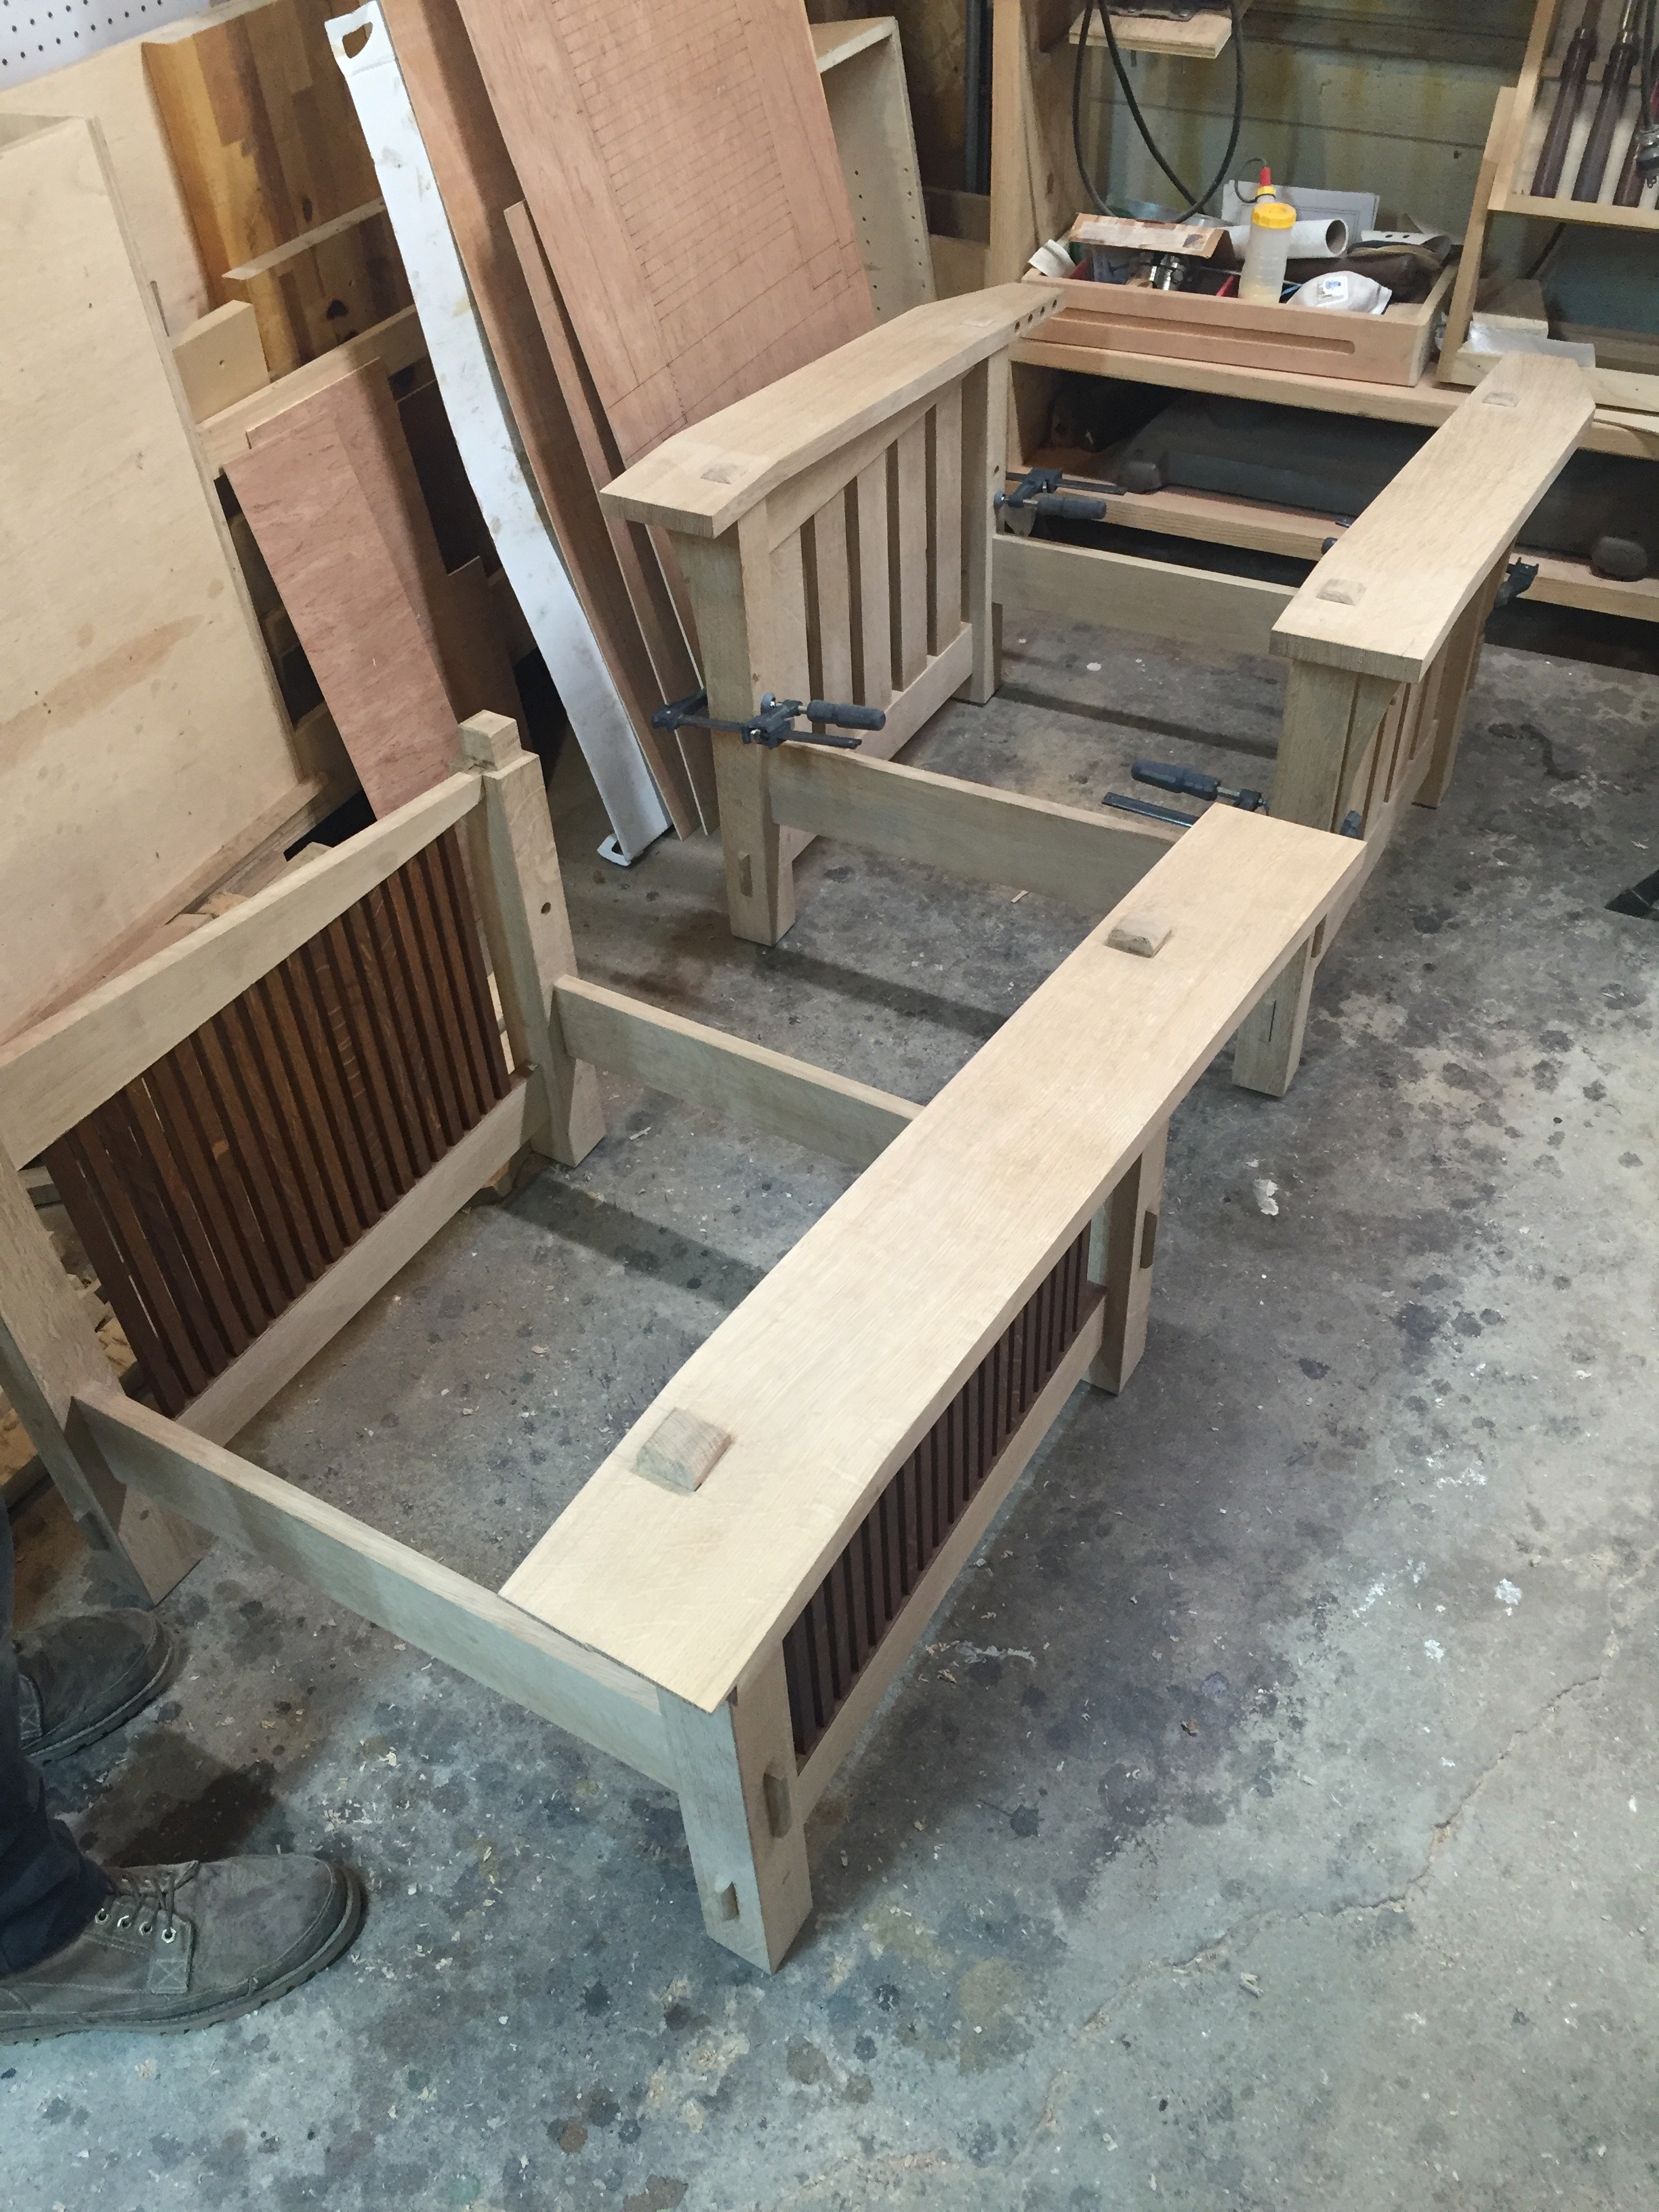
But I had taught before. I had taught a few one-on-one sessions in my shop, for hire. Those classes were exhilarating and rewarding, for myself and the student(s). And last spring, building the Morris chair was actually a tandem build with my friend Brett. I was sharing my shop with Brett that year, and he had been commissioned to build a Morris chair for a friend, and as that was on my bucket list, I couldn't resist building it along with him. Brett was a newer woodworker, and the build ended up being an extended, multi-week tutoring session, where I spent time helping him through his build as I did mine. As I wrote at the time, helping him was an equally big help to me. It reinforced the lesson that teaching is a great way to learn too. I'd also been a woodworking student on many occasions from excellent teachers, and saw how they worked, and how they paced their classes. I recall watching them teach, taking notes, and imagining myself doing the same.
"OK, OK", I felt ready to teach. I knew I had woodworking skills, experience, and passion to share with students. I knew I would be learning from Dave, and learning from my students. And it was an excellent chance to add more woodworking into my daily life. Dave and I worked on the plan for the school for months, getting together the facility (Dave's space in Des Plaines, IL), putting together the classes, the website & registration system, the social media stuff, the marketing materials, etc etc. It was all a lot of work, but unlike a lot of work I've done in my life, it didn't fell like work. I was so excited for the outcome that I just dove in and did what needed to be done.
So here we are, finally, and the doors are open. I hope this new chapter will become a big part of my life. If you're anywhere in the Chicagoland area, and would like to learn woodworking in a great environment from passionate, experienced people, please take a look at what we have to offer. Classes start in a few weeks!
http://midwestwoodworkingschool.com
I will be blogging over there, as I continue to do here. So even if you can't attend classes but enjoy my ramblings, keep an eye on the blog over there for my writing.