The Robie House and Red Oak


Living in the Chicago area means that I have a lot of access to some great Frank Lloyd Wright stuff. As a fan of Arts & Crafts/ Prairie/ Mission/ Craftsman furniture and style, I love being able to visit the FLW Home & Studio in neighboring Oak Park, the Robie House in the Hyde Park neighborhood of Chicago, not to mention the number of houses and buildings that Wright, his partners, students and admirers built throughout the area. Like many, I have a love/hate relationship with Wright's works. They're full of intense positives: they are undeniably creative, challenging, innovative, and wonderfully thorough, while at the same time full of terrible shortcomings and flaws: often poorly built, uncomfortable, limited in utility, often with a preference for style over practical considerations. In some ways Wright comes off sort of like a high-faulutin' fashion designer, one that makes incredible designs that are totally impractical, but when their influence trickles down do the "real world", are sound and rewarding. Not always, but sometimes.

(I guess its sort of silly to try to wrap up the essence of the Frank Lloyd Wright experience in a few sentences, but you get the idea. Apologies to the millions of scholars and thousands of art and architecture authors out there.)

But as a woodworker, I love visiting Wright's sites and looking at the woodwork and furniture, and trying to imagine the eccentric Wright driving them all nuts as they tried to execute his ideas. Recently, I had a chance to visit the Robie House in Chicago's Hyde Park area with my family, a place I'd always meant to go, but hadn't had the chance. Needless to say, it was absolutely great, and so very worth it on many levels. While there's a lot to discuss about the house, this post will focus on my observations as a woodworker and furniture maker.

Let's get to it. Red oak. Among woodworkers, there is a pretty big crew of red oak haters out there. They have their reasons: red oak, being one of the most plentiful hardwoods in the midwest and eastern United States, is cheap, and thus, everywhere. Being everywhere, its overuse has made it tiring to the eyes. Add to that the flood of "golden oak" finished, tacky "country" style house trim and furniture, and it has been beaten. to. death. For woodworkers, they find it brittle and splintery, and some don't even like the smell! Oh poor red oak, you are indeed the red (oak) headed stepchild of the woodworking world. But, do we blame the poor noble red oak for being the victim of abuse and misuse? Is it red oak's fault that it is plentiful, and thus used on cheap pieces and tacky interiors? Clearly, that's unfair. I put it to the red oak haters that they need to challenge themselves to use red oak creatively and tastefully, and discover ways to give this maligned and disrespected wood another chance.

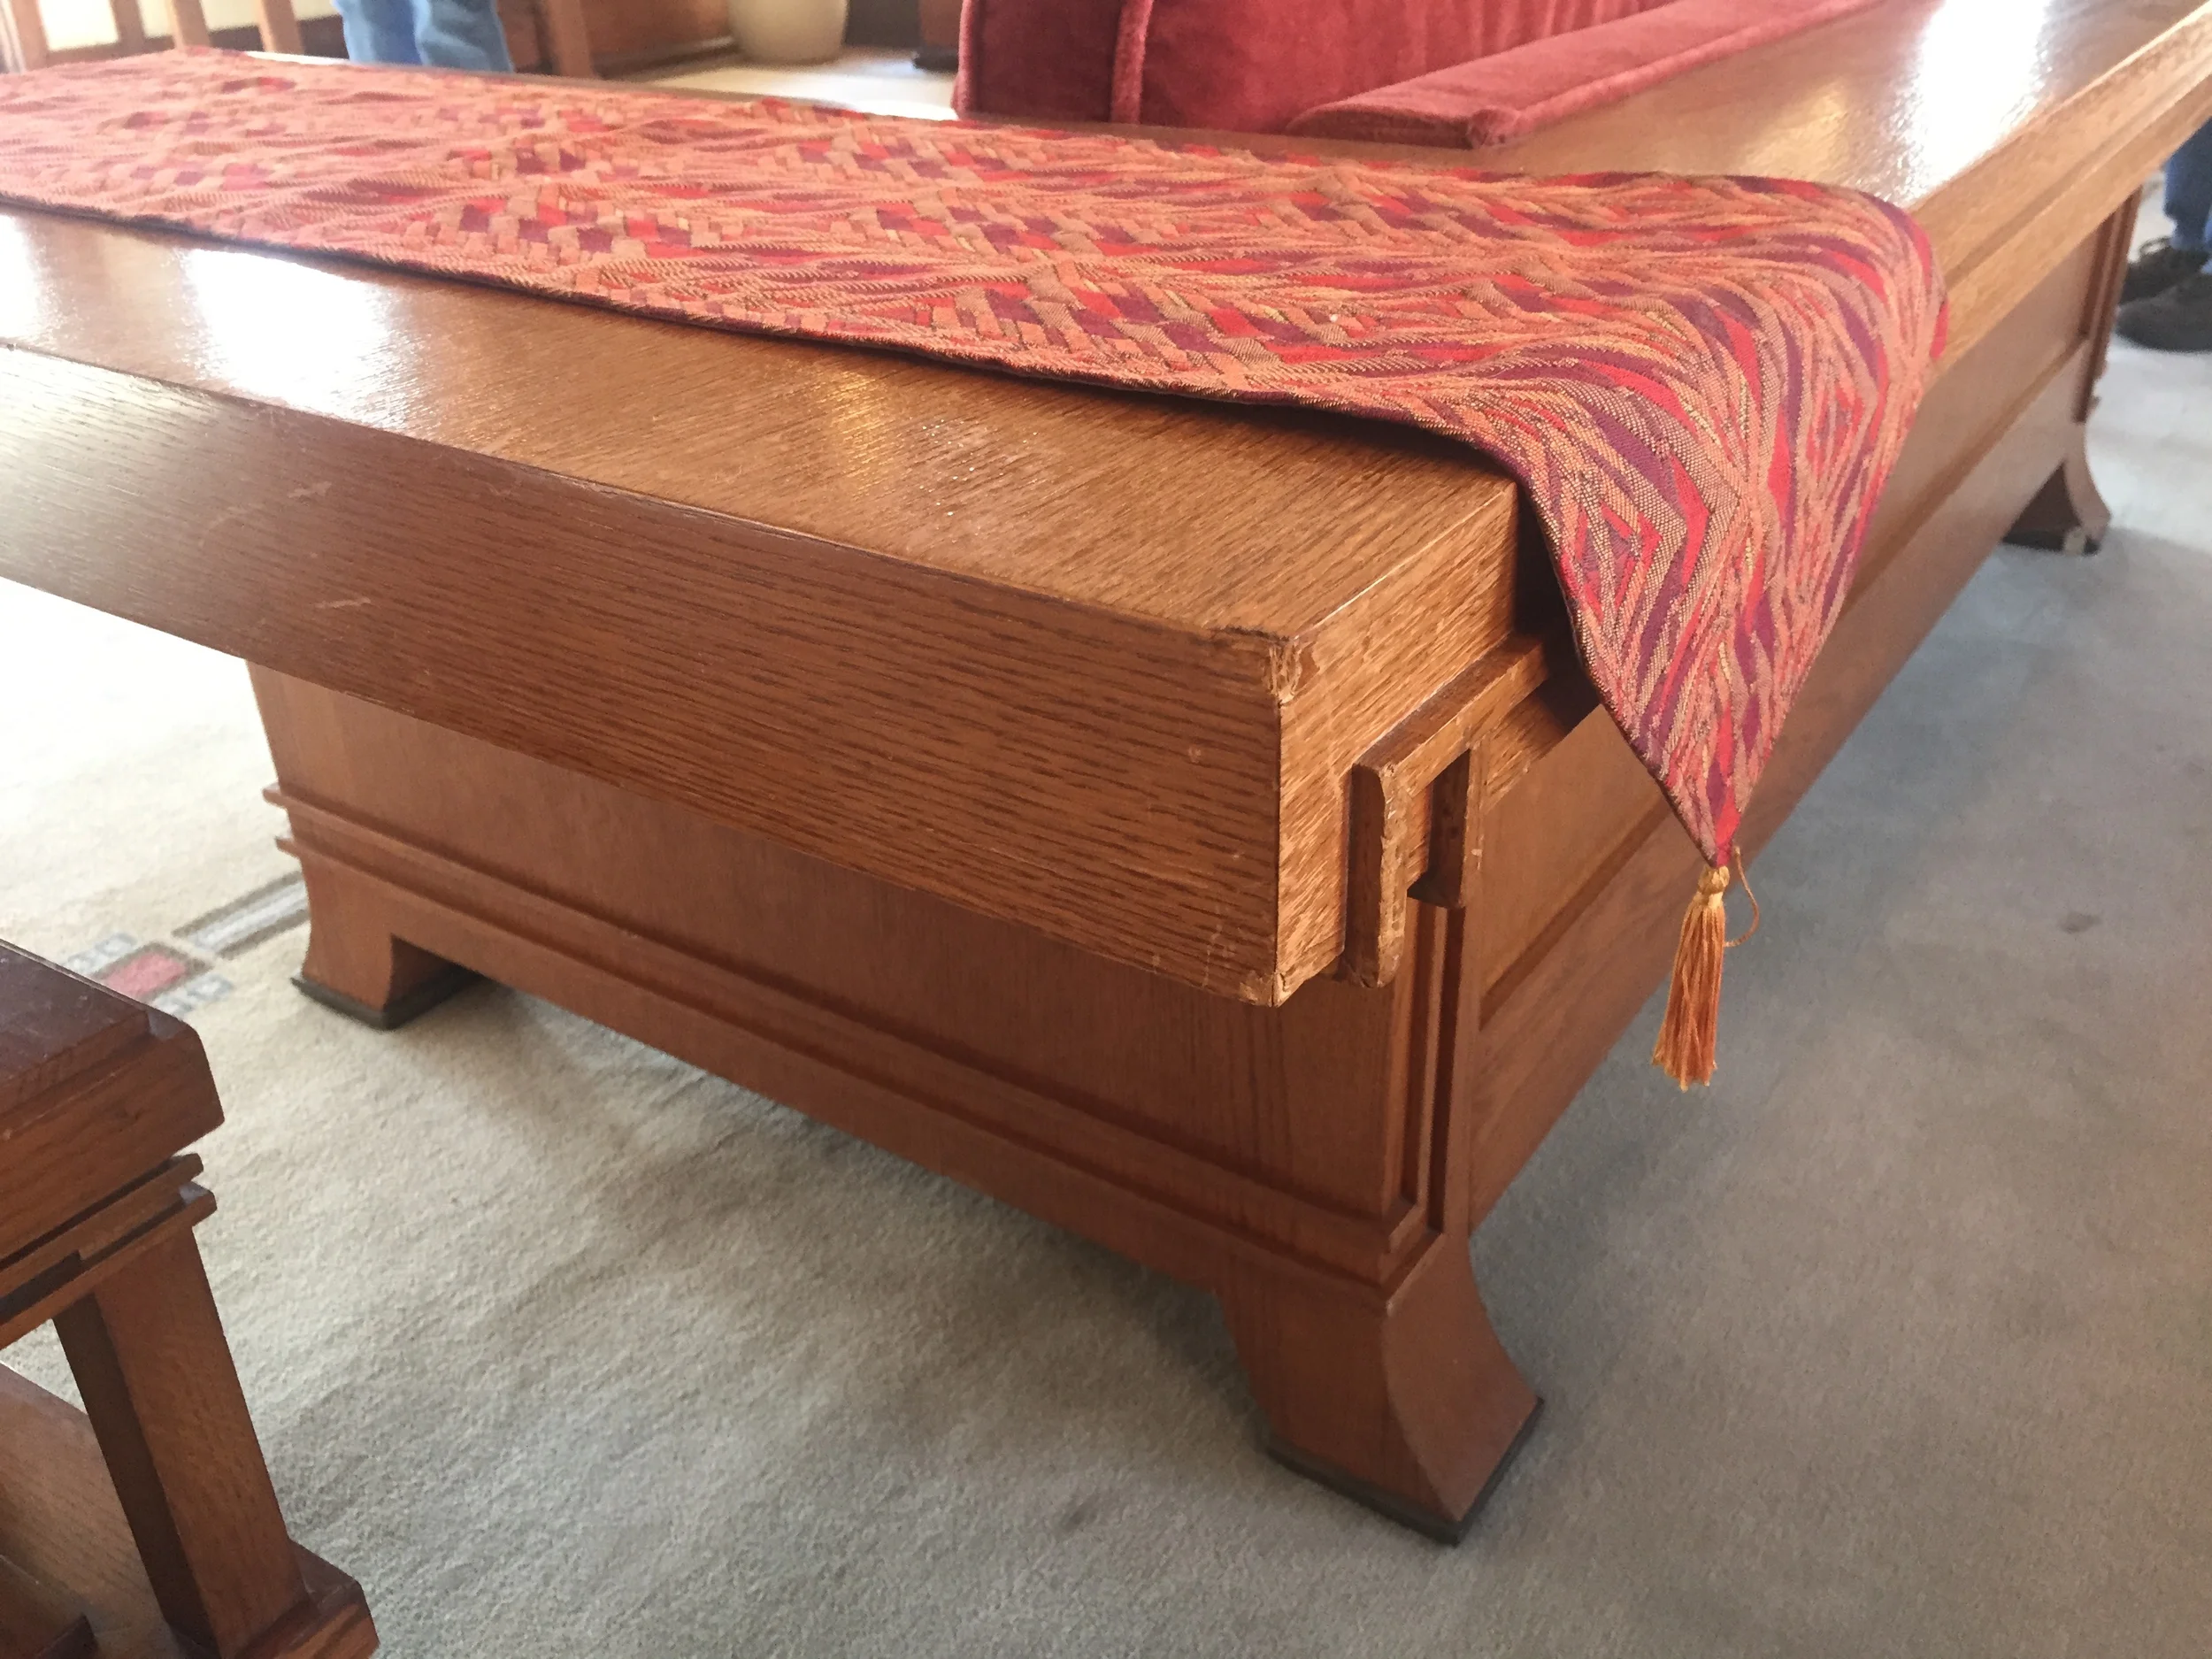
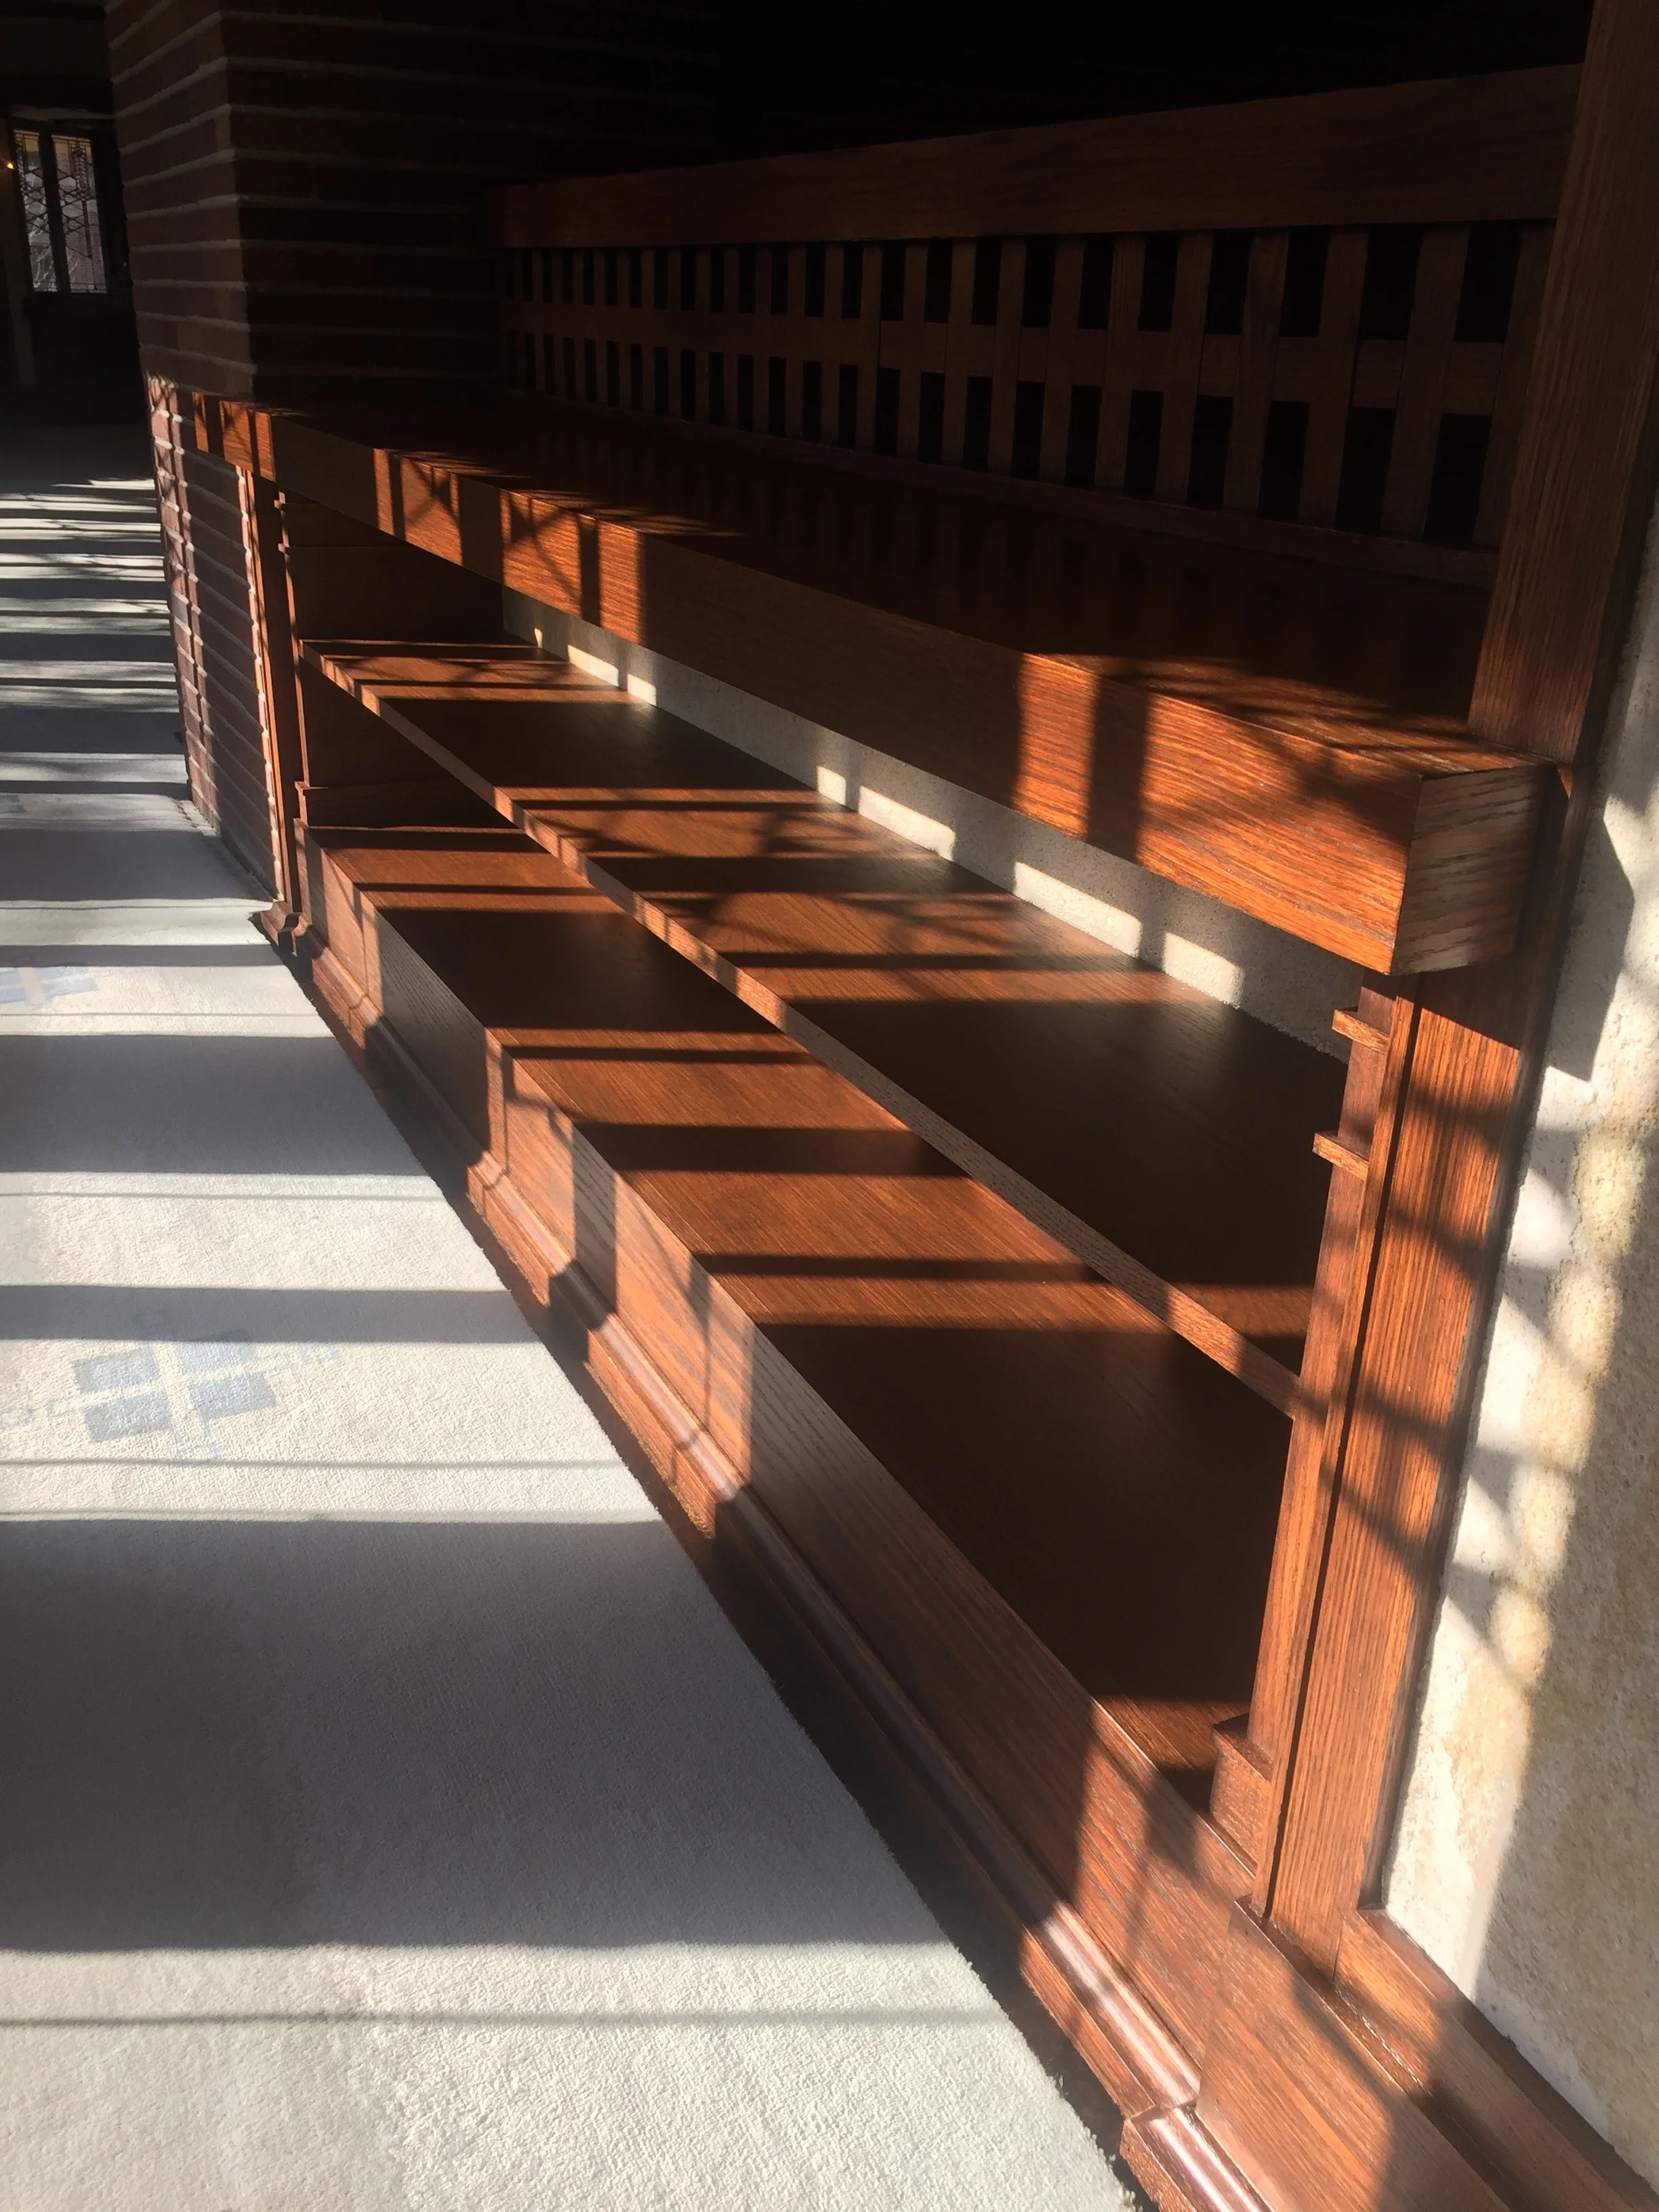
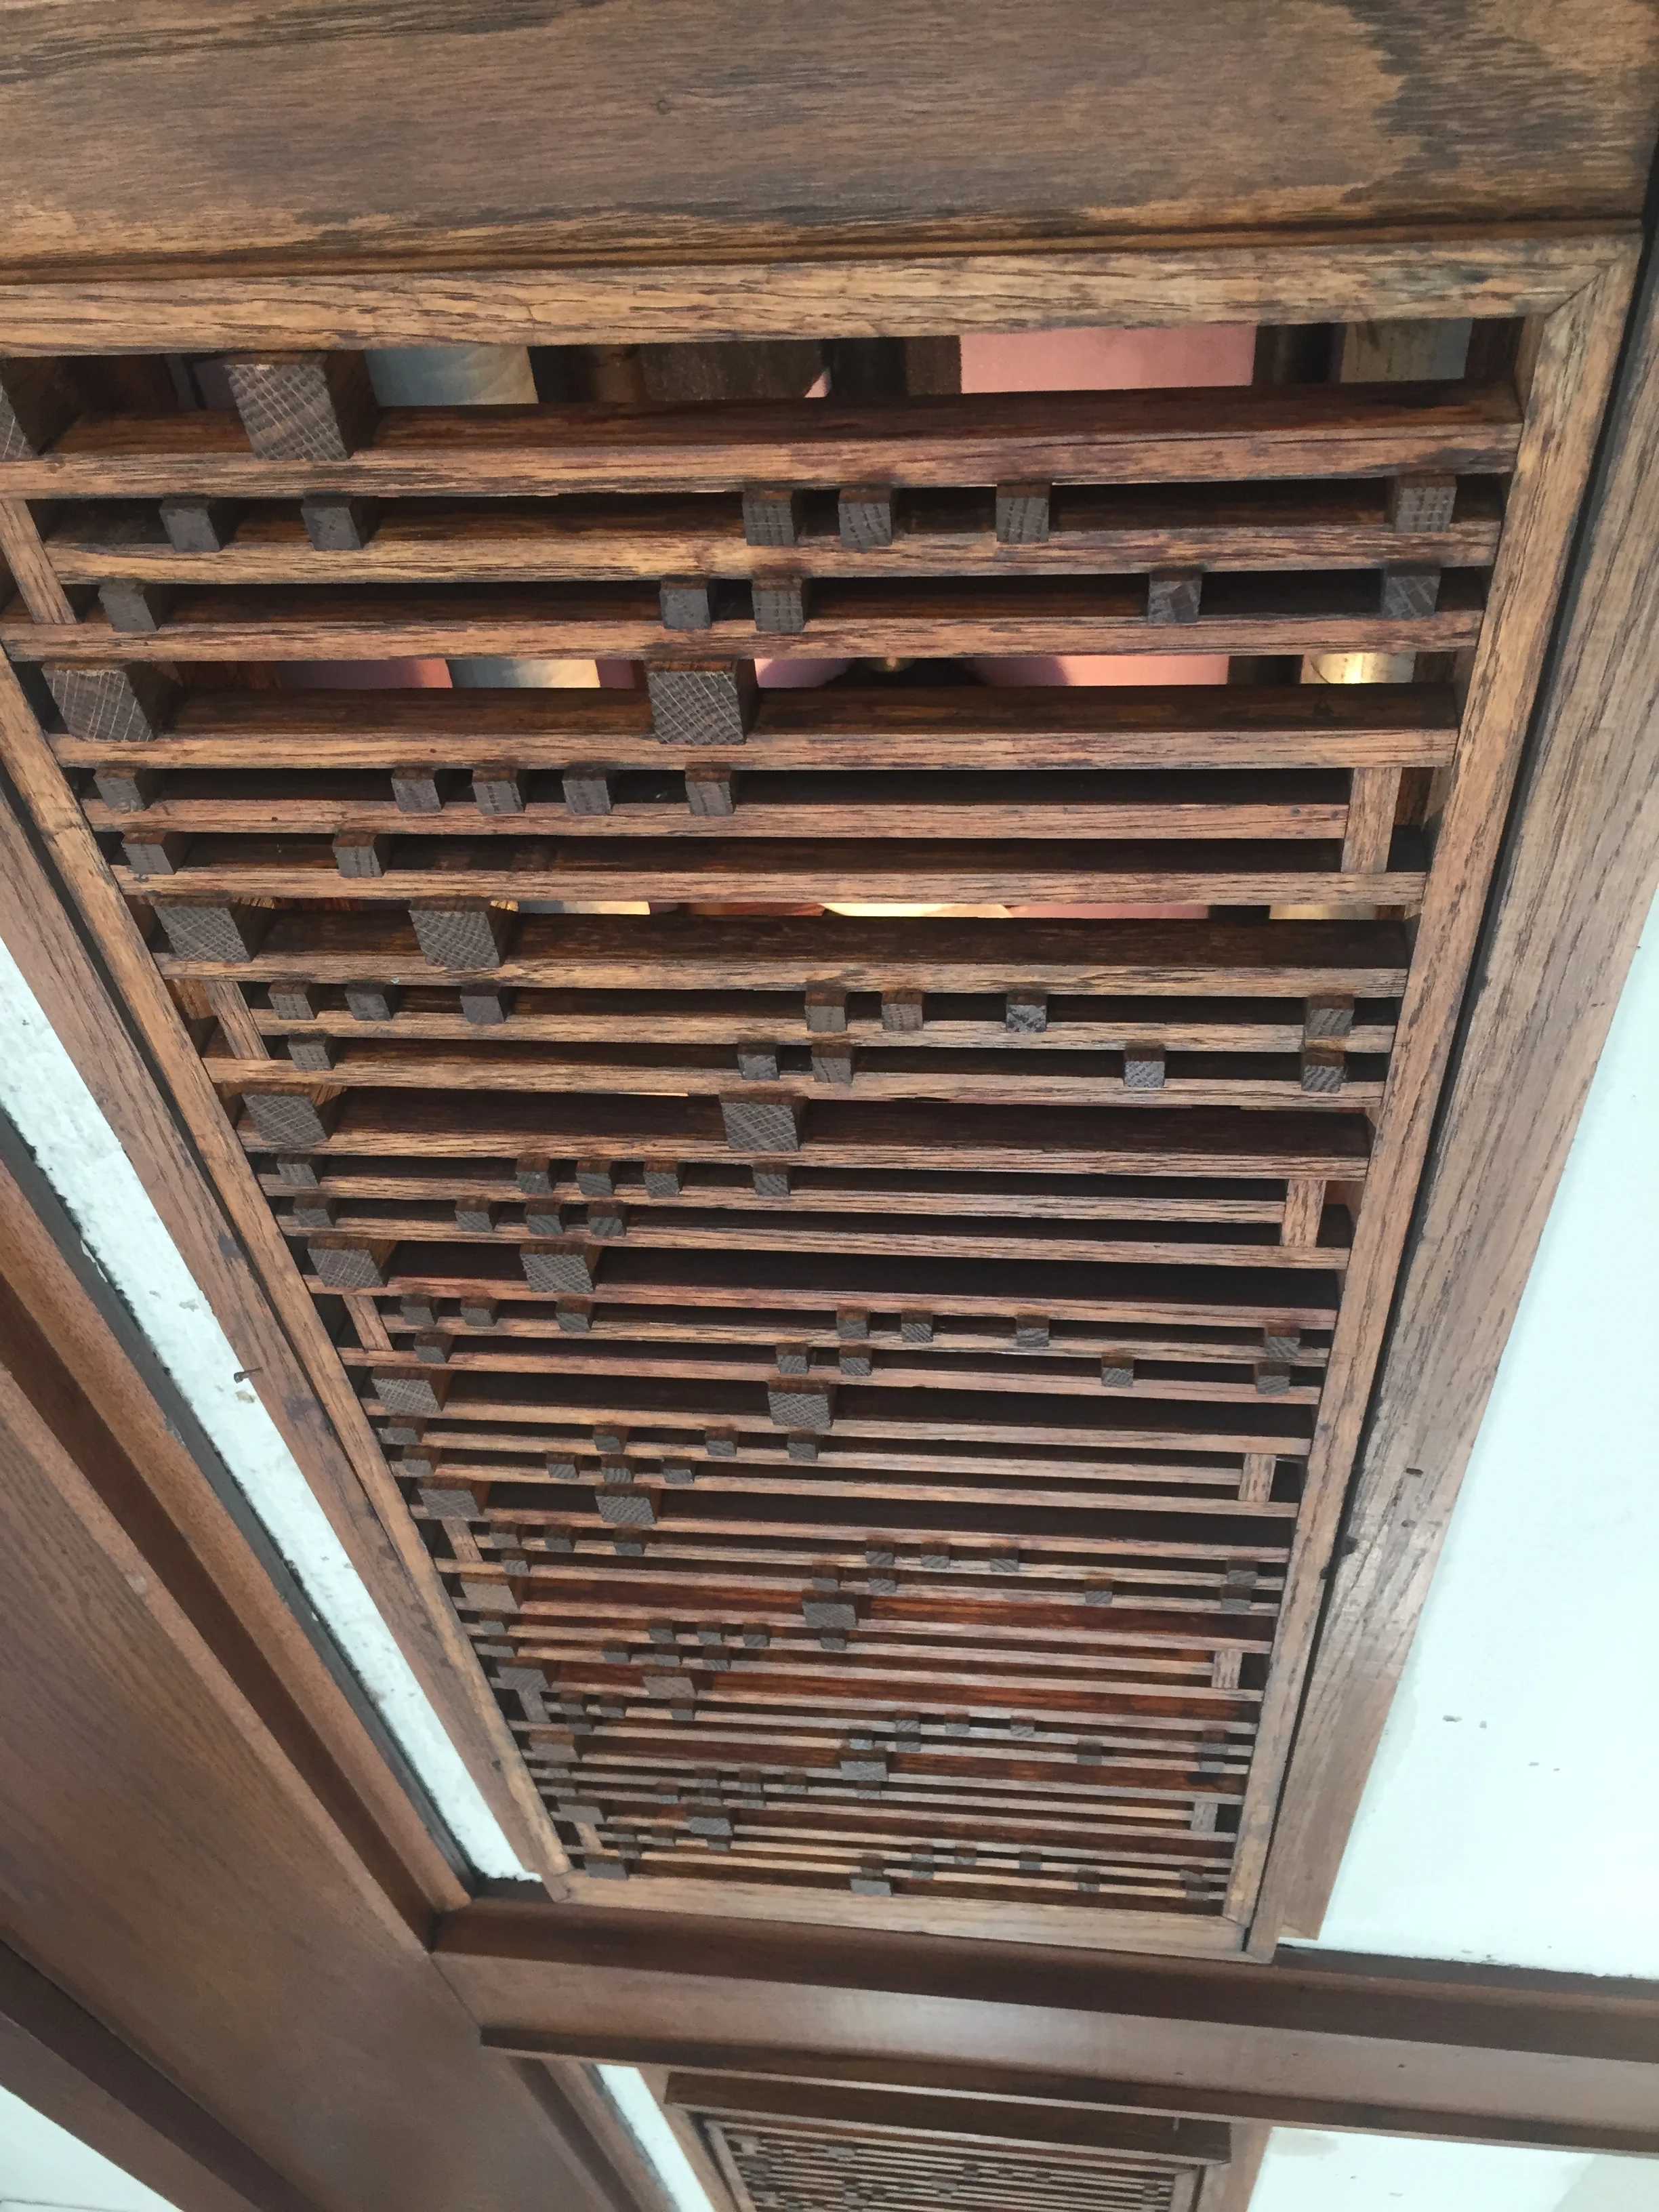
Which brings me back to Frank. One of the central themes of Wright's "Prairie Style" philosophy was the use of local materials, the use of which blended a building to its surroundings. This is a tenet of Stickley's Craftsman style, William Morris's Arts & Crafts movement as well. In the 1909 Robie house, aptly called Wright's "Prairie style masterpiece", did he use mahogany, or sepele, or wenge as the wood of choice? Did he use chestnut, black walnut, or even noble white oak? No, he used red oak. But he didn't use it all flat sawn, with crazy cathedral patterns, and stained "golden brown". No, he used it all sort of ways, dyed/stained a deep brownish red, and often quarter sawn, or rift sawn, with nice tight grain. (If you think you hate red oak, and instead think quarter sawn white oak is vastly superior, you need to take a good look at quarter sawn red oak, it is every bit as amazing). Here's some pictures from that interior...

And the piece de resistance, the kitchen counter...

(while my iPhone photos here aren't the best, here's a Google search that get you many more interior and woodwork shots)

Yeah, pretty nice. And very nice all together, the furniture and the woodwork working together. The lesson I take away from all this is that Wright took something mundane and common, red oak, and not only found fantastic ways to use it beautifully, he made it part of the whole theme, connecting the house, the interior treatments, and the furniture, to its place in the world. (I'm sure he could have just been being cheap as well, opting for red oak over white as a cost cutting measure. But look at the result). Sure, it's subtle, but the best parts of Wright's designs are just that: subtle, direct, and seemingly so simple after they're explained and pointed out that they come off as "obvious". That's the genius in great design.

Thanks Frank, and red oak!

Prairie Sofa & Love Seat, Part 1

I've always loved the iconic L. & J. G. Stickley No. 220 Prairie Sofa. As the pair of sofa and love seat in our own living room have aged, and as my skills as a furniture maker has increased, I knew this day would come. This is going to be large build, as it is two pieces of large furniture that I'll be building at the same time. Space in the shop is going to get tight. Although these are once again reproductions, I'll make changes where it suits me. The first obvious change is that Stickley never originally produced a love seat version of the sofa. The love seat is a more modern type of furniture. The modern Stickley company still sells the sofa today, and has made a love seat version as well.

Generally, this build is pretty straight forward; three frame and panel sides, a front stretcher, seat frames, and then upholstery. There is also an alternate variation in the construction of the piece; instead of frame-and-panel for the sides, another popular variation is one that uses lots of little vertical slats, or square spindles, in place of the panels. I am still considering this option. 

This is the first piece(s) that I'll be working with an upholsterer on, and I'm pleased to have found a great local shop to work with on that. The pieces can be upholstered with either leather, or fabric, but I'm leaning towards leather.

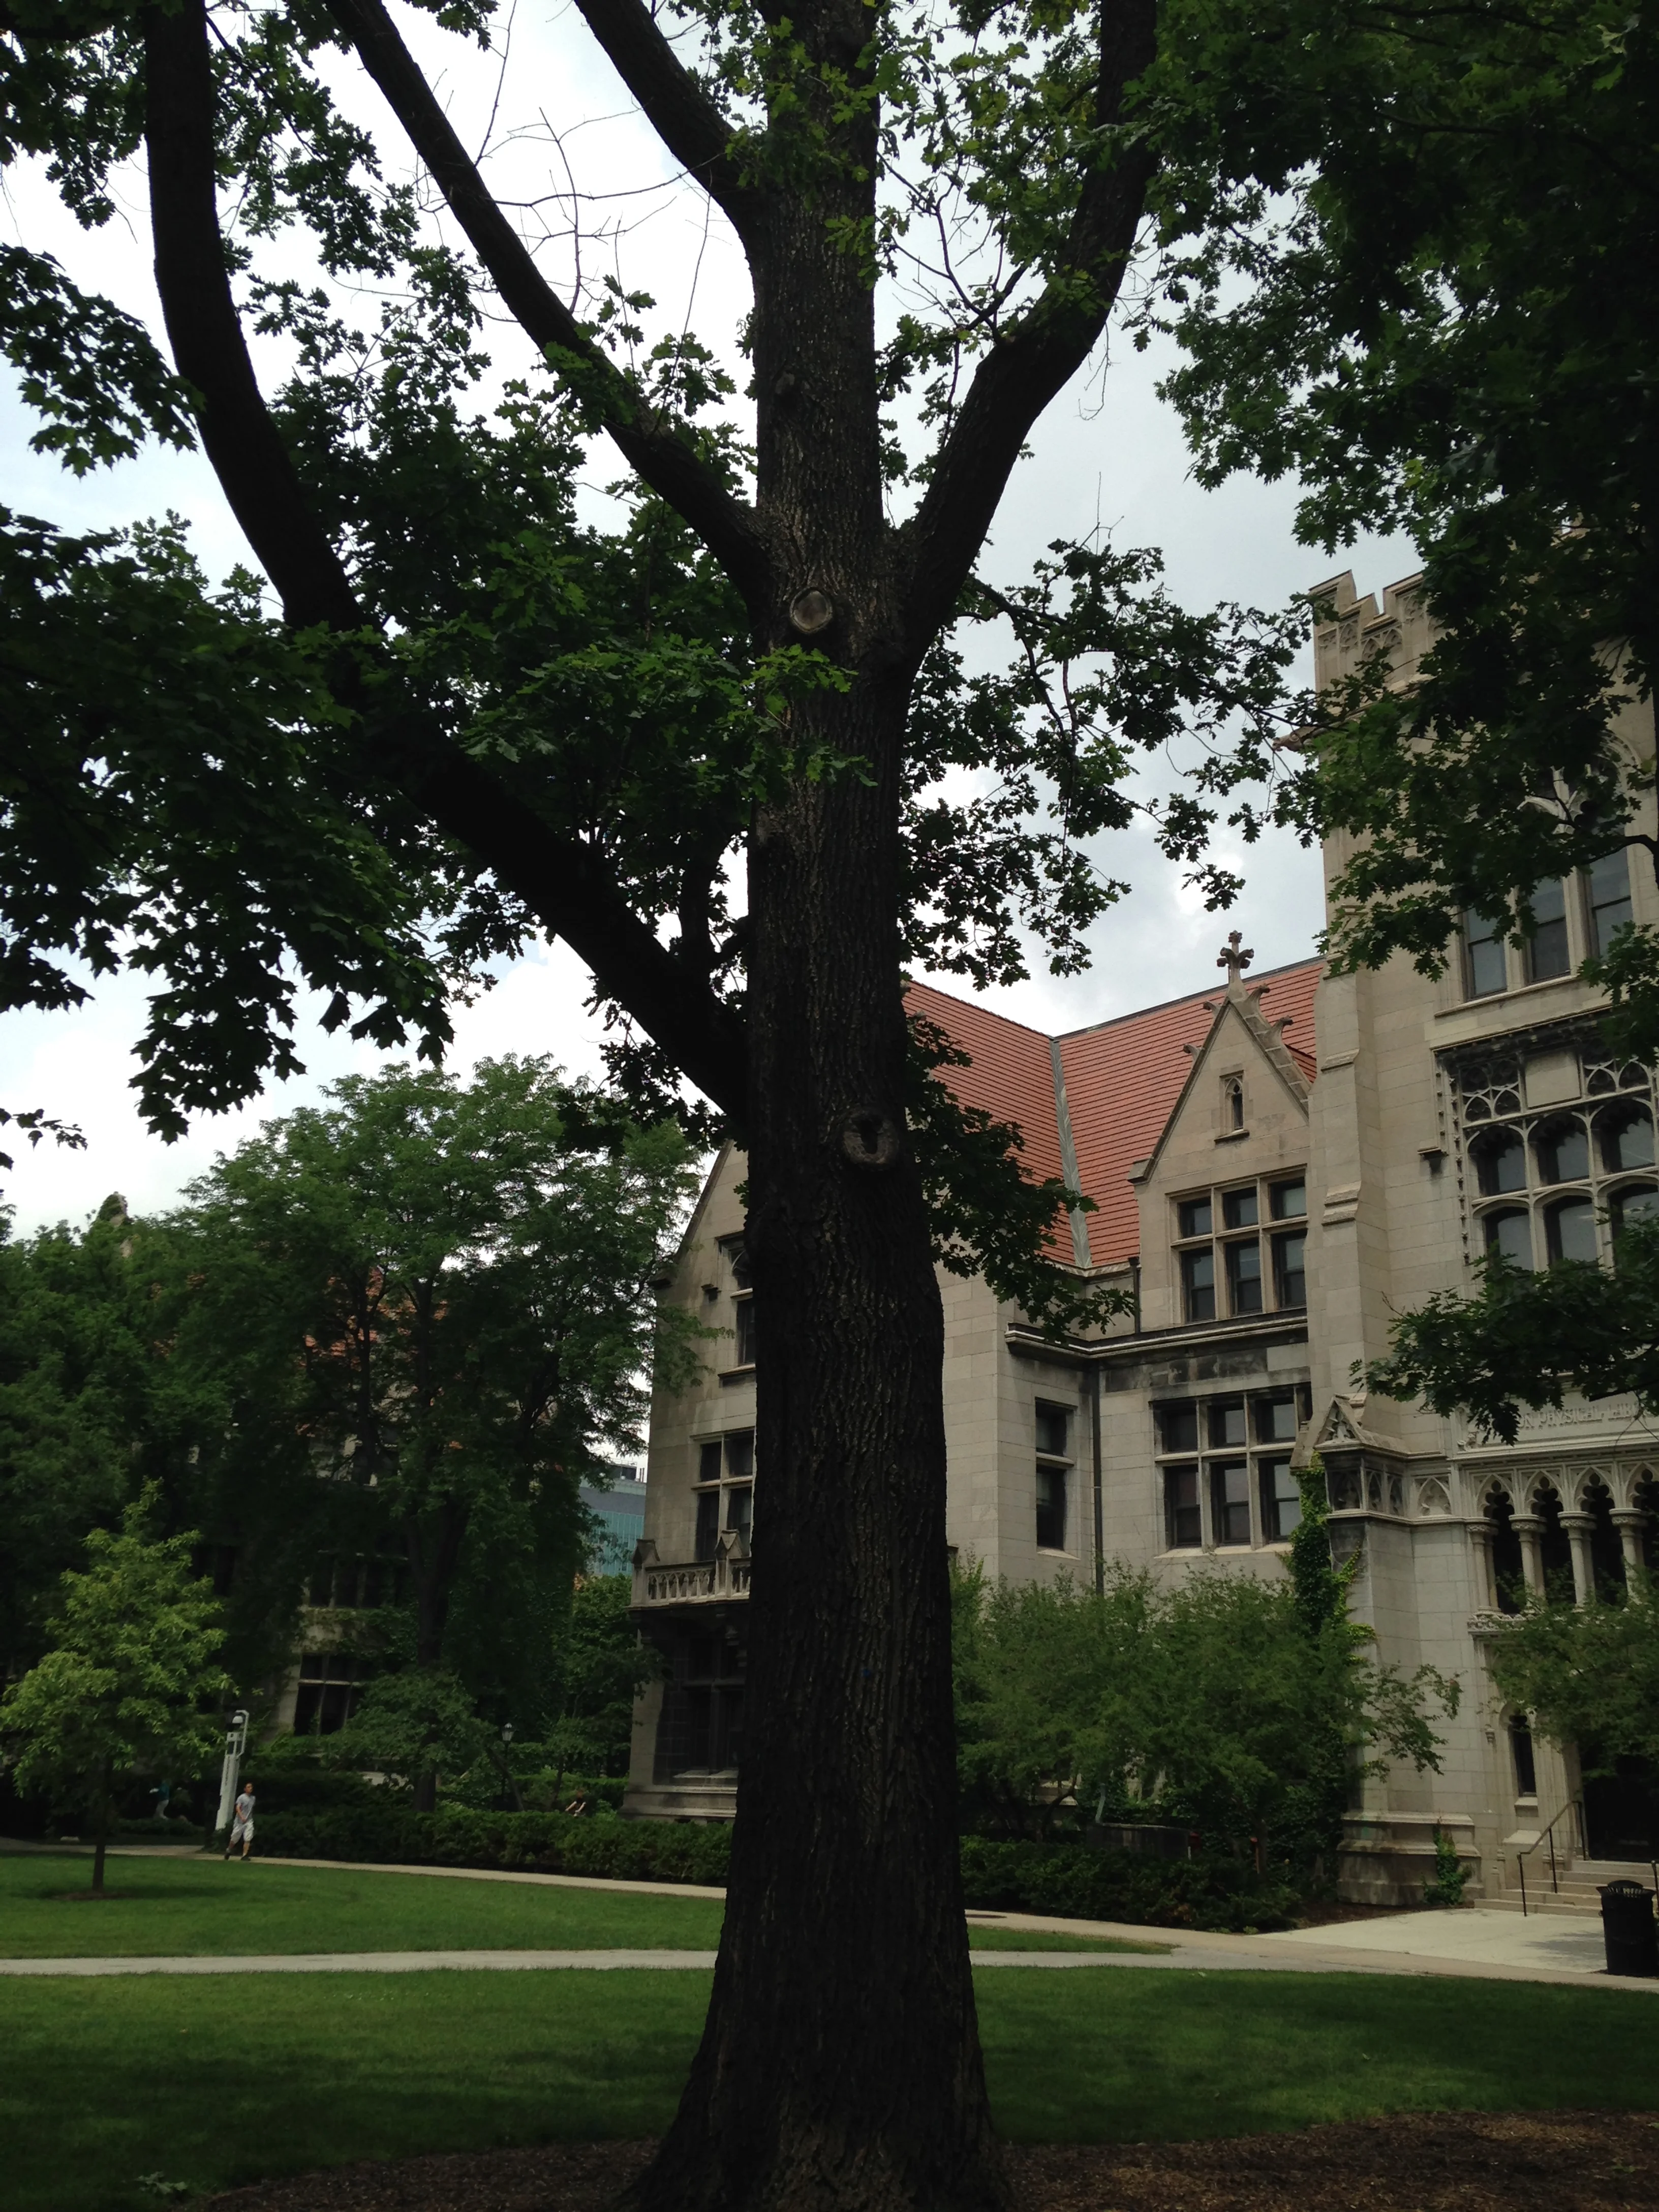
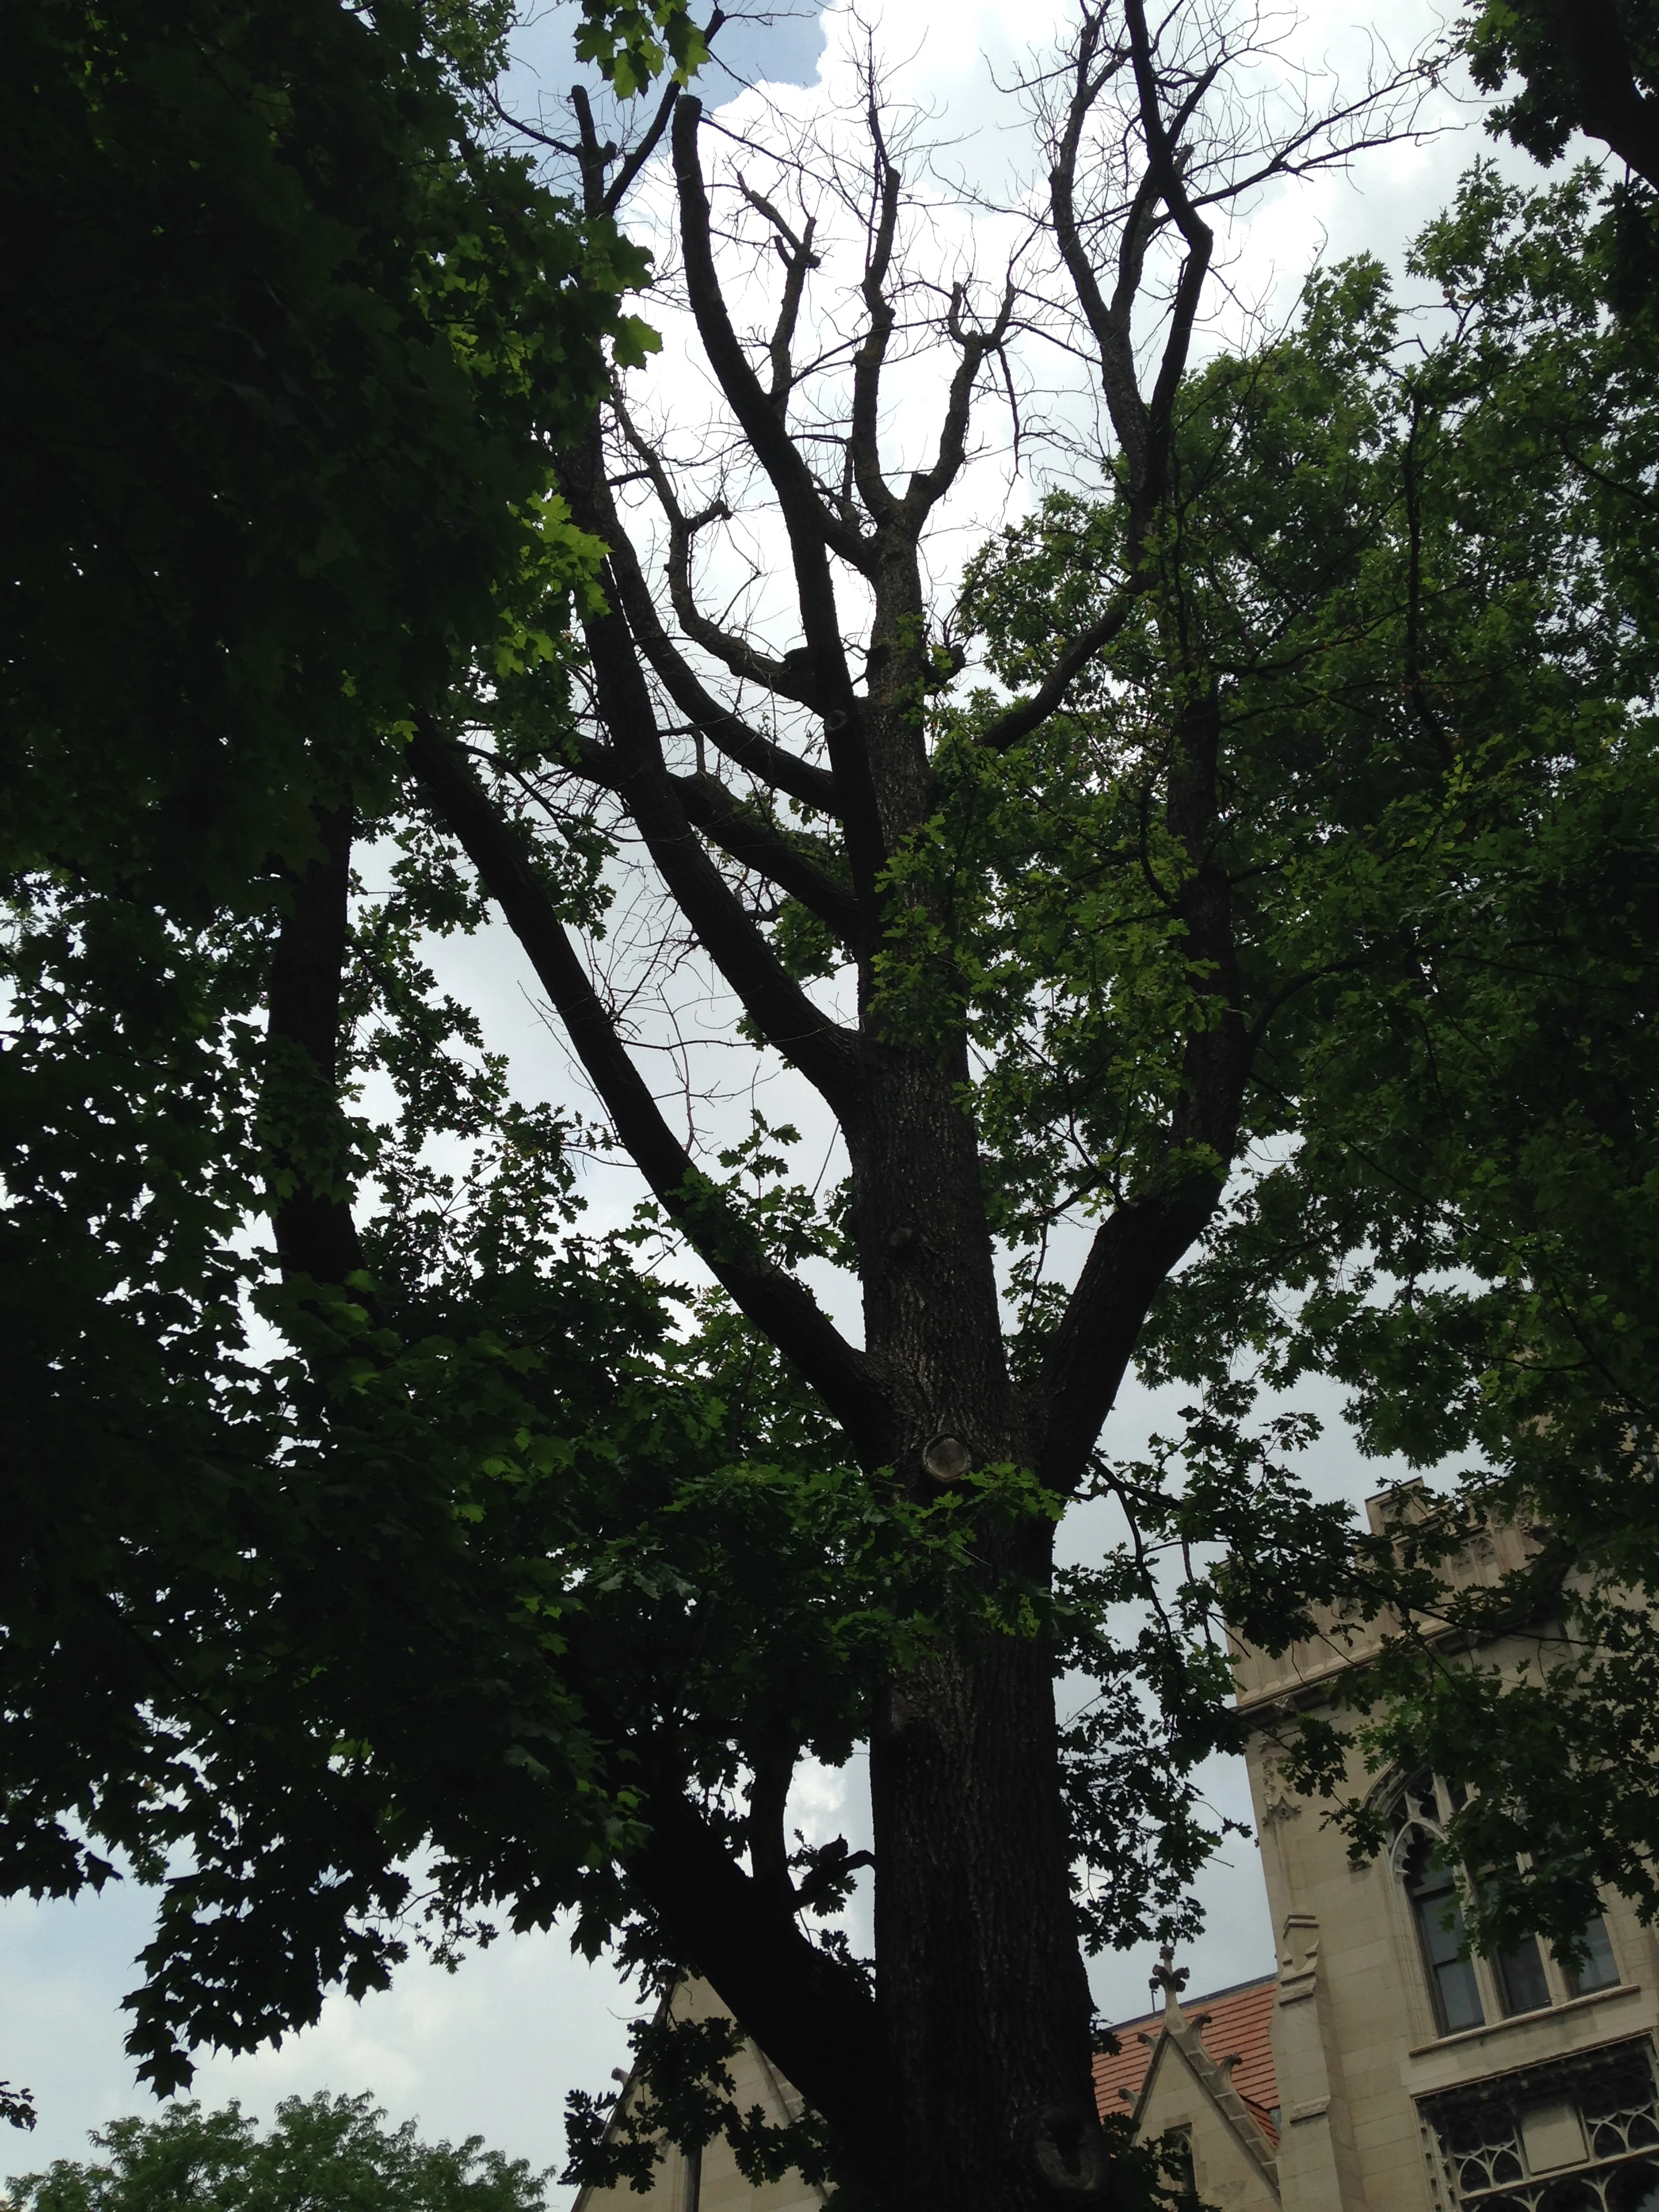
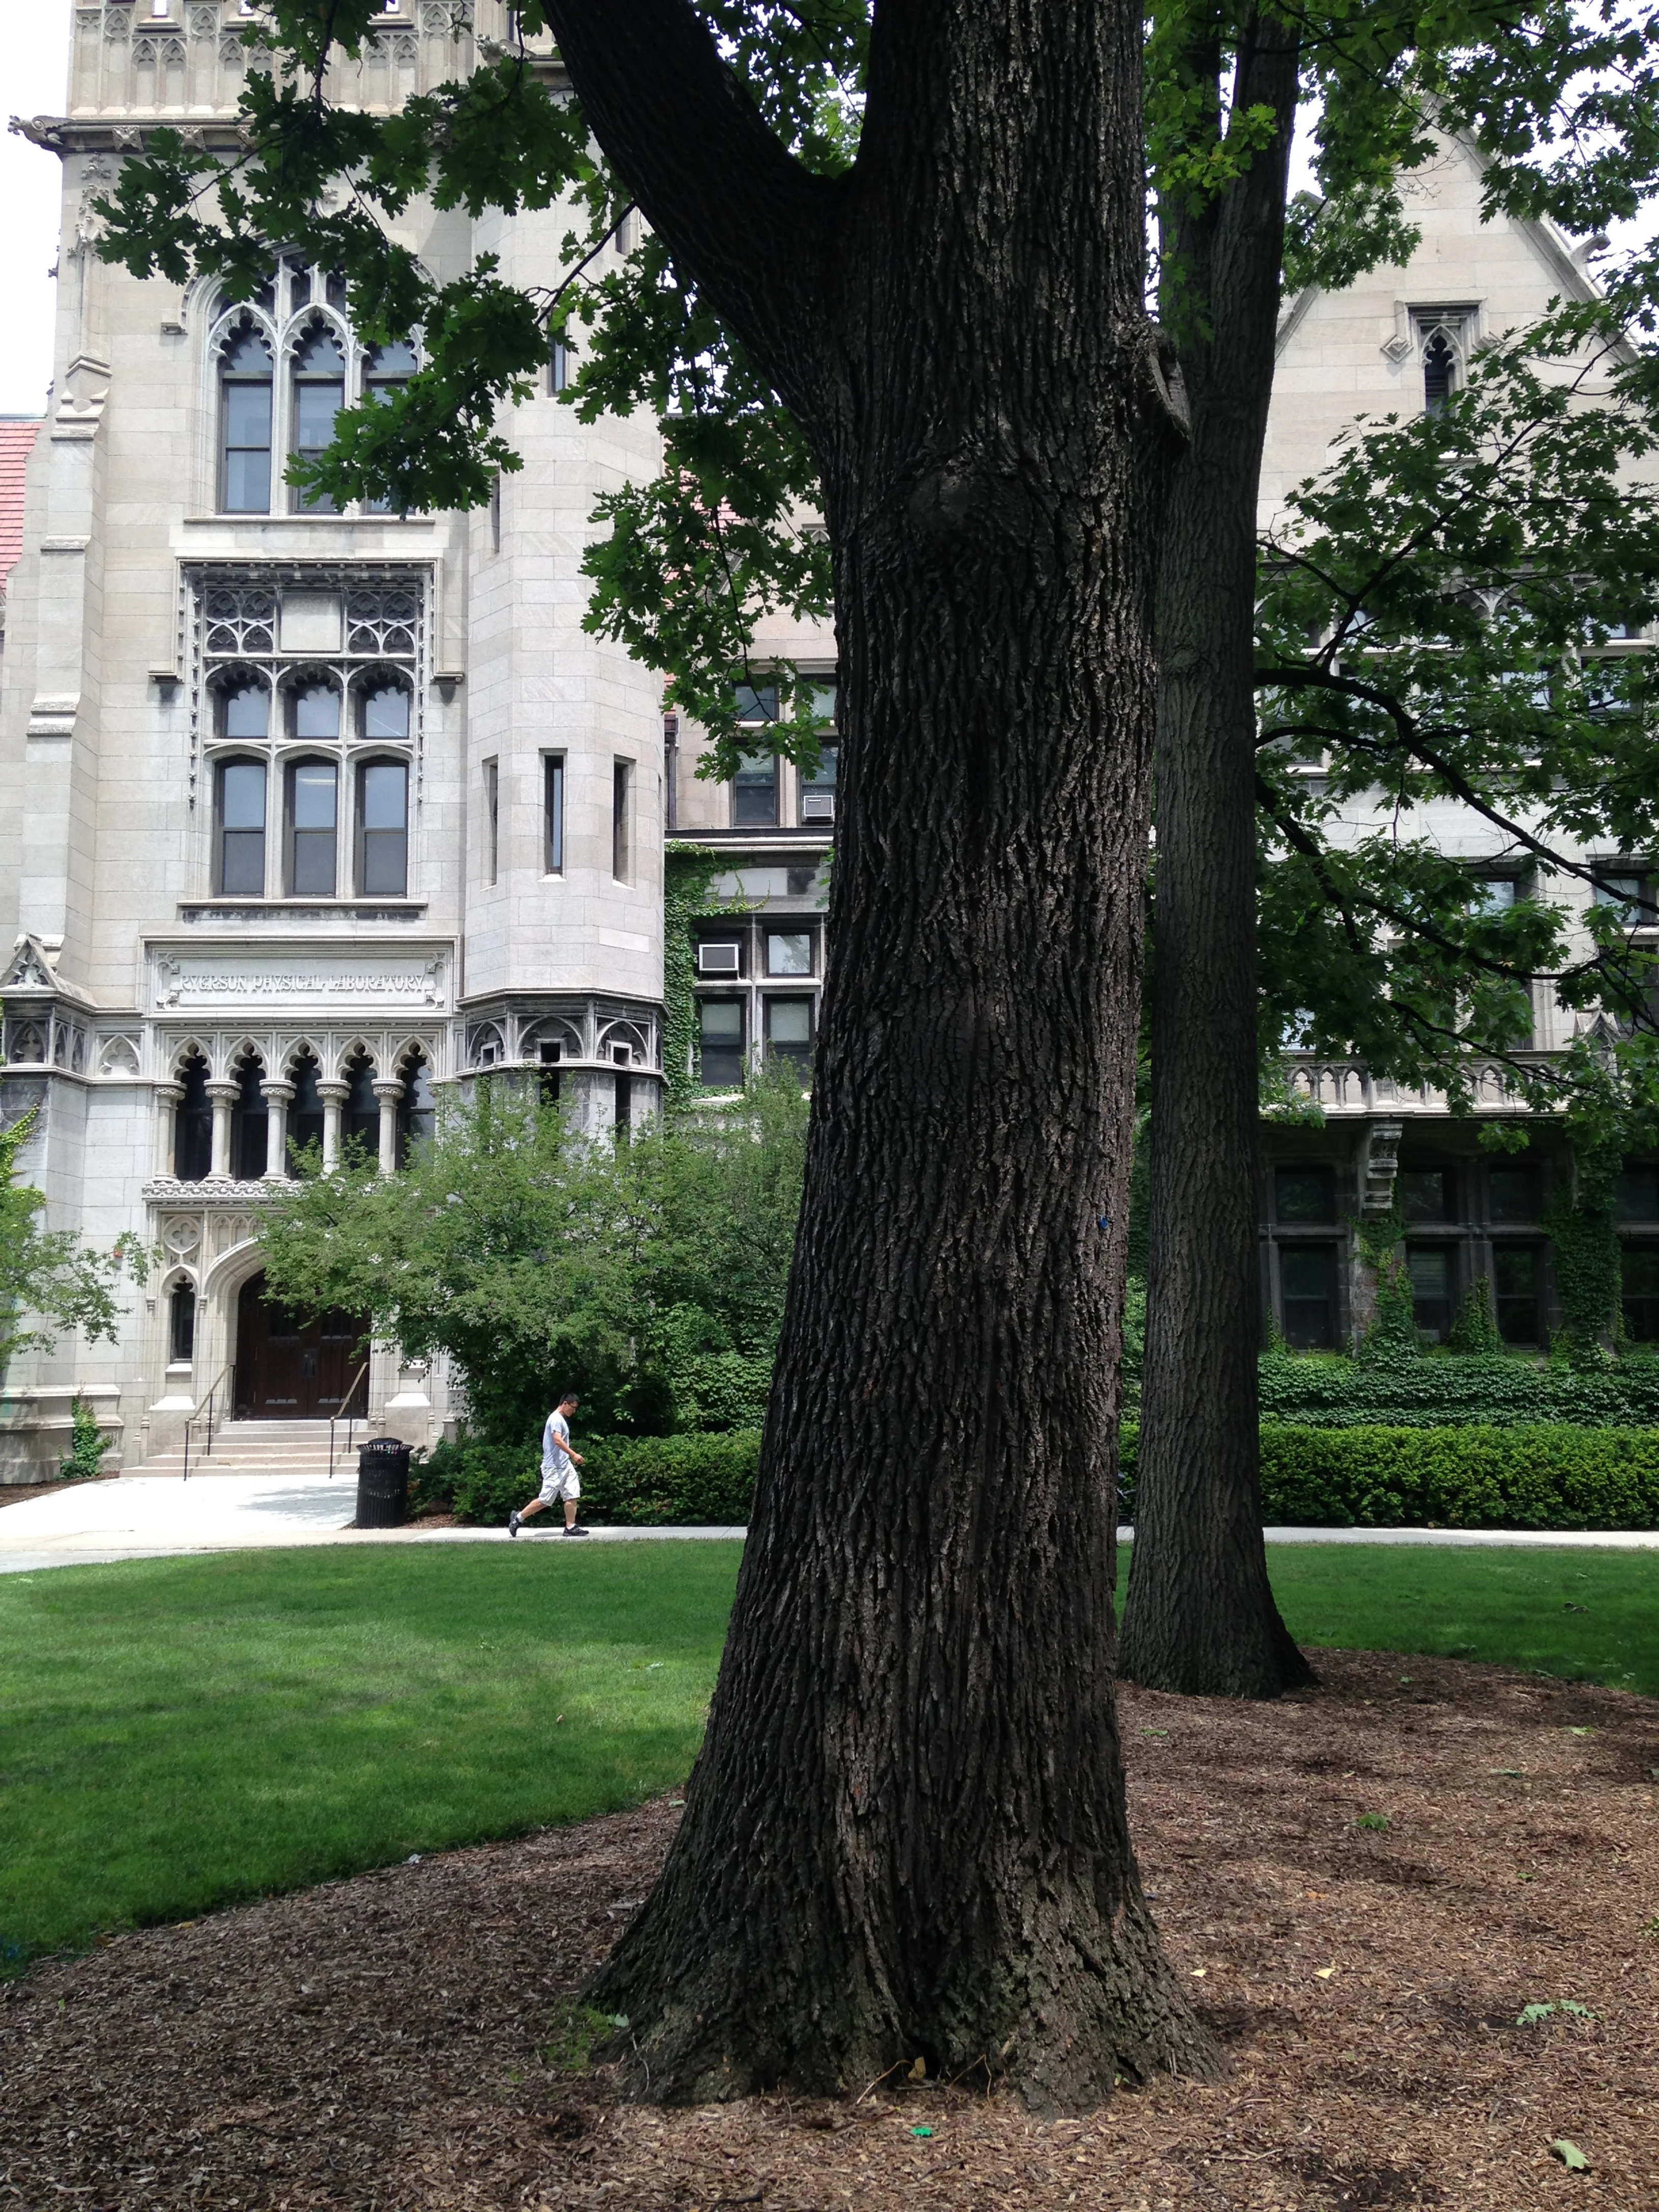
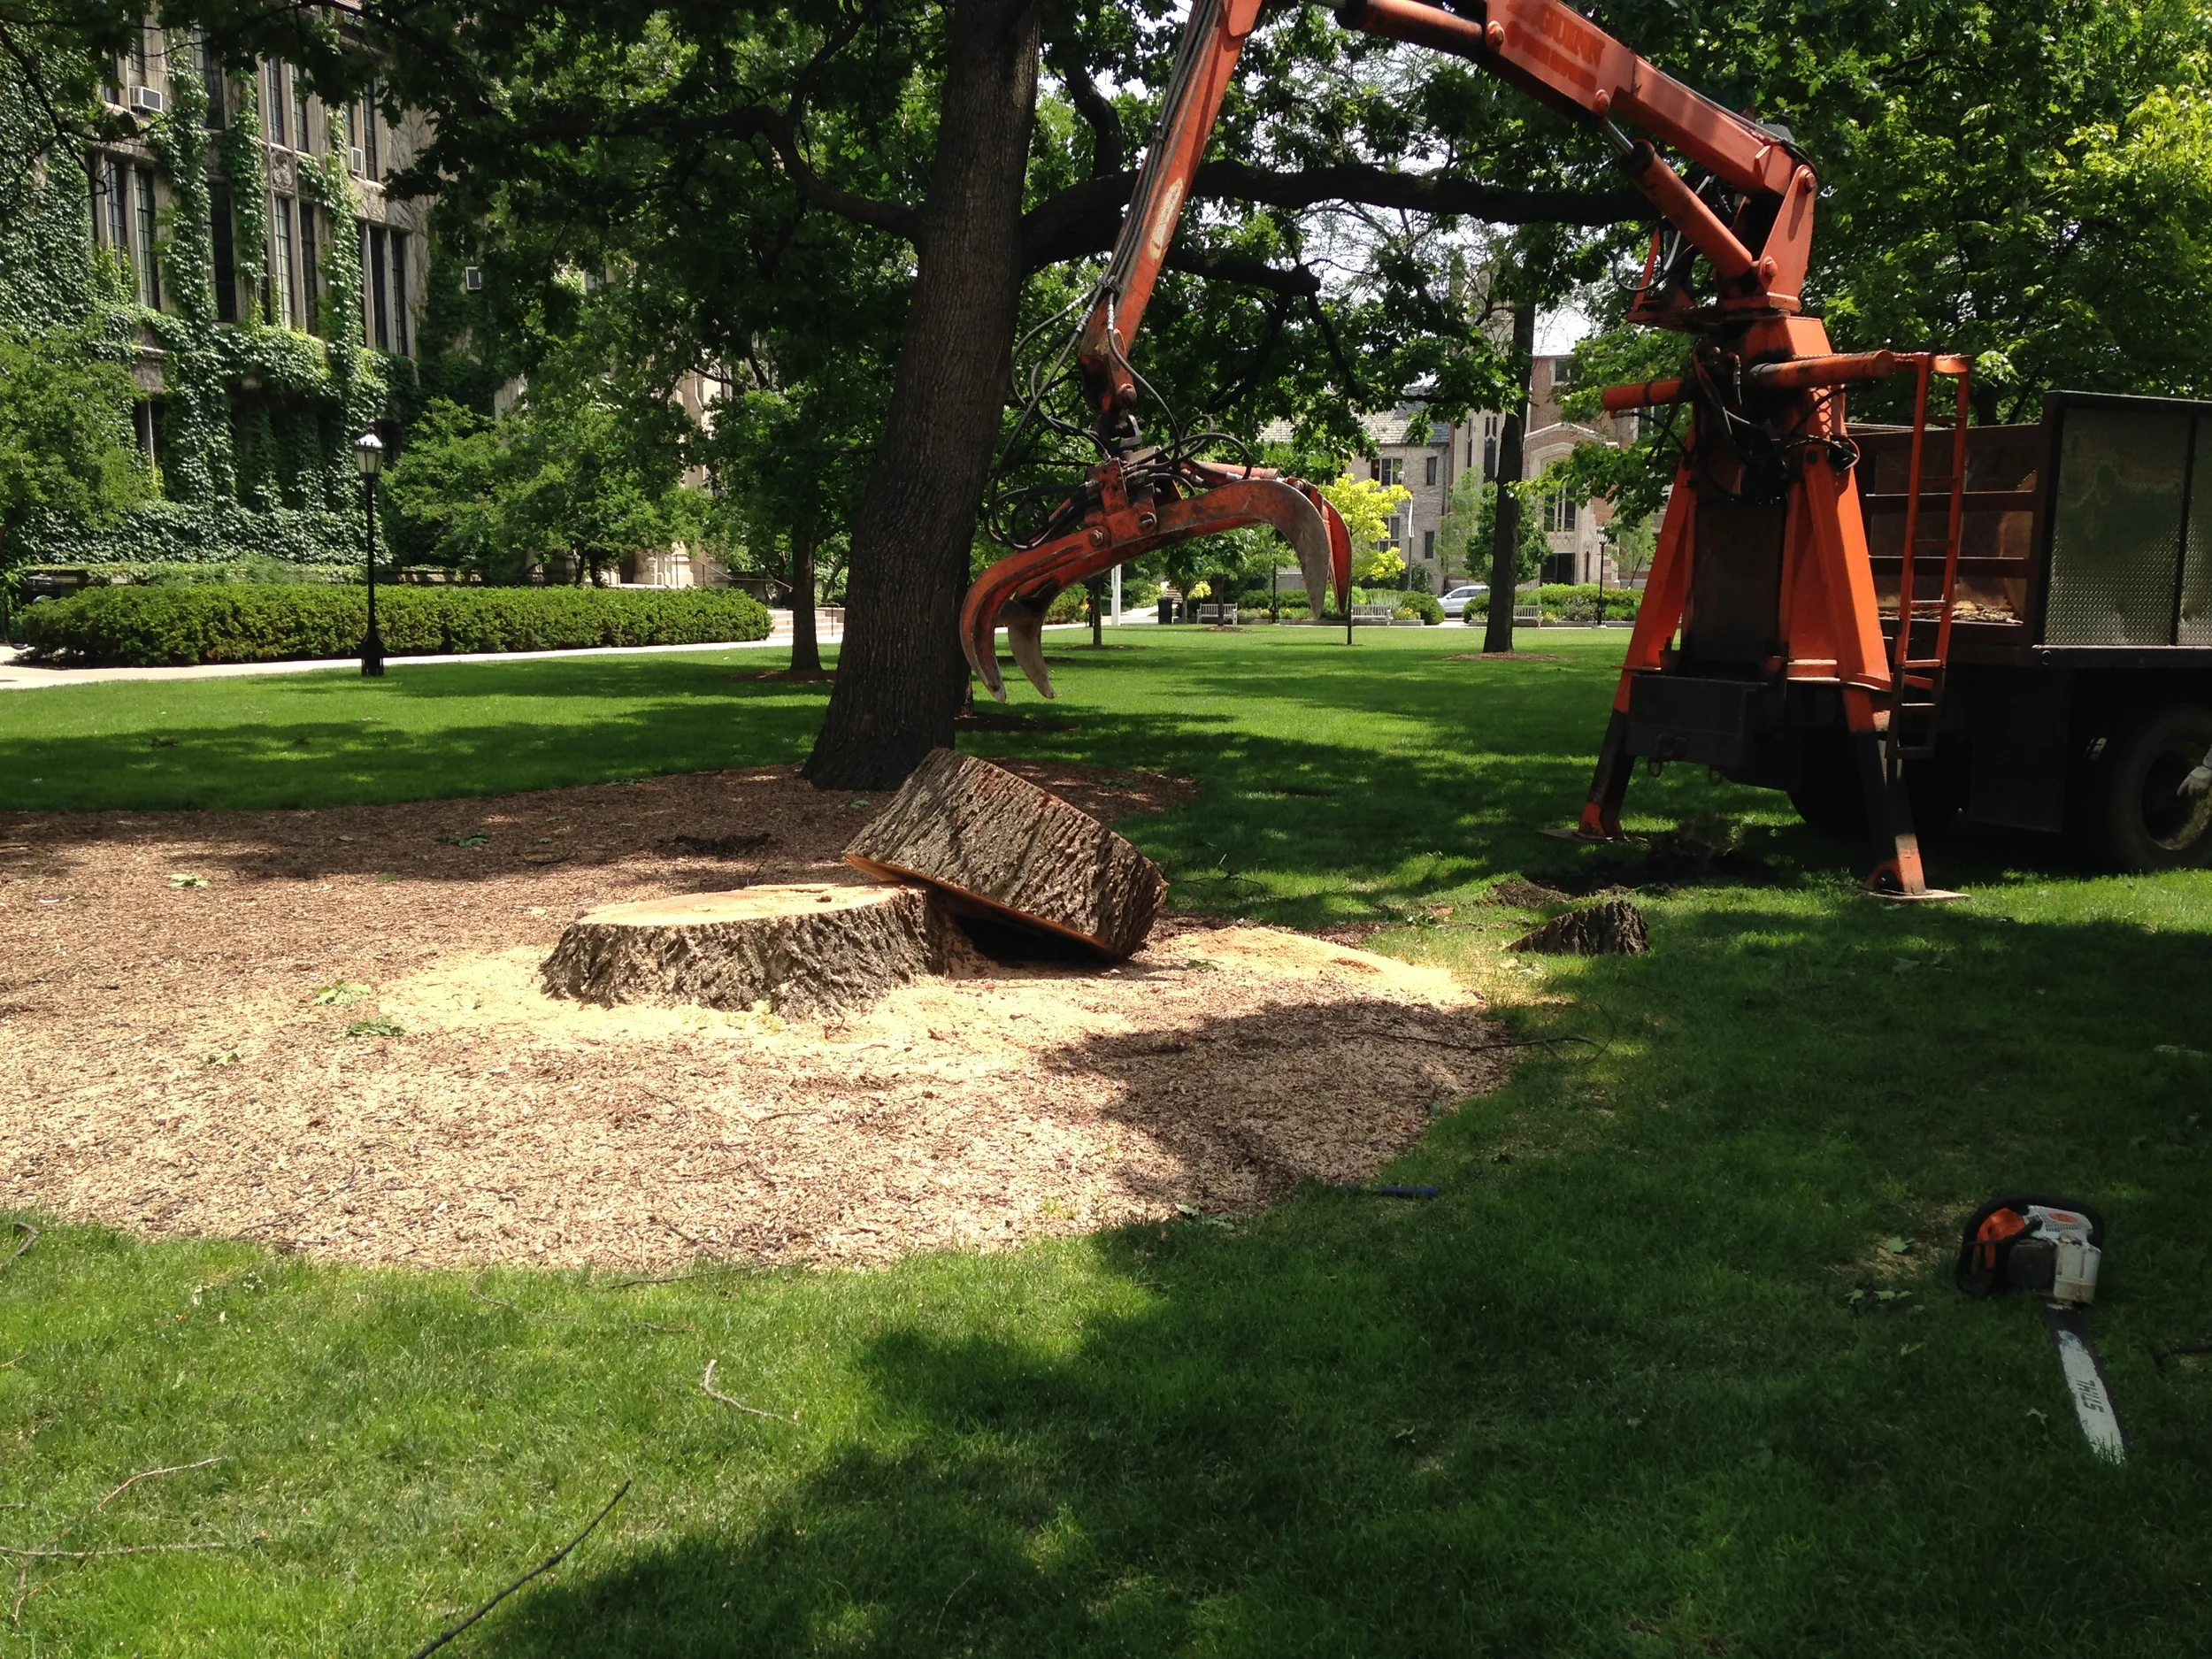
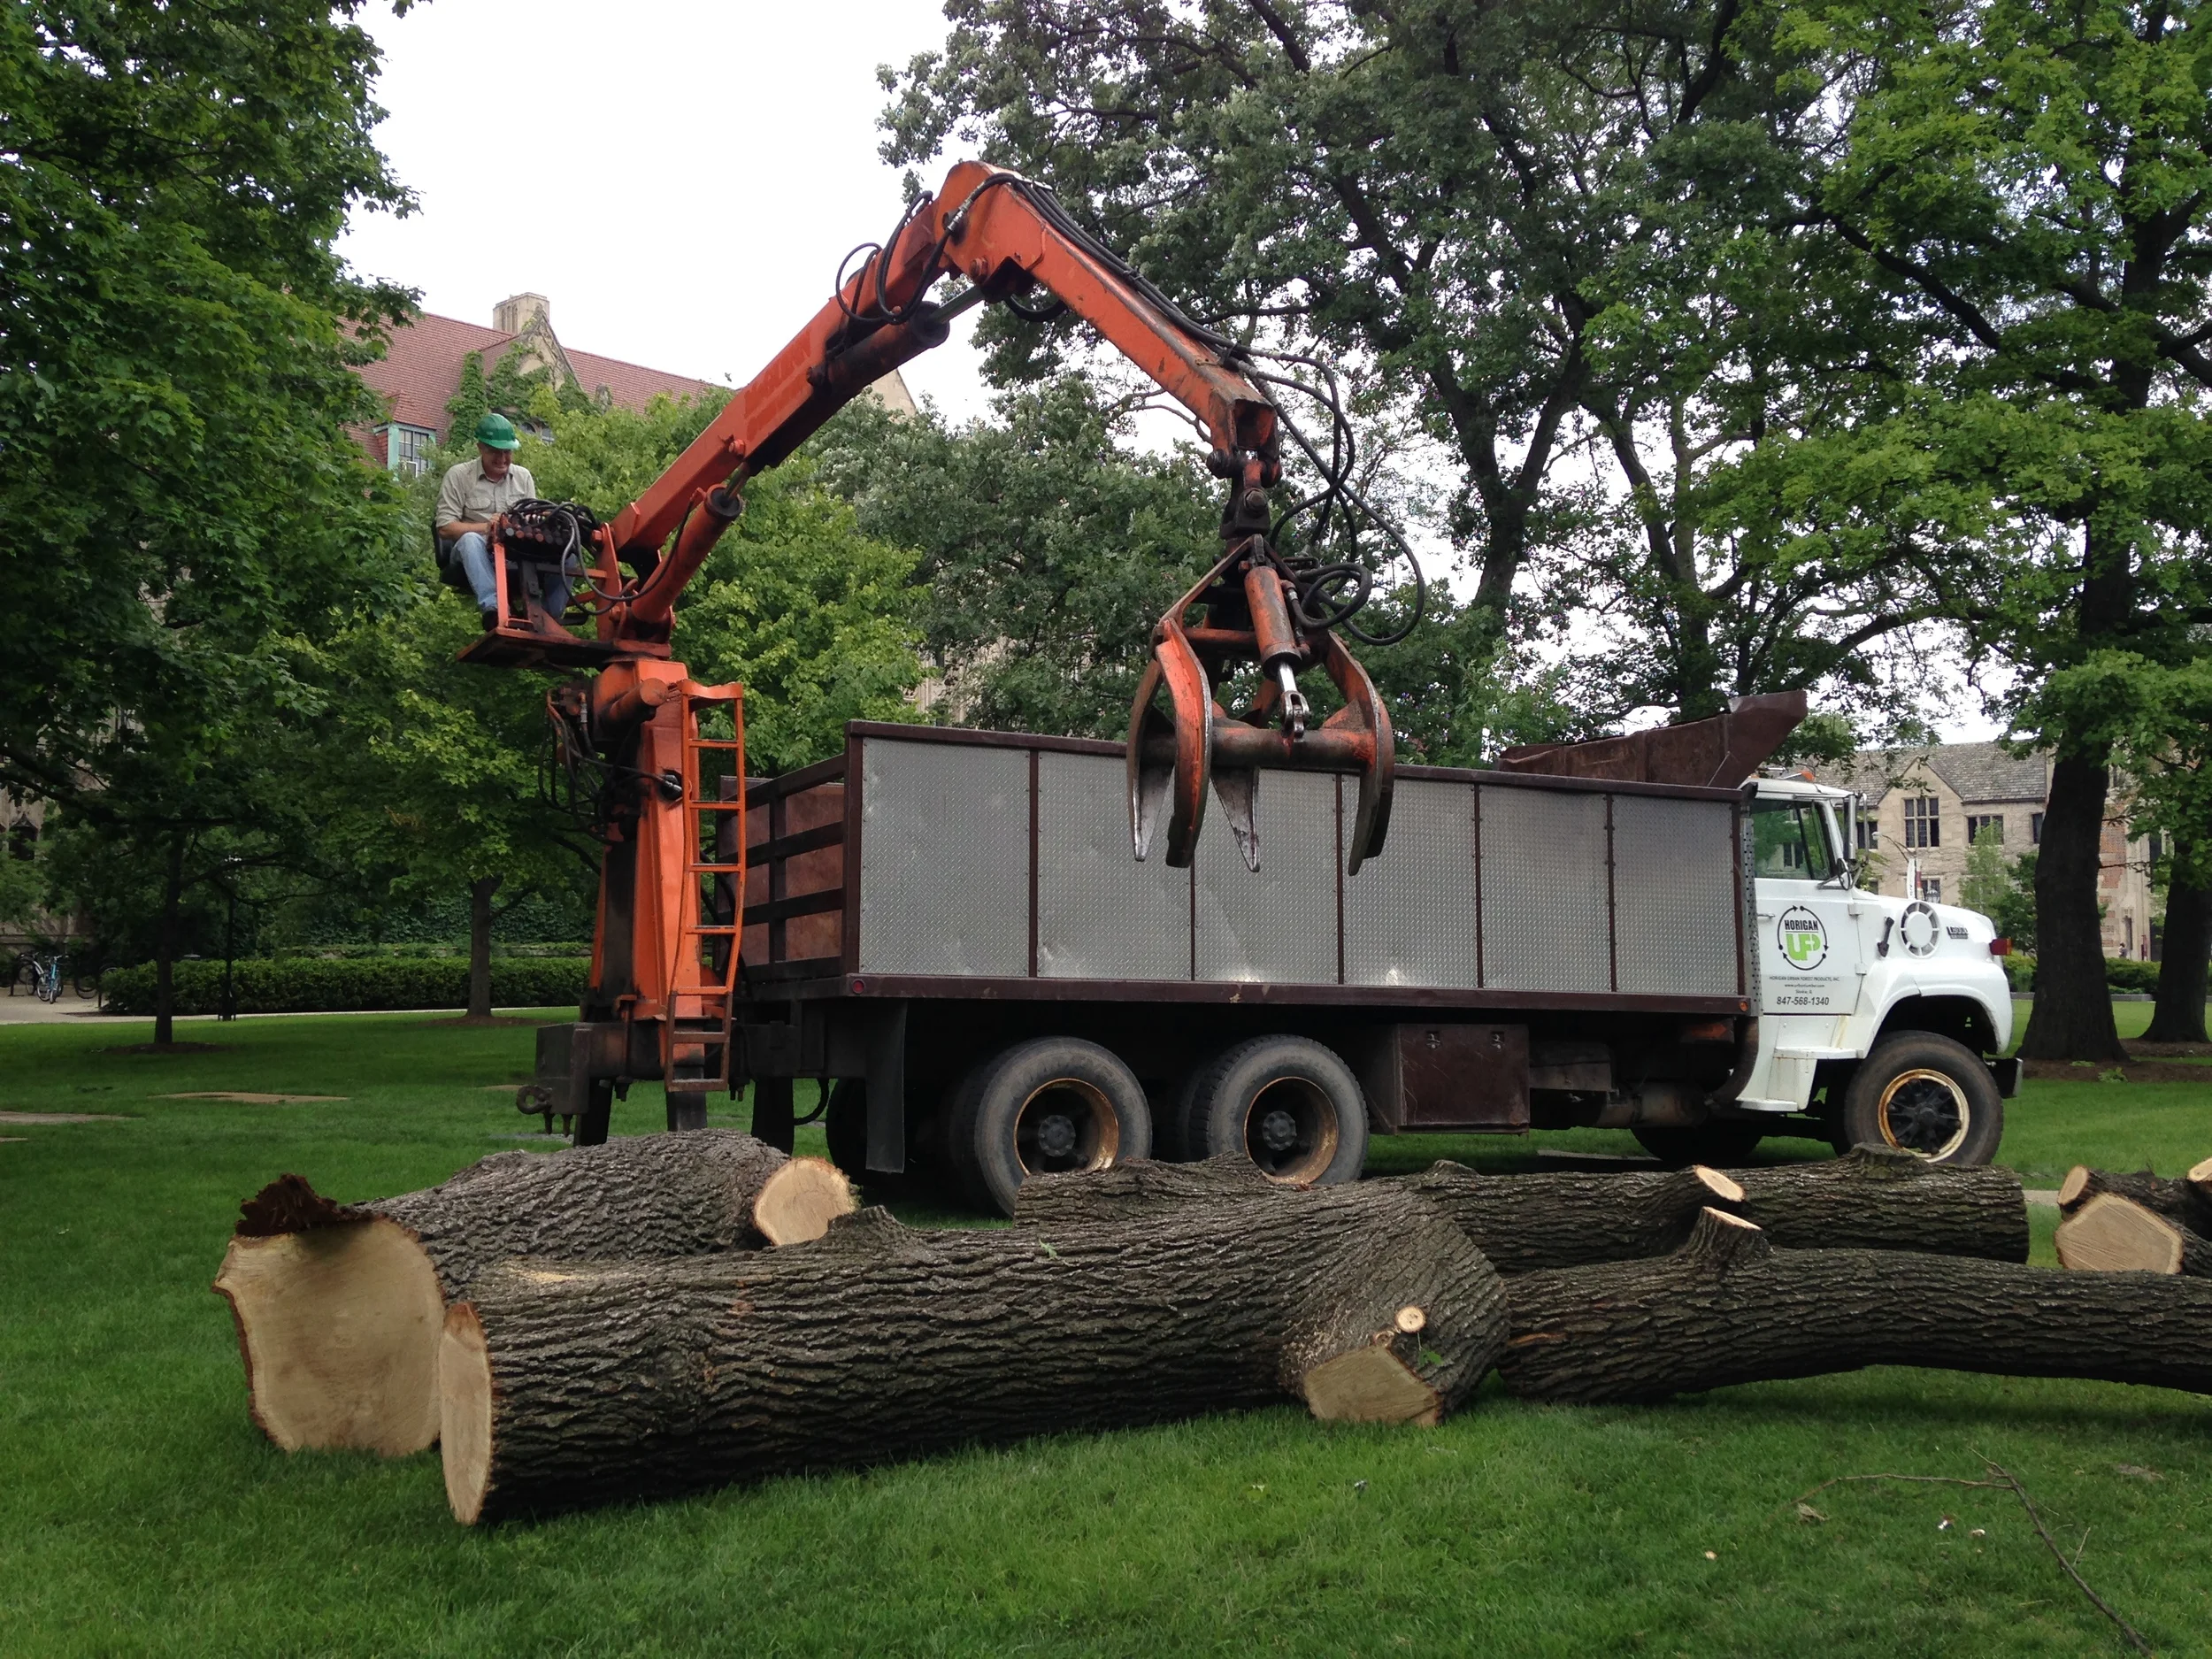
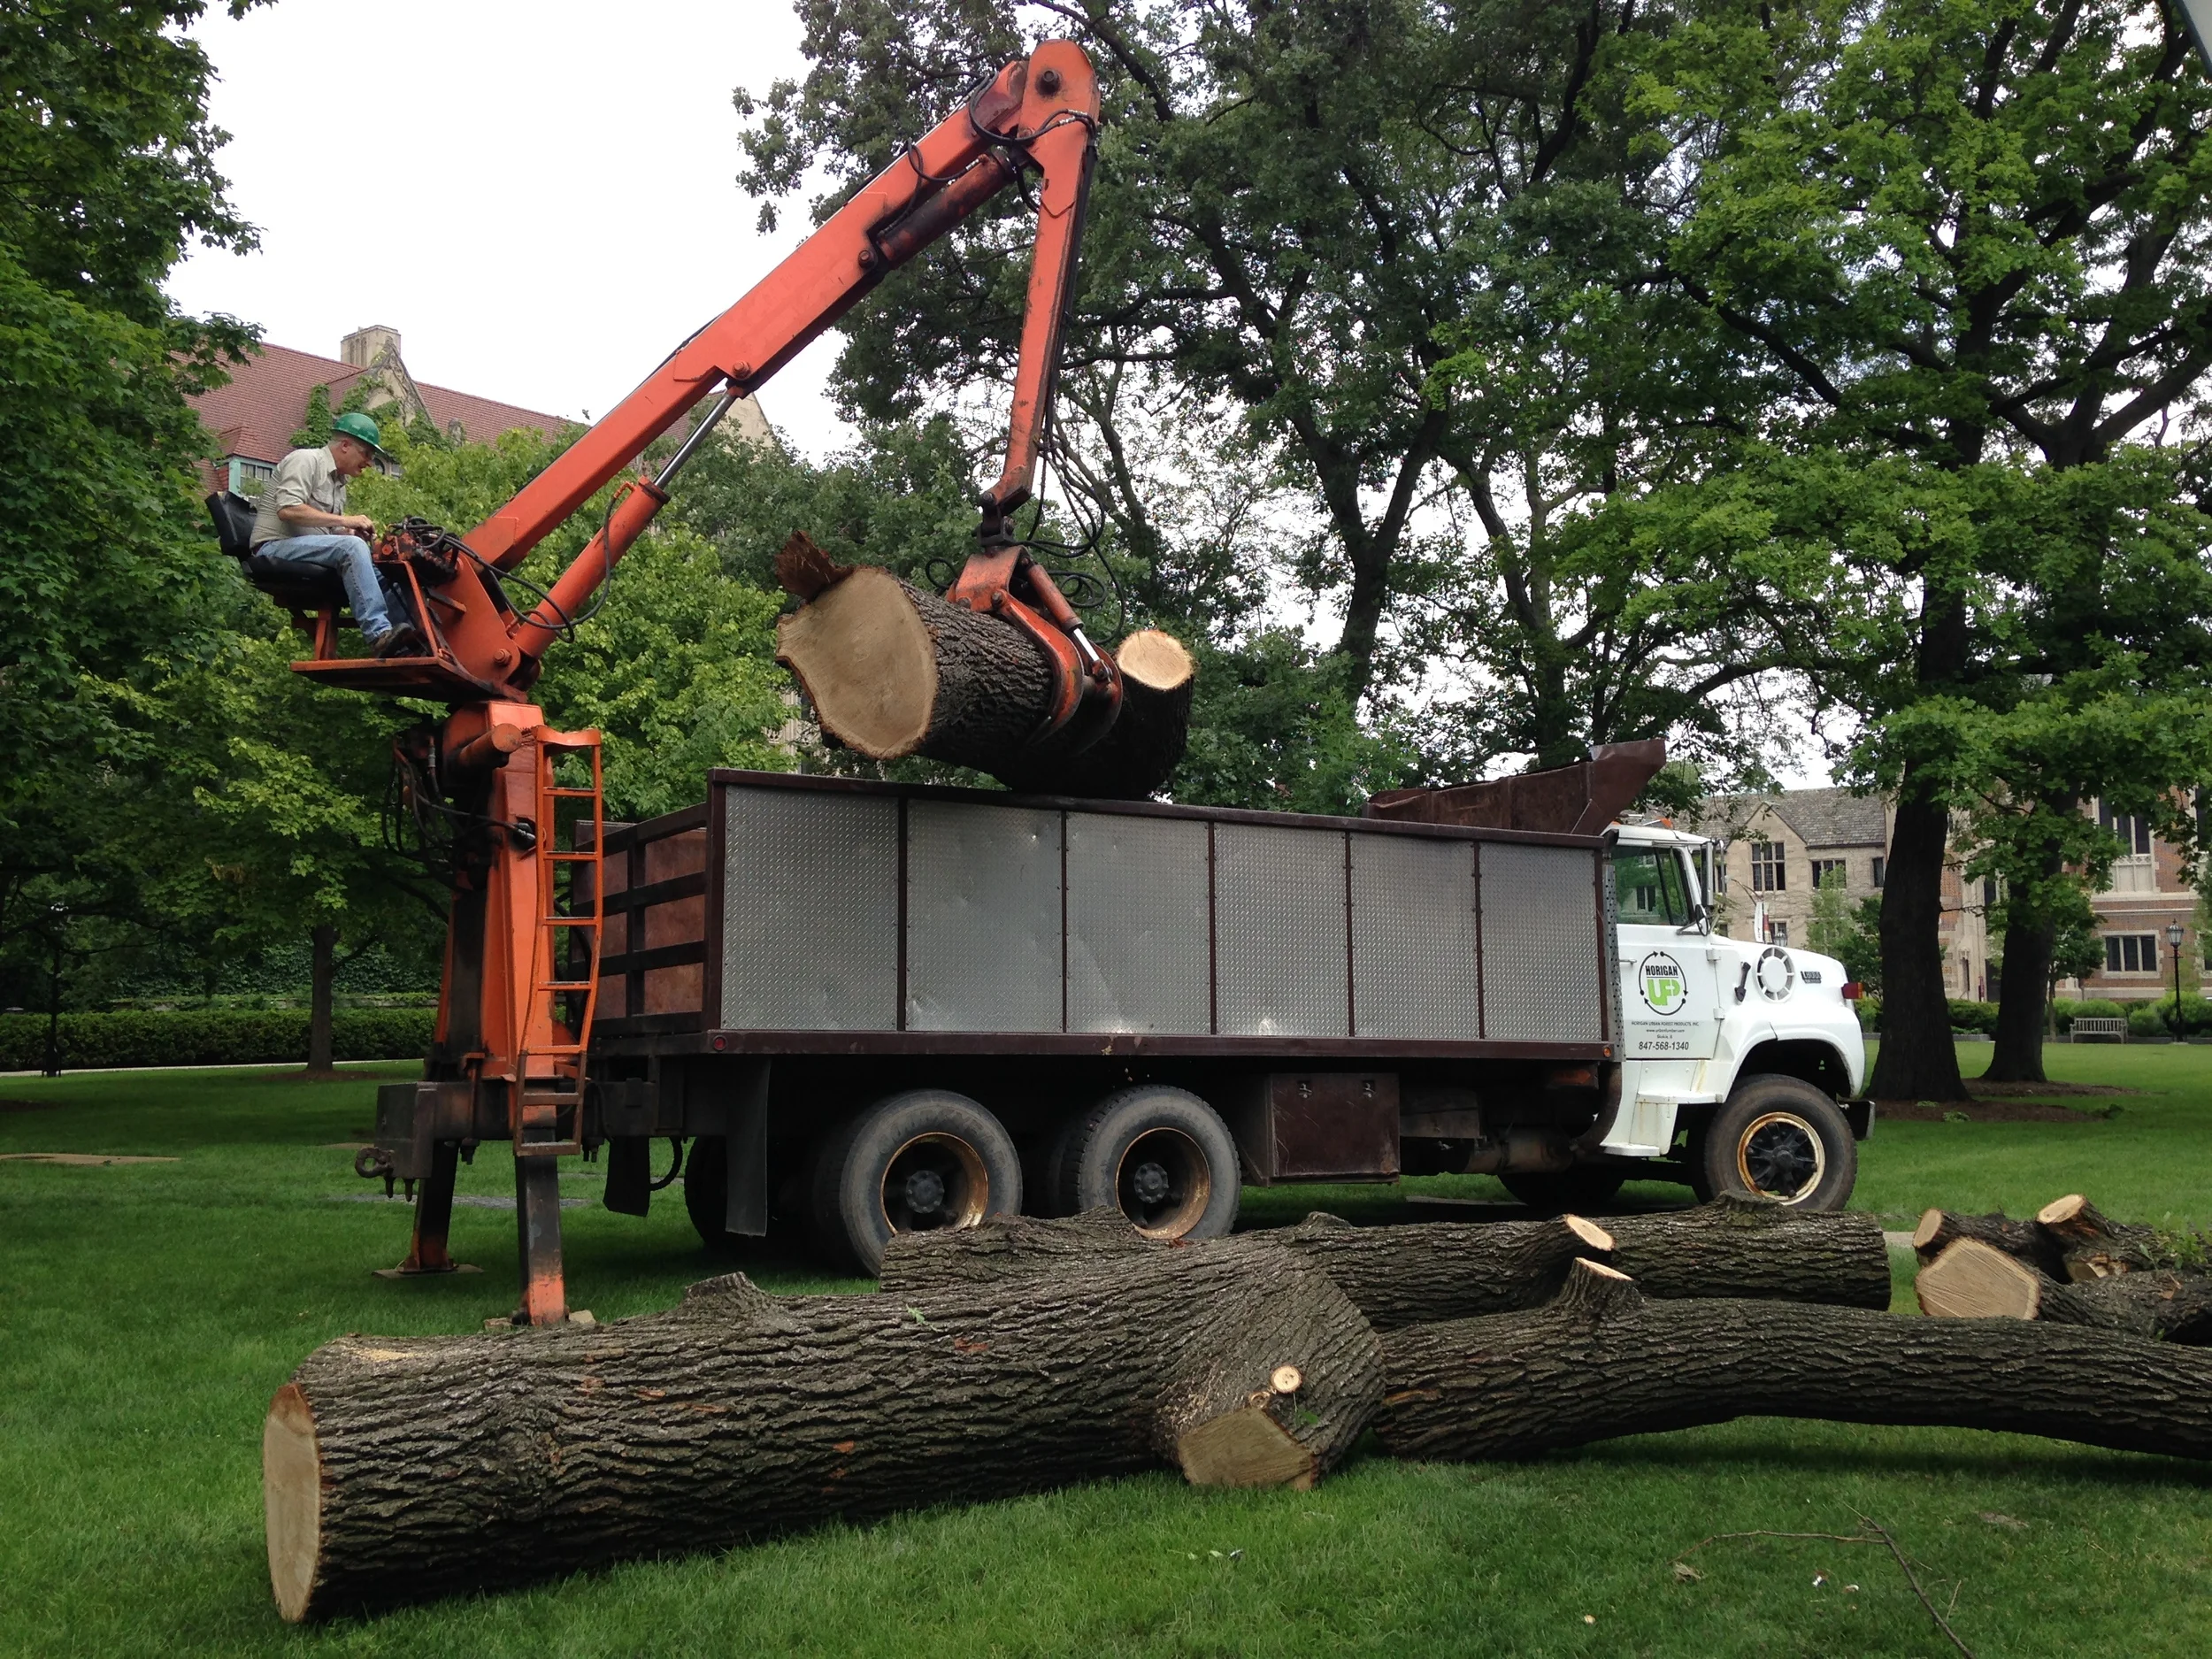
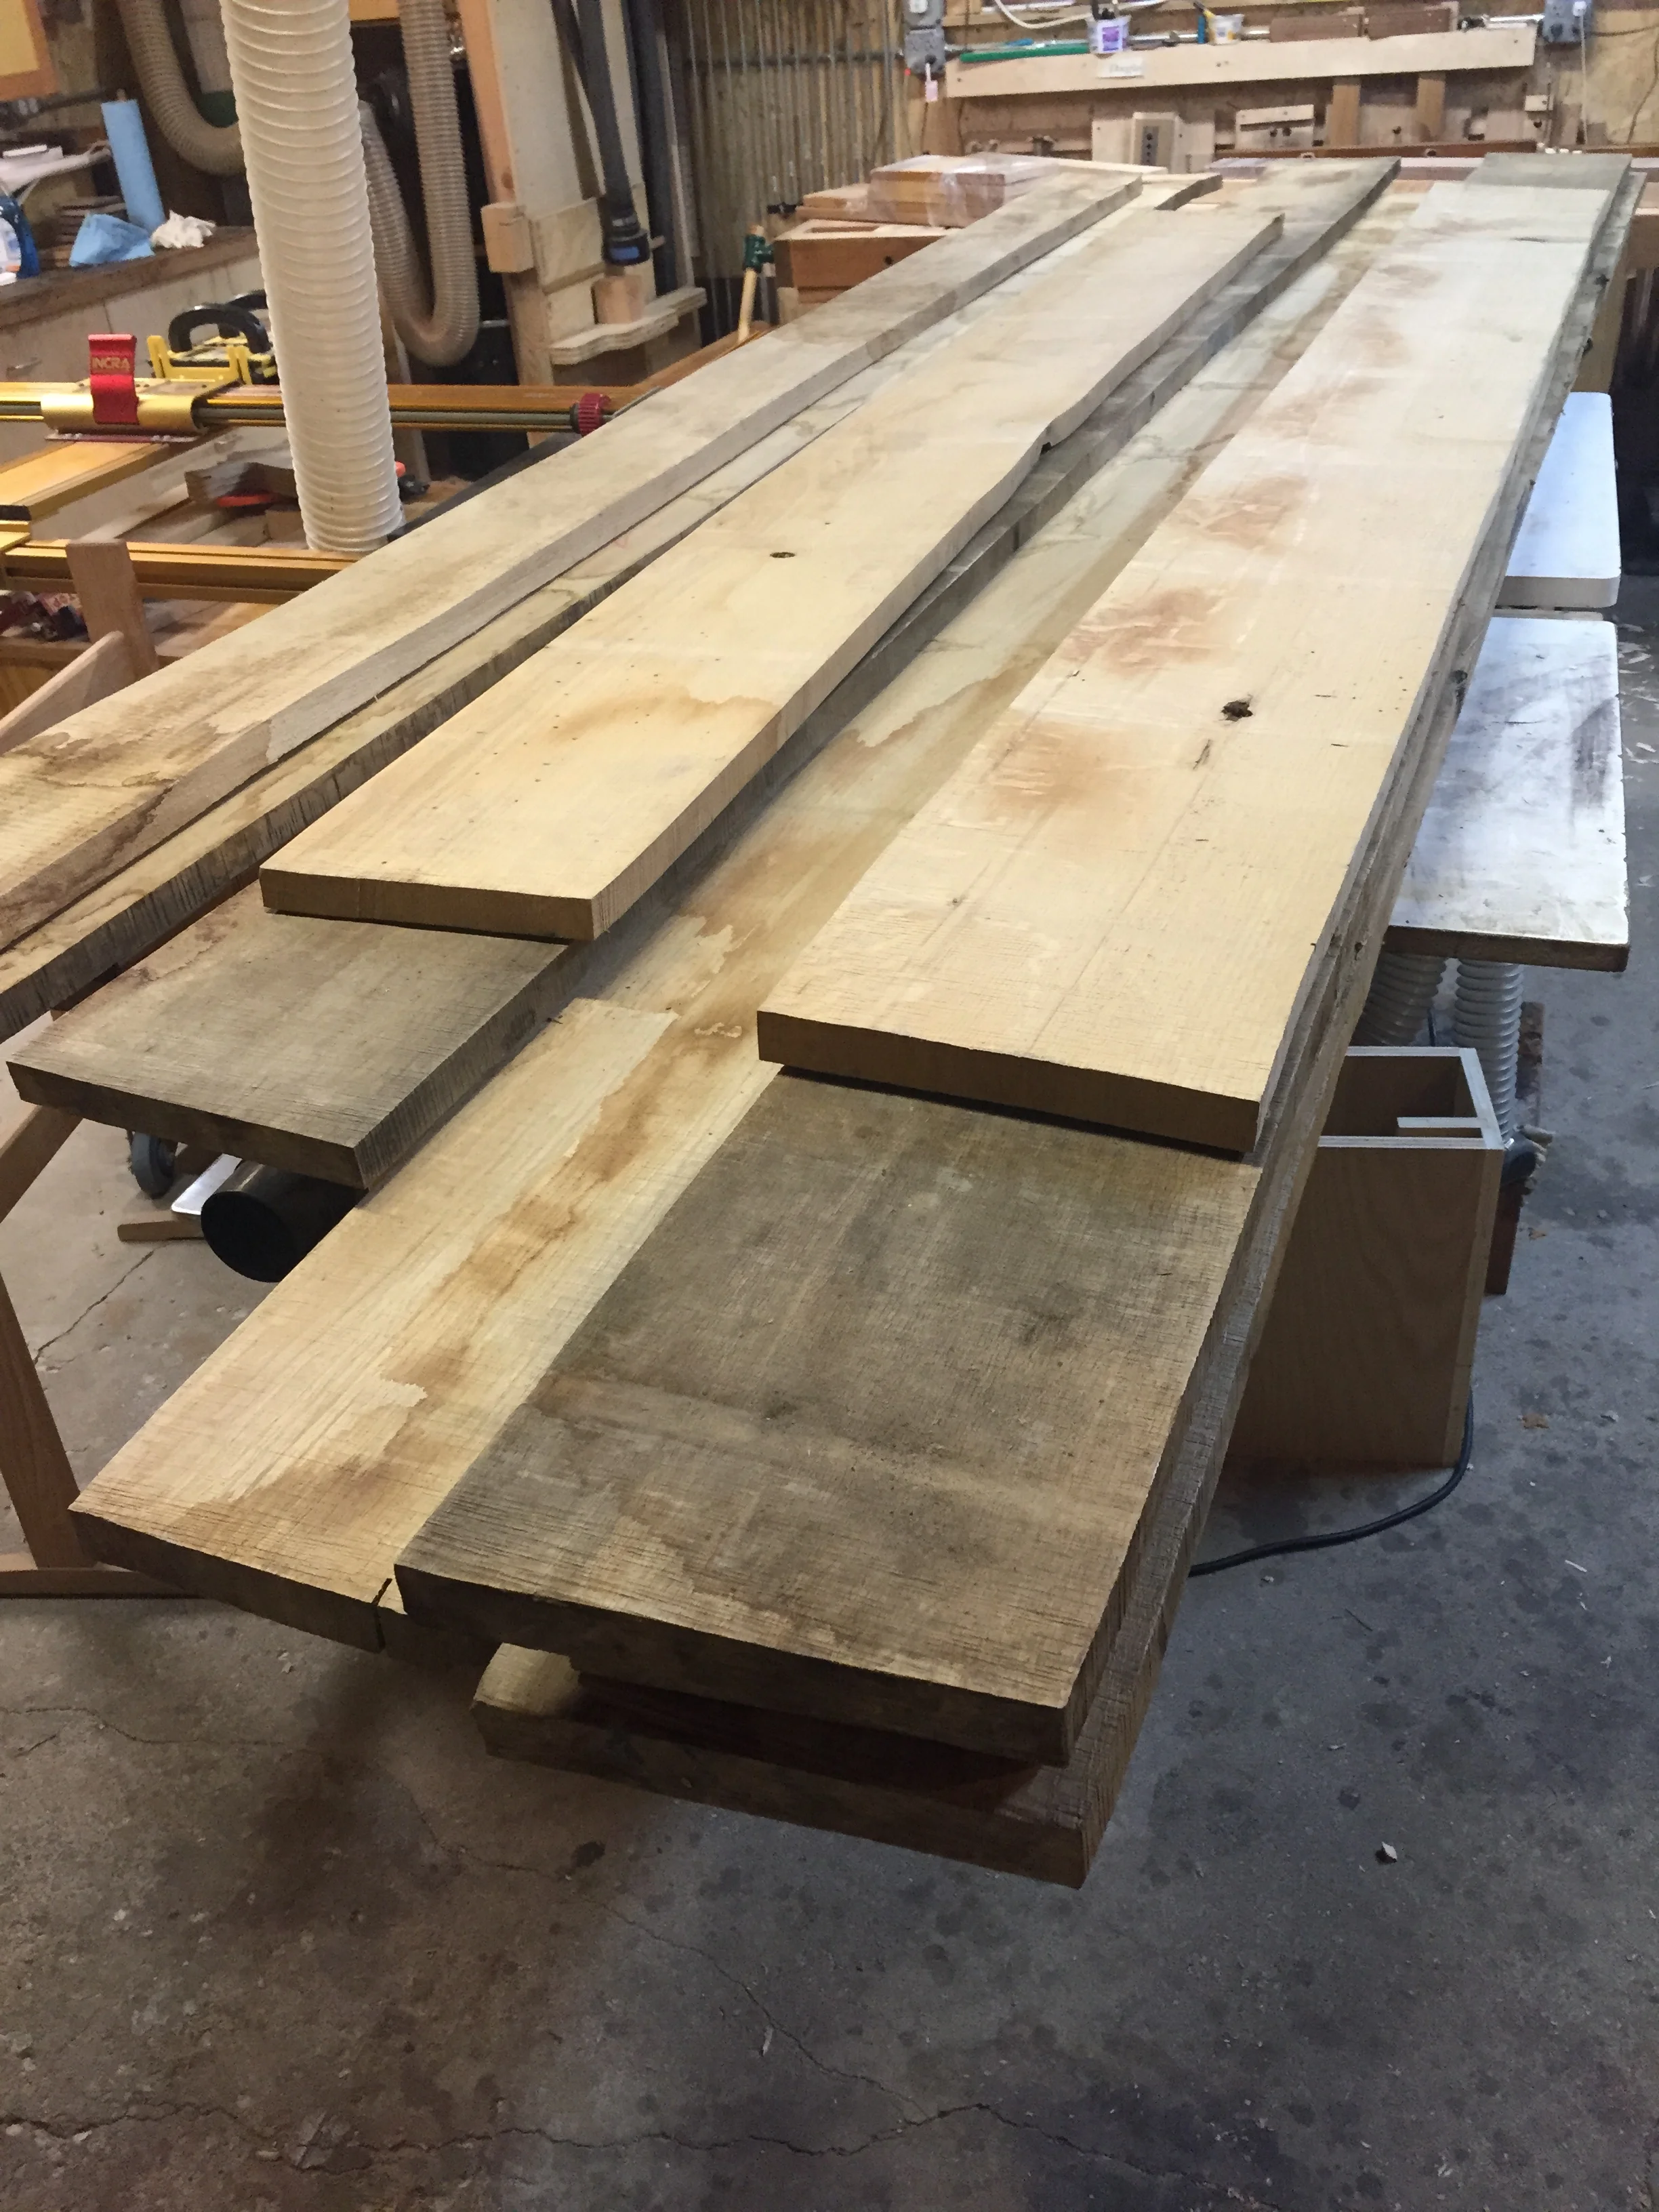
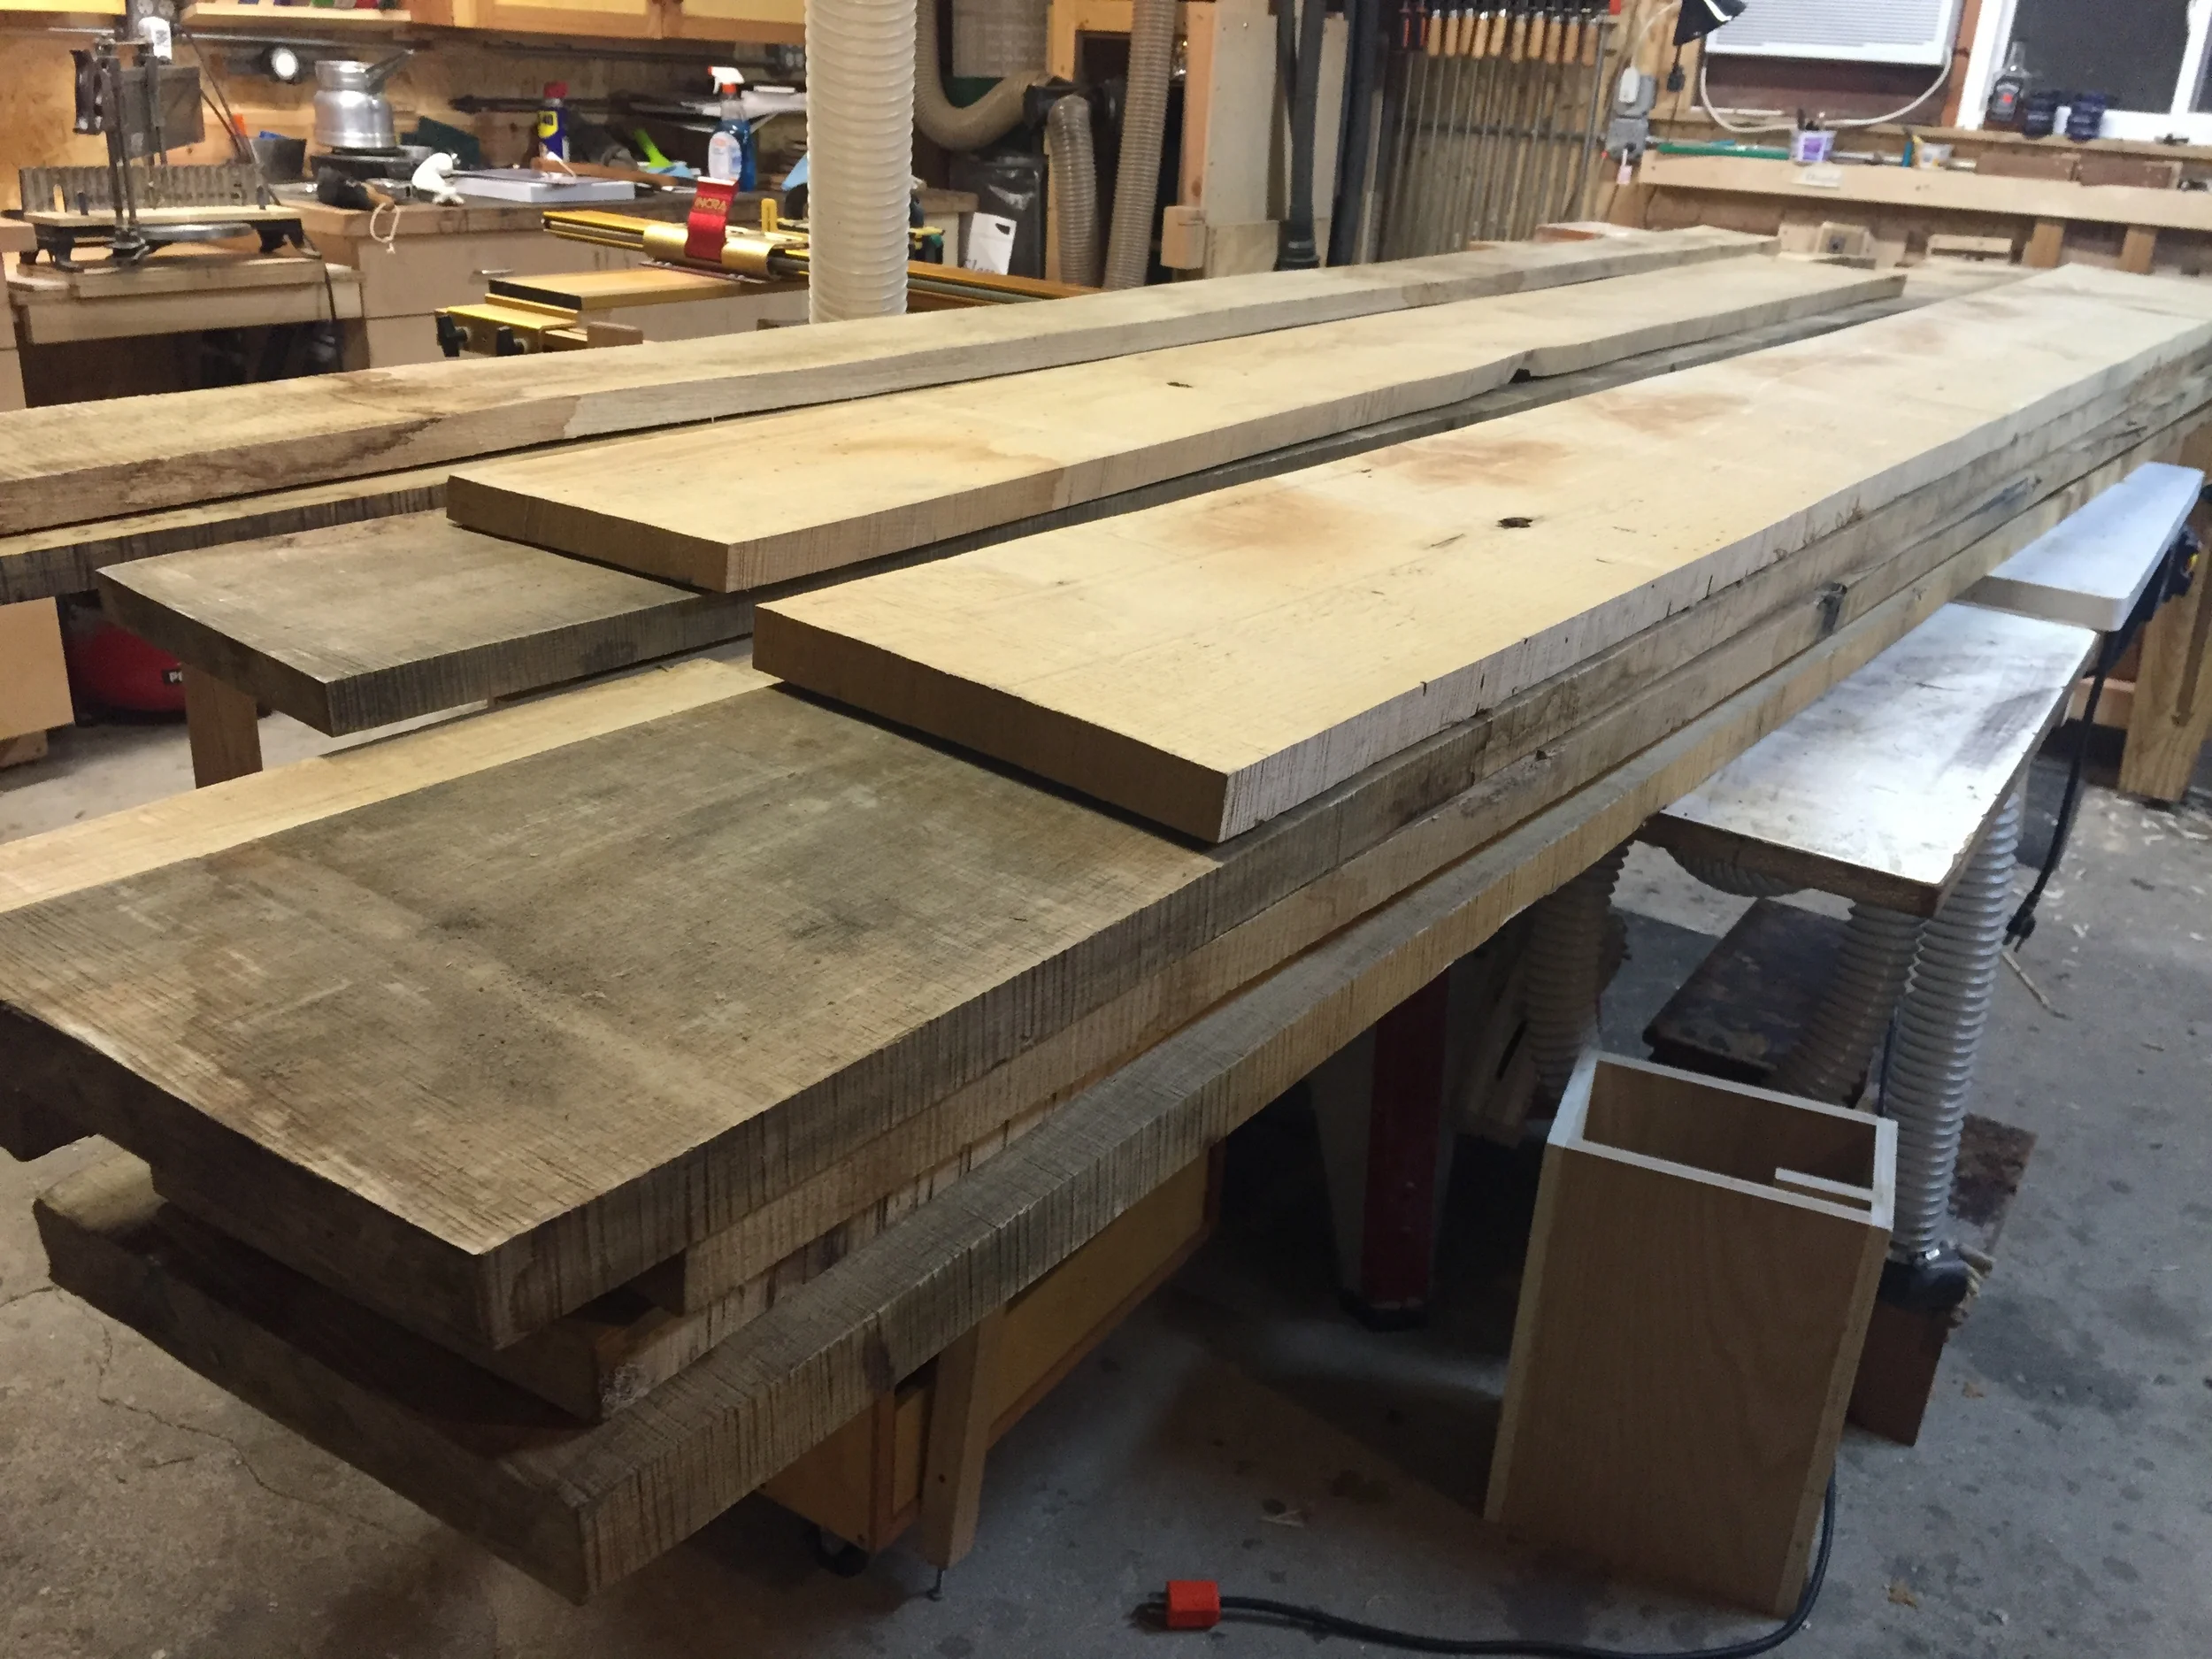
The materials are going to be classic quarter sawn white oak; an old friend of mine by now. And speaking of old friends, I'm thrilled at how the material part of this is going. An old friend of mine, and fellow woodworker, David, works for the University of Chicago, and is involved with their urban lumber reclamation processes. Basically, when a tree on the universities property needs to be taken down, instead of being chipped, he helps make sure it is harvested for lumber. For the harvesting and, milling, and drying part, he works with one of my favorite local lumber suppliers, Horigan Urban Forest Products. When I was looking for the lumber for this build, David let me know that they were selling a lot of quarter sawn white oak they had on hand from a tree that had been harvested and milled in the summer of 2013. The price was right, so I jumped at the chance. David even had photos of the tree being removed.

Thank you David, the U of C, and Horigan UFP!
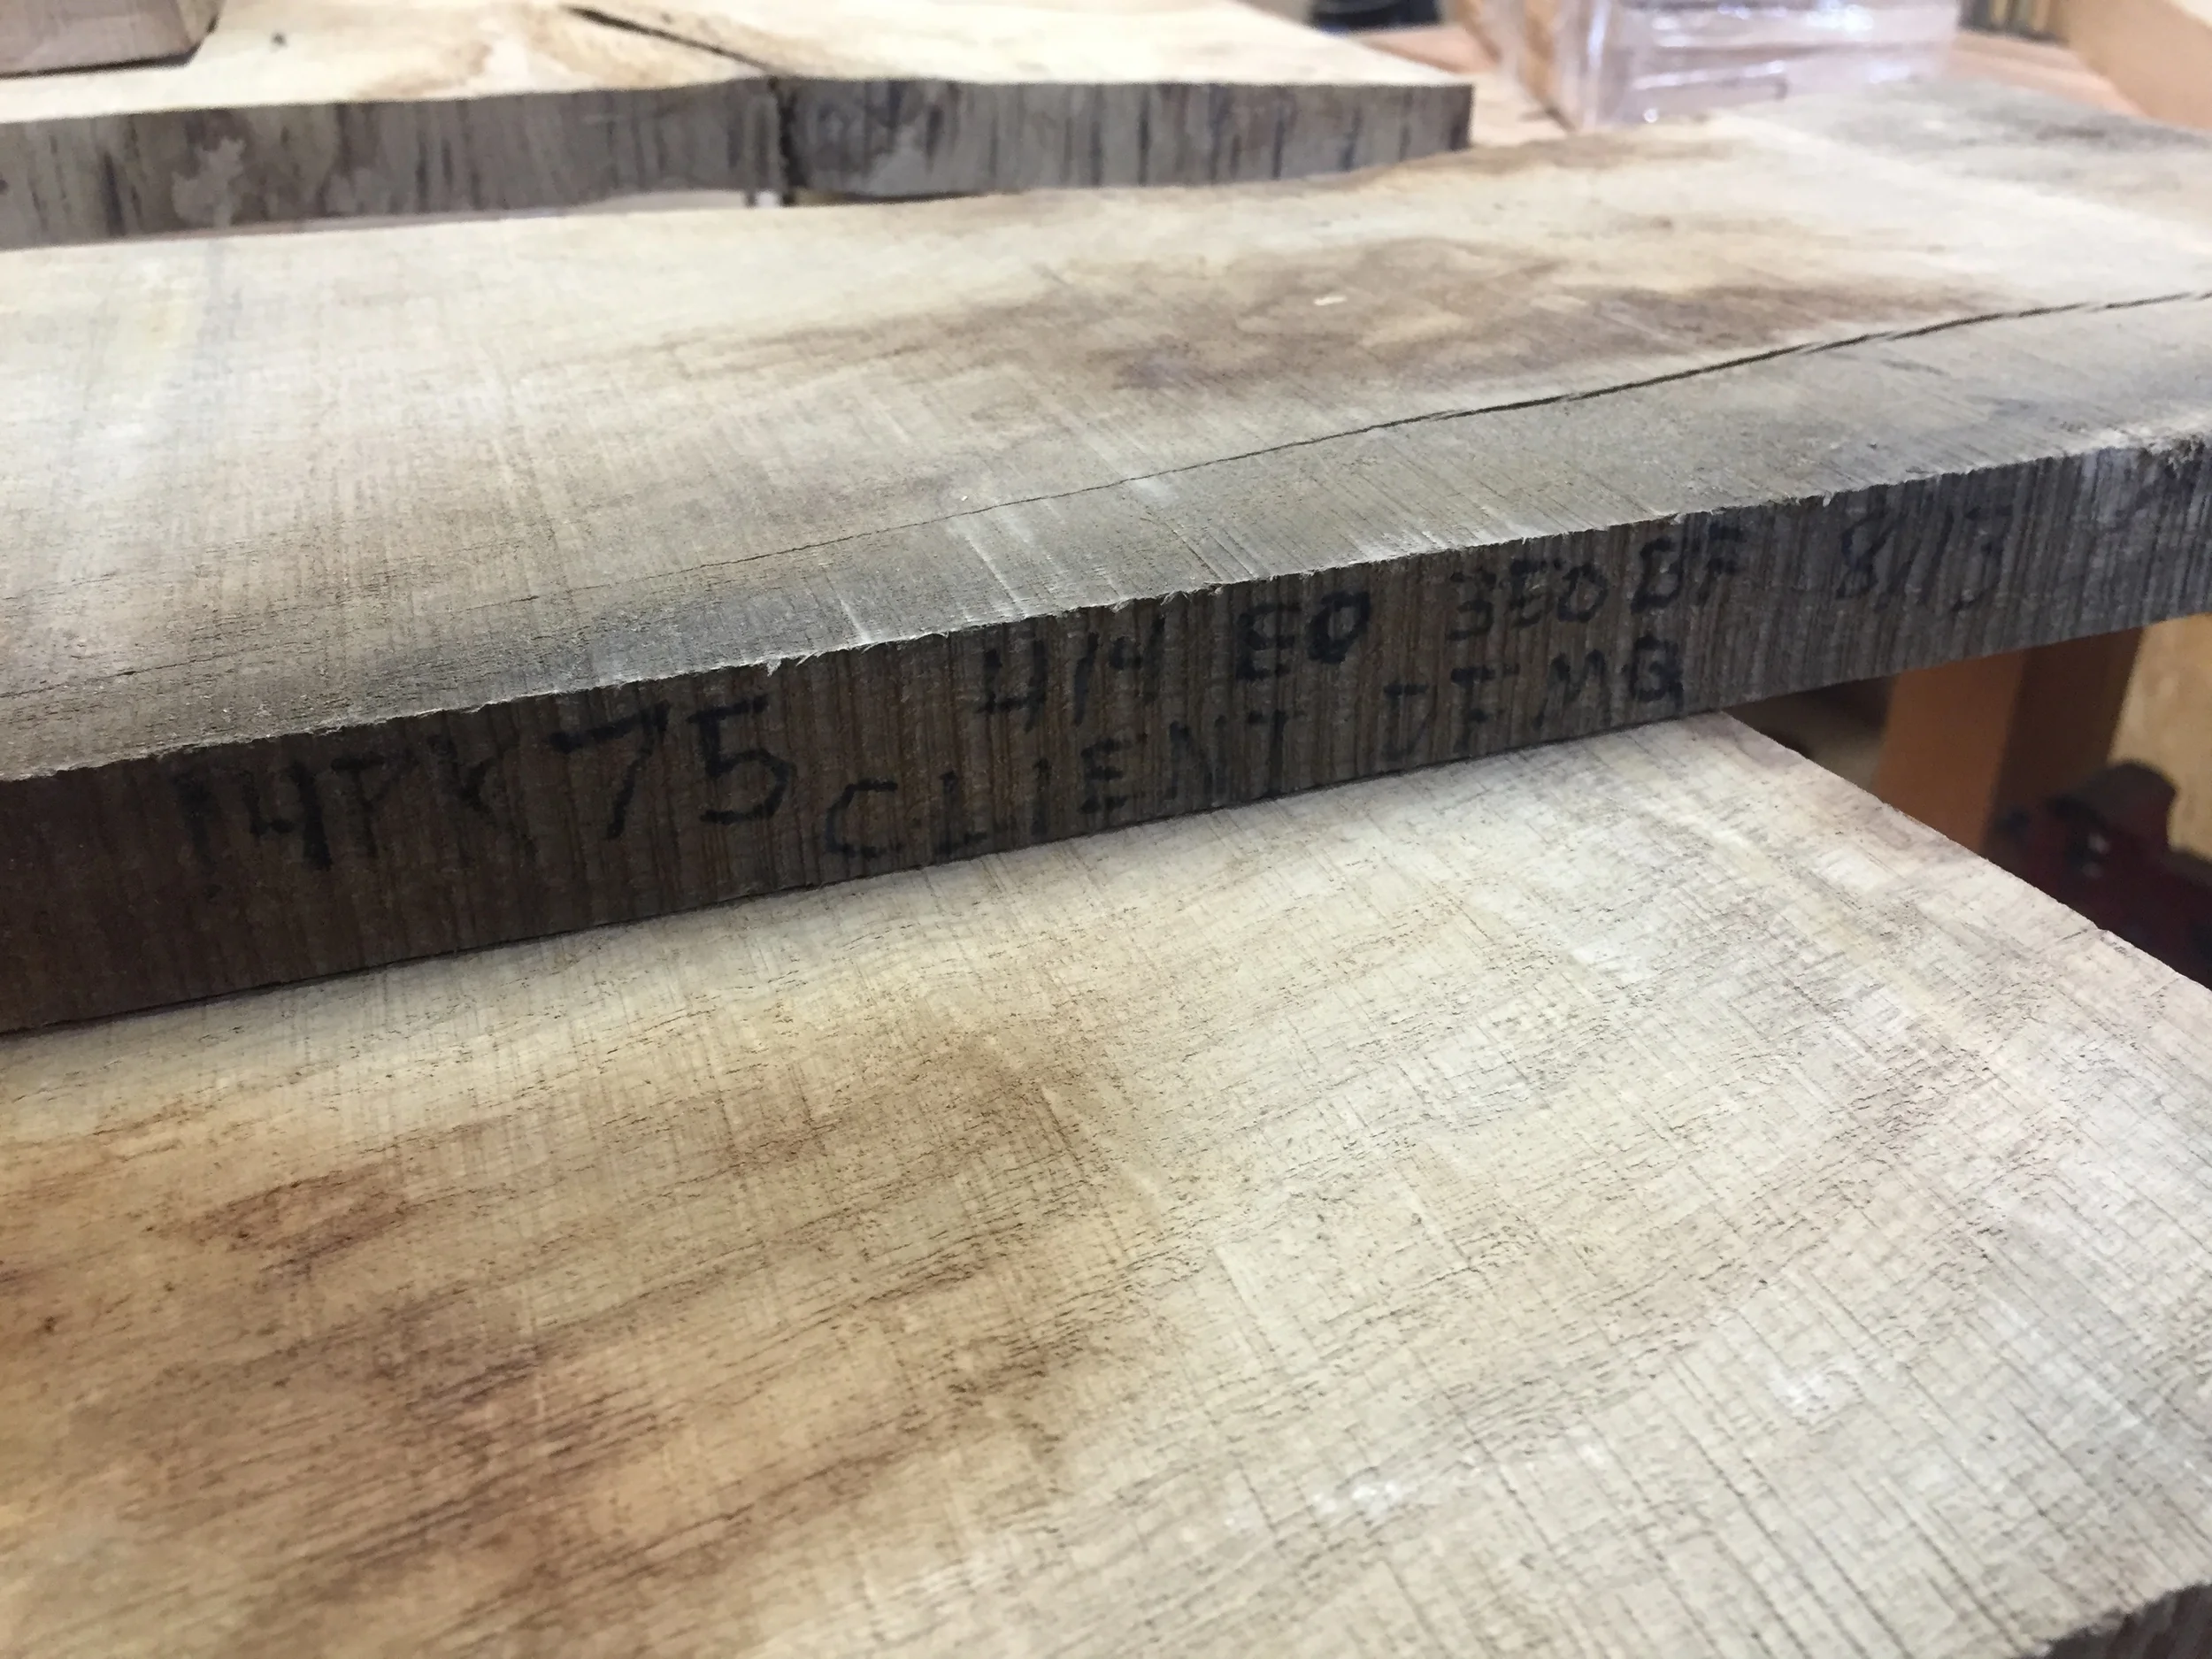
I picked up about 100 board feet of these great planks this week (with the help of another fellow woodworker, Brett), and they're now filling up the shop, ready to start the rough milling process. I'm excited about this on so many levels; excited for the end product, and the chance to work with others on making this a reality.

Stay tuned for part 2.

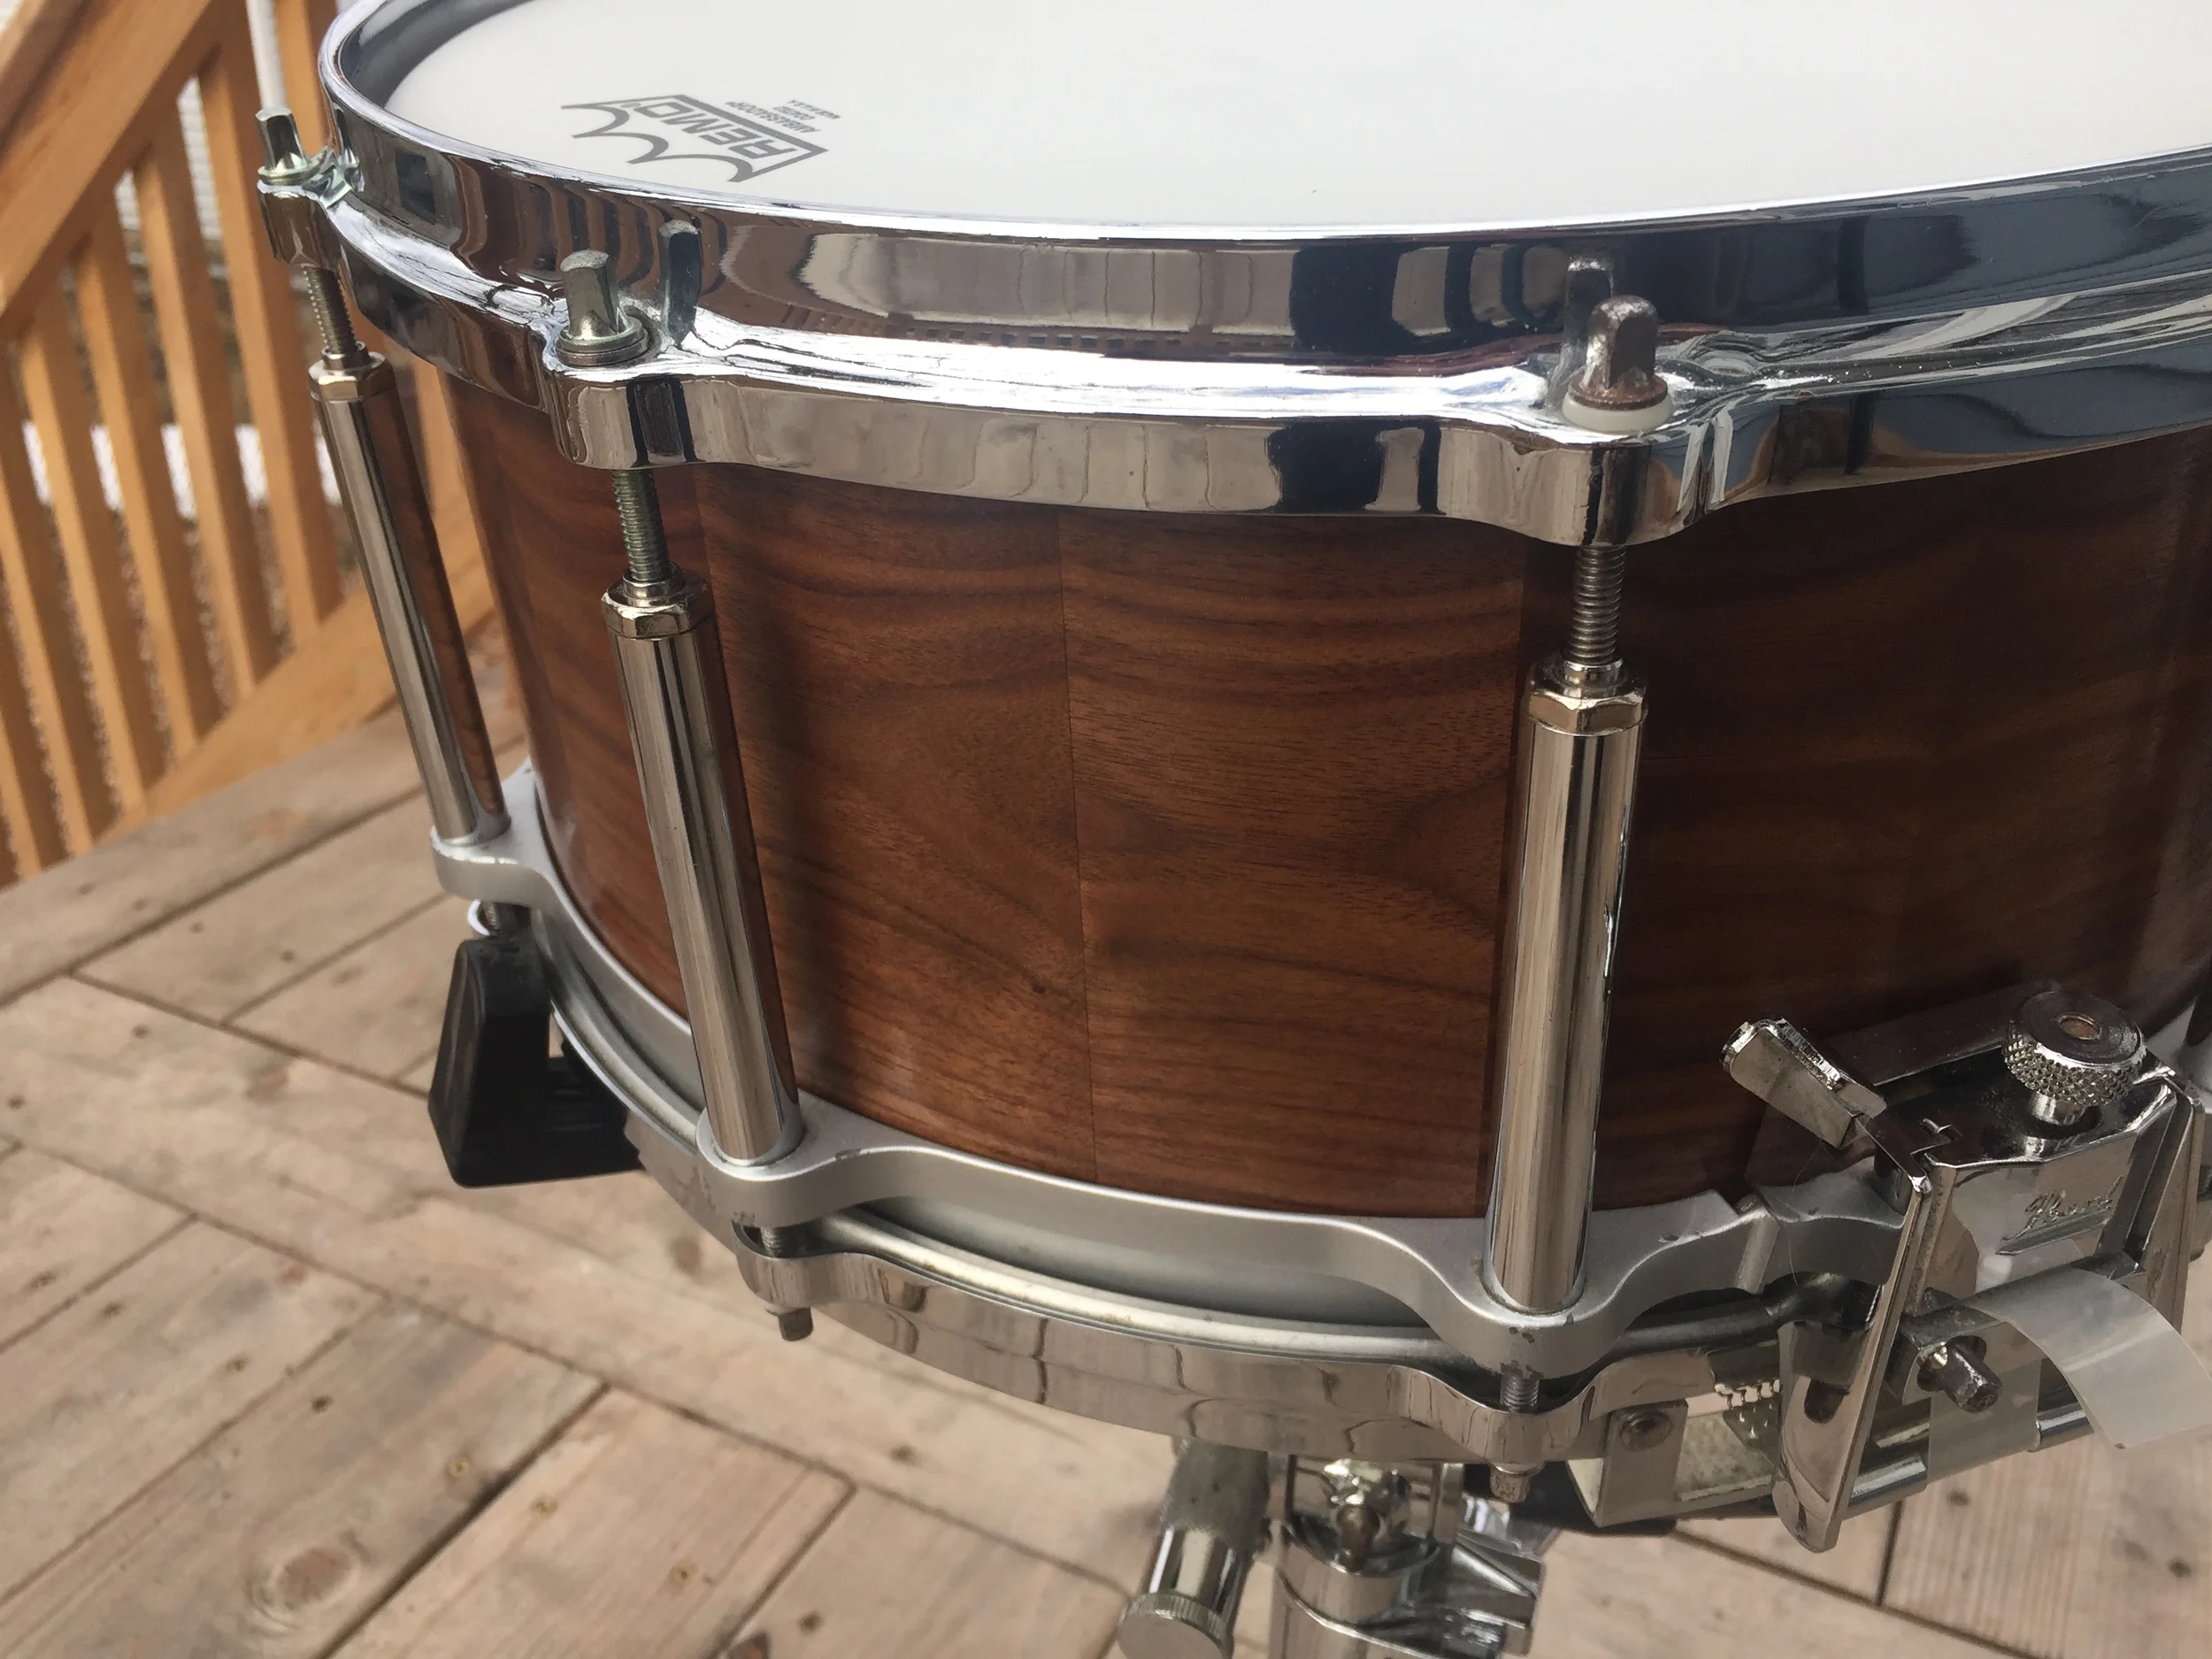
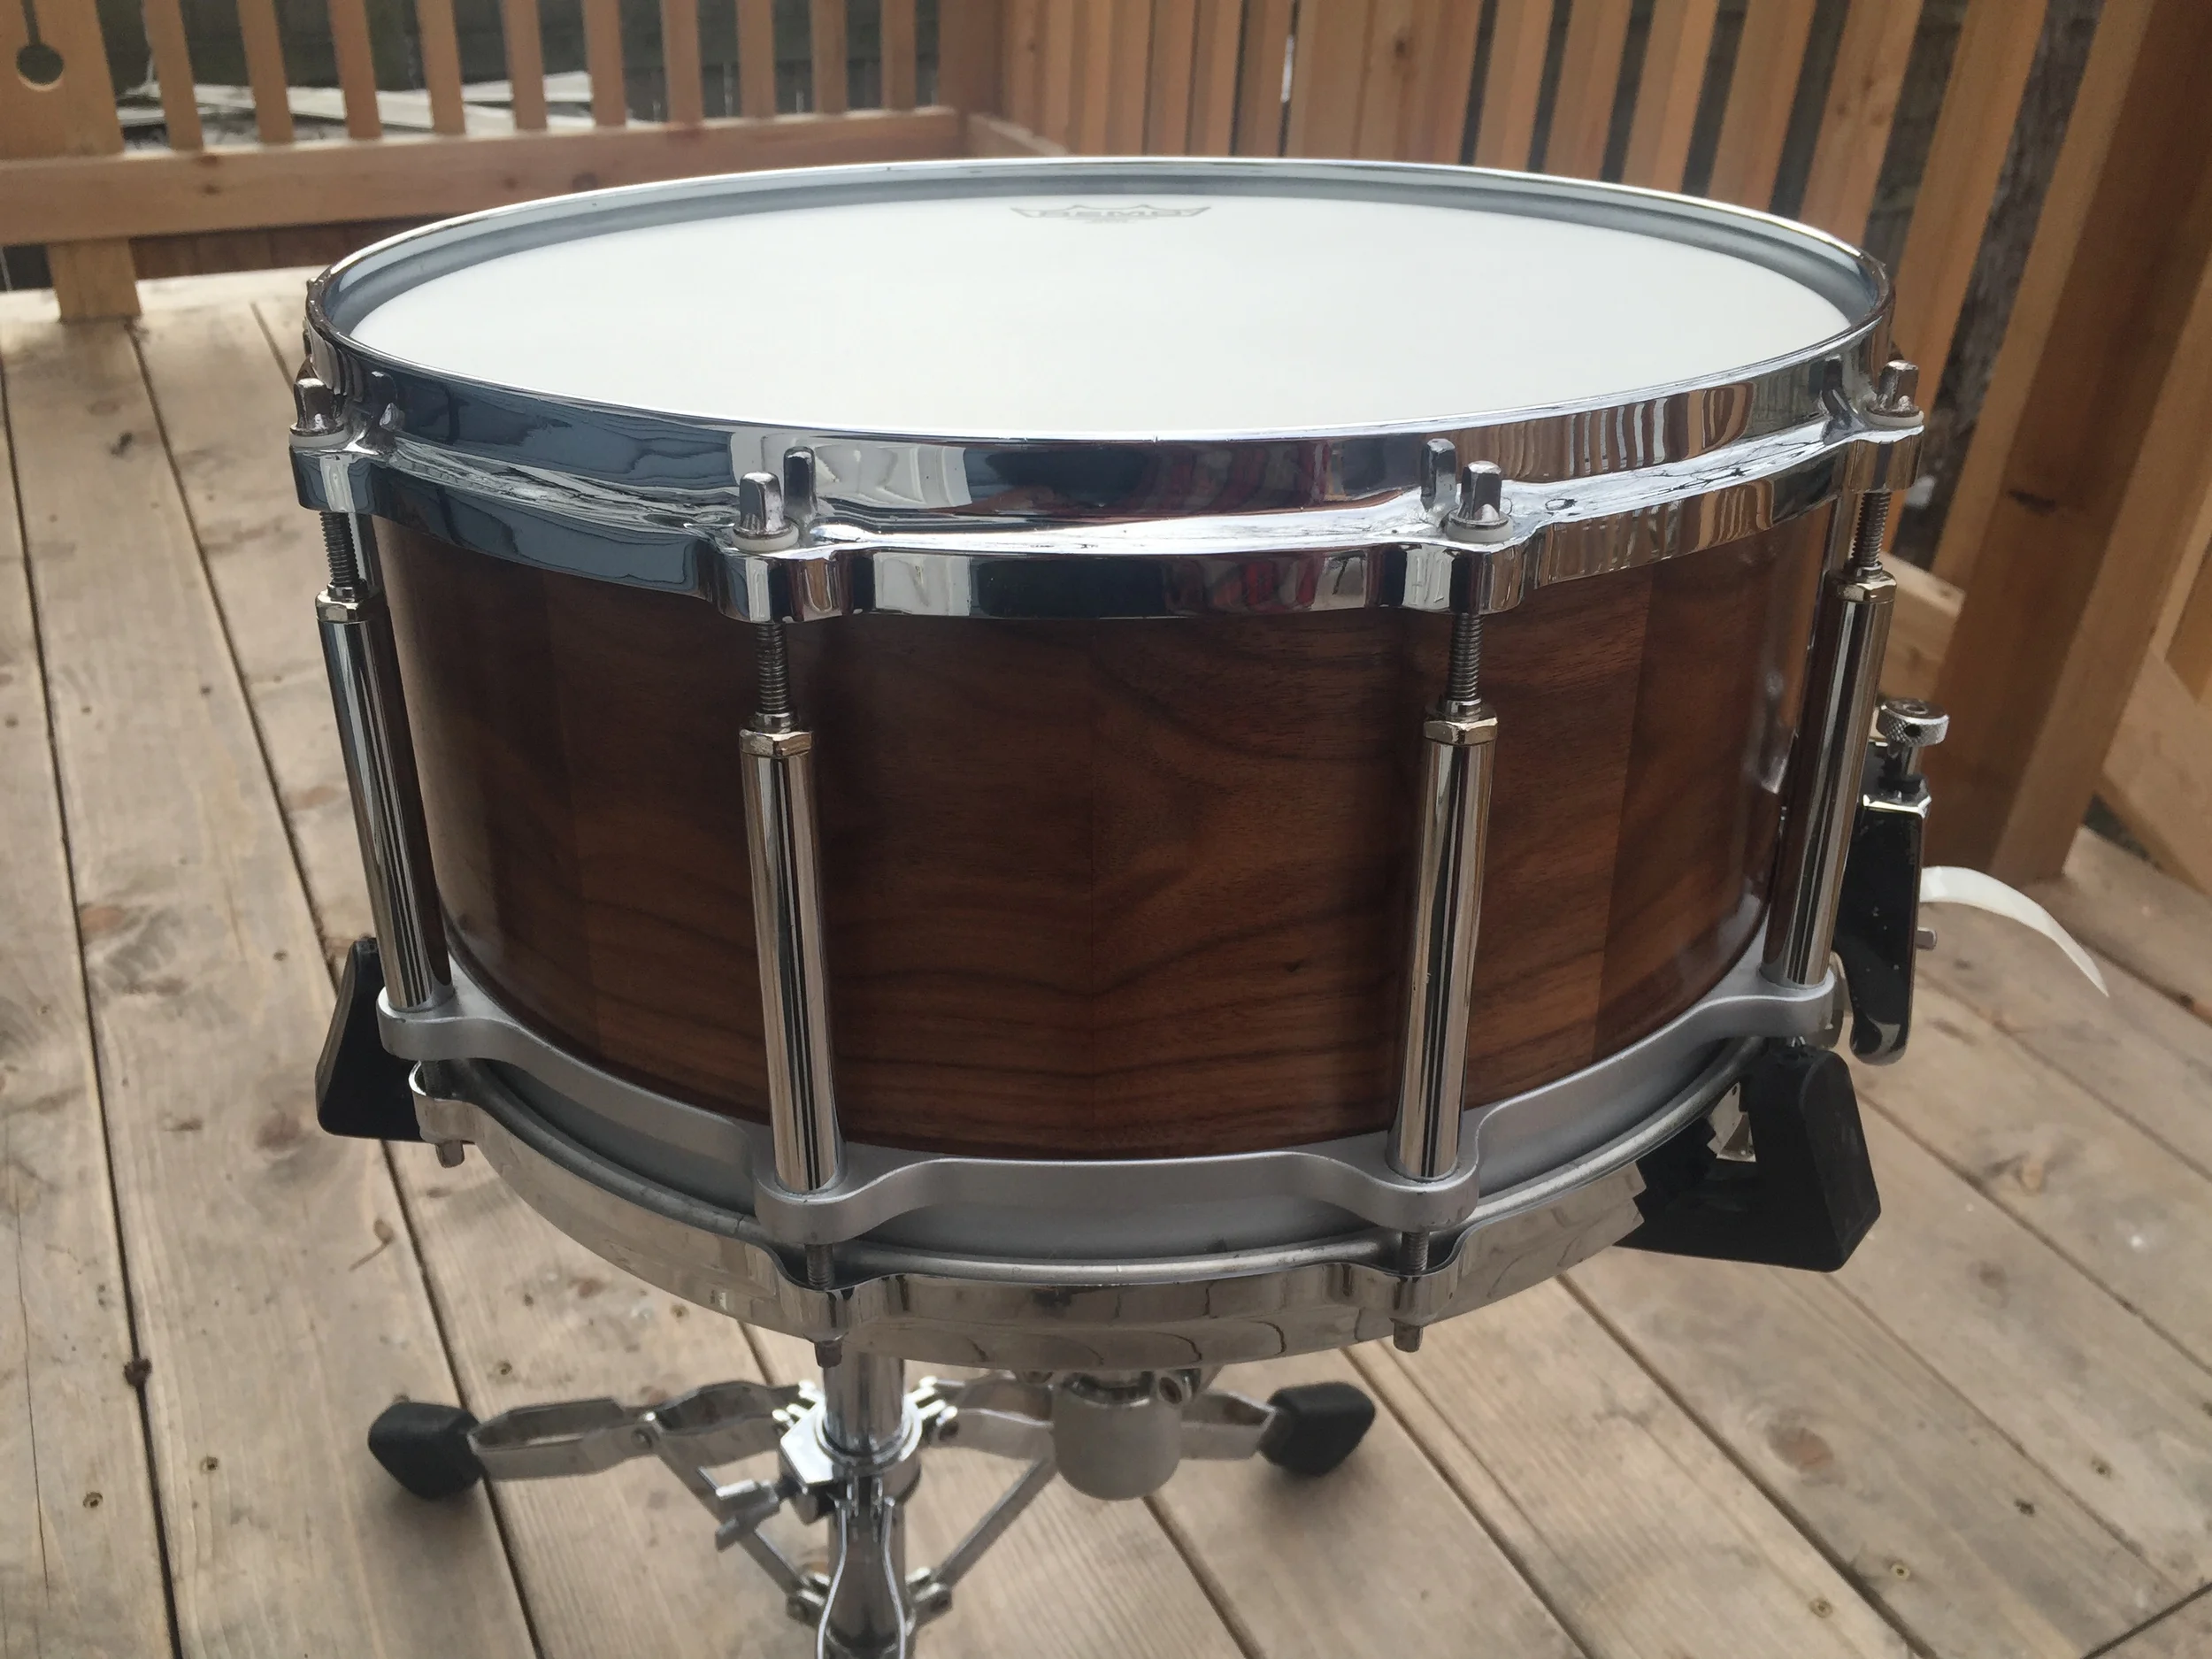
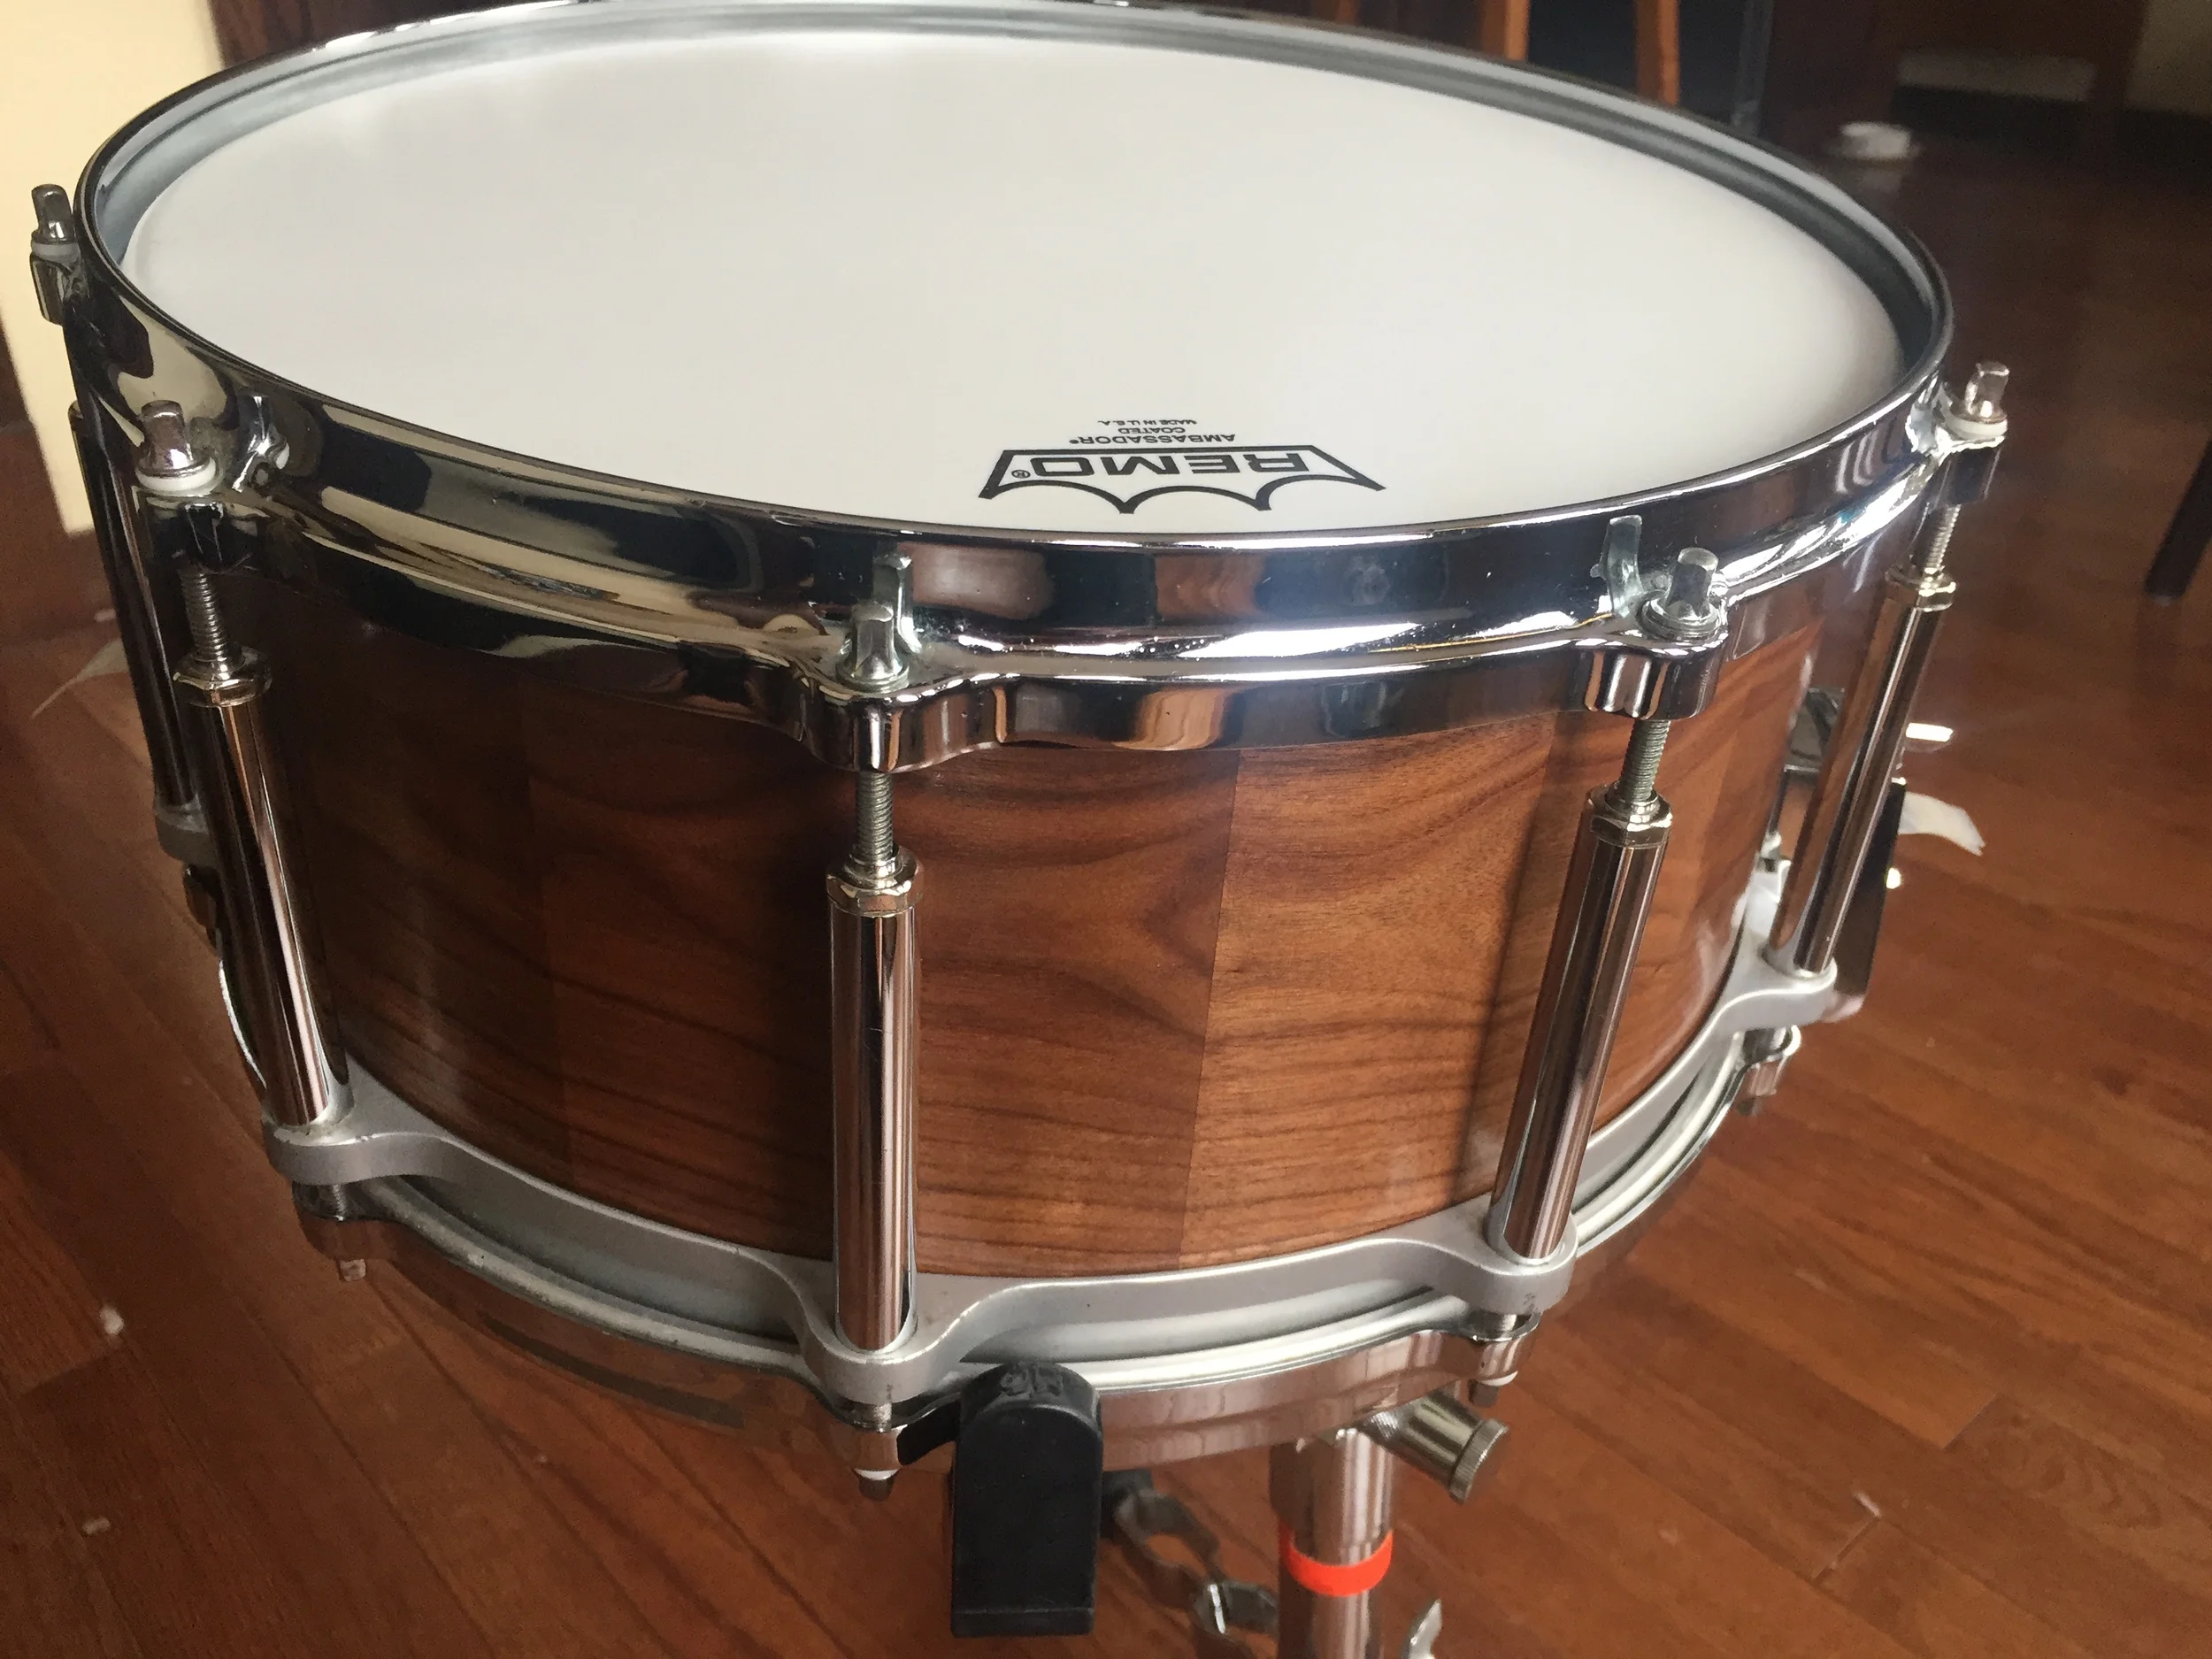
Walnut Snare Drum Shell

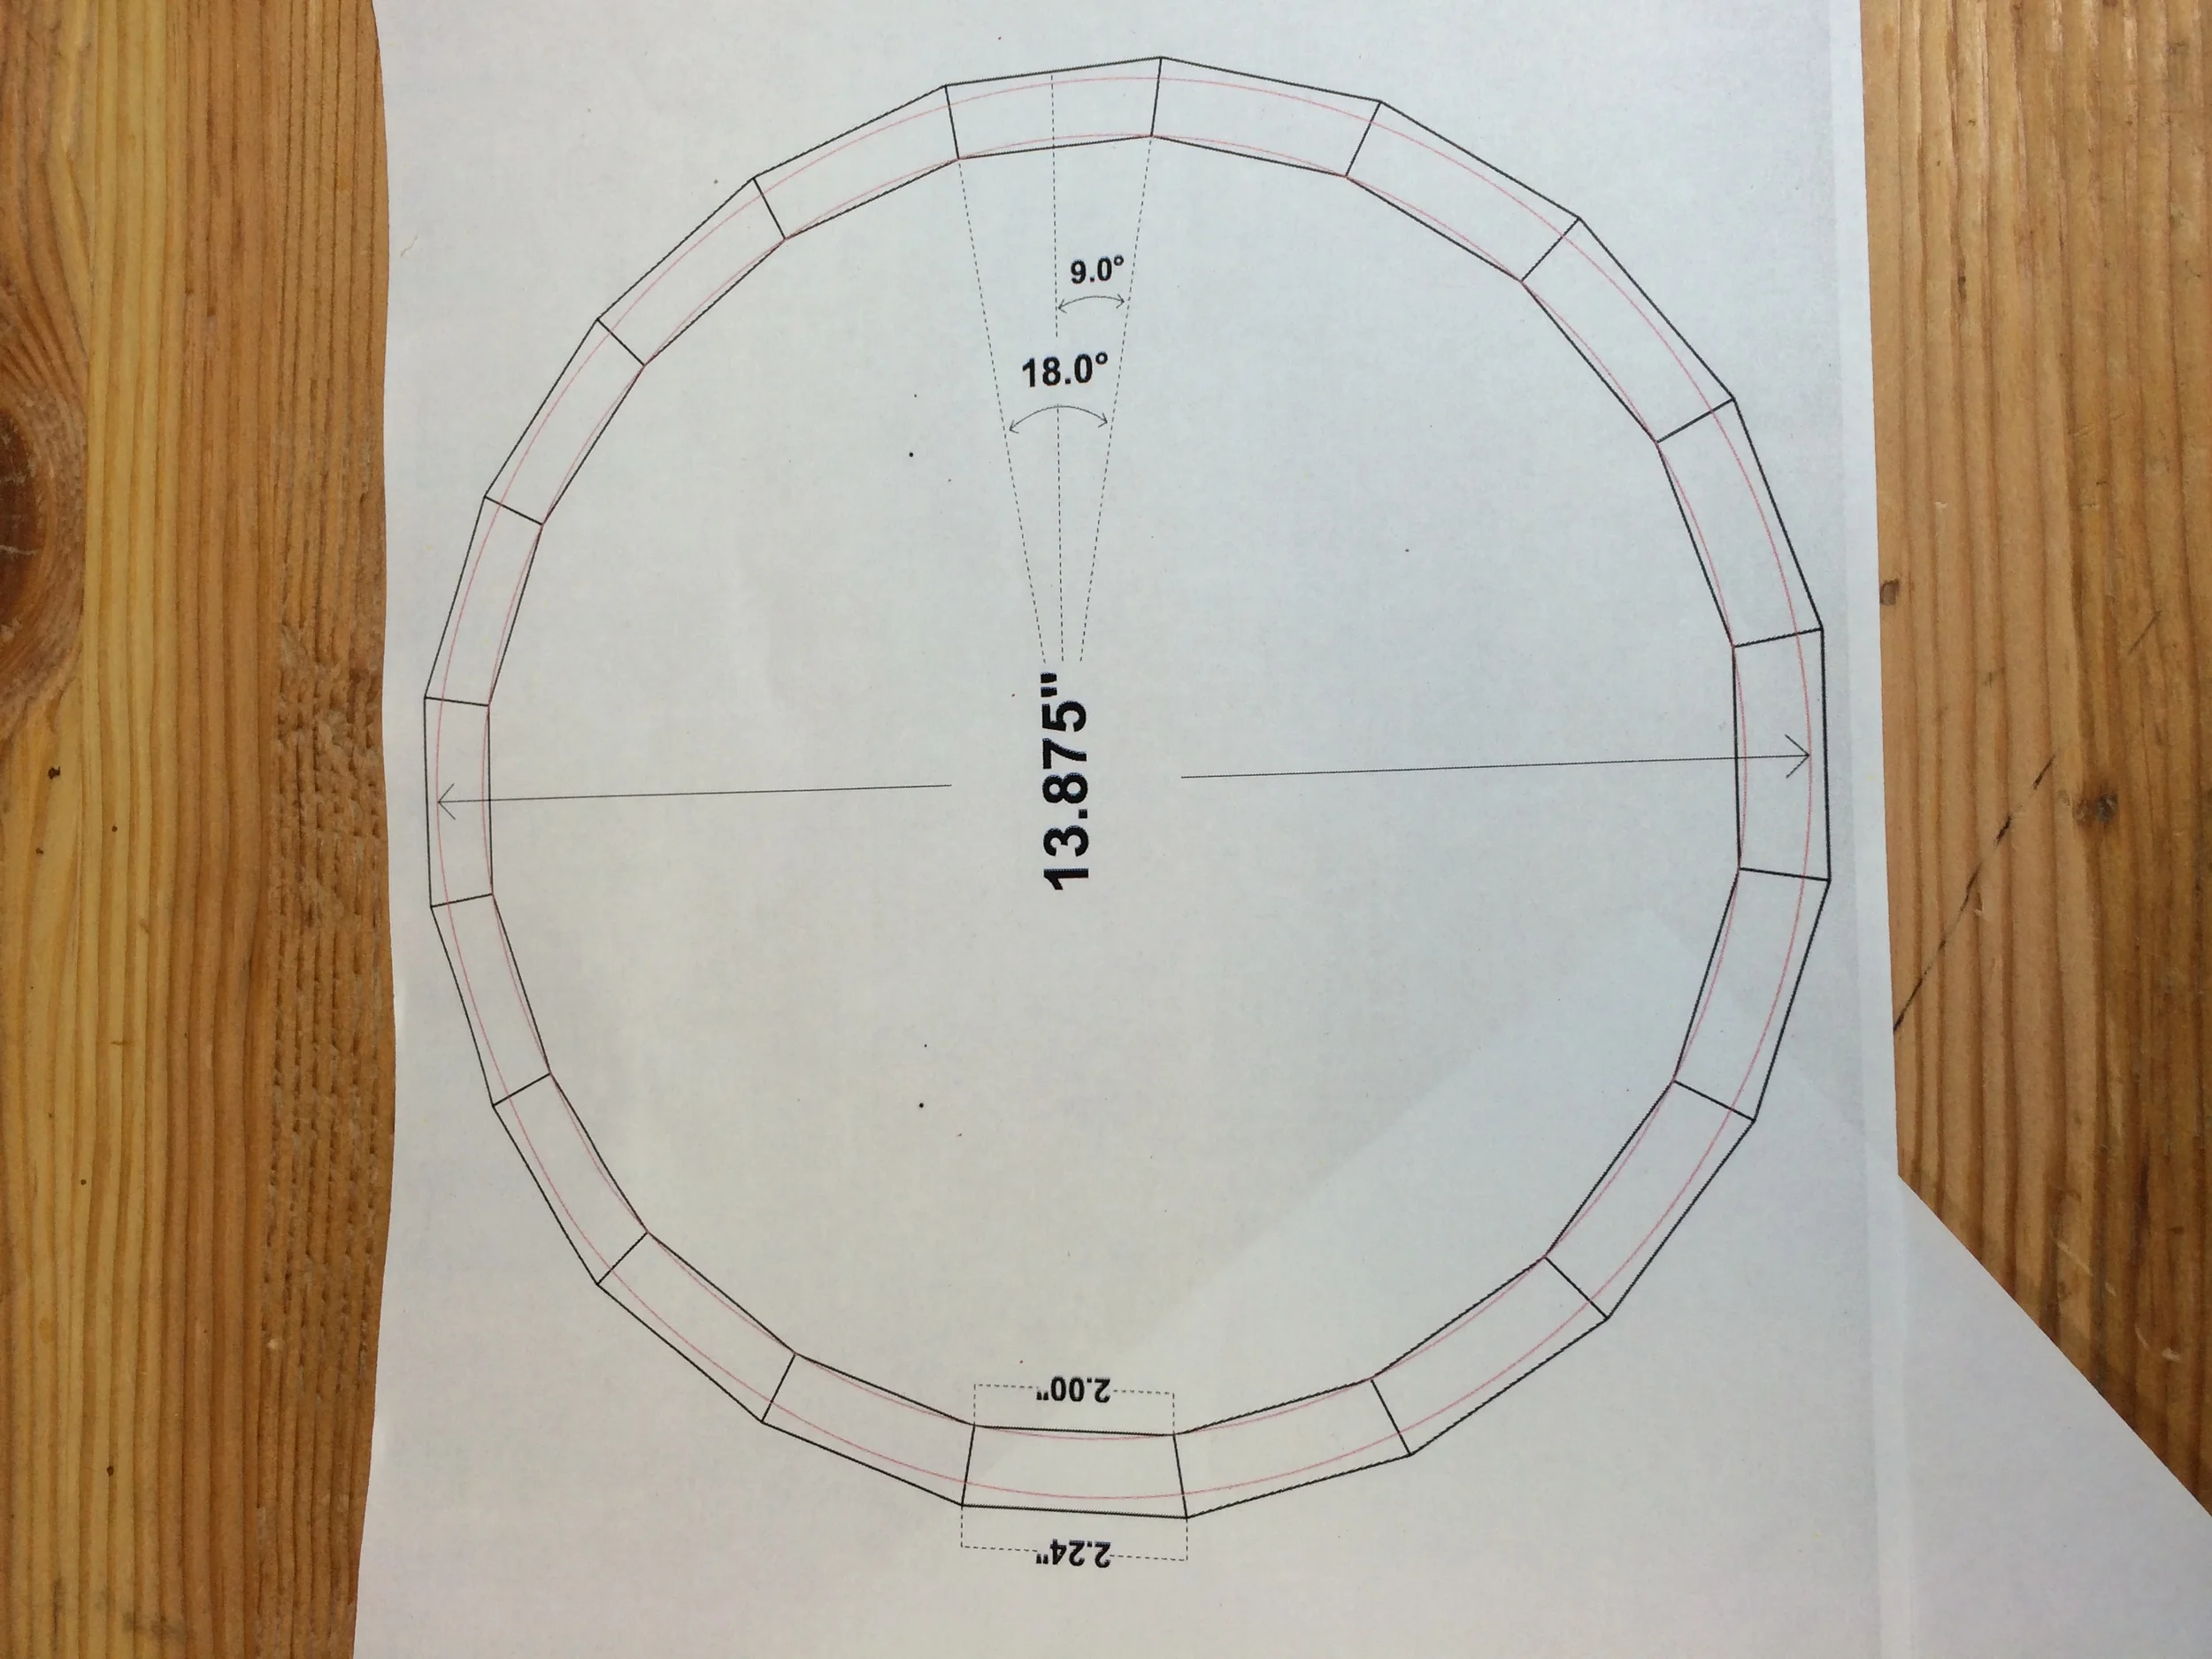
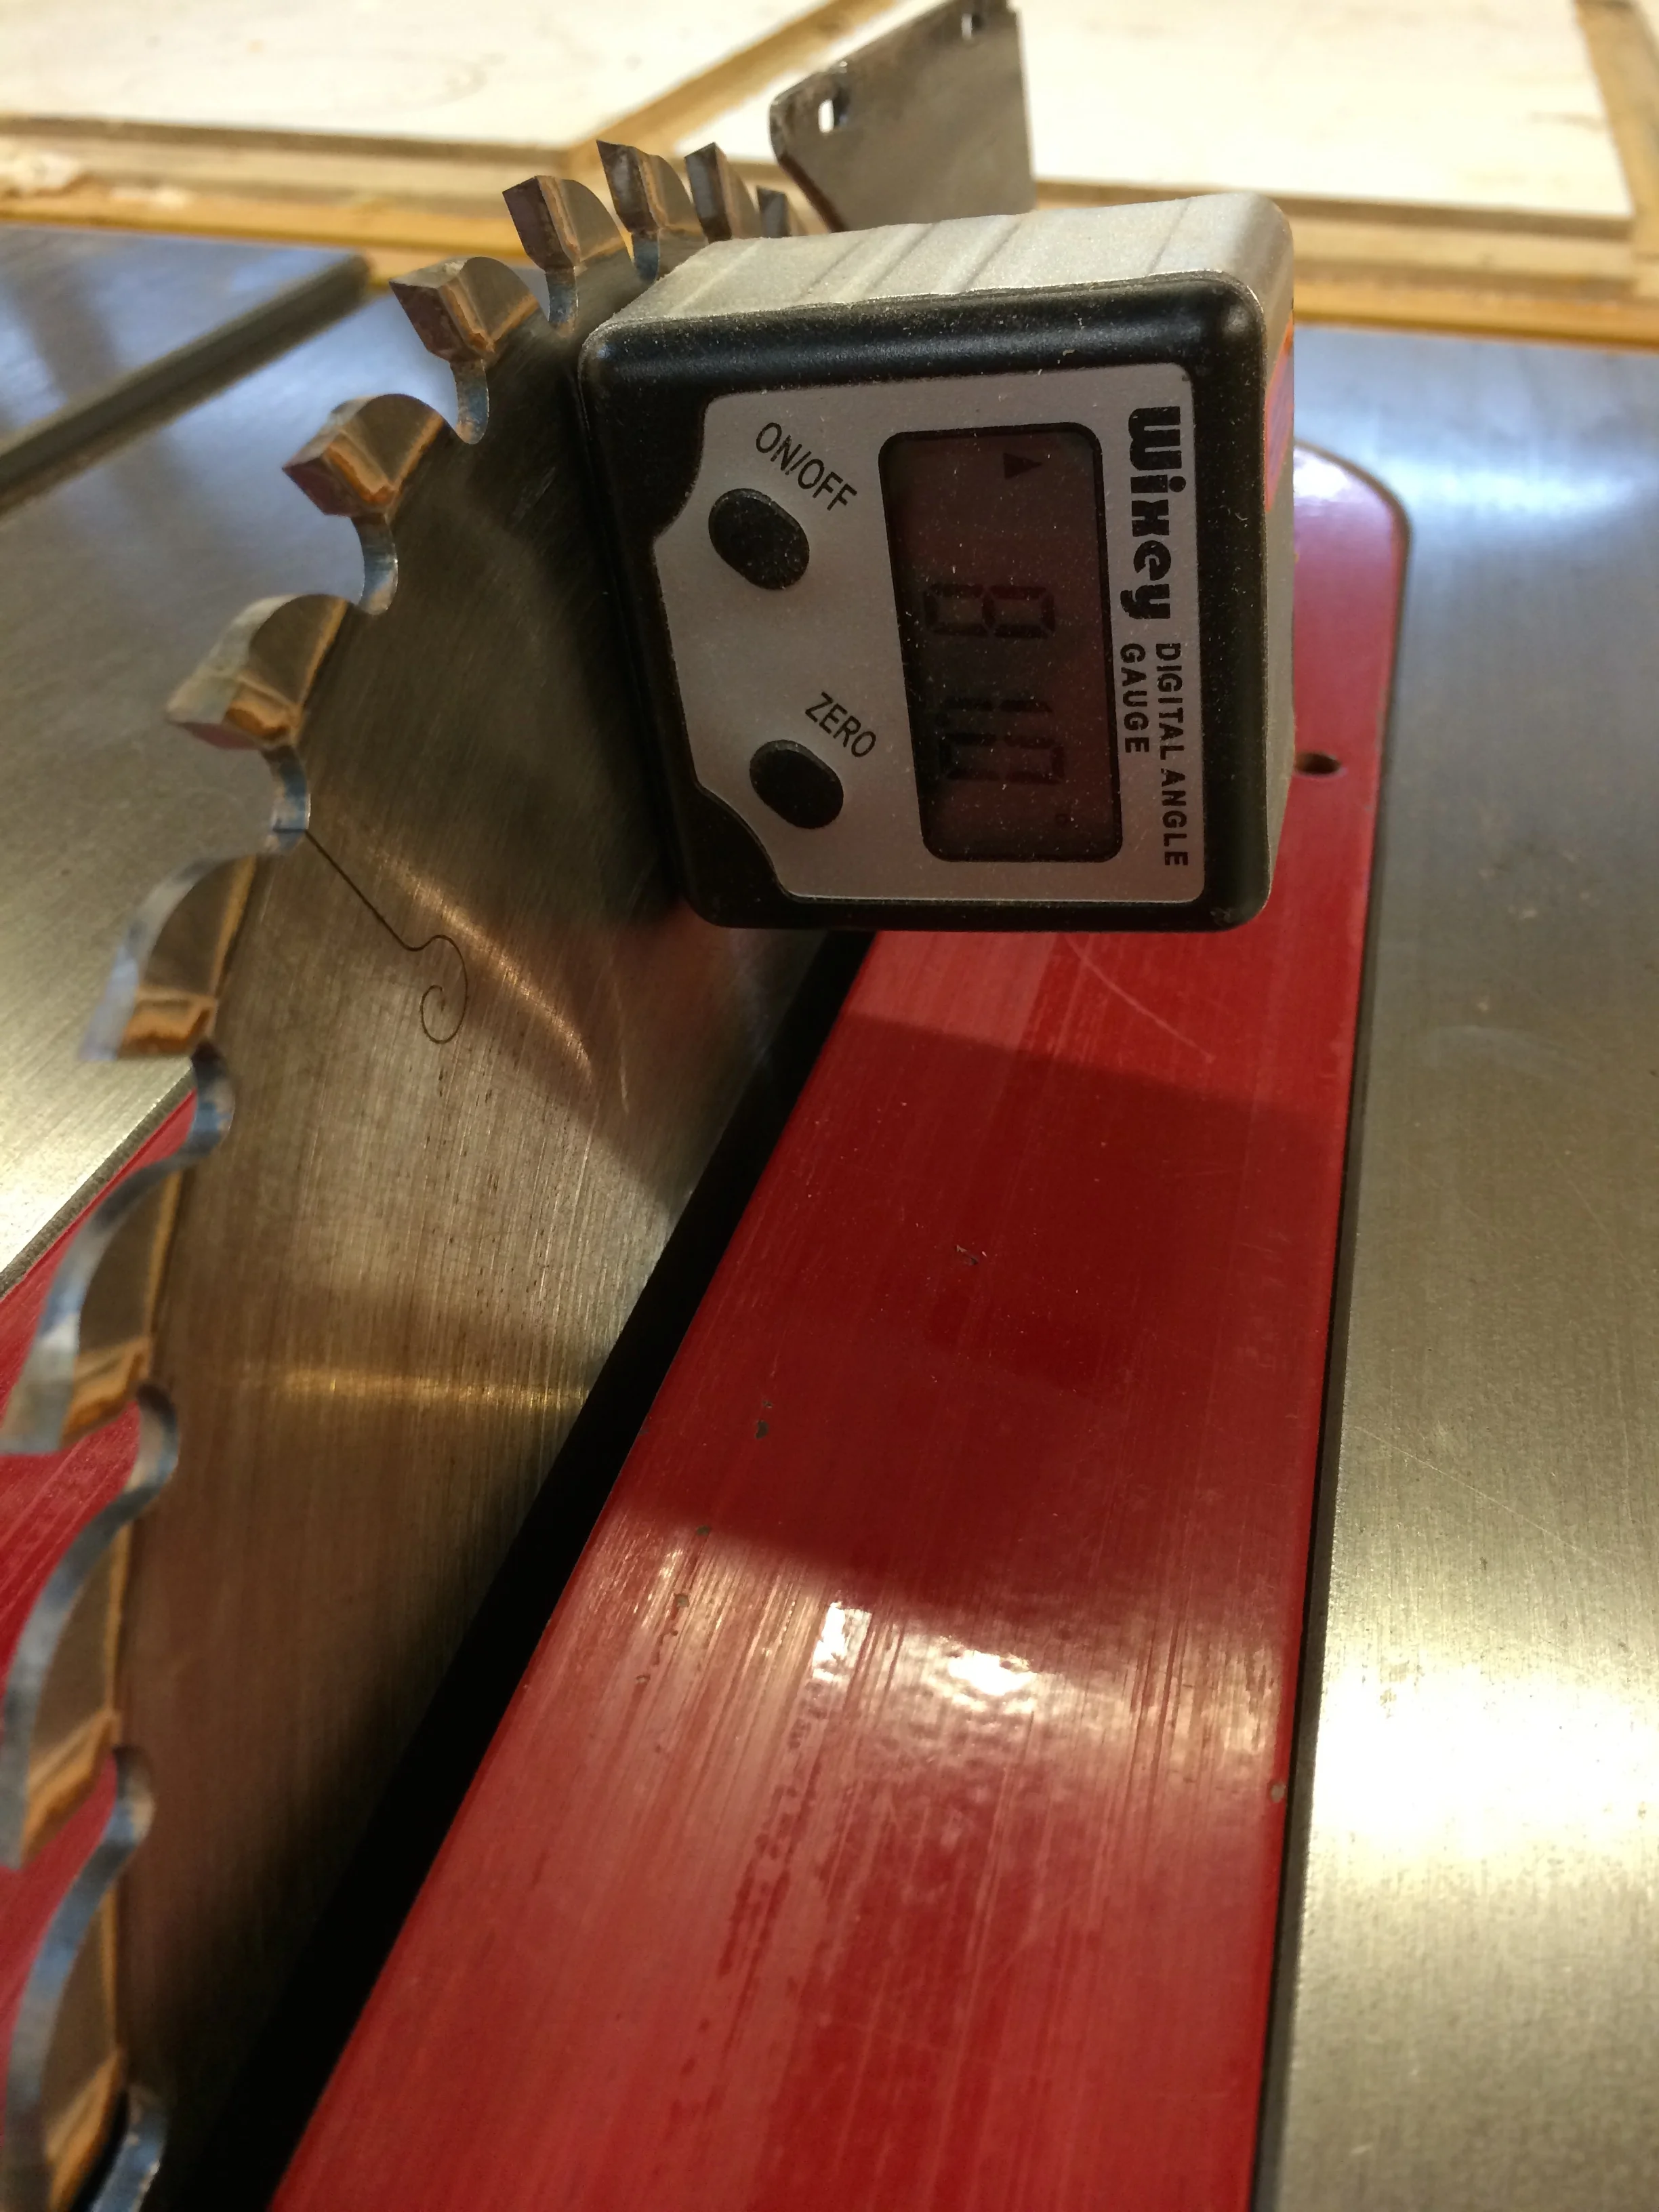
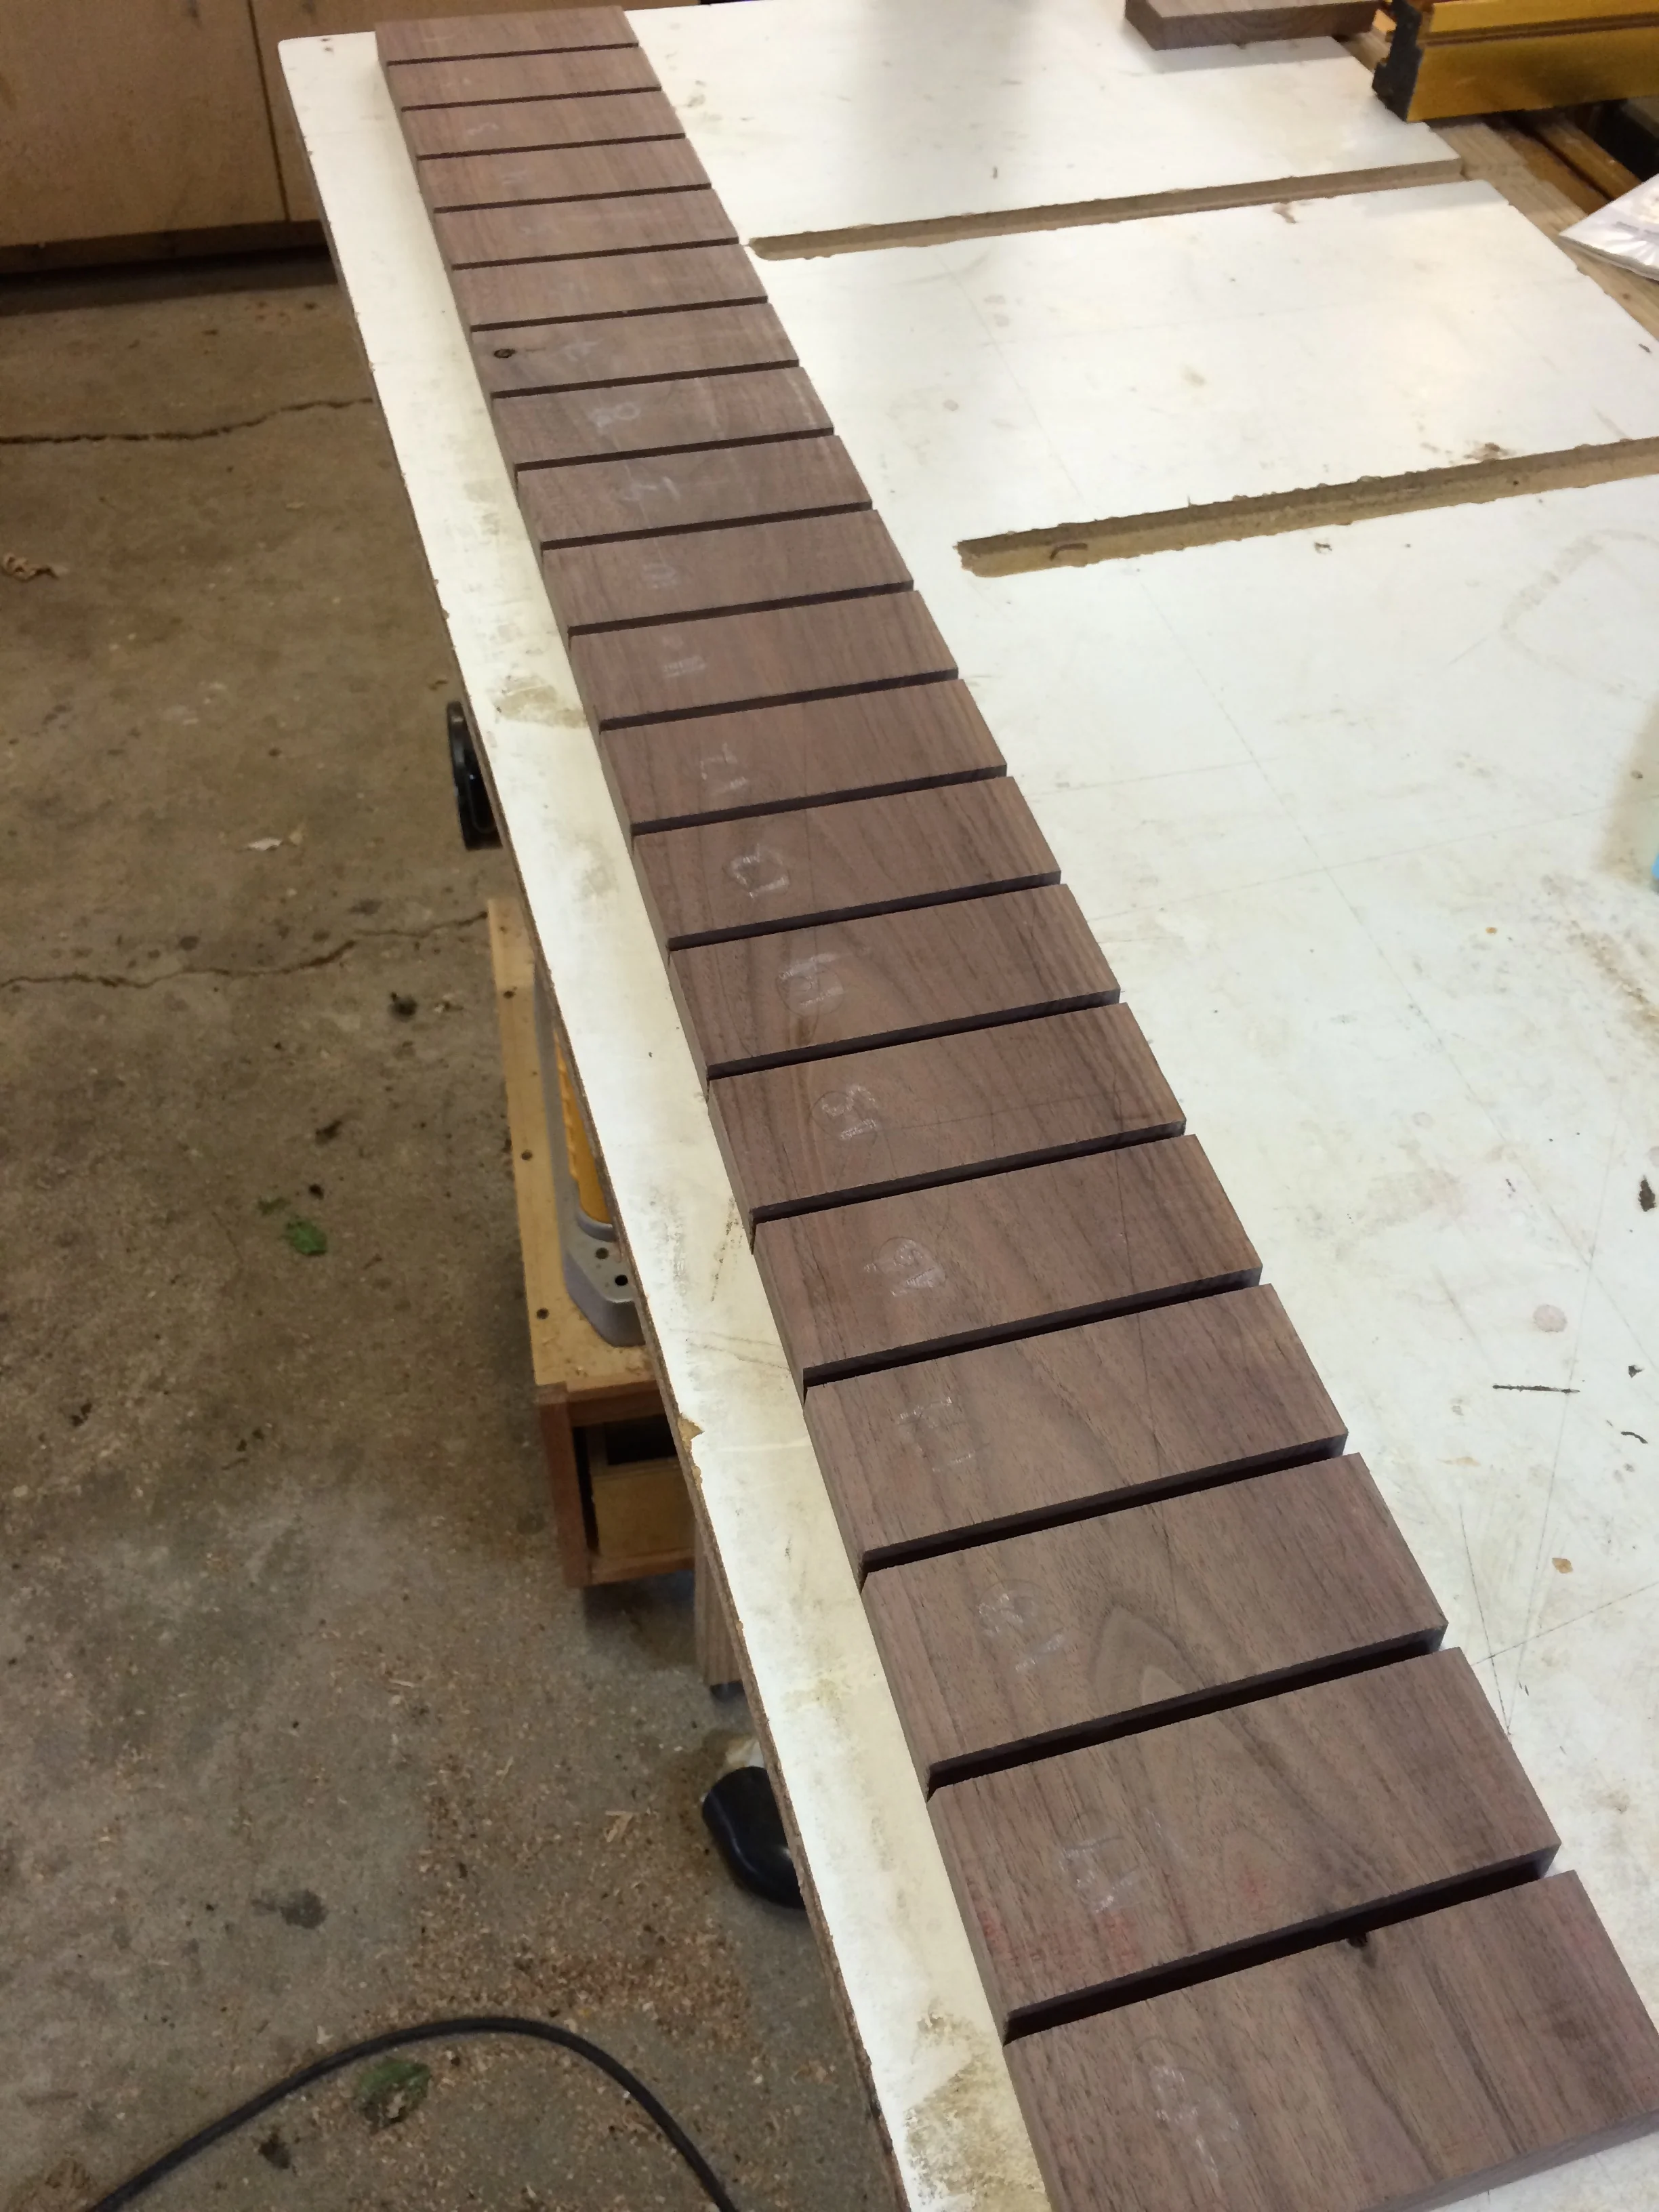
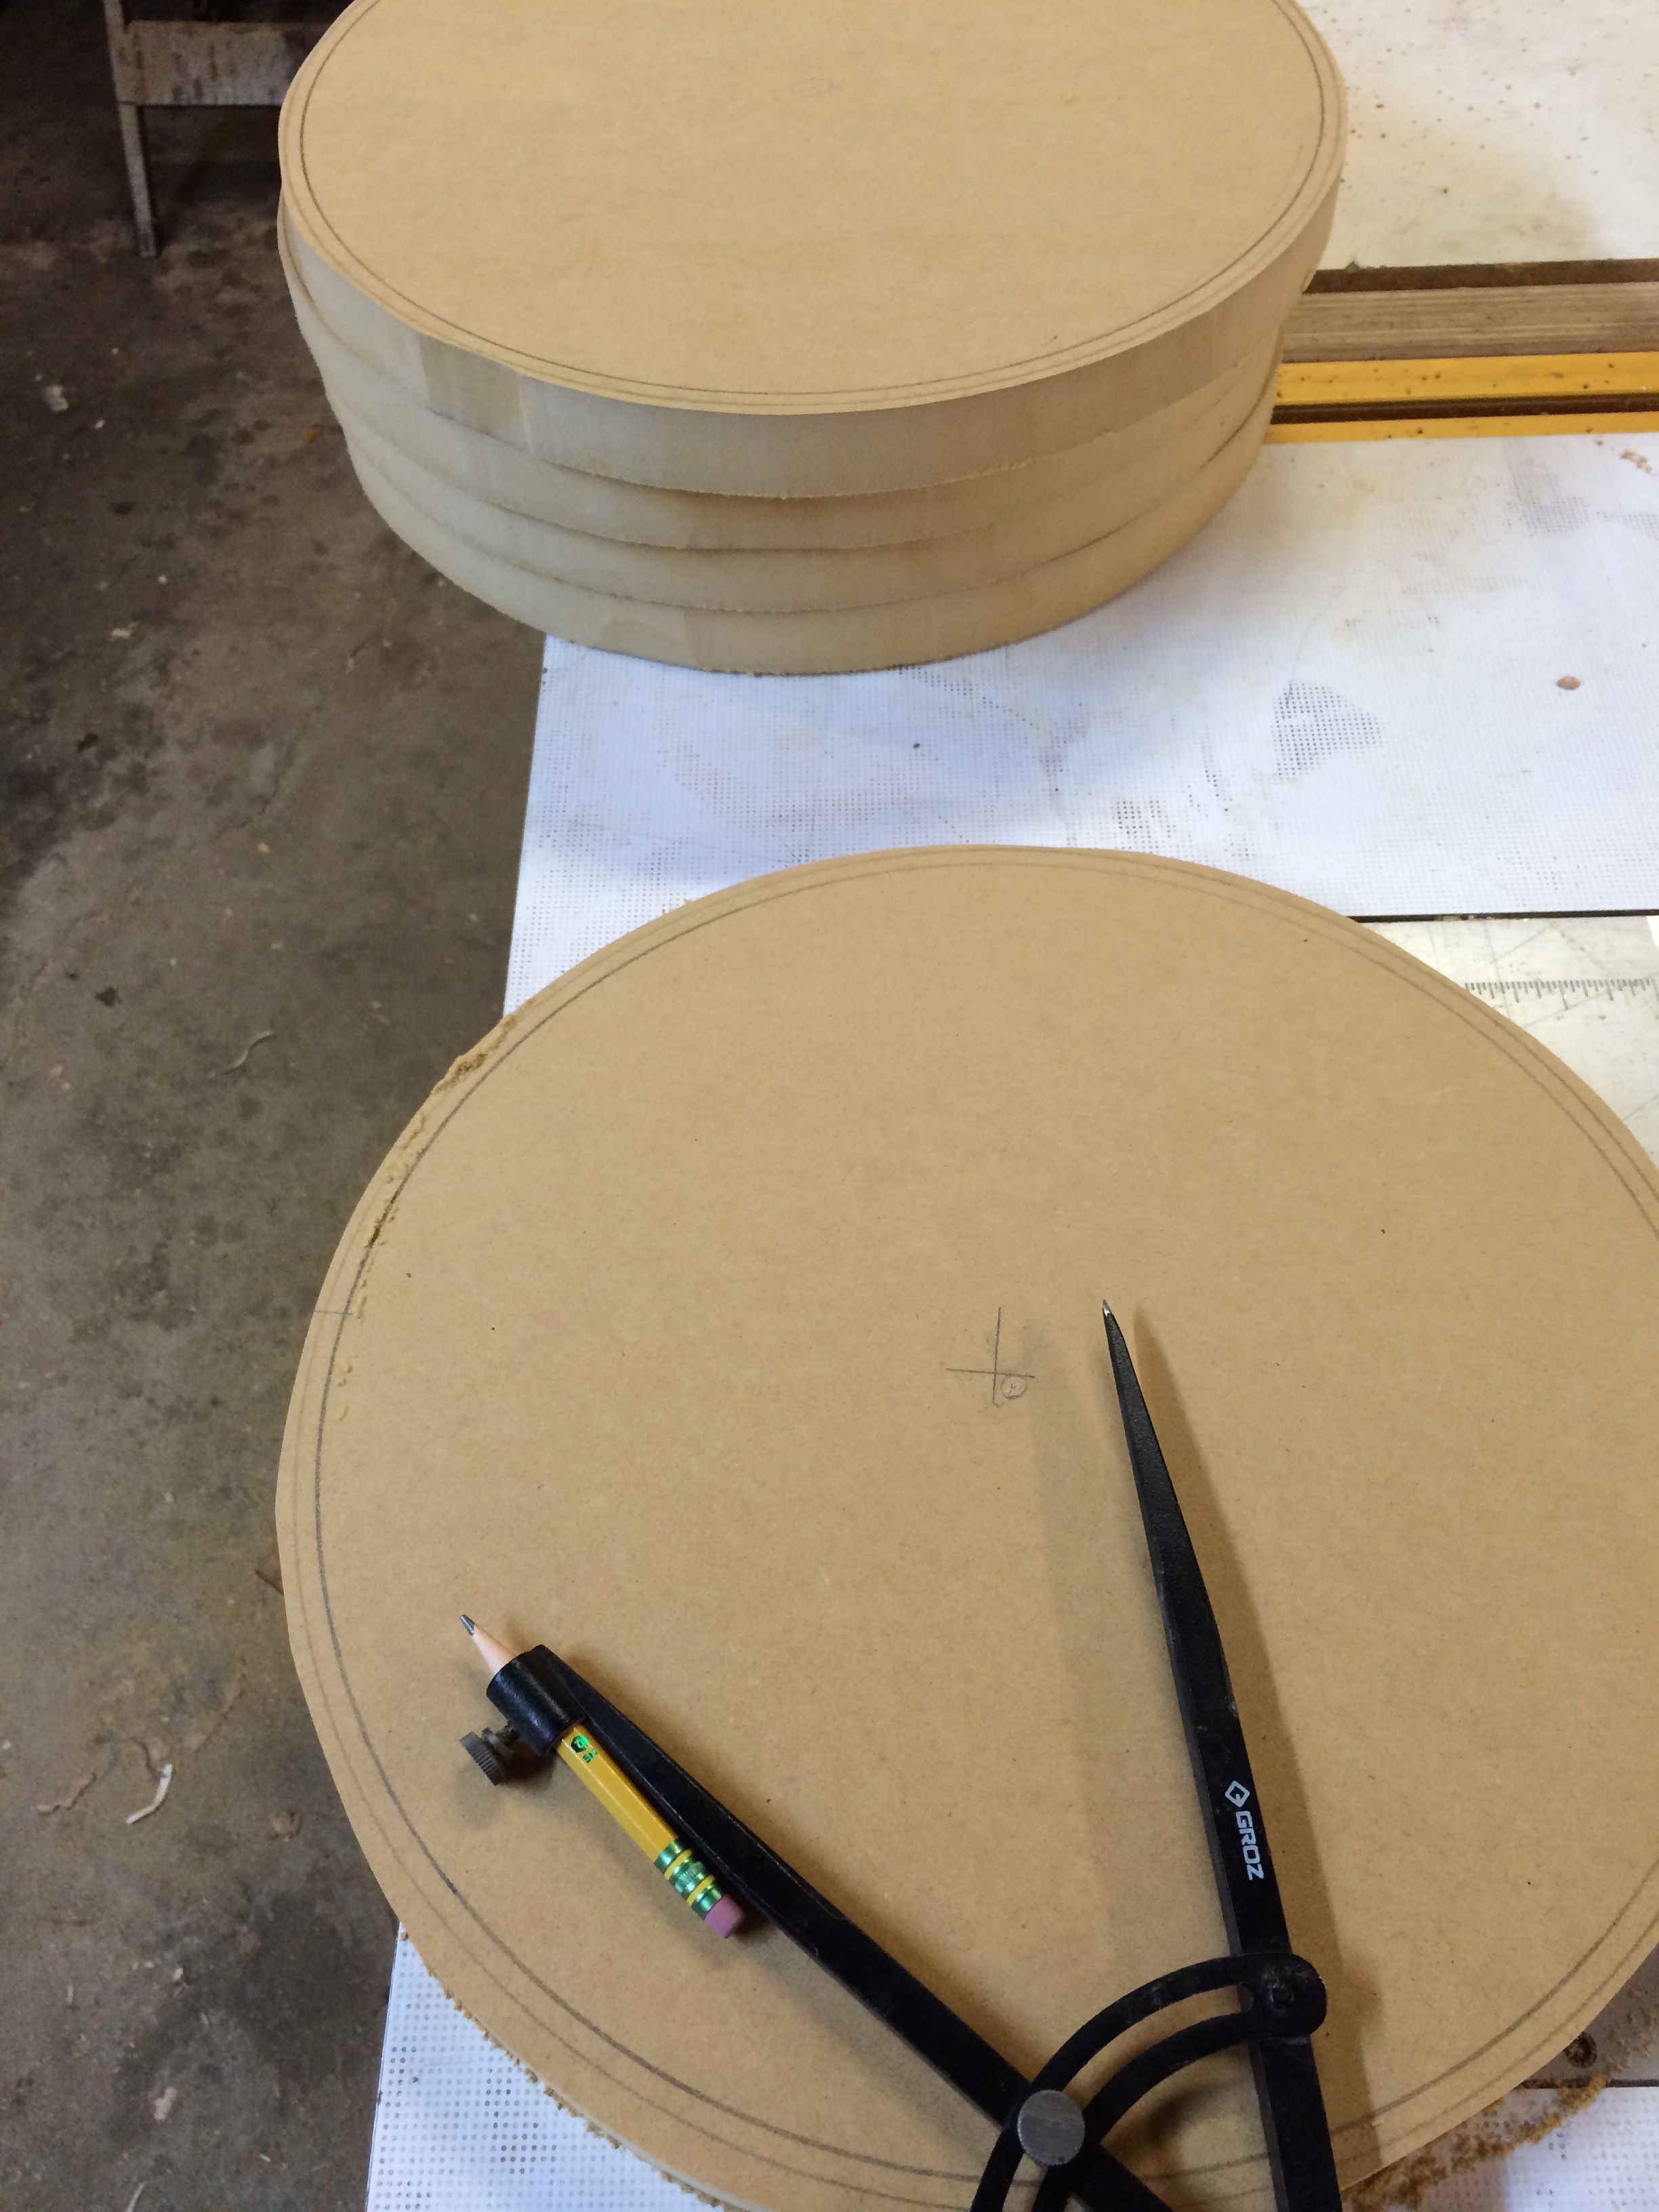
My wife is a drummer, and her snare had a thin, brass shell. While she liked the attack, it was "ring-y", and she wanted a more solid sound. I thought I would try my hand at a stave snare, and founds lots of info online on how to build and calculate the pieces.

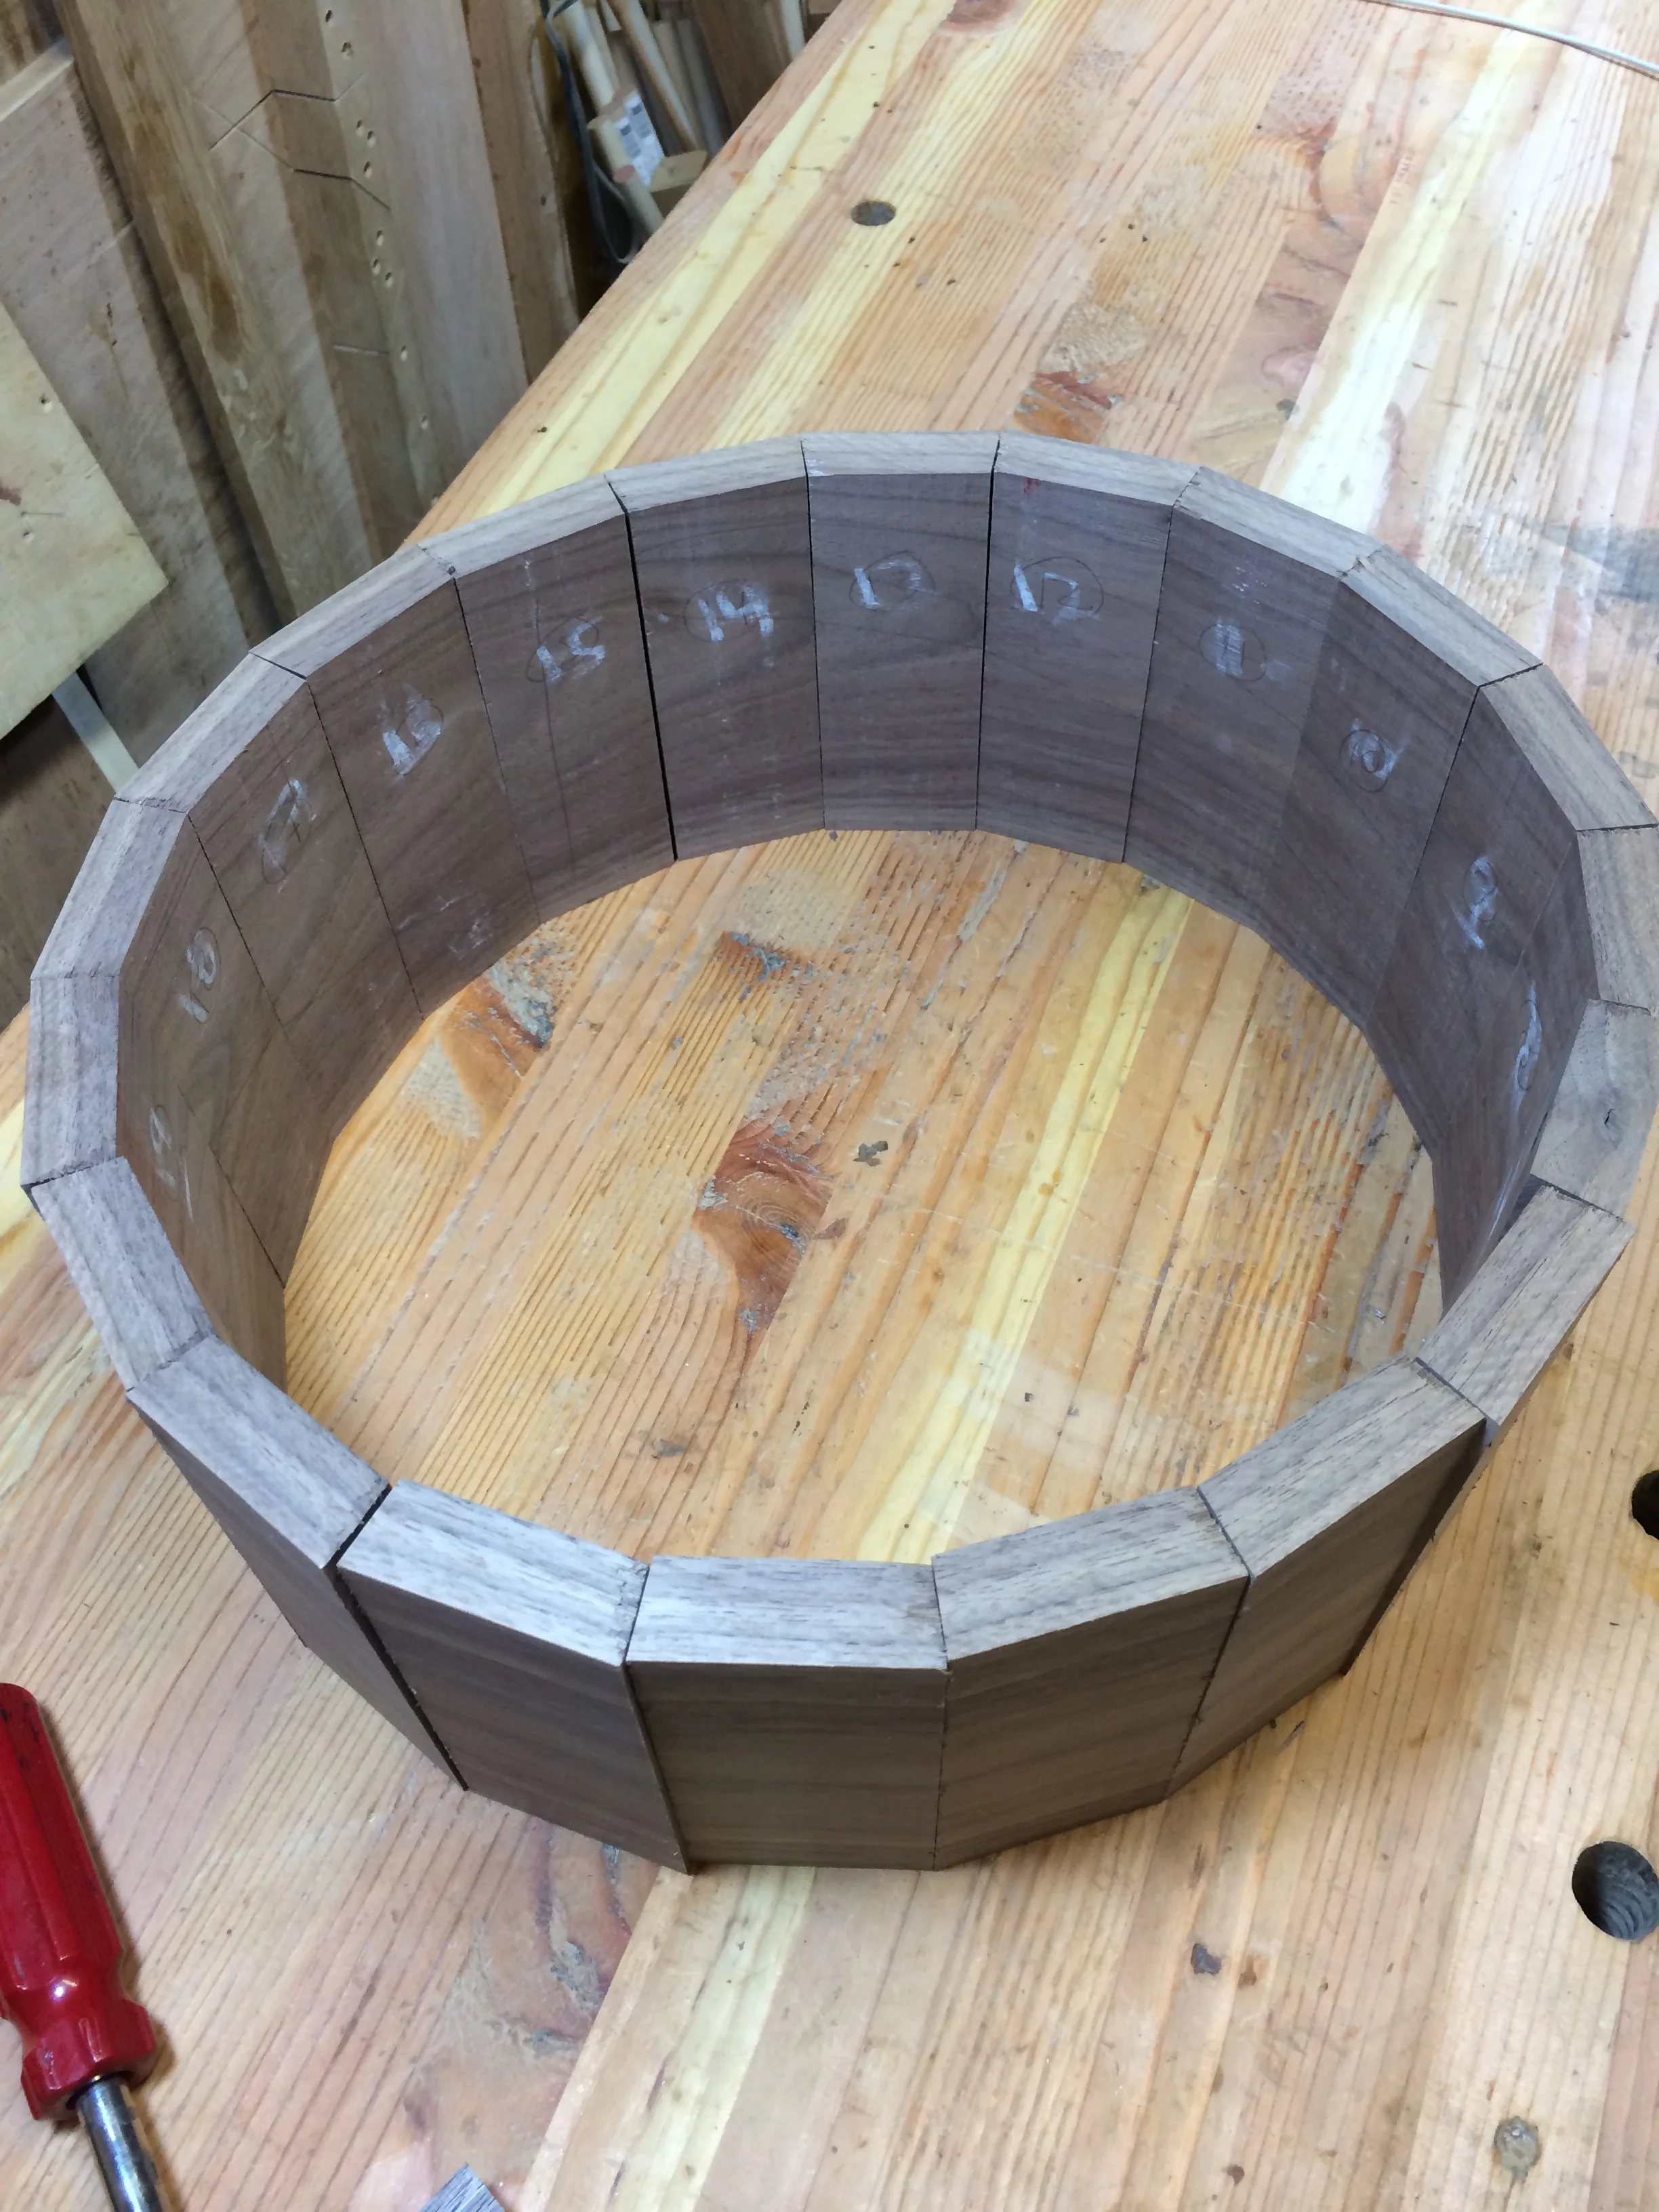
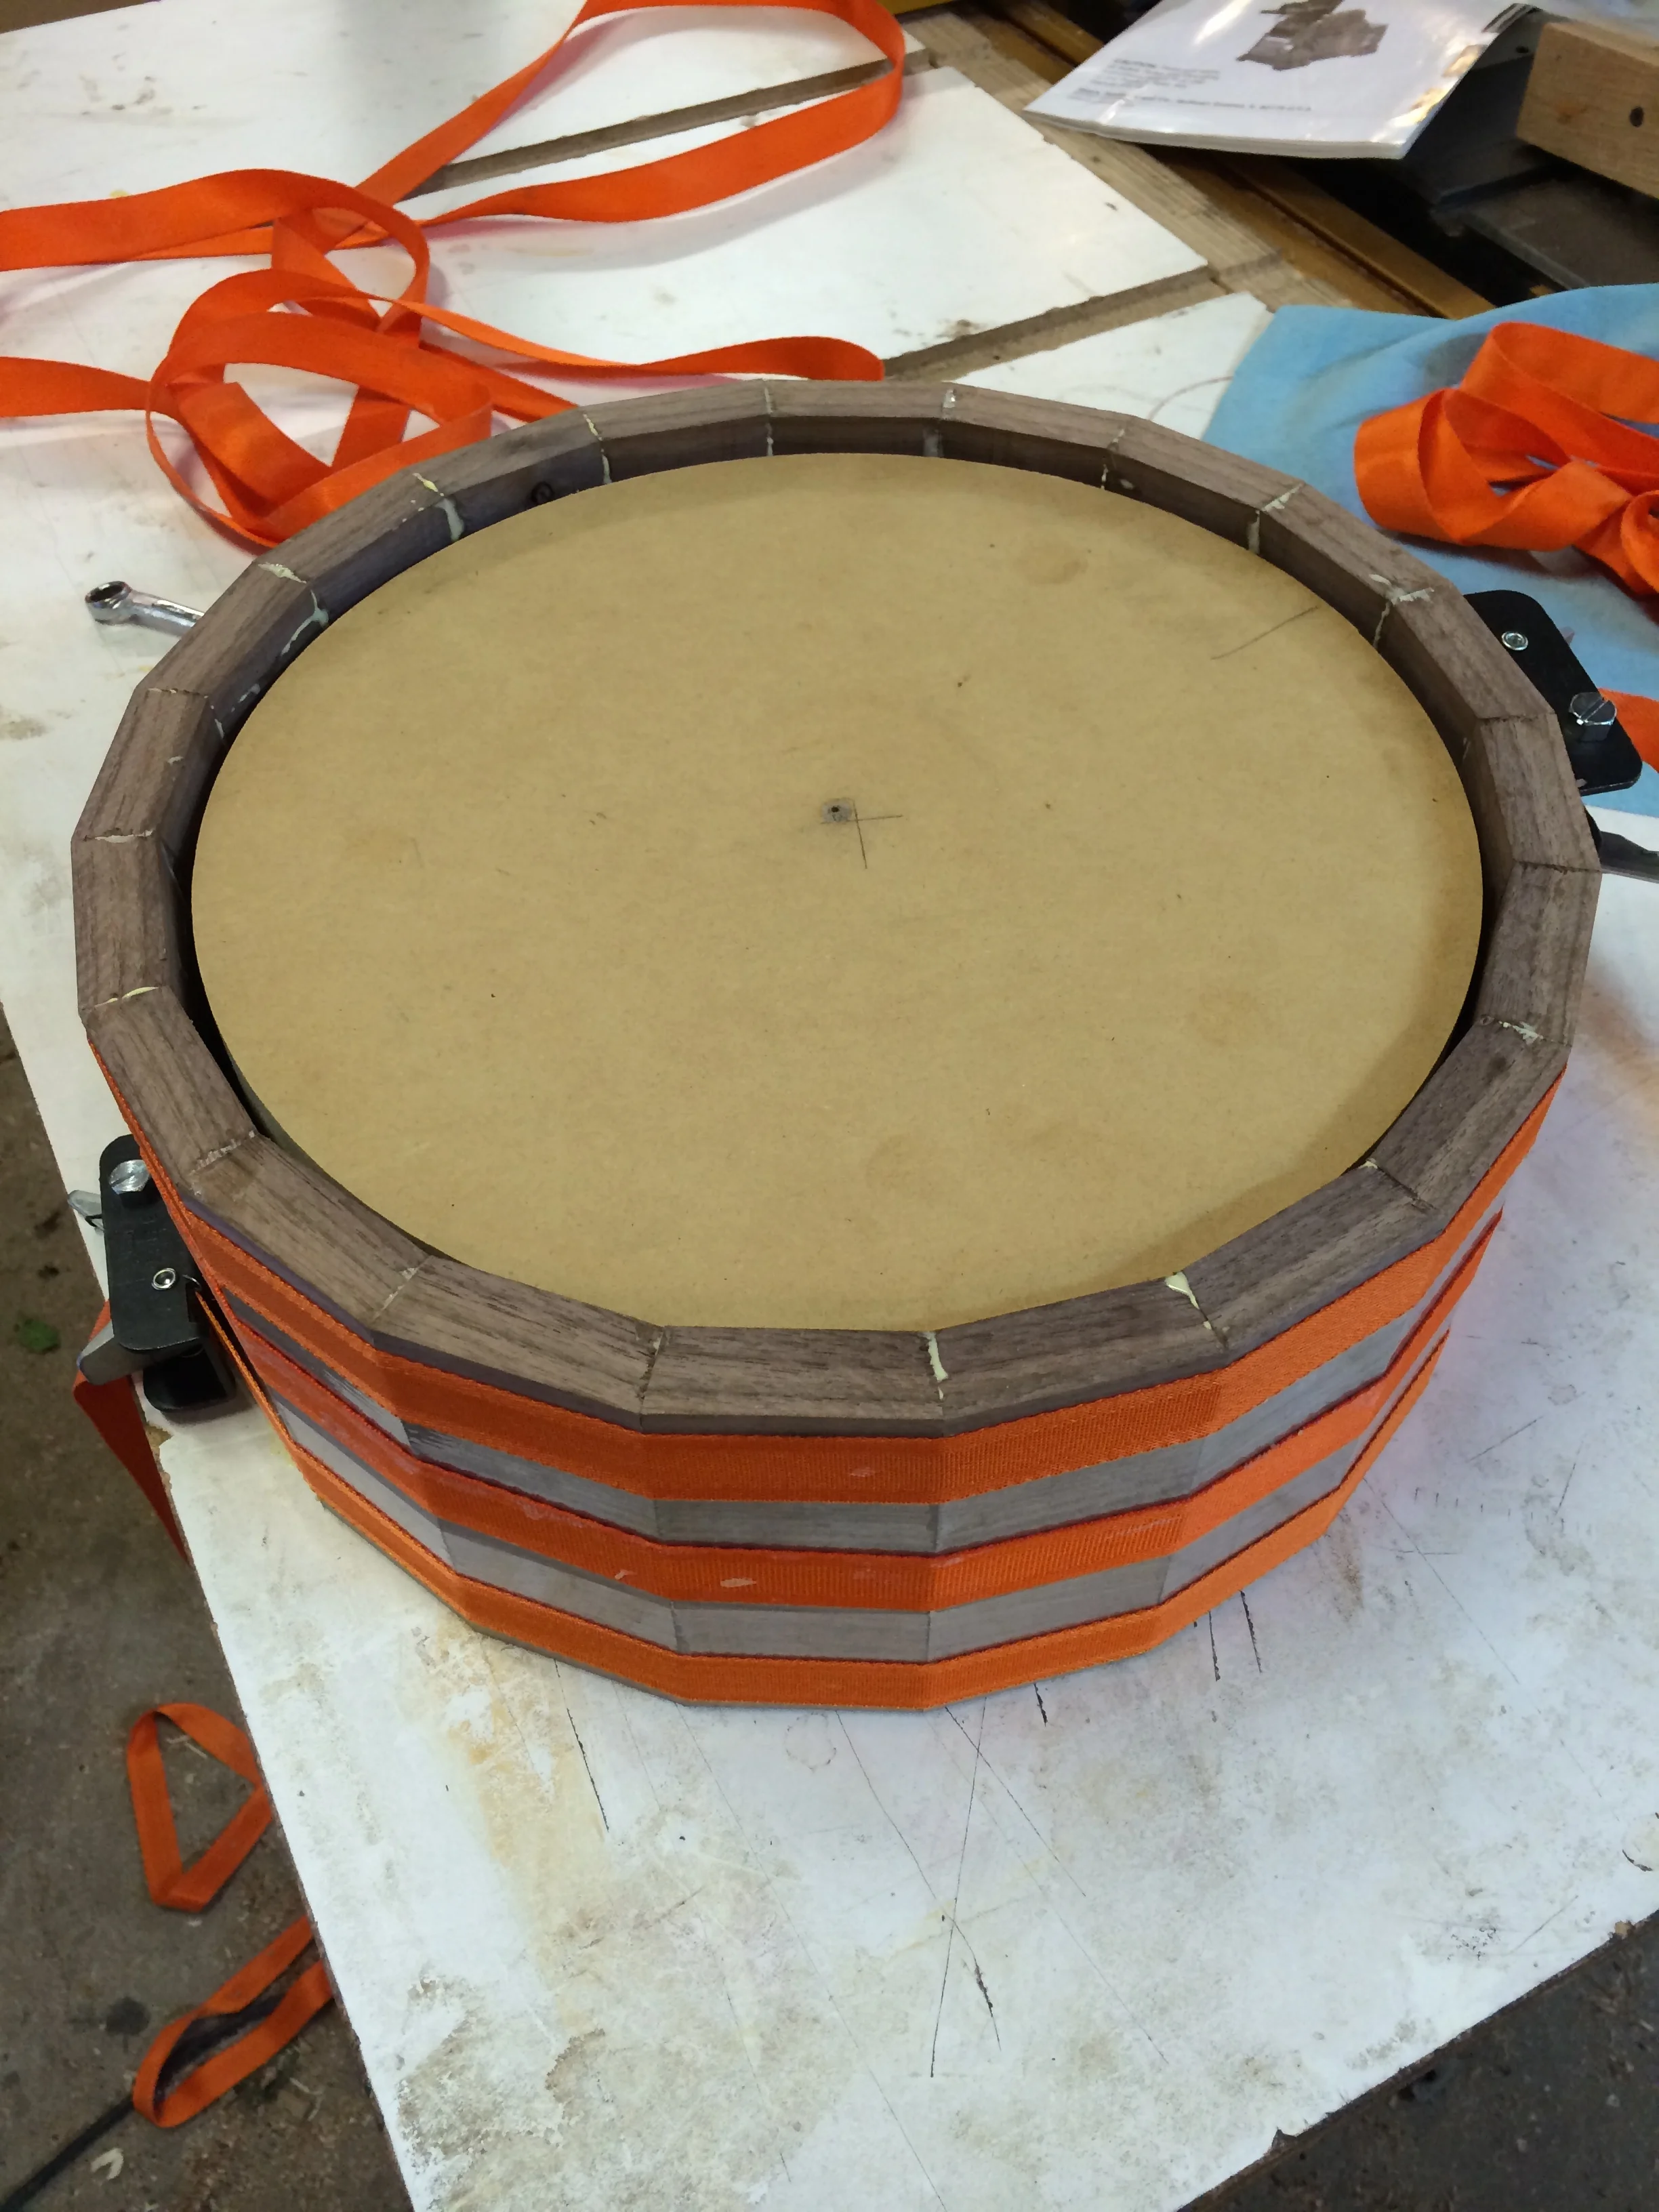
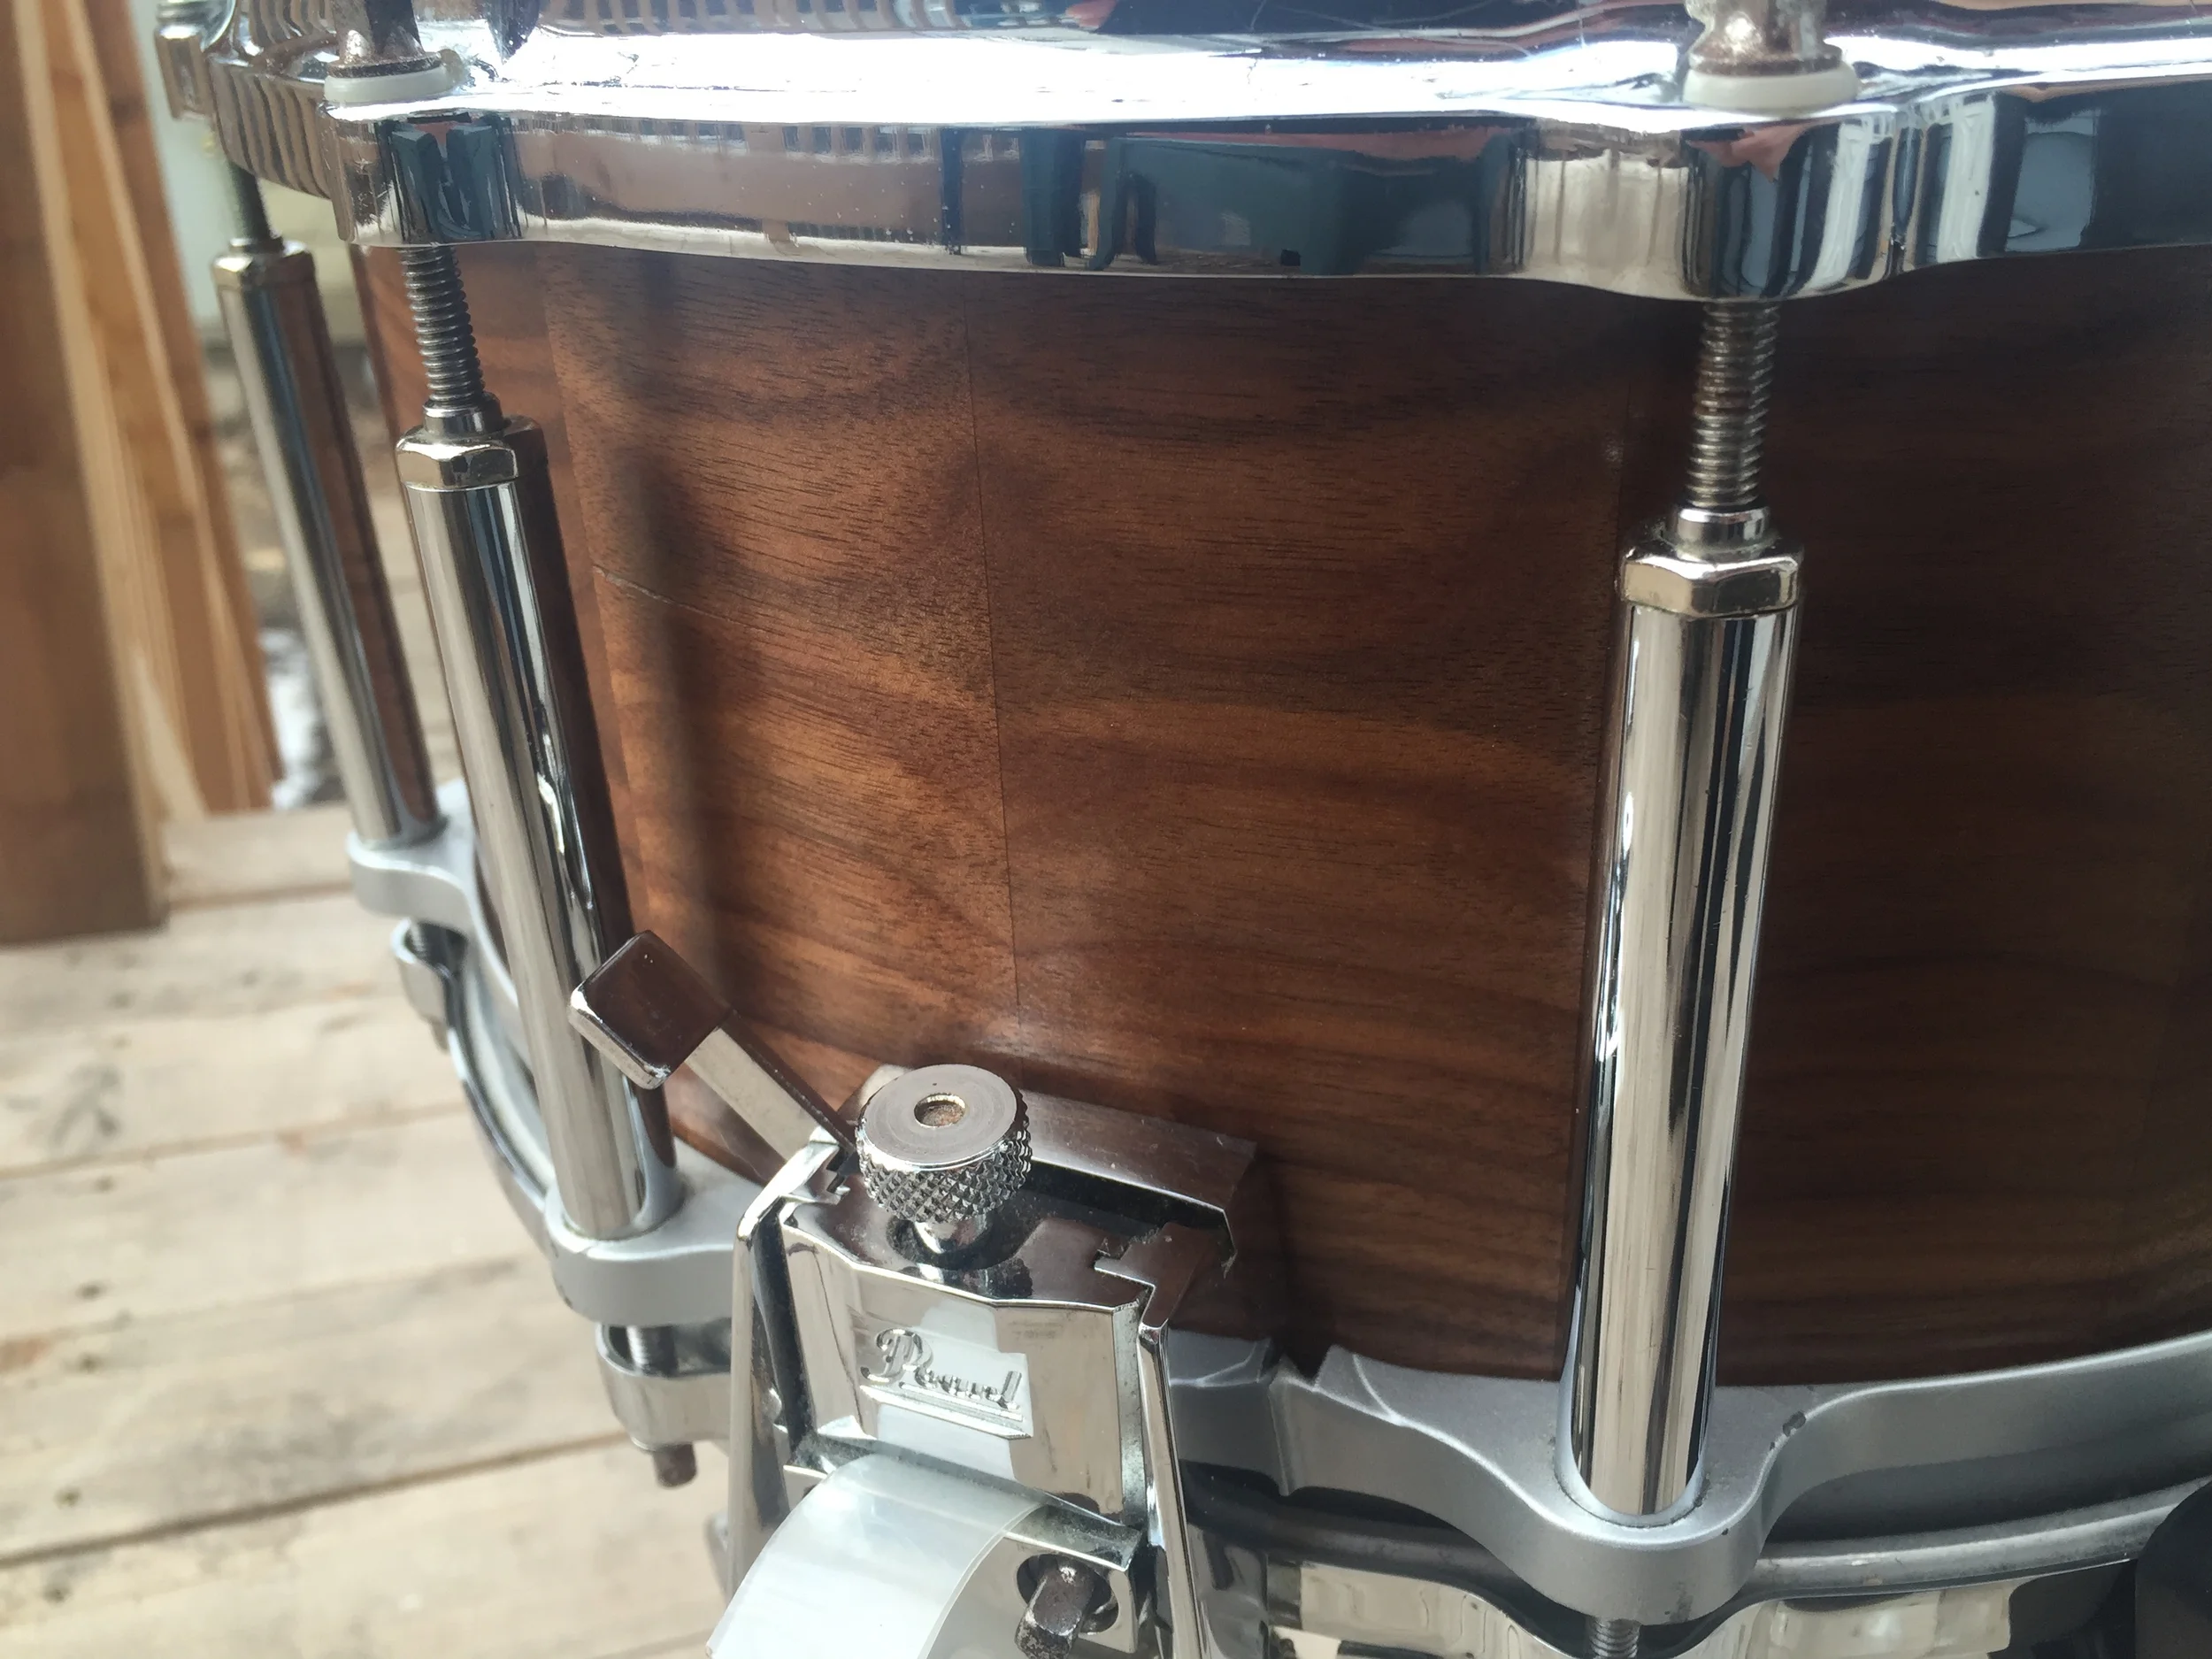
You woodworkers will notice a sort of "mistake" in the build photos. I approached this like a piece of furniture, so of course, I used a nice board, and wanted to cut the staves so that the grain was continuous around the shell. So the "mistake" (after I'd already cut the parts) was that the glue joints were all end grain to end grain. The "correct" way would have been to cut them so that the grain was oriented vertically, making for long grain to long grain joints. I decided to stick with what I'd cut, as it just looked too good. I figured that if the joints fell apart during the fairly vigorous smoothing out process, so be it.

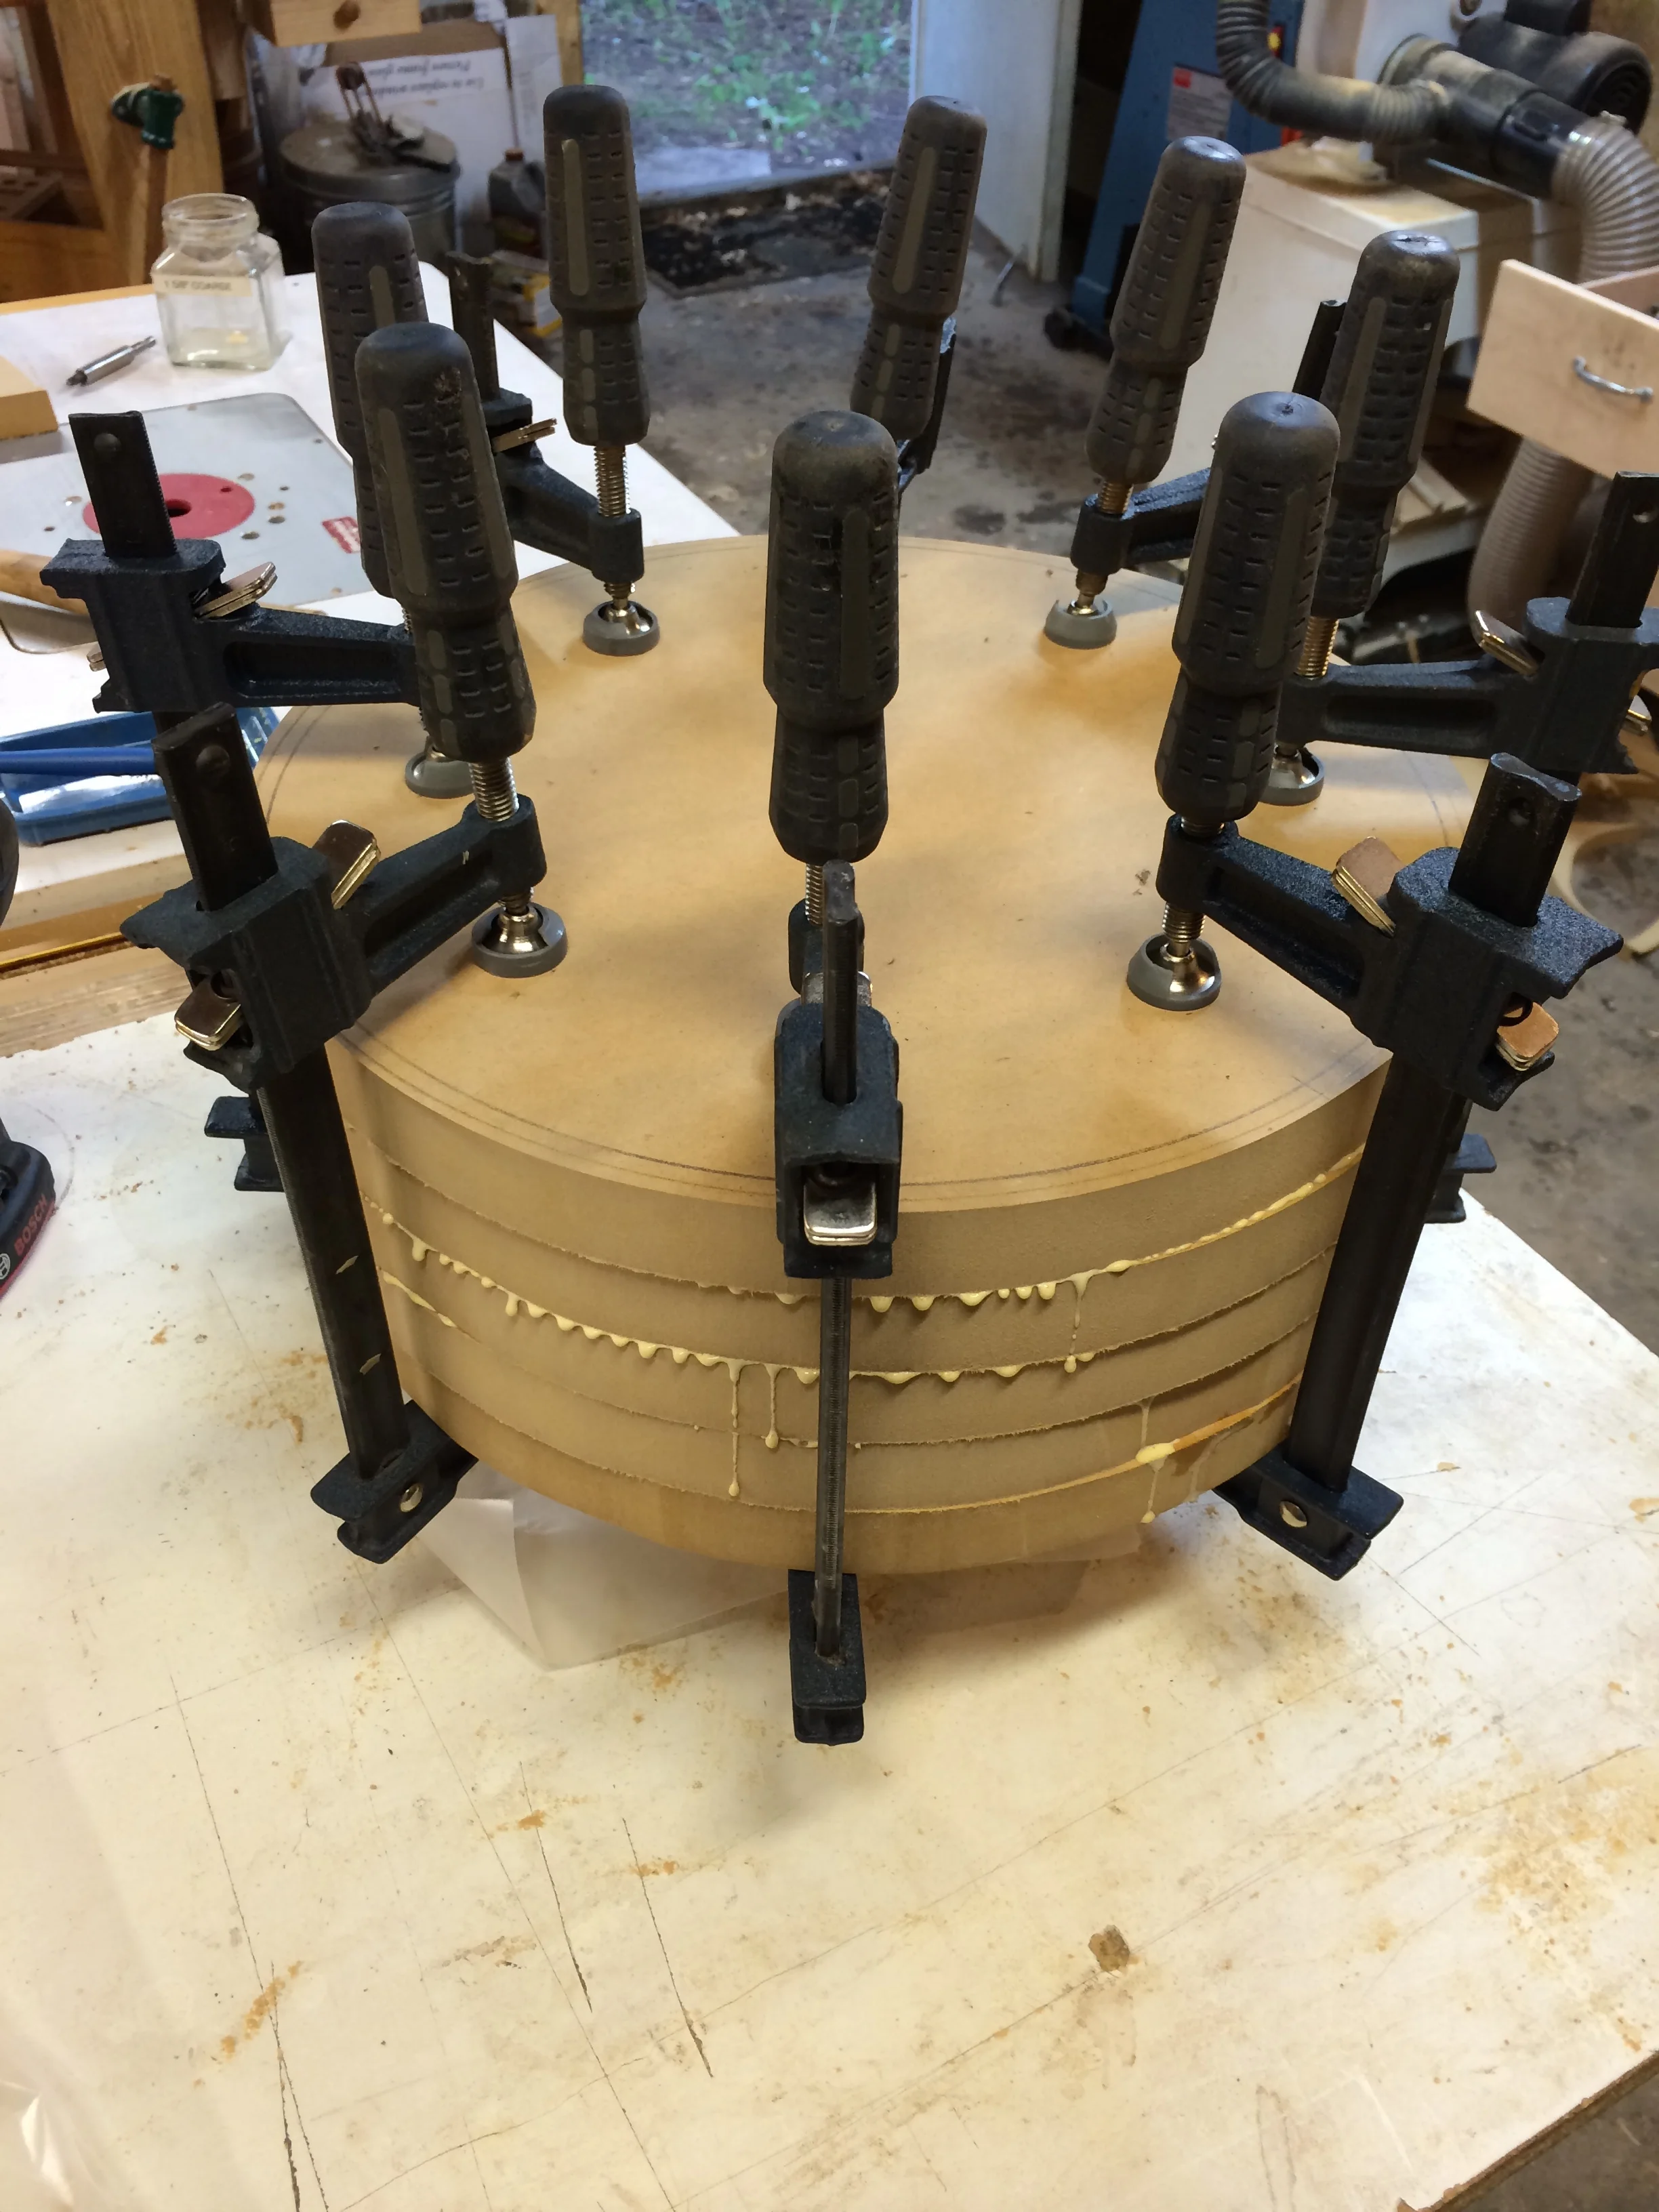
The most laborious part of this build was smoothing over the faceted faces of the staves. No Virginia, I don't have a lathe, and that meant rounding them over had to happen by other means. For the outside, I was able to use a hand plane for the high corners (which would have been easier if the grain was running vertically), and then a belt sander. My belt sander is 4", and the shell is about 5 3/4" deep, so I had to keep shuffling the shell left to right, while turning it like a wheel. For the inside, which wasn't as important, I set the shell on a bench hook, then used a big round plane to take off most of the waste, then I used an oscillating  spindle sander to smooth the rest. The oscillating spindle sander only went 4" too, so I had to keep flipping the shell over, back and forth. Then it was finished up with hand sanding.

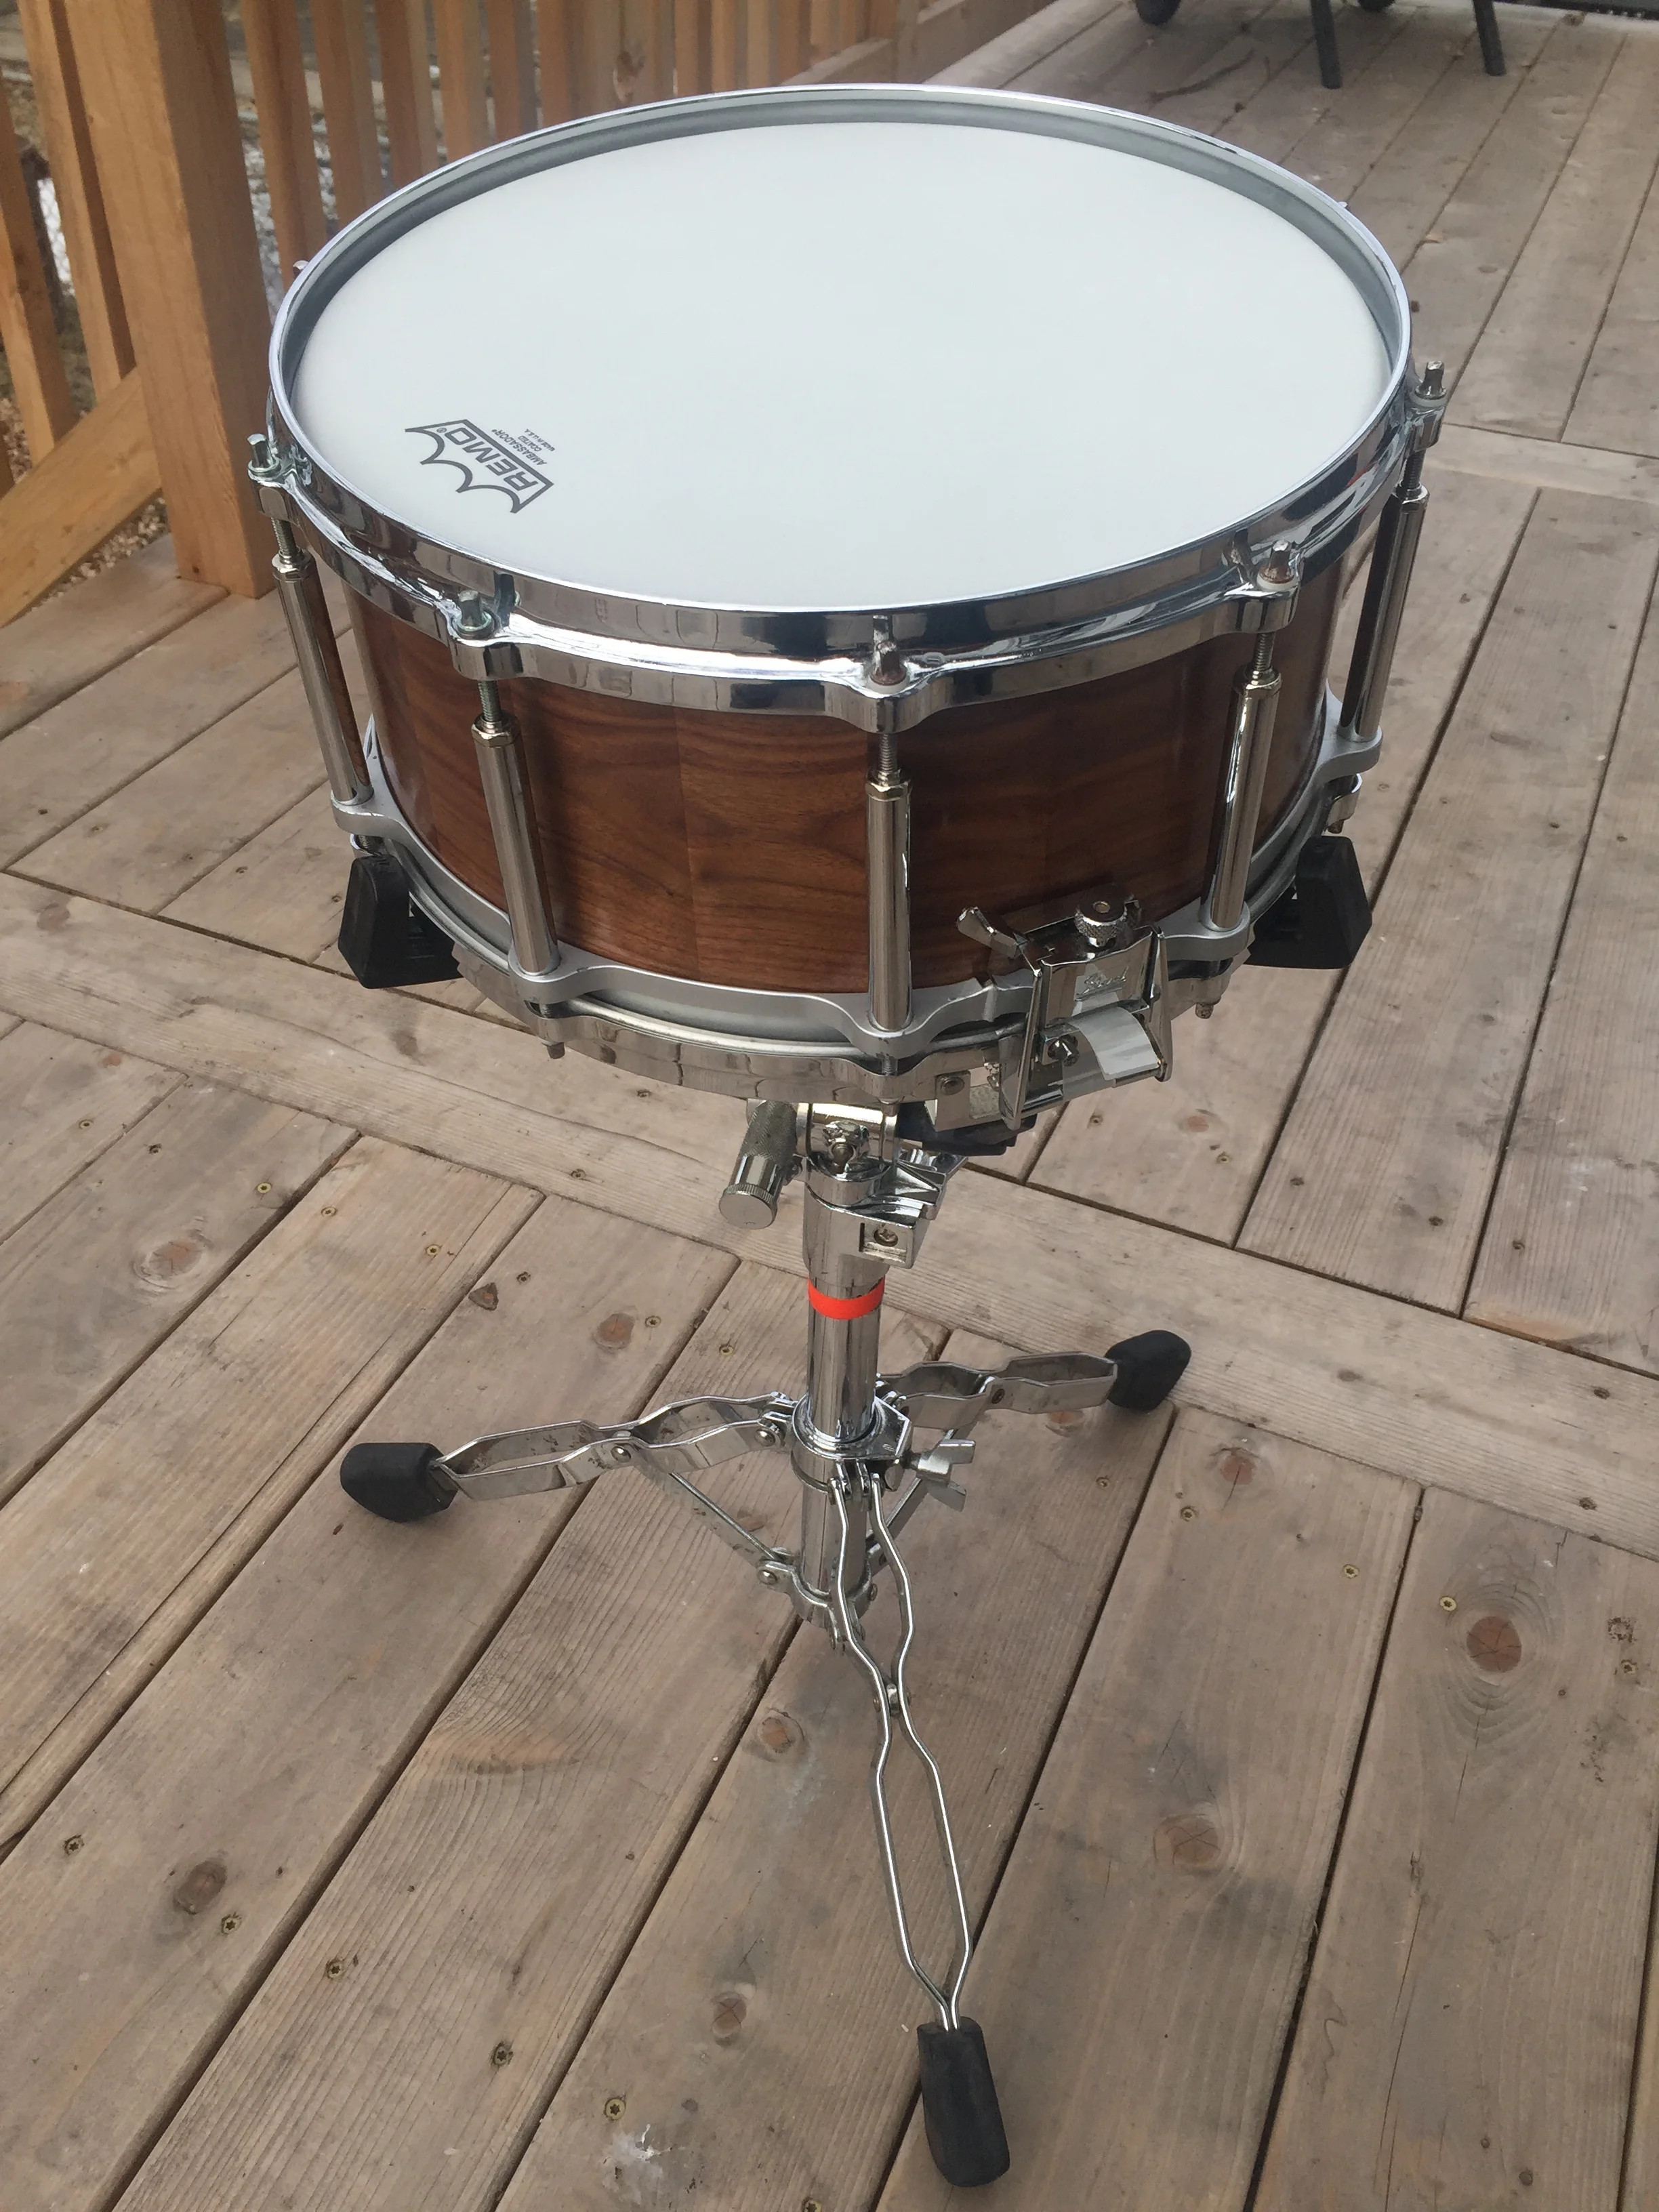
I left the inside a little thick (just under 1/2"), and we put it into her snare rims and gave it a try for sound. The thought was that if it was a little too low or dead sounding, I'd thin the walls a bit more, approaching the typical snare shell thickness of 3/8". But the sound was good, and no more ringing. The snare system she has is the Pearl Floating Snare system, which essentially just sandwiches the shell between the rims: no need to drill any holes to fit lugs. That makes switching out shells super easy. But, we kept it in the snare for a few months, and played several shows with it, and many practices. Either I got it perfect the first time out, or she just grew to like it, she felt there was no need to change the thickness.

So, it was back to the shop for finishing, and that was just several layers of padded-on blonde shellac, with a coat of paste wax buffed on with steel wool. With that all nice and pretty, its a good match for the guitar amplifier head enclosure I made a few months back. Throughout the whole process of smoothing, planing, sanding, going into the snare, back out again, and finishing, the "mistake" of the long grain to long grain glue joints wasn't a problem. It is very, very solid. And of course, once sandwiched in the snare rims, is pretty well supported all over anyway.

I liked this project, and hop to do other shells from different woods, and we'll try them out and see how they effect the sound. I'll also try both types of grain direction, to see if that effects how easy or hard it is to round over the stave facets. I am also going to be getting a the in the shop, and with the right chuck/holder, should be able to do the smoothing there, which should be much faster.

Walnut, elm, and cork coaster set

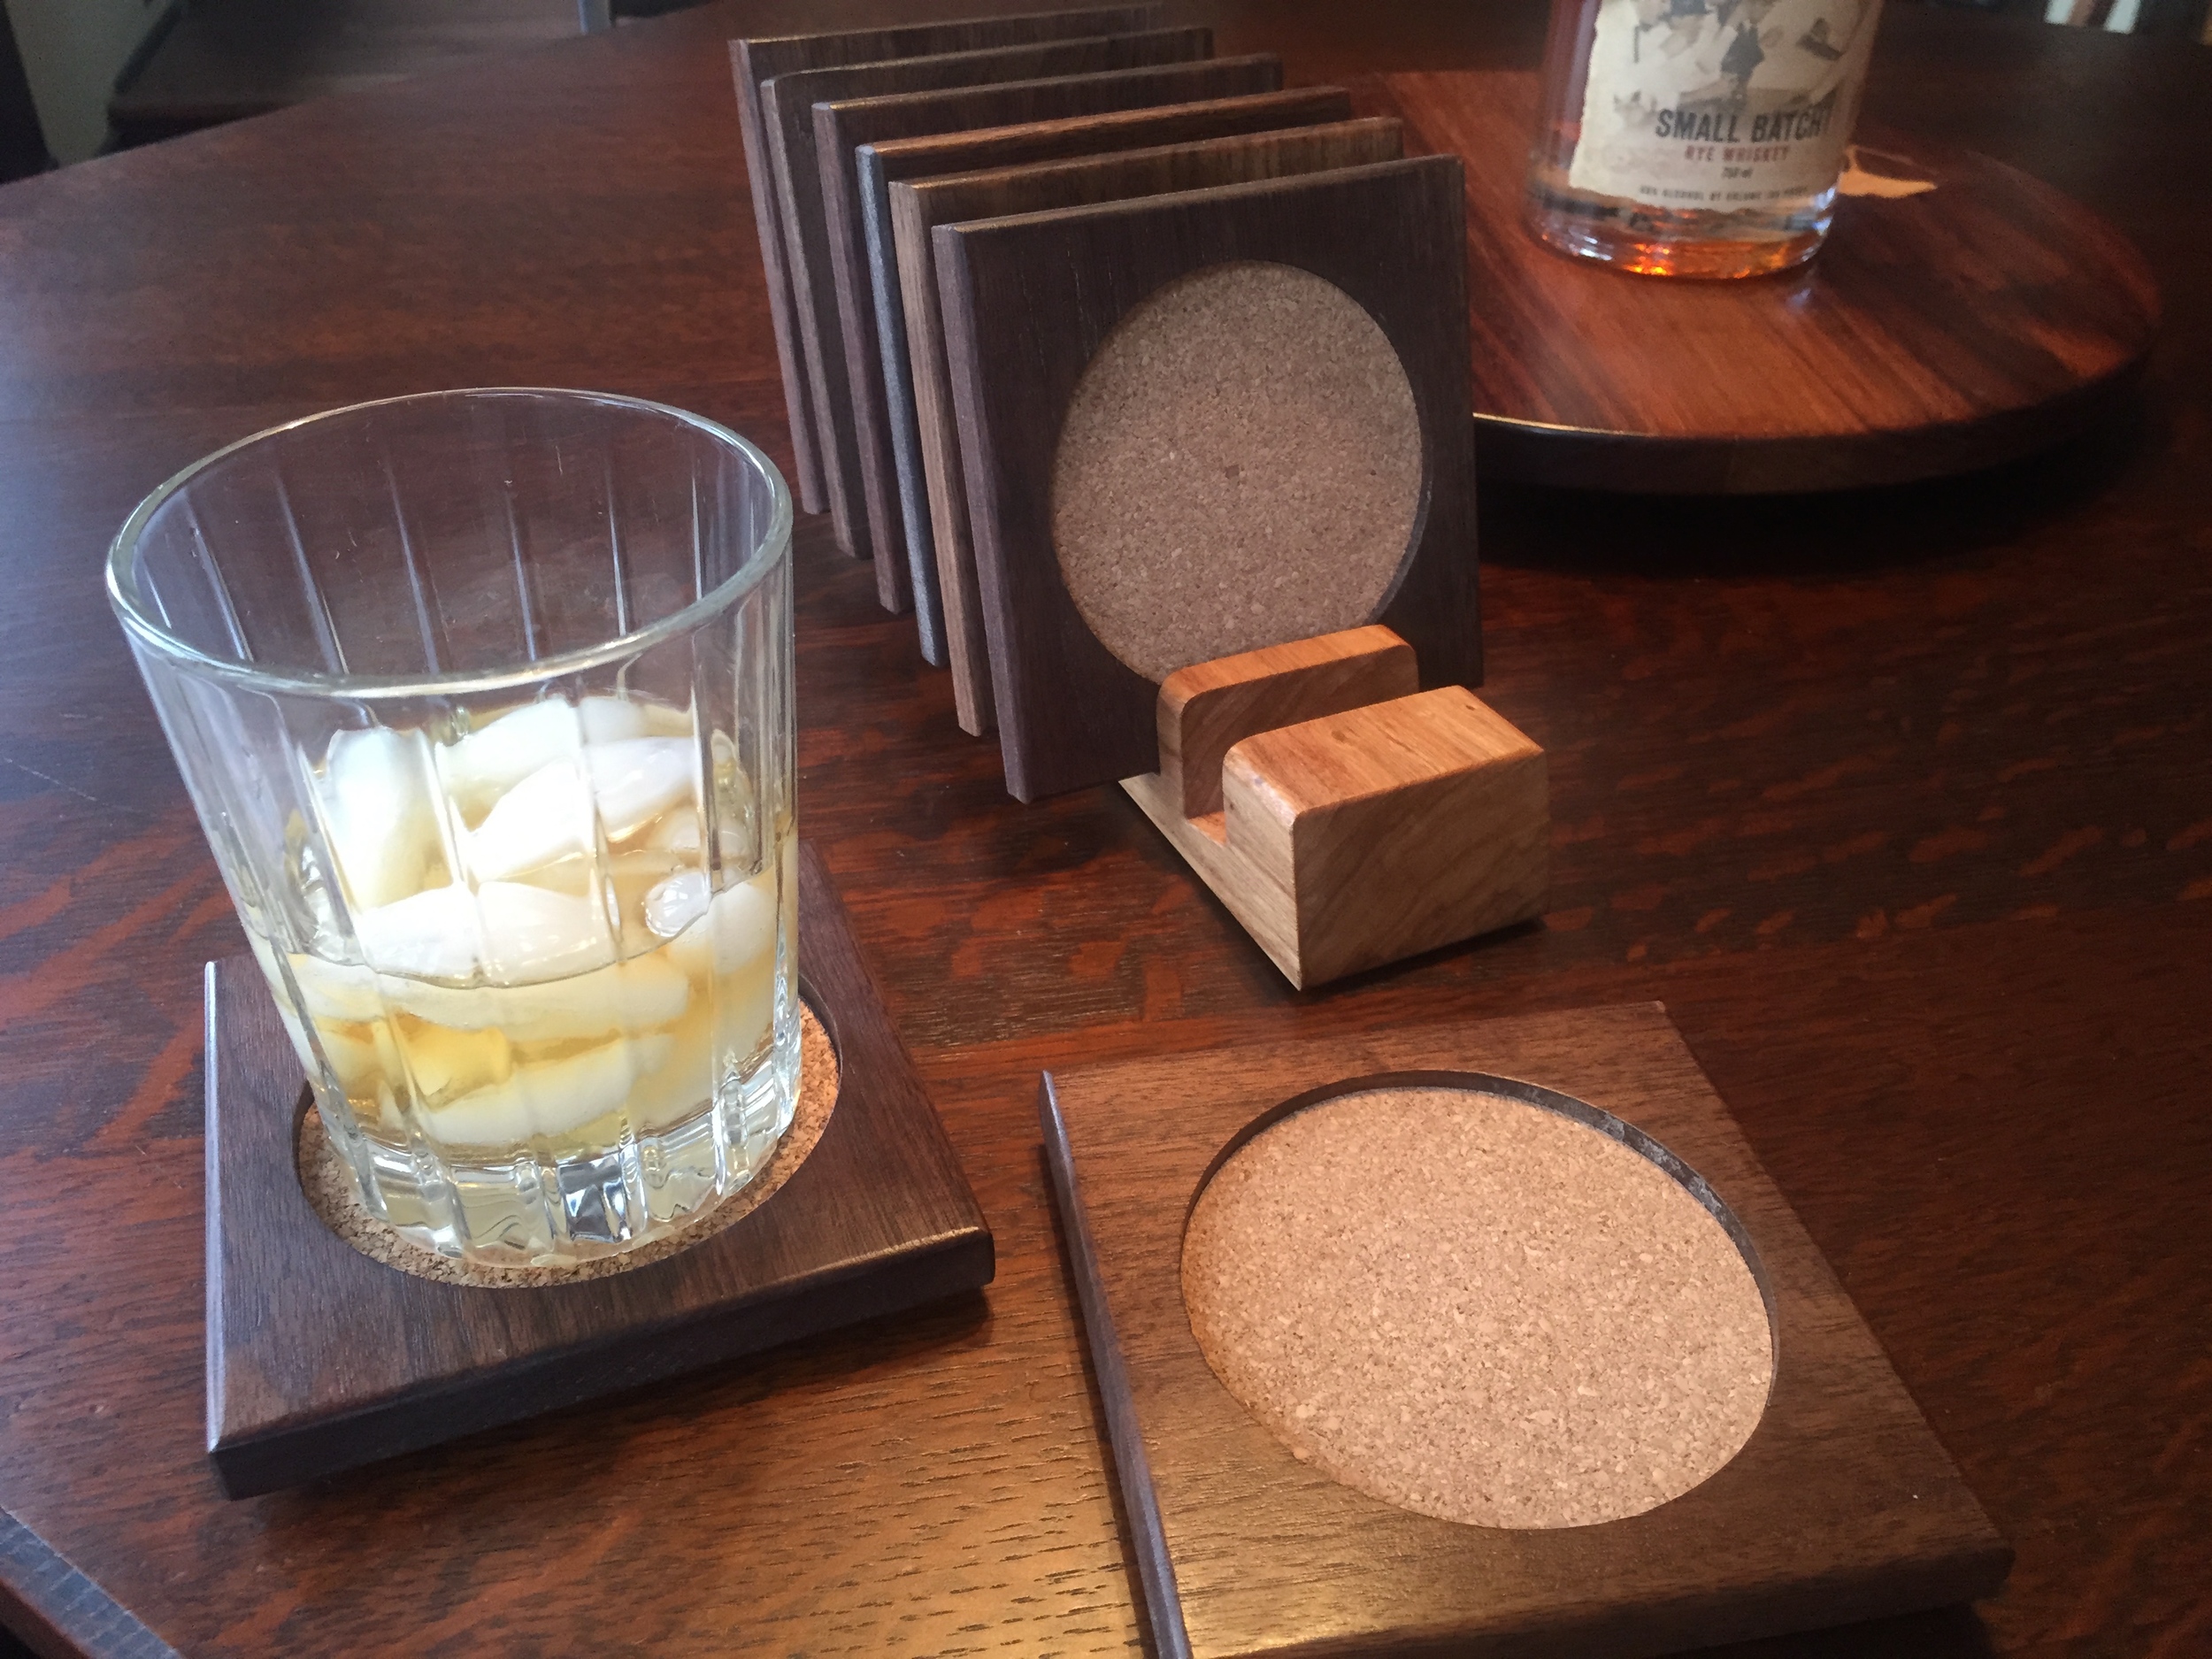
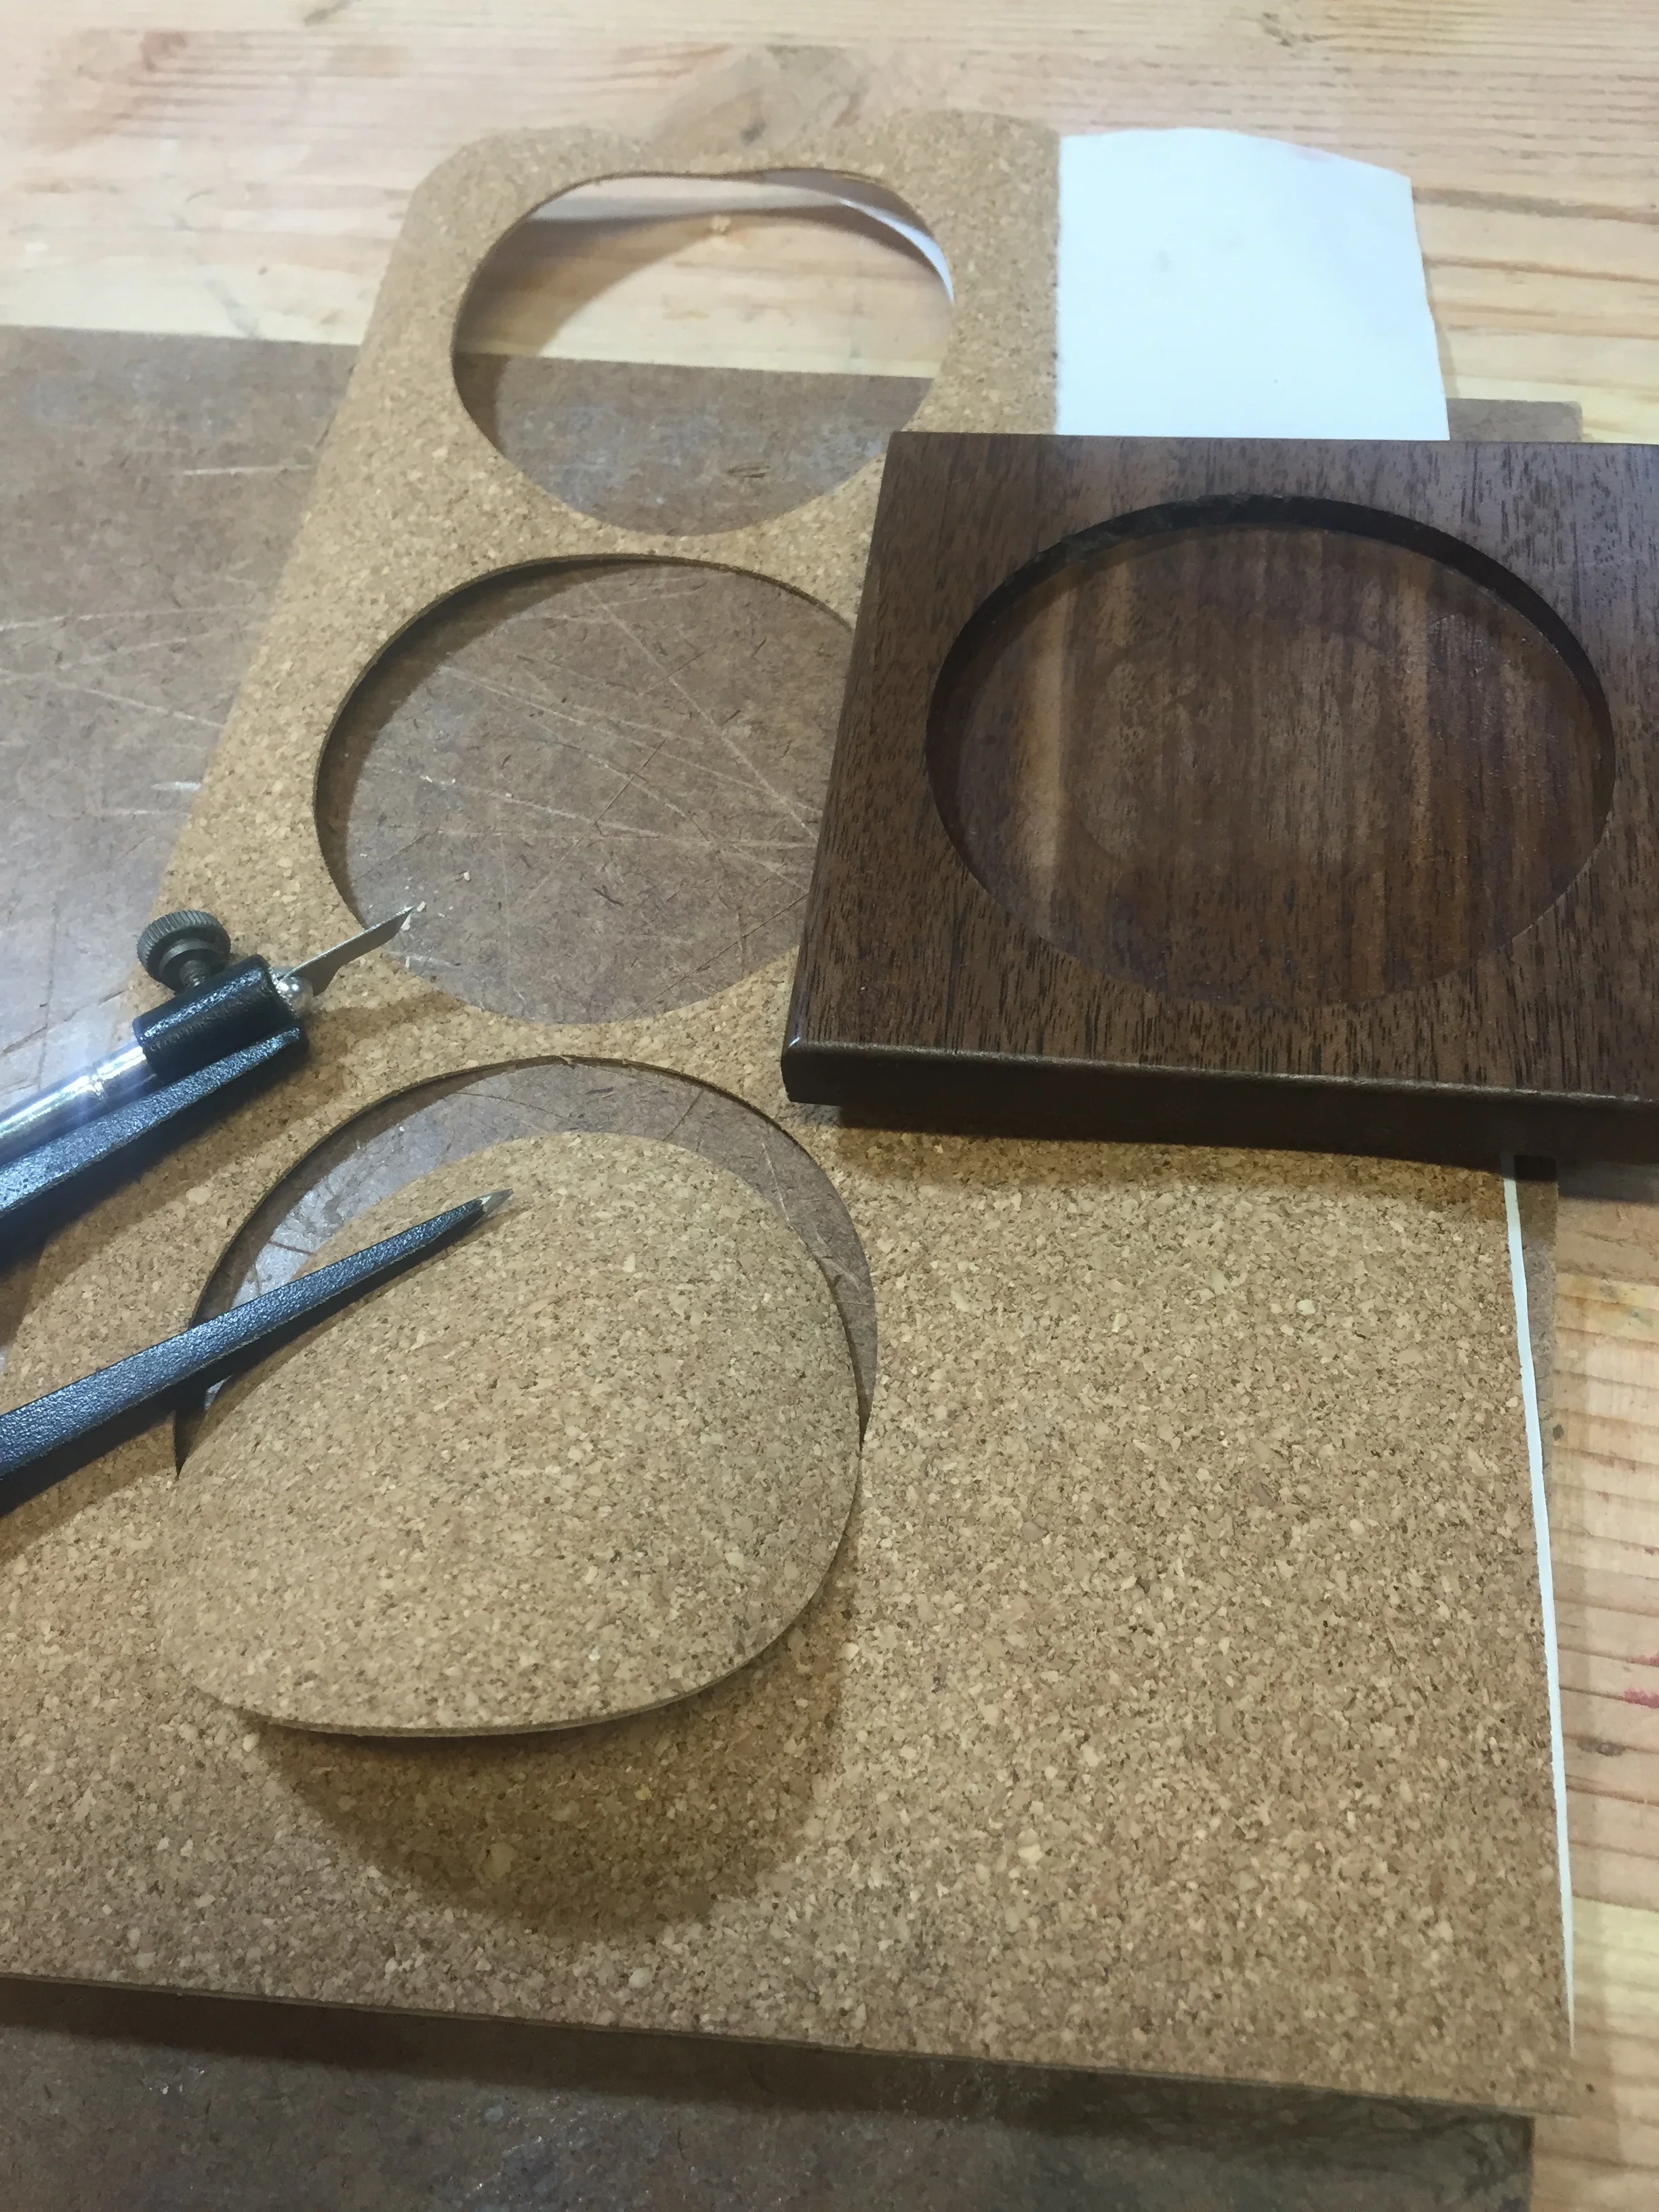
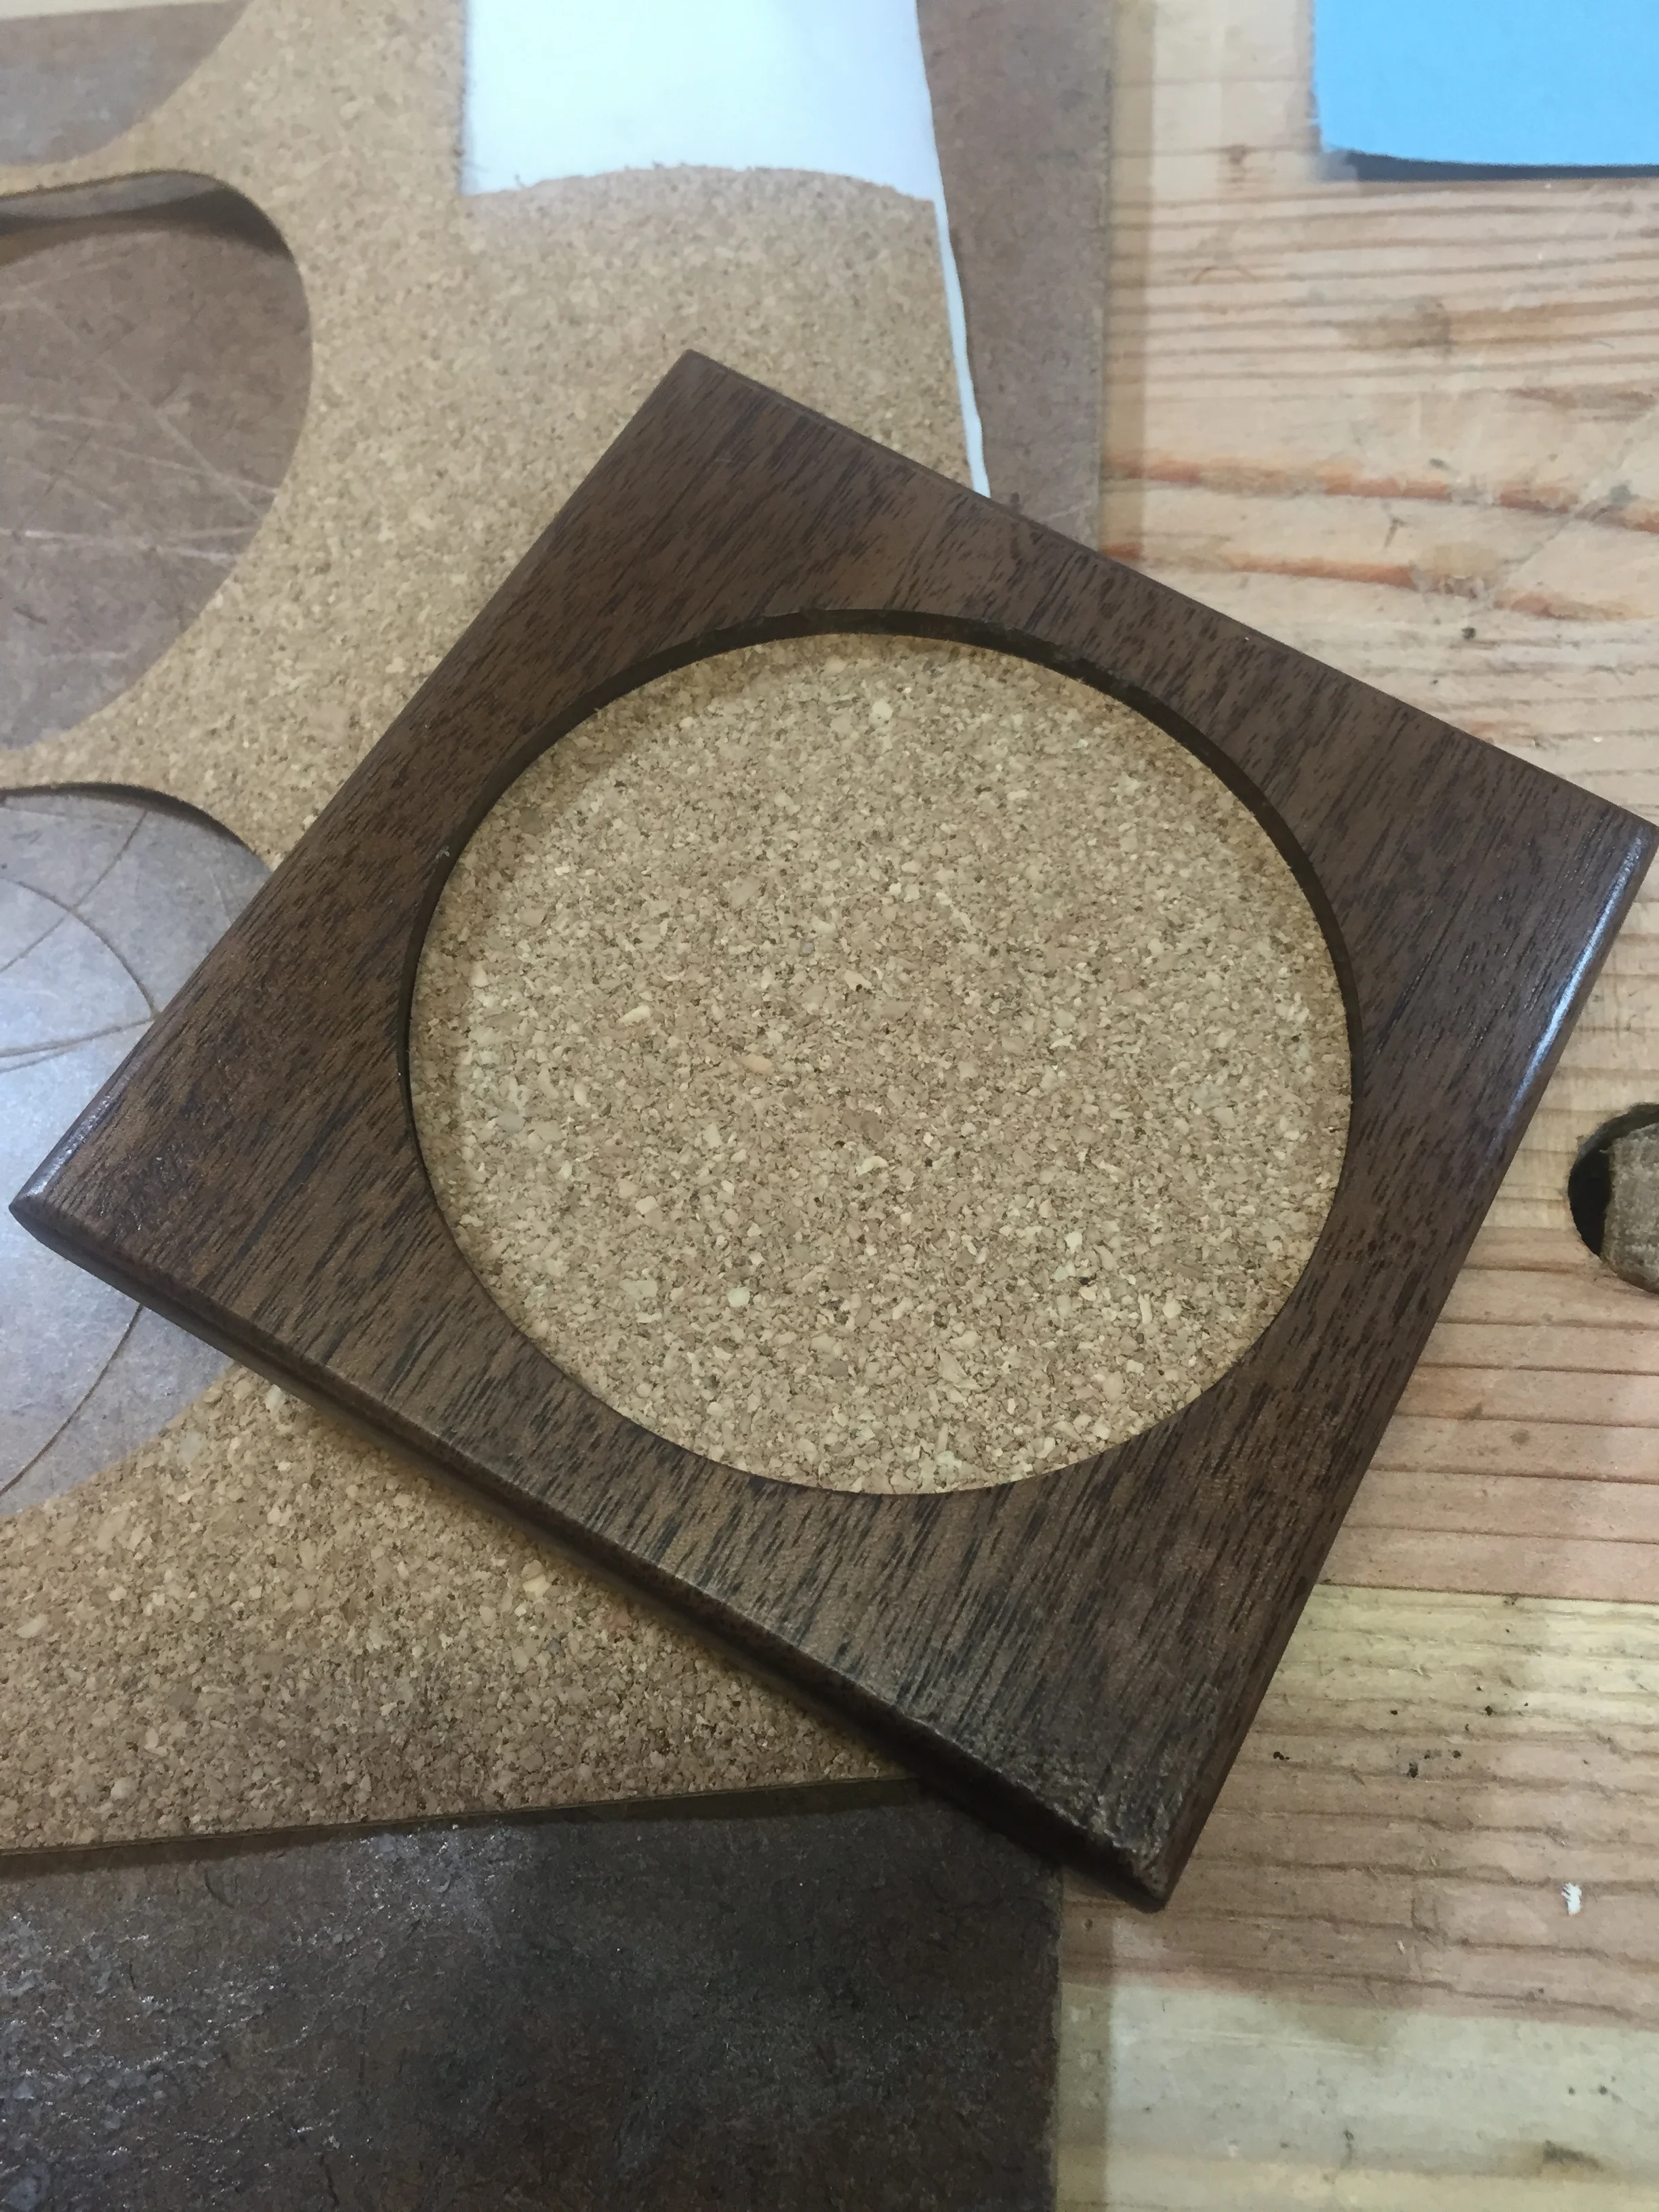
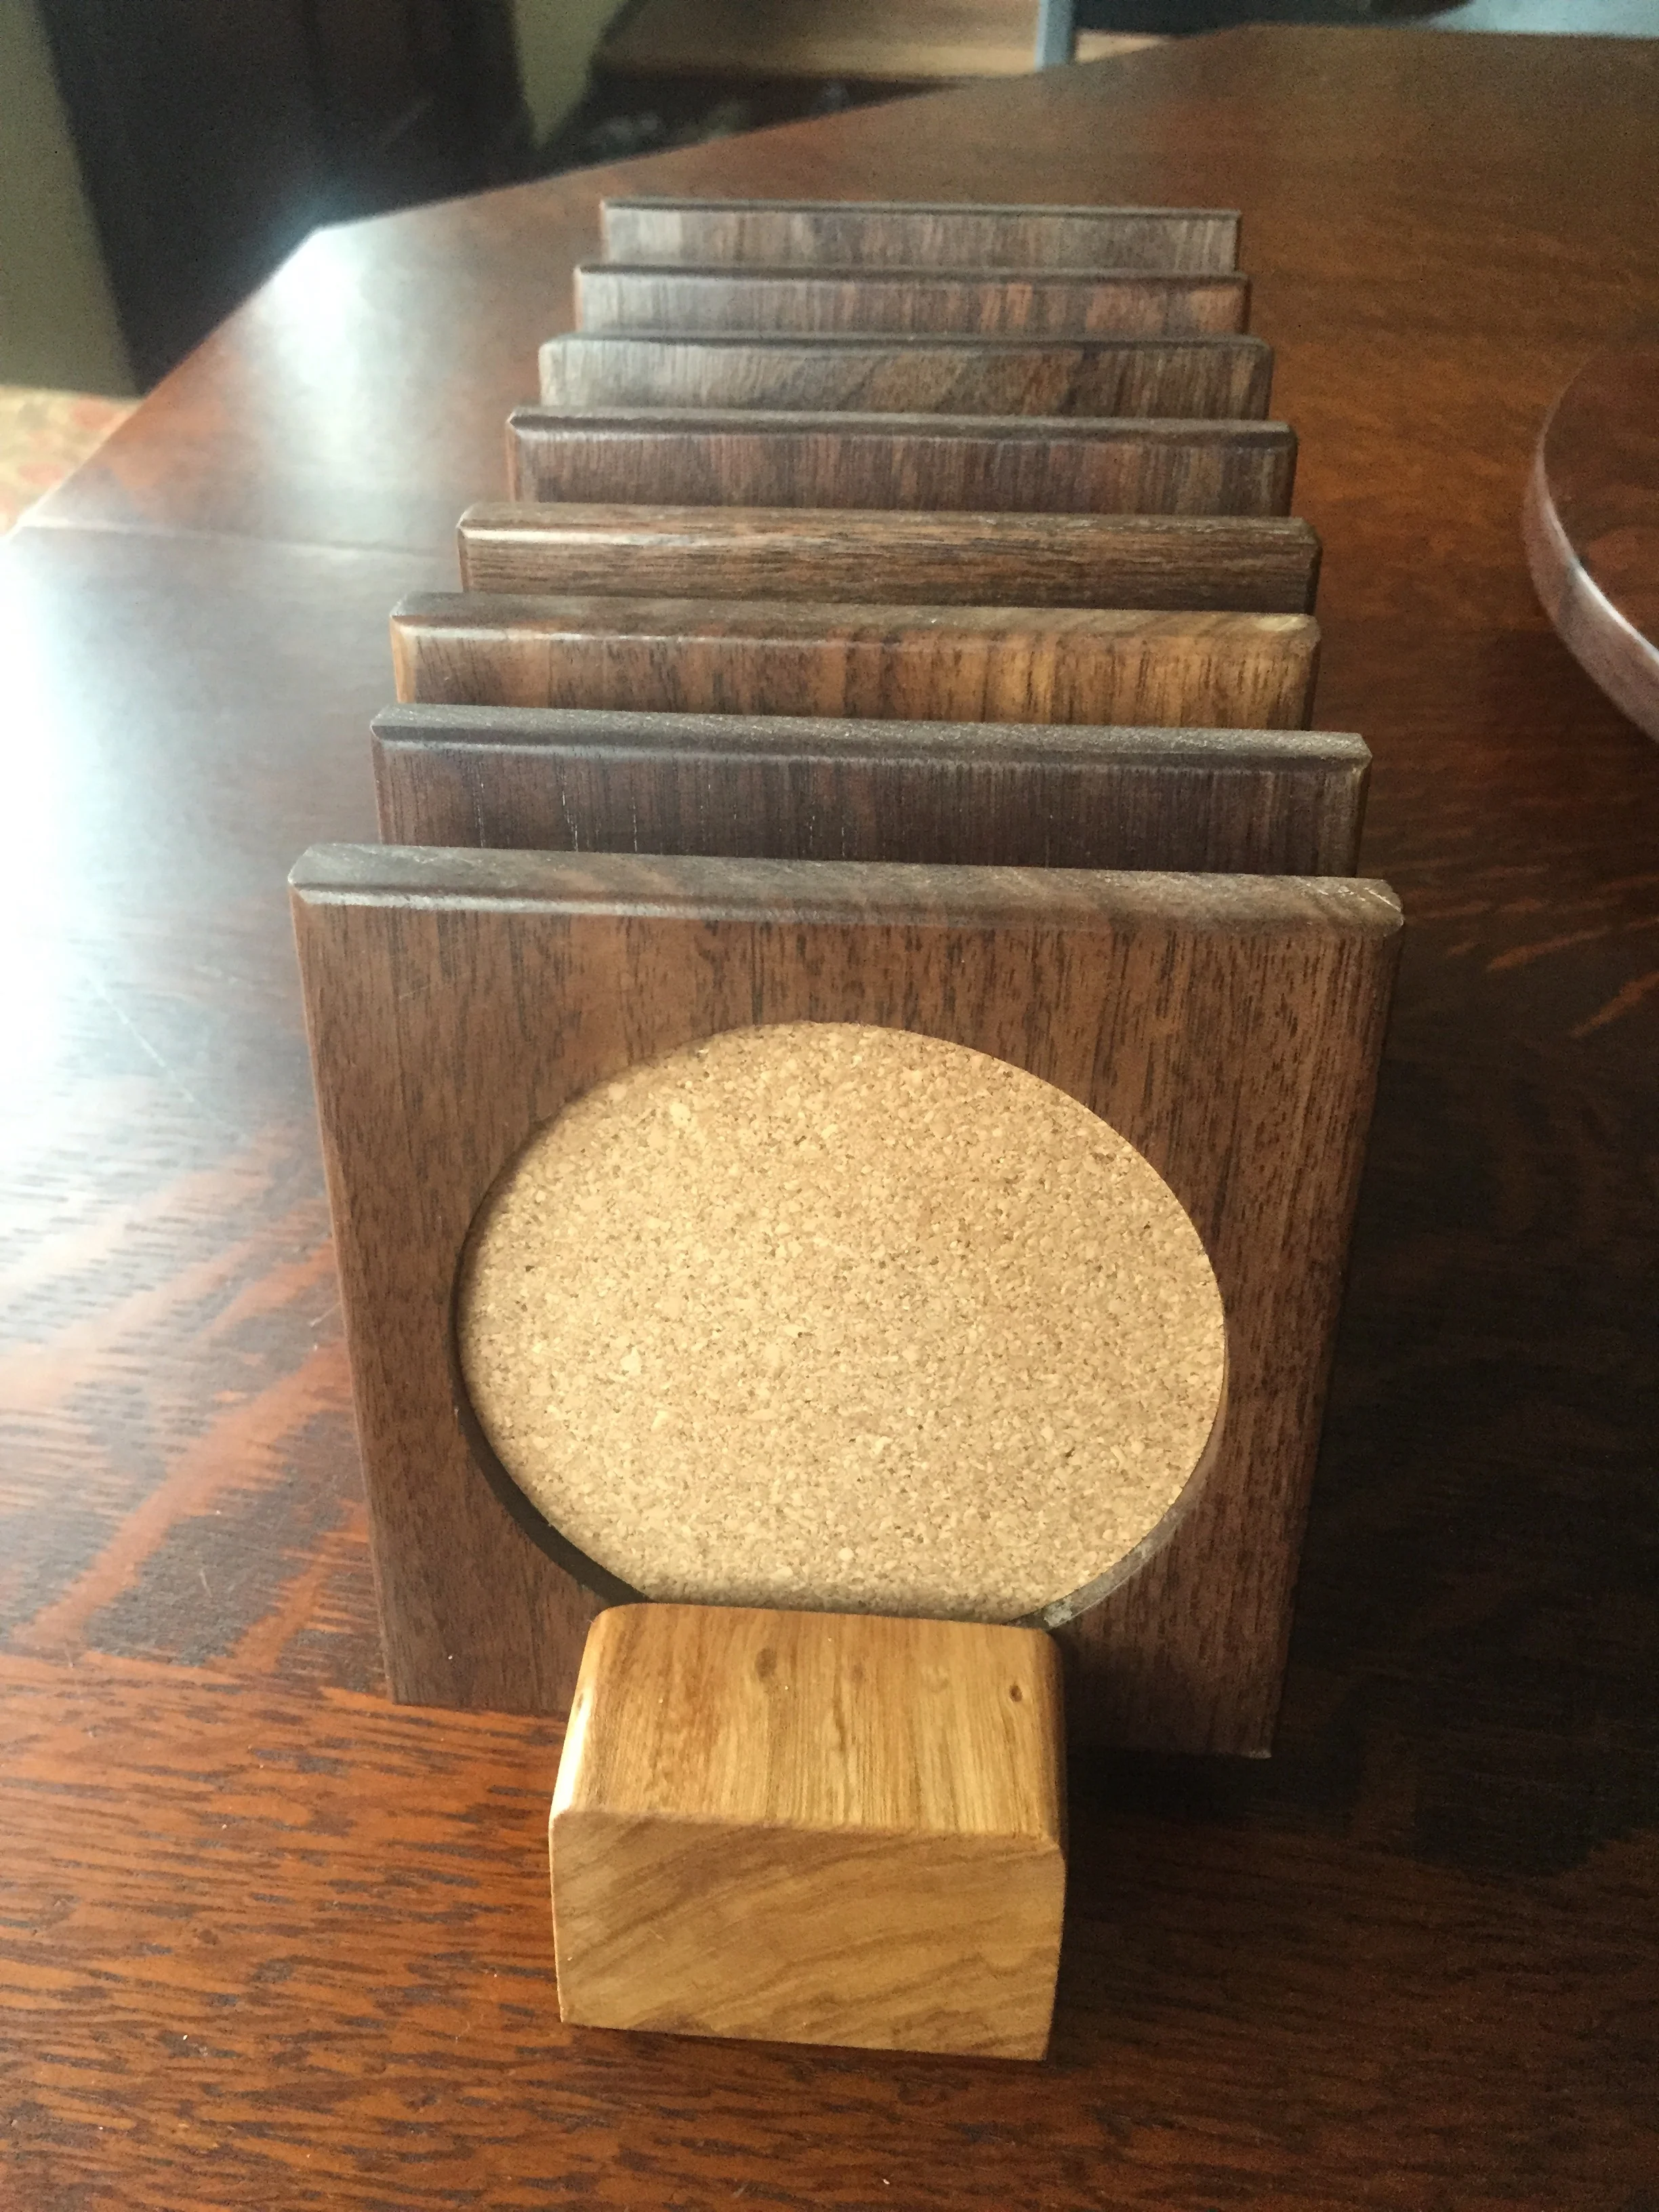
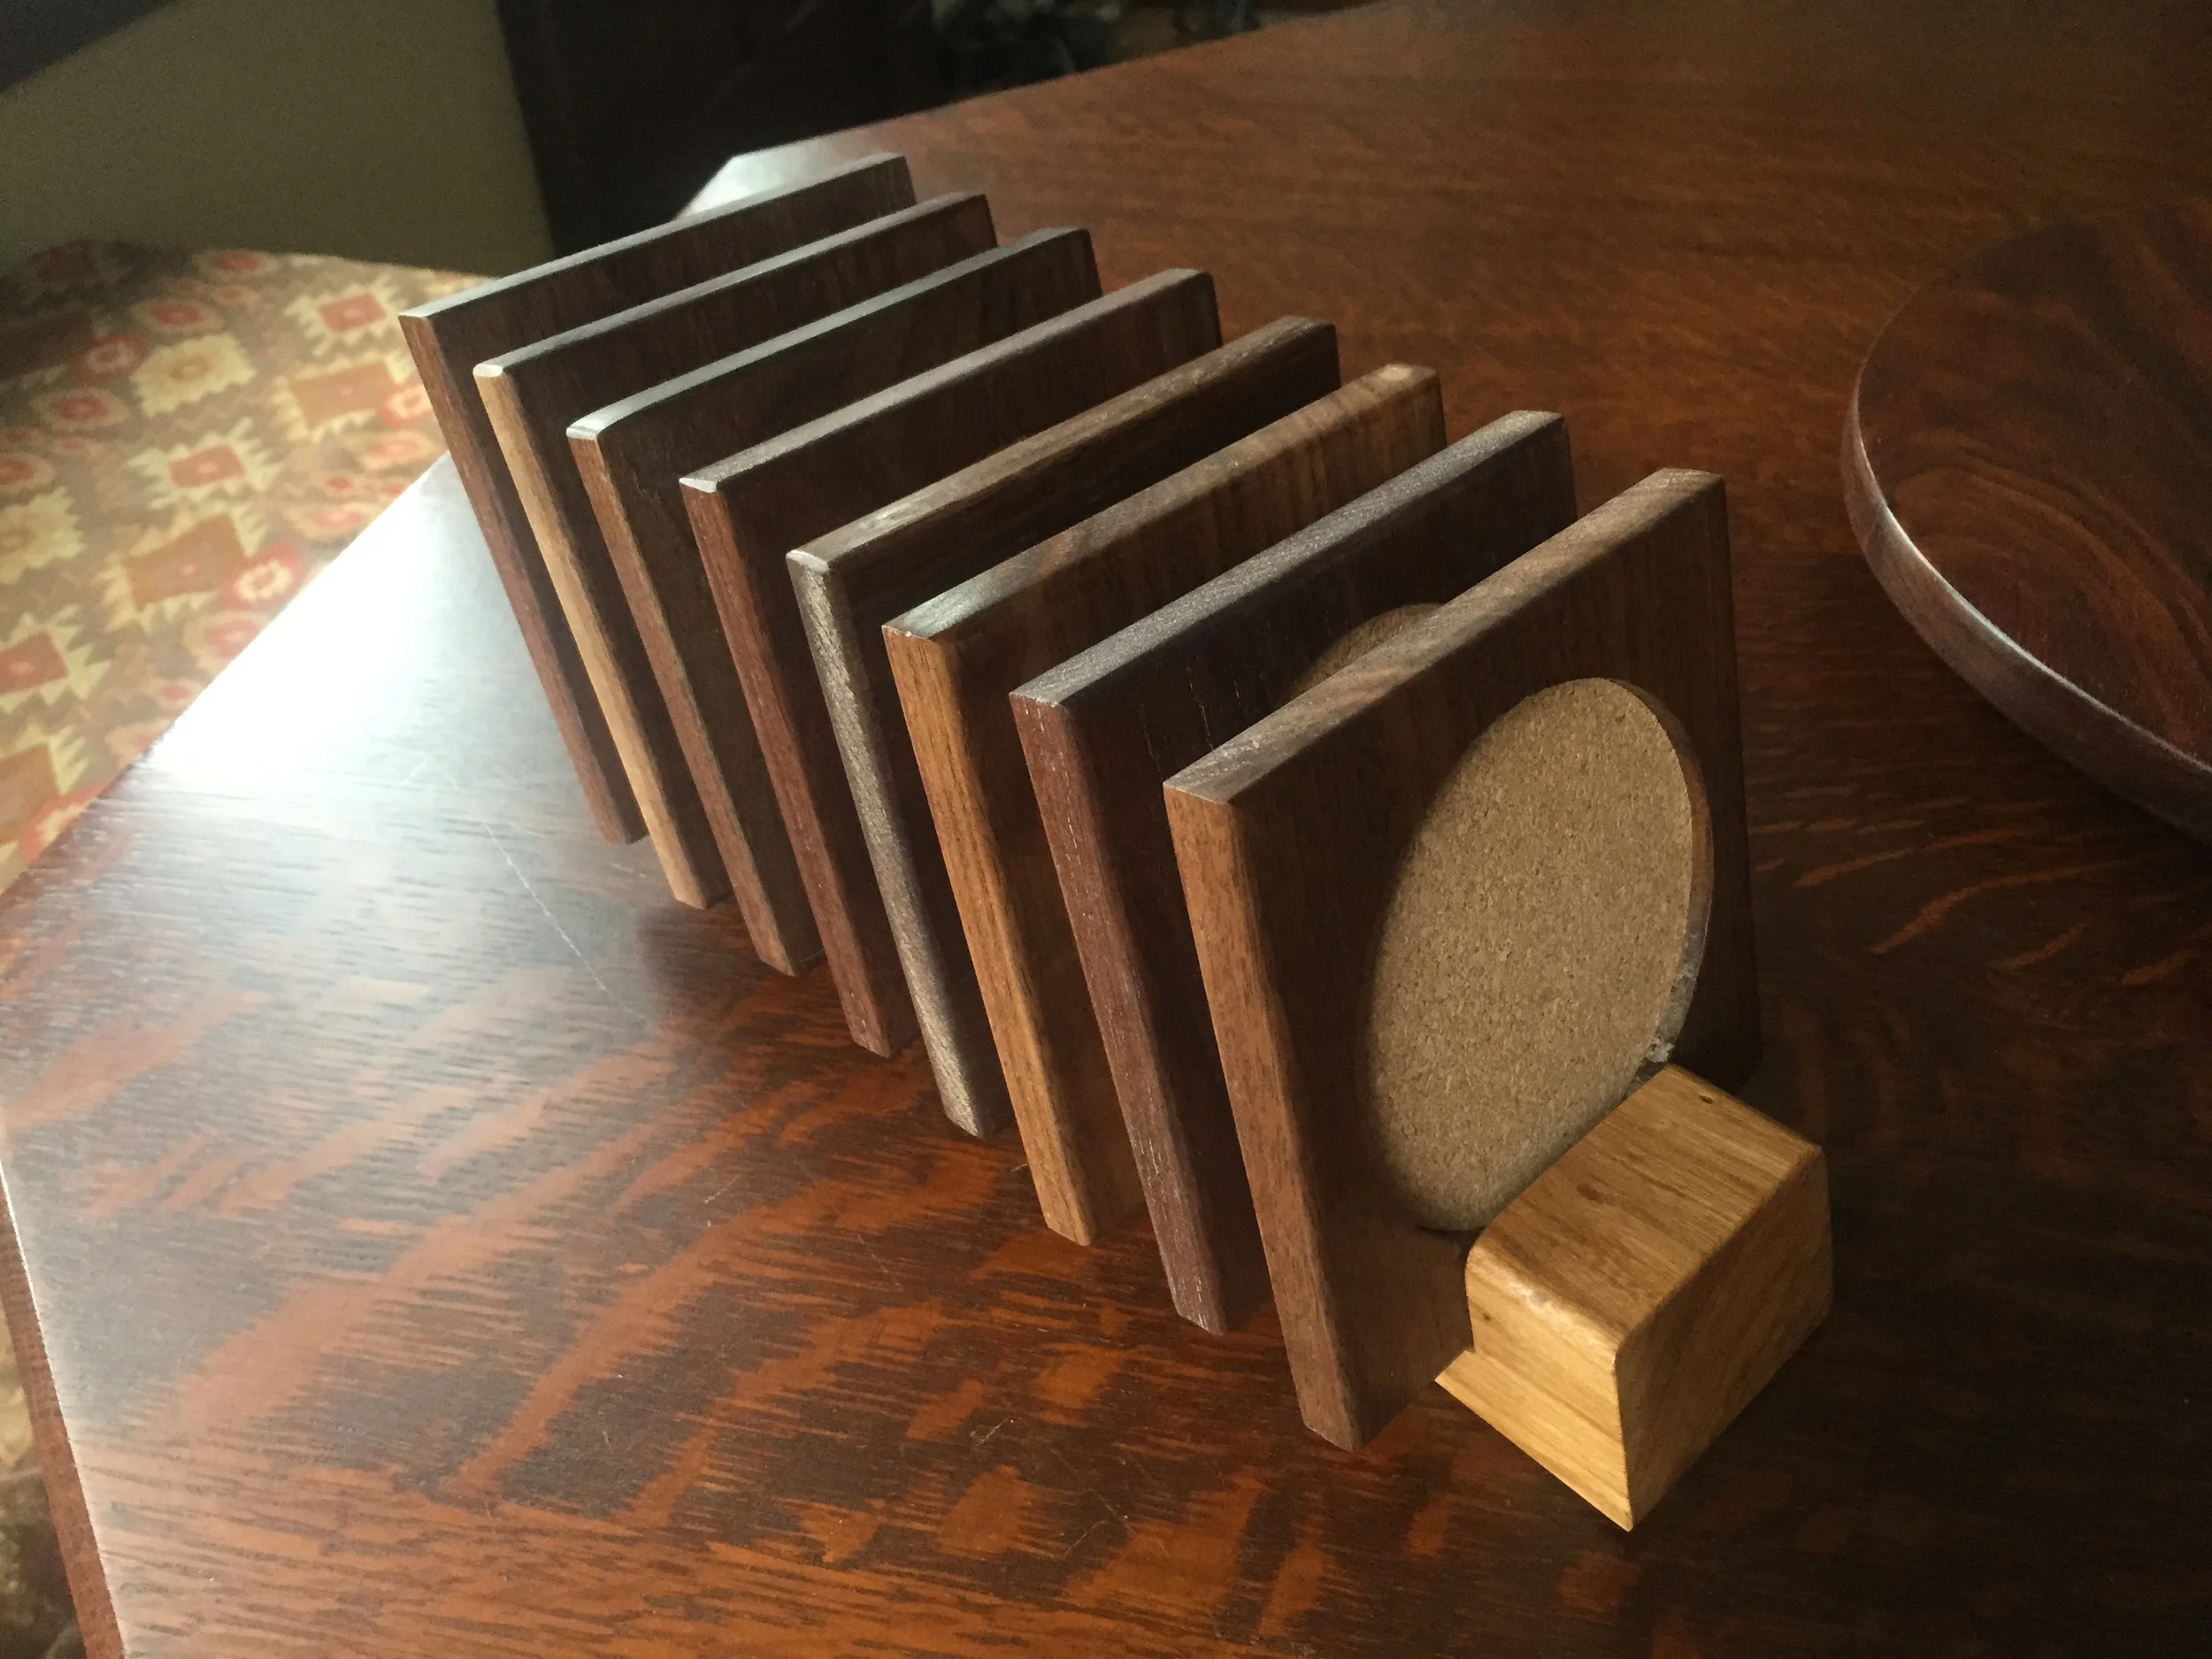
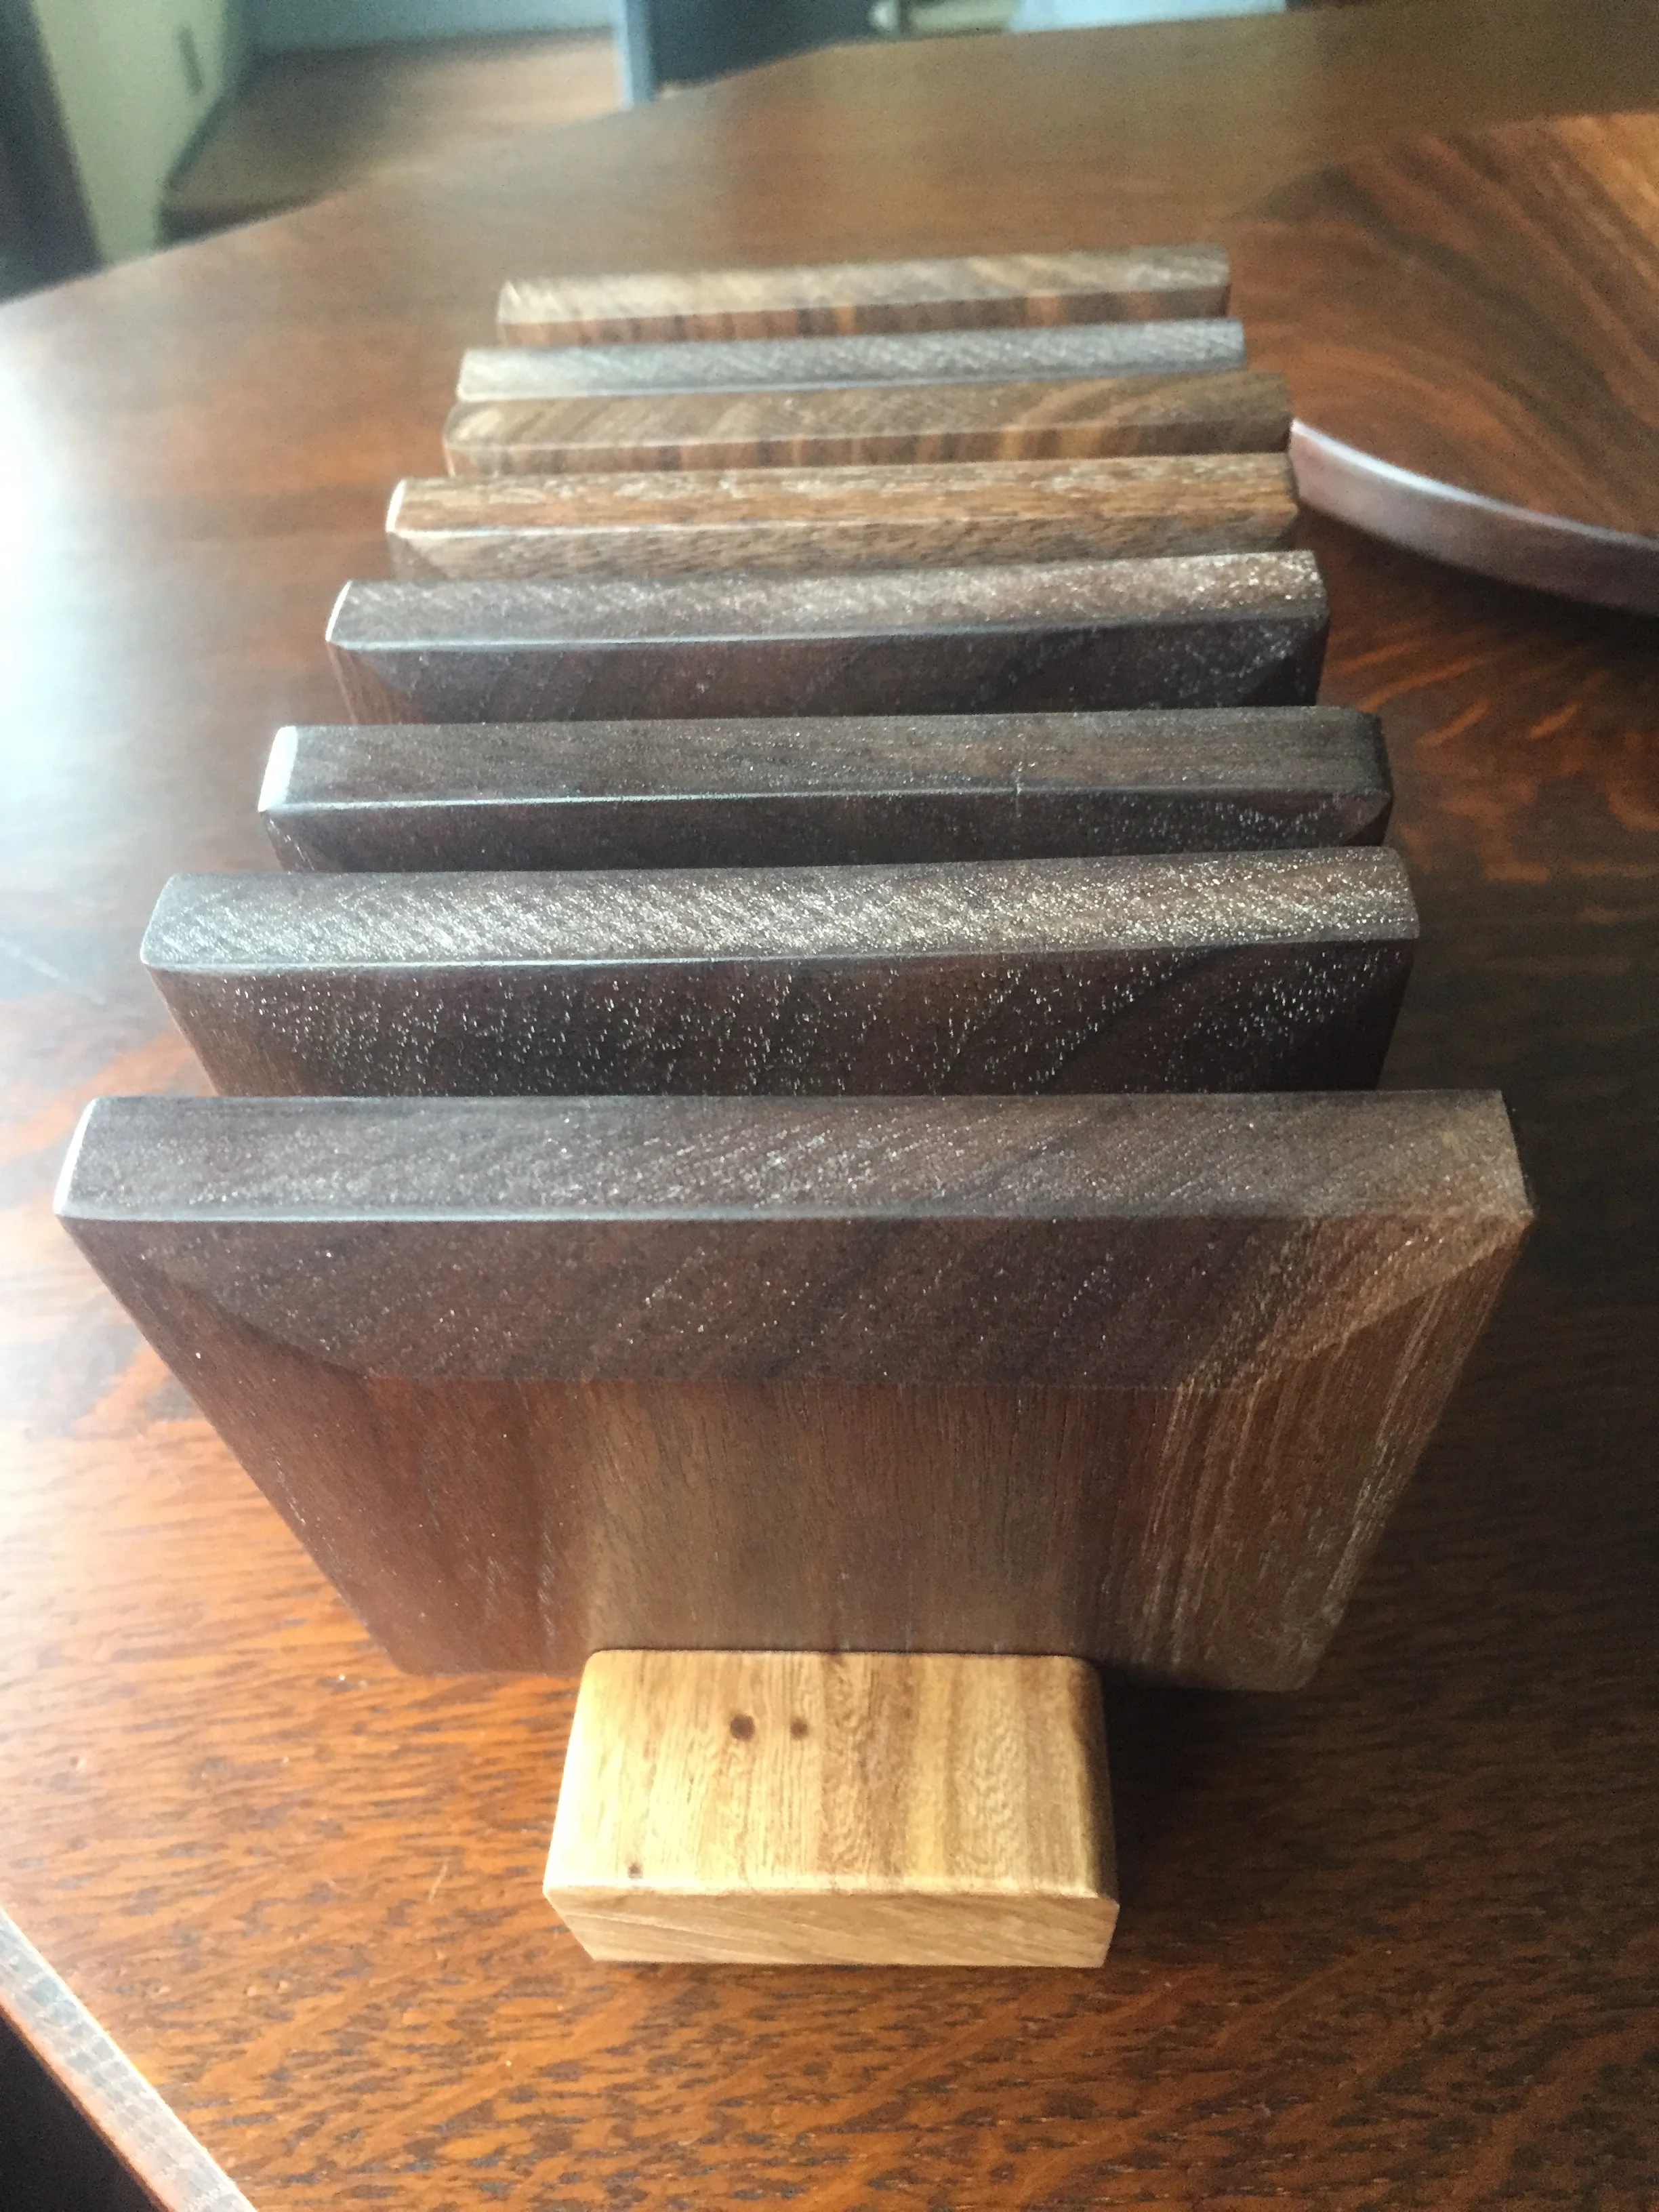
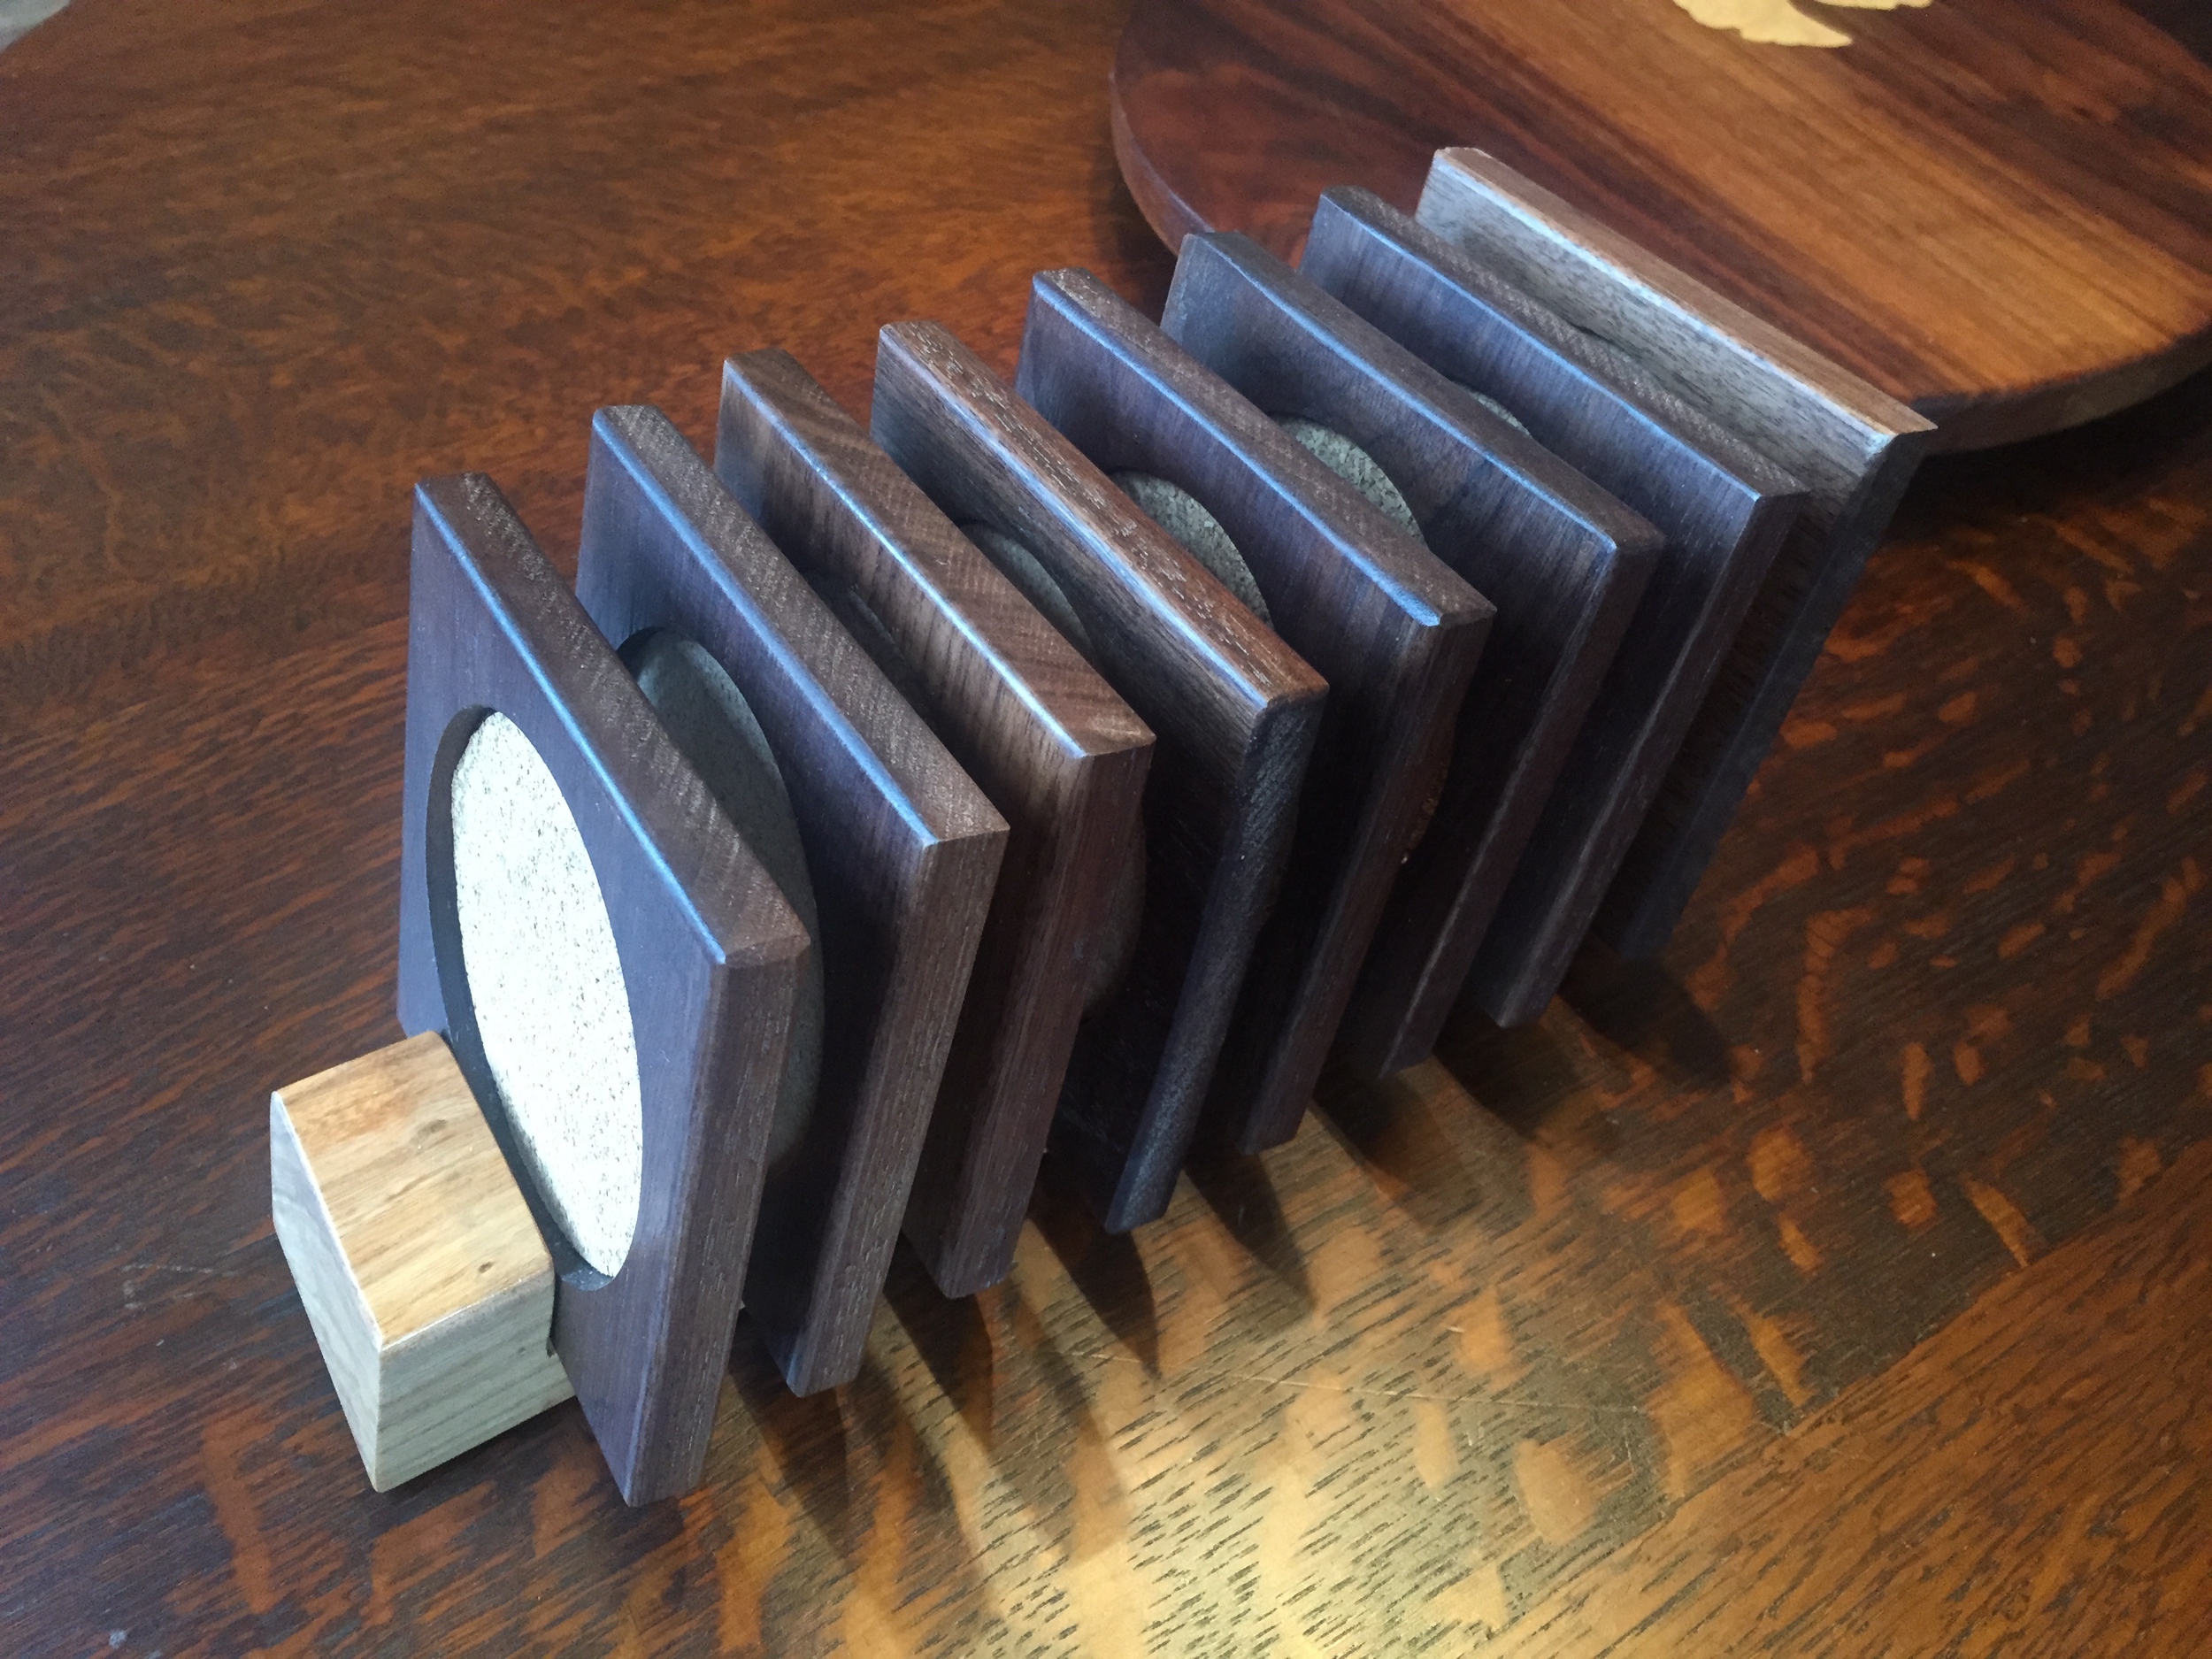
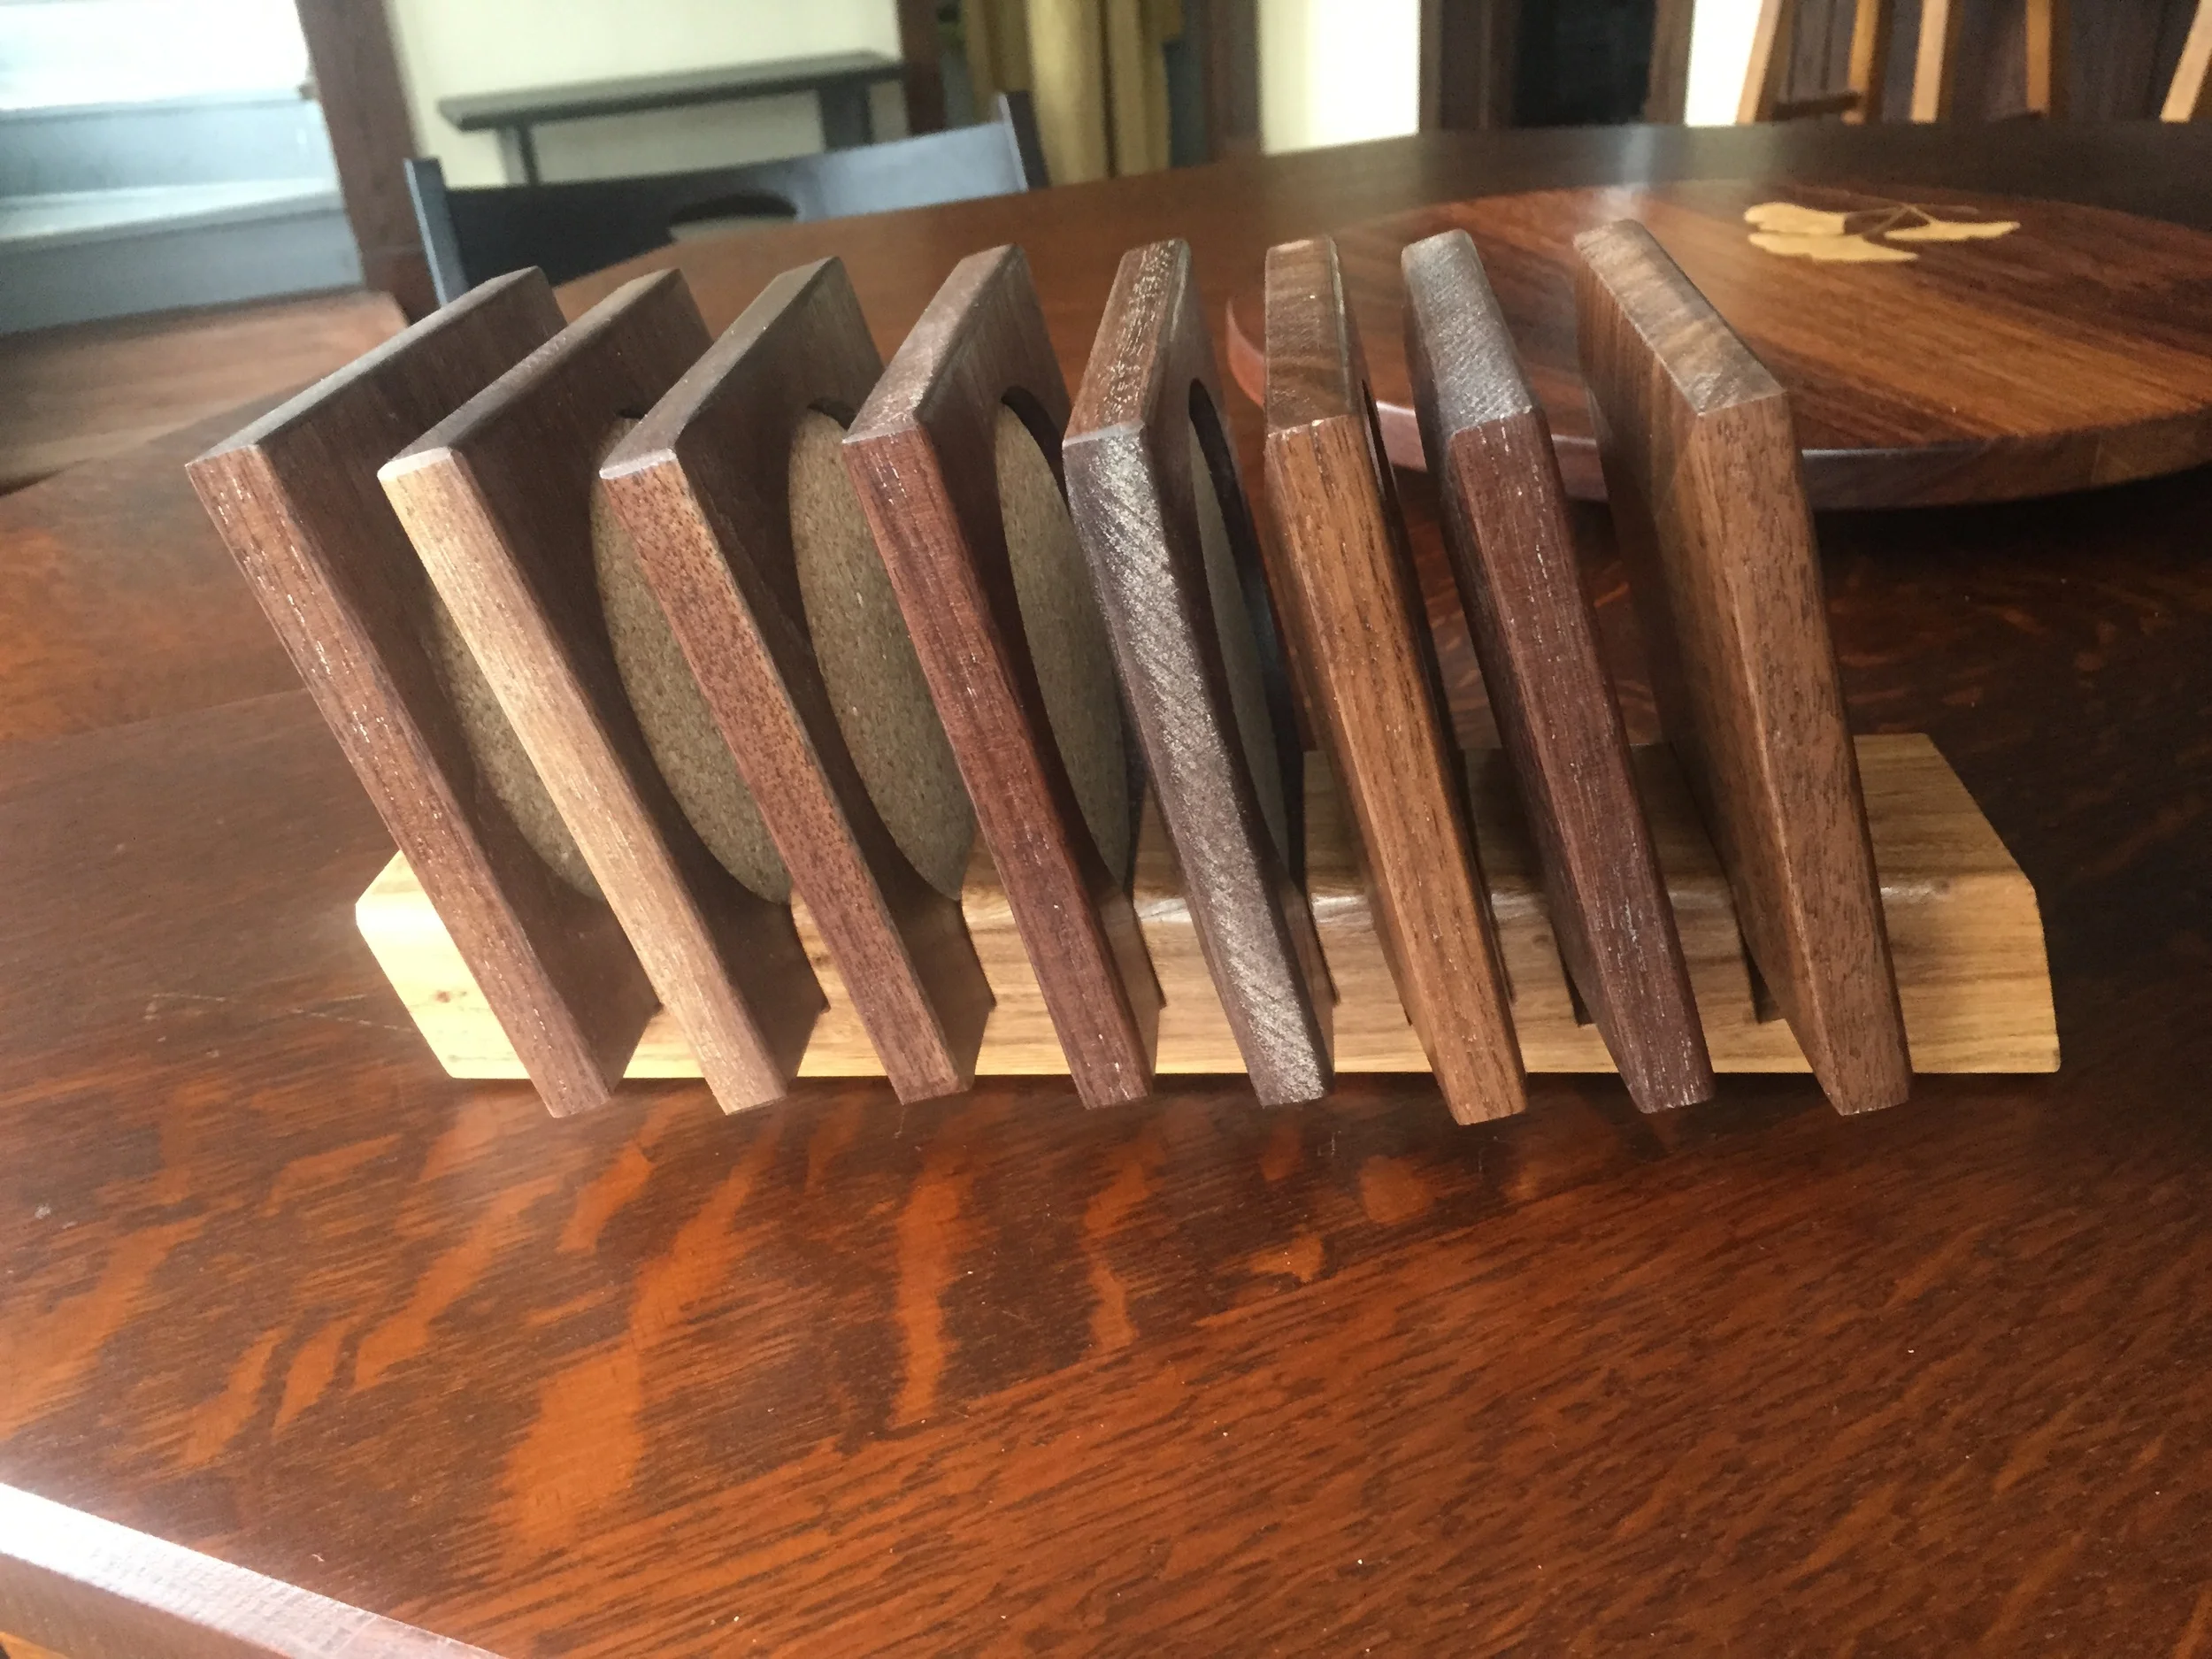
This was a nice little project to use up some scraps in the shop. We needed a nicer coaster set than to stained, worn out set we've had for years. I designed this on the fly, imagining the chamfered bottom edges and the grooved elm holder/stand as I went. I do love the look of walnut, and elm has a lot of nice character to it. To cut the cork, i put an x-acto knife into a compass, which gave me nice, smooth circles. I went with a lacquer finish on these, and thicker than I like for furniture, as they will be getting wet and and be in contact with alcohol. I did do a final coat of paste wax applied with steel wool to do the final smoothing. Hopefully, they'll hold up over time. Structurally, the only concern is that the walnut might cup. A more stable approach would have been to laminate three pieces, (maybe with elm in the middle for style), while alternating the grain direction. Basically, a plywood. If these coasters do fail, I'll do that next time.

Medicine Cabinet for a Bathroom

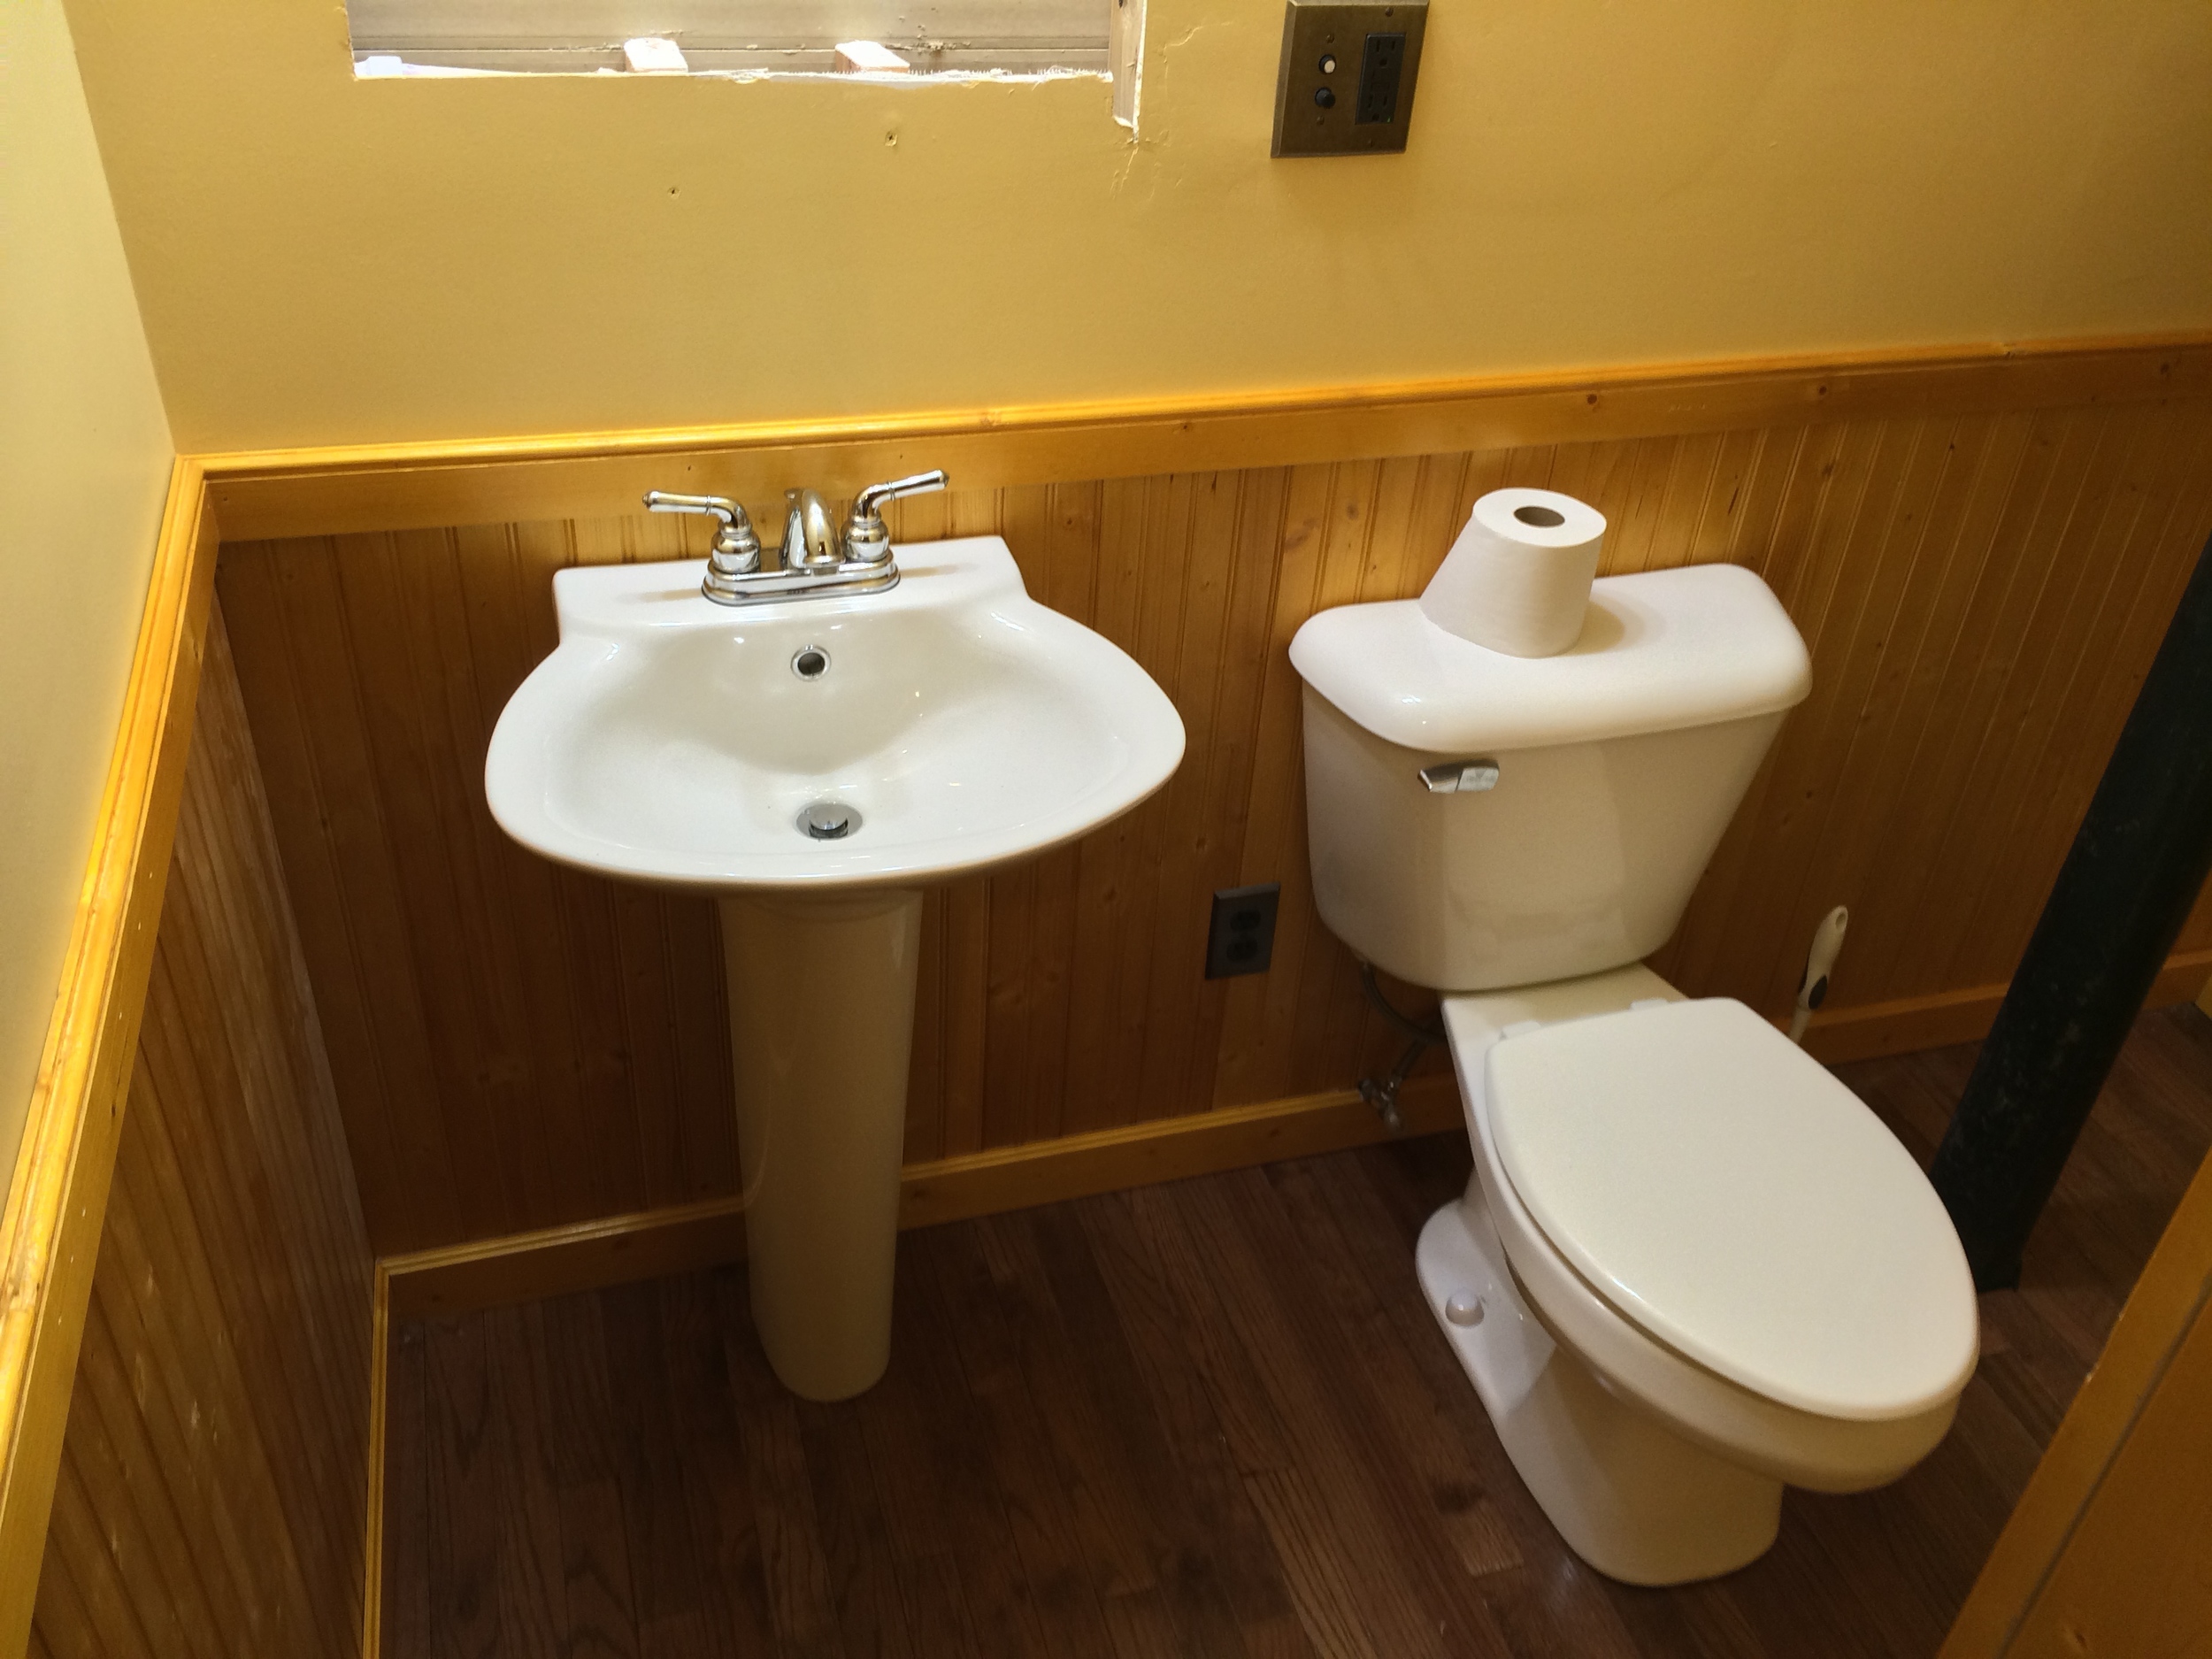
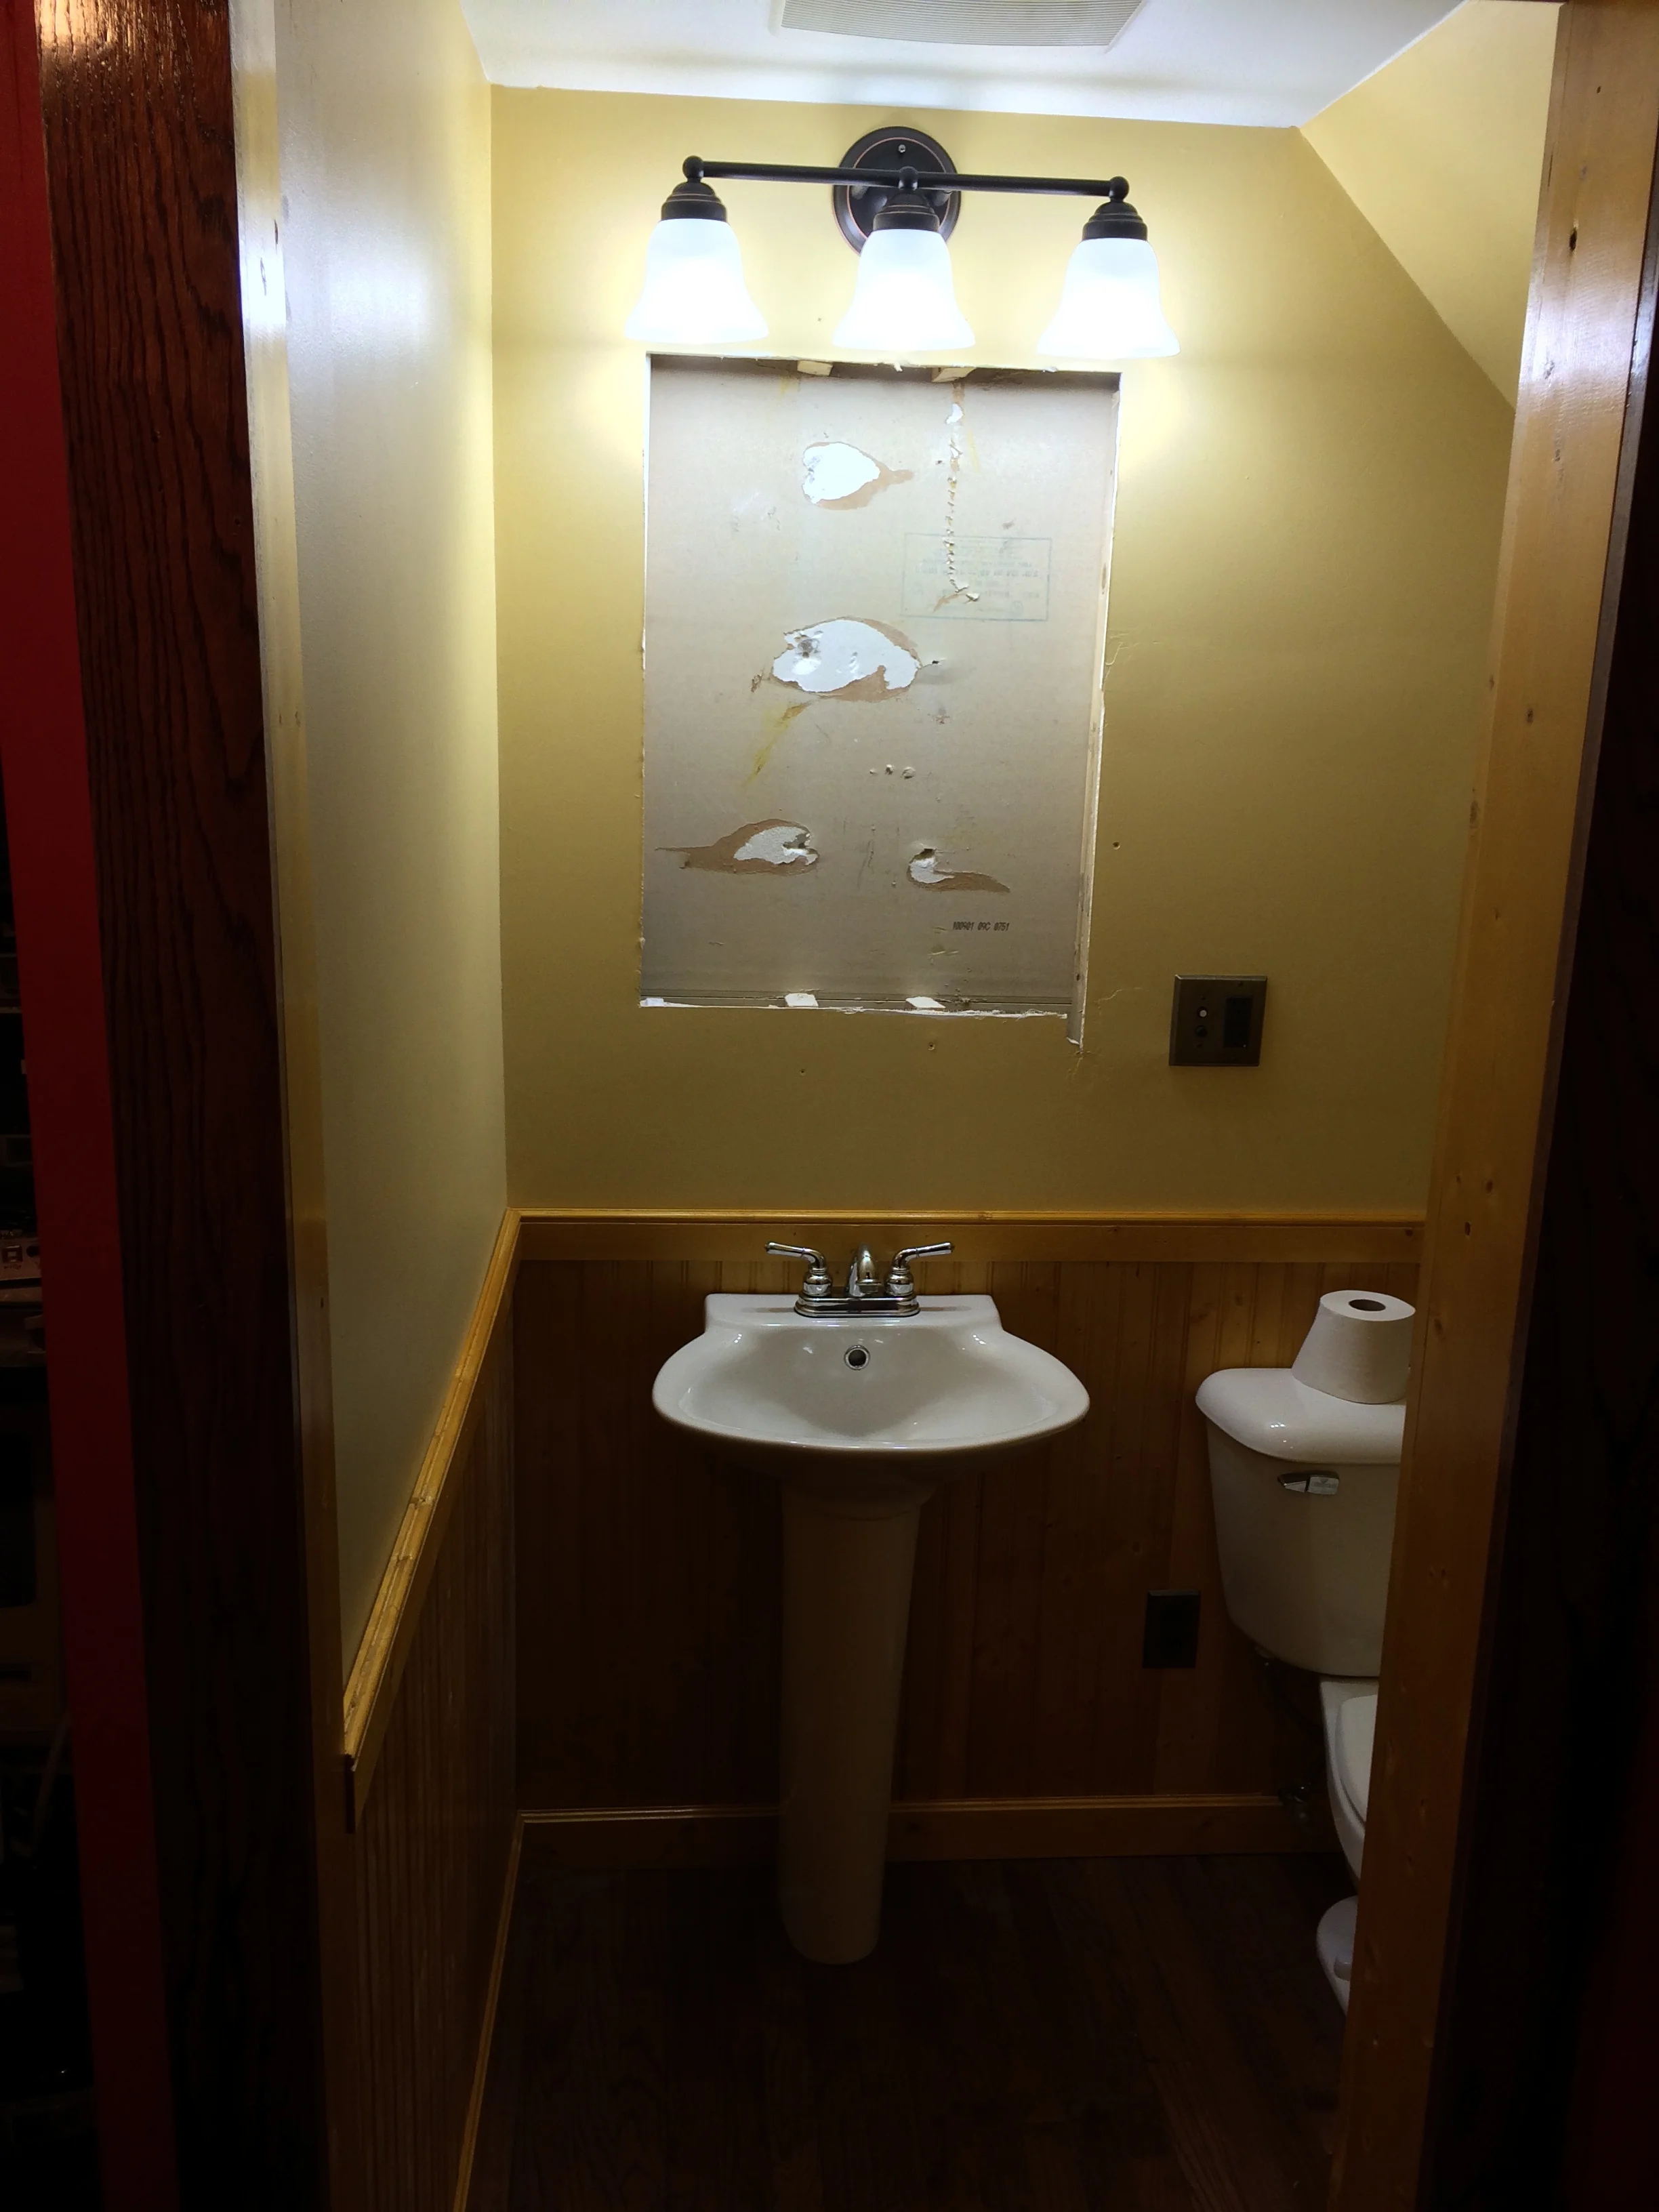
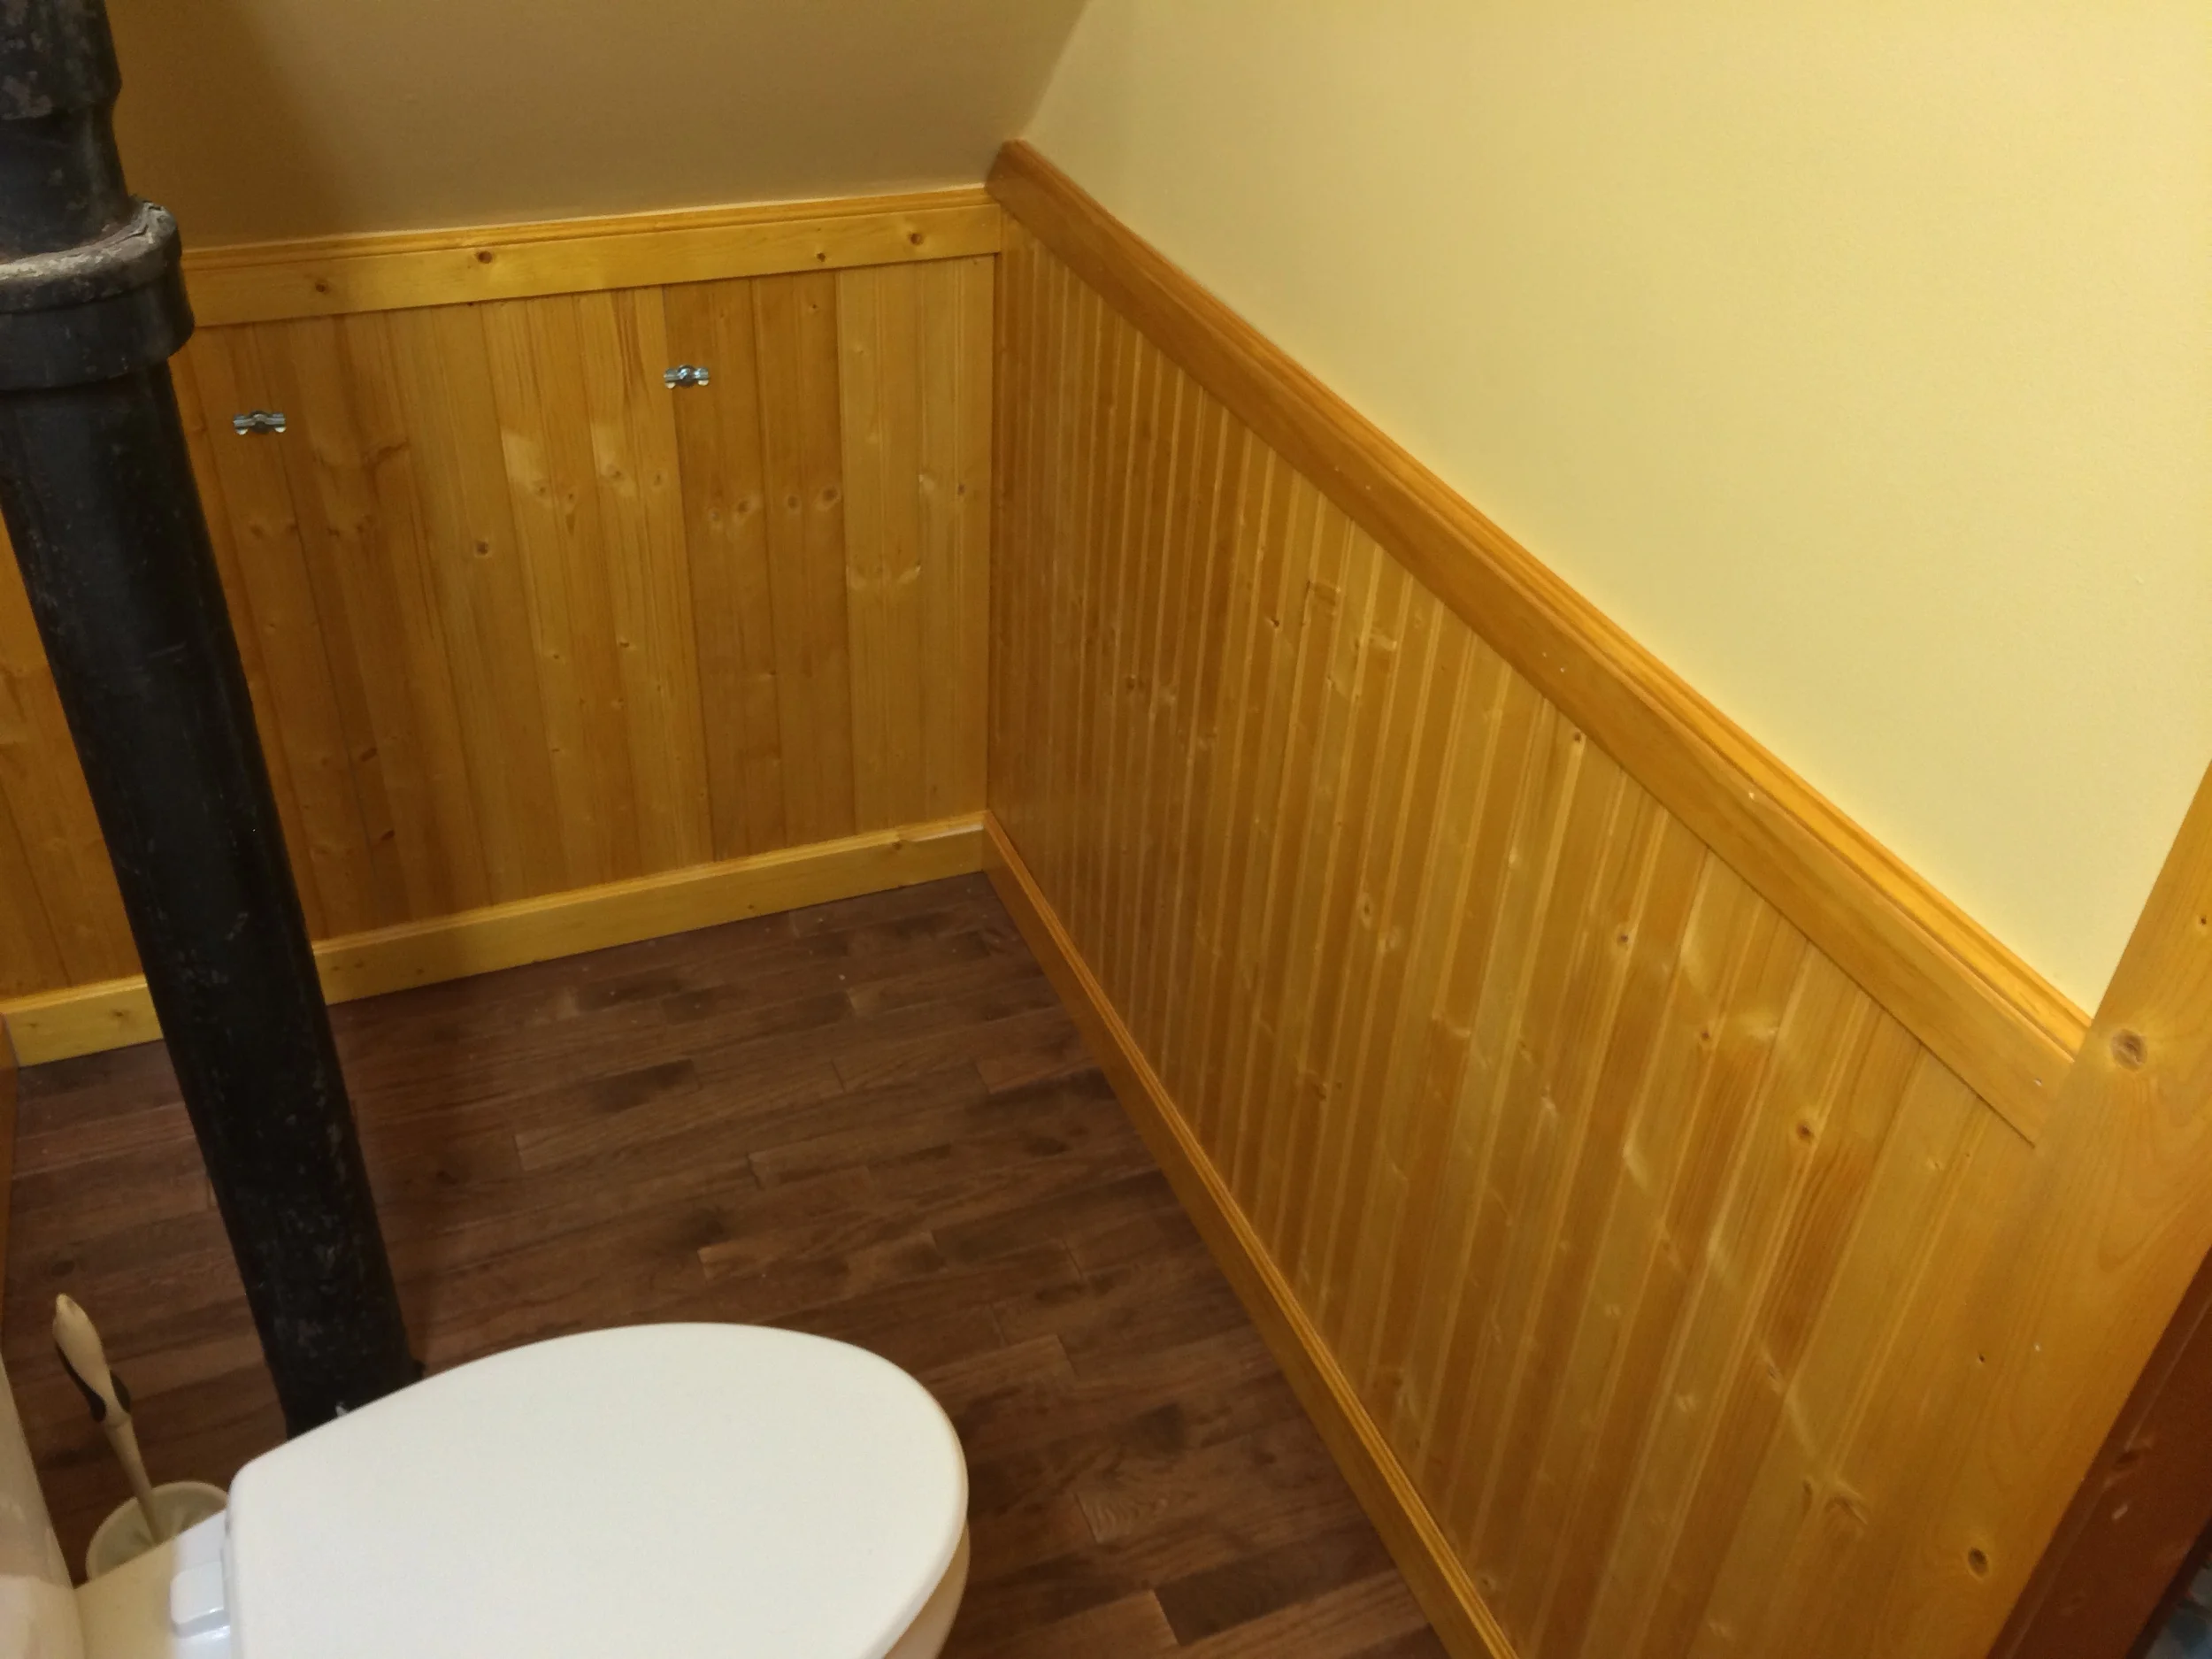
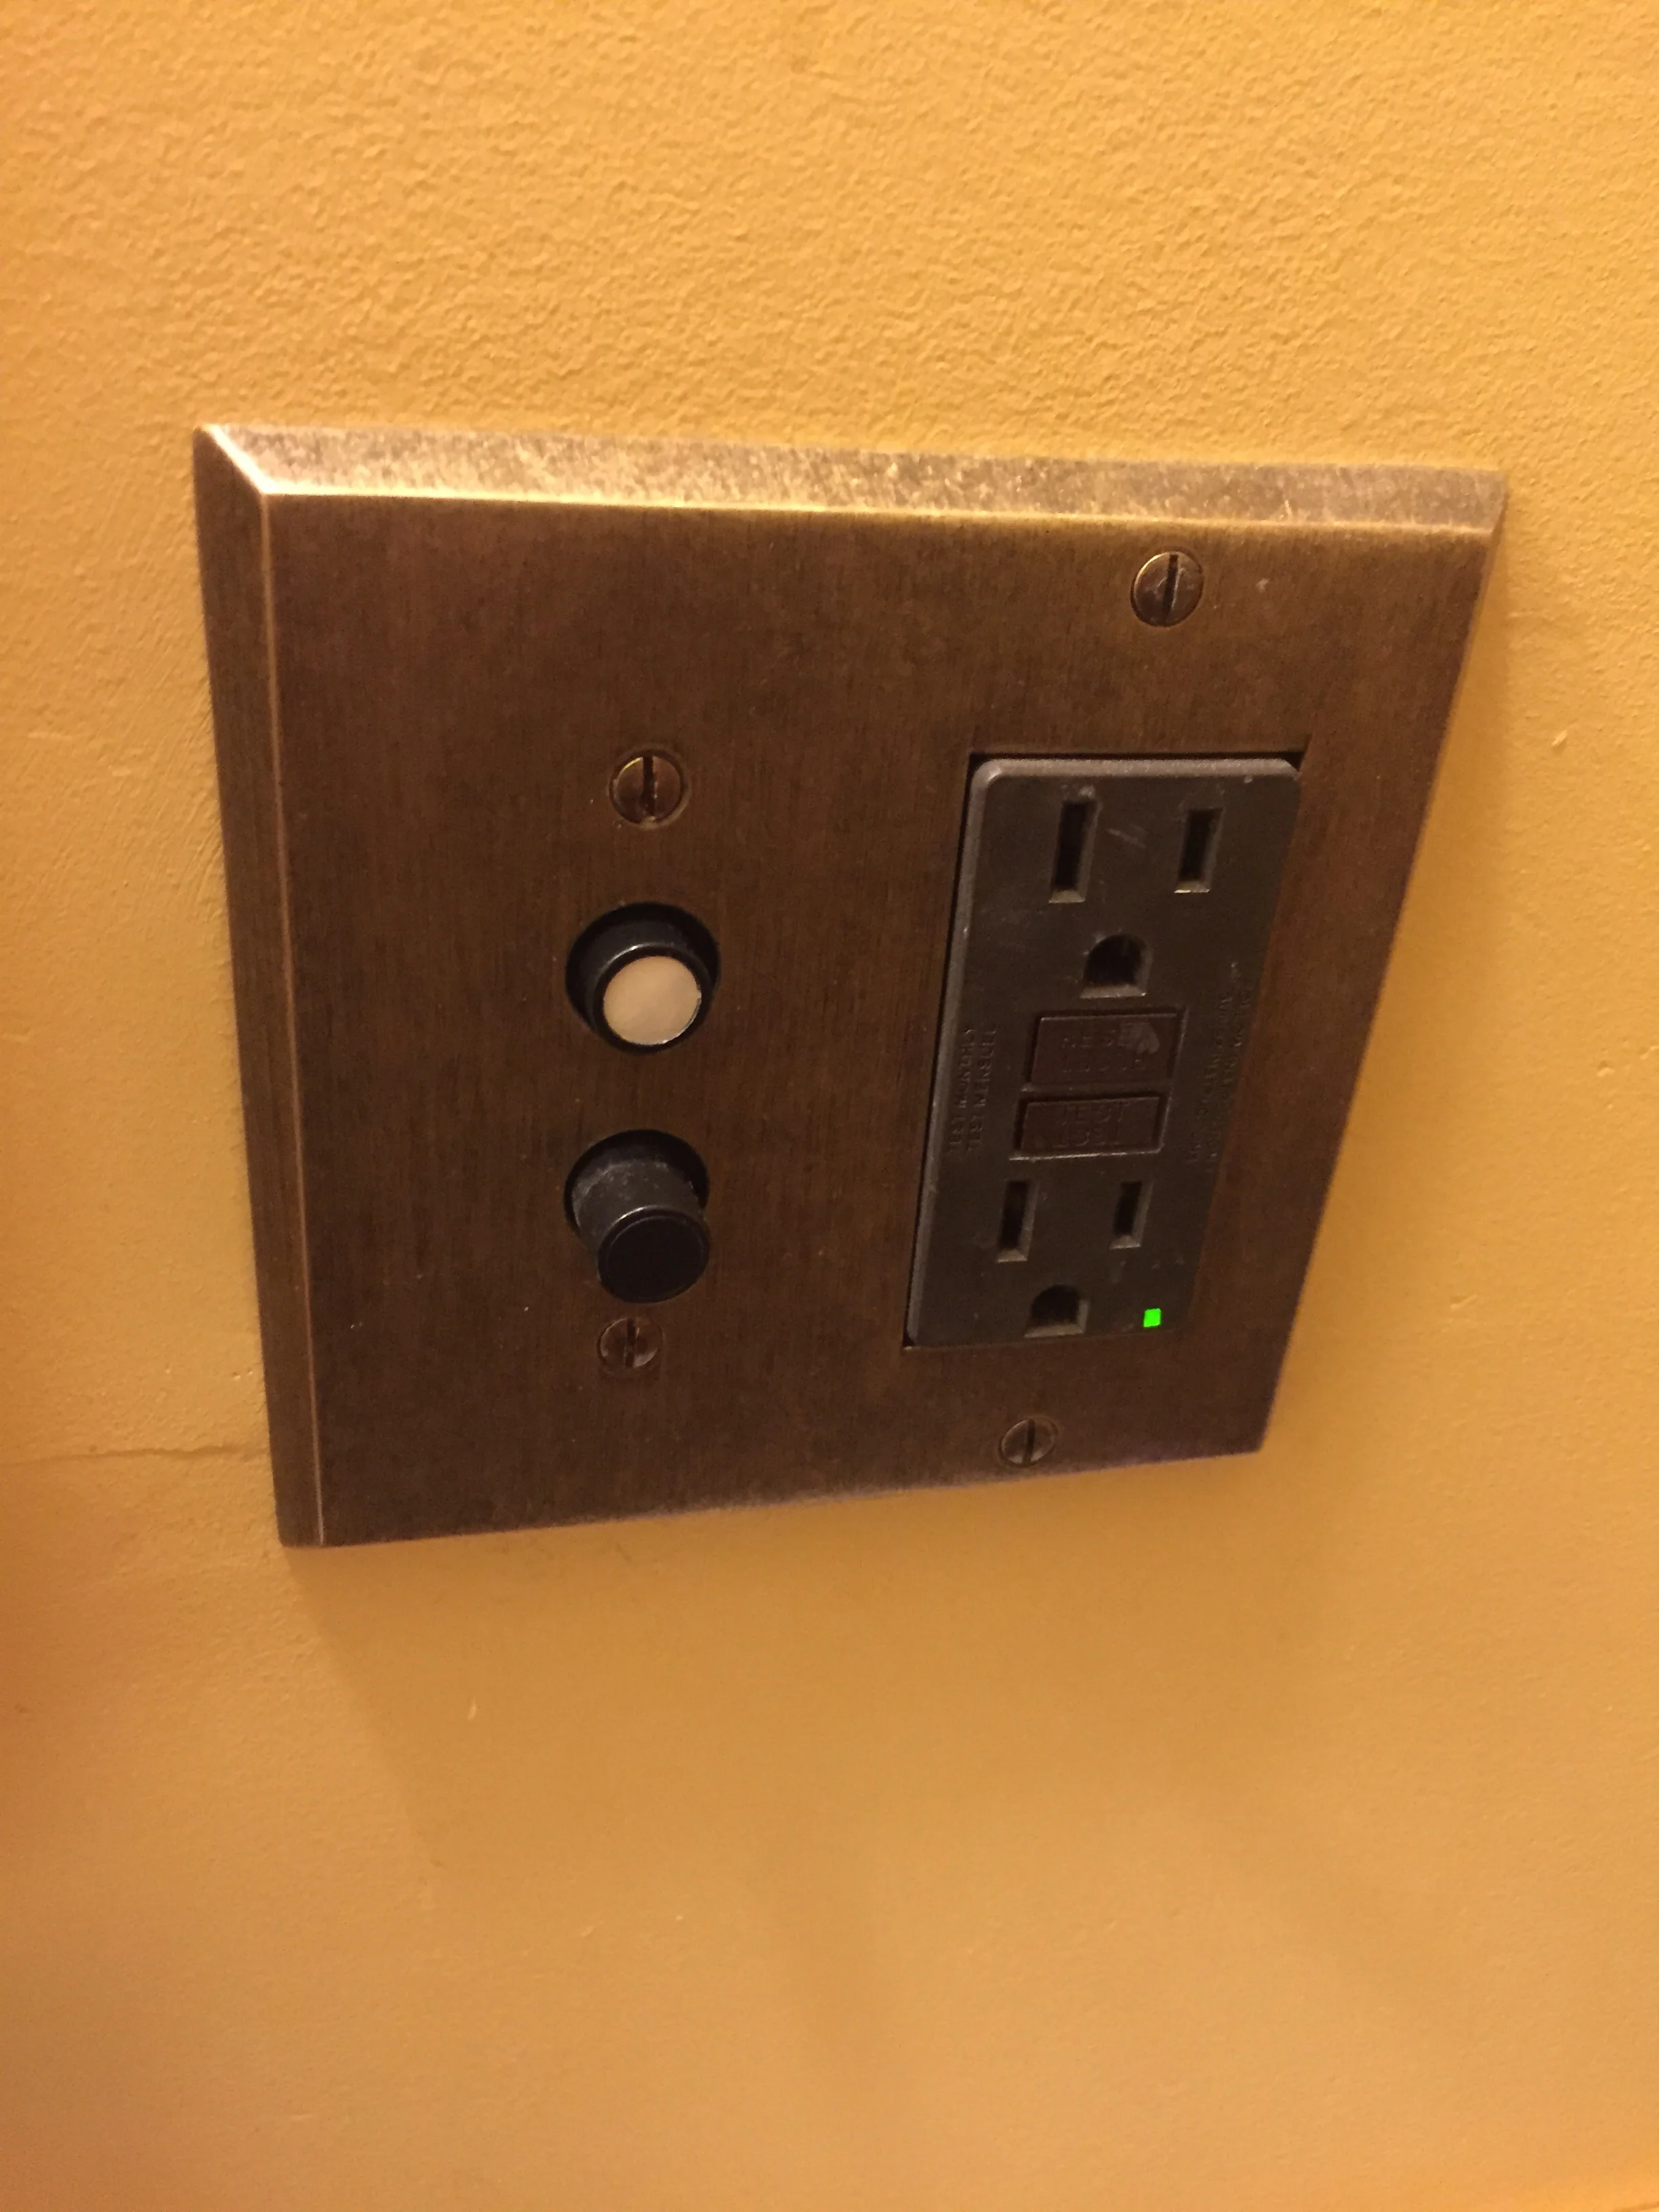
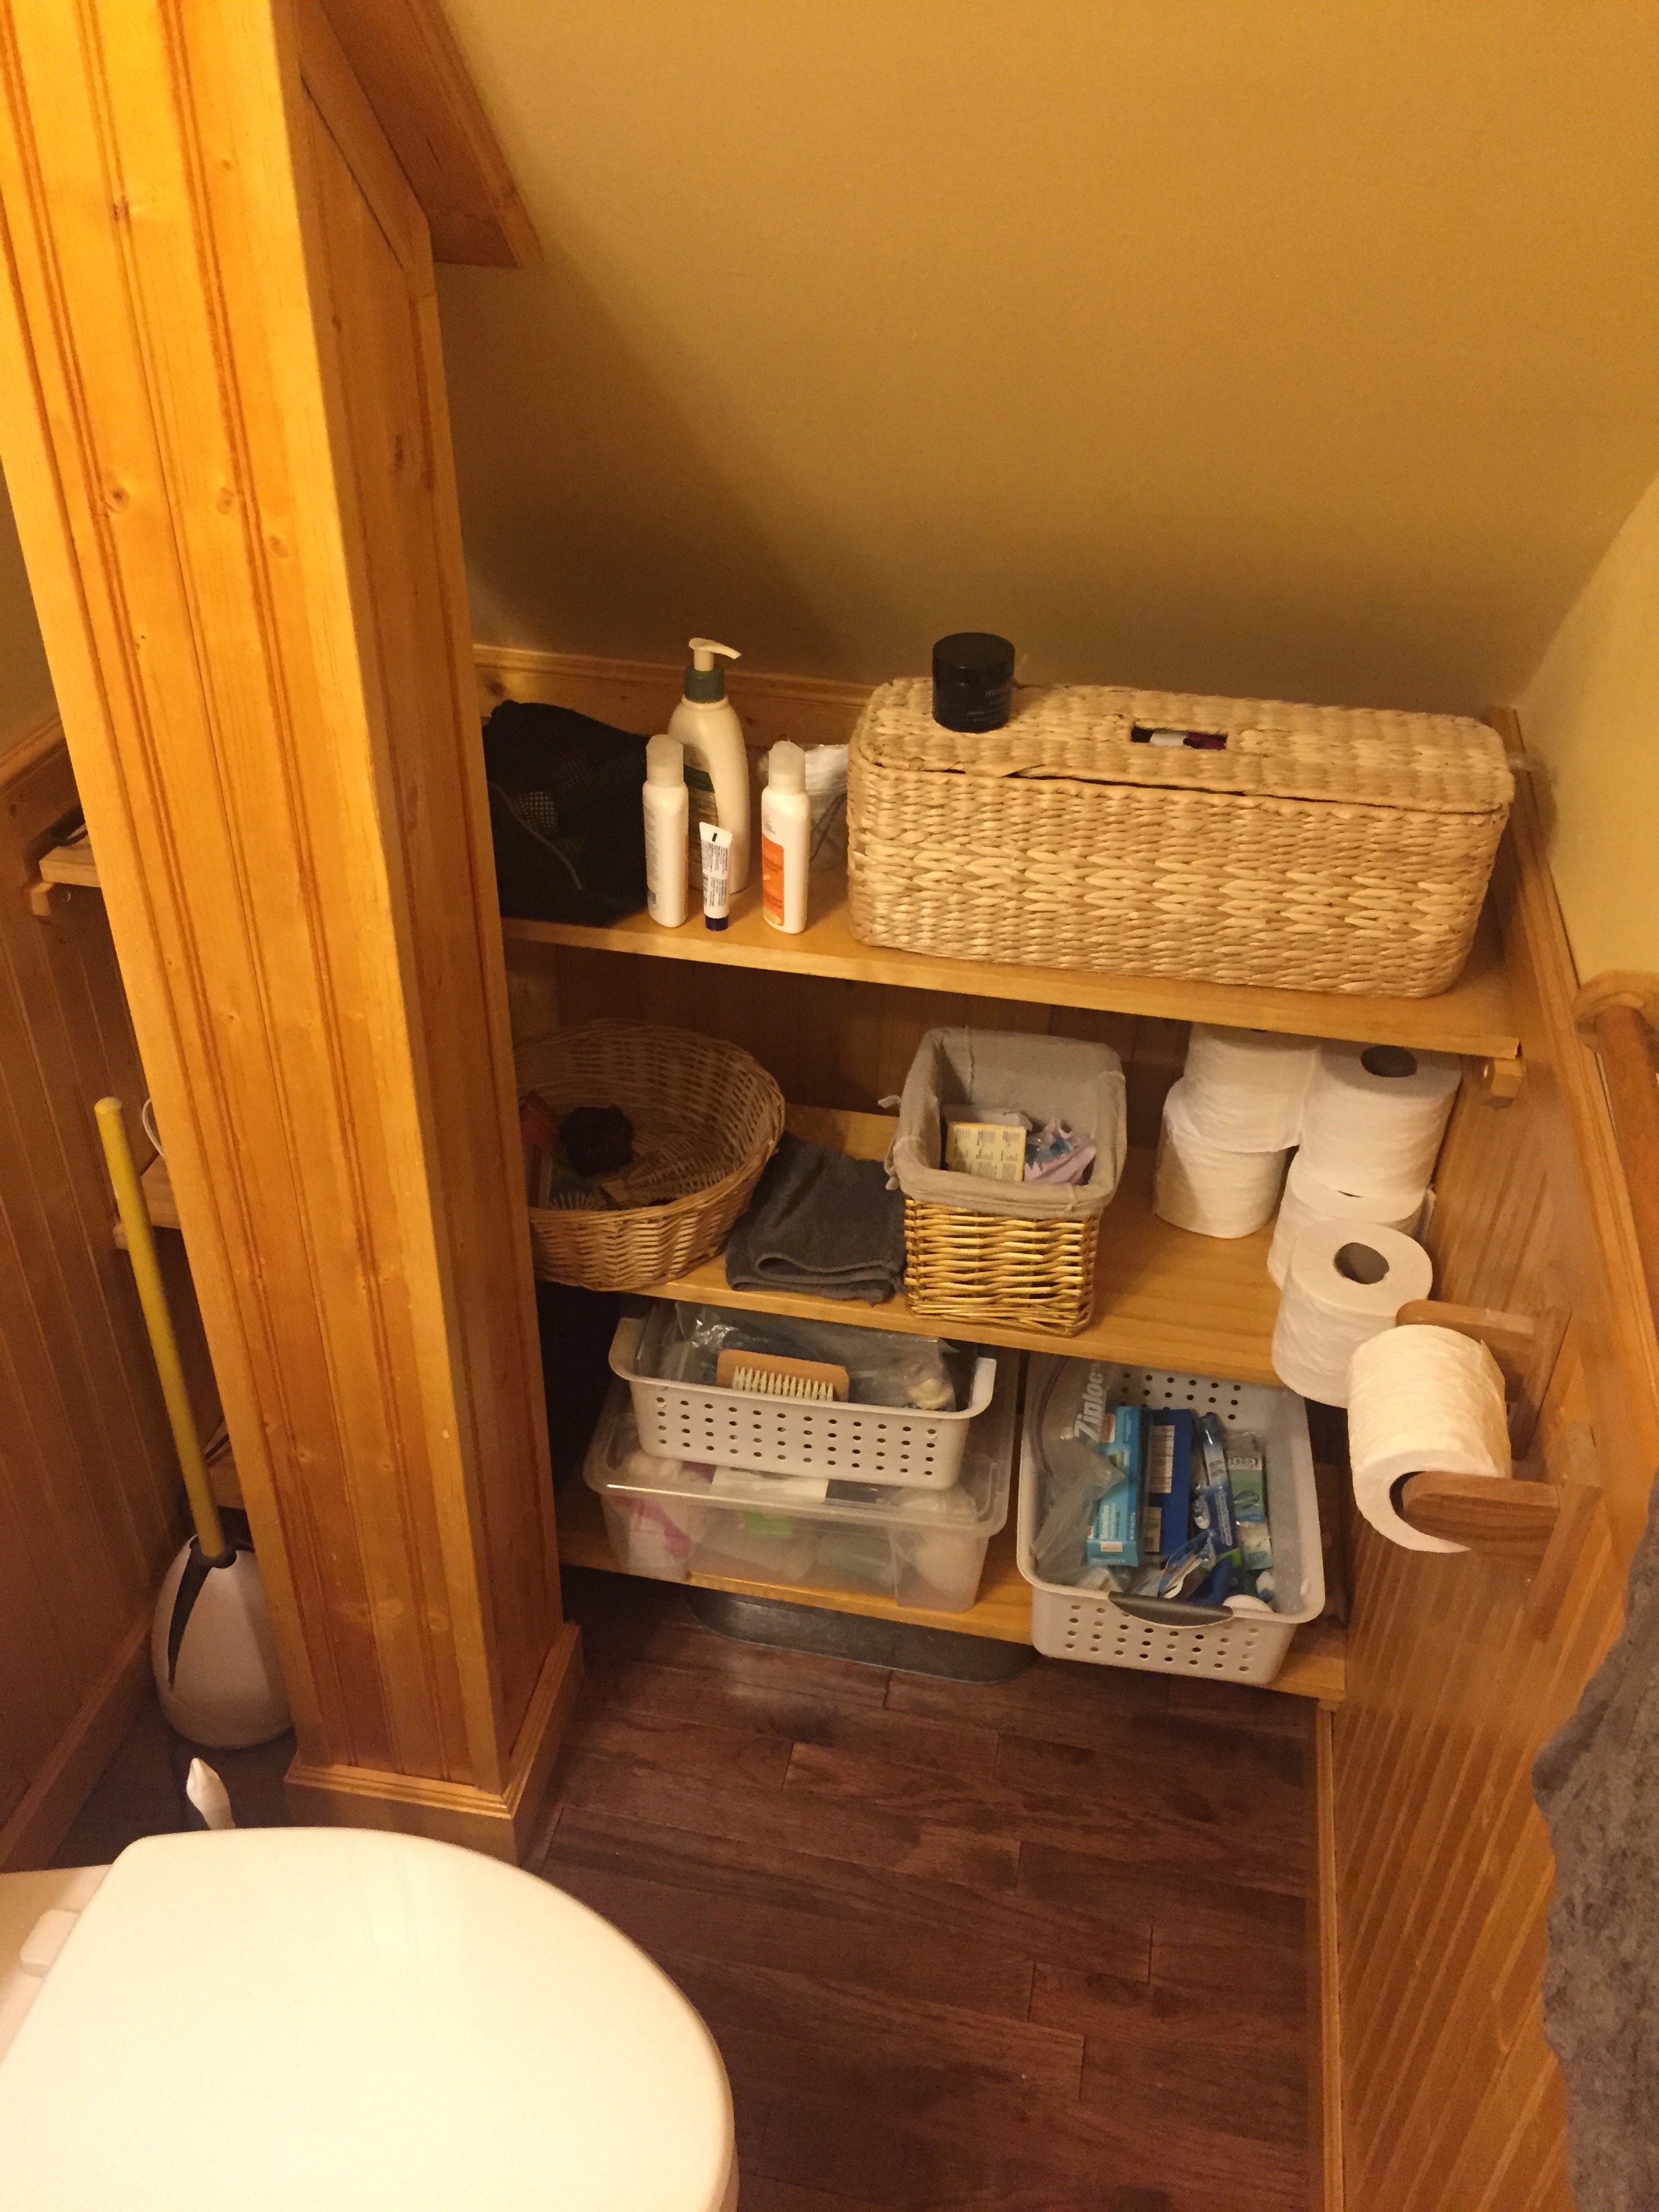
On the second floor of our house, there is a small half-bathroom. It had long been in need of being refurbished, and now that we had re-arranged things, and were using the adjoining room as our master bedroom, the time had come. I went for a simple re-design. We had some left over solid oak flooring from our kitchen remodel, and that fit the space nicely. I used some simple pine beadboard millwork for a wainscot, finished with amber shellac. I had to make a soffit to cover the plumbing stack. I did have to move some electrical around, and installed a three light sconce. I even got fancy and installed an old-timey push button light switch. Followed with a coat of paint, it all came together nicely. But the piece de resistance, and an excuse to get woodworking involved, was a medicine cabinet.

The medicine cabinet was going to be inset into the wall (as opposed to surface mounted), and needed a nice, large mirror, and room for several shelves. For the design, I put together elements from several sources, and laid out the resulting concept in Sketchup.

For materials, I went with quarter sawn white oak, as I was going for a classic craftsman look on this one. Although the wainscot was pine, I felt the oak of the cabinet would tie in to the oak flooring. Plus, I had the stock on hand, and I always like being able to use up "scraps" for smaller projects whenever possible.

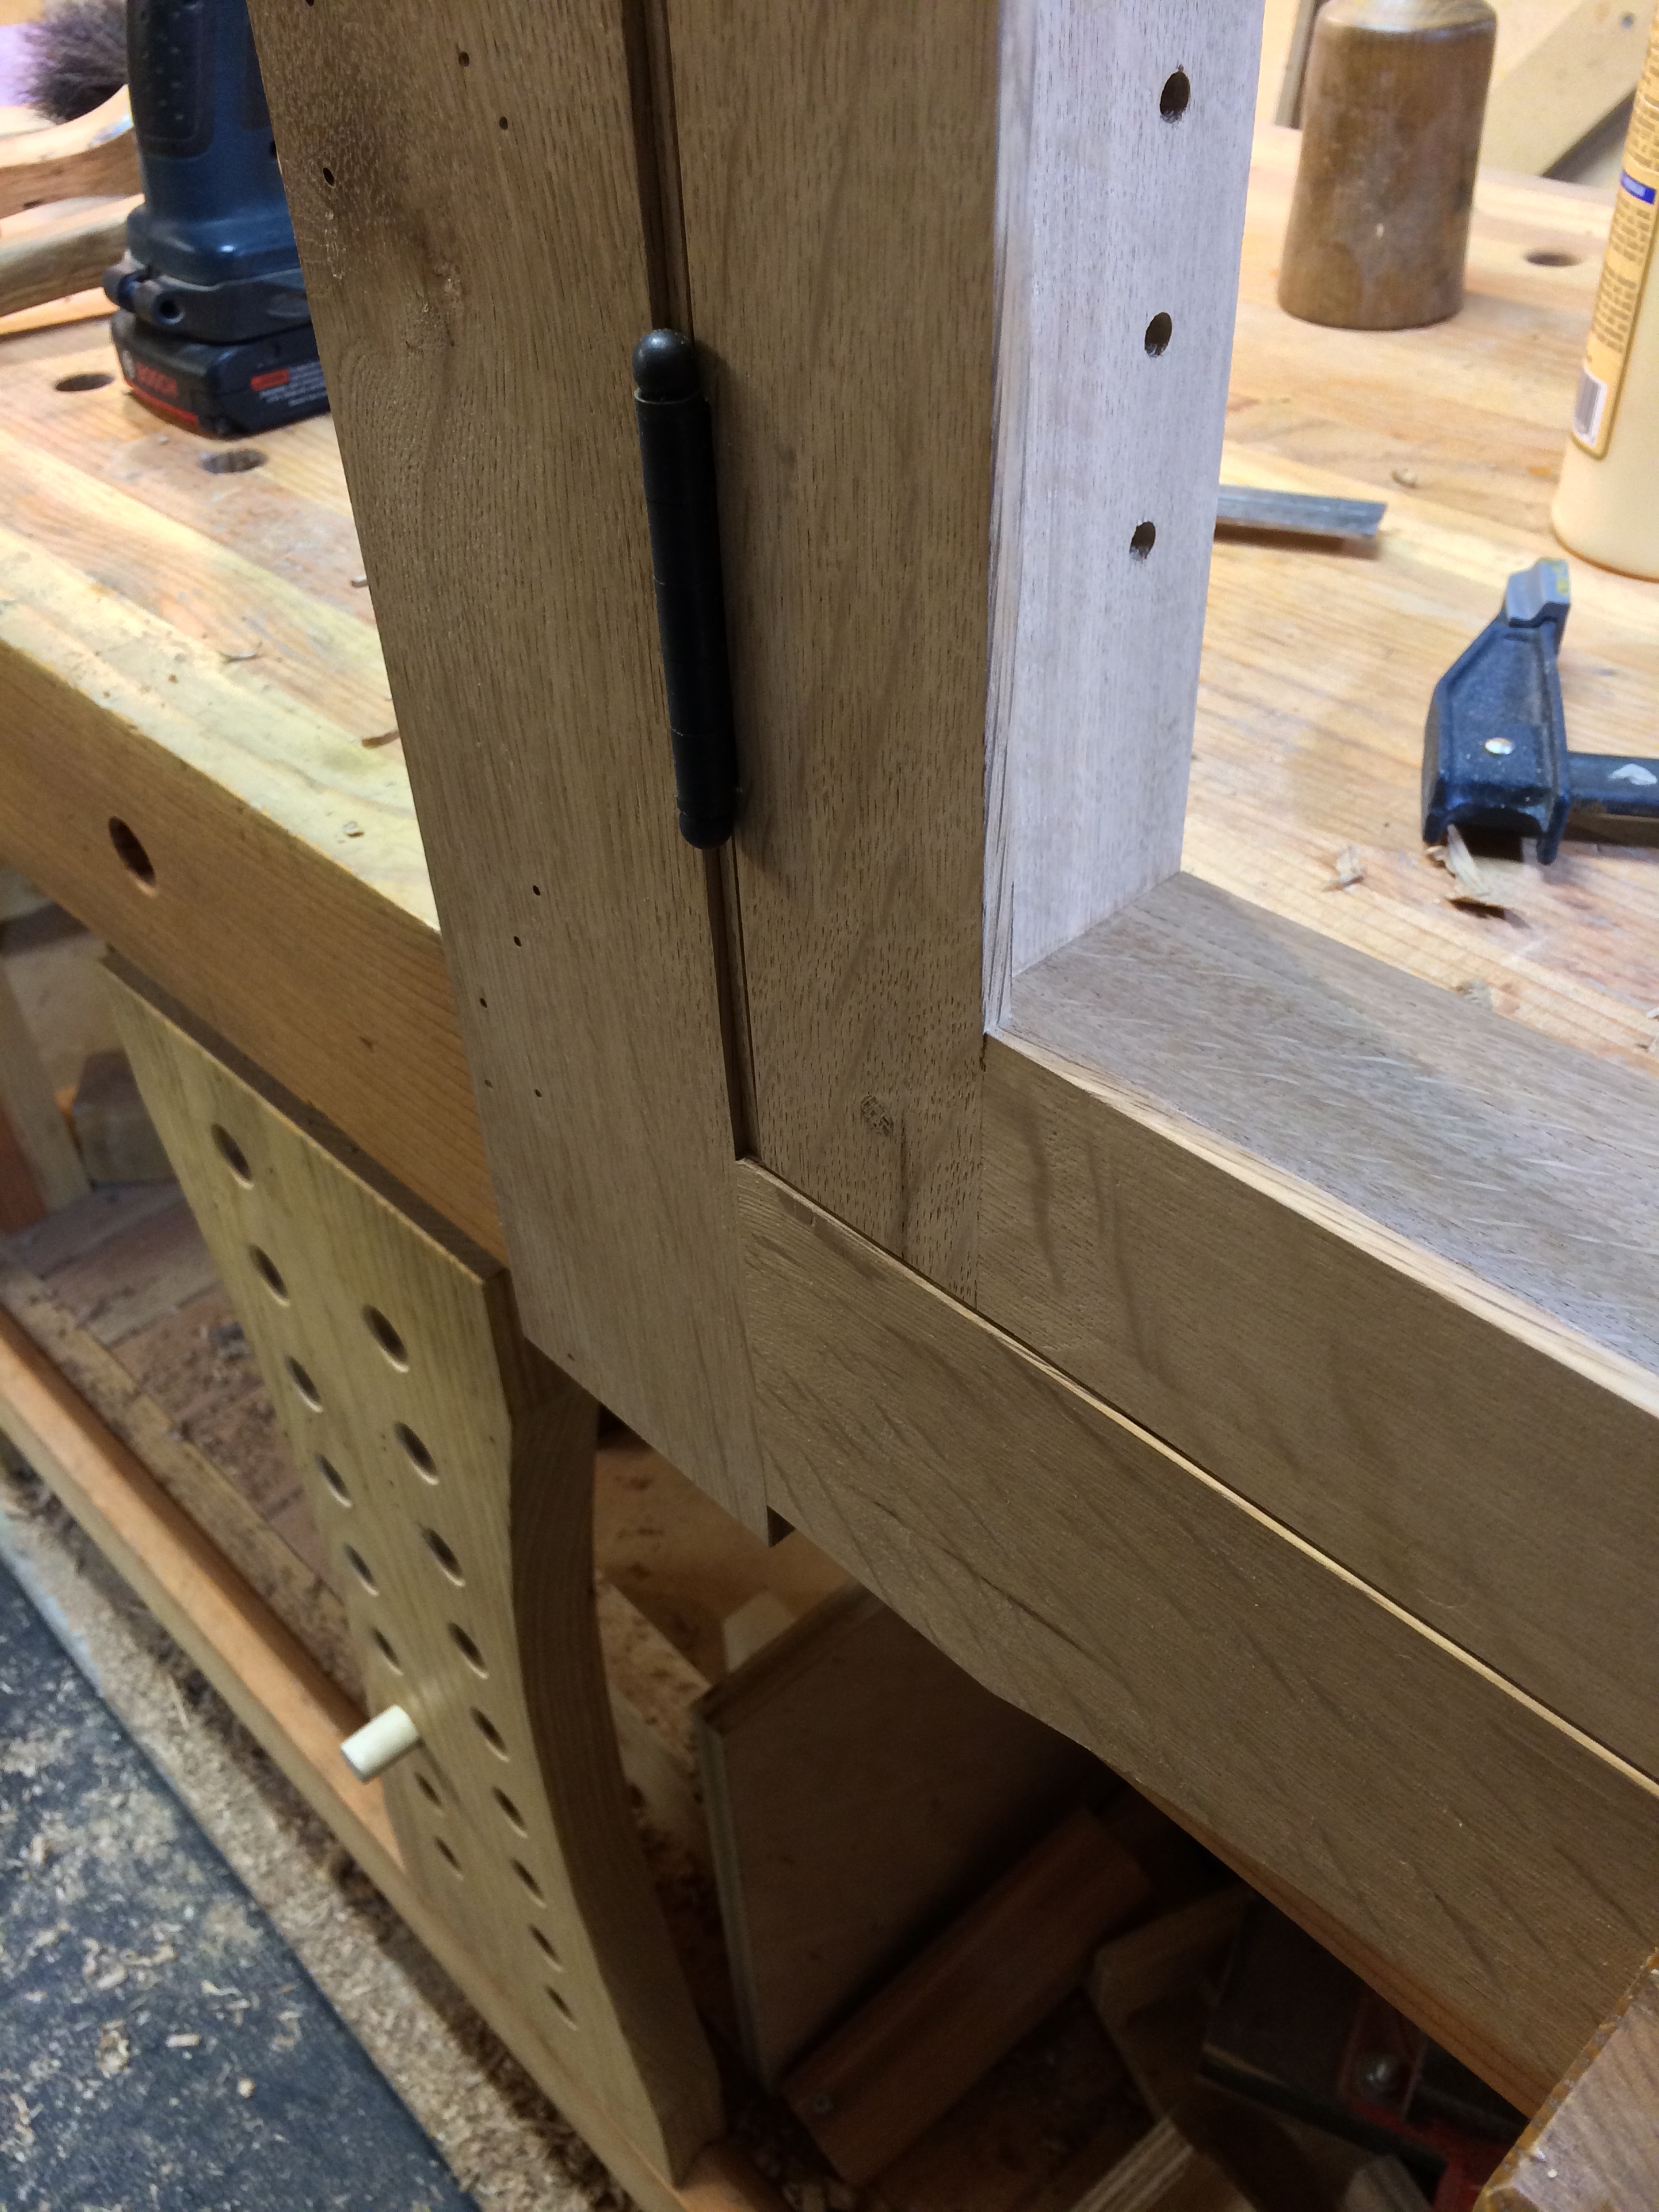
The cabinet is basically three parts: the cabinet body box, the decorative face frame, and a door. Because the cabinet was inset into the wall, and back side would not be seen, so I used pocket screws for much of the joinery on the frame and body. The door, having to be strong (as it had to hold a large mirror, and only supported by the hinges) and seen from both sides, used mortise and tenon joints. I also drilled holes for shelf pins before assembly.

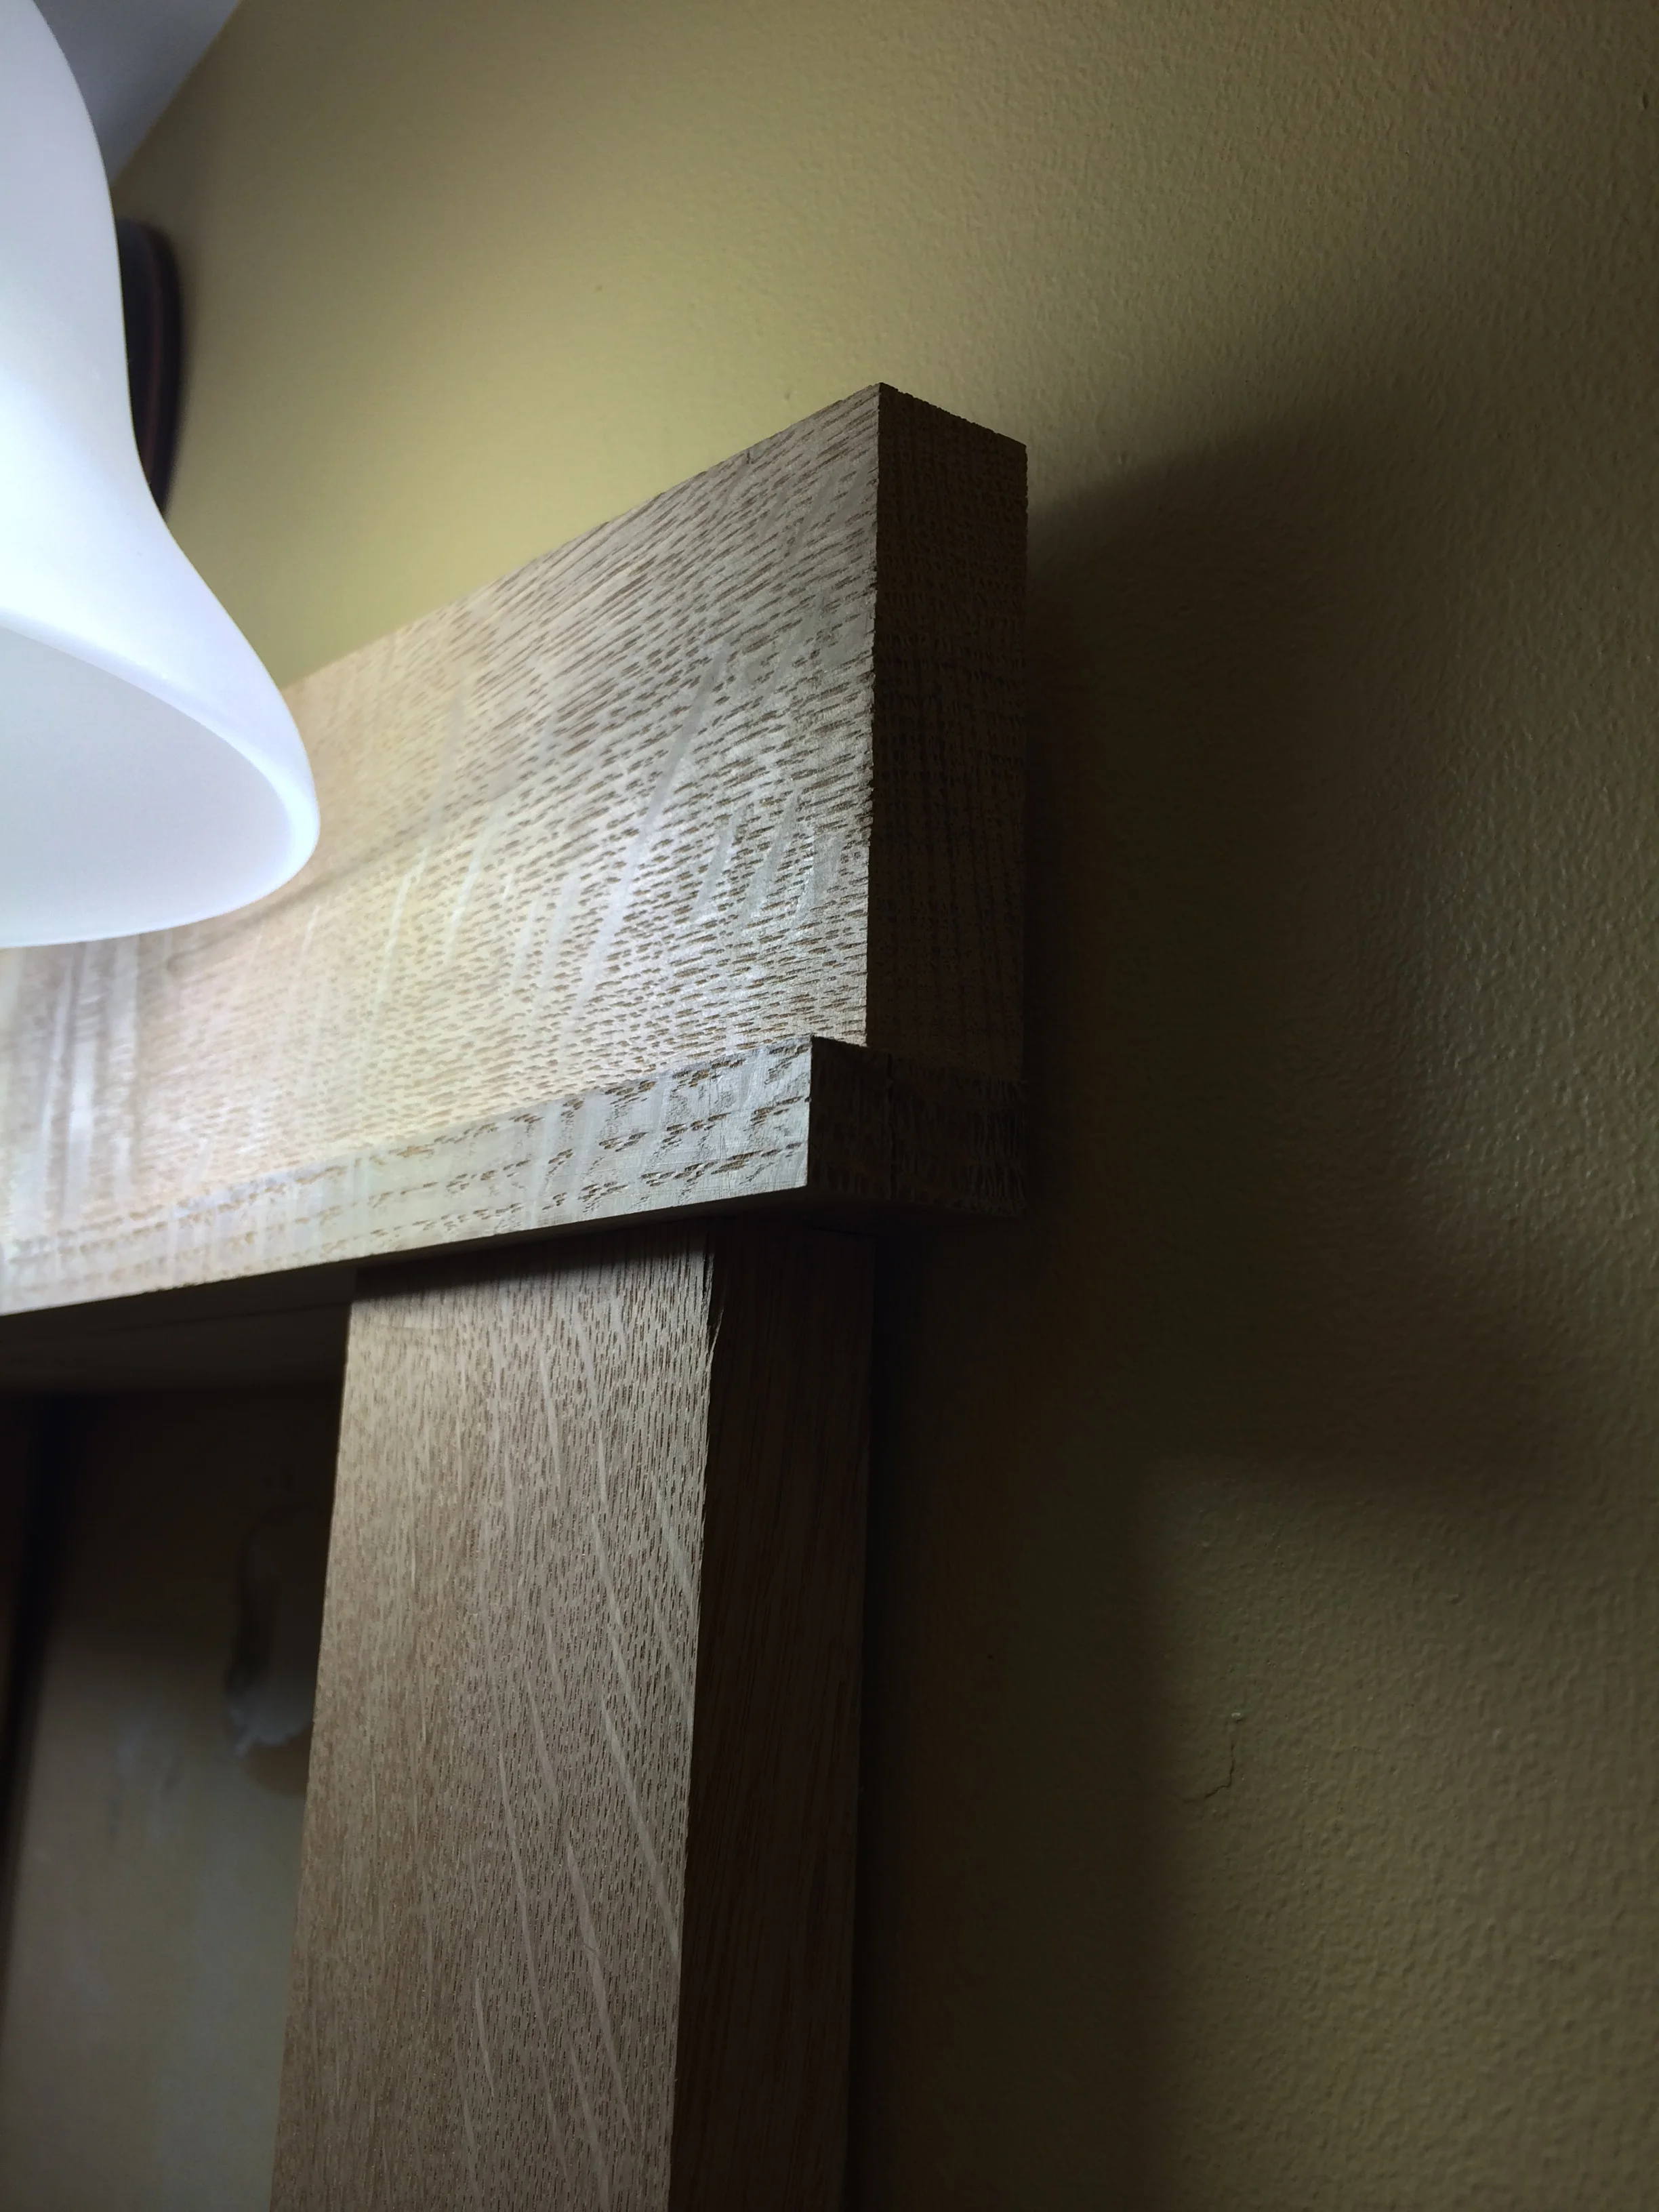
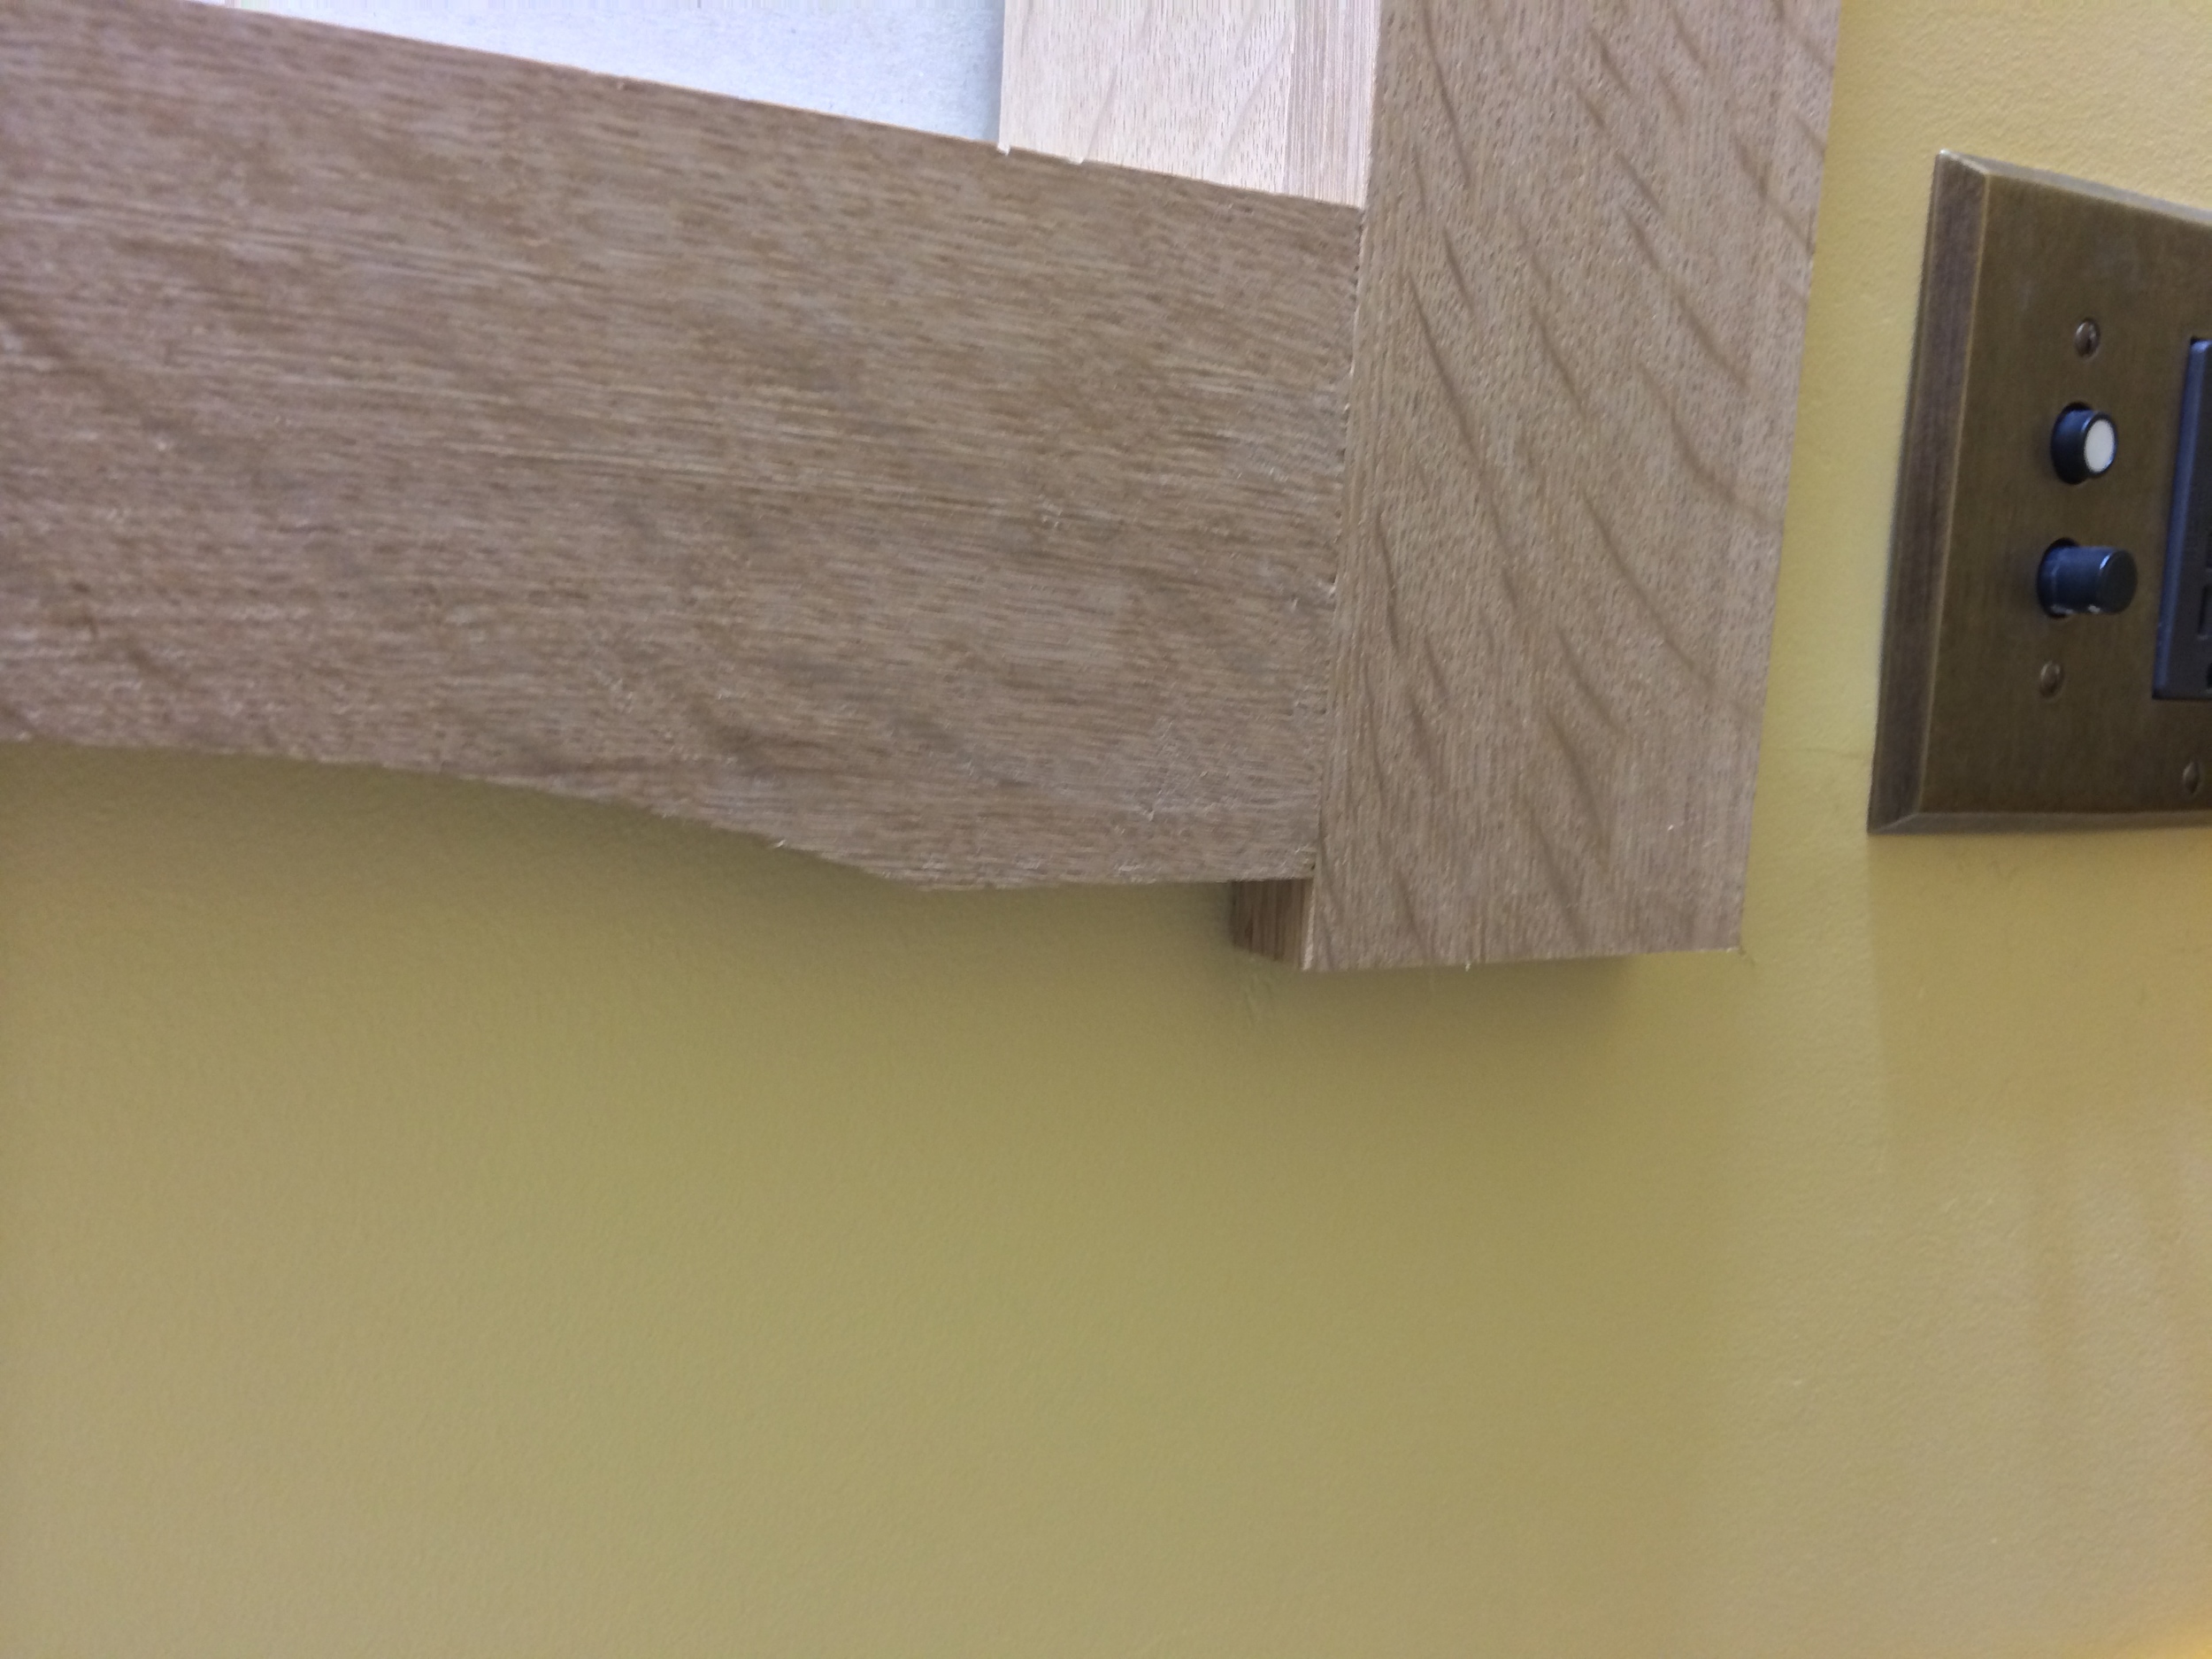
Before getting to the door, I did a test fit on the case body and face frame assembly in the bathroom wall. Luckily, the wall wasn't too irregular, and the frame was going to sit nicely against the wall, with just a little bit of oddness on one corner. But it wasn't going to be very visible, and was hidden for the most part by the sconce.

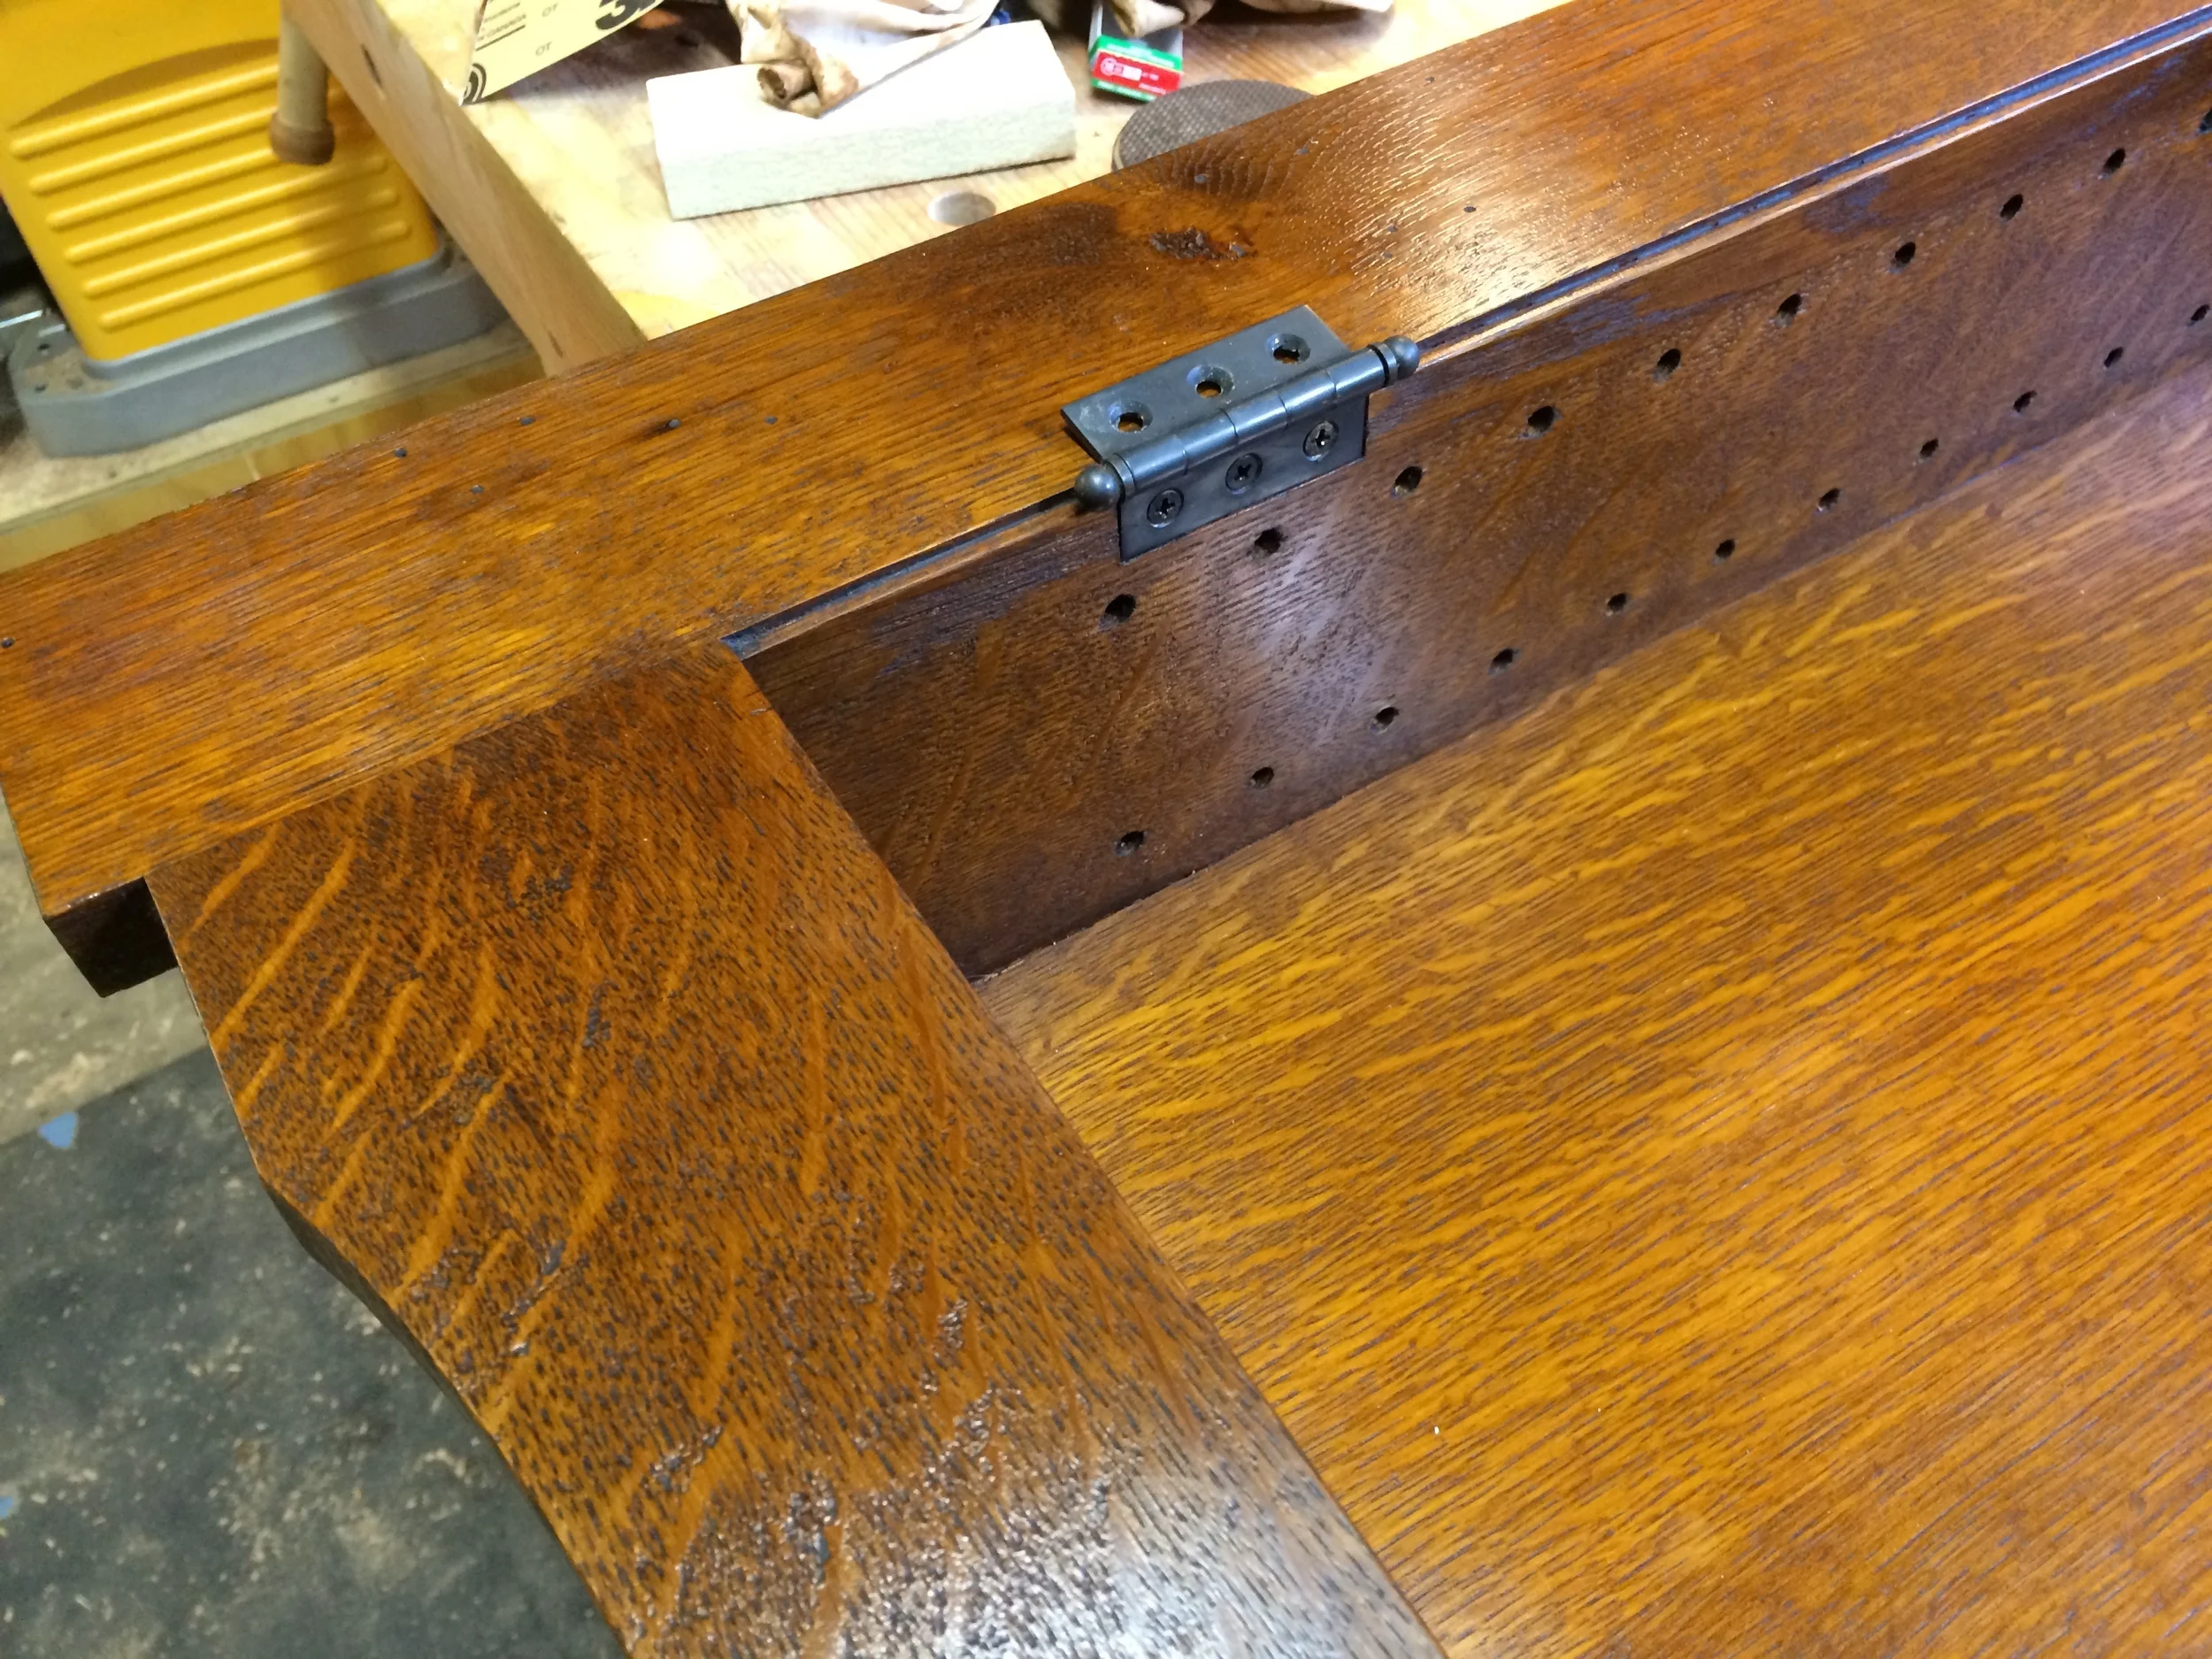
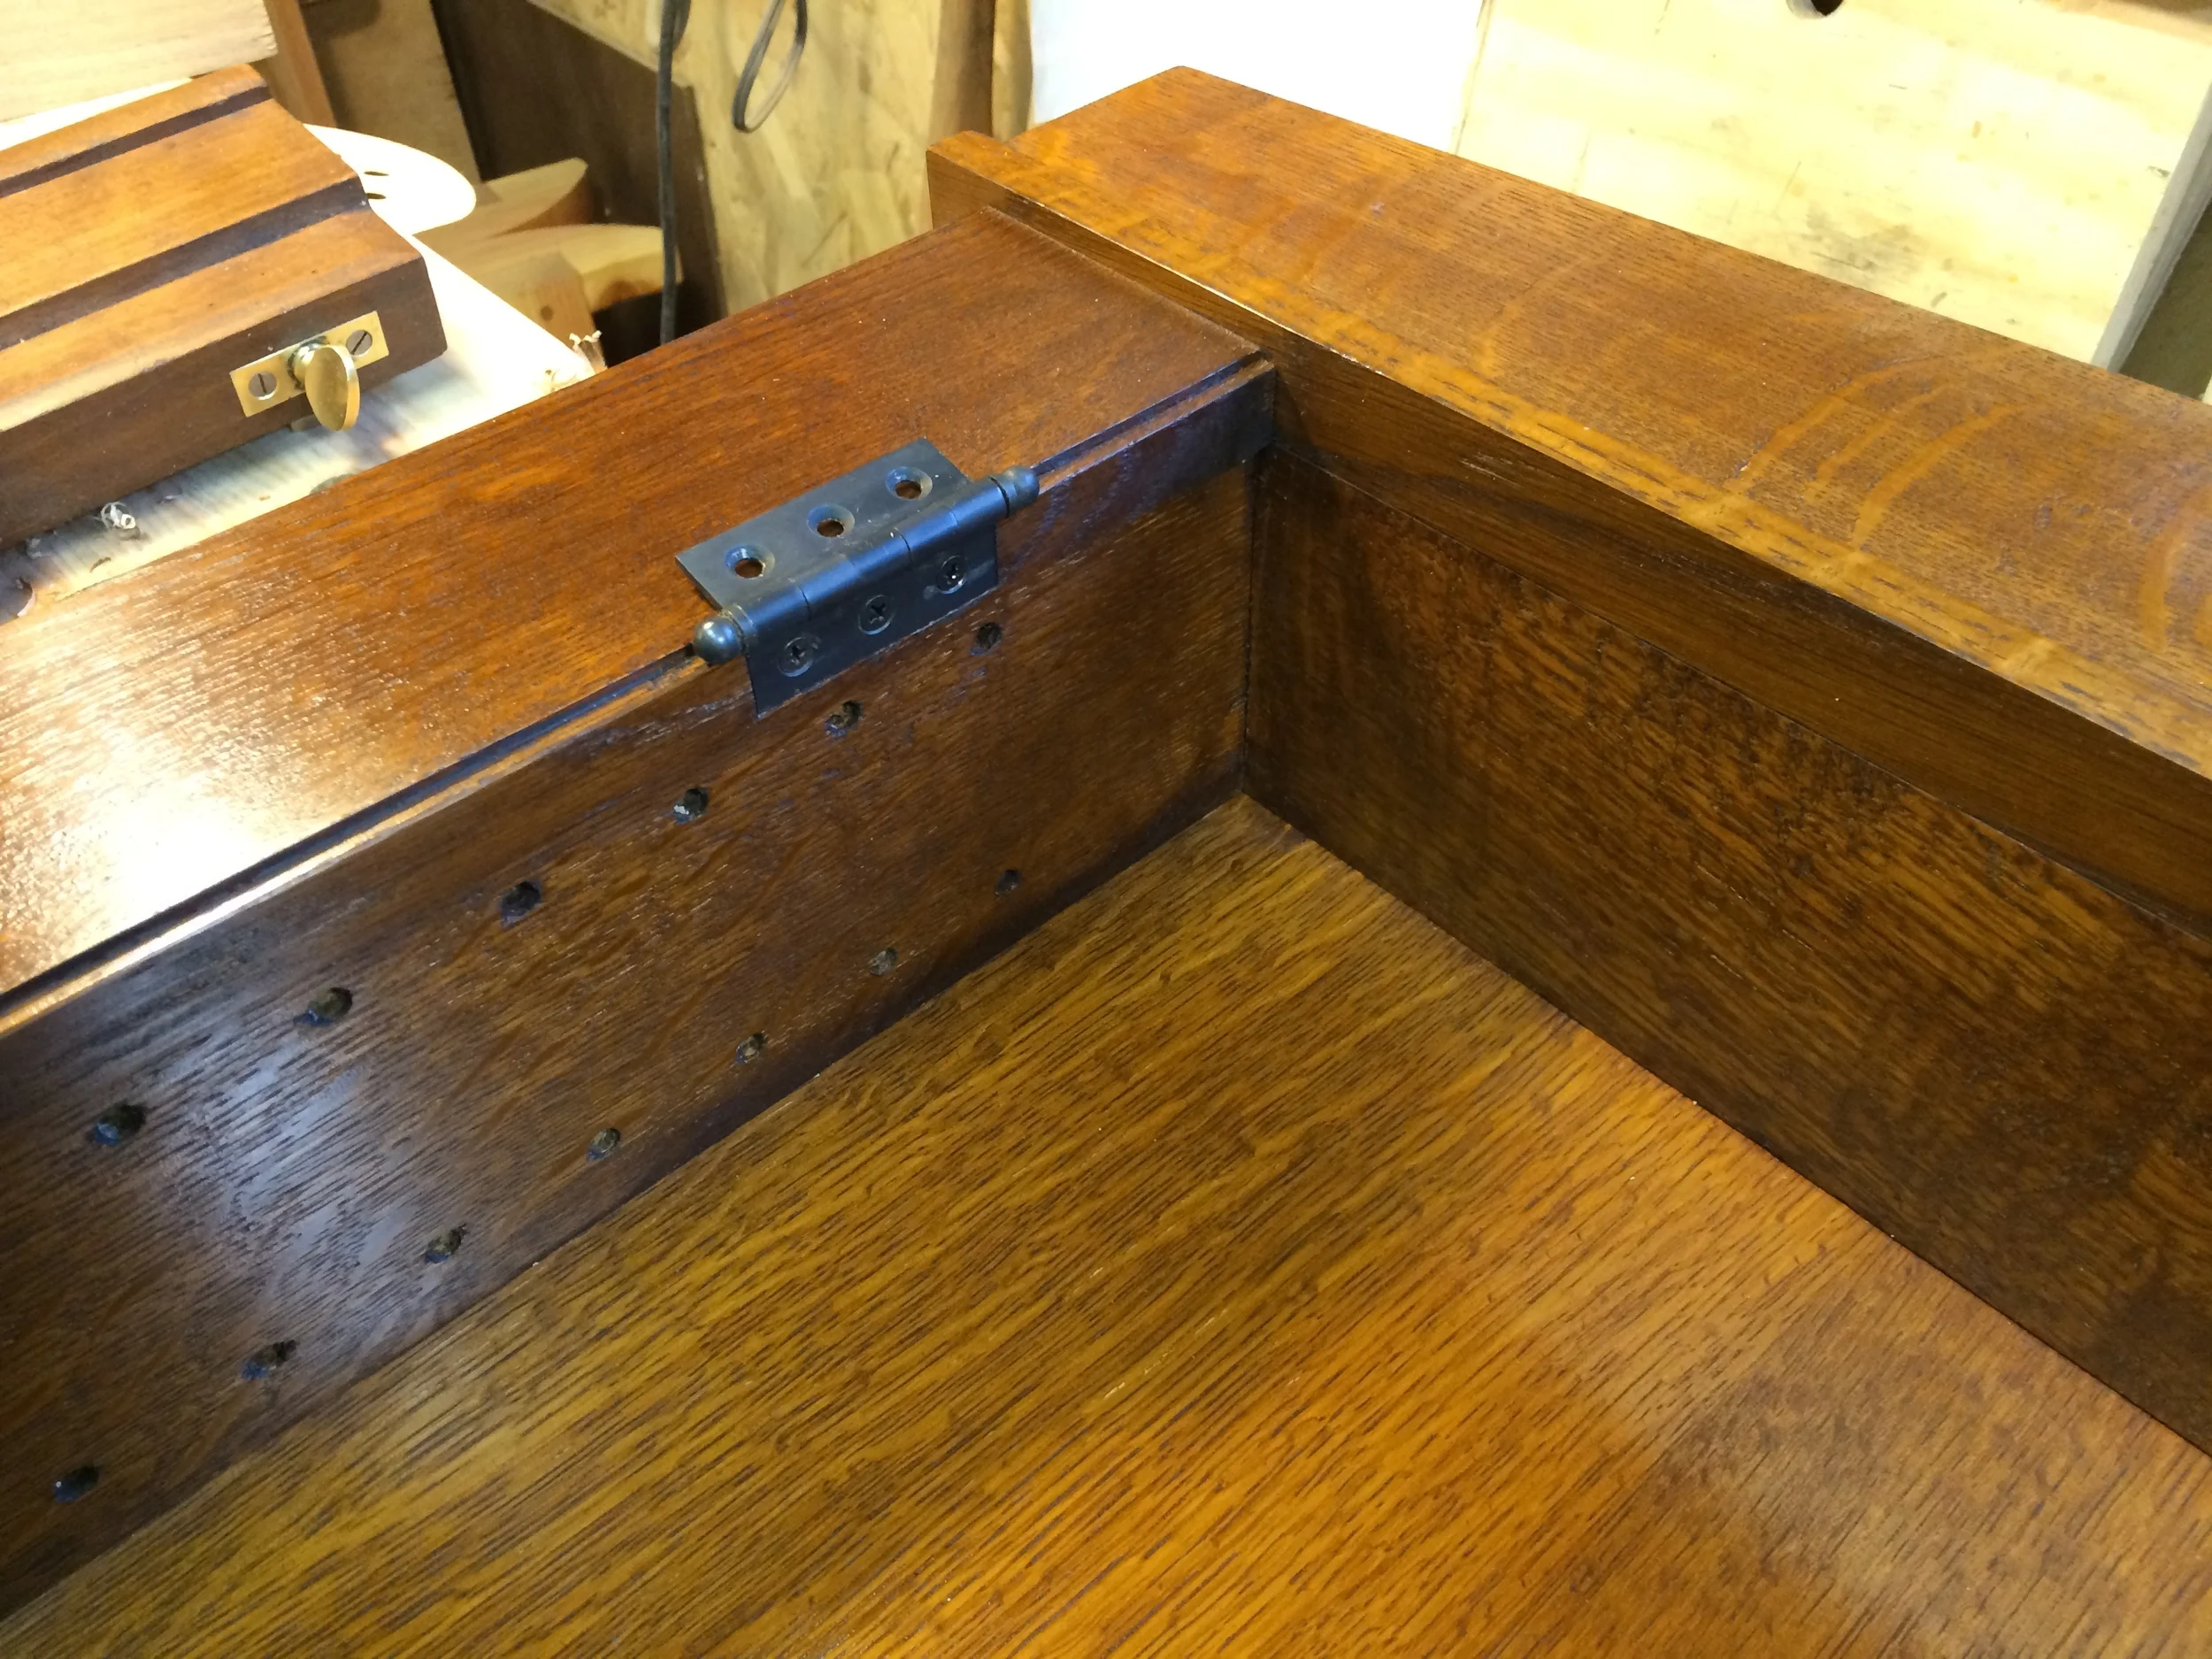
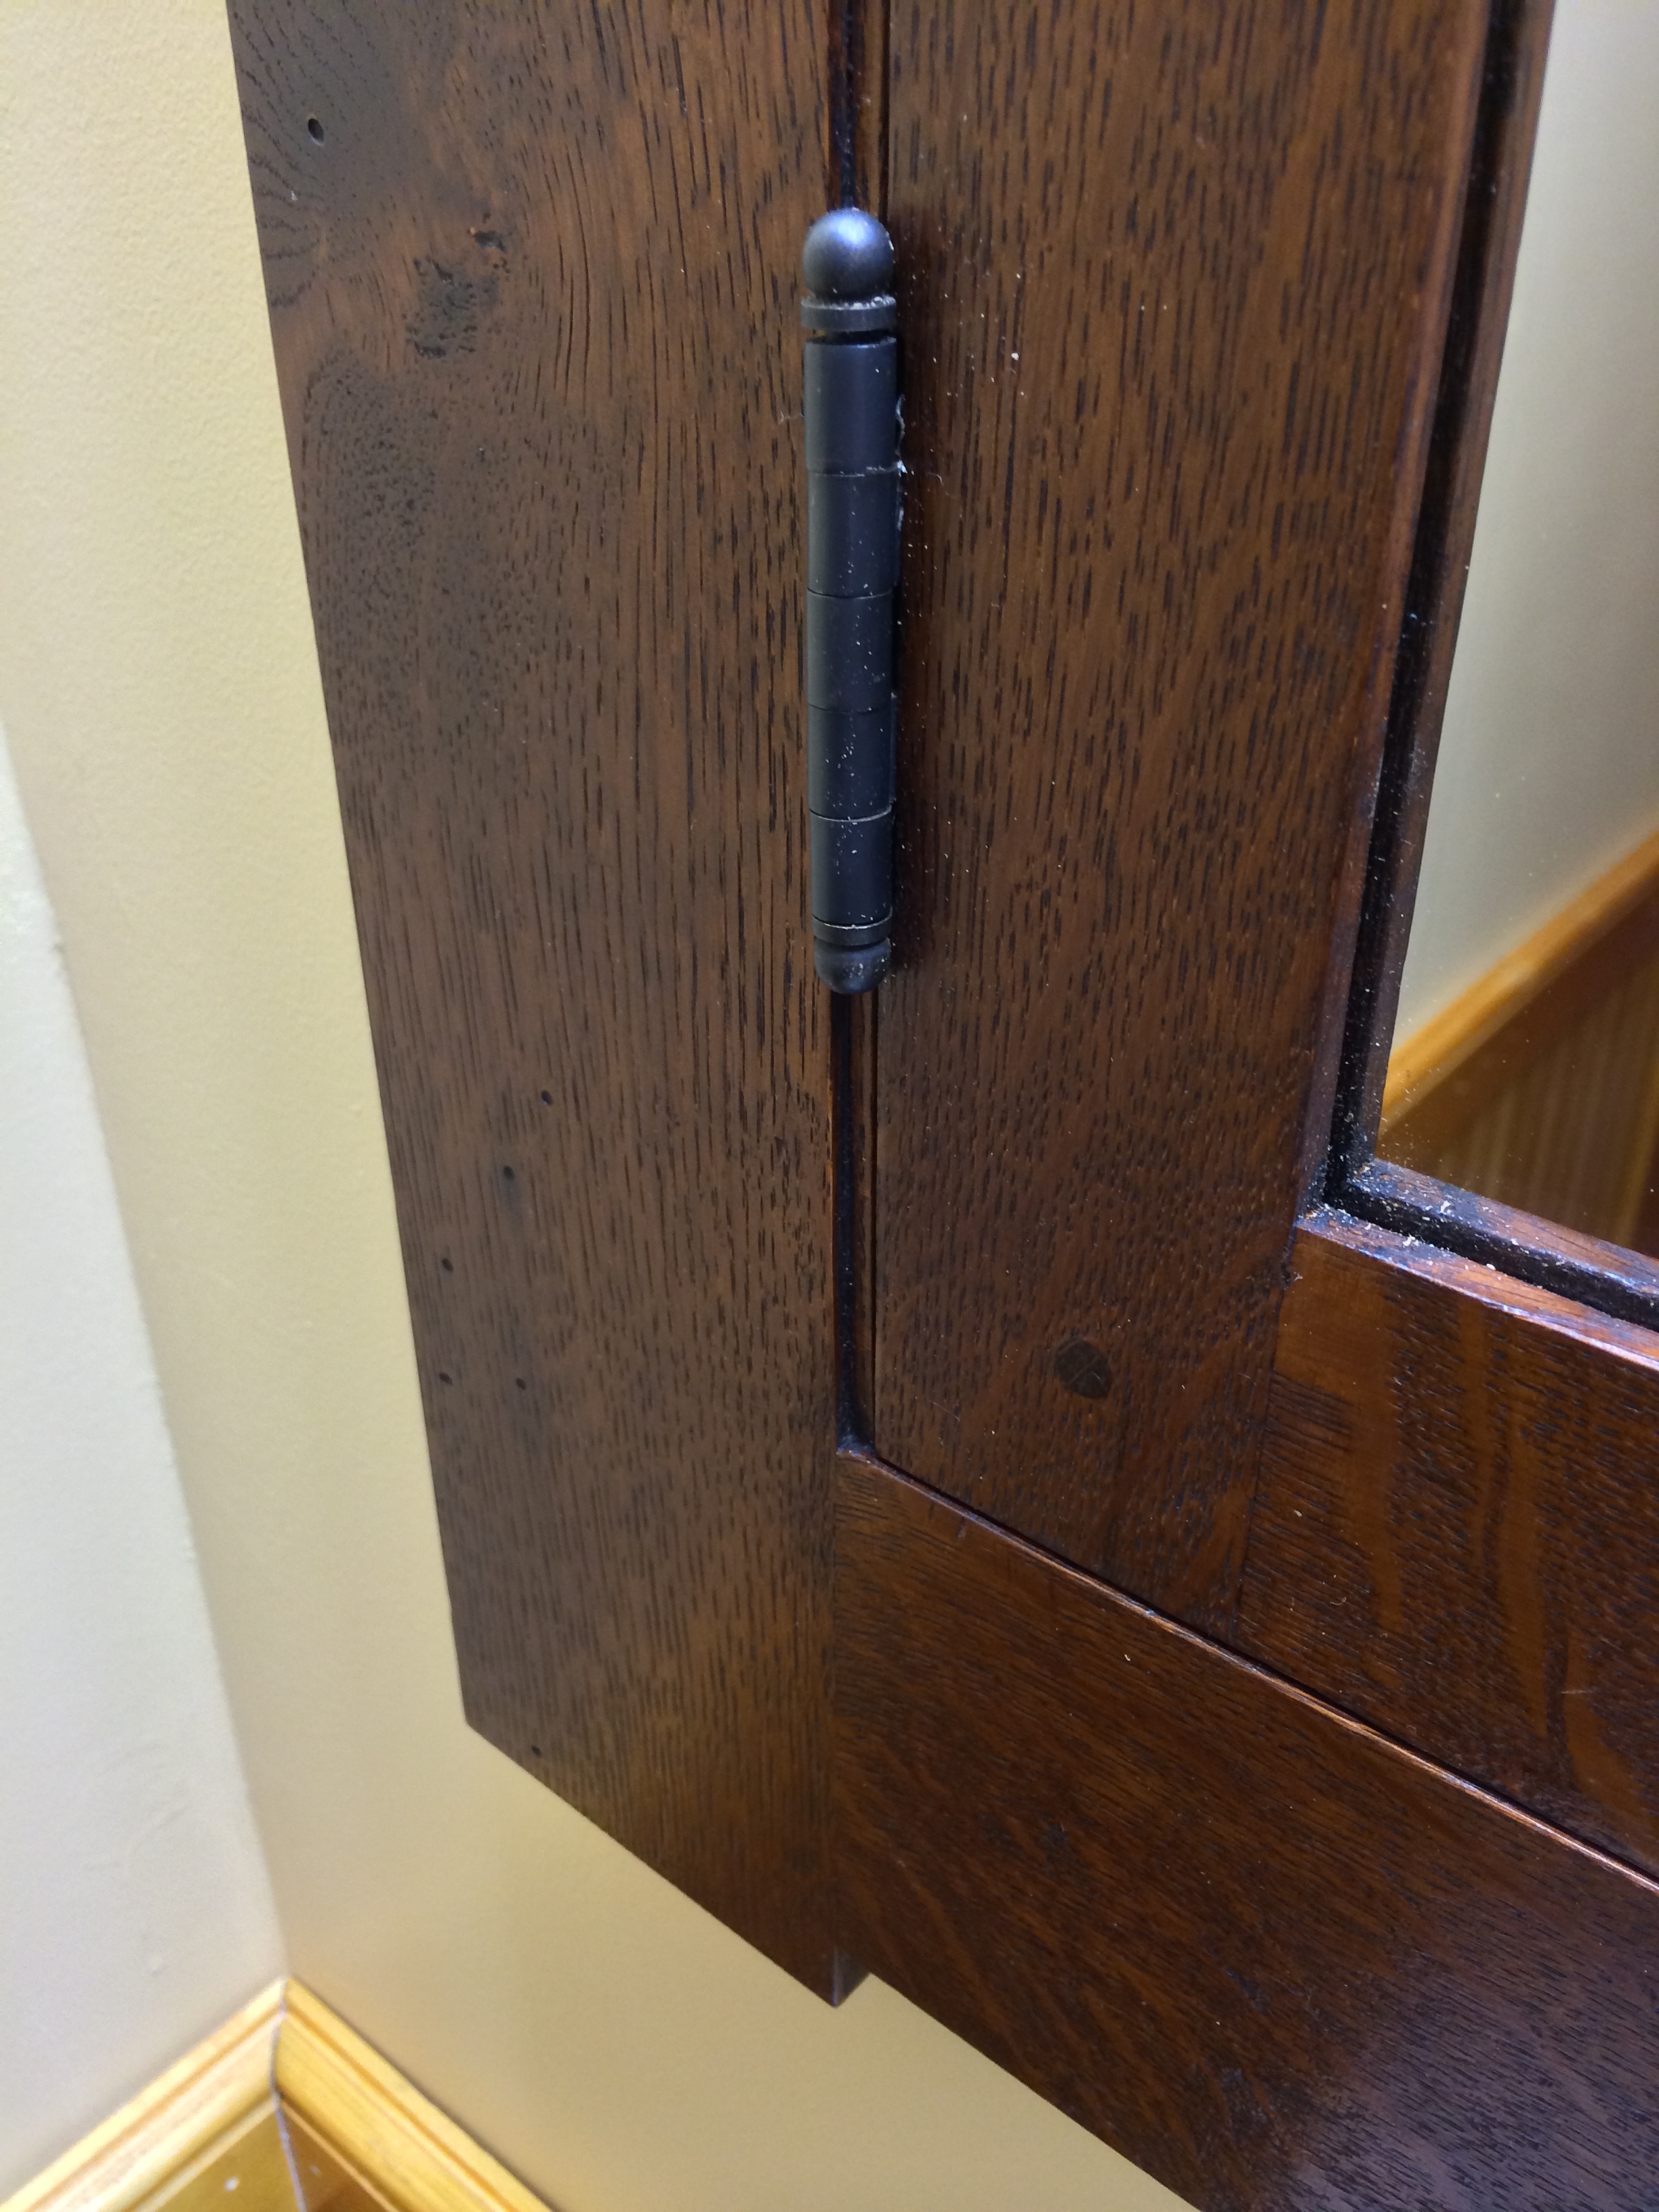
Back in the shop, I put the door together. The tenons of the door frame were secured with through pegs. I didn't do the drawbore technique here, as the glue and simple straight through pegging seemed to be enough. I then installed the hinge hardware, and was ready for the finish.

For the finish, I went with my go to process of water based dark mission brown dye, followed by several coats of shellac, this time a darker garnet that I mixed from flakes. I applied about 4 coats, sanding lightly in between, then finished it off with a coat of dark paste wax, applied with 0000 steel wool, then buffed off. This finish process on quarter sawn white oak never fails to look gorgeous to me. After that, I cut the glass for the mirror, fit it into the door opening, and secured it with stops tacked in with brads.

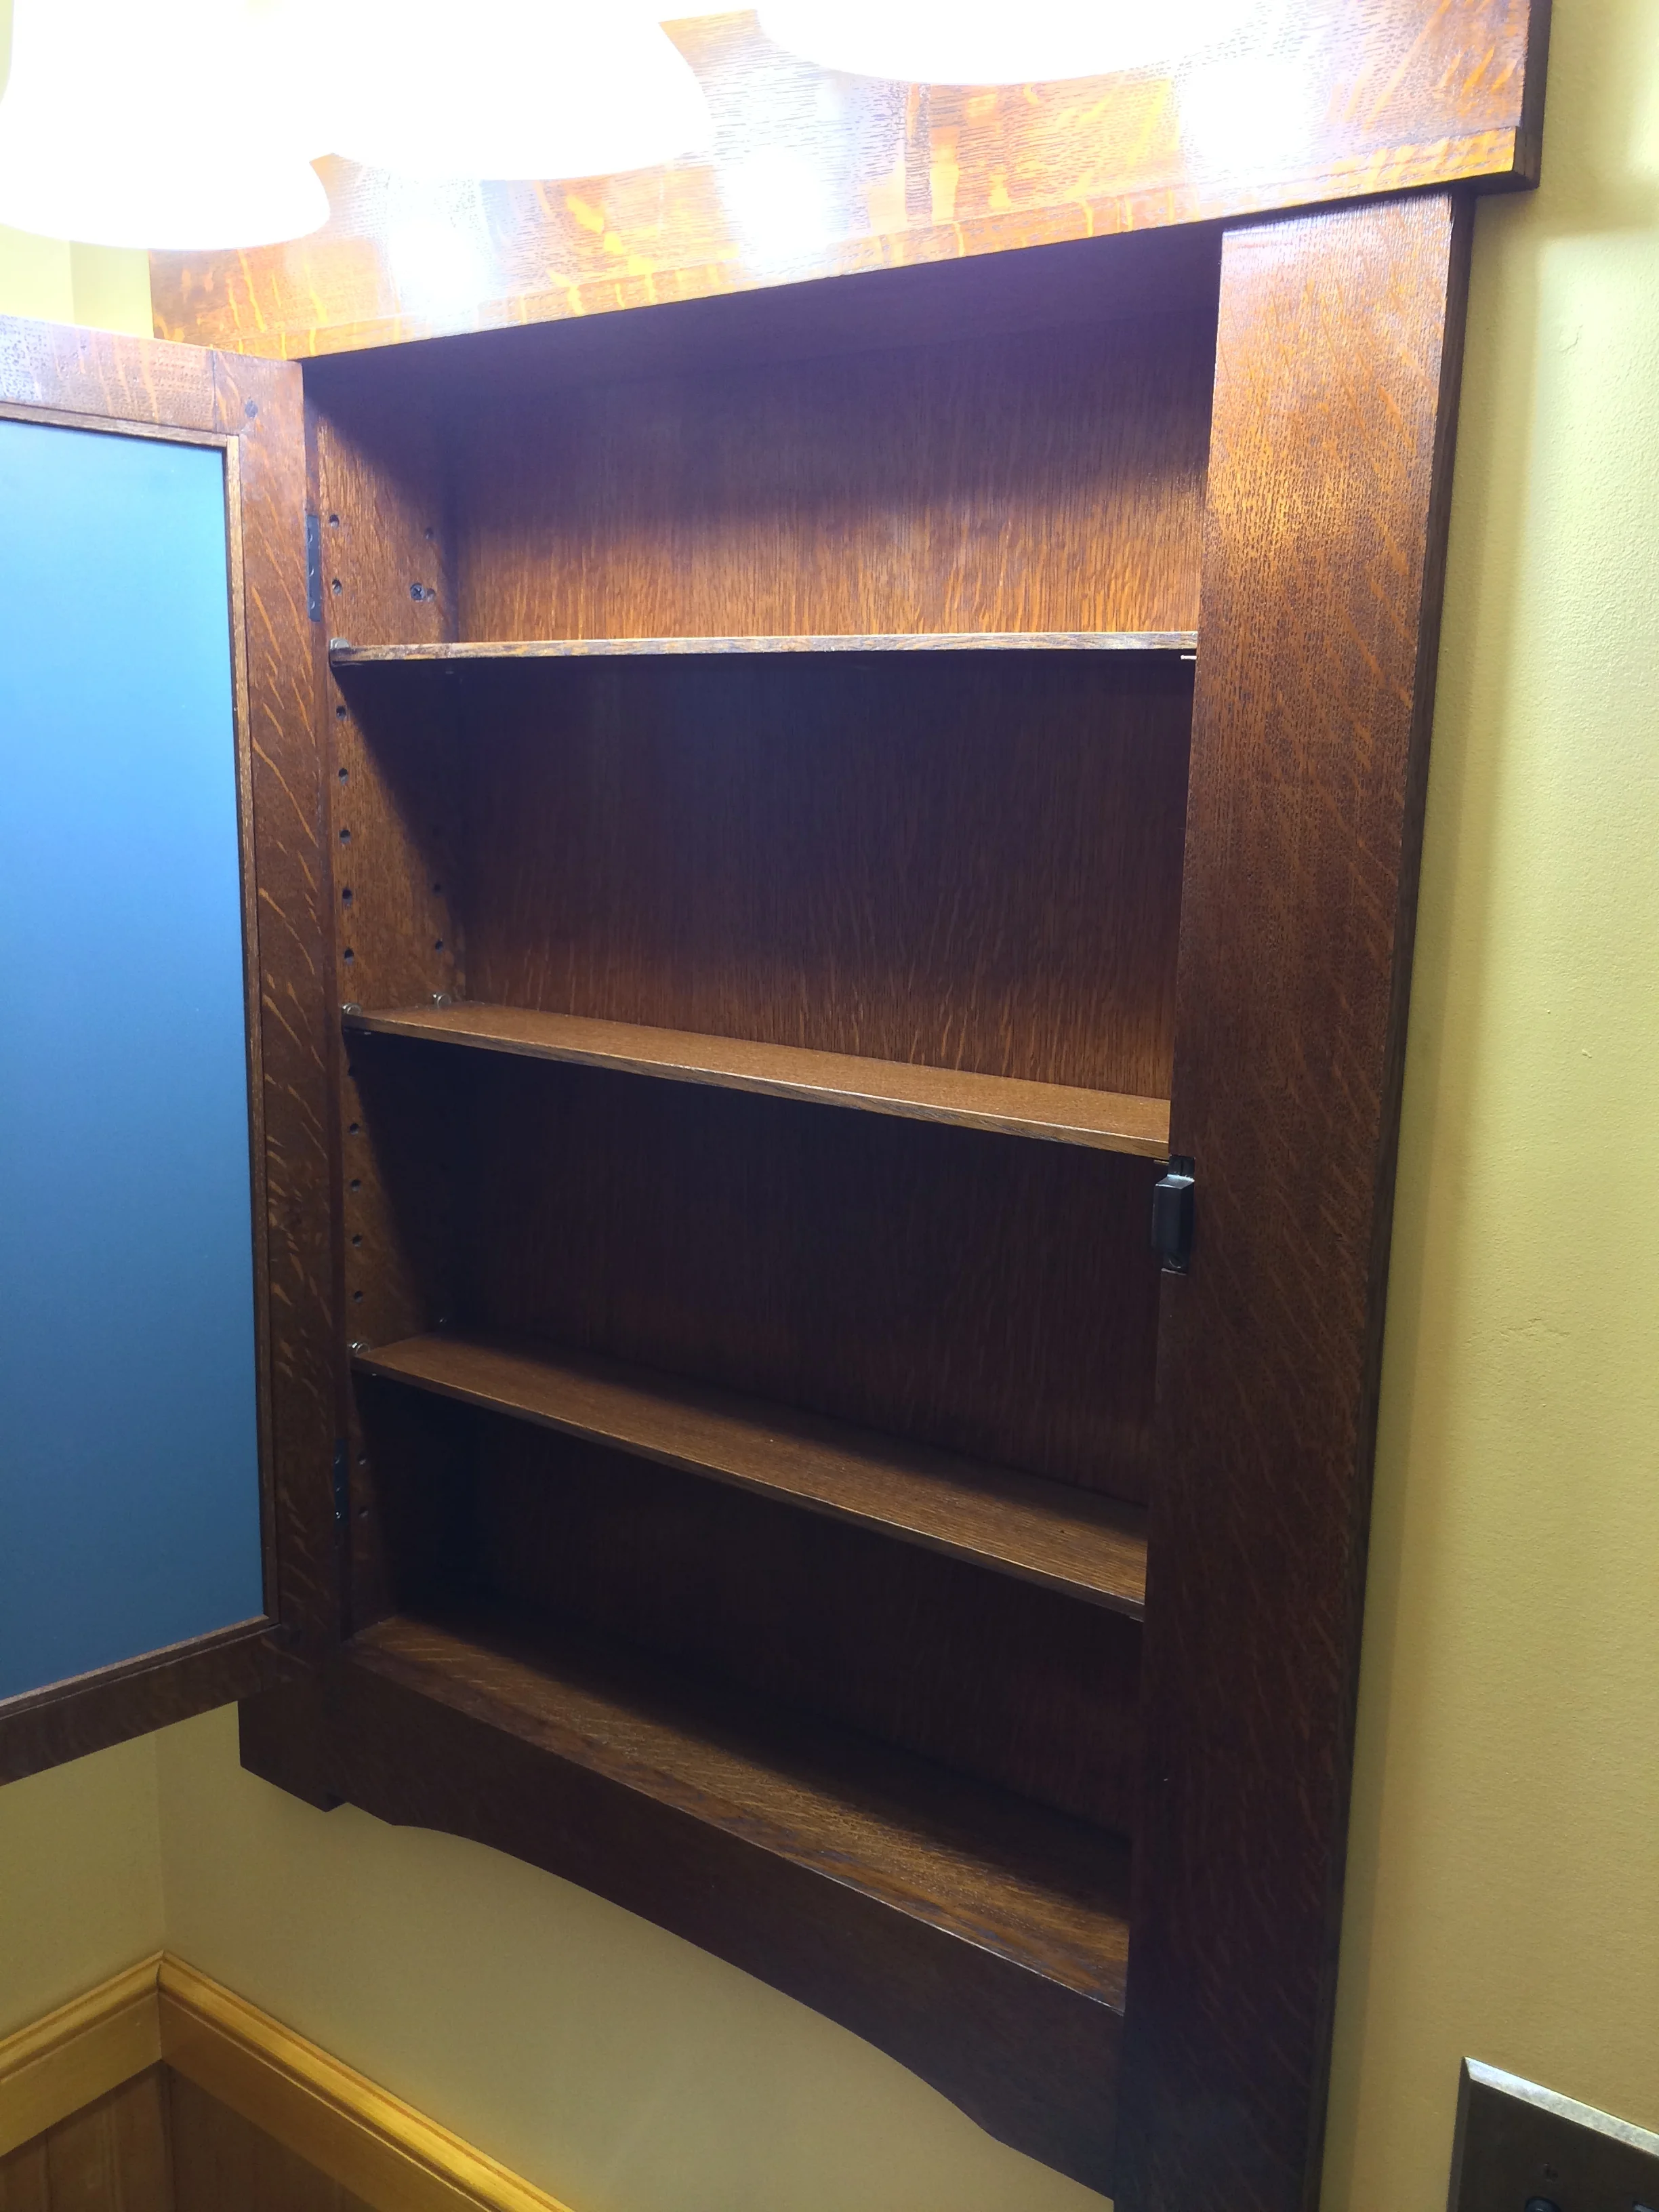
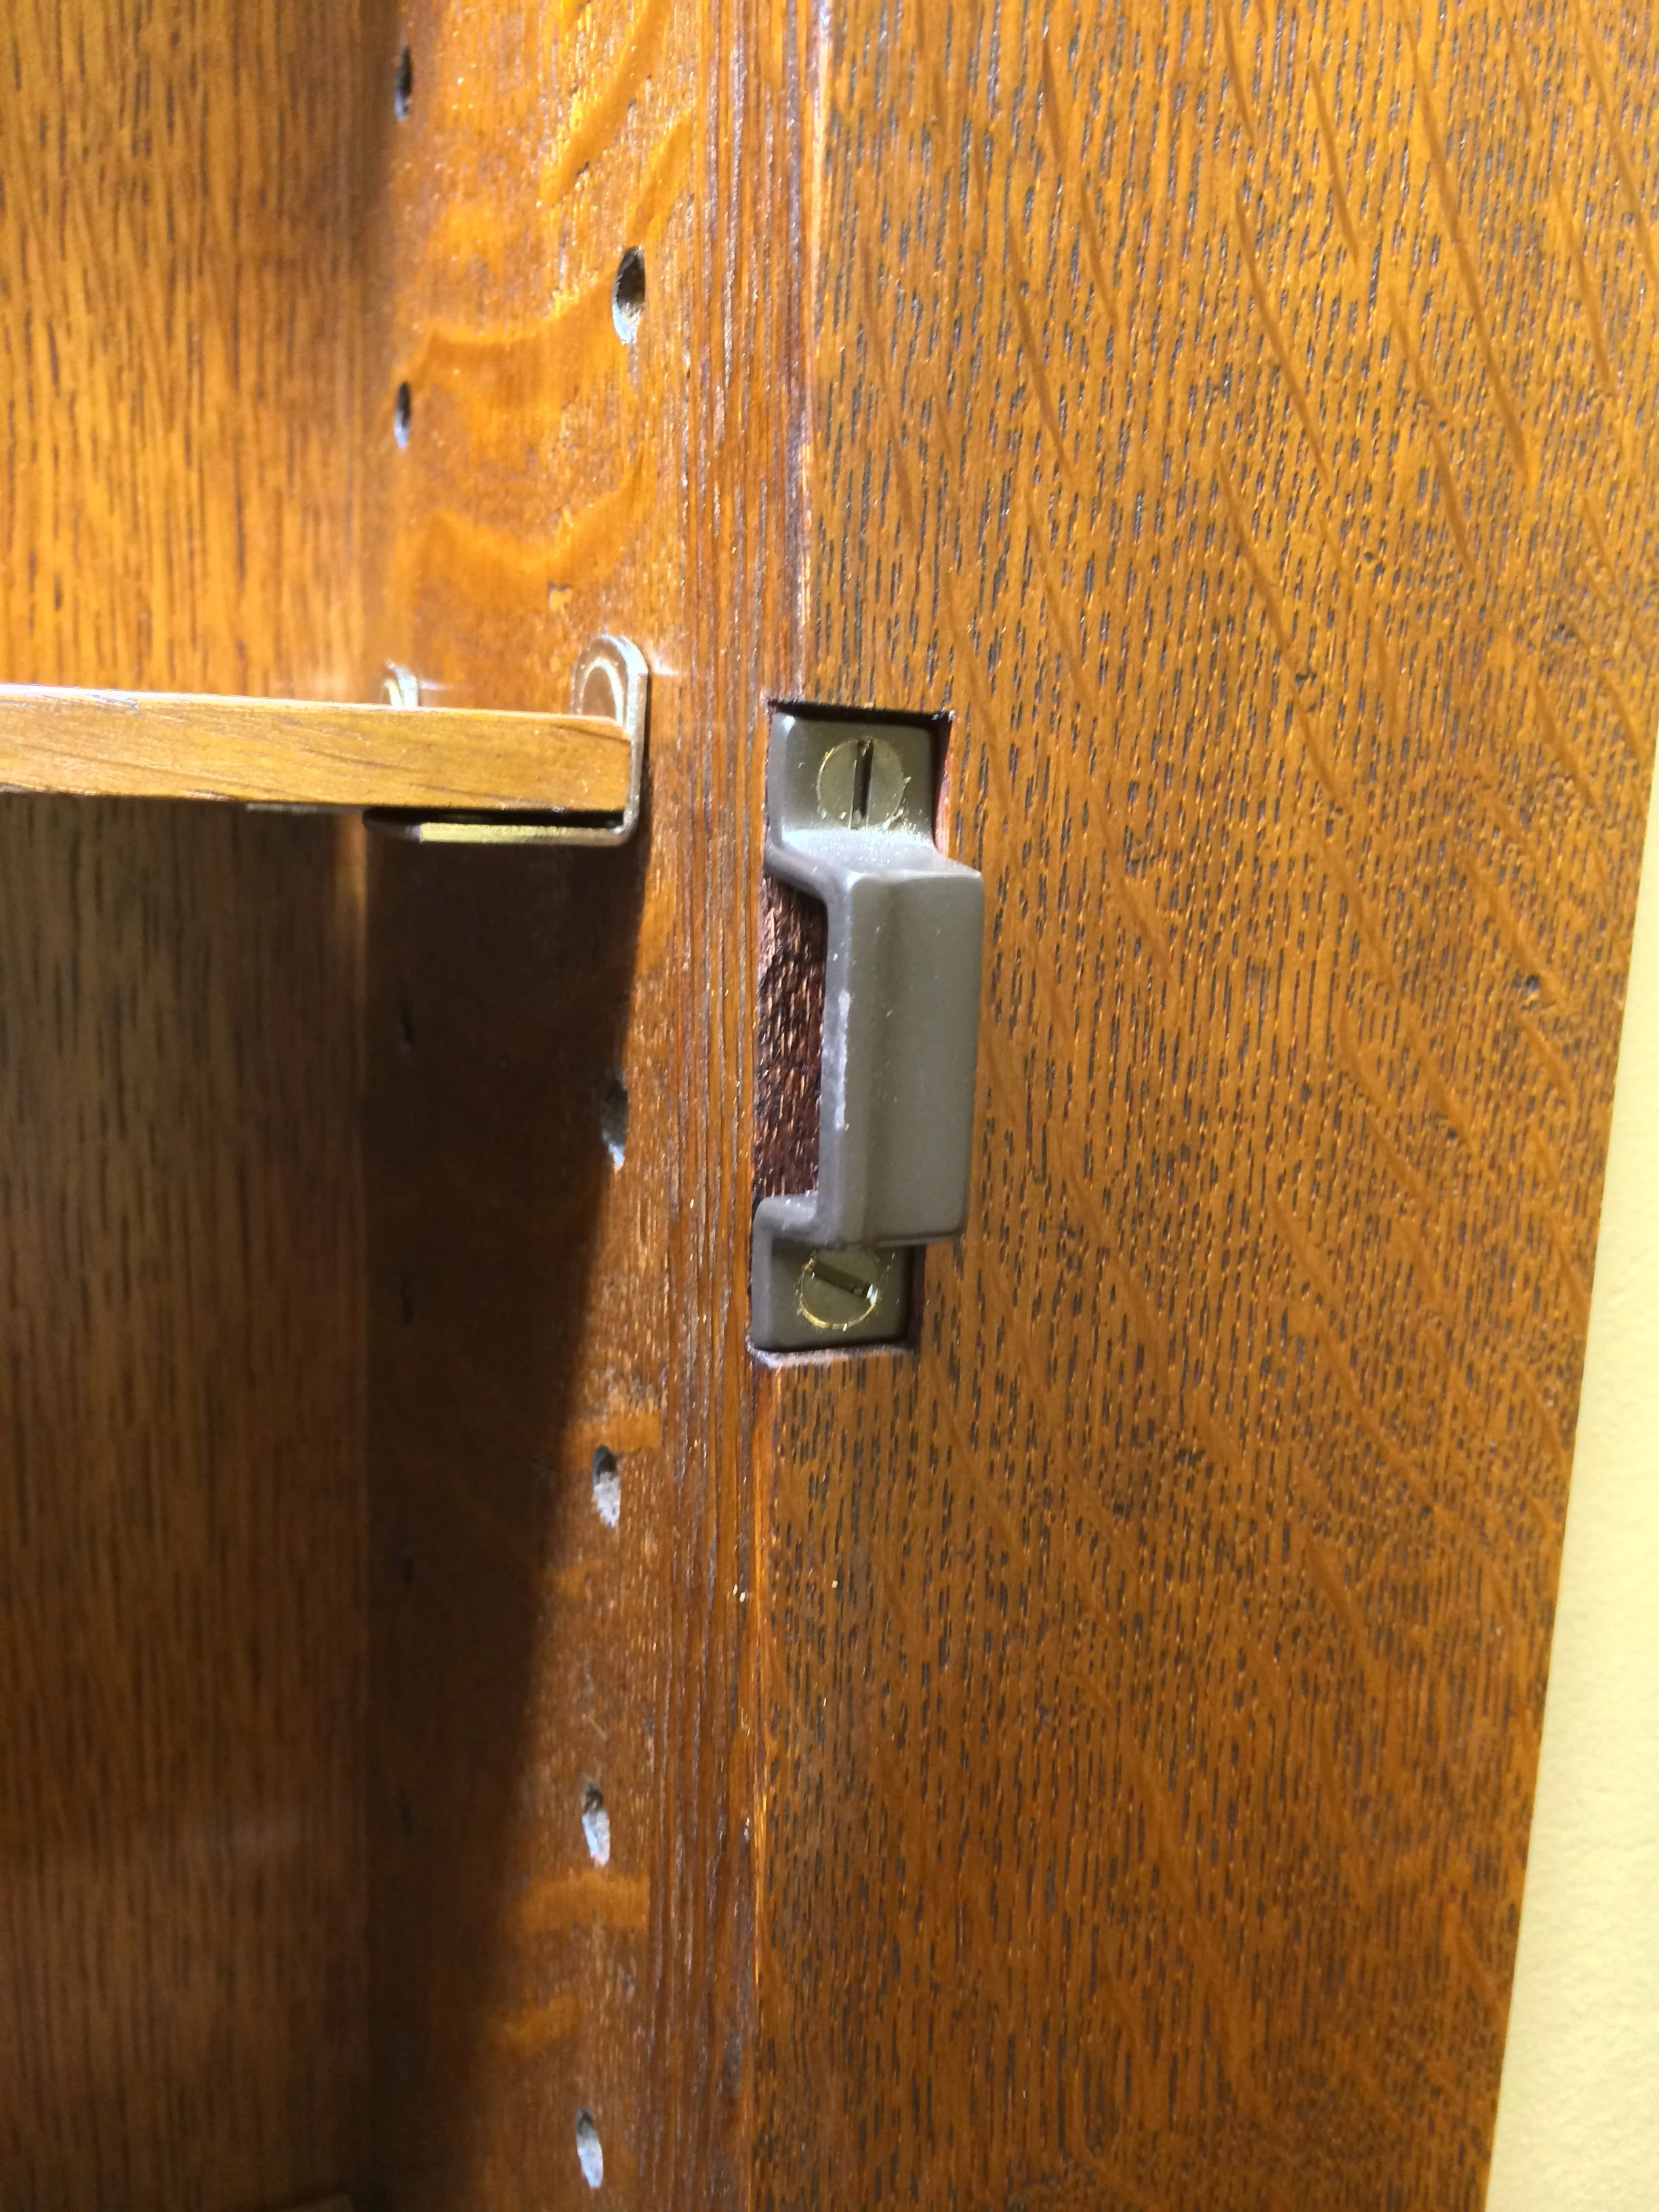
I also made several 1/4" thick oak shelves. Installation went well, thanks the the earlier test fit, and it was attached to the wall studs with a few screws through the case. The final bit of hardware to fit was the small surface mounted latch. Although surface mounted, I had to do some mortising to fit it properly, as the design features a small 1/8" set back/reveal for the door relative to the frame. This makes a nice shadow line in the piece, but it meant that either the latch body had to be bumped out, resting on some sort of little platform piece, or the catch part had to be recessed. I chose to recess the catch as the lesser of two evils.

(Please pardon the lousy lighting in some of these interior shots: it's hard get good light in a 5' x 8' windowless bathroom with a slanted ceiling.) Once in place, we were pretty pleased with the result. The cabinet looked good, and did tie into the other elements of the room quite well. You might notice that I didn't install a backer board, to back up the mirror, on the inside of the door. Honestly, I never thought about it during the build, and not until much later when I was watching some other woodworking video with a mirror in a door, and they put a backer on, did it occur to me that might be a good idea. I'll see if that way it is now bothers me or not. So far: not.

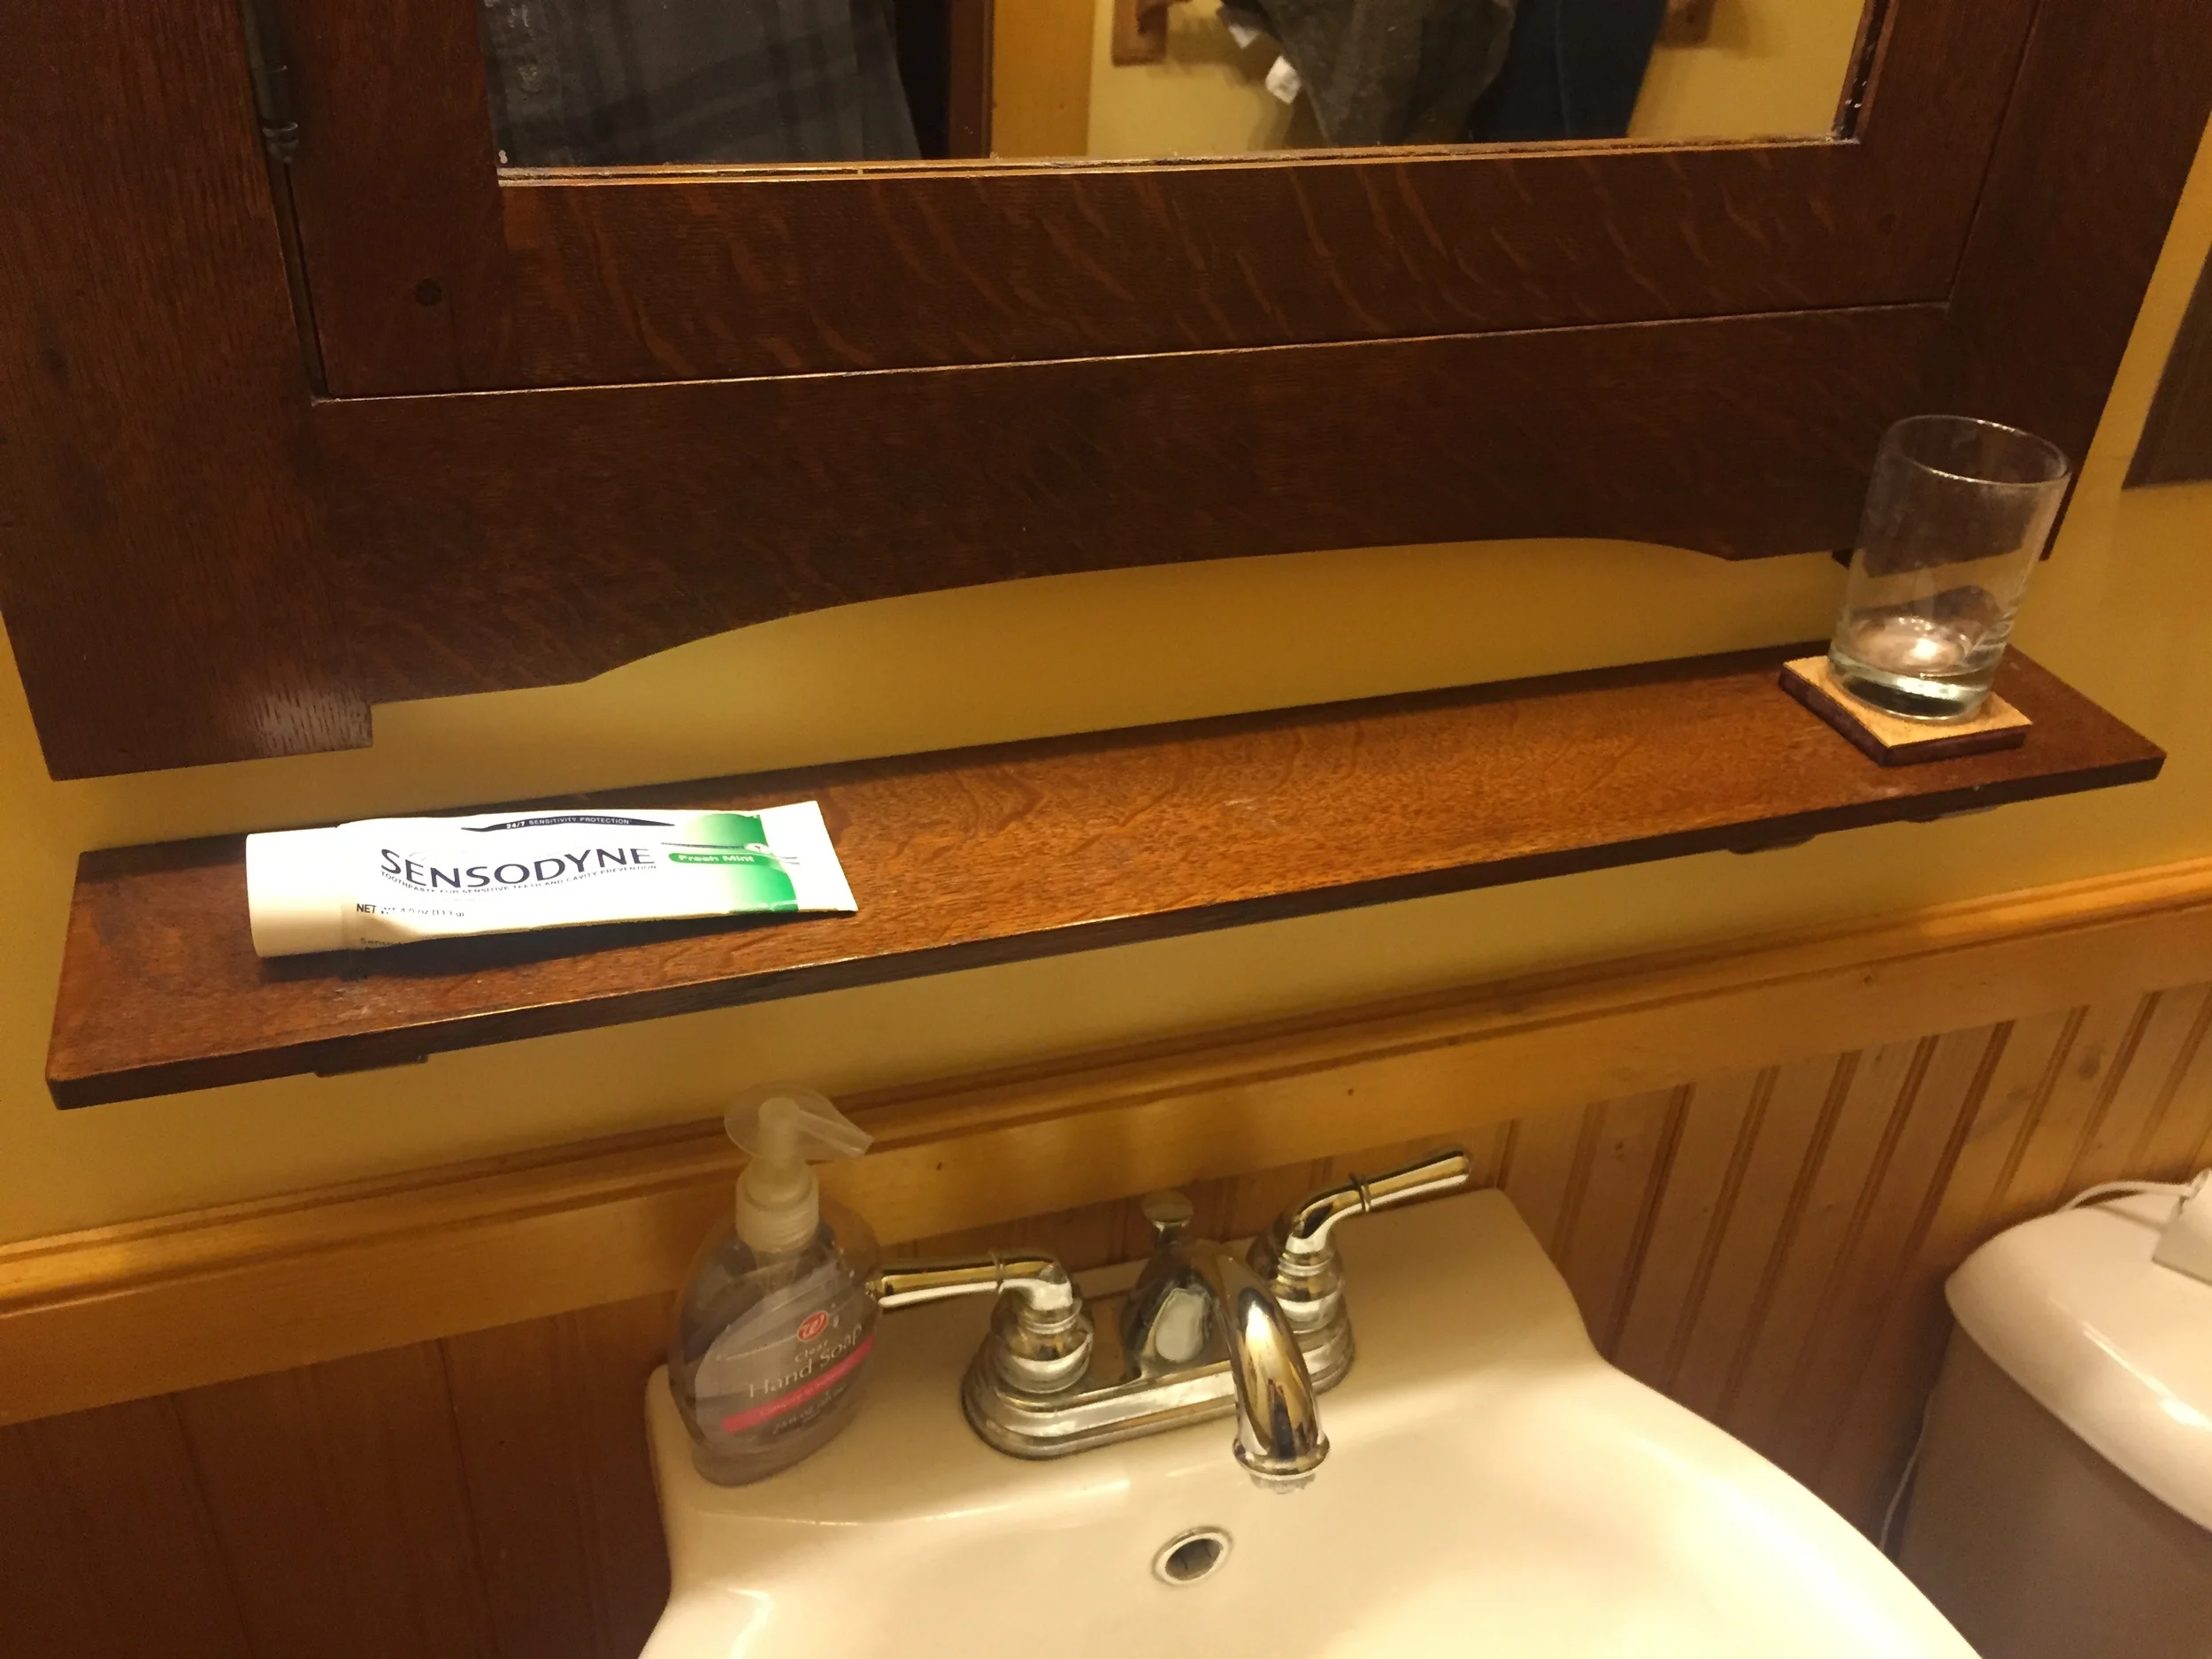
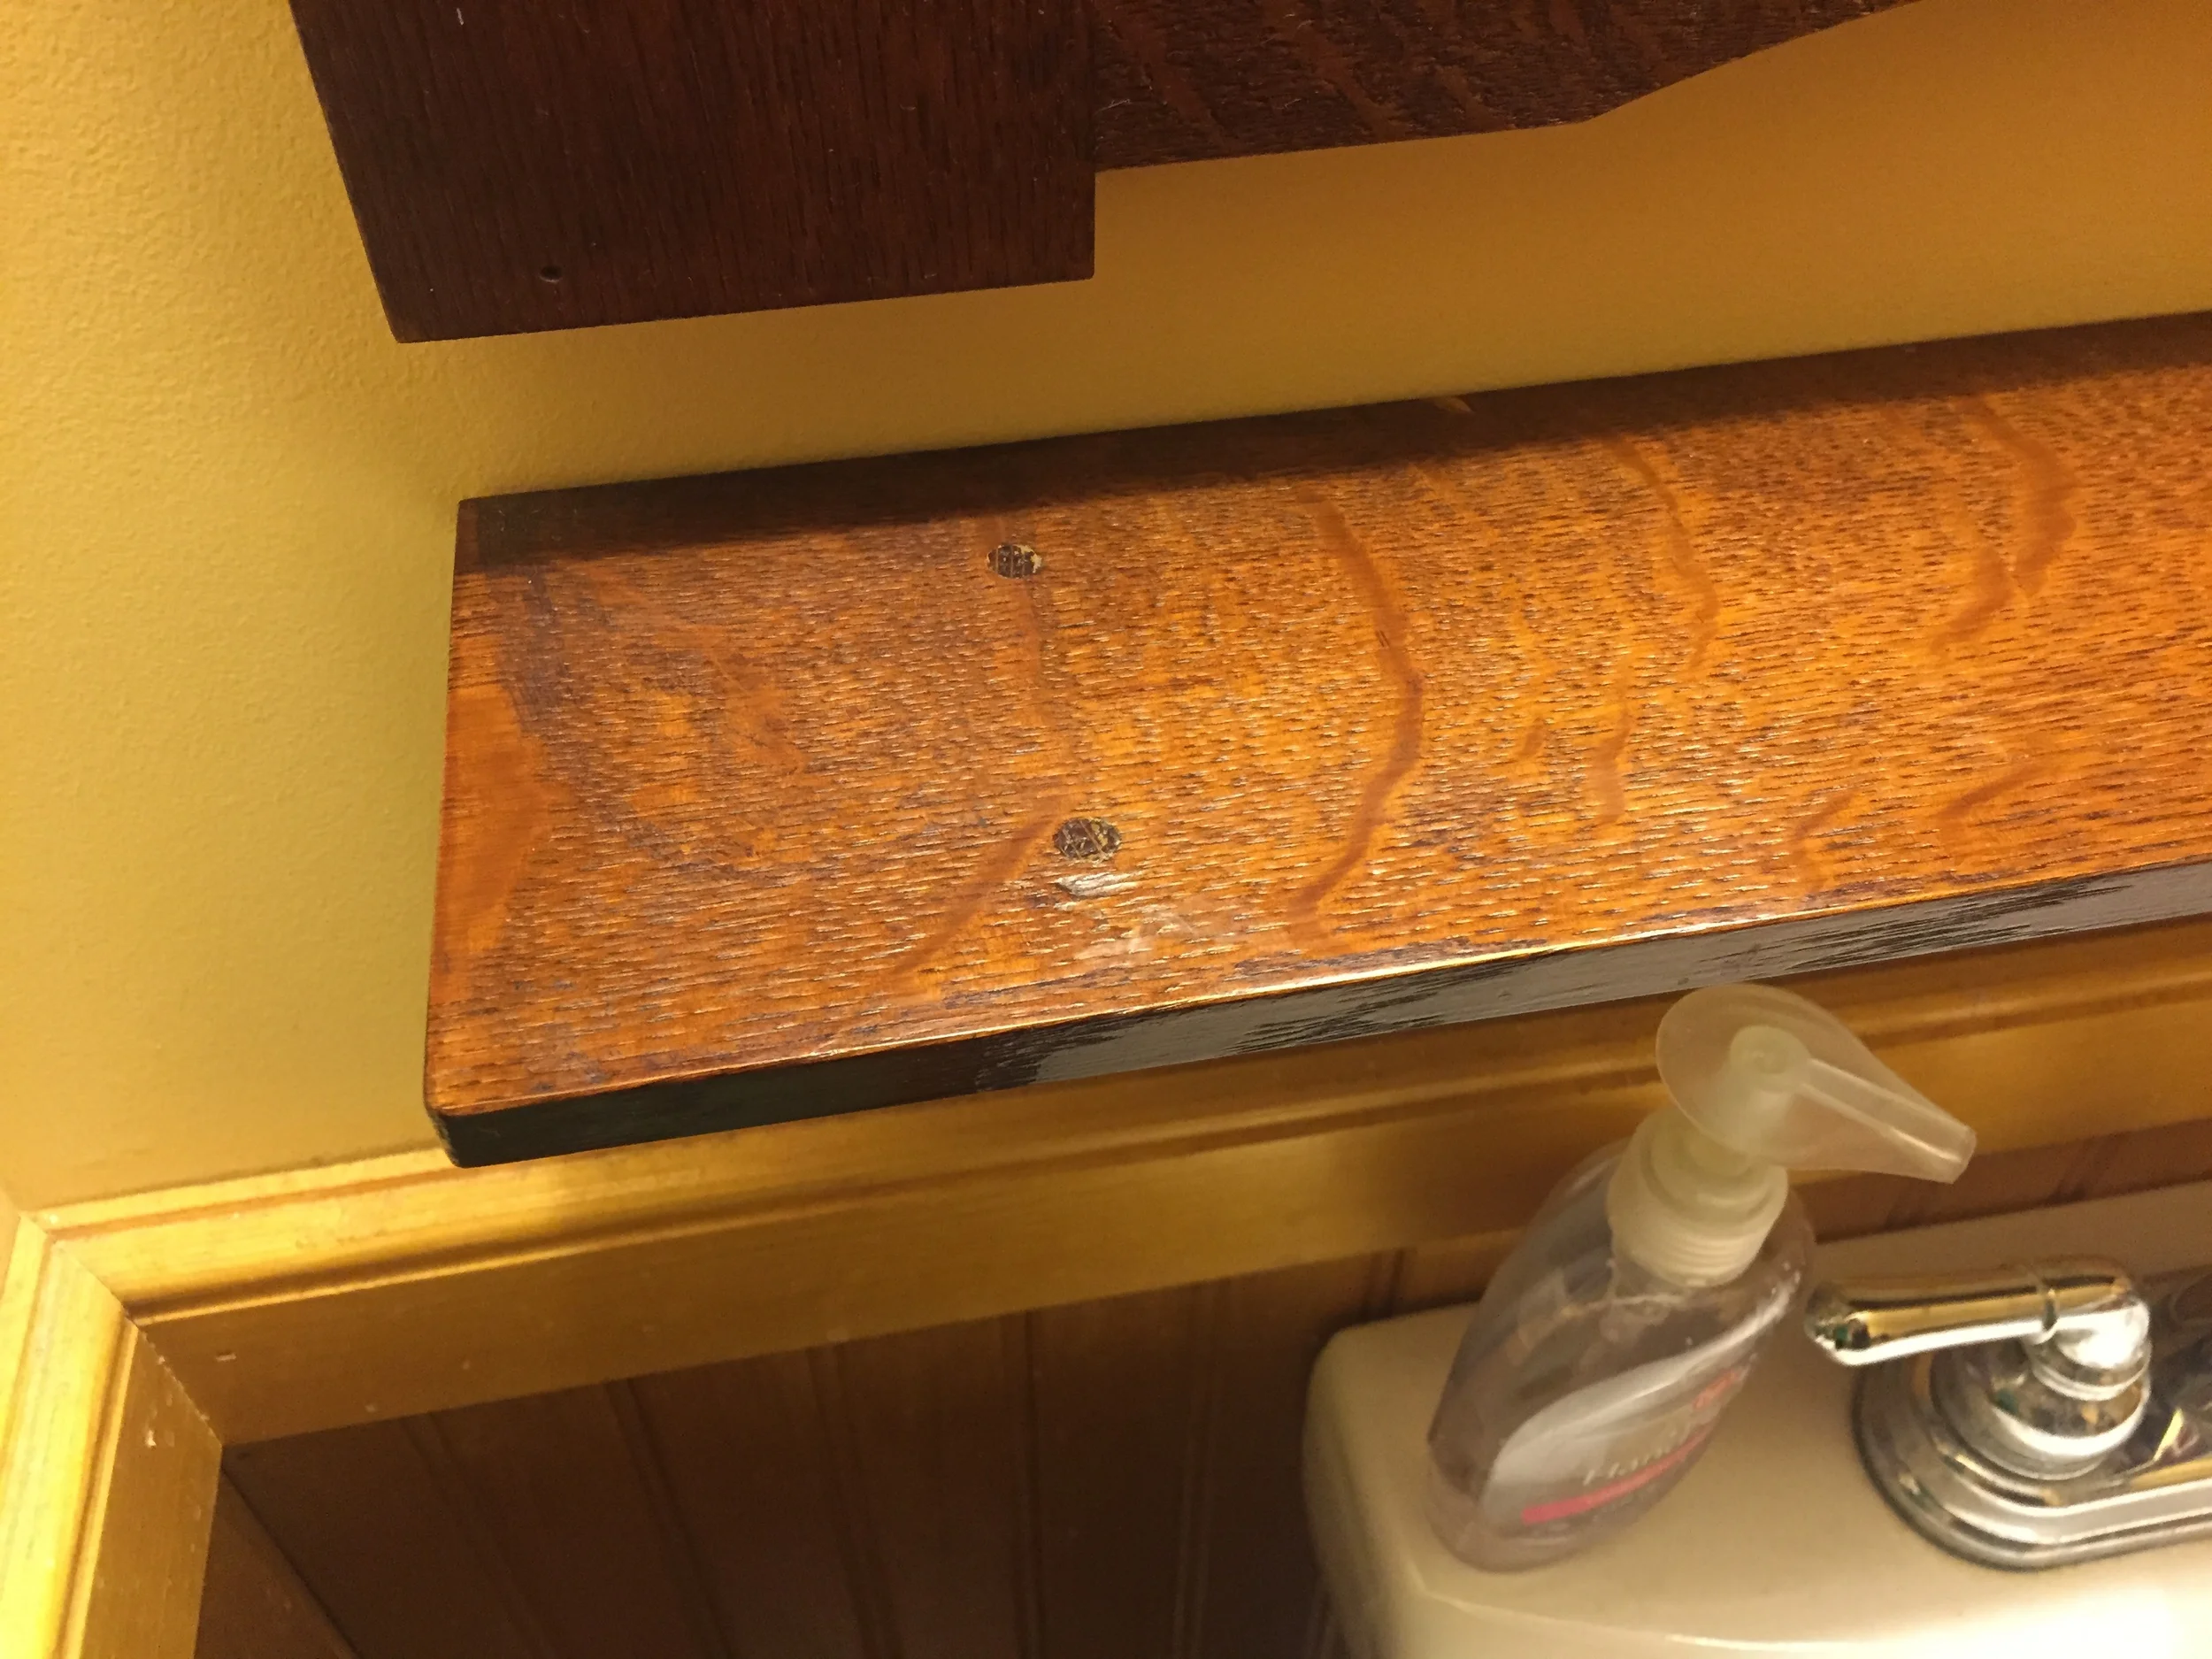
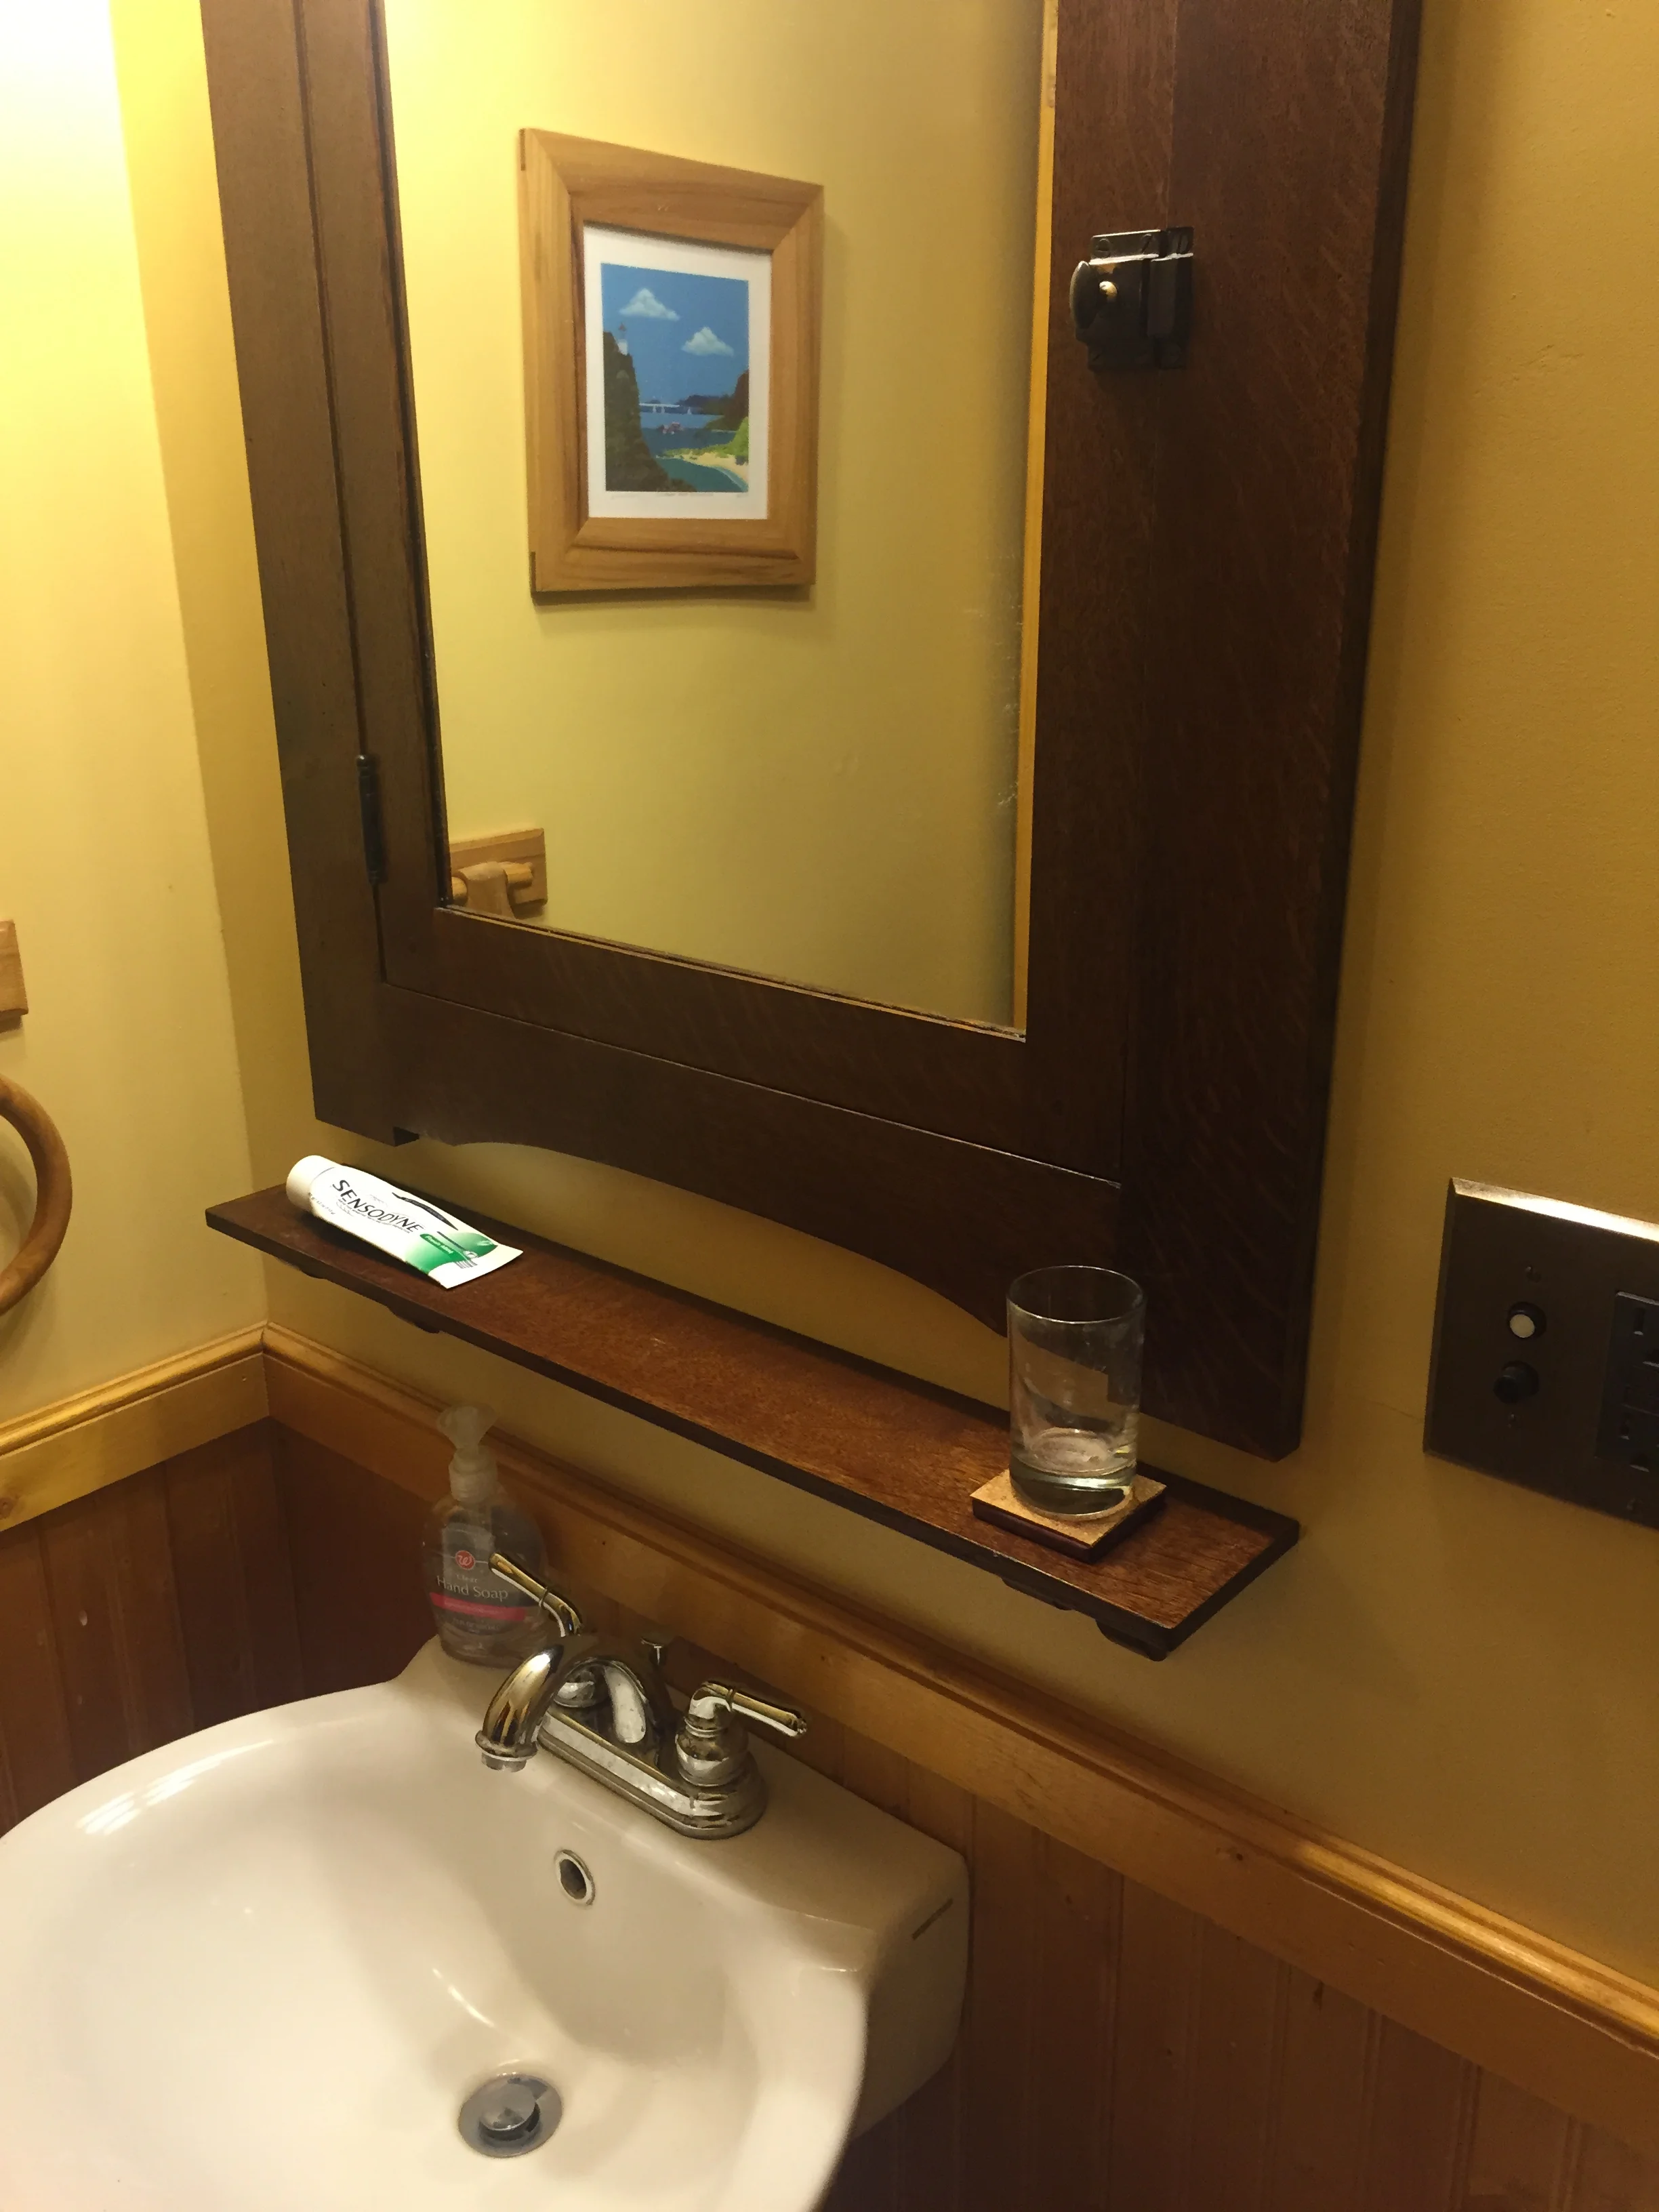
One thing my wife and I discovered after using this setup for a few months was that we had to keep open and closing the door 10,000 times in the course of doing anything up there: shaving, brushing teeth, etc. Mainly because there is not one horizontal surface to place anything on: the sink is just a small pedestal, and... well, that's it. So, I took a little more shop time, and made a small white oak shelf that sits between the sink and the medicine cabinet. It works perfectly, and solved the horizontal space problem nicely.

This was a nice home improvement-meets-furniture project, that both solved a problem and made our home a little bit nicer. Thanks for reading.