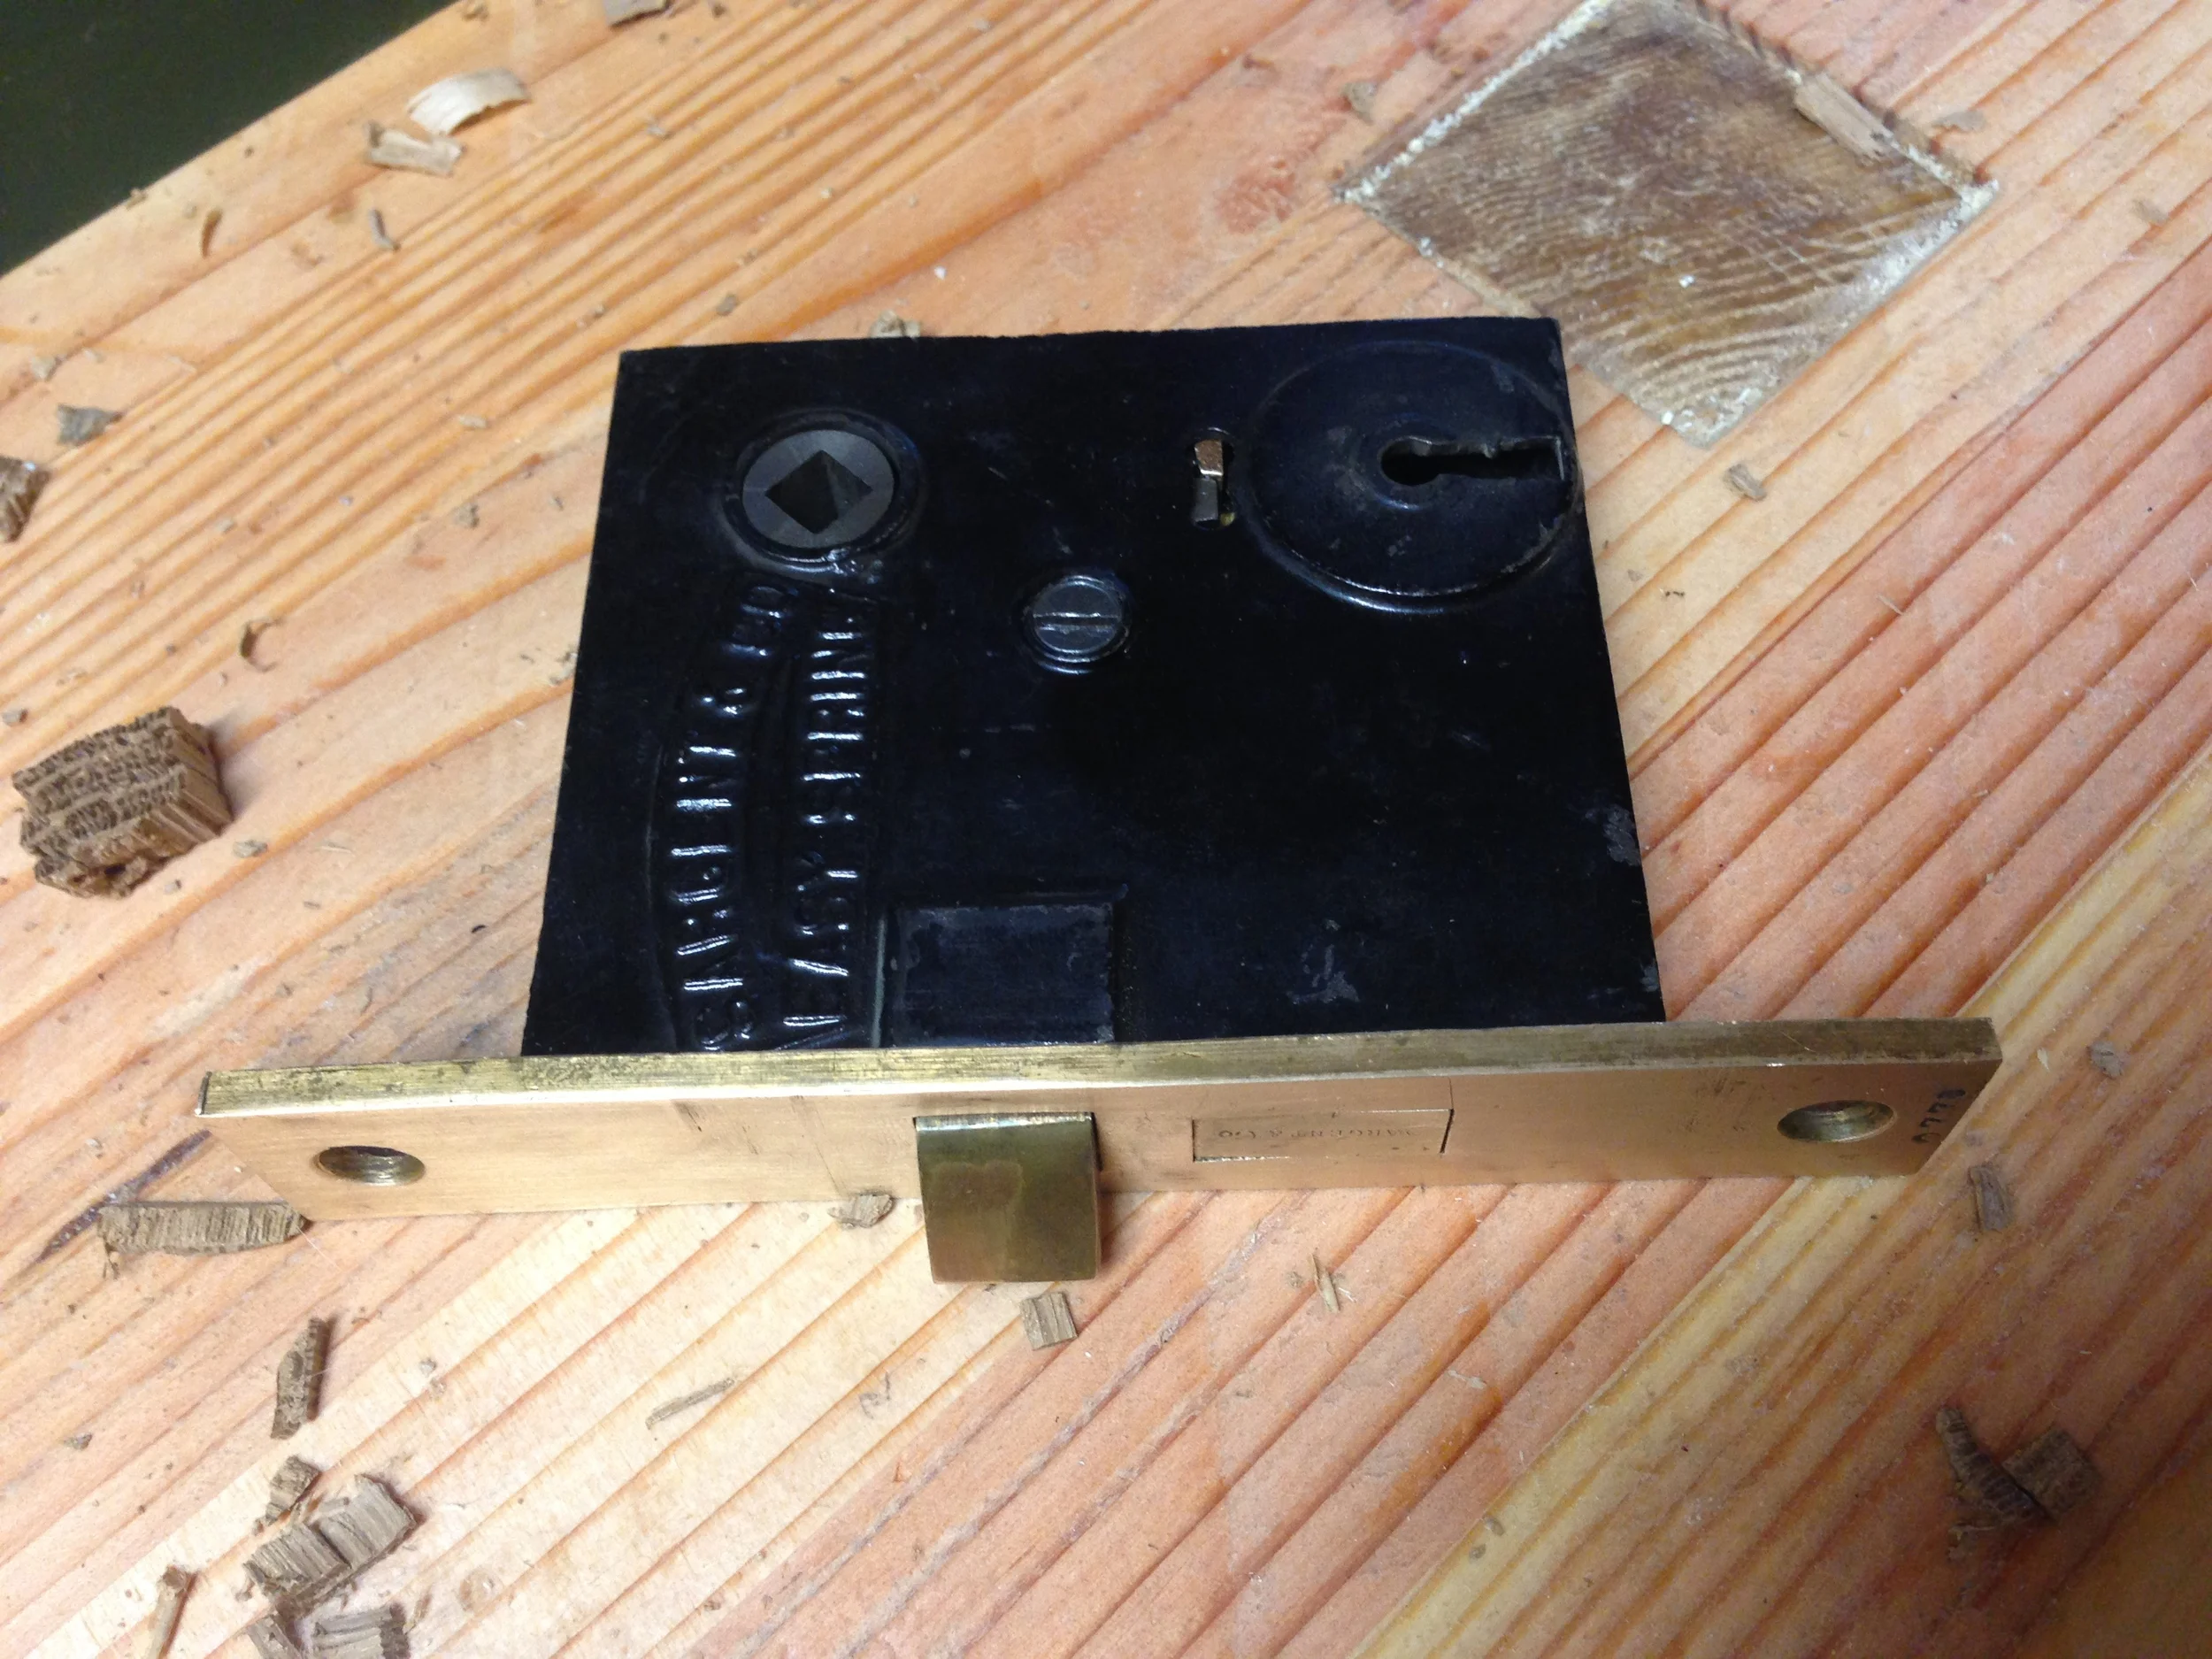
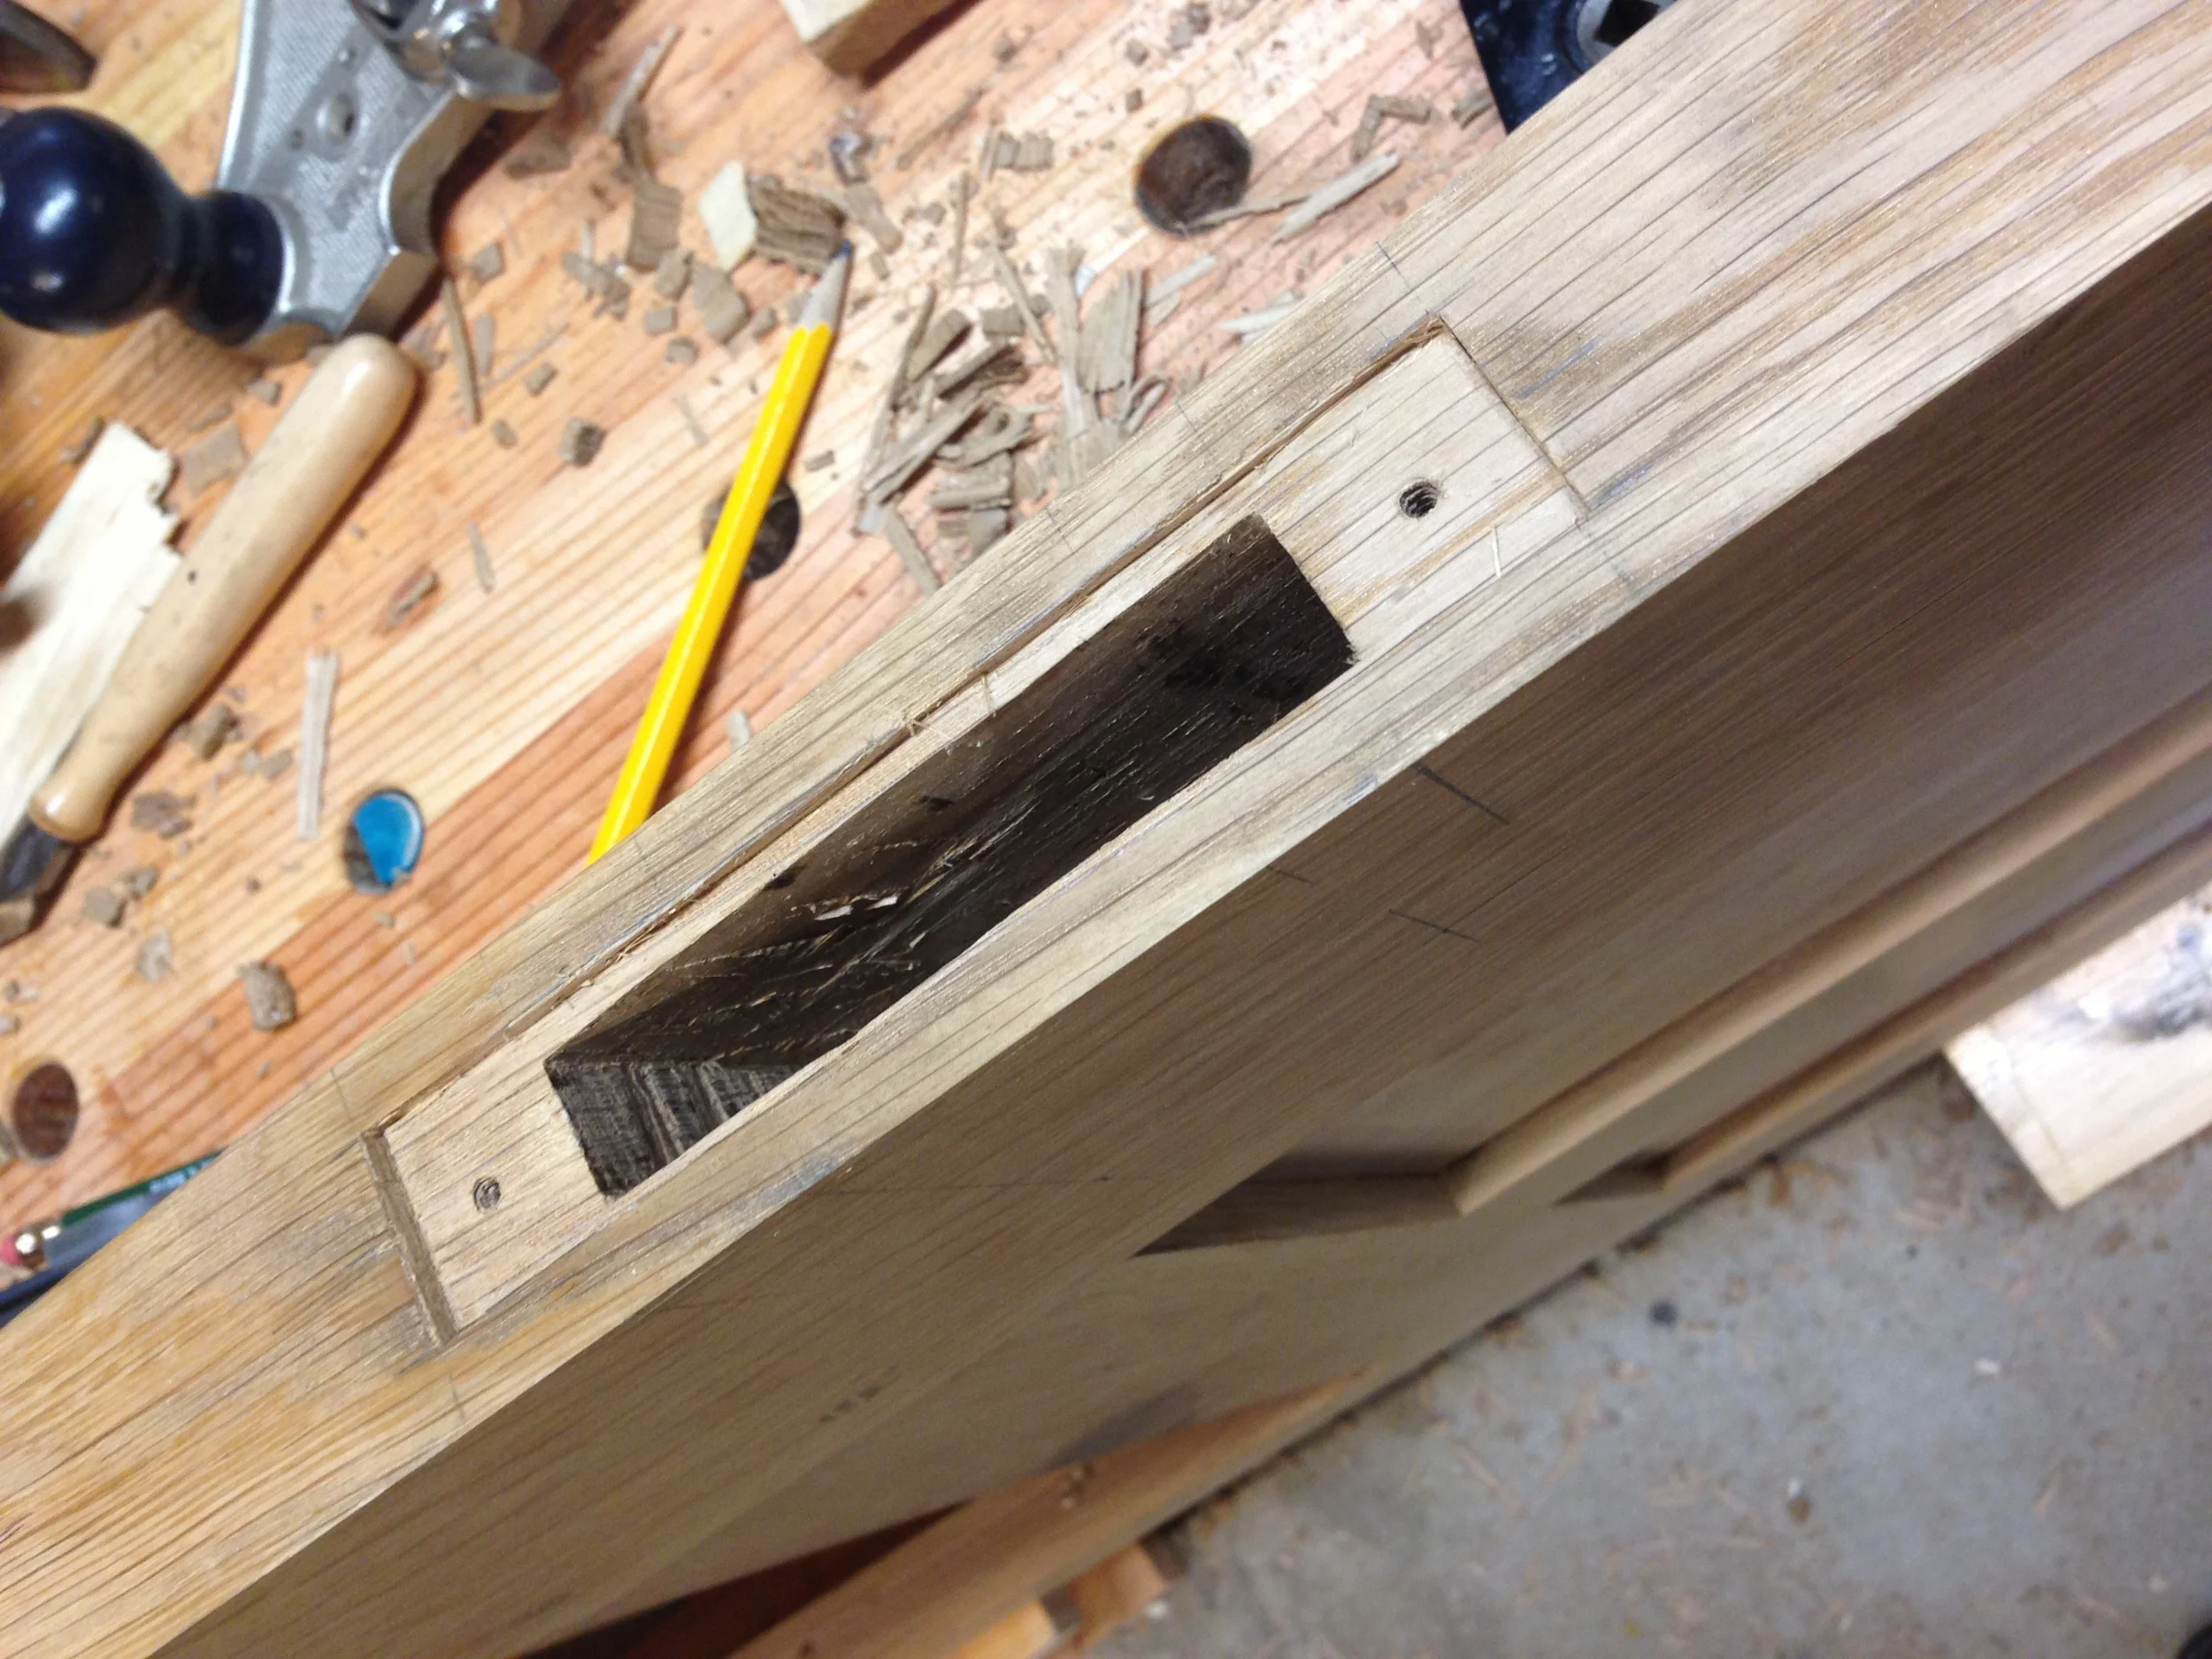
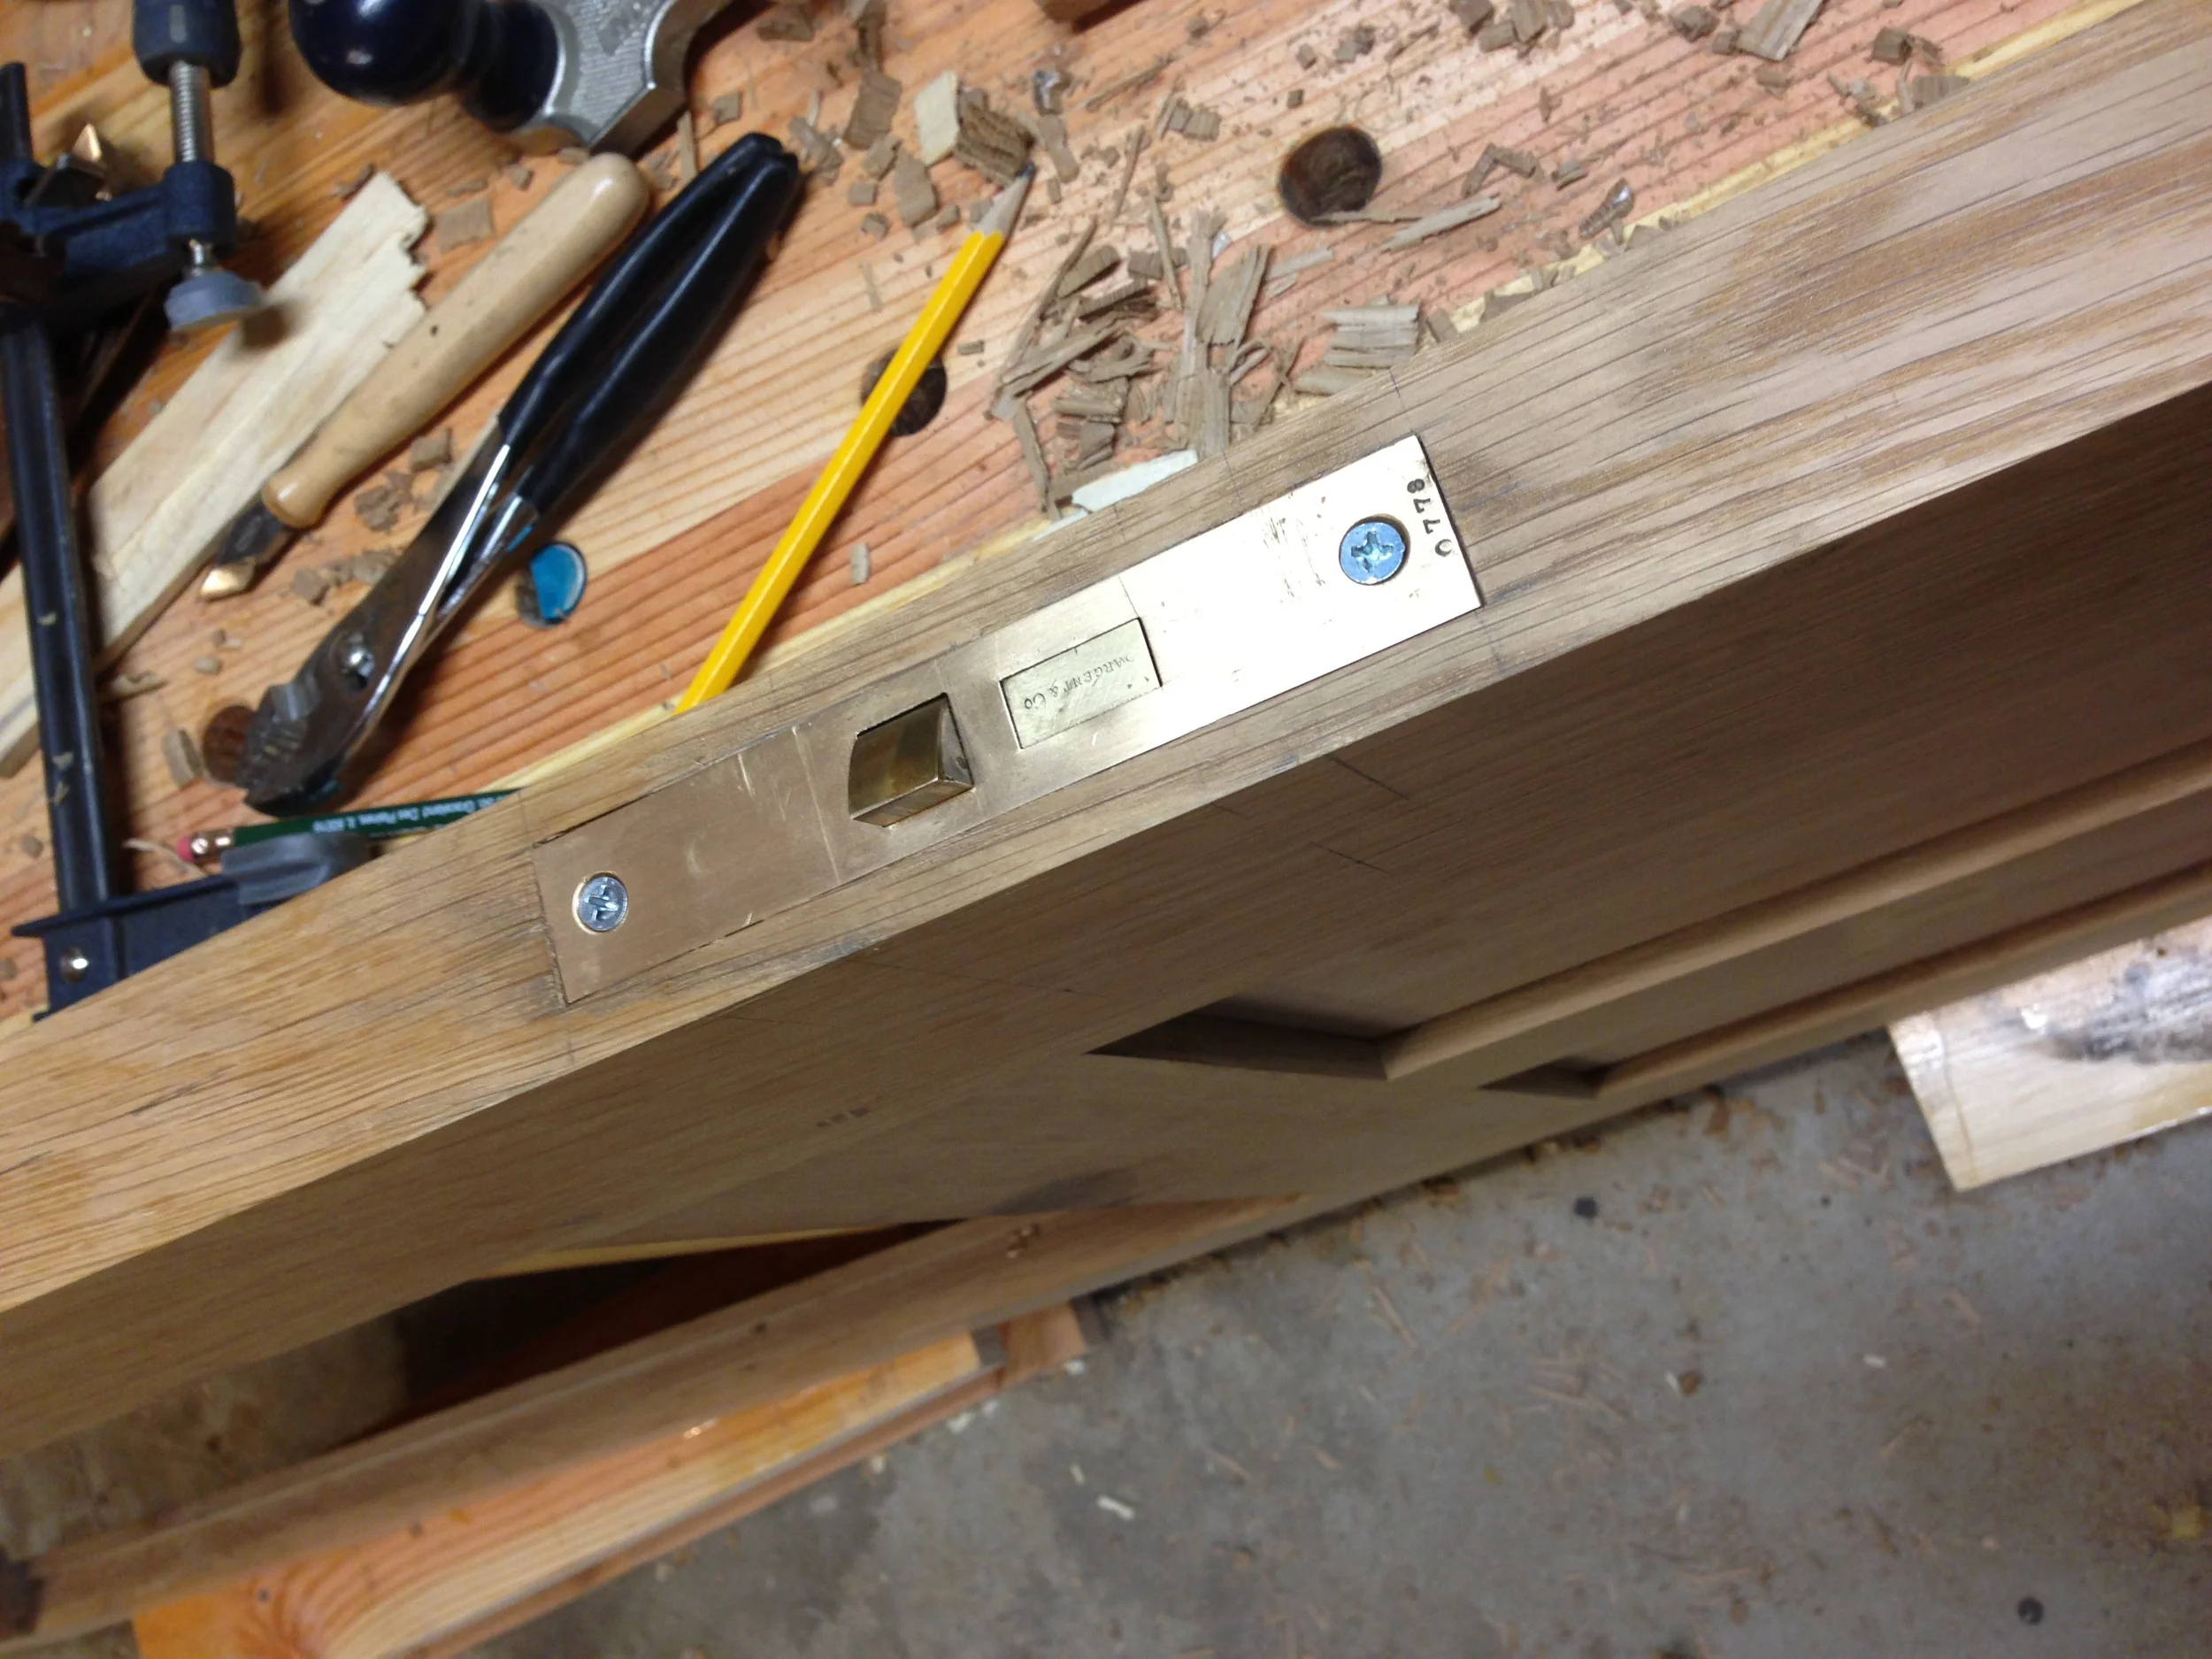
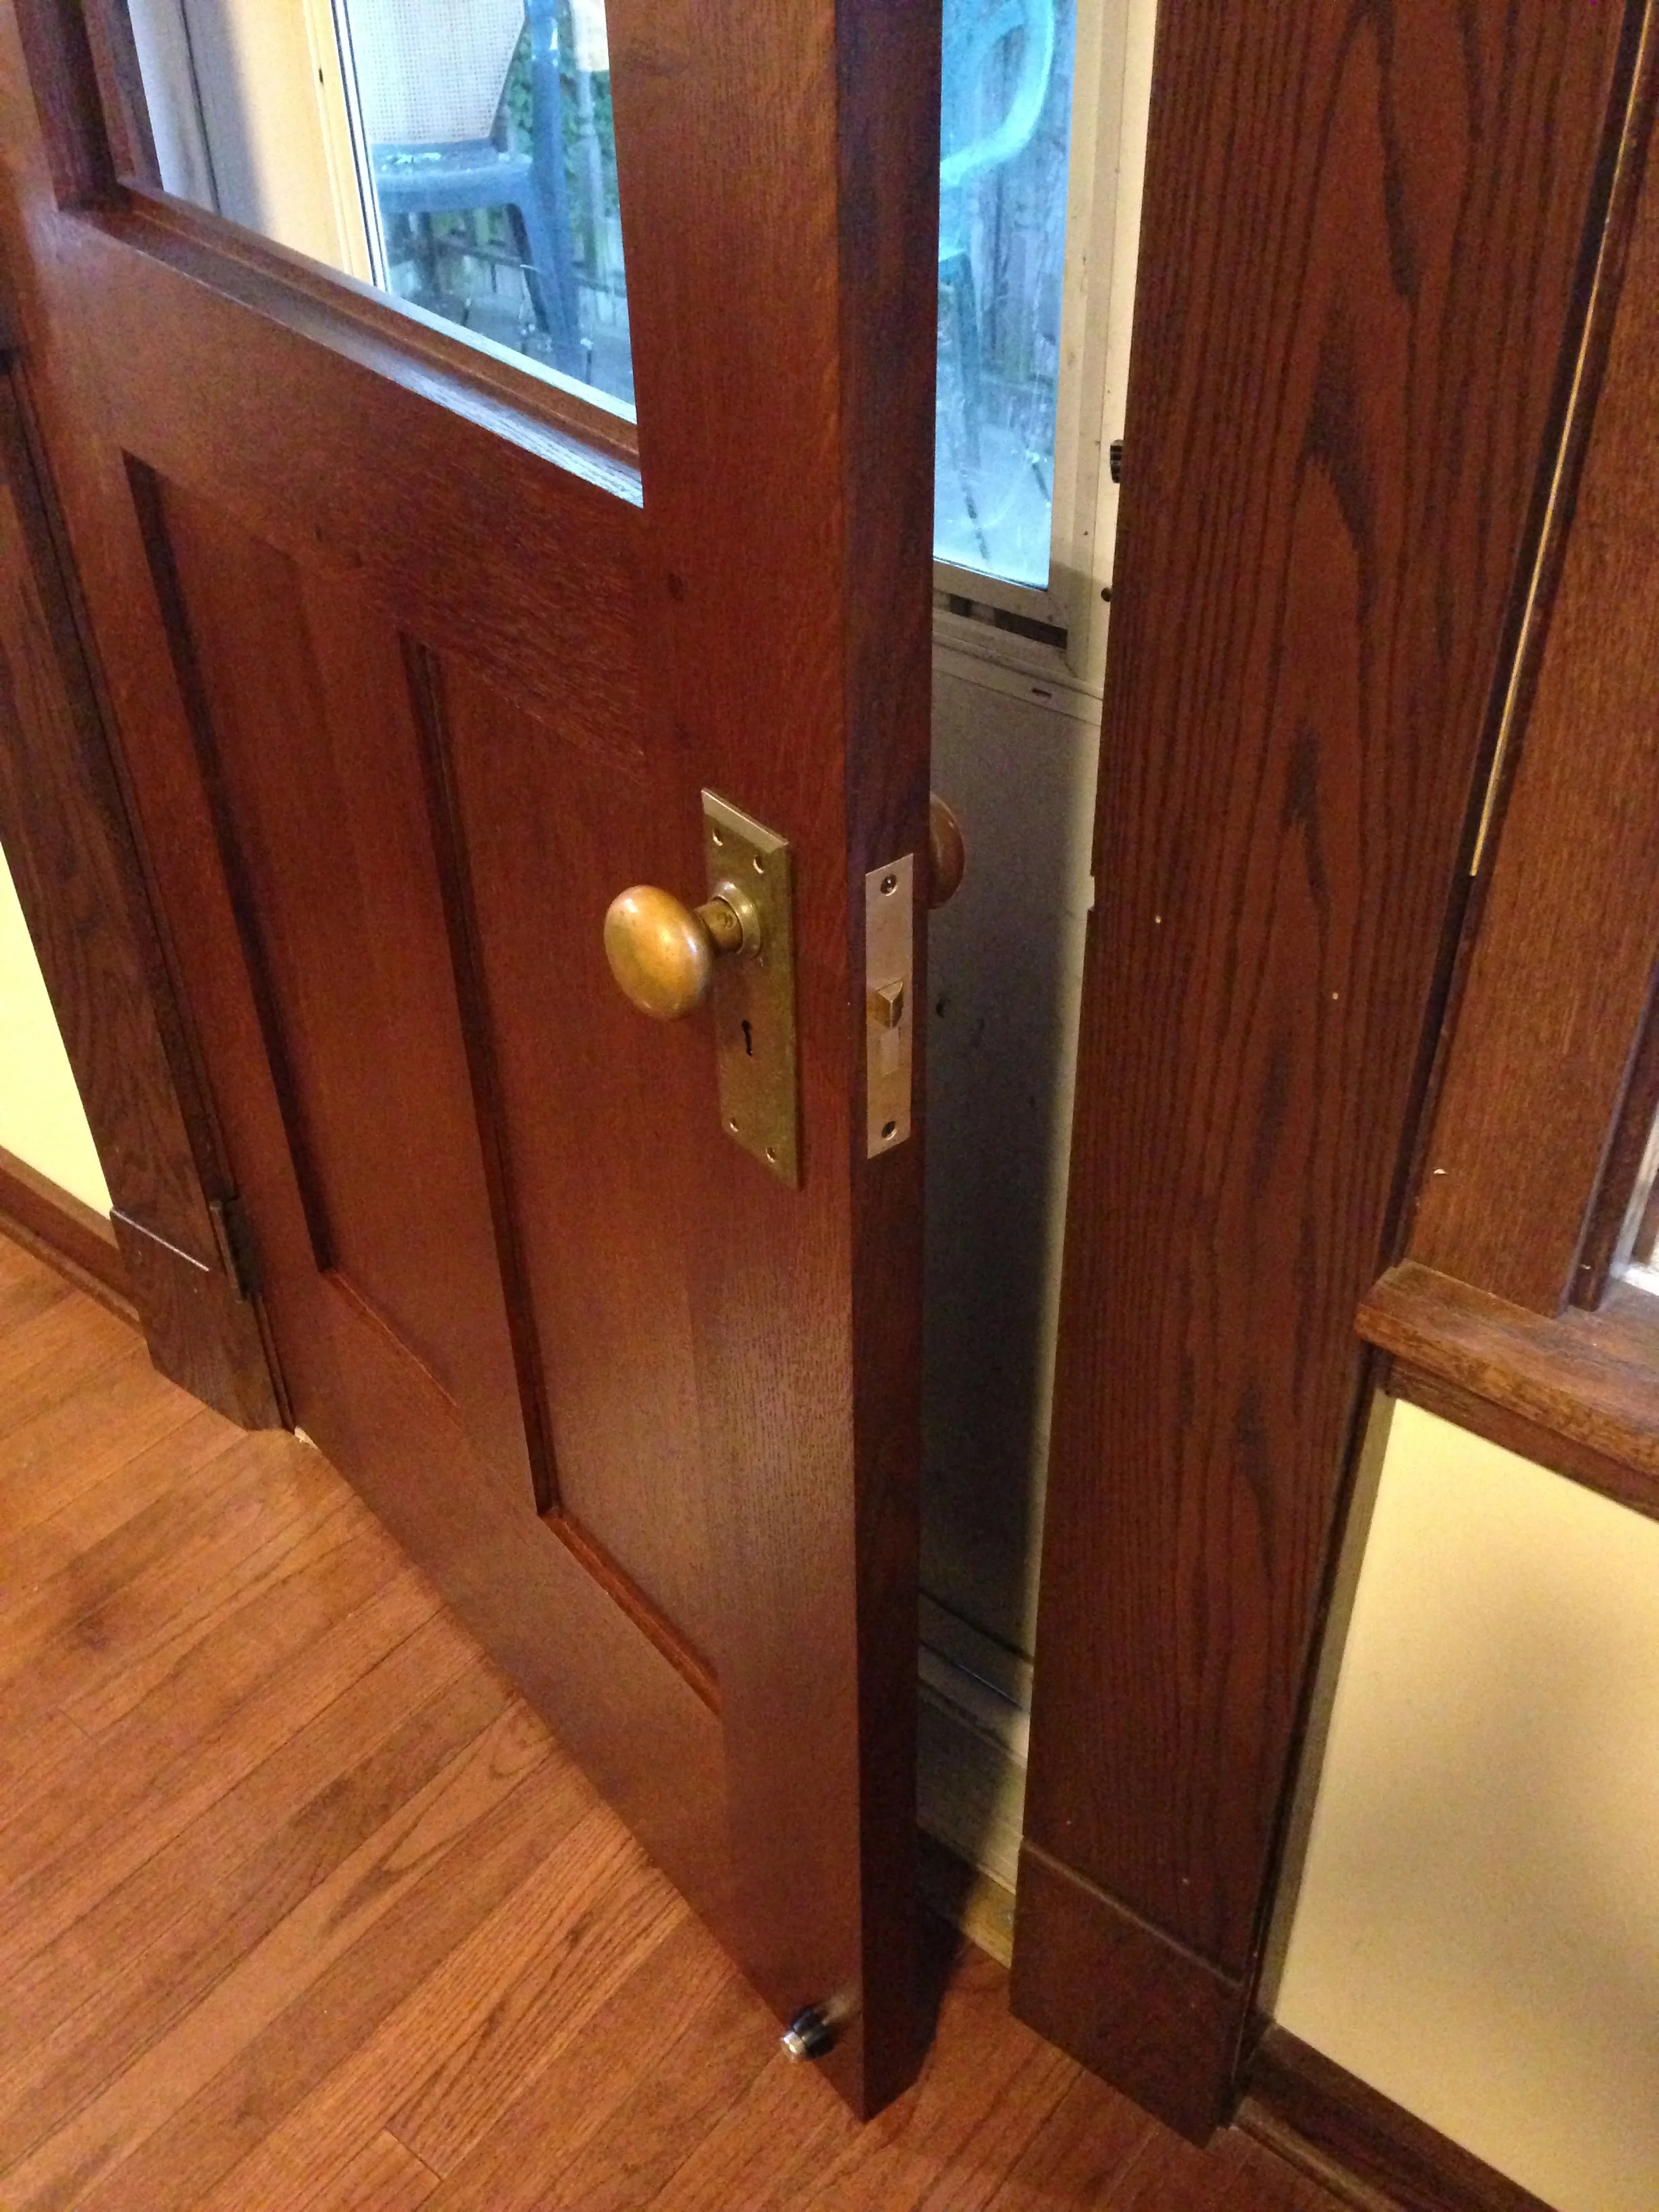
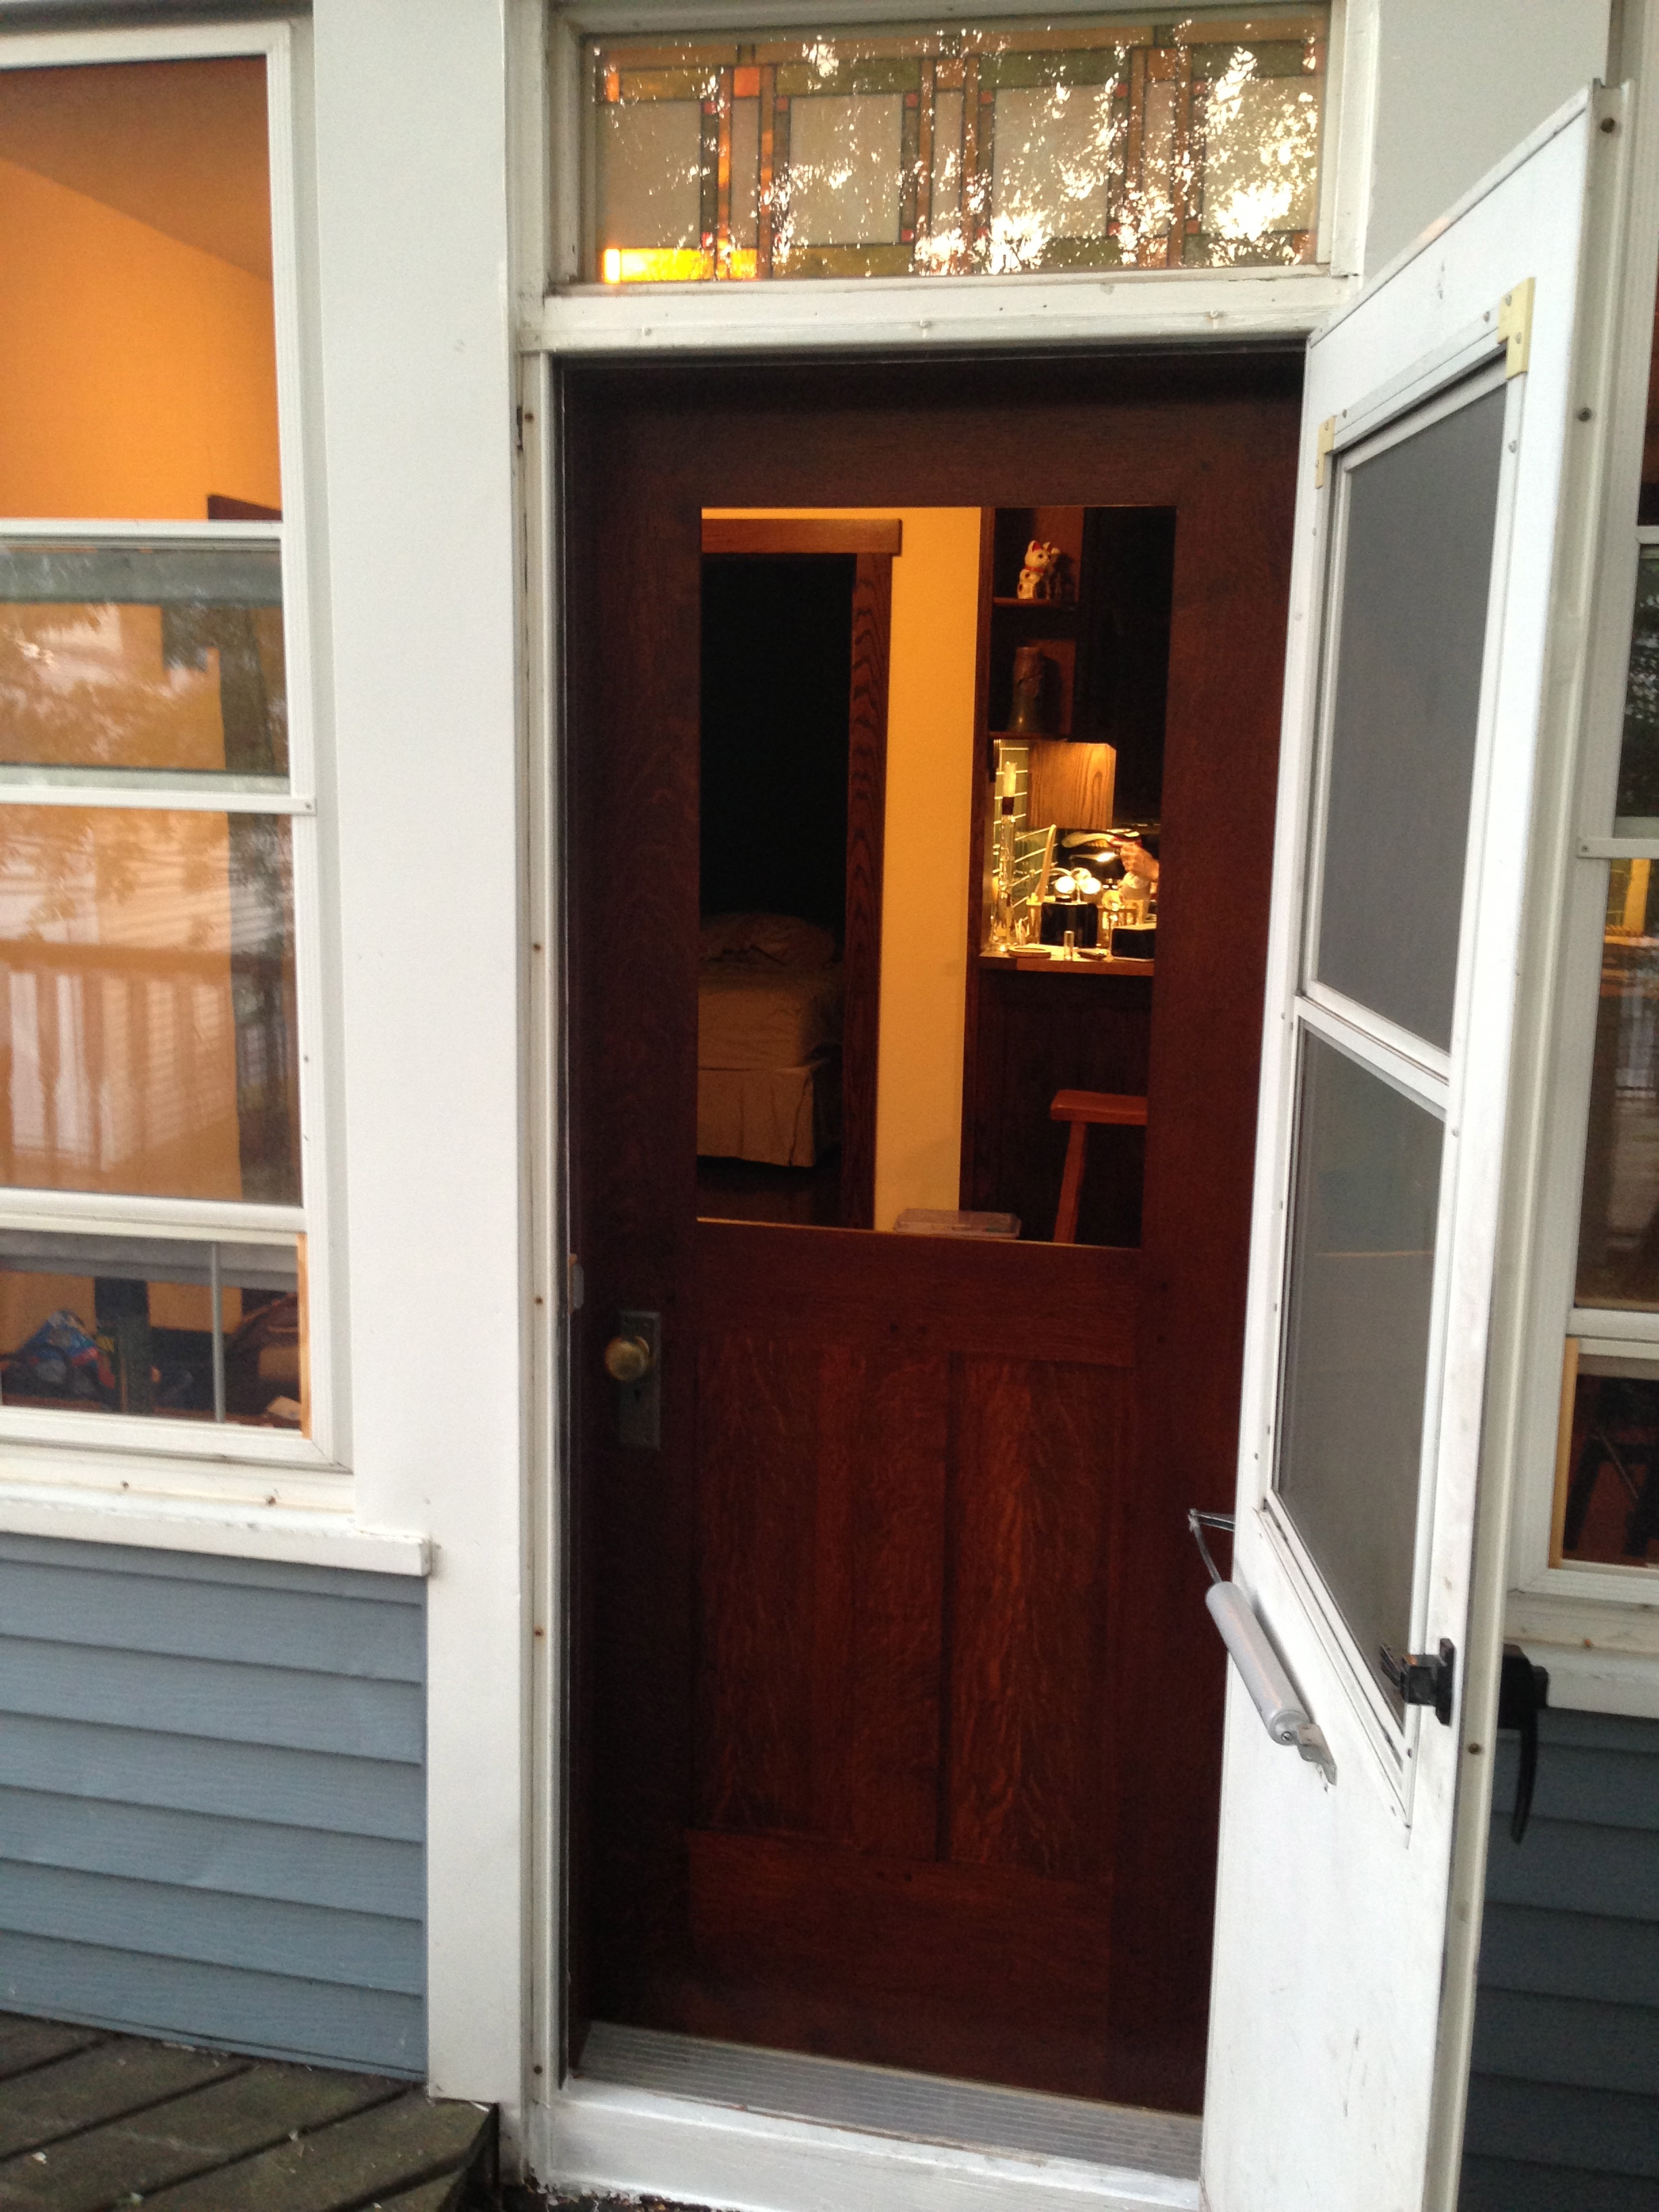
Almost done. Since part 2, the door was mortised for the vintage mortise lock. Yes, I'm going to be getting into and out of the house with a skeleton key (actually, two; the original mortise lock on the front door is getting skeleton keys made for it too). THe mortising went great, and I opted to do it by hand, as it was just easier that fiddling around with a router setup. Sharp chisels and a router plane made the work go smoothly and resulted in a perfect fit.
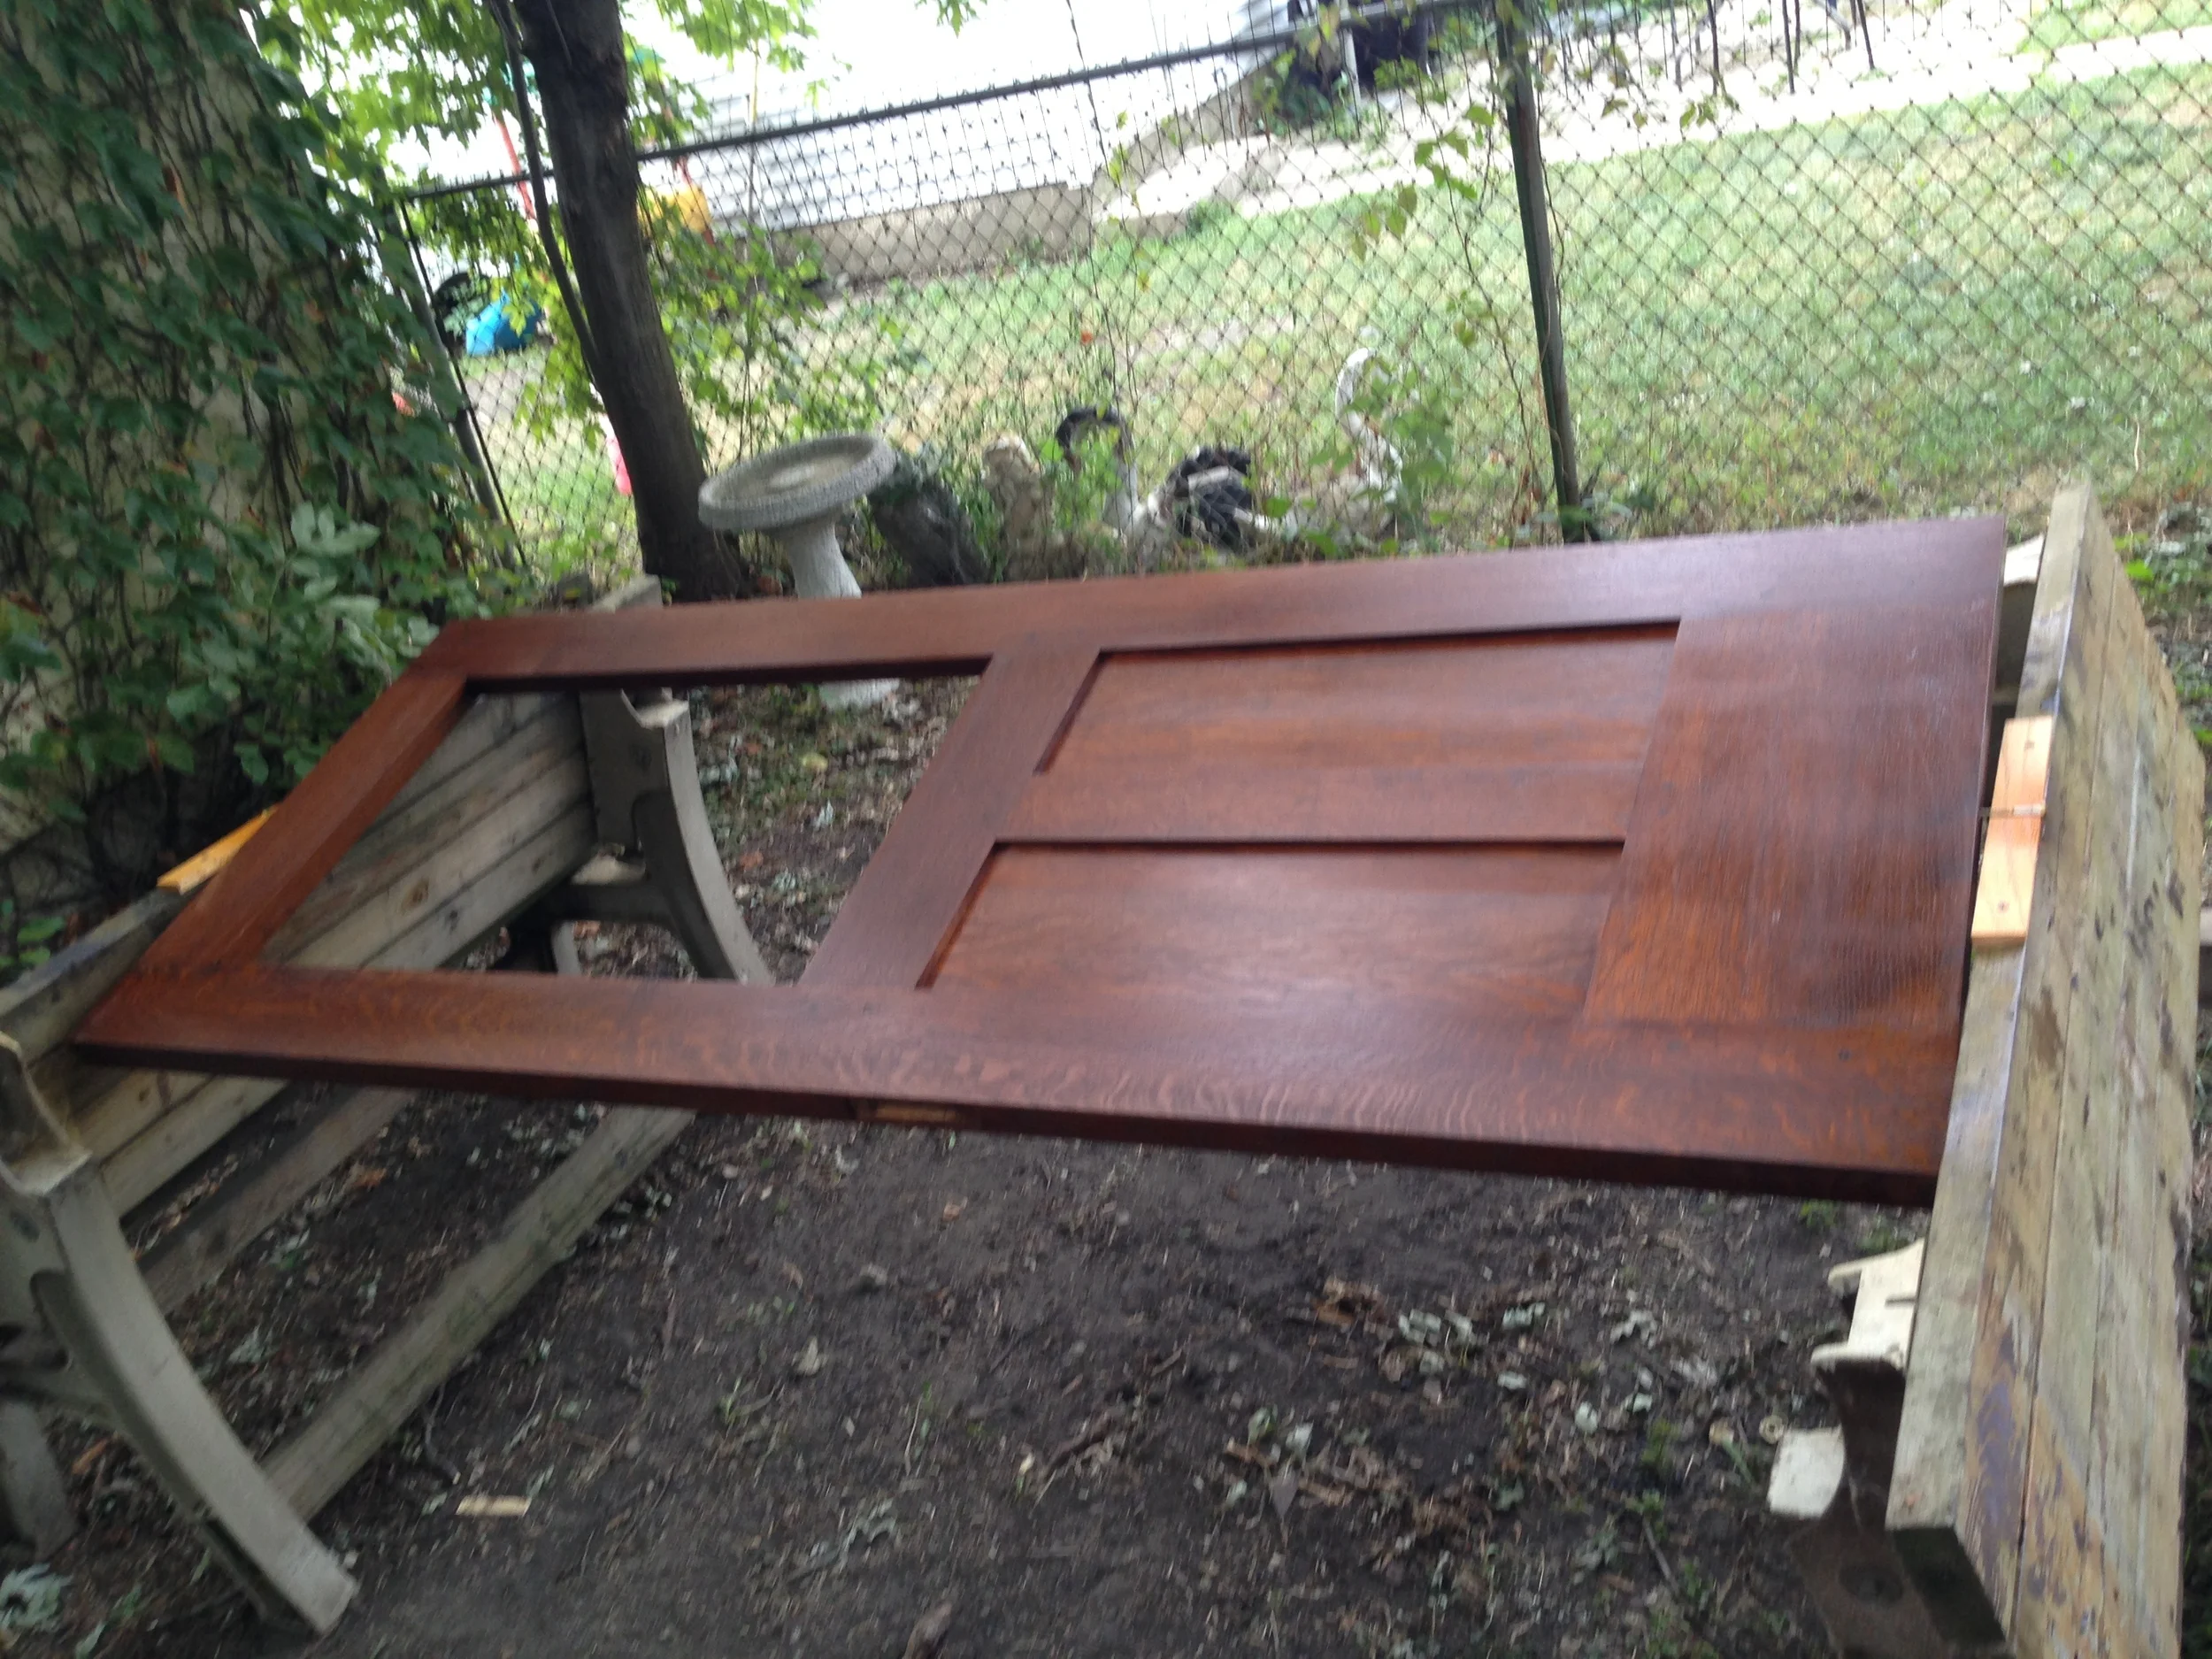
I then proceeded to the final sanding (I'd already sanded the parts up to 180 grit before assembly). Once the surface was prepped, I went through my craftsman finishing process:
- dampen the surface to raise any grain, and sand that off.
- flood with Transtint "mission brown" water based dye
- HVLP spray amber shellac, sanding with increasingly finer grits between coats. About 4 coats overall
- Spray water based polyurethane, sanding lightly between coats. About 3 coats total.
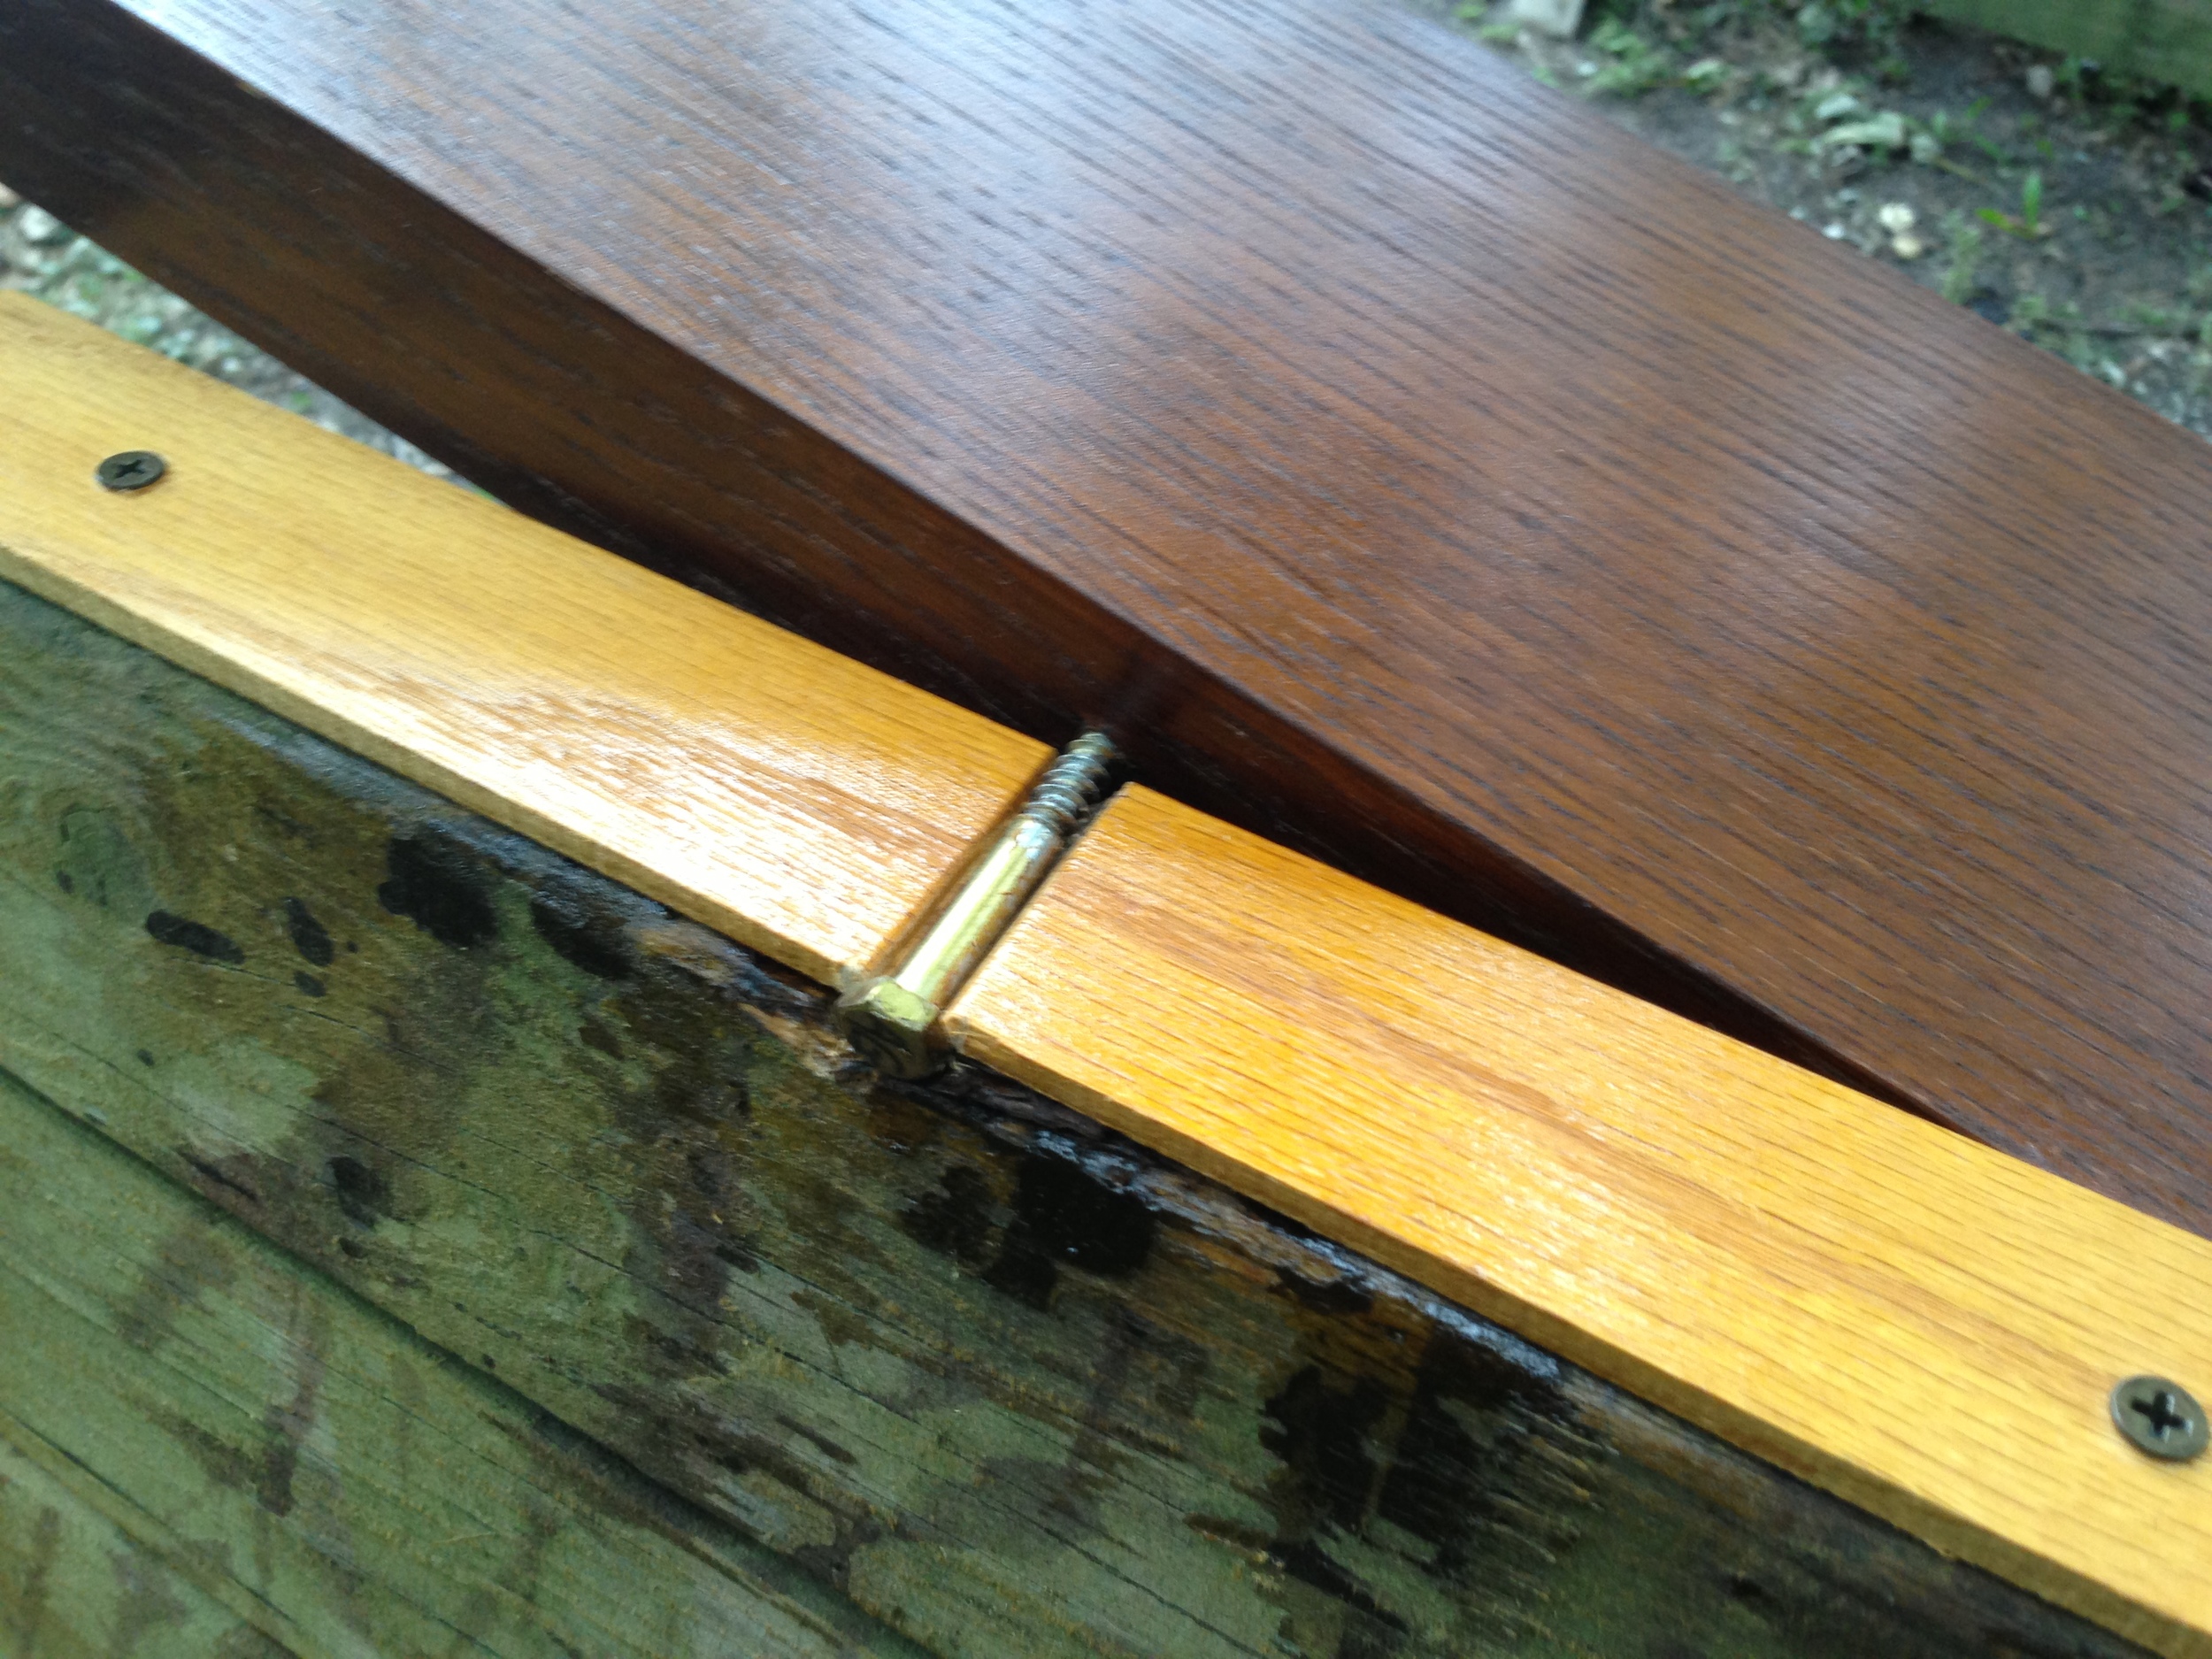
I used two lag bolts centered on the top and bottom to help me rotate the door while finishing. I could do all the sides at the same time, and it was a BIG help to the process. All the finishing took about a day and half, after which I was ready to cut the through holes for the handle rod and the keyholes. I did that with forstner bits and a chisel. The escutcheons were fitted and screwed in. and I was then able to finally mount the door.
As the job required re-building the entire jamb, I had to mortise in the strike plate. But I din't have the original strike for that handle/lock set. I bought a brass strike at the big box store that was close enough in size, and that only required widening the main opening about 3/8" on each side of the existing strike opening -- easily accomplished with a hacksaw blade and mill file. I then mortised in the strike, tested for fit, and it operated like a dream. This is really "THE moment of truth" for a door project, because if the door doesn't close right or is somehow goofy, it will forever bee annoying.
The last step of this part was the weather stripping. I opted for old-timey brass spring weather stripping. It's works great, is period appropriate, lasts for 100s of years, and is inexpensive. I got a single door kit (stripping, nails, and a lock strip) for about $20 from Kilain's Hardware of Philadelphia.
Now all I'm waiting on is the insulated glass sheet and the keys!

