
In Part 1, I went through the joinery and build of the chair. Here I'll cover the finishing and upholstery.
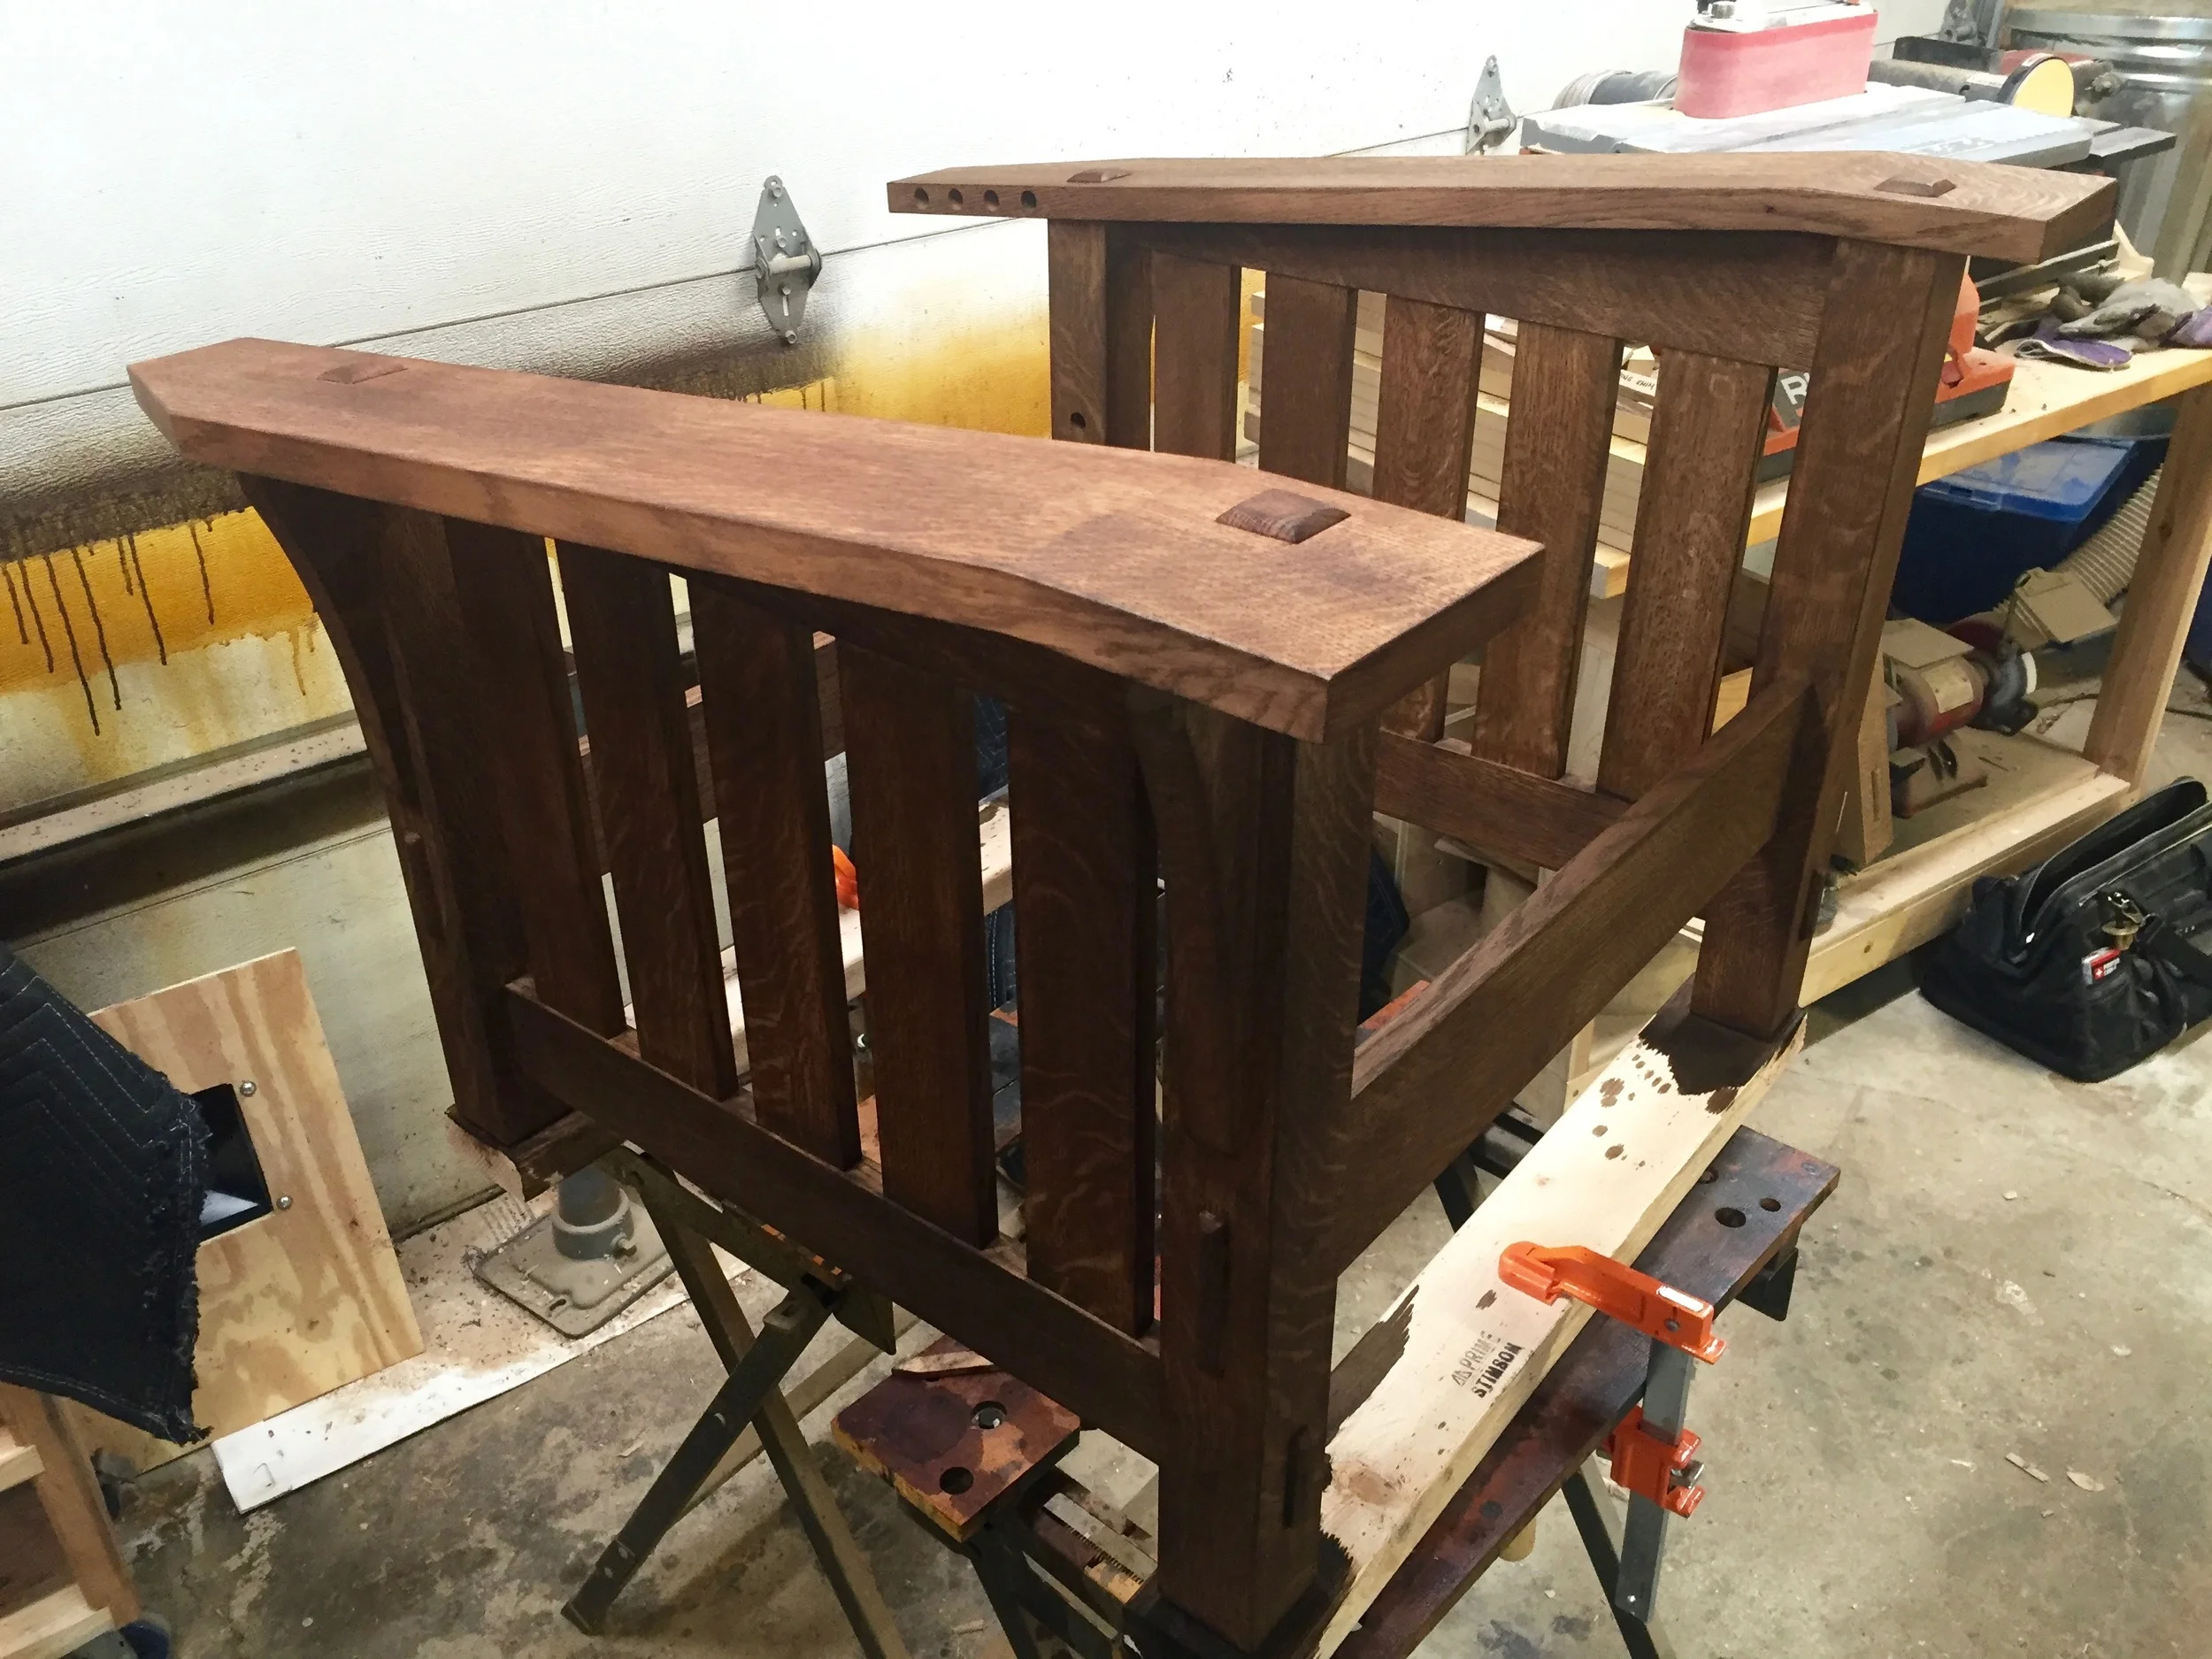
I've pretty much settled on a finishing regimen for these Craftsman / Mission / Arts & Crafts white oak pieces. I first raise the grain with a damp rag, wait for it to dry, then lightly sand down the "standers" with 220 grit paper. Then I apply a water based Trans Fast dye (it comes in powder form, then I mix it with distilled water), usually a dark brown mixed with more or less reddish dye to taste. That gets applied with a rag and foam brushes, then the excess wiped away. I usually have to even out the color by adding more in light areas, and removing some in heavy areas with a damp rag. Once dry, the piece will look terrible - flat and dull. But then I apply shellac, usually by HVLP spraying, and it comes to life. I use either Zinsser Amber shellac from the can, or mix my own from flakes, coloring to taste. I usually apply about four to seven or eight thin coats, sanding lightly between every other coat, until I reach the color and coverage I'm after. Finally, I apply dark brown or black paste was with 0000 steel wool, then buff off with a lint free rag.
For this chair, inspired by Bob Lang's suggestion on his article on his Morris chair build, I did something different on the dye stage. I used Lockwoods alcohol based dye instead of a water based dye. One of the stated advantages to alcohol based dyes is as alcohol doesn't raise the grain, it saves you from having to do that initial step. So, I gave it a try. It looked good on my test piece, and seemed straight forward enough. But once I got into applying it on the chair, I ran into some trouble. I found that as the alcohol dries much faster than the water based dye, I had real difficulty applying it evenly. Unless I worked on a very small area, I would get blotches of darker areas that were very hard to even out. After a lot of elbow grease I was able to get things looking good, that was a lot of extra work. By the end I'd learned that it takes a gentle hand to apply using with little, light touches. The water based dye is more of a flood-on, wipe-off process. The end result looked about the same as the water based, so I don't think I'll use this stuff again -- I'll stick to my go-to process.
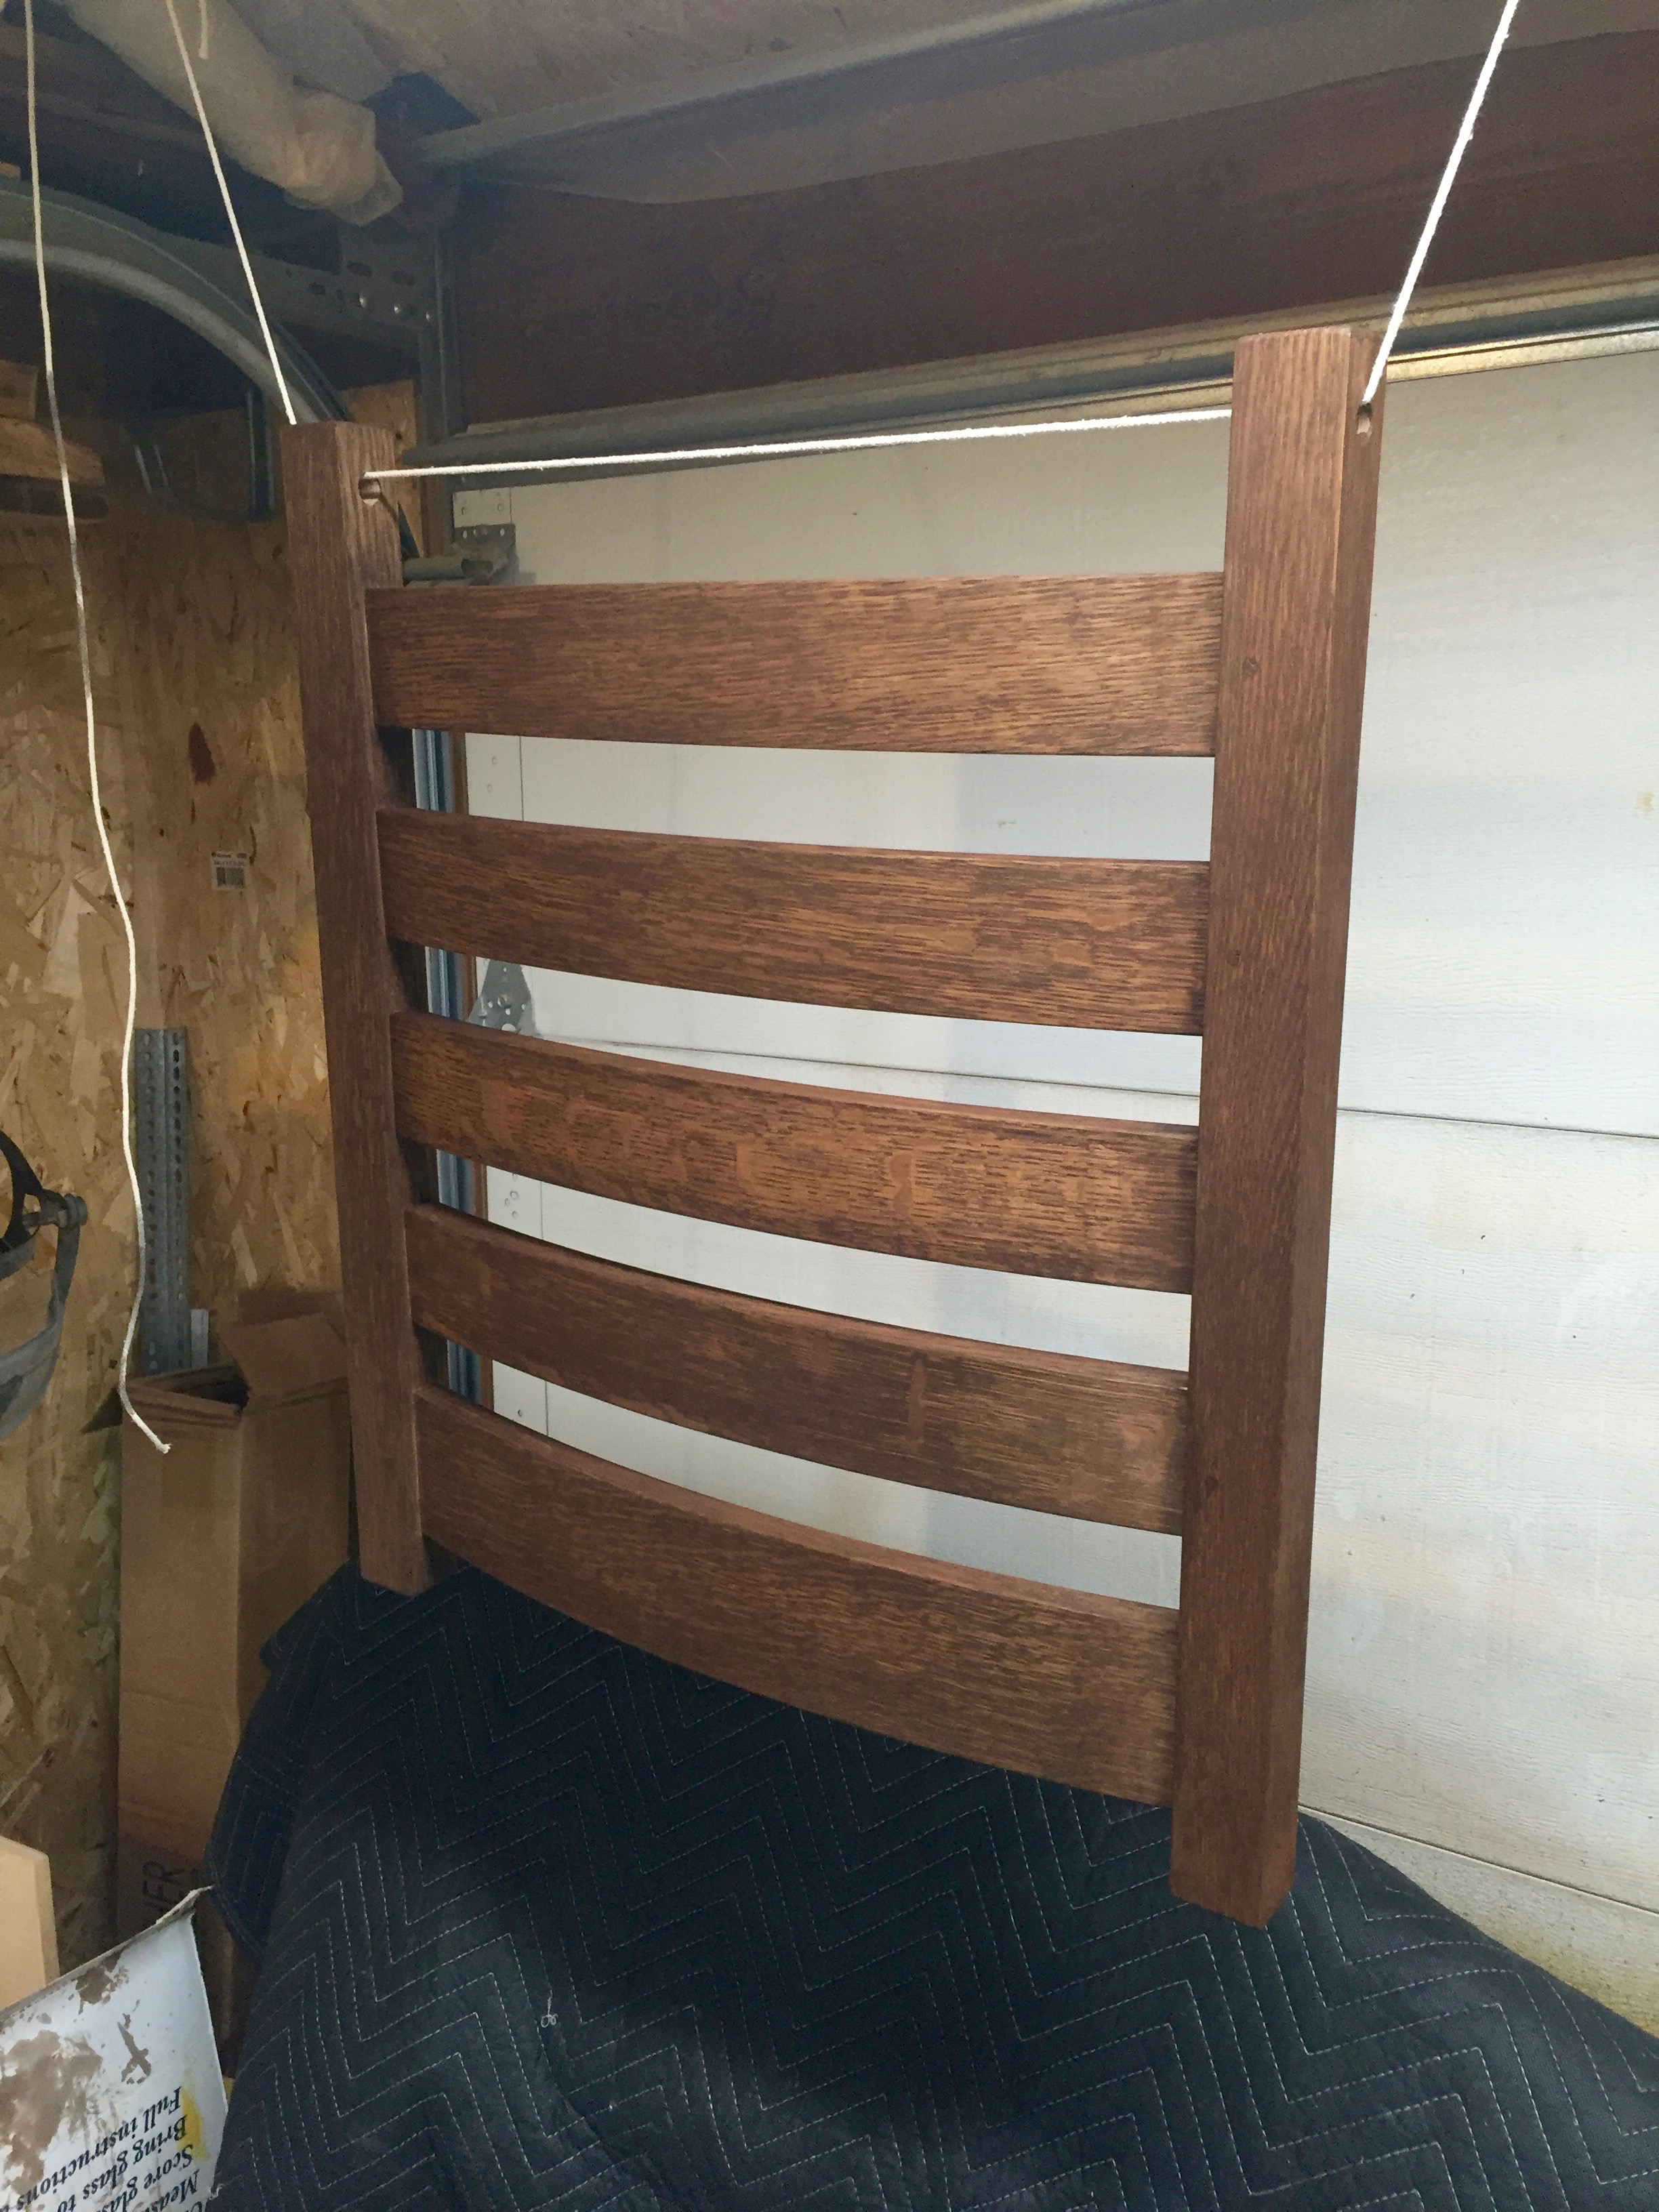
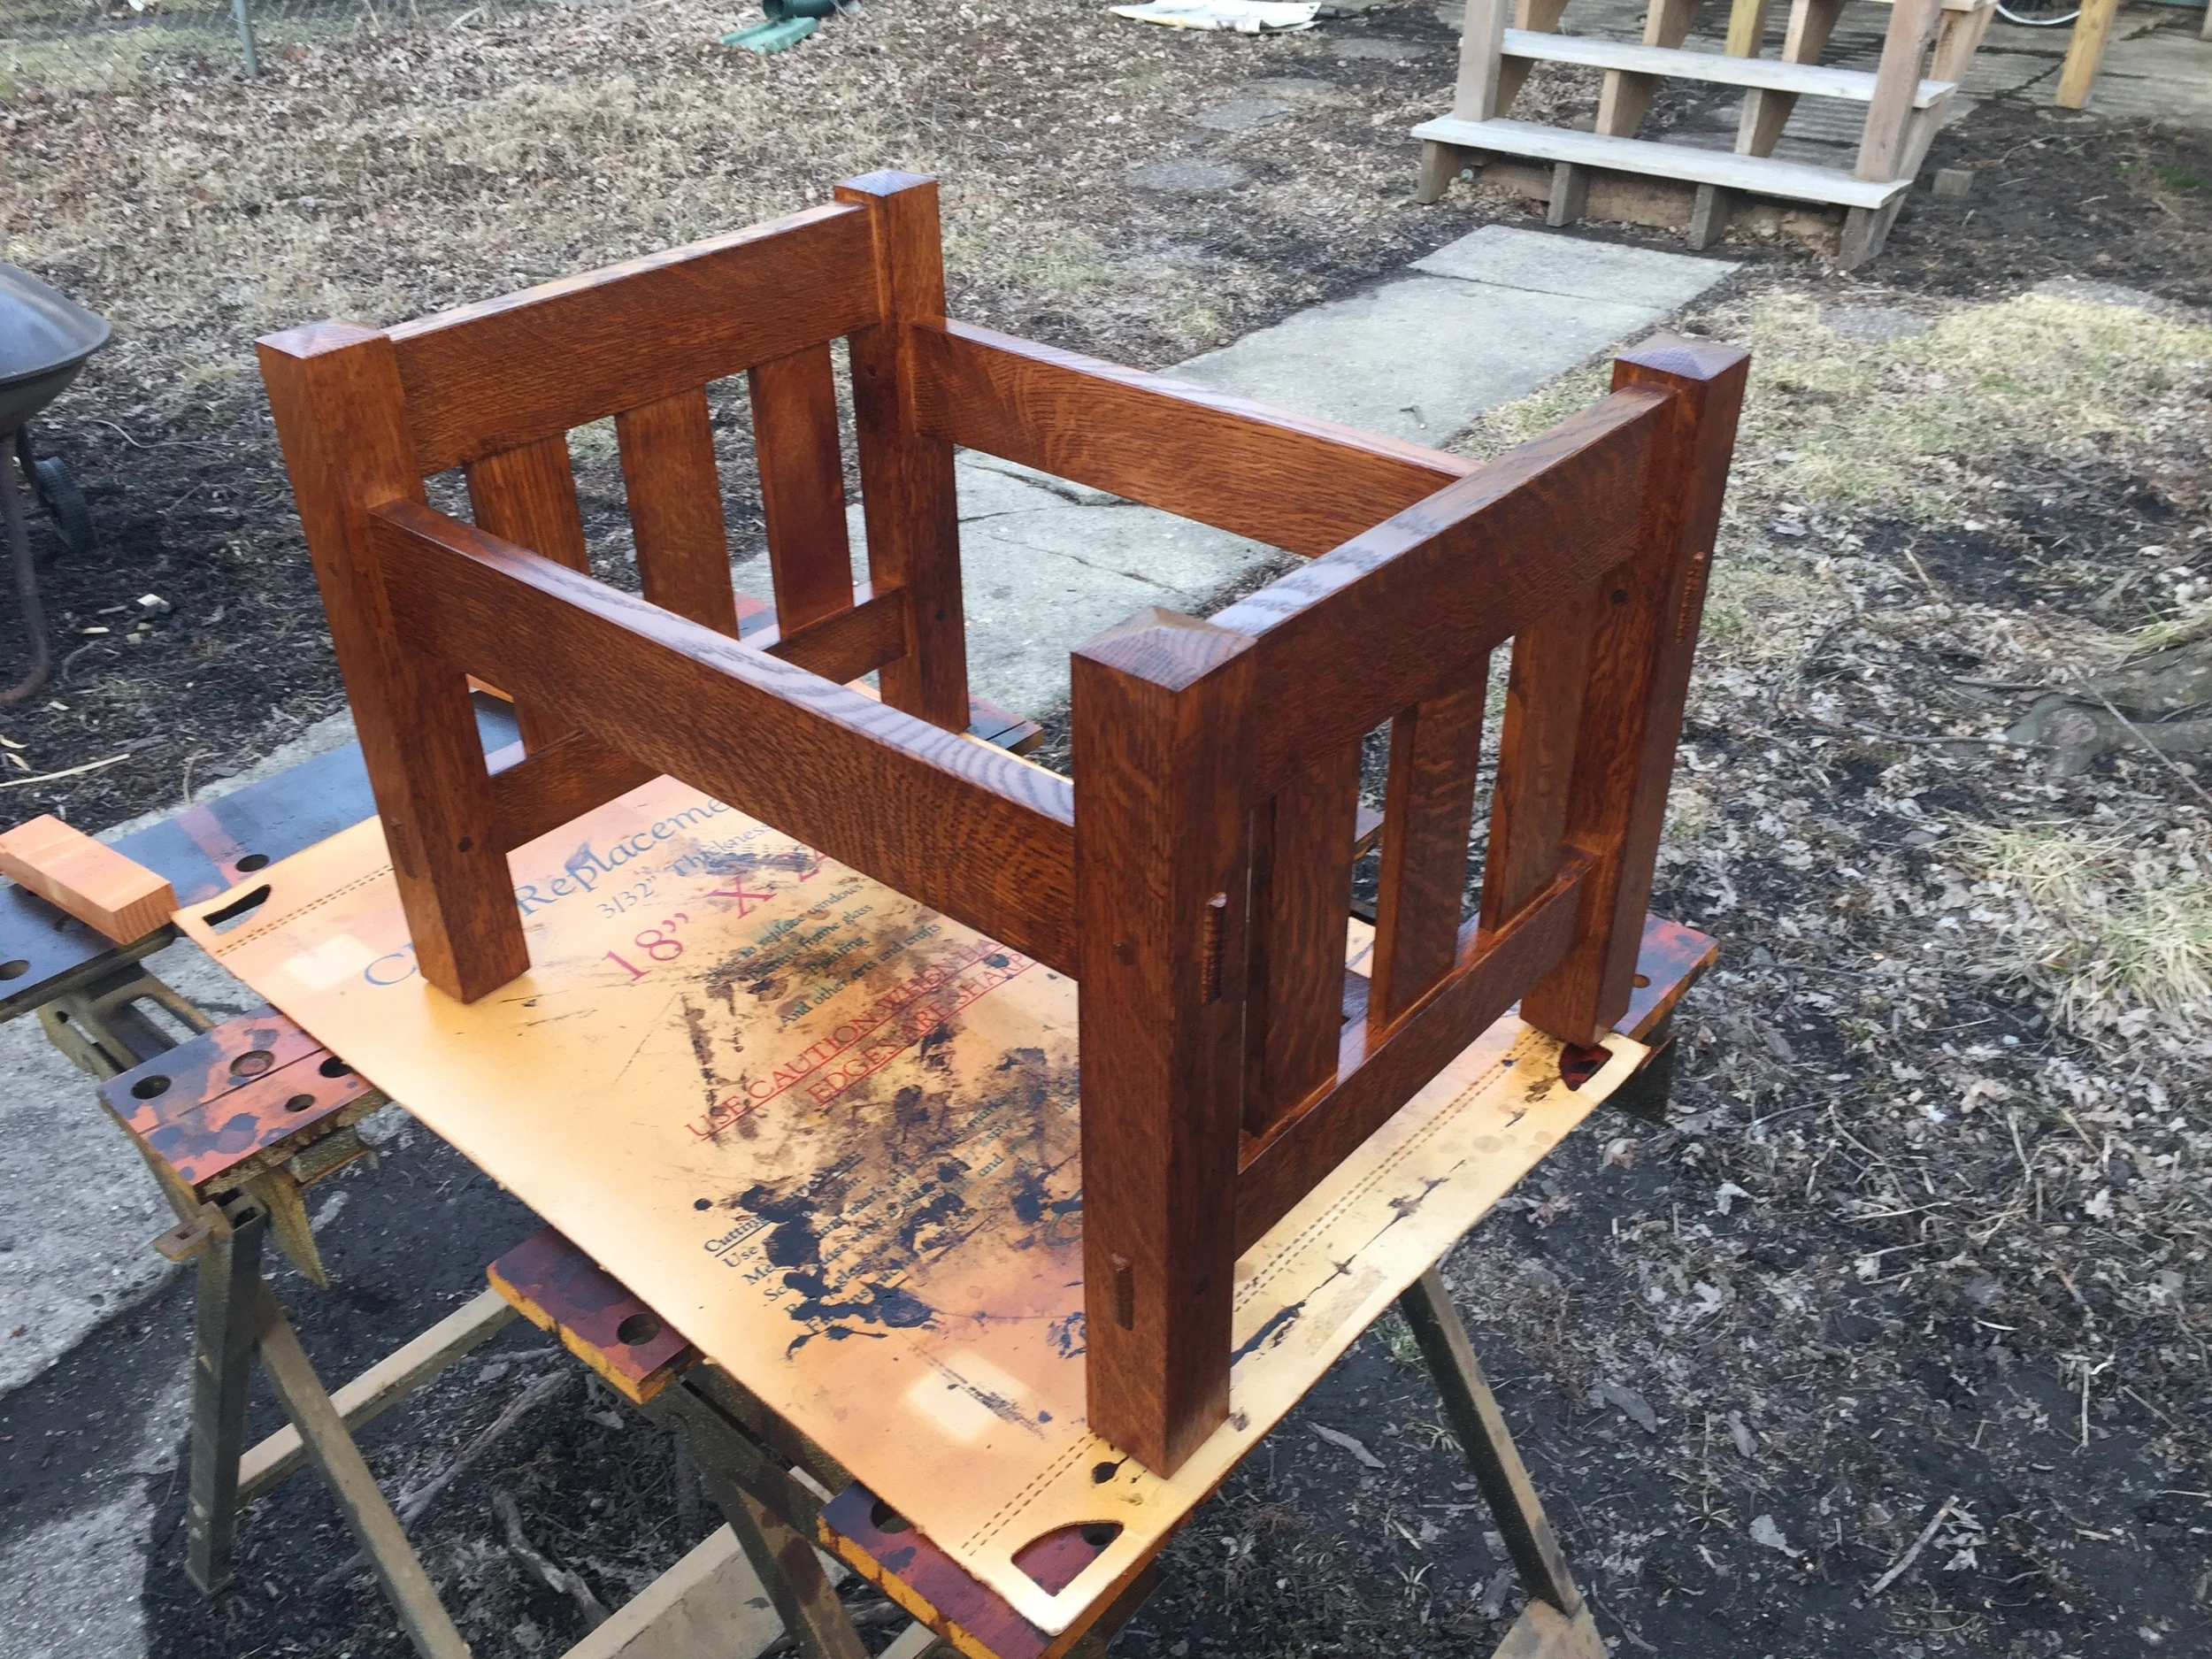
With the dye applied, I was able to start spraying. Despite this being late February or early March in Chicago, the weather took an amazing turn for the better, and we had an unseasonably warm weekend, getting over 50 degrees. I've found that 50° F is the minimum for spraying shellac, so the timing was excellent. I was ready and weather was ready. I was able to set up in the spray booth (the yard outside my shop) and get all the coats applied in a day.
hi-tech spray booth
I used garnet shellac flakes for this piece, and it really worked well with the dye to get the dark red-amber color I love for these pieces. All that was left on the process was to apply the dark paste wax. When I first started doing this, i would apply it with a rag, but quickly switched to fine steel wool as the applicator. The Wax & wool process provides a final "lubricated" sanding that is very gentle, but removes the finest list nibs and other imperfections. The wax really gets into the pores of the open grained oak and adds a great depth to the wood.
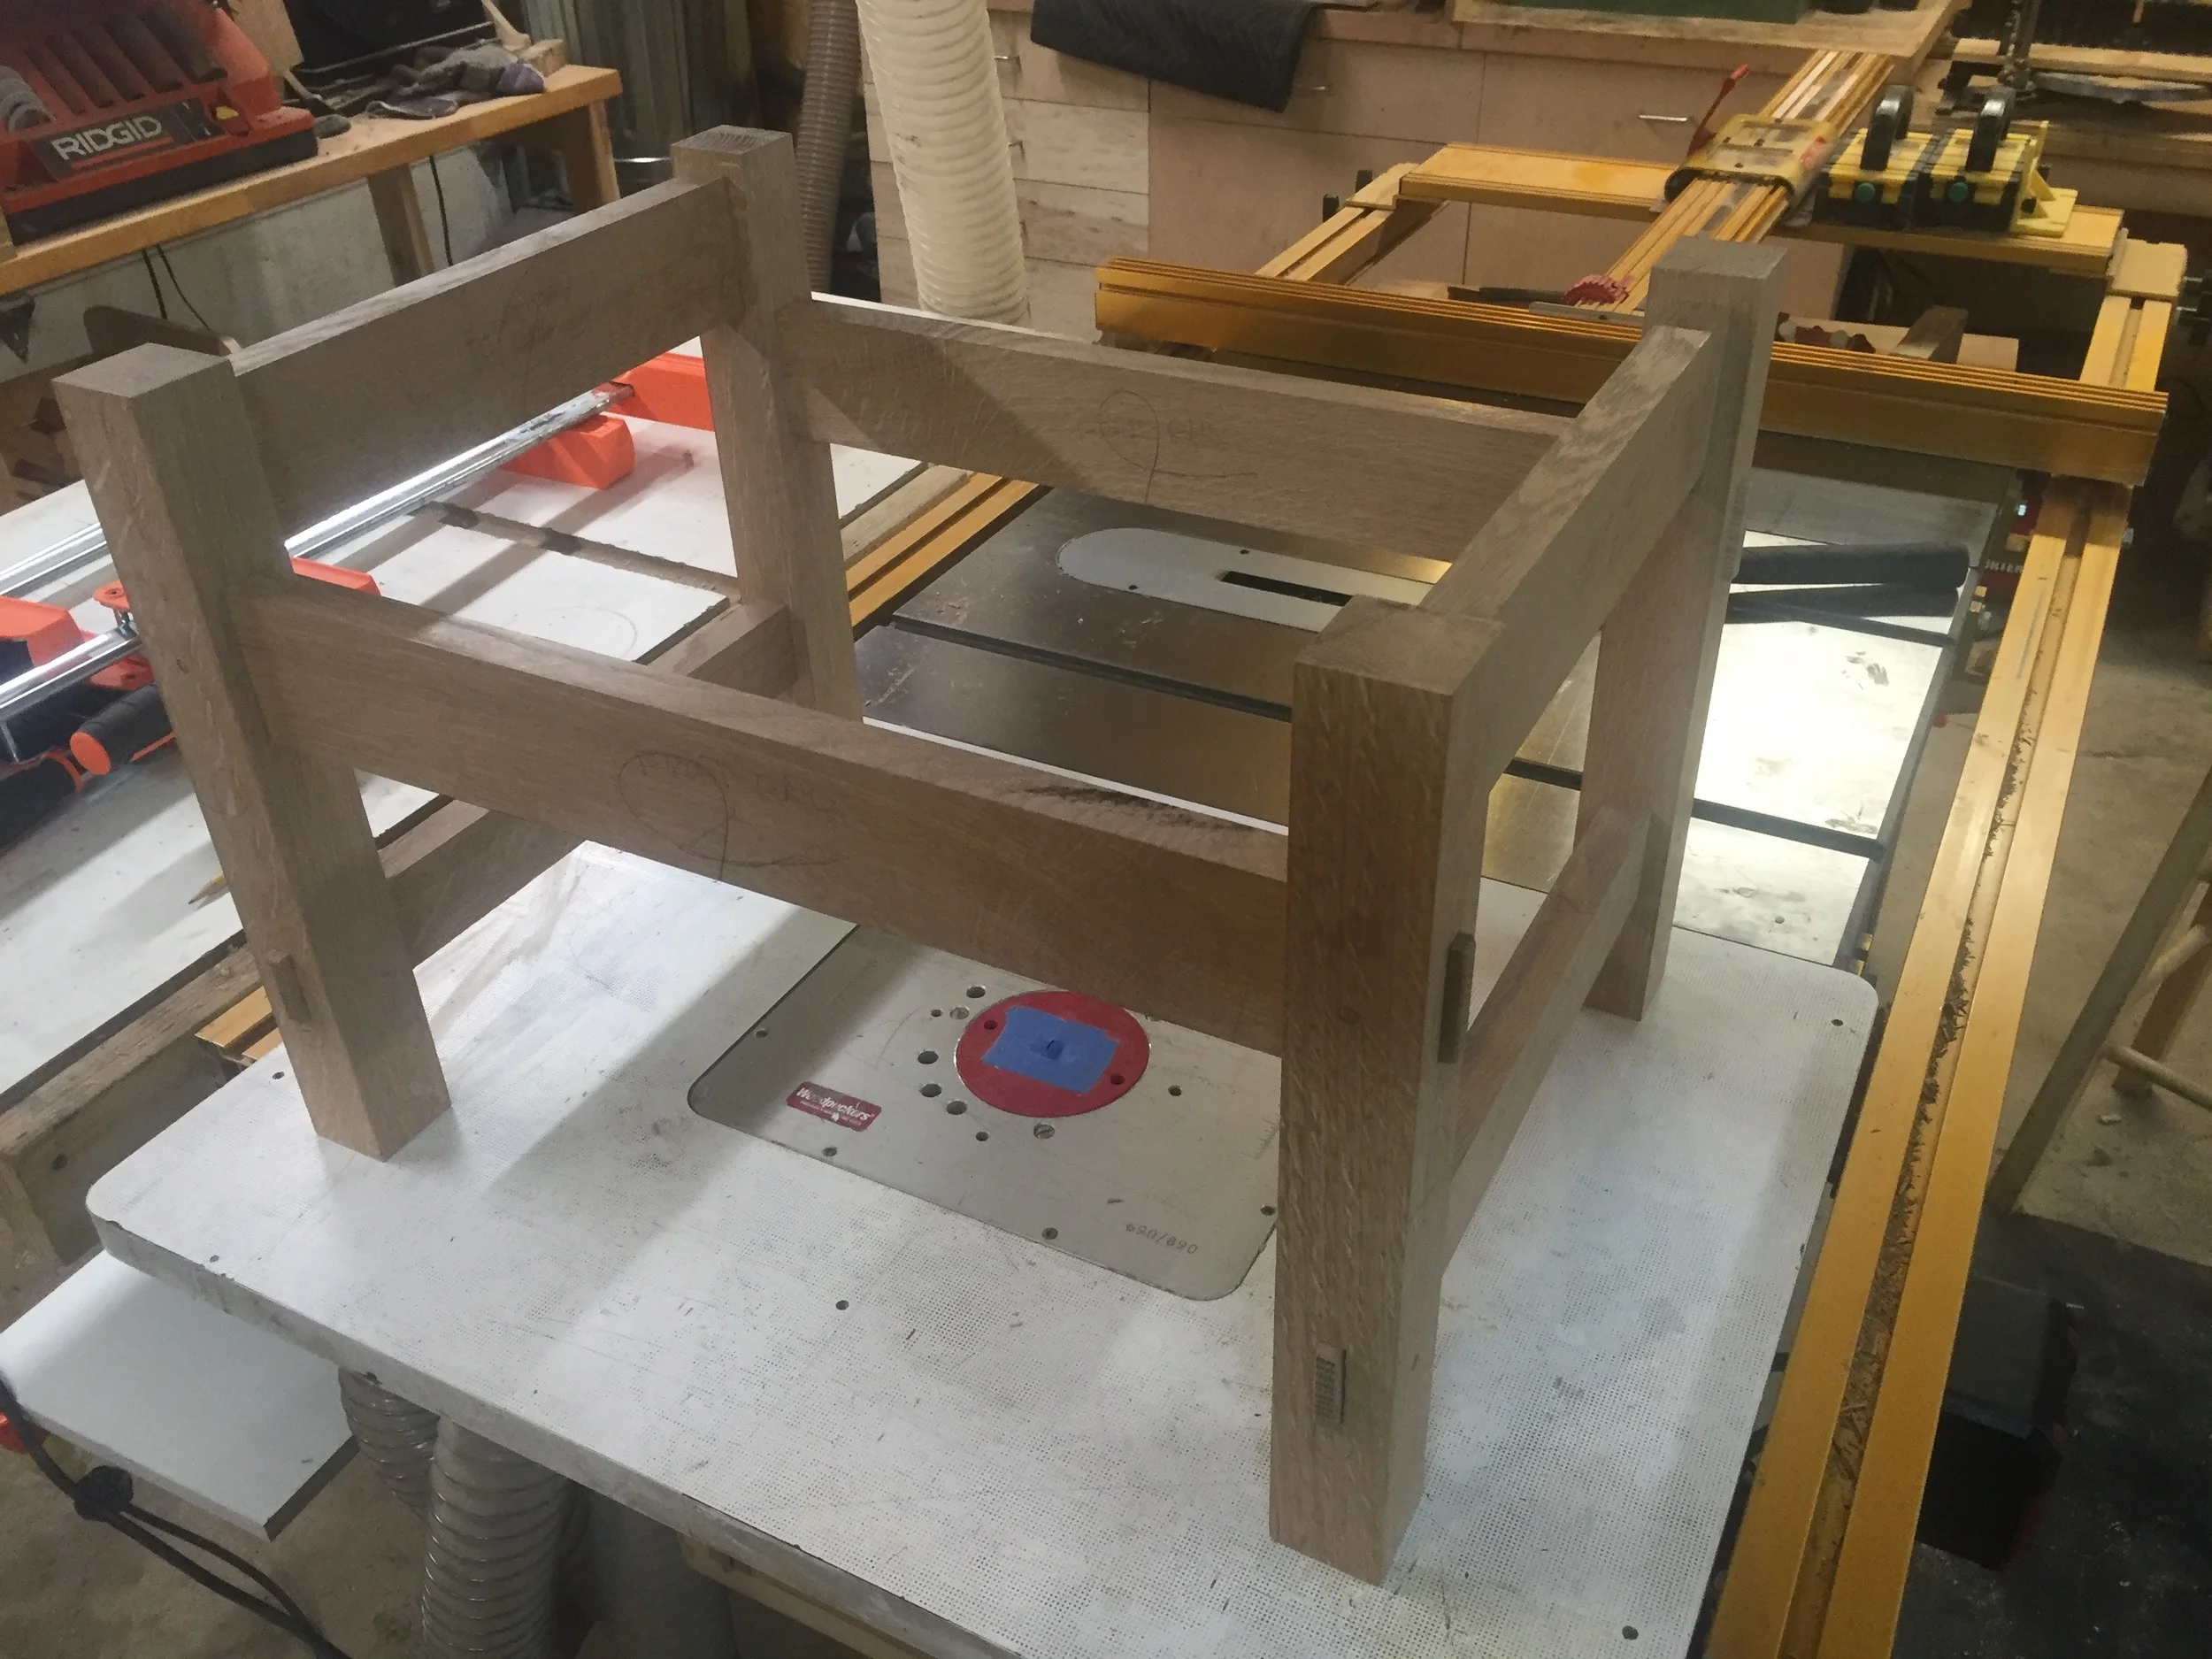
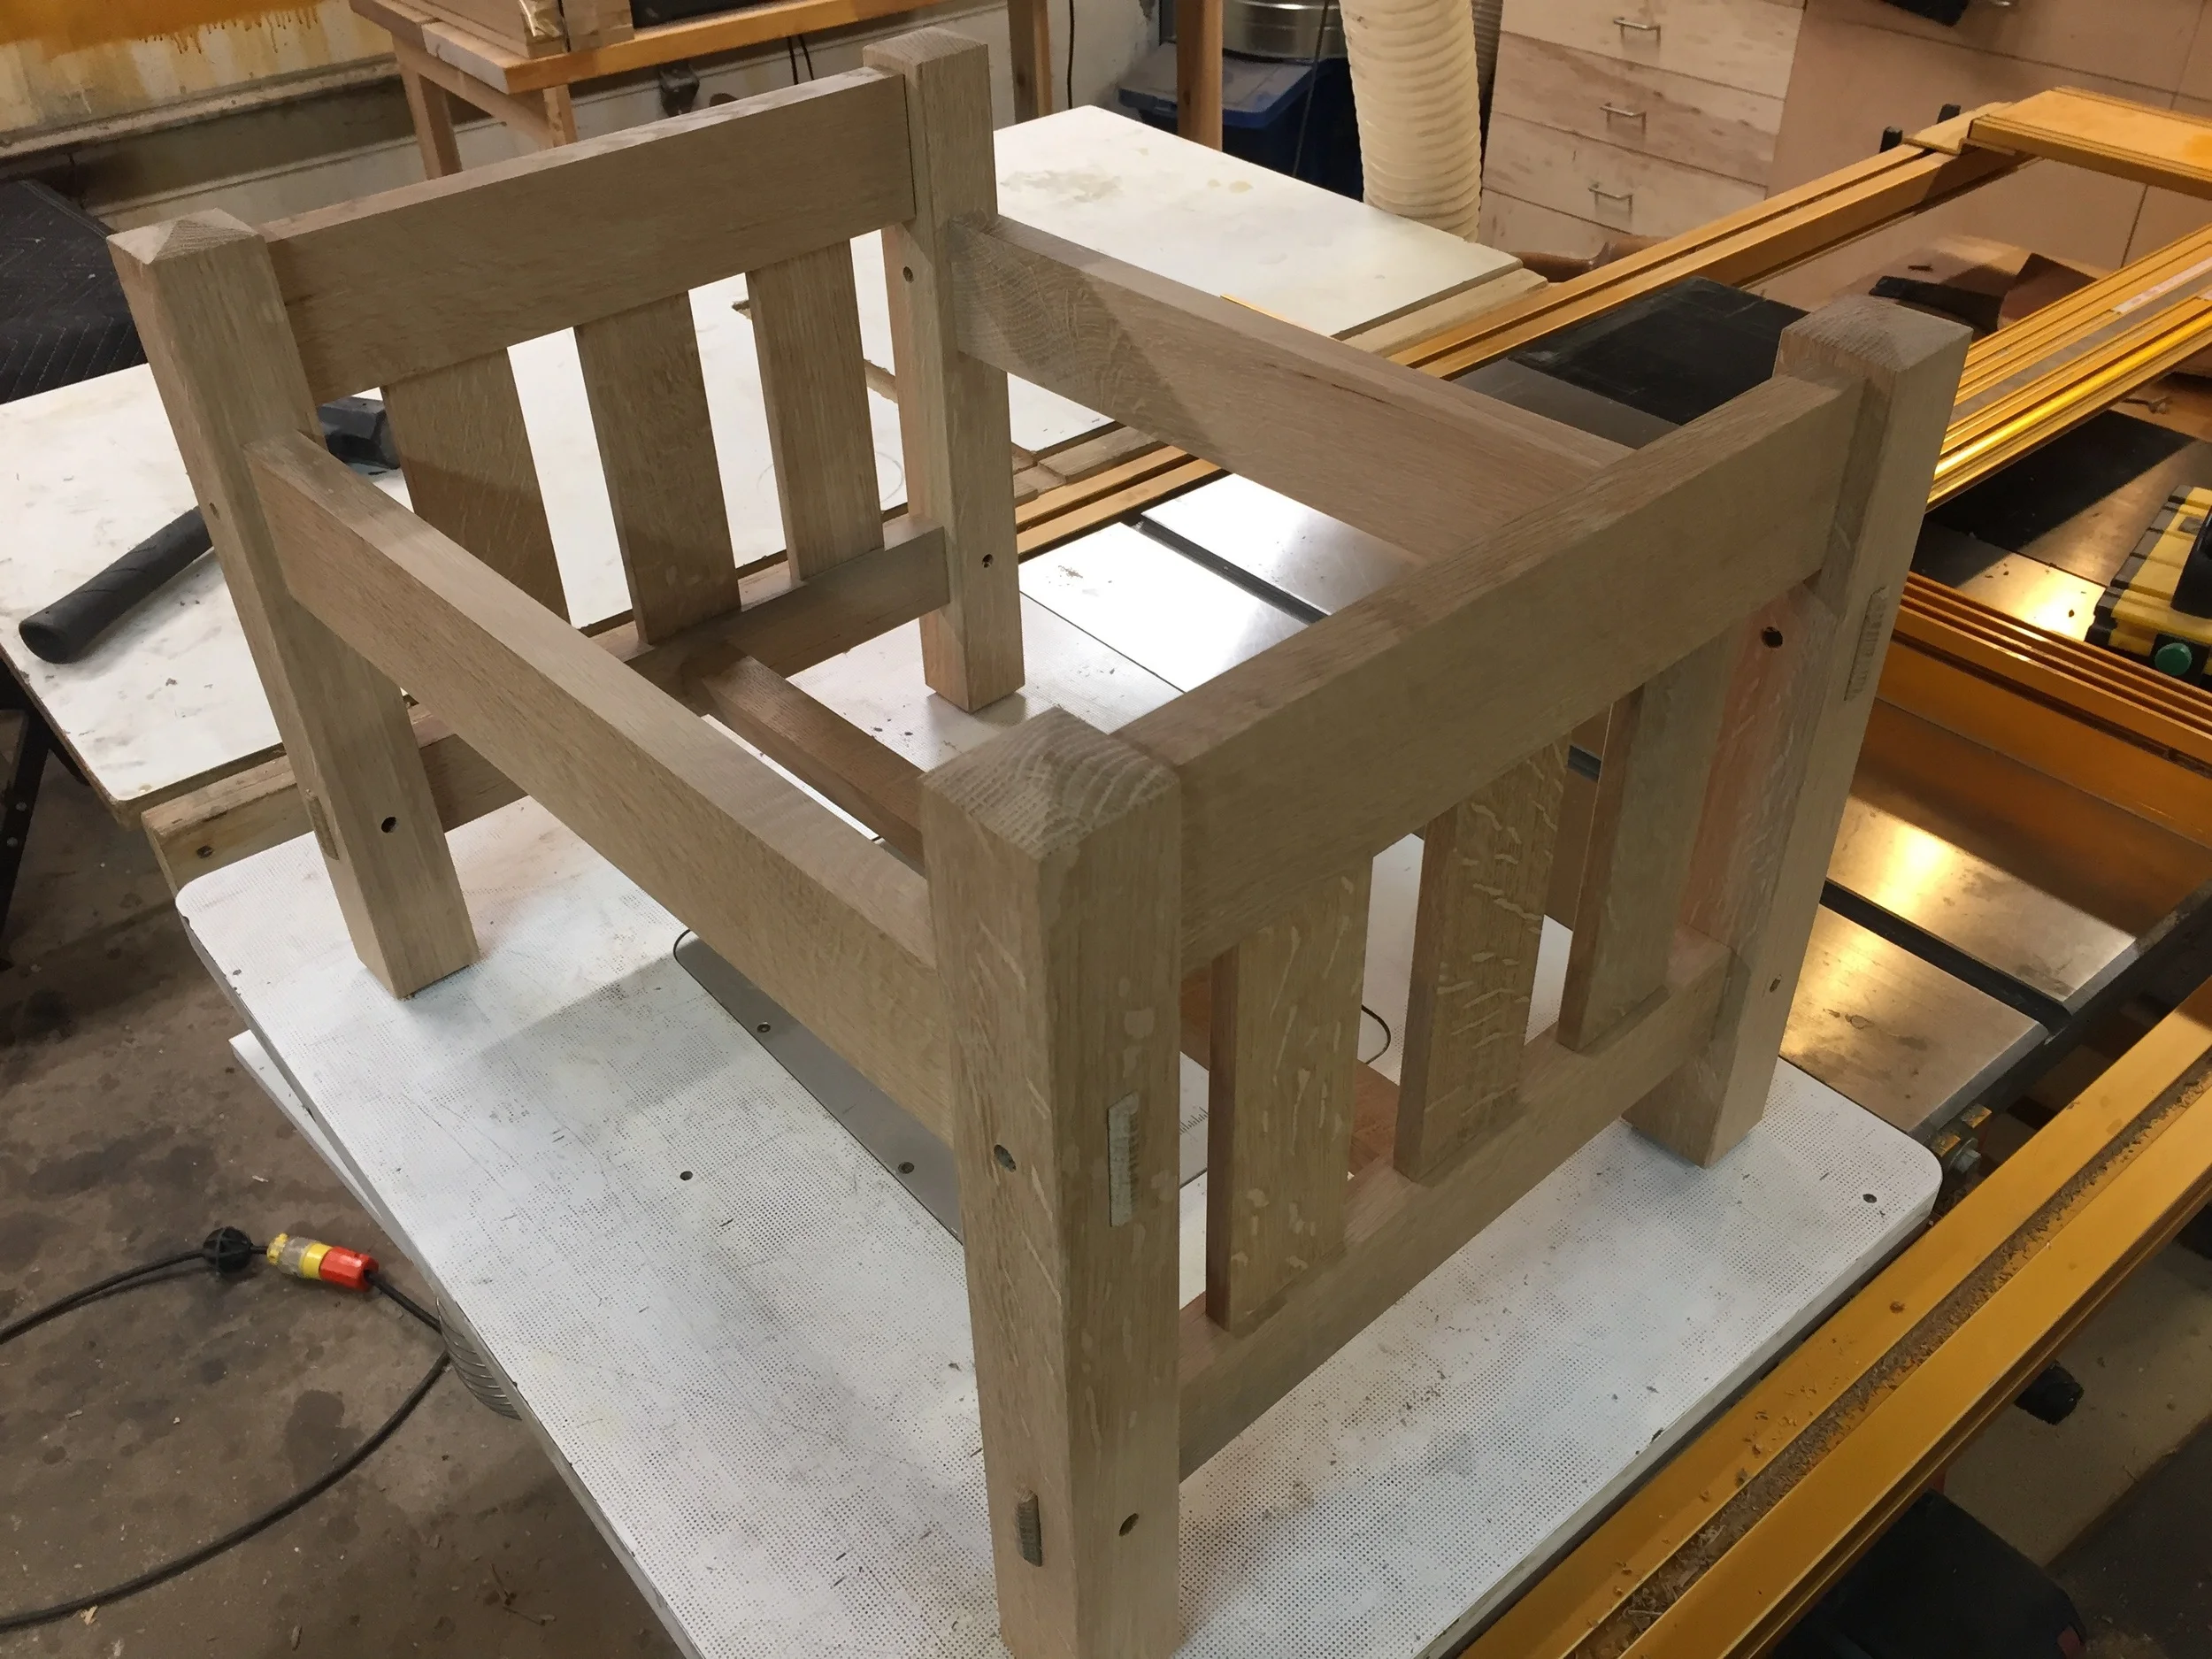
There was a foot stool part of this build, and for that I came up with a hybrid design inspired by a few other pieces I'd seen to match the chair. This went really quickly, as I was already "in the zone" on this build, had plenty of material from the cutoffs, and the process was fresh in my mind. It was like doing the same build over again, but only about 1/3 the size, and none of the tricky bits.

Upholstery was next, and I'm fortunate to have found a great local upholsterer, Kylie of Recovered Interior . We worked together on the Prairie sofa and love seat project in the summer of 2015, and I was excited to work with her on this too, because I knew she'd do a great job. Iinstead of the leather I'd used on the sofa and love seat, I decided to use a fabric. I was picturing a nice William Morris-esque earth tone pattern. I finally stumbled upon this great stuff at Chicago's Fishman's Fabrics.
While I waited for the upholstery to be done, I had to stare, er, glower at the old chair this one was replacing...
ugh
And finally it was back, and in place...
And that's it. This was a fun build, and I learned a lot from it. The result thoroughly exceeded my expectations. And apart from the cats thinking I'd spent hours out in the shop building the world's nicest scratching platform for them ("get OFF it!"), it was a complete success. It is comfortable, and looks great in my home. It's my go-to "read woodworking books while sipping whiskey" chair.
I'll be scheduling a sexy photo shoot going for this and add it to the gallery.
UPDATE: photos are here