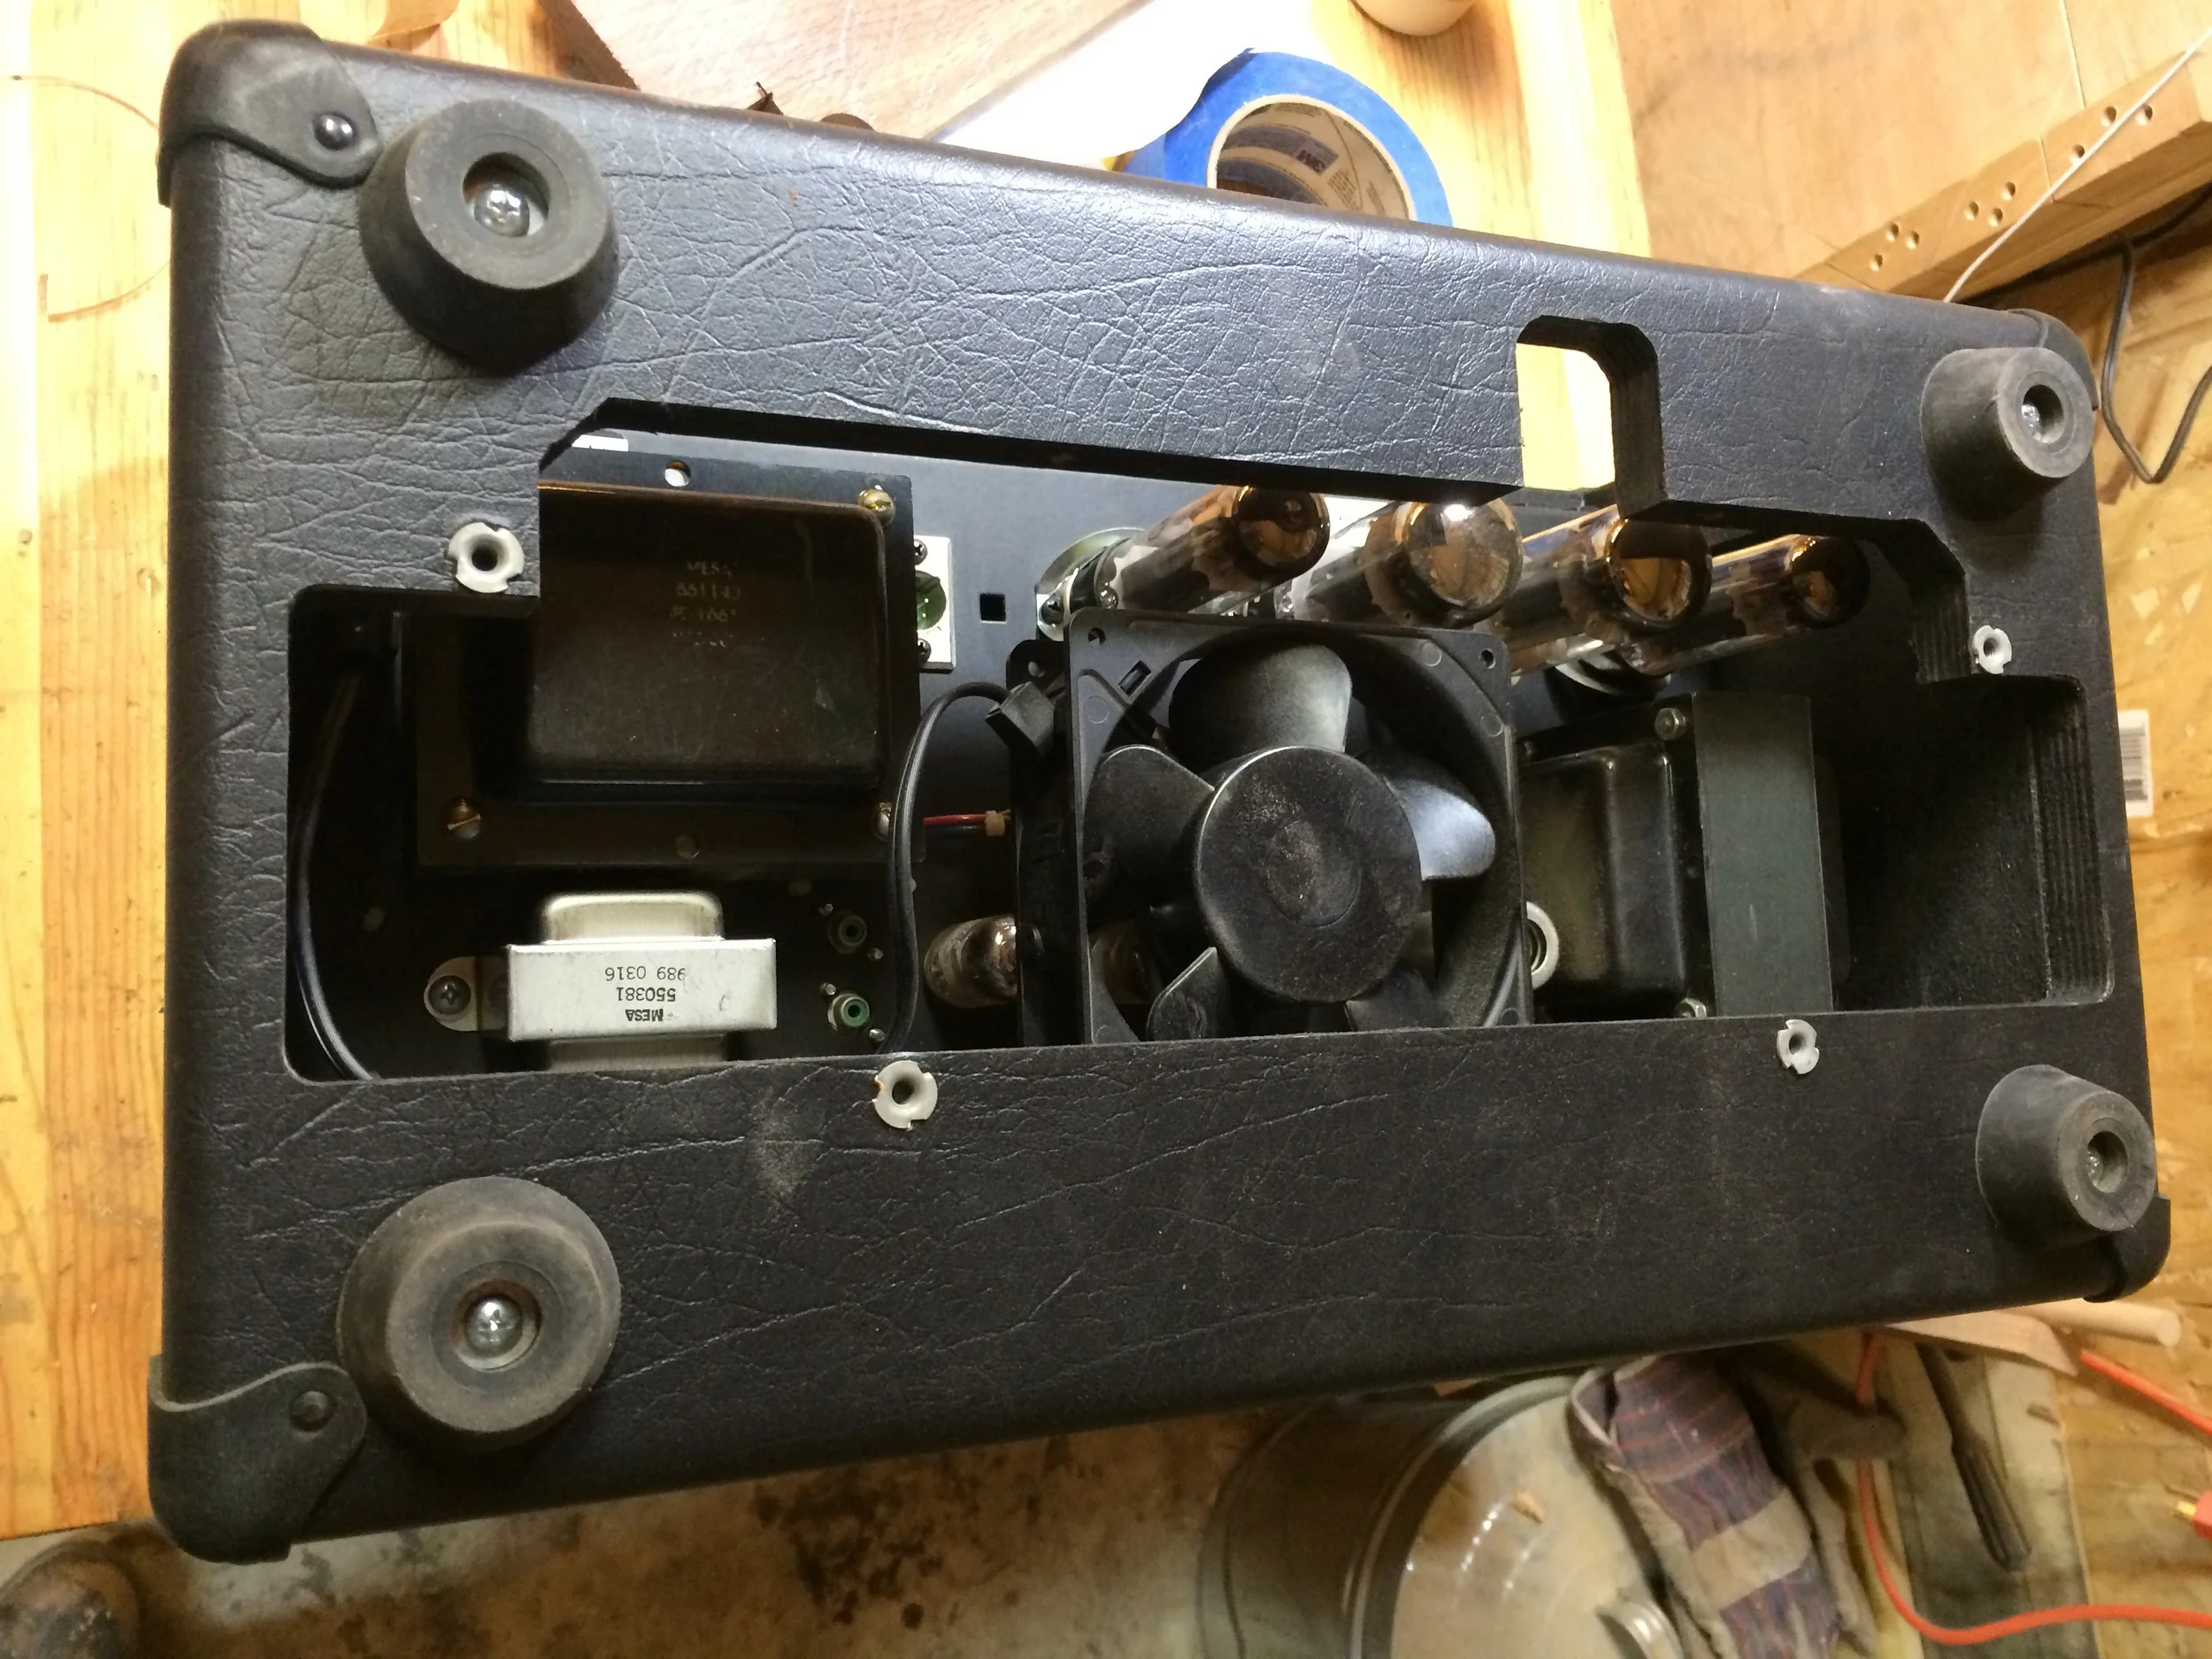
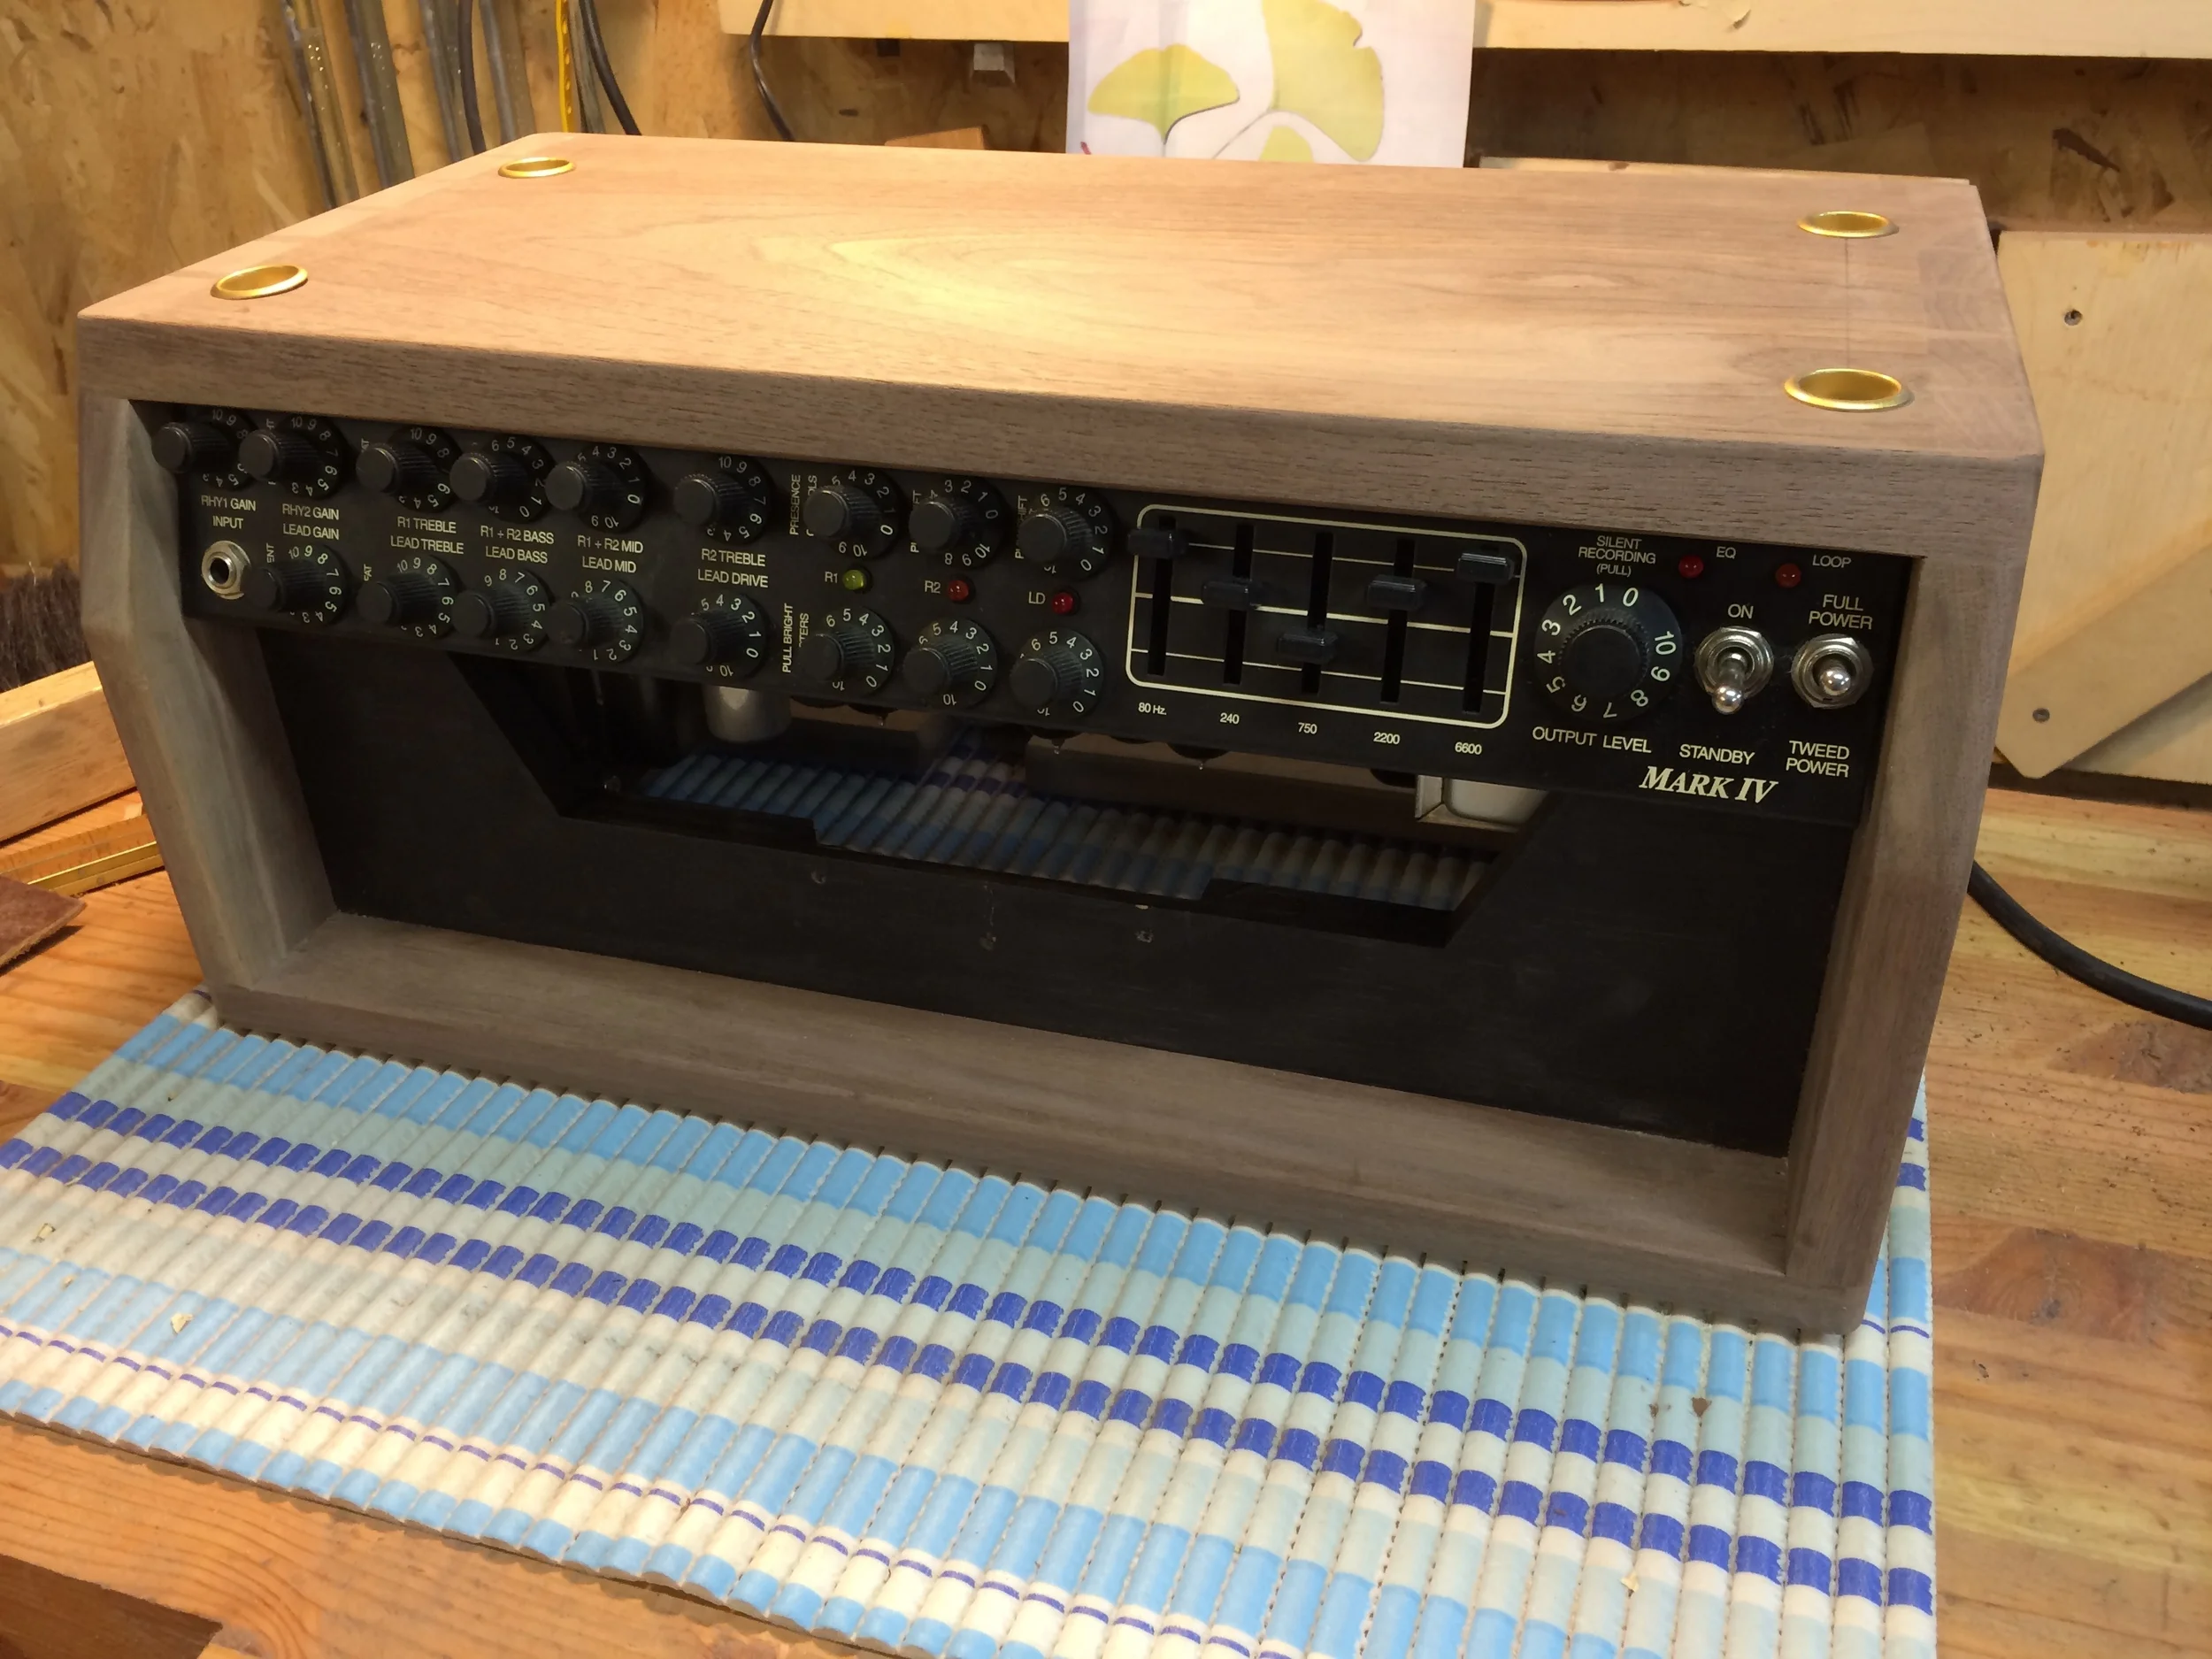
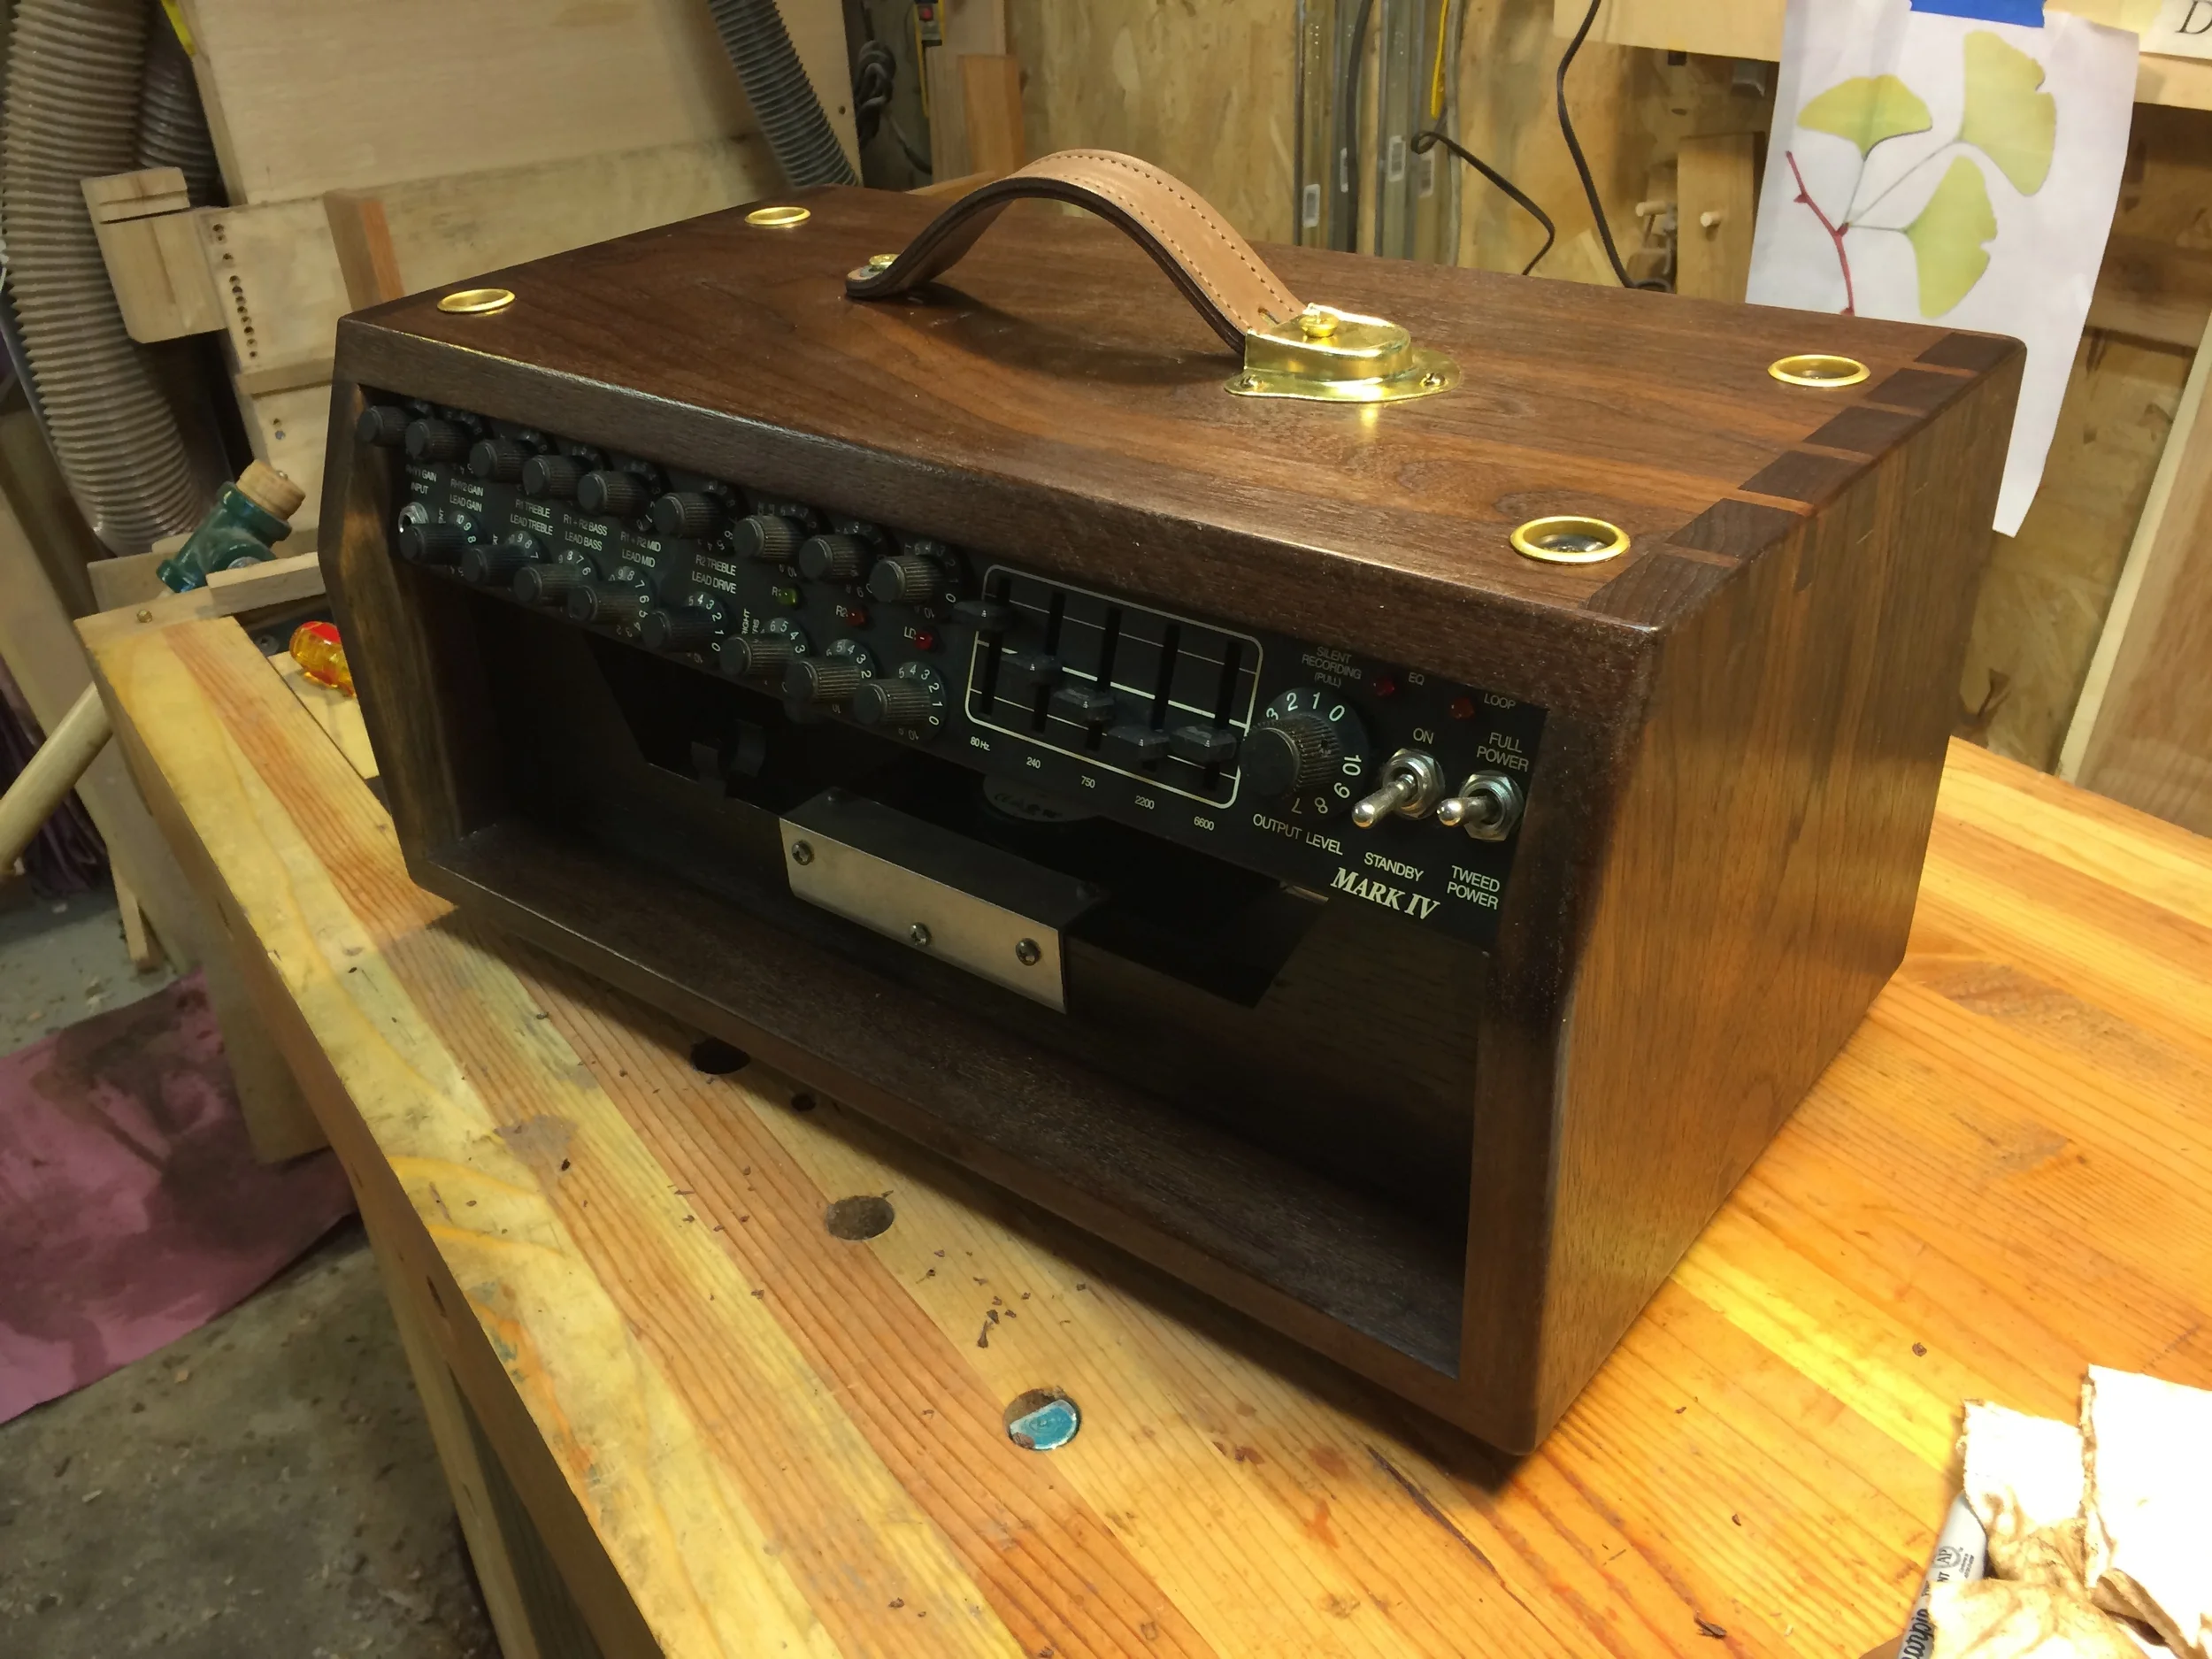
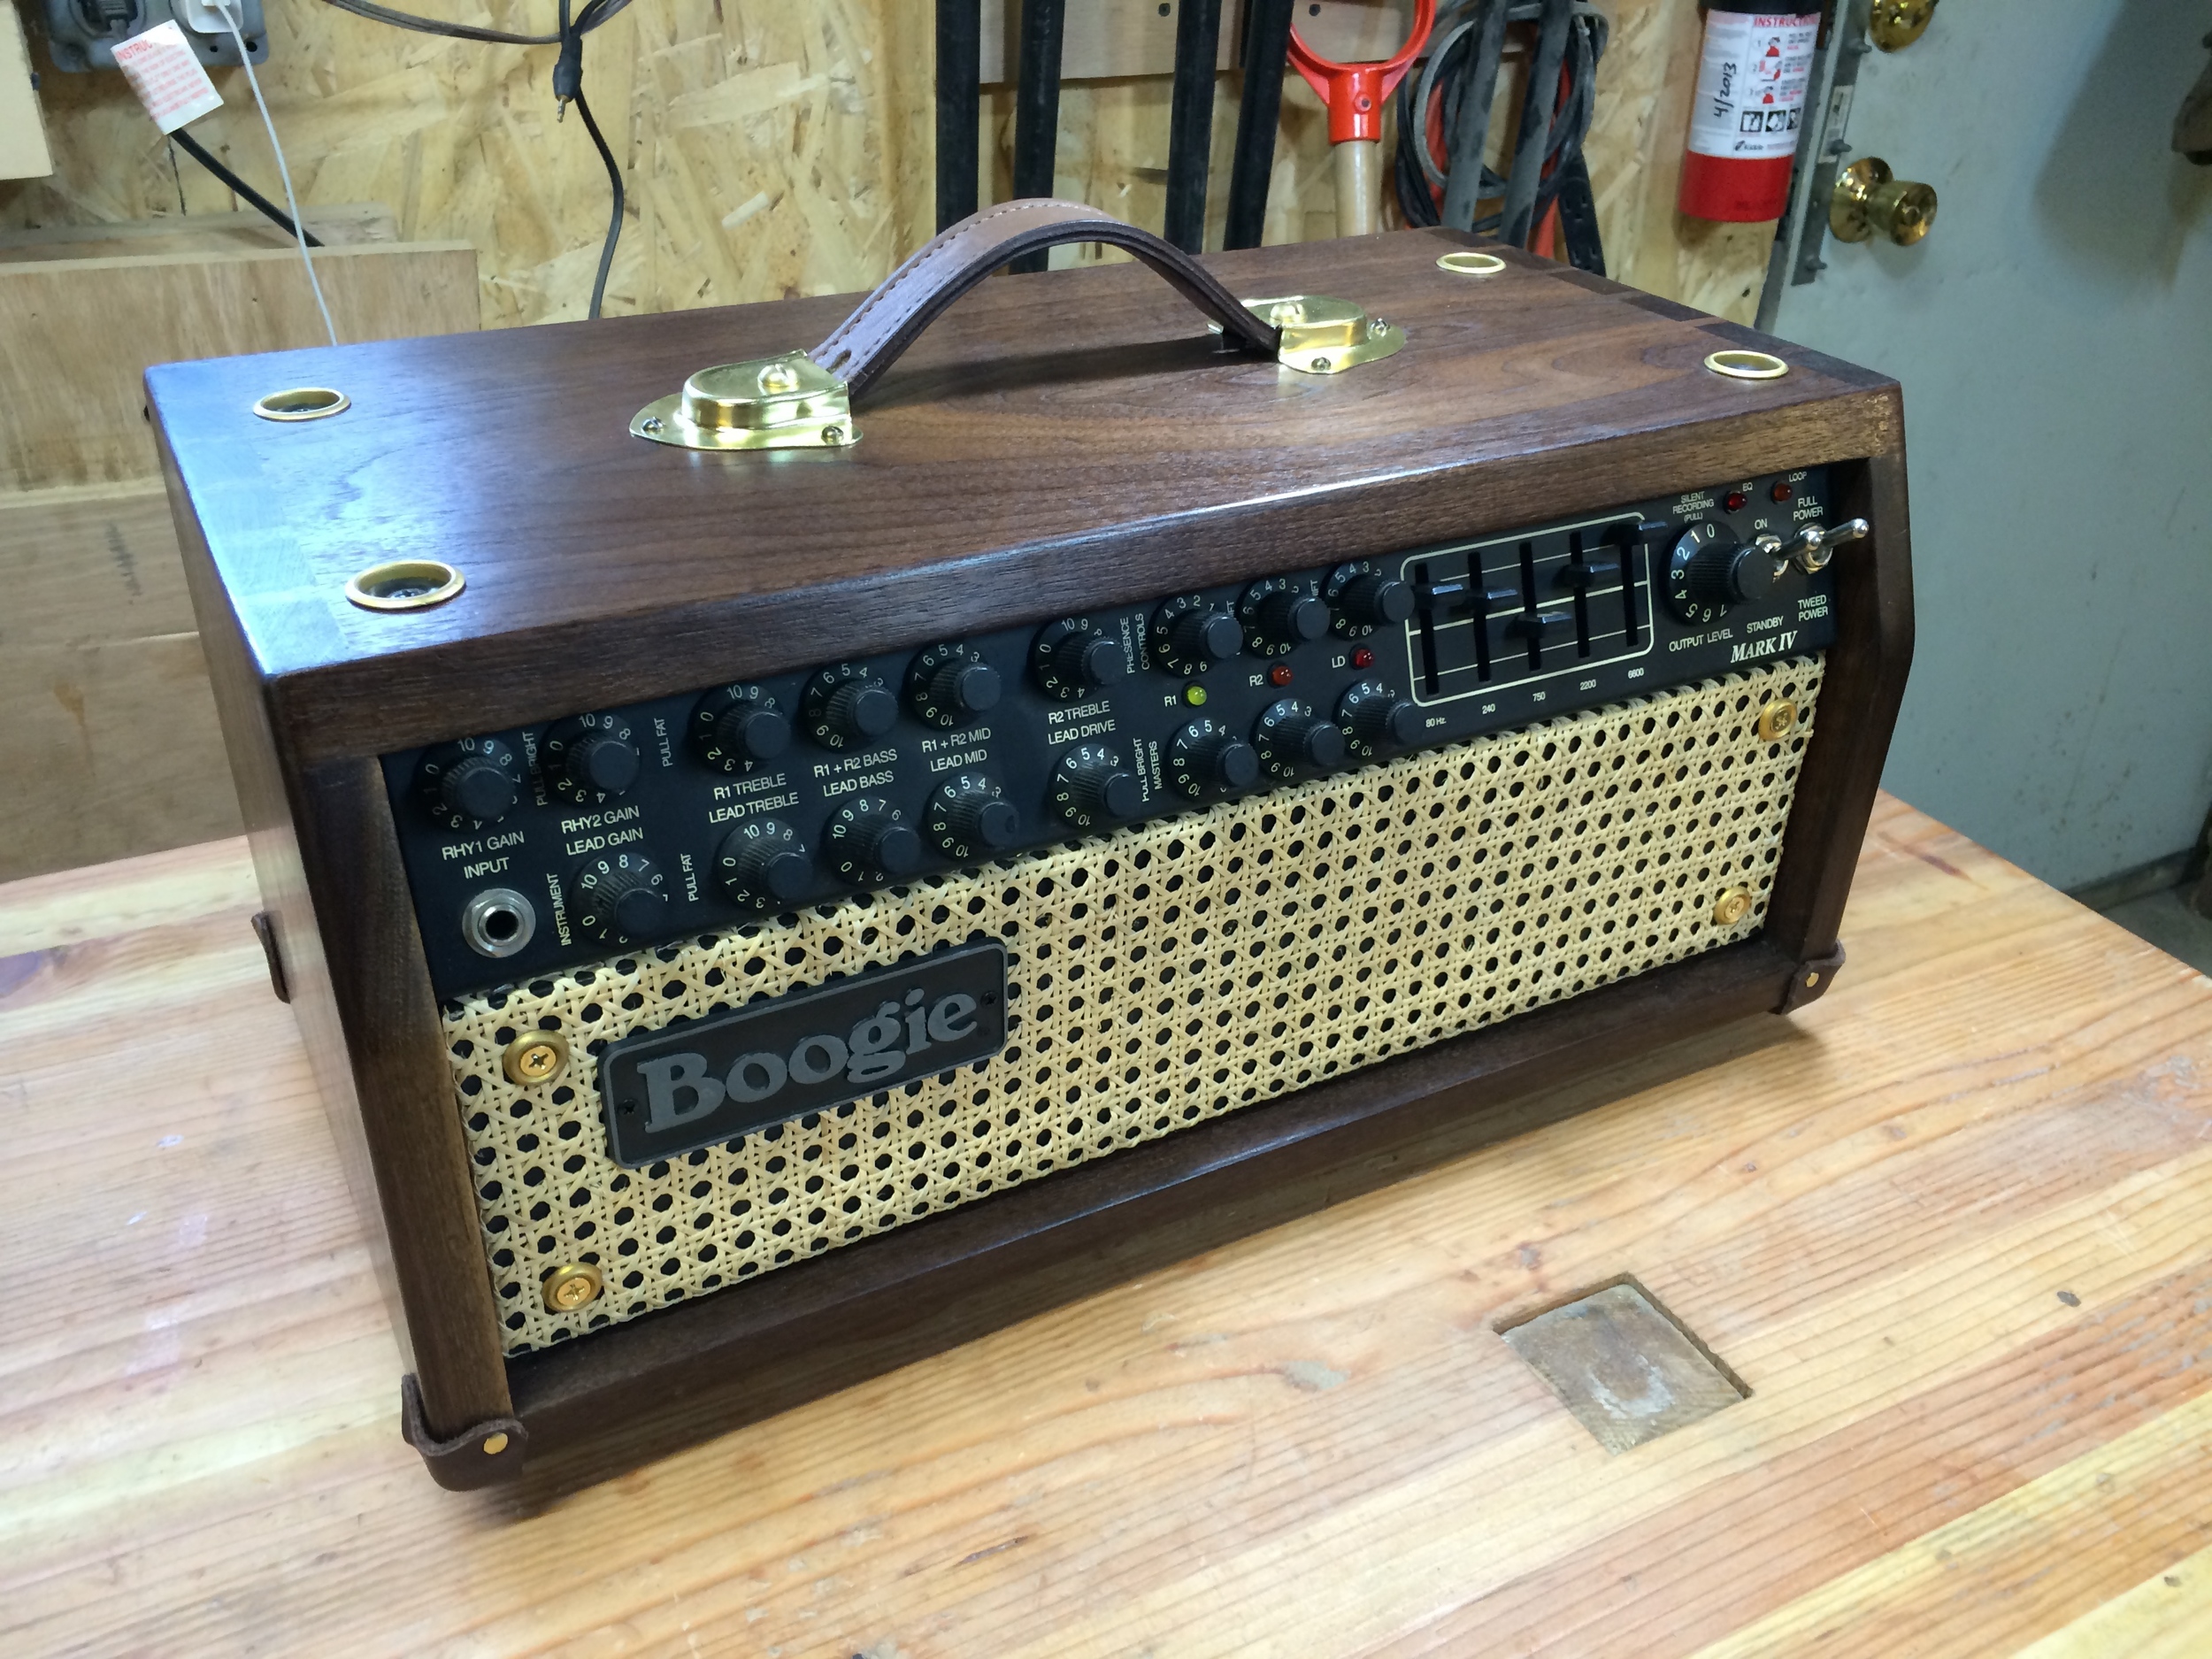
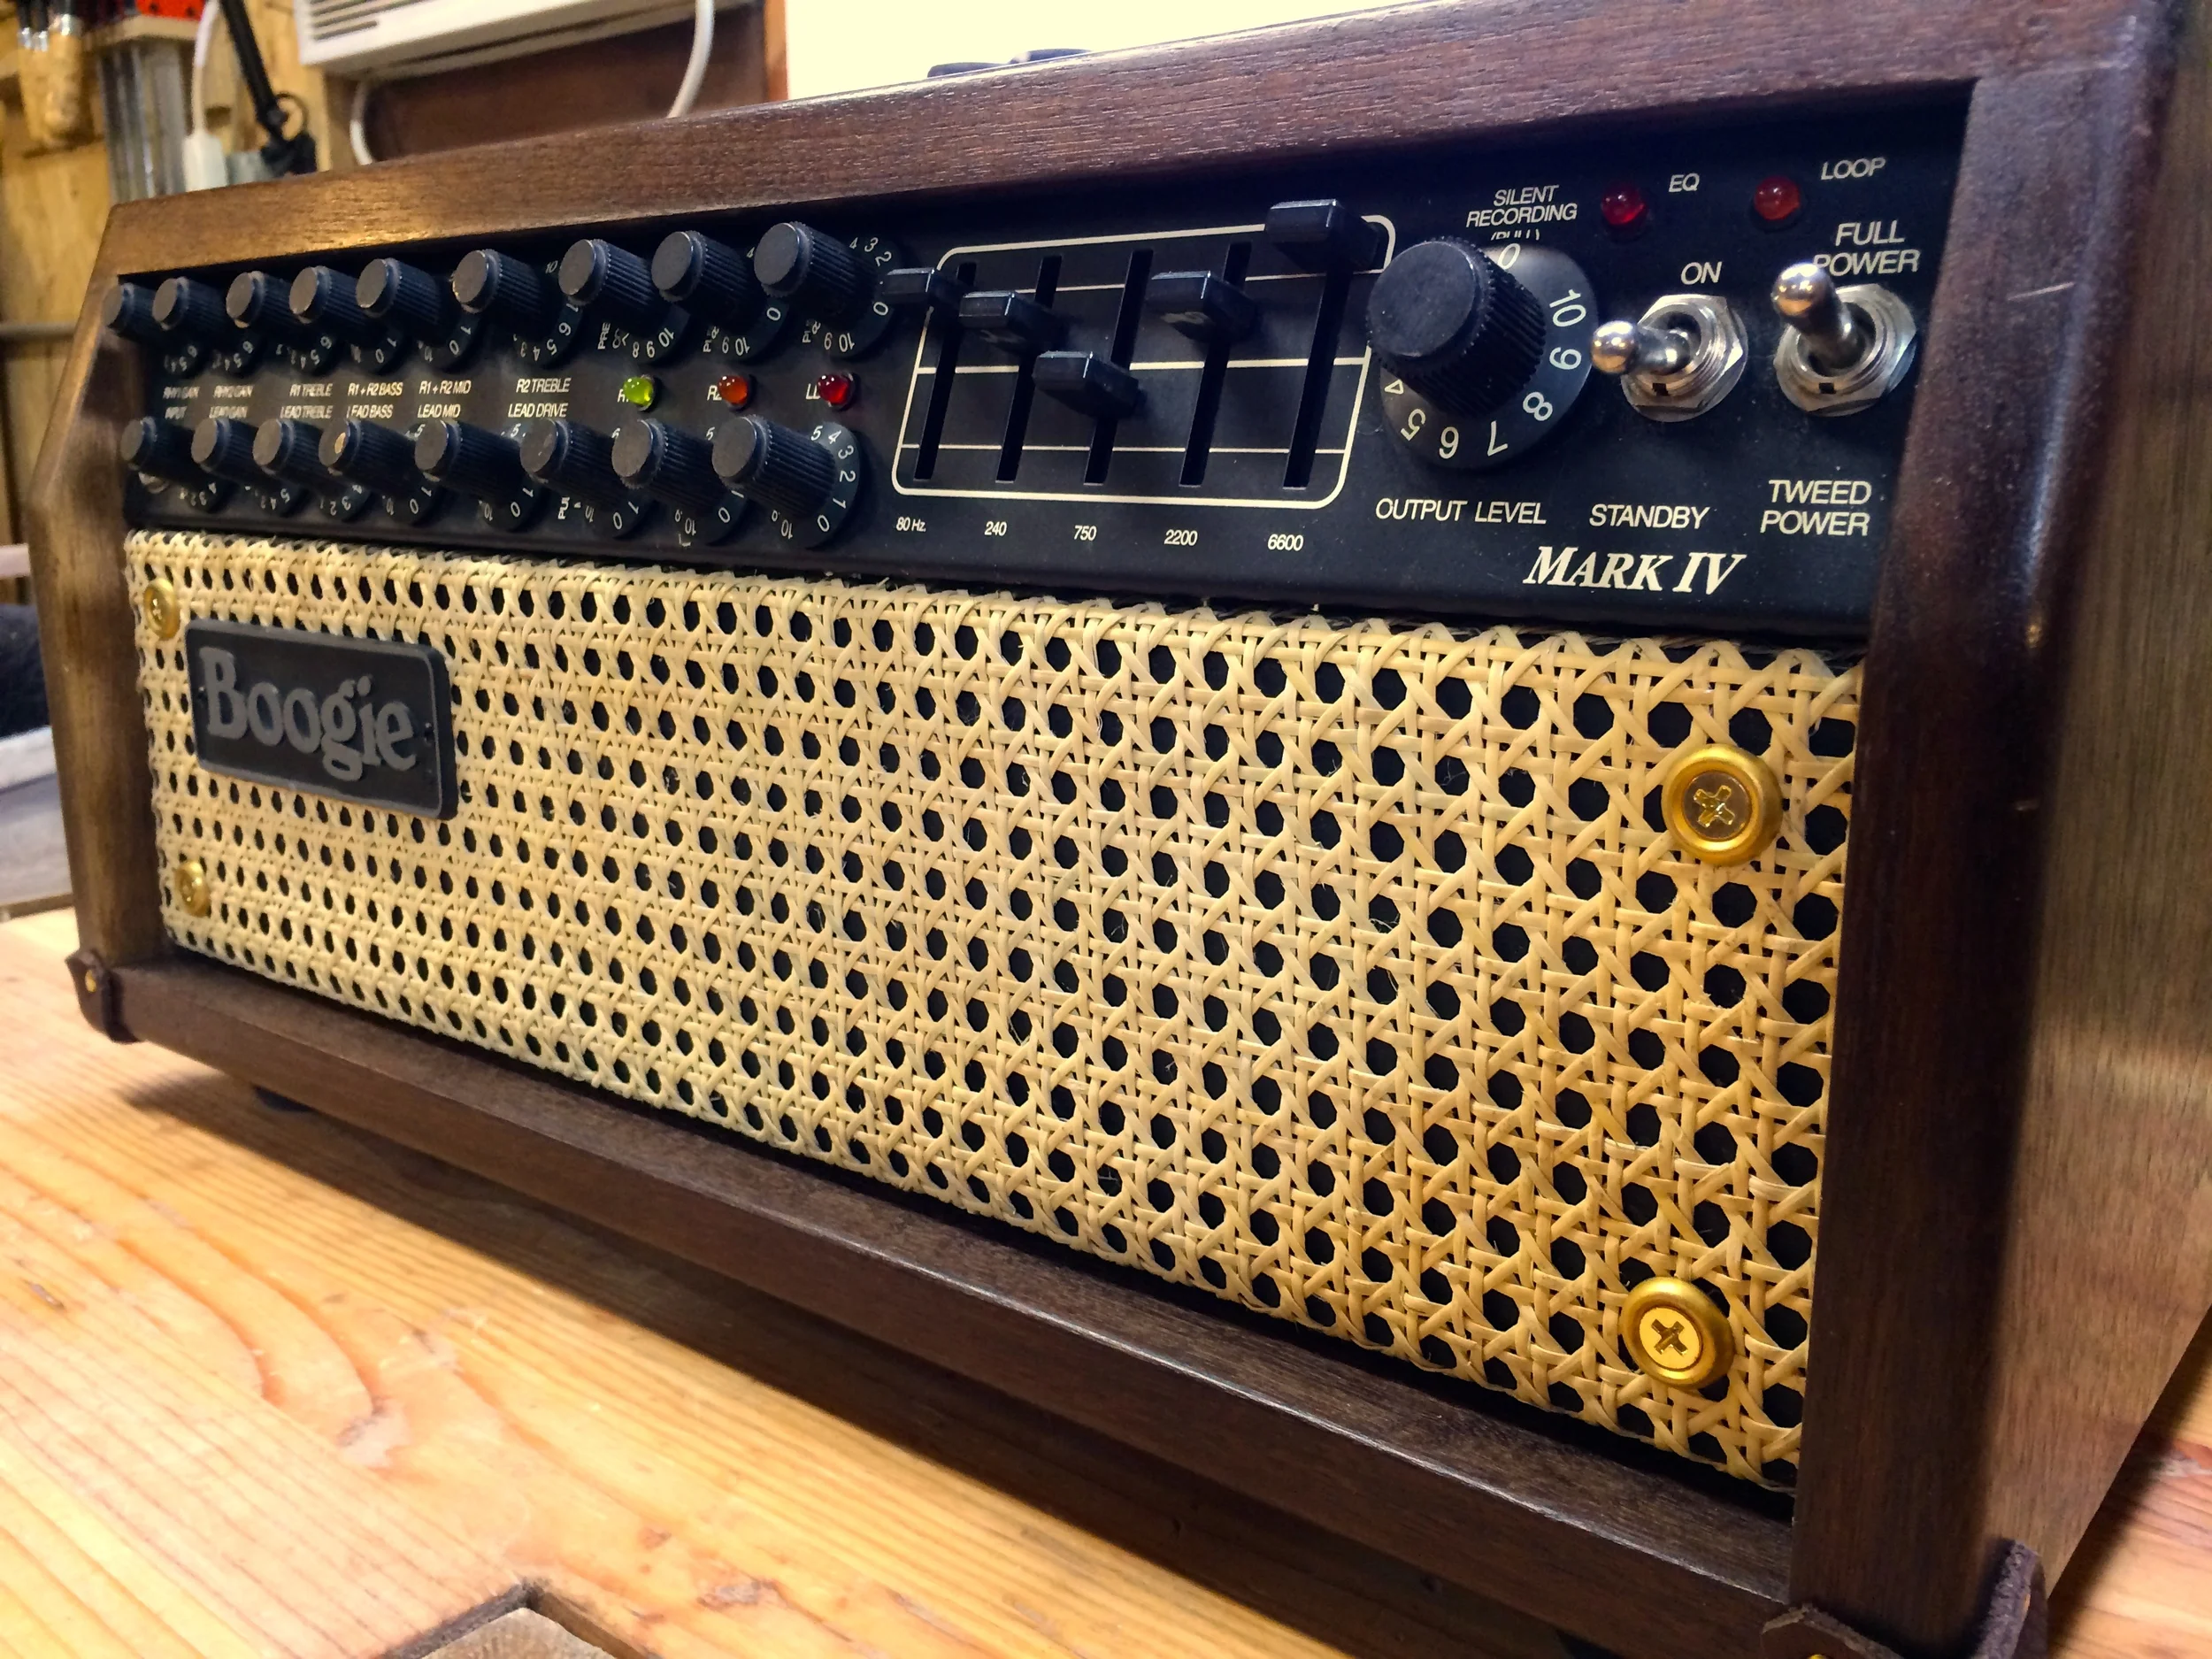
In addition to being a woodworker, I'm a musician, and have been all my life. I play in bands (a couple of them with my wife, a drummer), and am a guitar player, bass player, singer. I have been the proud owner of a pretty nice and epic guitar amplifier setup, the classic Mesa Boogie Mark IV. The Mark IV is one of Mesa's "classic" amps, that is out of production. Mine is in a configuration of an amplifier head that sits atop a separate speaker cabinet (actually, two separate speaker cabinets), as opposed to a "combo" where the amplifier electronics and the speaker are all in one enclosure.
As a longtime fan of Mesa's classic amps, I'd long ago acquired a couple of their glossy sales catalogs, and in there they showed some fancy "custom" options for their amps. Instead of the standard plywood-wrapped-in-vinyl construction (like mine), you could order yours with all sorts of coverings, or hardwood, and grill patterns, etc. One configuration that looked awesome was a bubinga (or some other tropical hardwood) hardwood version with a cane grill. At the time, the standard config was great, and it served me well for the many years of using the amp.
But I'm now a woodworker, and I had the urge, and capability, to convert my beloved amp into a fancy amp.
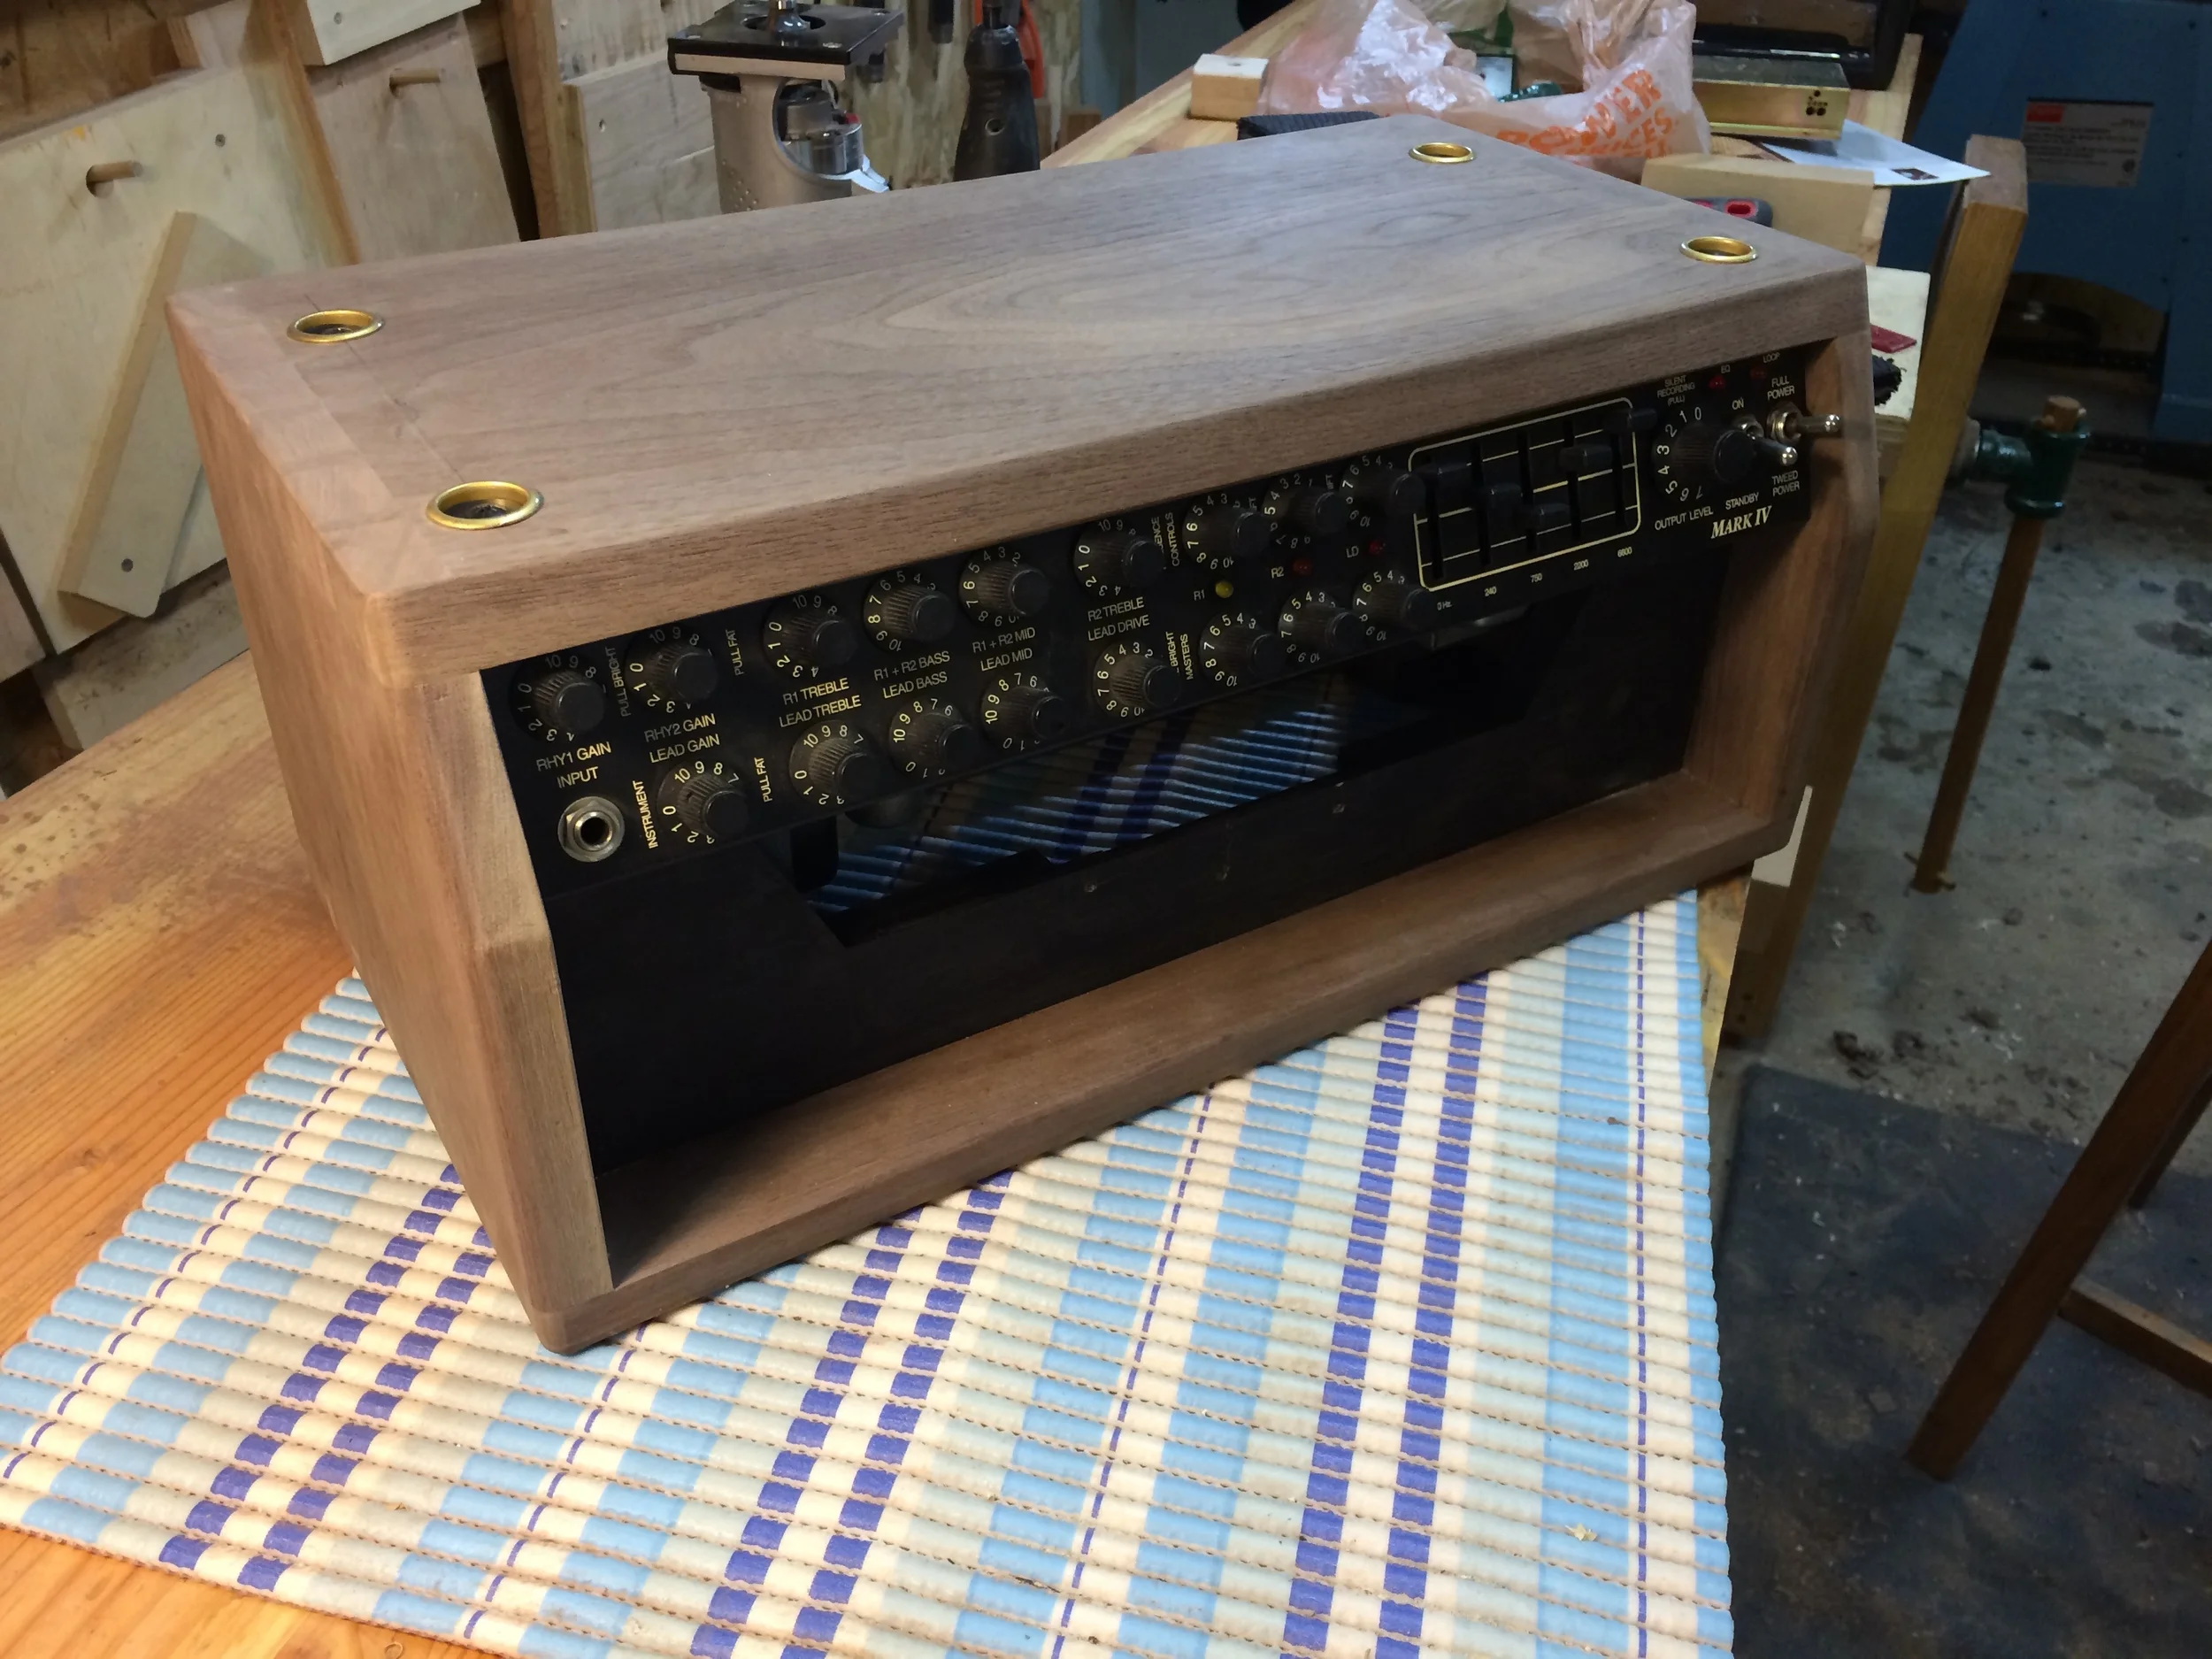
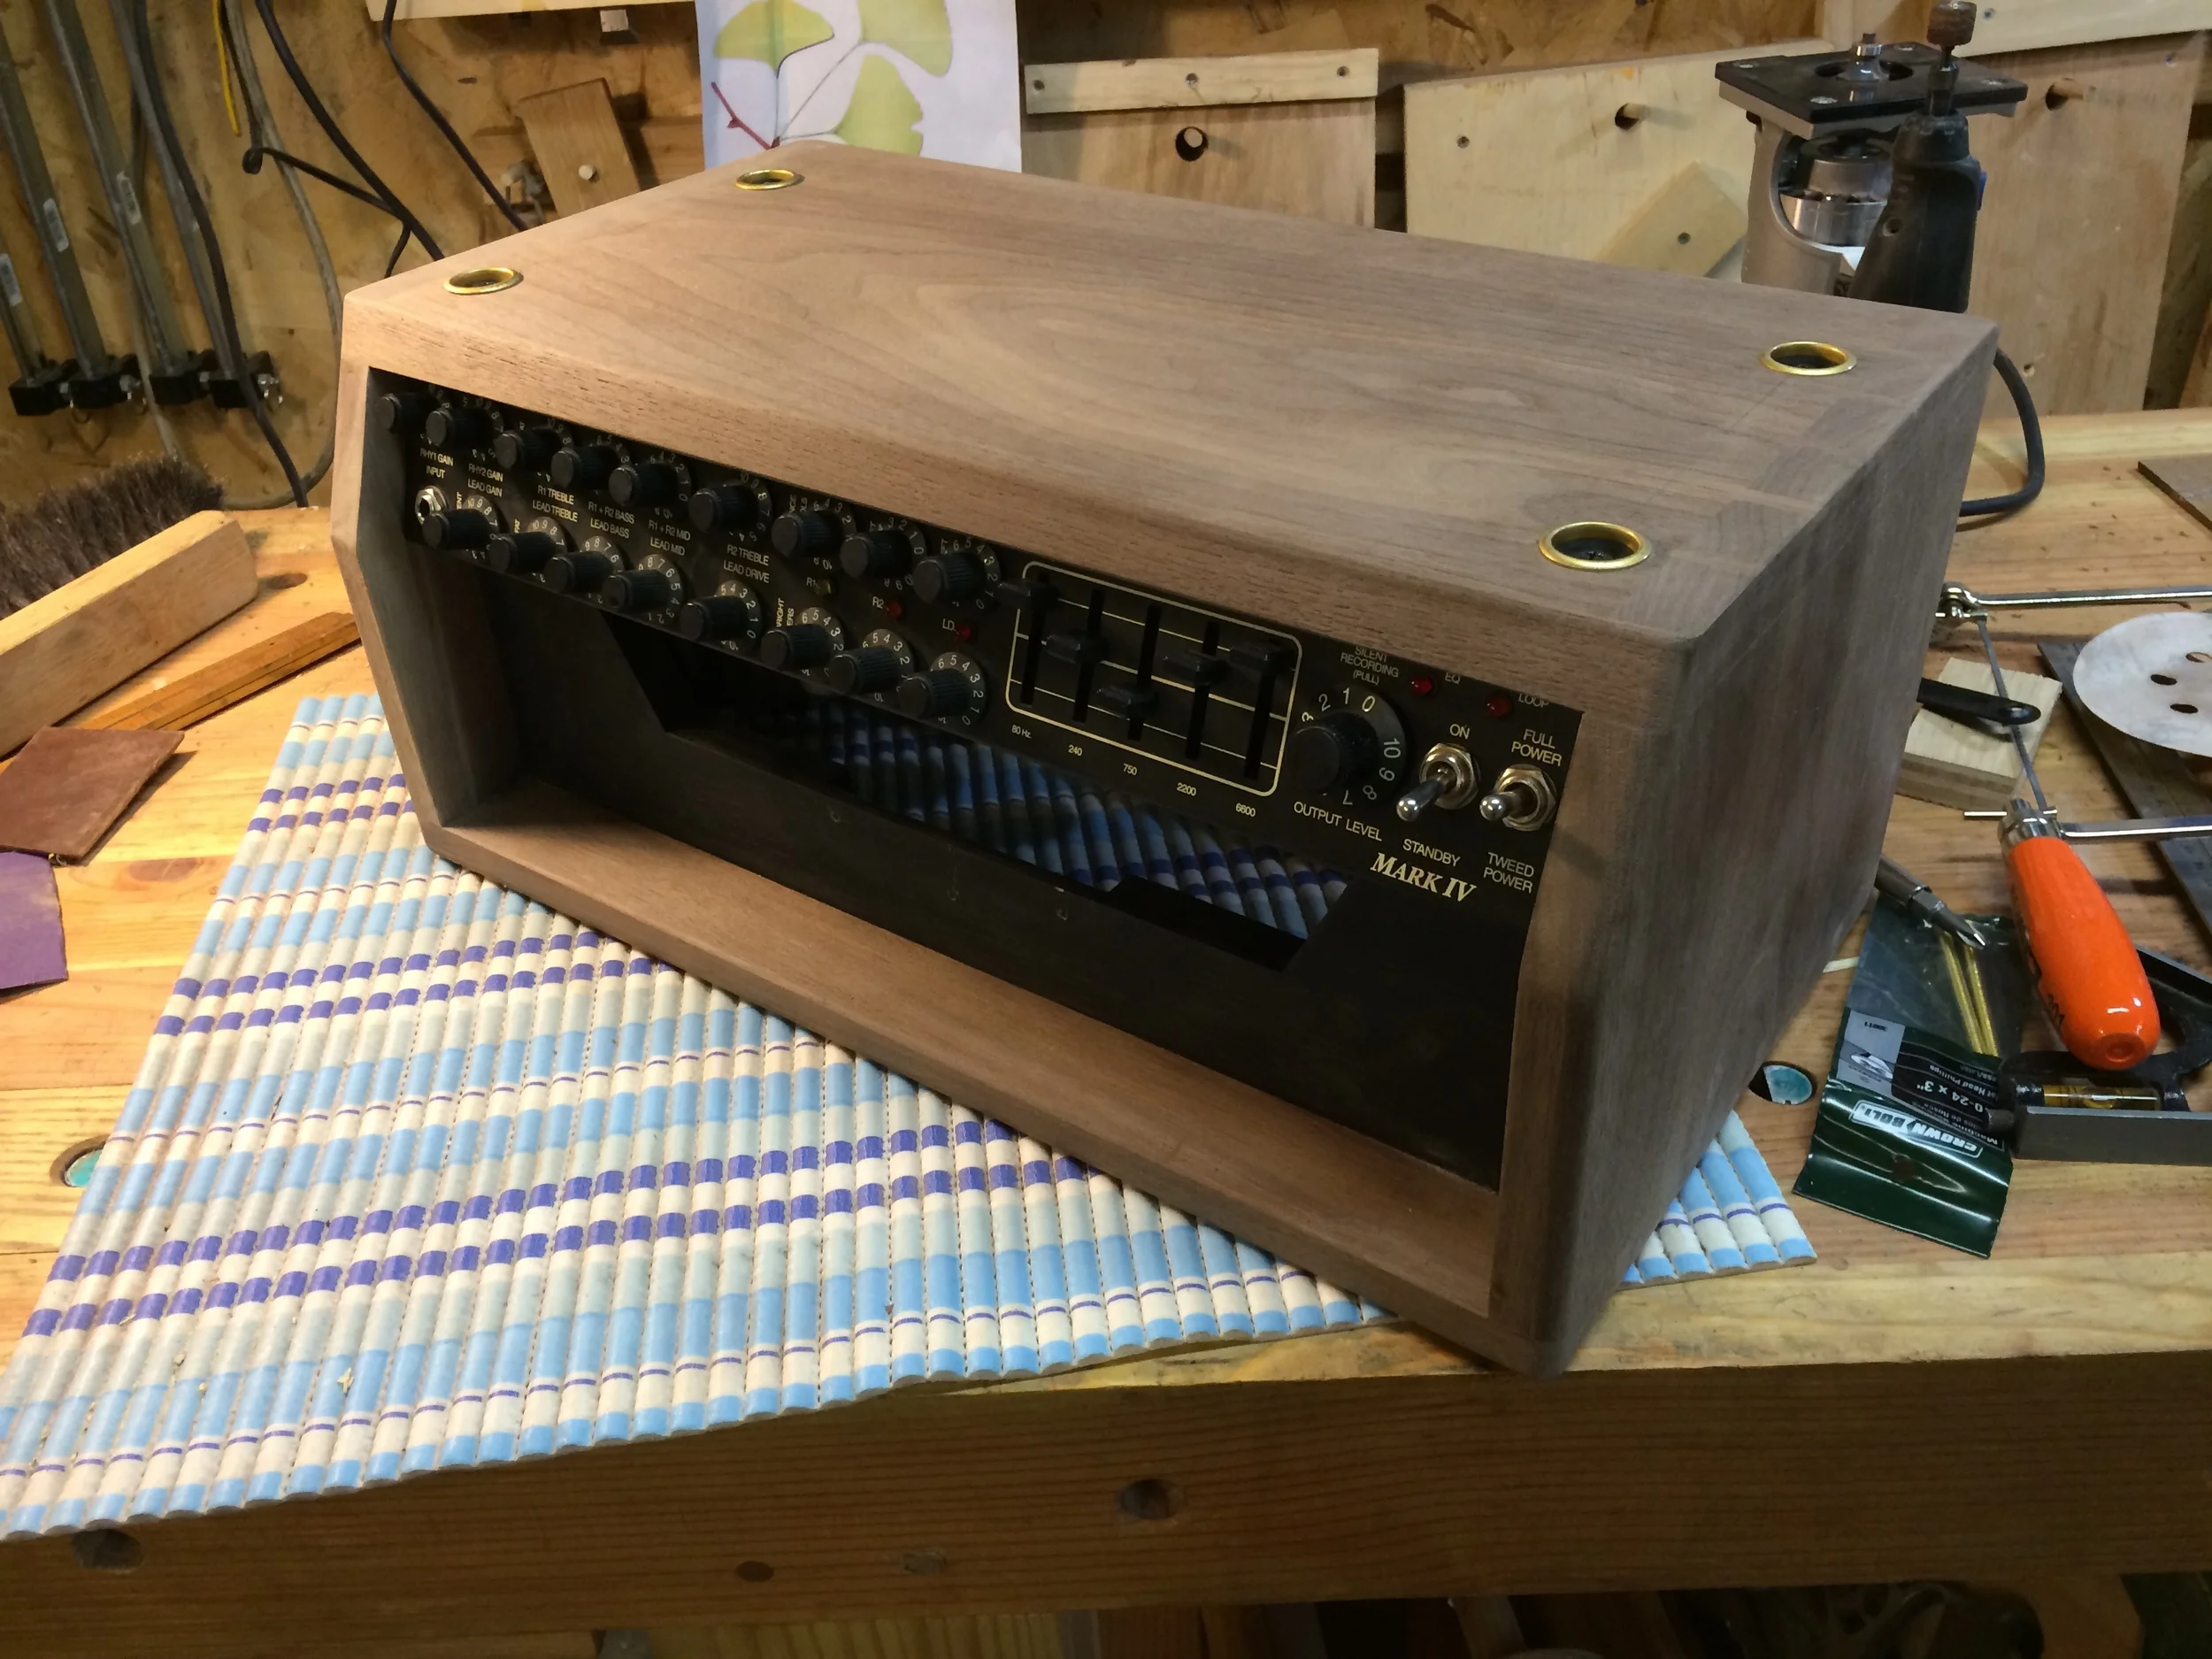
I started this little "side" project during the Christmas lull, thinking I'd get it done in a few days. While the majority of it went pretty rapidly, ordering the hardware, waiting for that to arrive, then fiddling with installing it took longer. And the cane grille took weeks to arrive. But finally, here it is...
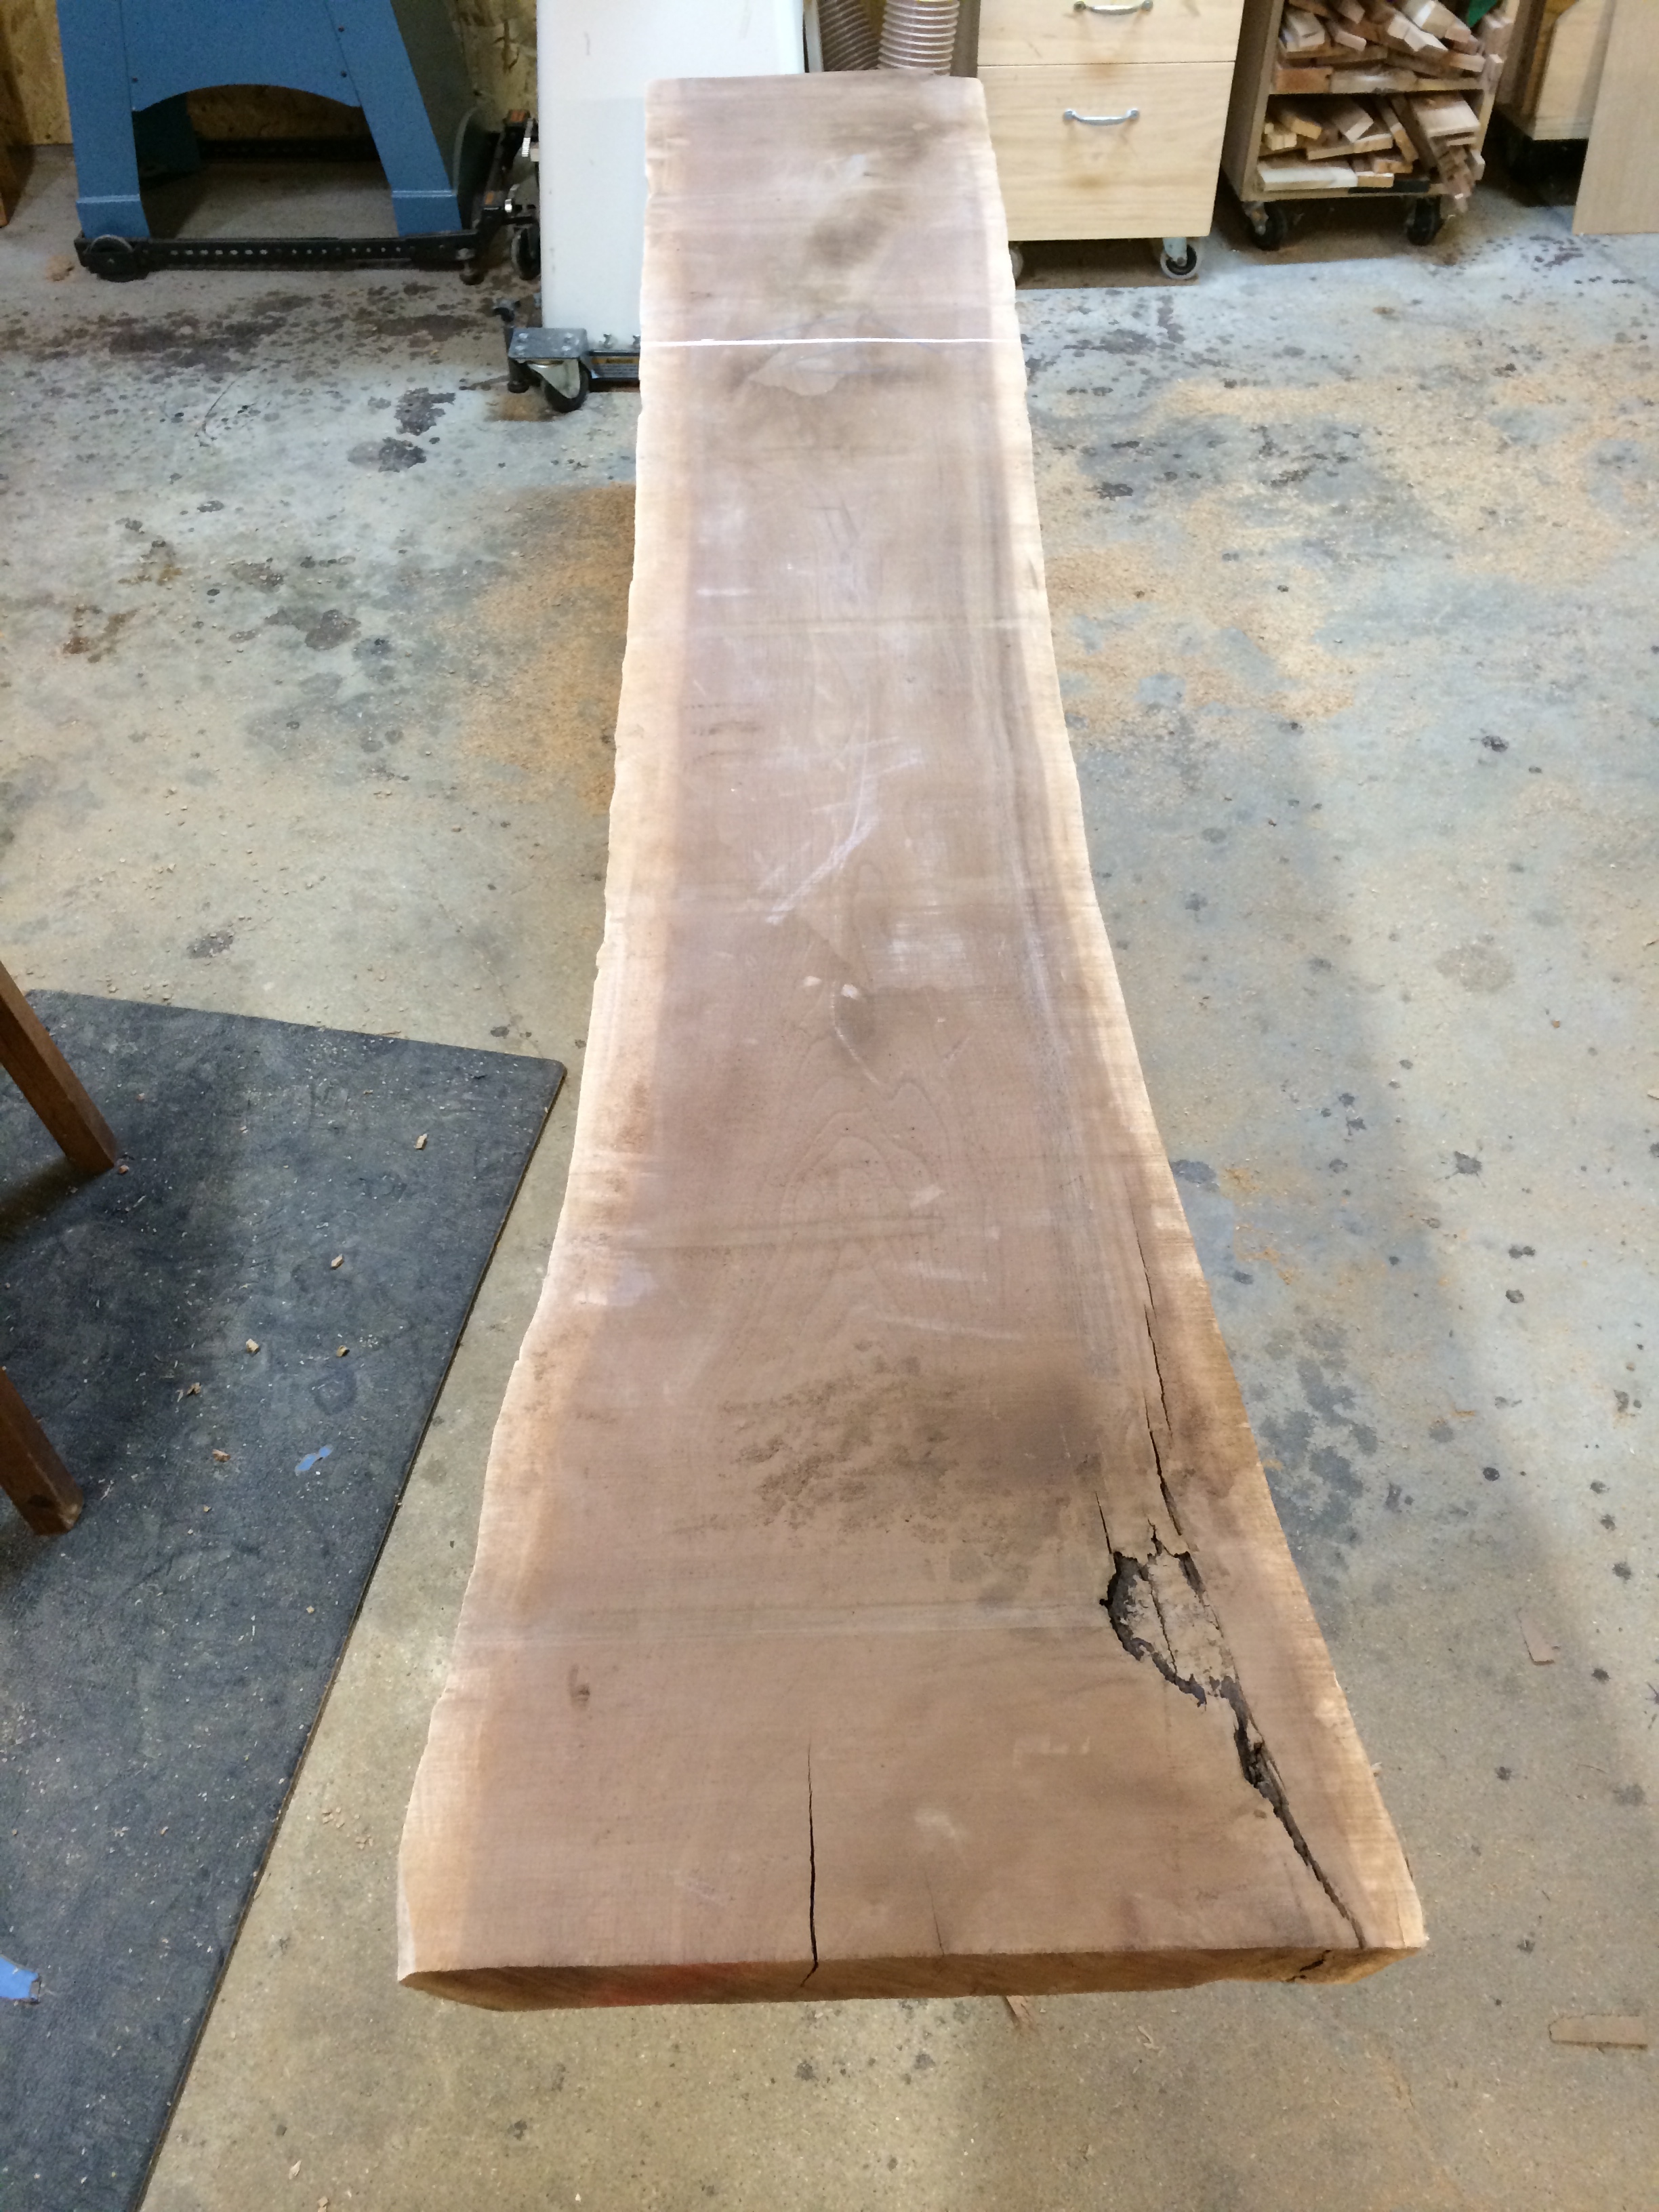
I started out with this gorgeous slab of walnut I picked up from my favorite urban lumber source, Horigan Urban Forest Products. It was an impulse purchase; I didn't really "need" it at the time, but I got it, and thought about uses for it later. It was an 8/4 slab, allowing me to do some nice grain wrap around after resawing it.
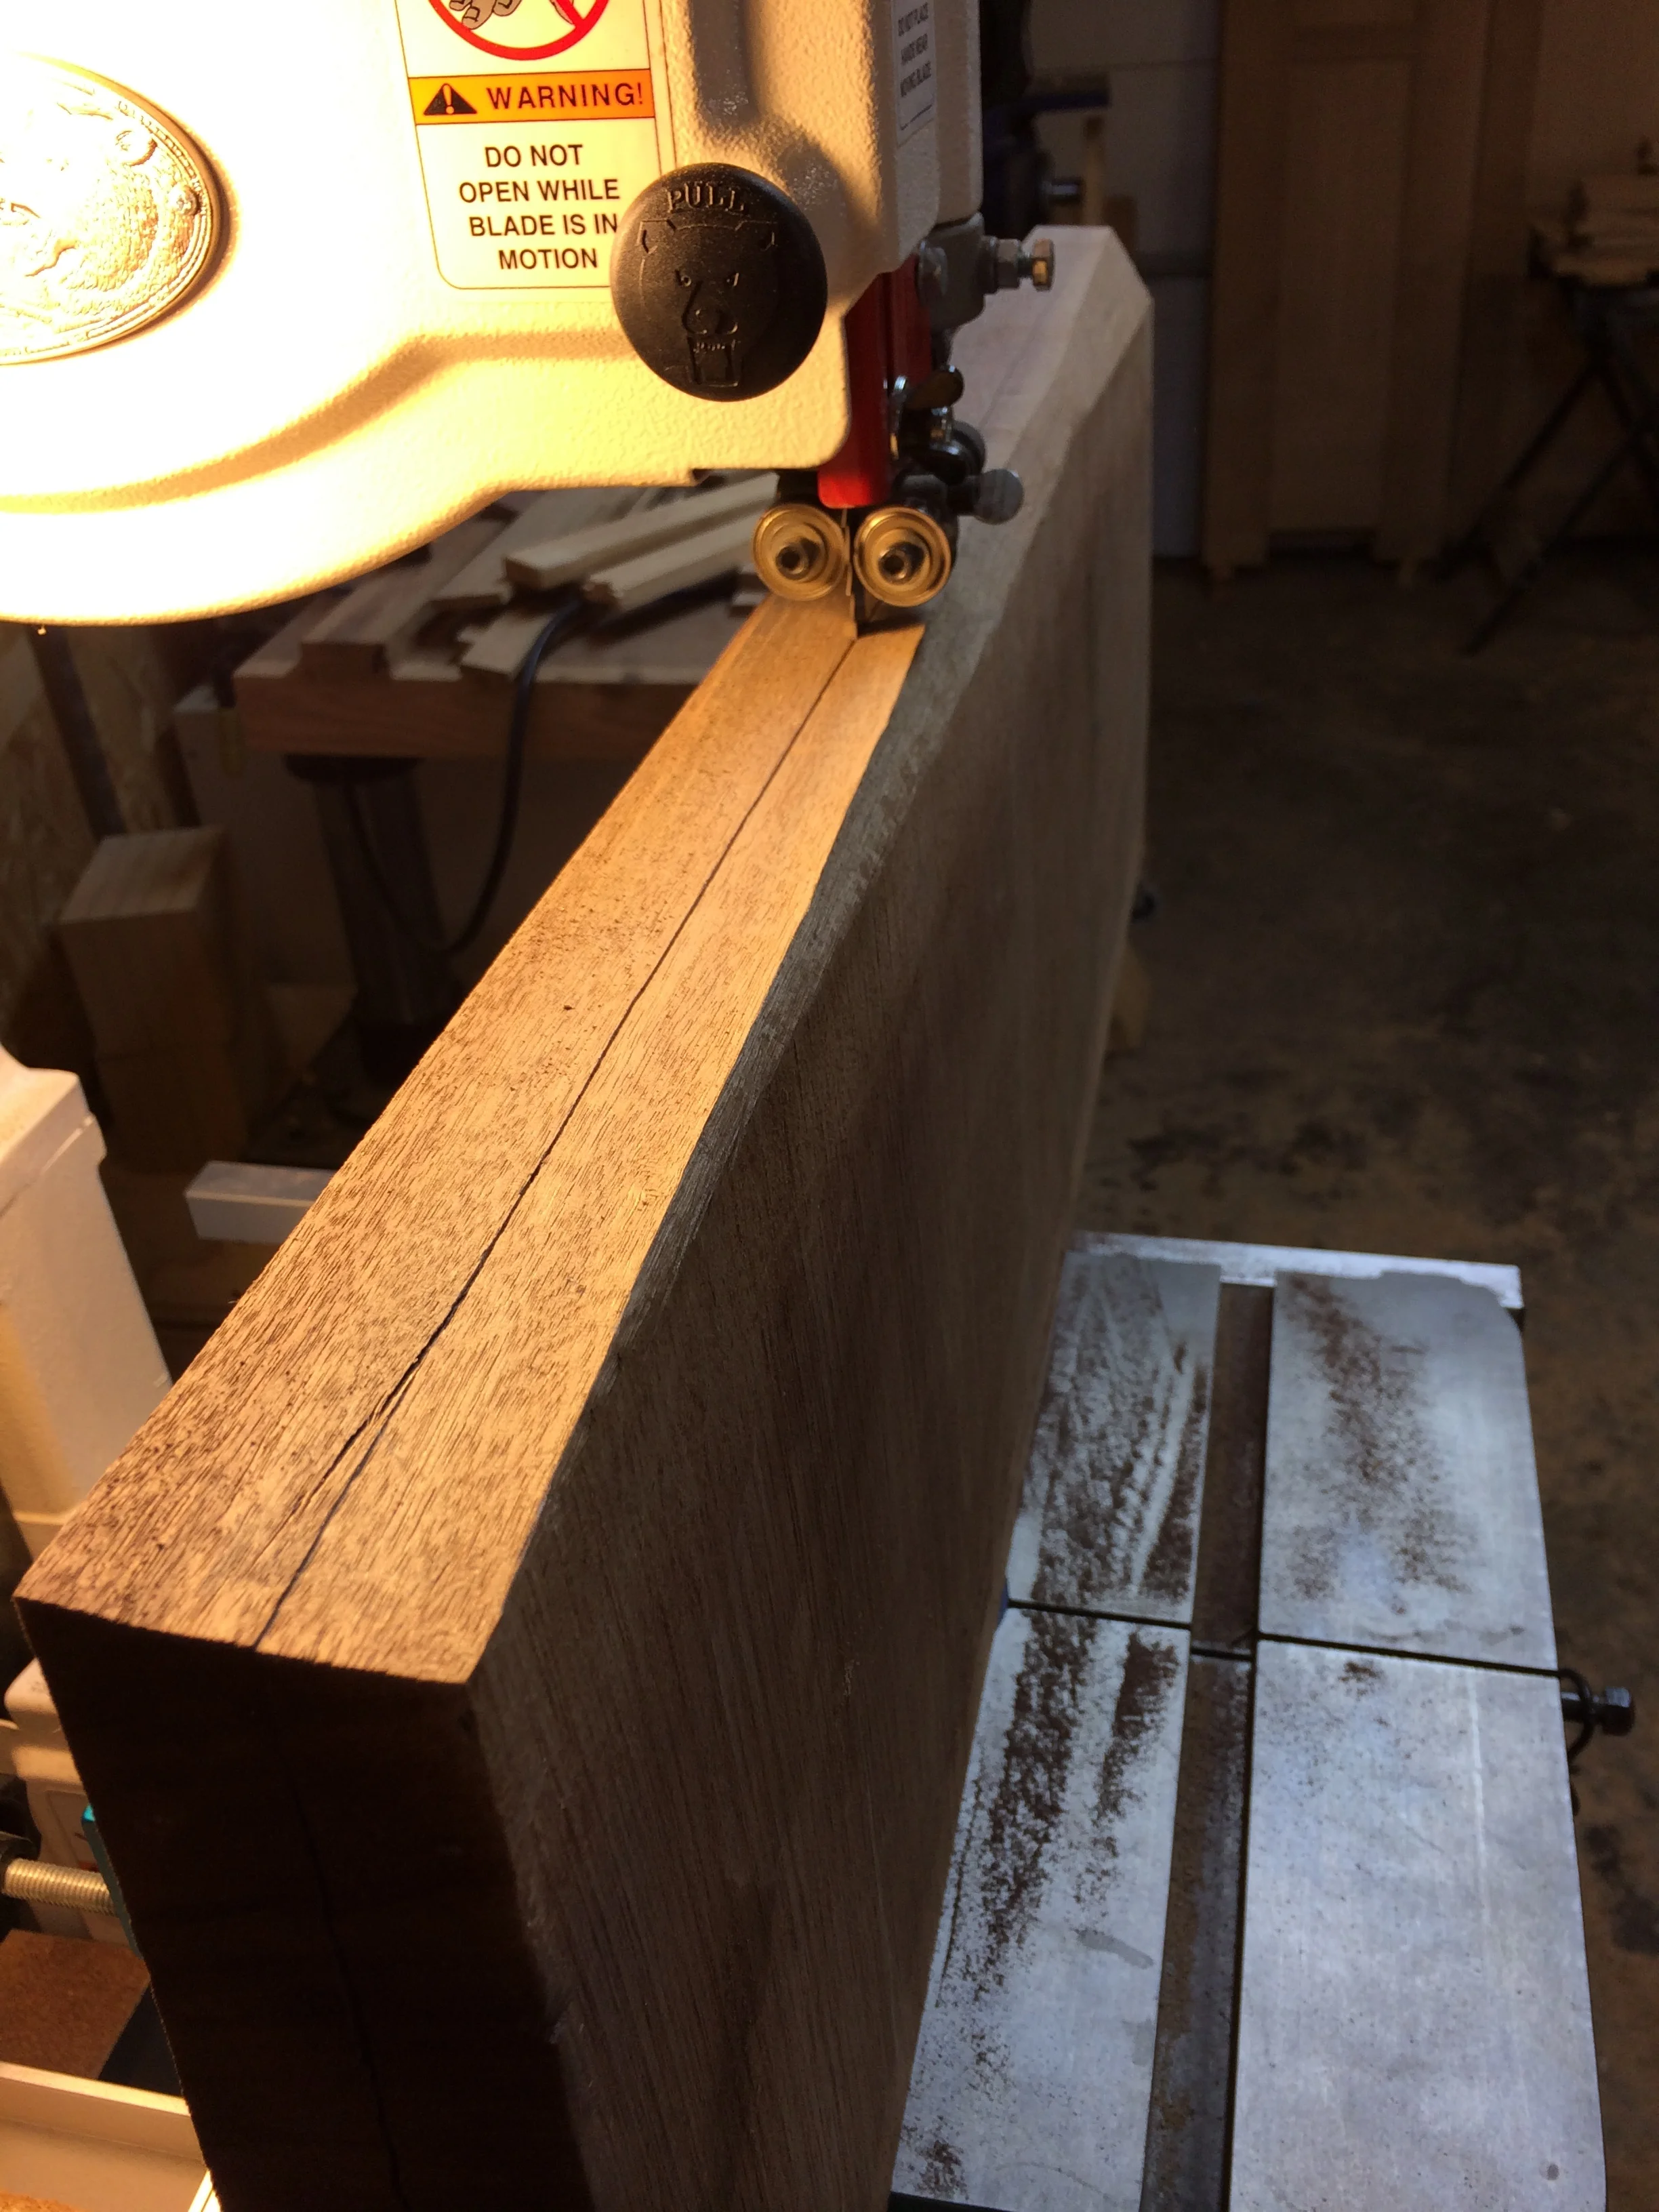
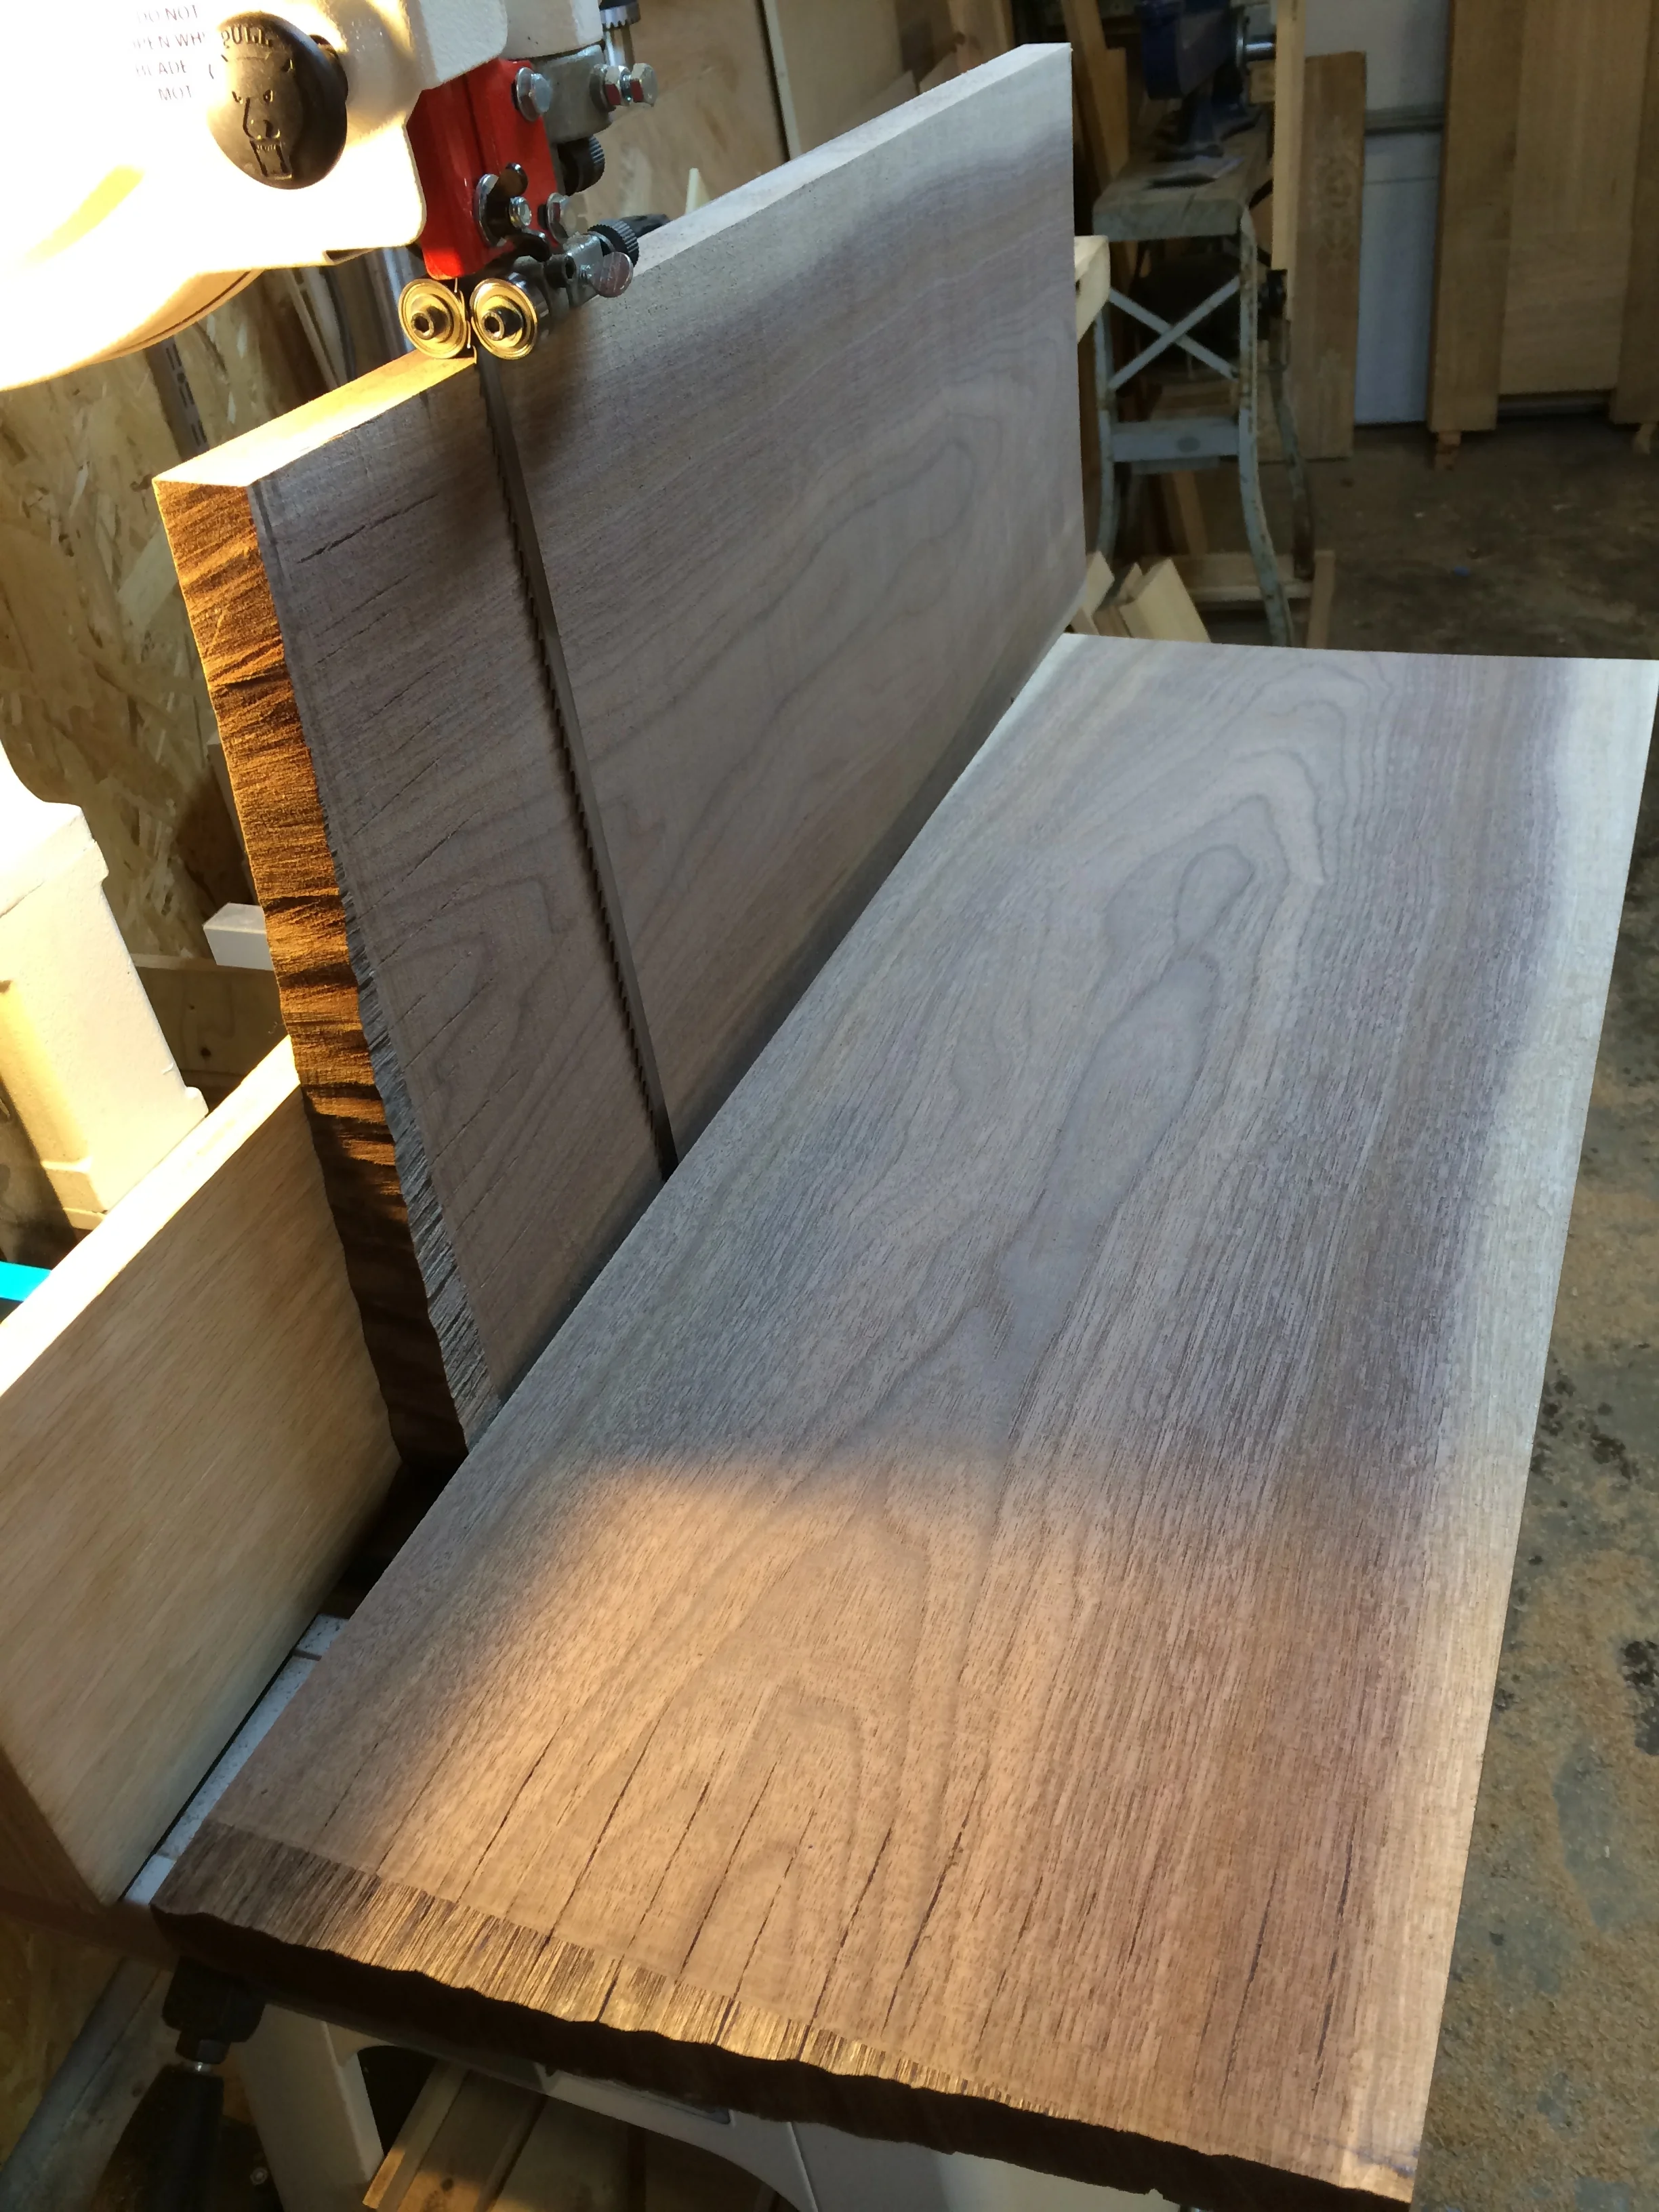
My 14" bandsaw with the 6" riser block (giving me 12" resaw capacity), and a 1/2" Woodslicer blade made a great, smooth, straight cut. Never underestimate the lowly, basic 14" bandsaw: tuned up with a sharp blade, it can do great things.
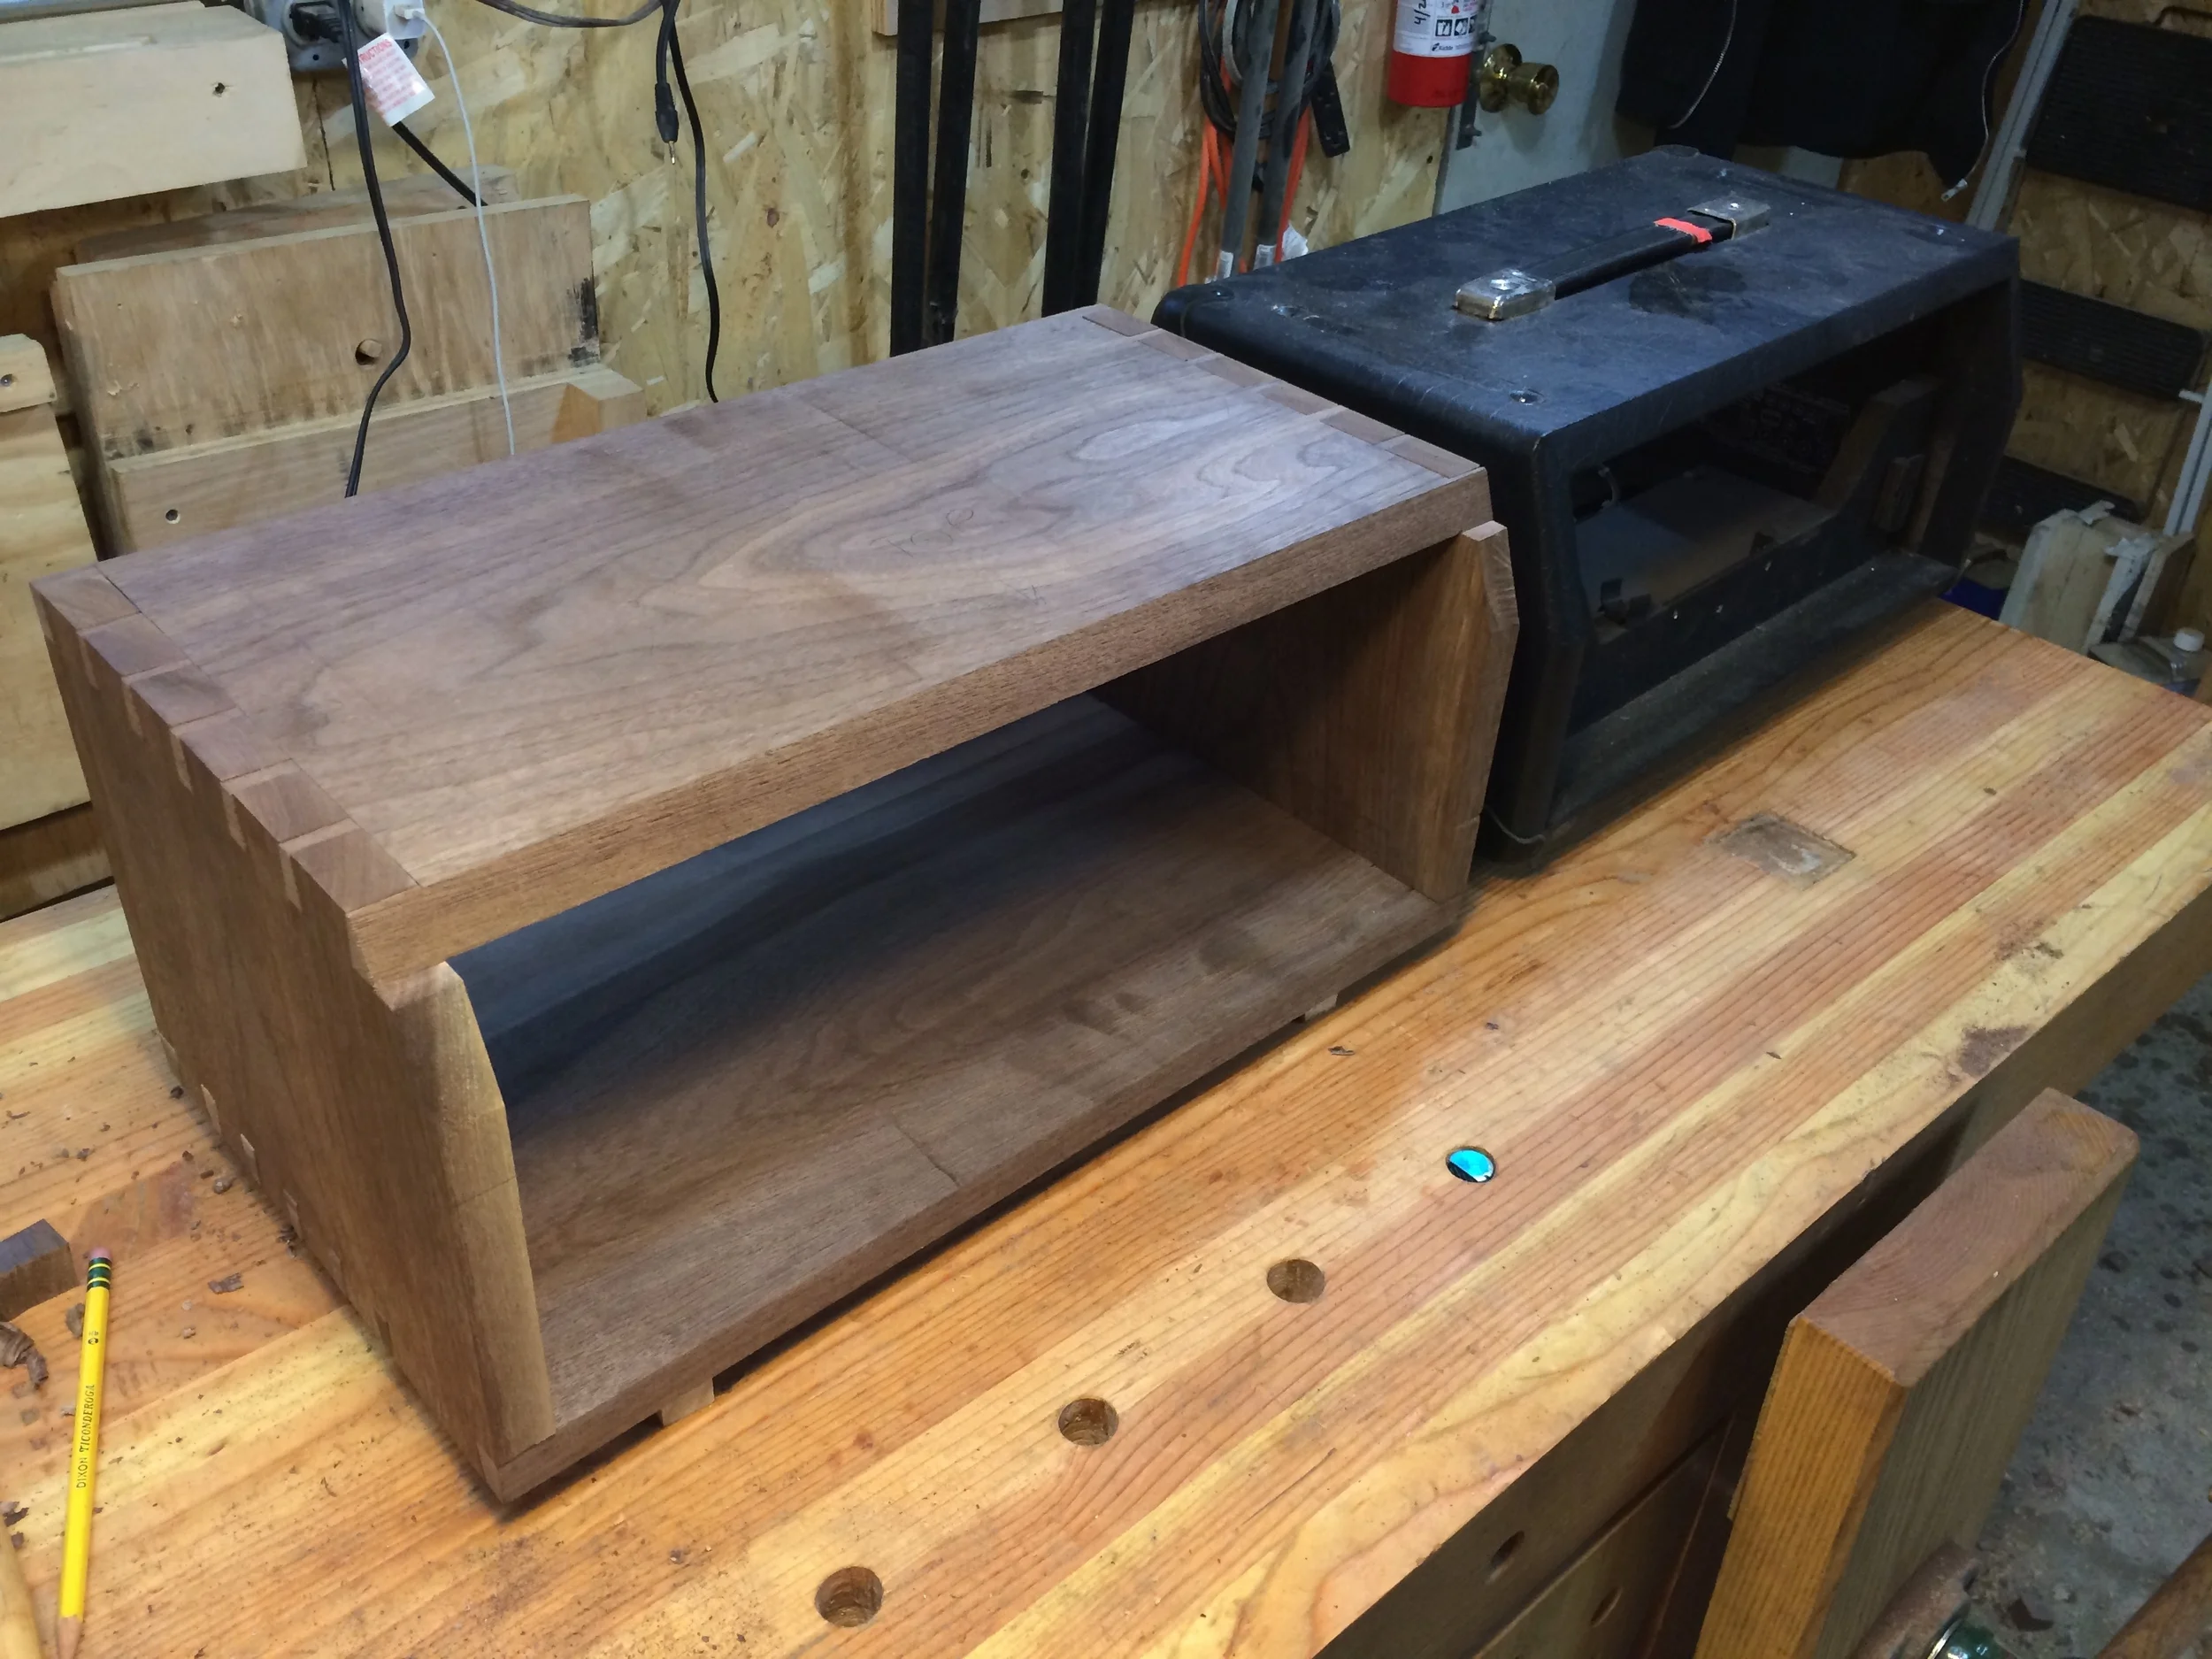
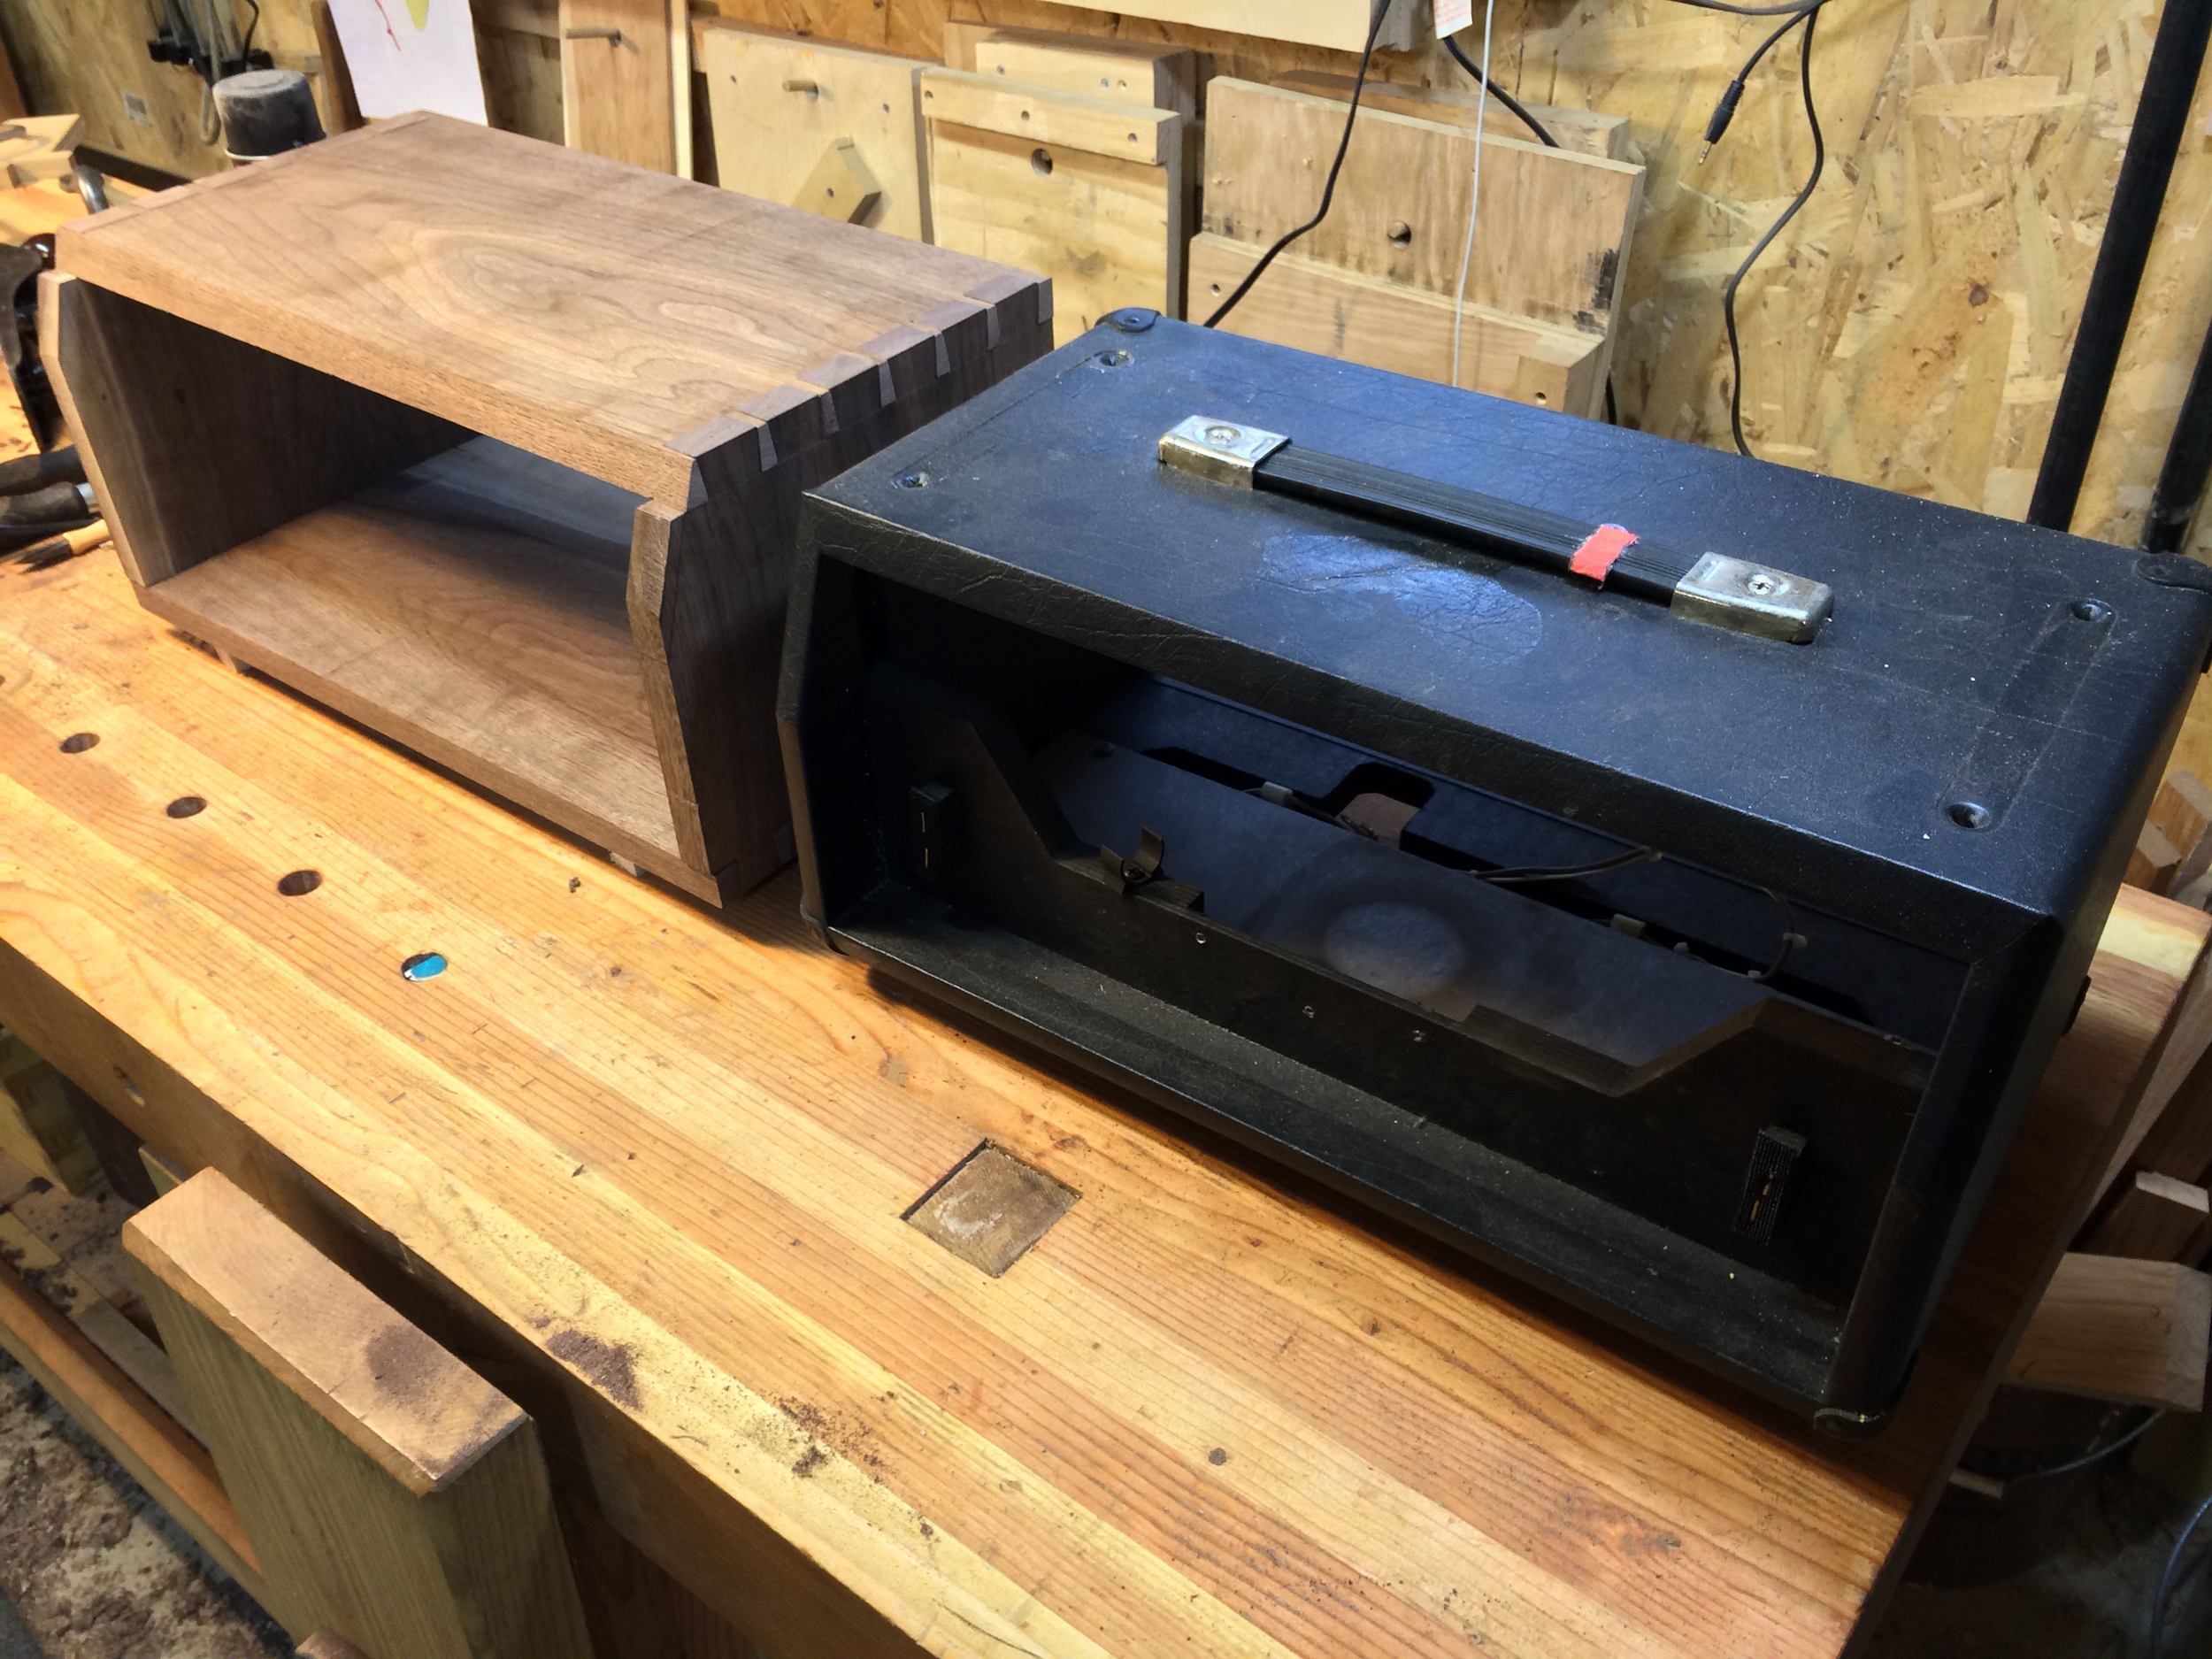
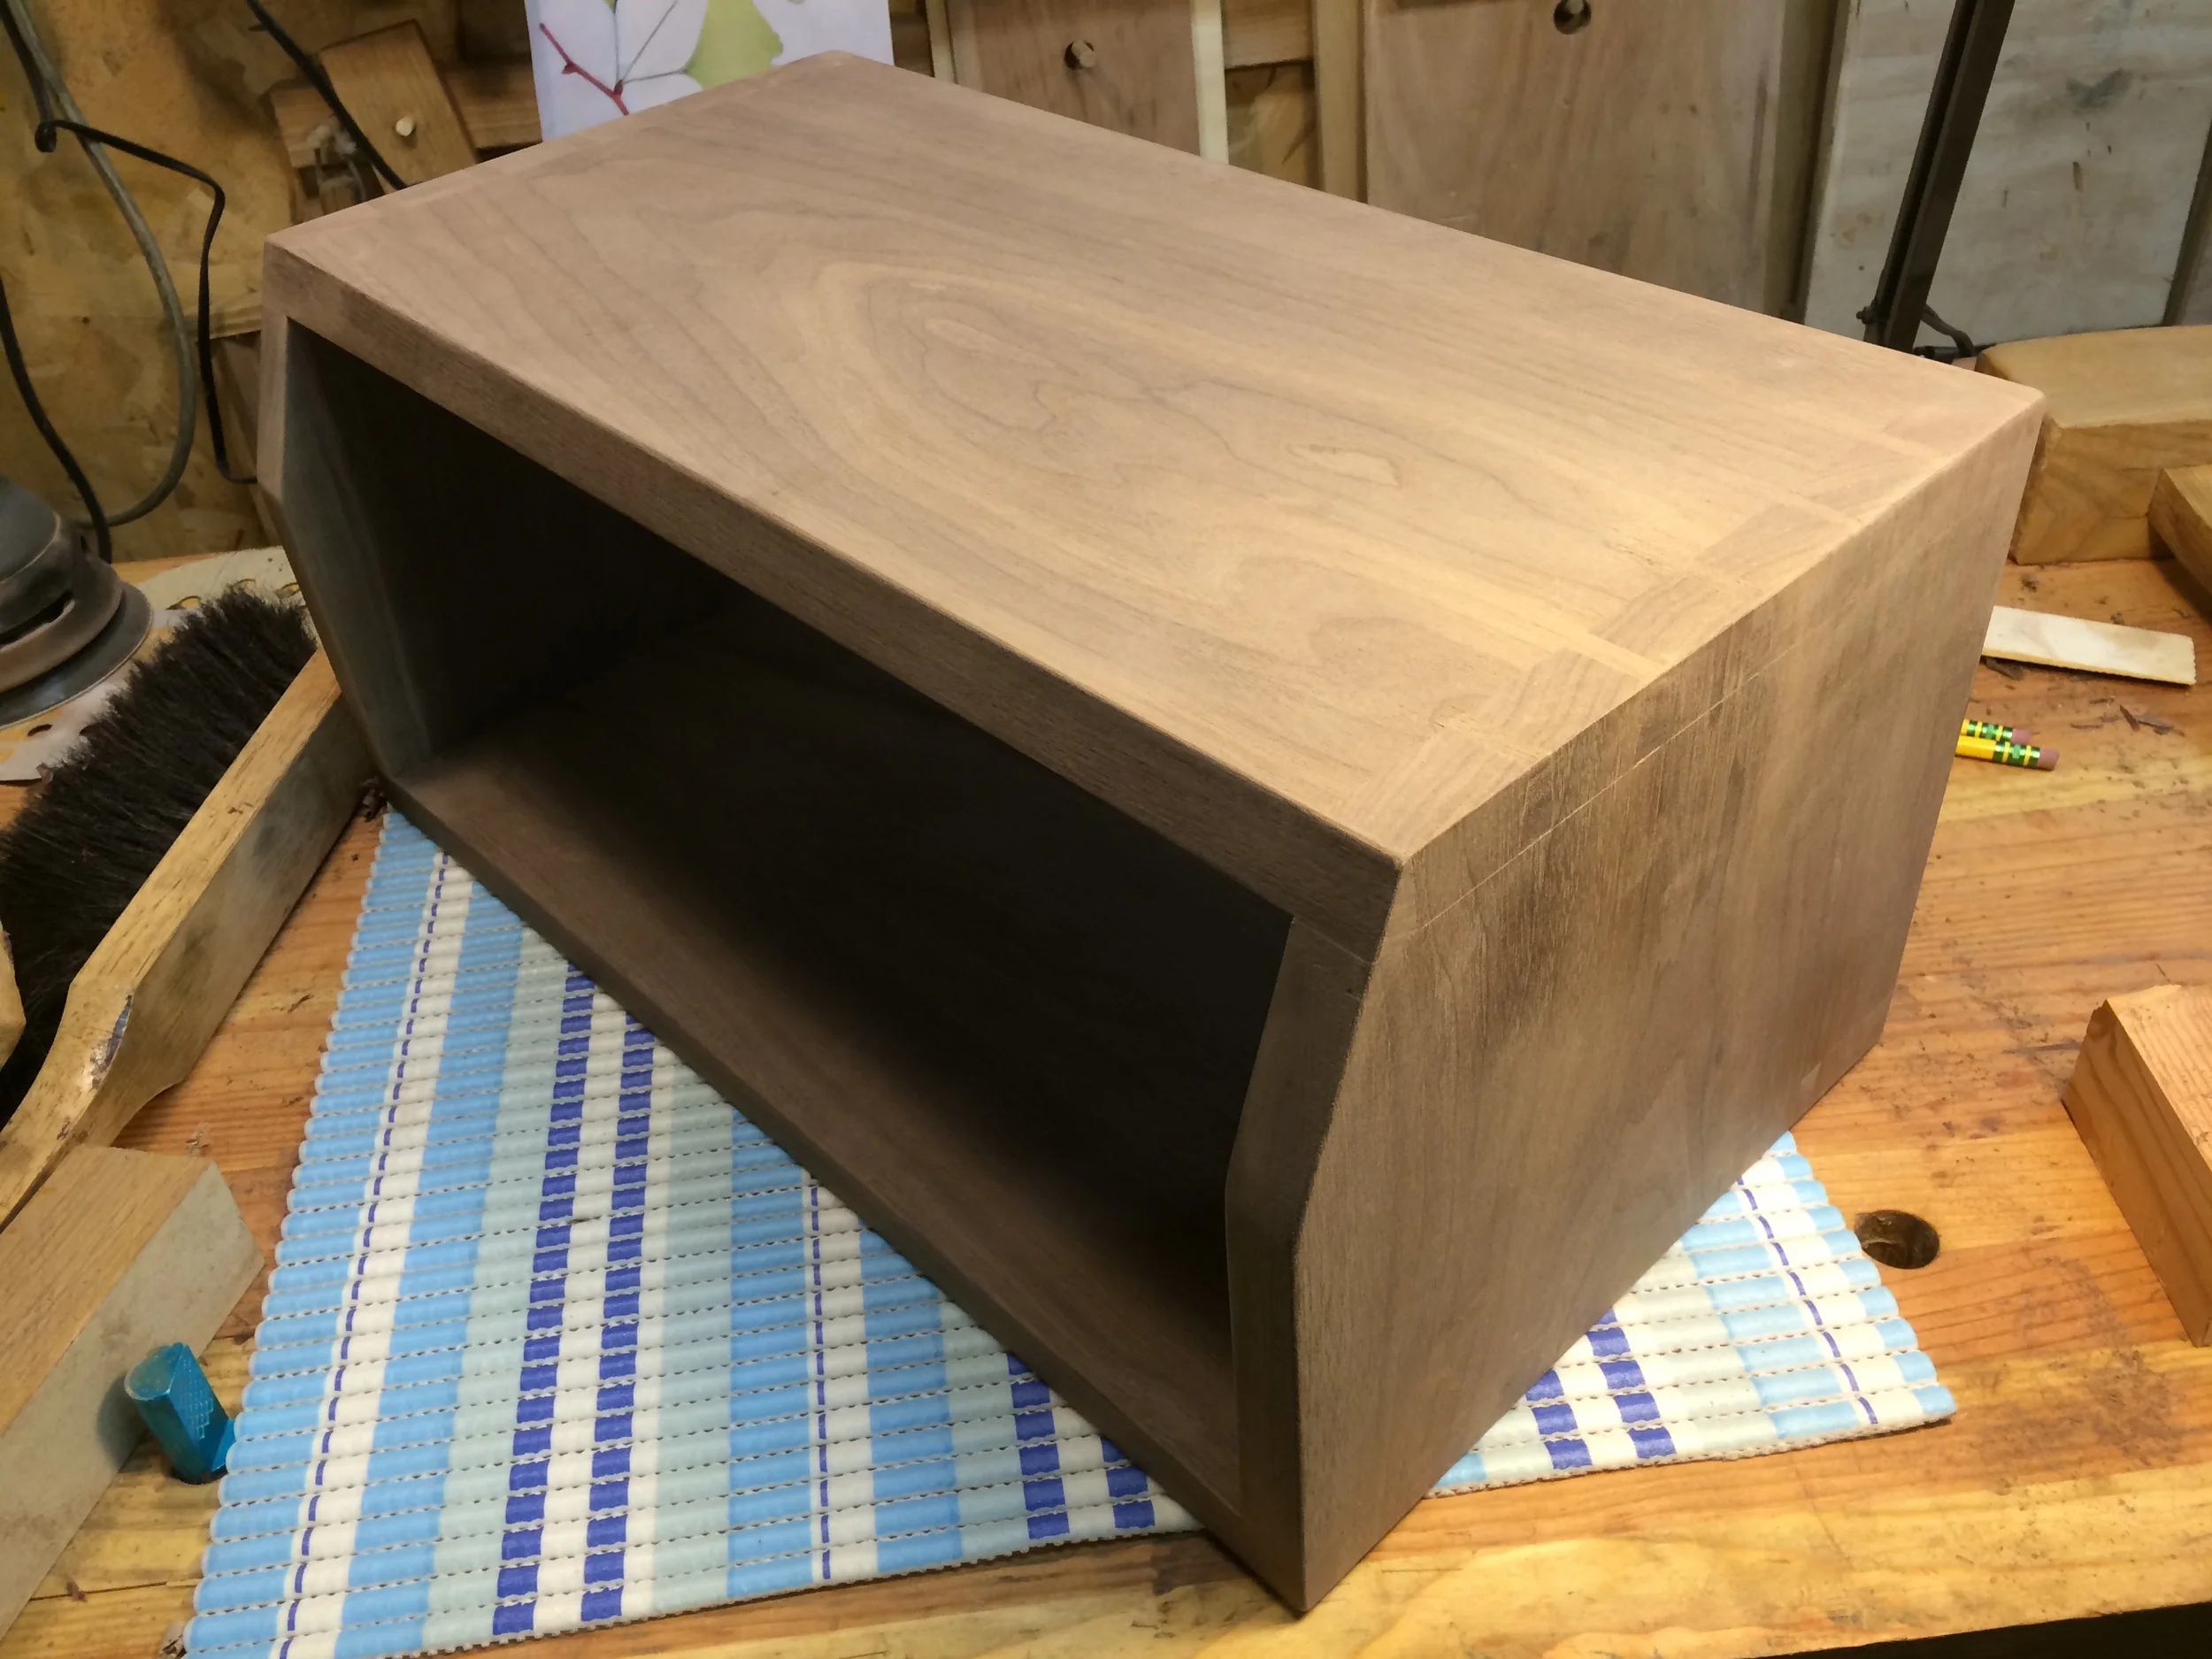
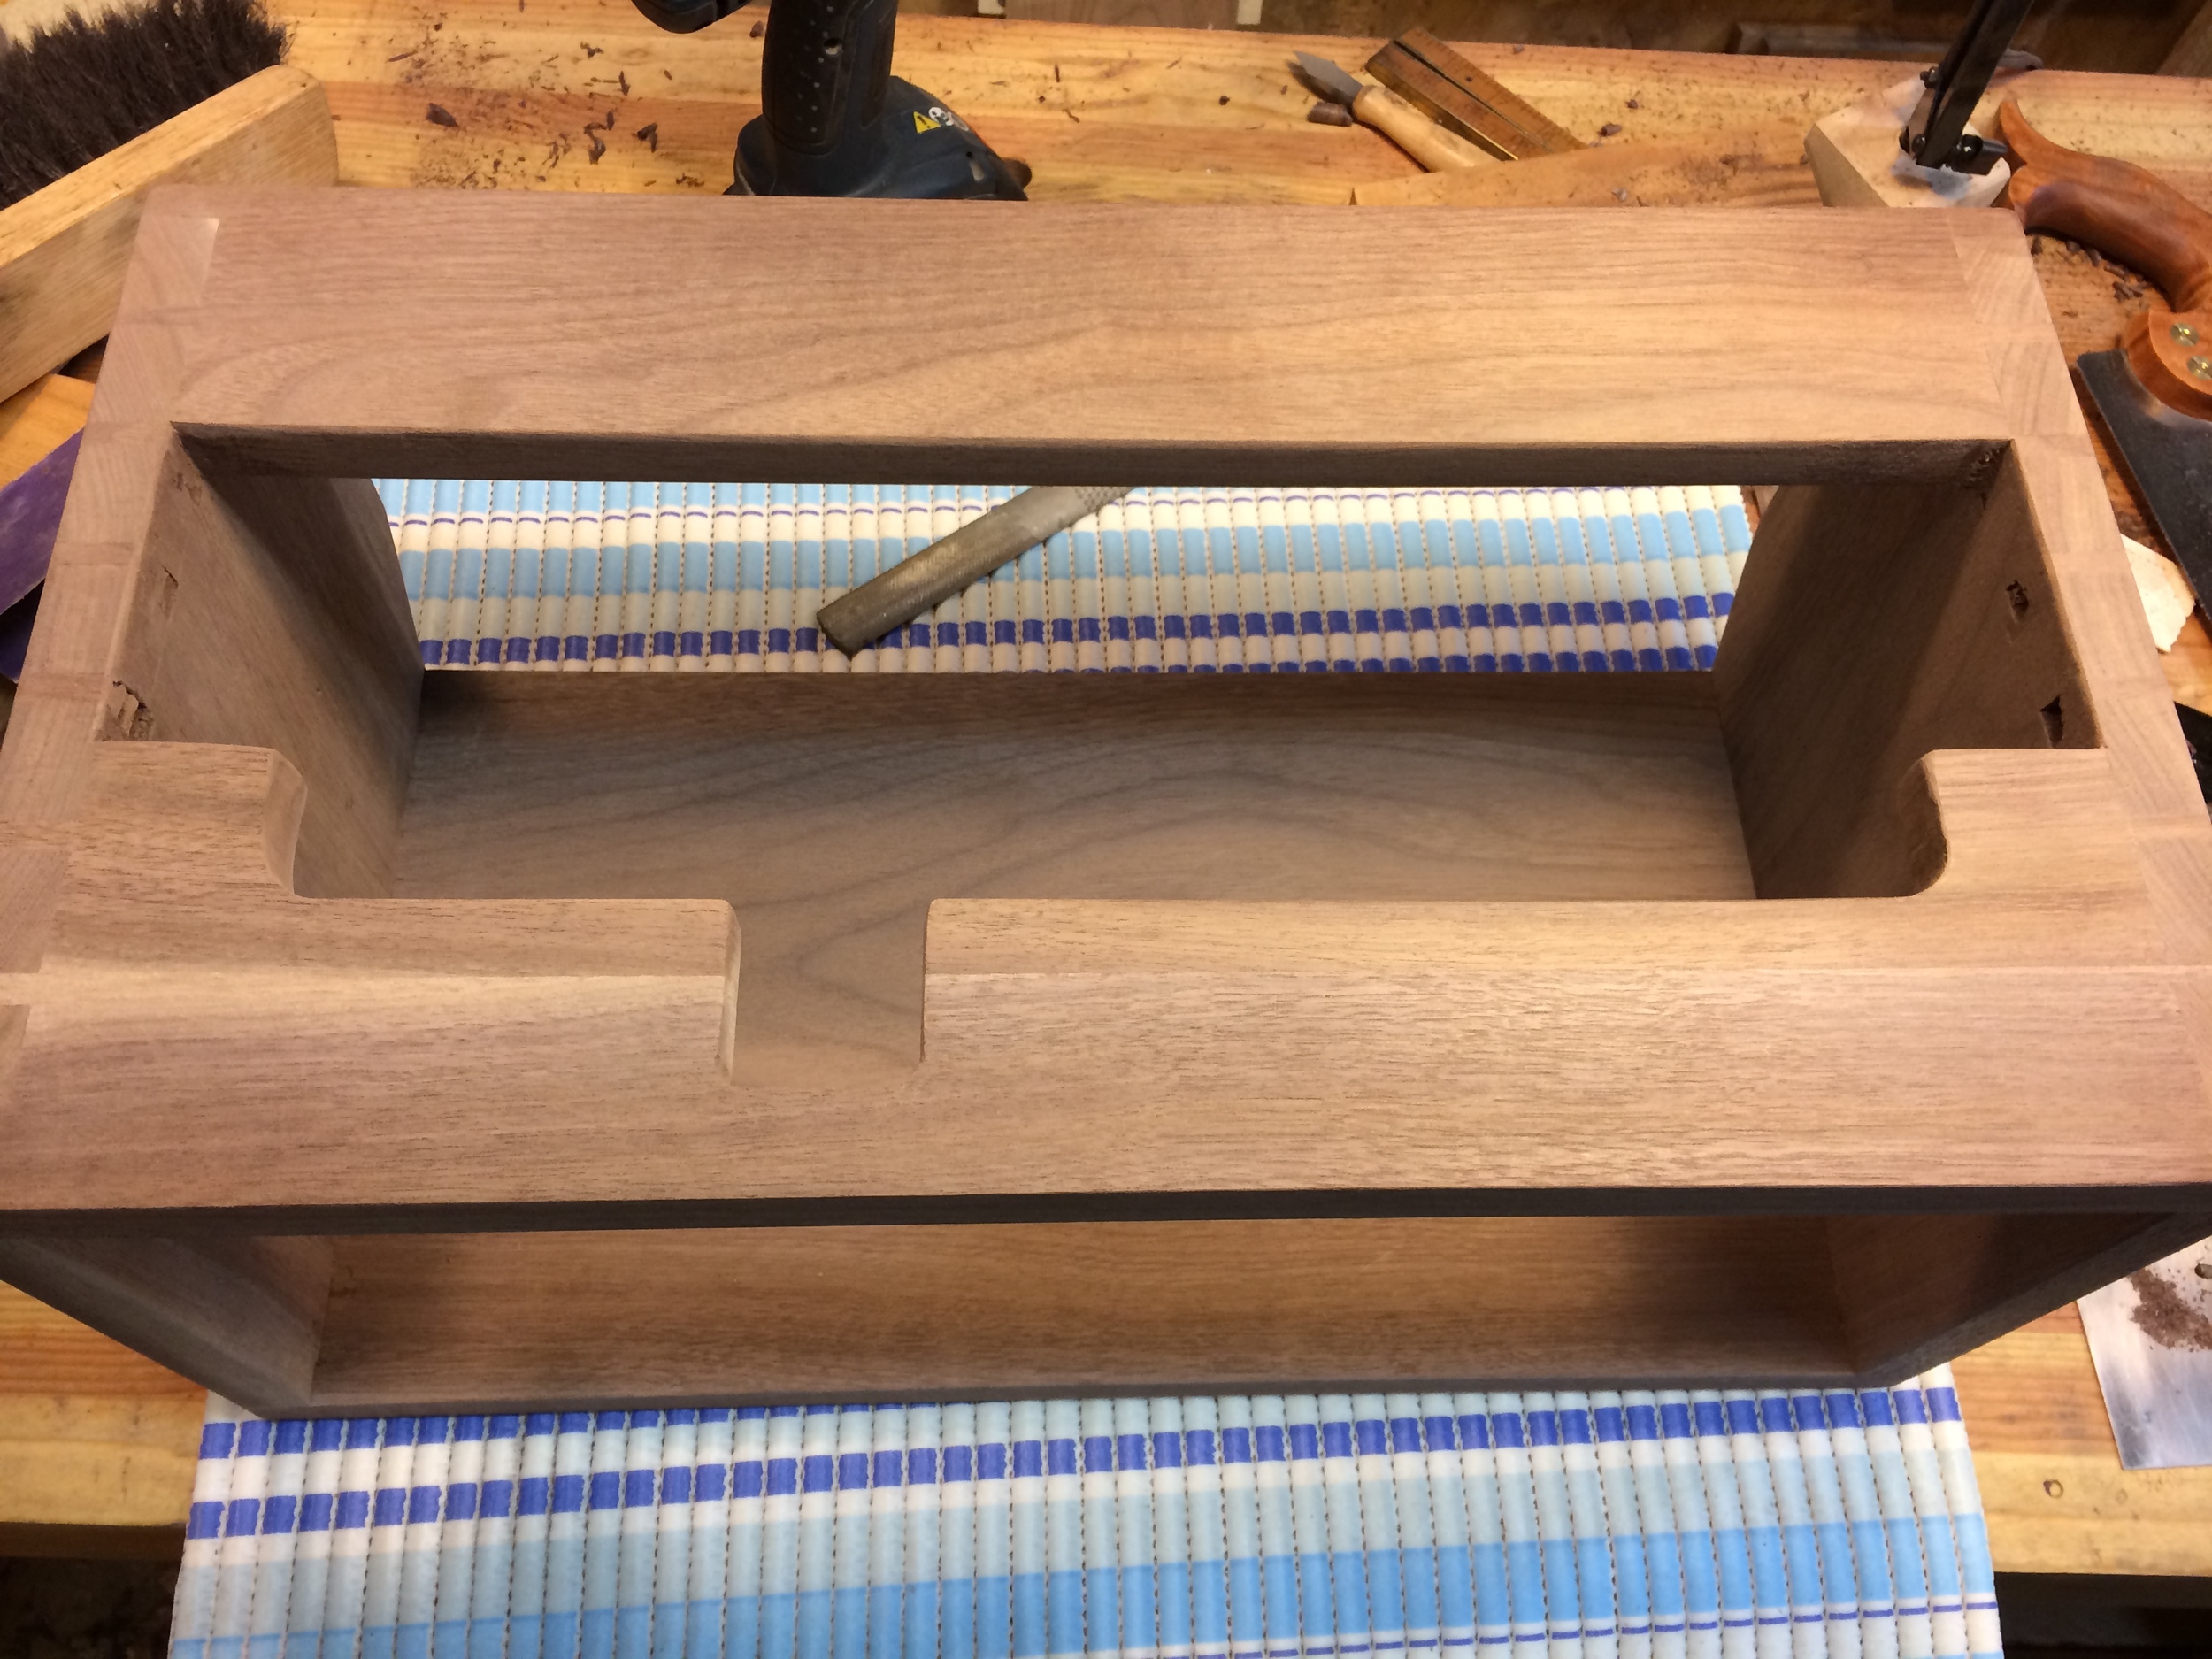
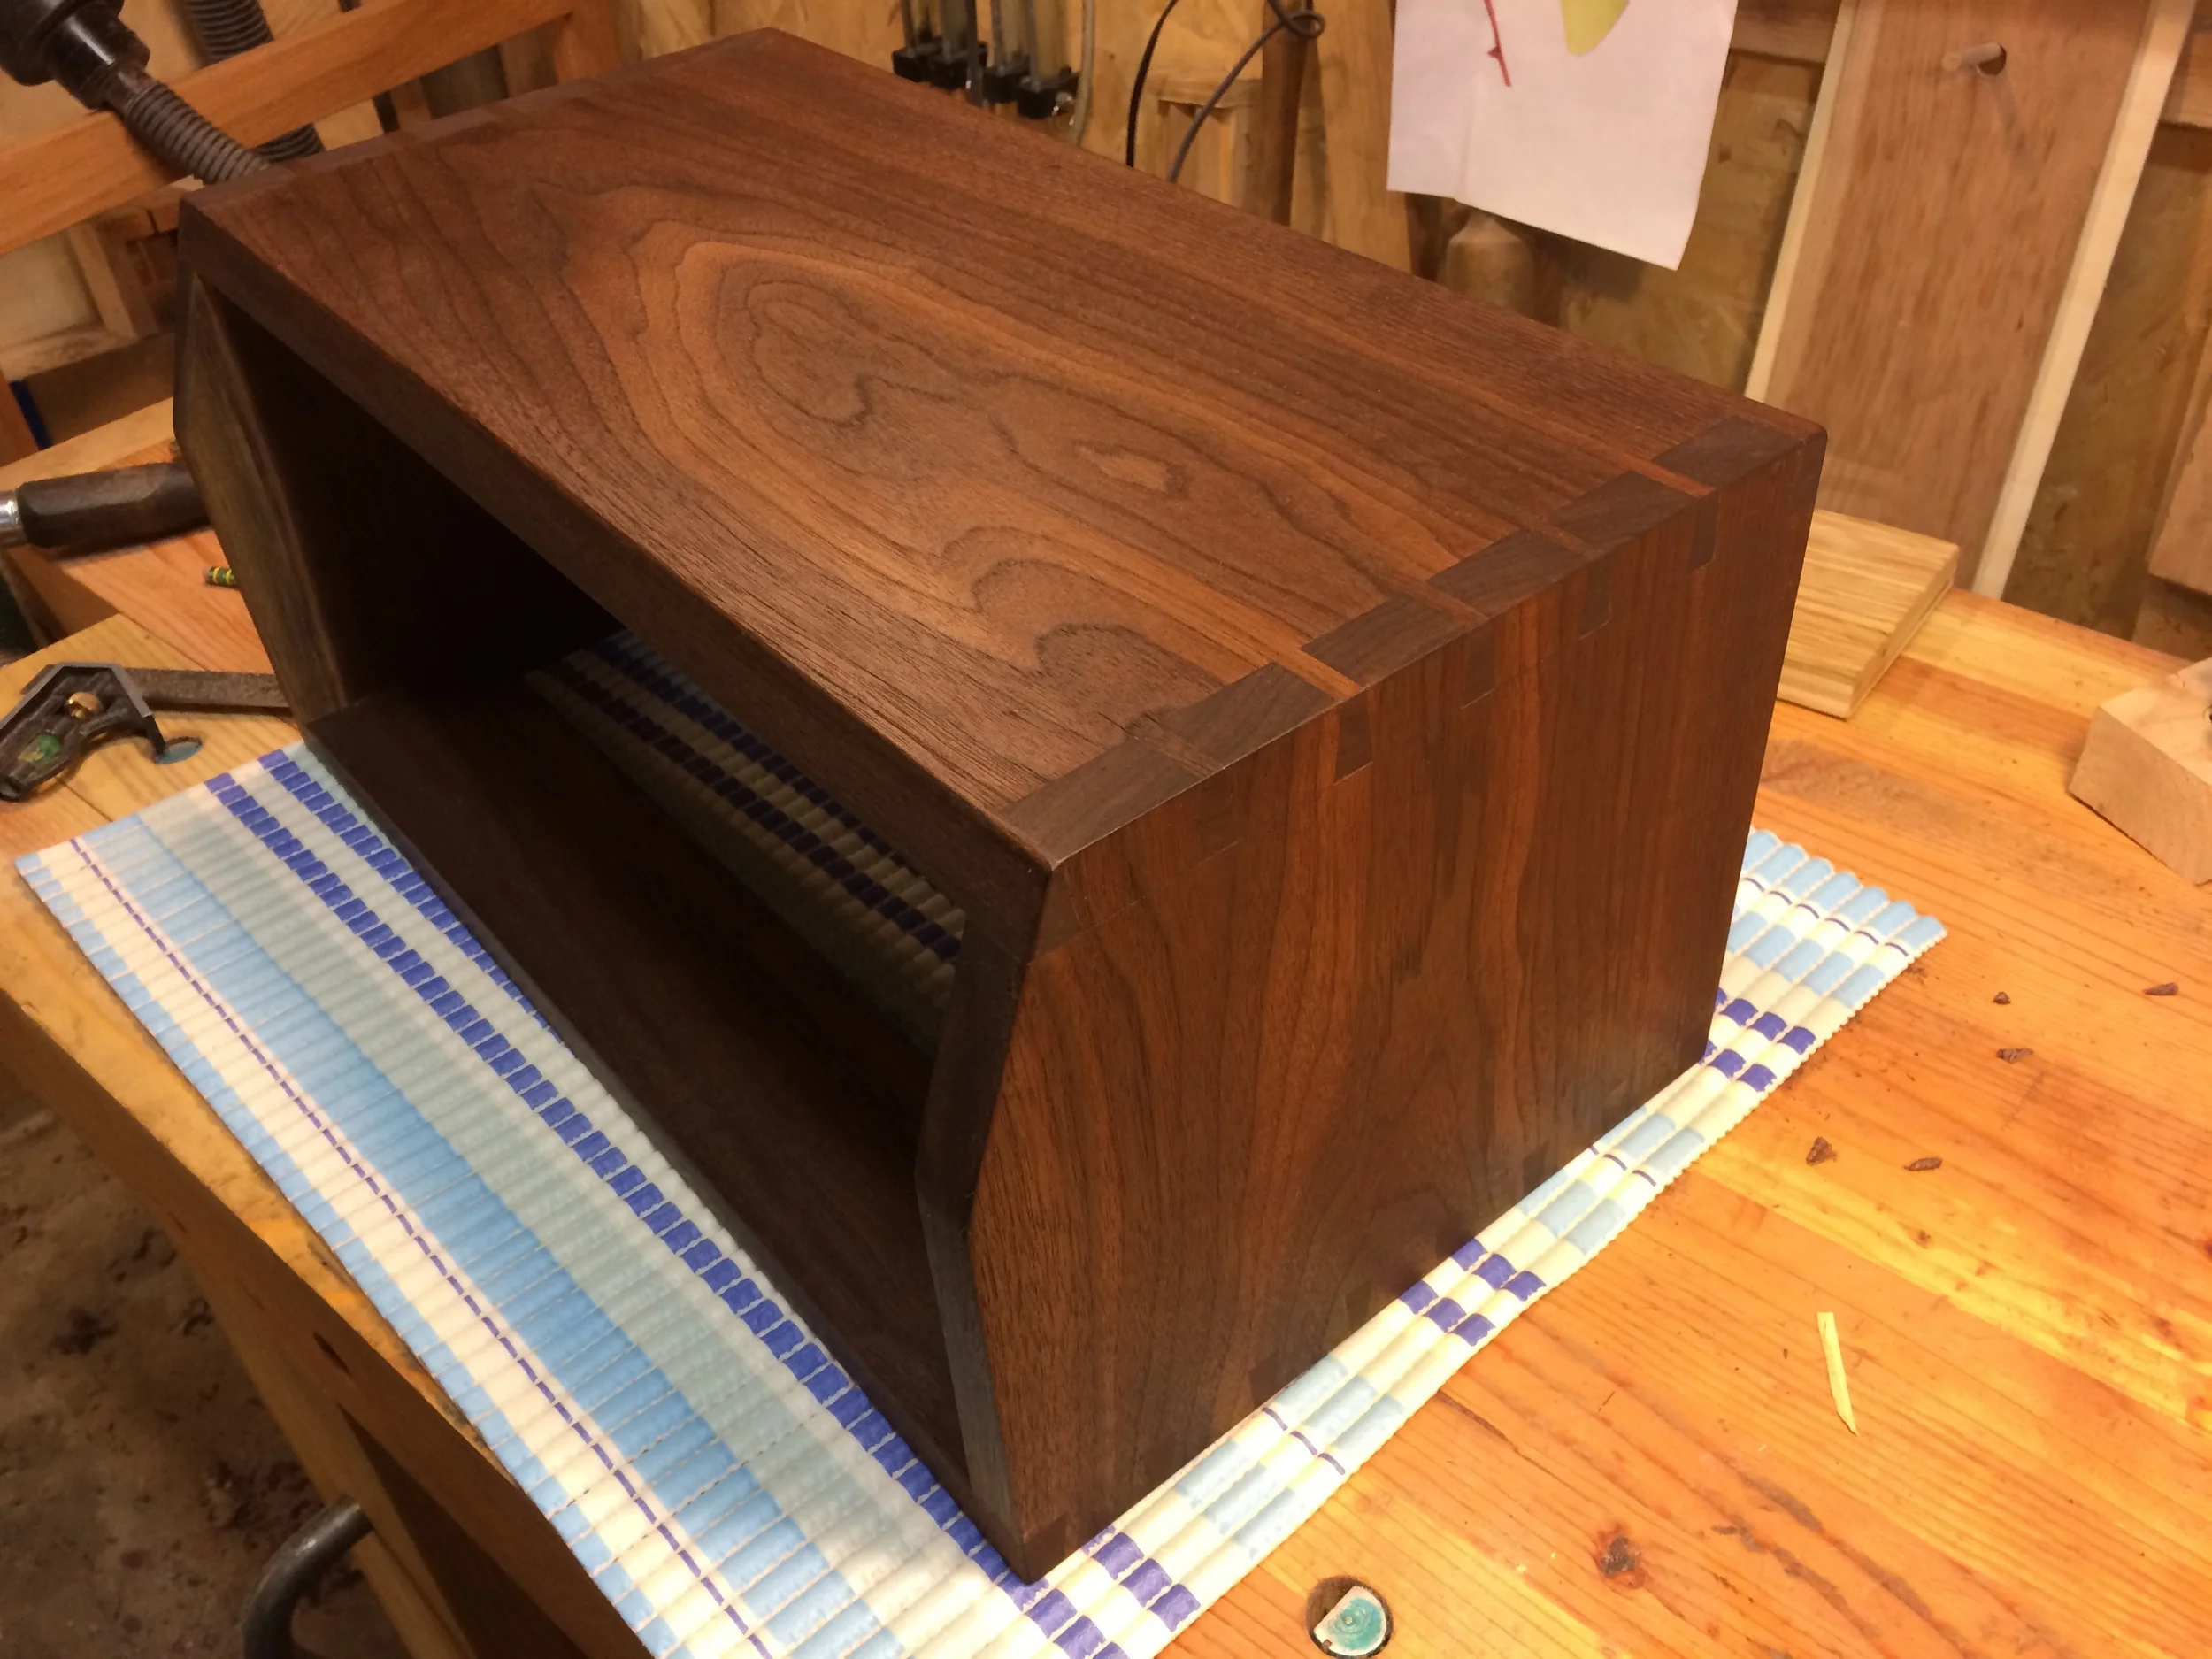
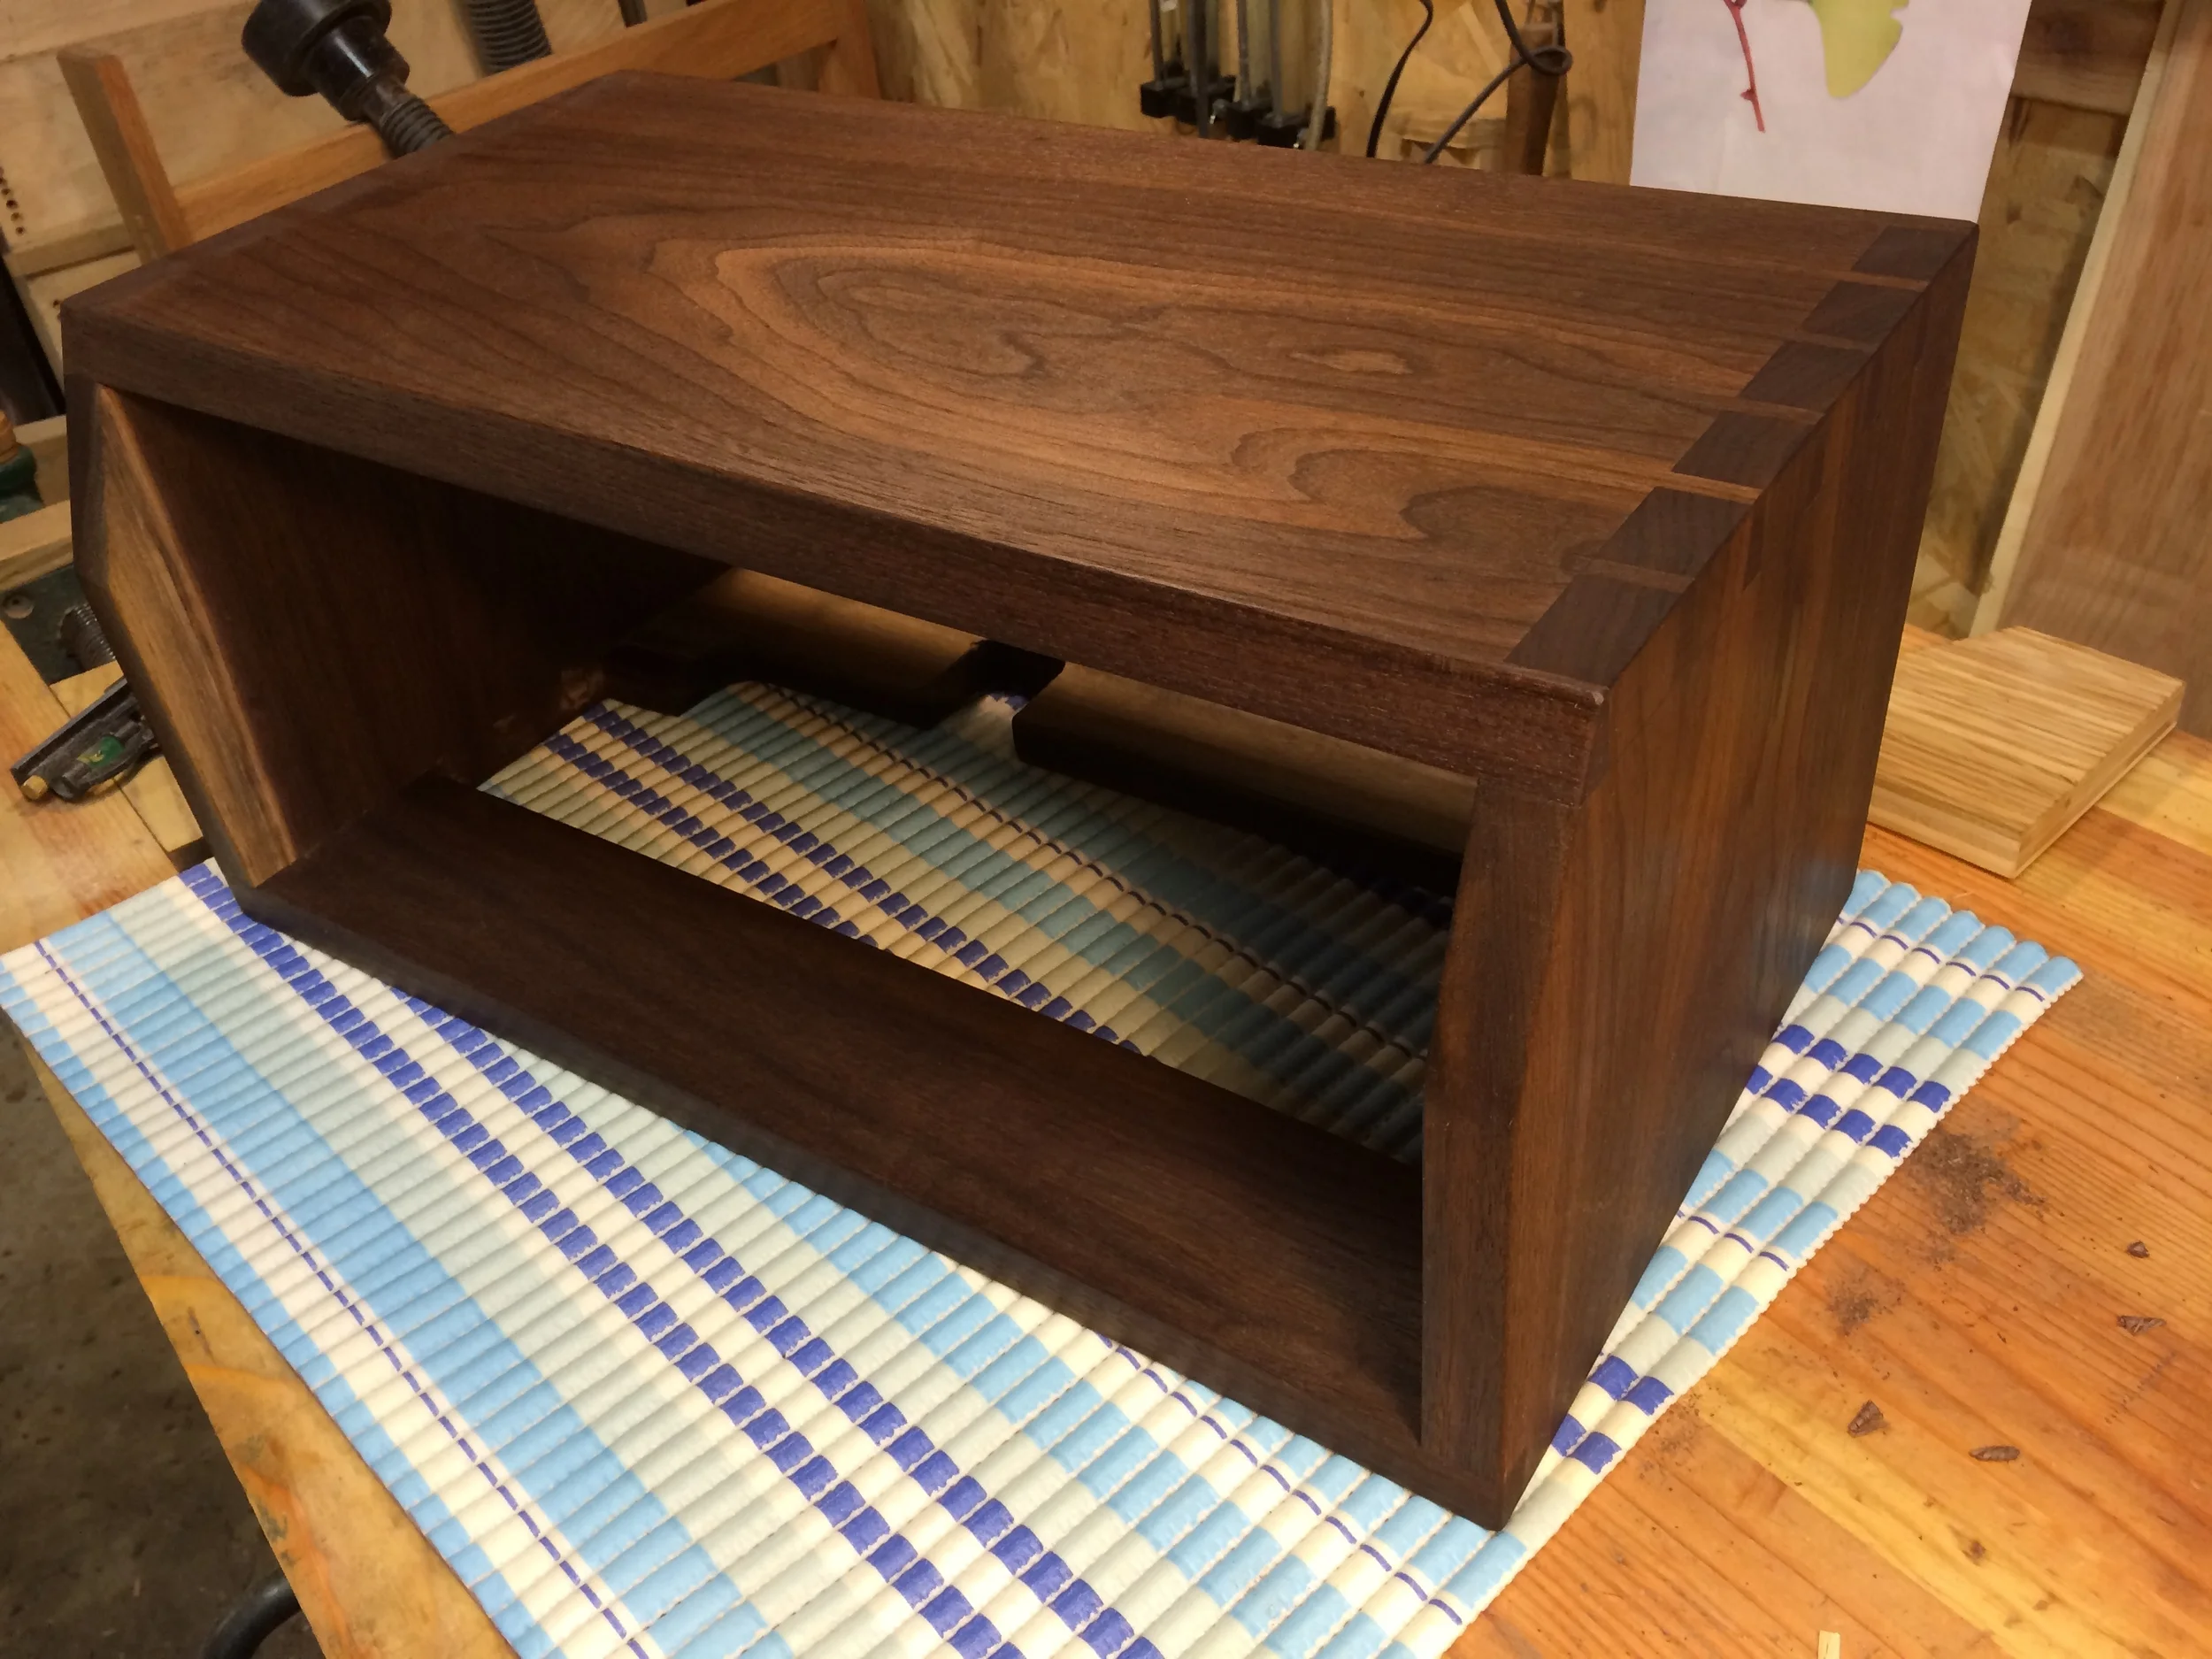
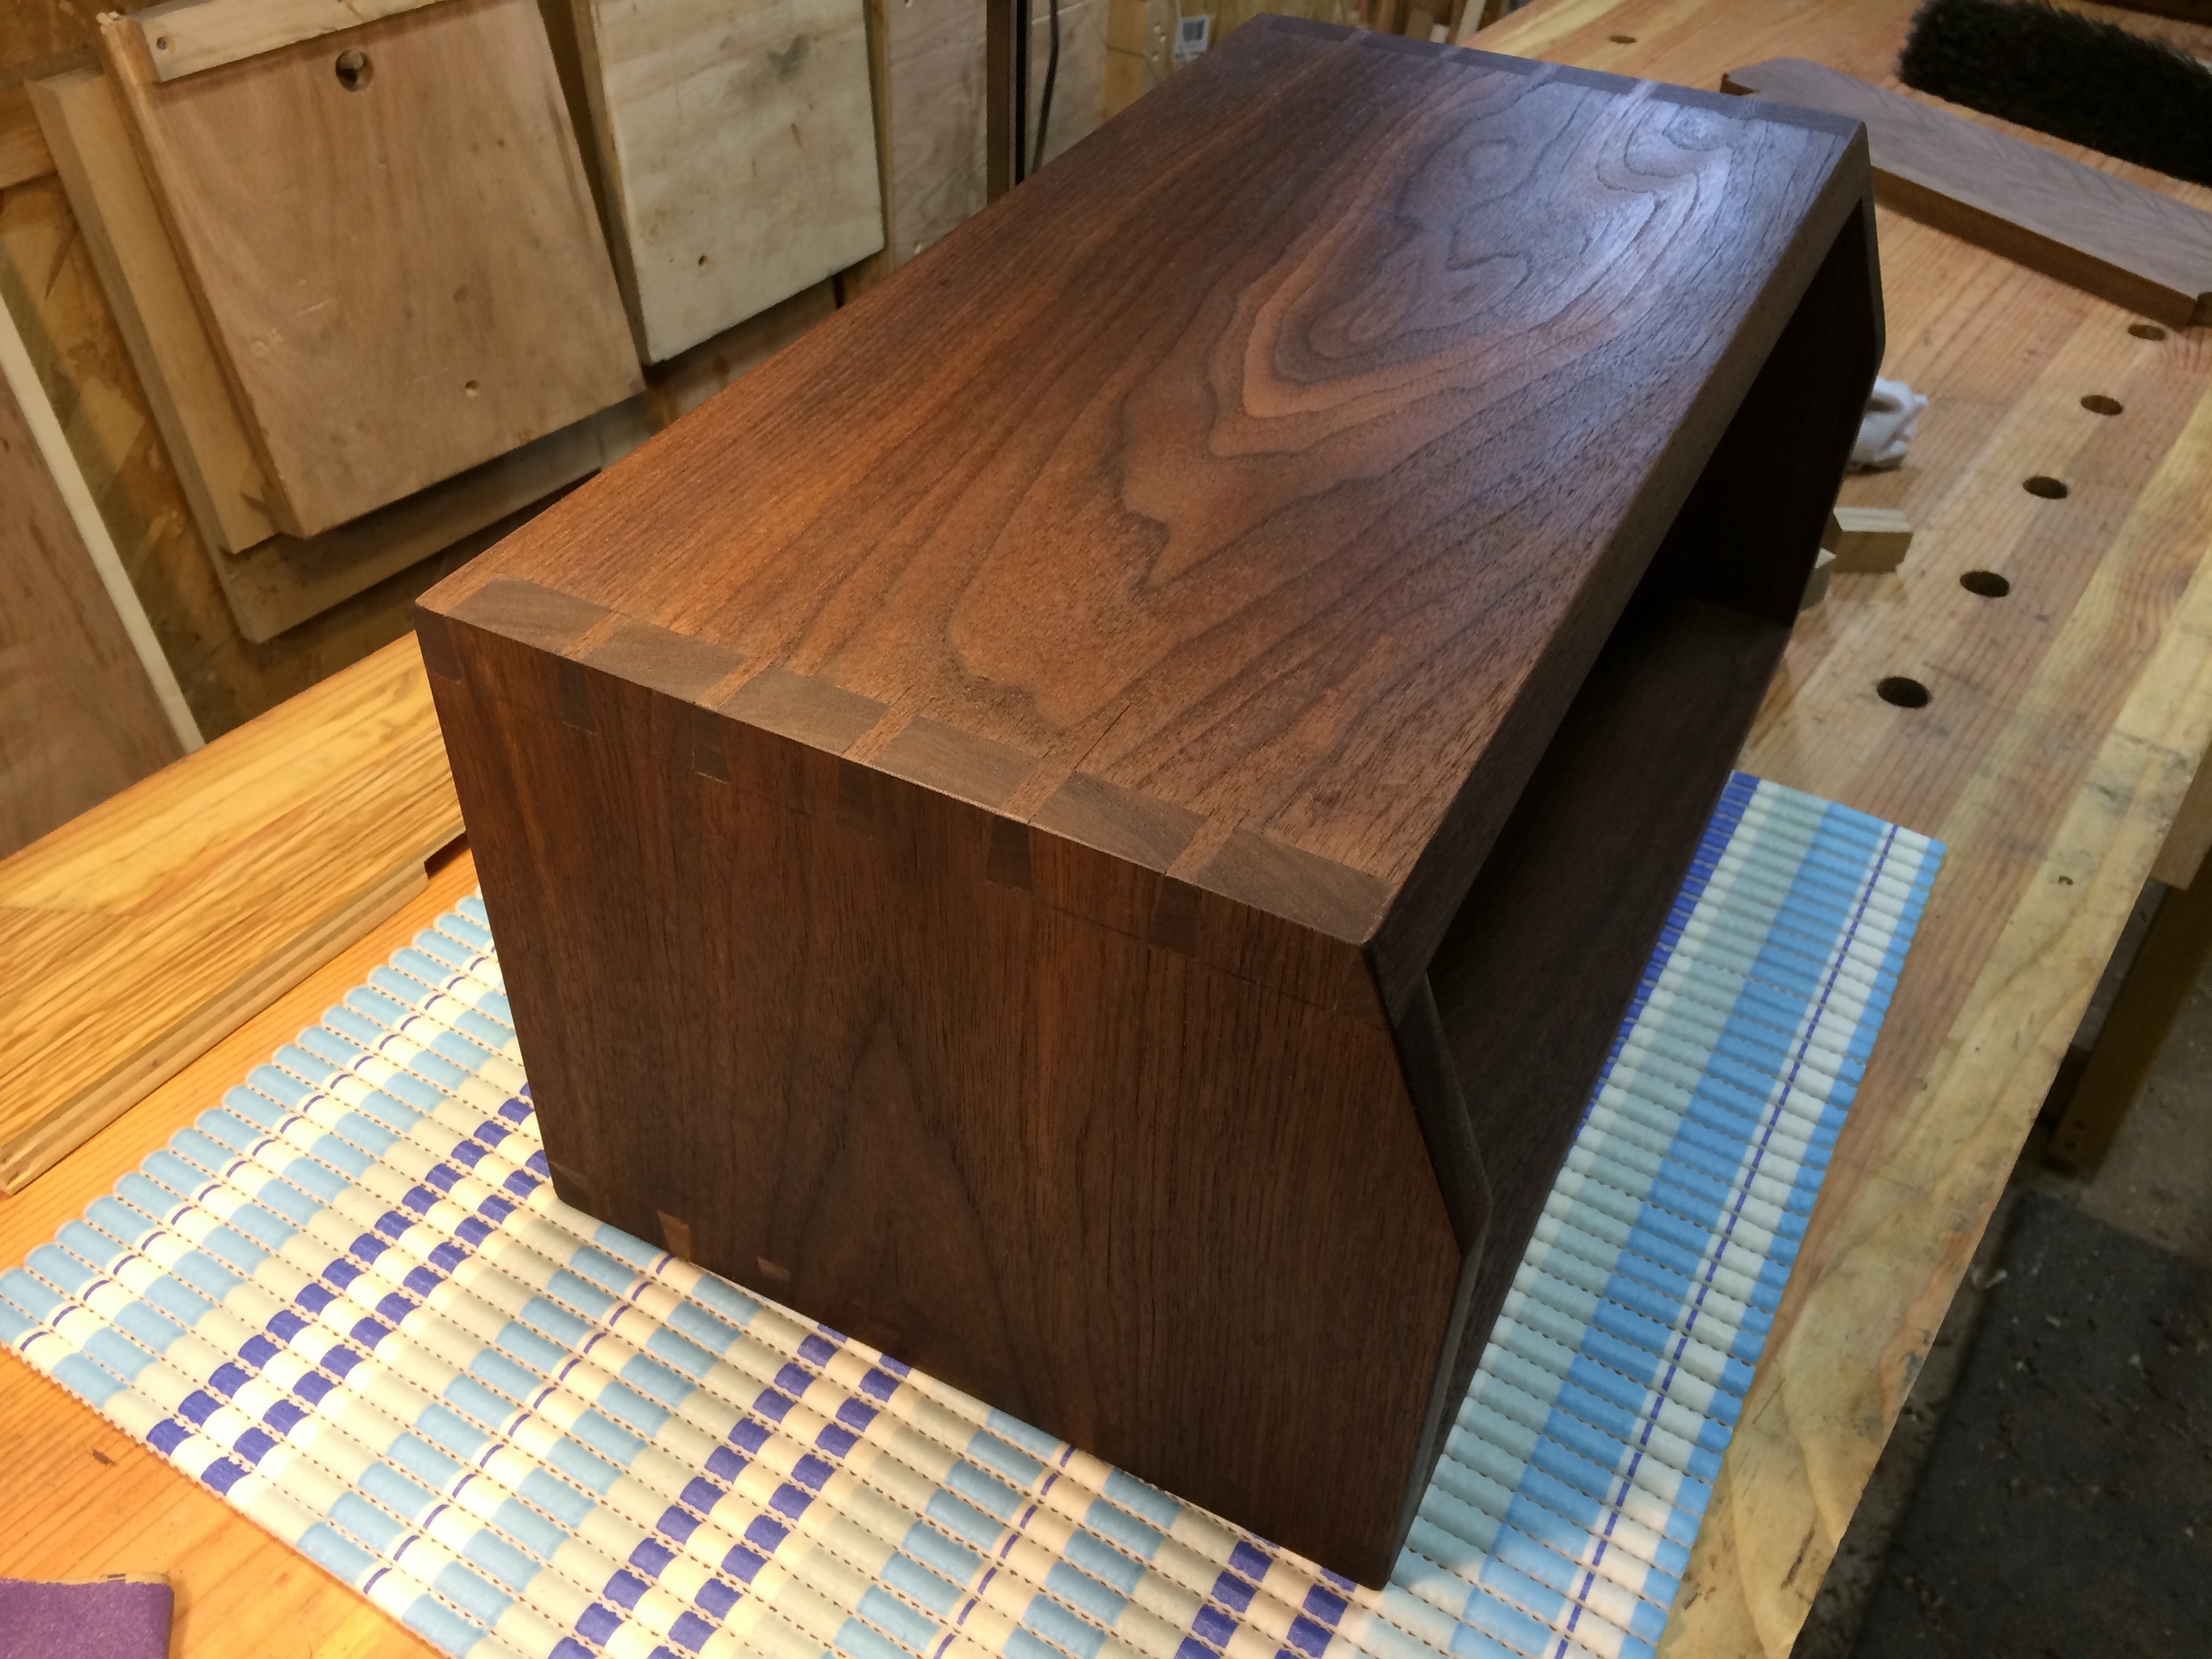
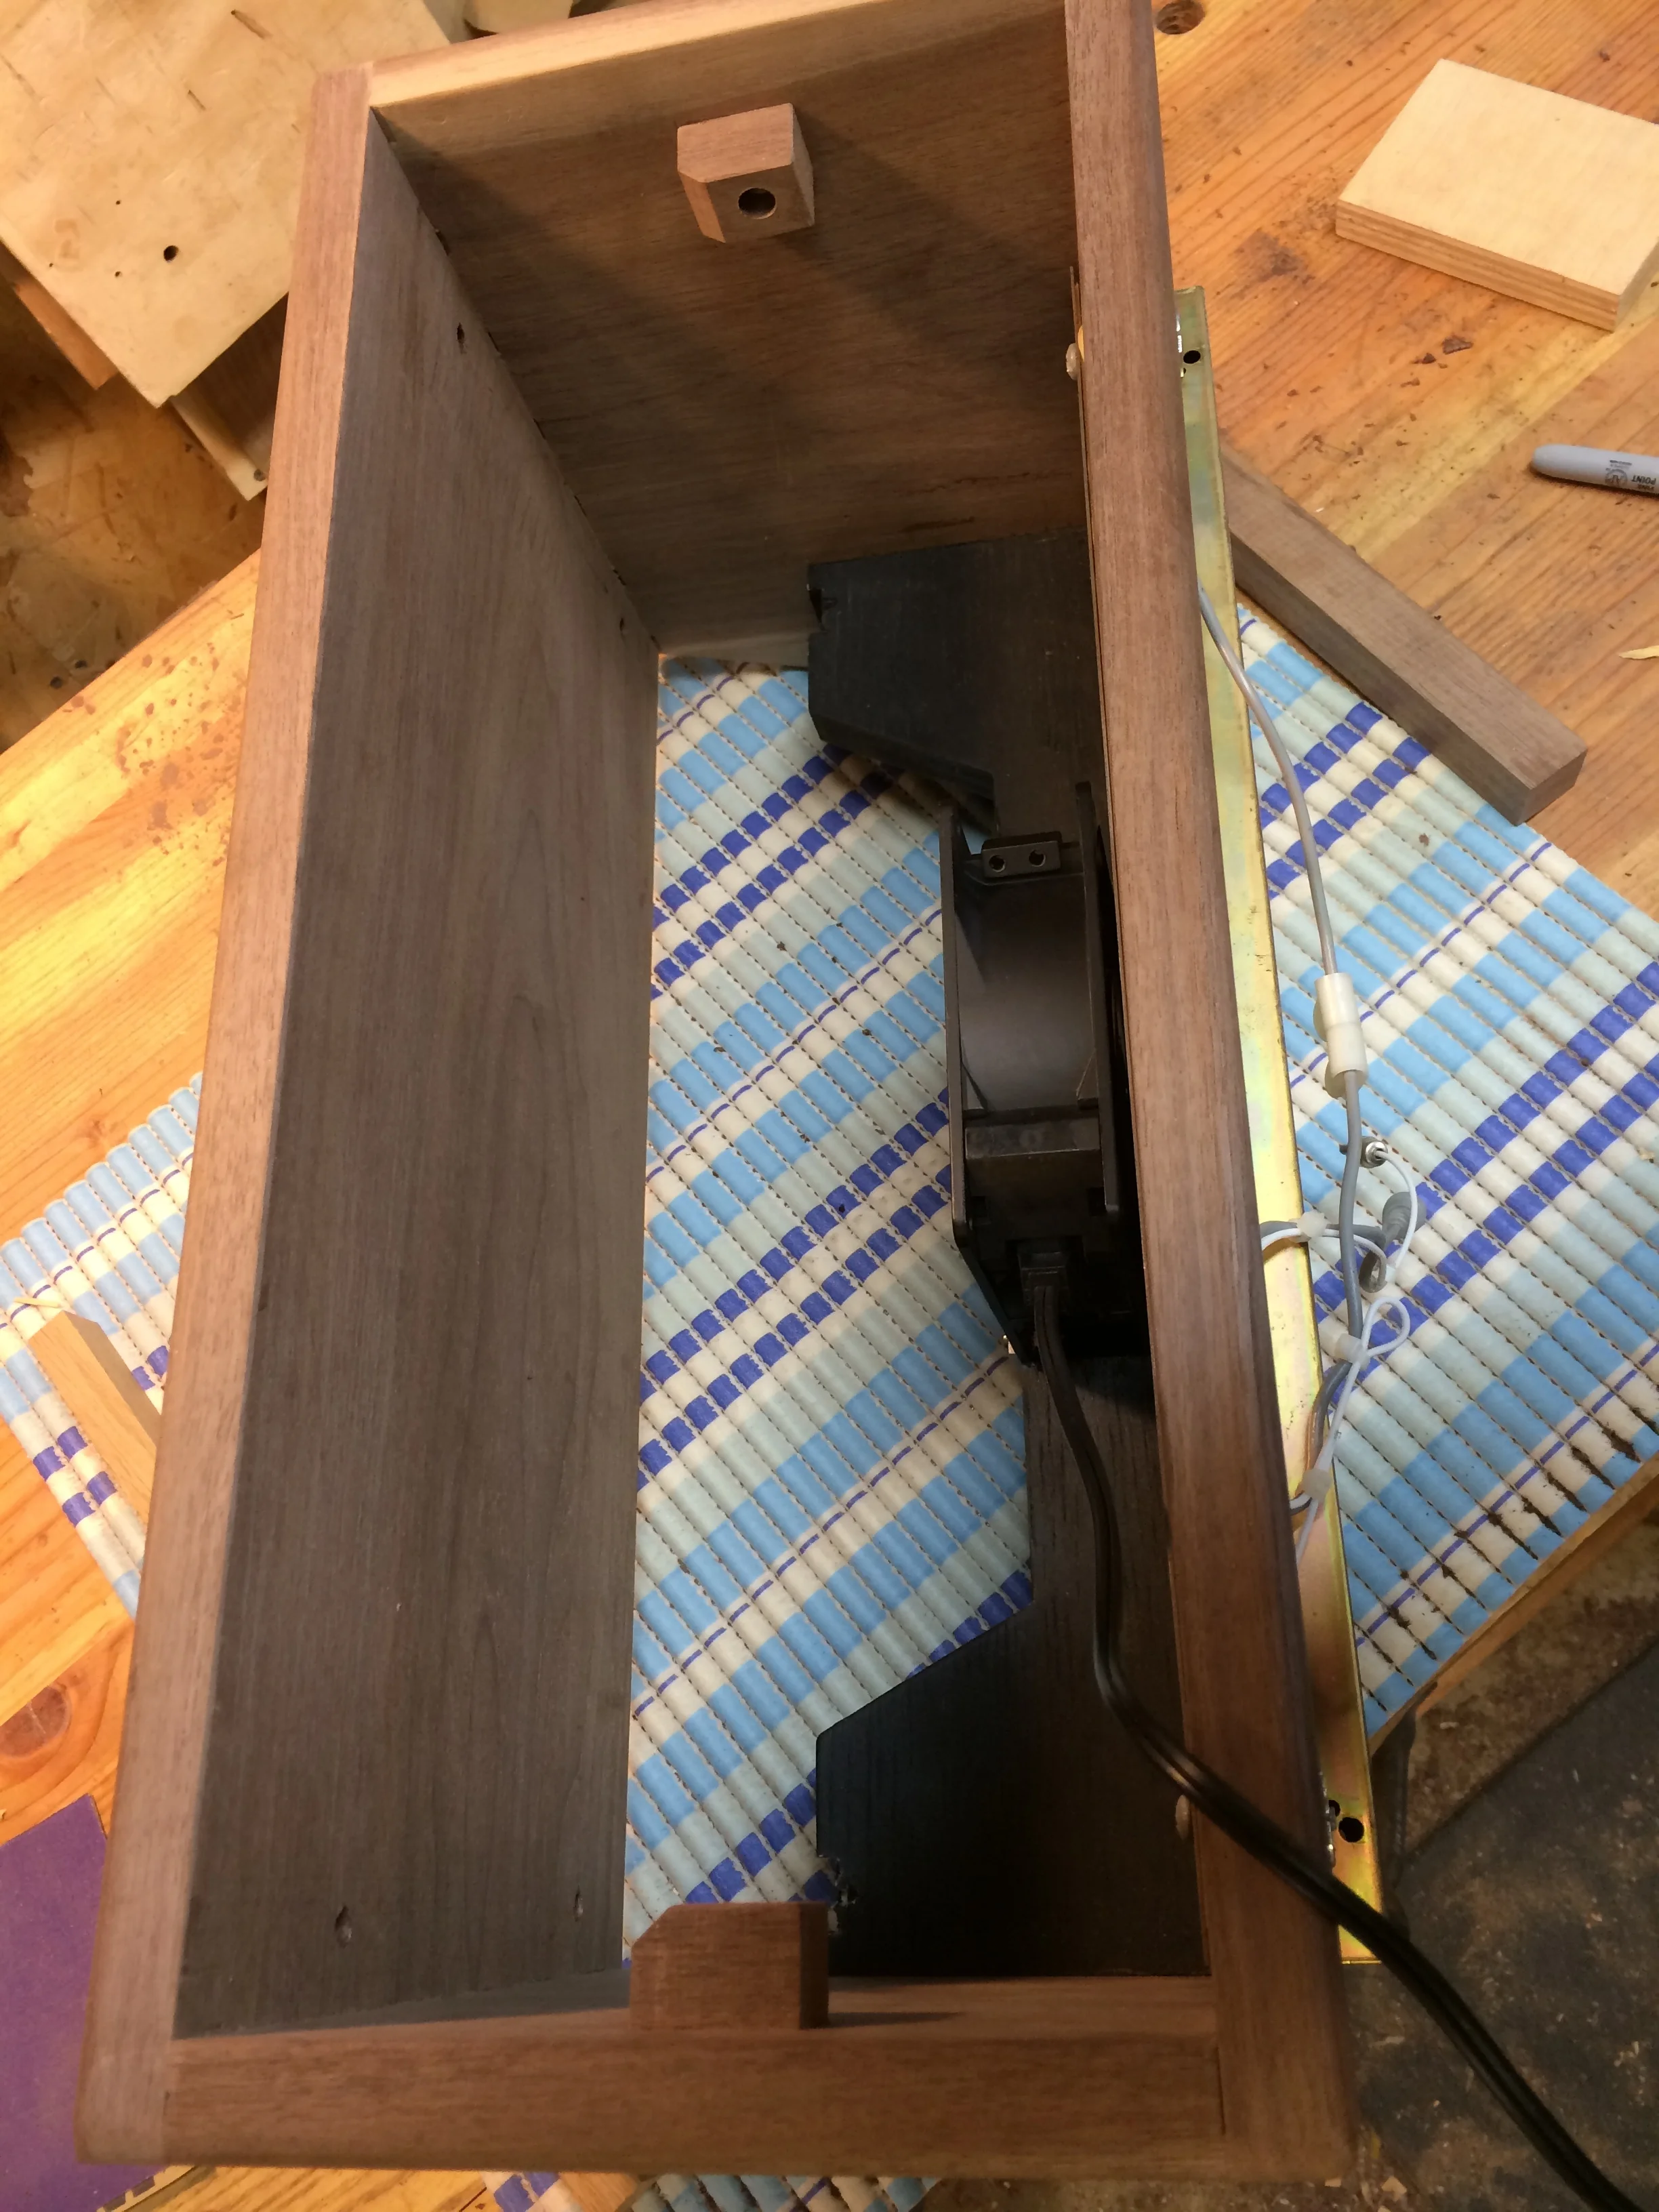
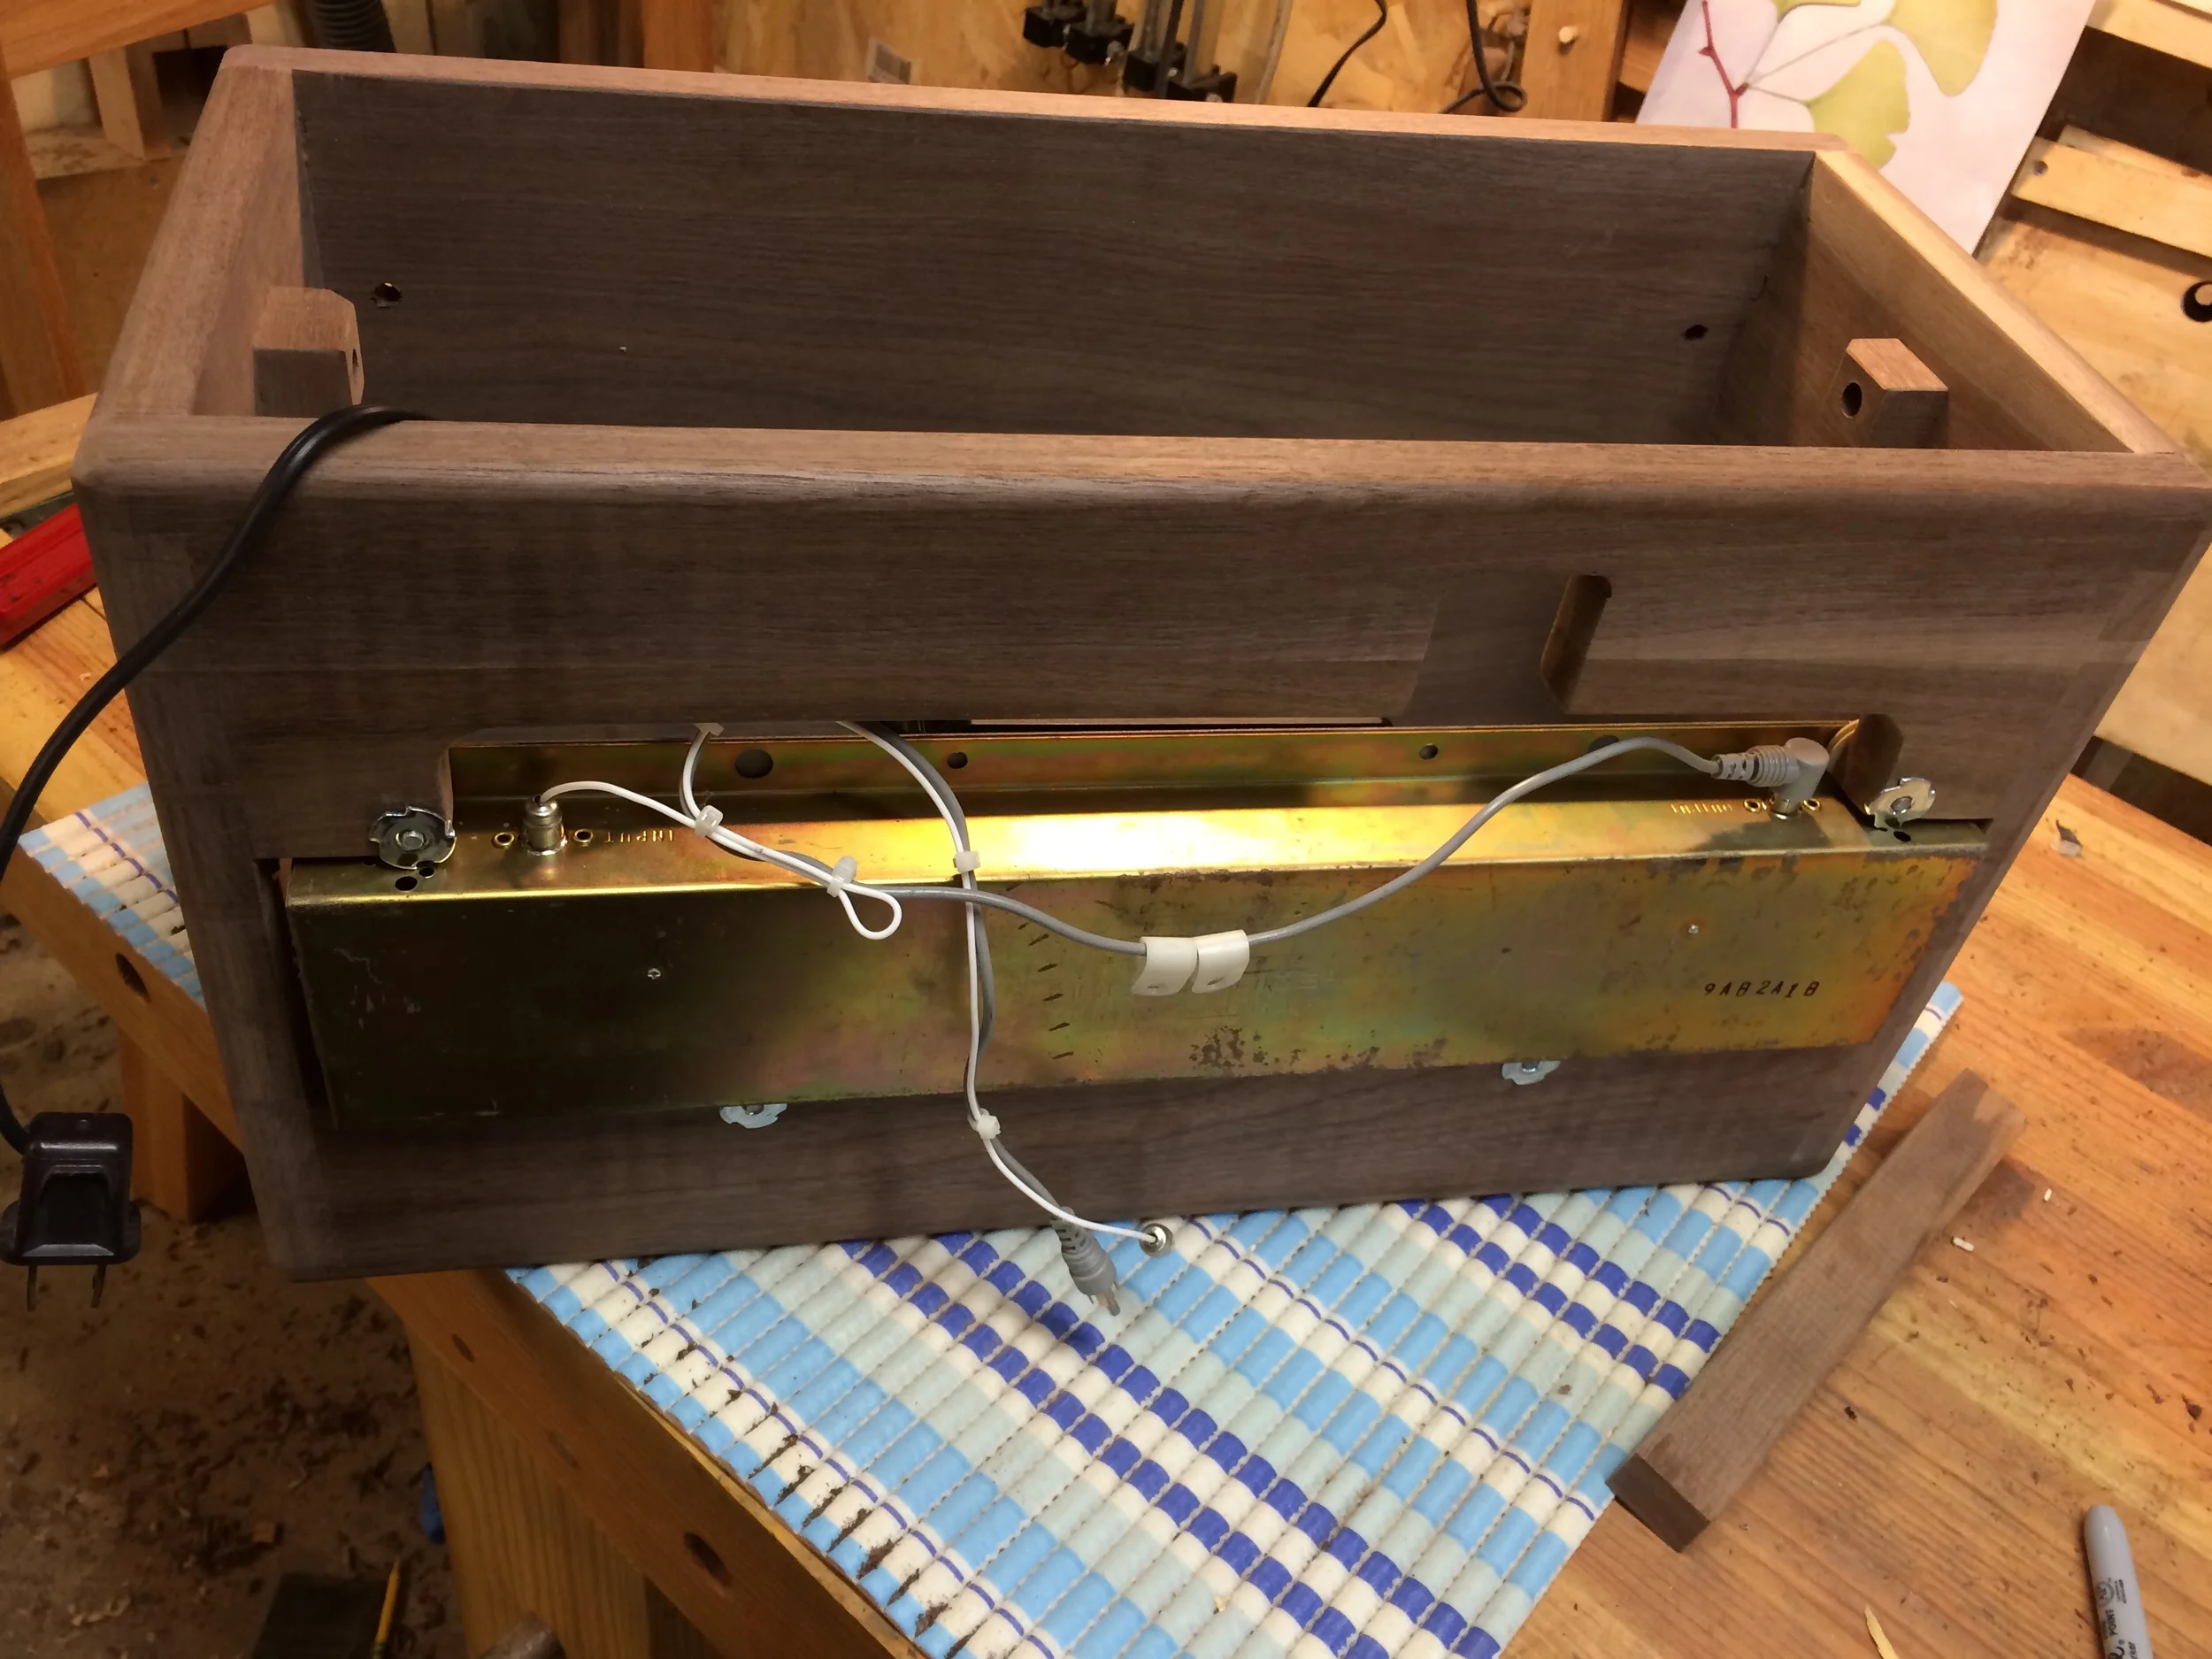
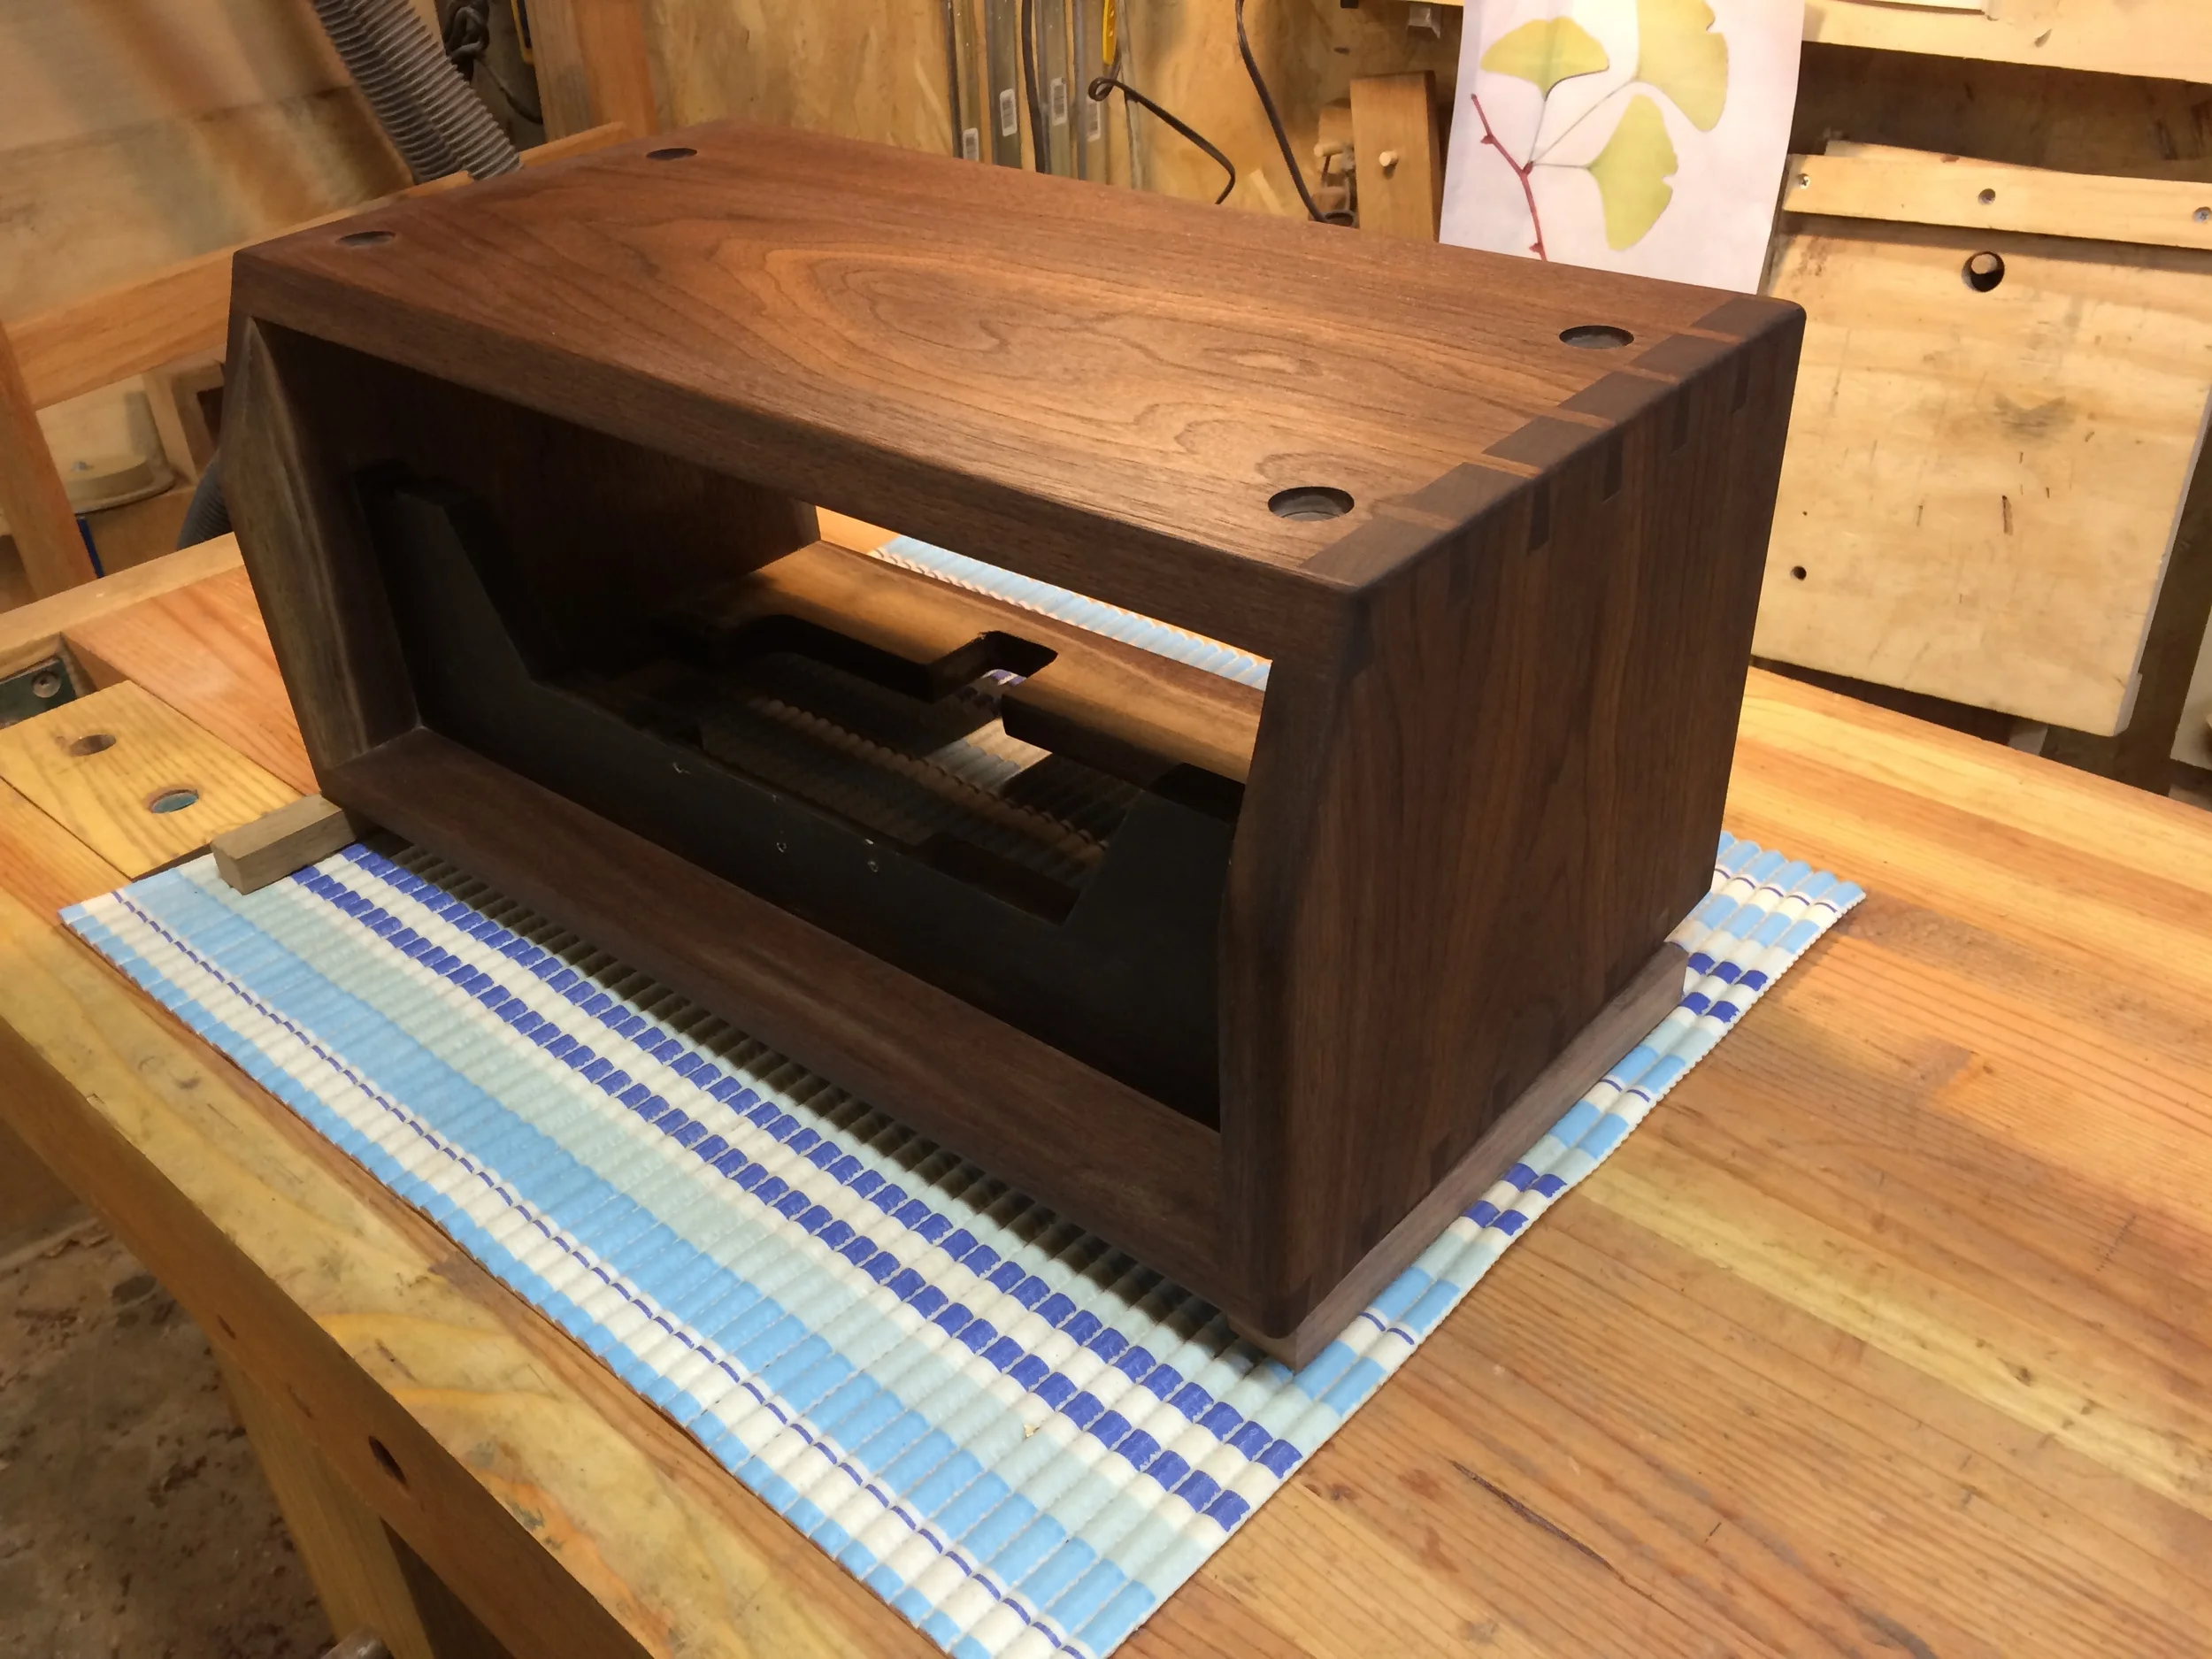
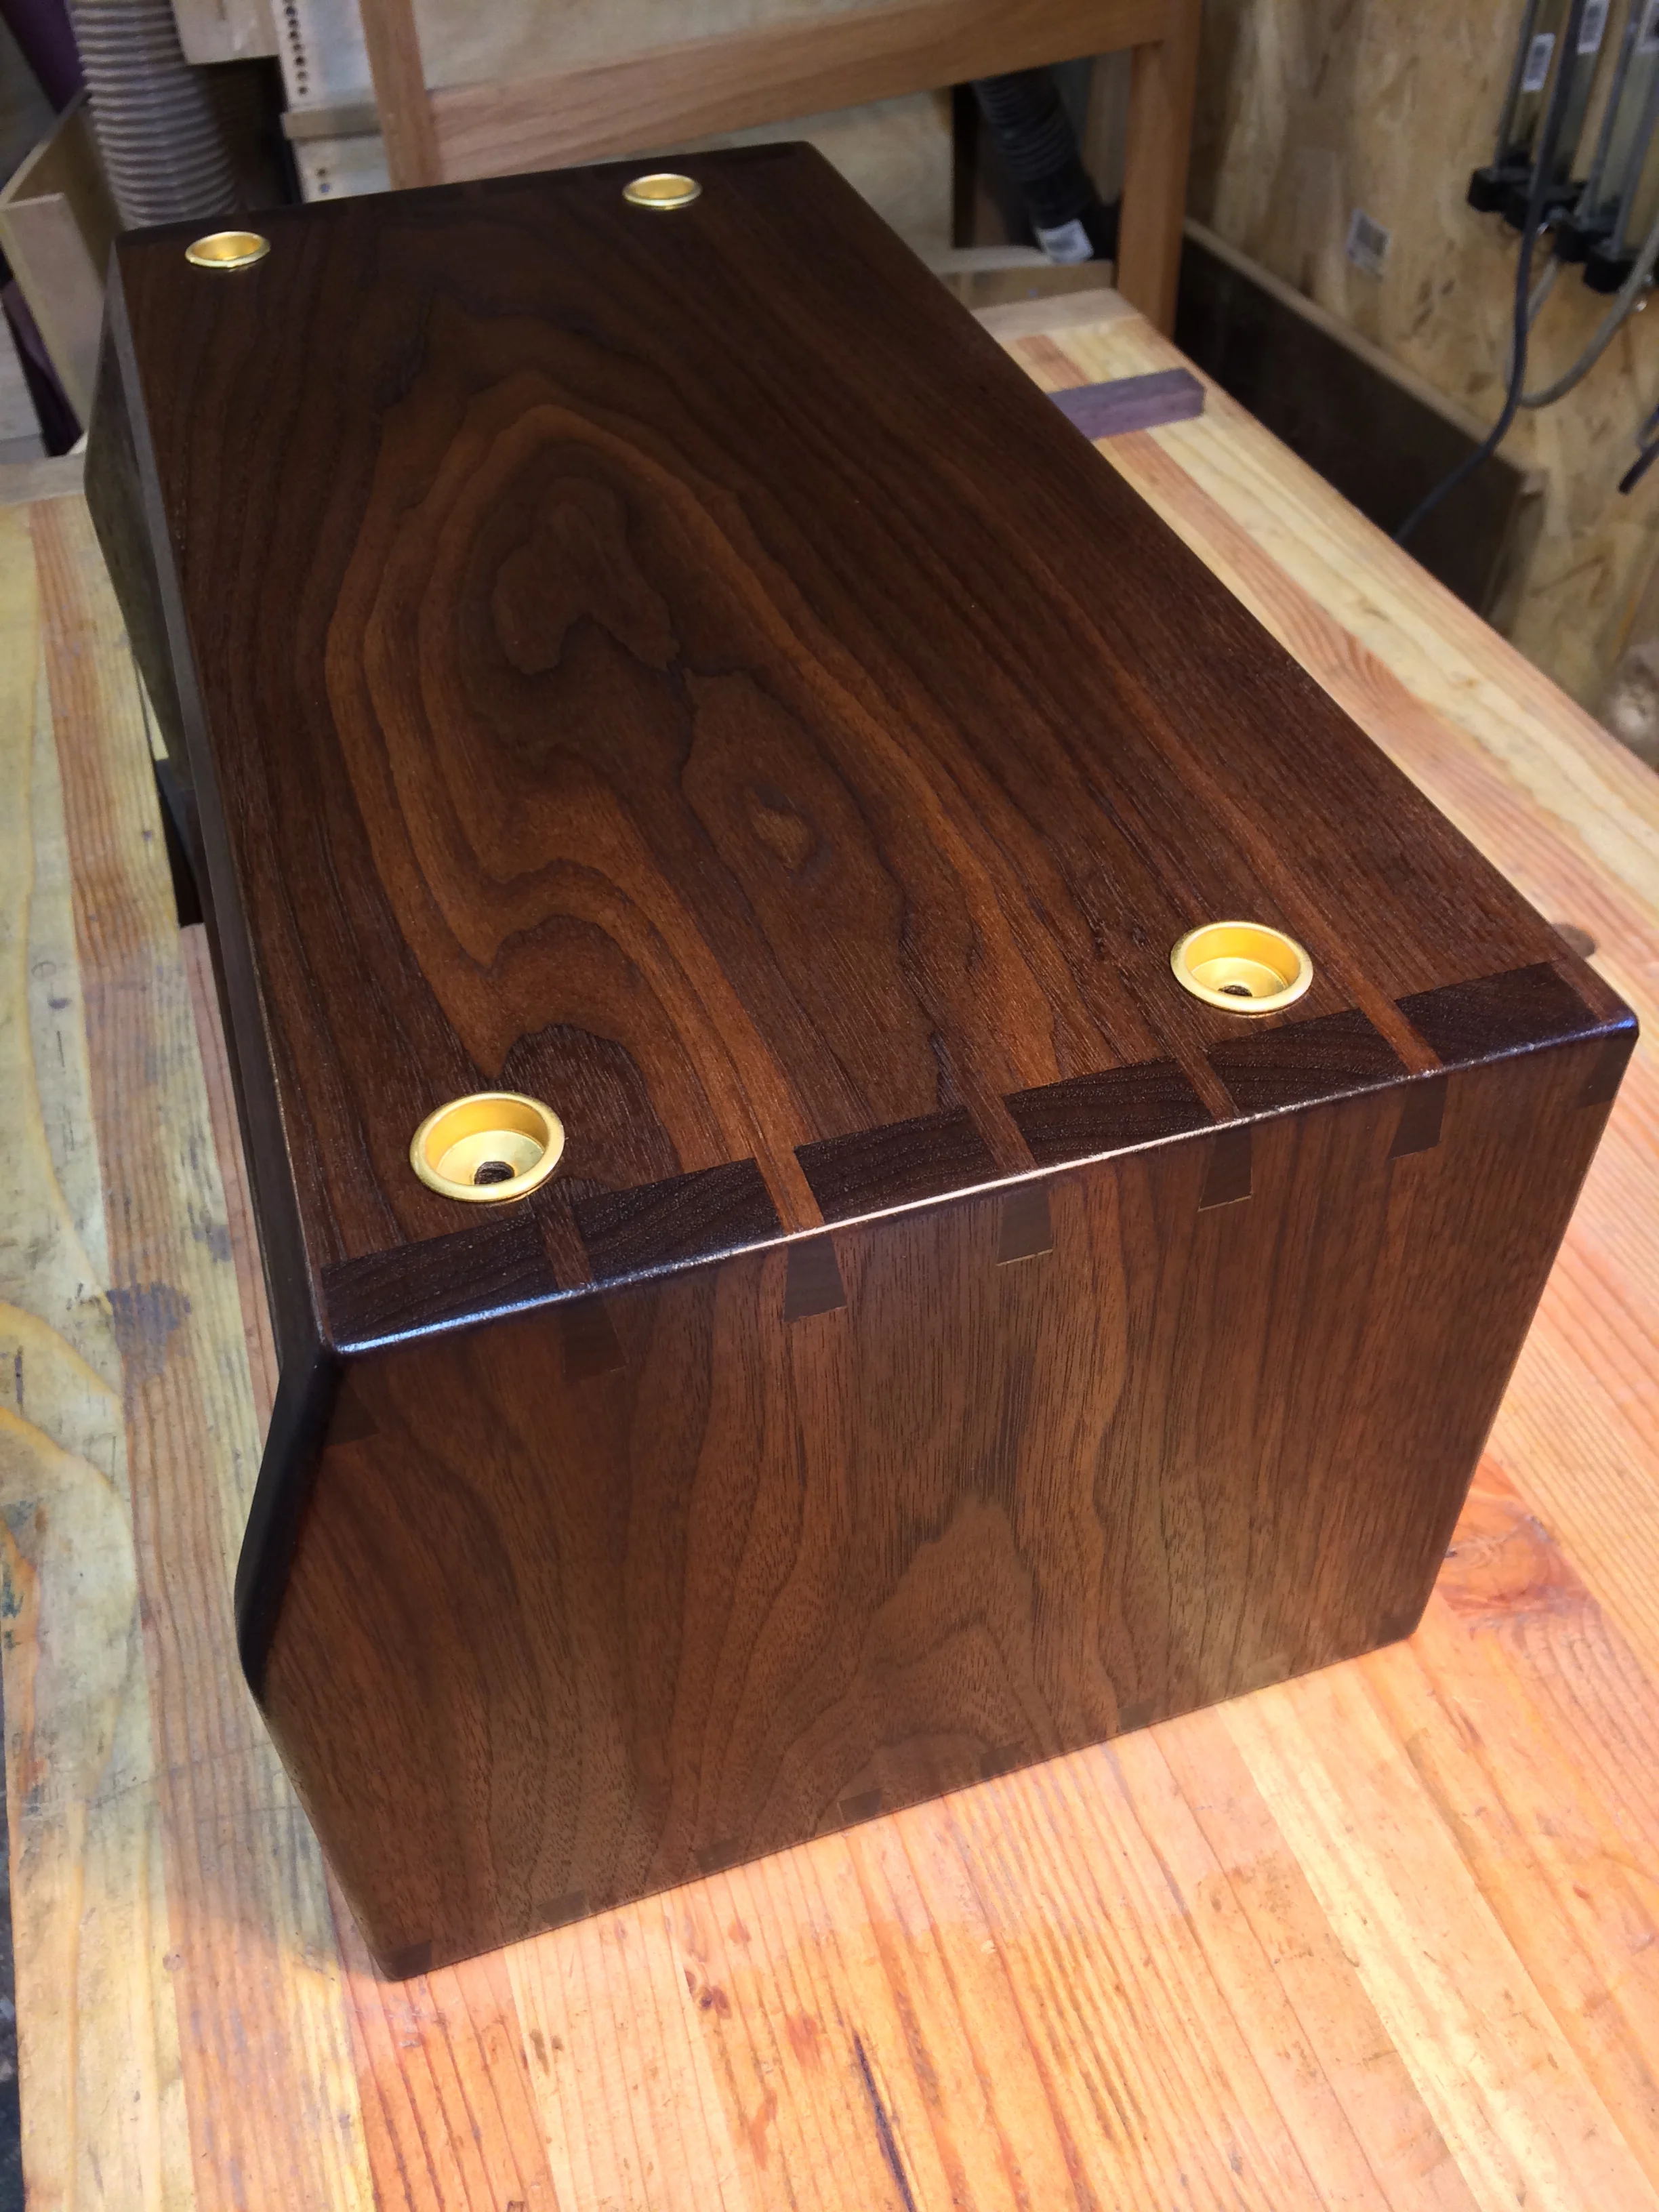
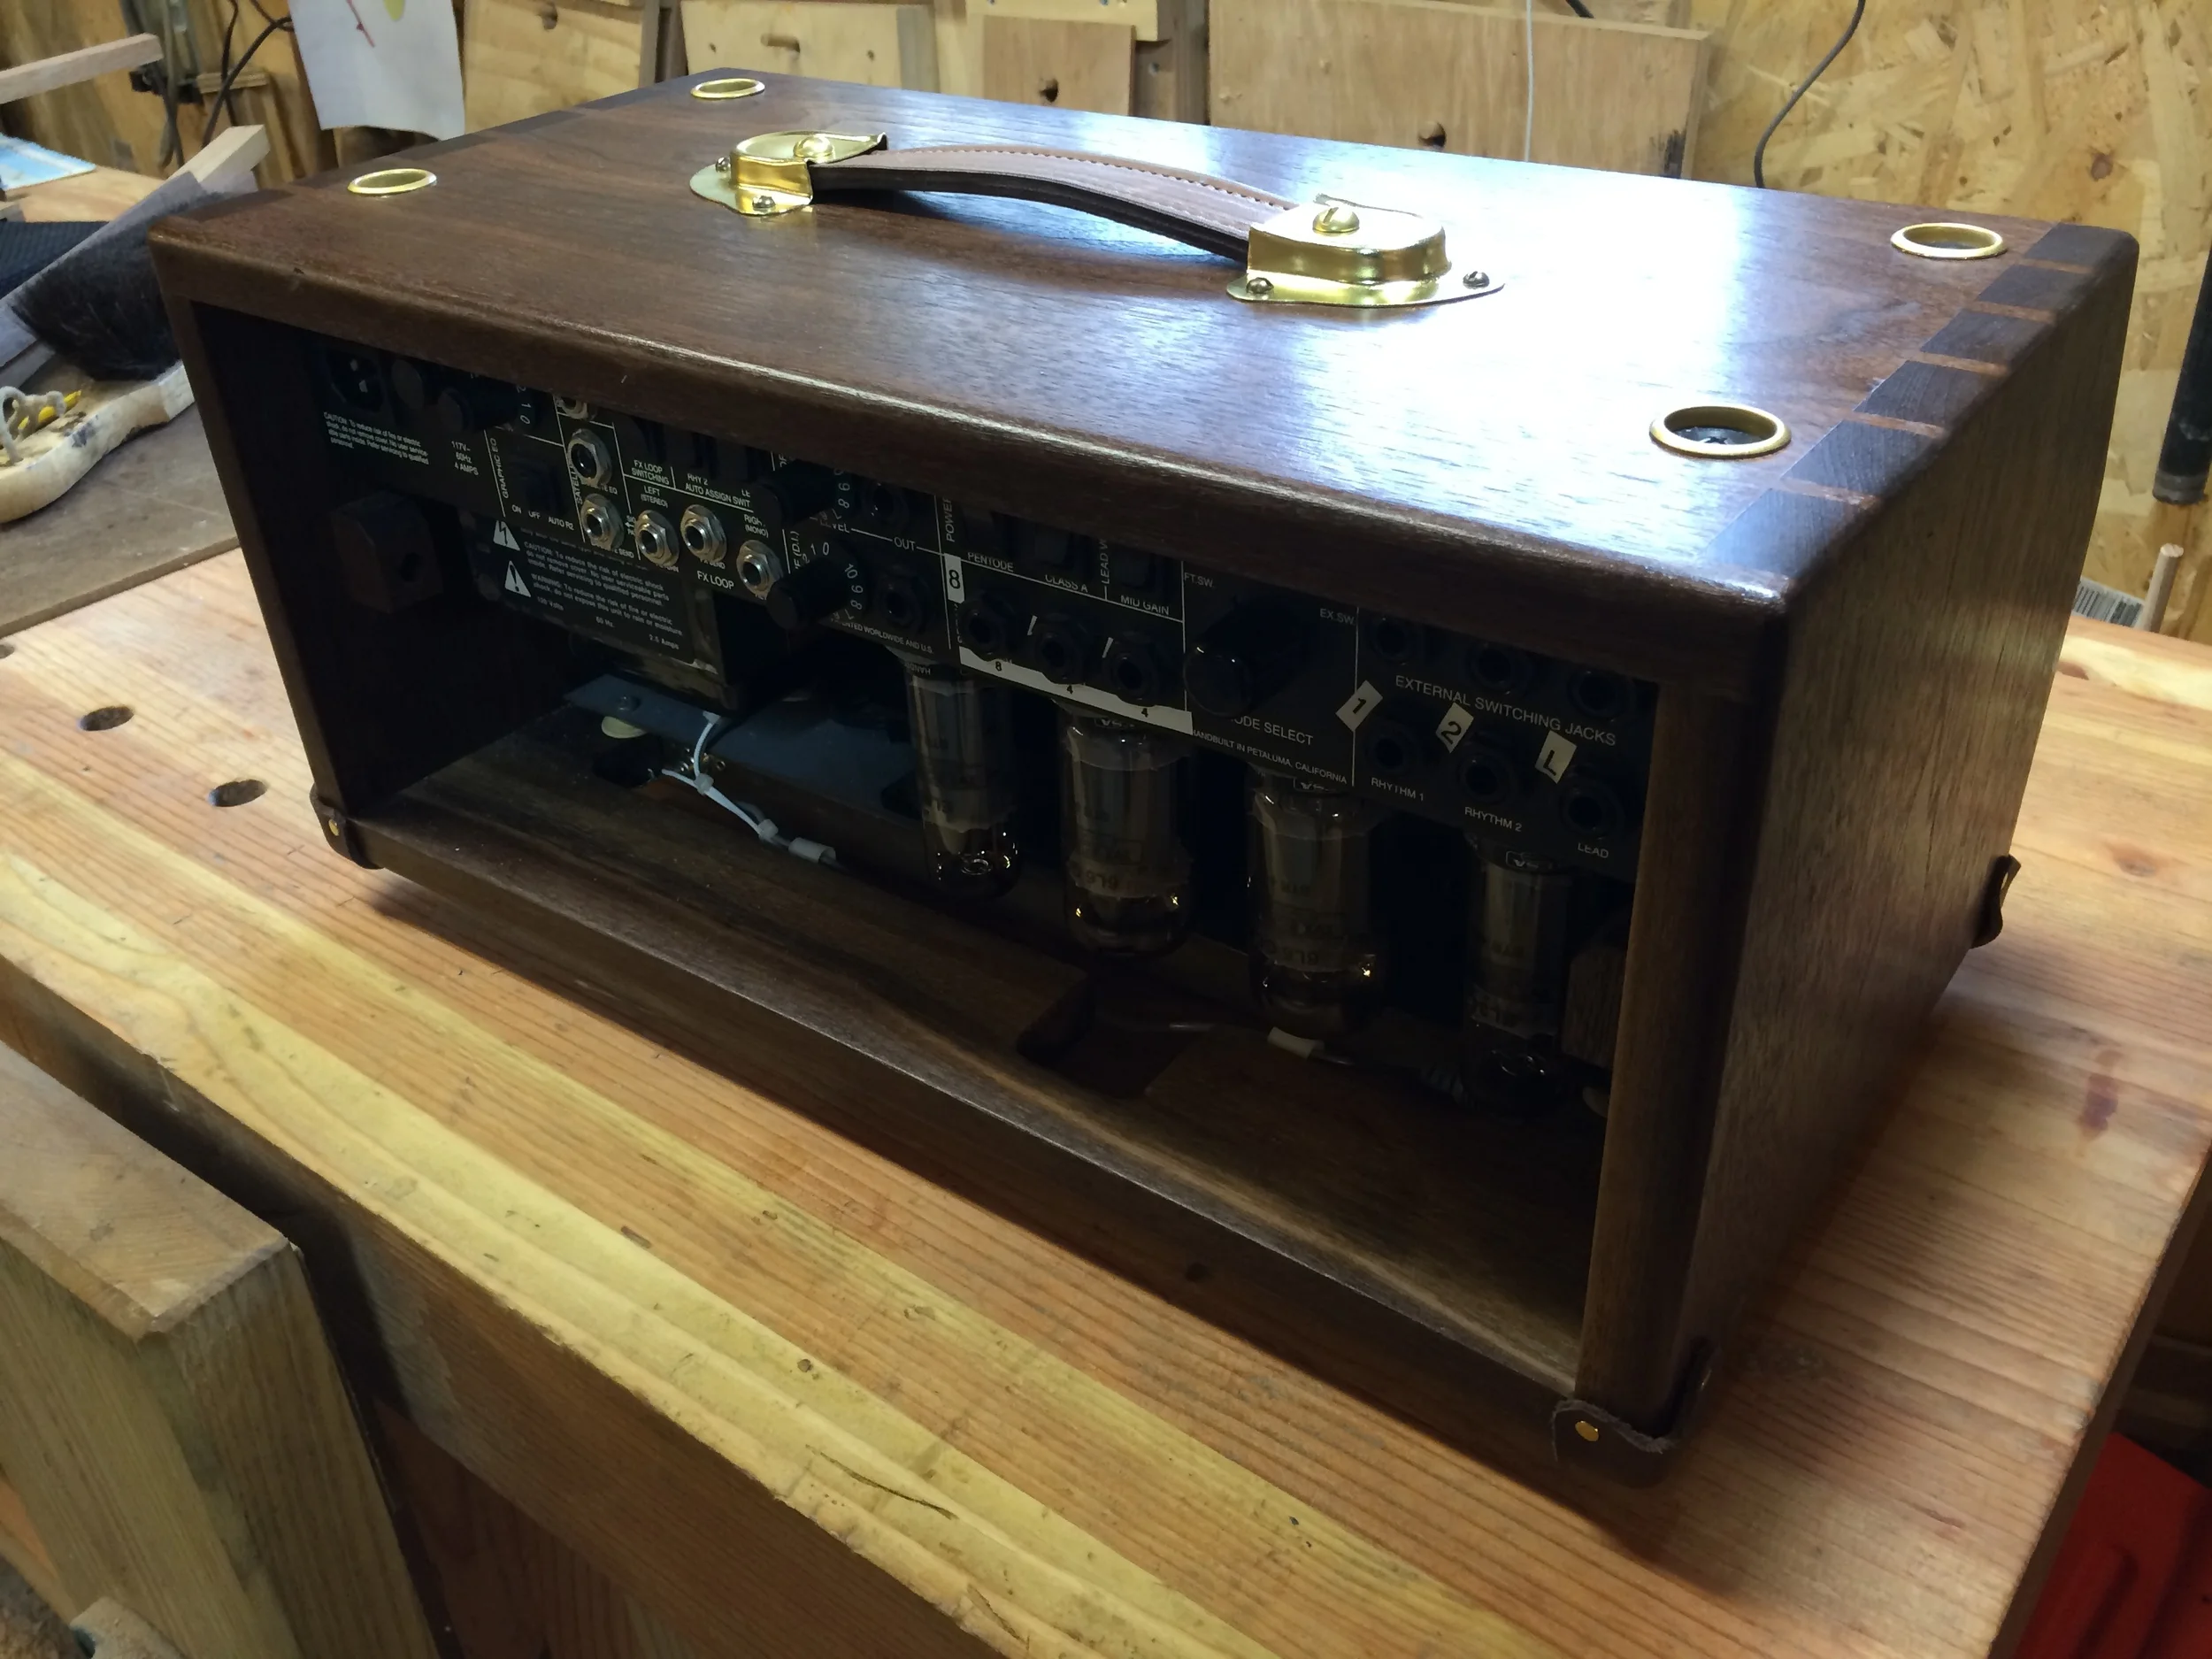
The construction was basically a four sided box, with a plywood support piece in the middle, cut outs for some hardware in the bottom, and then fittings for the mounting posts, a handle, and feet. Finally, the is the front cosmetic grille. I knew that I wanted full through dovetails for the joinery. As I got underway, I realized that this piece will be a great portable piece of my woodworking that I can show to (bore) my band/music buddies at gigs. Bonus!
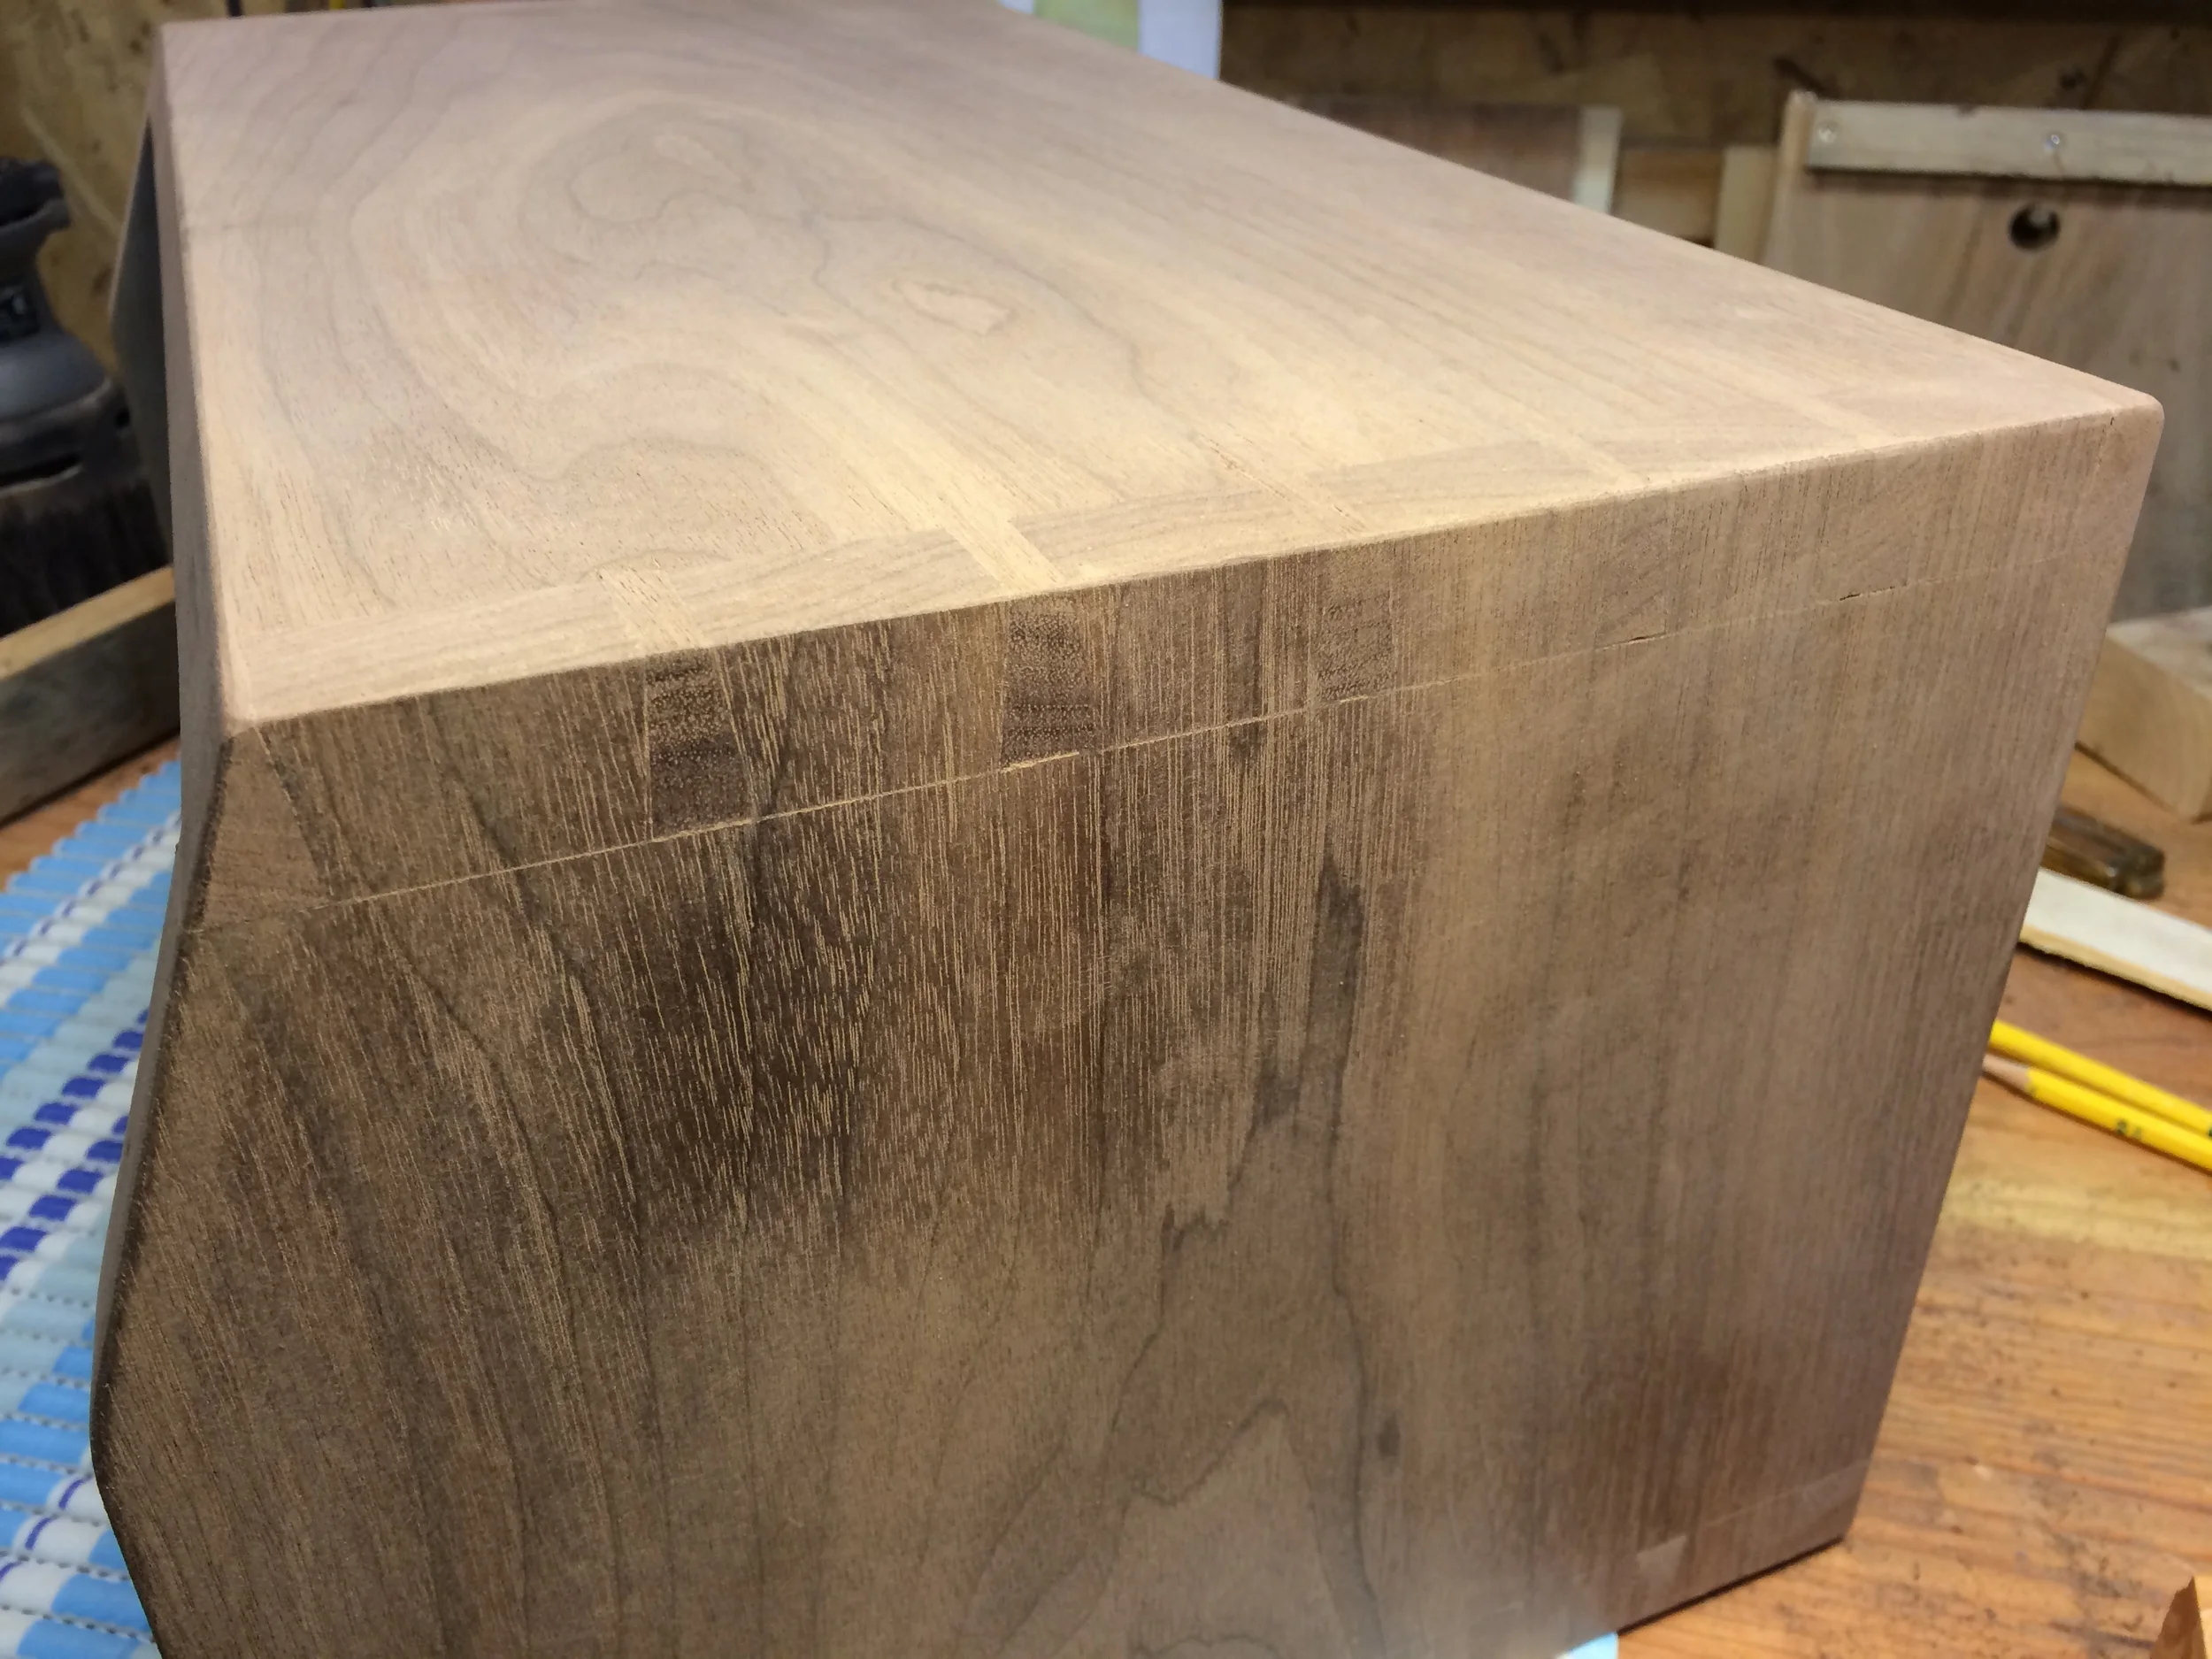
The only issue I ran into during the joinery was that the bottom piece was starting to run into the lighter sapwood on the front & back edge. It would have looked odd from the from to the leading edge of the bottom piece milky white. So, I ripped that piece in half, glued it together with a sapwood running a few inches from the back, resulting in the front edge that matched the color of the other other pieces. Problem solved!
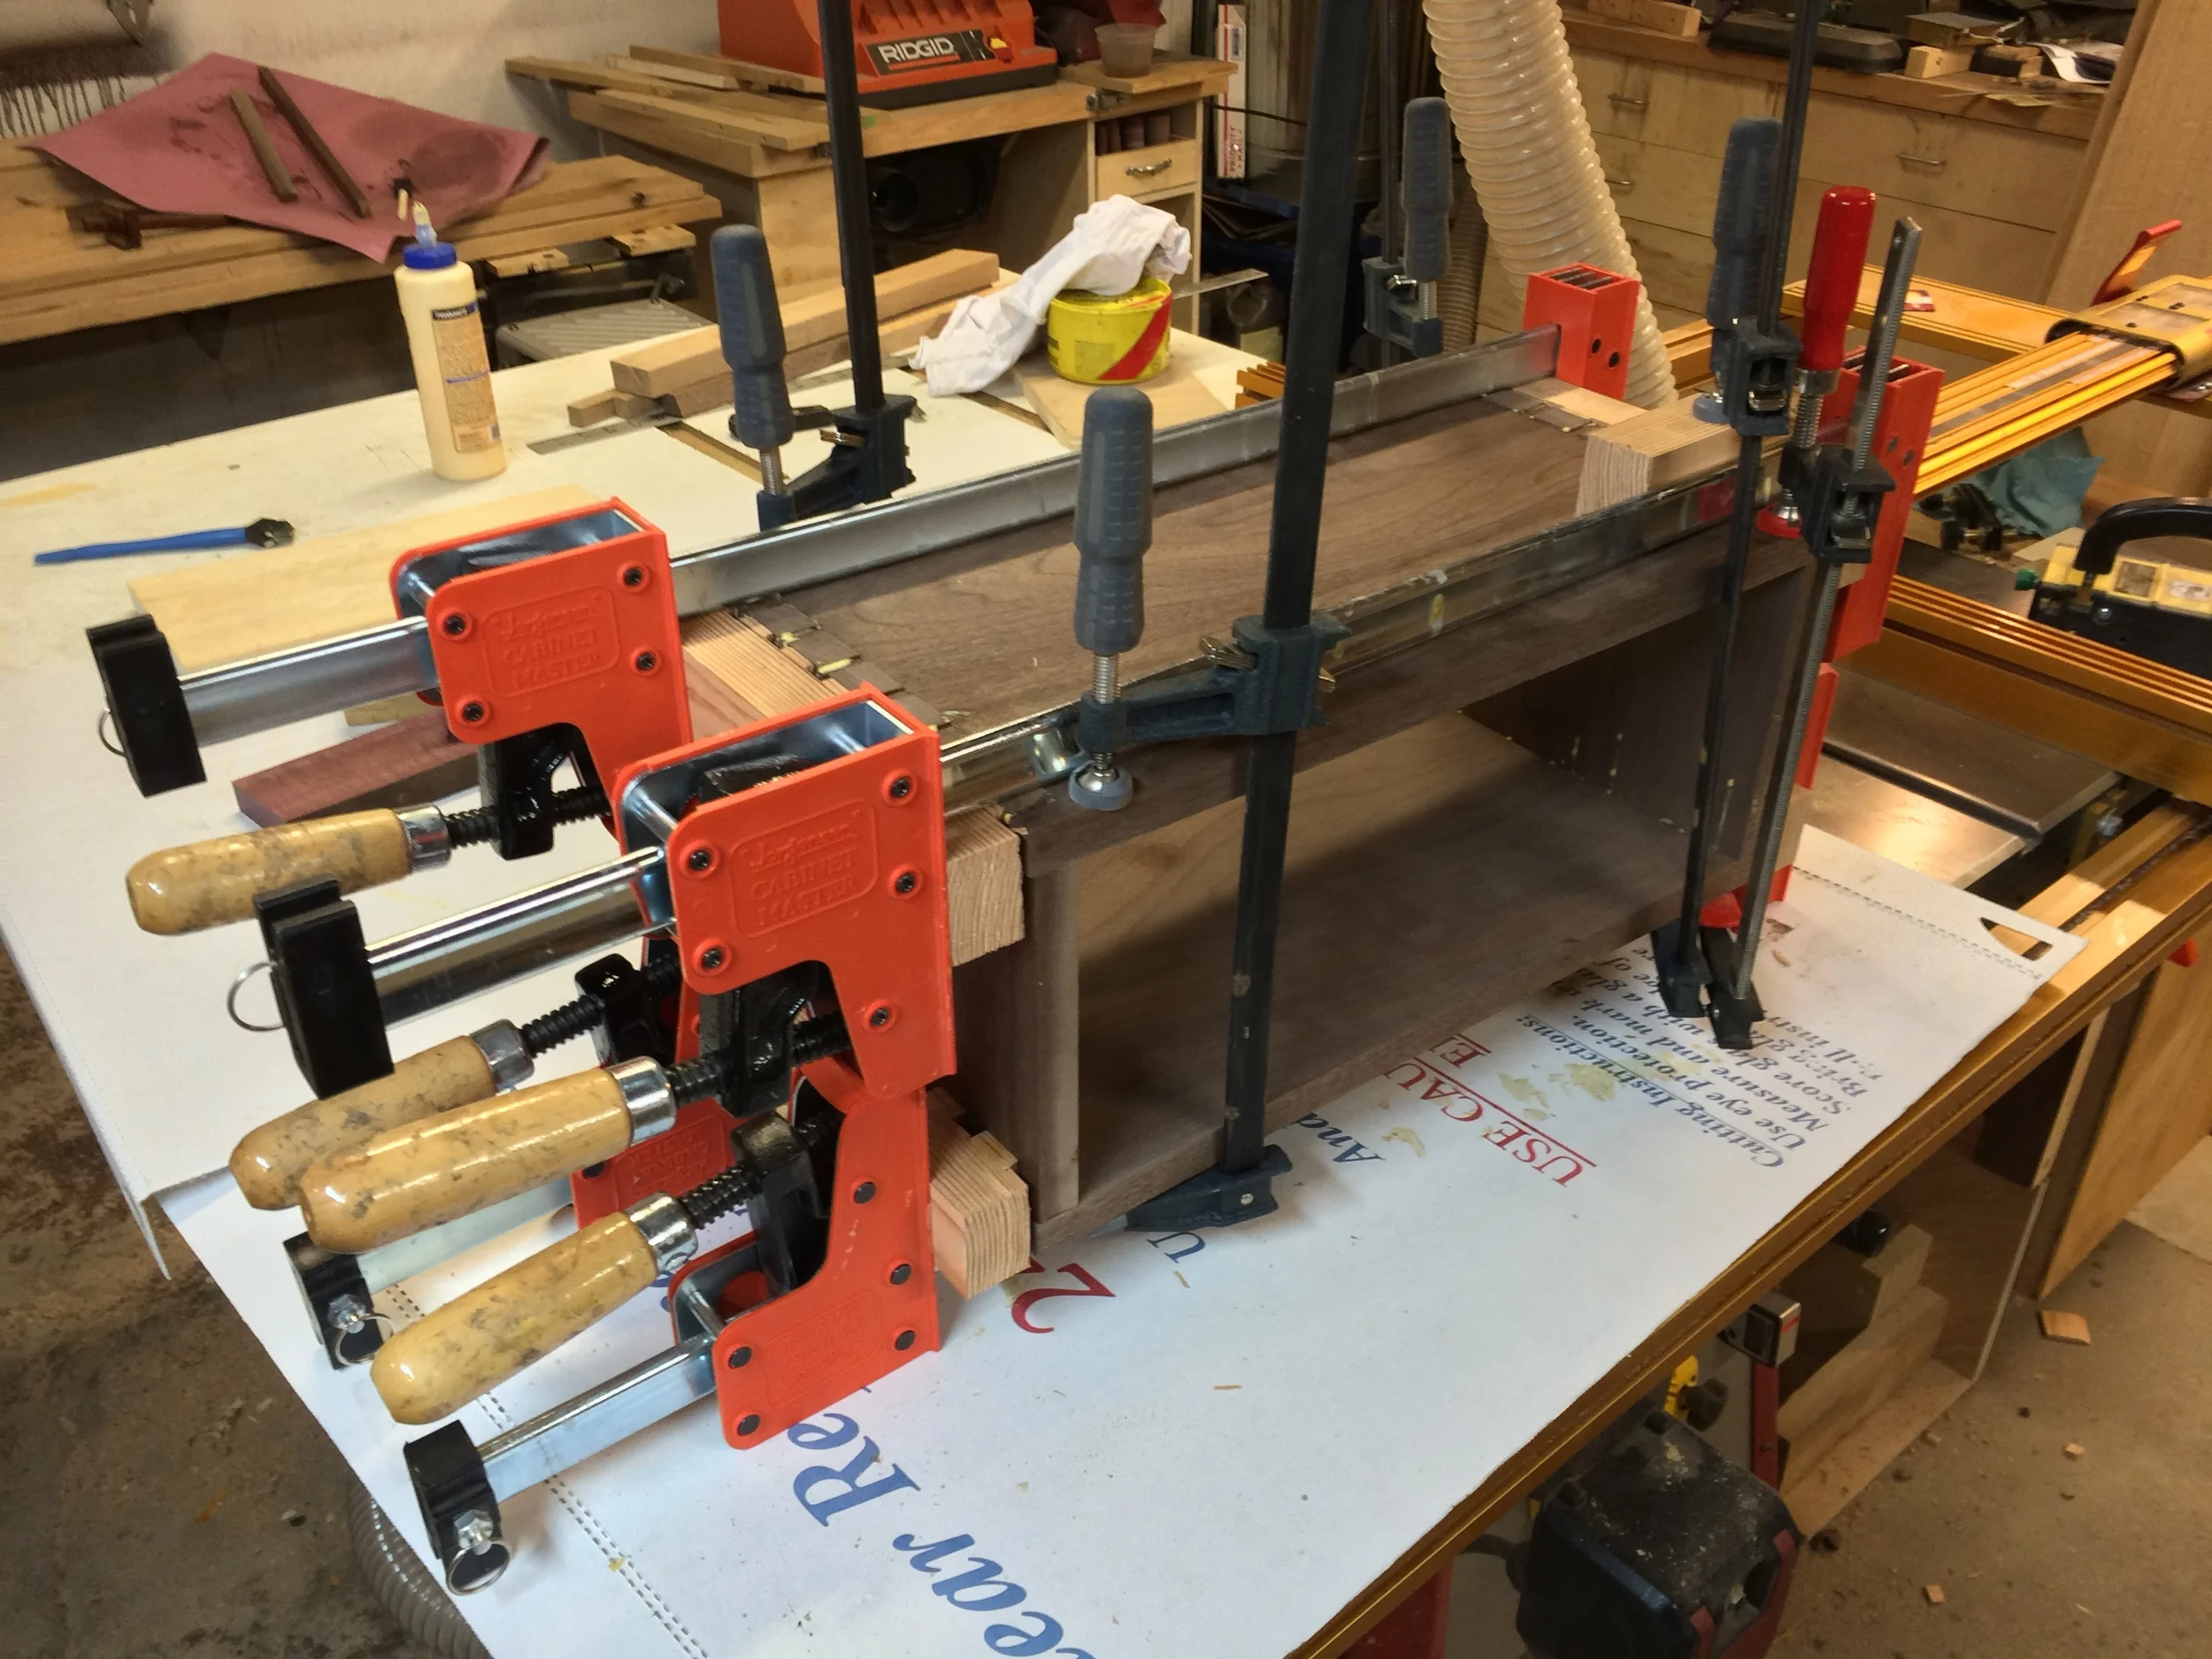
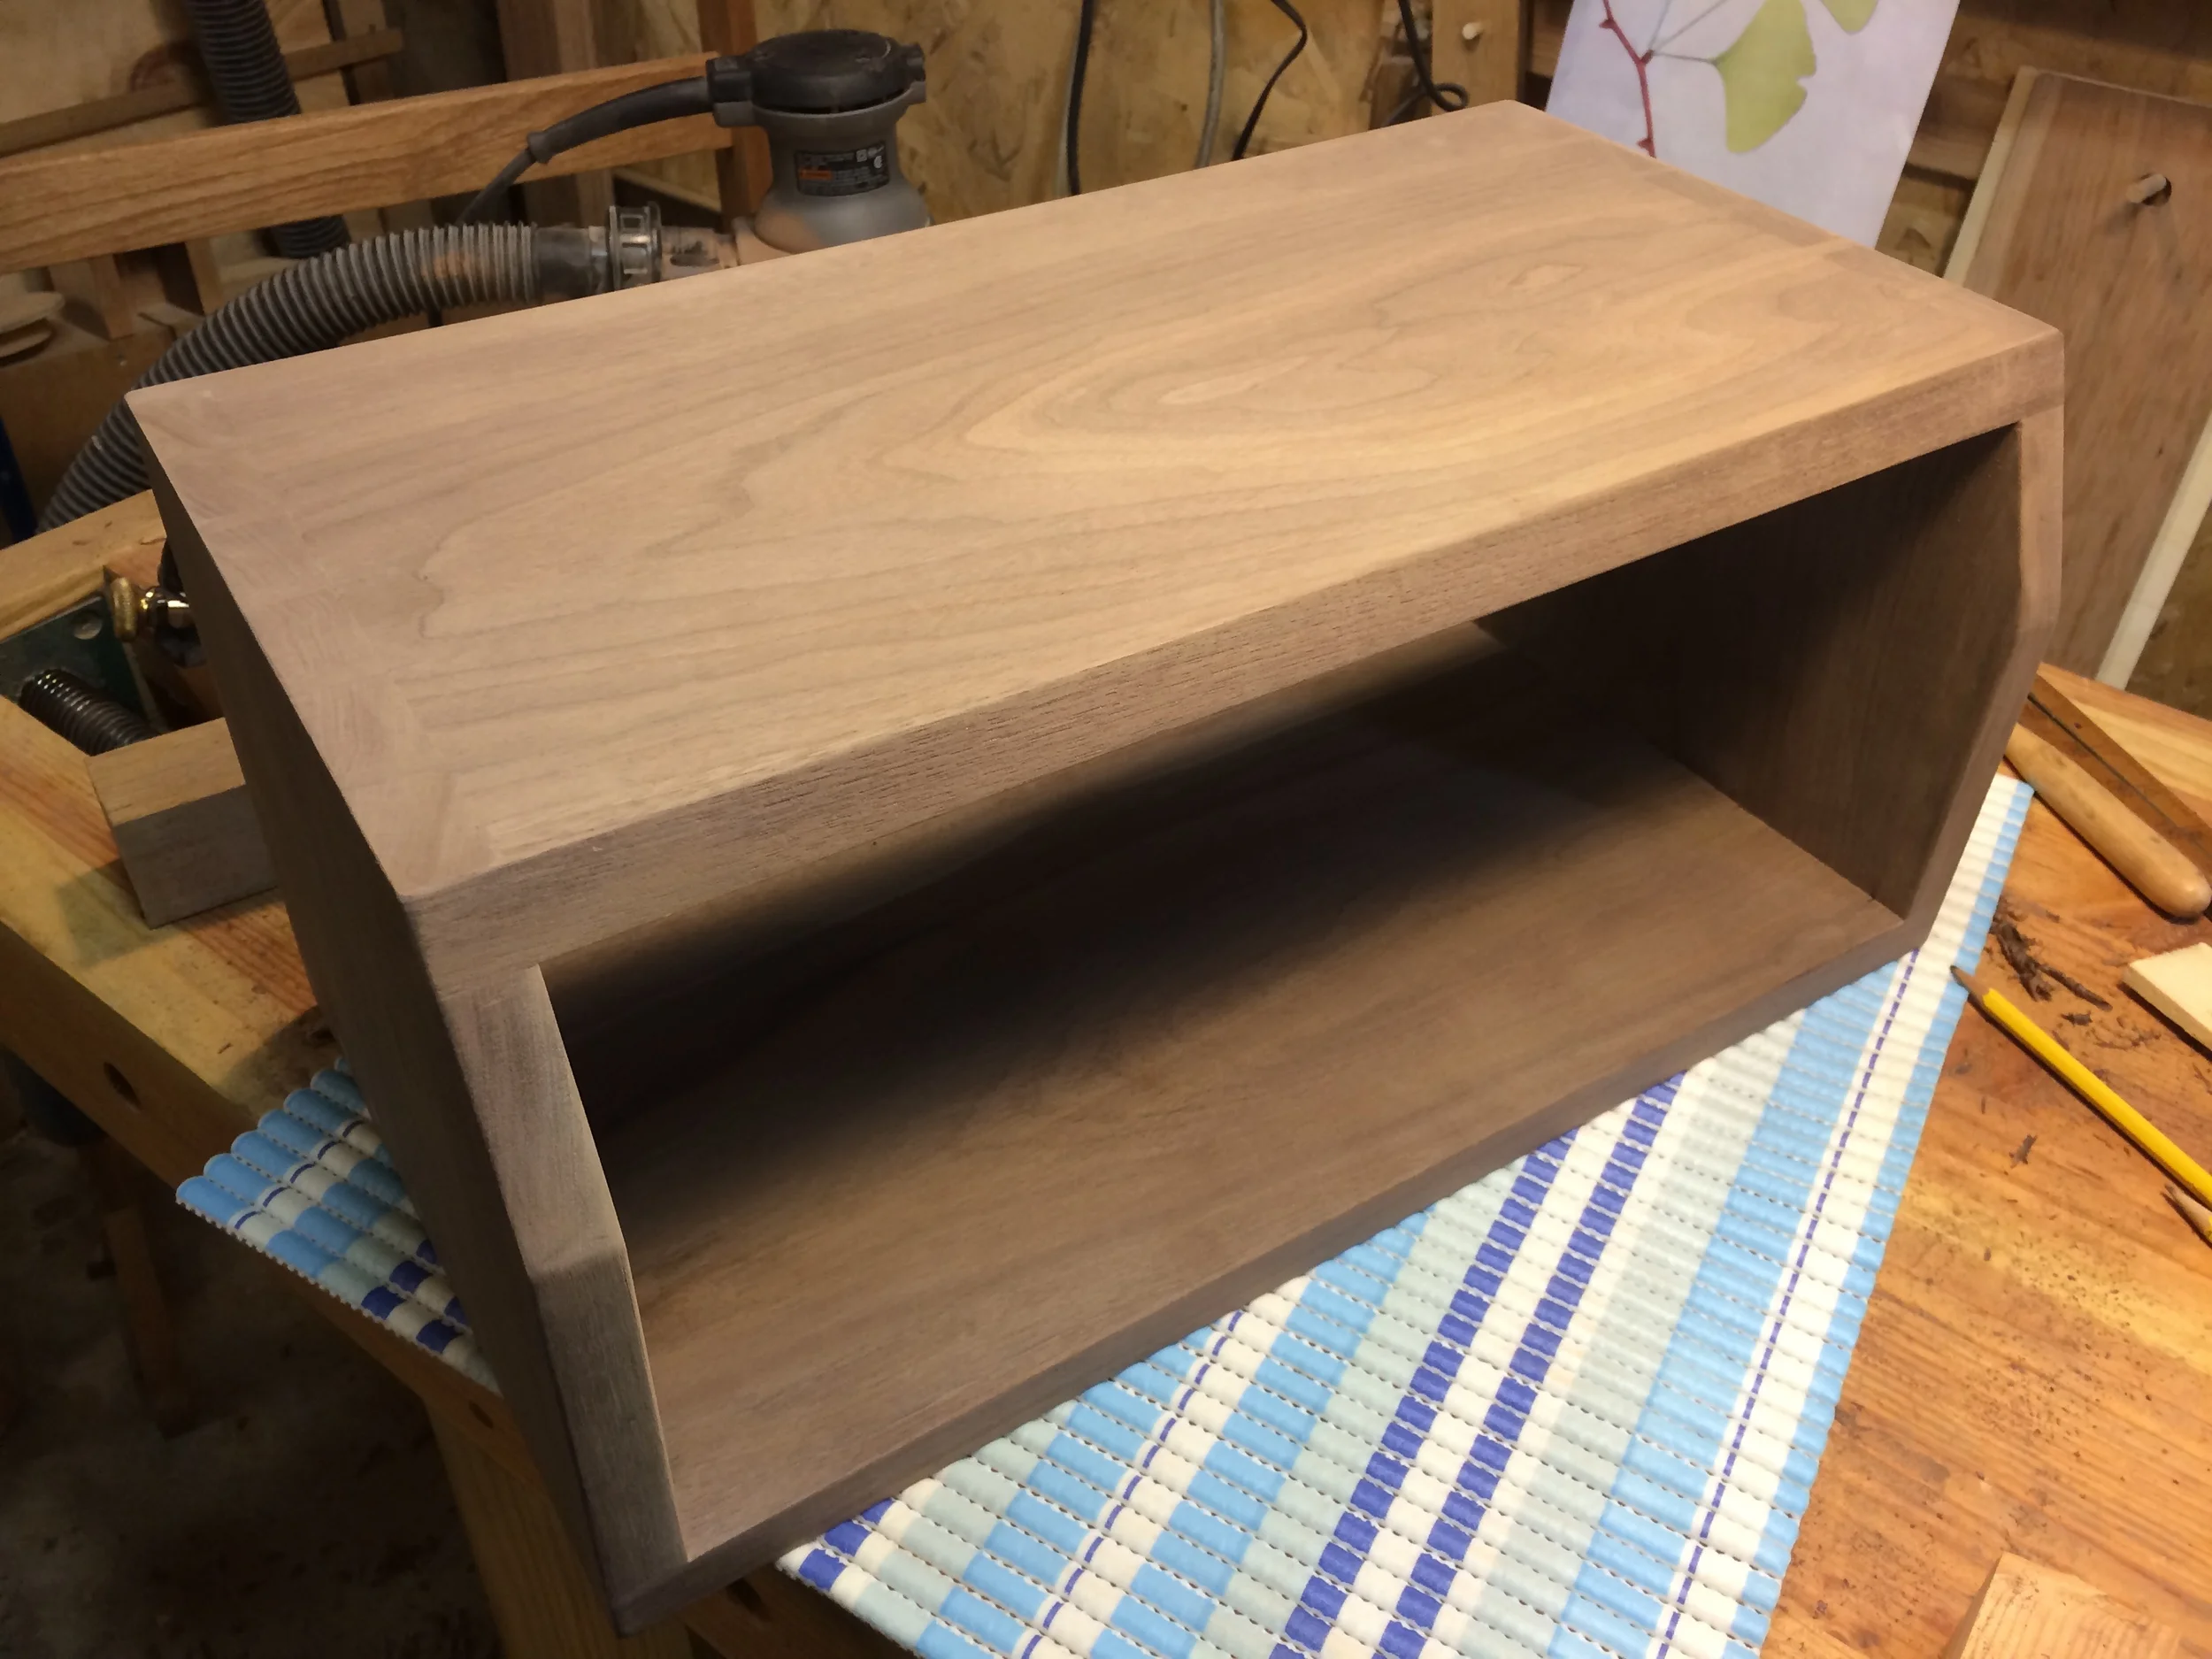
I enjoyed hand cutting the dovetails, and I was relieved when they fit very well. I smoothed the joints, cut the front top edge angle, and was ready for the internal cut out and support. With the original head as a guide, I just mimicked the pieces and cut out as needed.
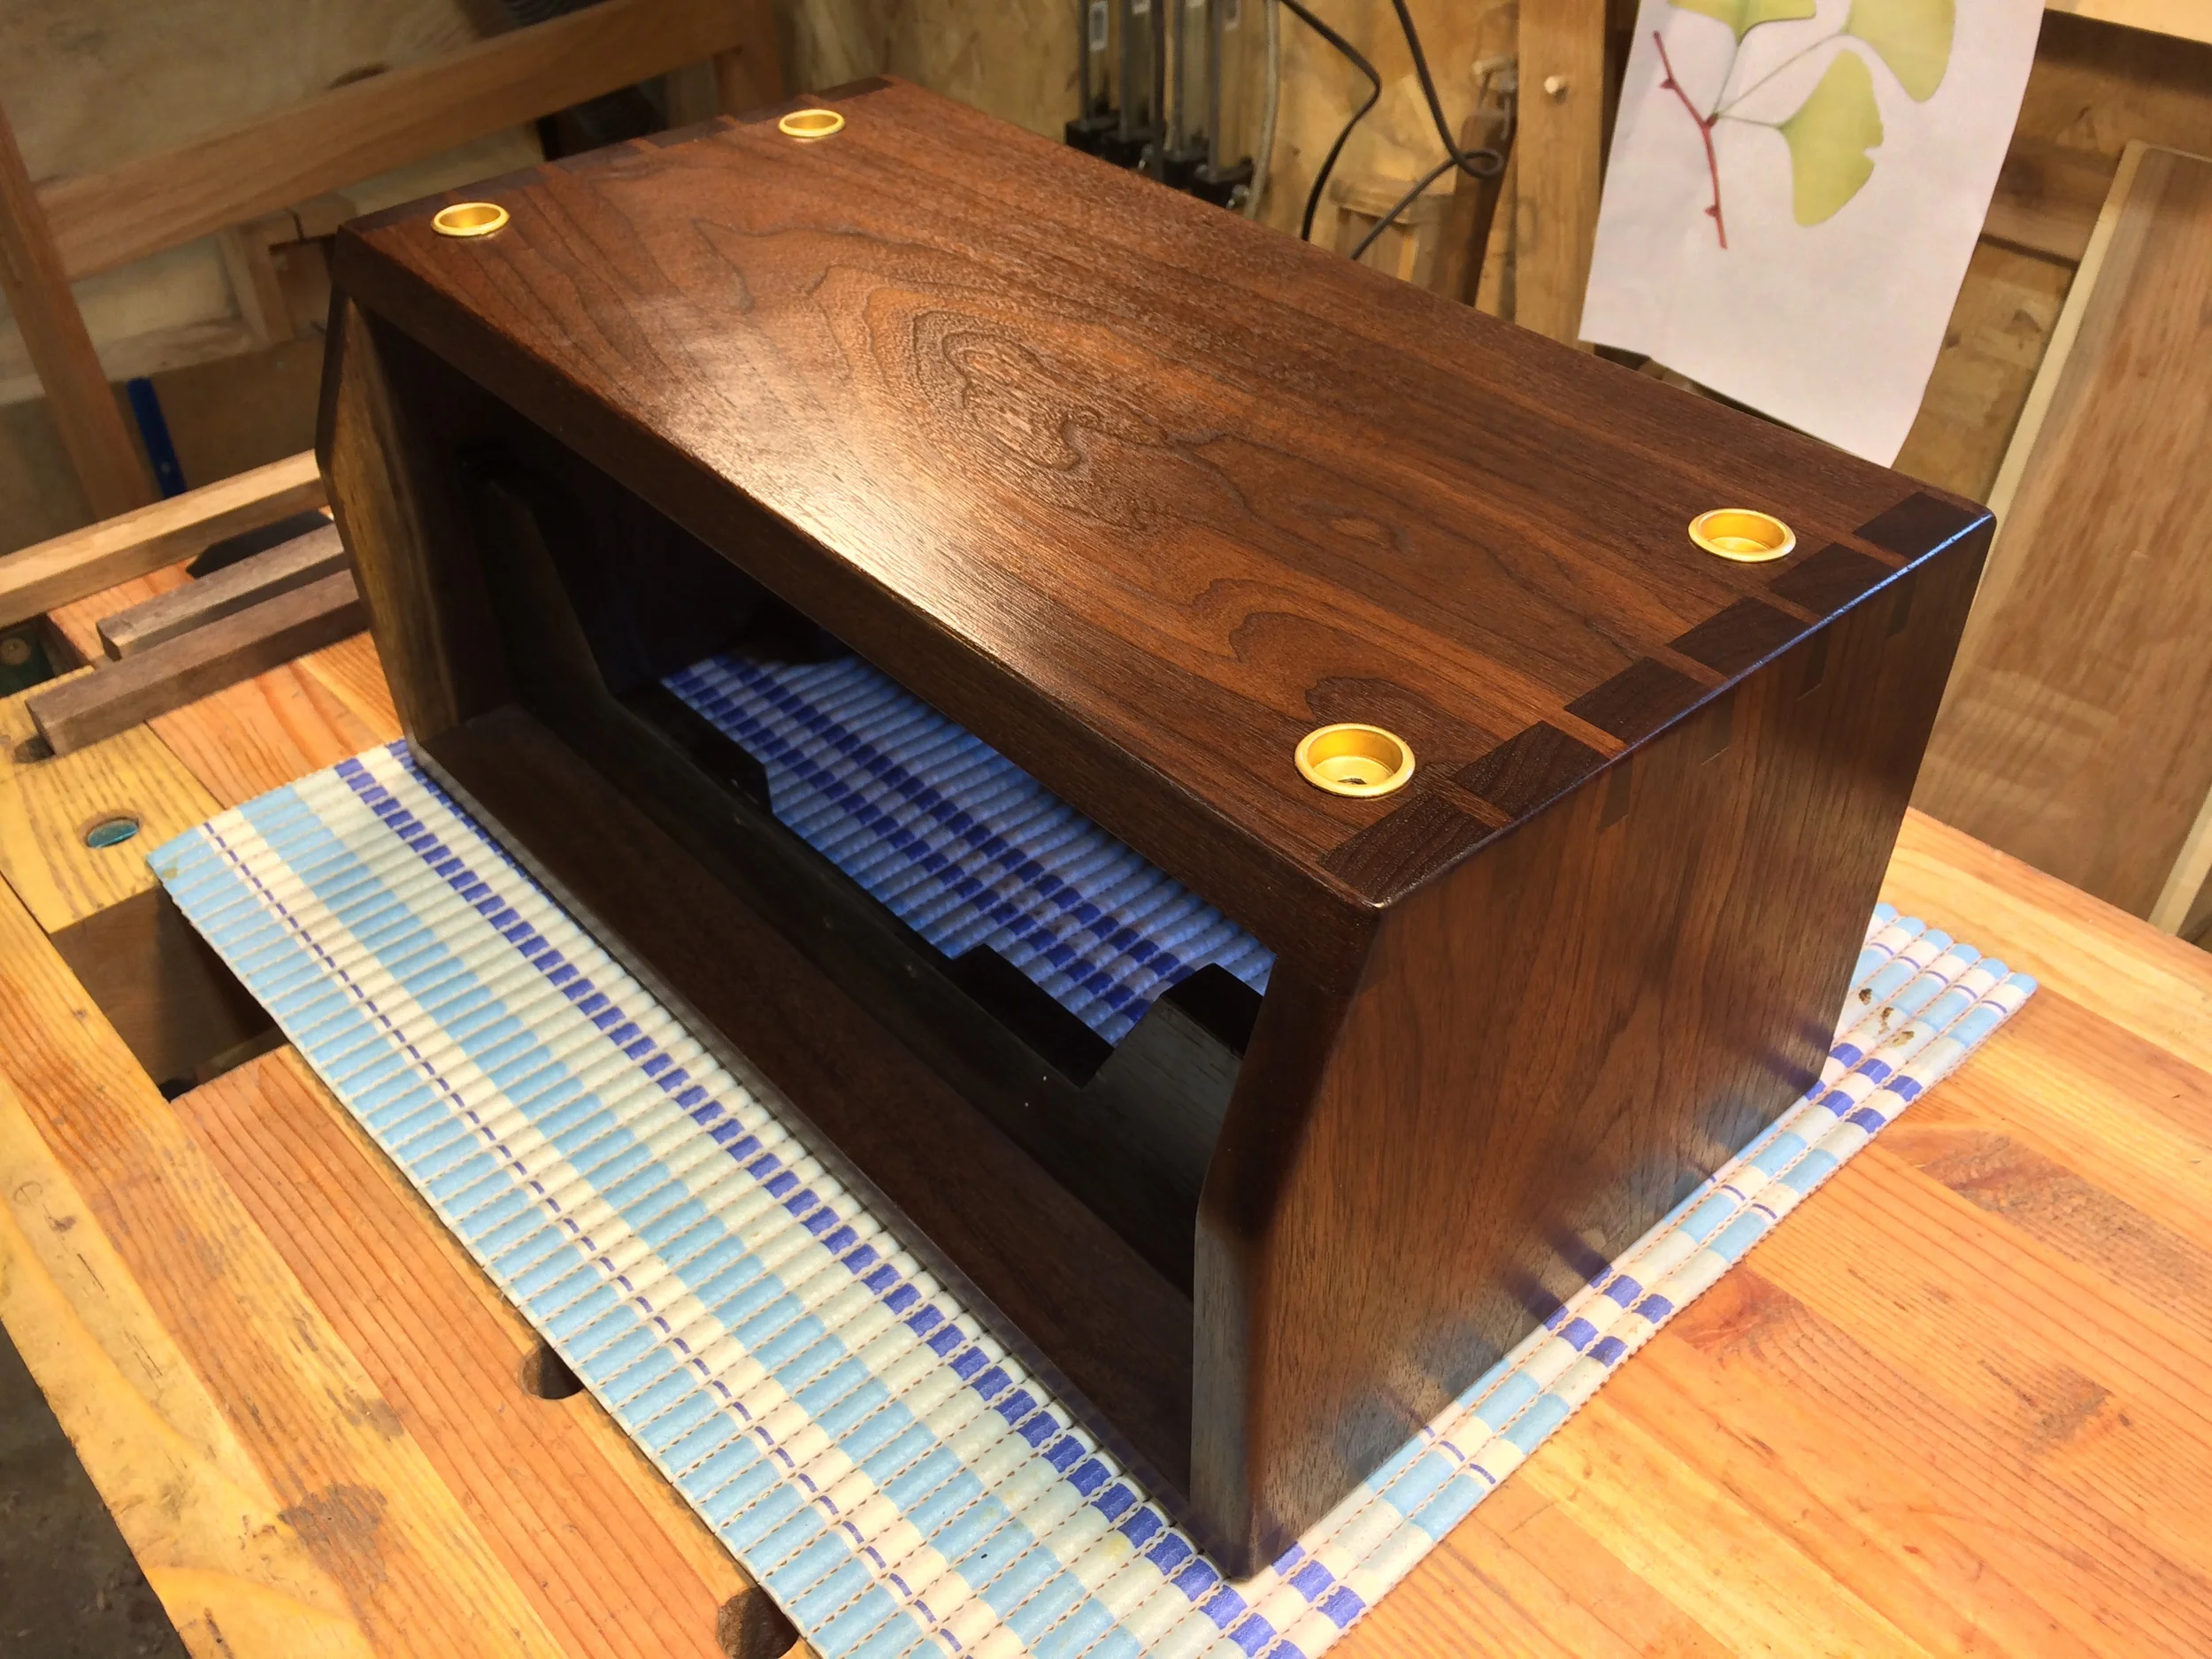
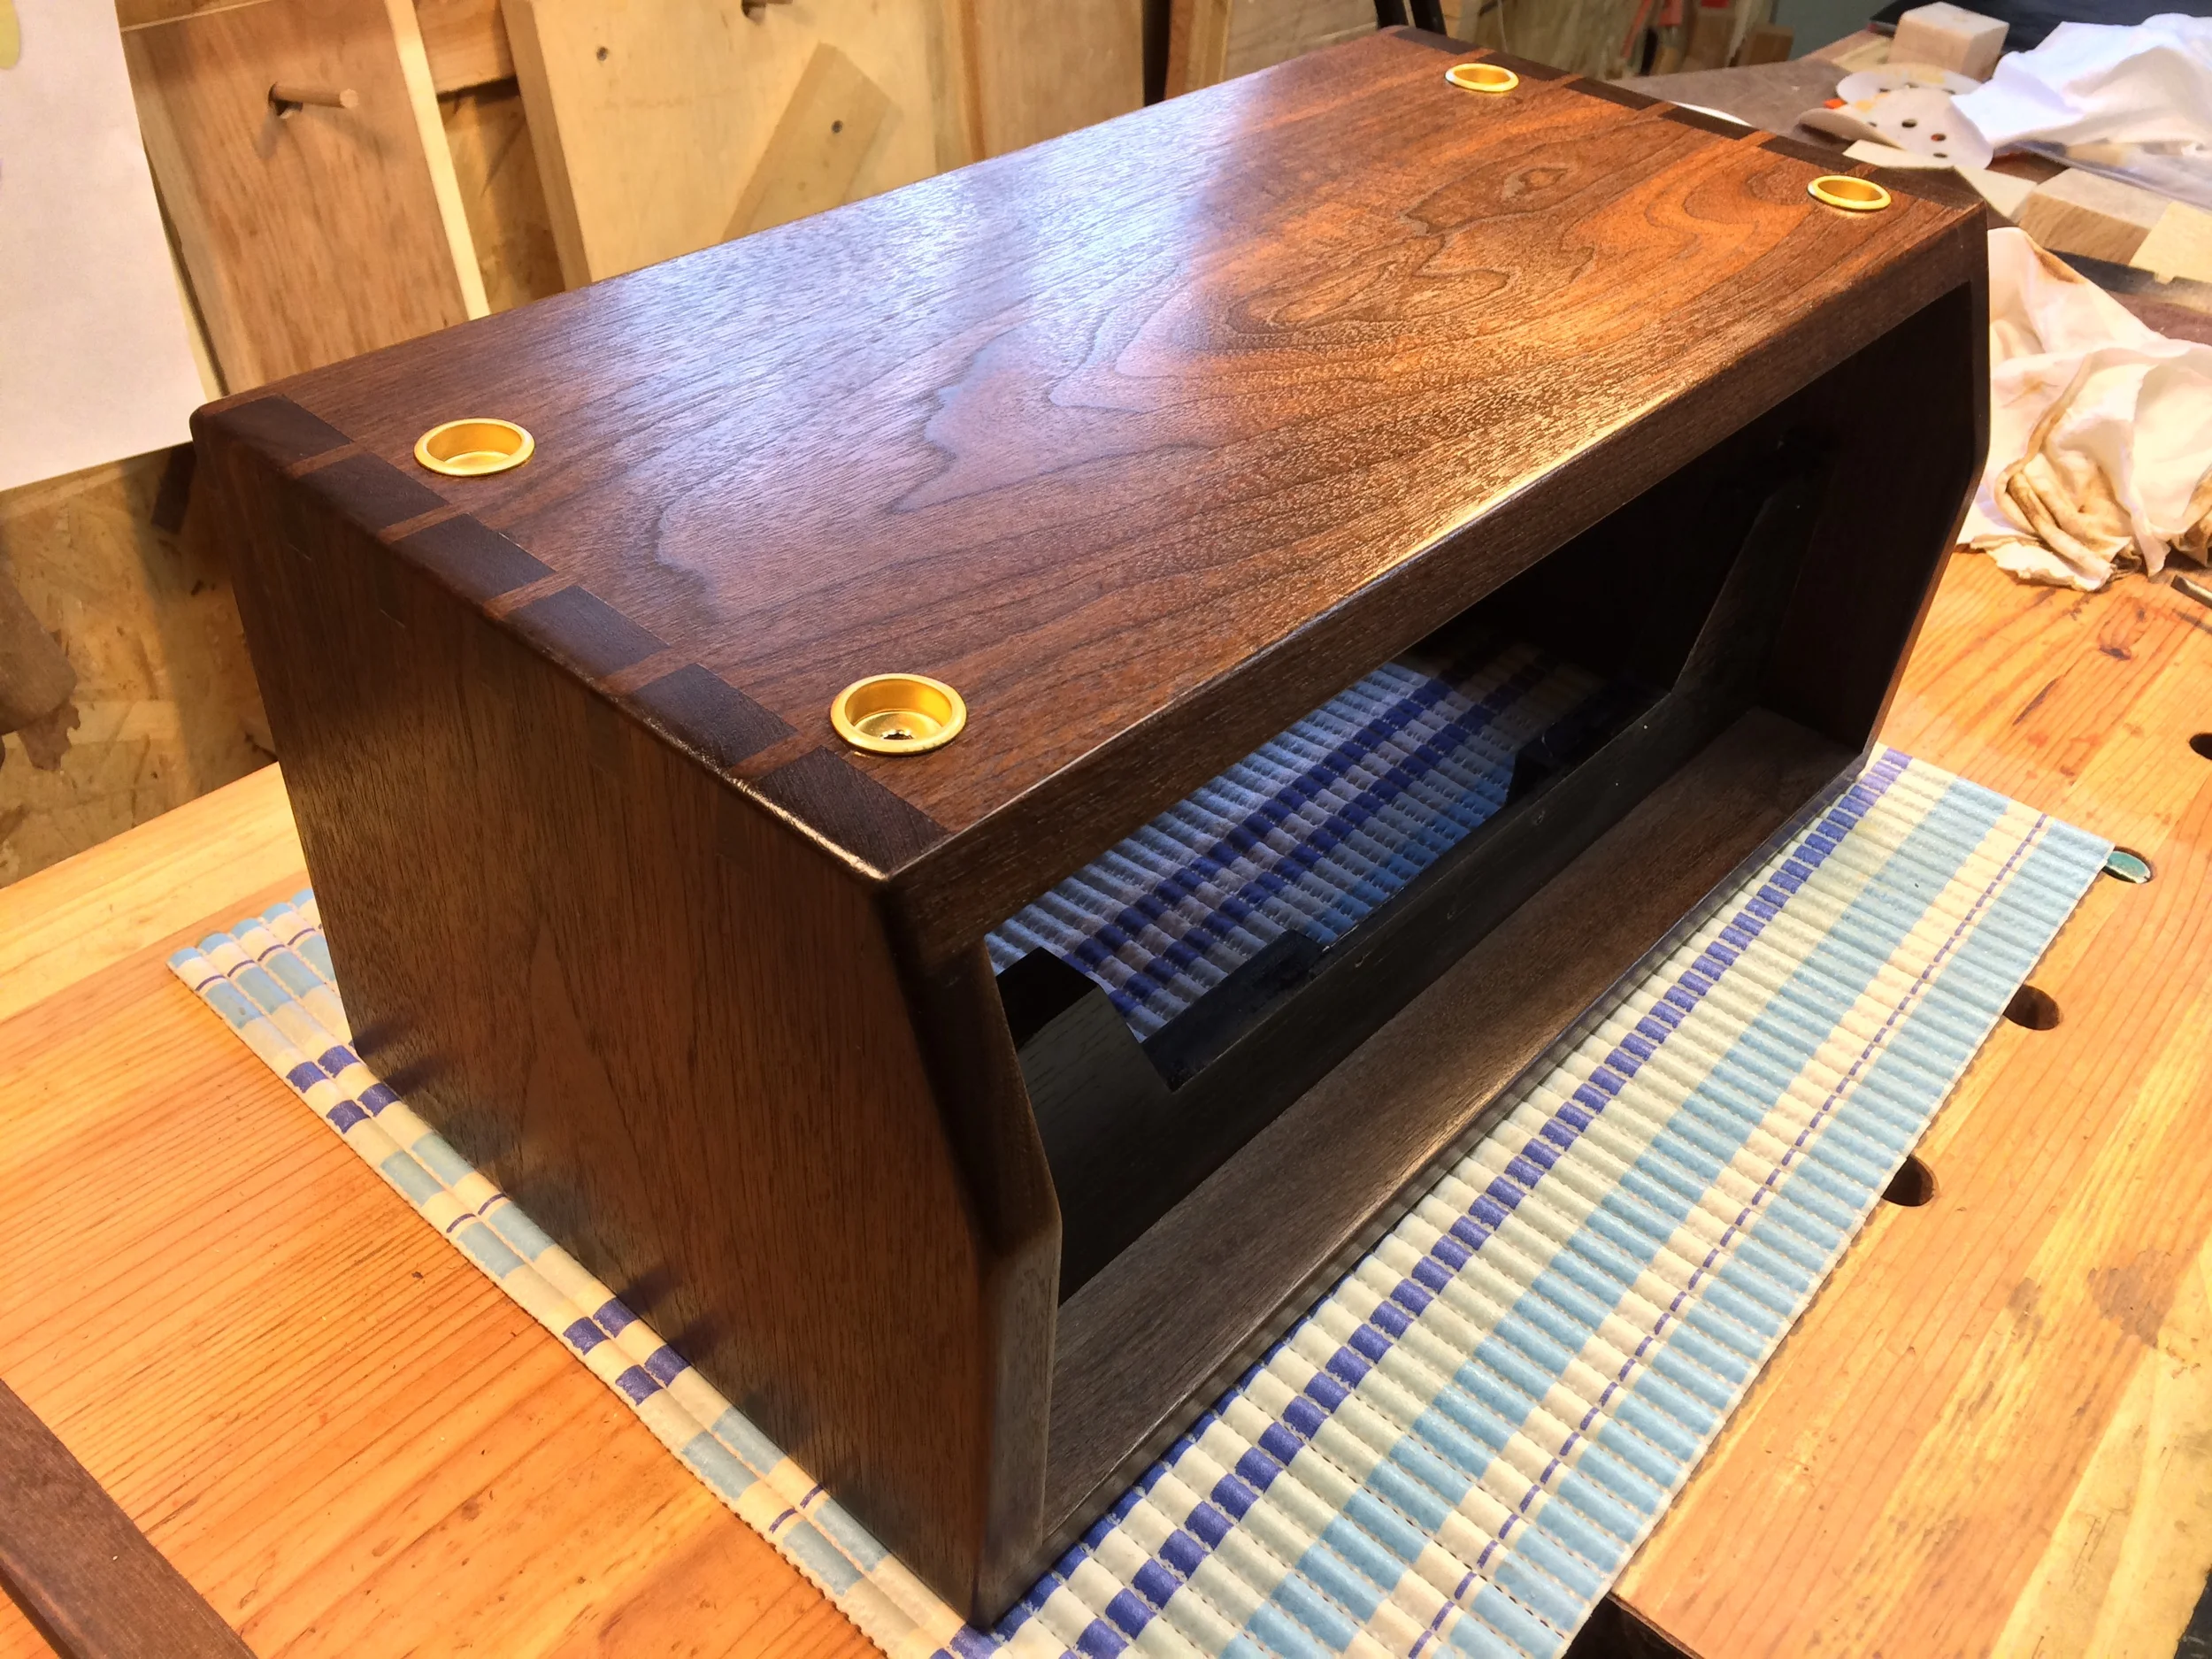
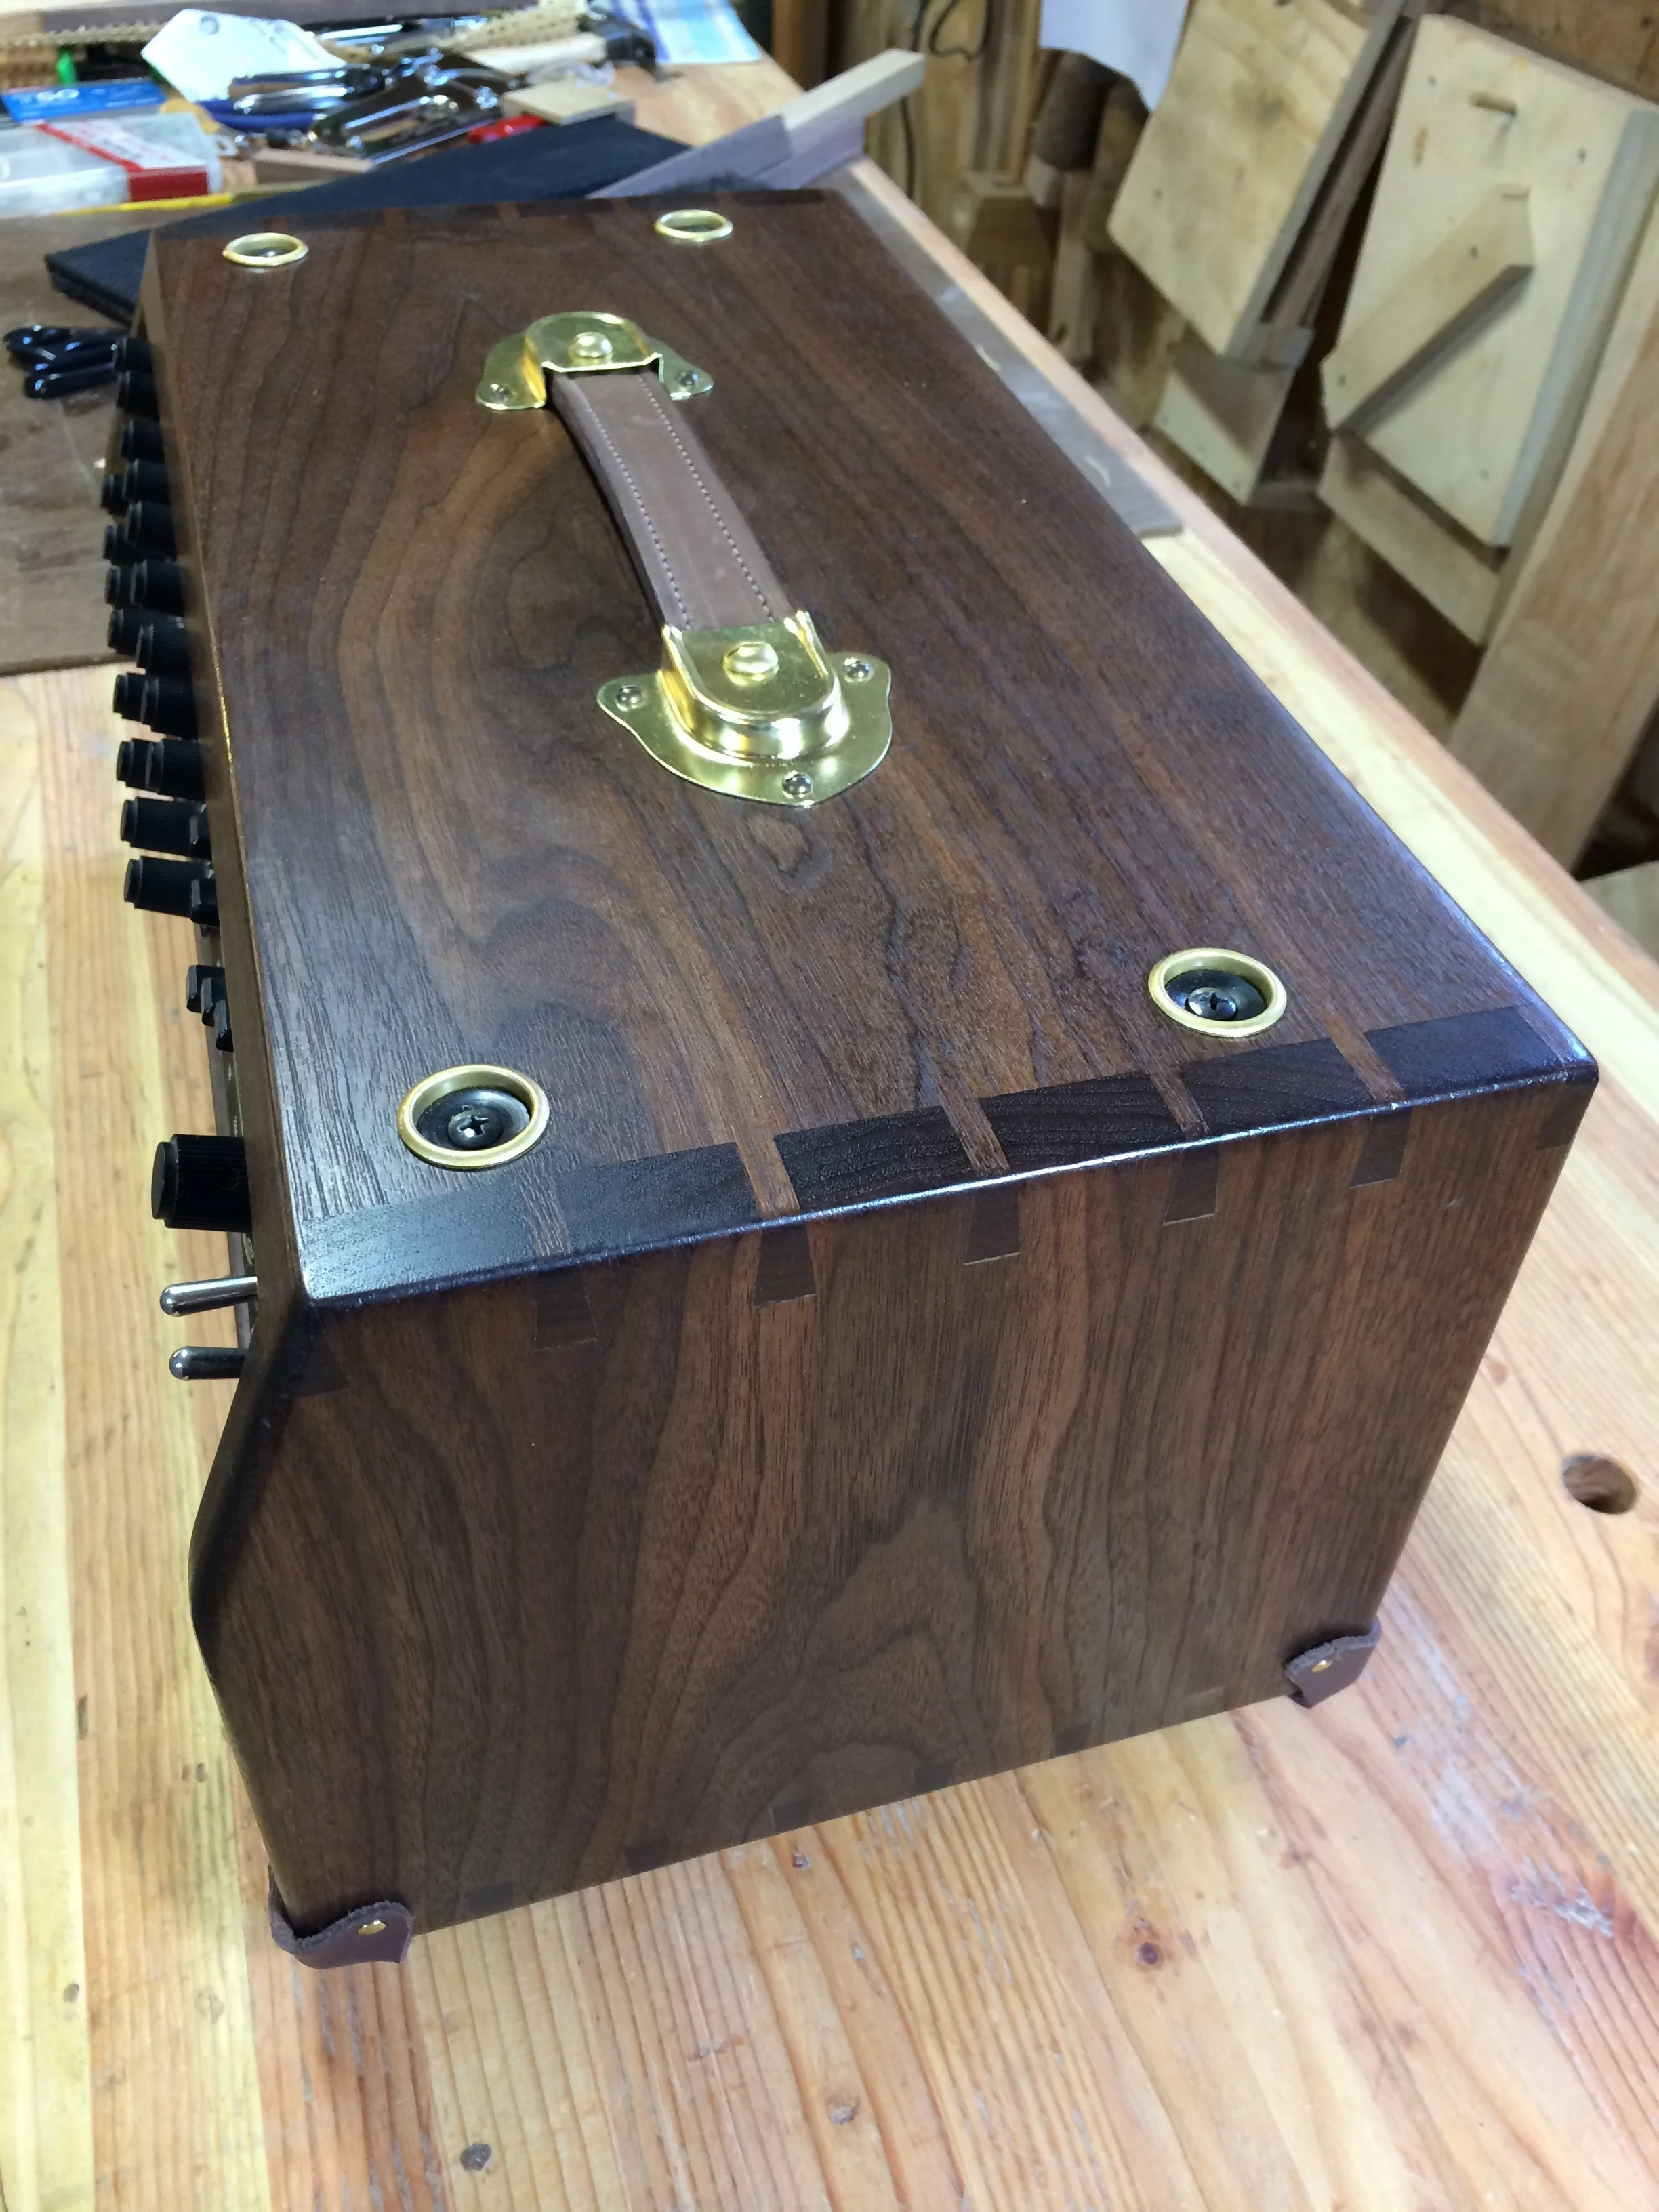
After test fitting the hardware and electronics, I emptied it out, and applied my finish. I sanded up to 220, and started with a coat of oil (ok, technically an oil & varnish mix, Danish oil, natural). When that had dried, I brushed multiple coats of thinned blonde shellac, sanding lightly in between coats, until I build up a nice finish. I finished that off with some dark paste wax, applied will 0000 steel wool.
I then applied the hardware, starting with the leather corners. These are for both protection and decoration, and they were attached with 3/4" wide head brass tacks. I was worried they would look too "lumpy" but I quickly got the hang of shaping the pieces, and stretching them tightly as I tacked them in.
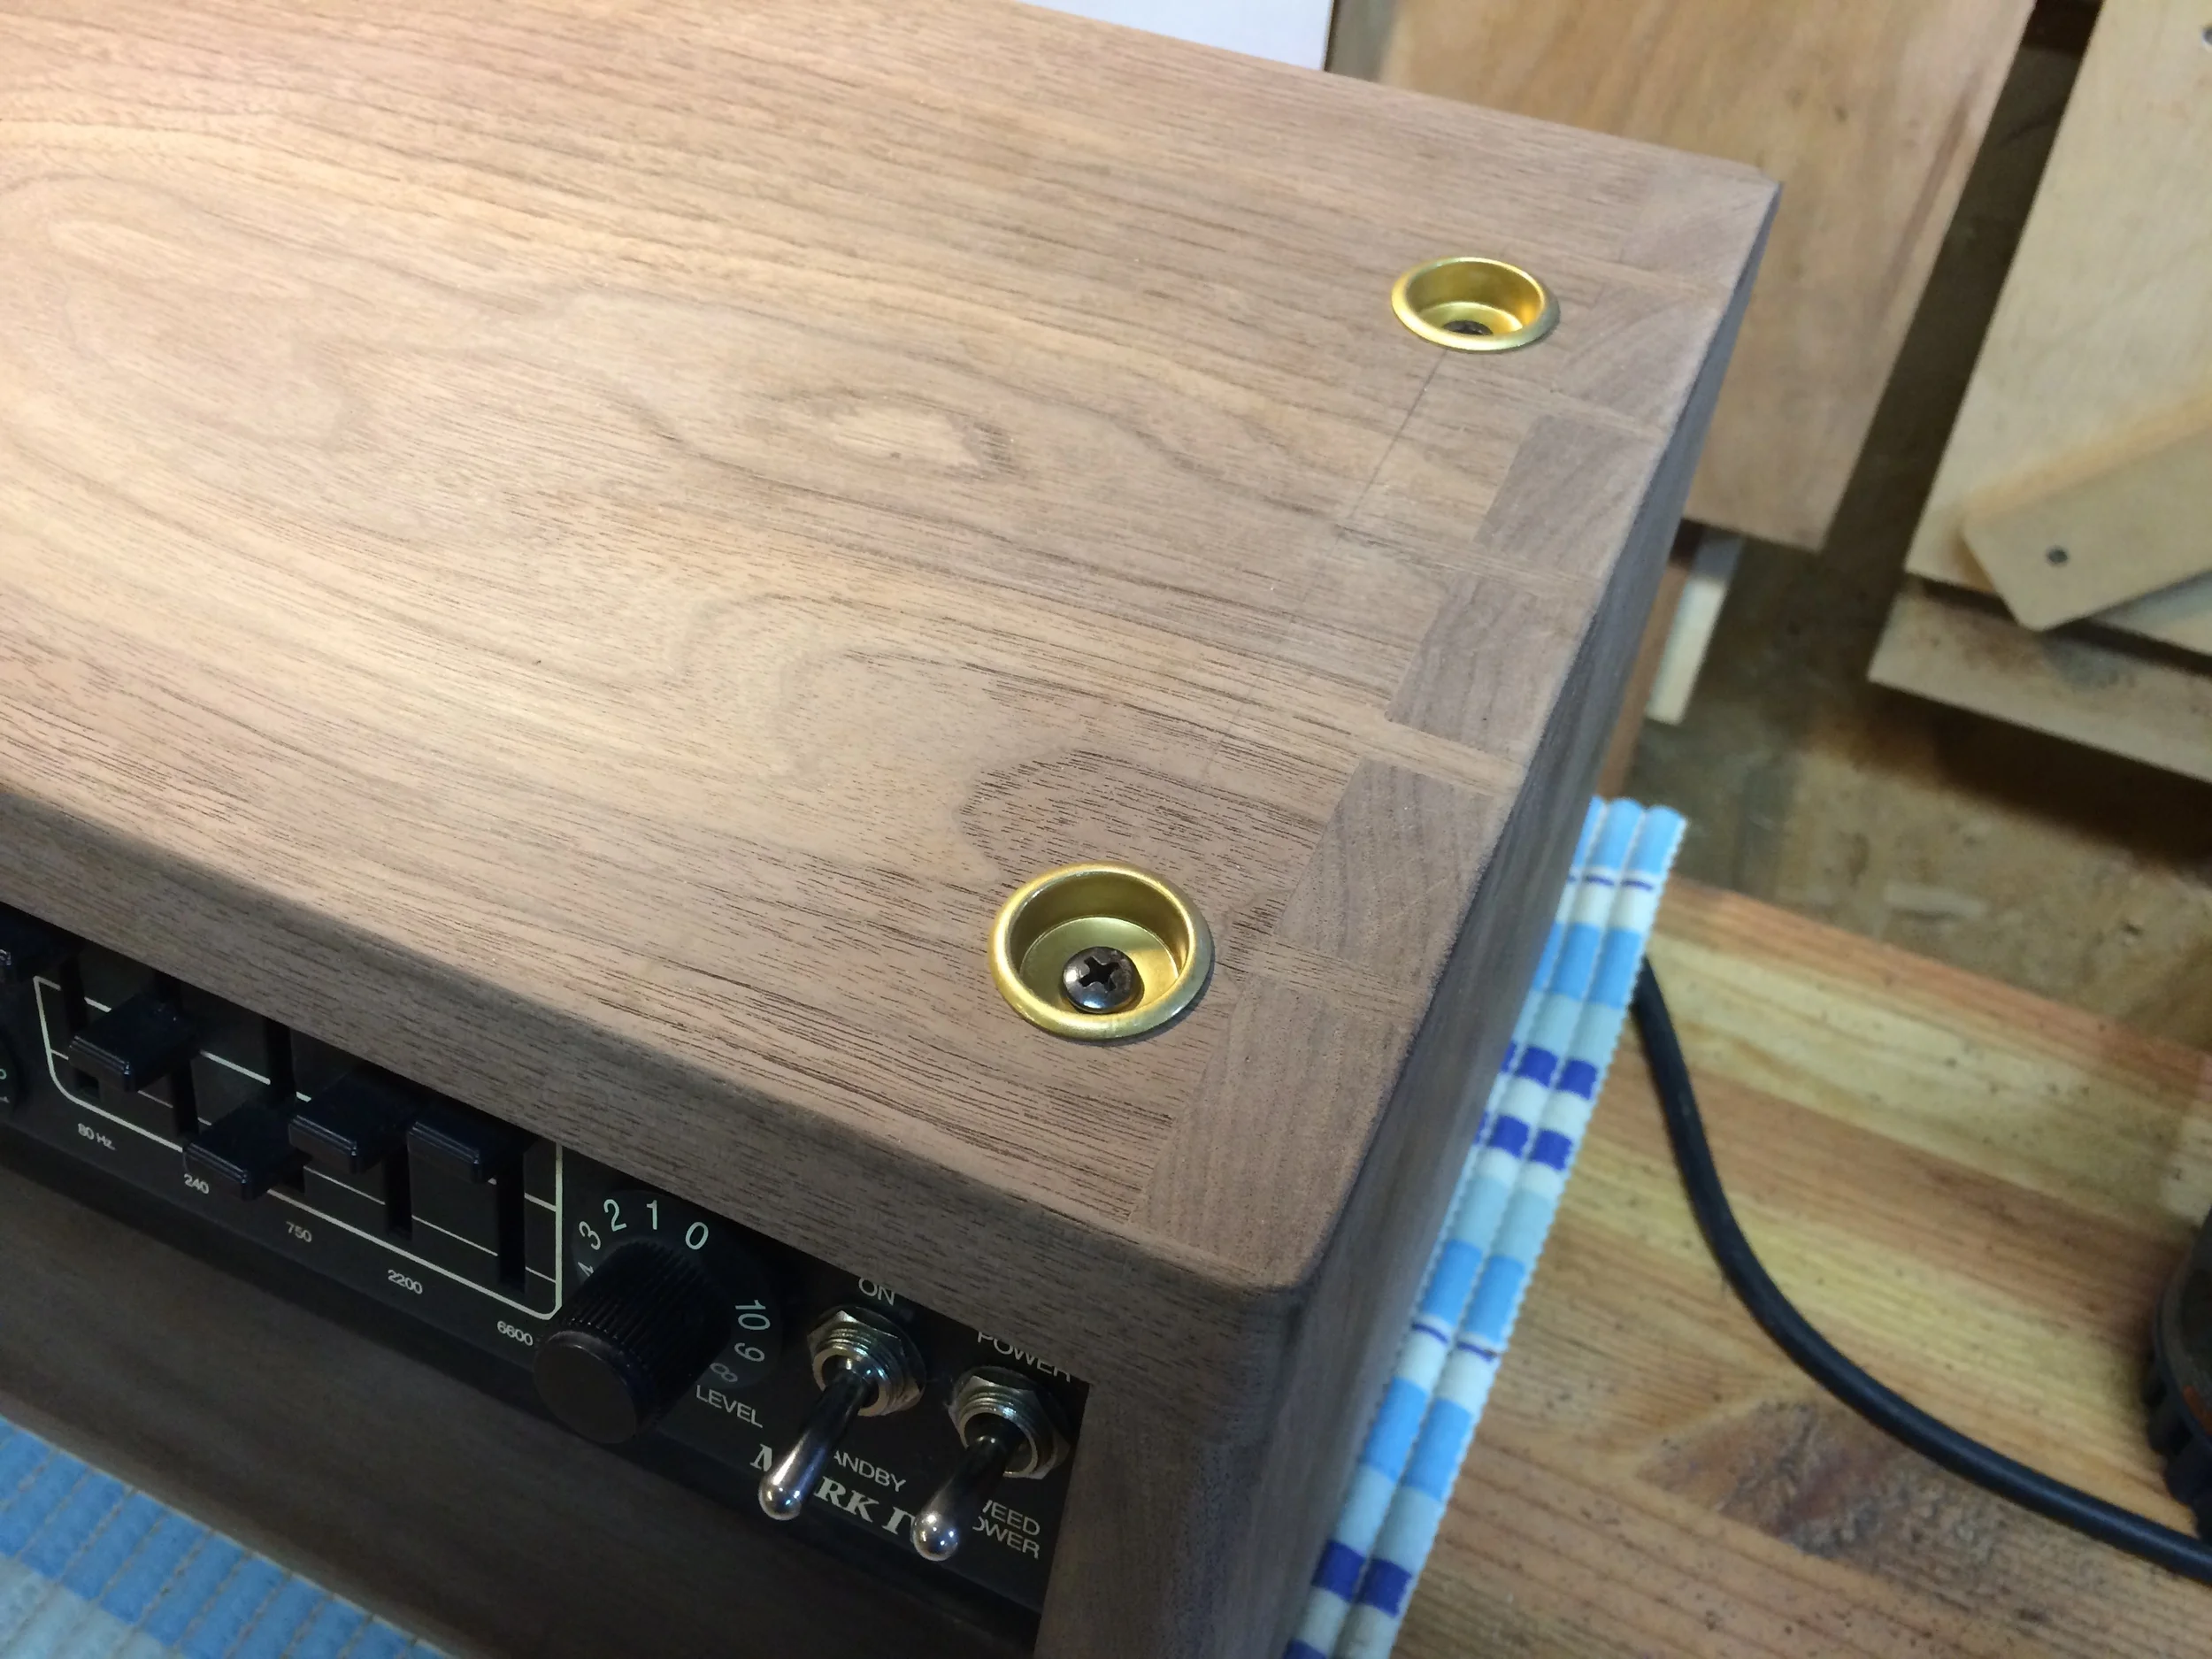
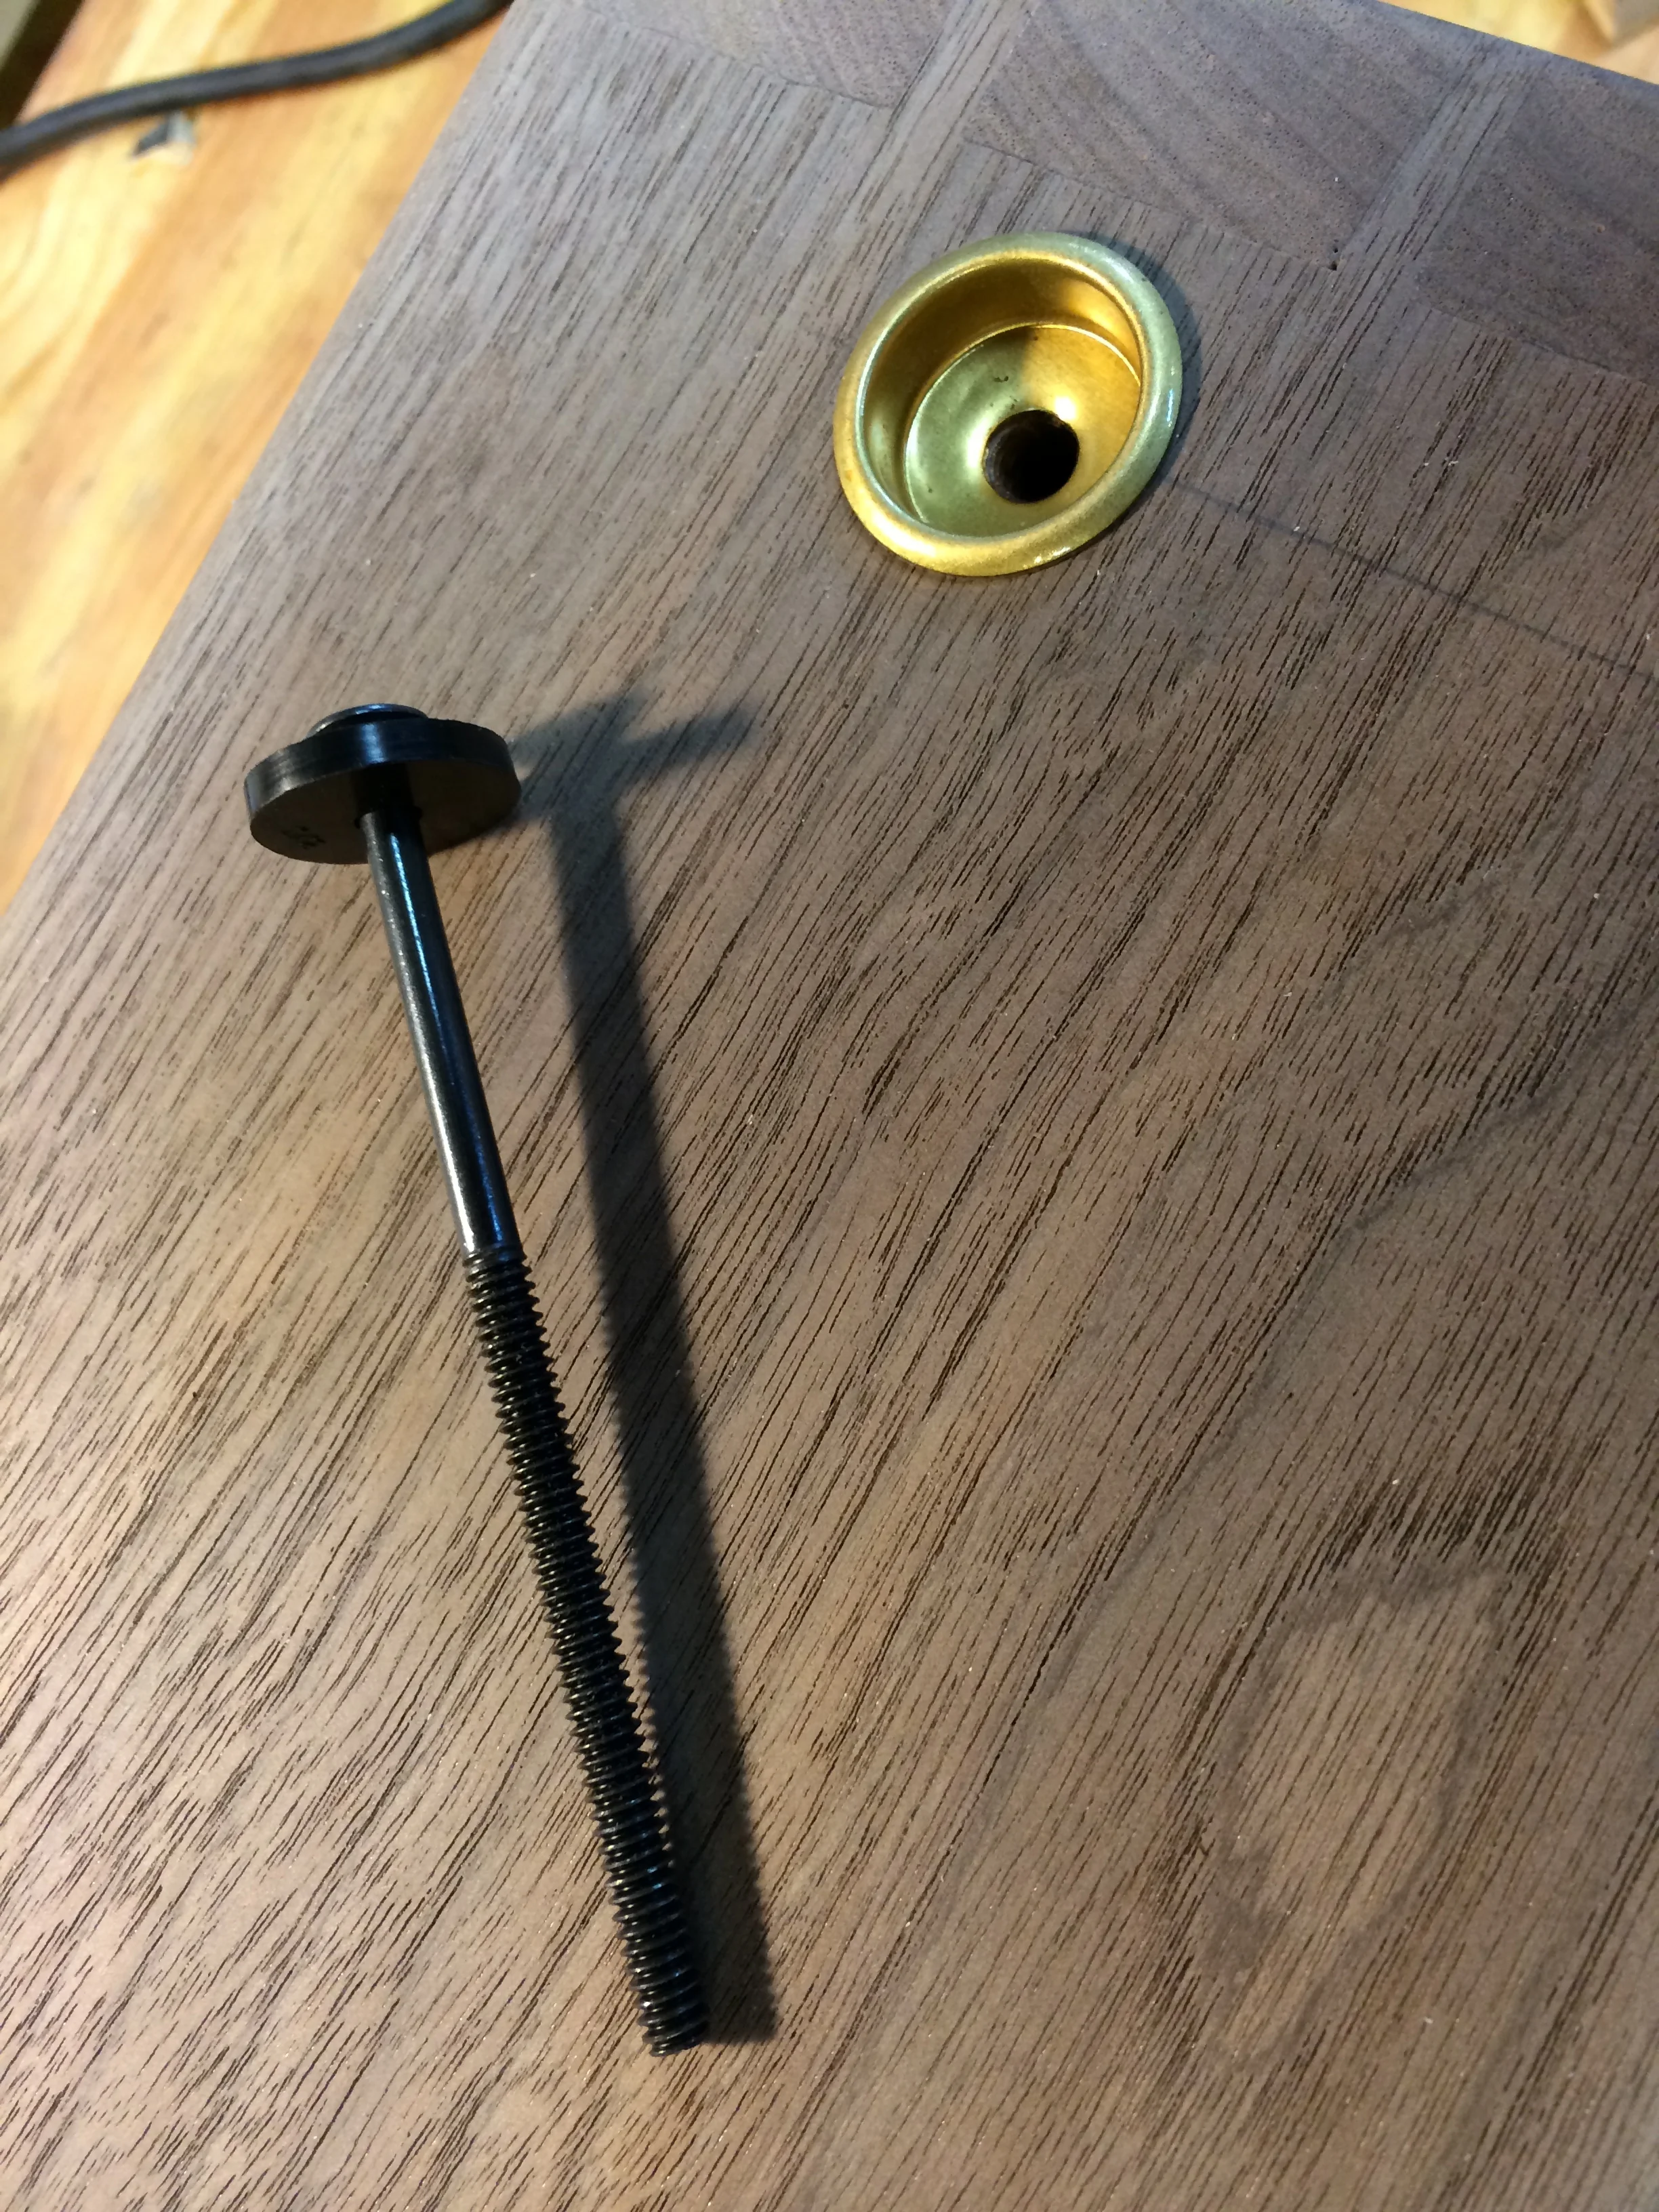
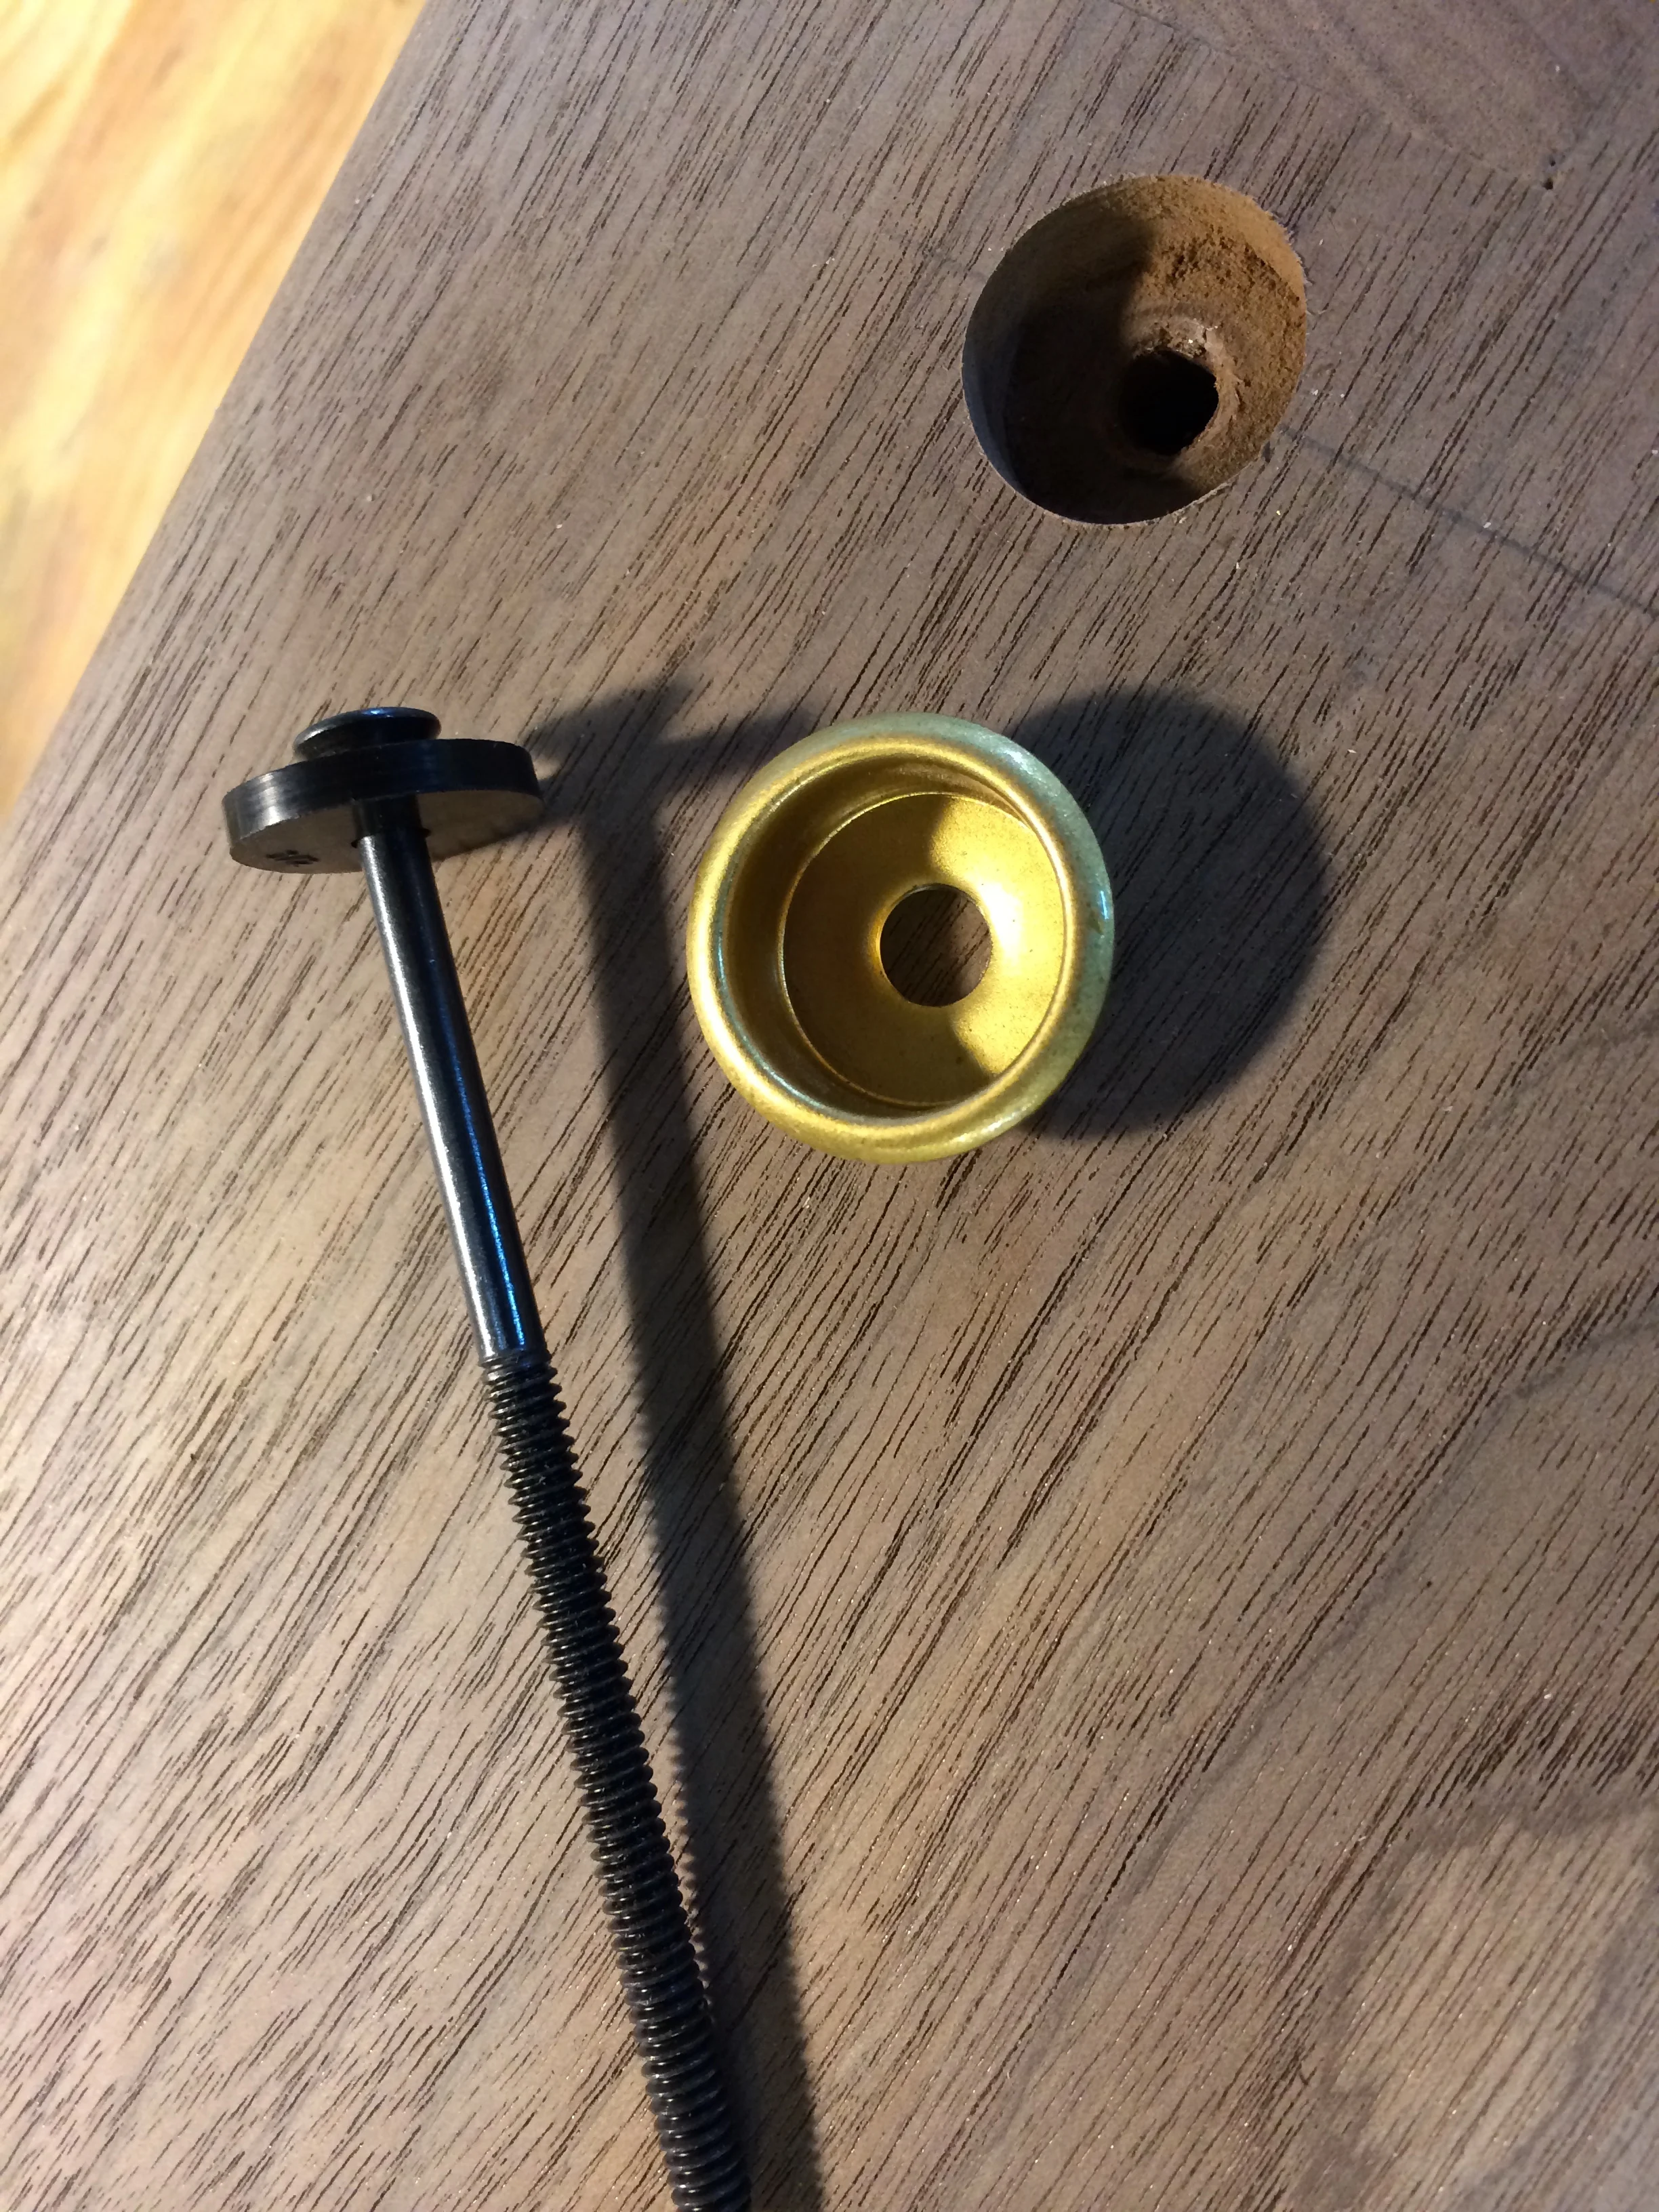
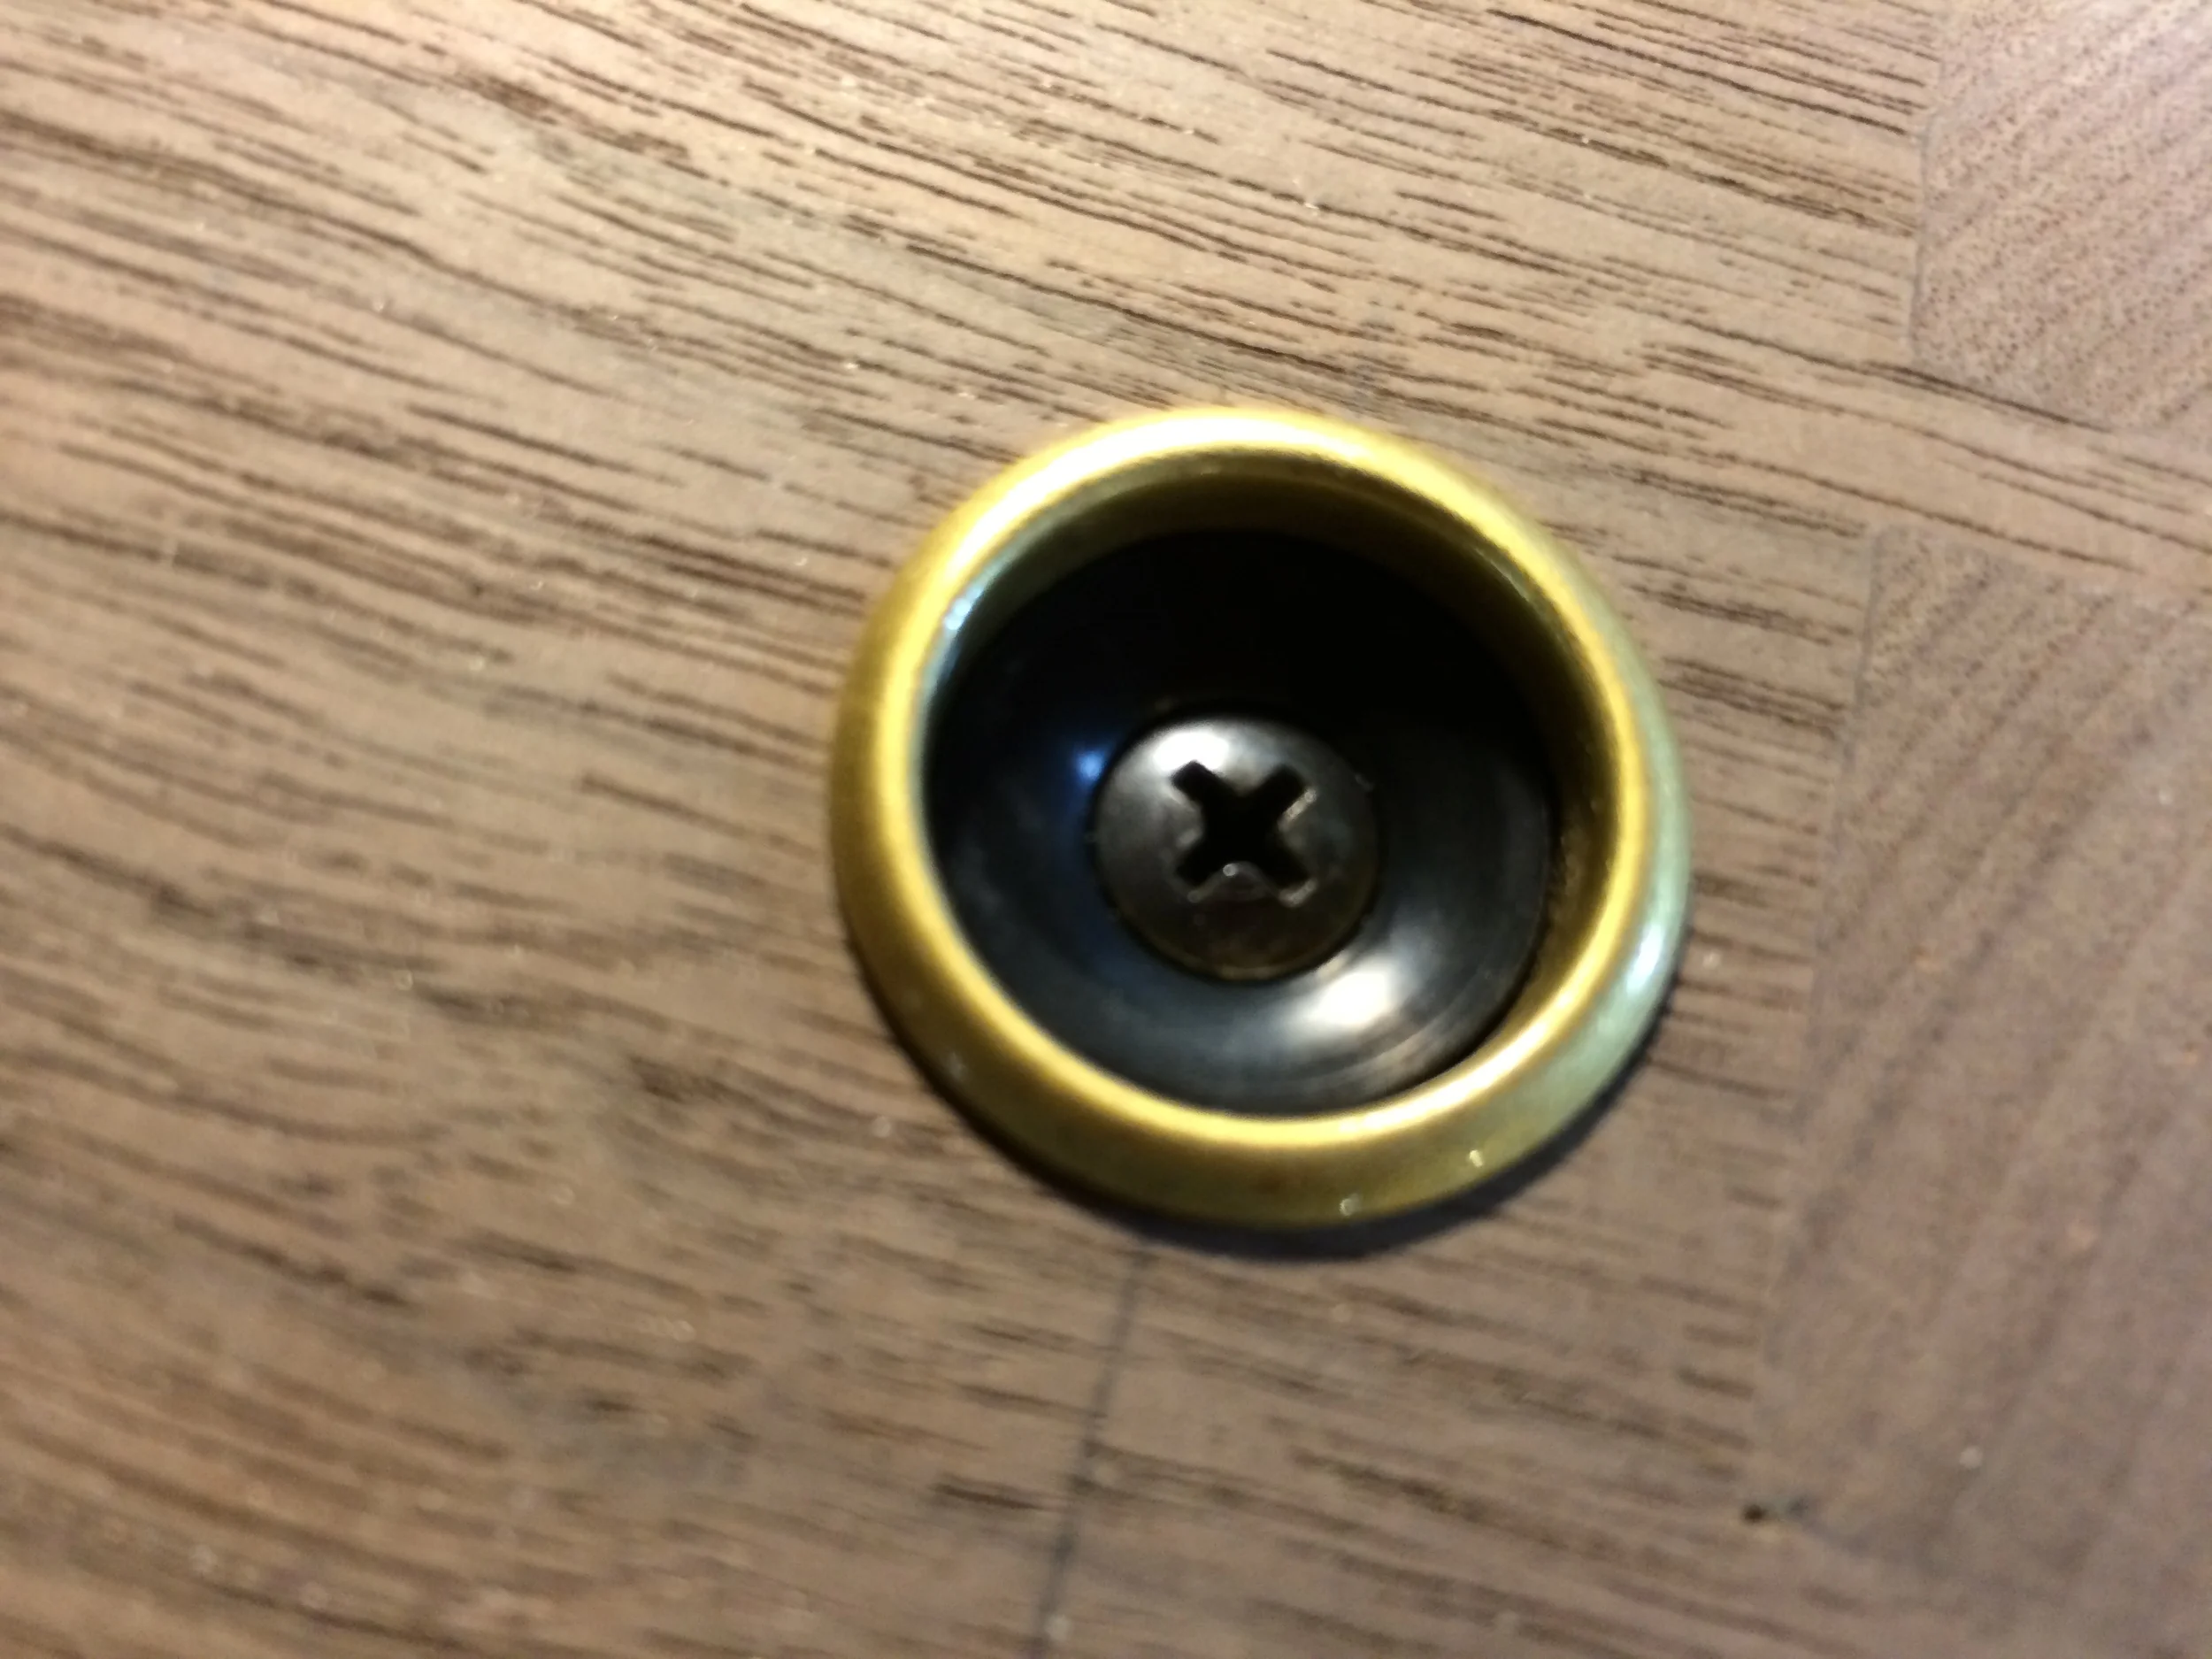
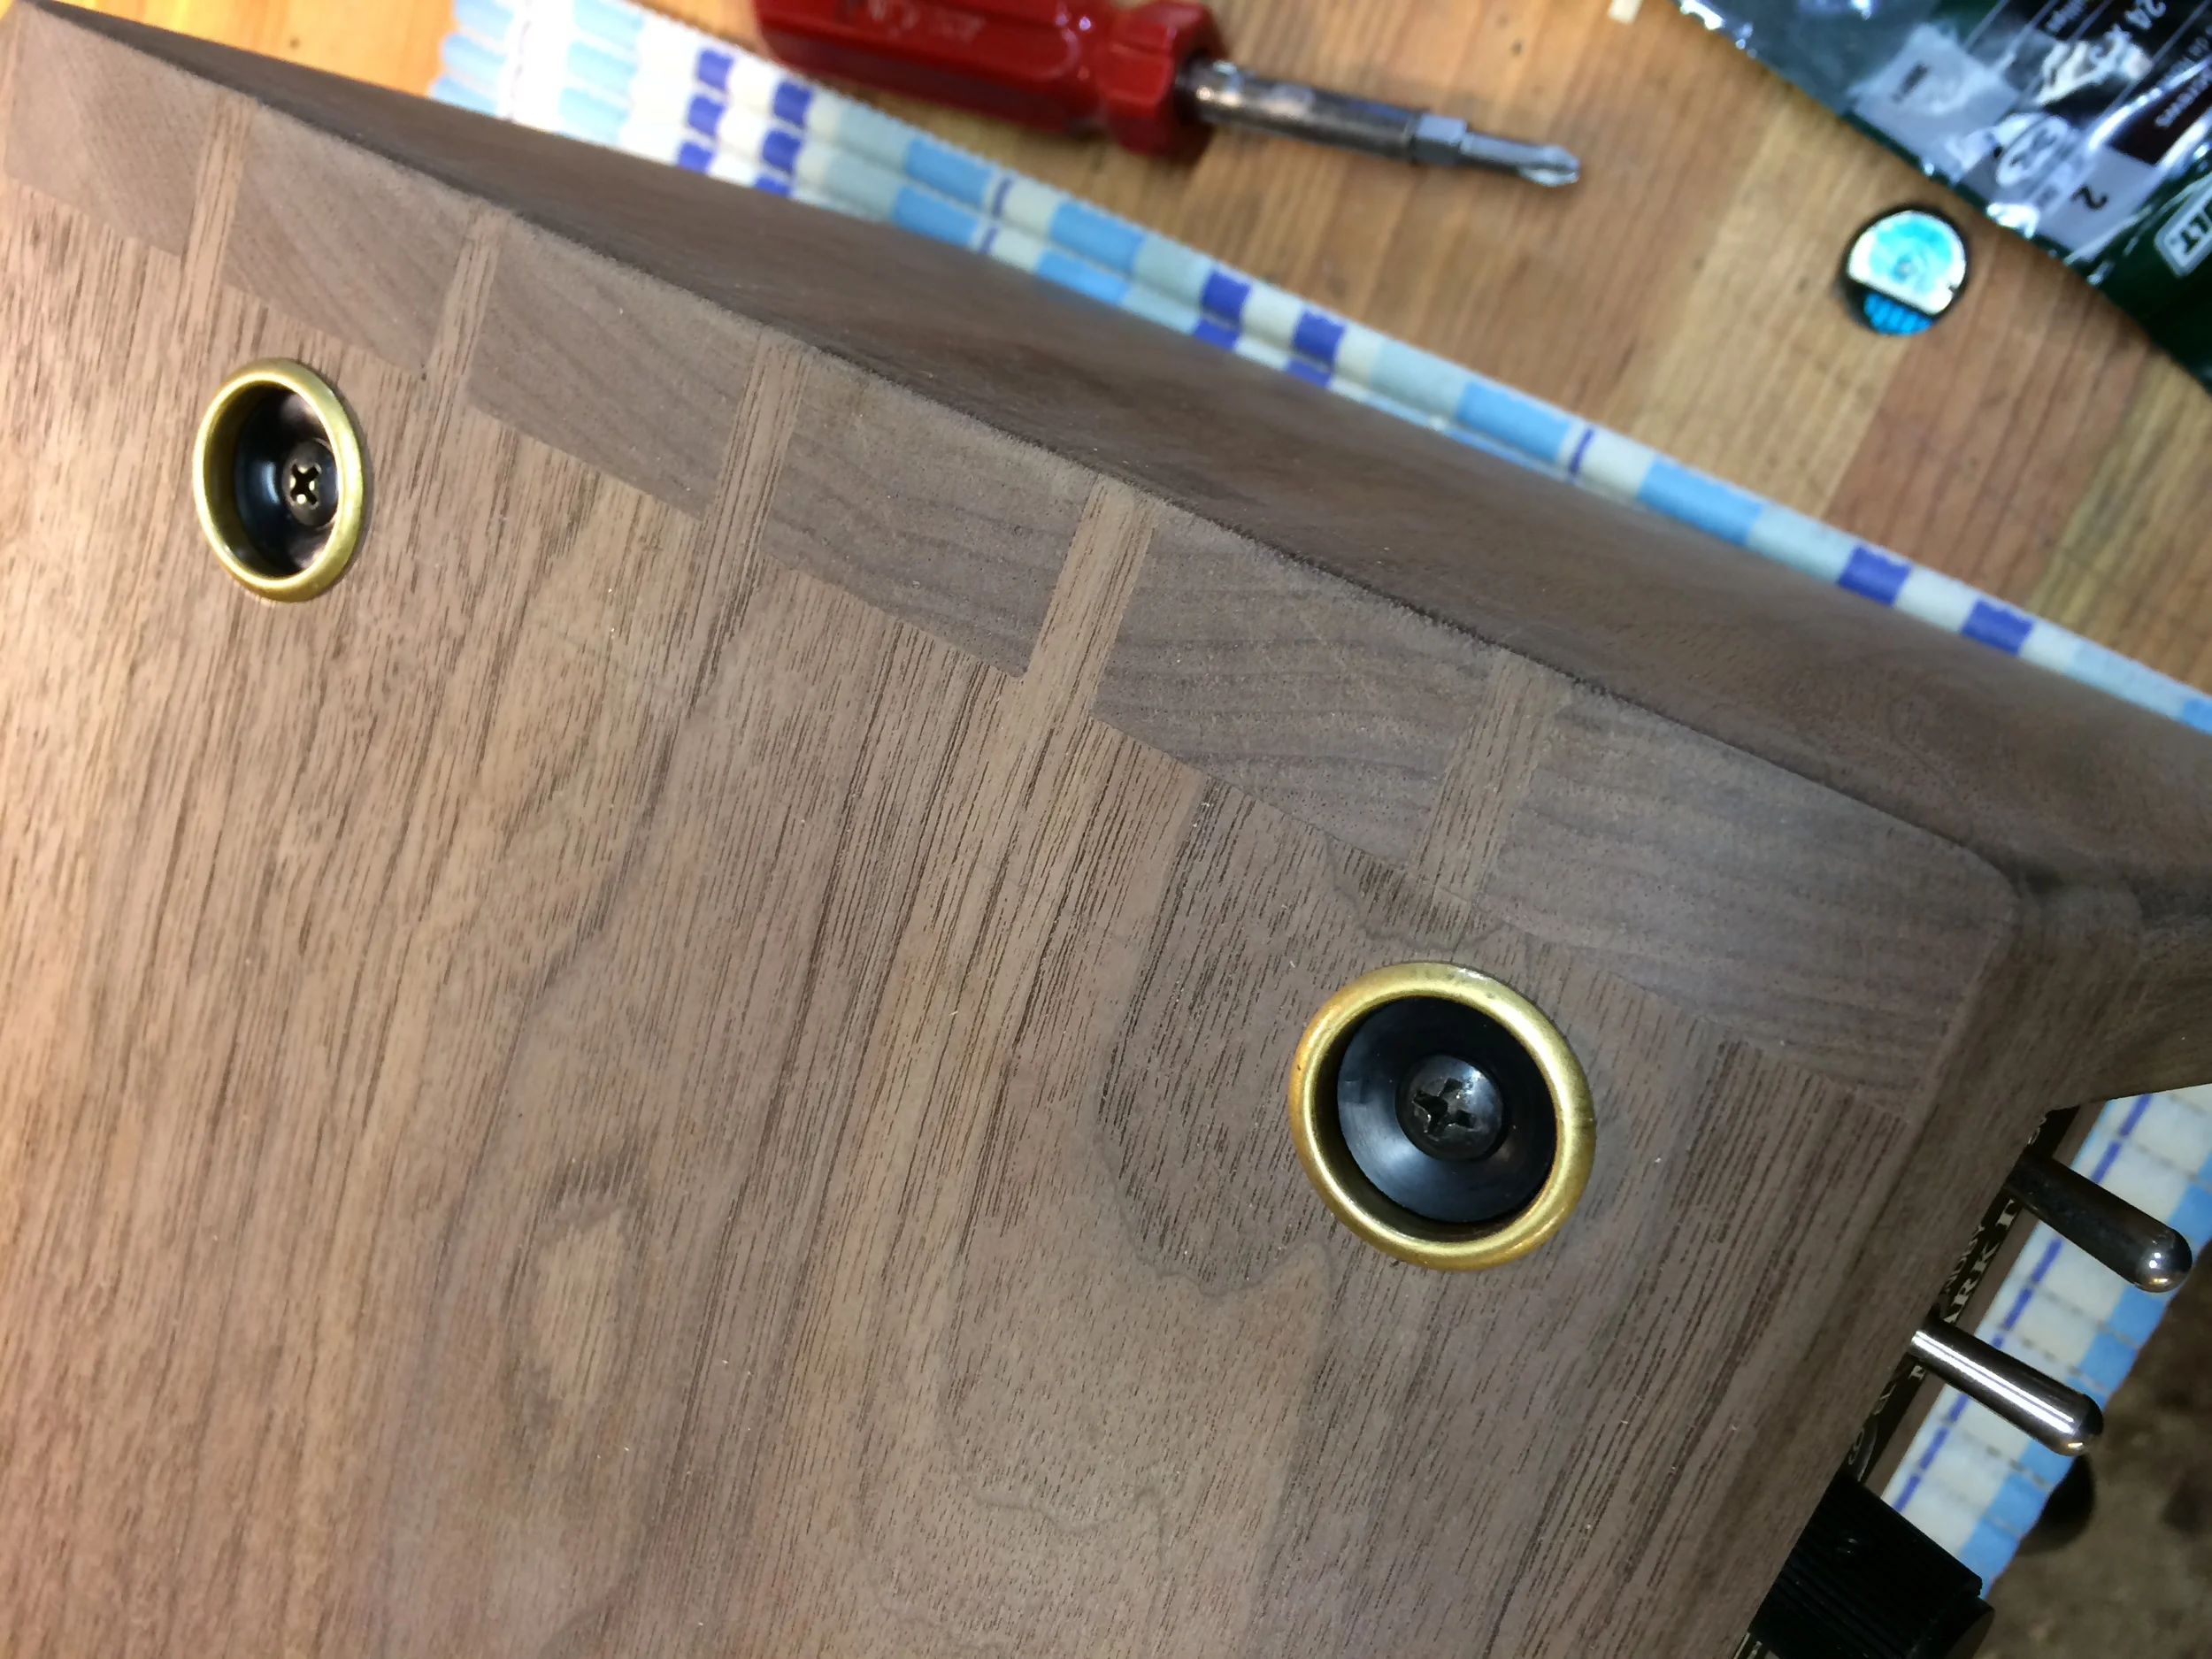
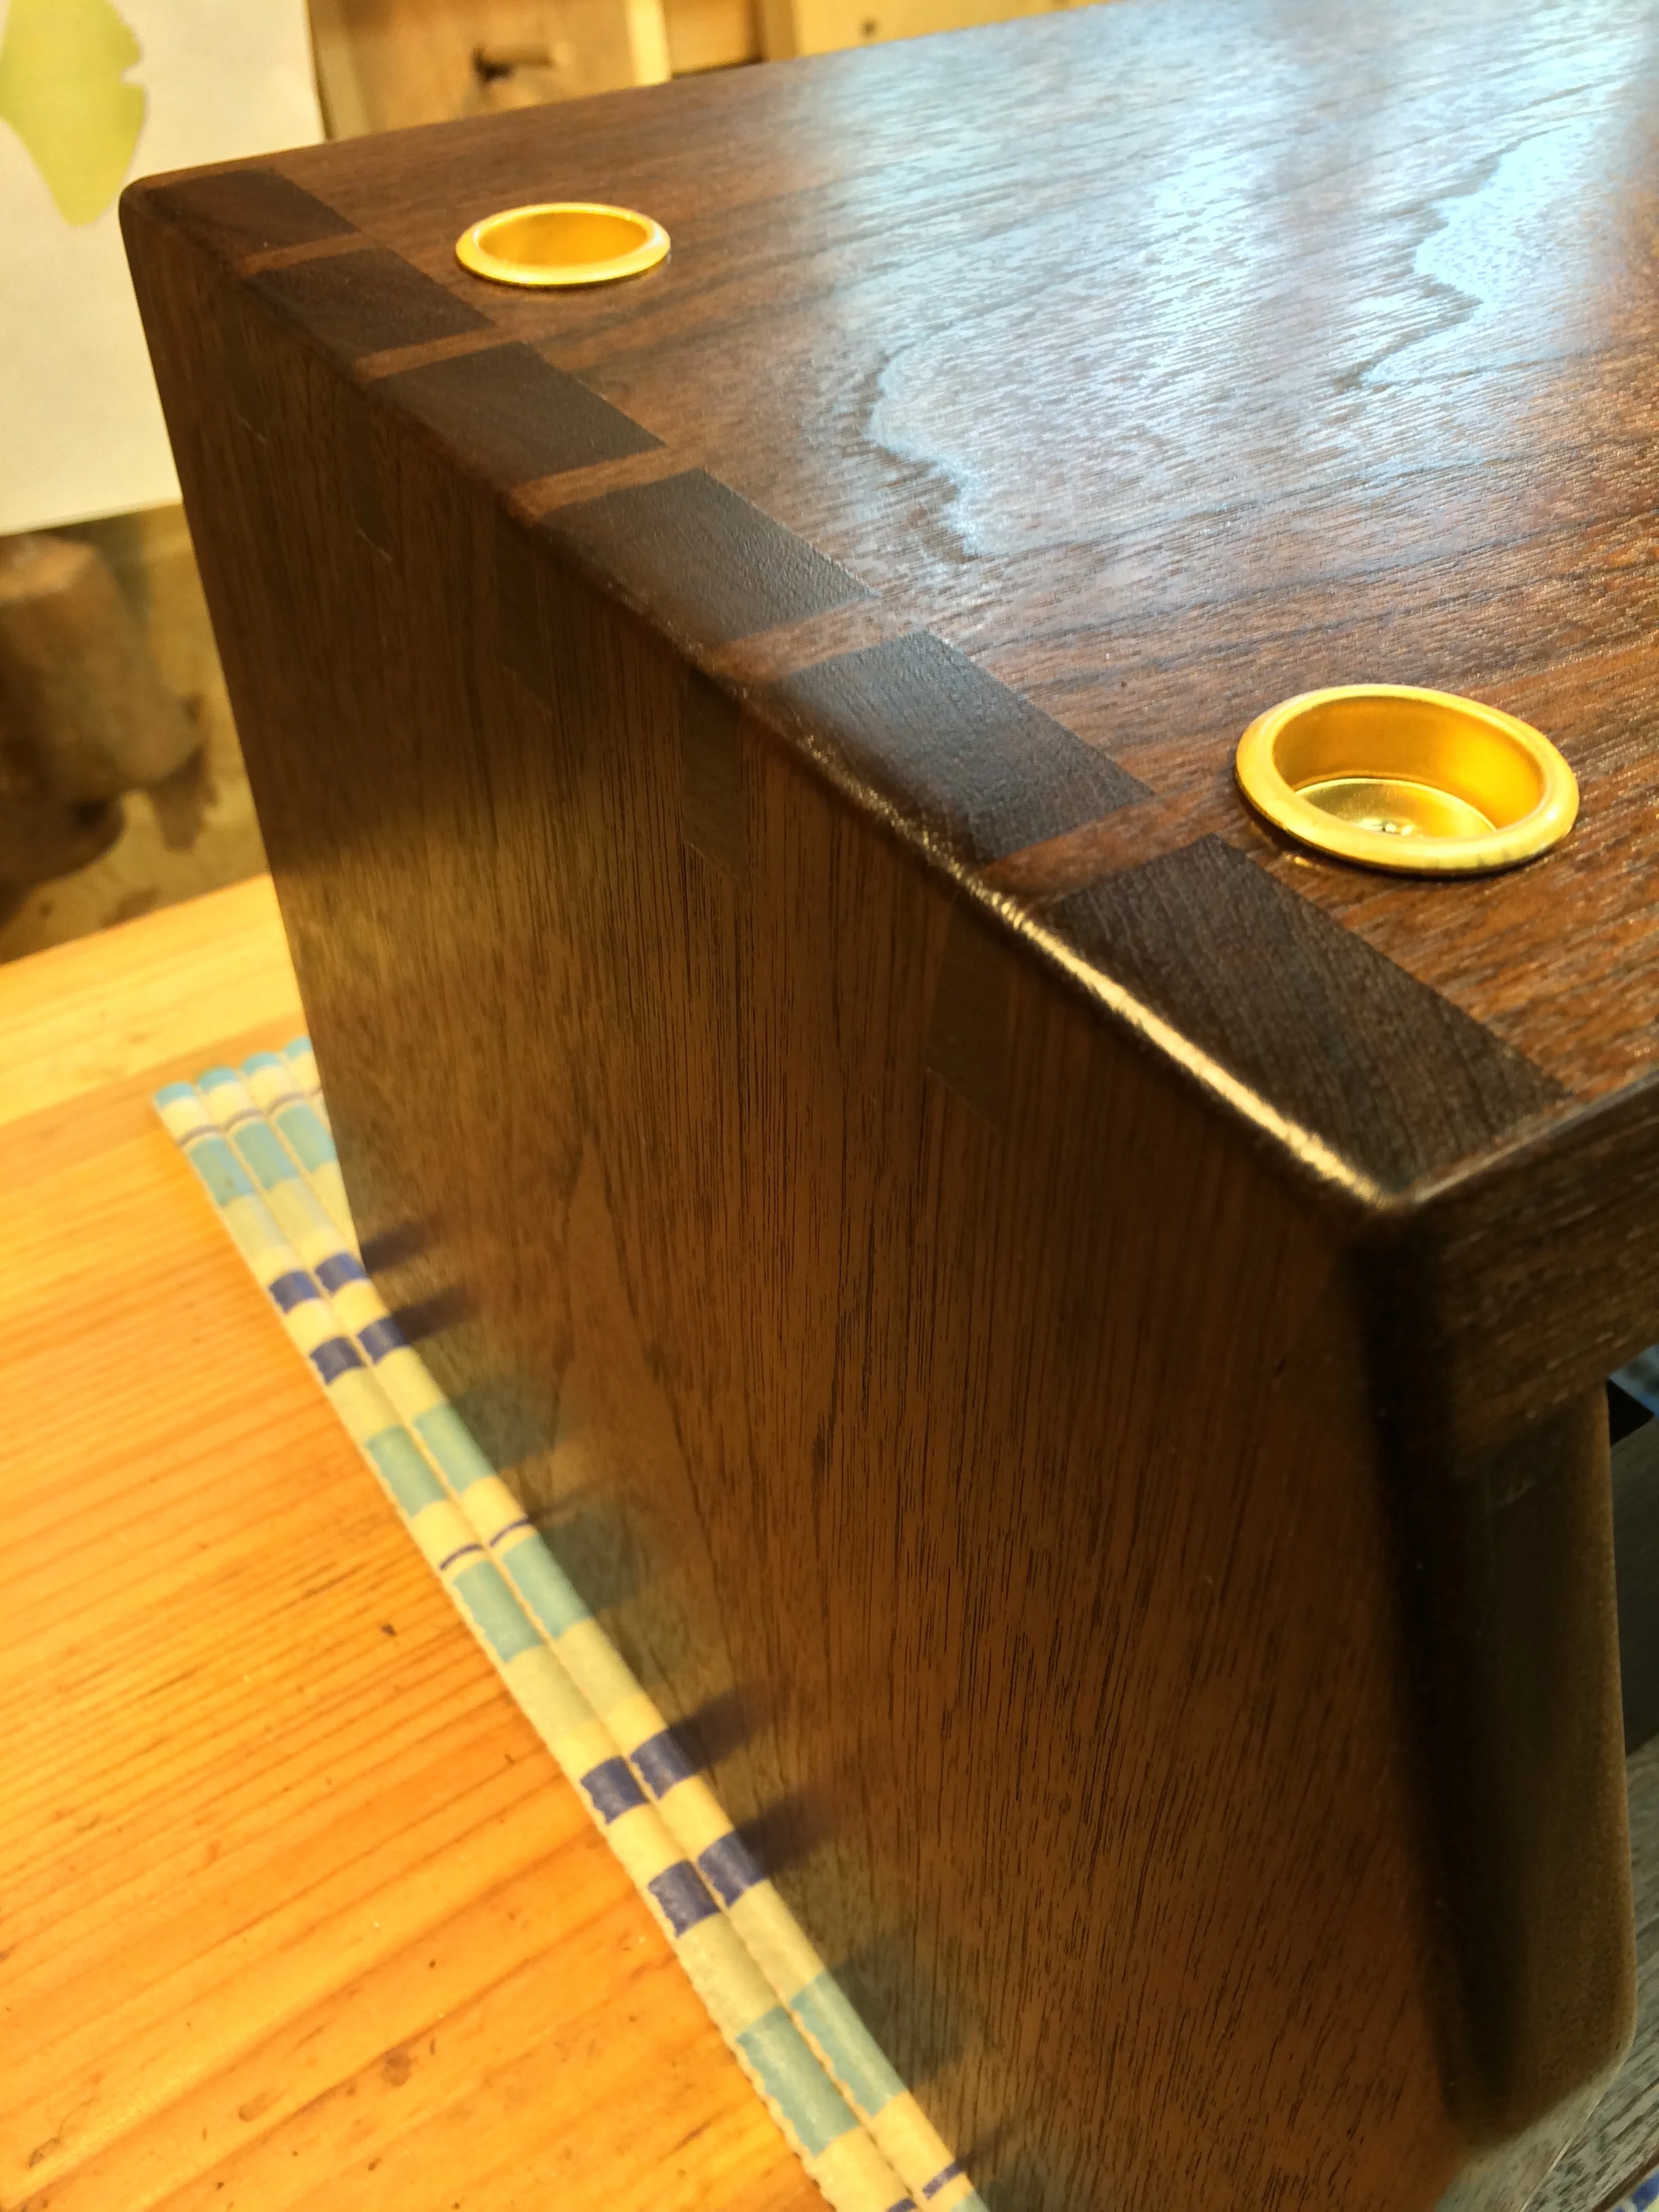
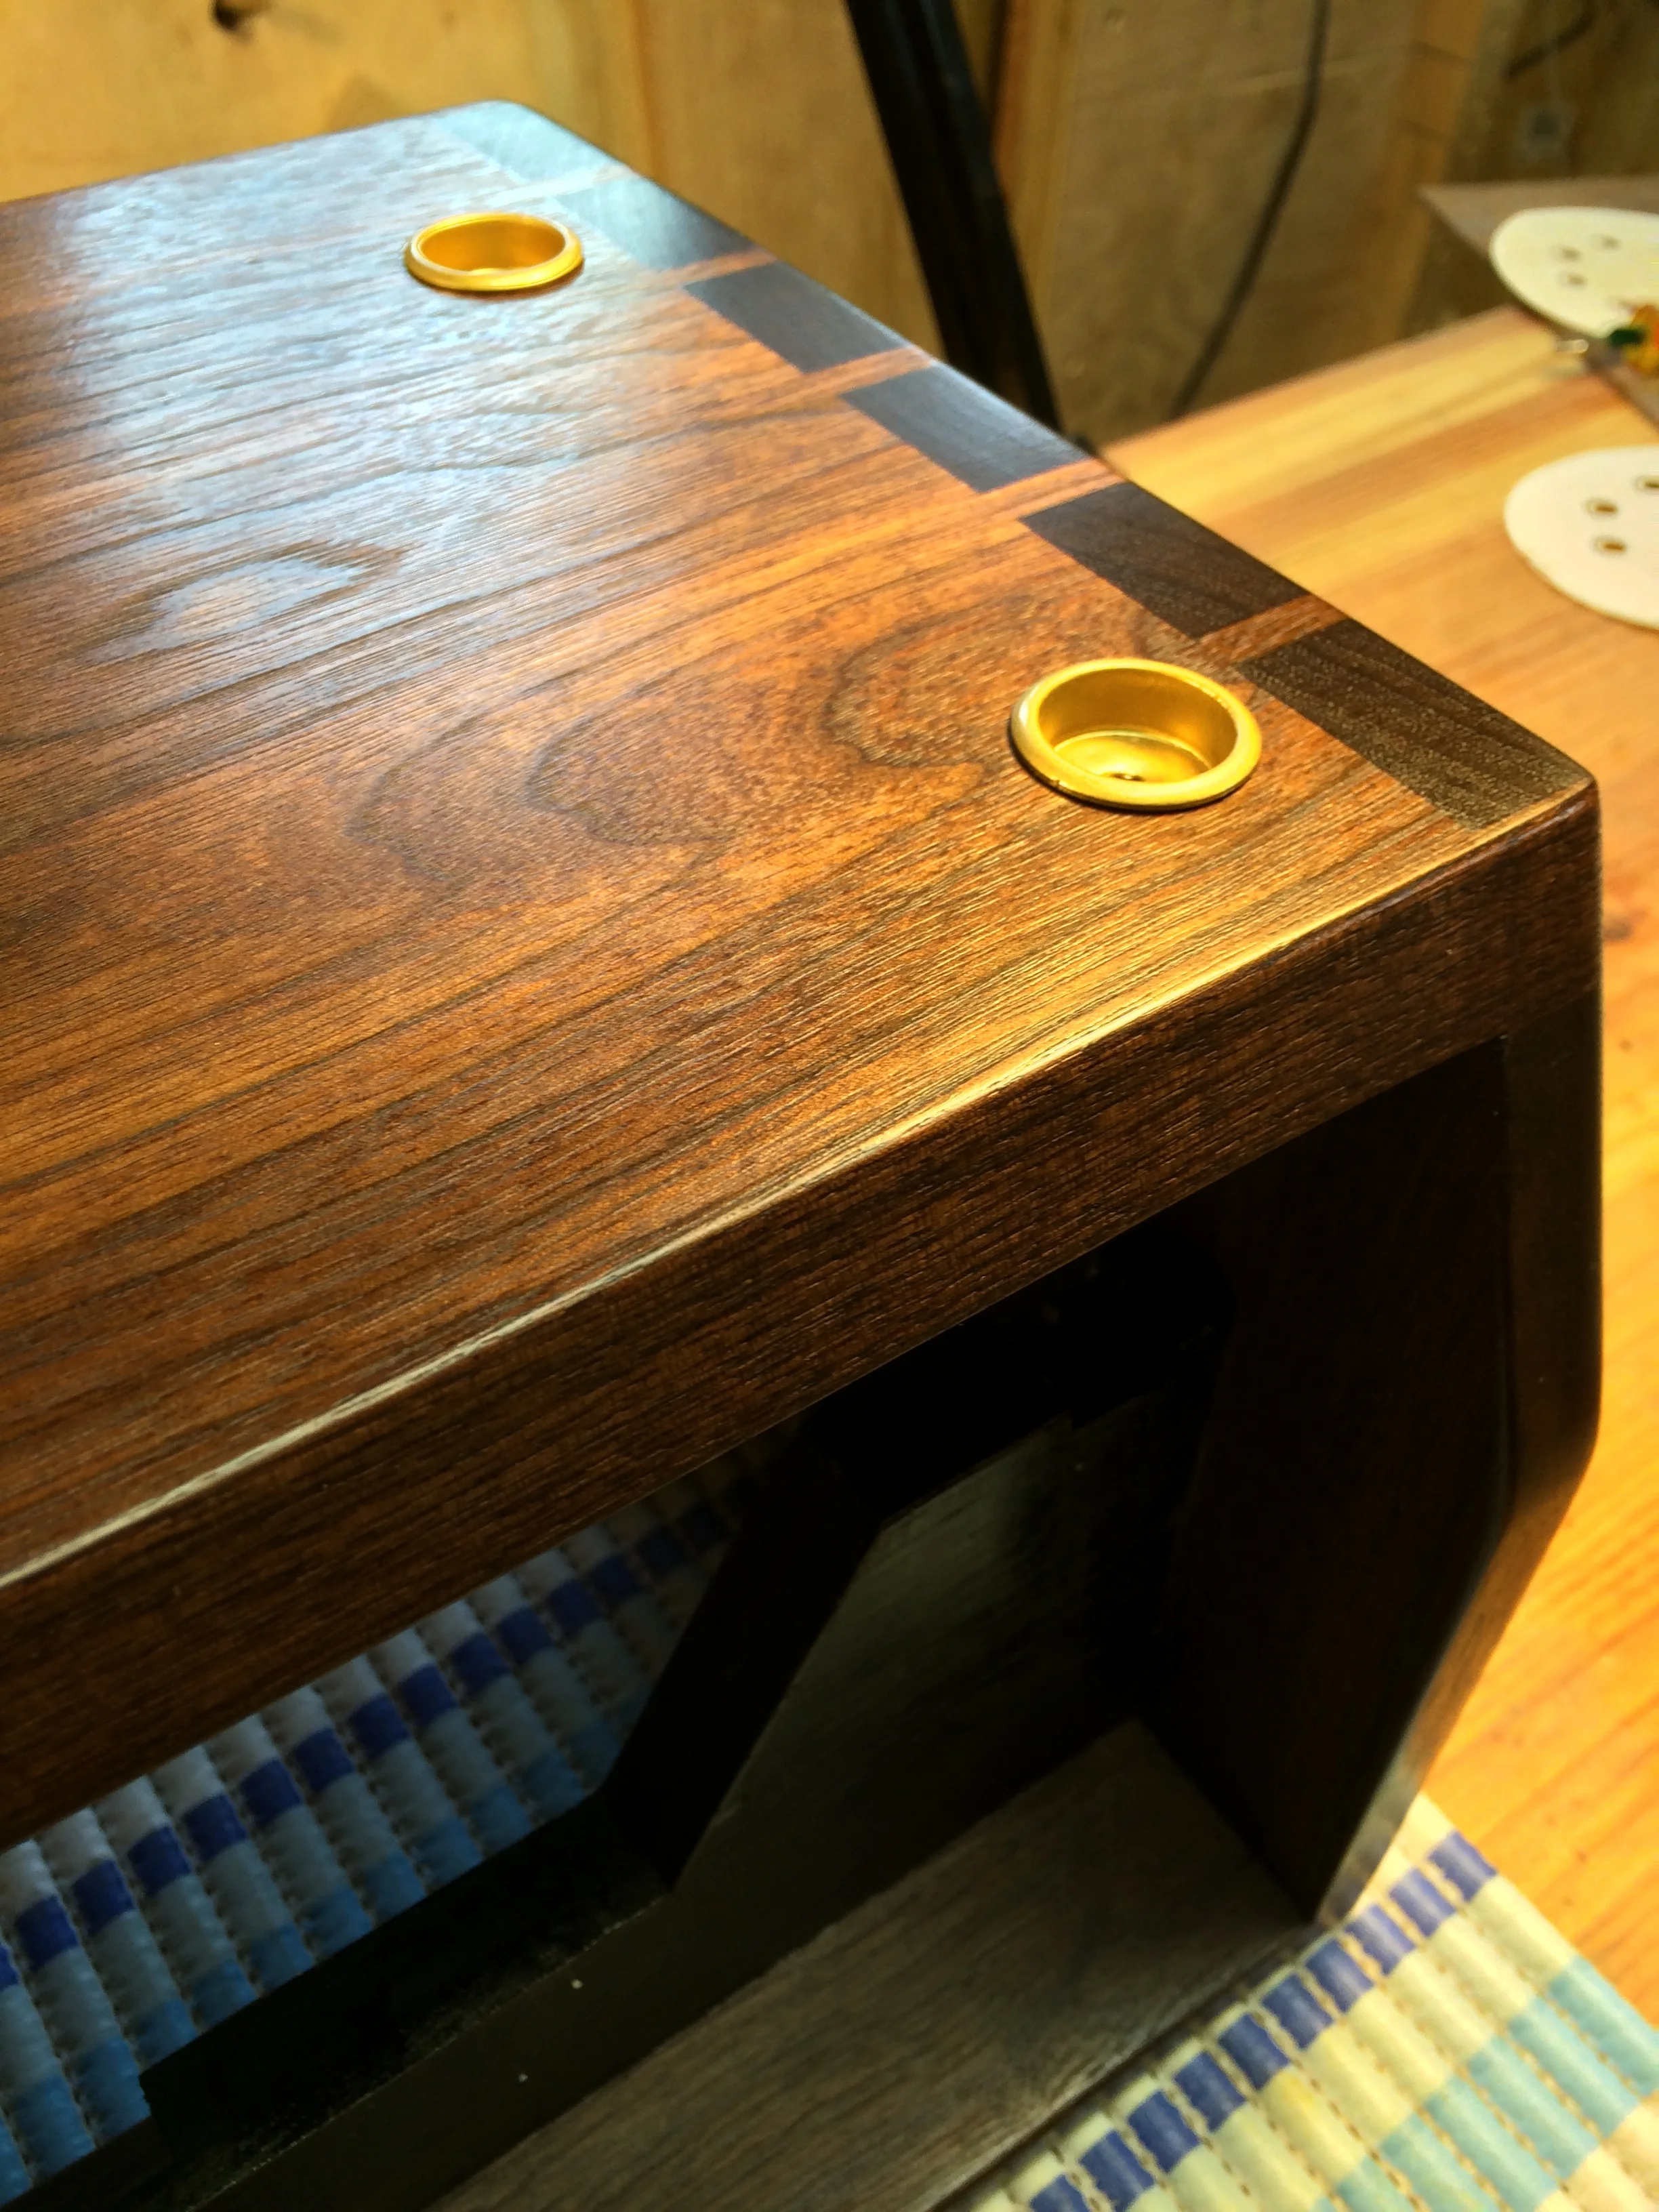
The four mounting screw holes in the top were interesting to get together as well. Per the original design, the electronics of the head are suspended from the top by four long threaded machine screws that fit into the chassis. On the original head, there were two long "plates" with two holes each to act as "washers" and distribute the weight of the guts across the top. I thought that looked a little too crude for this implementation, so i instead found some brass finger pull/cup things, and some black rubber plumbing washers. I recessed the pulls into the top, set the washer inside, and lowered the machine screw through it, providing a bit of the "shock mount" for the chassis. This is good for the health of the power tubes: it reduces the vibration from the speaker cabinet and prolongers their life. So it looks good and works better. Nice.
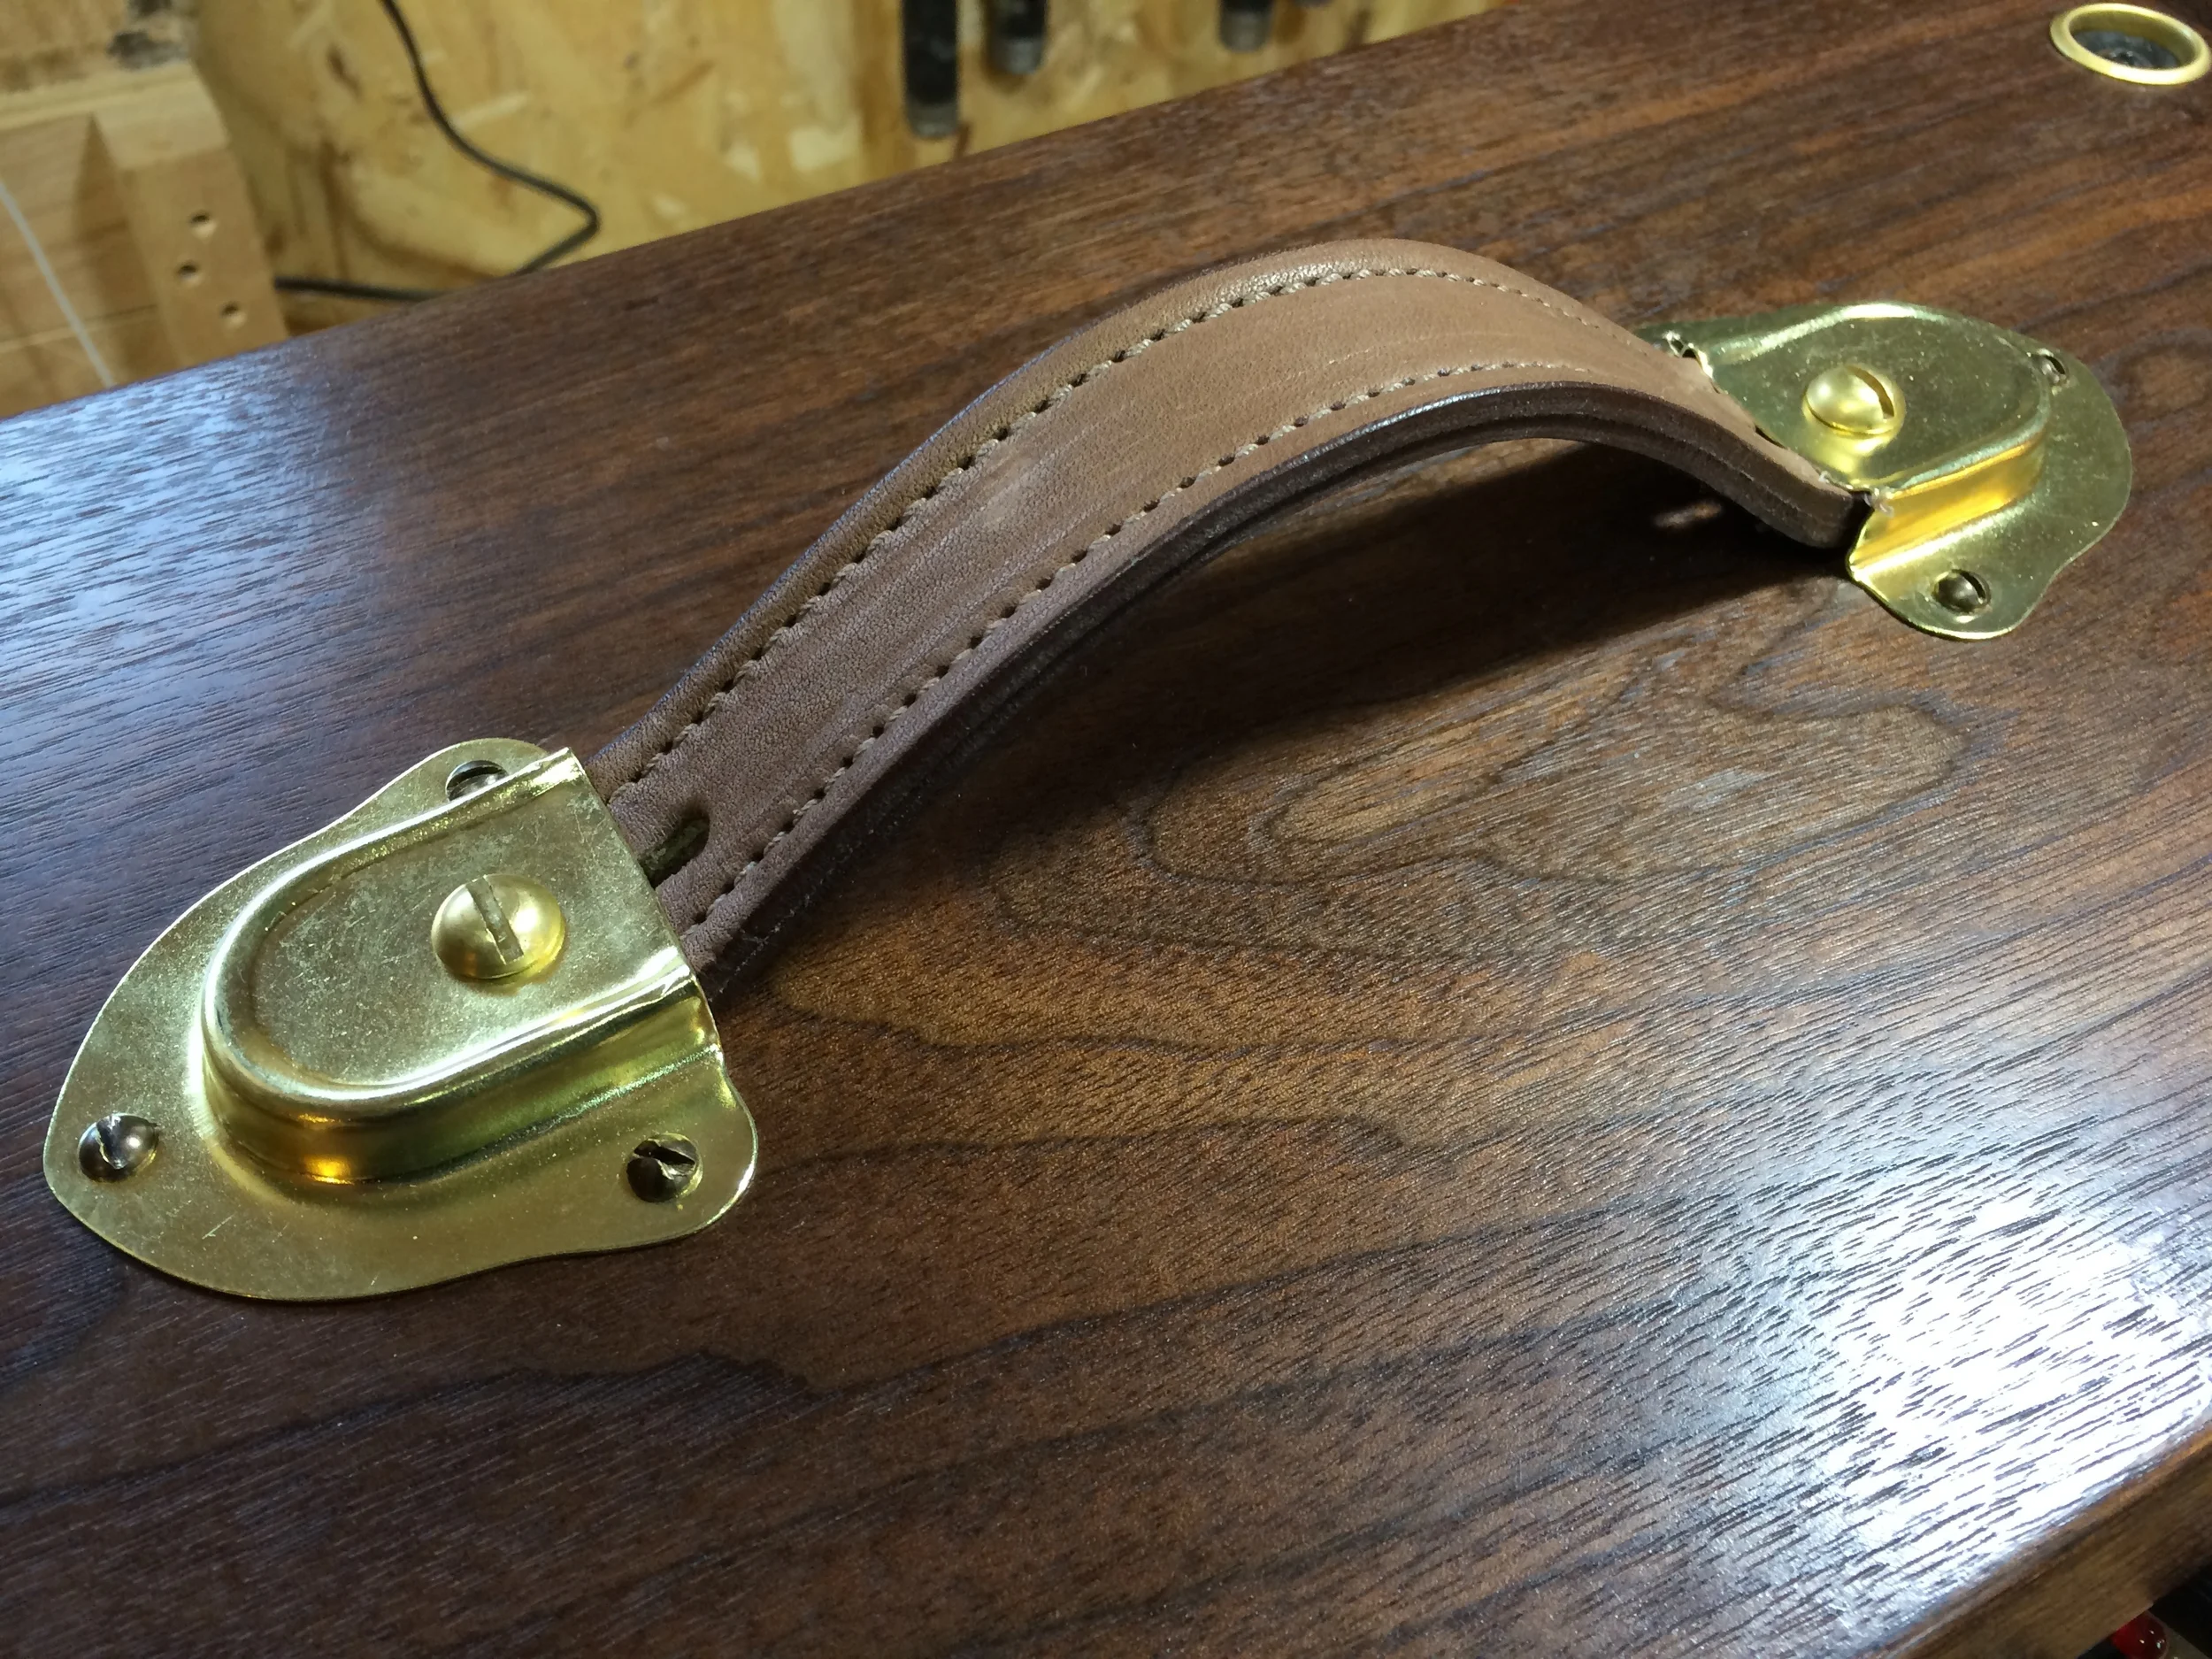
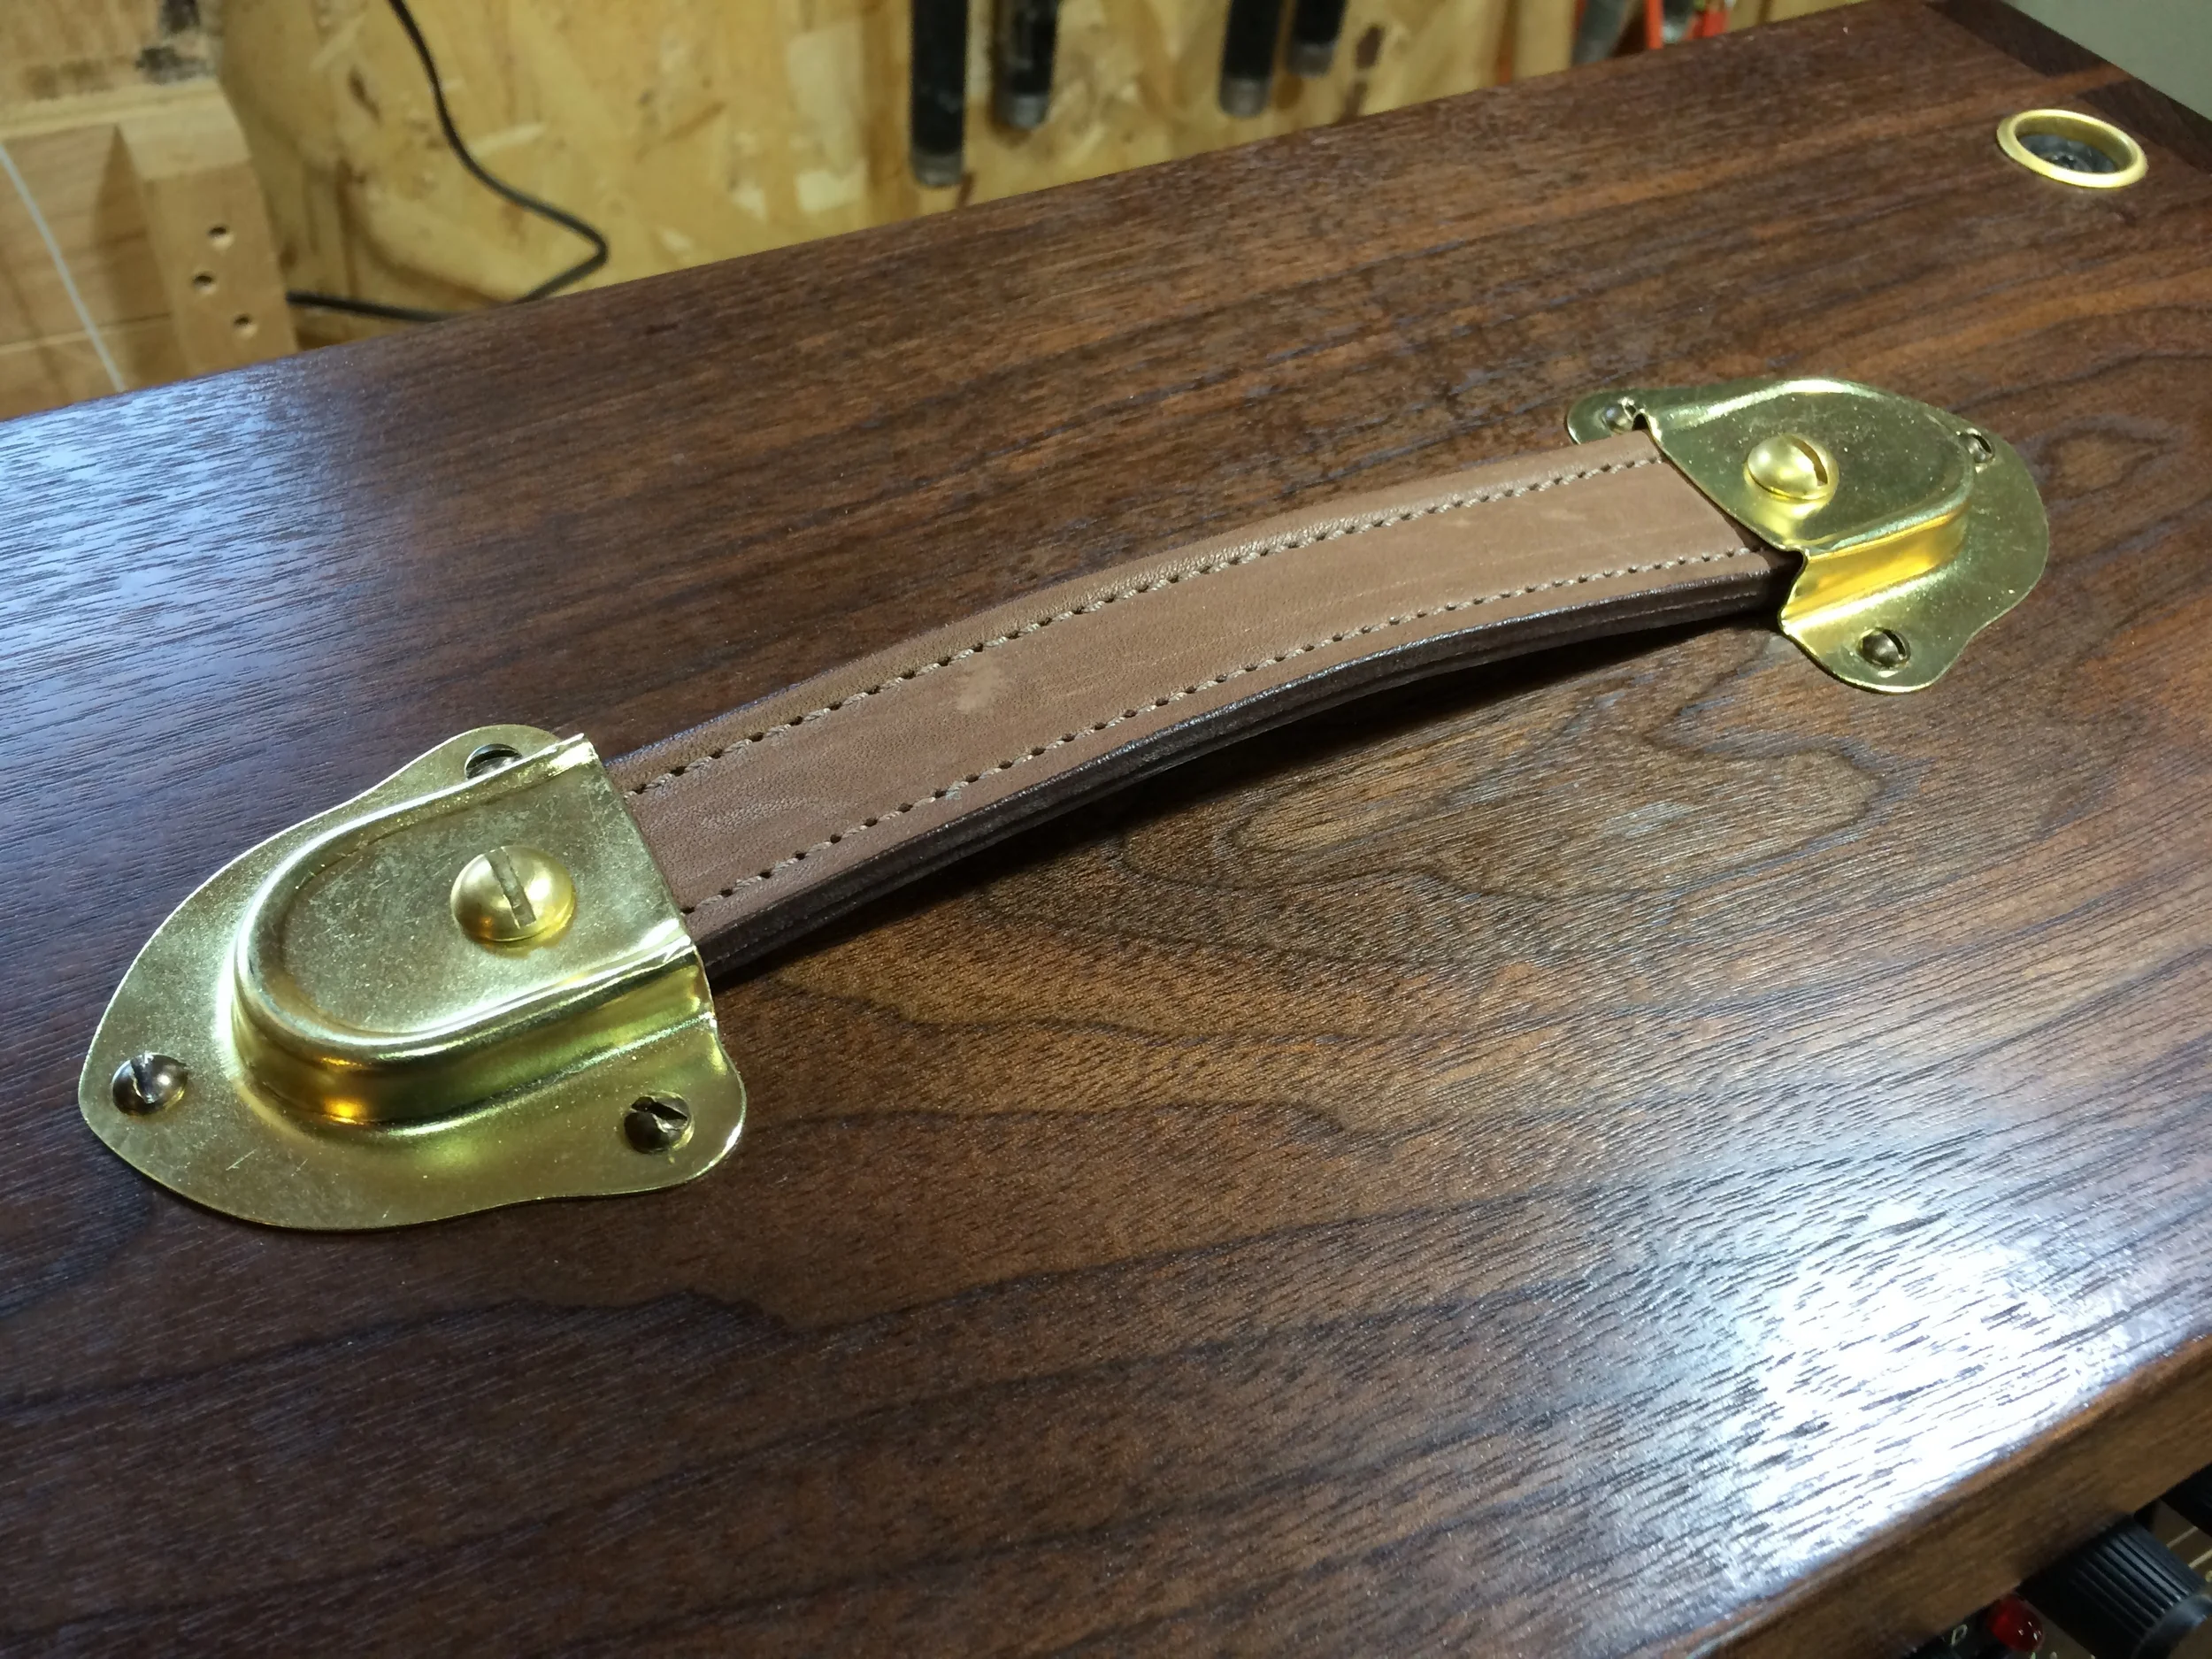
Only 1/2 of the handle hardware arrived, so I put on what I could, and a few weeks later, the rest arrived with the cane grille material. Finally, its done, and I think it looks better that what I could have ordered from Mesa back in the day, if i had the money.
This was my first trial into the world of amp/cabinet modification, and as it went well, I'll be building the matching speaker cabinet in a few months. THAT's going to look great at a gig.
Here is a gallery of the build...