Woodtopia at Horigan Urban Forest Products
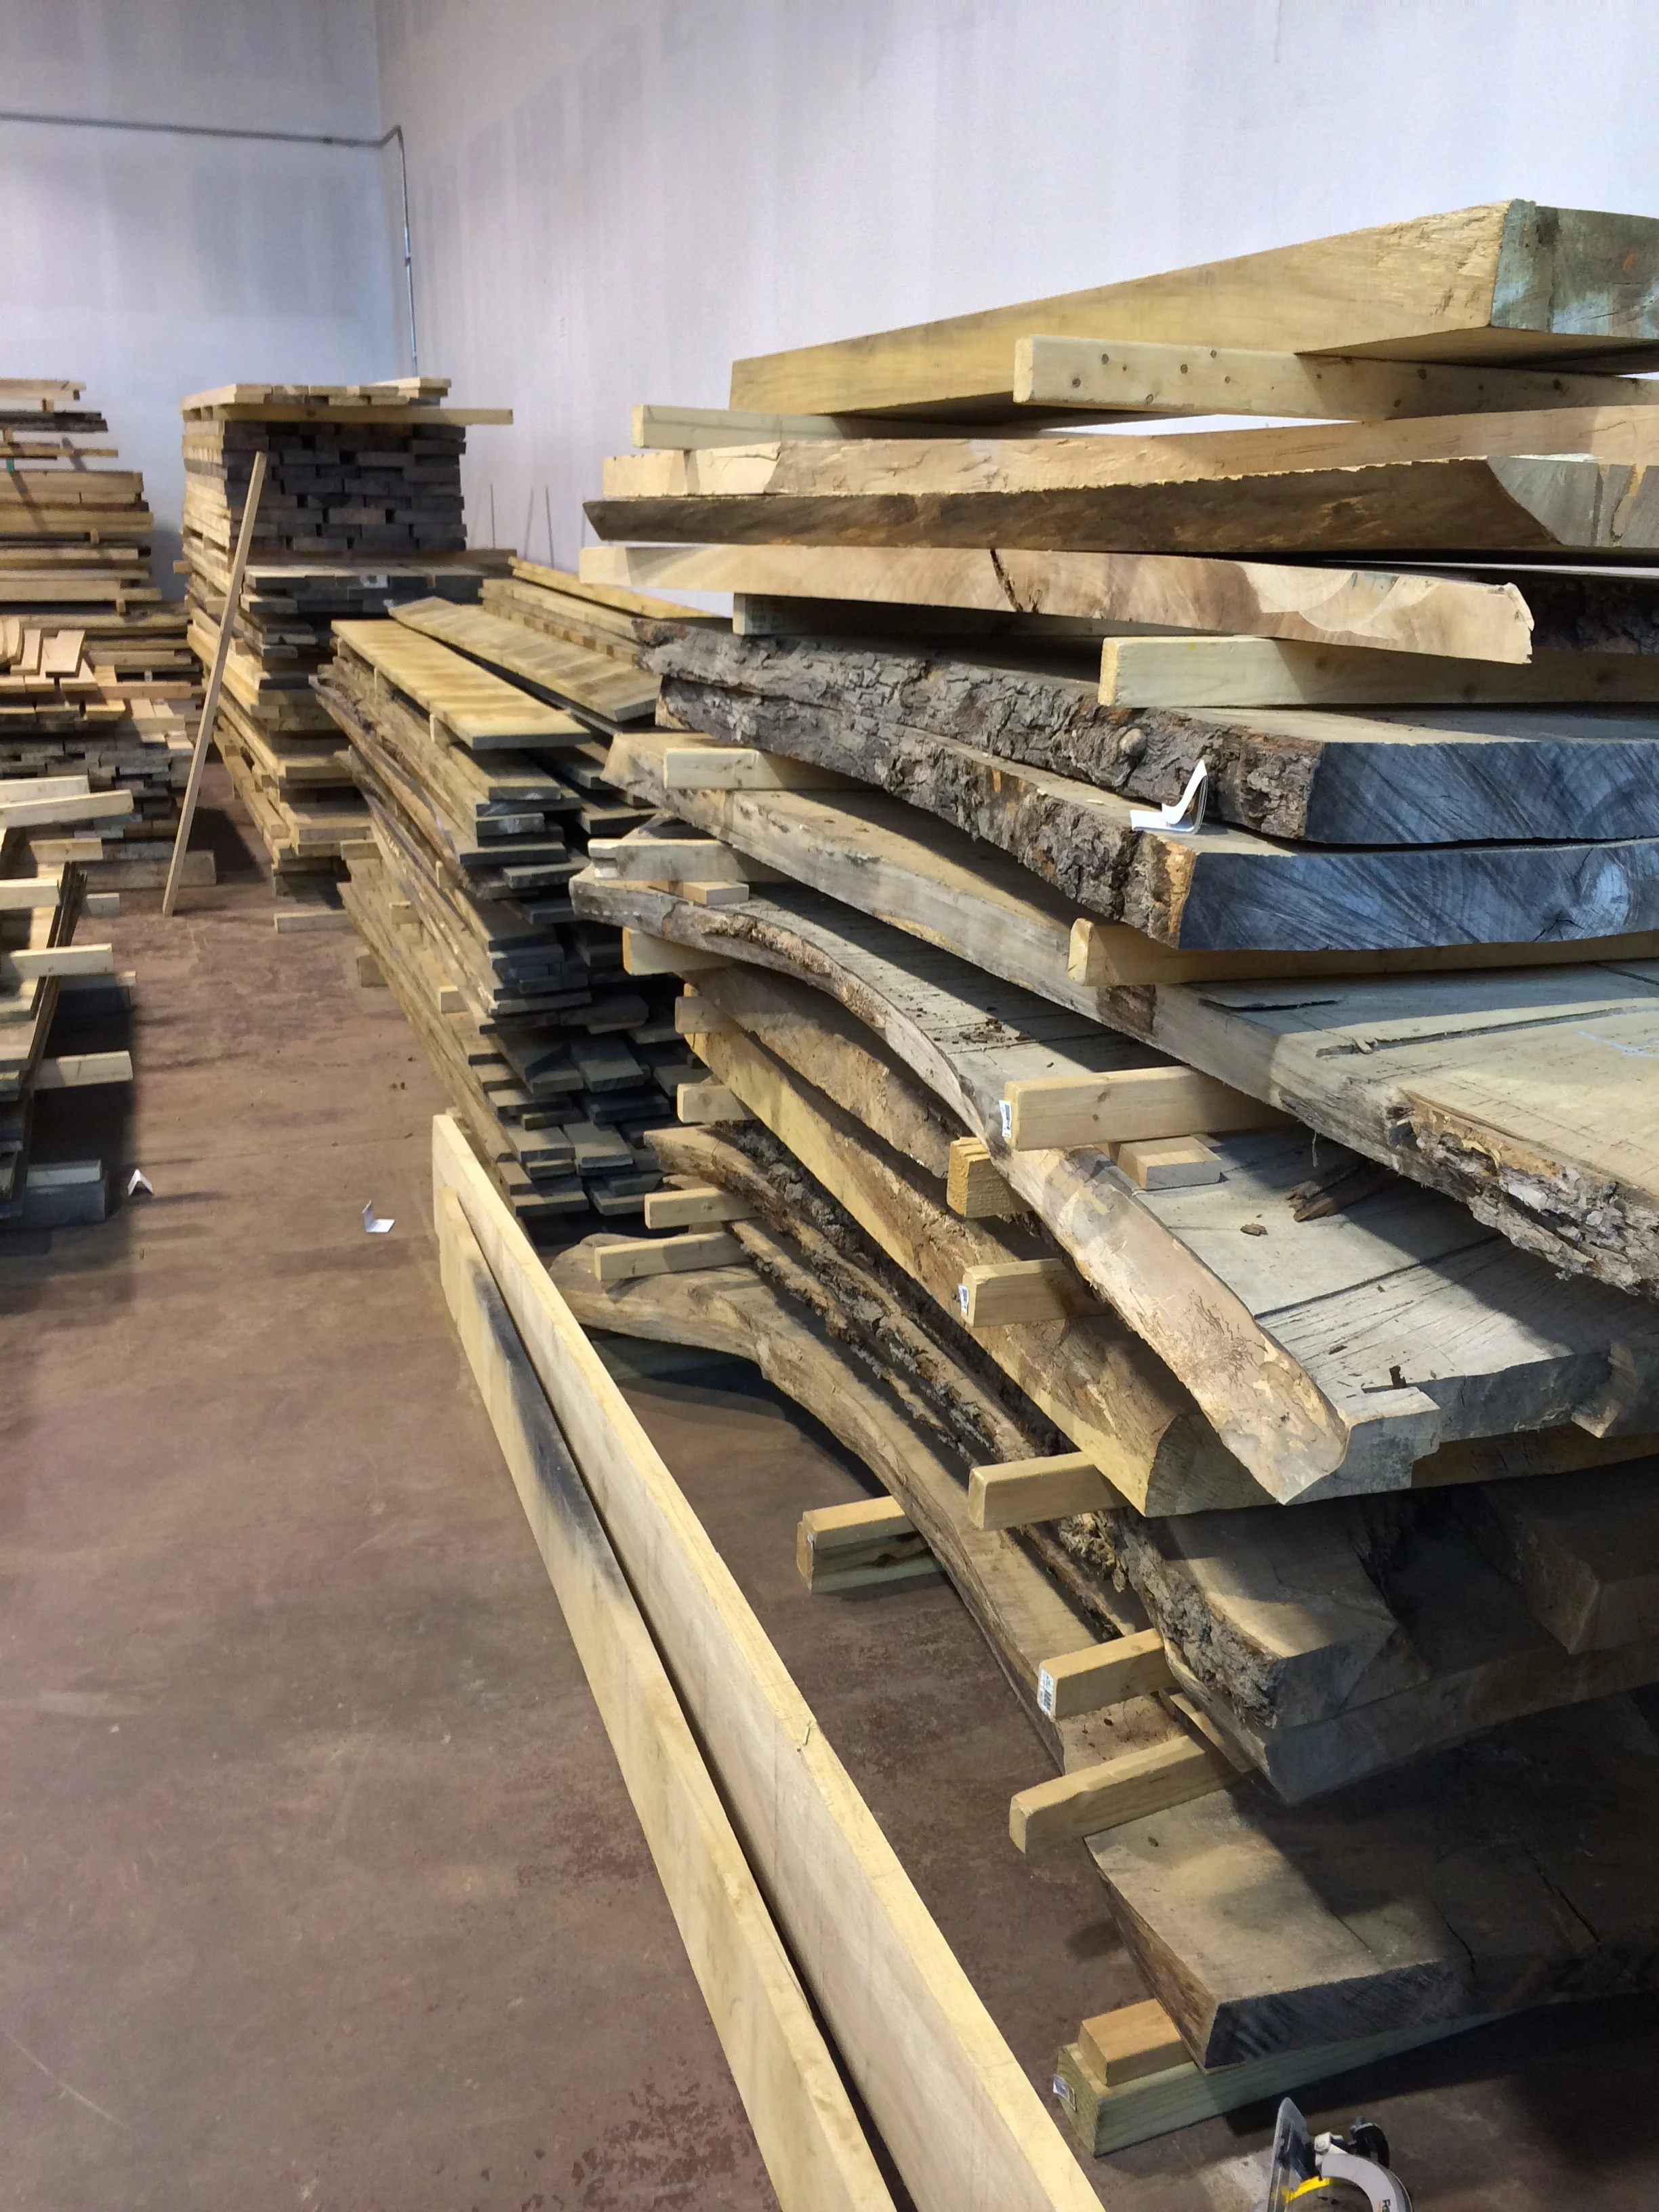
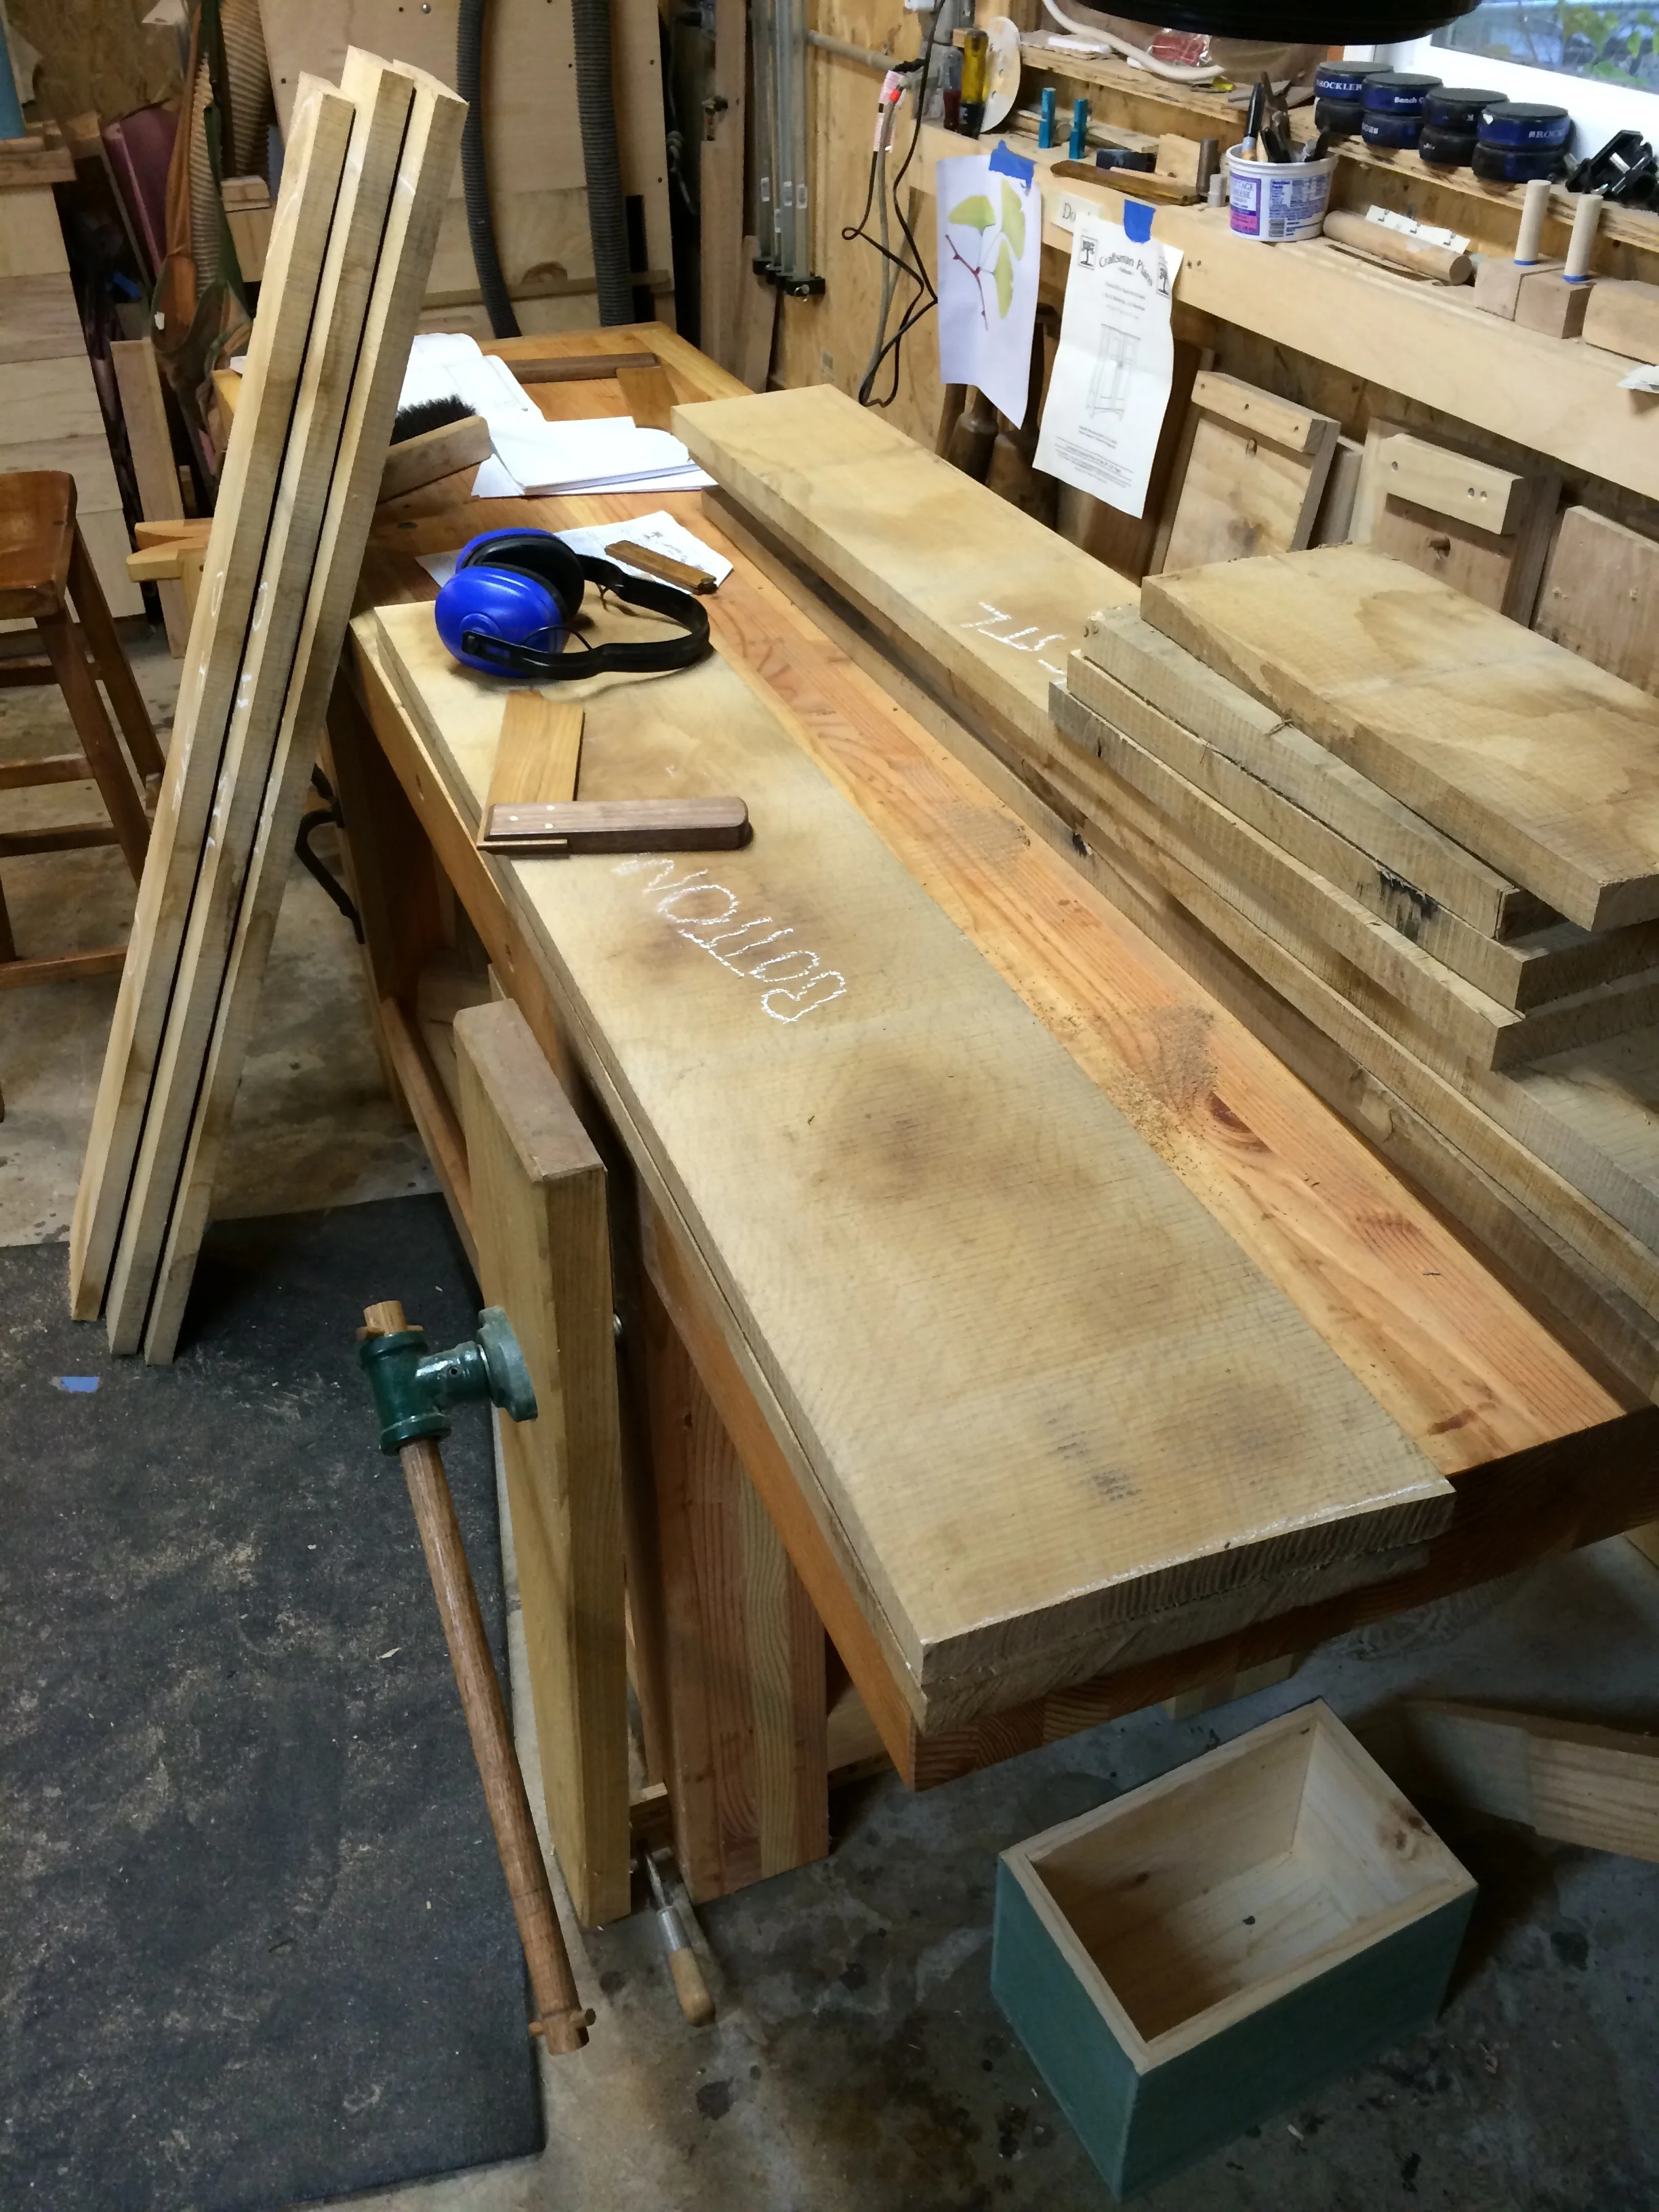
I've made some progress on the wardrobe build. I started a few weeks ago with a couple of trips to Horigan Urban Forest Products for some white oak. It's always a good experience there, as they consistently have great material, in quantity, and are very helpful.
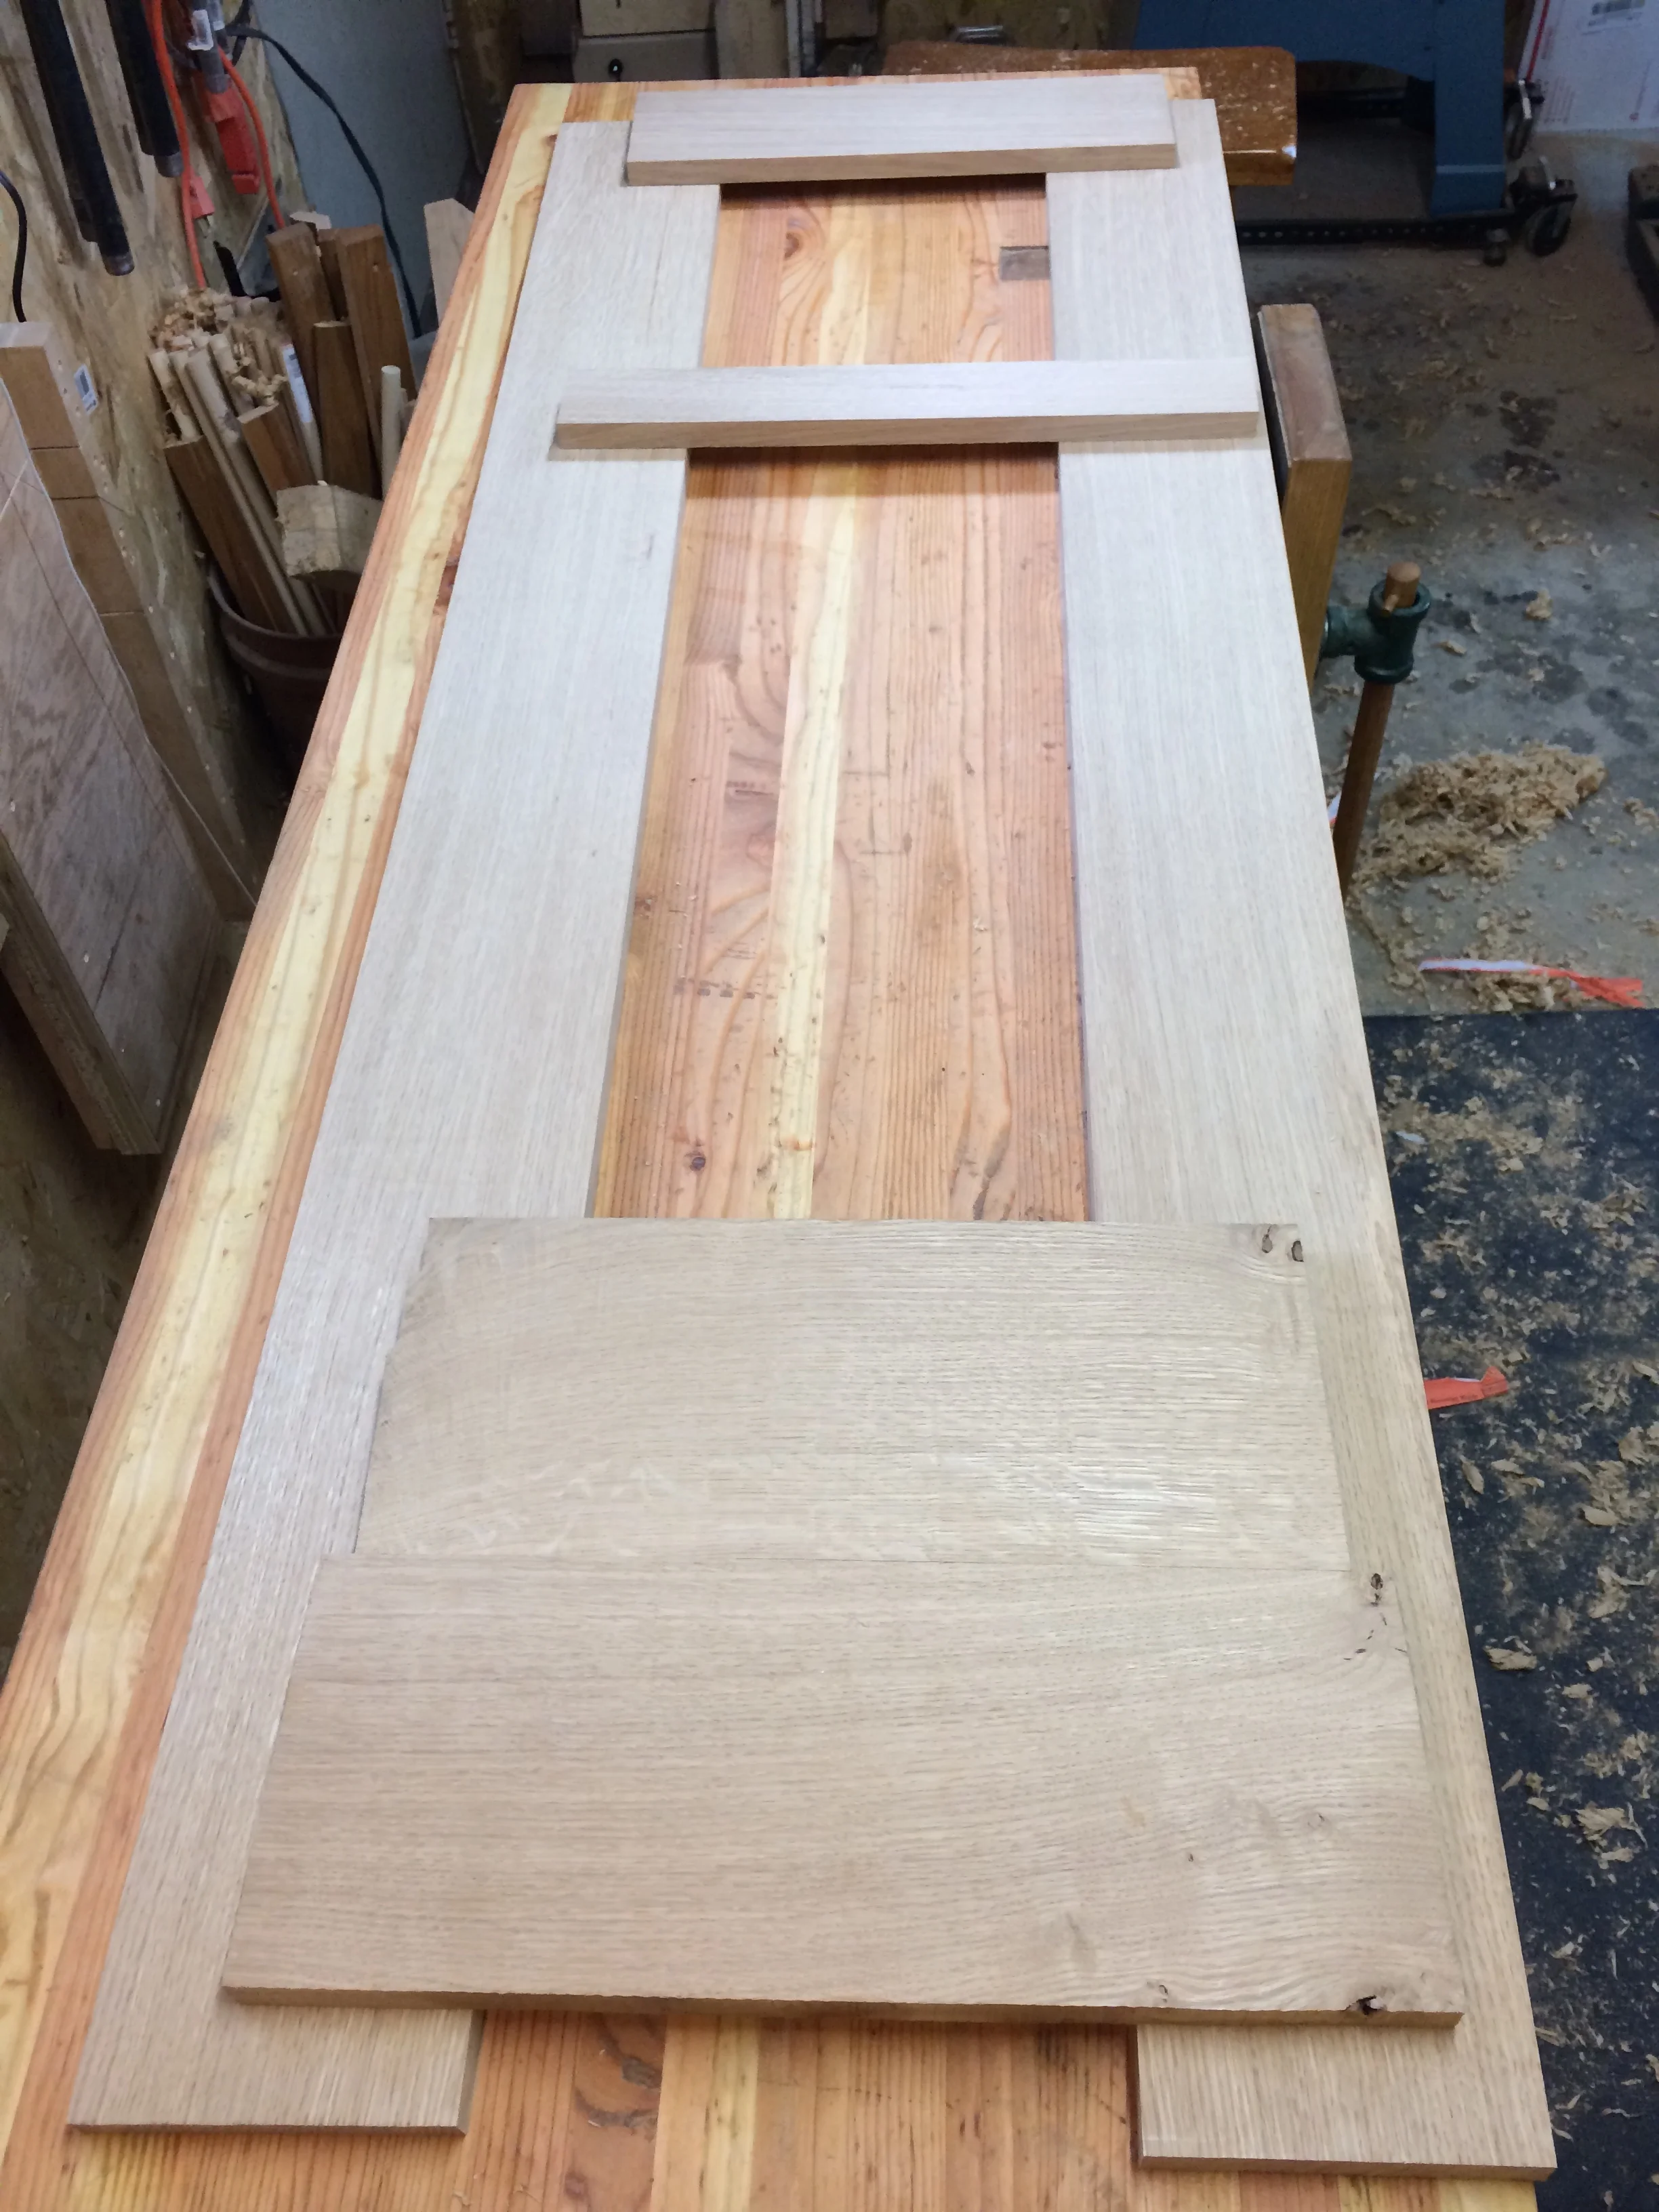
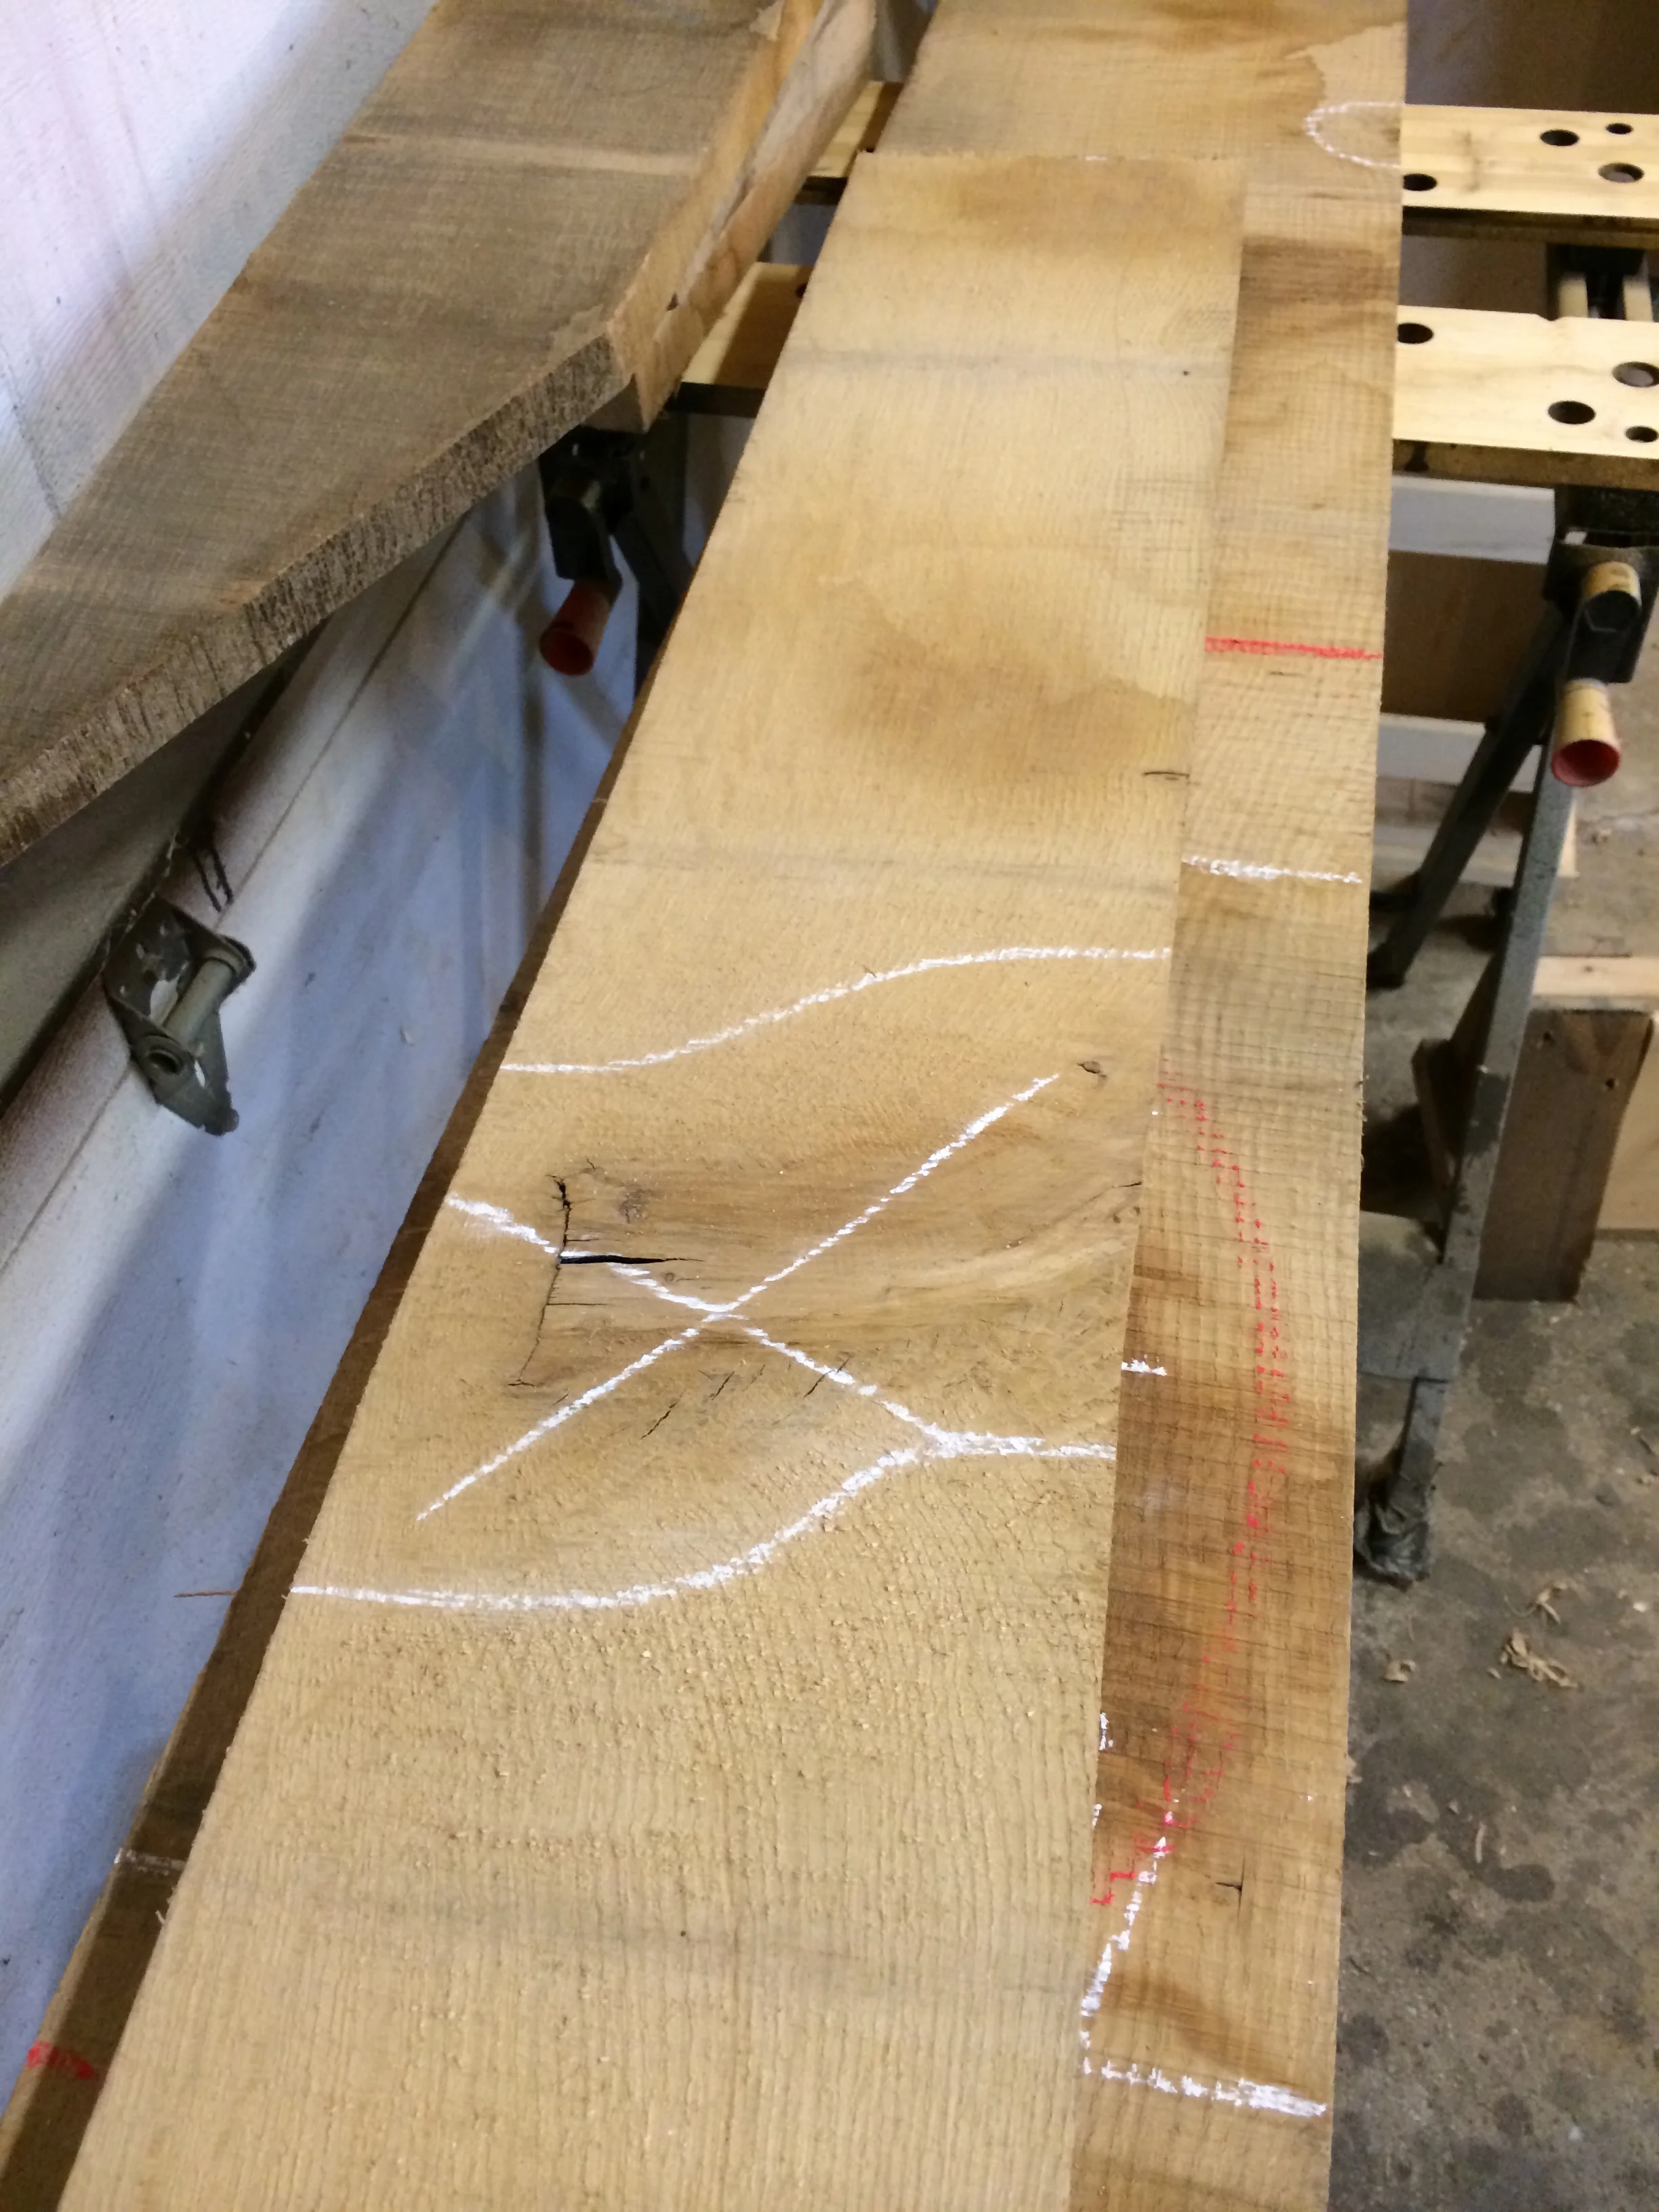
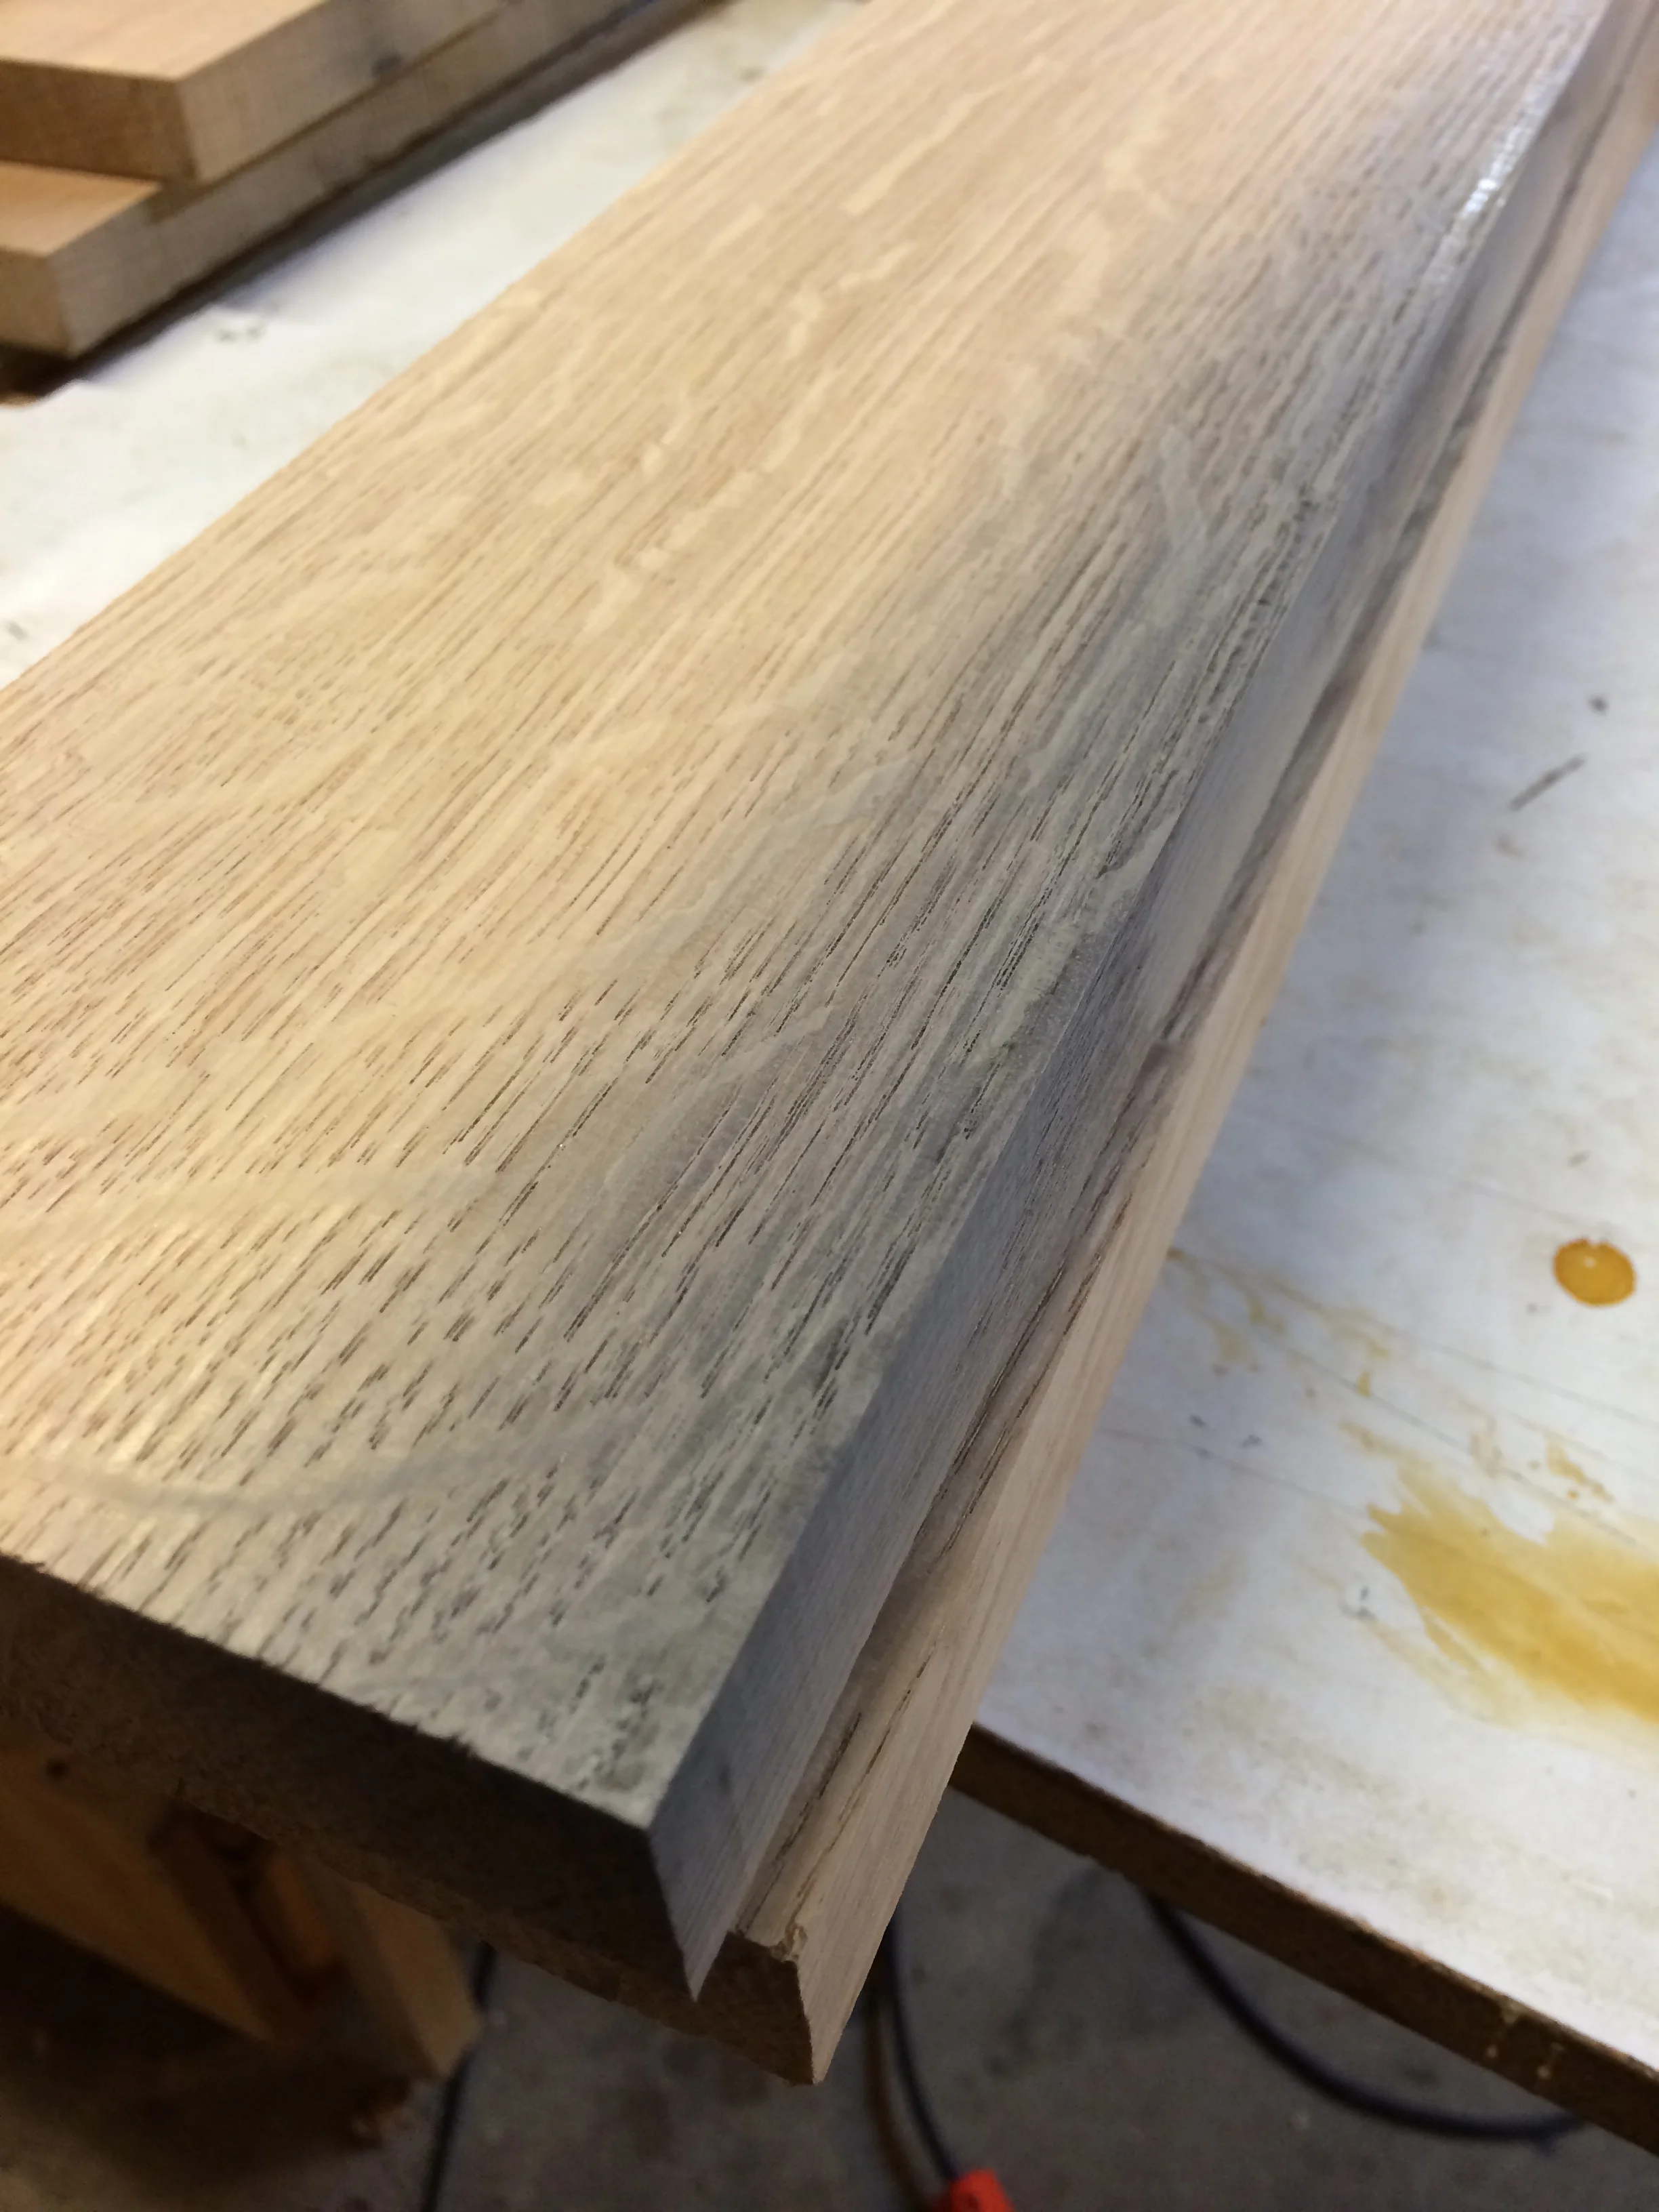
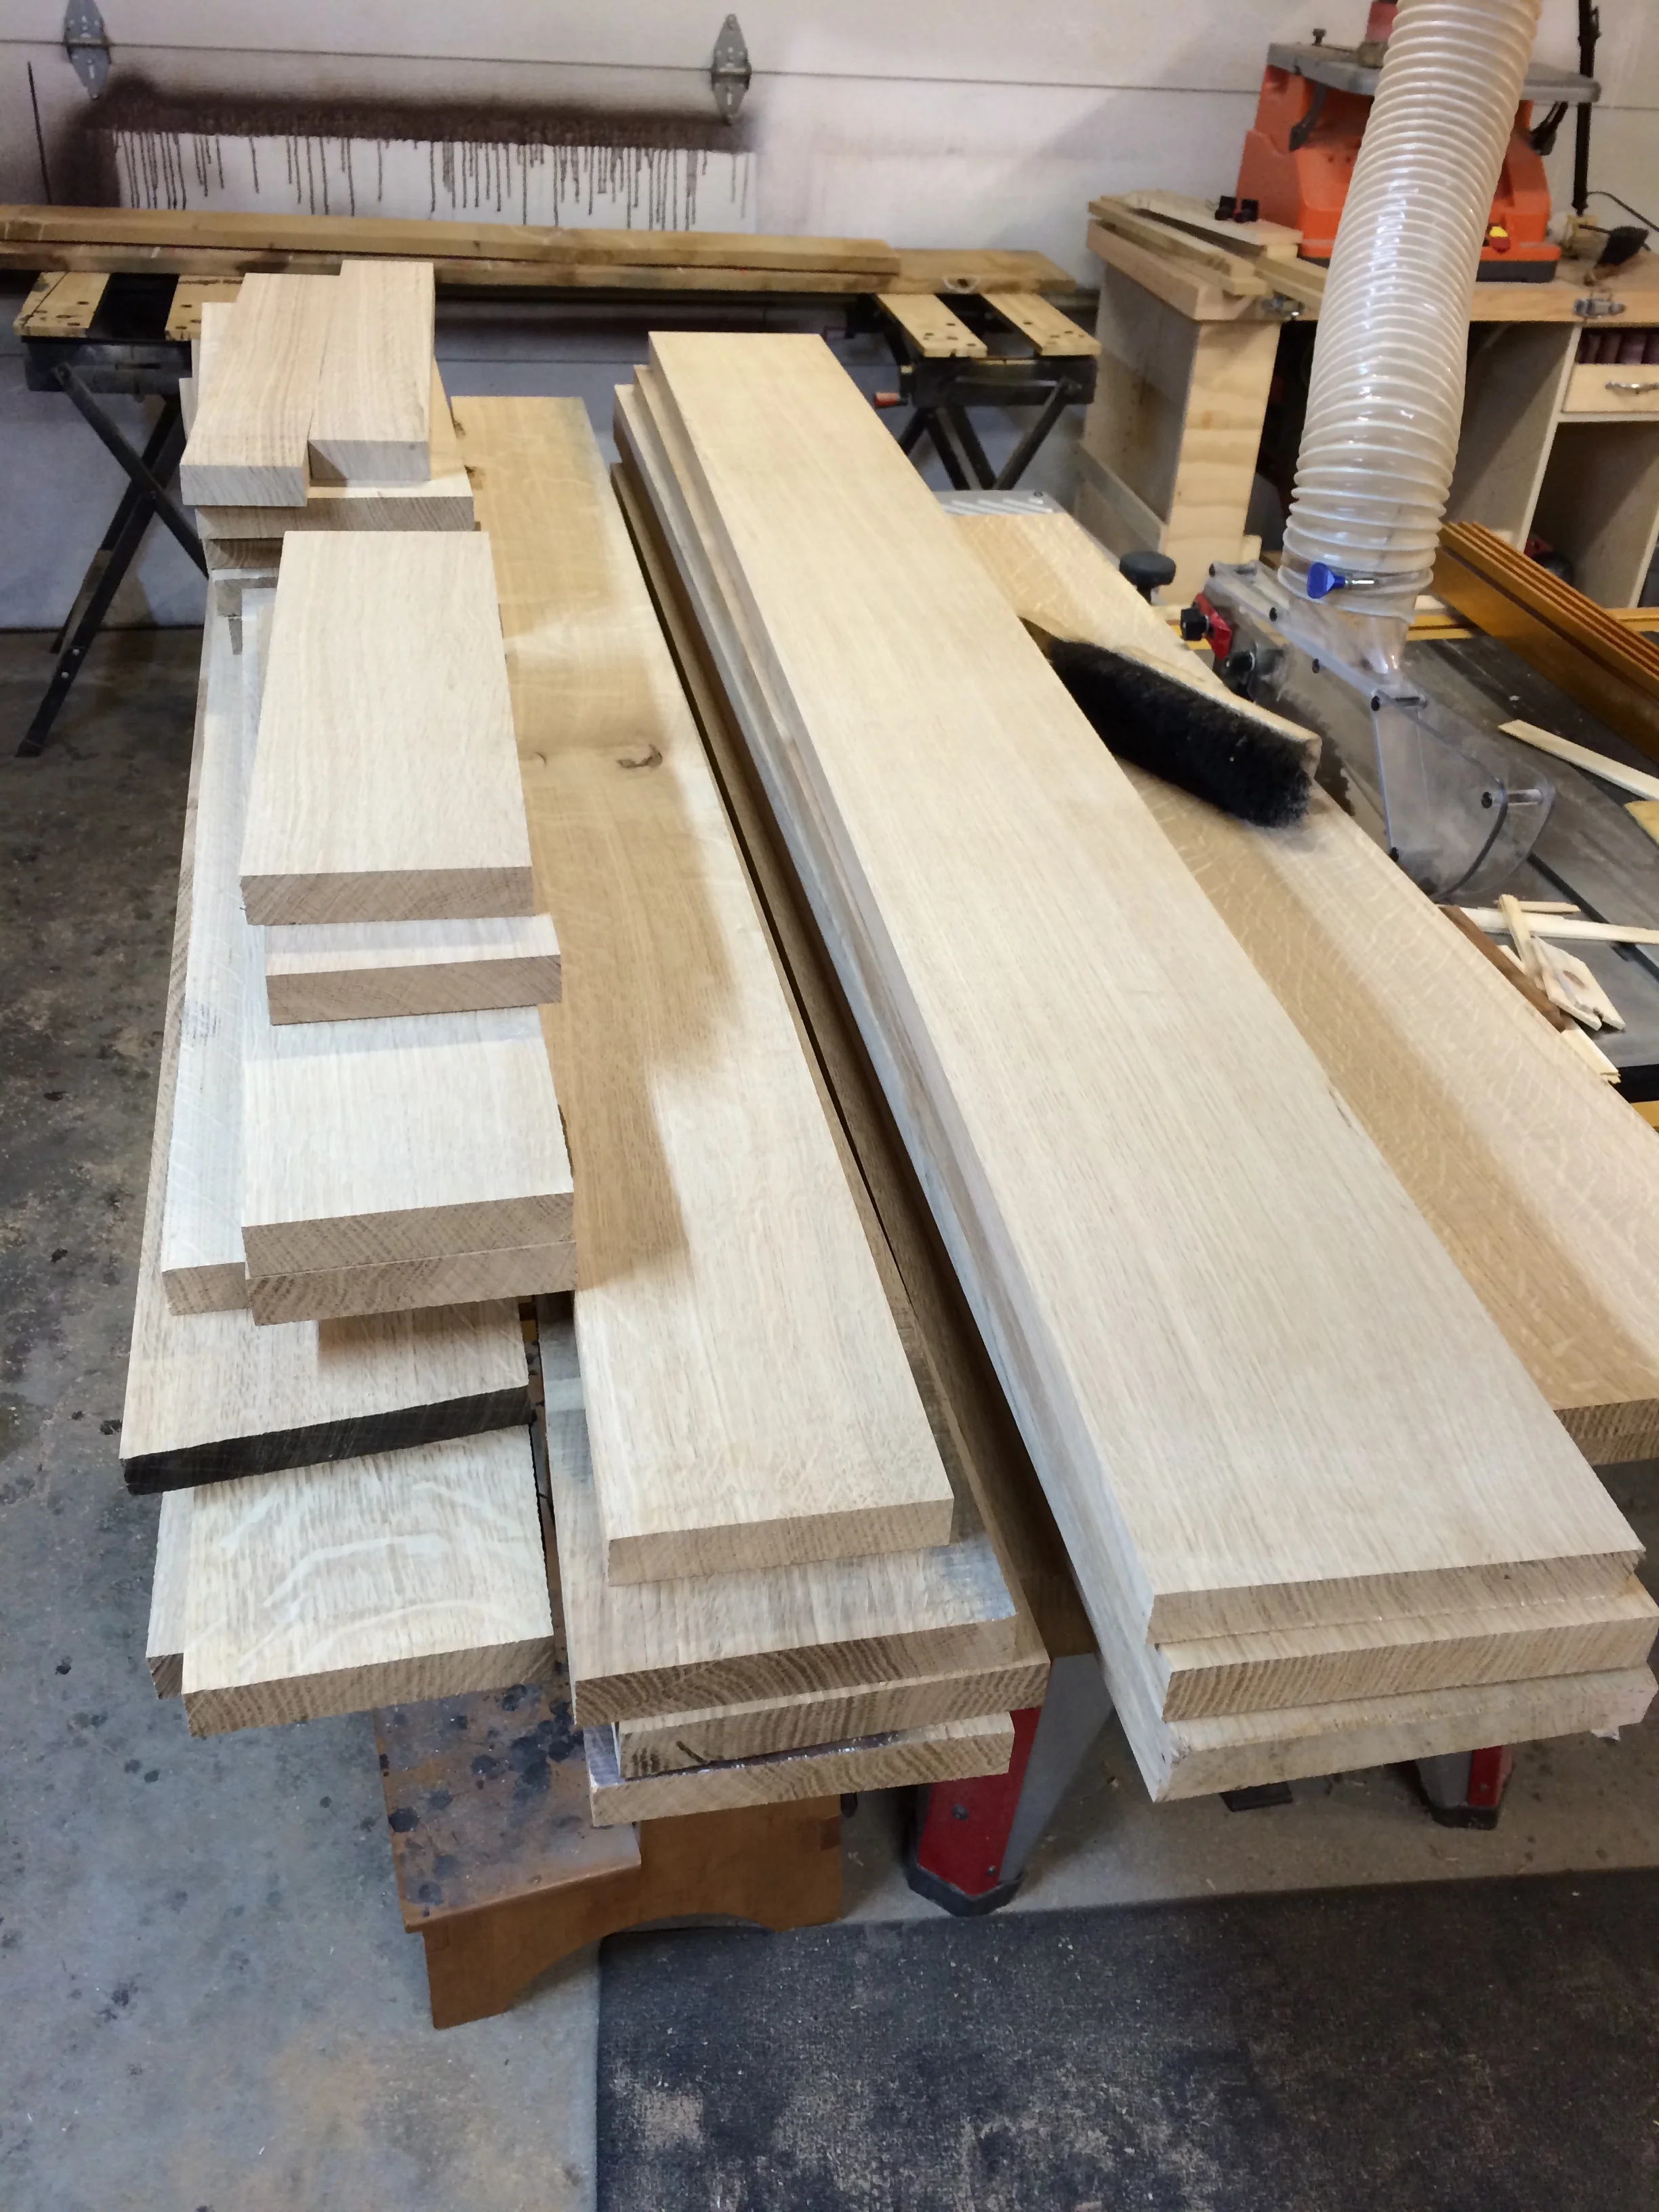
With my lumber in hand, I sized my pieces and marked out where my parts would go. I followed it up with a milling session, squaring up the parts and cutting them to slightly larger than final size, and then letting them acclimate to my shop. I'm still learning on estimating material, and discovered I was going to have to go back for more, (there's a lot more going on in this wardrobe than I thought as far as material goes). But I had enough on hand to start working on the main case.
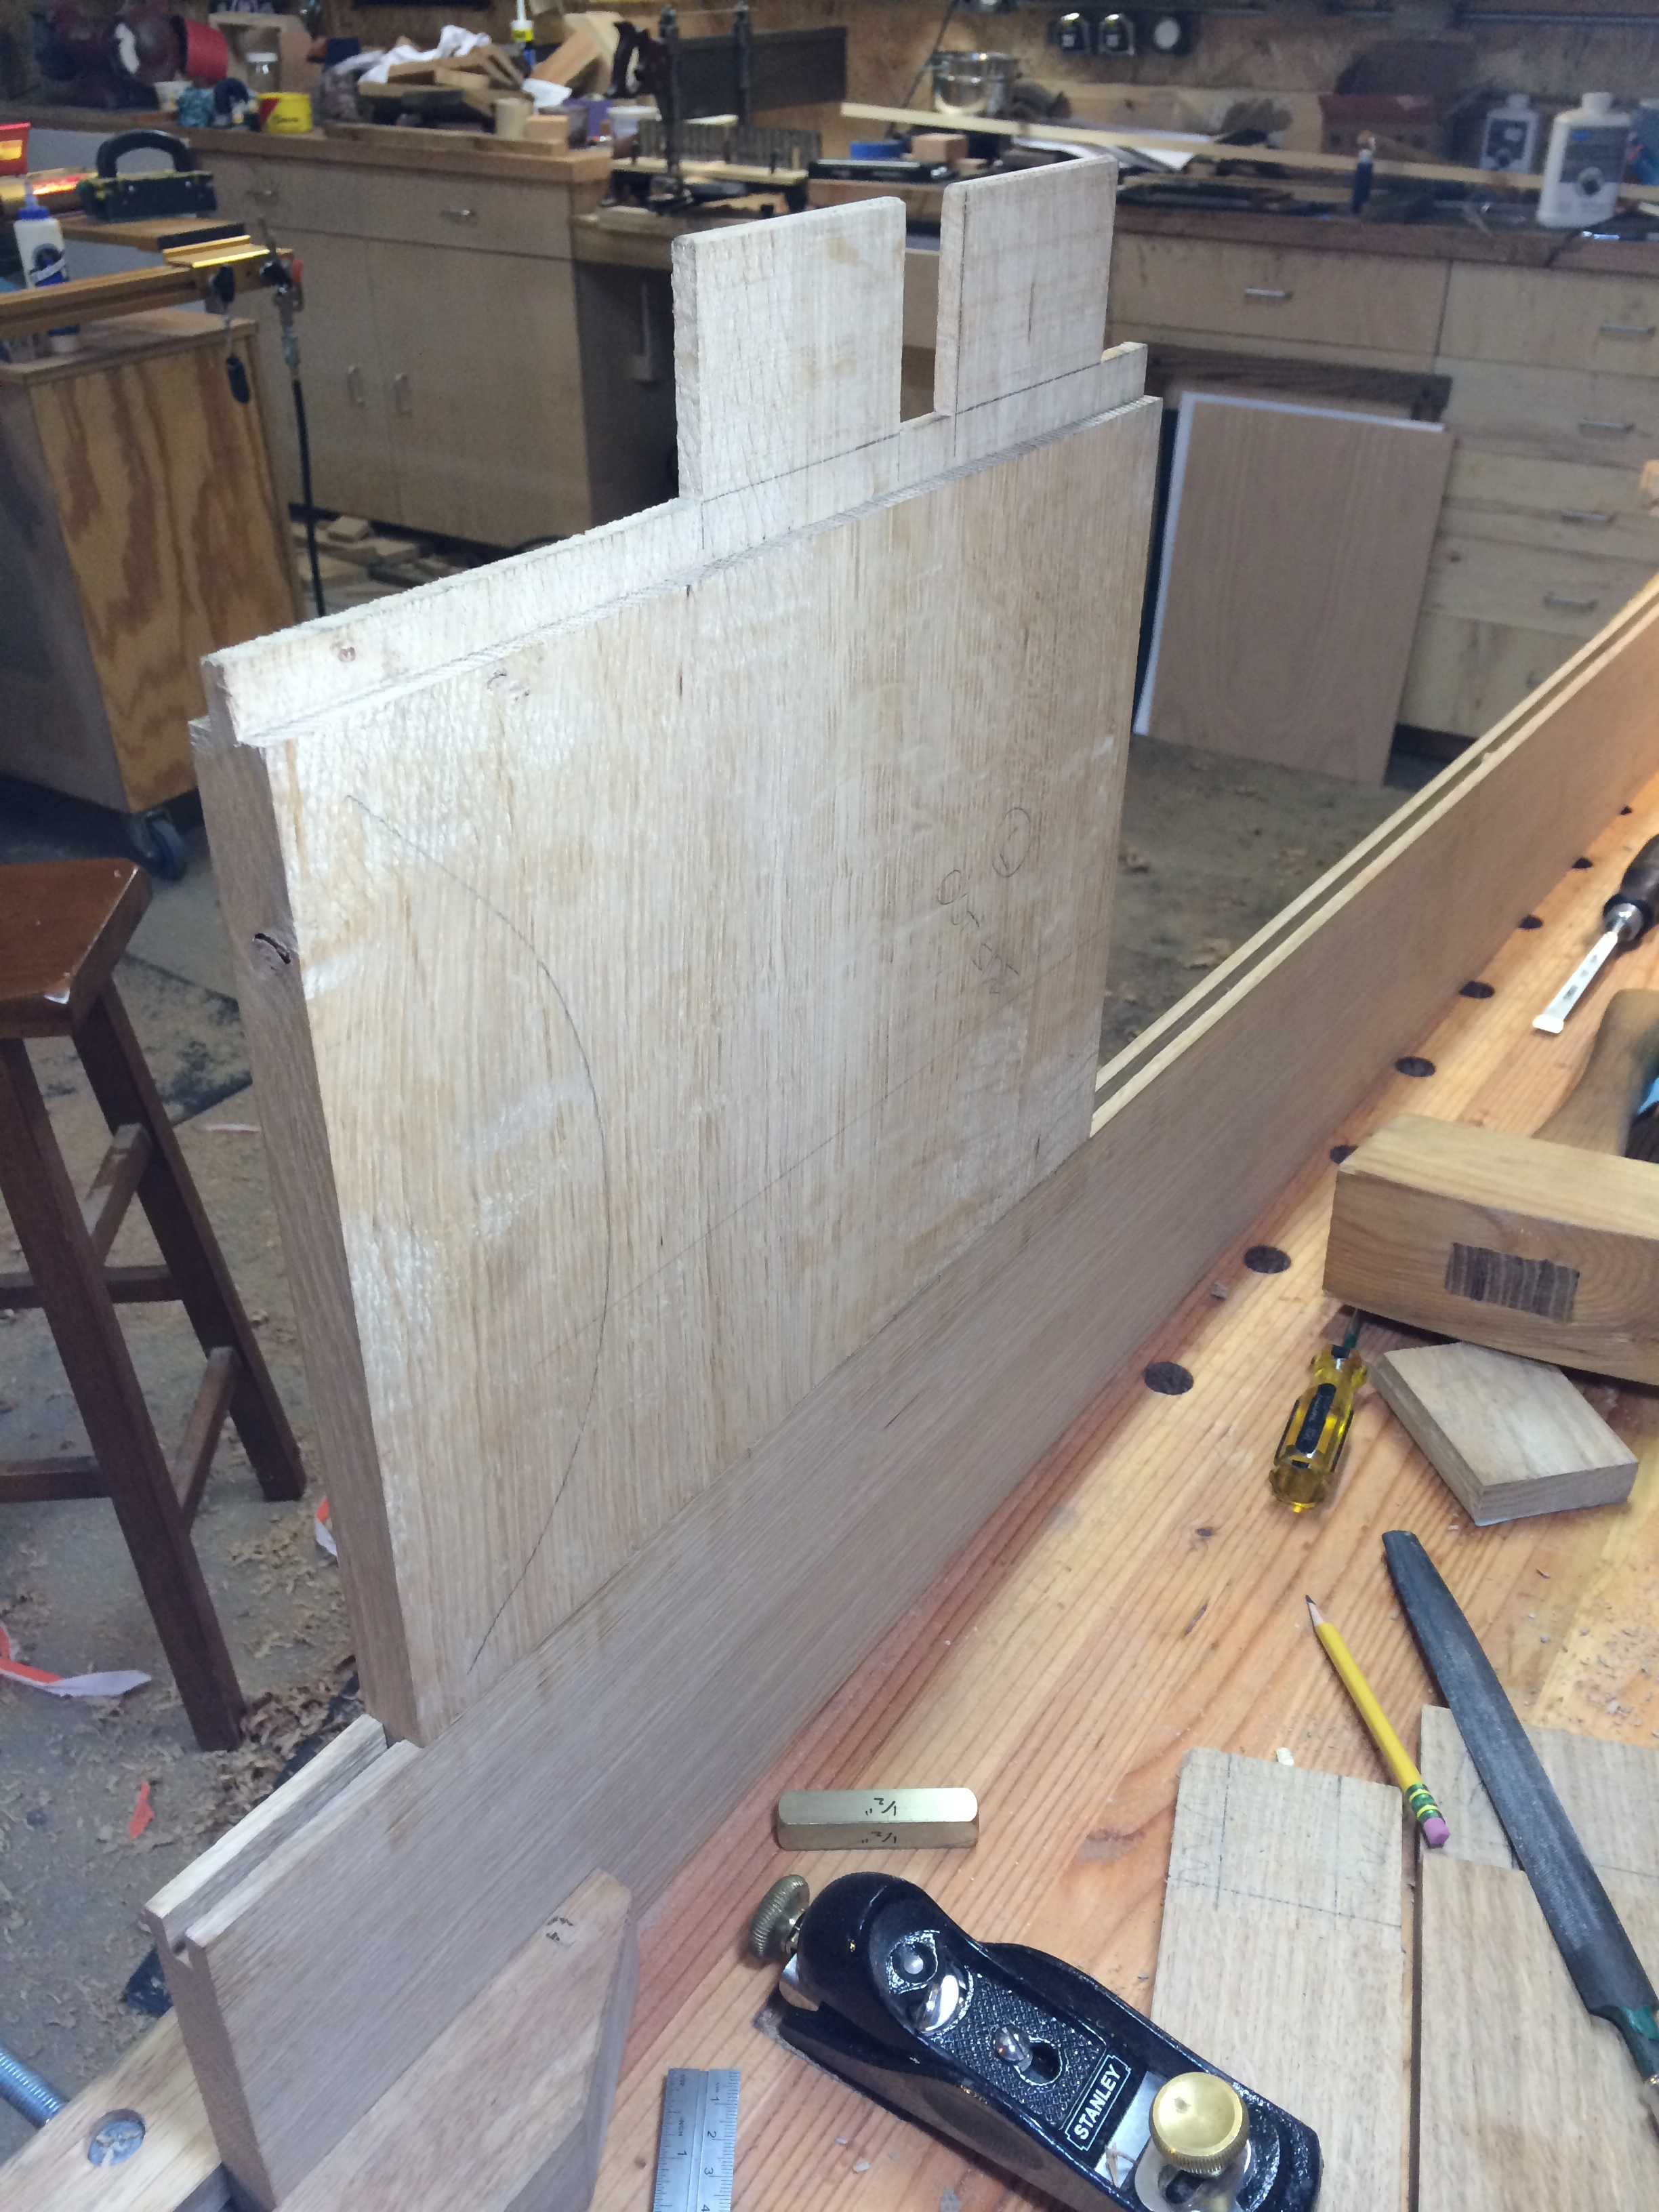
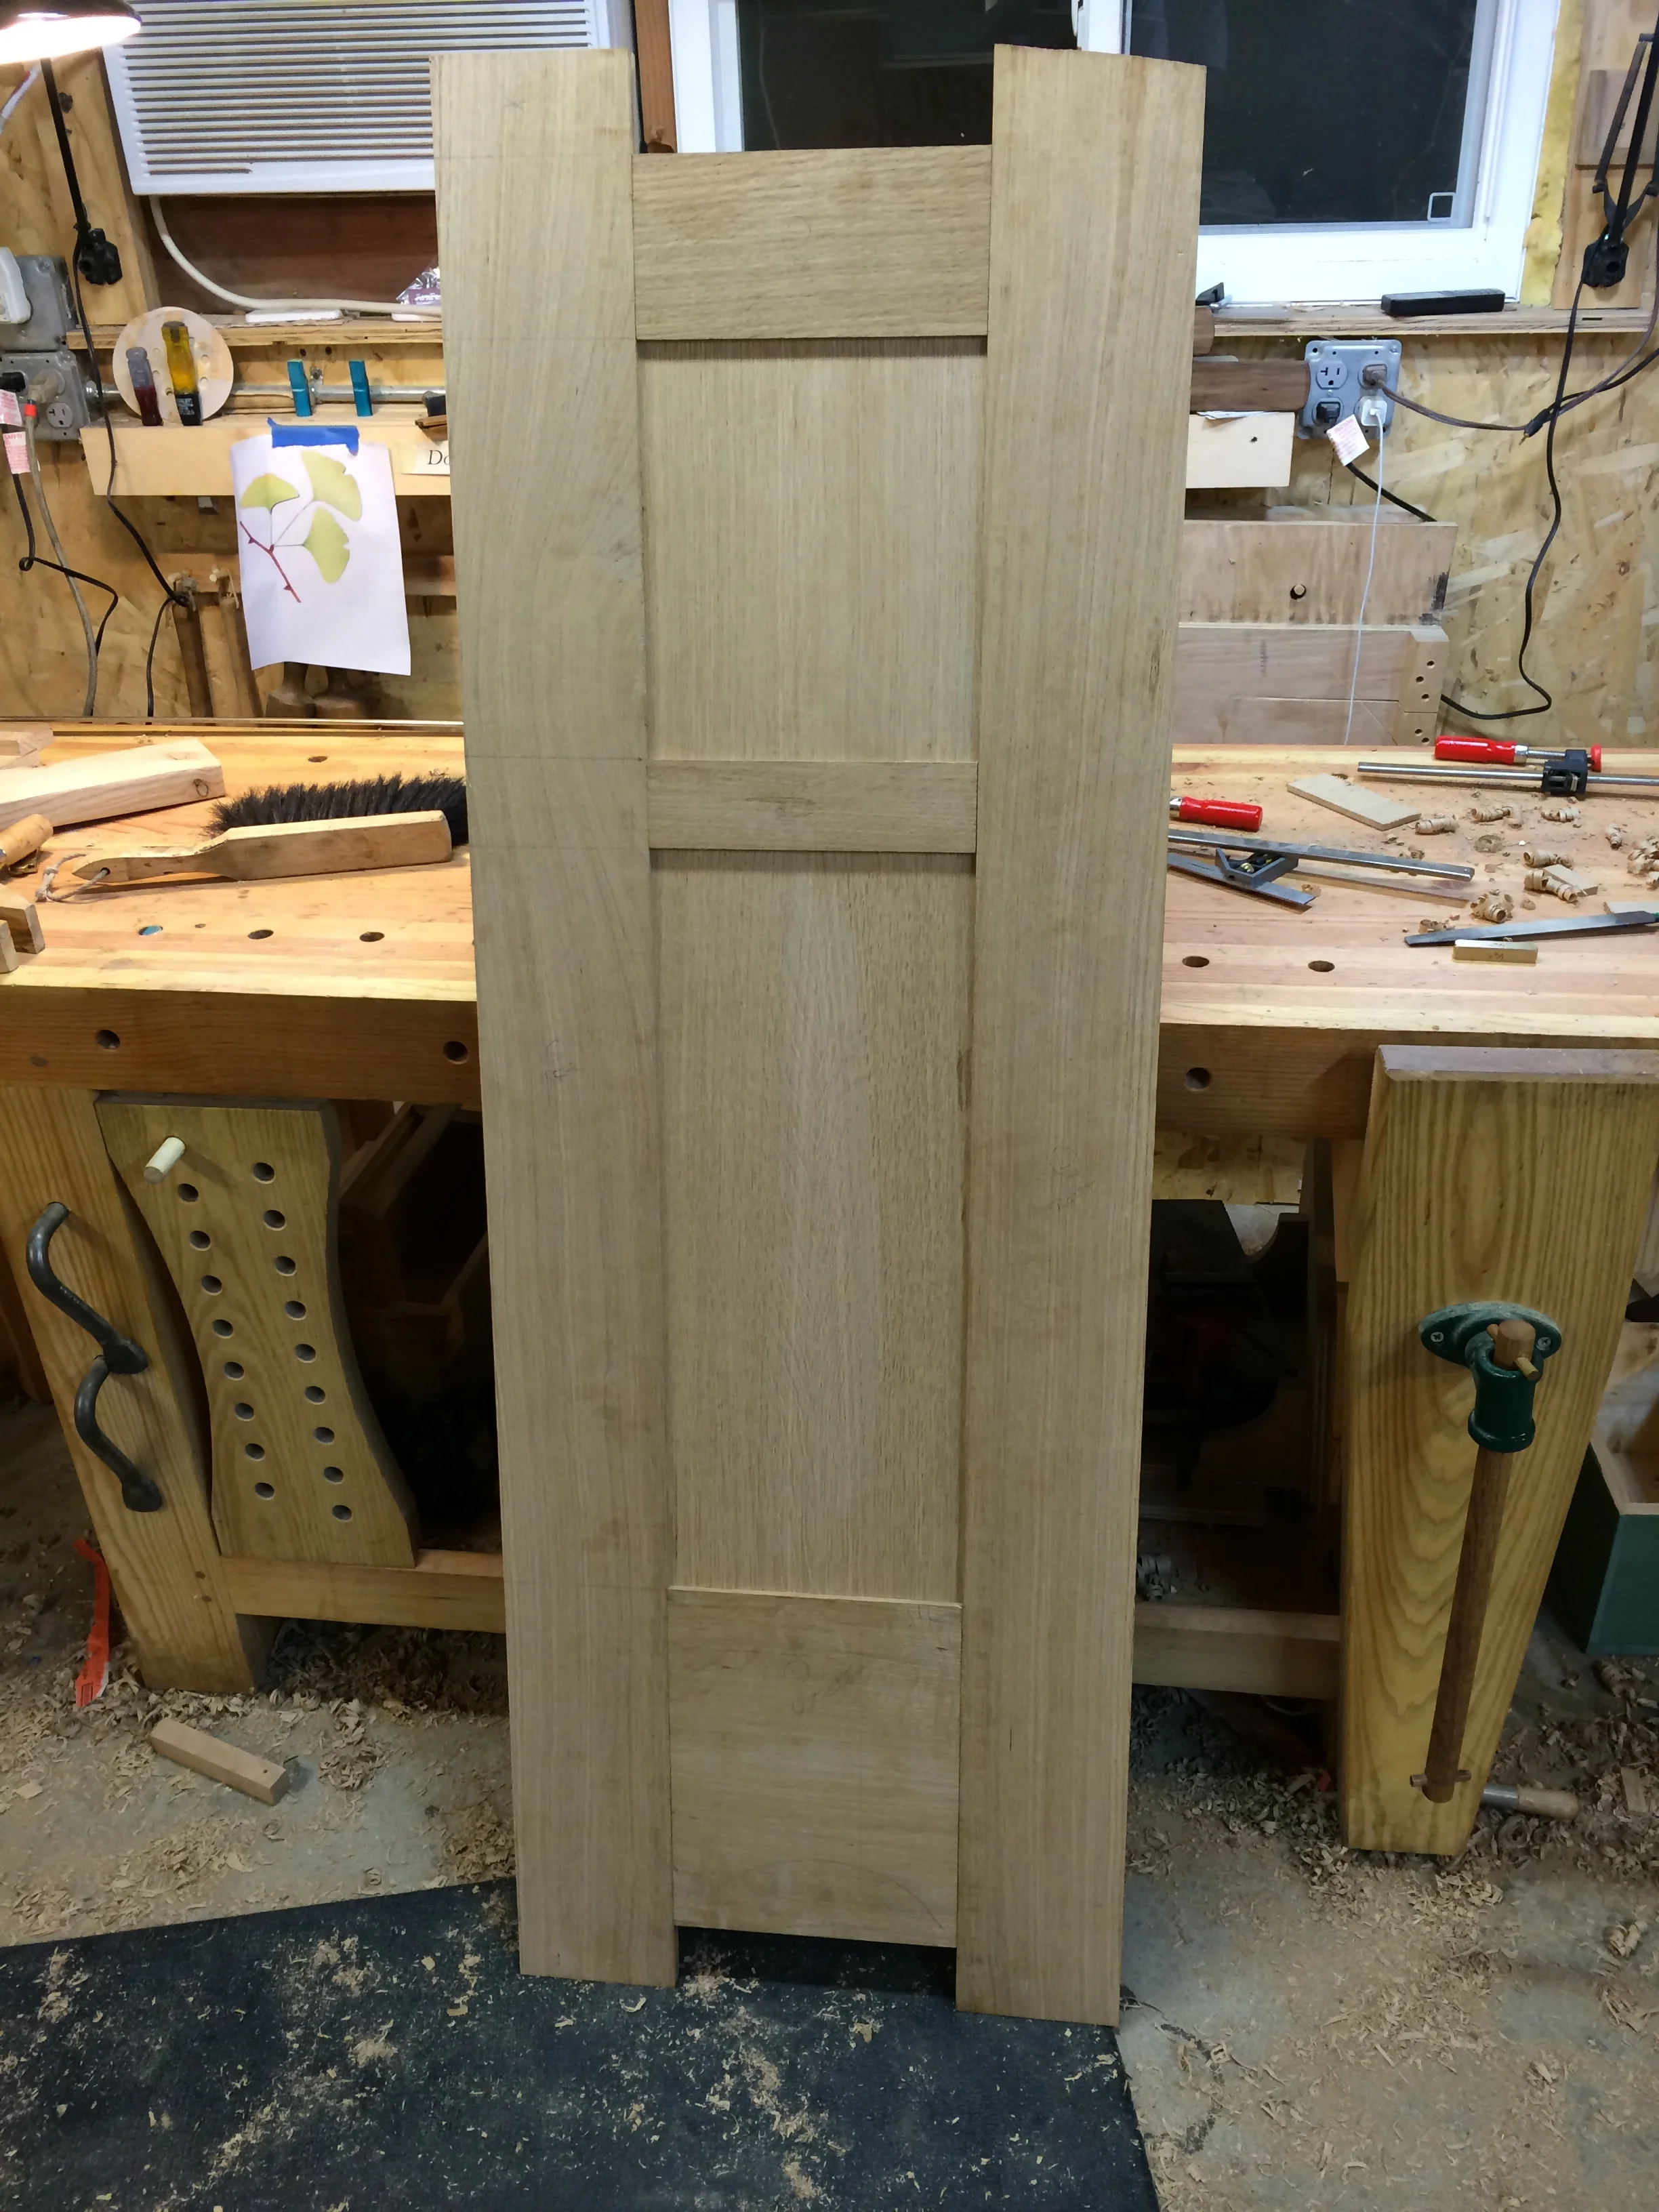
As there was some learning to be done on this build, I wanted to use one of the parts to help figure out my process for the others, so I started with one of the sides. The plans I am using as my starting point don't specify much of the joinery: it can be done however you like. Therefore, I had to figure out the sizes and placement of the mortise & tenons. Looking at the drawing of the side shown here (left), I decided on using a single mortise & tenon on the top two rails, and double mortise & tenons on the bottom wide rail. On the bottom one, I also oriented both joints nearer to the top side, so they would be clear of the arc that would be cut for the feet.
I also had to figure out a size for the mortise & tenons that would be appropriate. There is a certain amount of eyeballing that works just fine for this, but as a general reference, I followed some tips I picked up from Bob Lang at his "Mortises, Choose Your Weapon" presentation at the recent Woodworking In America 2013. Those tips go something like this:
- Make the tenon as long as possible without risking damage to the mortised piece.
- The tenon should be no more than 1/3 thickness of the mortised piece.
- Width of the mortise should be 1/2 width of the tenoned piece.
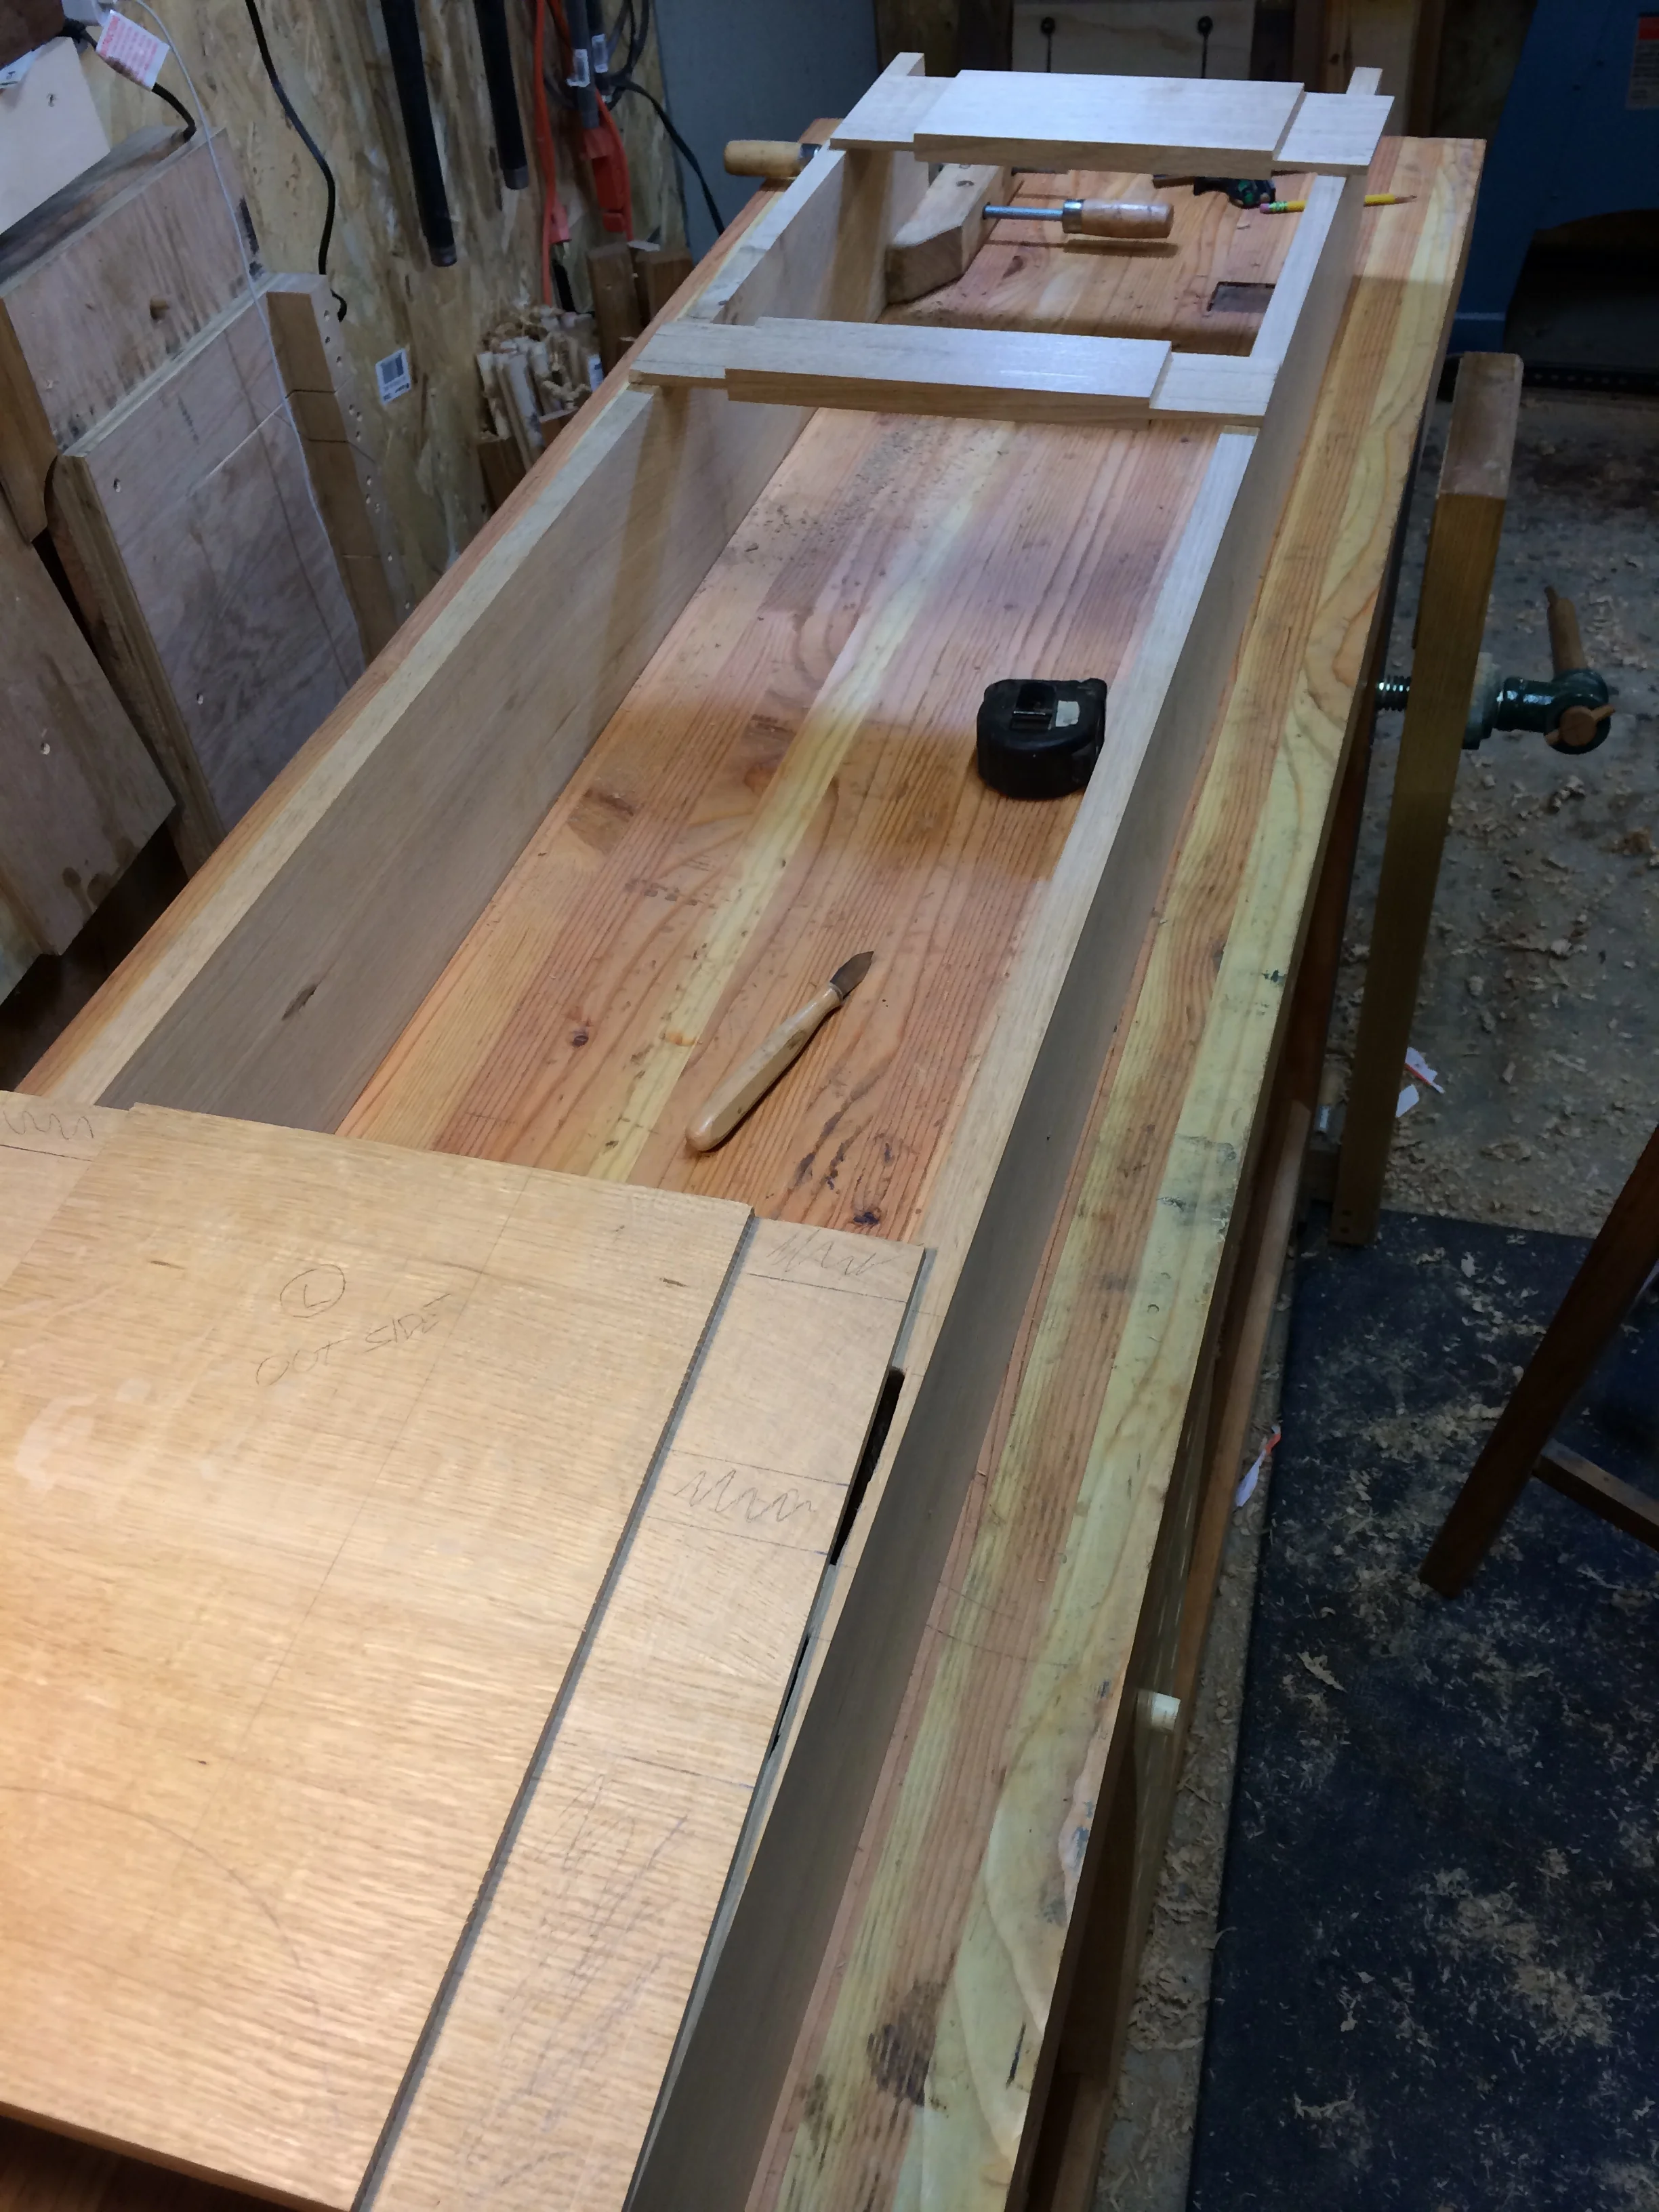
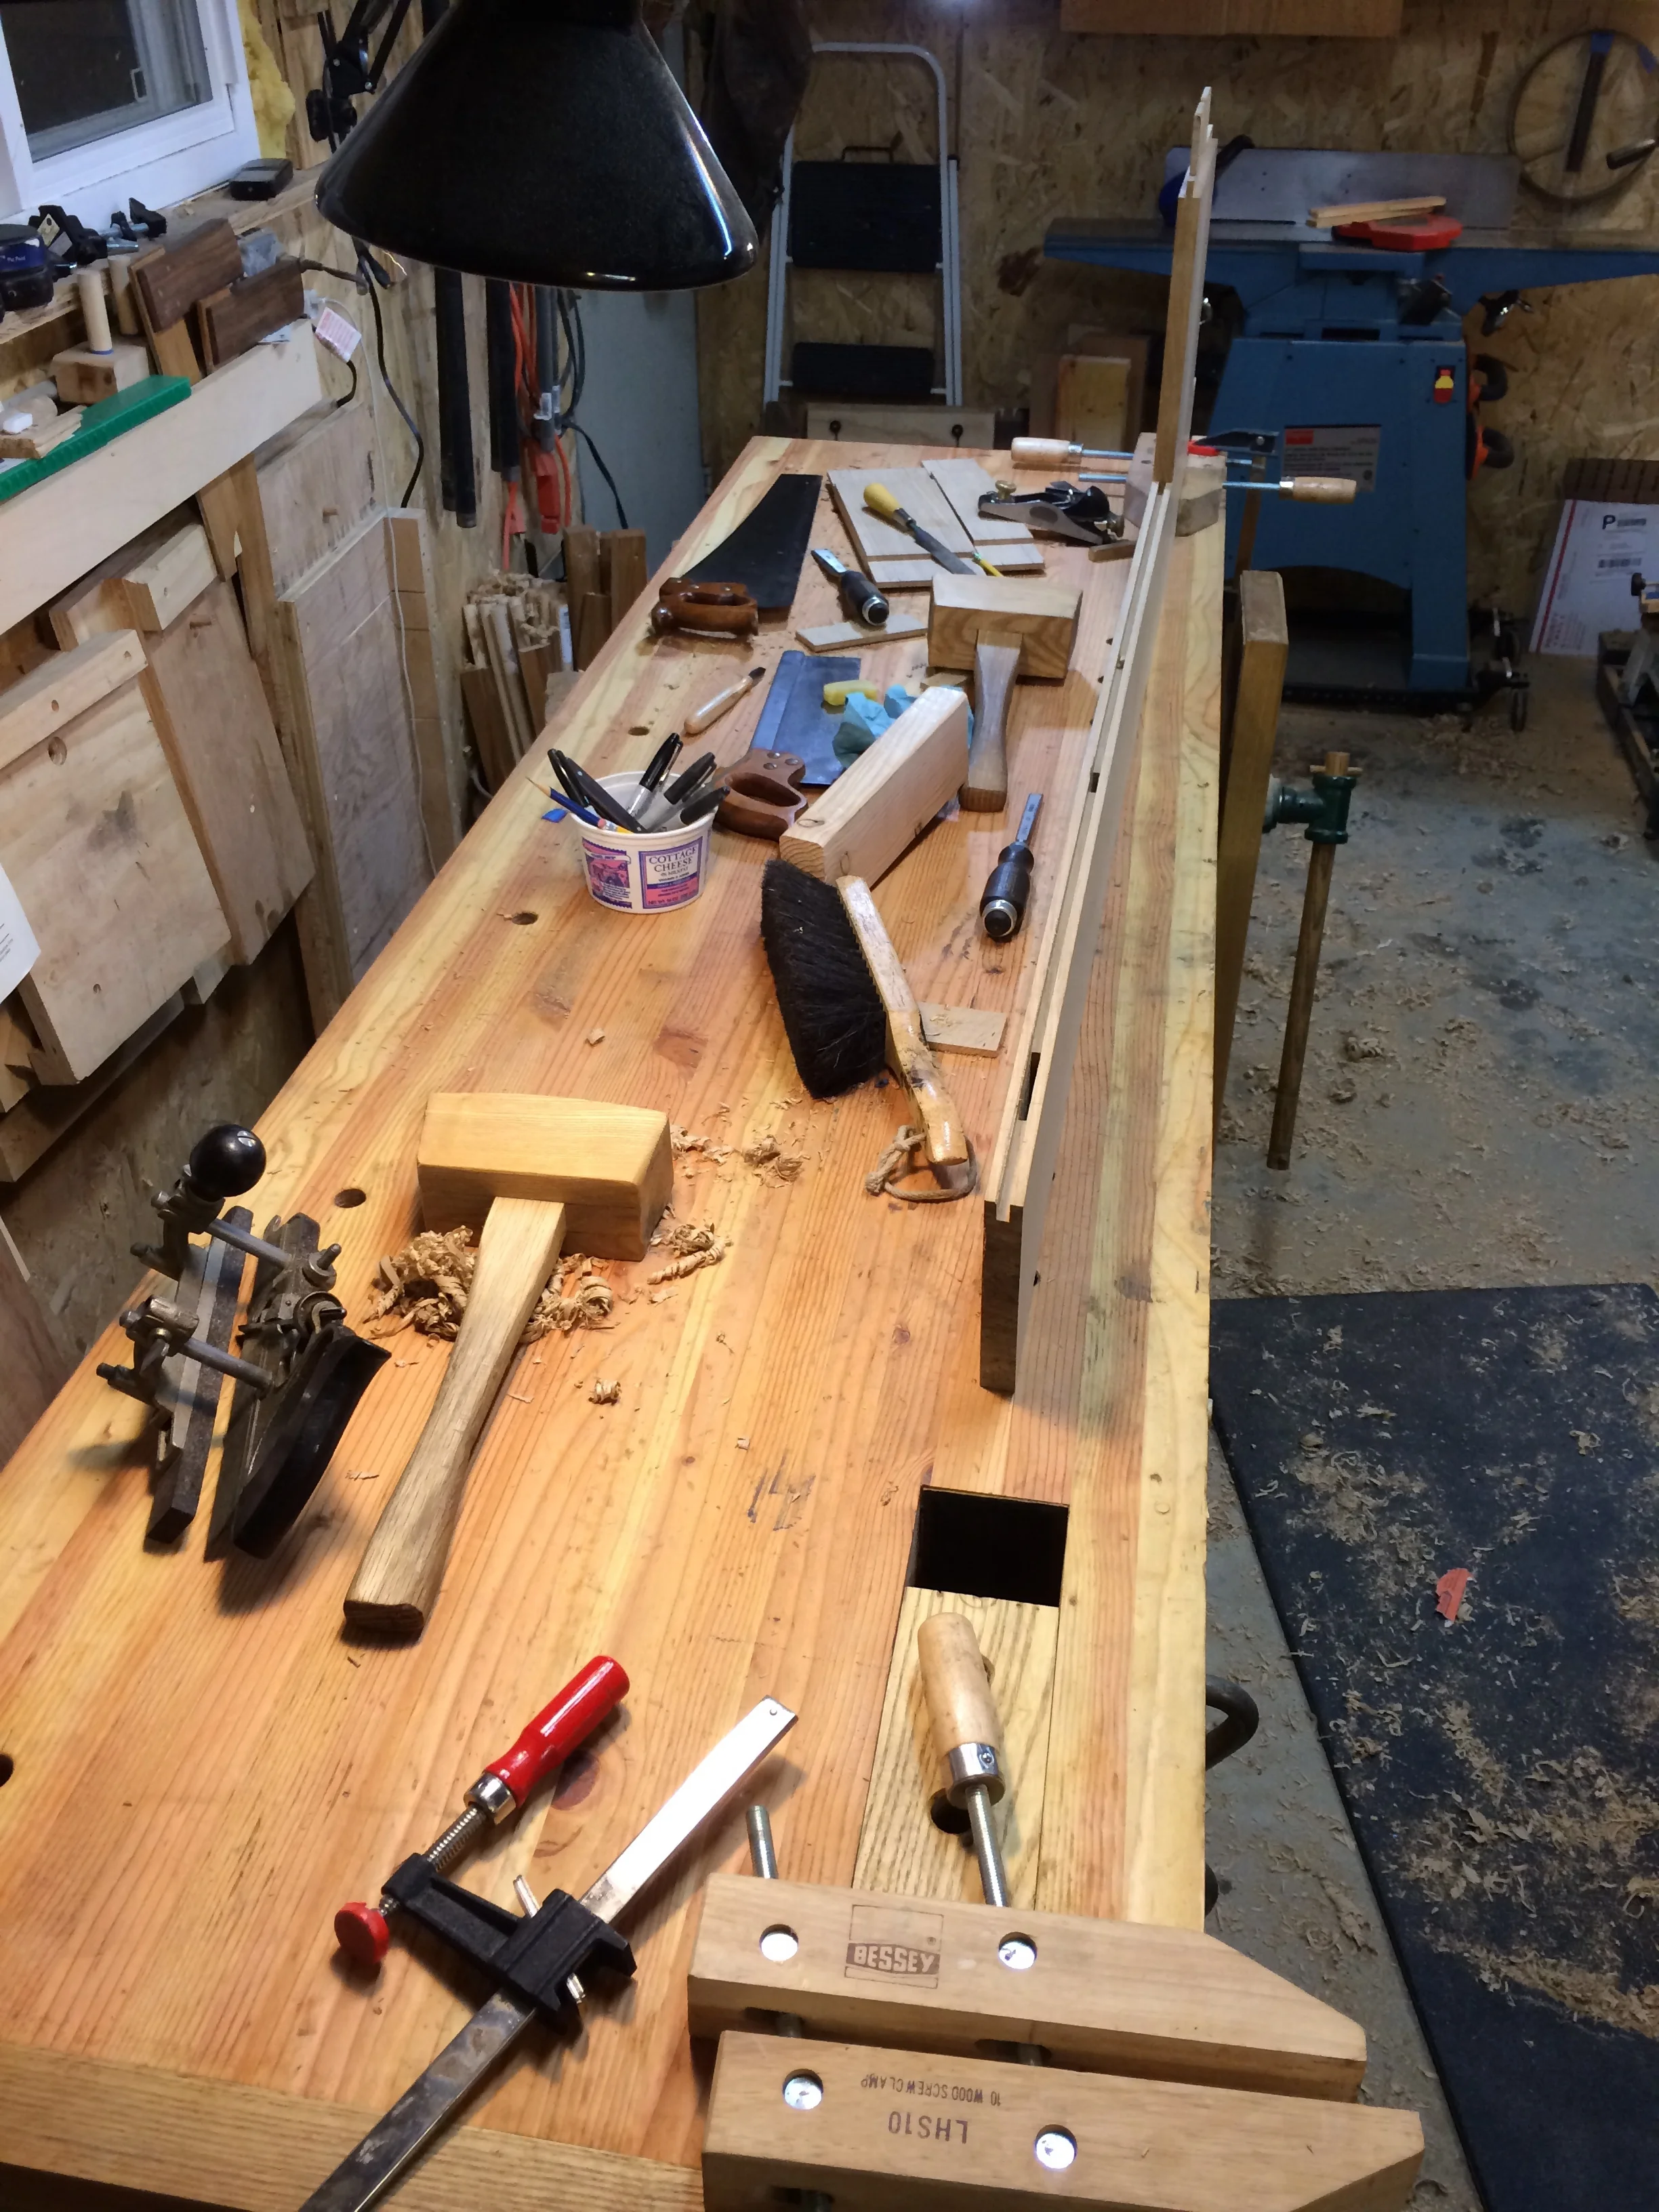
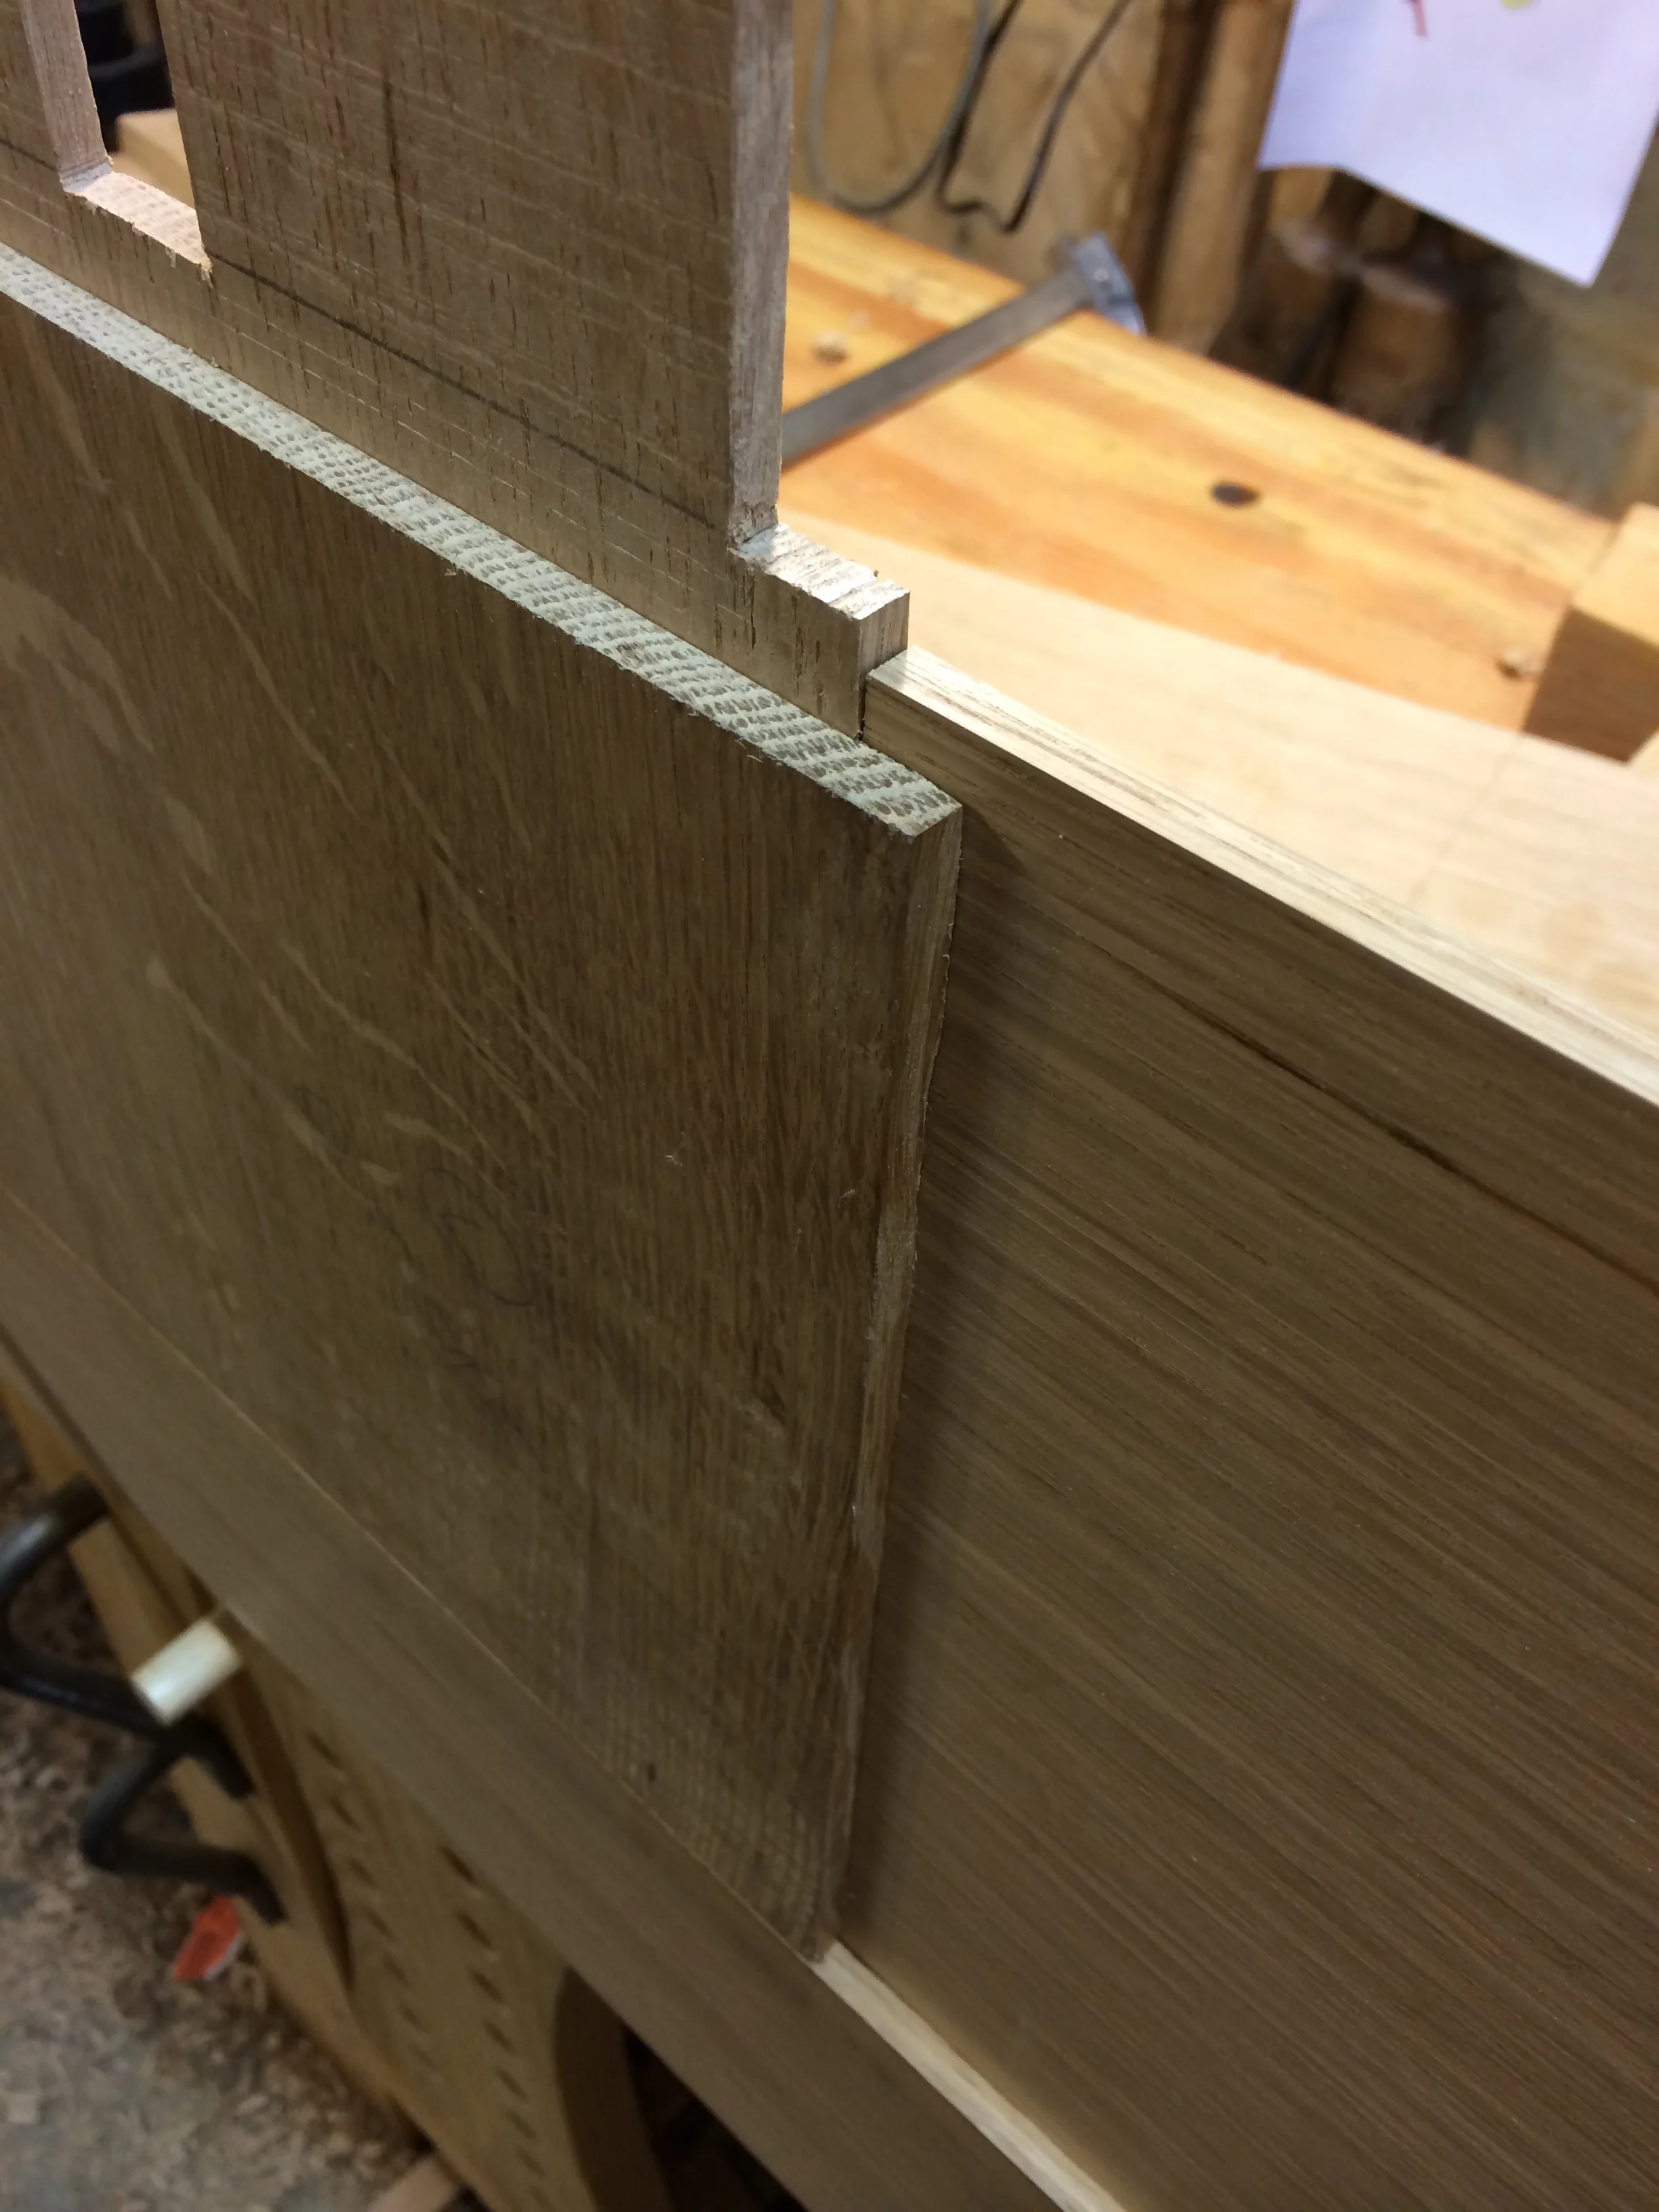
All good rules of thumb. As my material for the rails & stiles was a little thicker than 3/4", I went with a mortise width of about 1/4". Actually, I chose my mortise chisel that was about 1/4"-ish as my size. I then made them approx 2" wide, and 2 1/2" deep. I don't have a mortising machine, so my choices to cut the mortises were either a) clear out most of the waste with a forstner drill bit, and clean it up with a chisel, or b) just use the mortising chisel. I started out doing method a), but found that it really doesn't save me any time. After drilling out the waste, the resulting mortise sides are so rough that the clean up takes a lot of time. Also, with the length my forester bit (about 2 & 1/4" beyond the chuck), the mortise was still shallower than I would have liked it to be, requiring a switch to the traditional mortise chisel method anyway. Just like with the sides, the drilling left a ragged bottom that was harder to work than if I'd used the chisel only. So, I switched to method b) and got better results in less time. Conclusion: with the right tool (a sharp mortise chisel) and the right technique, drilling out the waste is more trouble than it is worth.
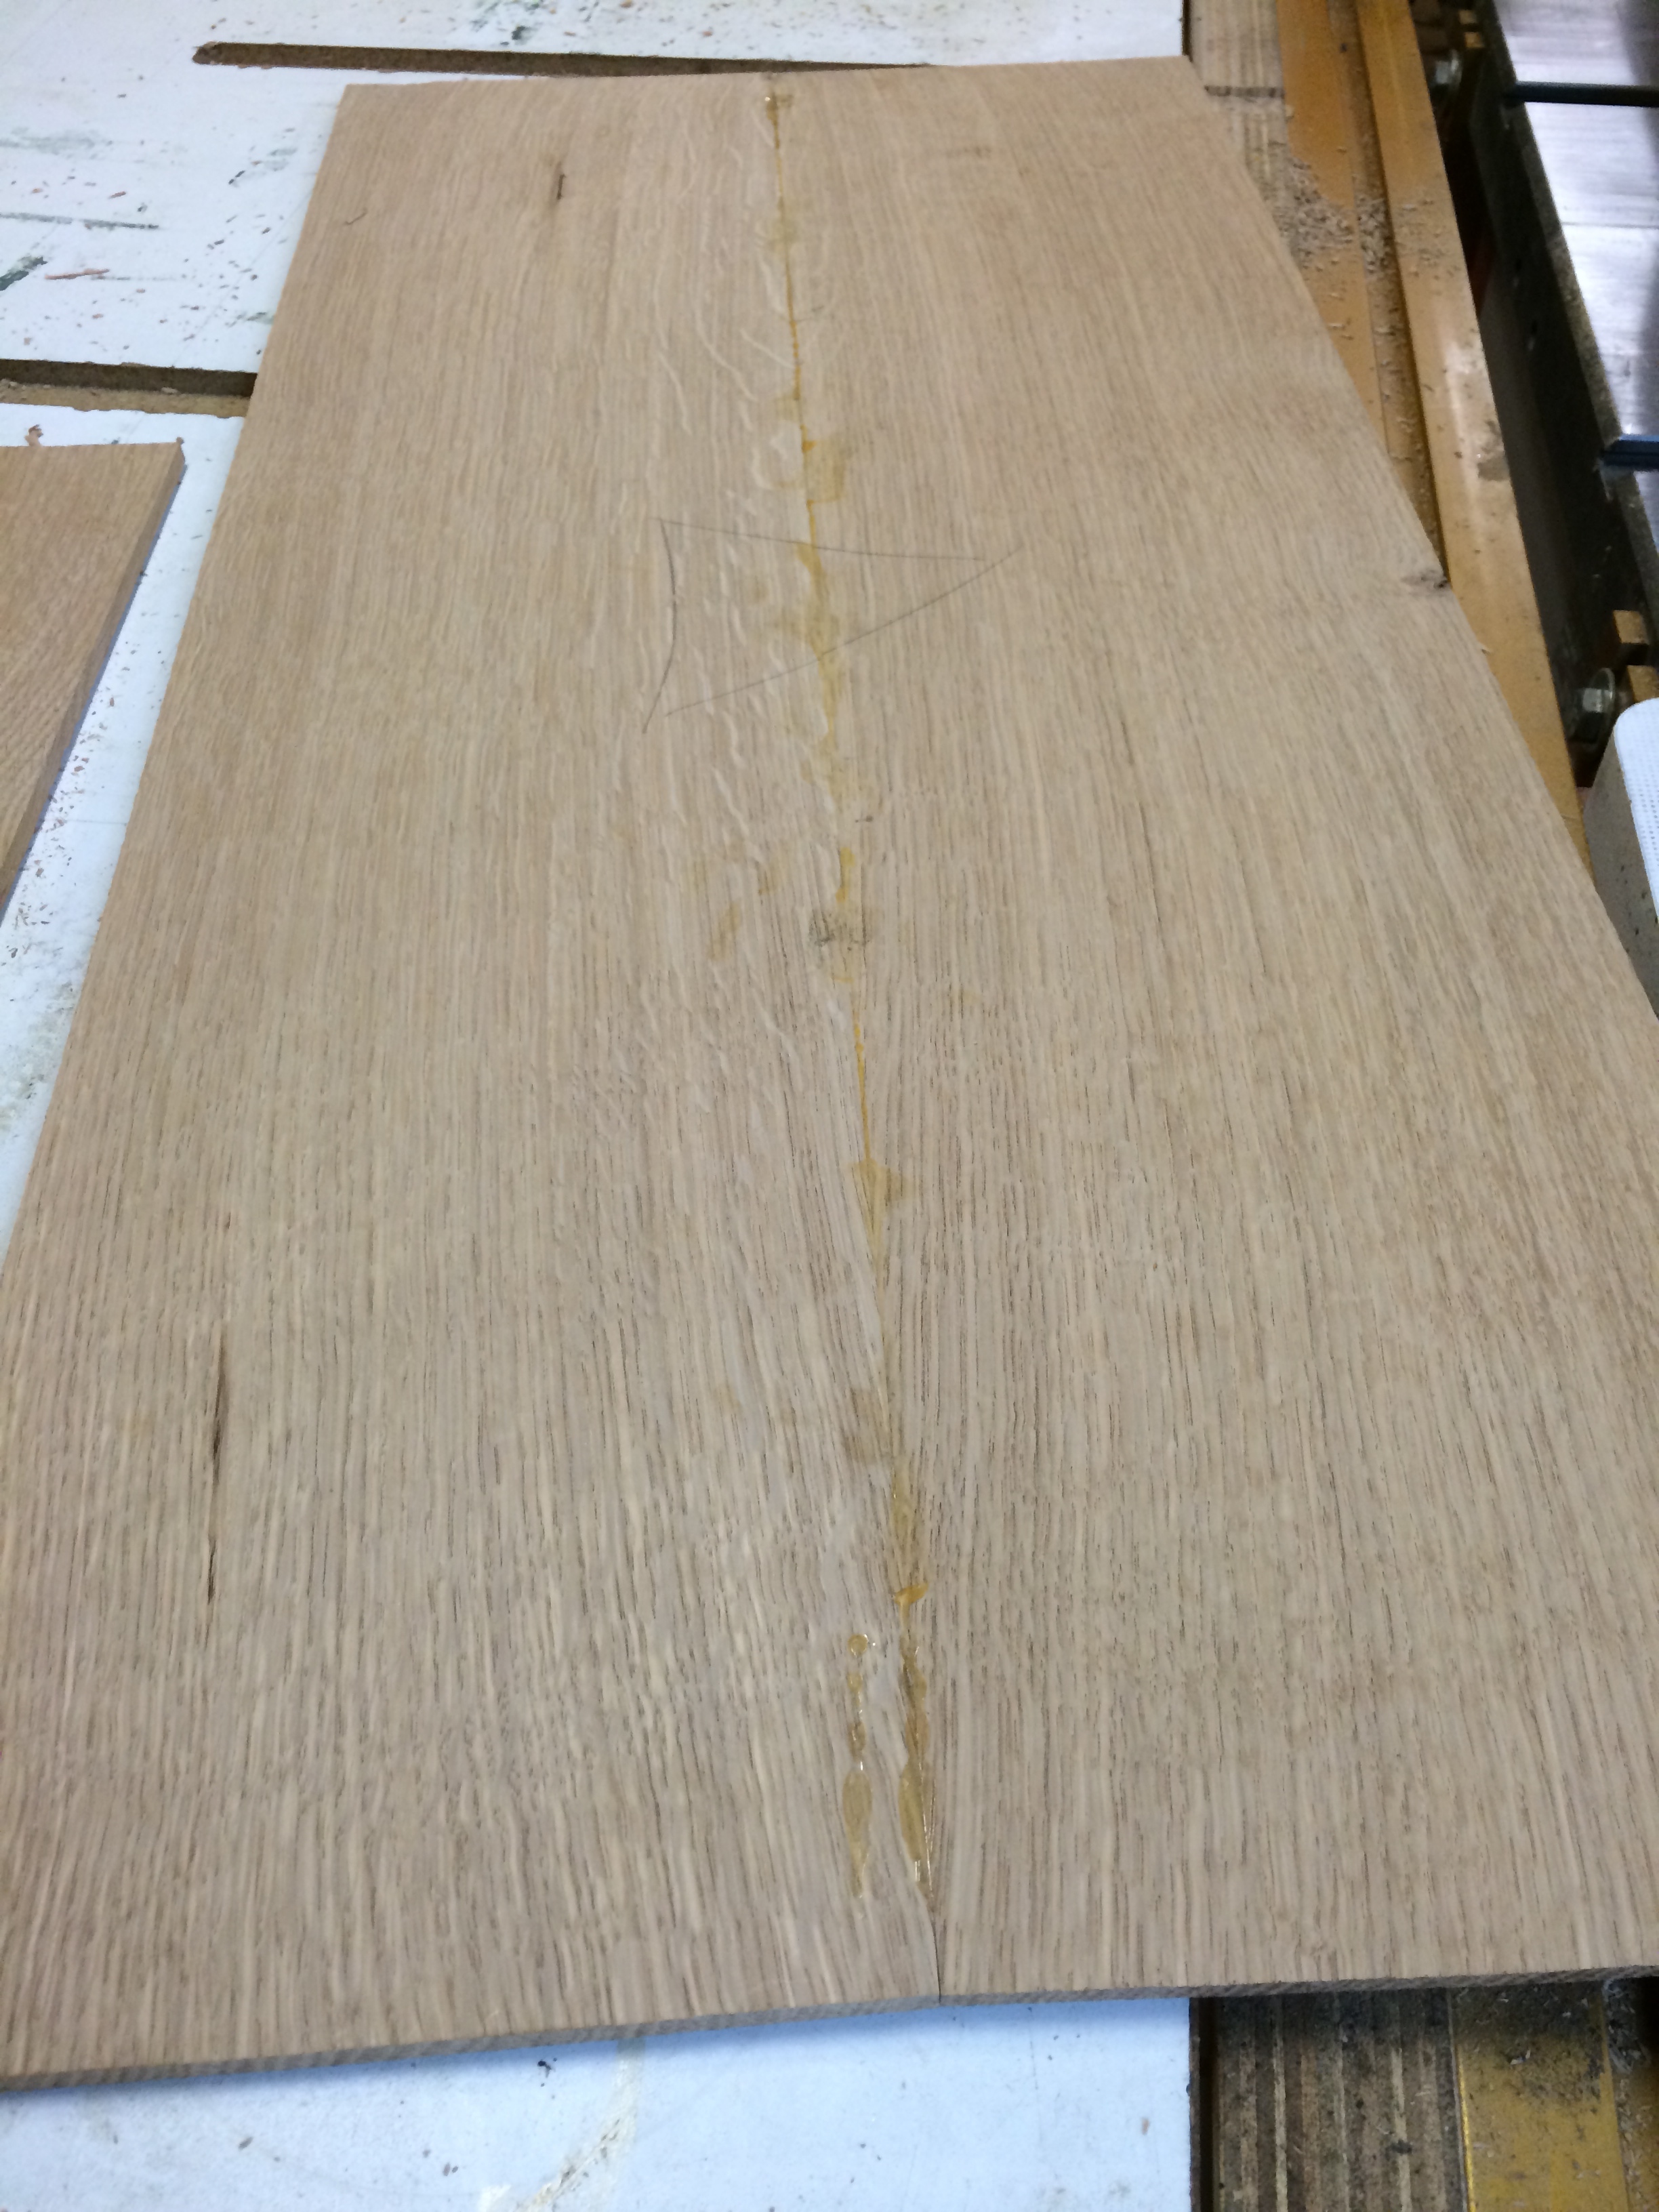
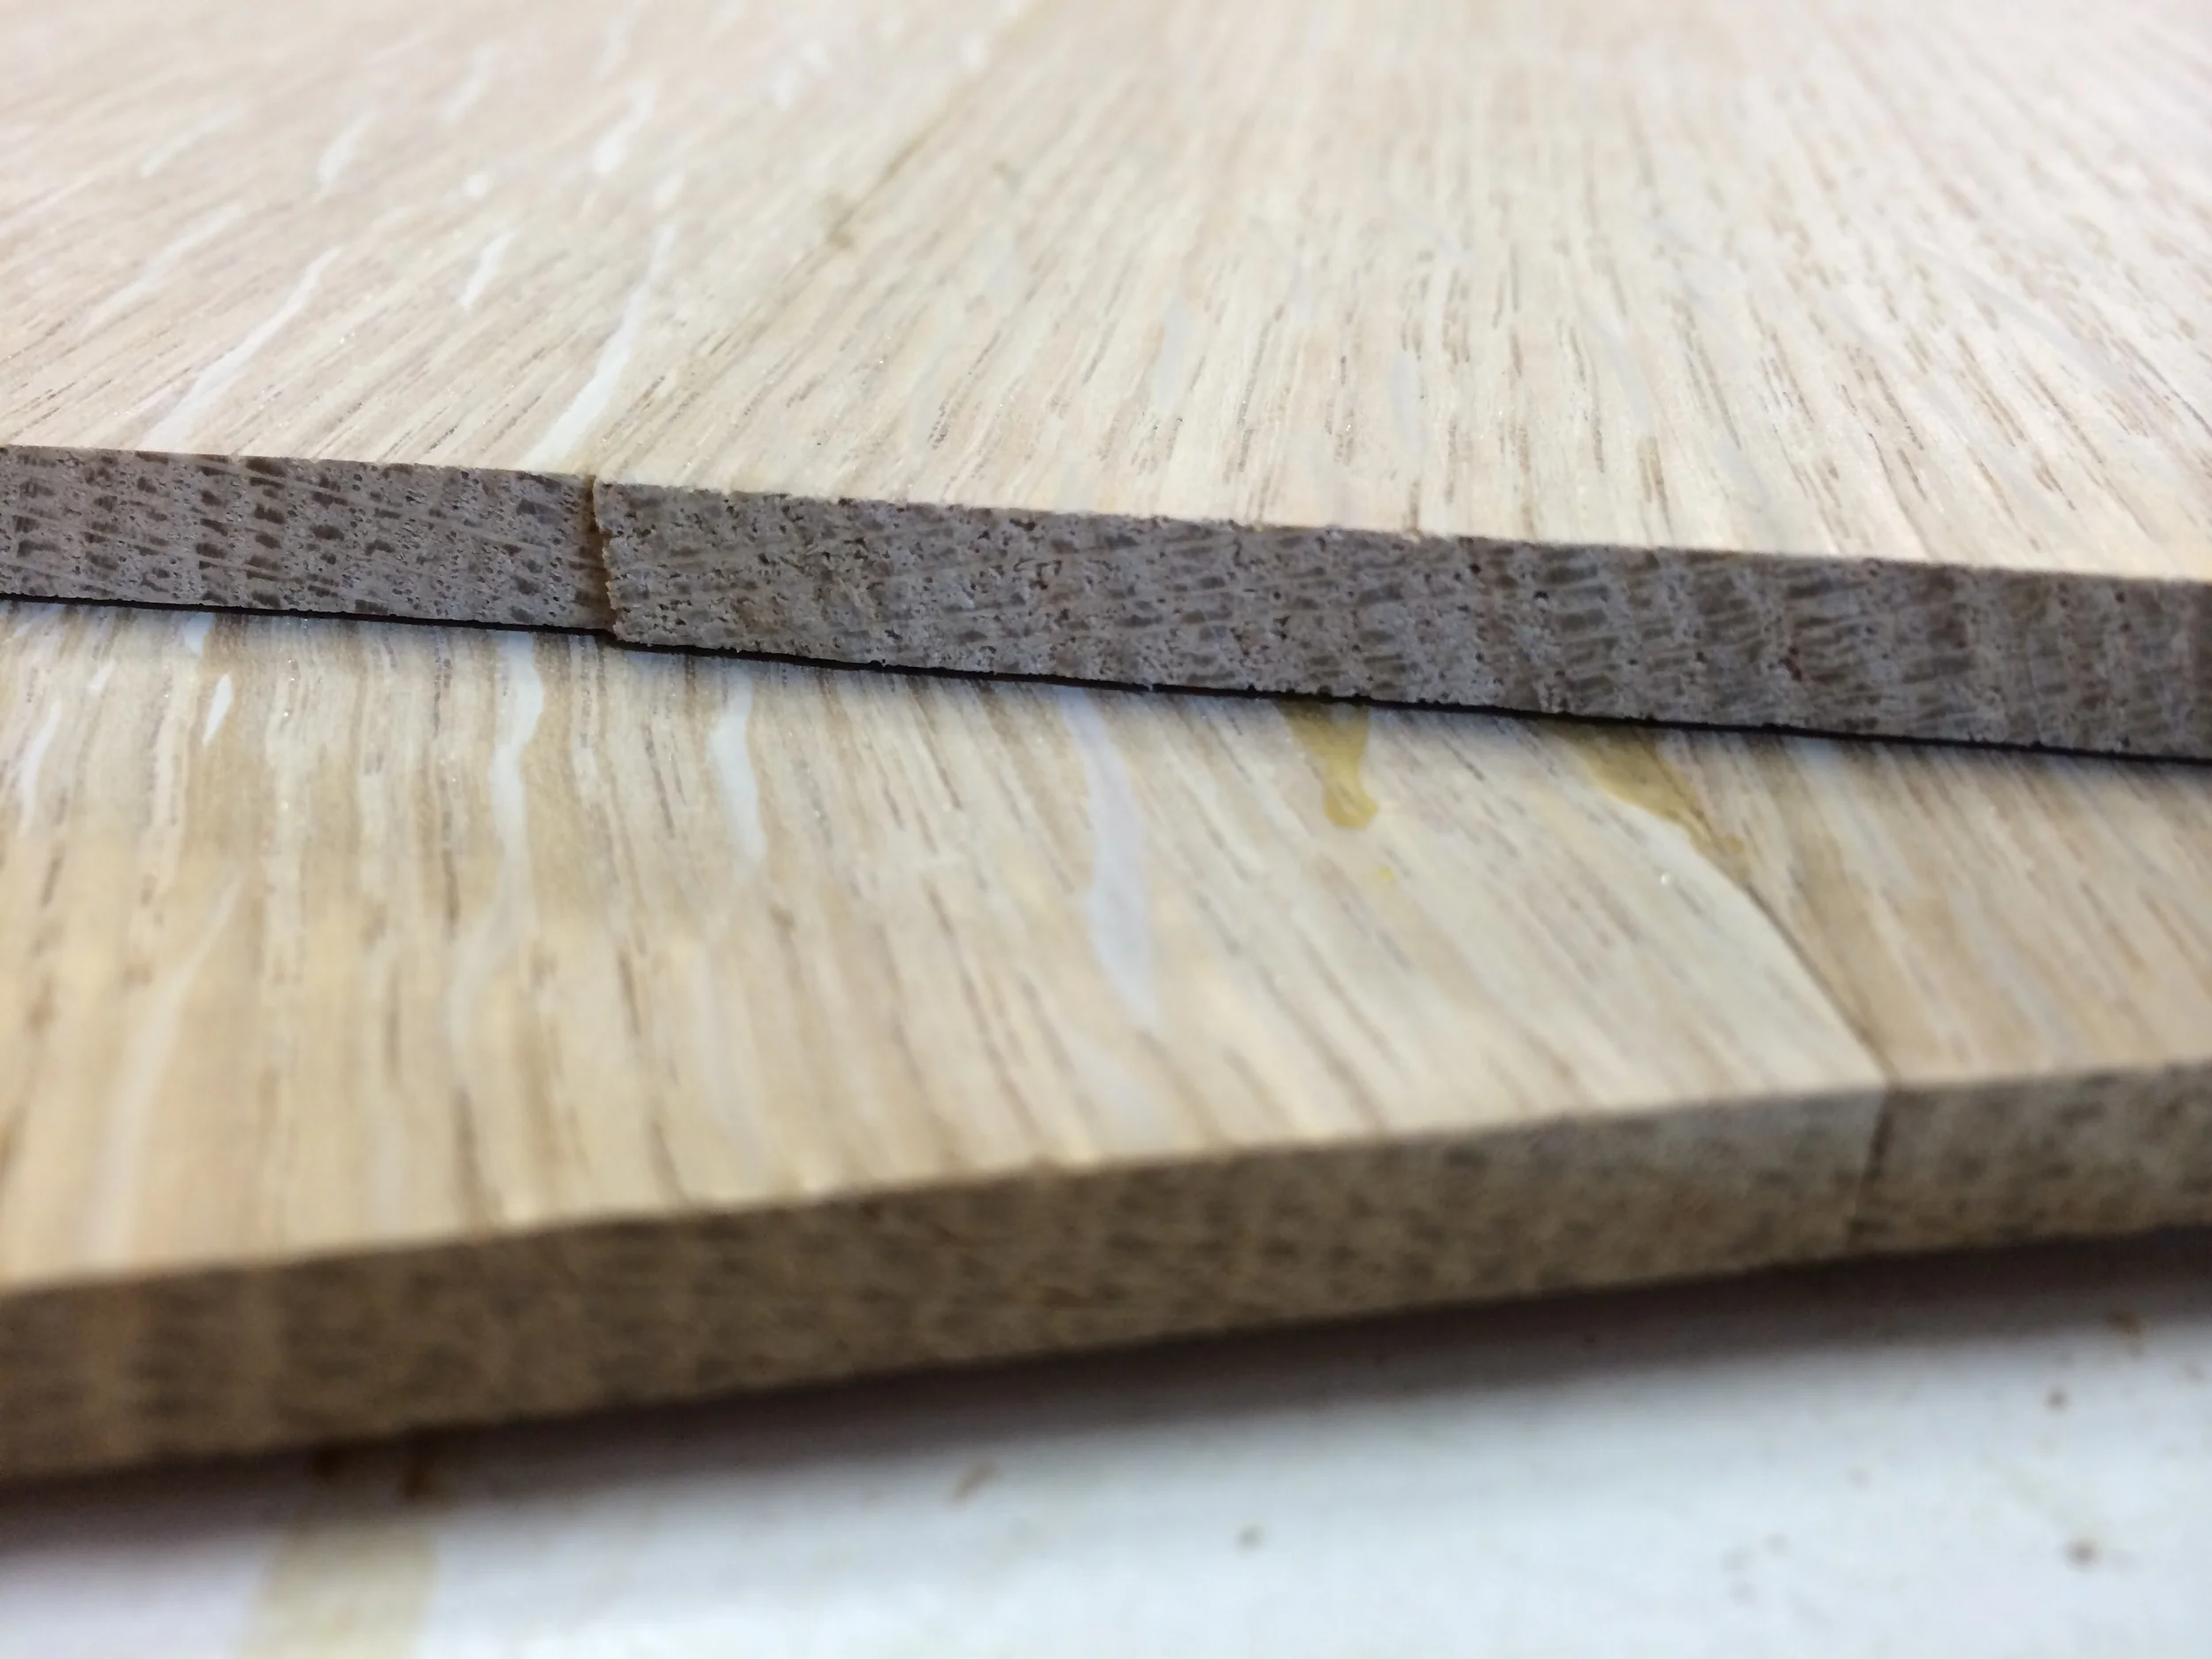
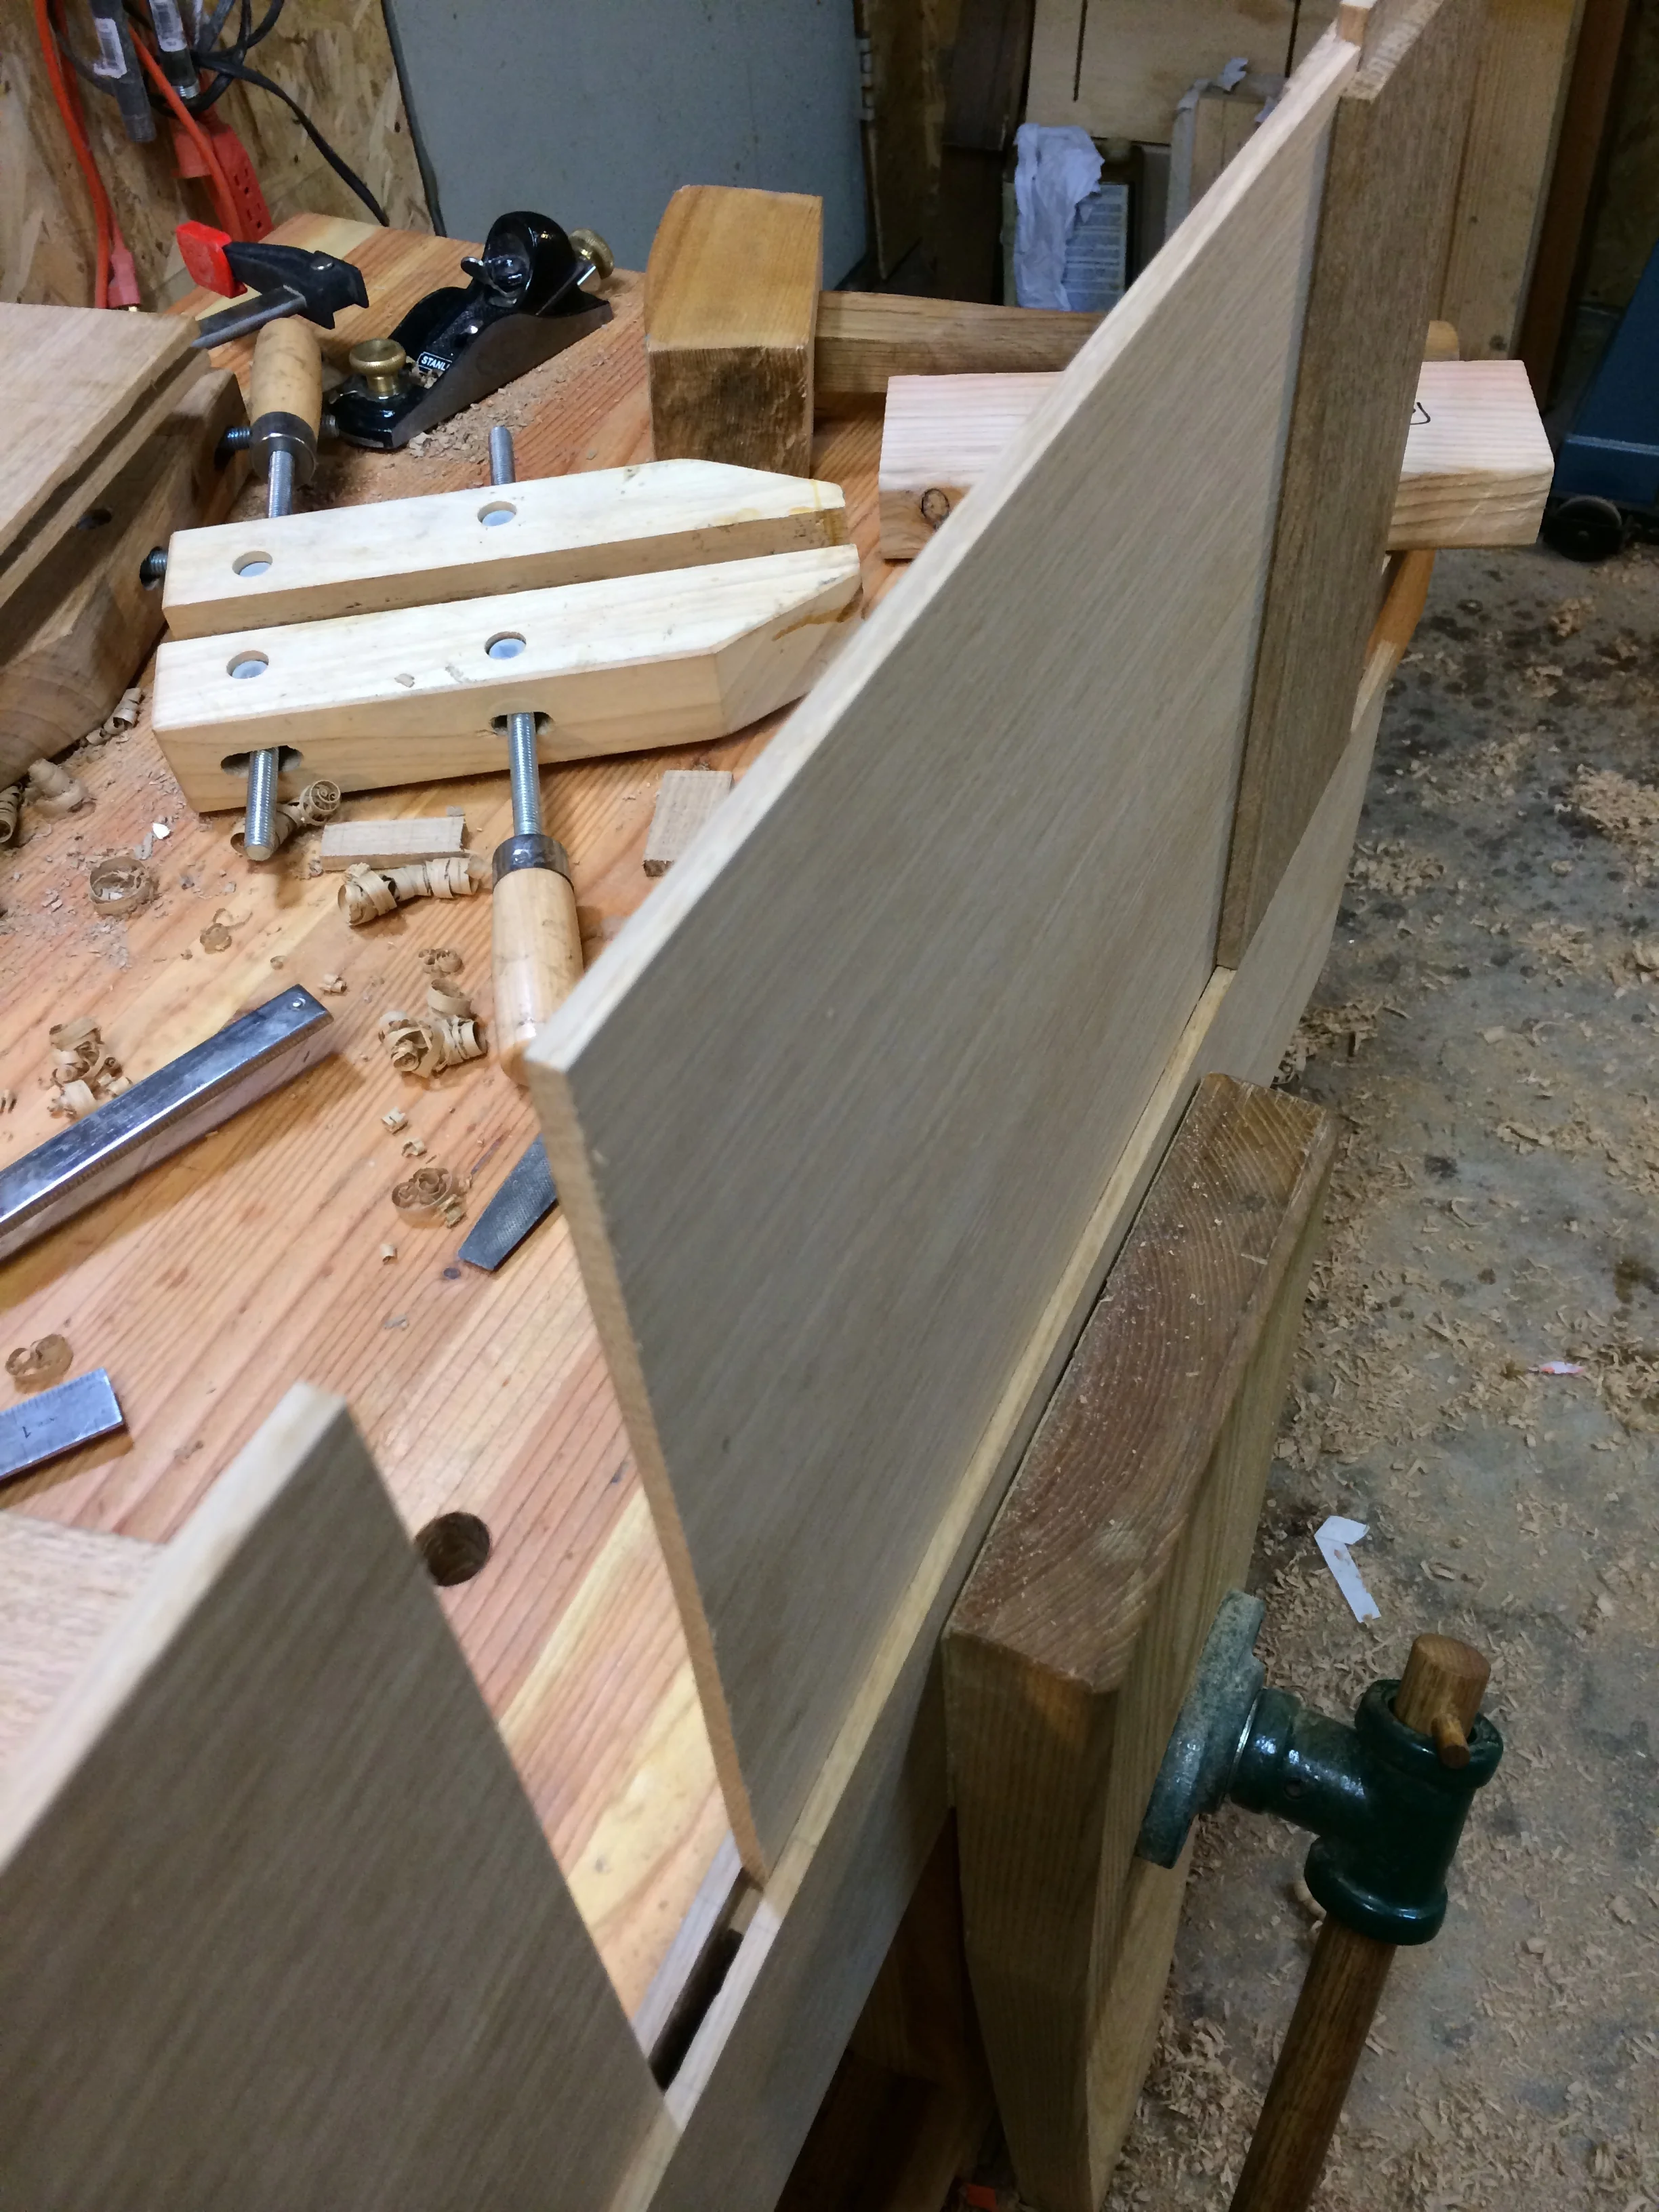
I cut the tenons with a dado blade on the table saw, (but could have just as easily used a tenon saw) leaving them slightly oversized to fit later. After I cut the grooves for the panel with a Stanley no. 45 plane, I fit the joints. Next up was re-sawing some pieces for the solid wood panels. A nice new Woodslicer II blade in my 14" bandsaw worked wonderfully, and after my glue up, I had some nice book matched 1/4" panels. Red, over at LumberJocks.com, made a nice post on the process that illustrates that process, and matches what I did pretty closely.
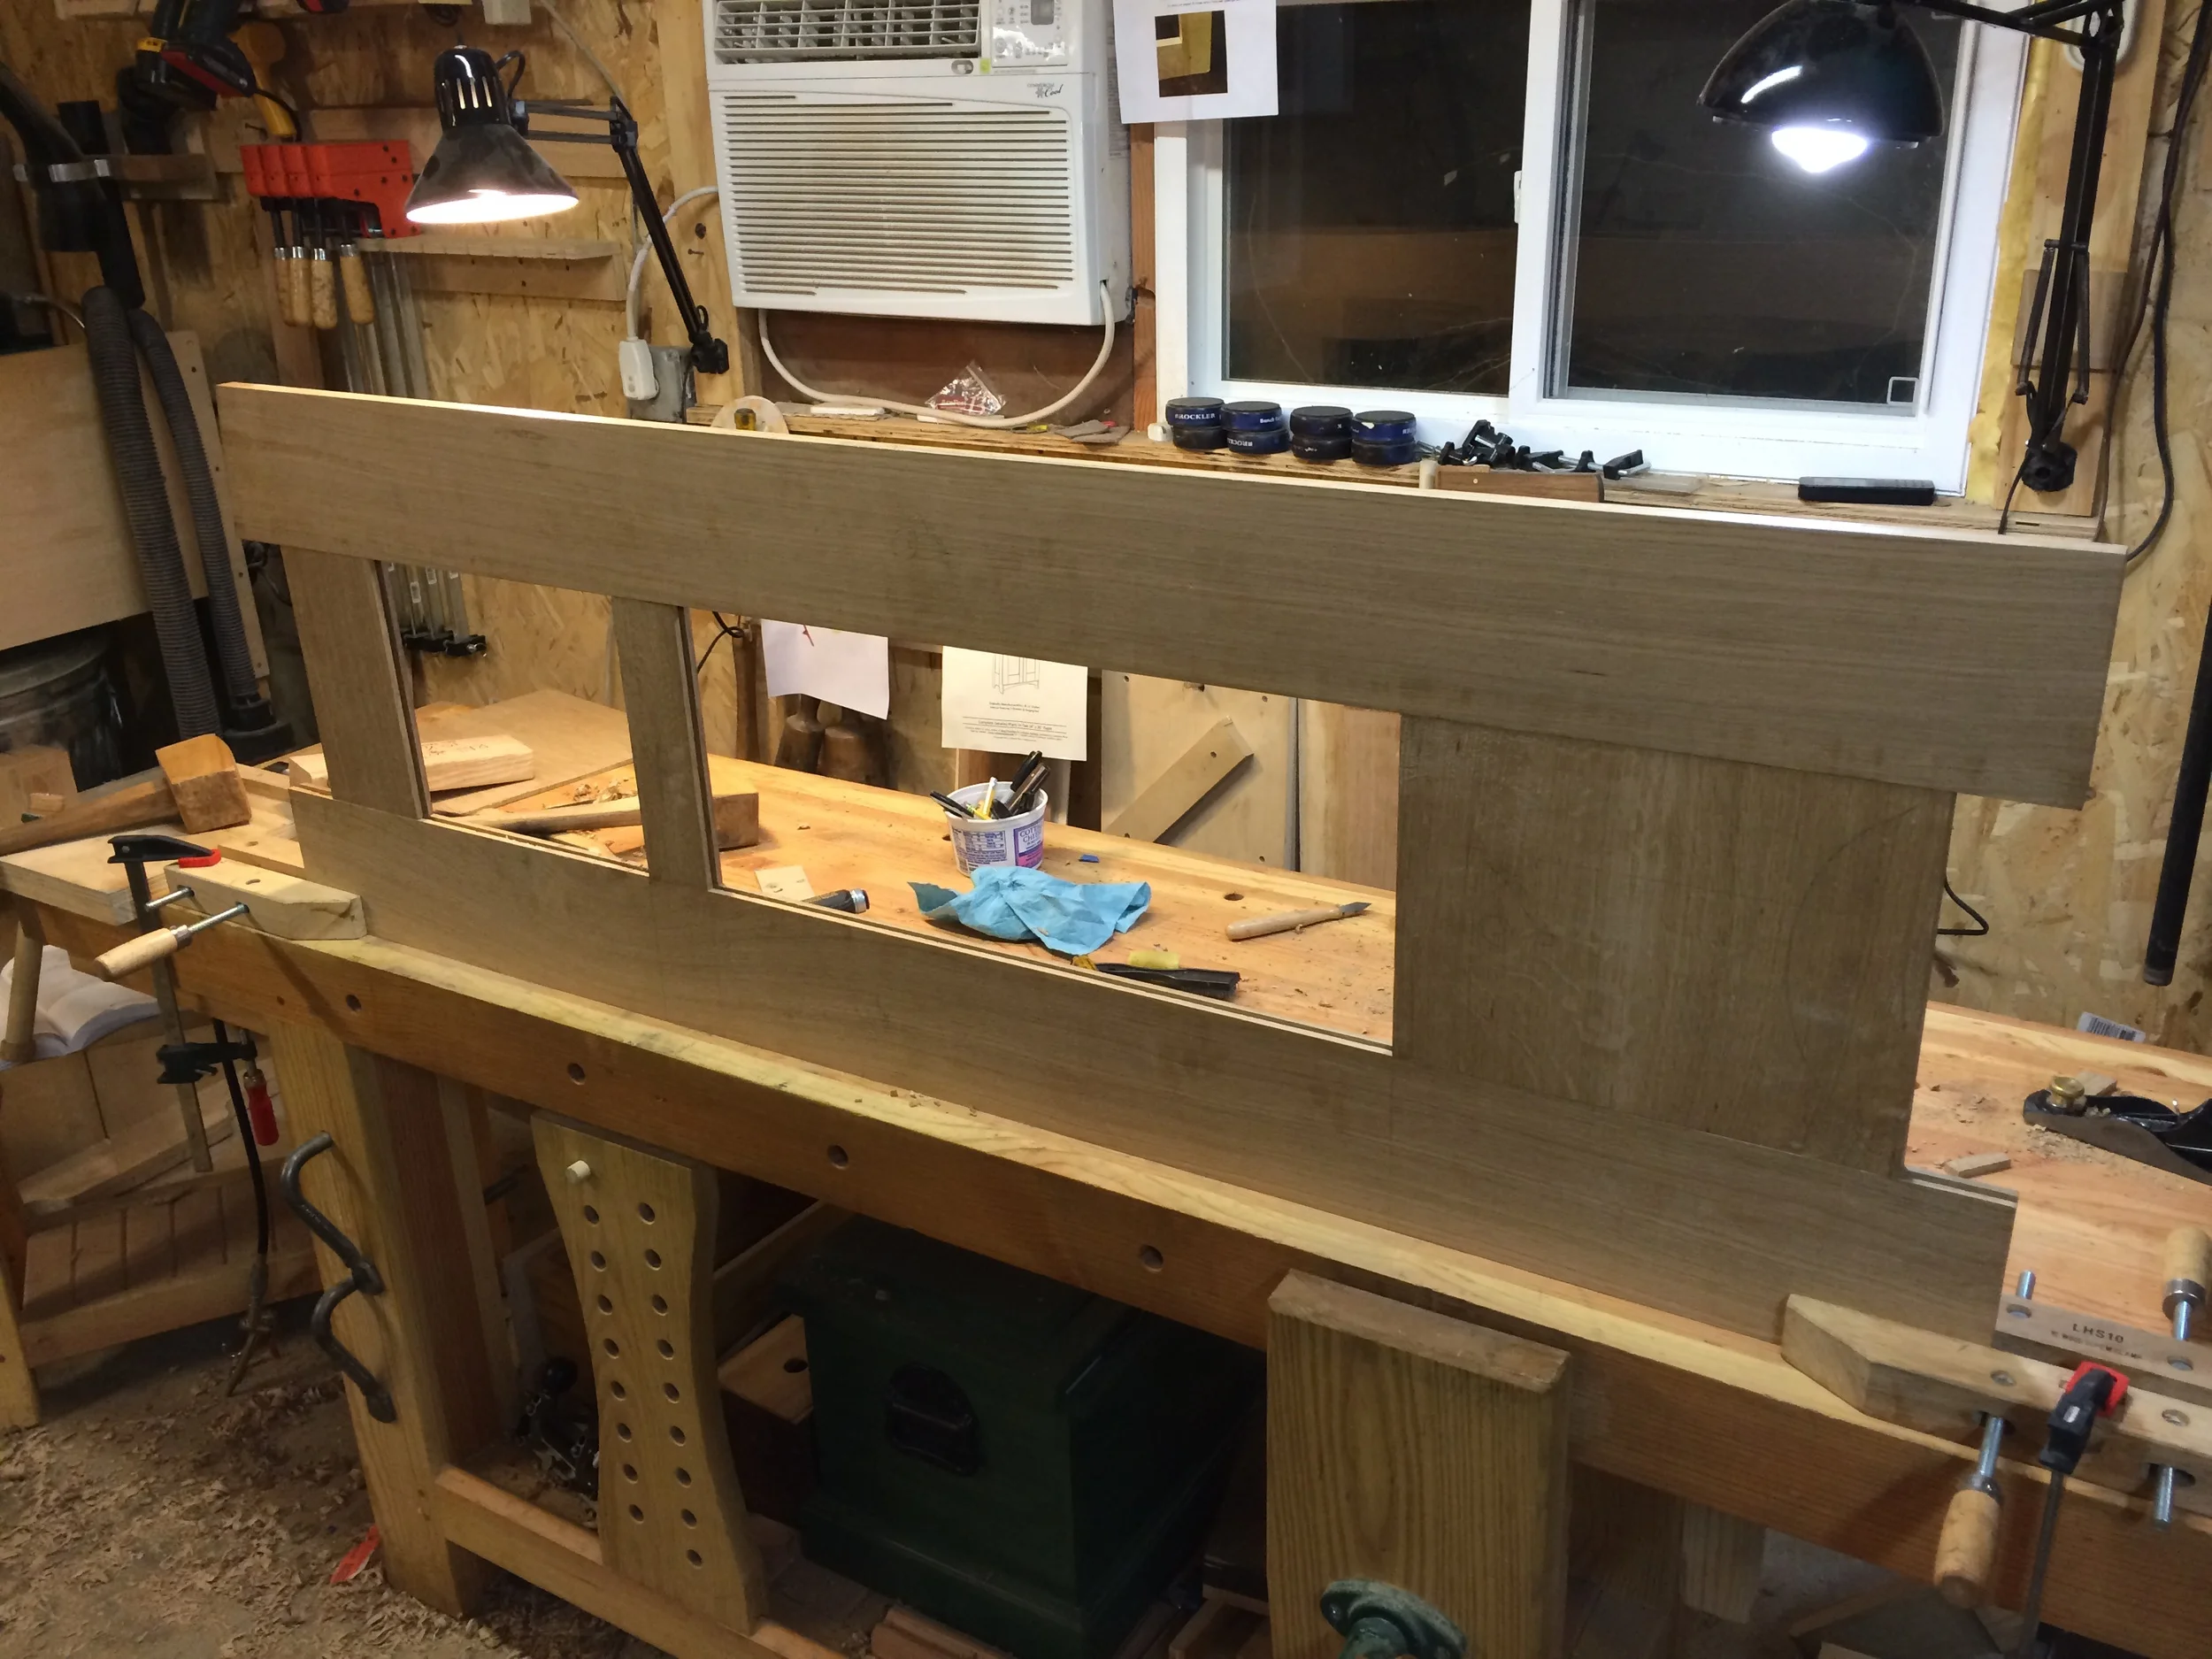
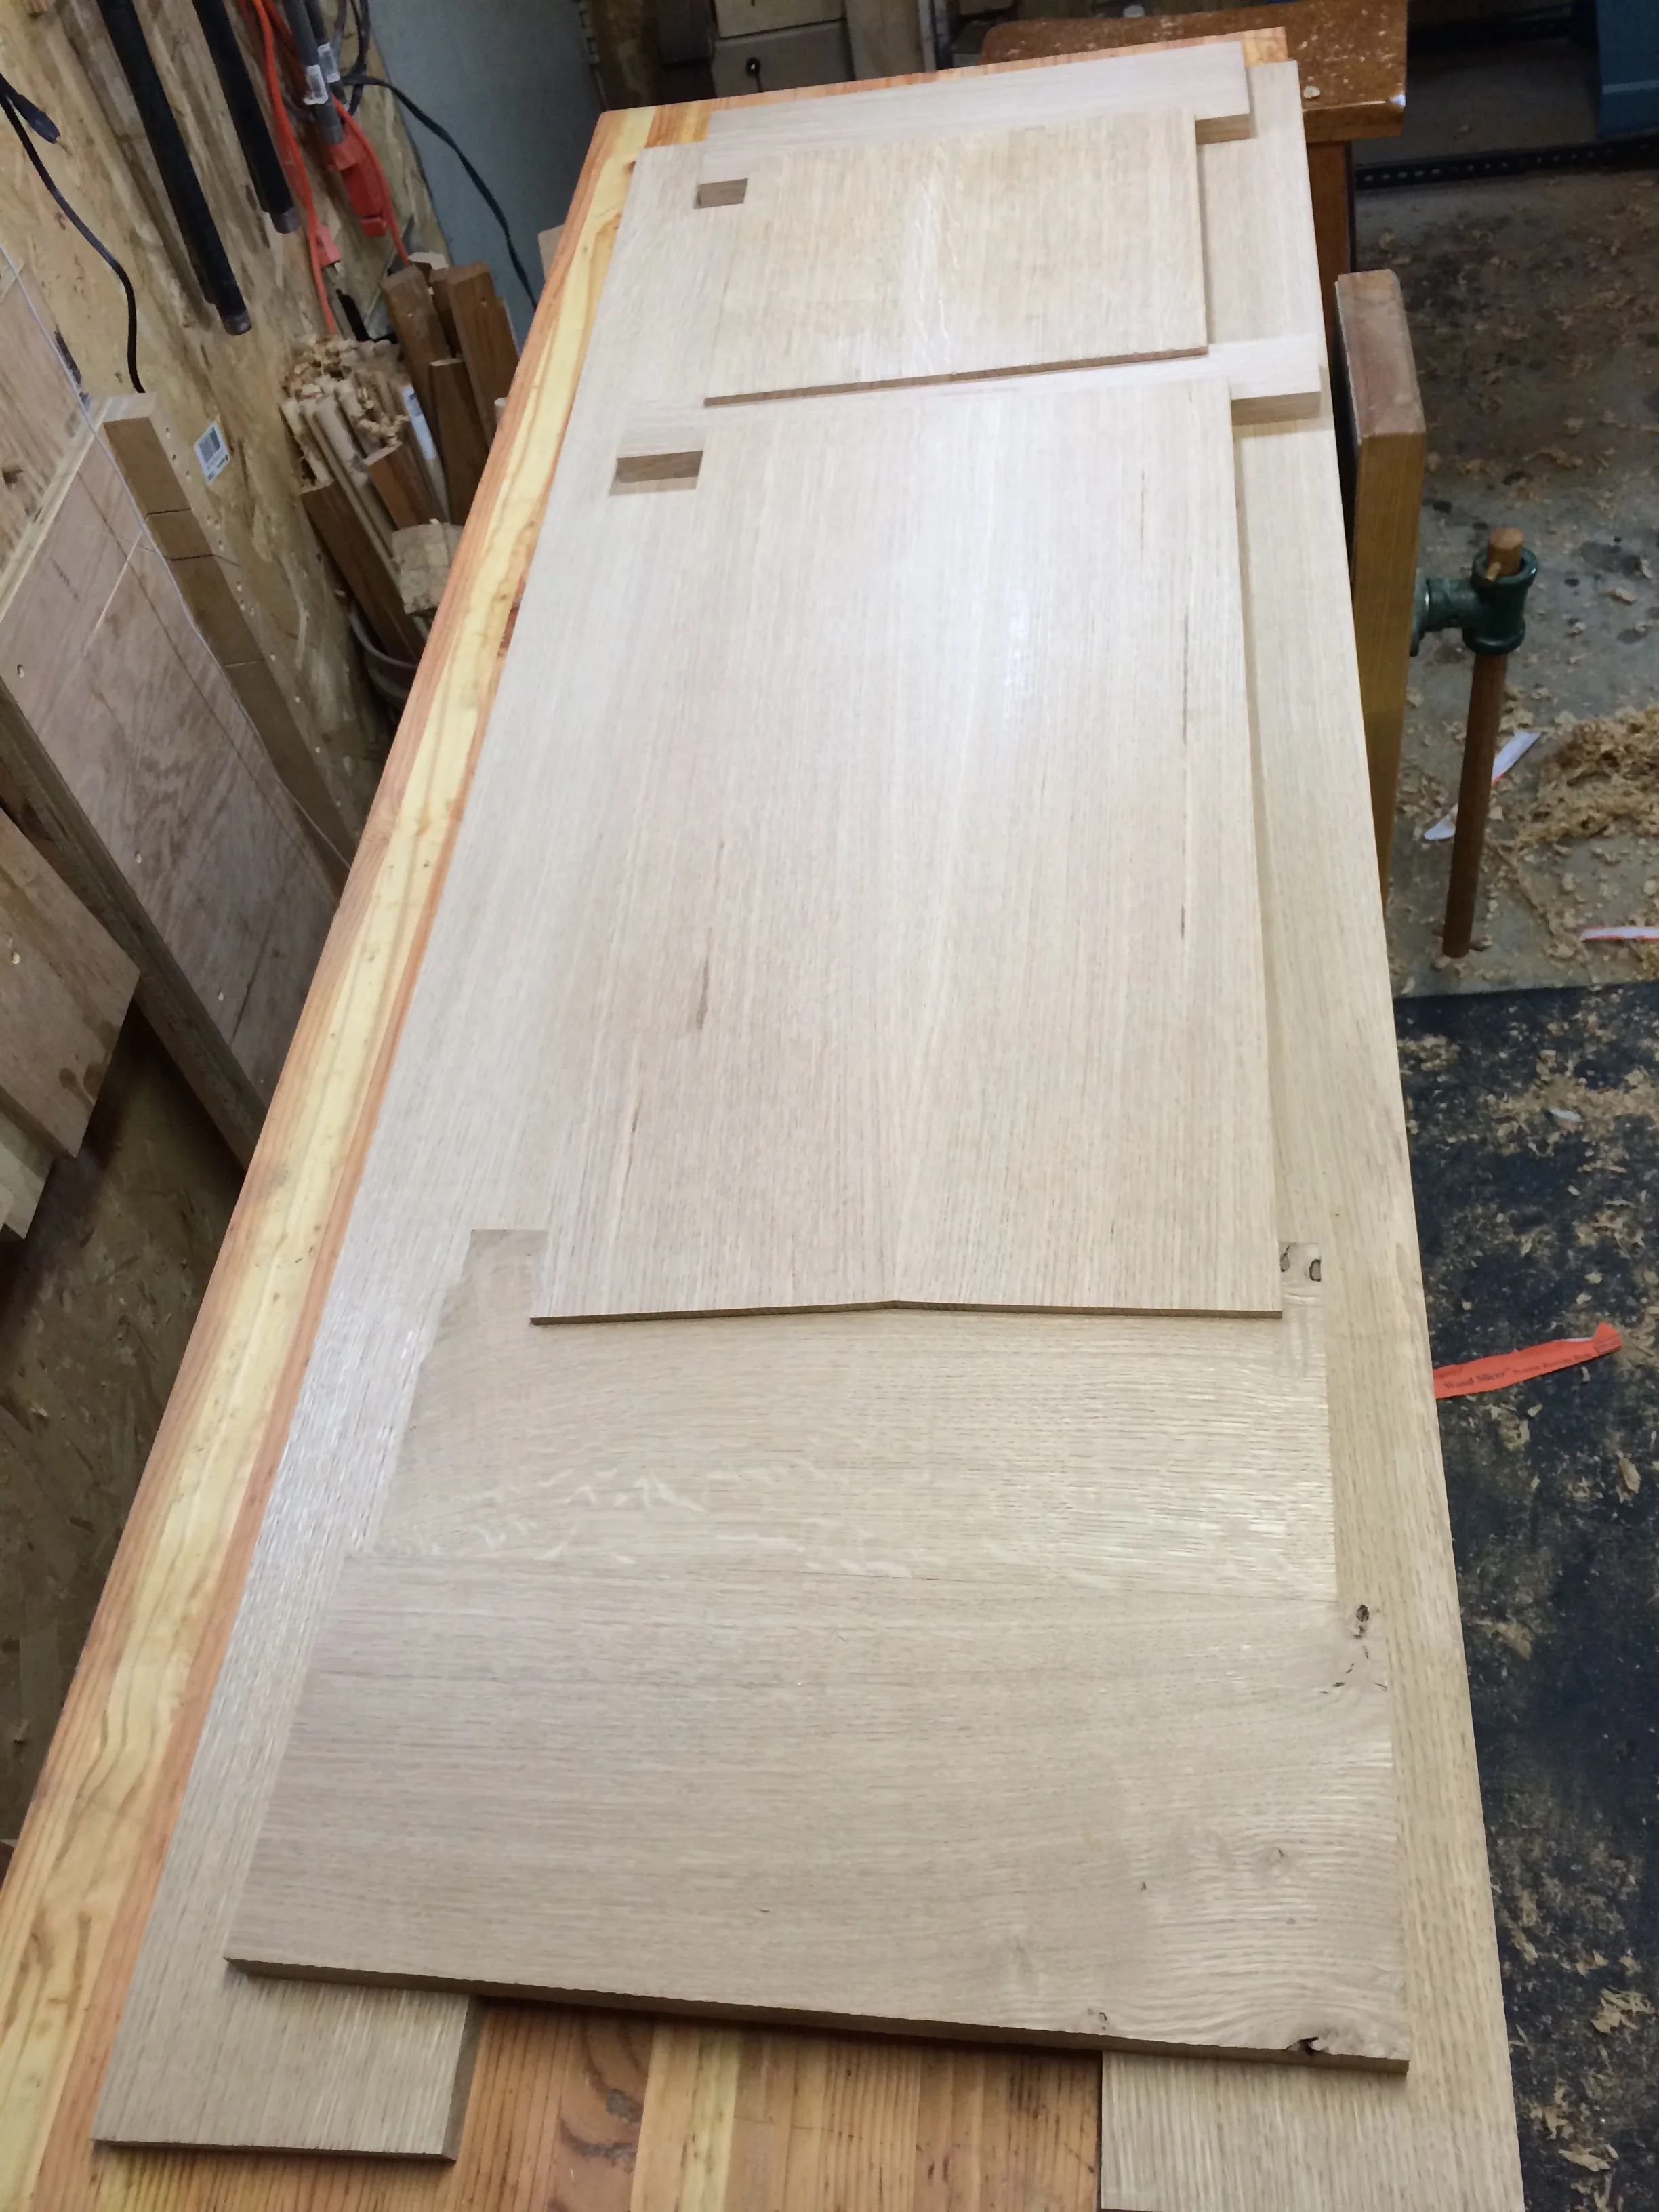
All that was left was a dry fit, and it came out well. Here's some pictures of the assembly. Only five more frame & panels (the other side, the back, and two doors), a top & bottom, the center divider, and all the drawers to go.