
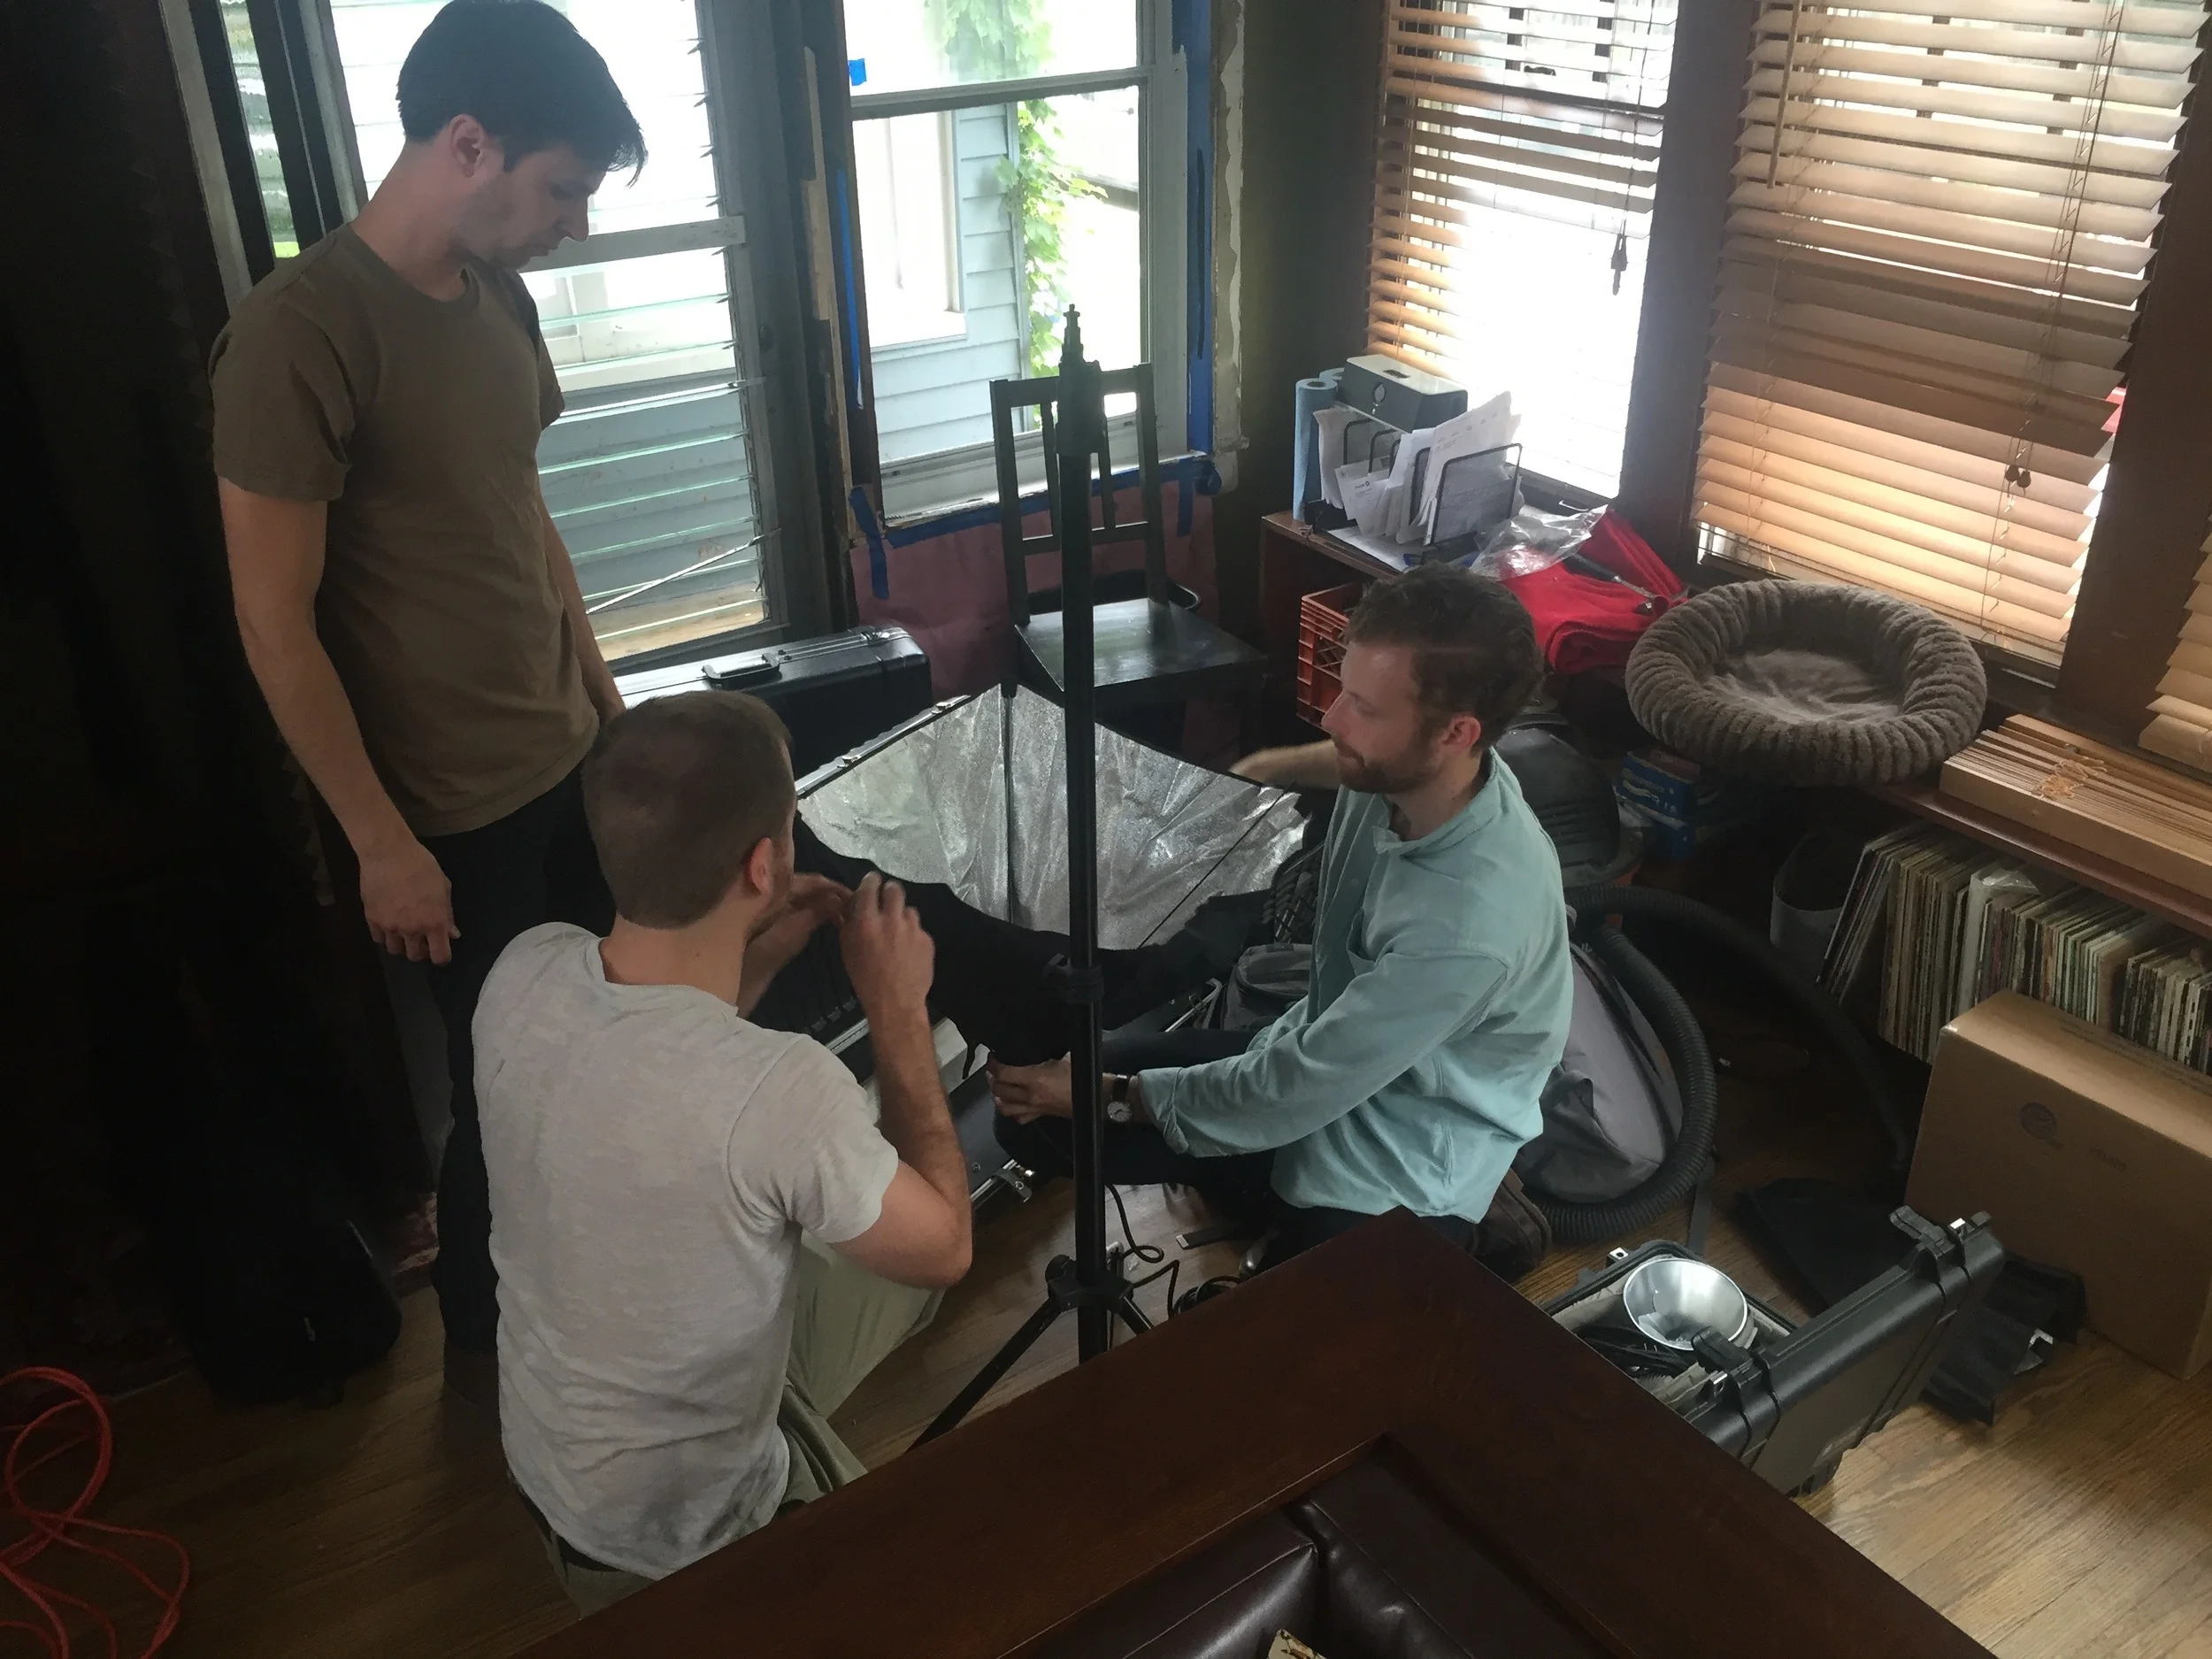
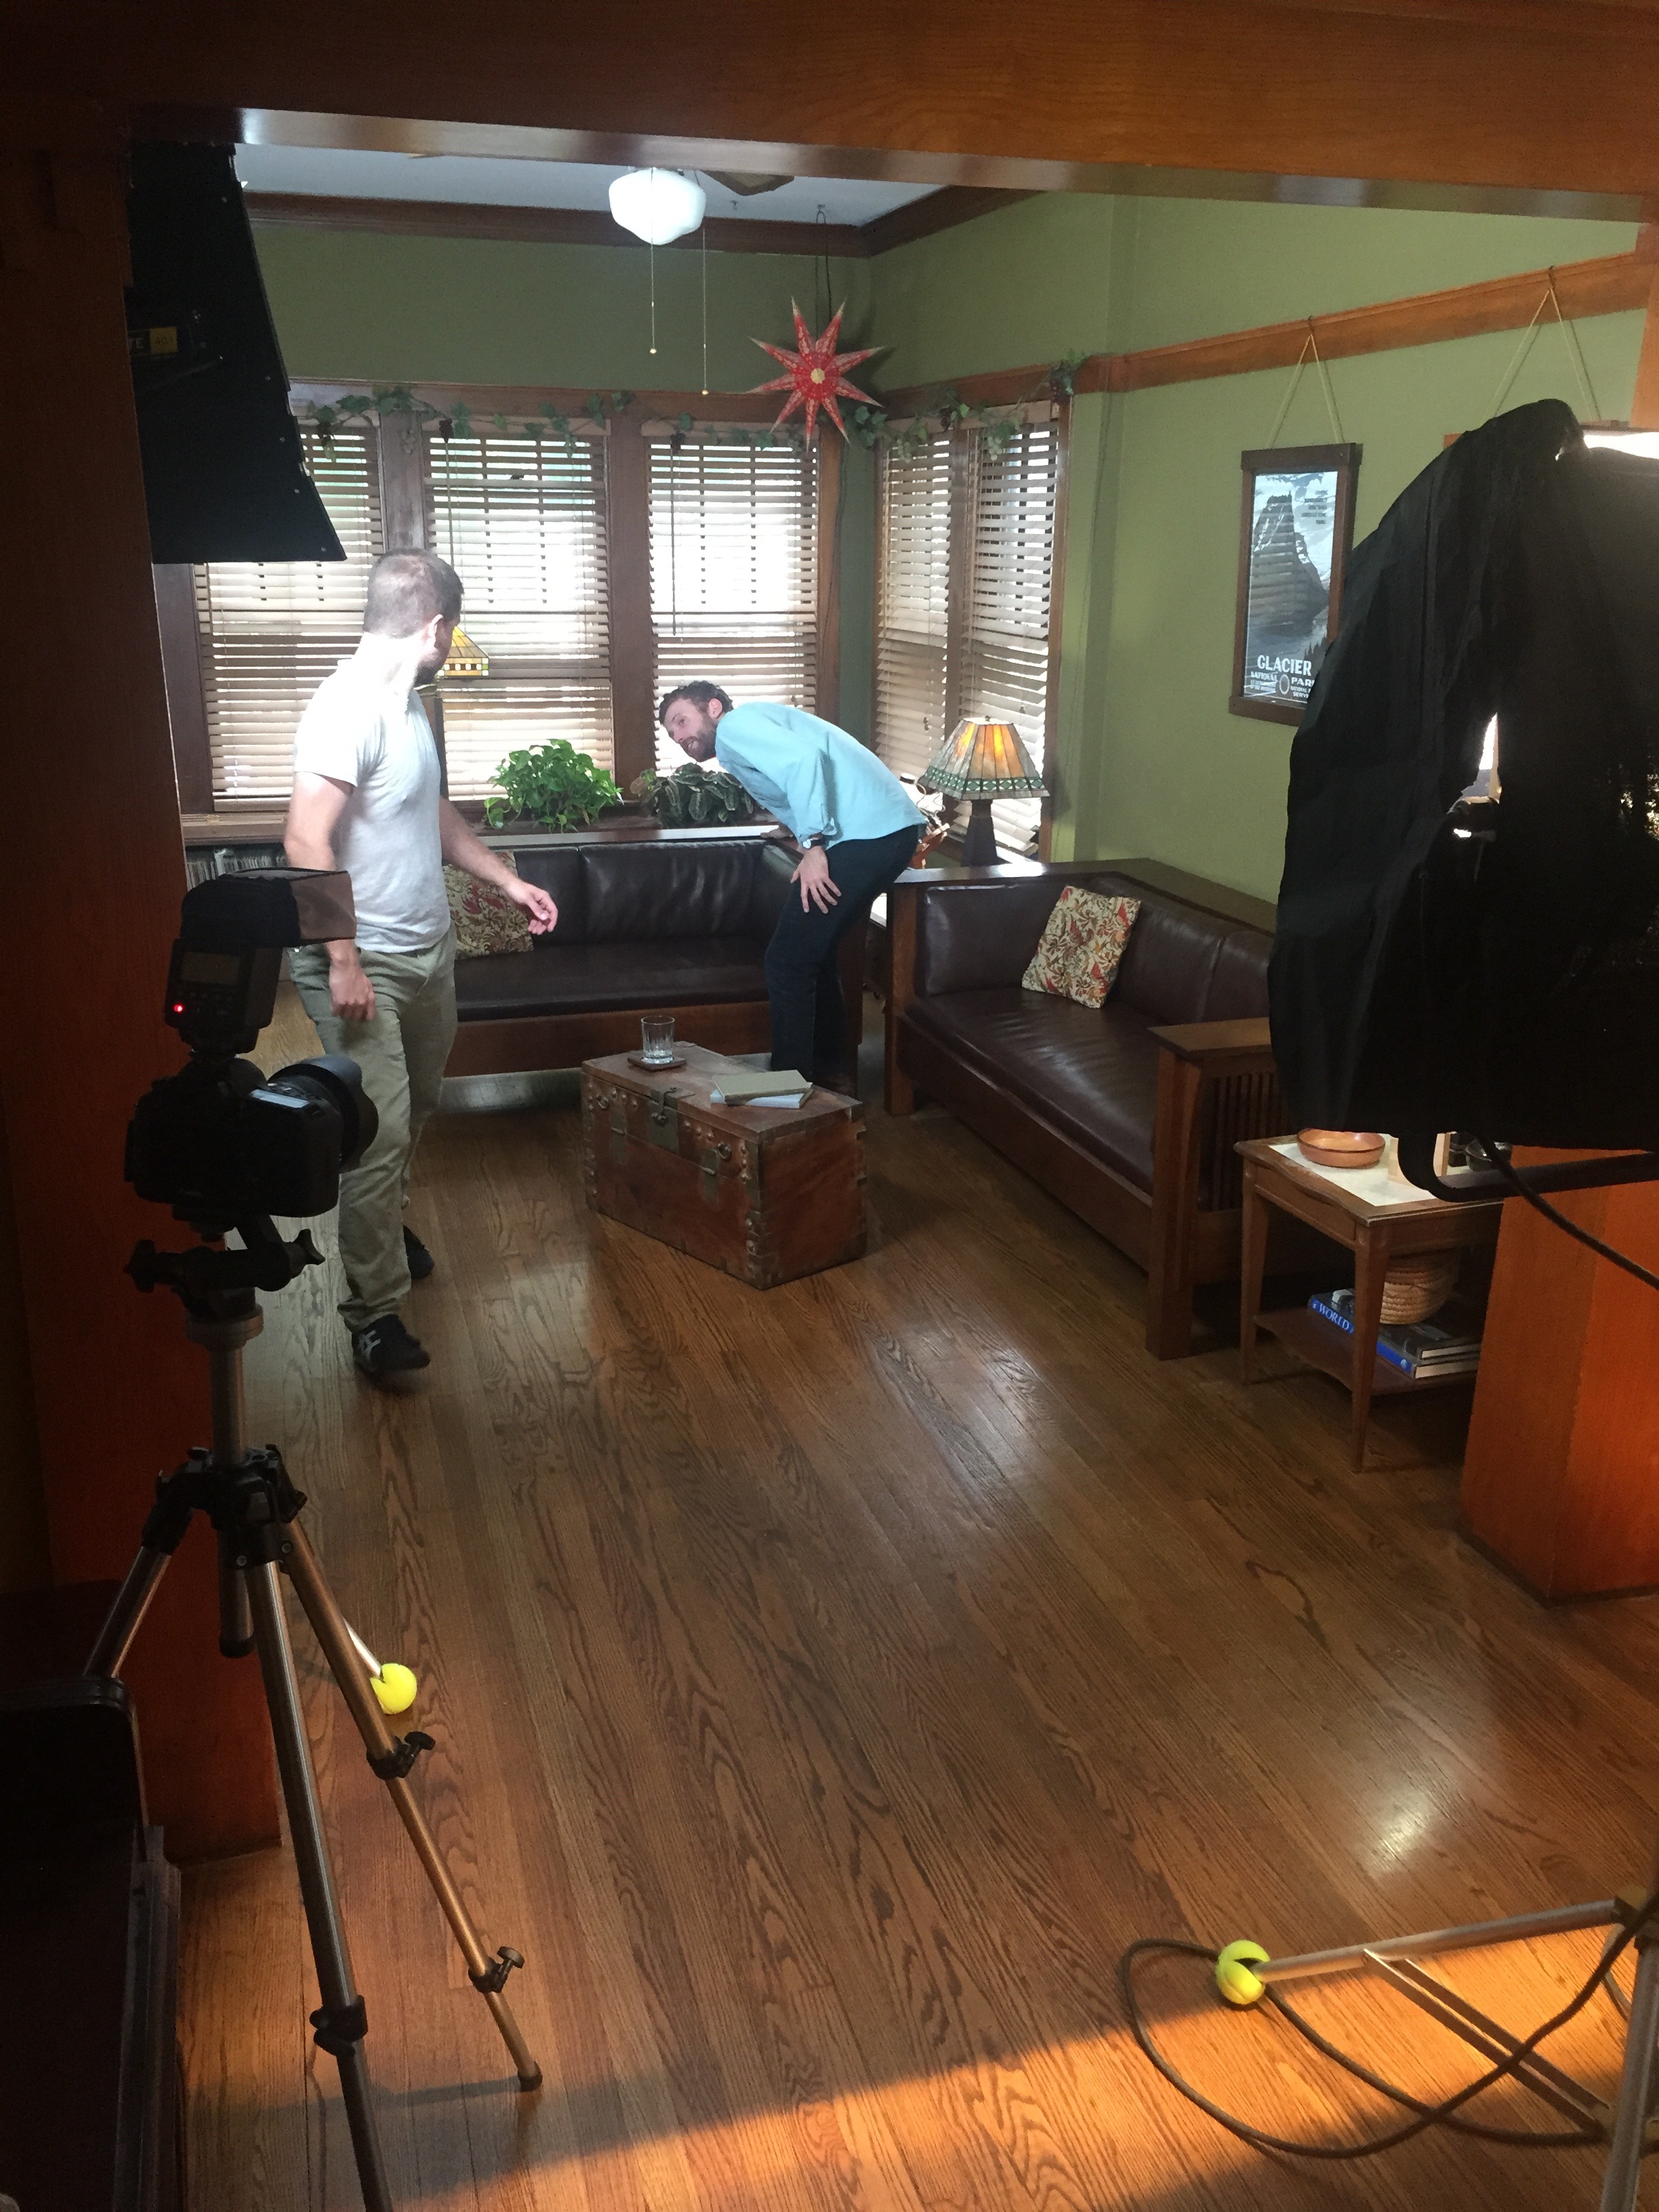
The end of my last post said "Part 3 coming soon", but that was back in April, and the sofa and love seat were completed back in May/June. Since then, I've been waiting to get some nice photography of the pieces before finishing the series. Because they were so large, and I'd already put them into my house, it was hard for me to do the photography well. Luckily, a friend of mine is a great photographer, and he came over with fancy lights, cameras, and other equipment, and he went at it for an an afternoon taking some excellent shots. Once he had the shots, it then took a while for him to edit and color correct them, etc. And pretty soon, it was September.
Sometimes, I just don't feel like posting and tweeting and promoting my woodworking - I just feel like woodworking. I also have a very linear mindset when it comes to working on projects. Although I've completed quite a few other (smaller) projects since the sofa and love seat, I didn't want to post about those until this big post series was finished. And thus the reason for the blogging delay.
Here's the result of all that waiting...
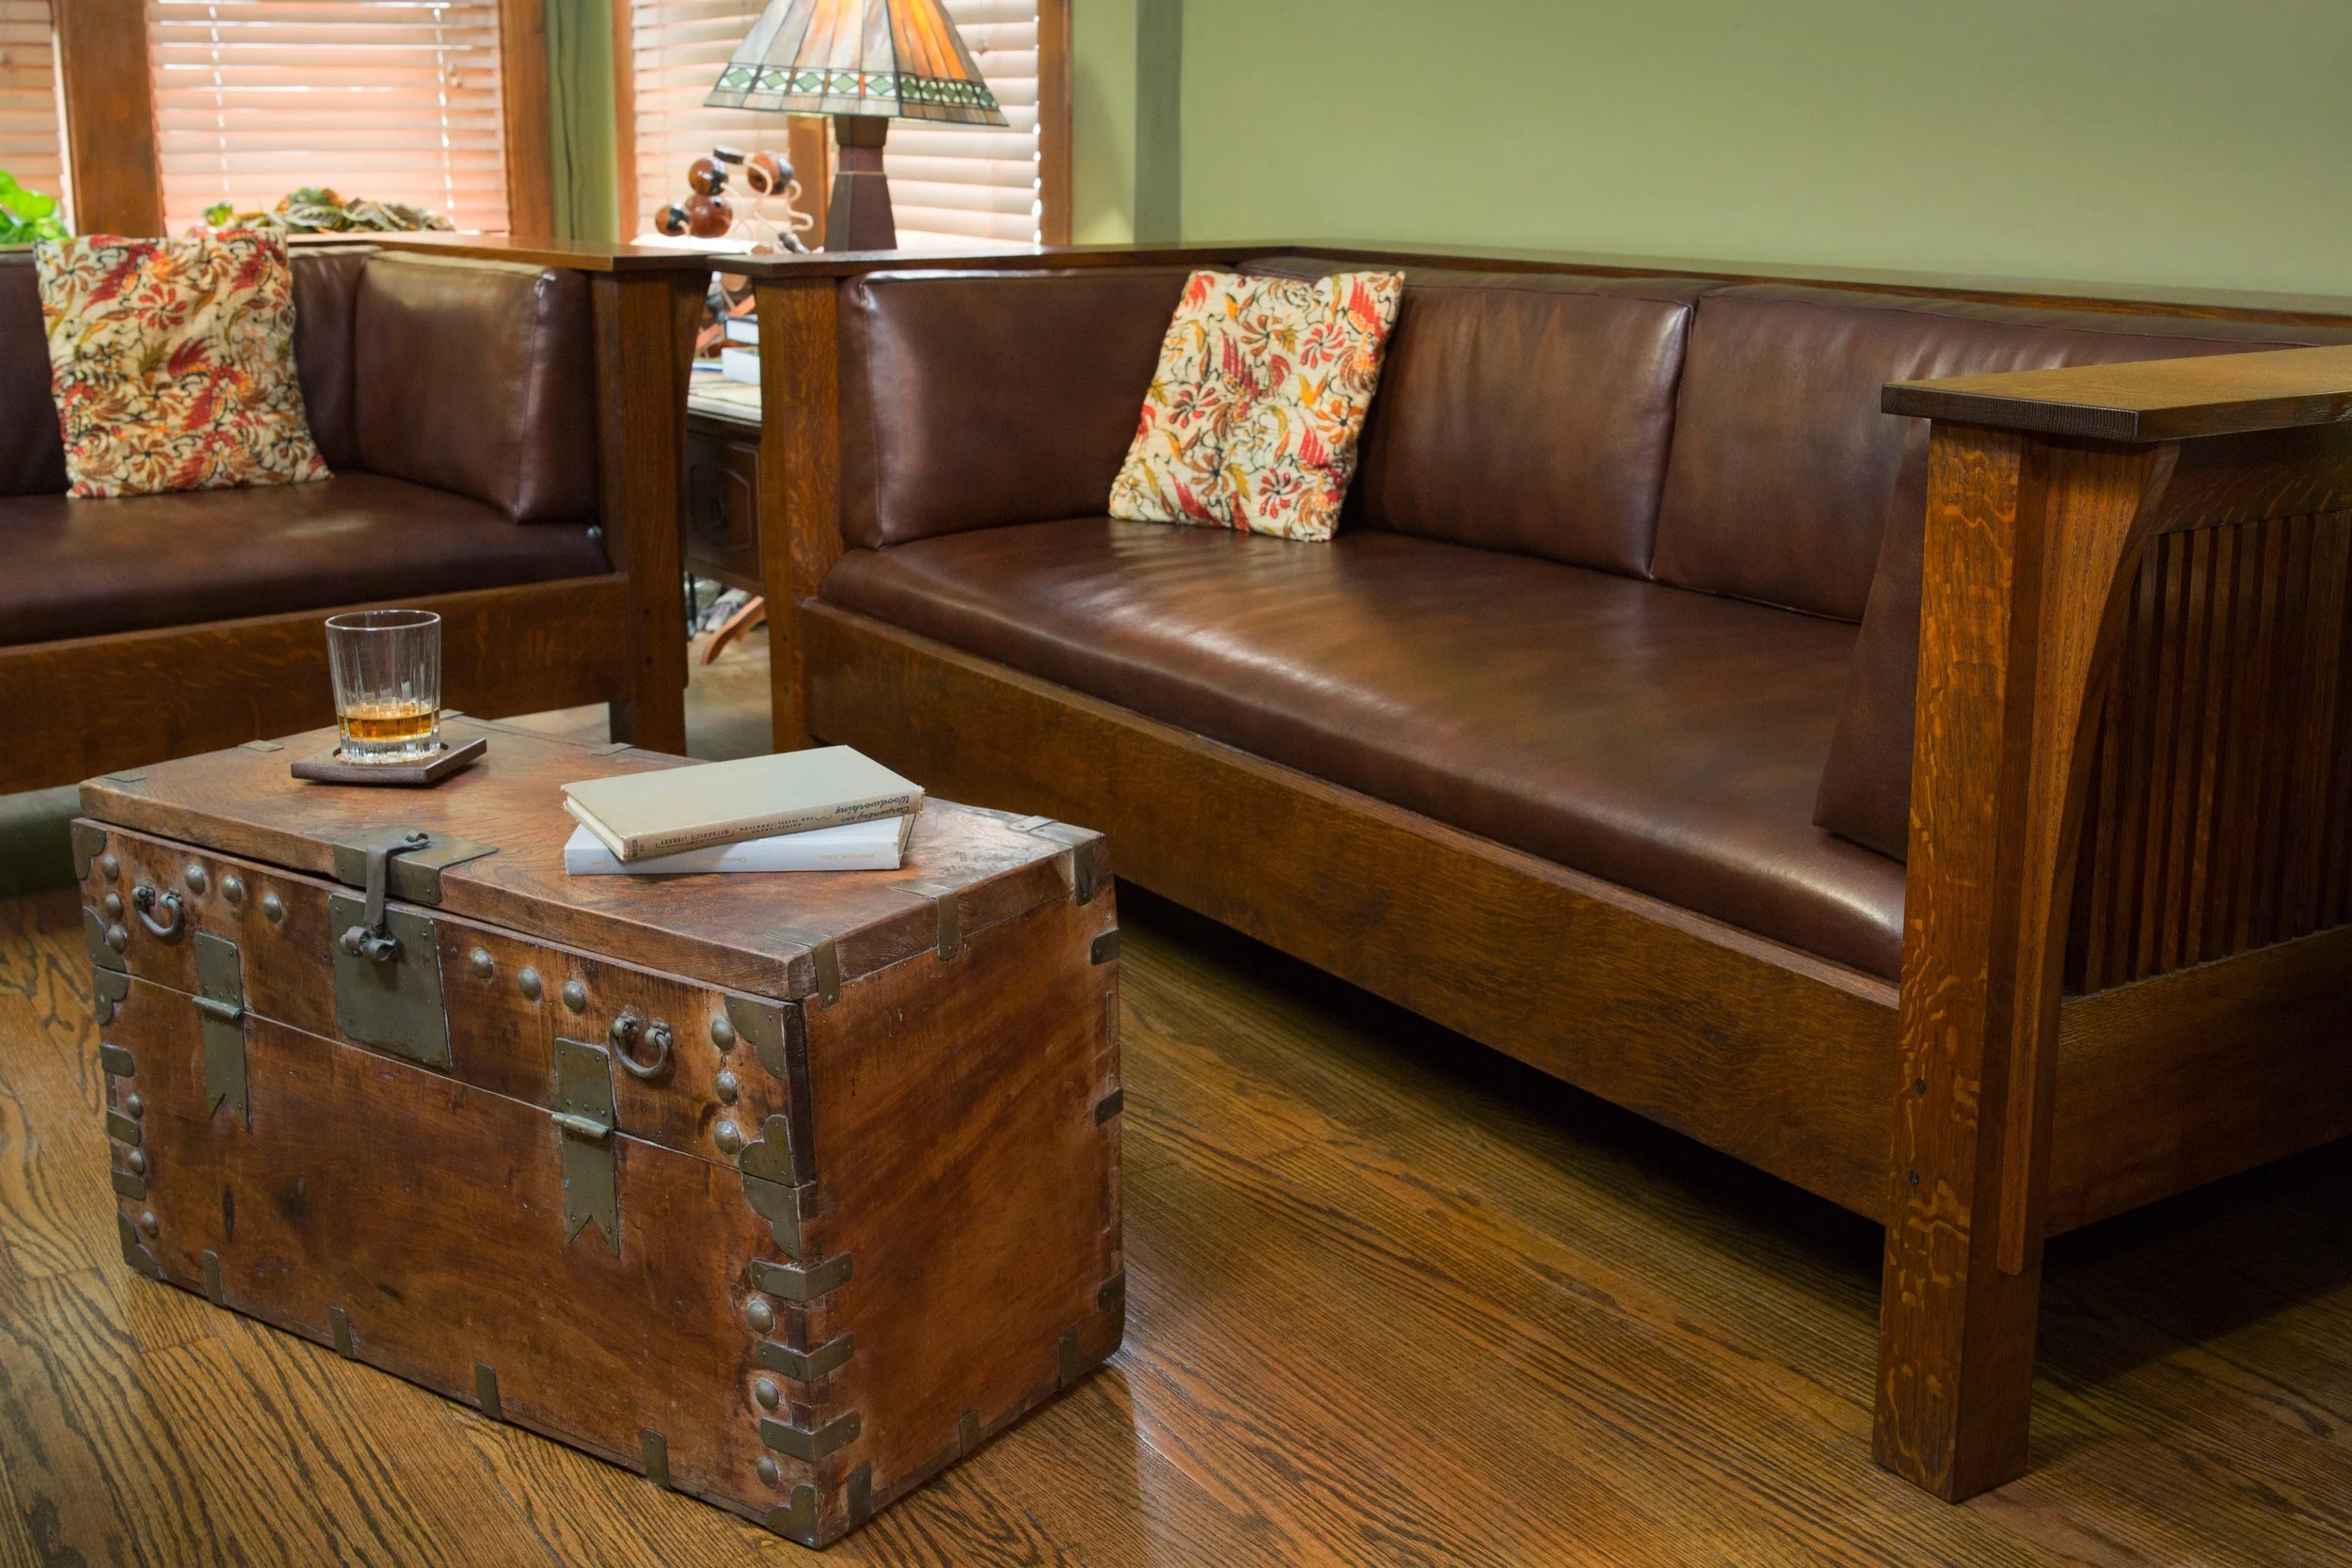
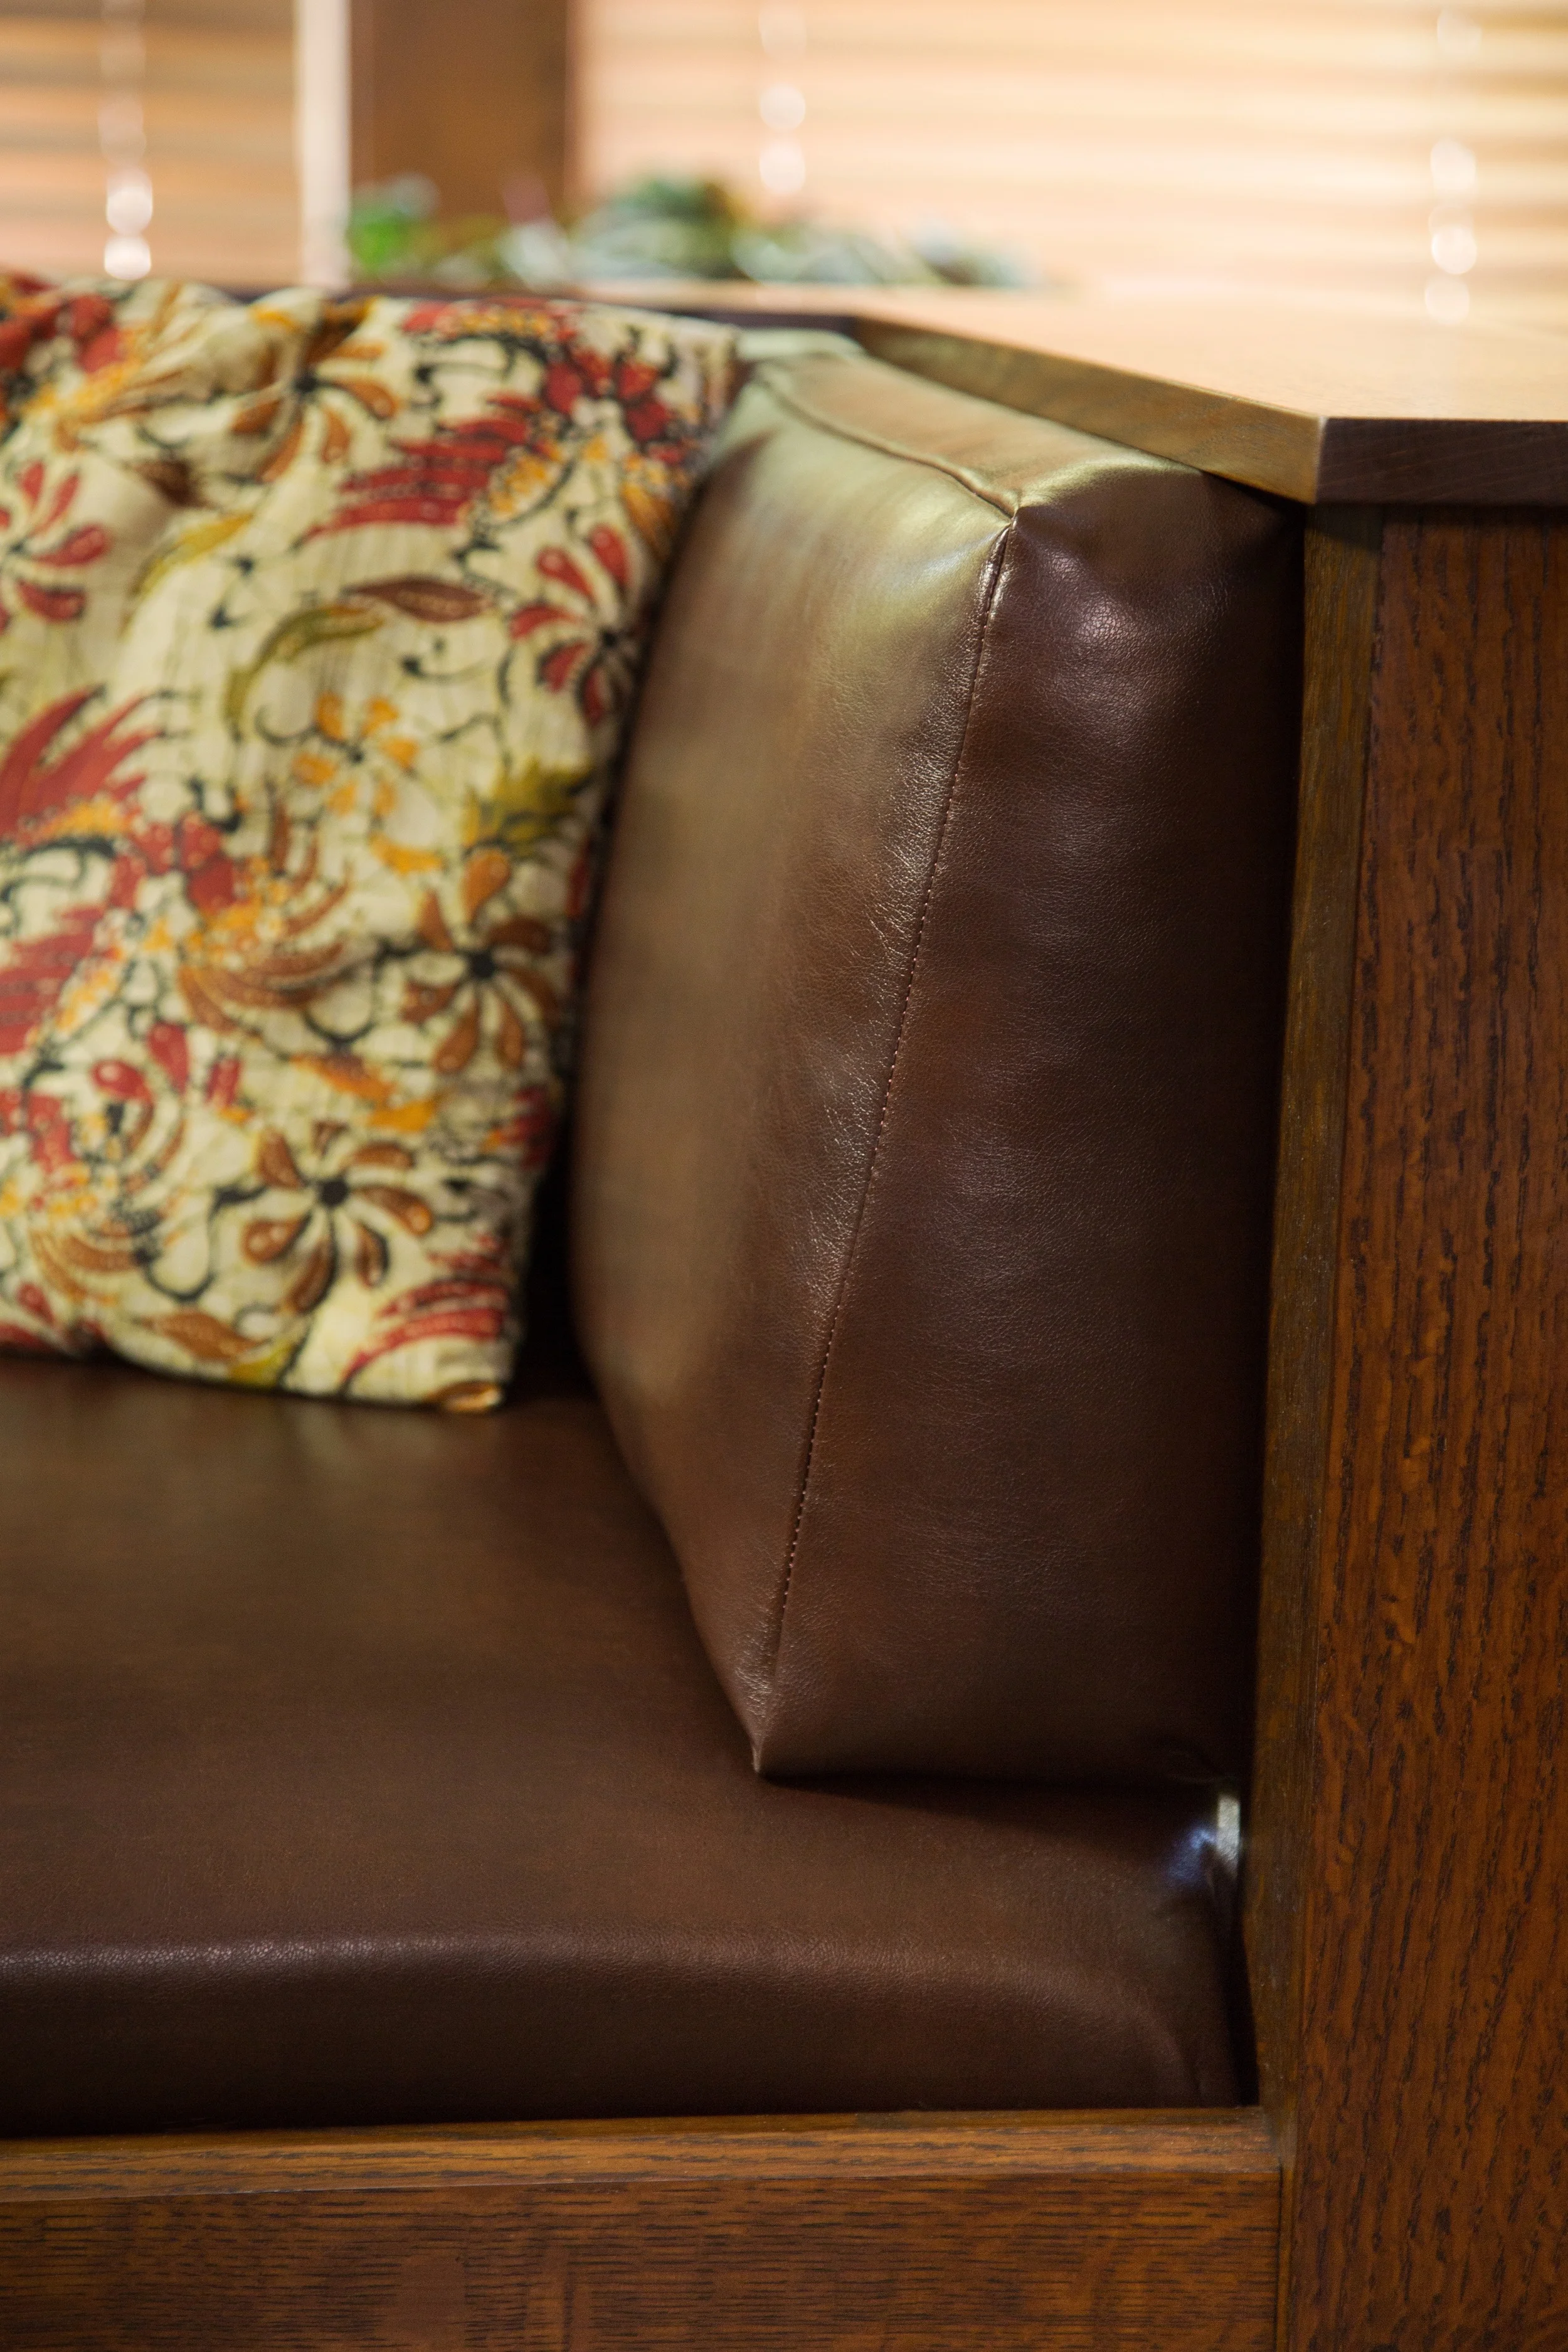
Photo by Marcus Mader. Sofa and love seat by me!
Watching my friend Marcus (http://marcusmaderphotography.com) work was a great experience, and I learned a great deal. Developing (pardon the pun) my photography skills for the purpose of taking furniture pictures is one of my goals for the next year.
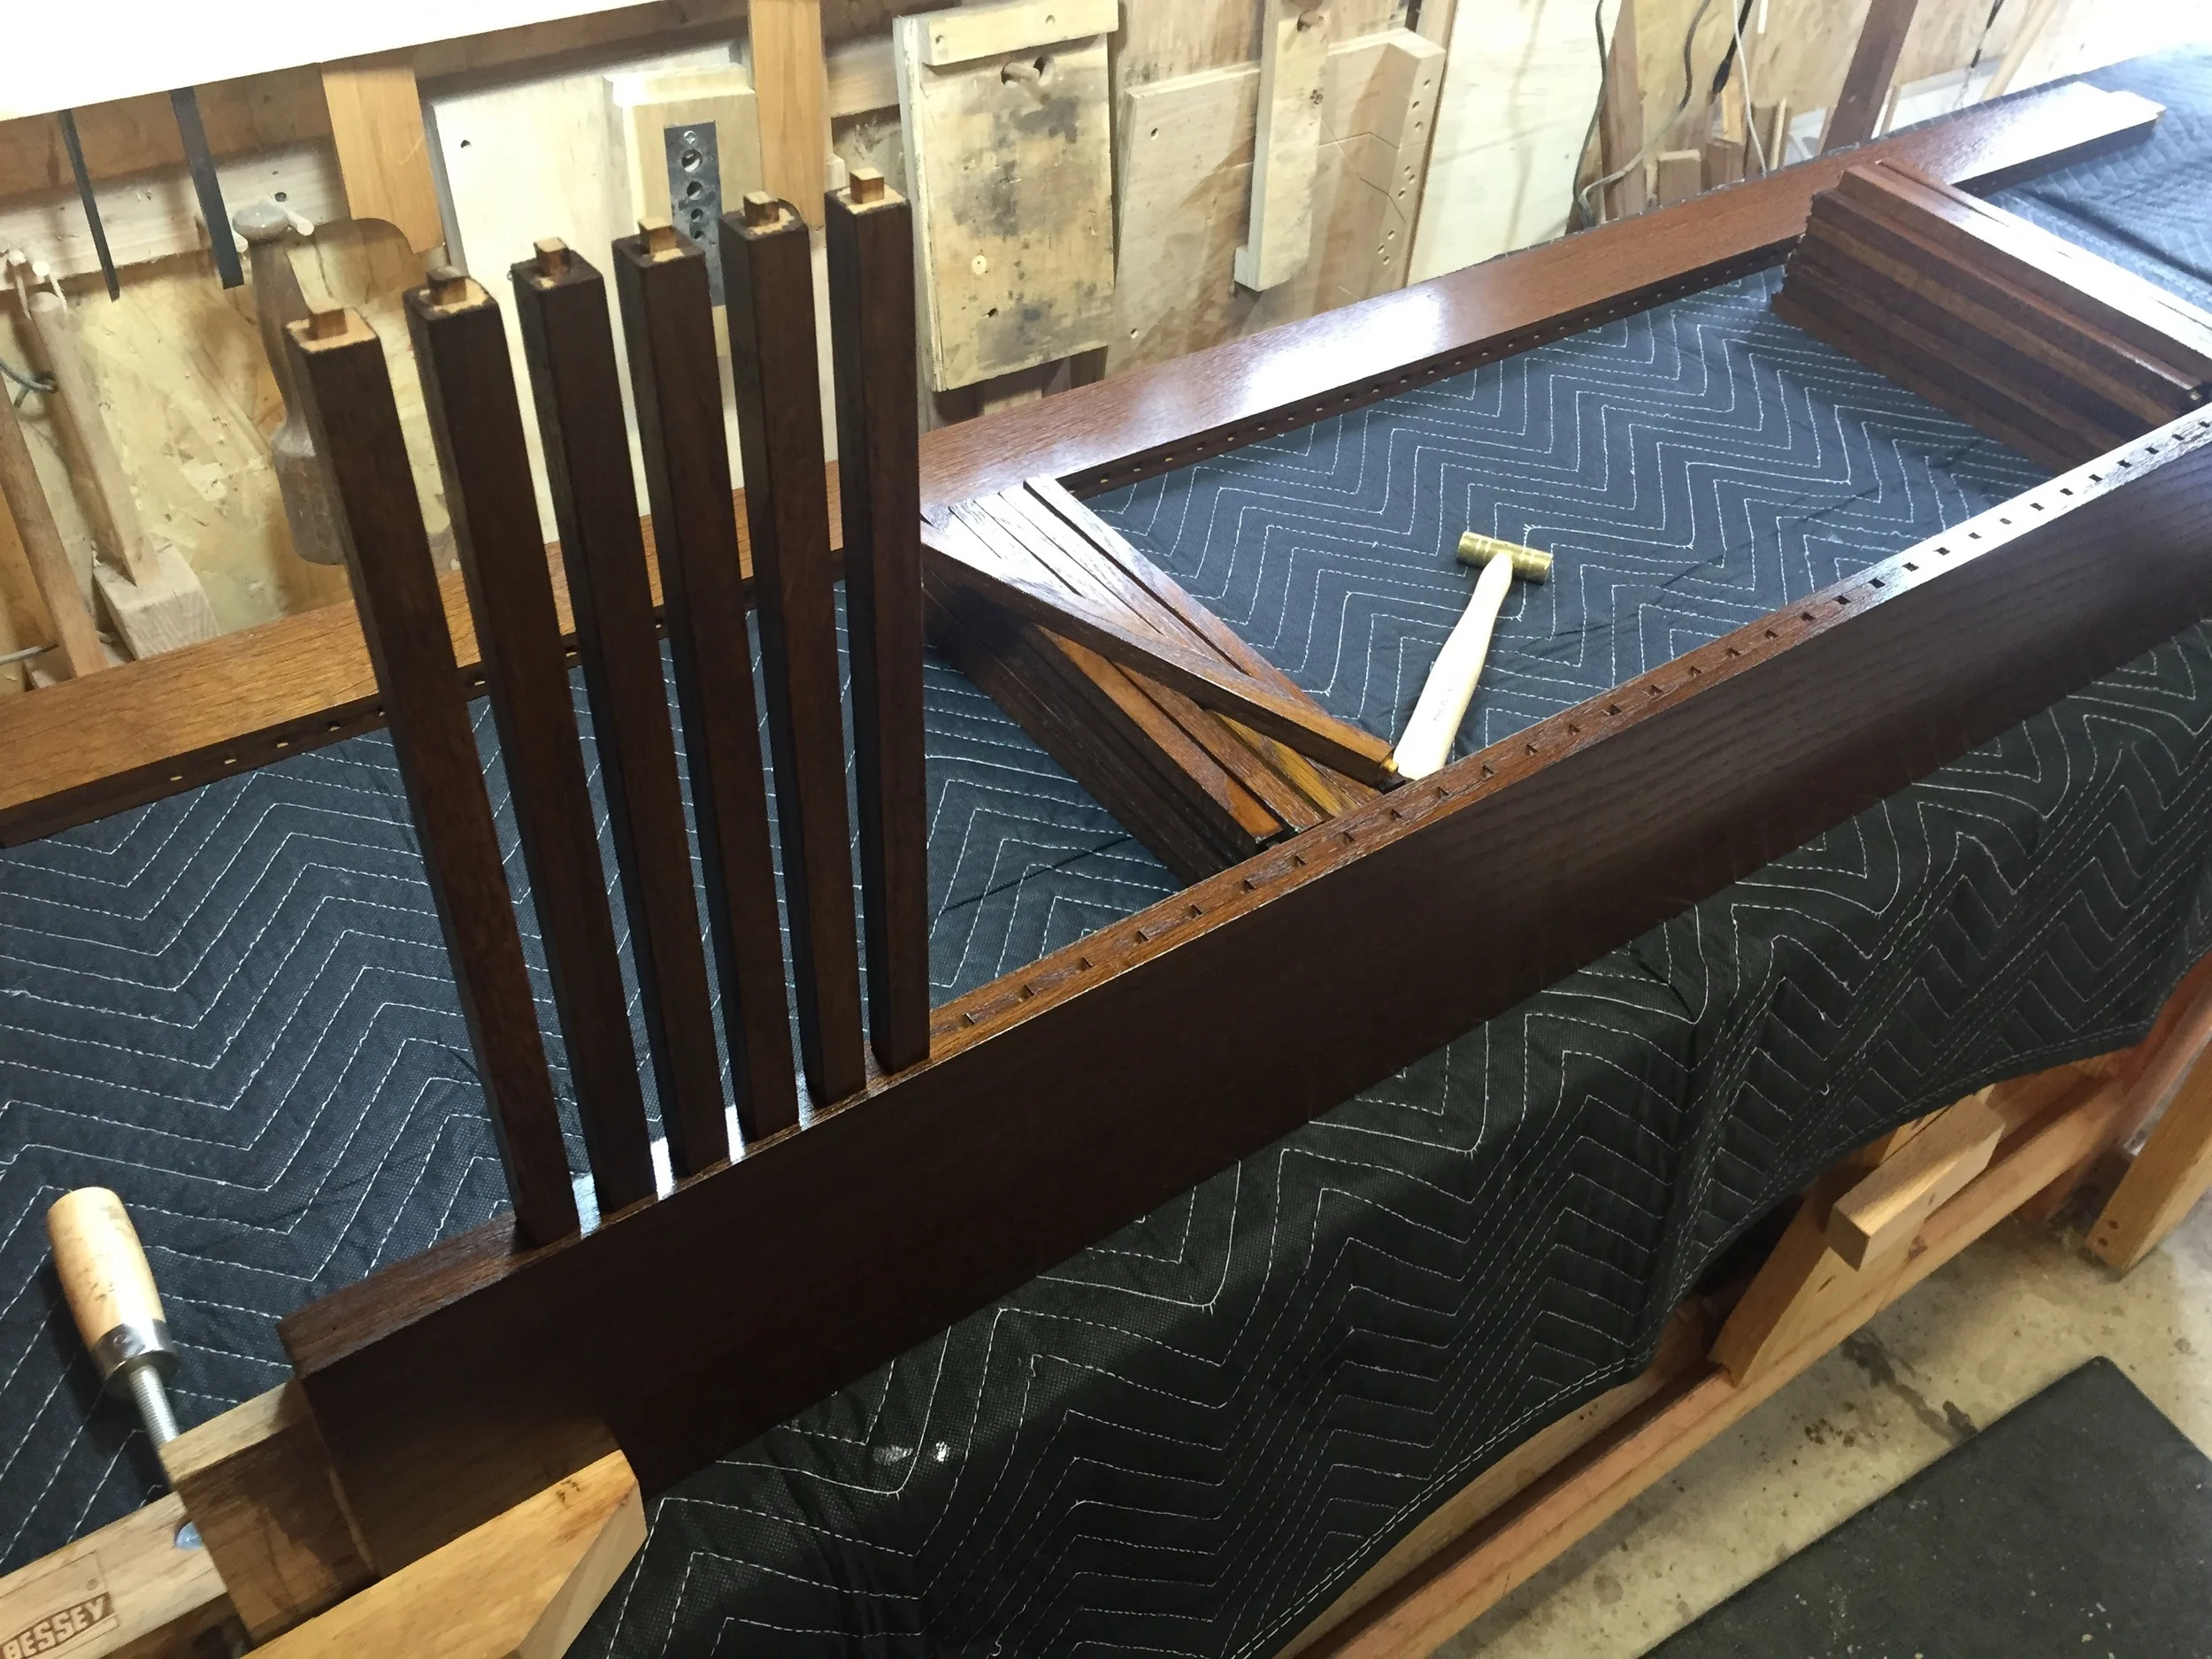
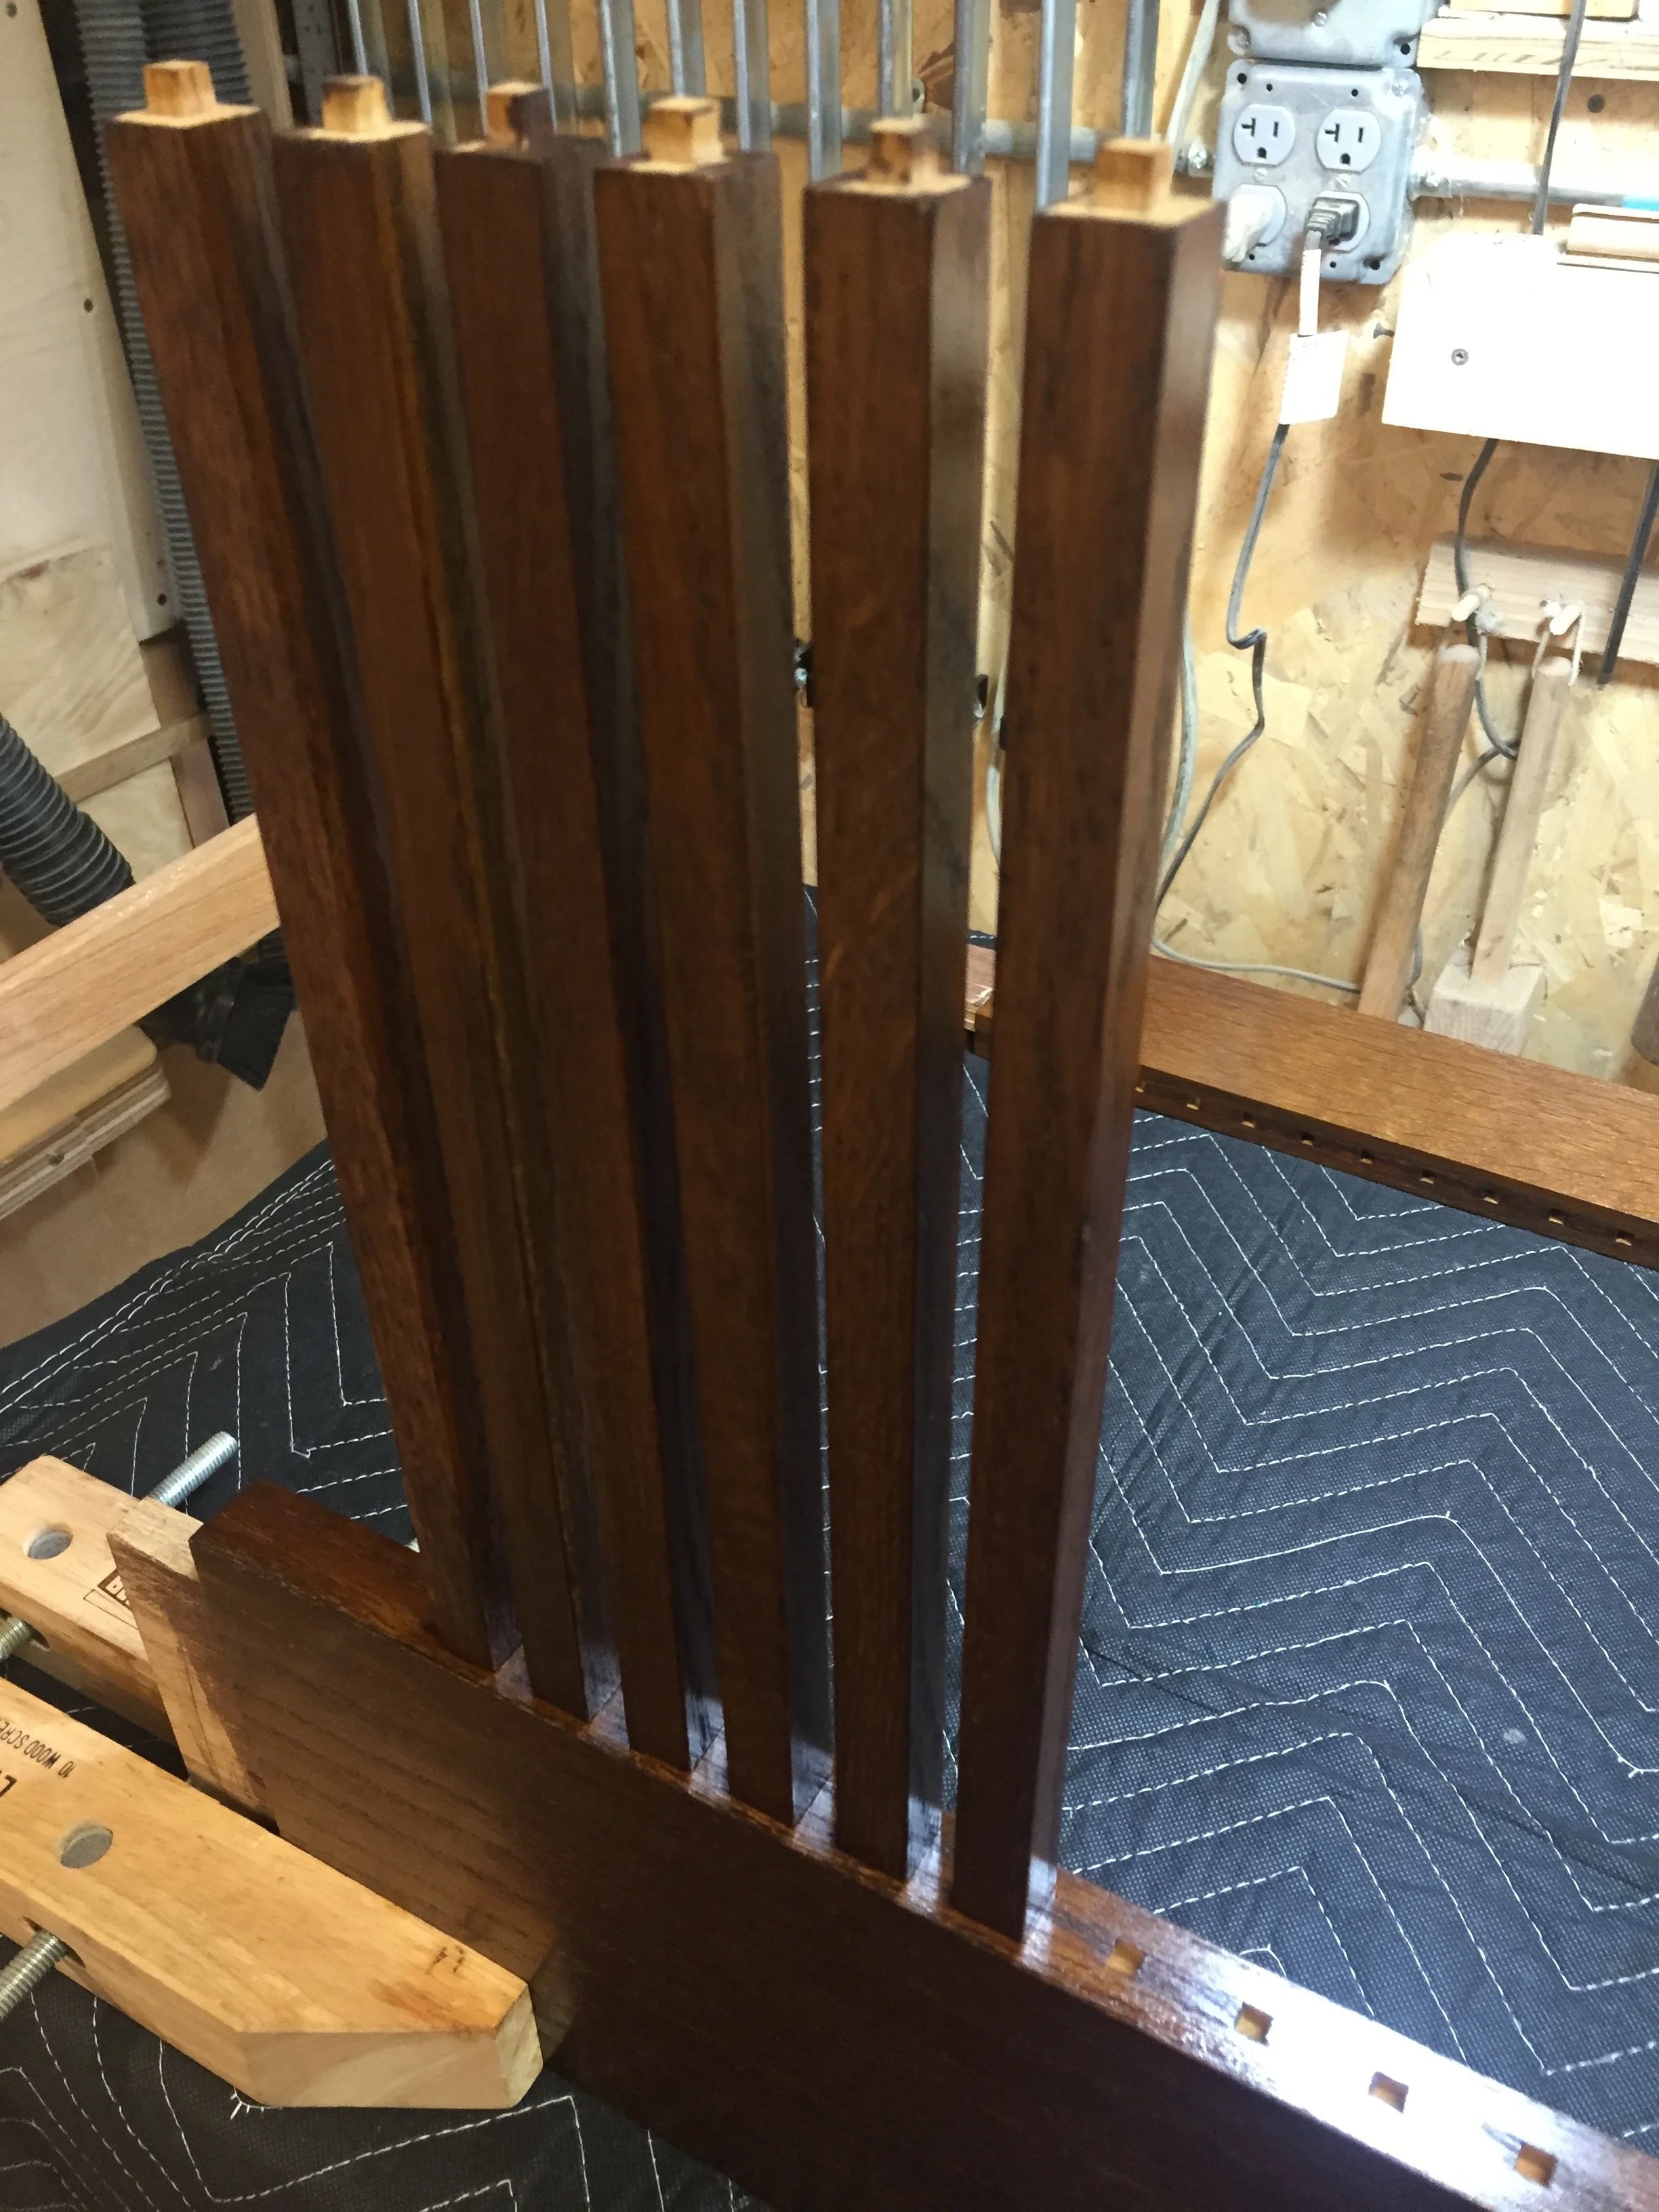
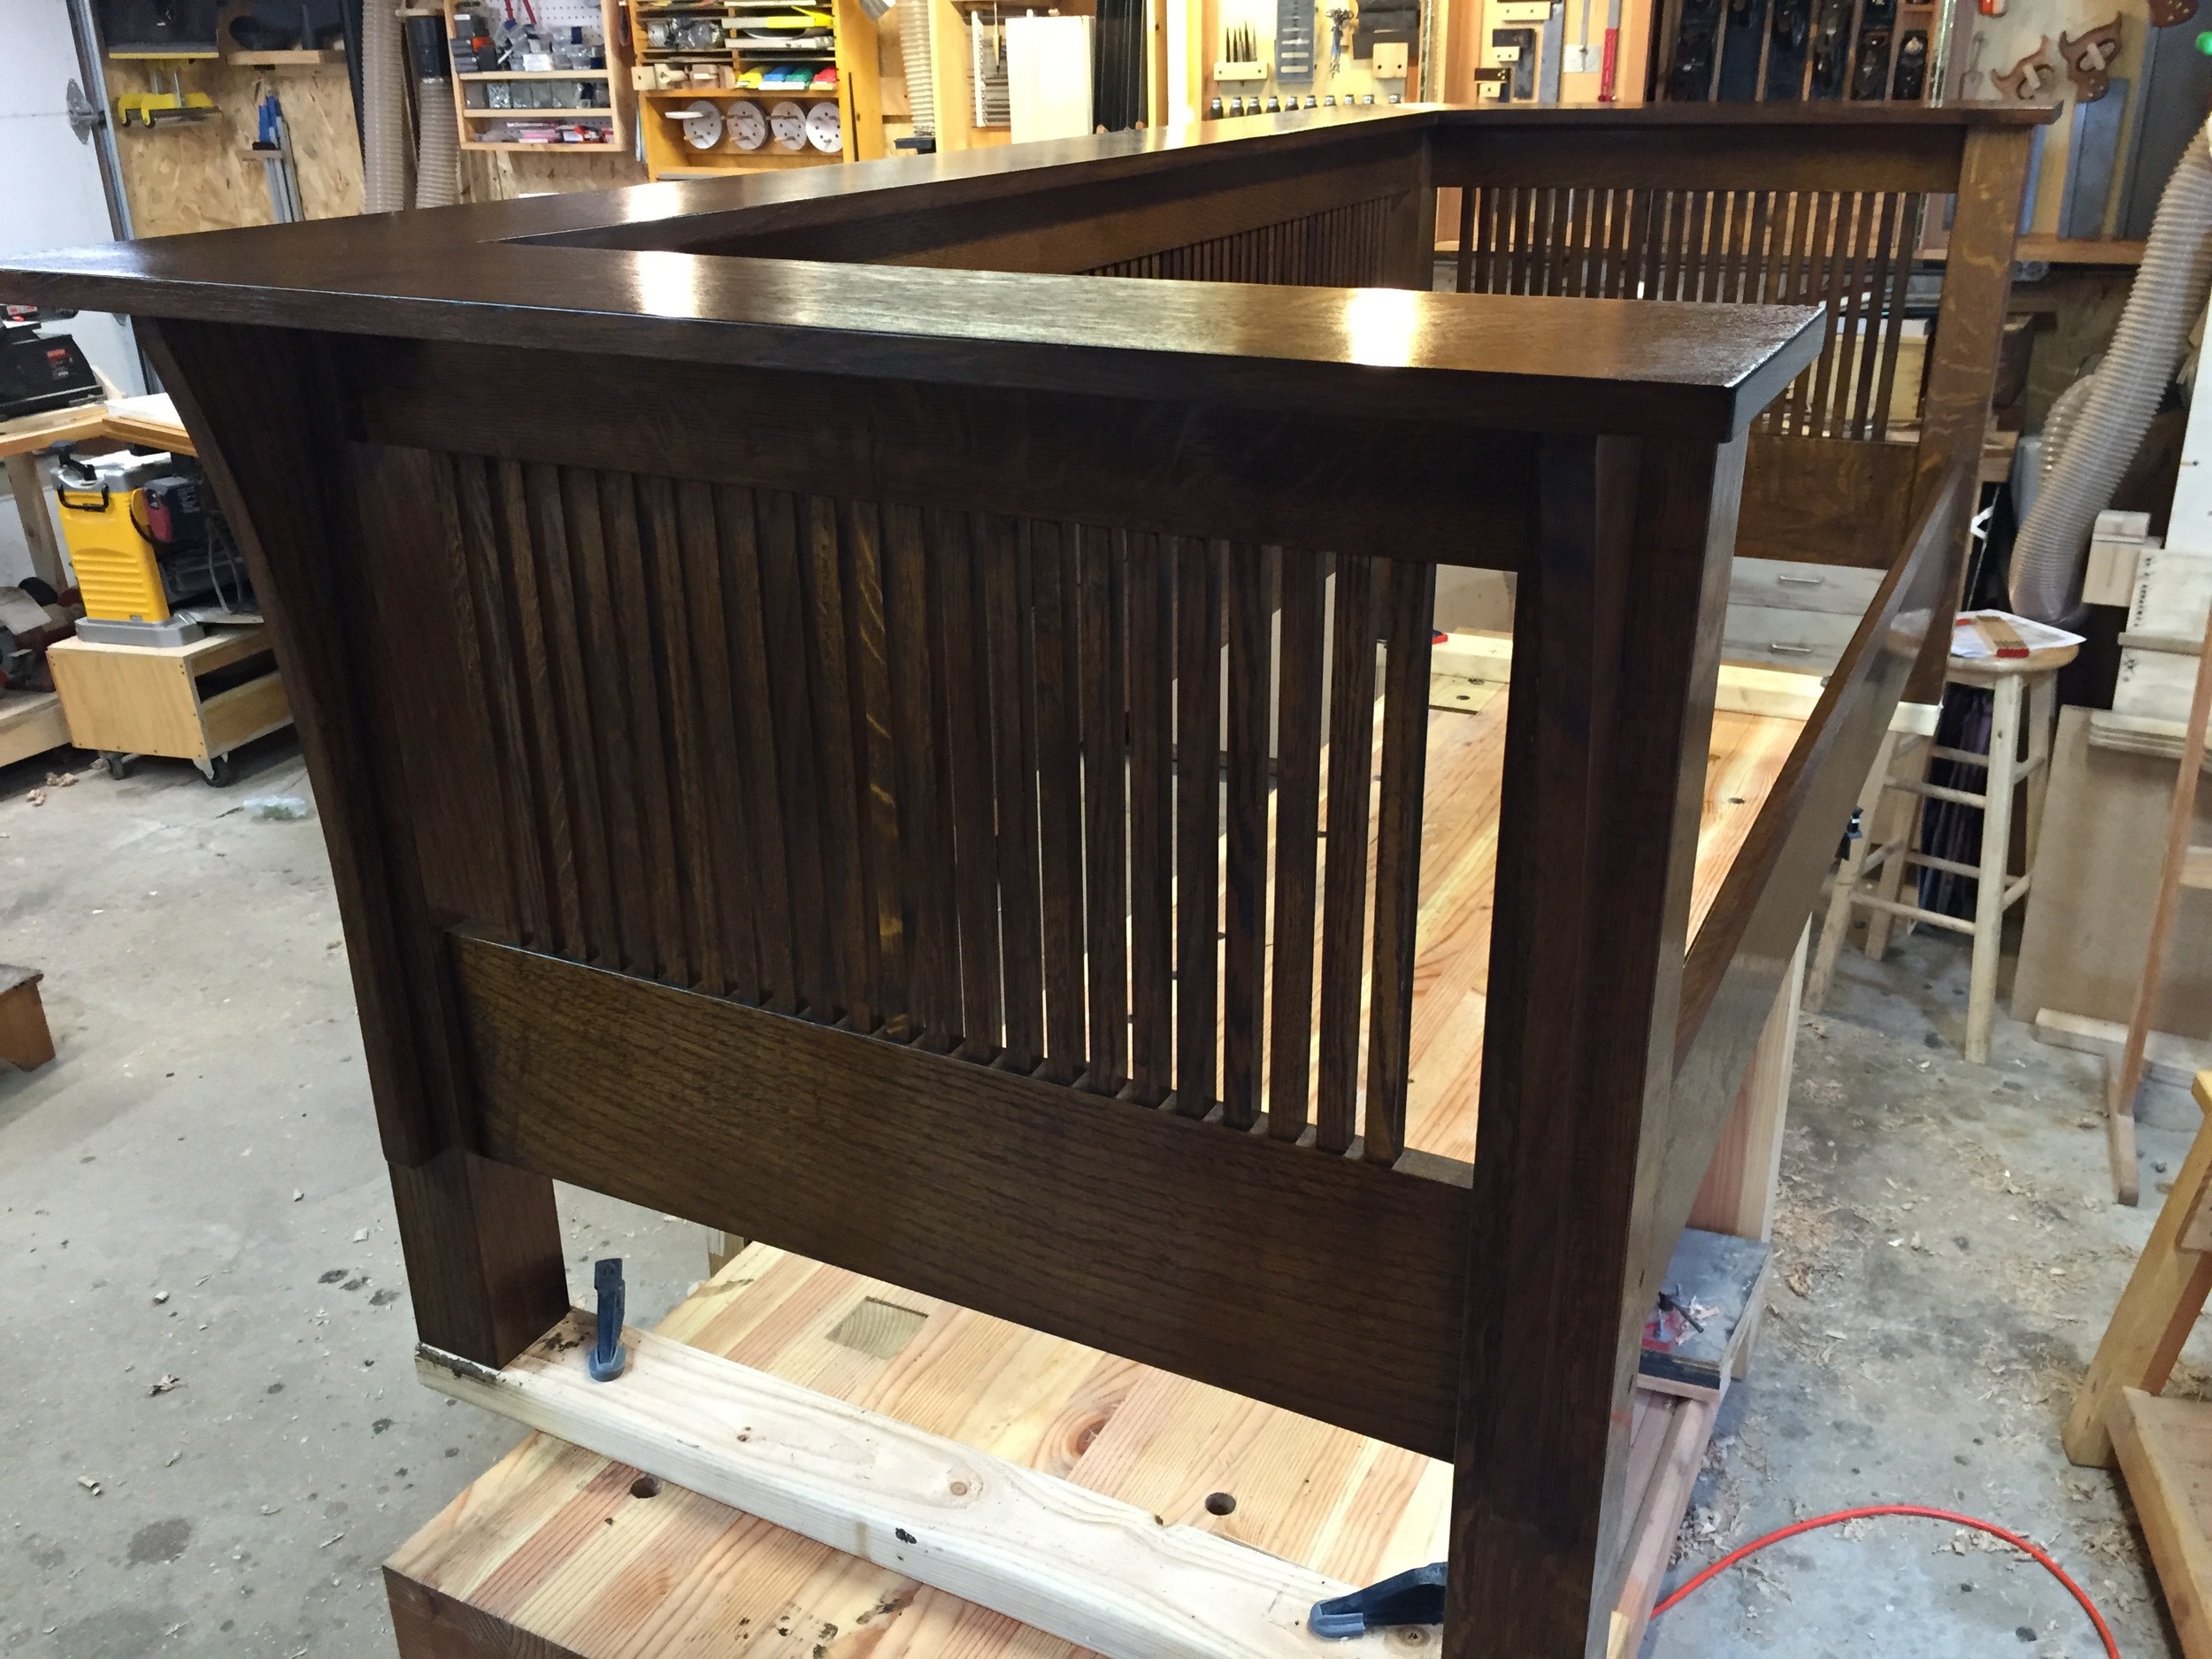
So how did the last part of the build go? In my previous post, I'd left off at pre-finishing the side assemblies. After doing all the work to get all those 206 spindles ready, the glue-up for the sides was relatively easy. Each side was glued in the mortise and tenon joints, and the spindles were just friction fit in place – no glue. I was a little concerned that any loose spindles might move, or seem loose, after assembly, but the dry fit put that fear to rest. In fact, the cumulative tension of all those spindles made pulling them apart difficult, which was a good sign.
A side assembly glue up
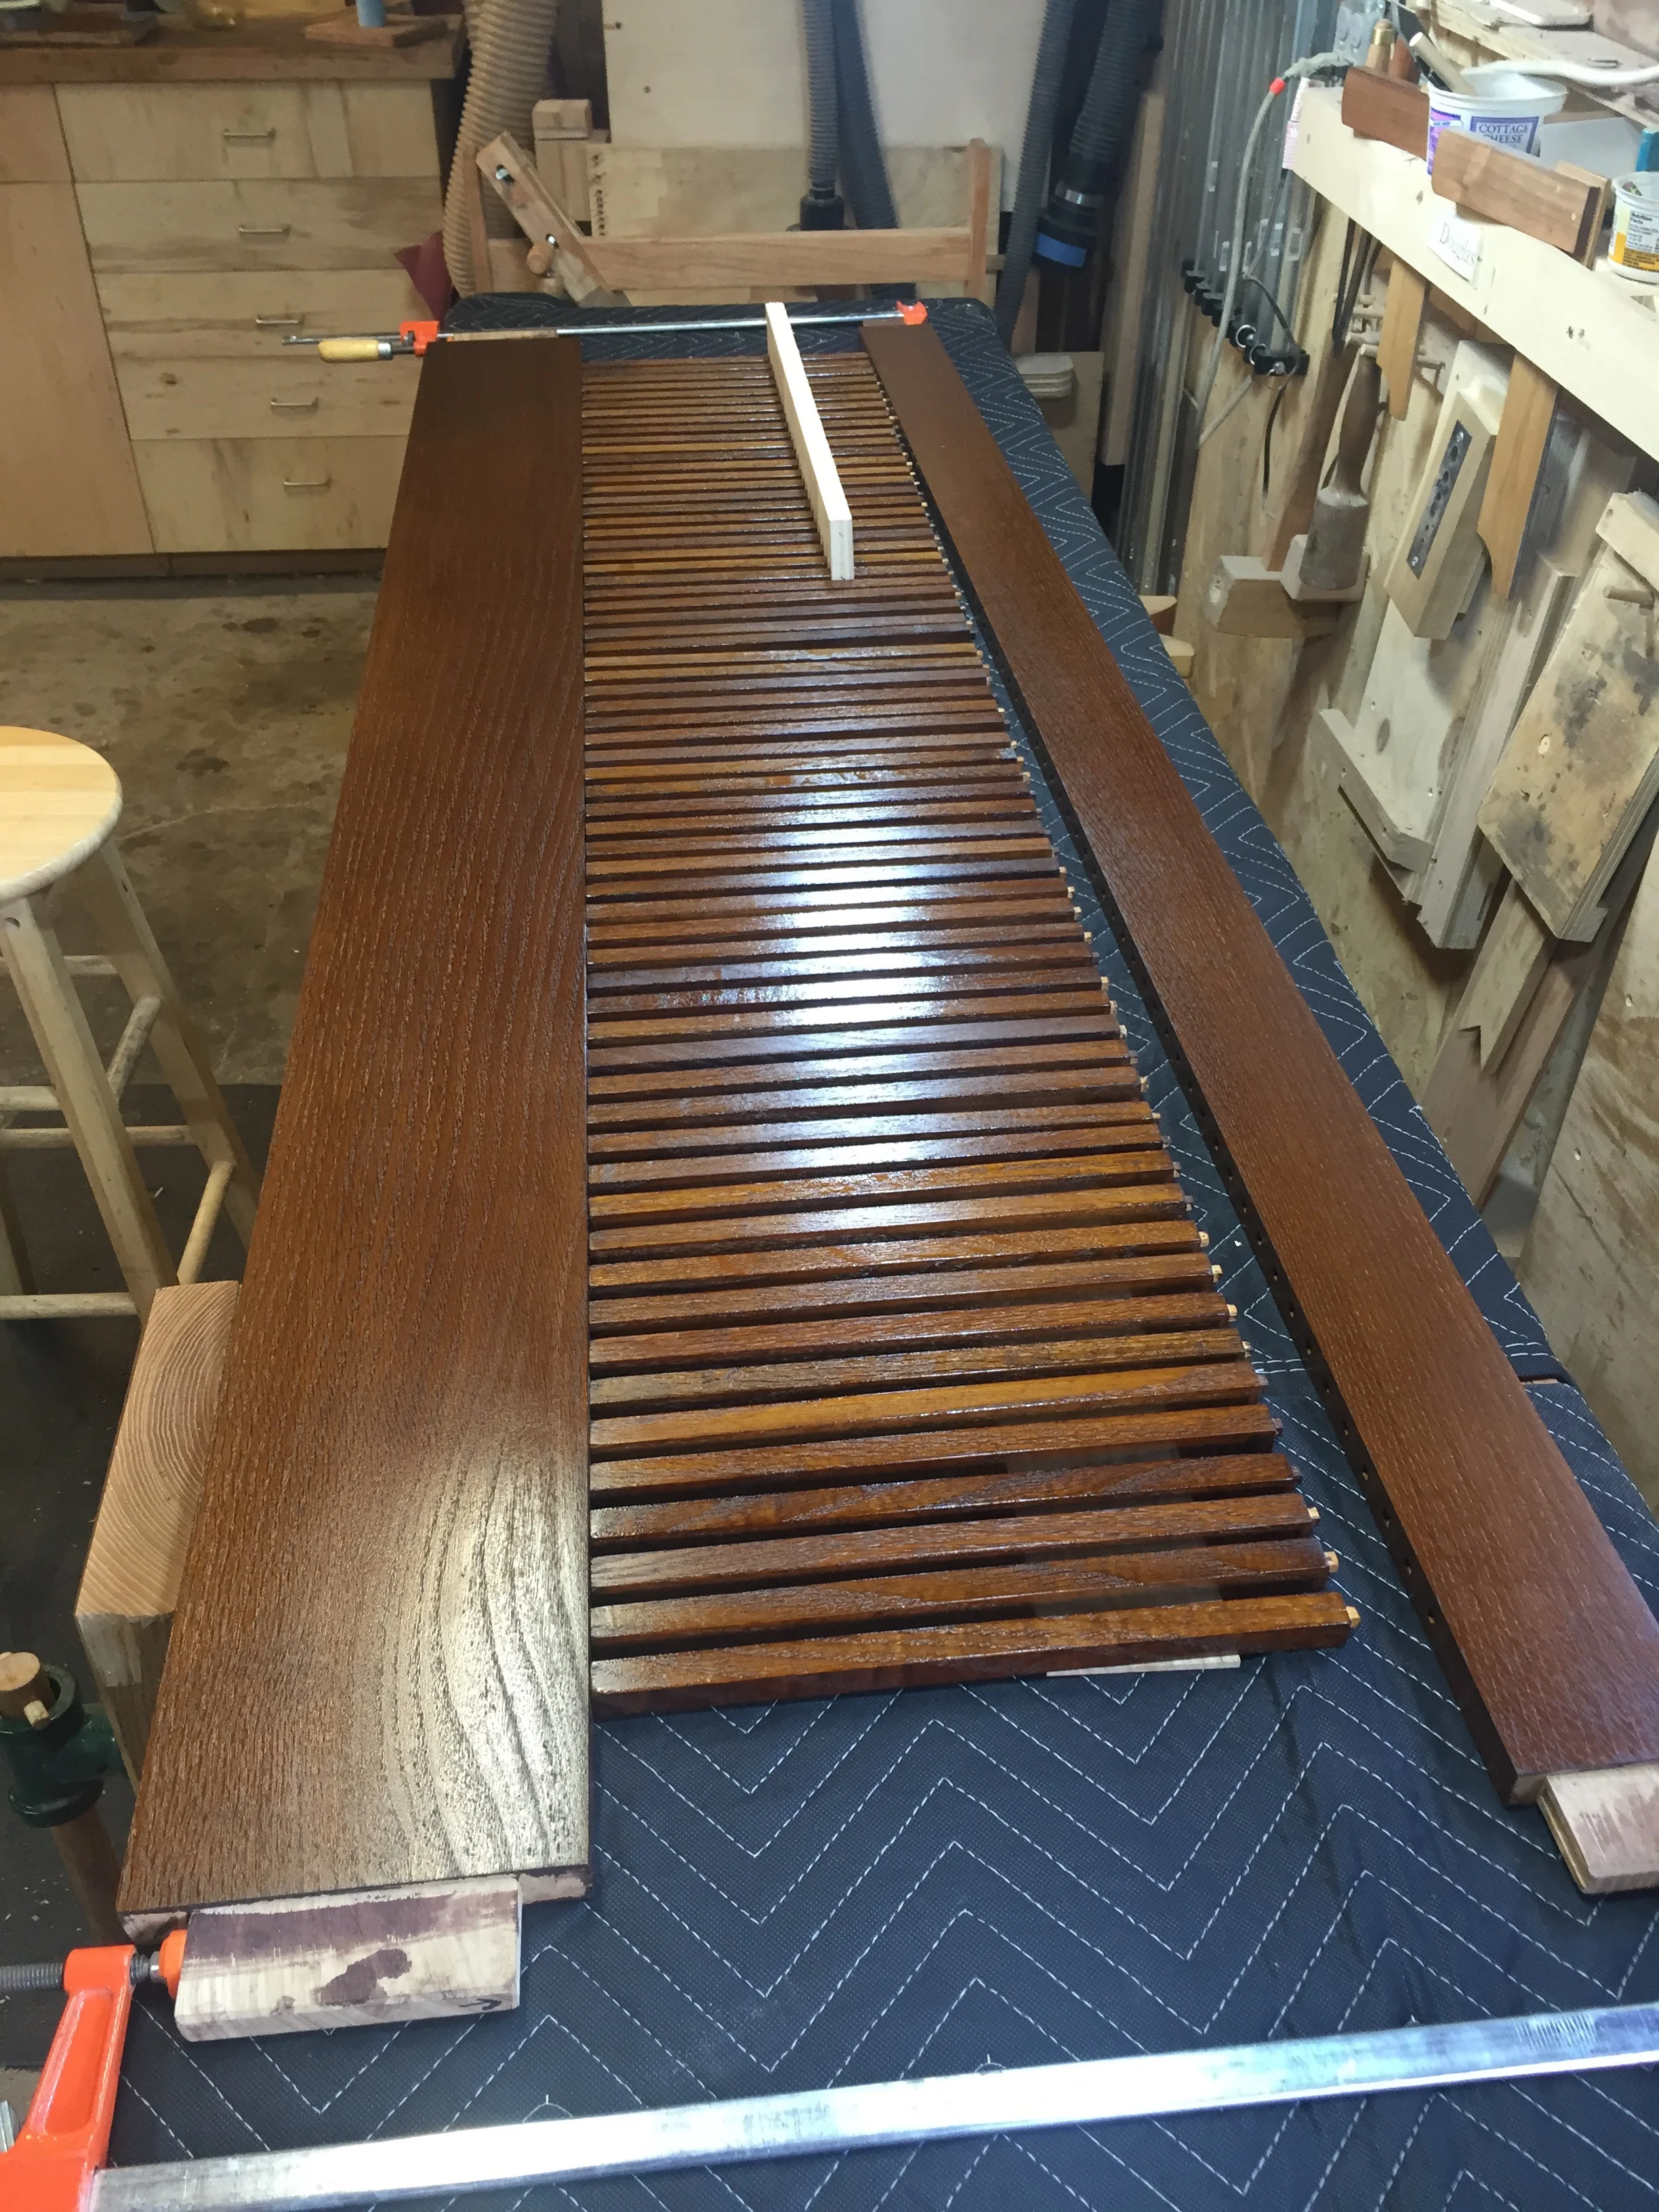
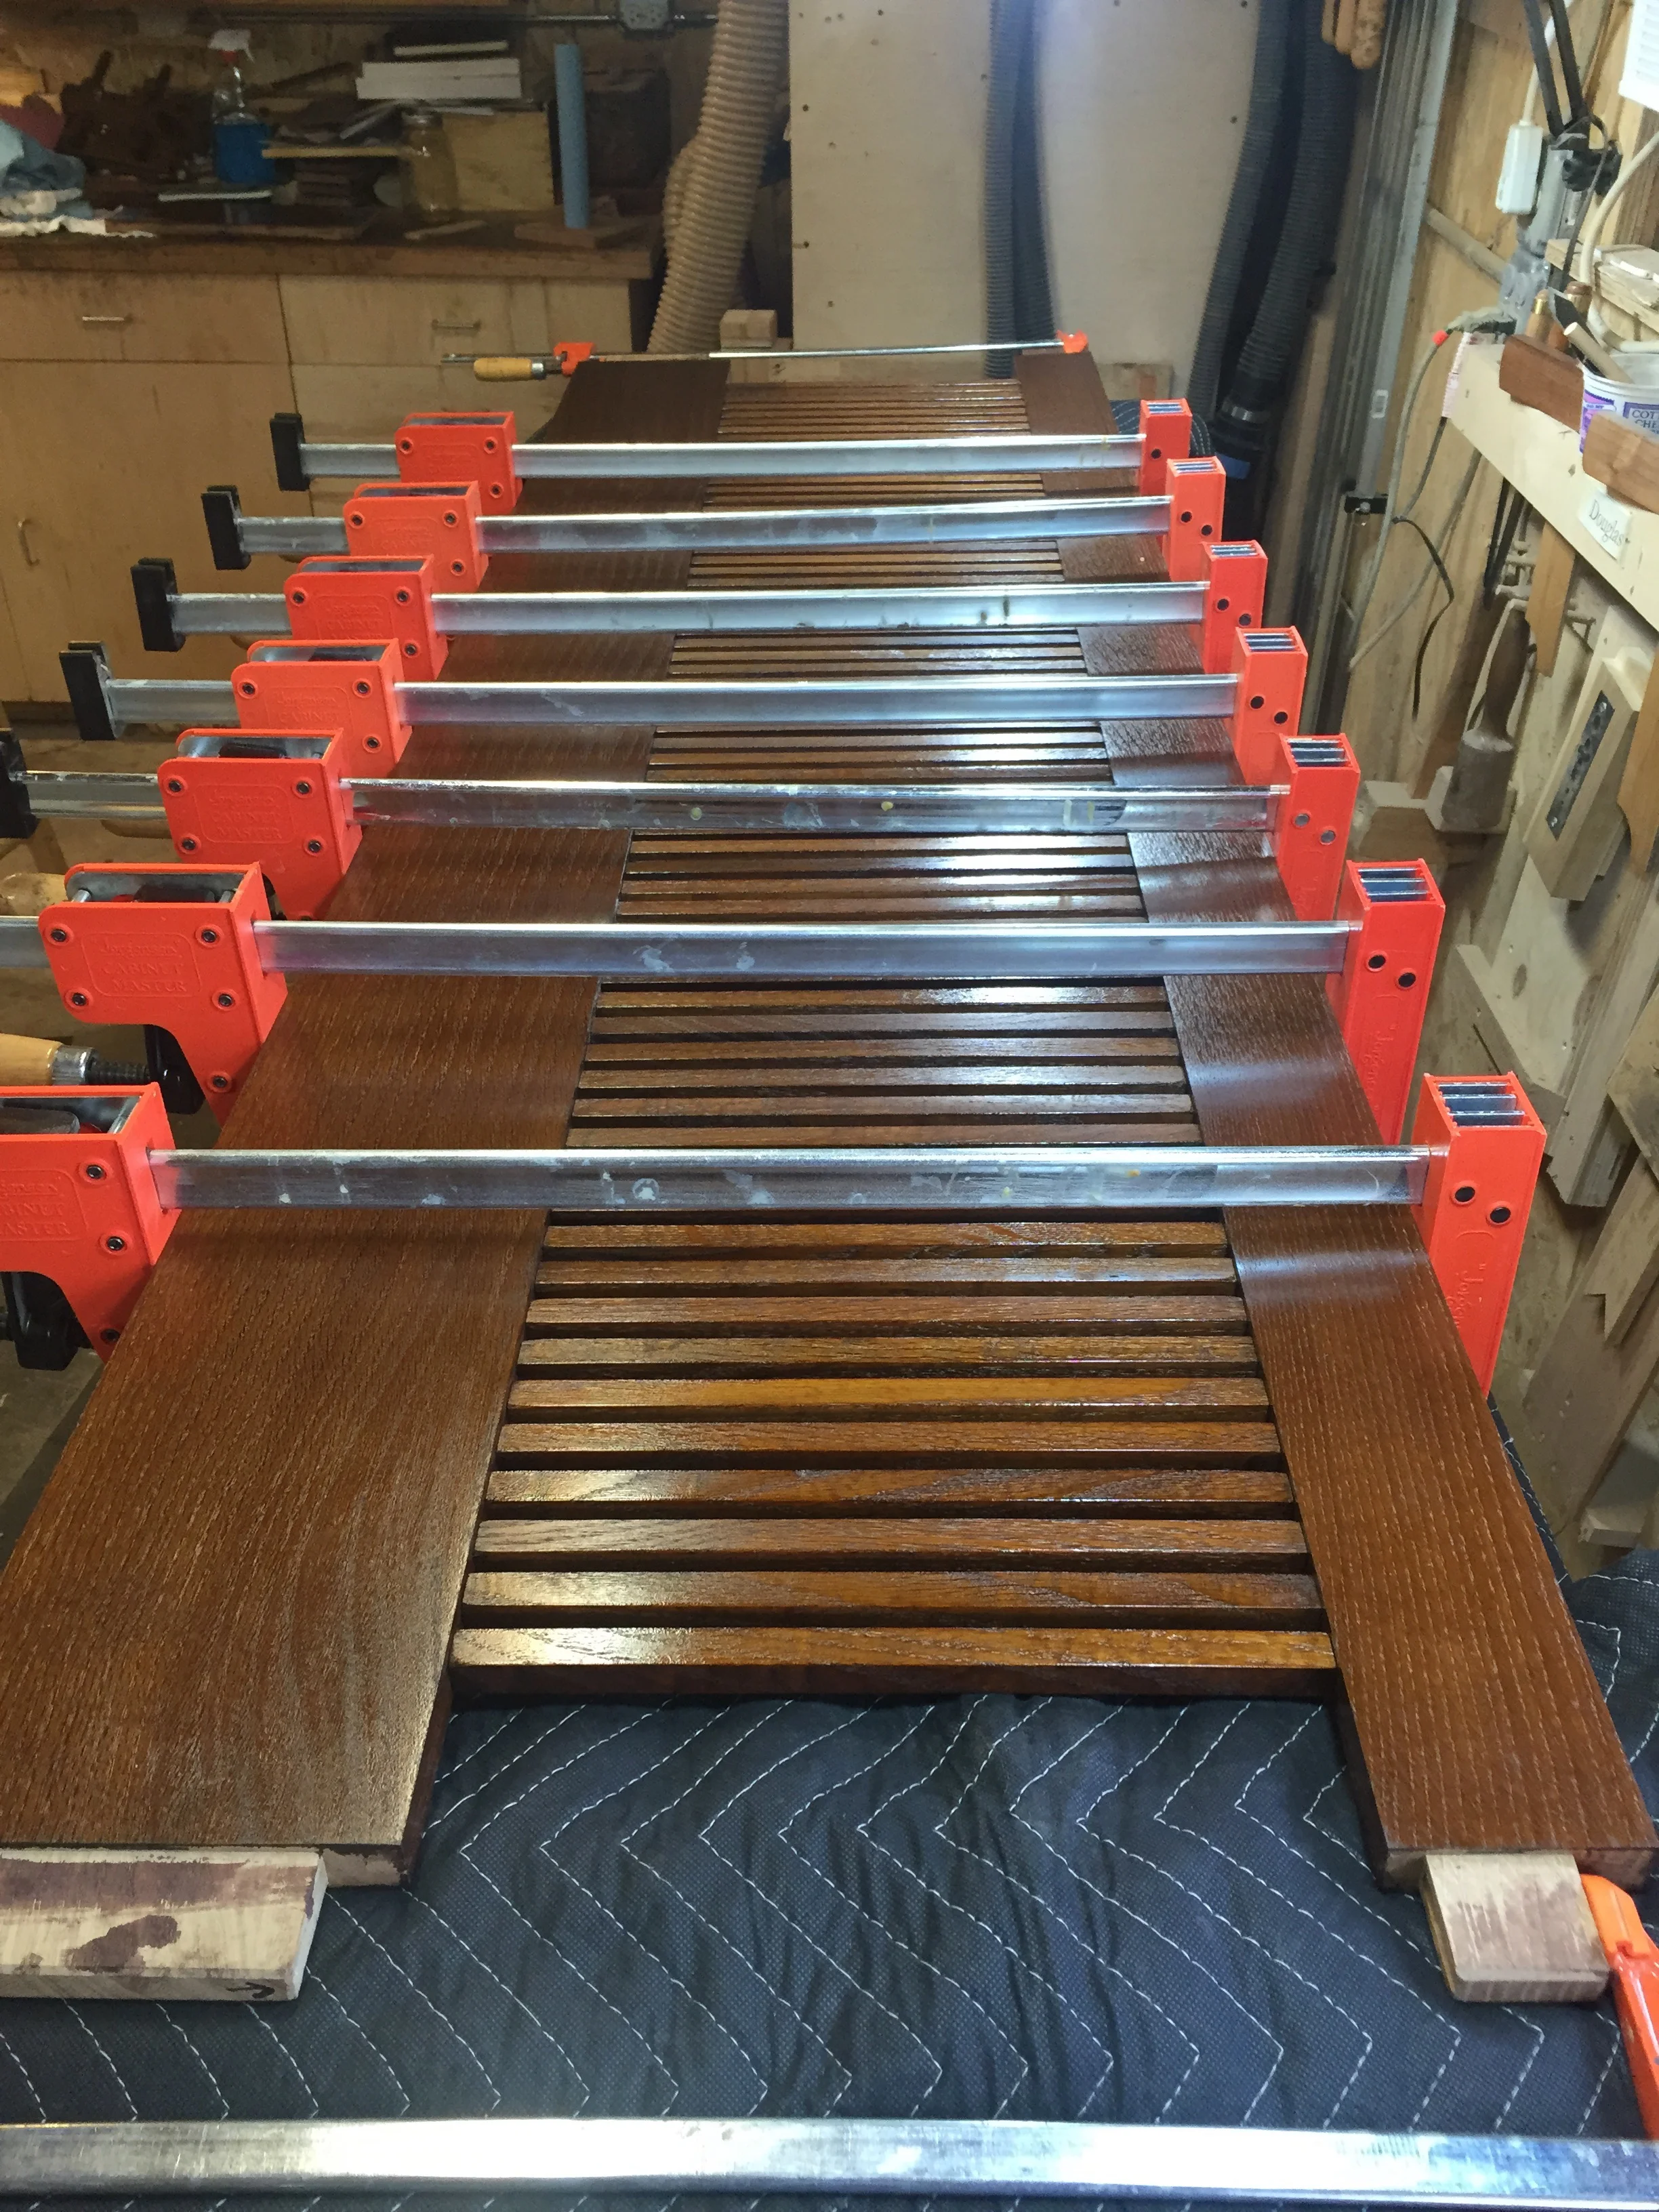
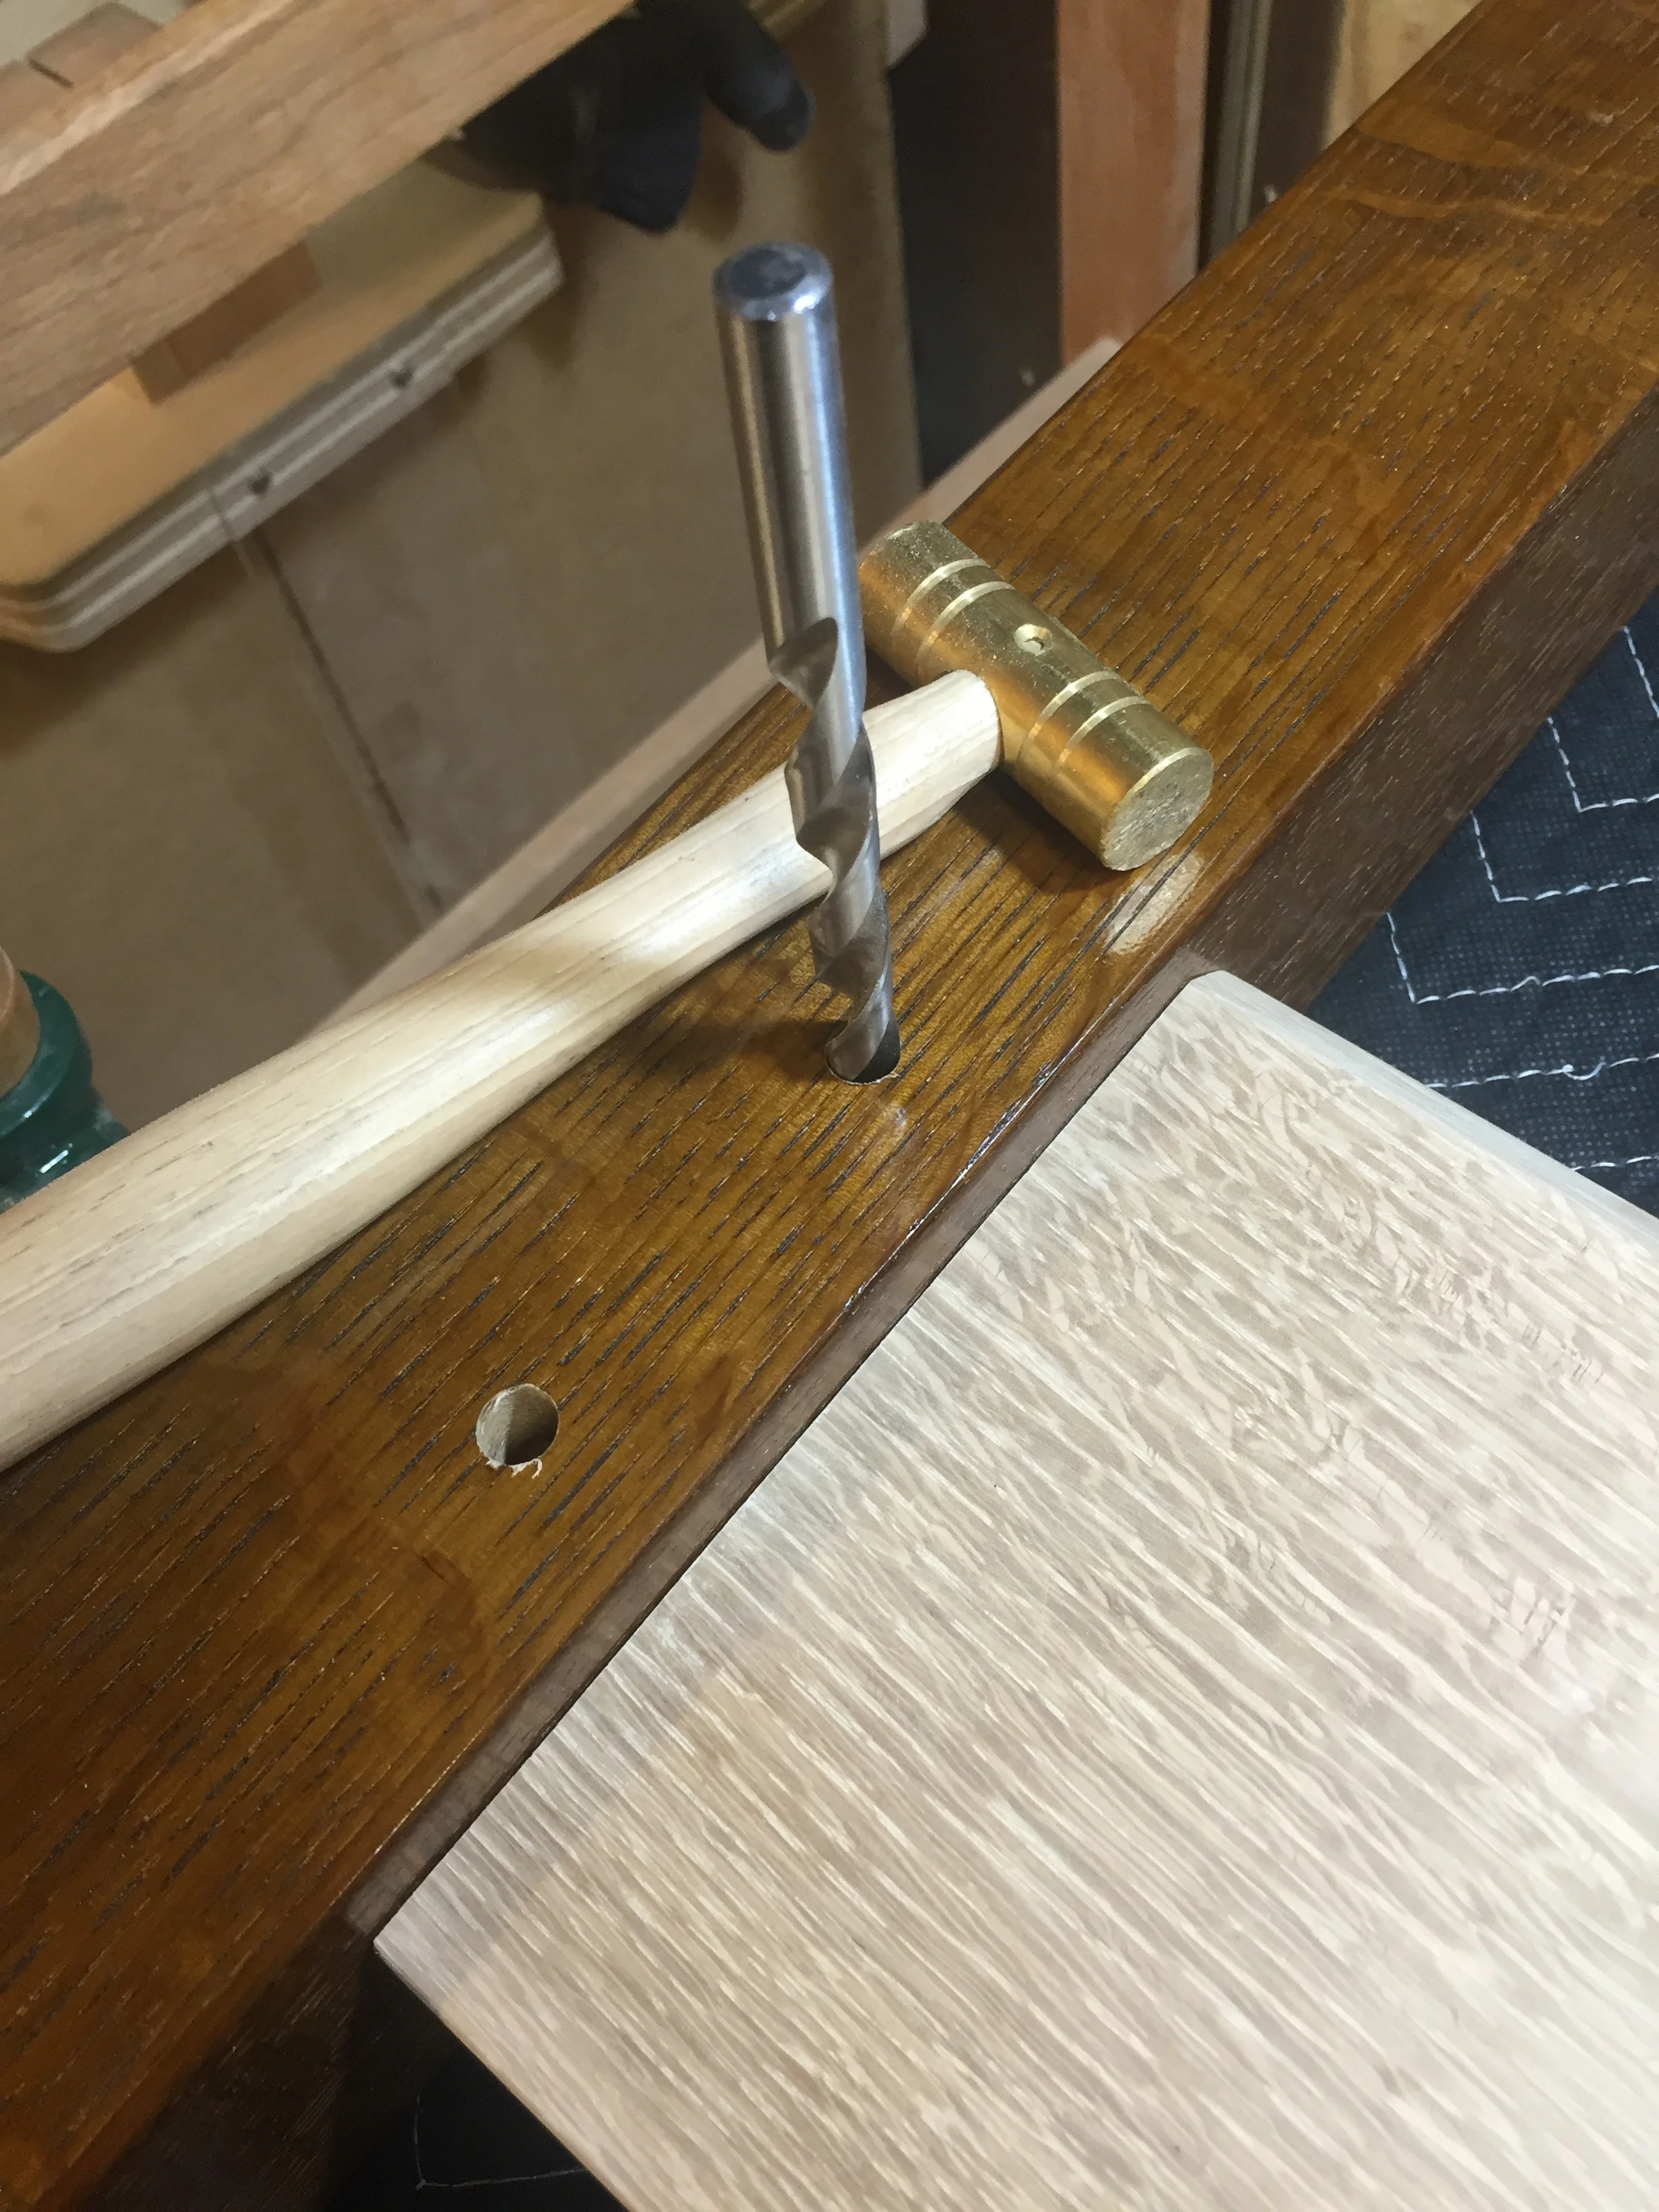
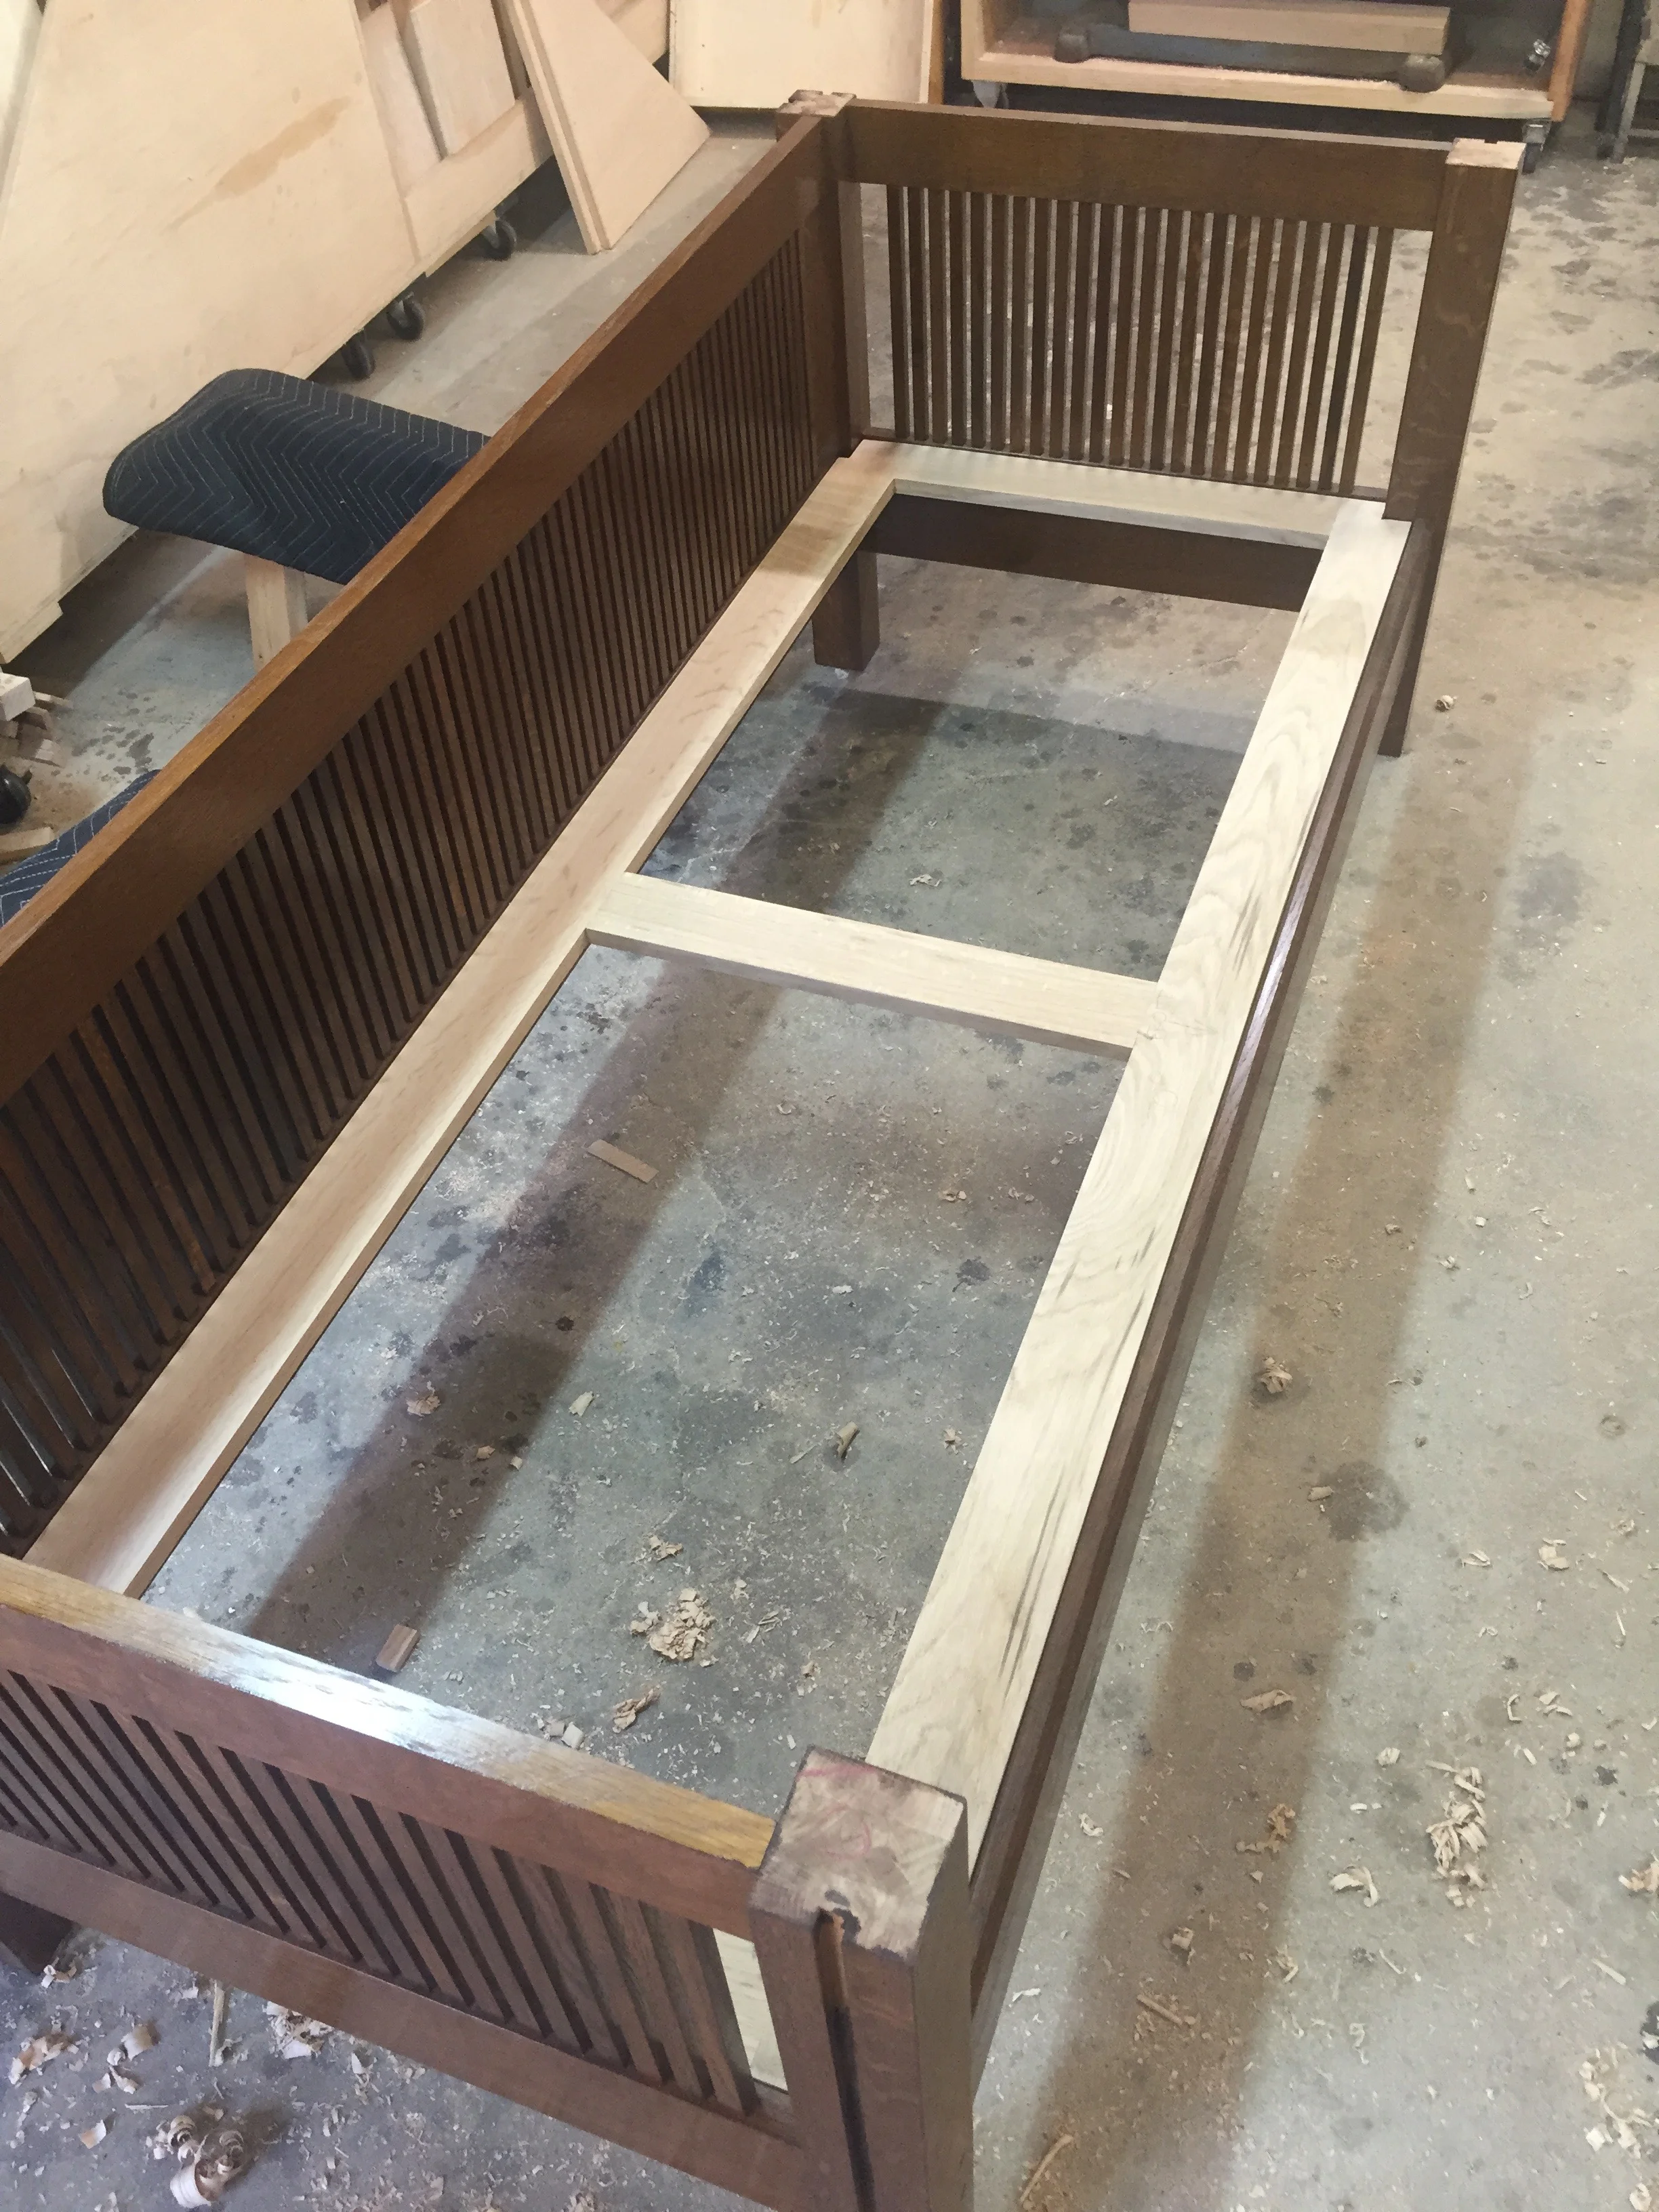
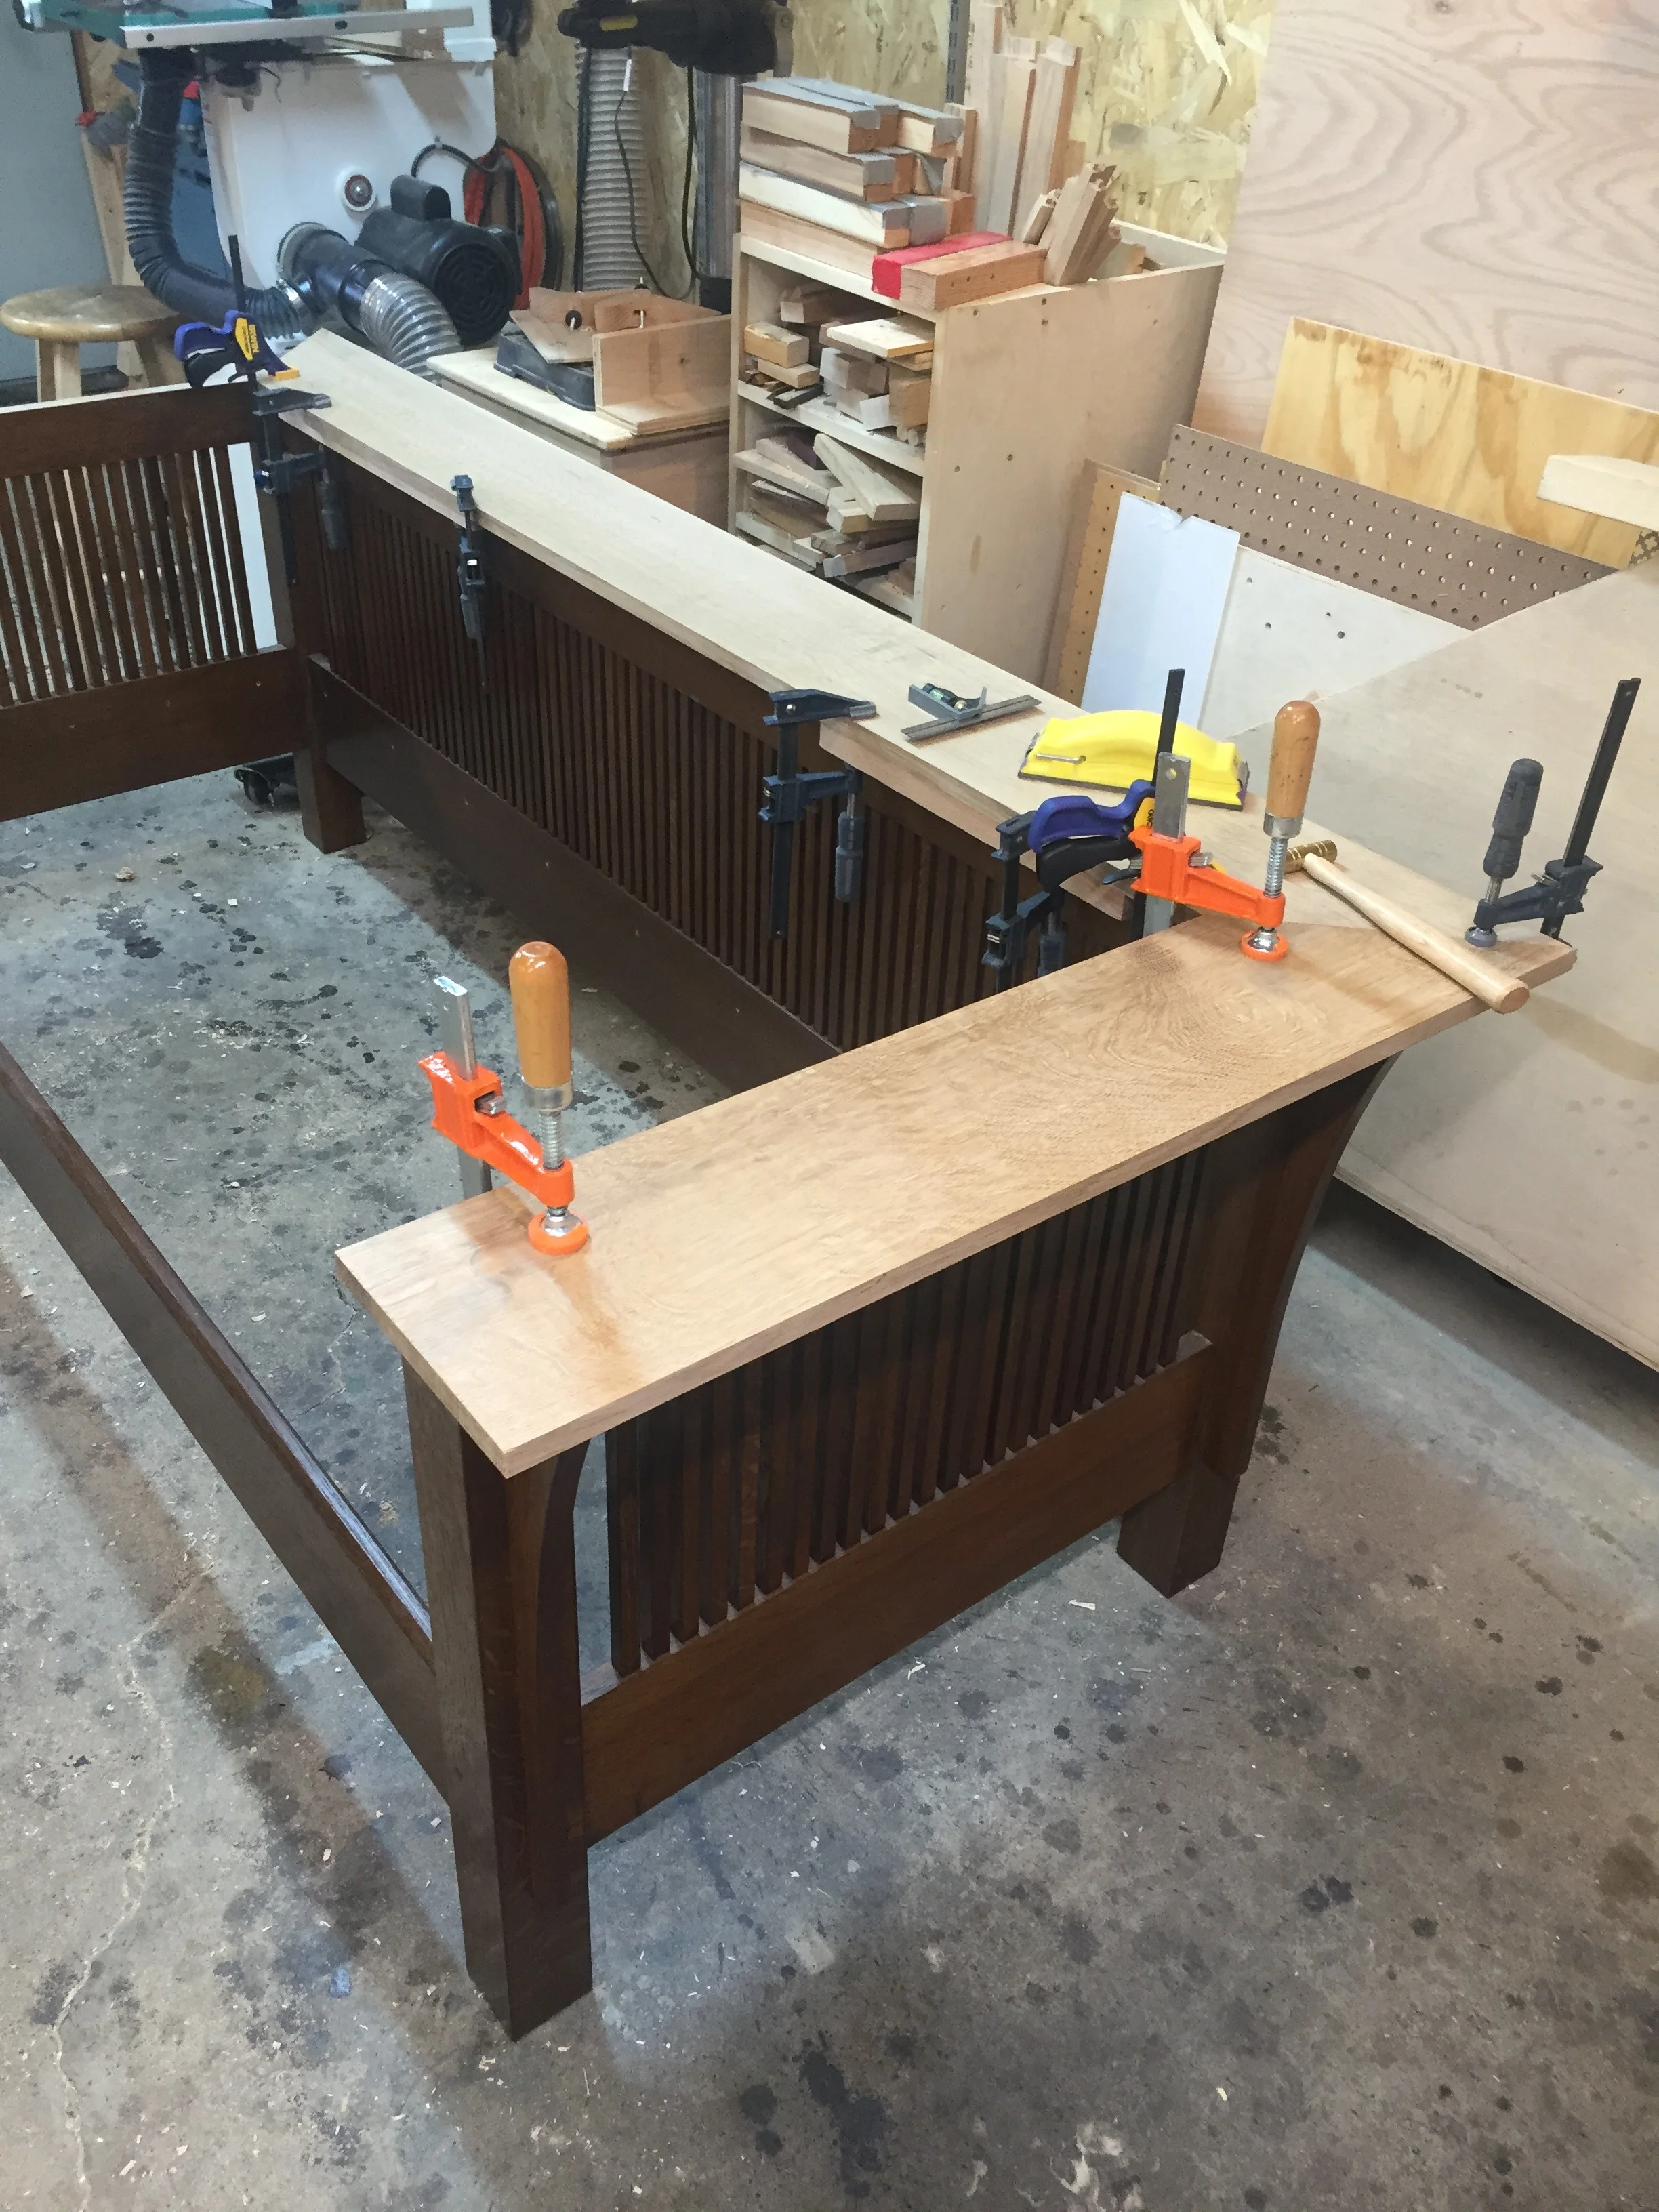
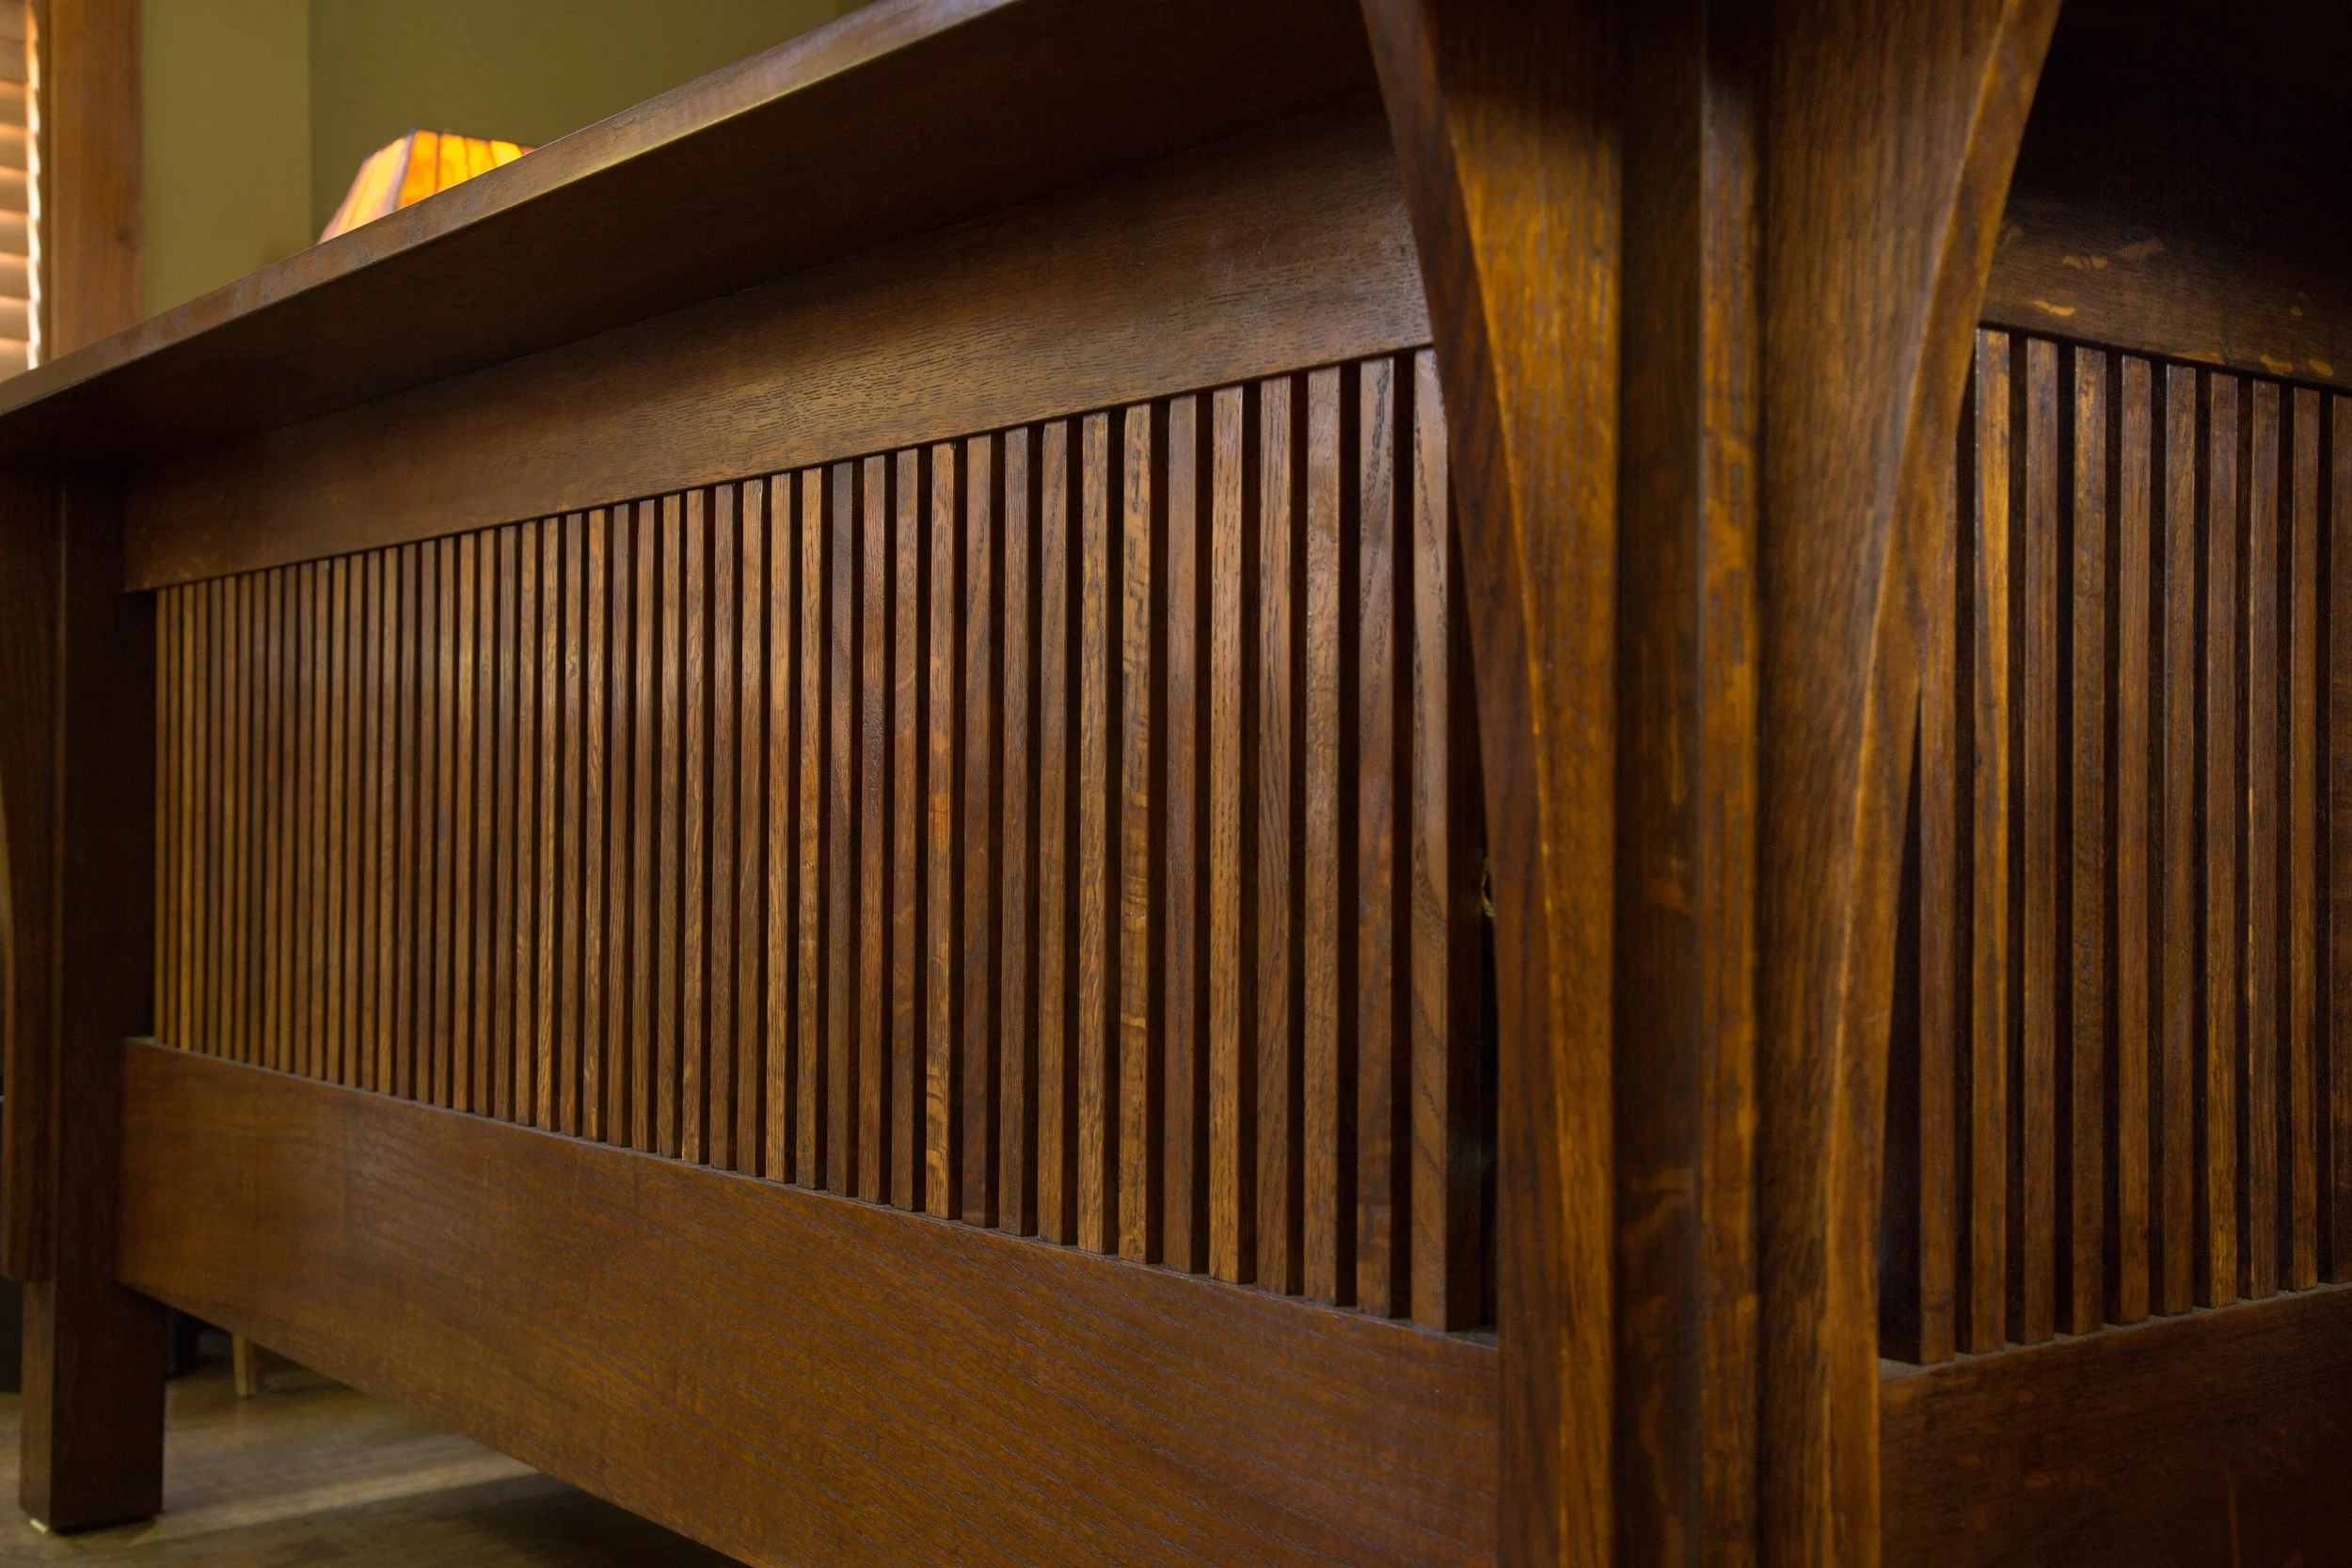
With the side assemblies glued up, it was time to put the backs and front rails together for each piece. The backs were just like the side assemblies, but longer. During the side assembly glue ups, I had learned a technique to ease in the little tenons of each spindle in the the mortises. After placing all the spindles in the bottom rail, I then put the top rail on, starting from left to right, with a clamp securing the end on the left side, and a looser clamp on the far right side. I then carefully seated each spindle, often with the help of a "spindle comb" jig I created, and sometimes with a little brass hammer. I would tap each one into place as I advanced to the next, slightly tightening the clamps as I went. That was great practice, and made doing the longer back pieces much easier.
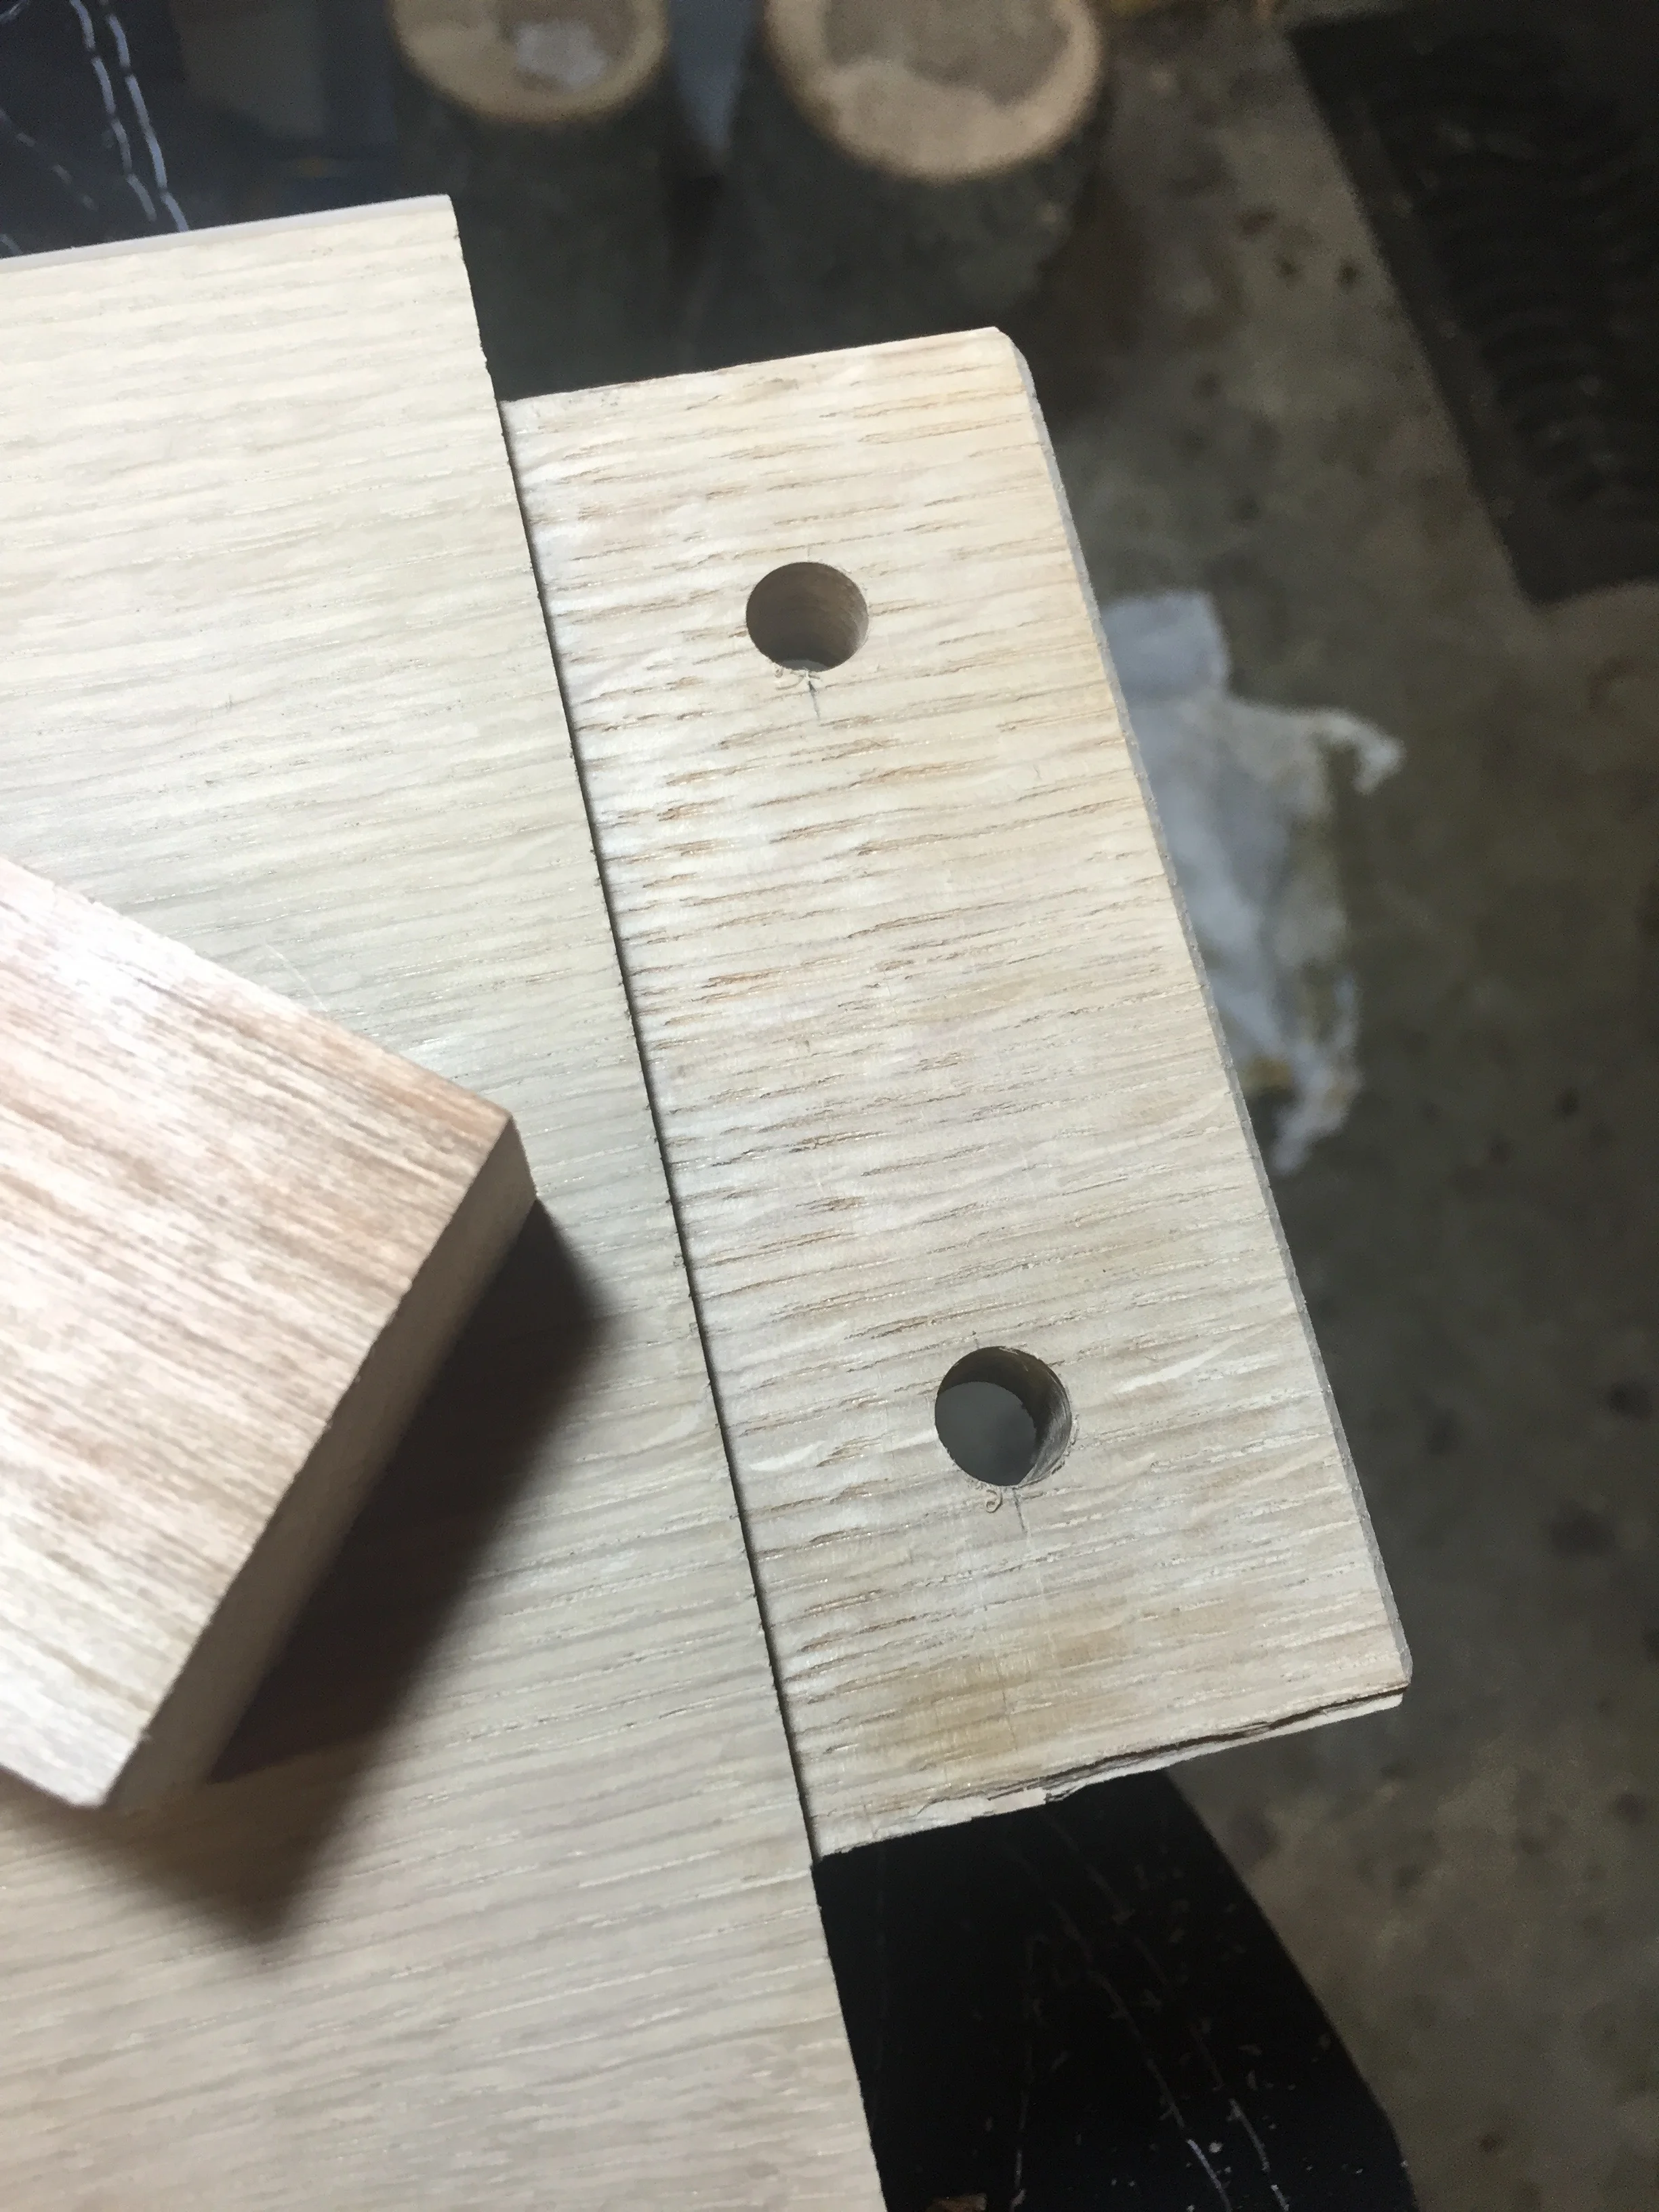
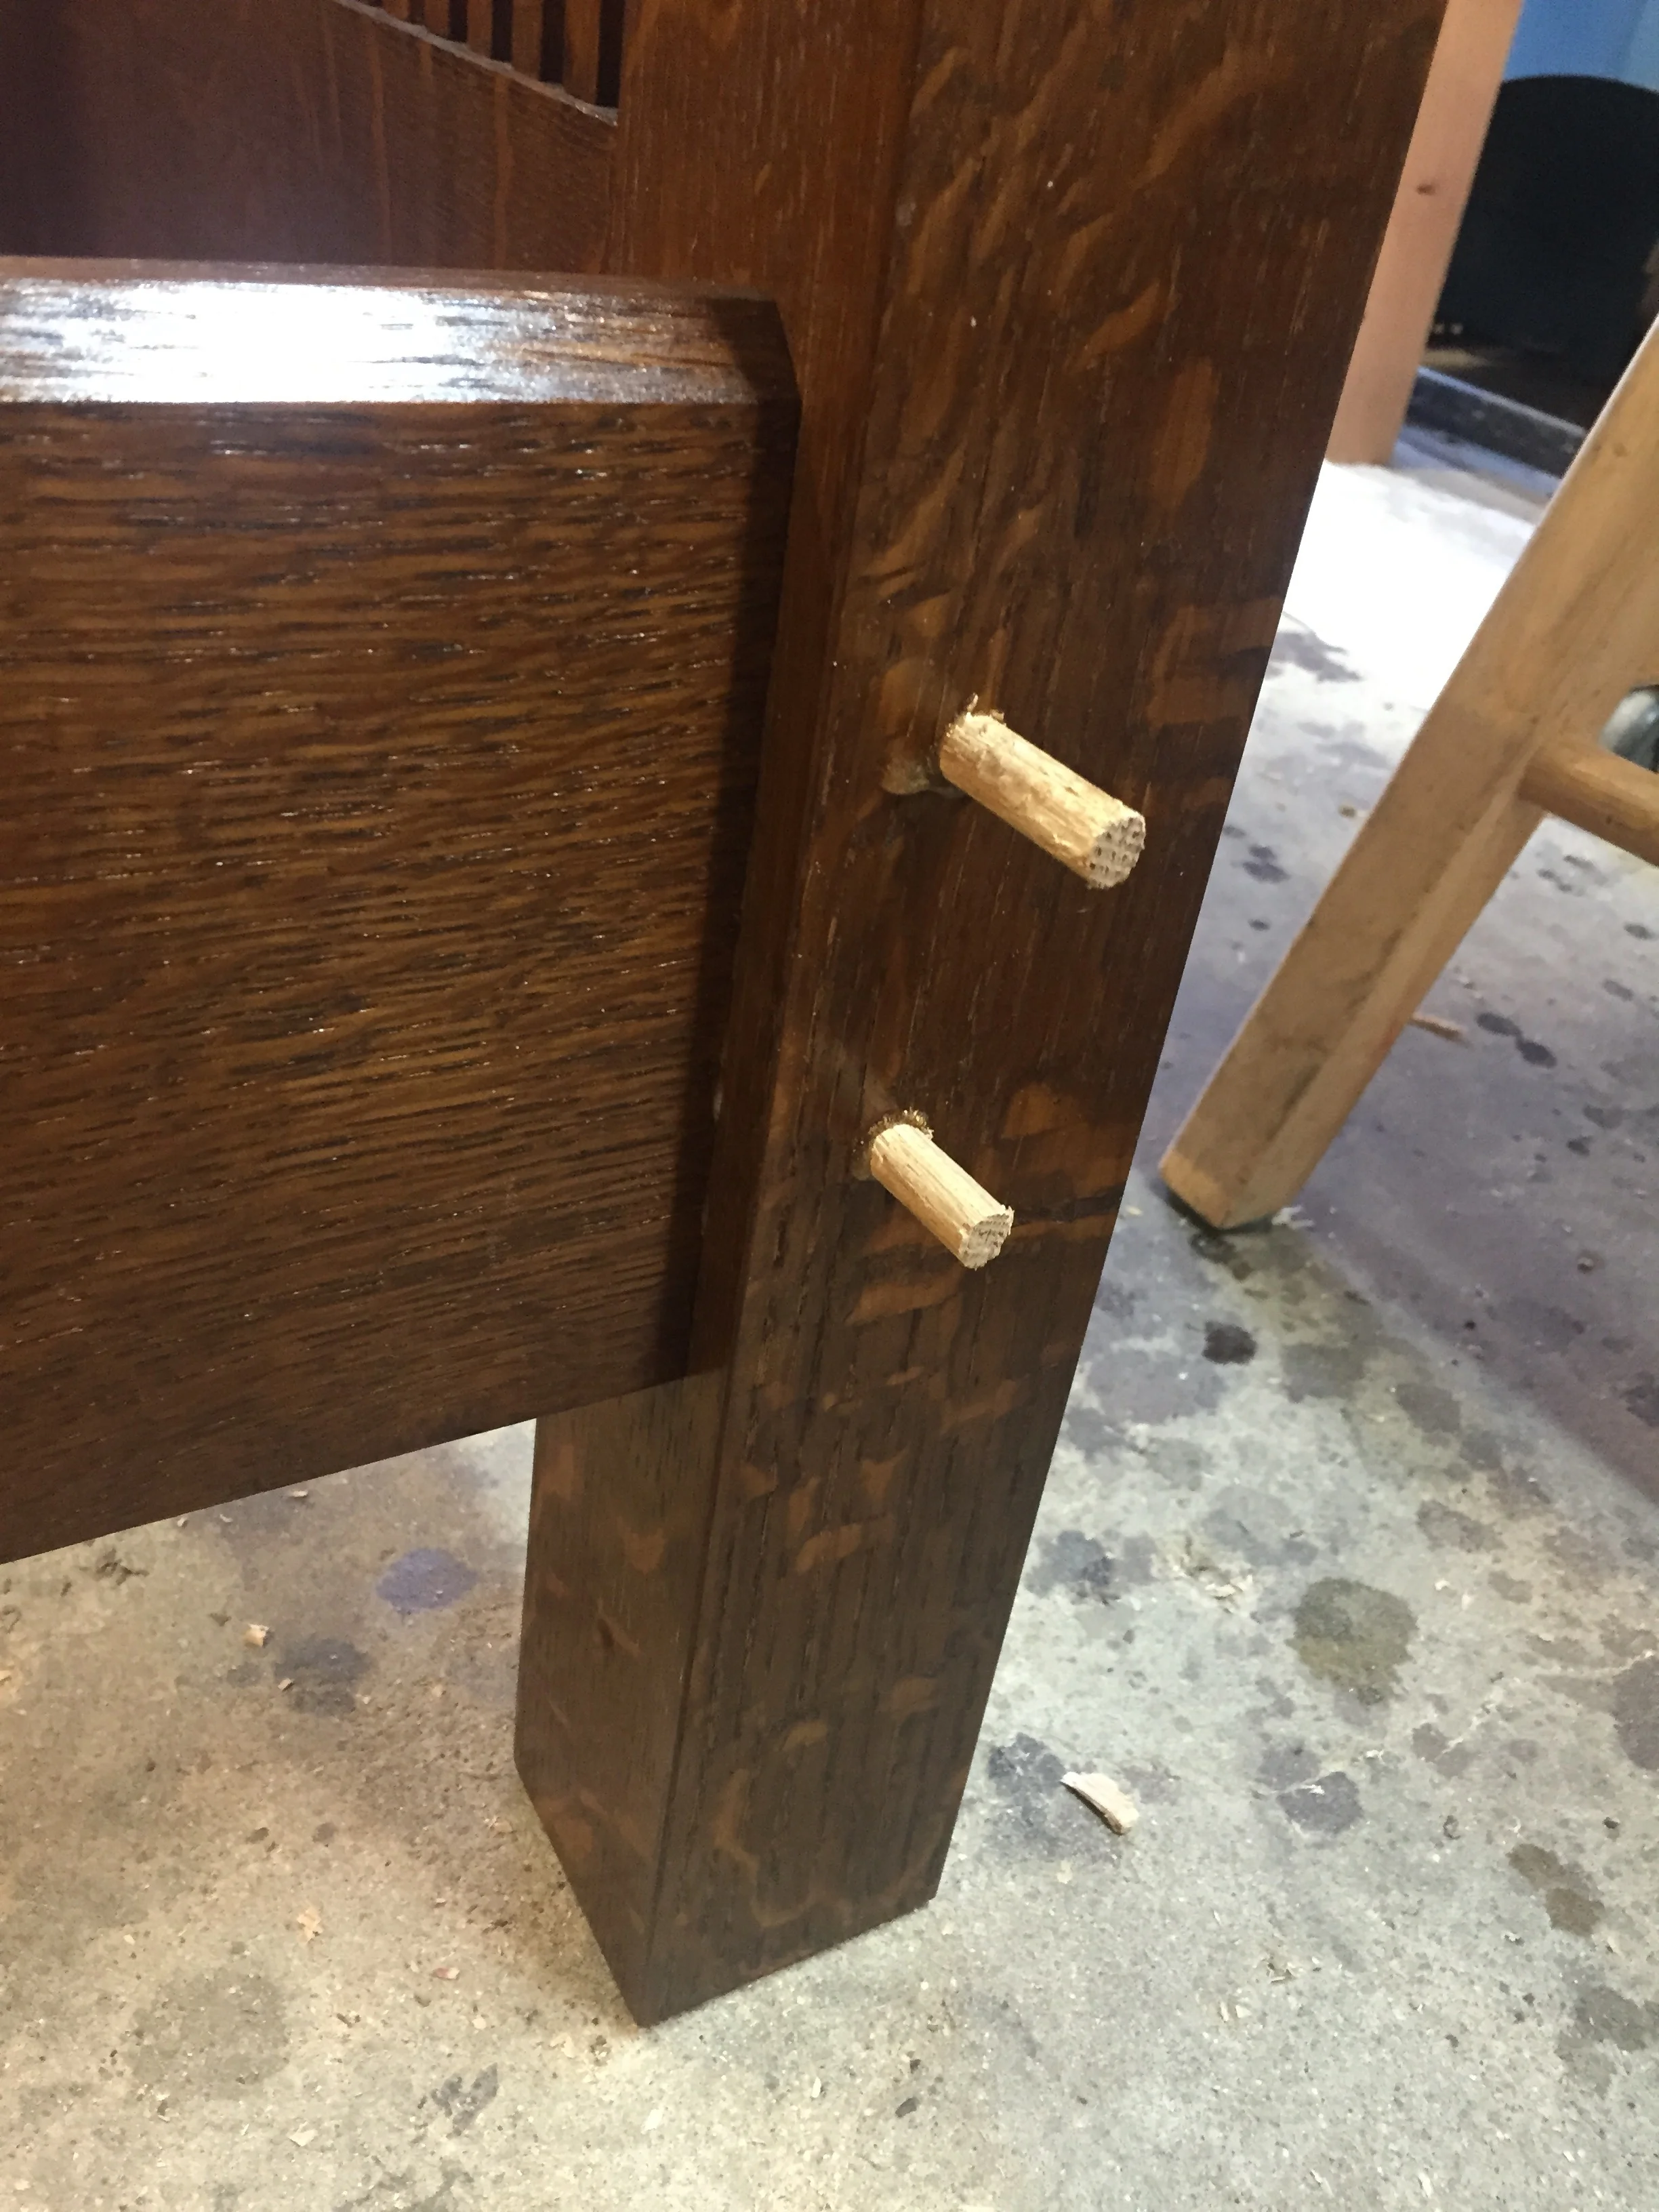
Each back was put together with the top & bottom rails, and the spindles, in place, ready to go into the sides. But before I could assemble that, I had to prepare the front rails. The front rails had to be tied in to the side legs very securely, as there is only the single rail spanning the sides, not two rails, like the back. For that joint I added drawbore pegs to the joint. I've described it before, but it's an old technique to help pull a mortise & tenon joint together tightly using some offset holes for wooden pegs.
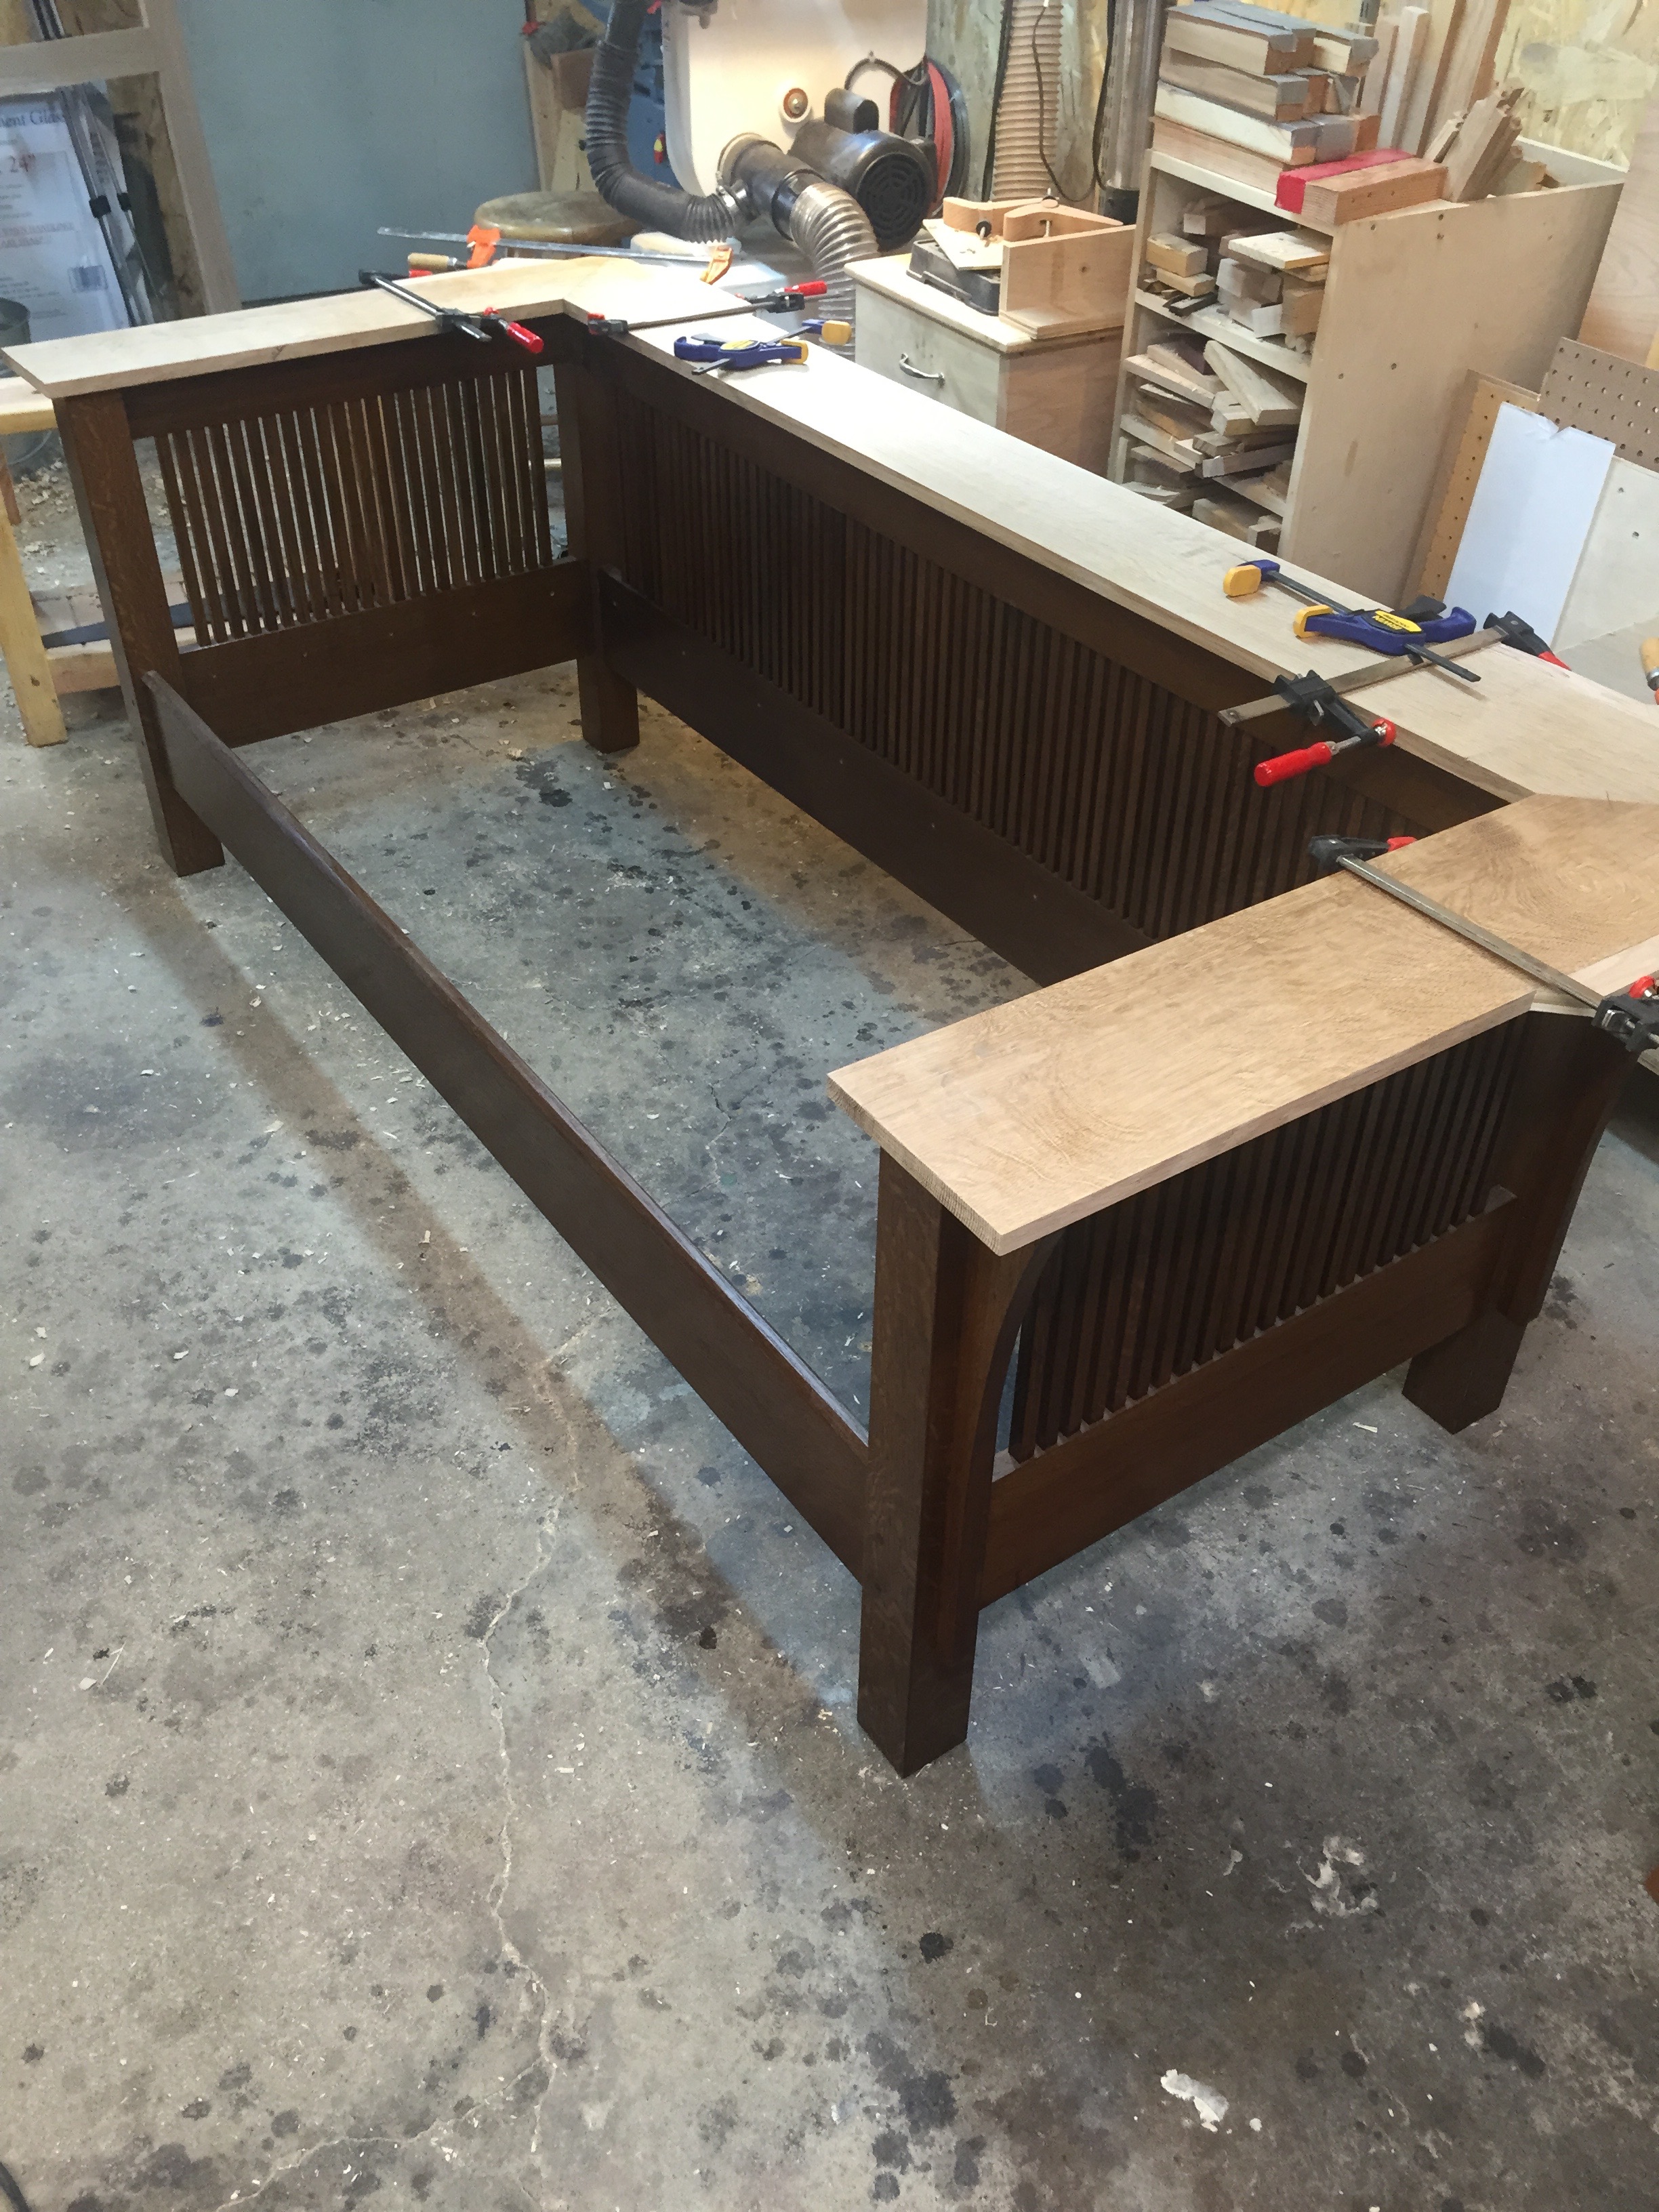
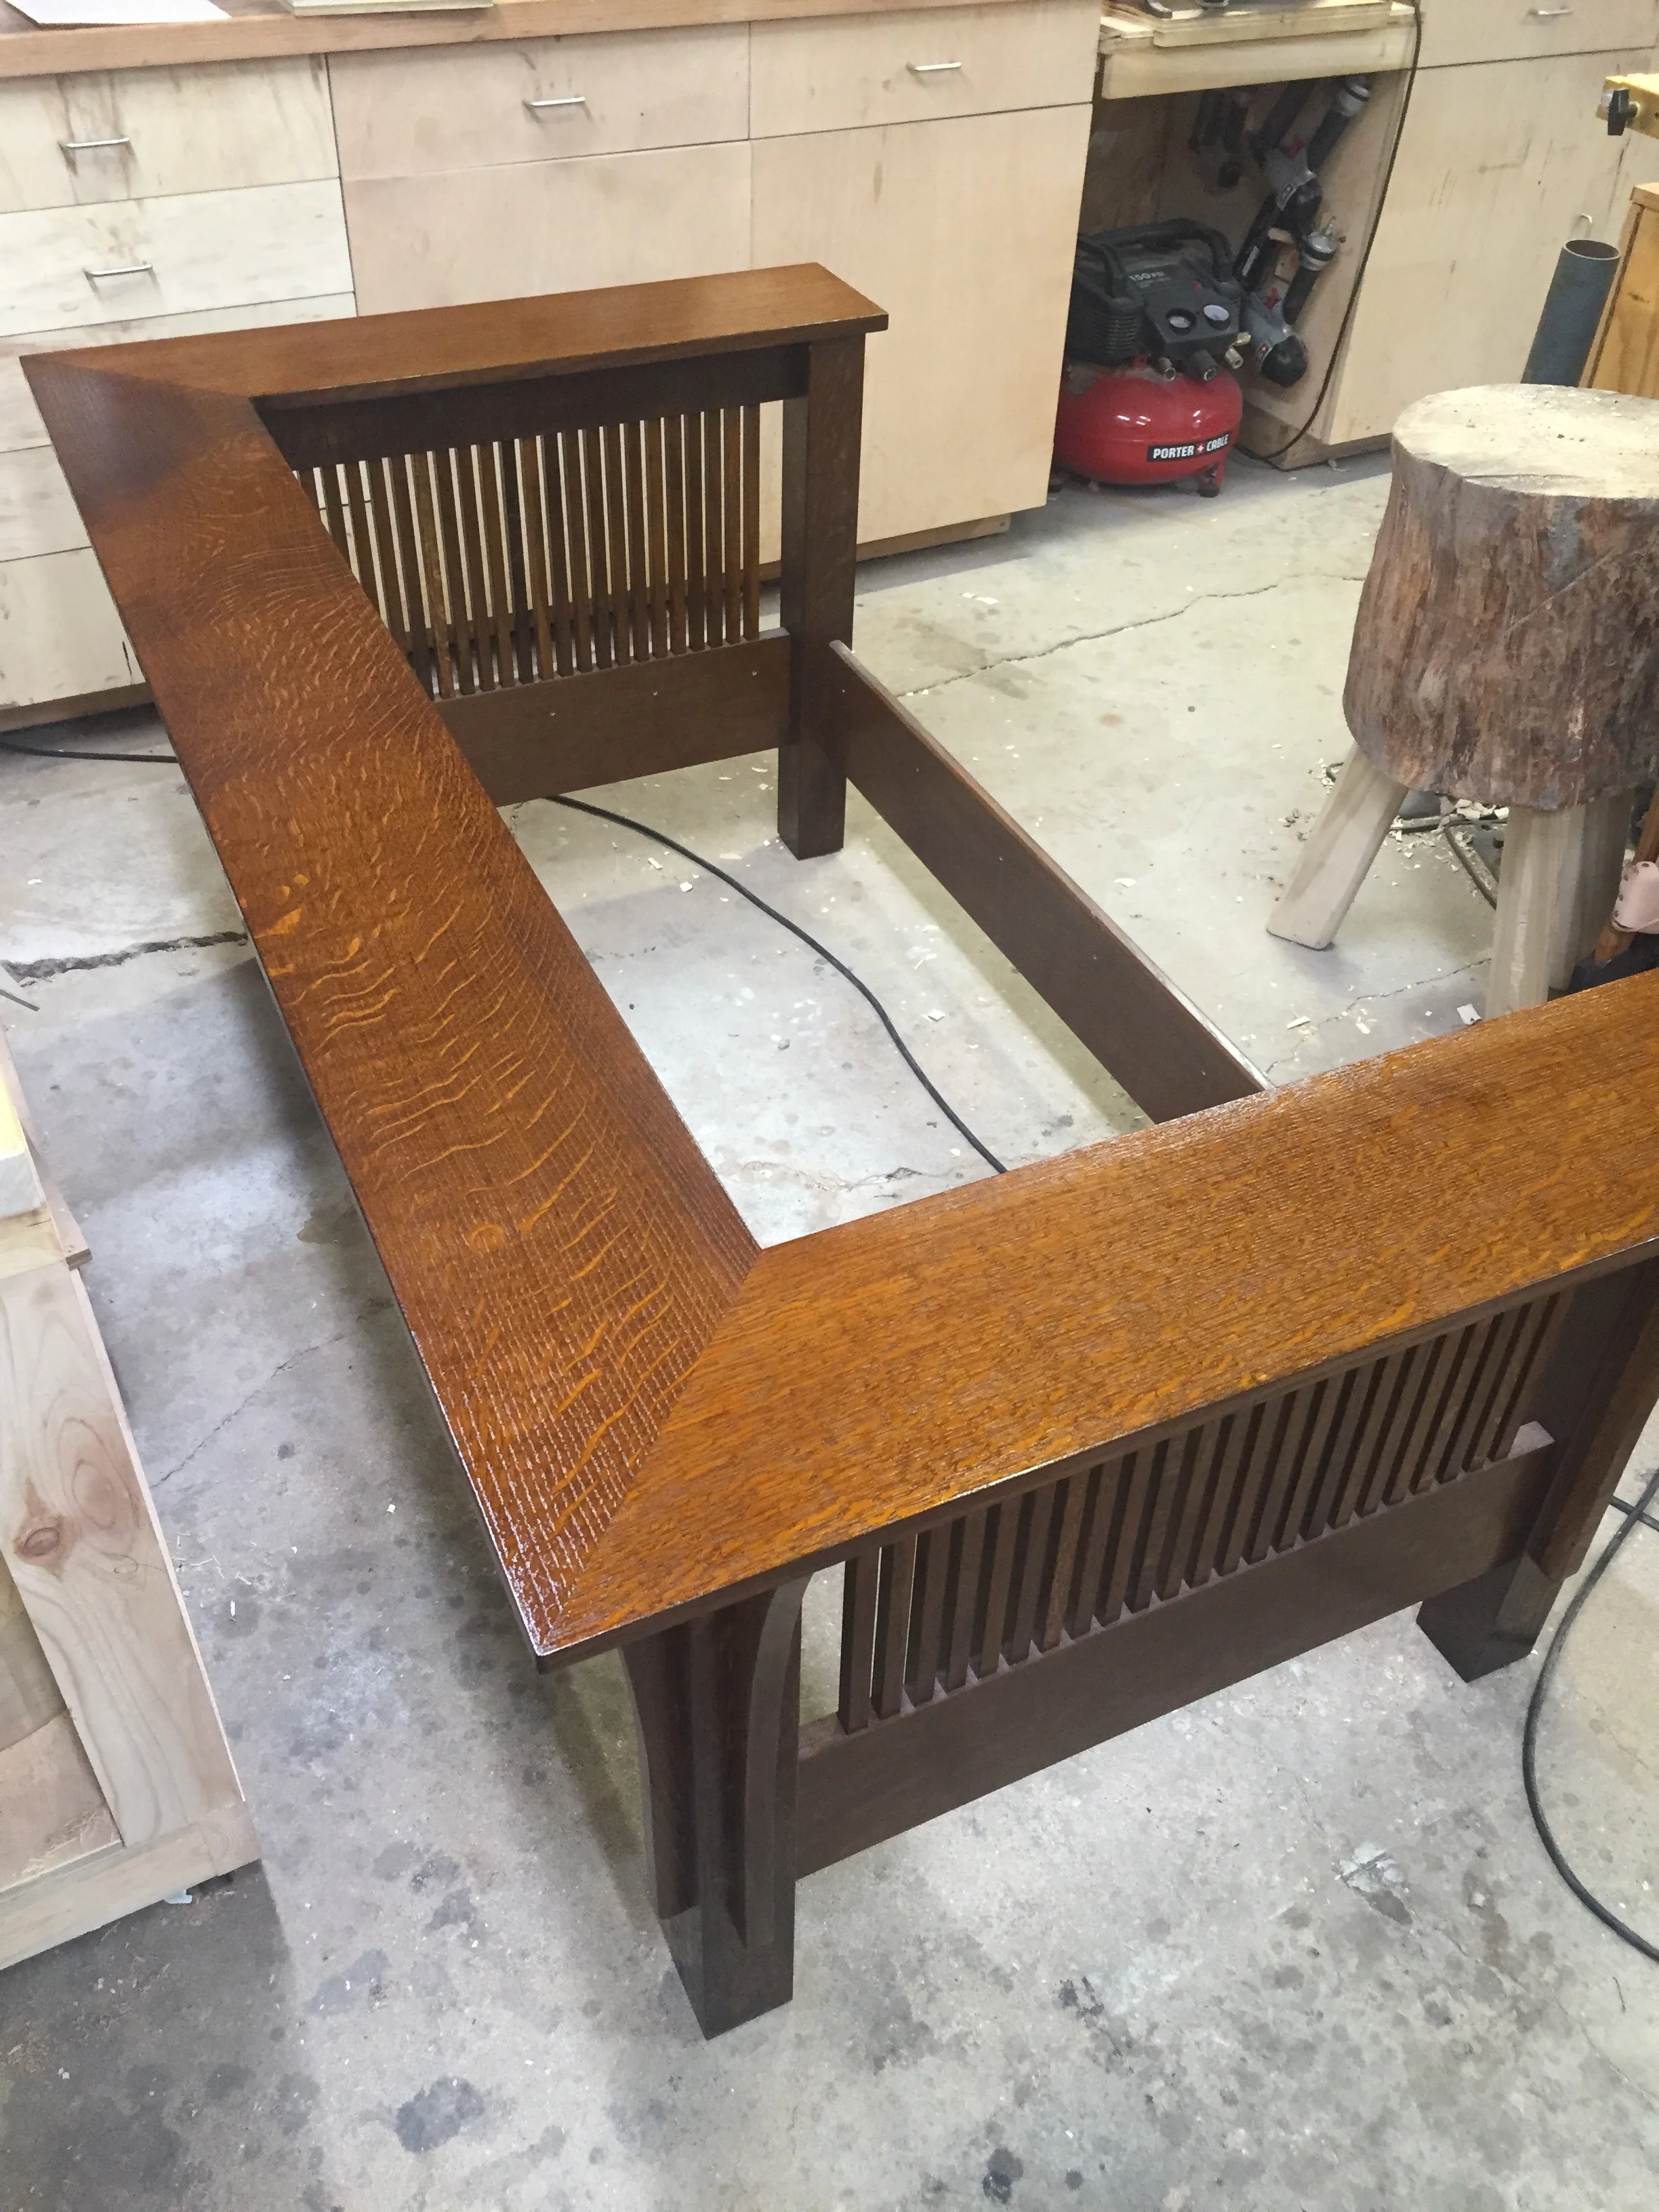
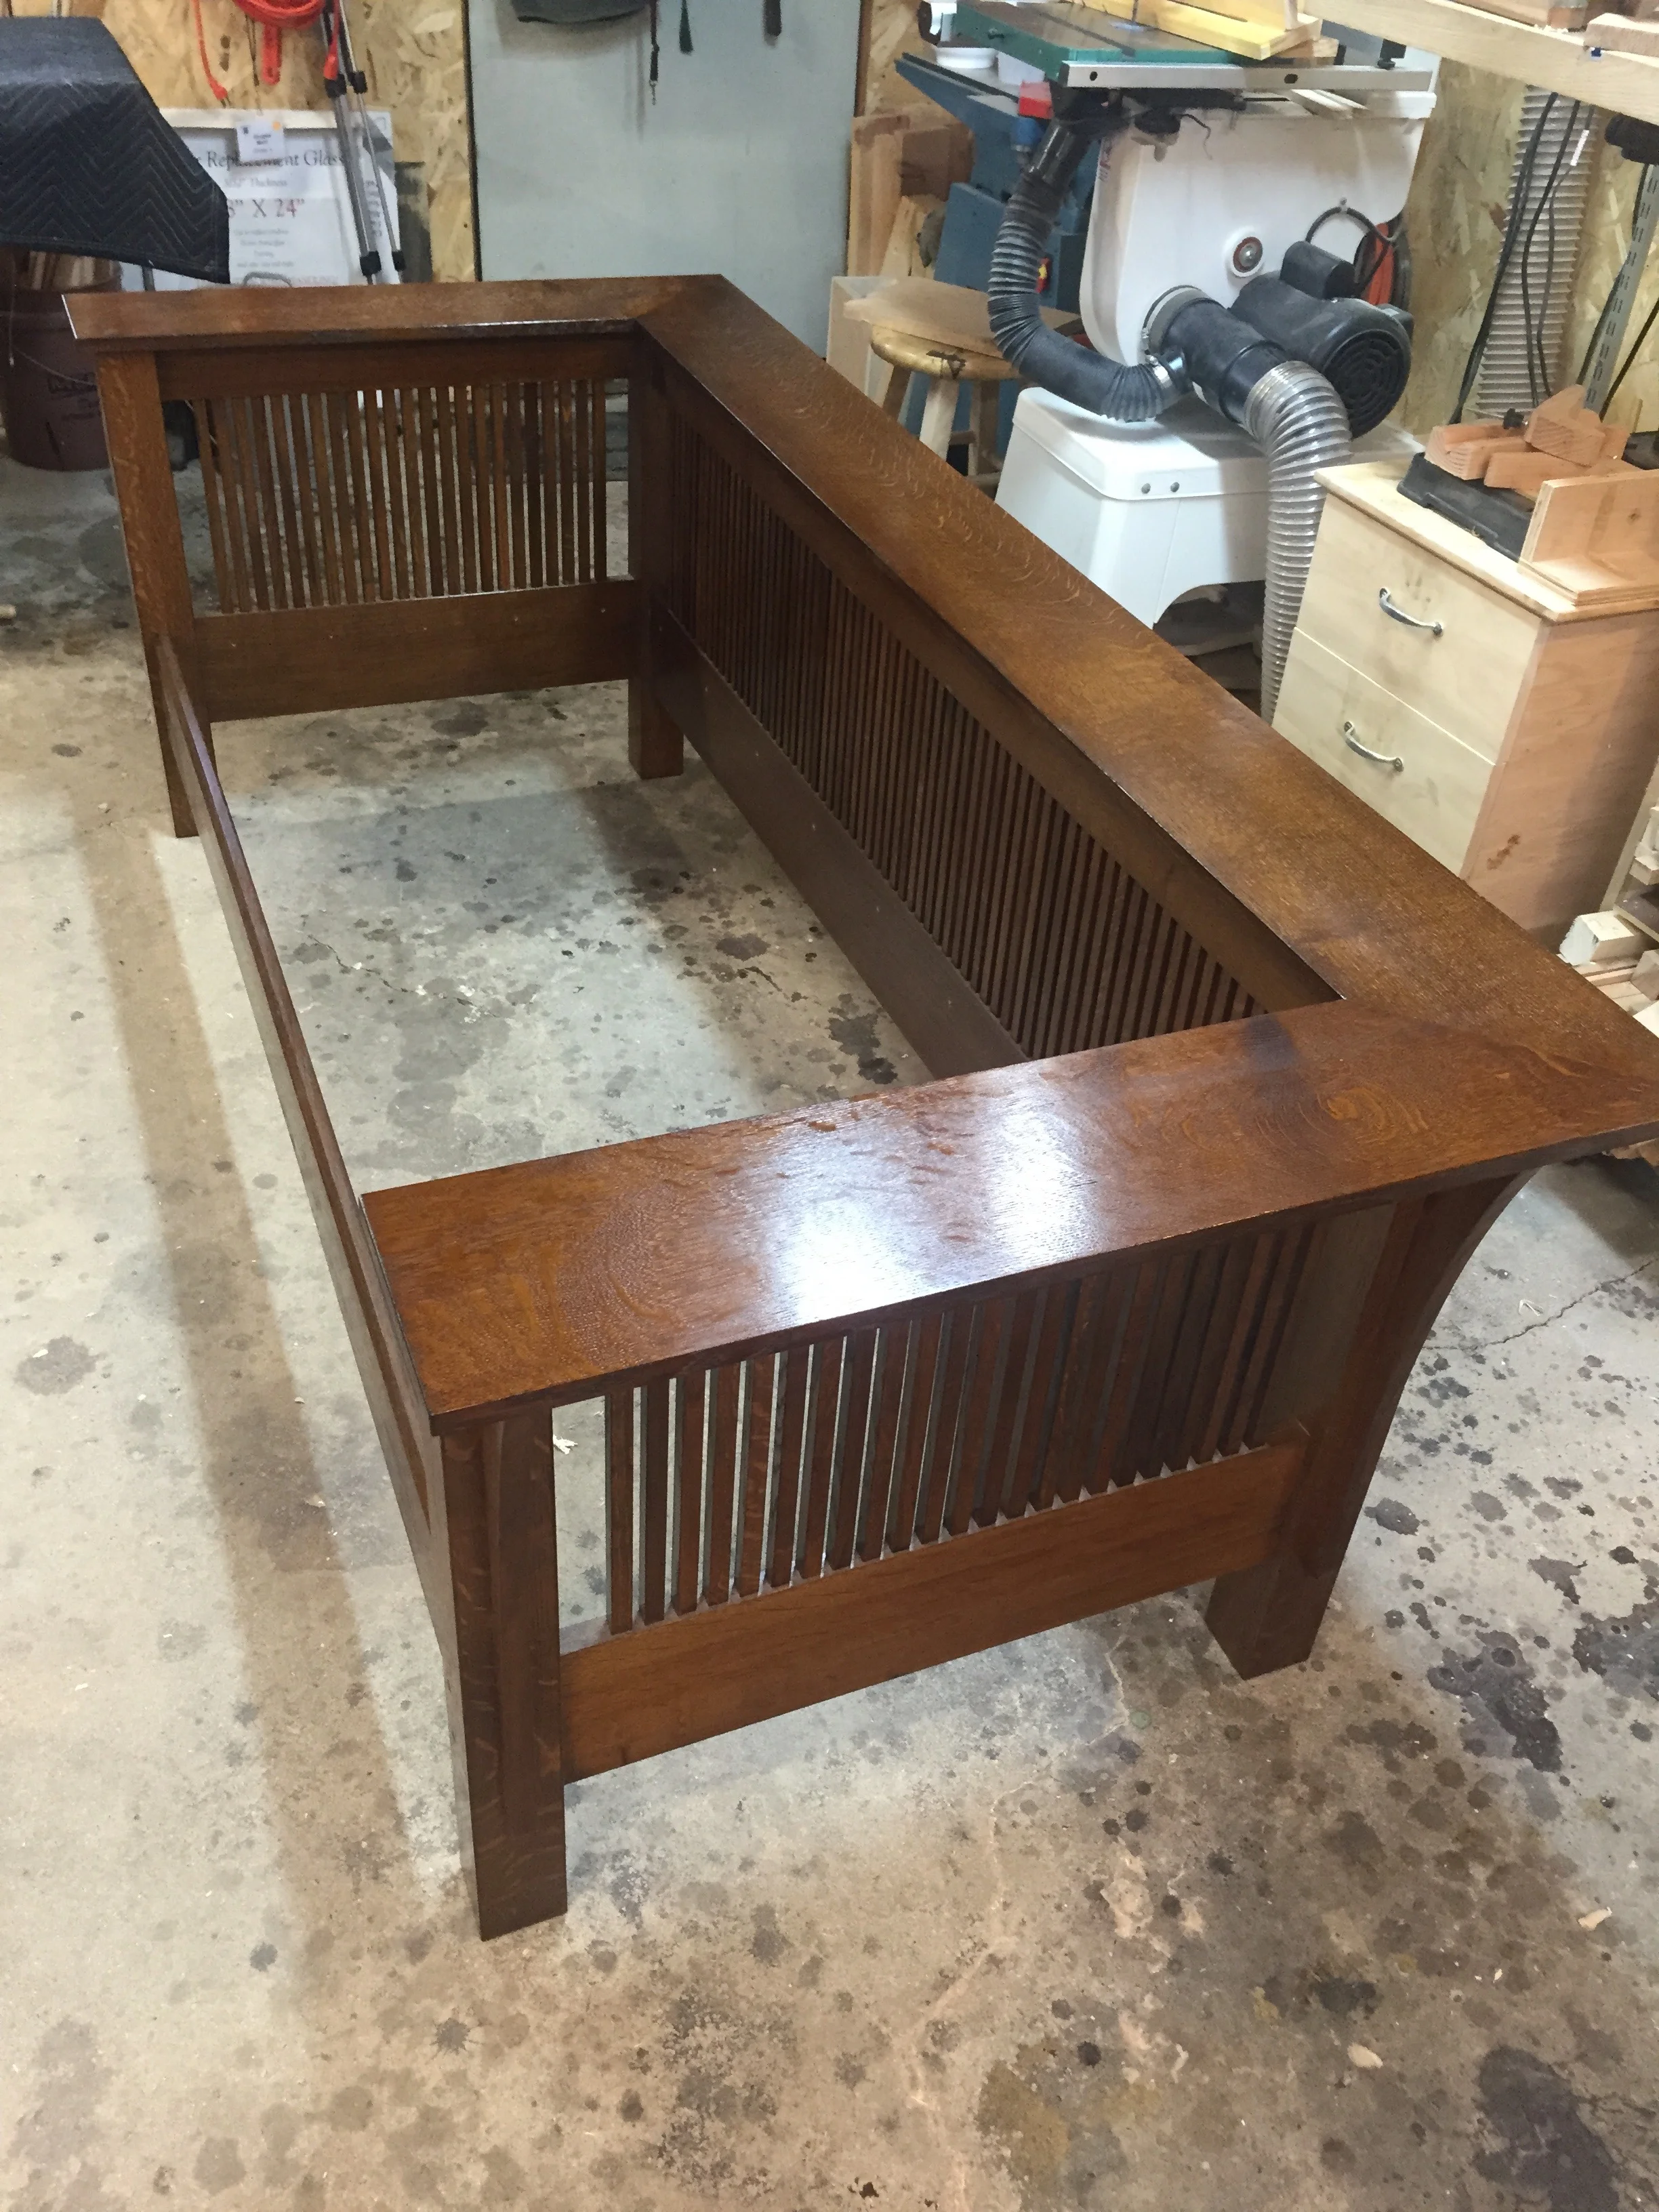
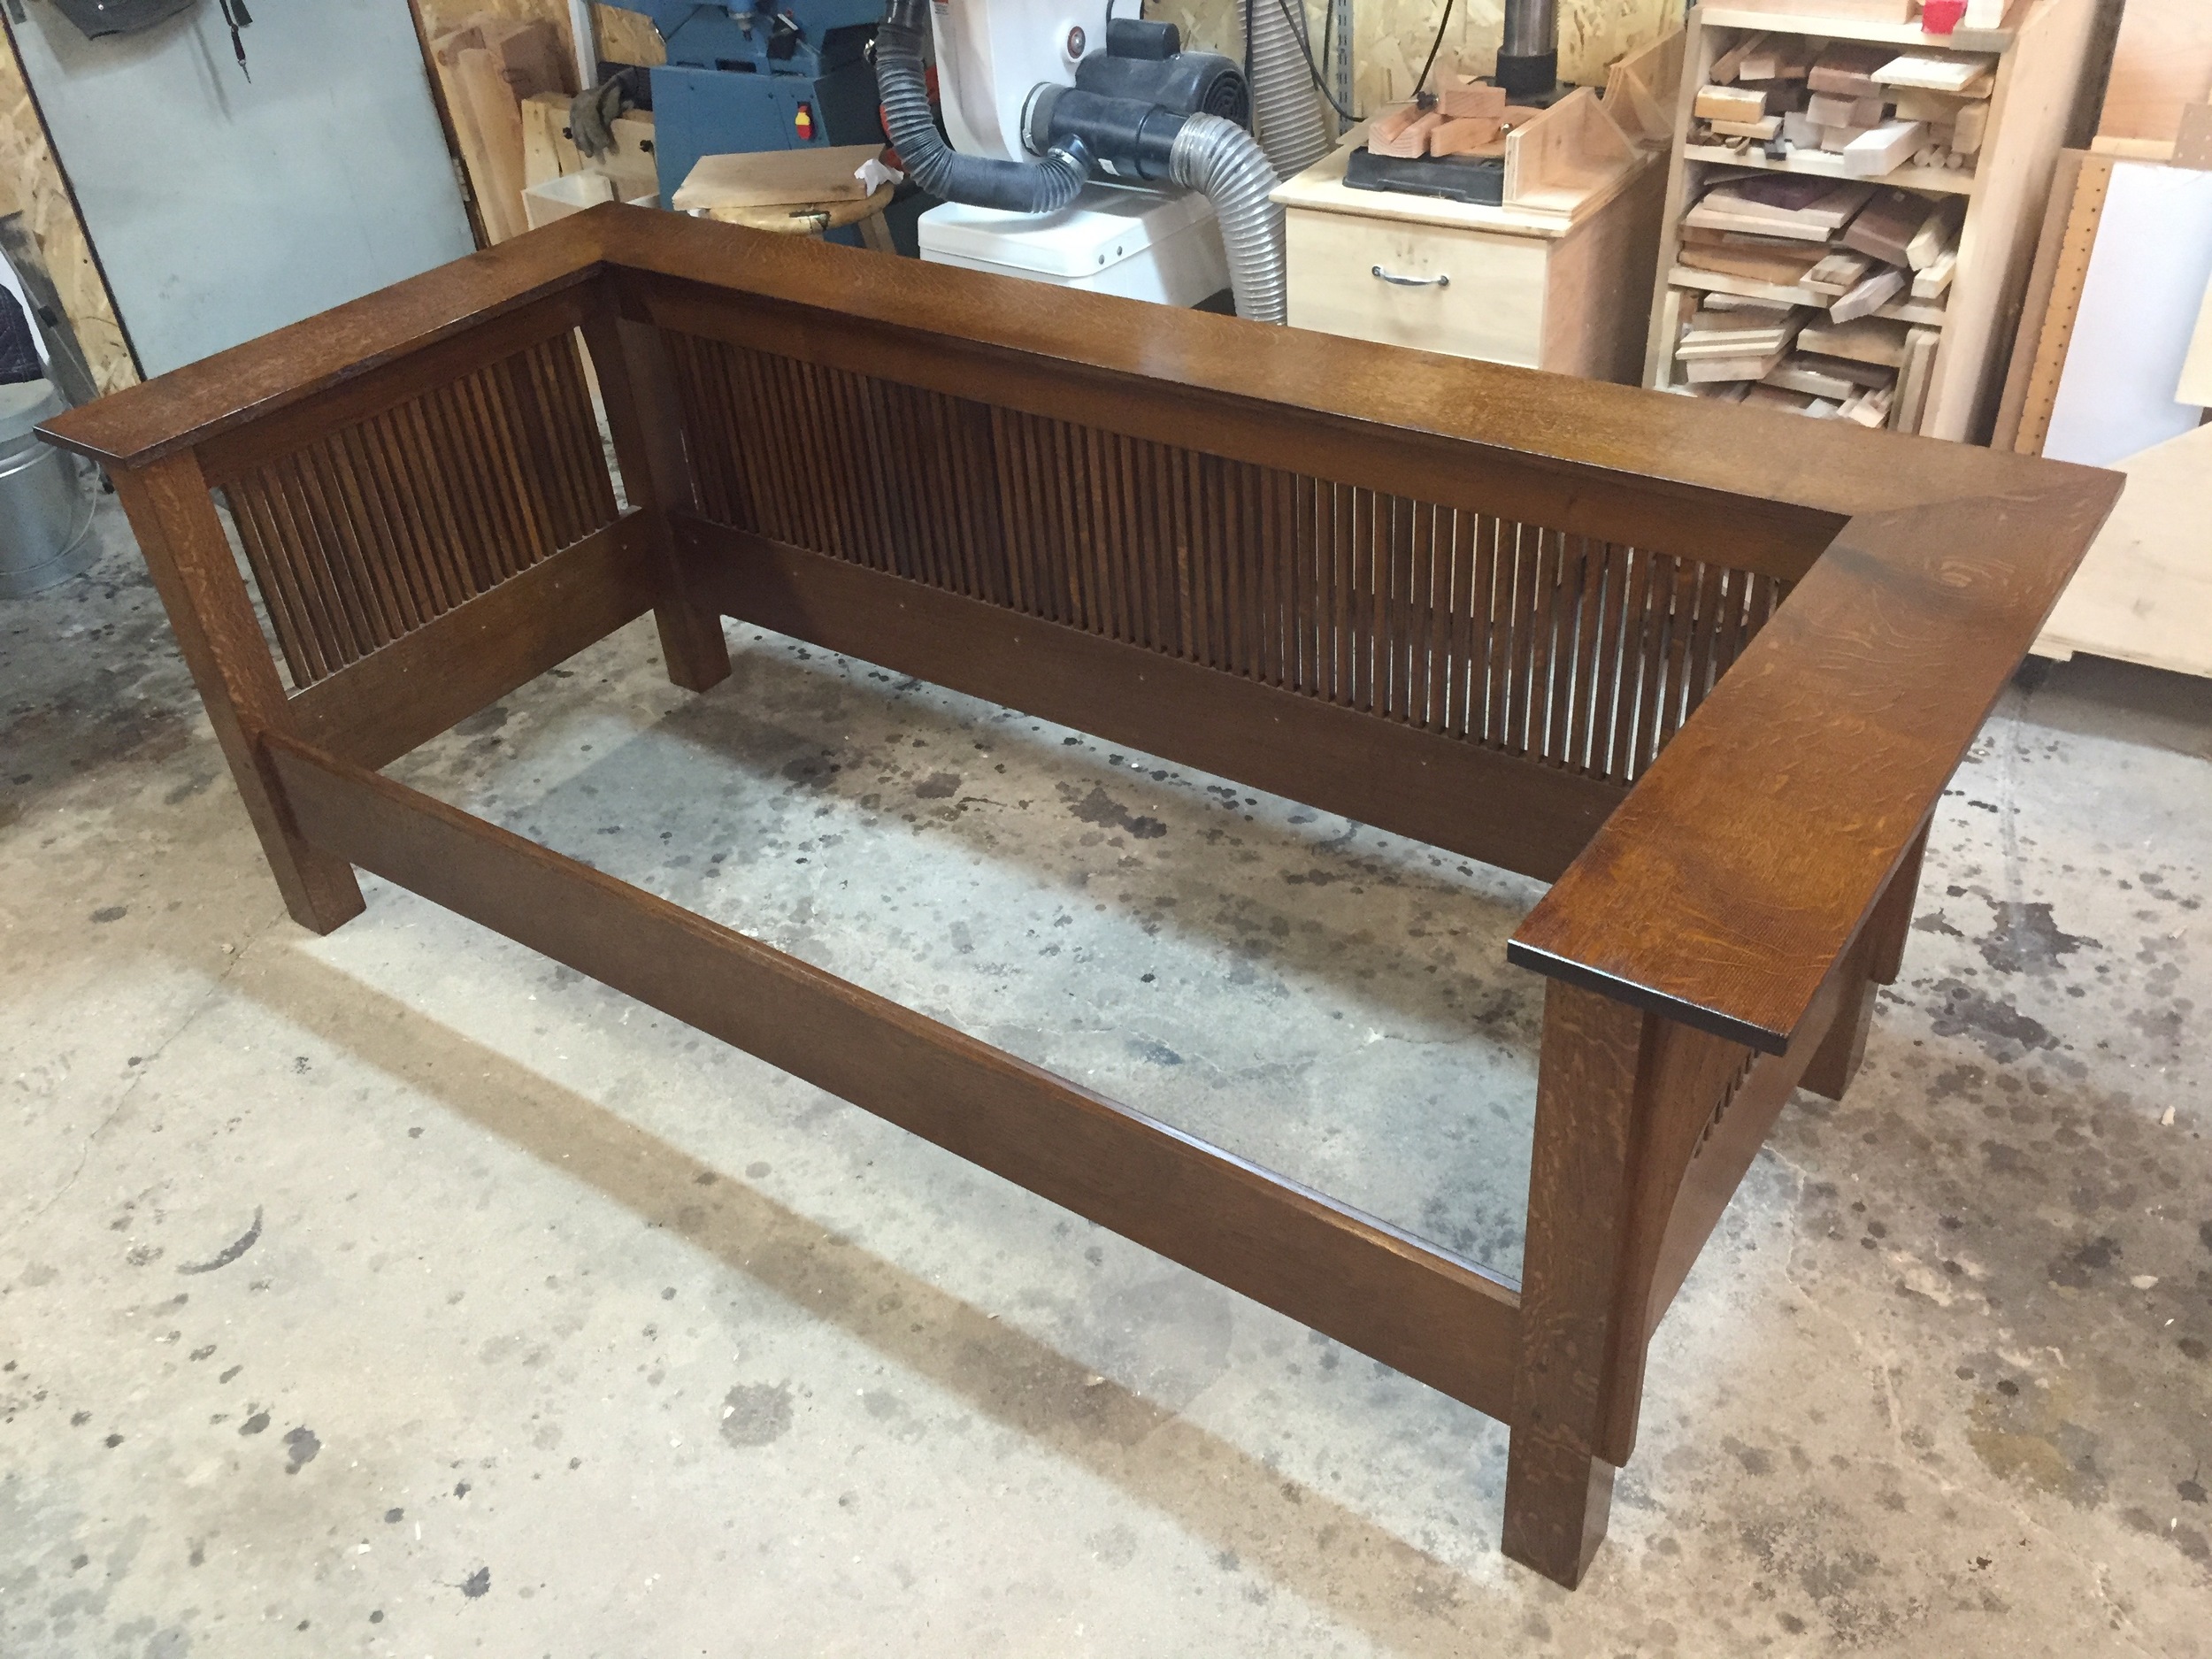
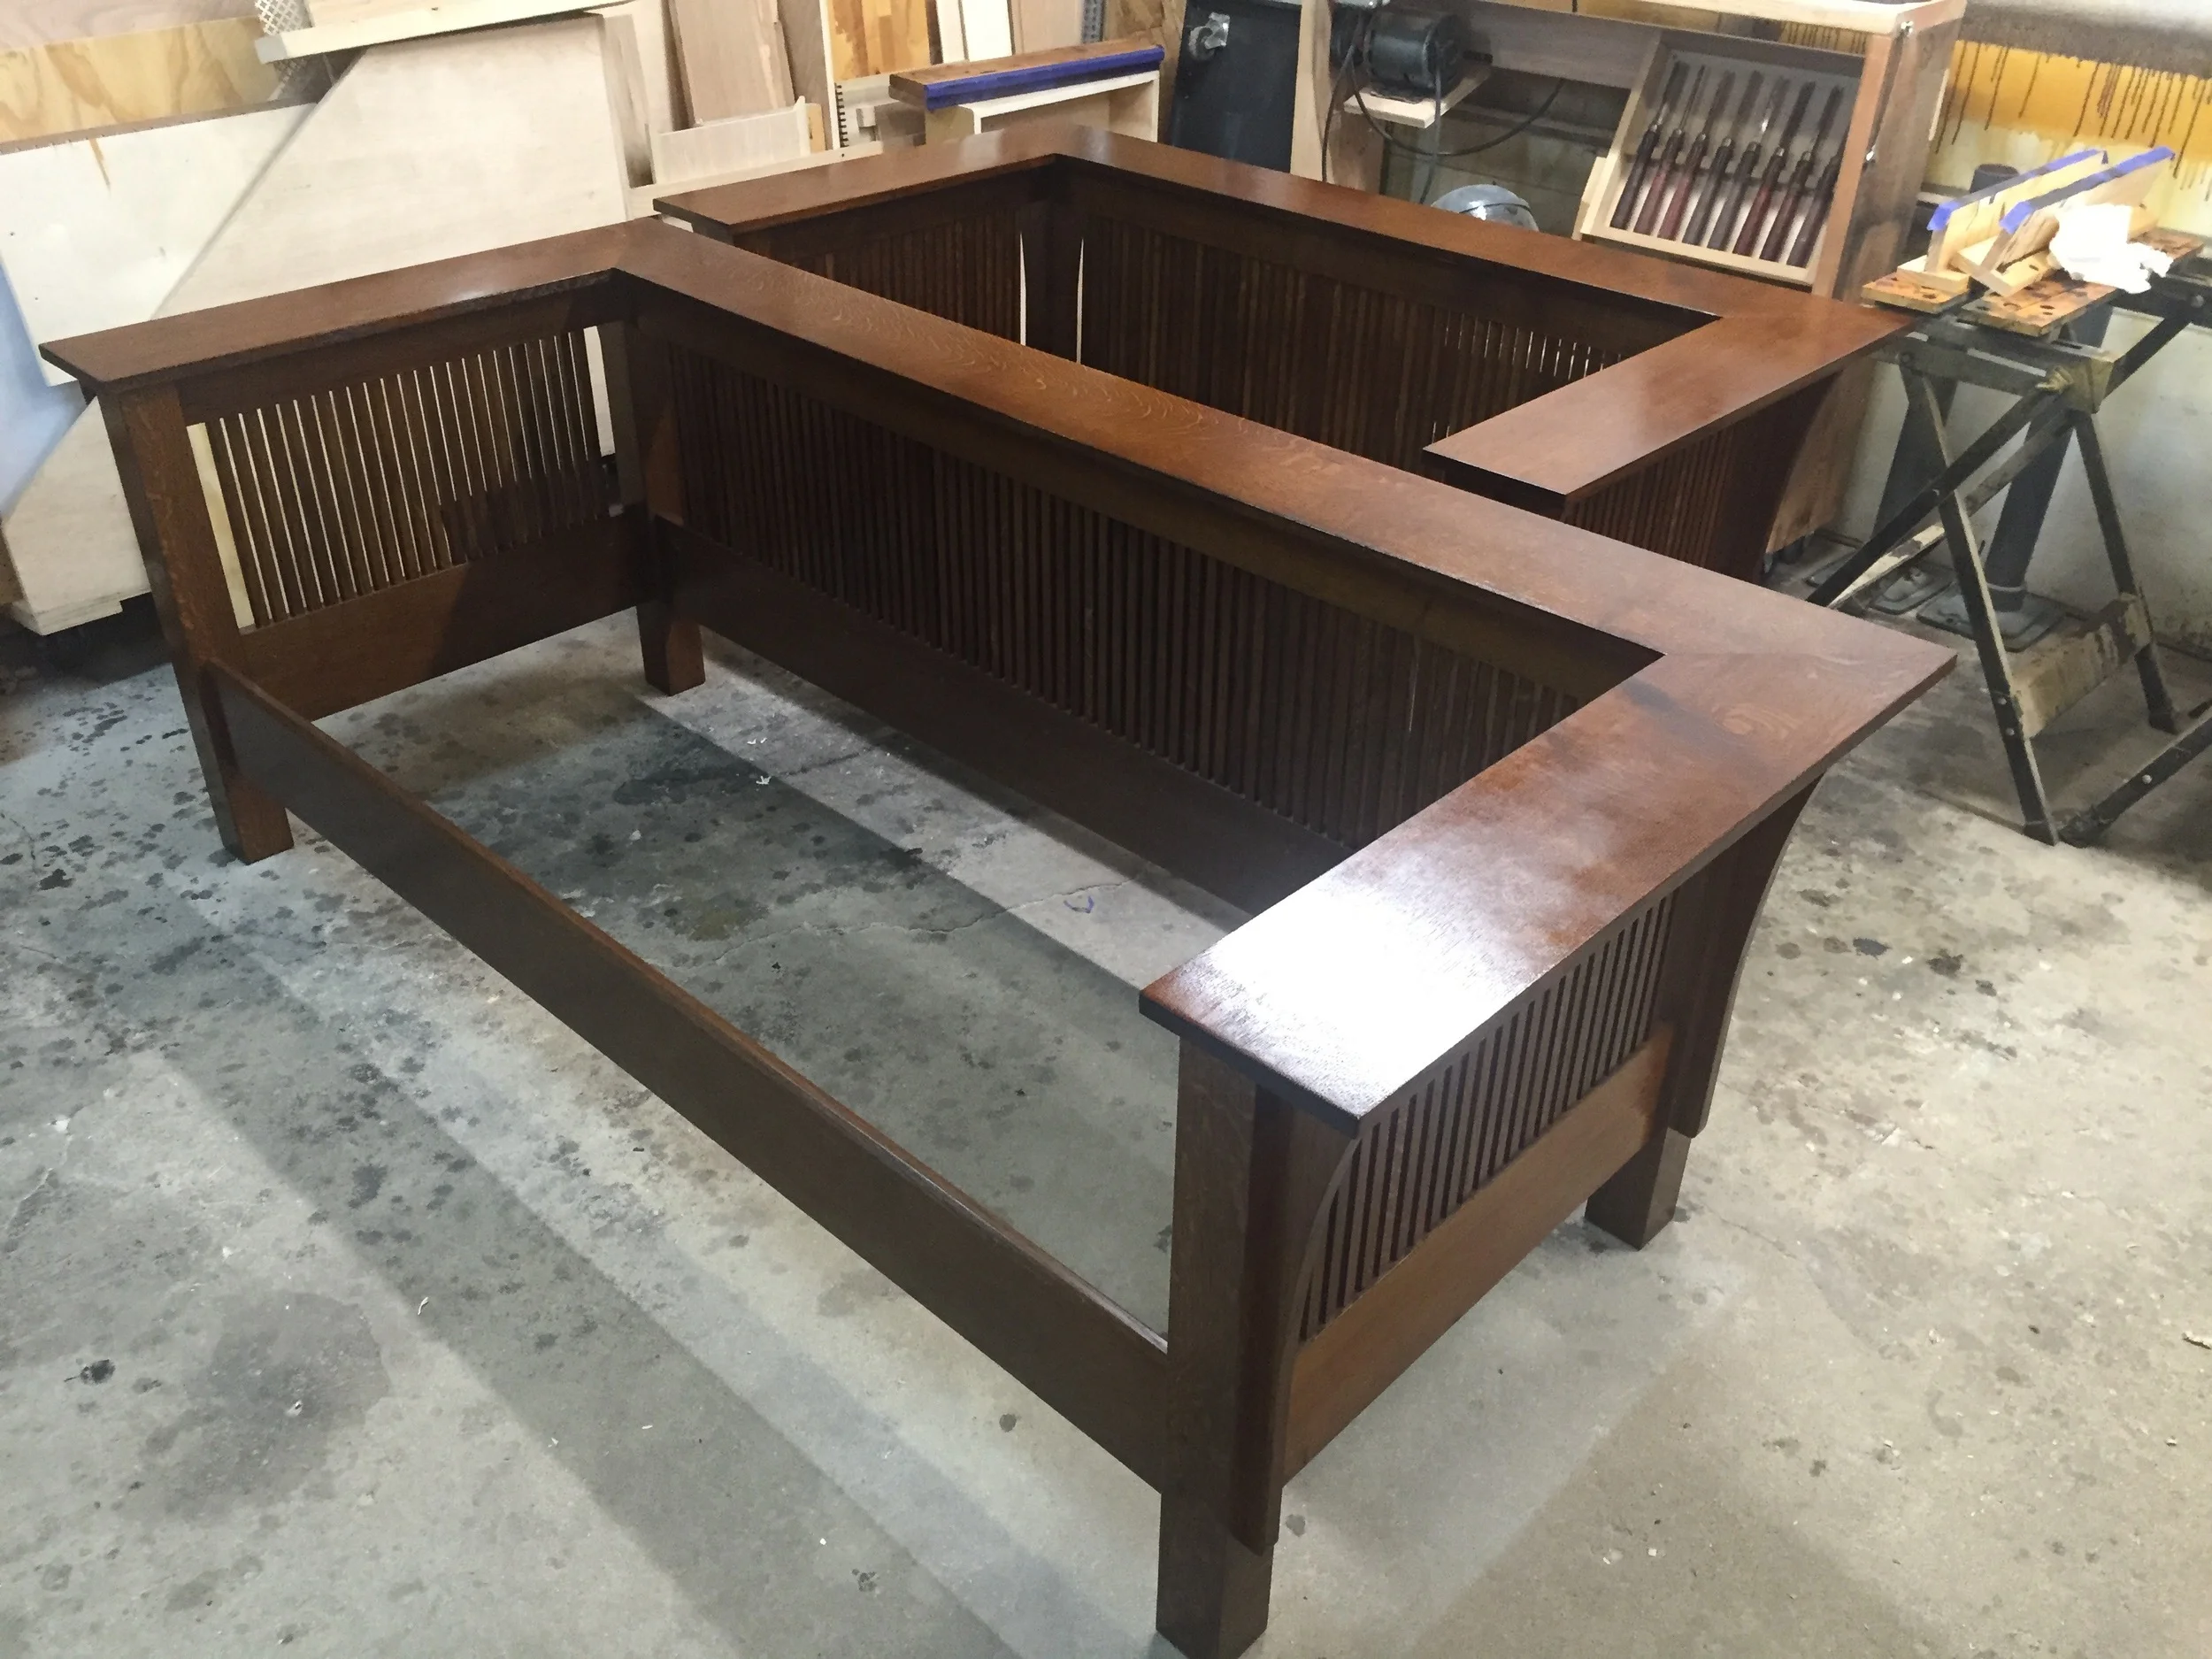
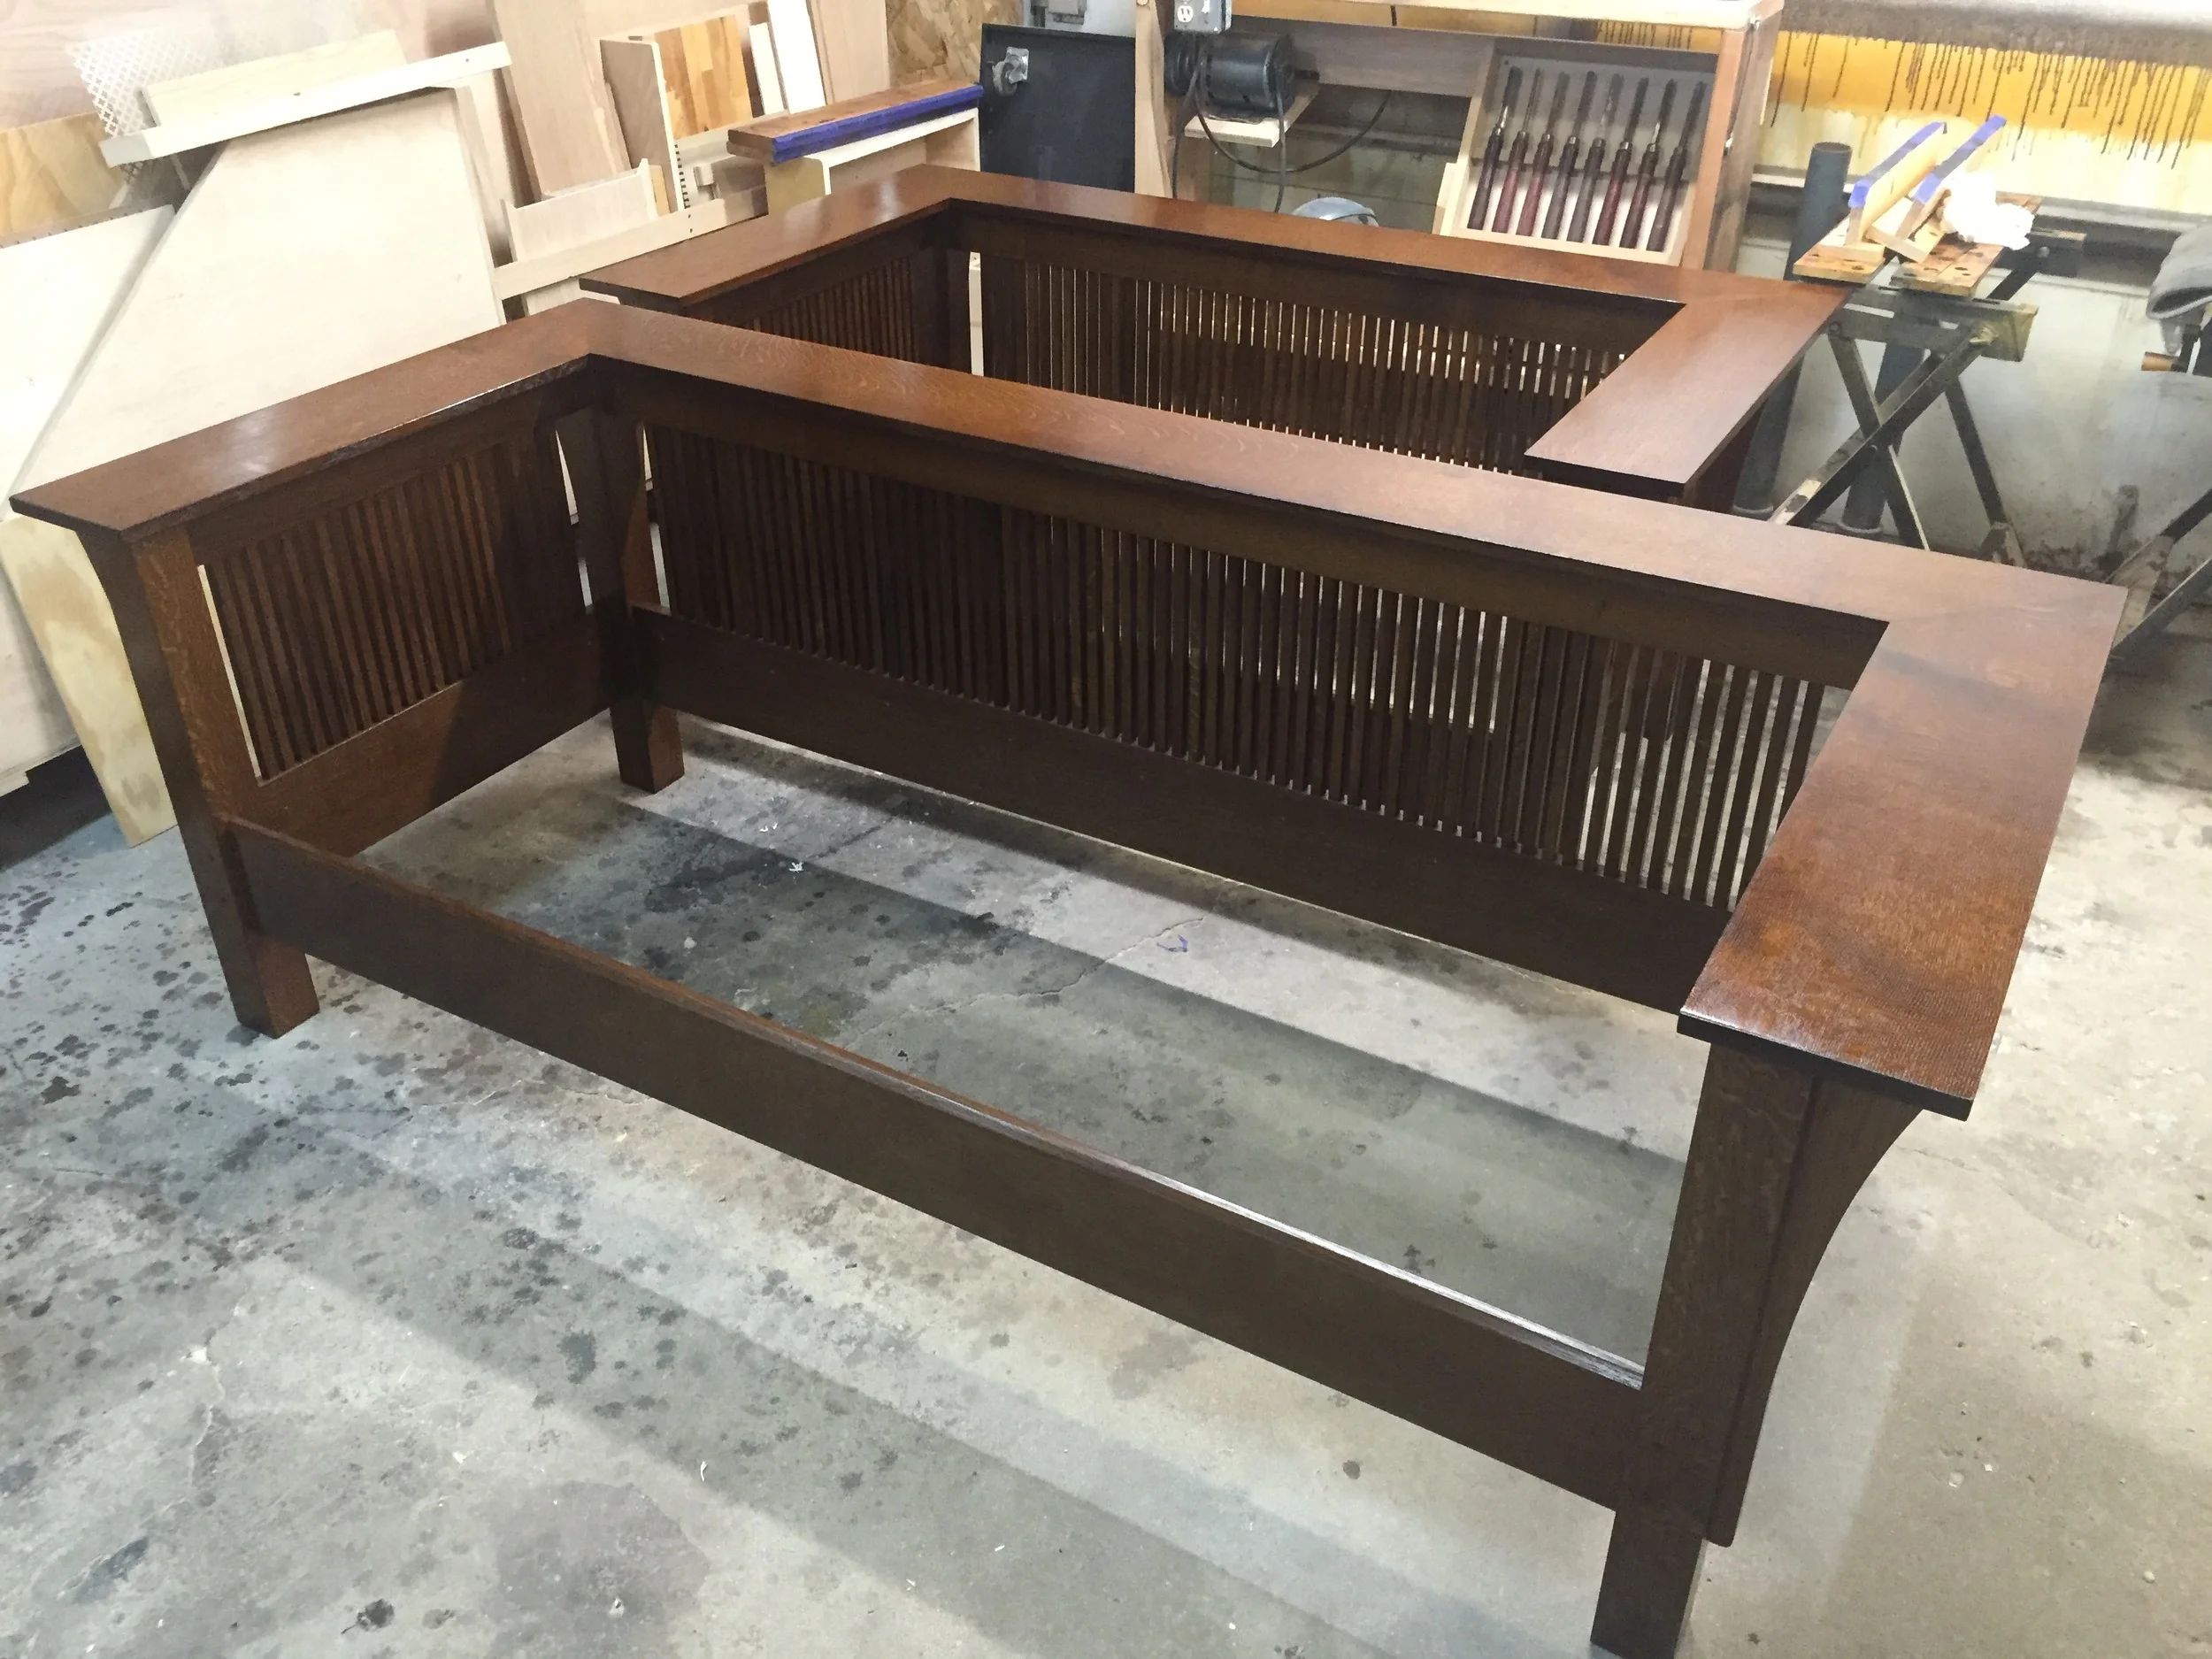
With all that figured out, I was finally able to assemble the sides, front and backs. Hooray! They now almost sort of started looking like a sofa and love seat, and not just pile of lumber.
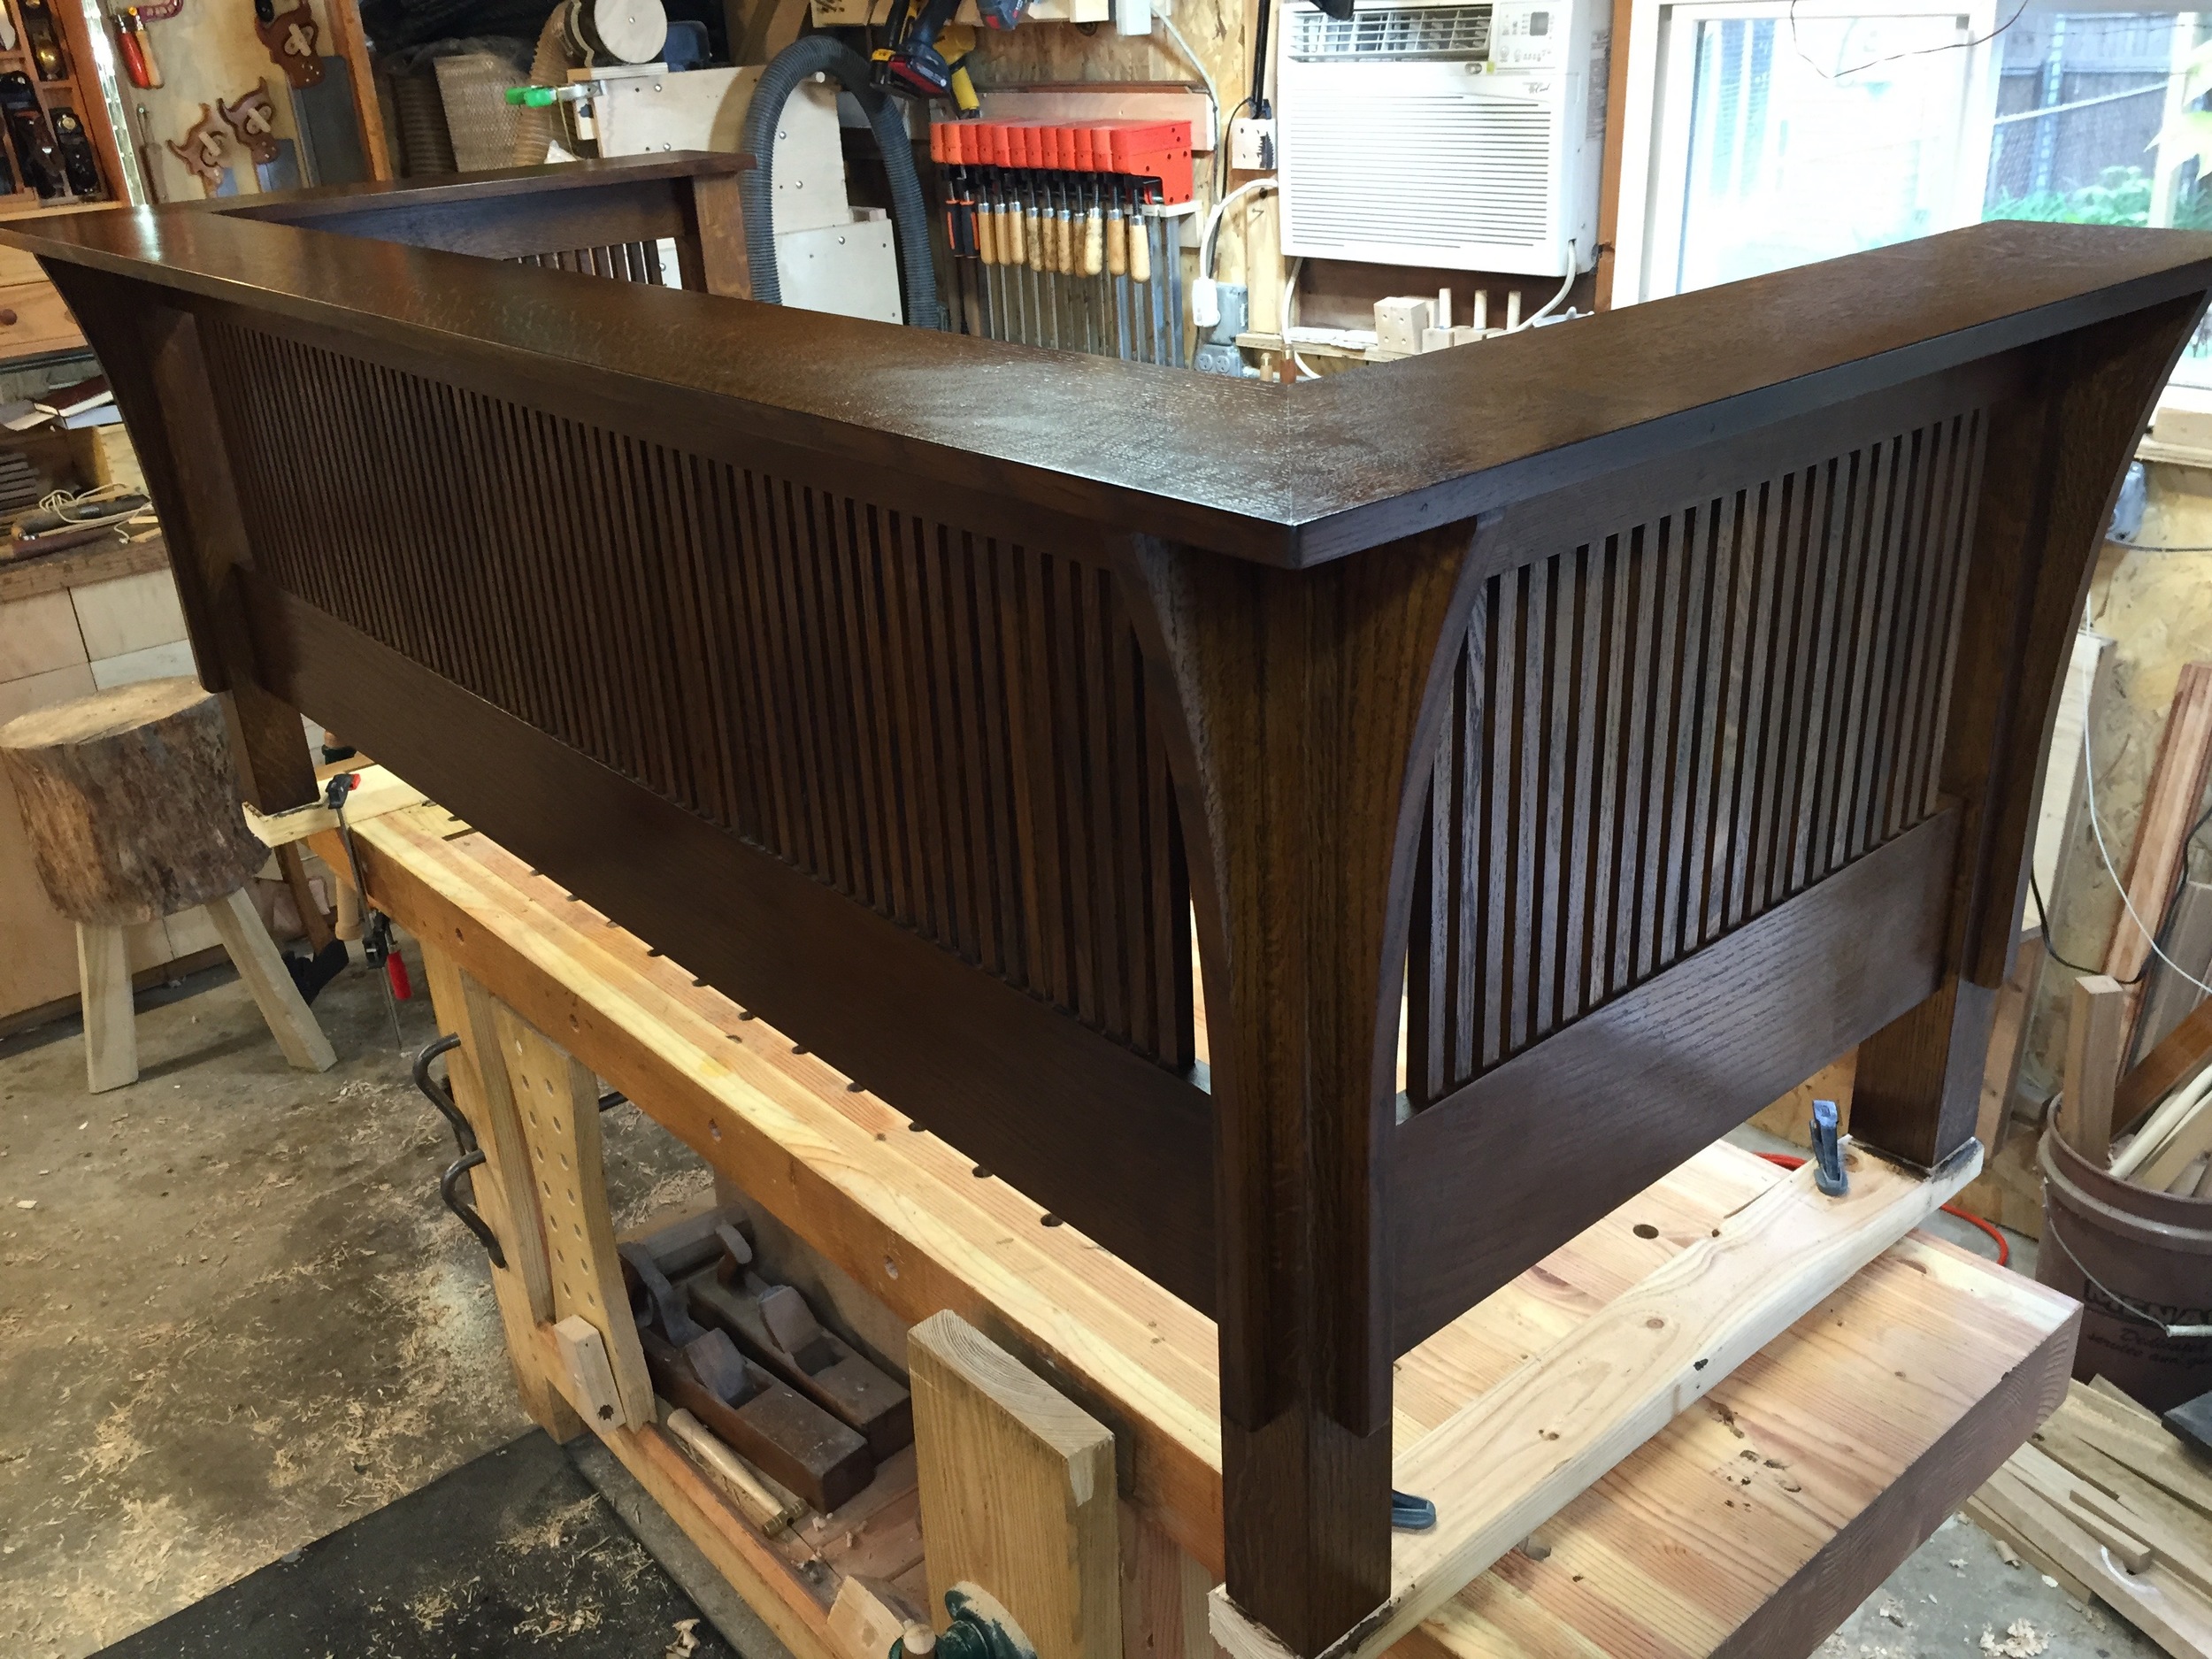
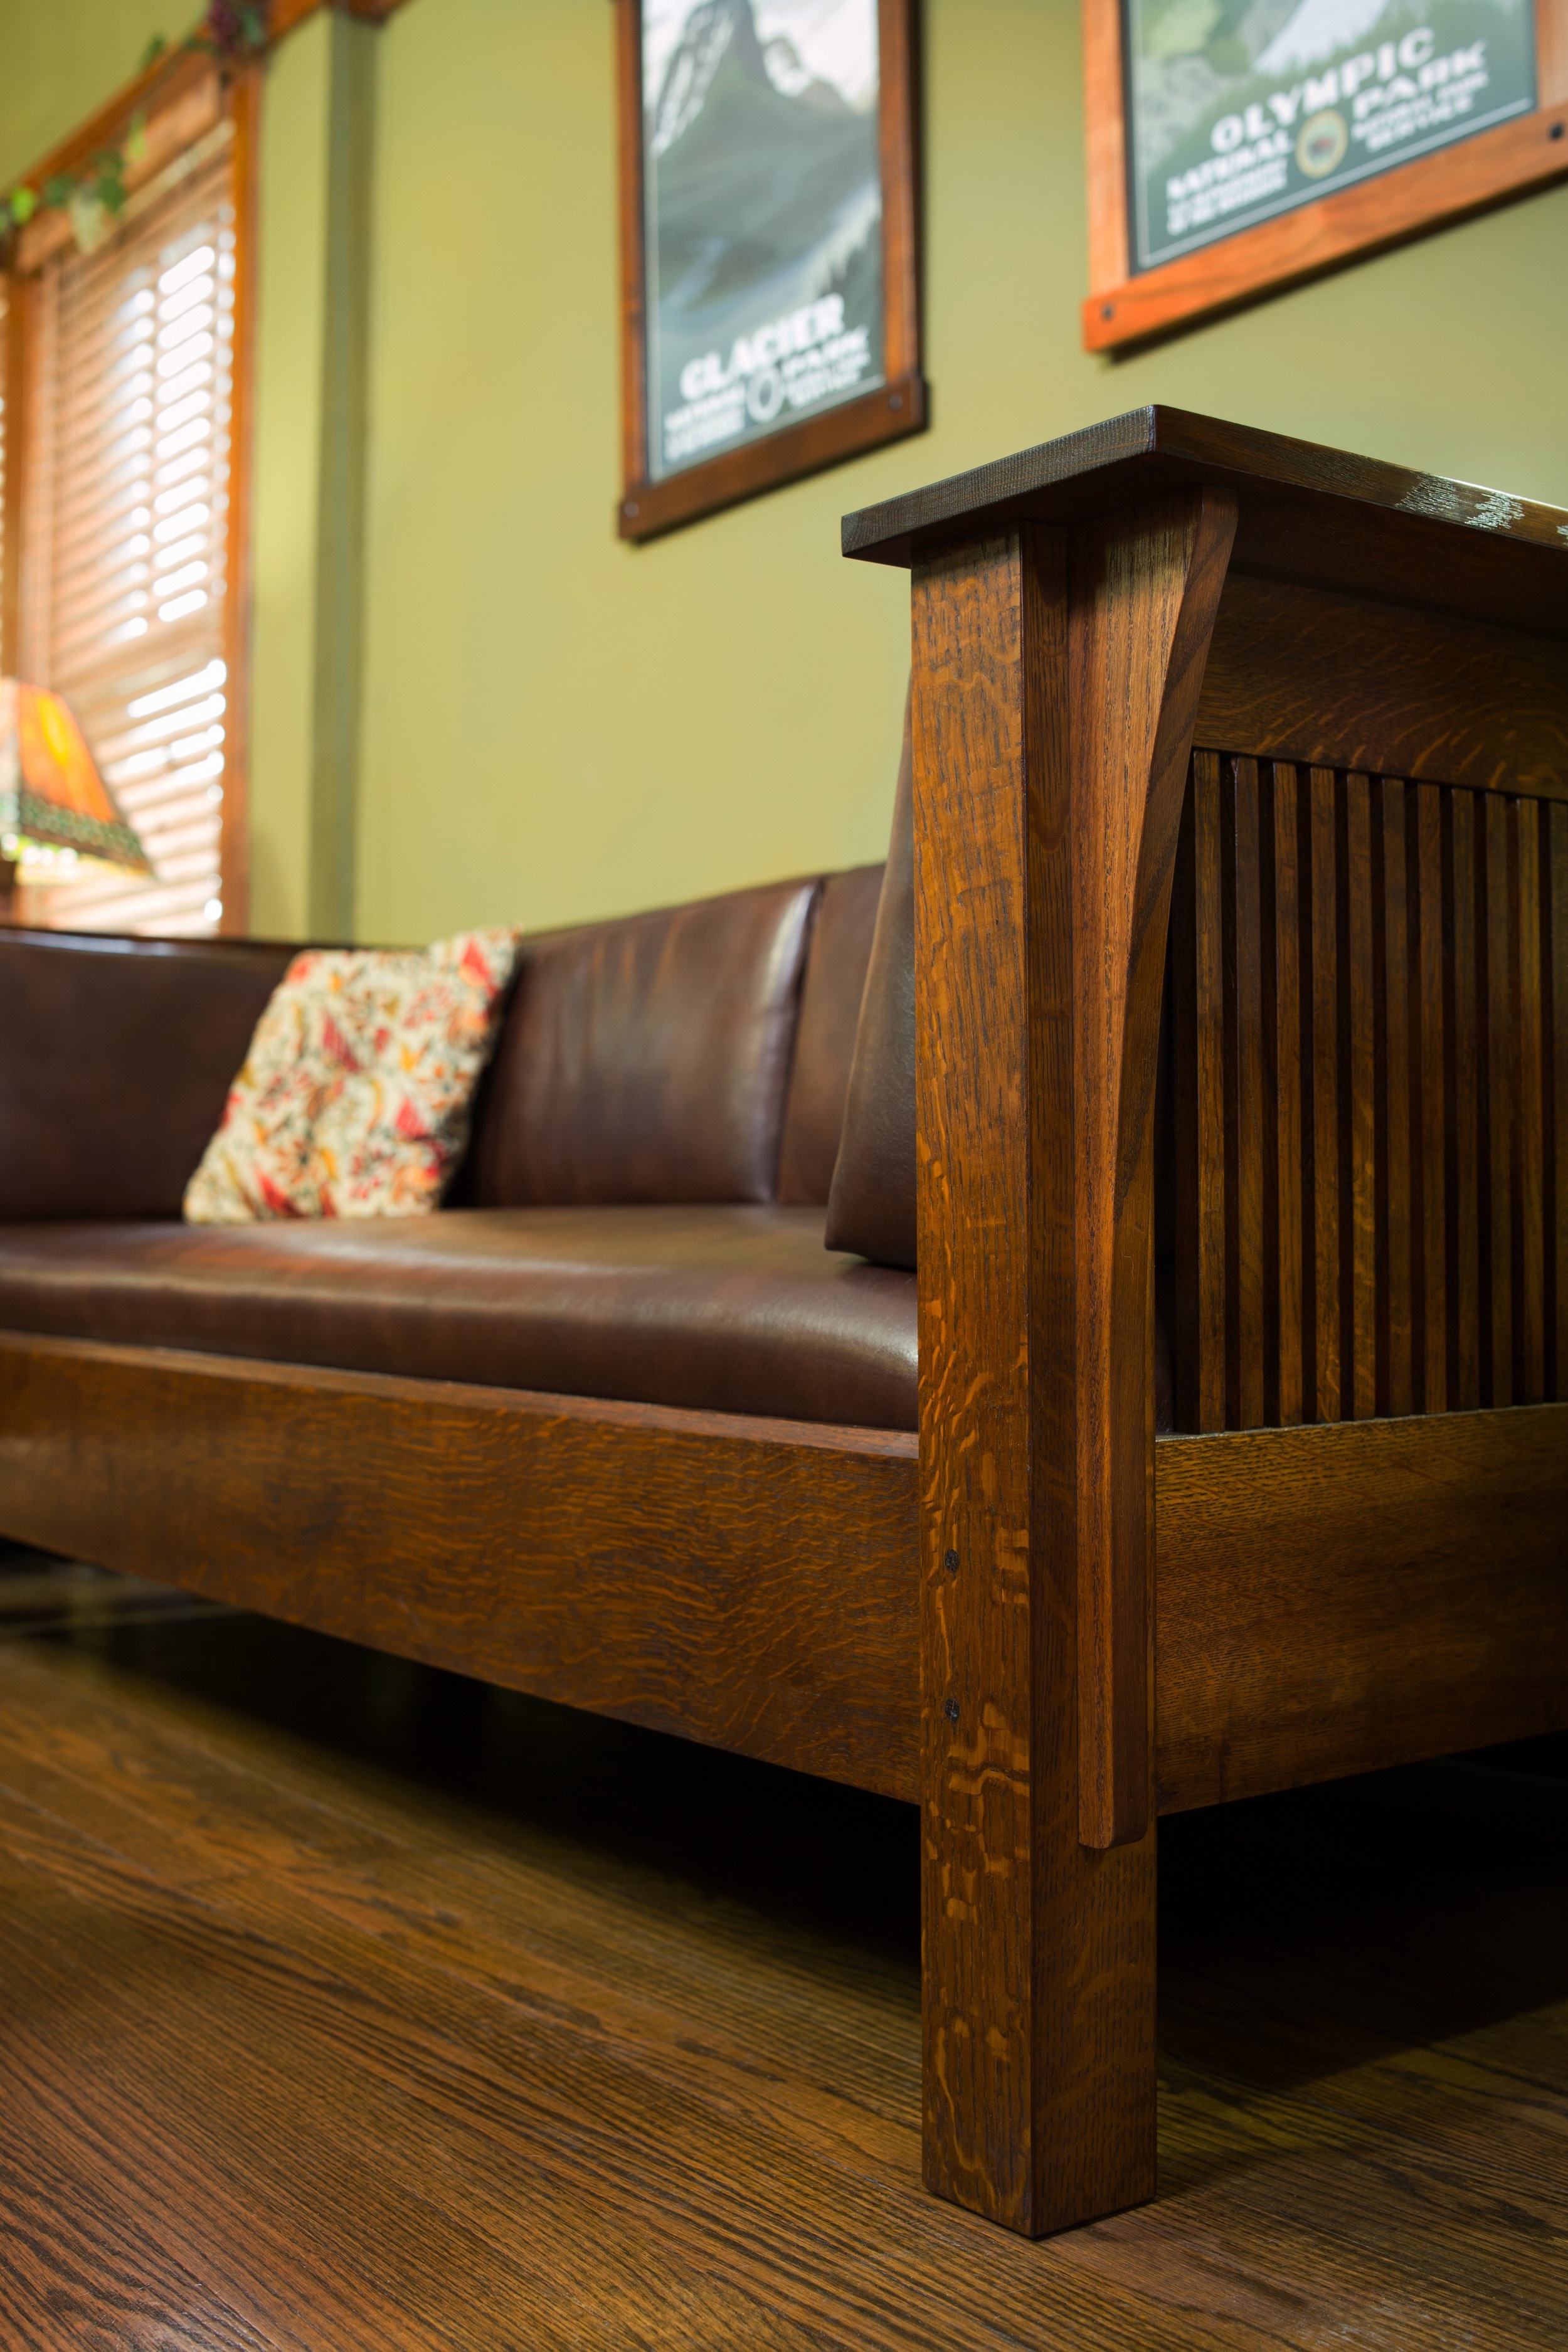
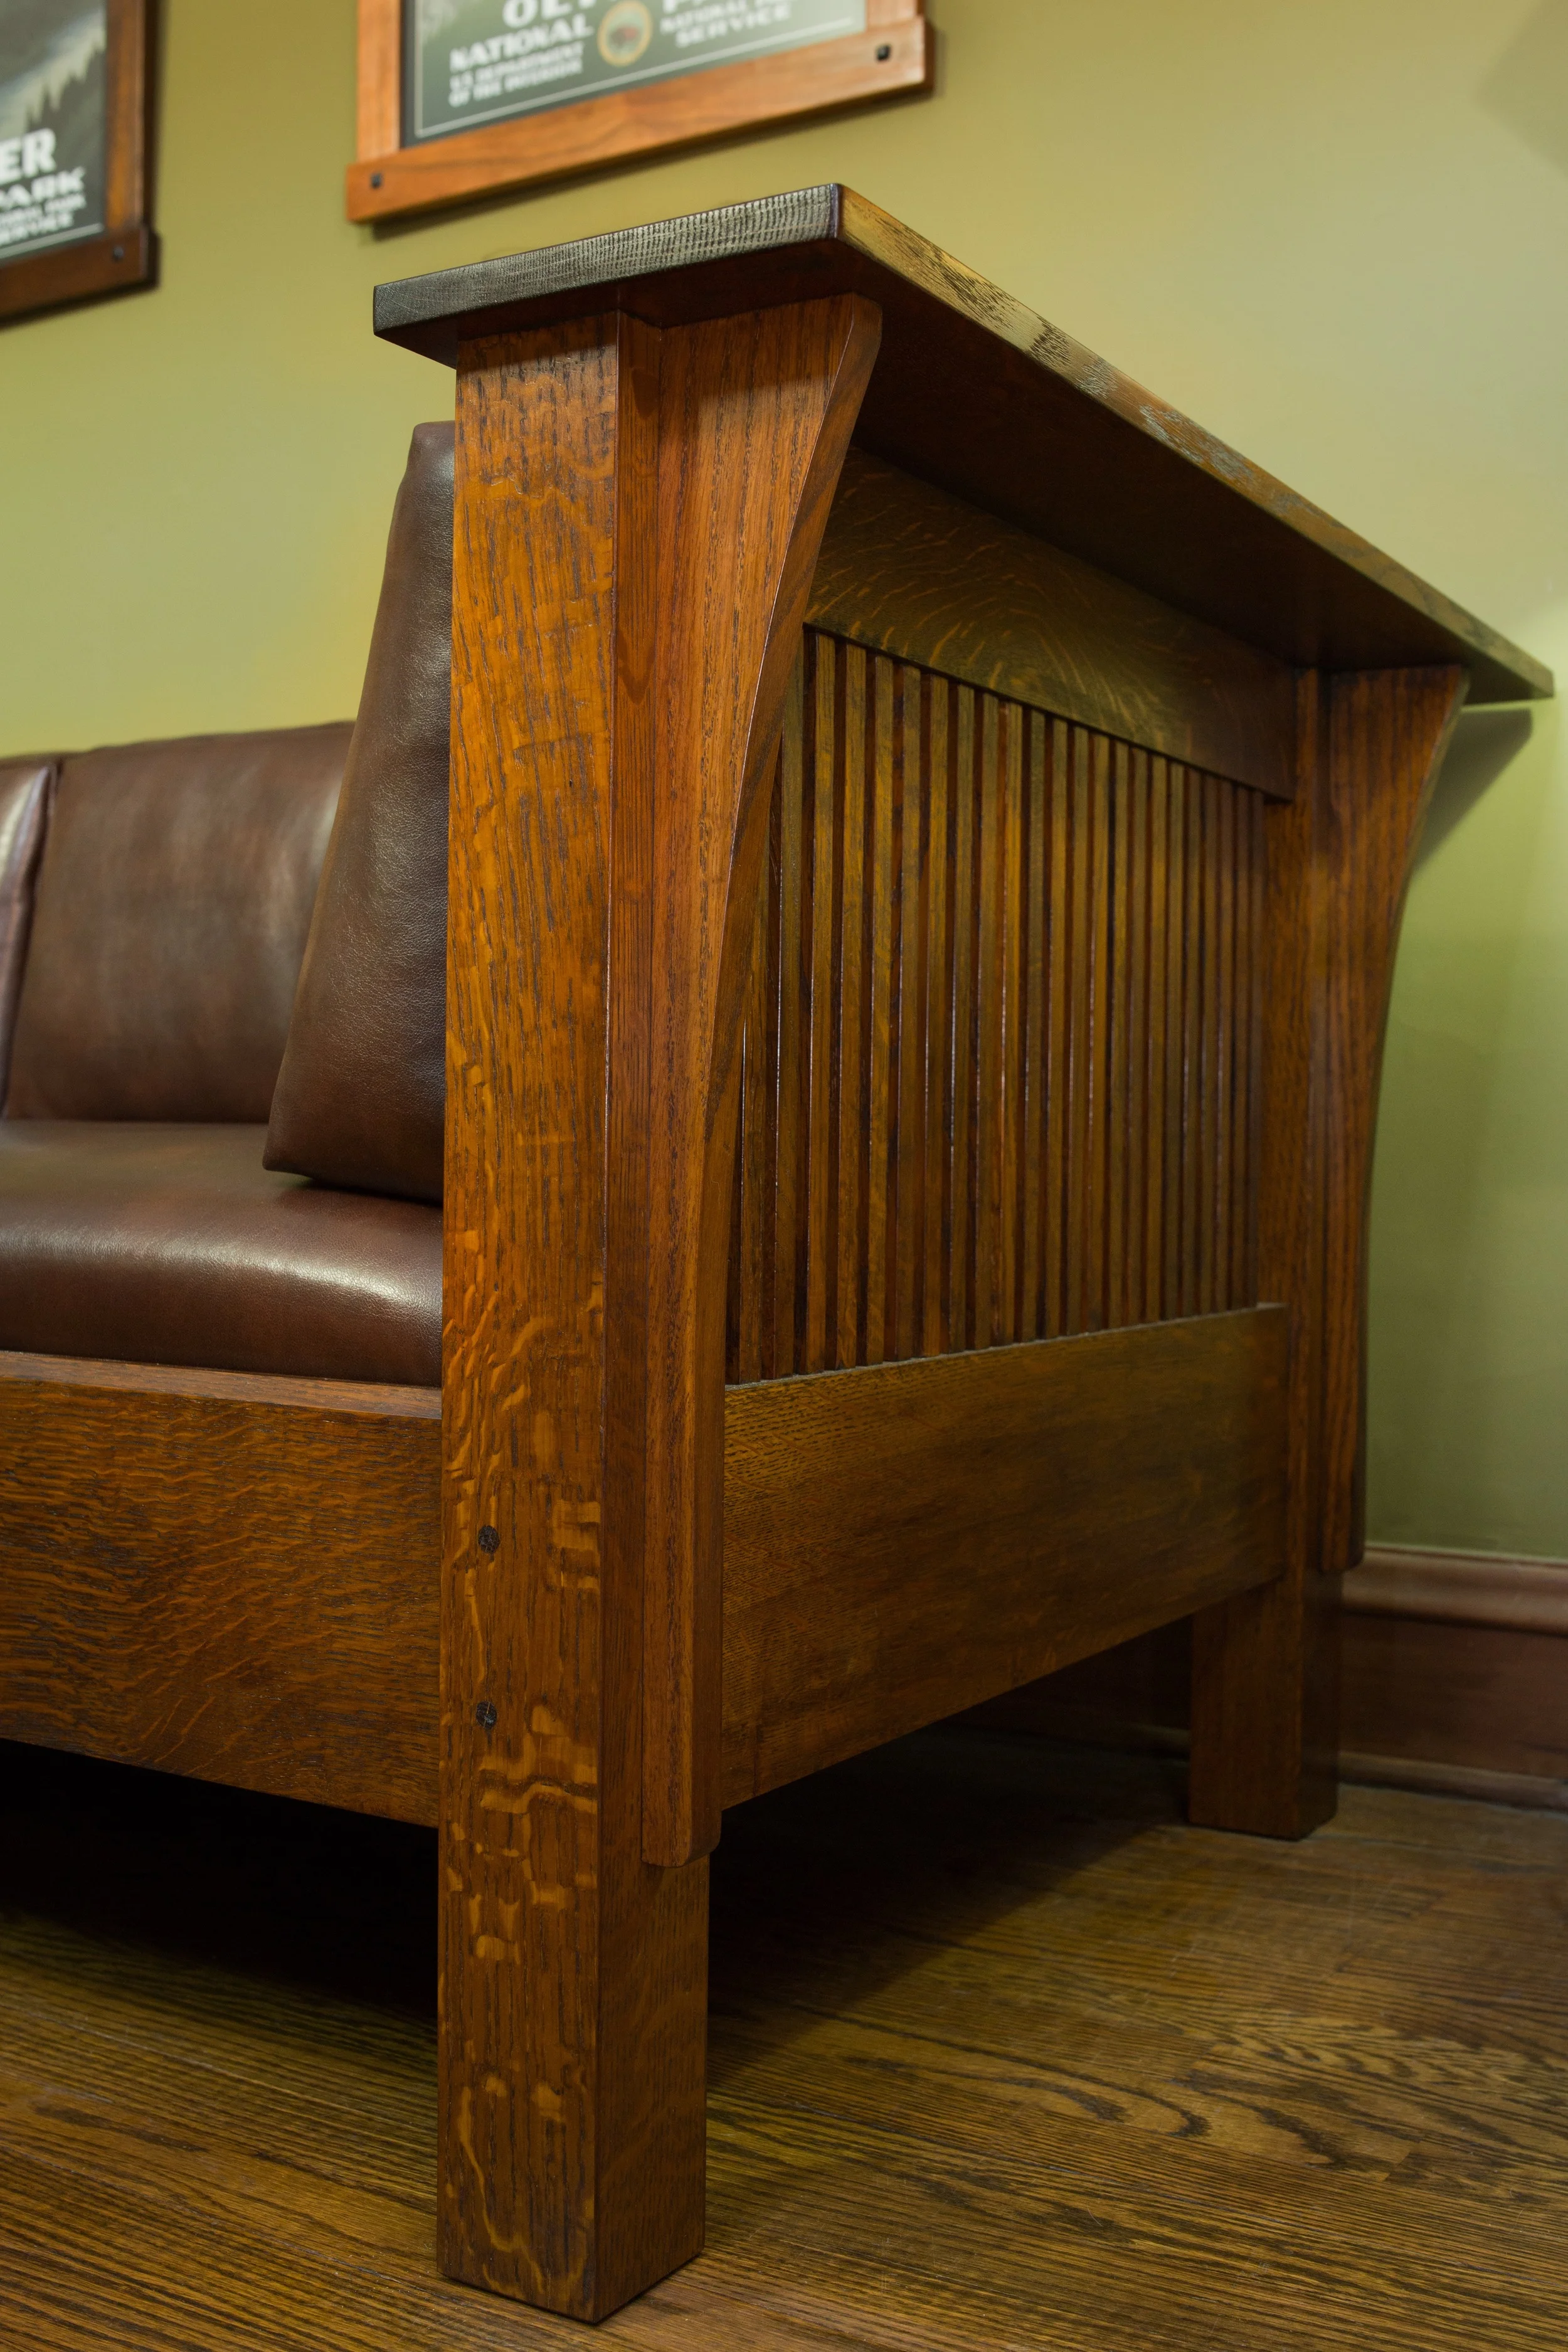
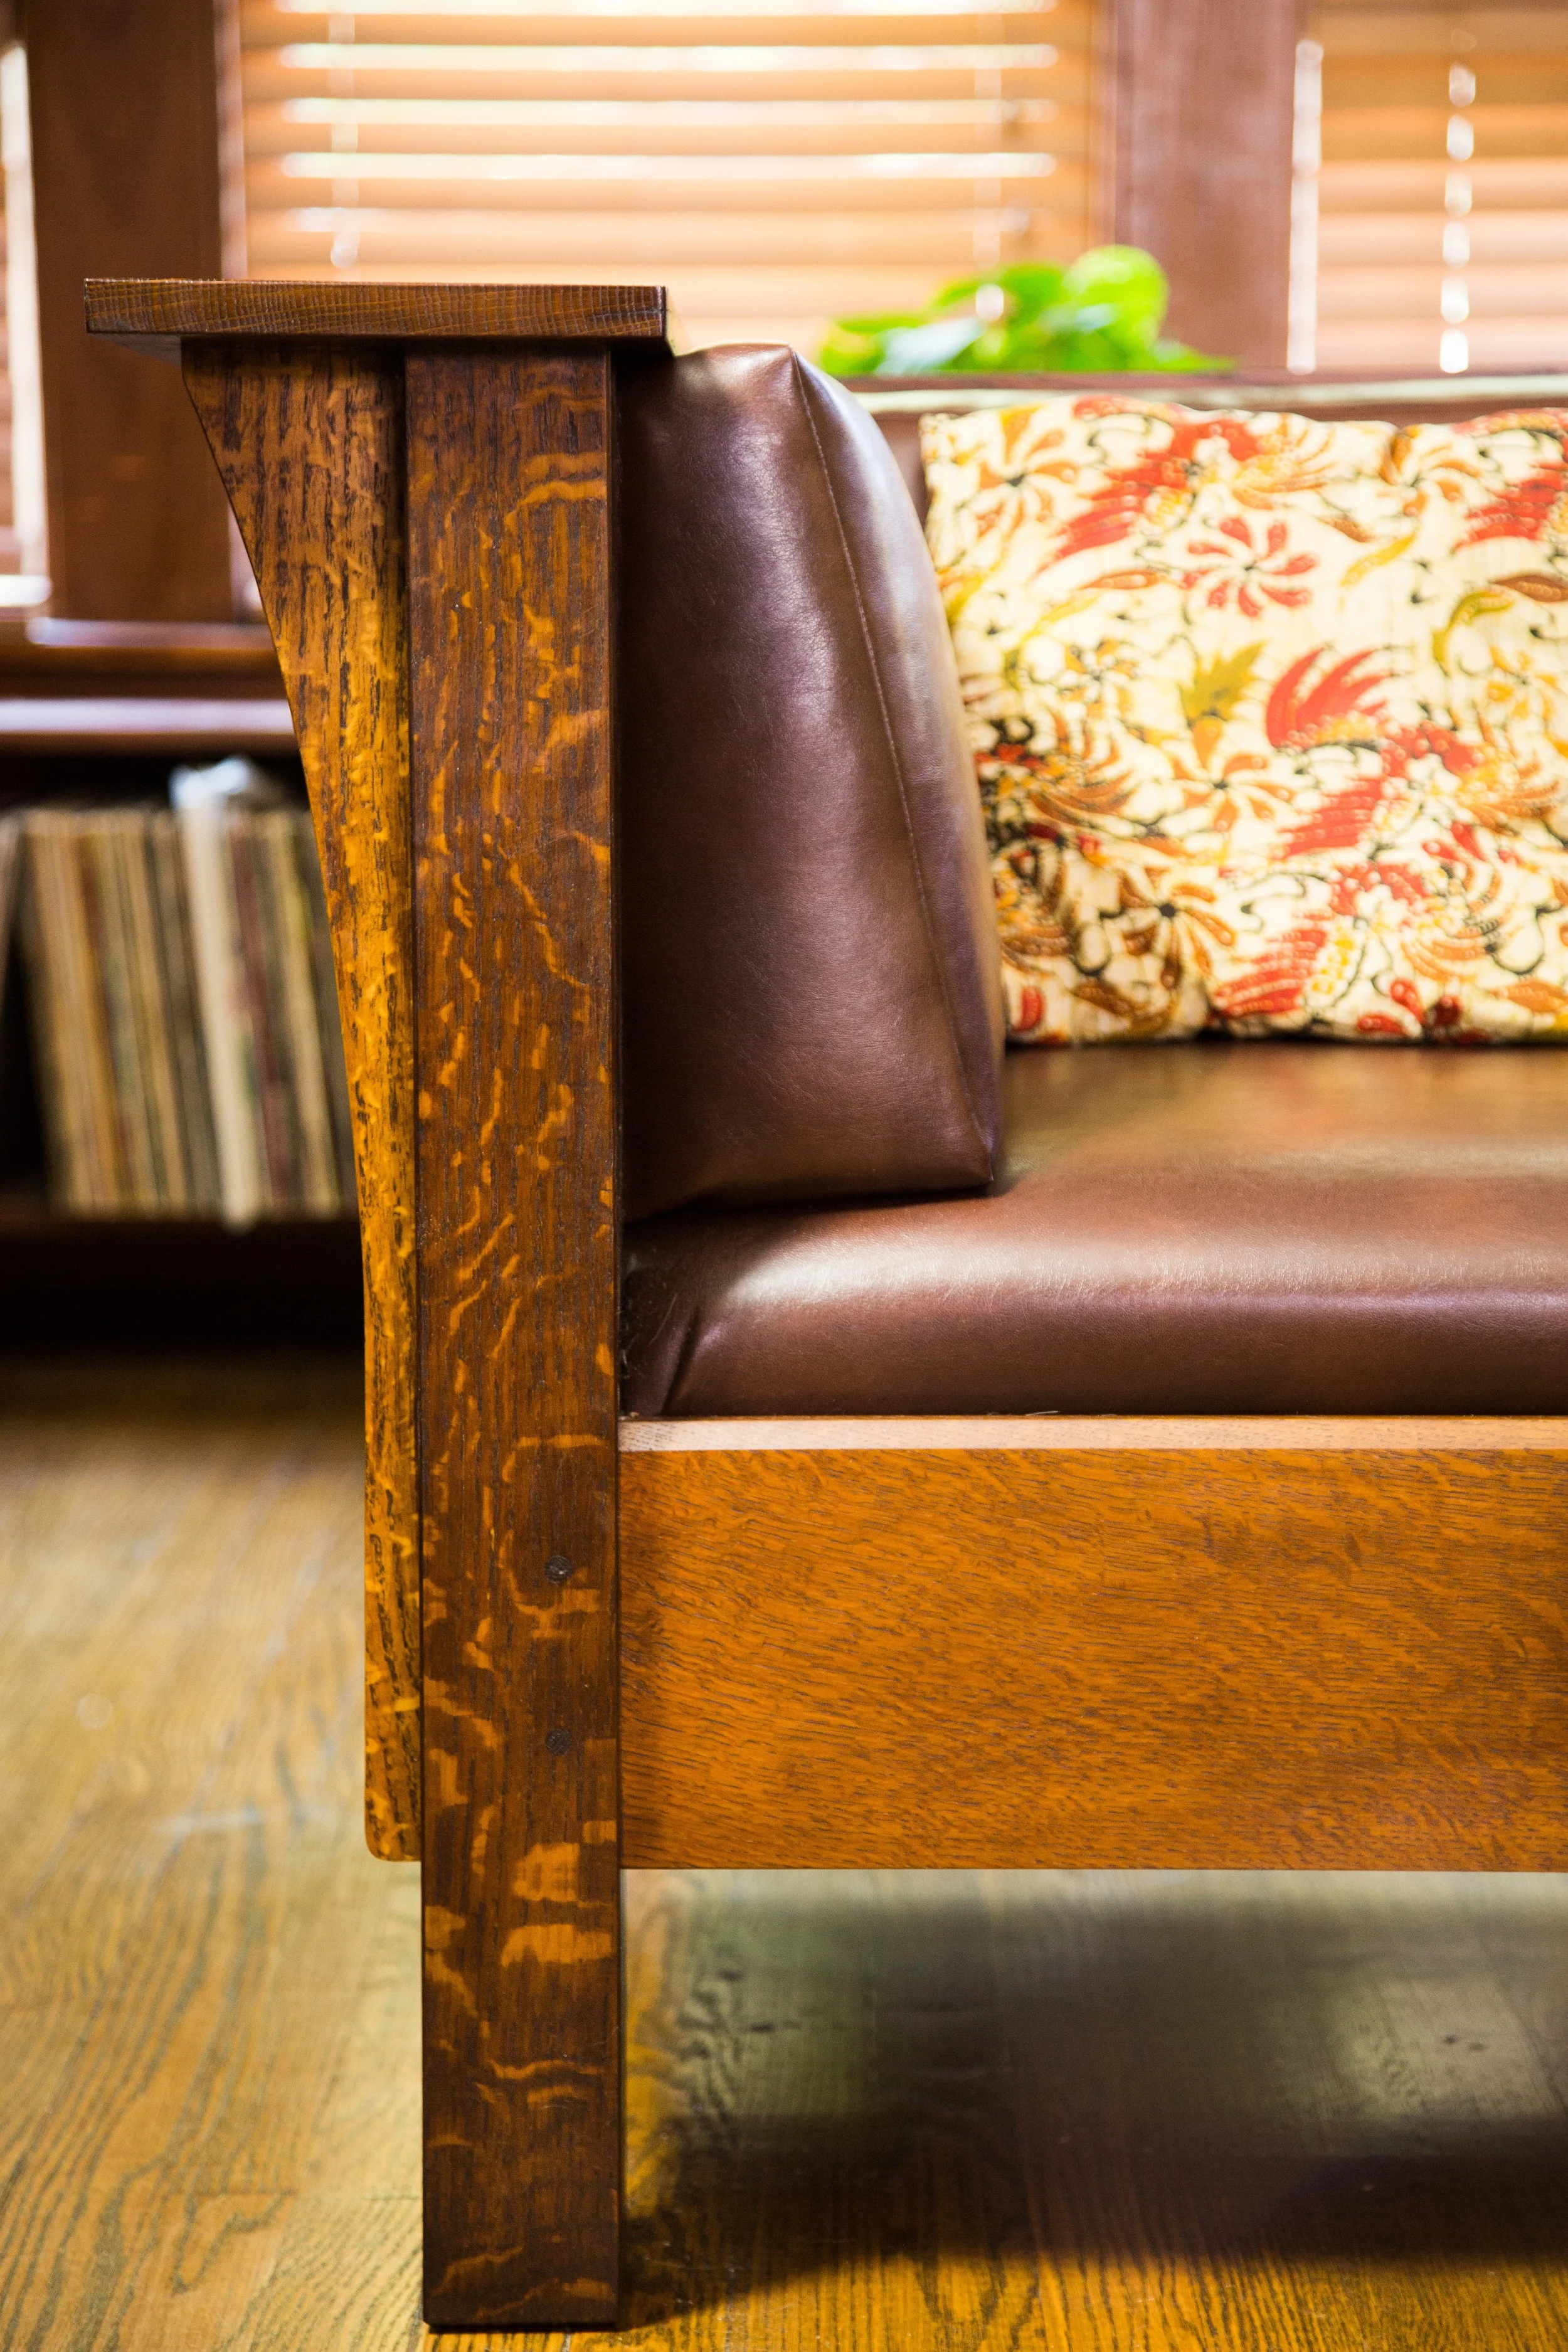
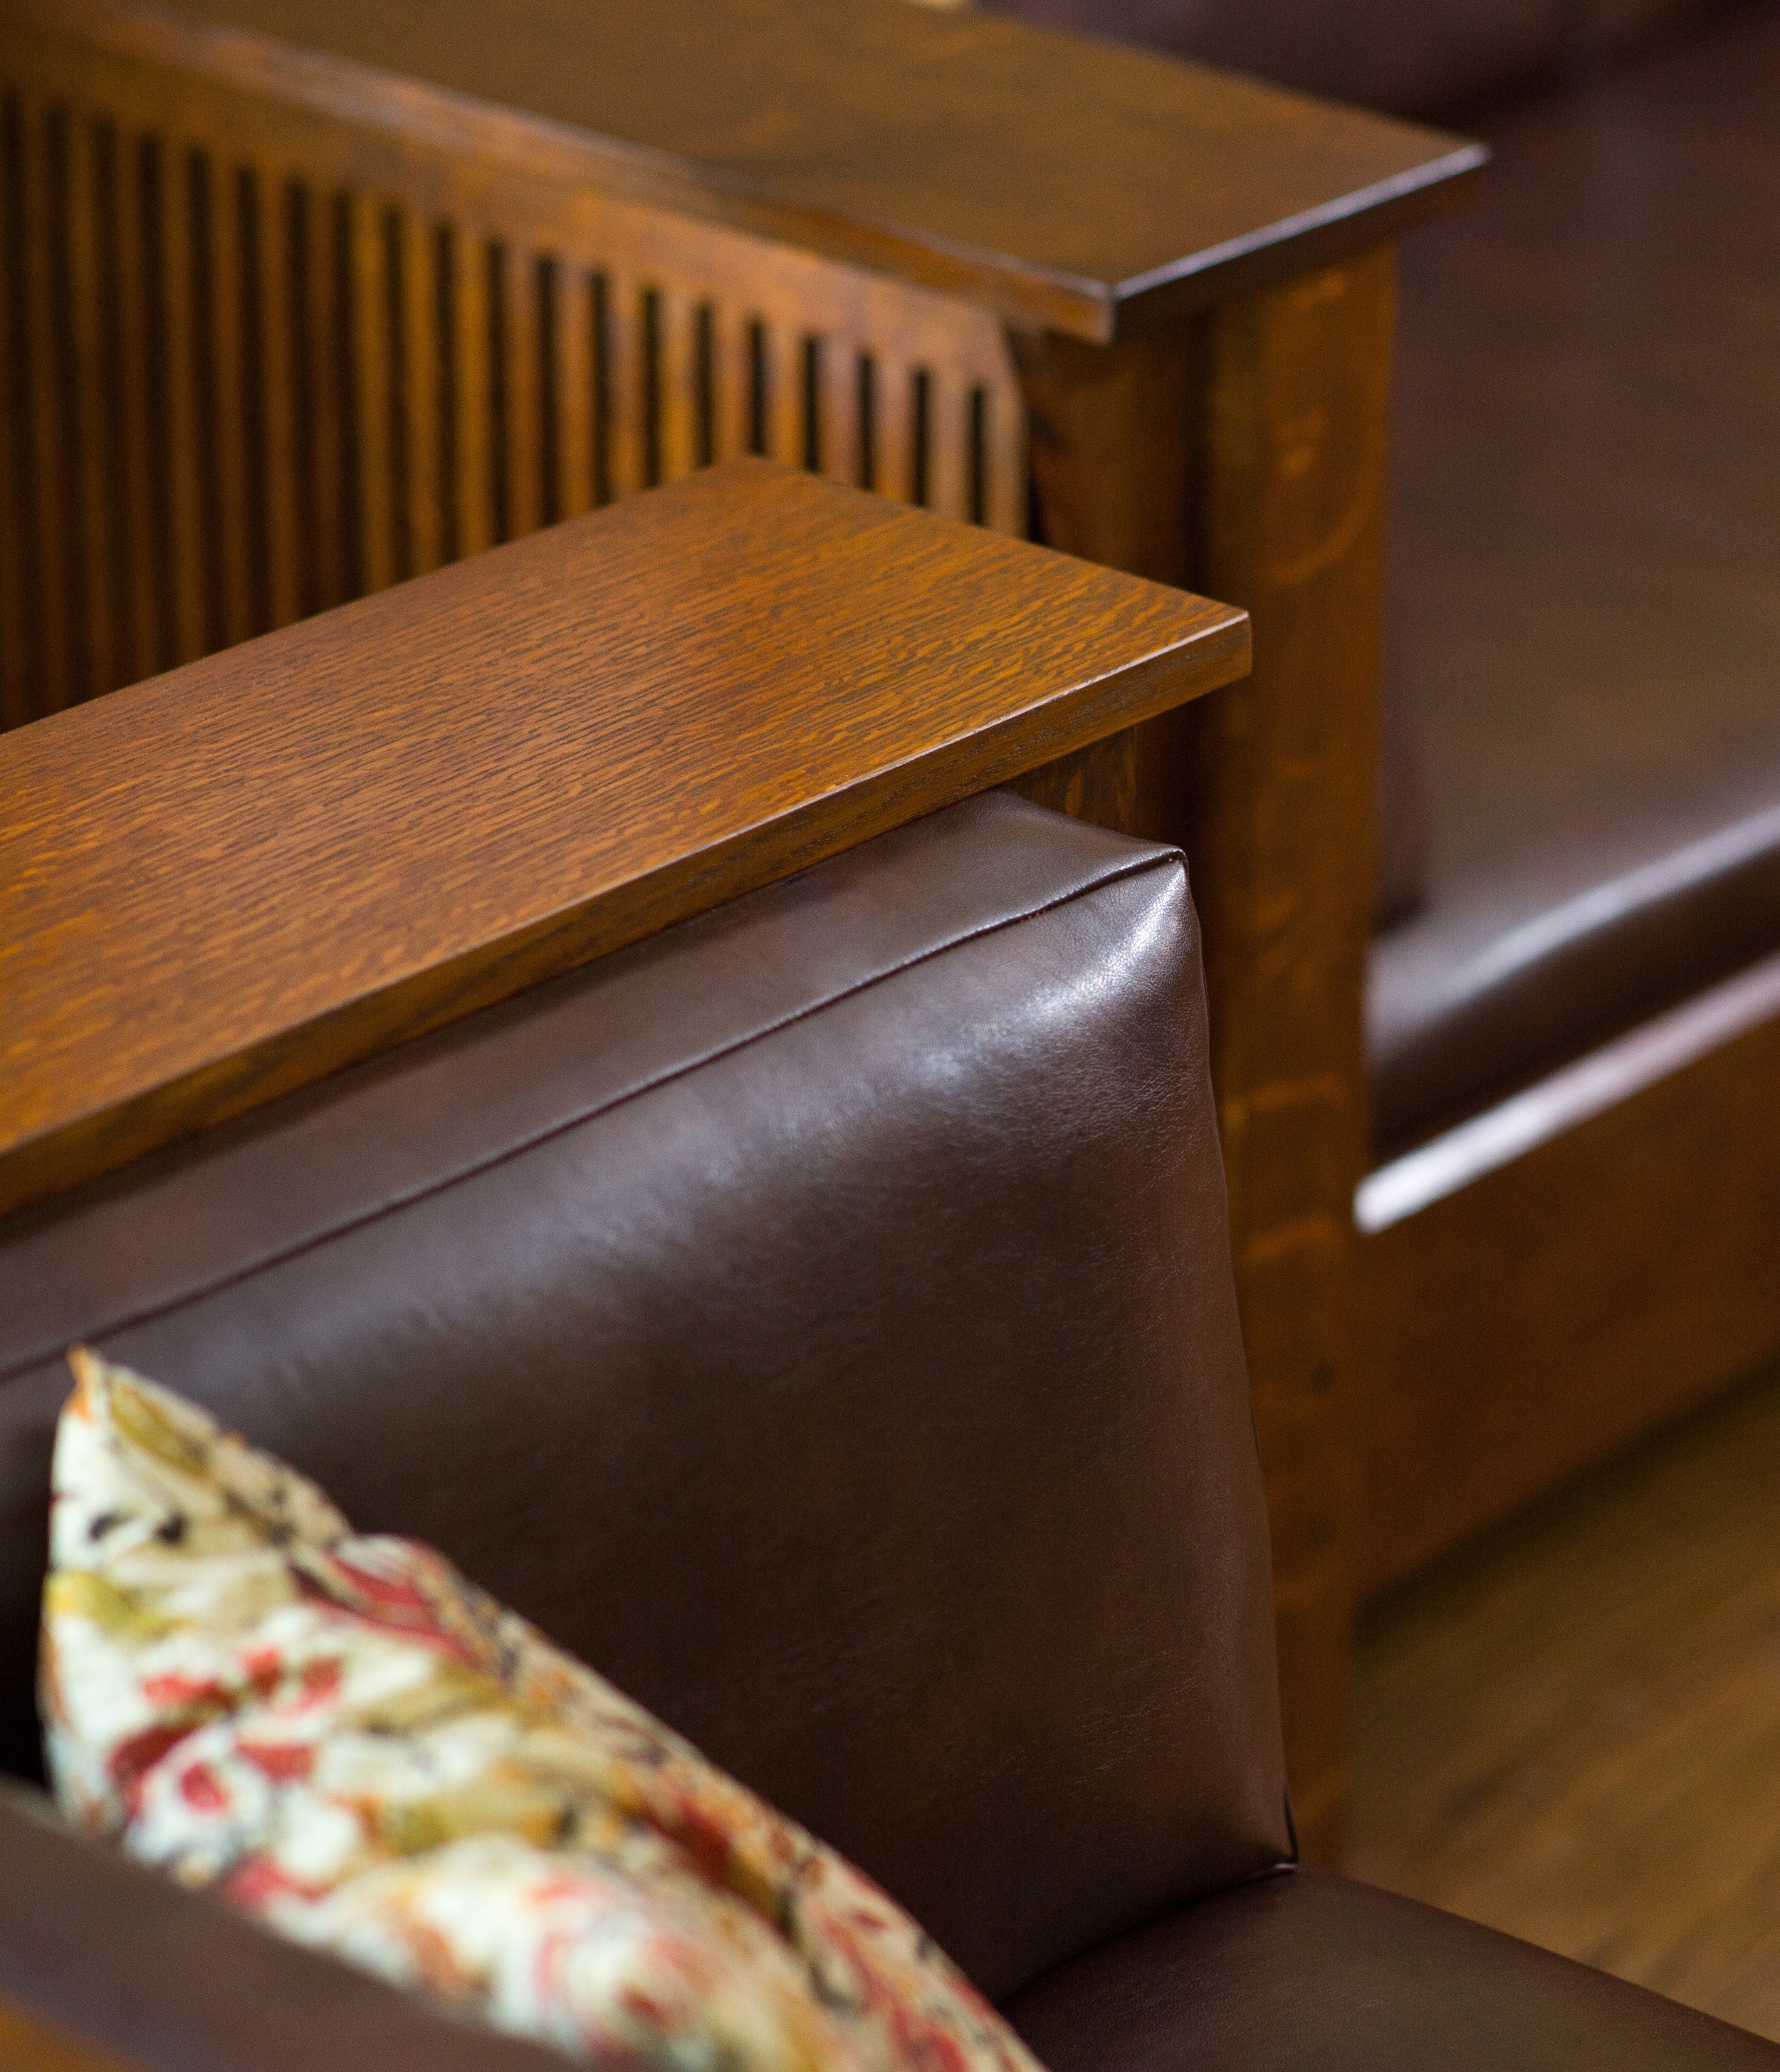
It was on to adding the corbels (the decorative vertical curved pieces on the sides of the legs). These fit into a shallow stopped dado, and were glued in place. You can see them attached to the love seat in the photo above, while the sofa is still waiting to have them added.
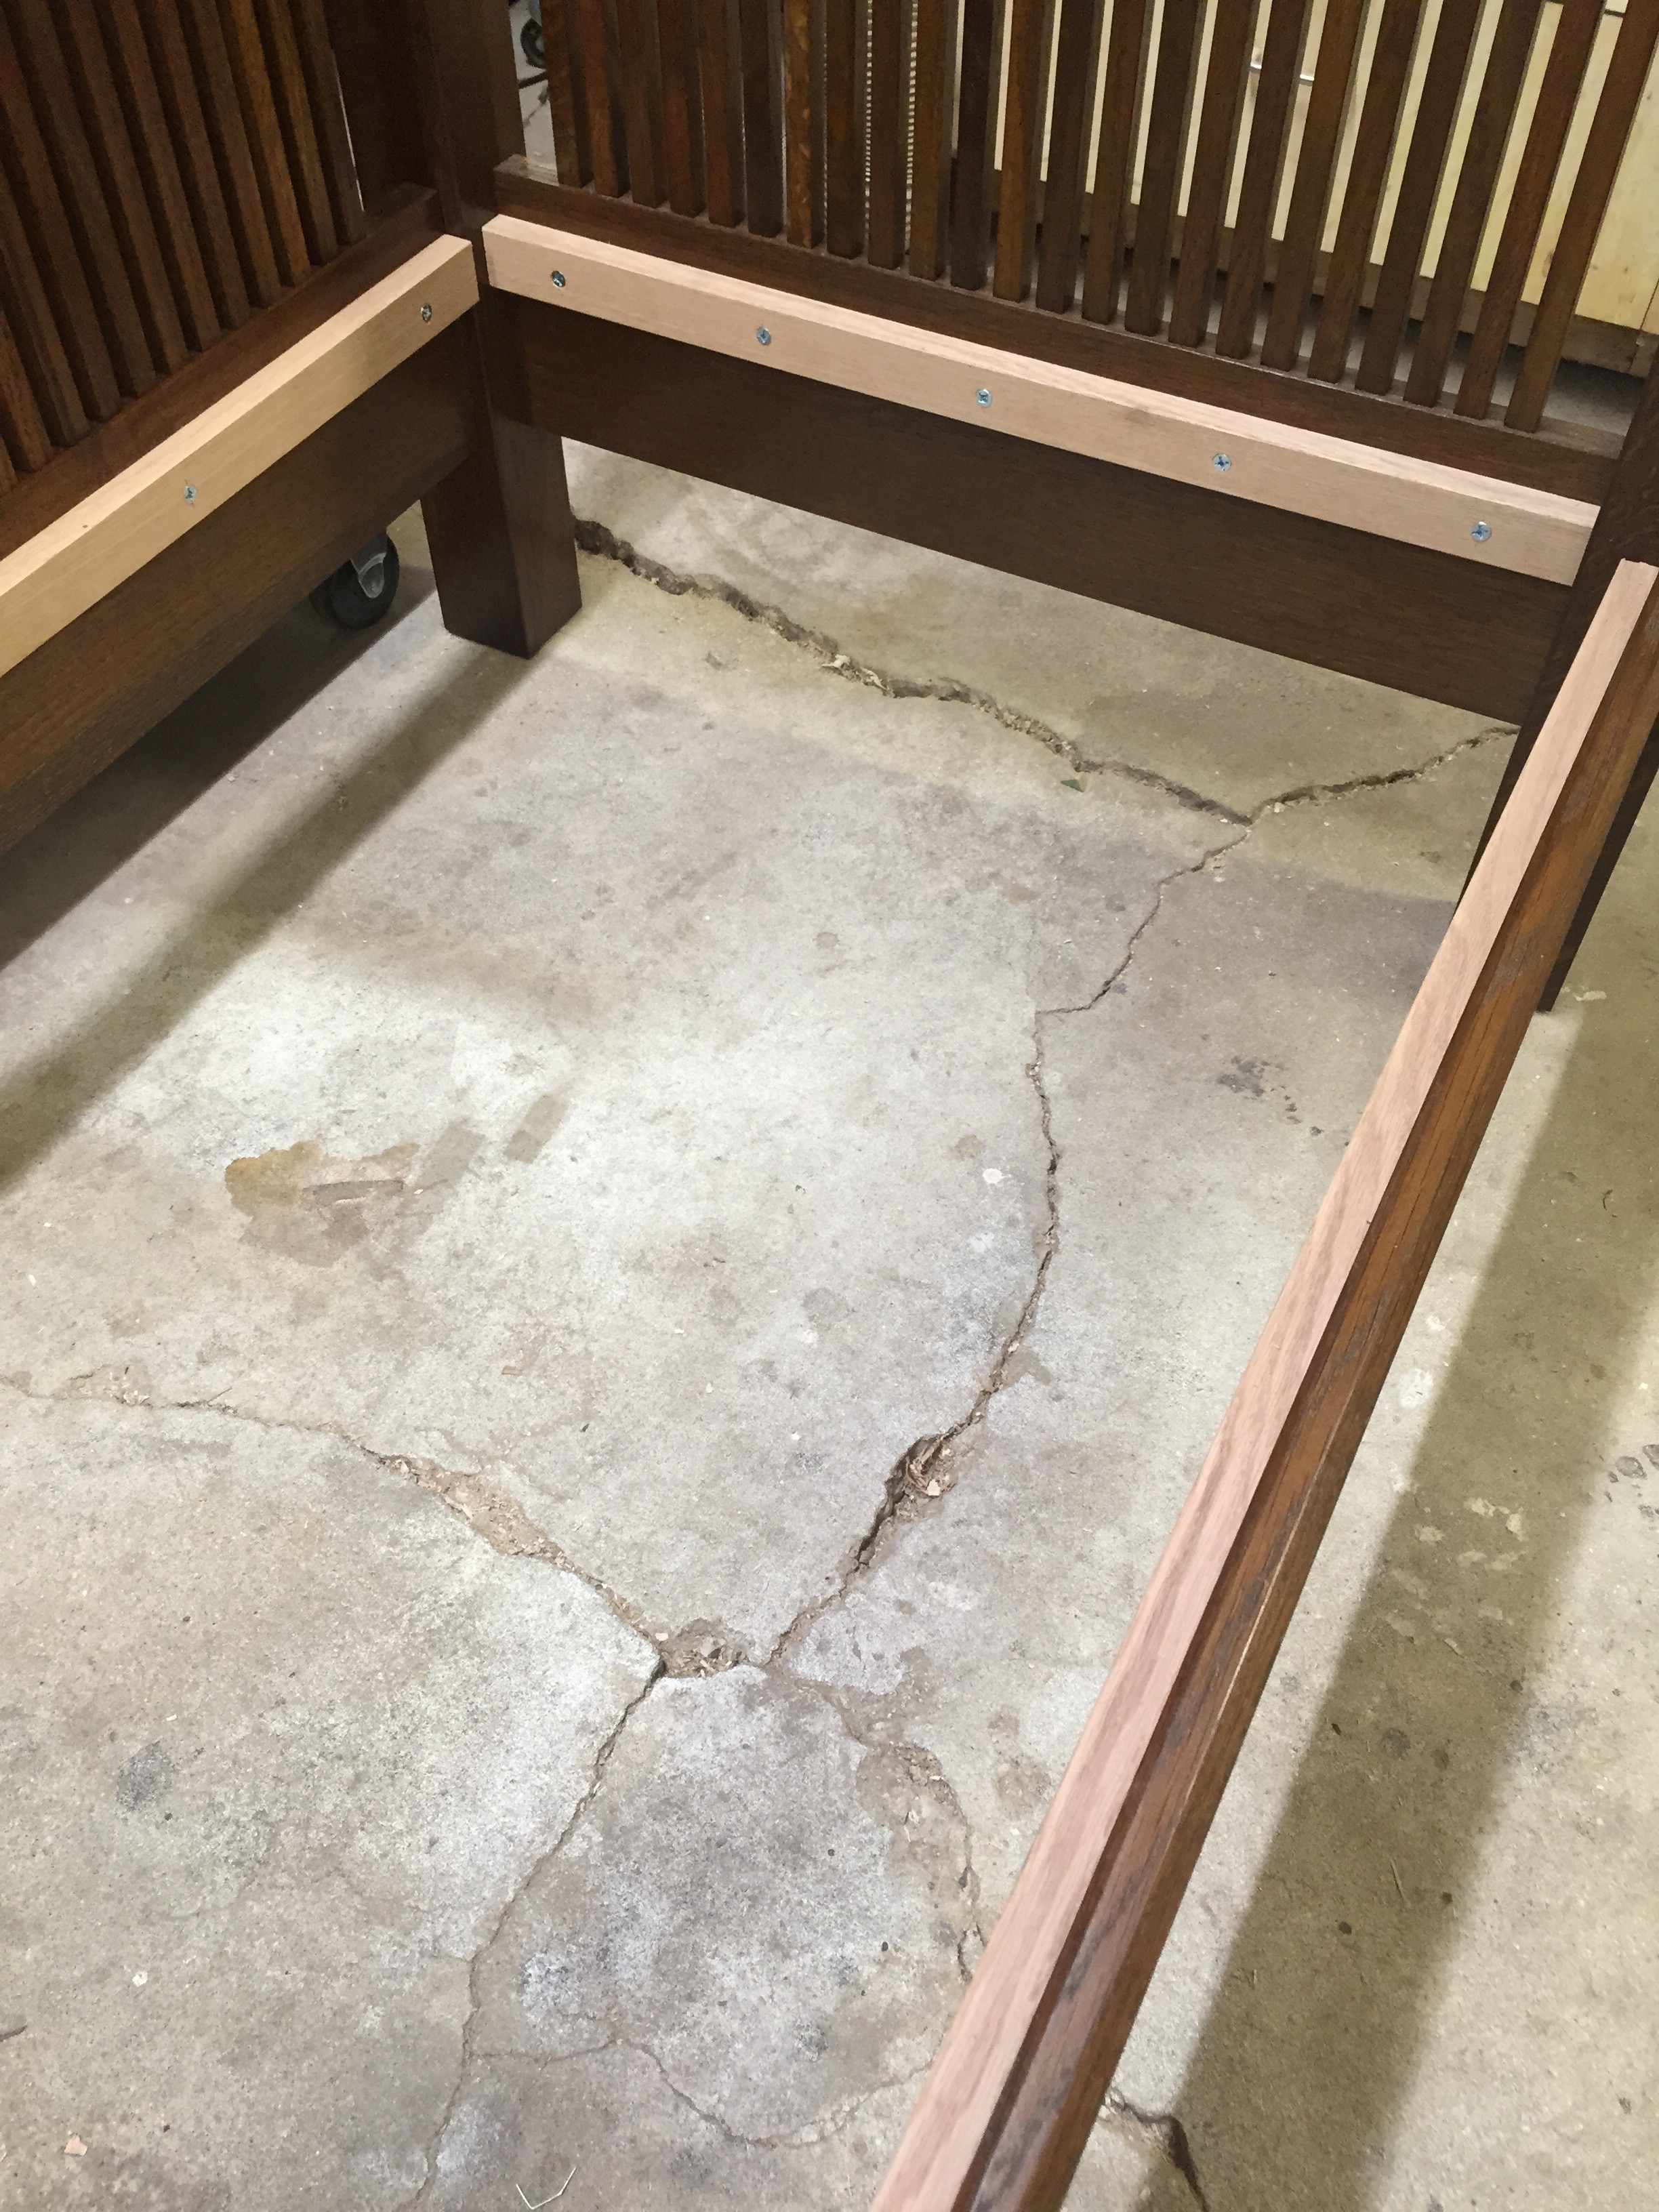
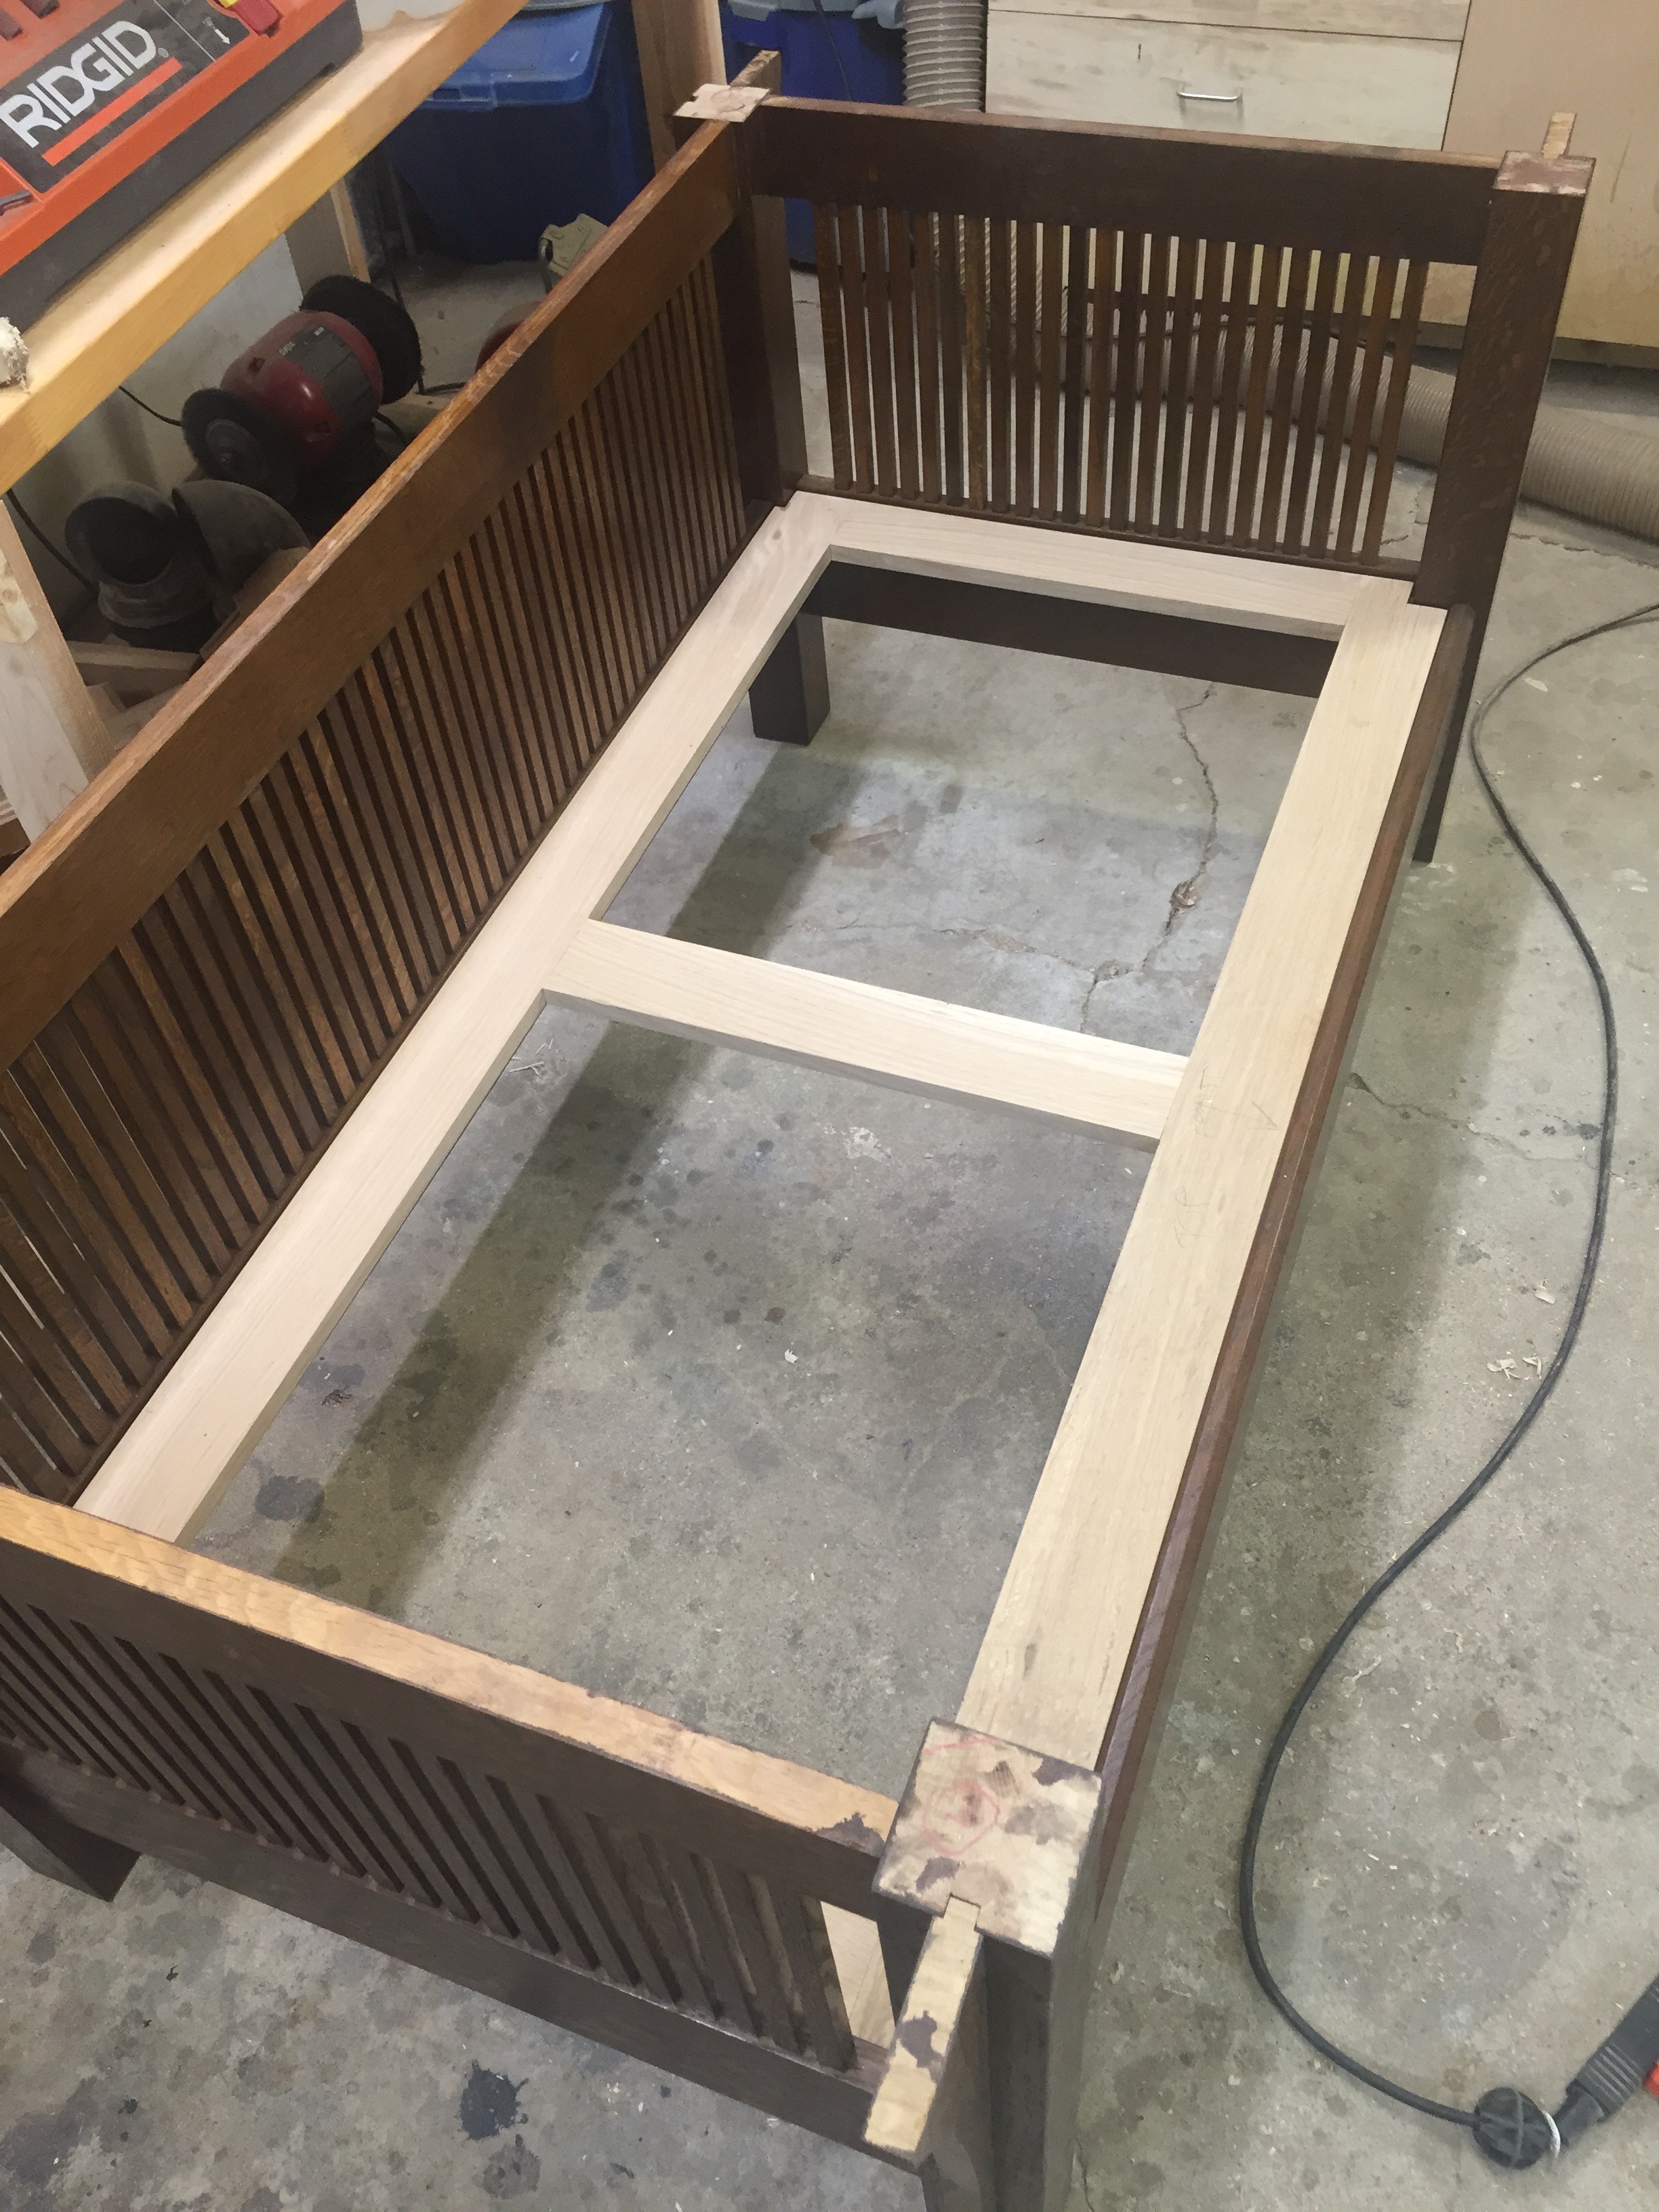
I was ready to add the arms, but before I could do so, I needed to get the upholstery process underway, so that could be prepared while I finished the arms. I had to attach cleats to the inside of each piece, and then build a frame that the fitted seat would attach to. The frames would then go to the upholsterer. Building the frames and cleats went quickly, as no finishing was required and none of the surfaces would be visible in the final piece. The cleats were just screwed to the rails, not glued (on the off chance that they might need to be adjusted later), and the frames were just simple mortise and tenon frames built to the upholsterer's specs.
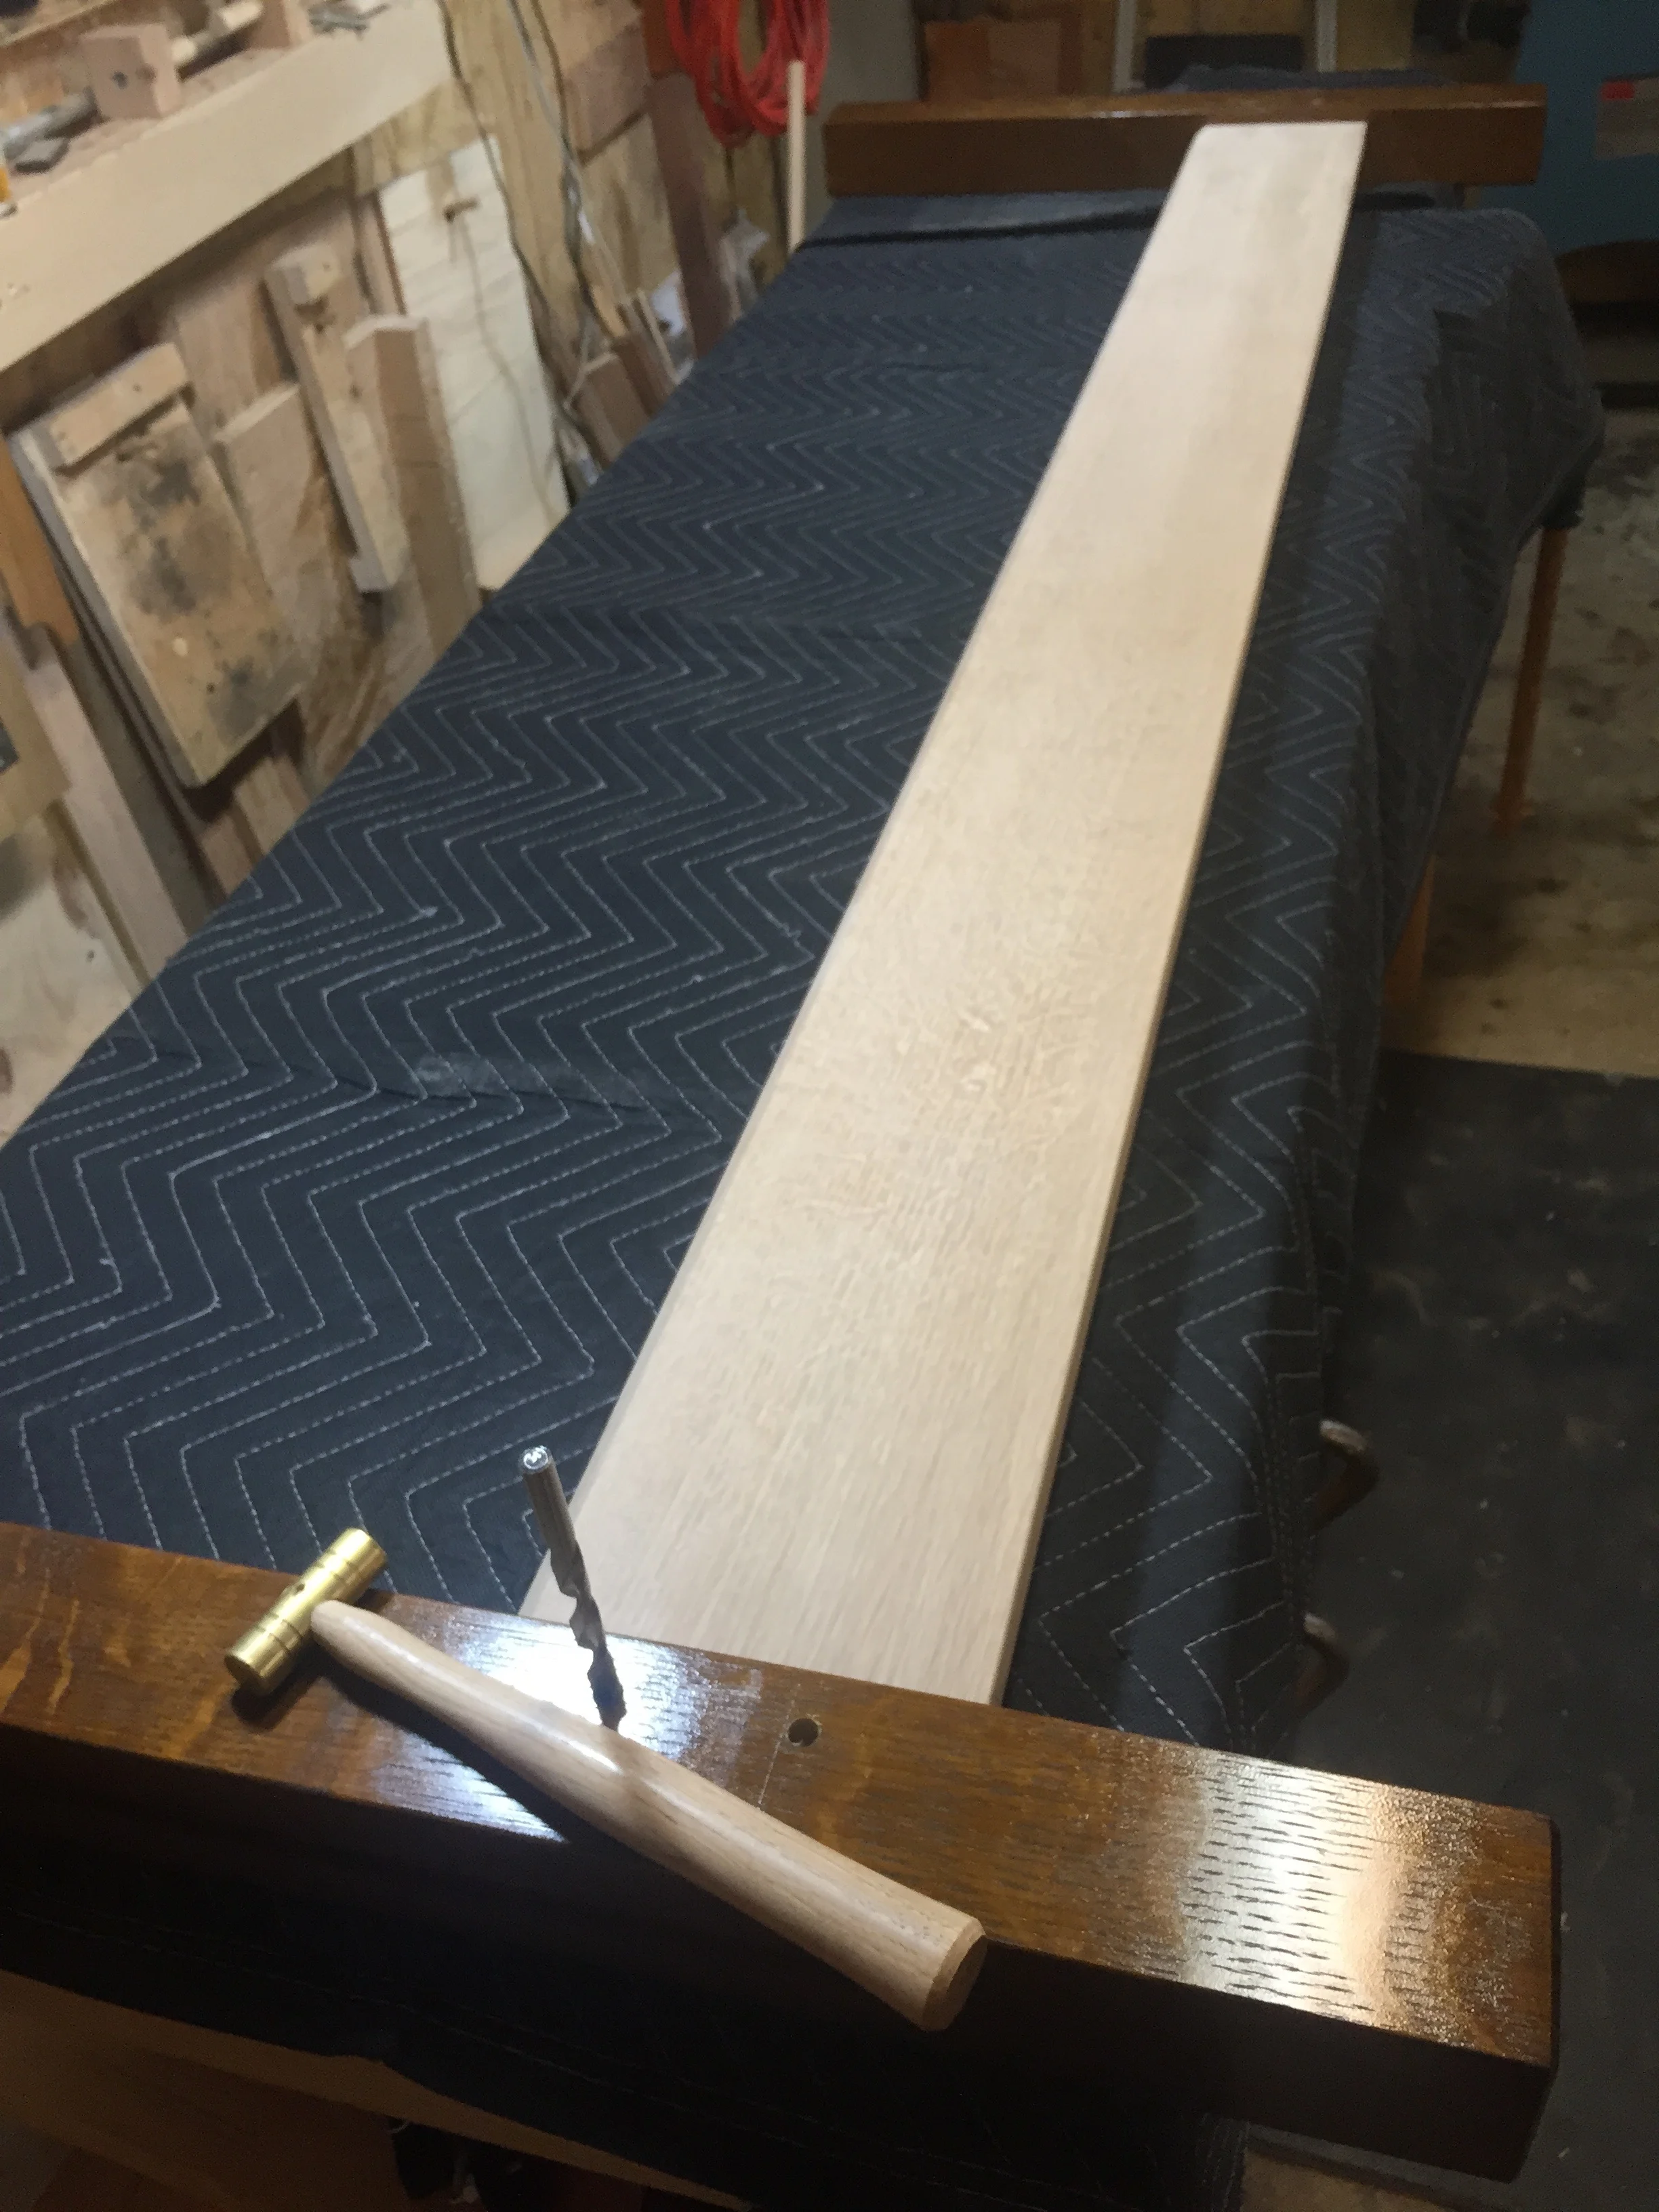
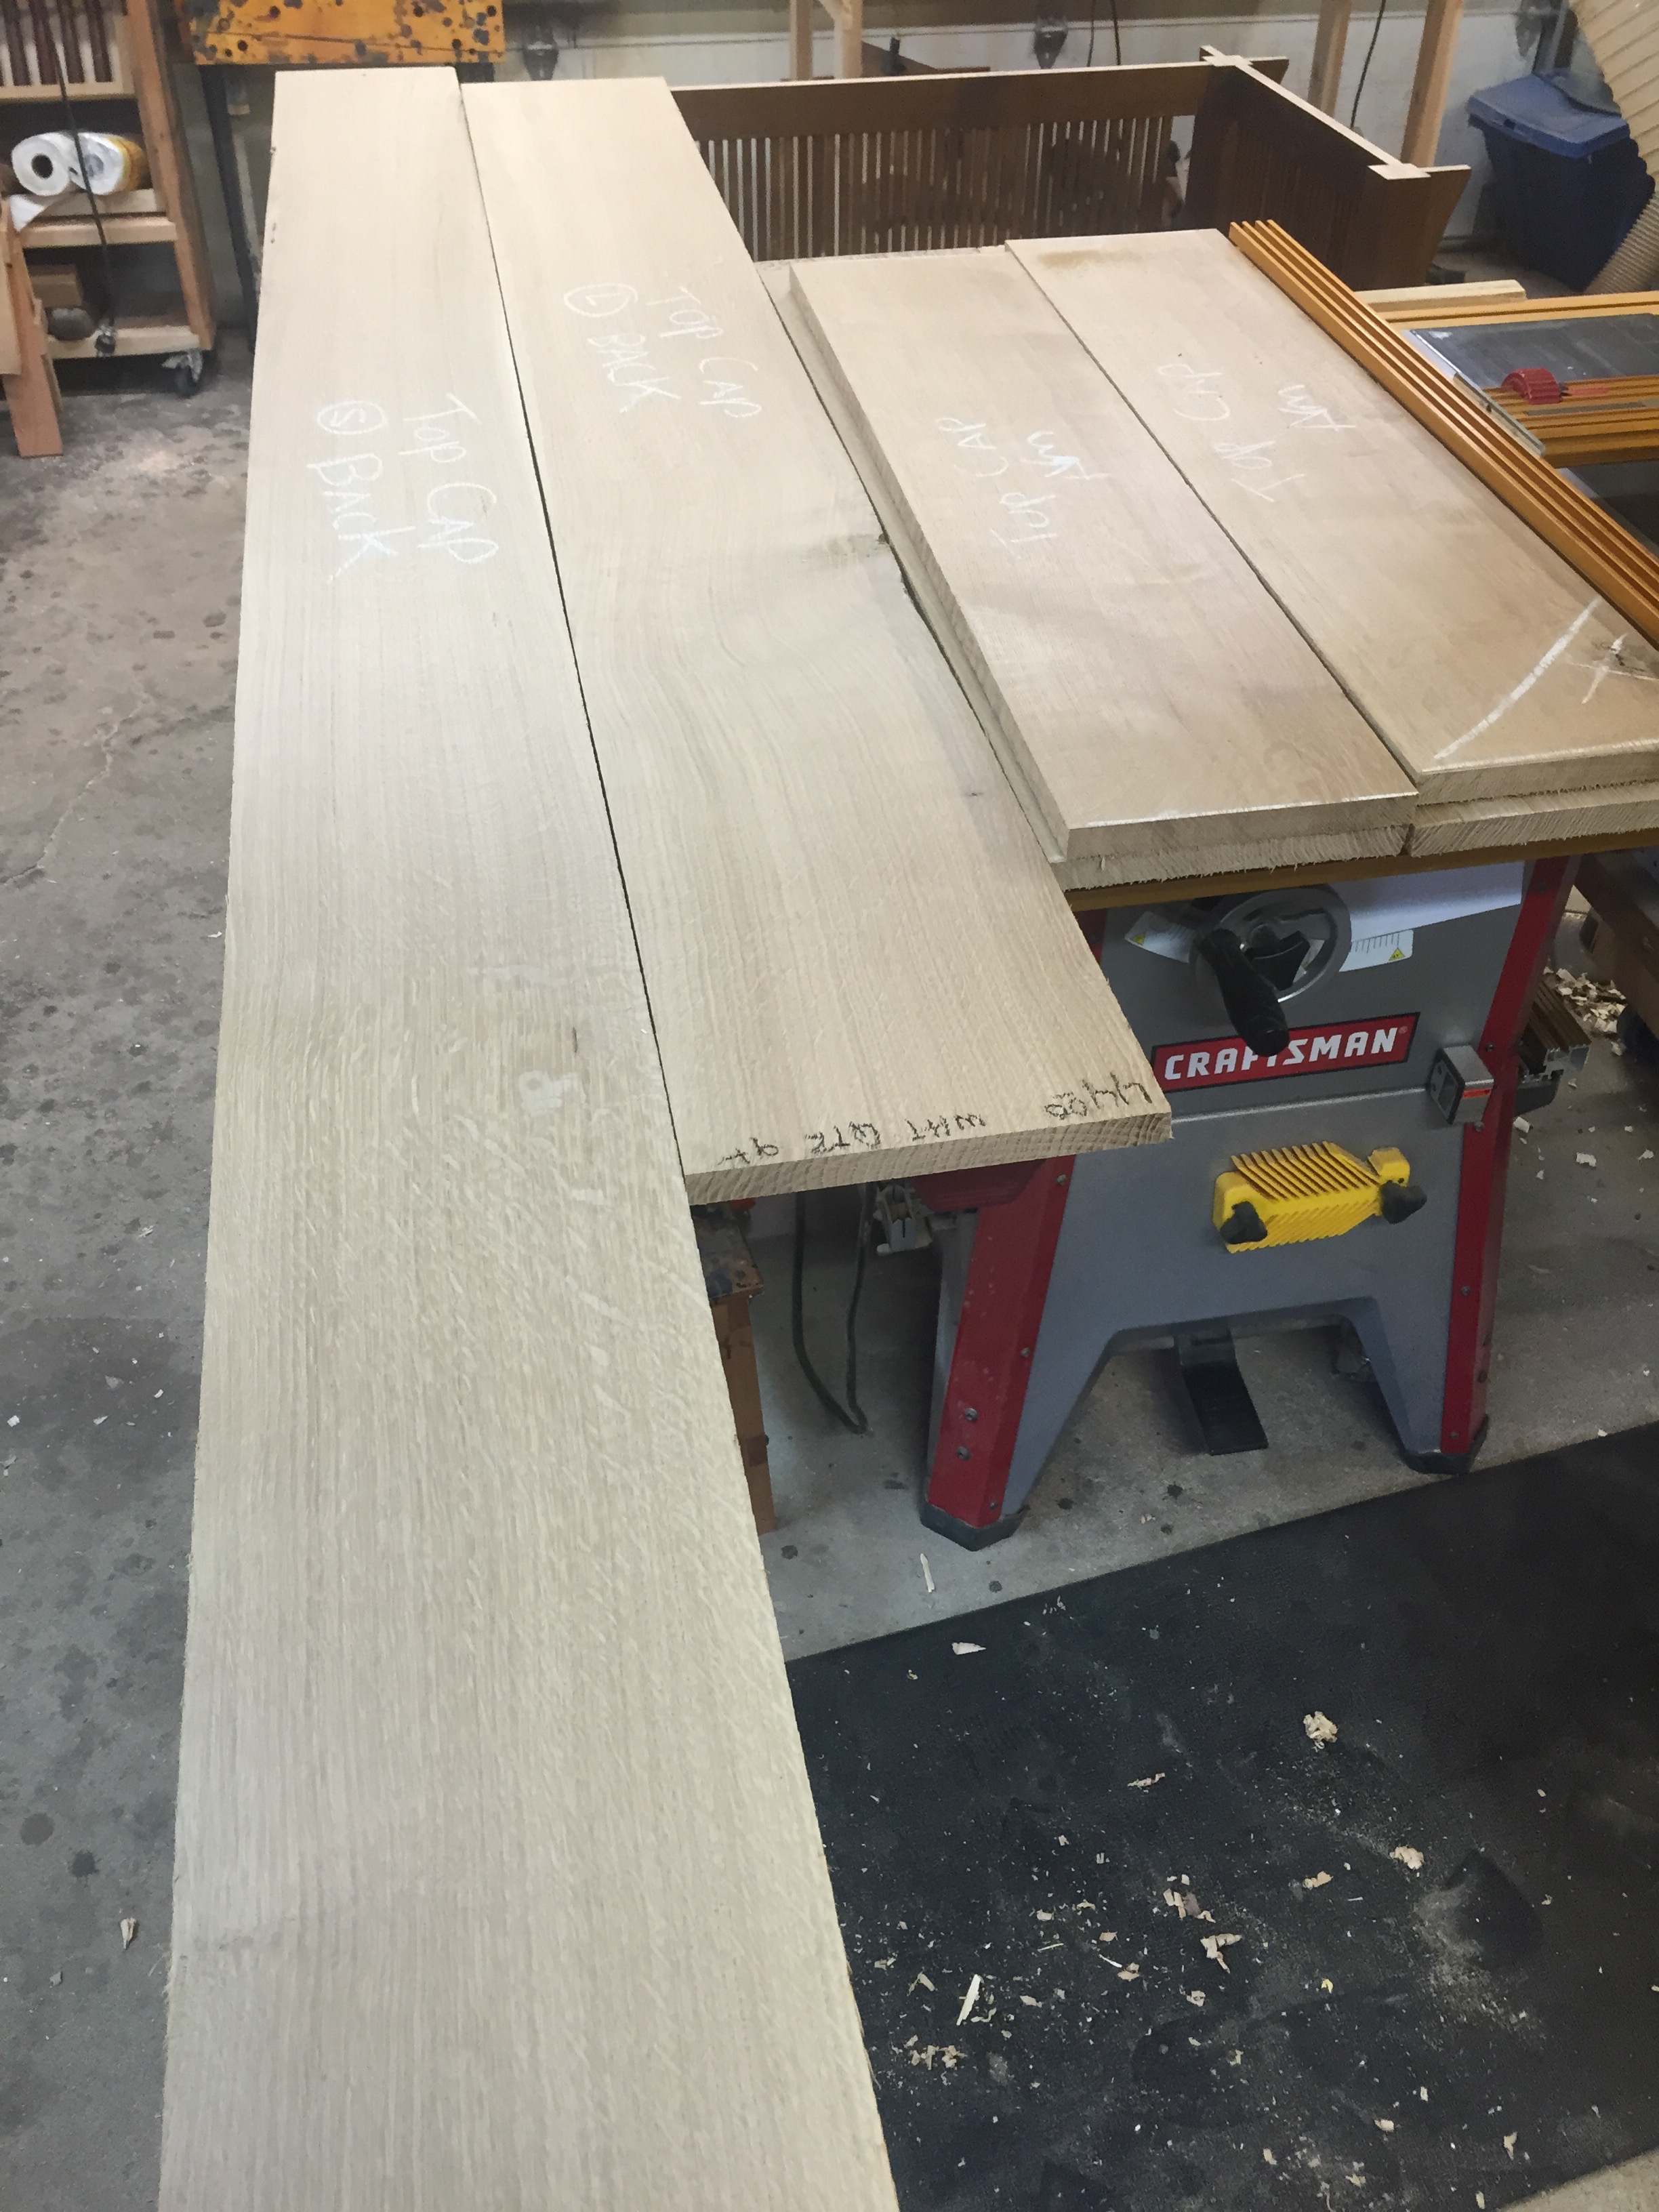
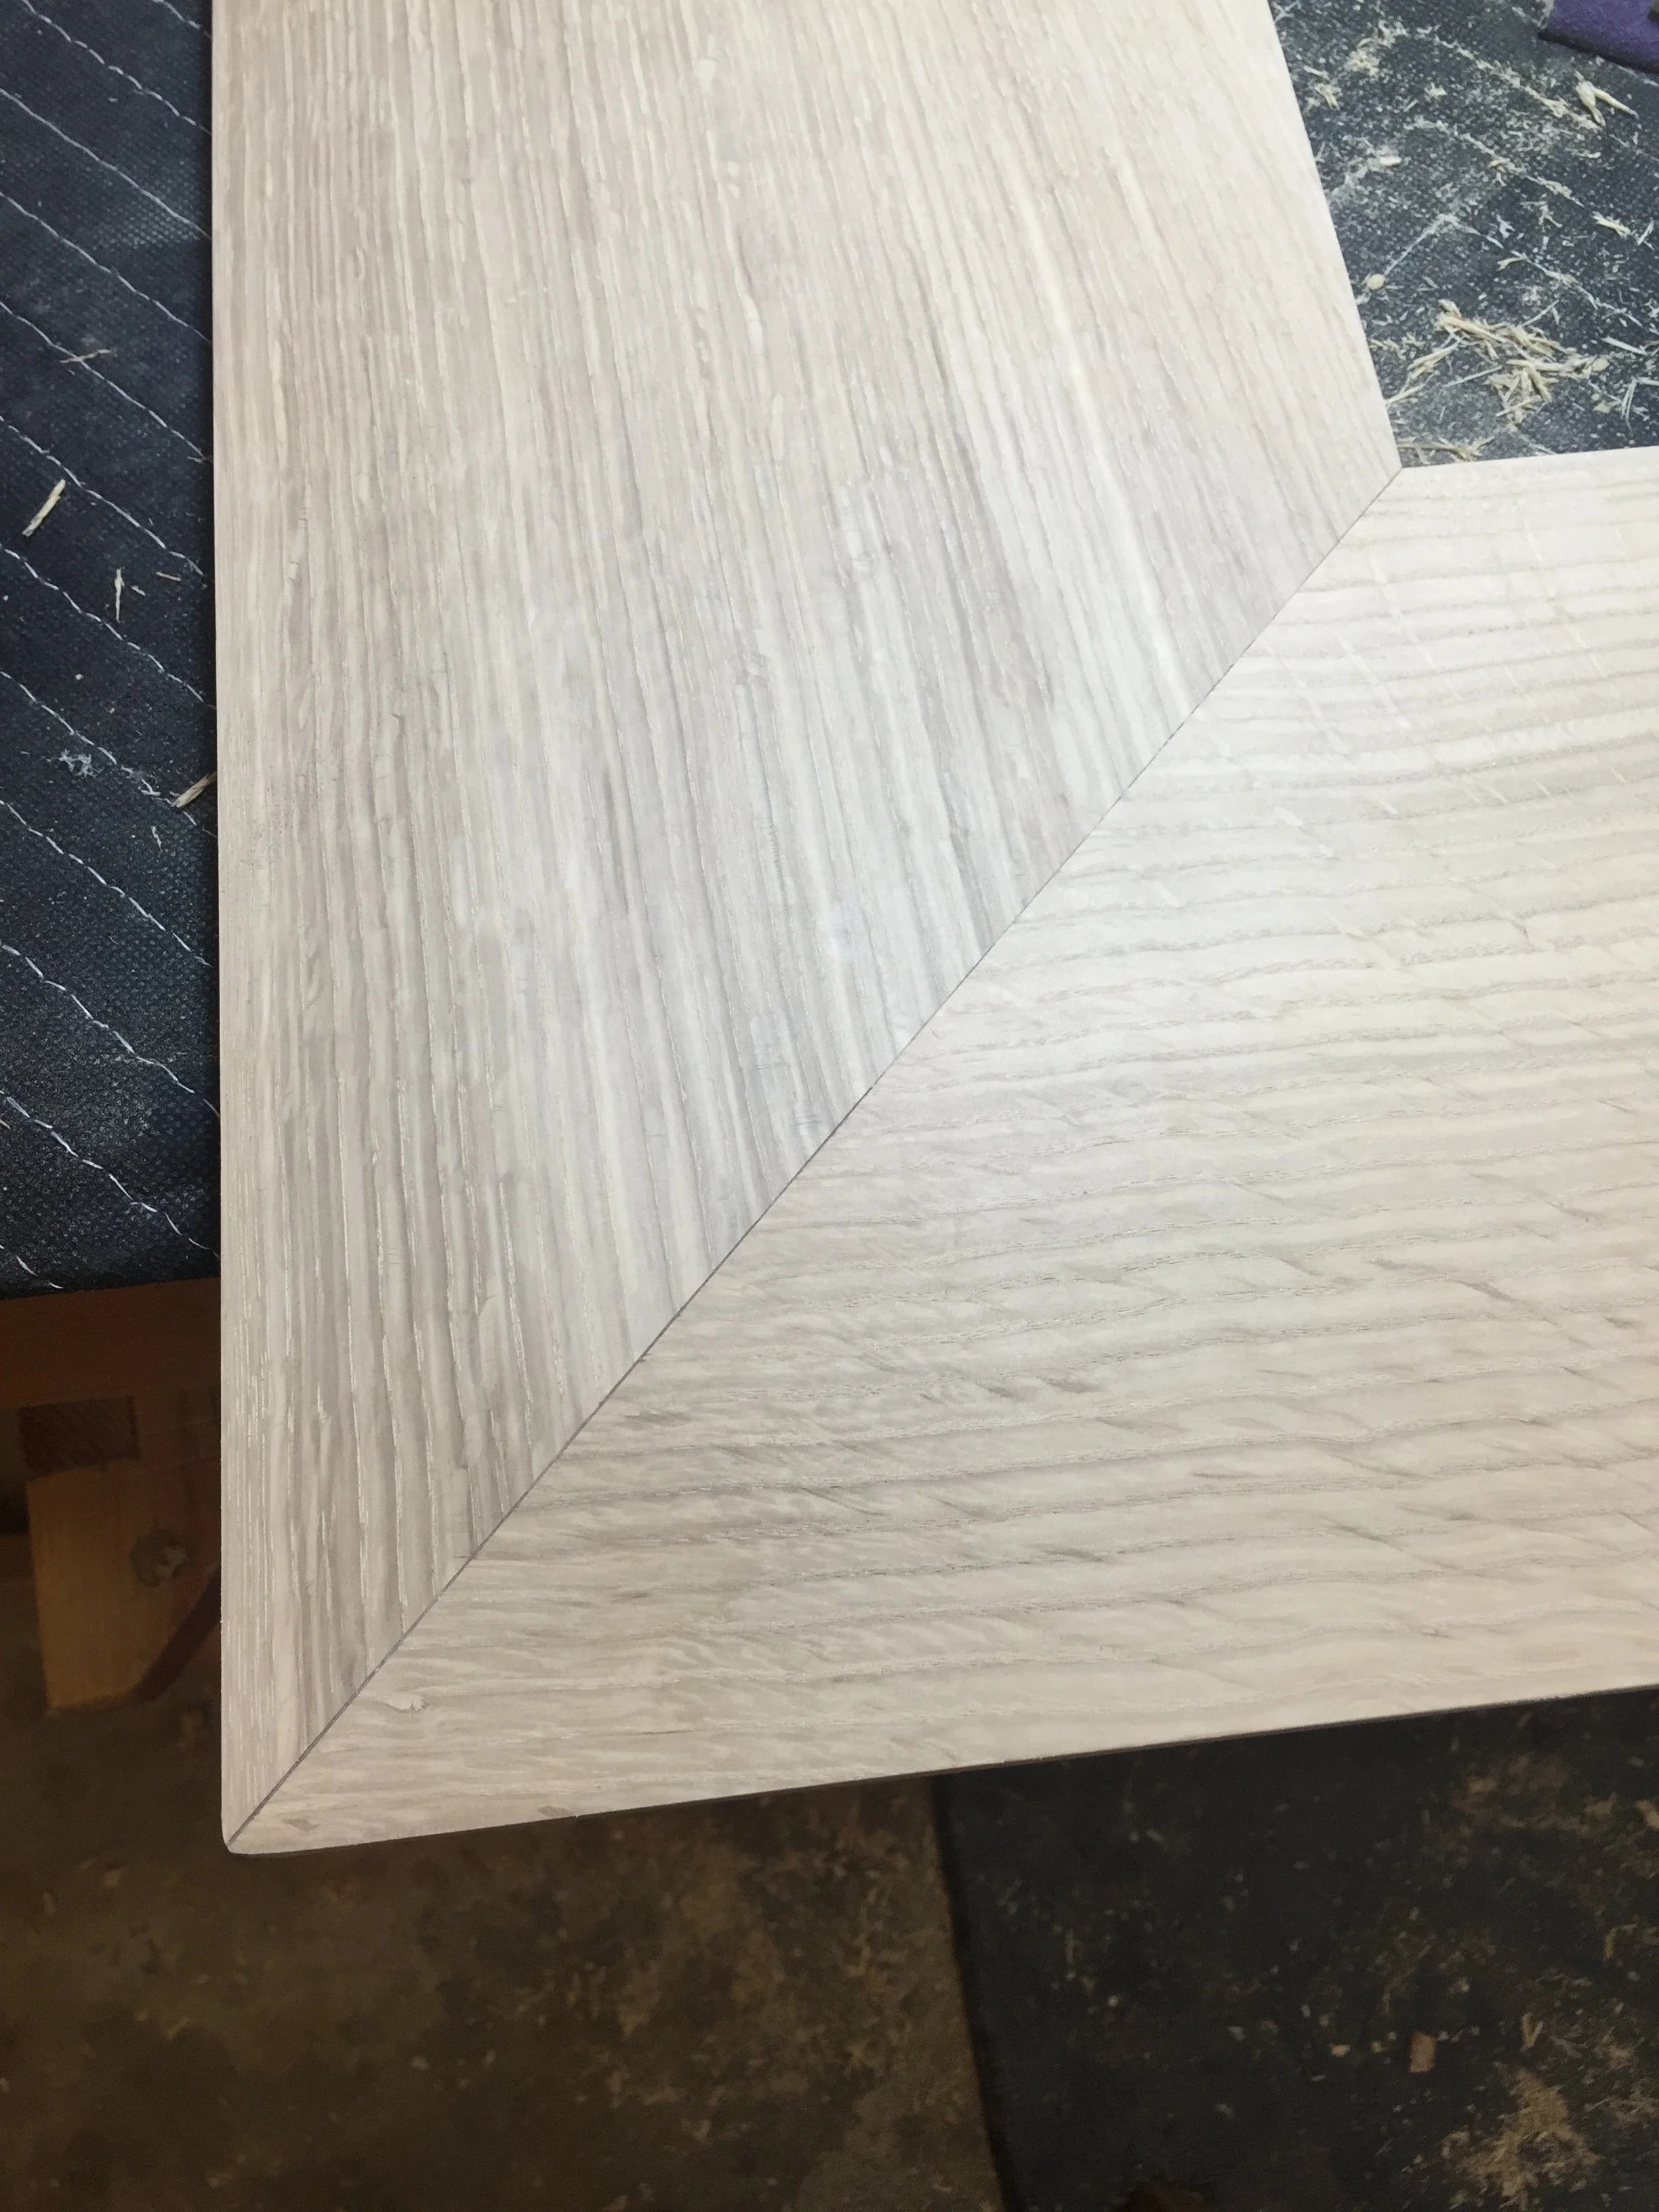
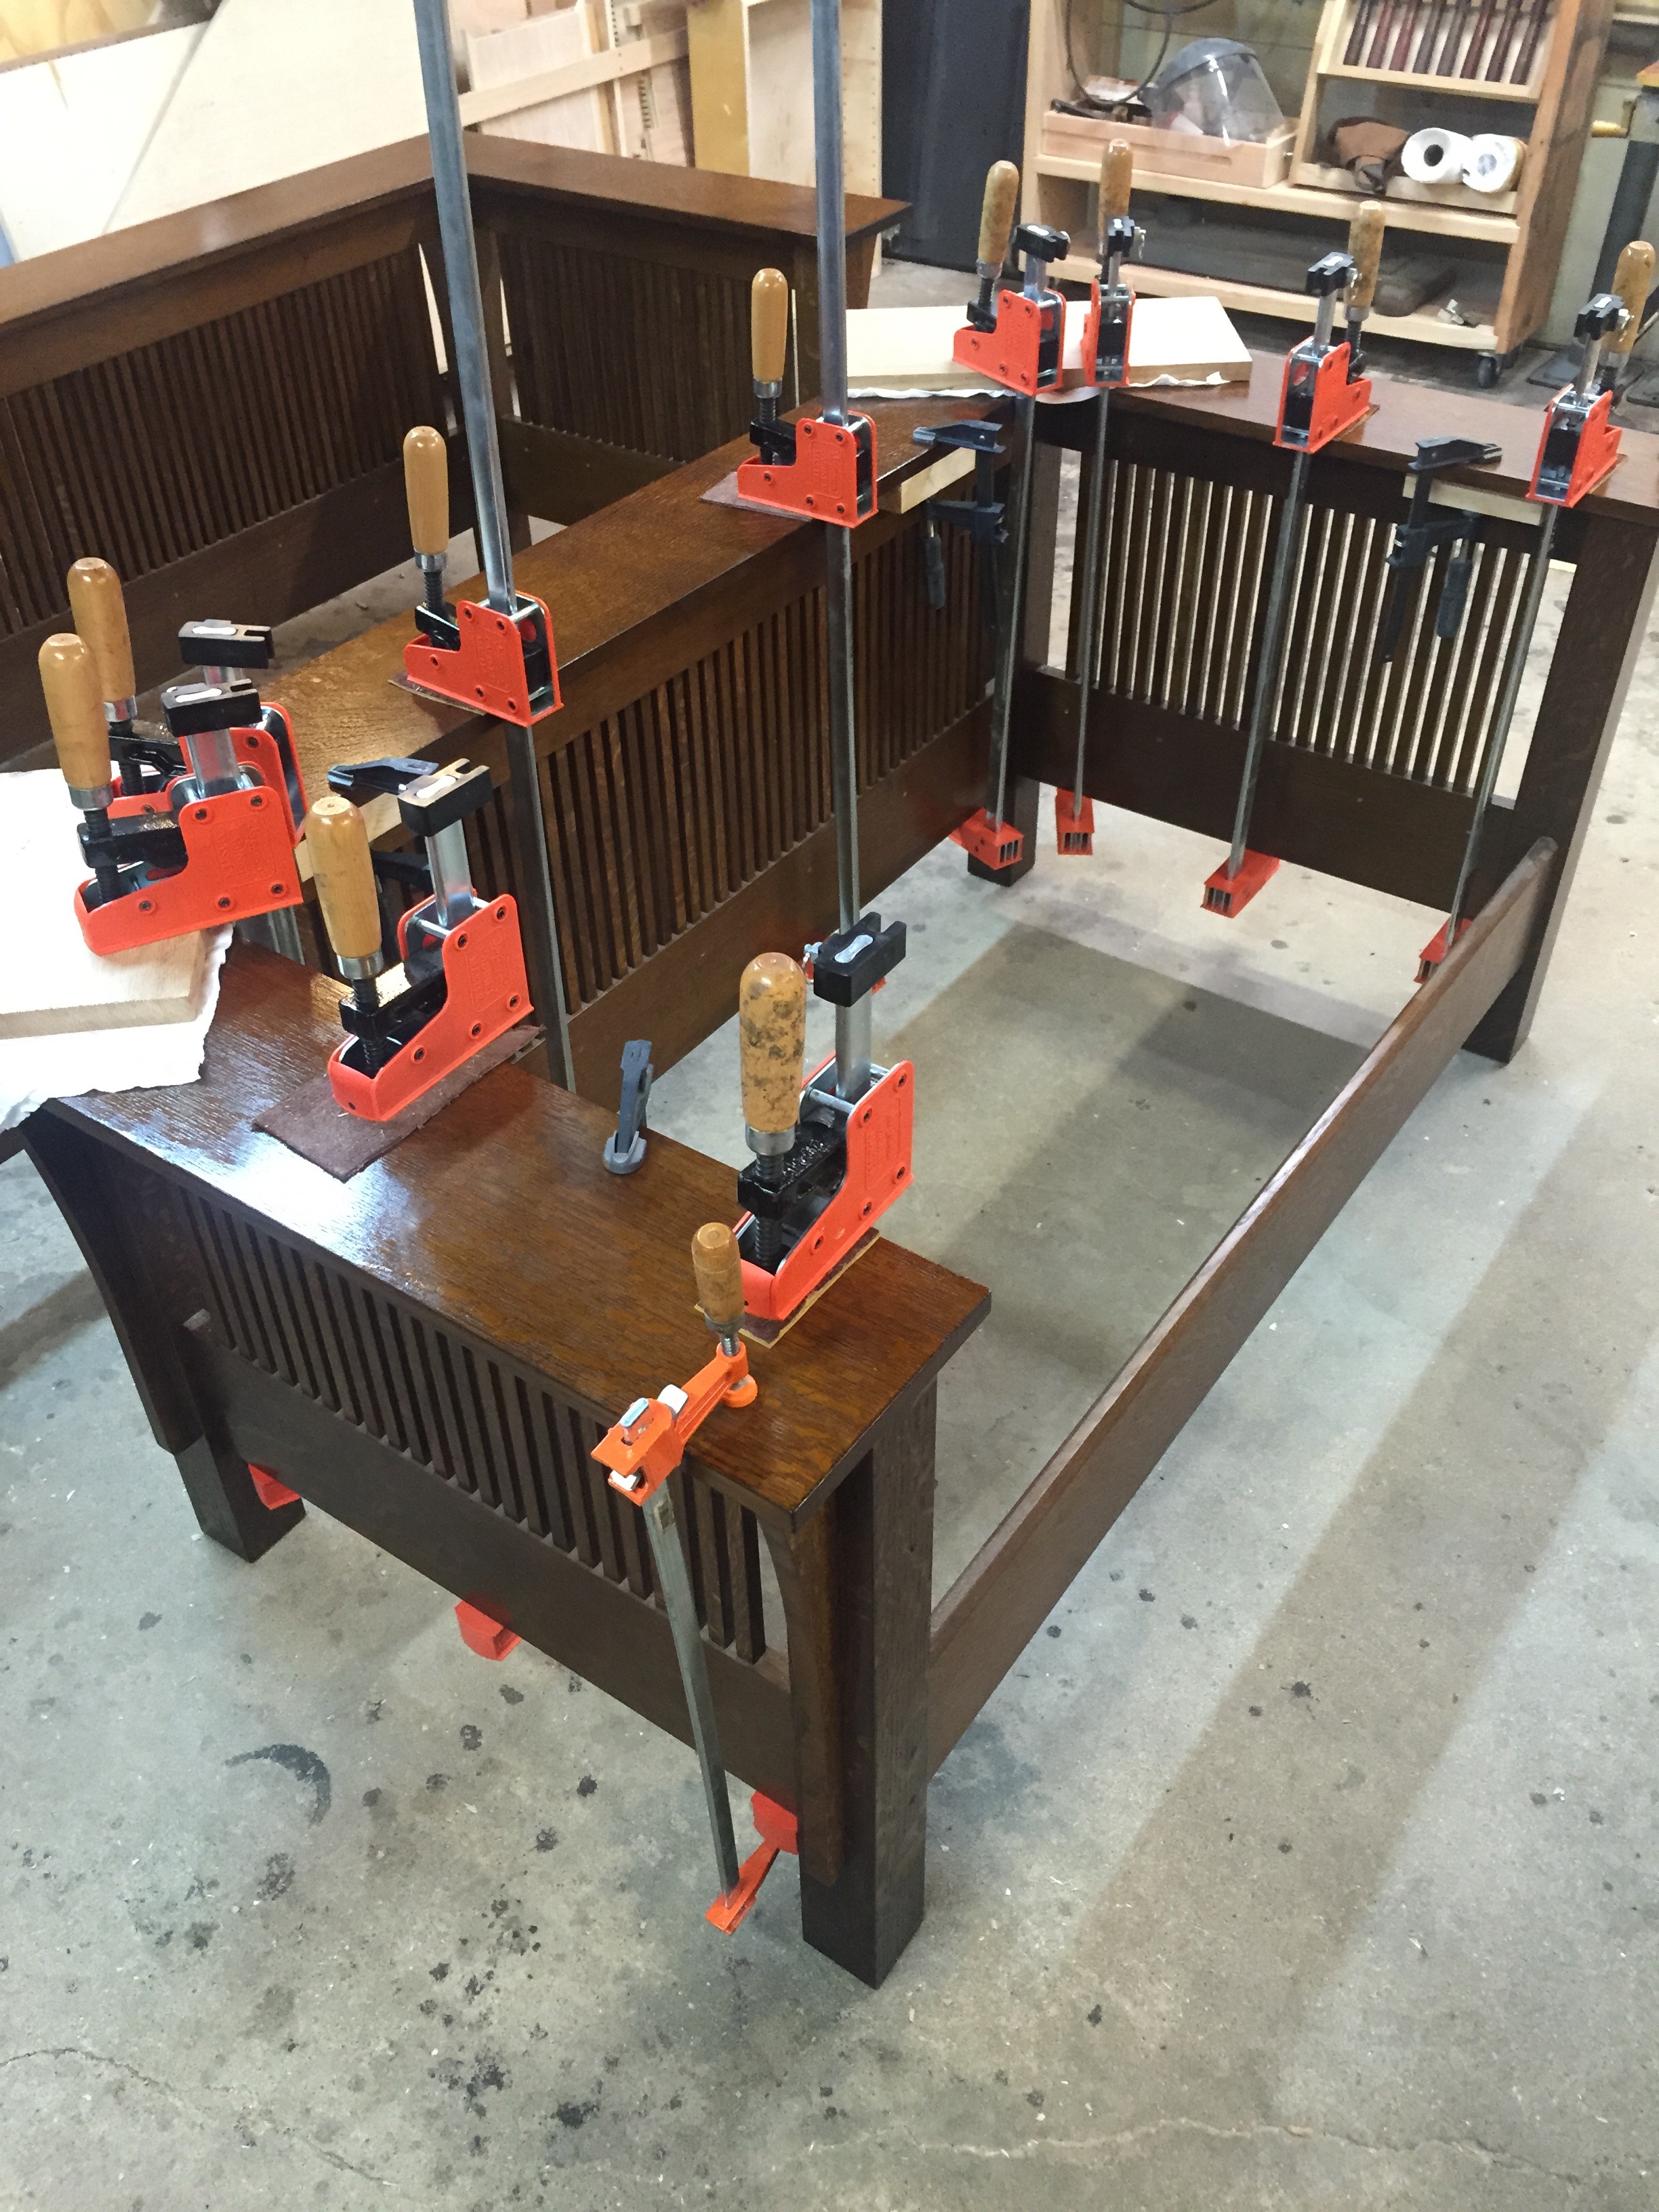
Finally, I could get to building the broad, flat arms. The wood for these pieces needed to have the best grain pattern, as they would be the most visible part of the design. I'd saved some really nice cuts for these, and was happy to be working with them at last. The tricky part of these is that the arms are 7" or so wide, and need to meet in broad miter on the corners. This miter was going to be tricky, not only because it was so visible, and thus had to look perfect, but I was also concerned that it would be fragile and prone to cracking if the wood moved. But, that's how the original was designed, and is still made today. I took great pains to lay out the miter cuts precisely, and cut them with a hand saw, and trimmed the to fit with a plane. For a little reinforcement, and to help with alignment, I used biscuits on the joints to proved more glue surface. The glue up required a lot of clamping, and I had to make a series of clamping jigs and cauls to apply pressure on the right places. But slowly, all four joints came together.
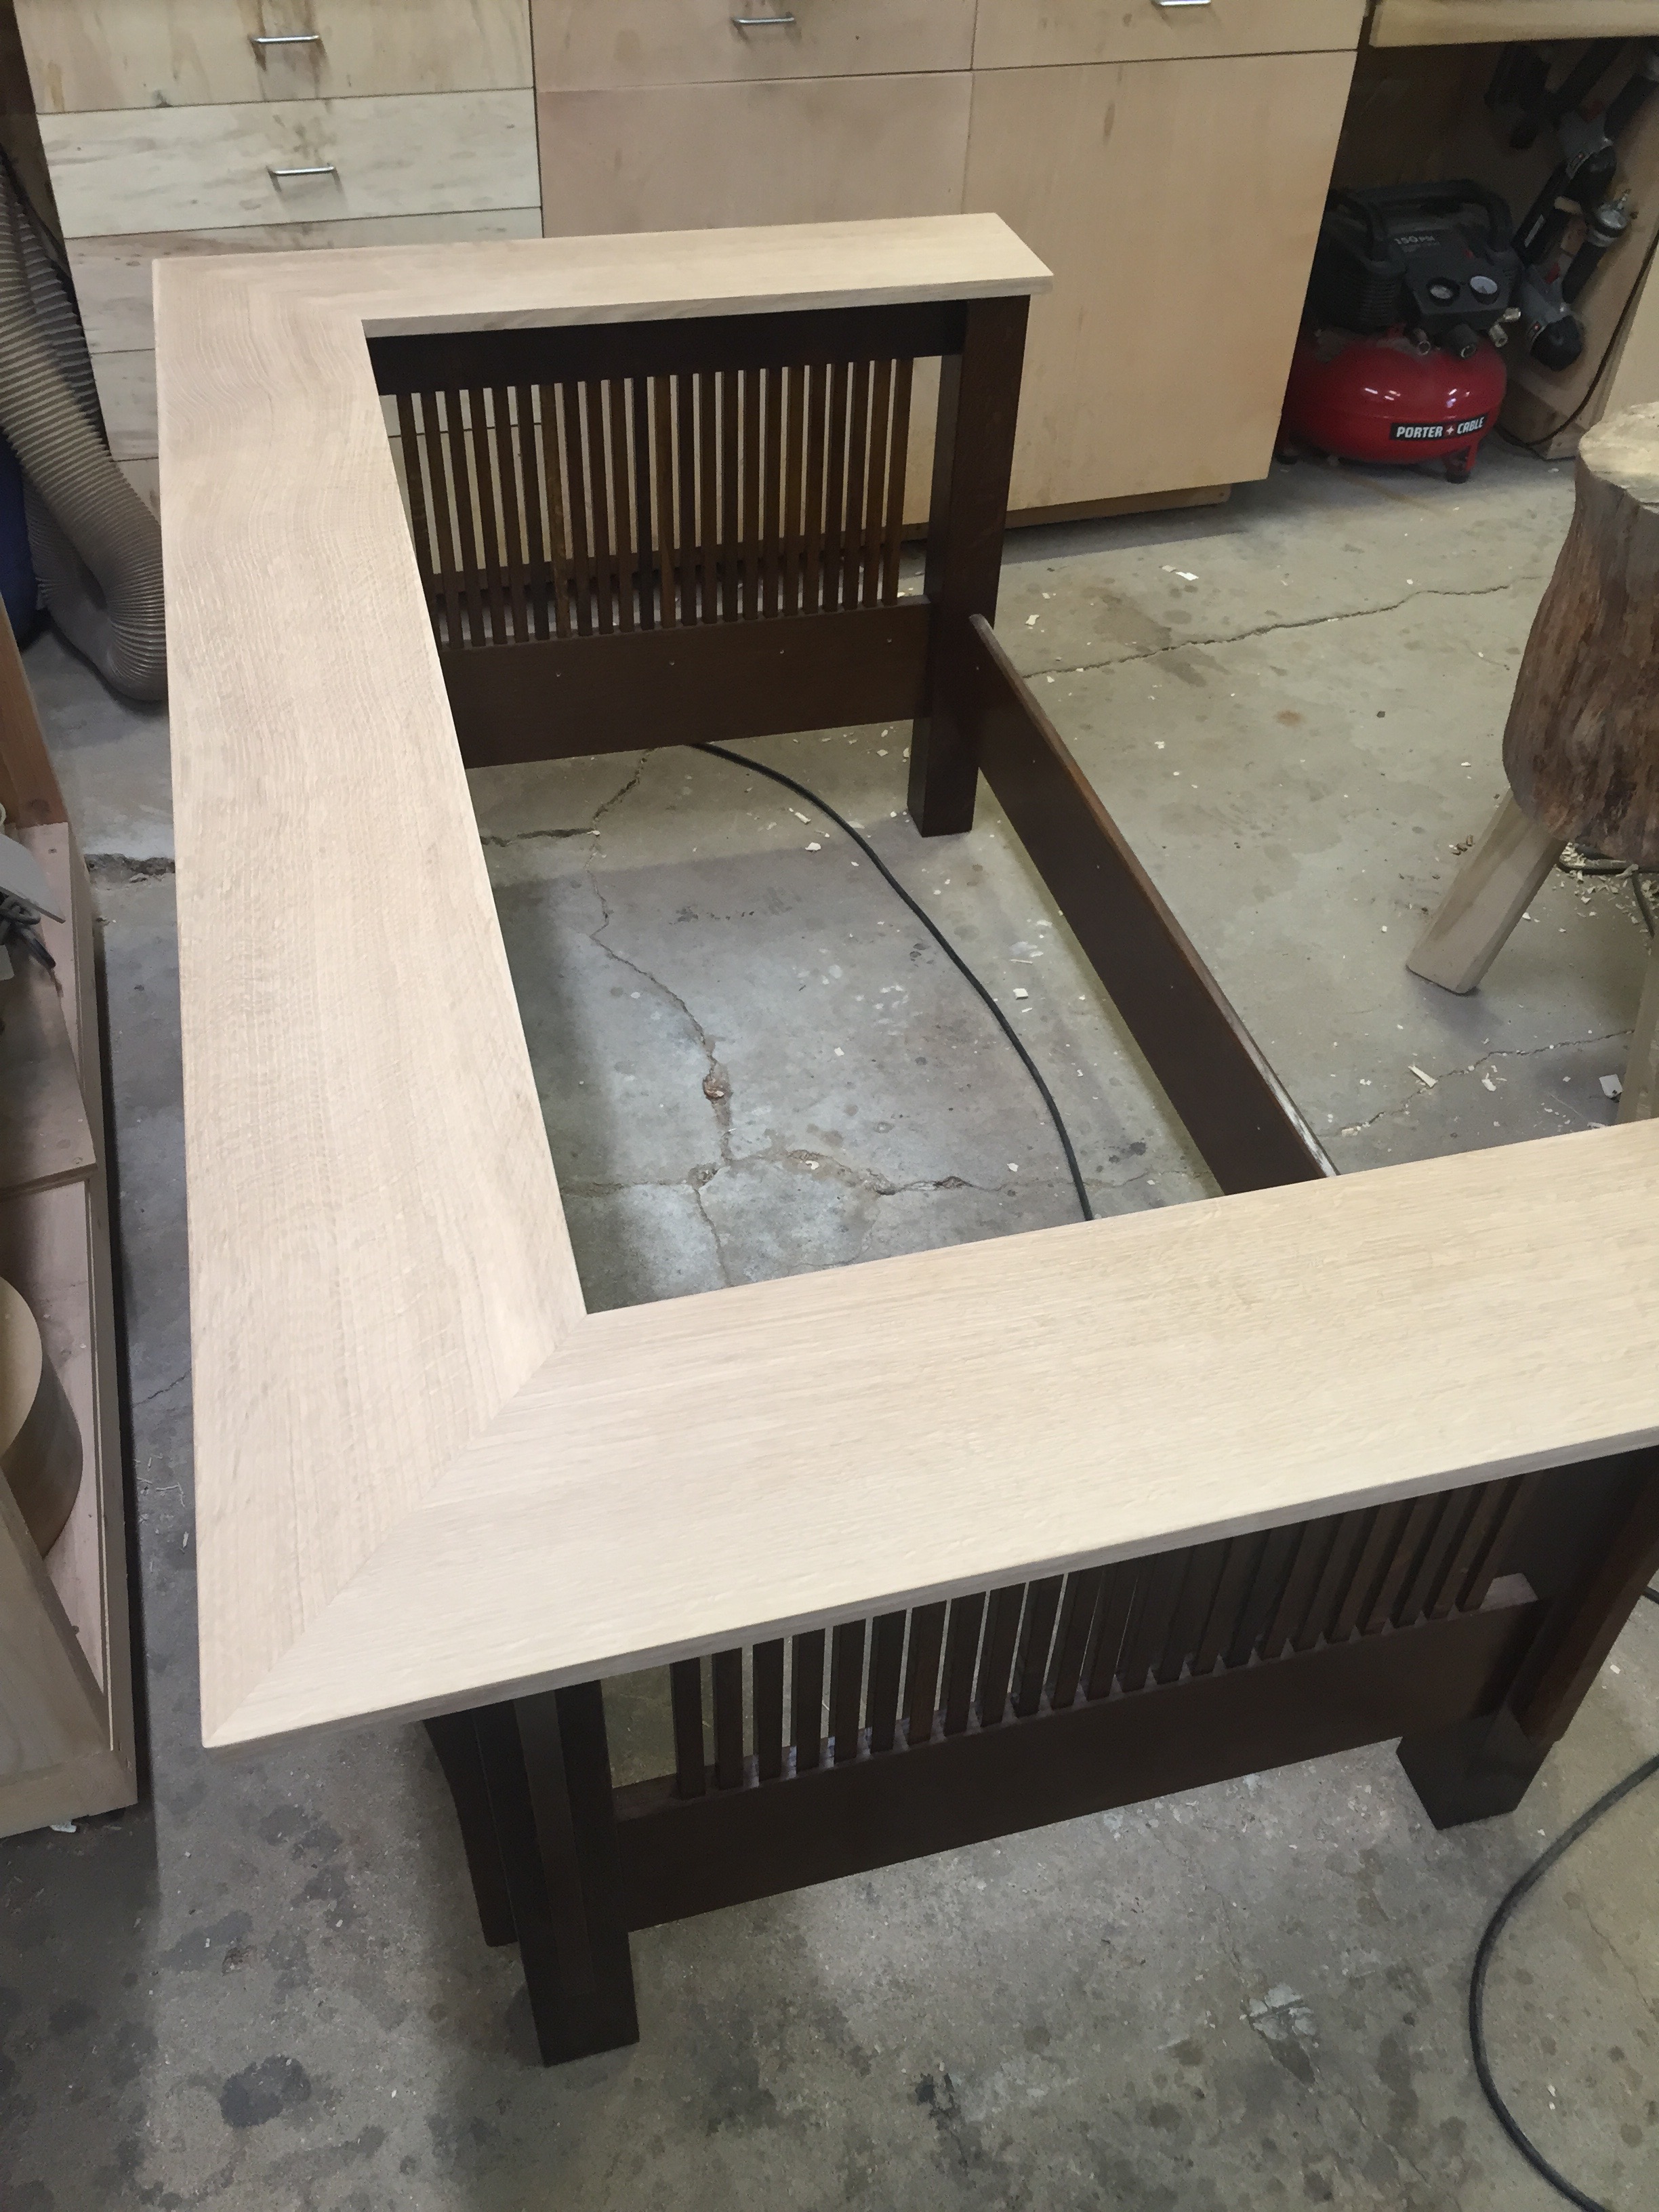

The arms were now glued up, and it was back to doing pre-finishing on them before assembly. To attach the arms, they are simply glued to the base, so I had to mark and mask off the glue surfaces on the underside of the arms where they meet the base. This was tedious, but went well.
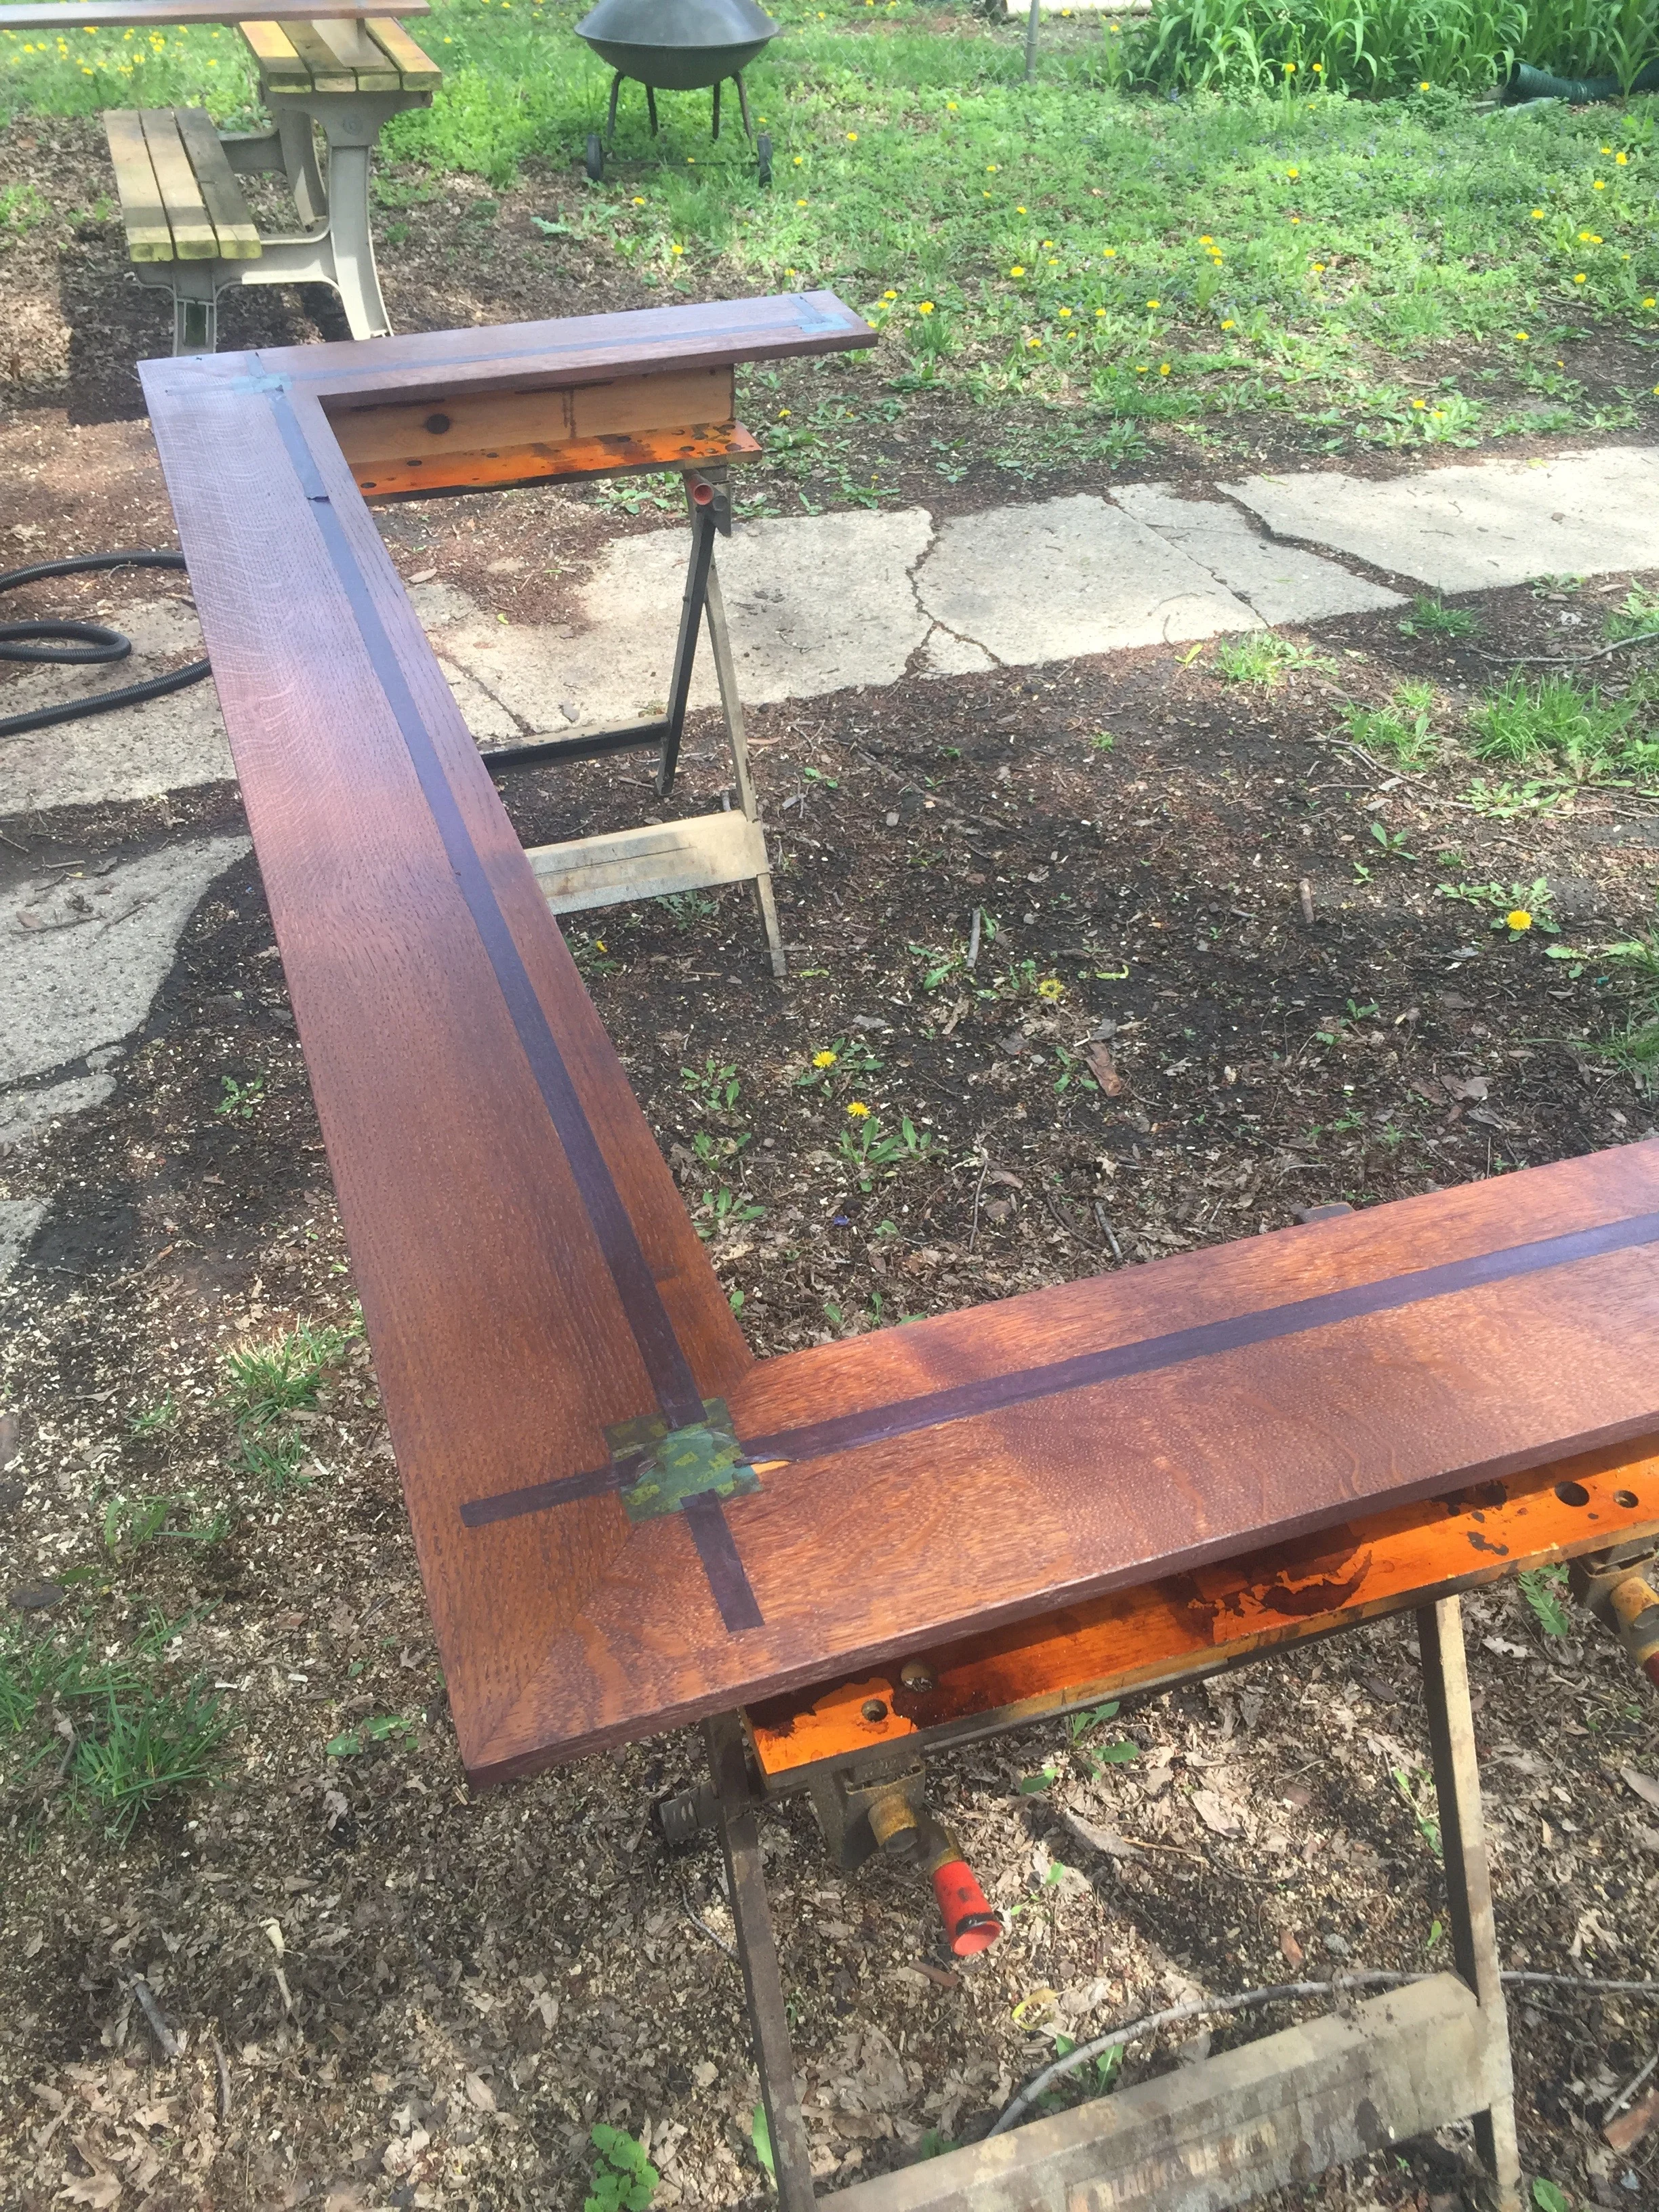
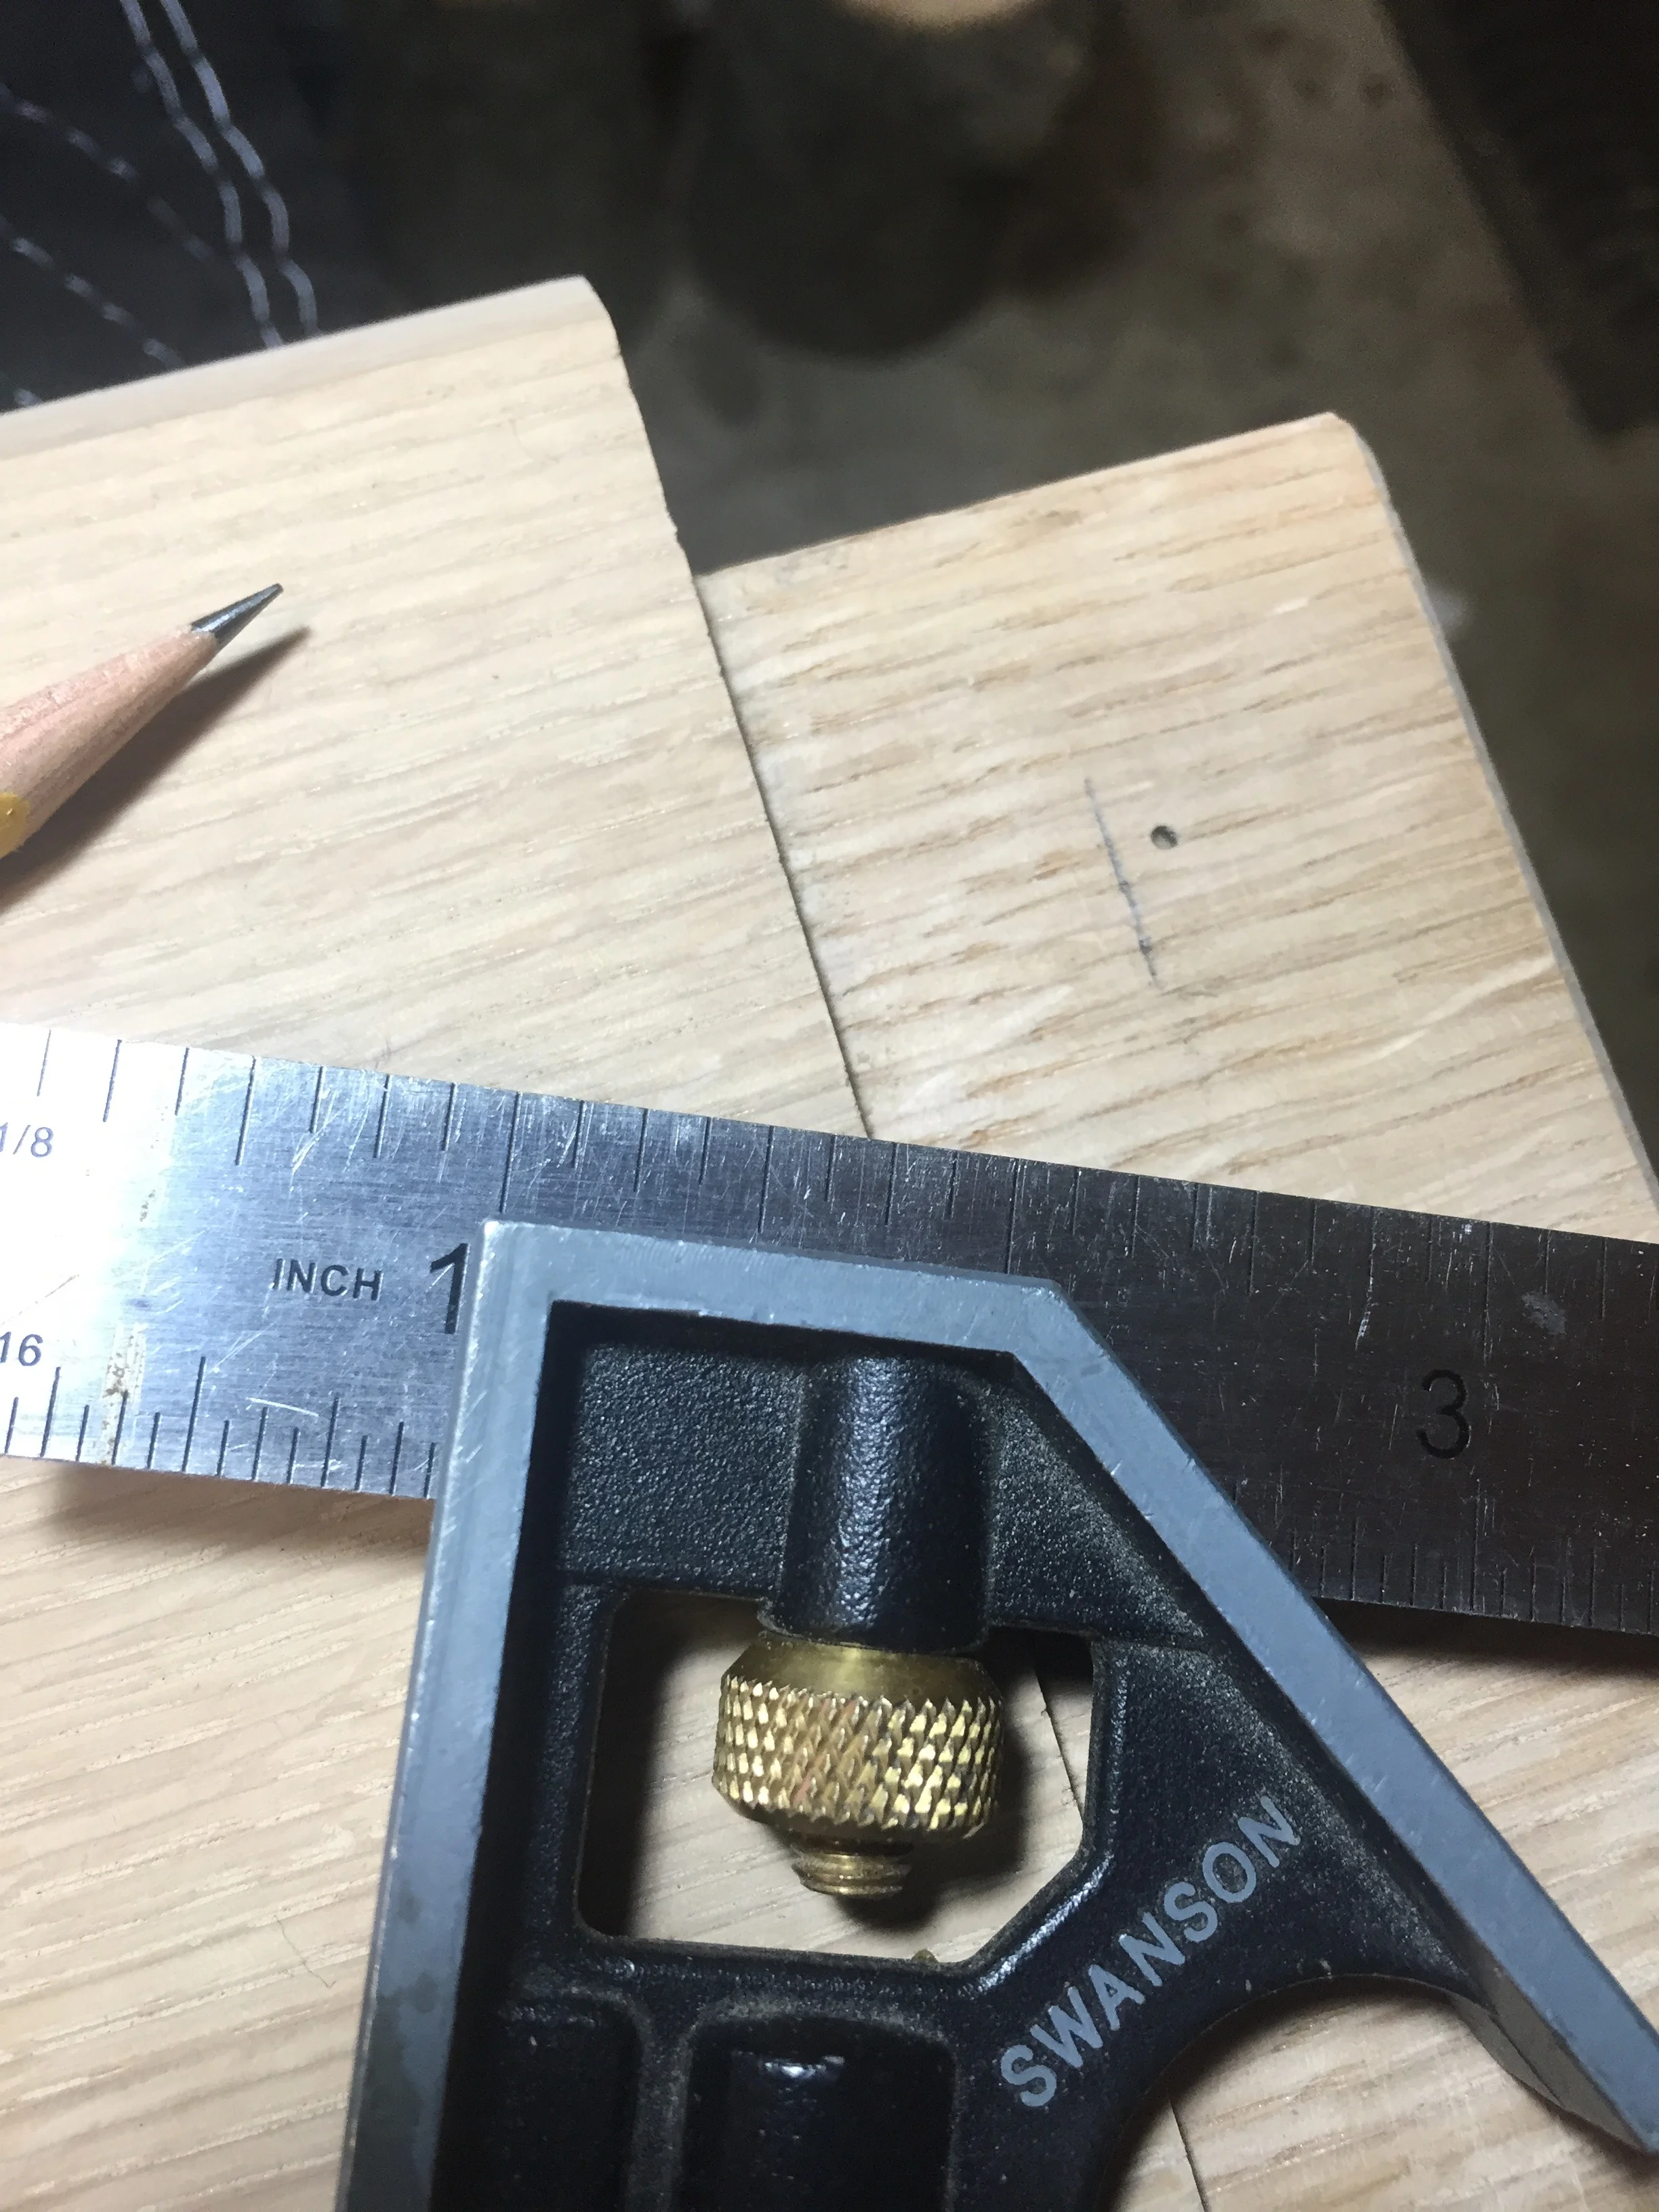
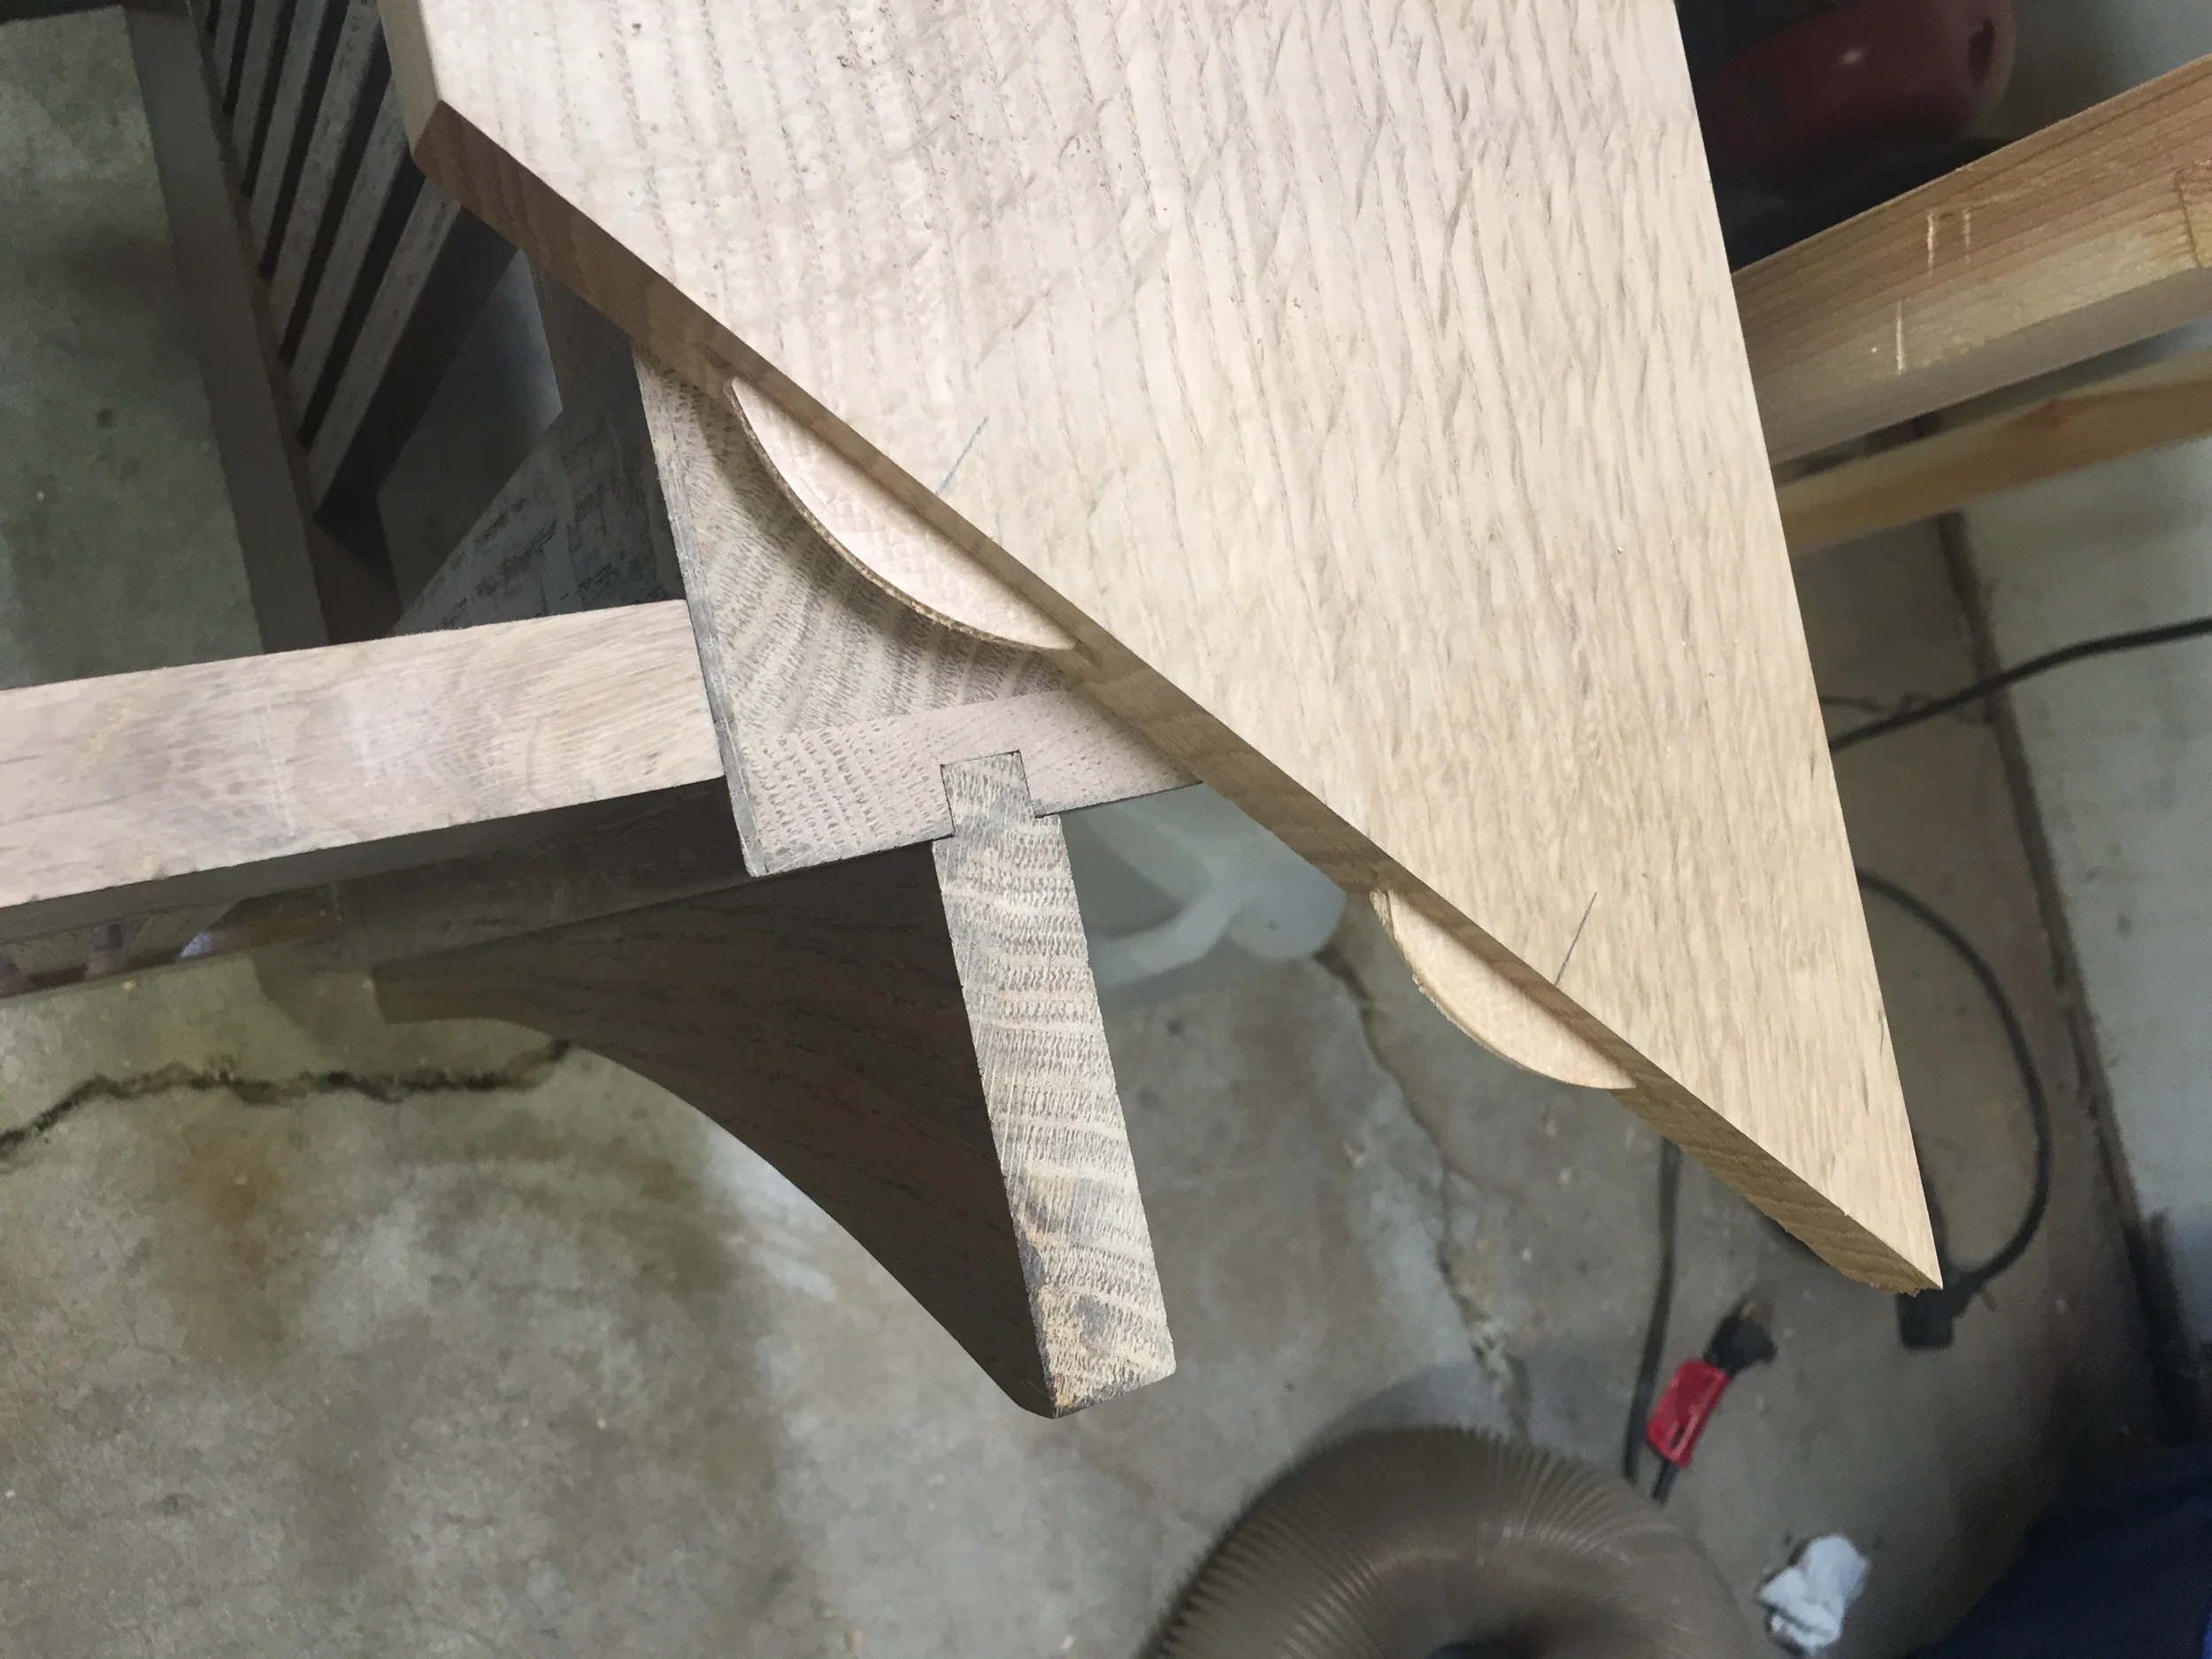
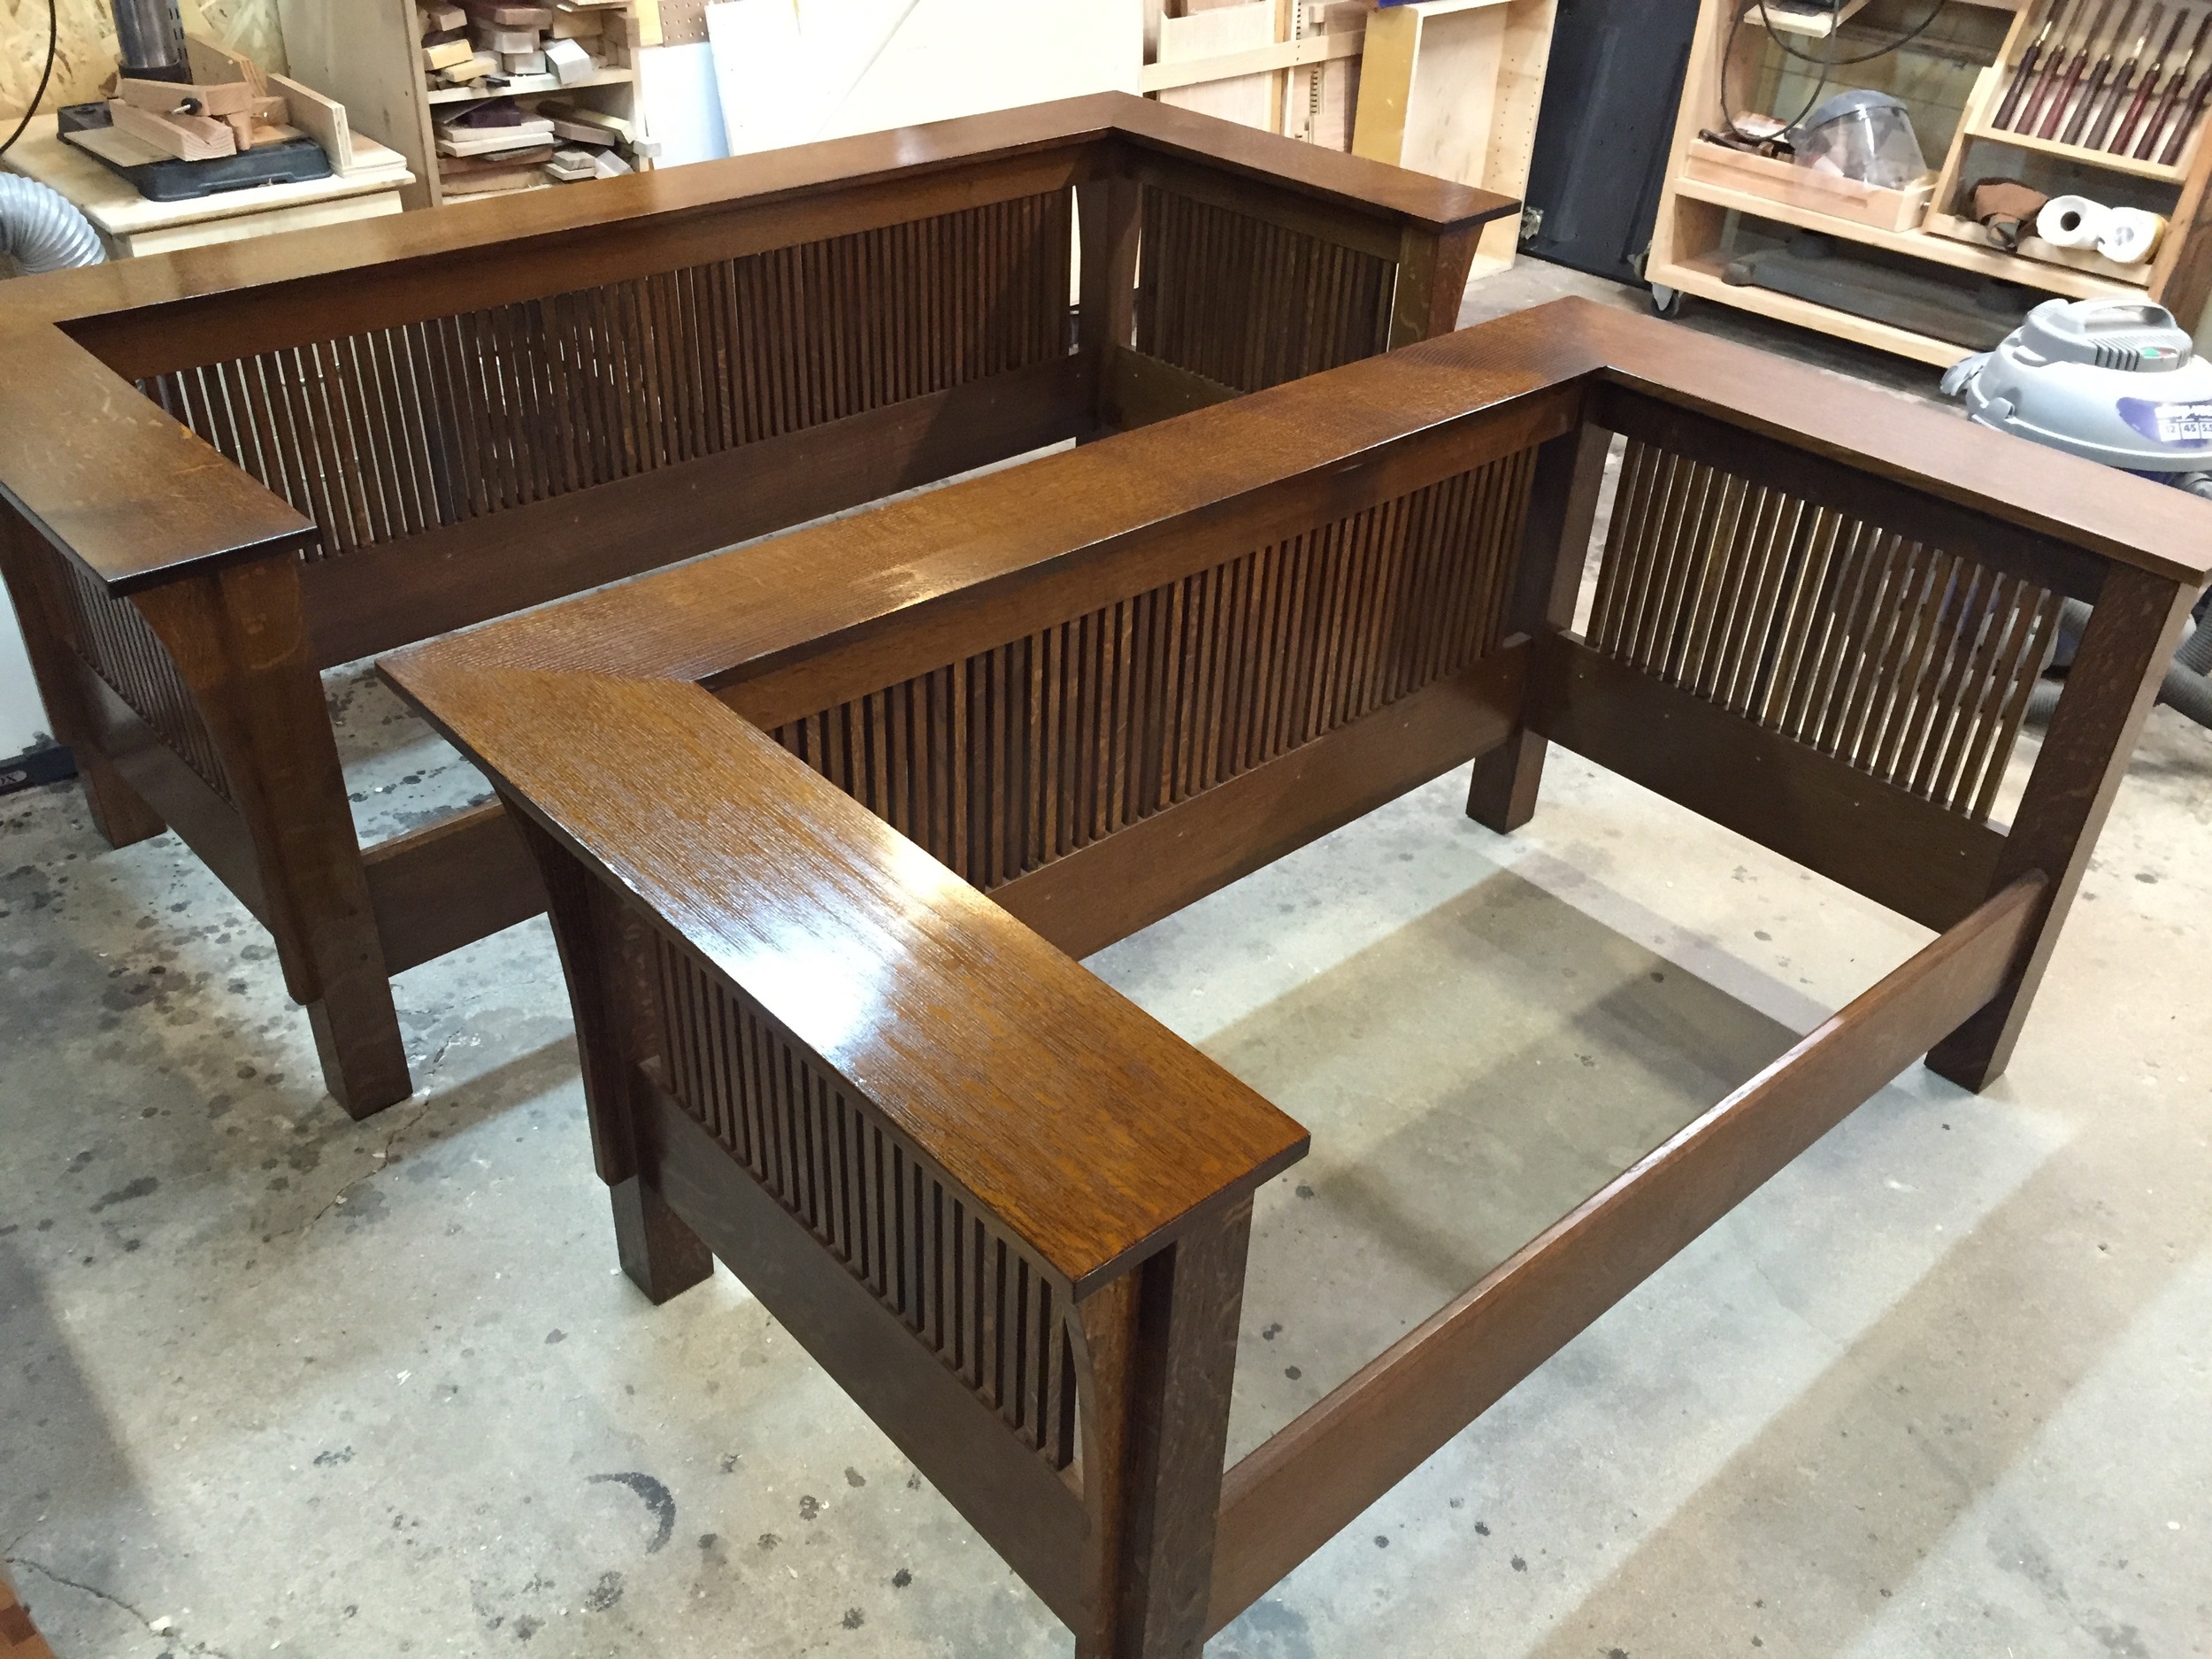
It was at this point I discovered I had made a mistake. On one each of the arms of both the love seat and sofa assemblies, I had incorrectly cut the miter angle. It resulted in the arms of the sofa being 1/2" too narrow, and the love seat being 3/8" too wide, when compared to the width of their respective backs.
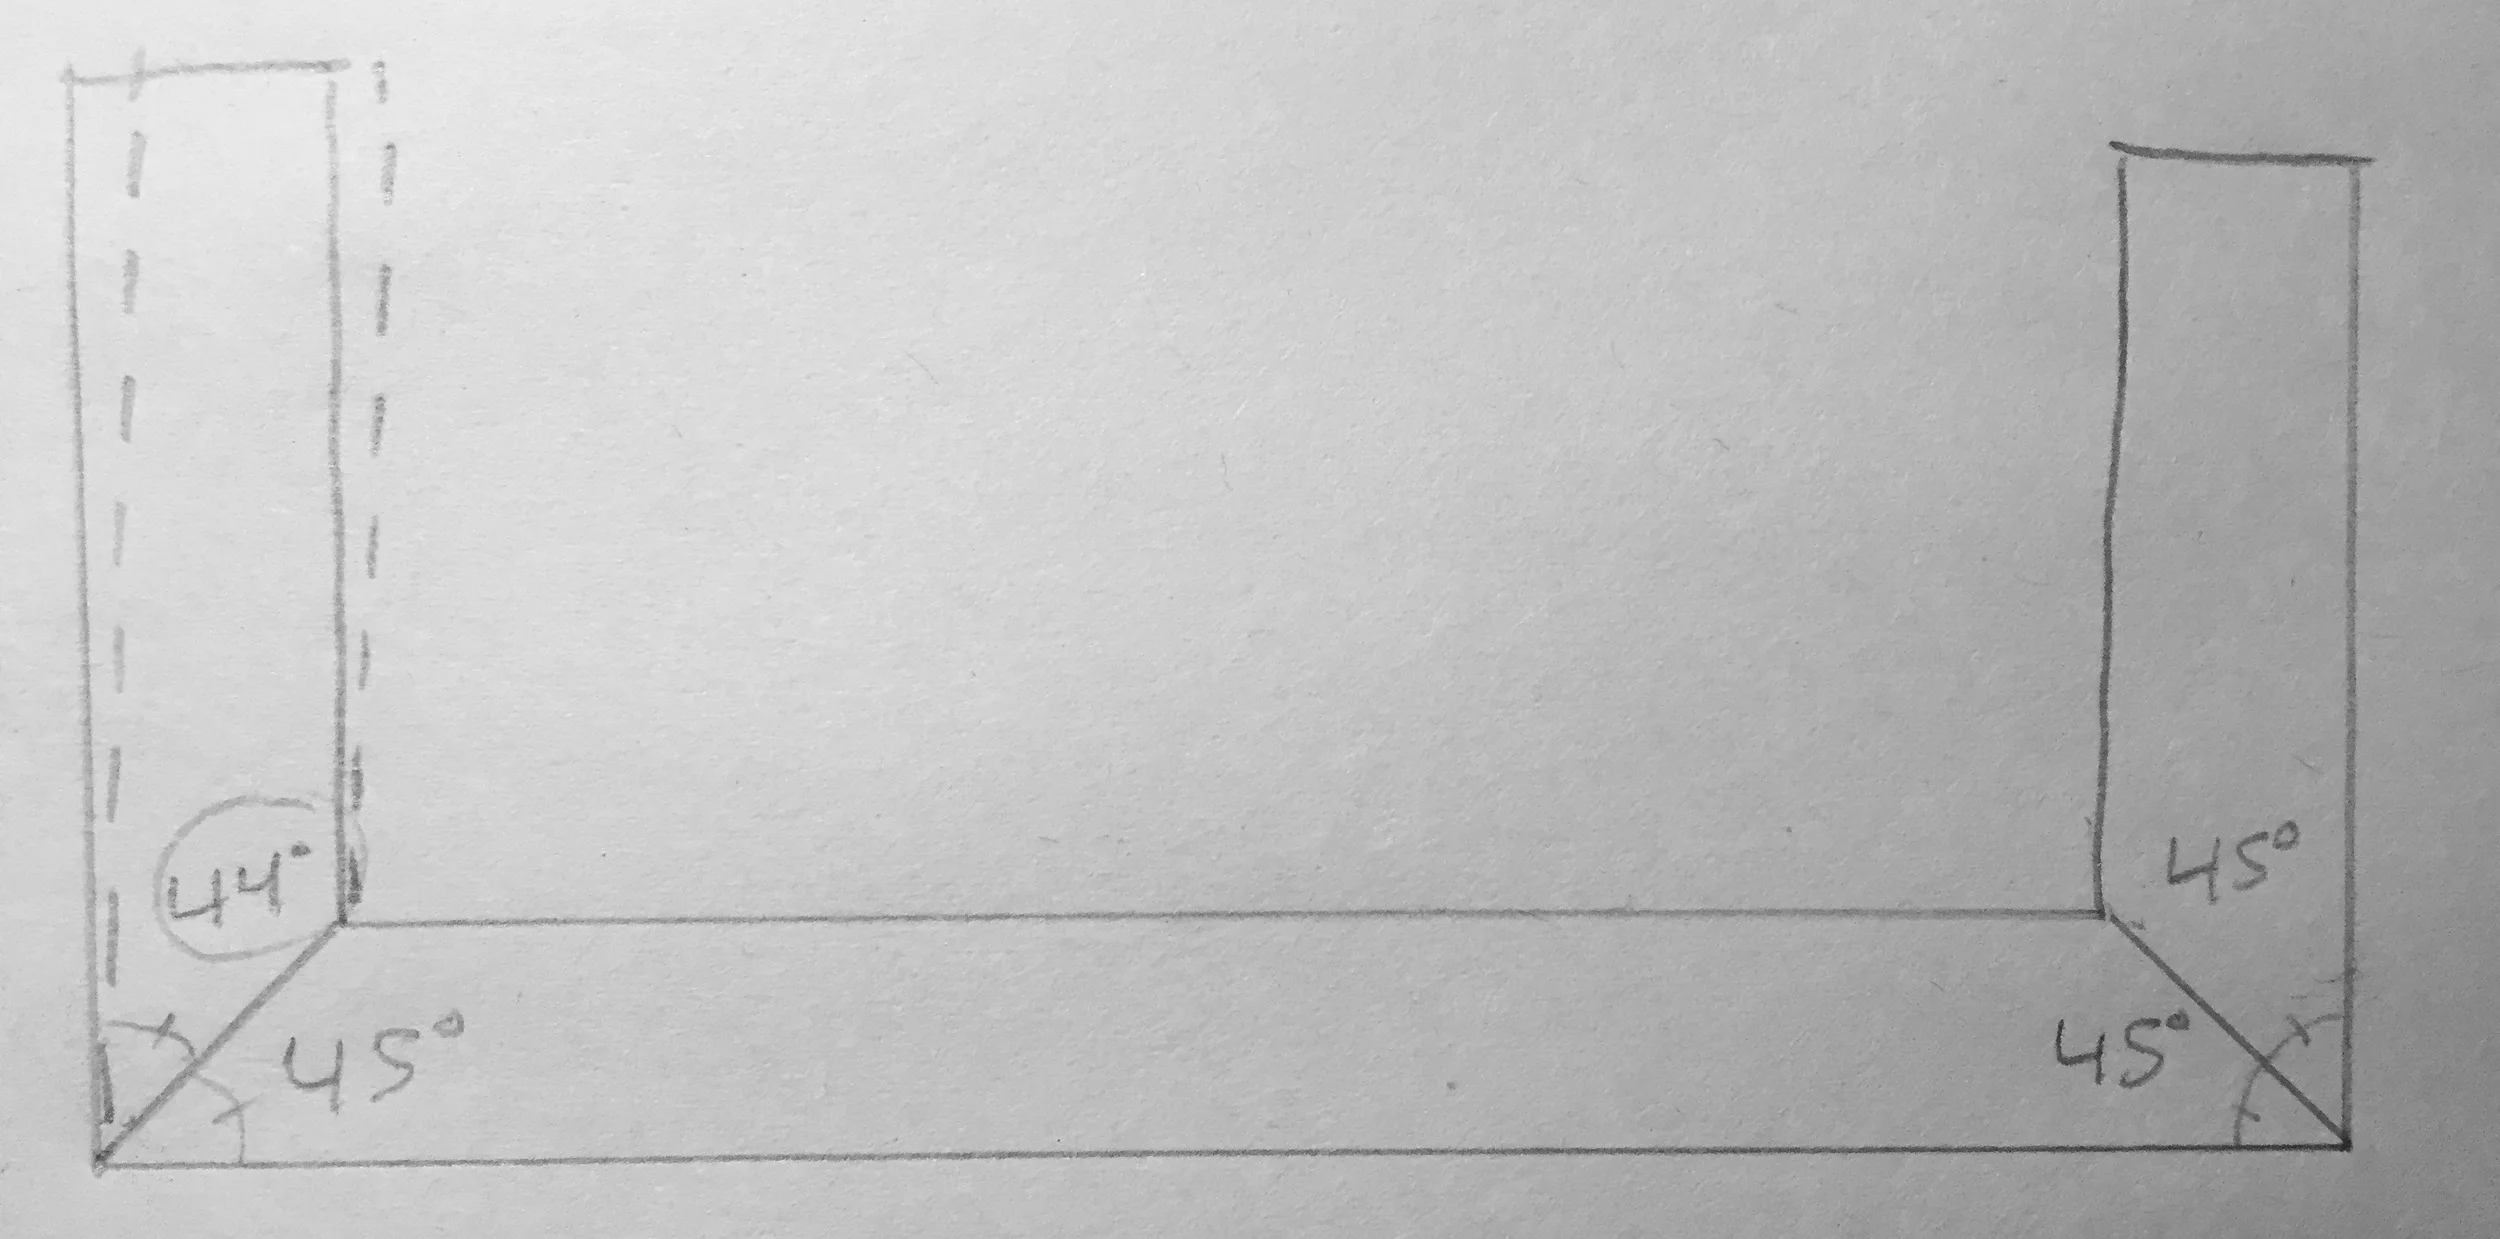
Drawing showing how the incorrect angle on one of the arms makes the whole assembly out of whack
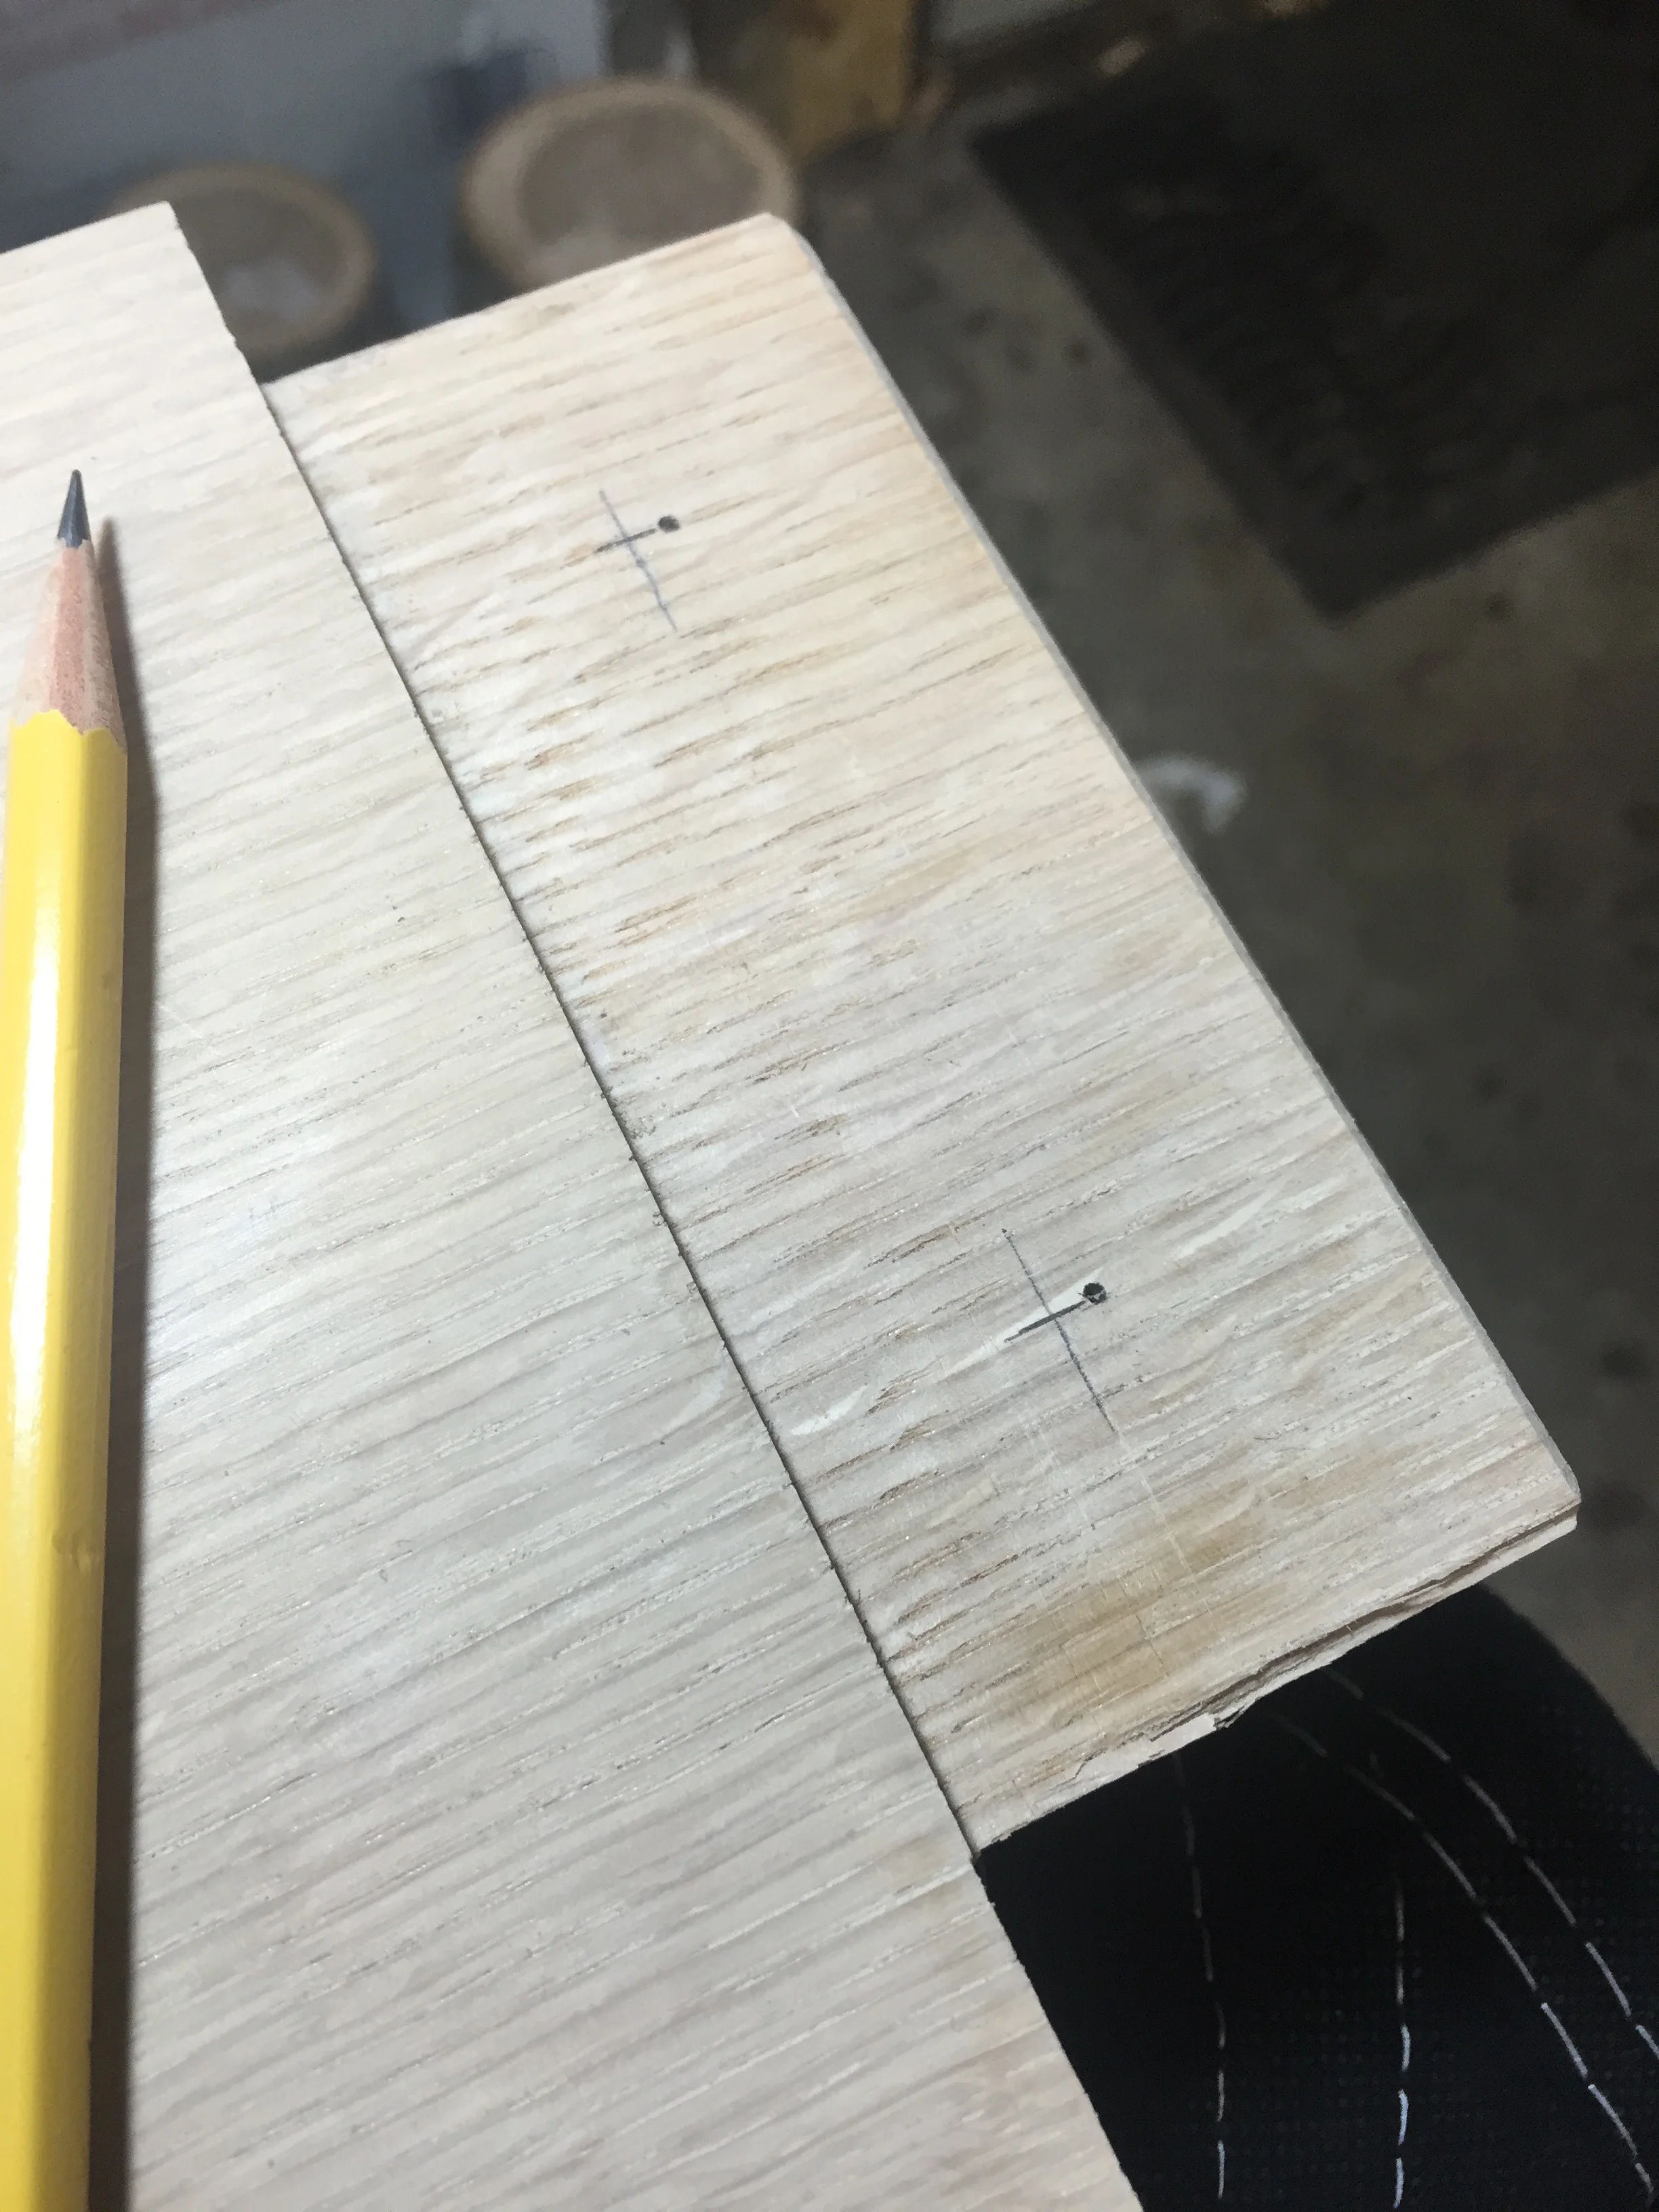
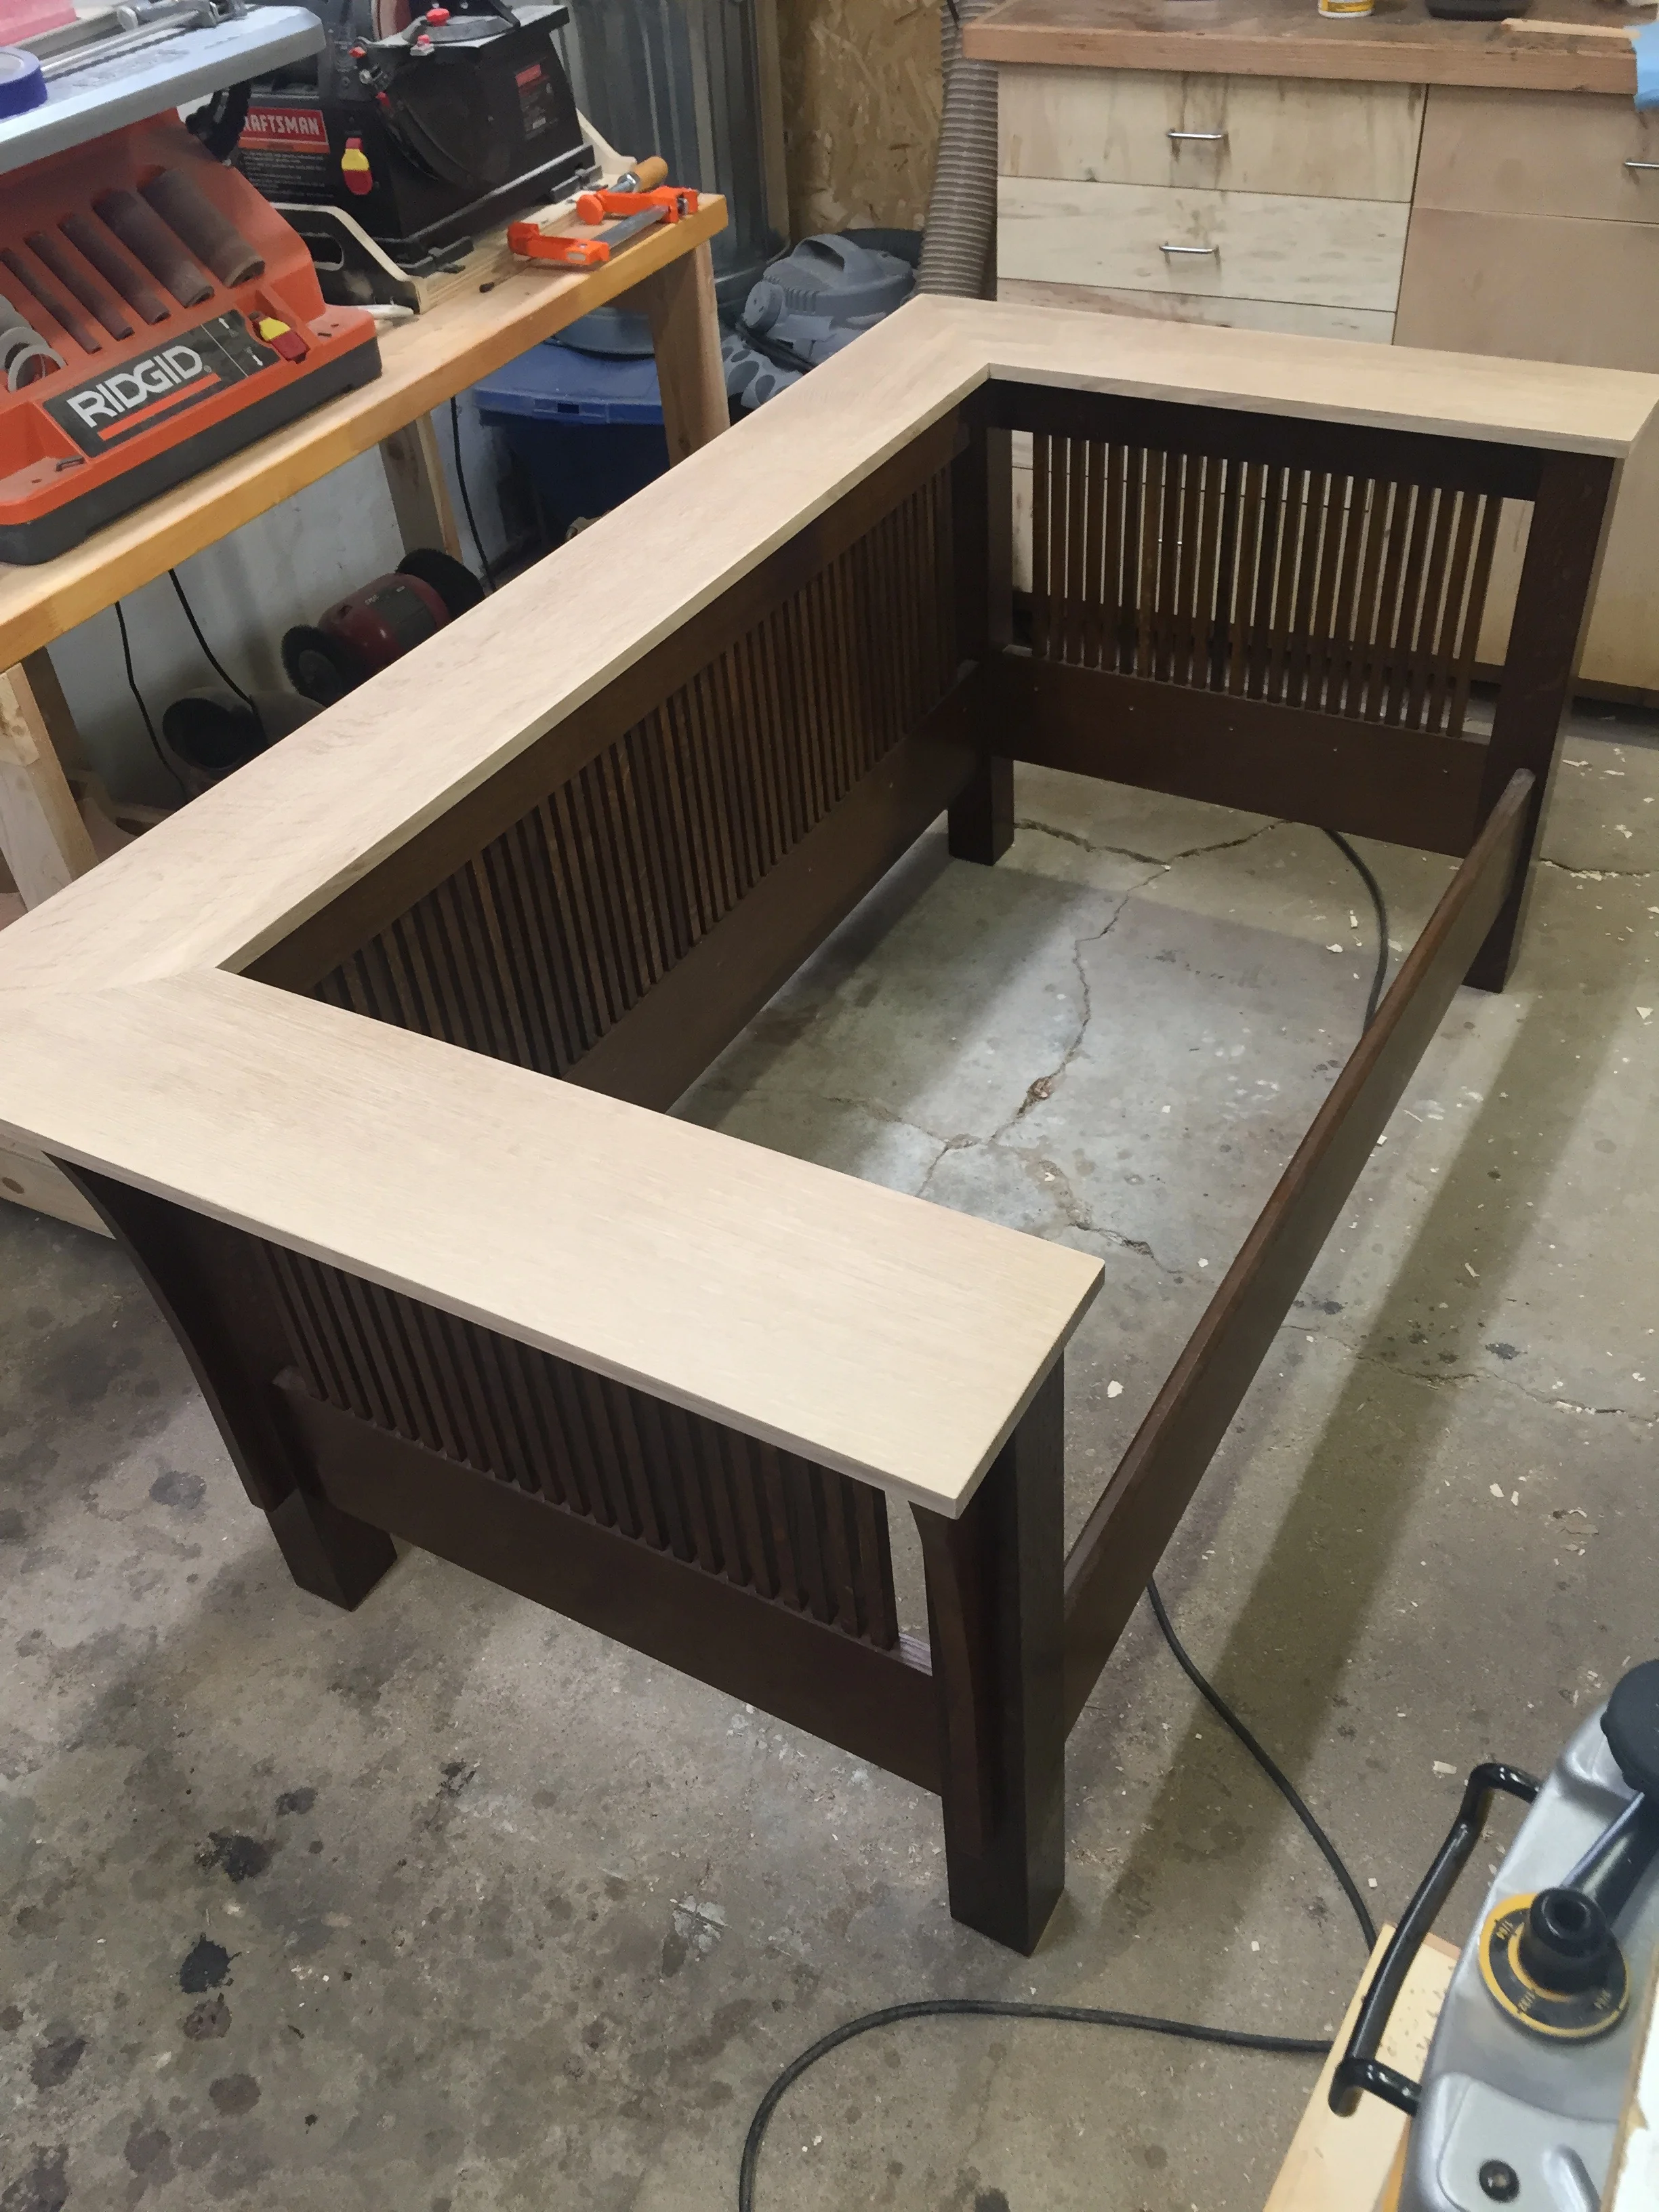
This was a bummer, and I had a choice to make. I could just leave it as is, slightly moving the arm assemblies over, and the discrepancy would have been hard for anyone to ever notice. Or, I could break the incorrect joints apart, and re do them. I knew it would bother me forever if I didn't do it right, and I could take it as an opportunity to learn how to fix a major error like this. So I did the latter, and broke the joint along the glue line. While I was relieved that the joint seemed pretty strong, it wasn't too hard to break it cleanly. I knew it would break along the glue line, as it was an end grain to end grain joint – the weakest type of glued joint. With the errant arms broken off, I then proceeded to cut the angle on the arms correctly, cleaned it up, and did a dry fit until it fit just right. Of course, re-glueing the joint meant that the masked off glue locations on the underside of that arms were now in the wrong place, so they had to be sanded down to bare wood, re-dyed, and re-finished. This mistake added many hours to the build. But in the end, I fixed it properly. I am now very glad I stopped, fixed it, and made it right. Learning to overcome those sorts of discouragements and press through them is as important a skill as any chiseling, planing, or finishing.
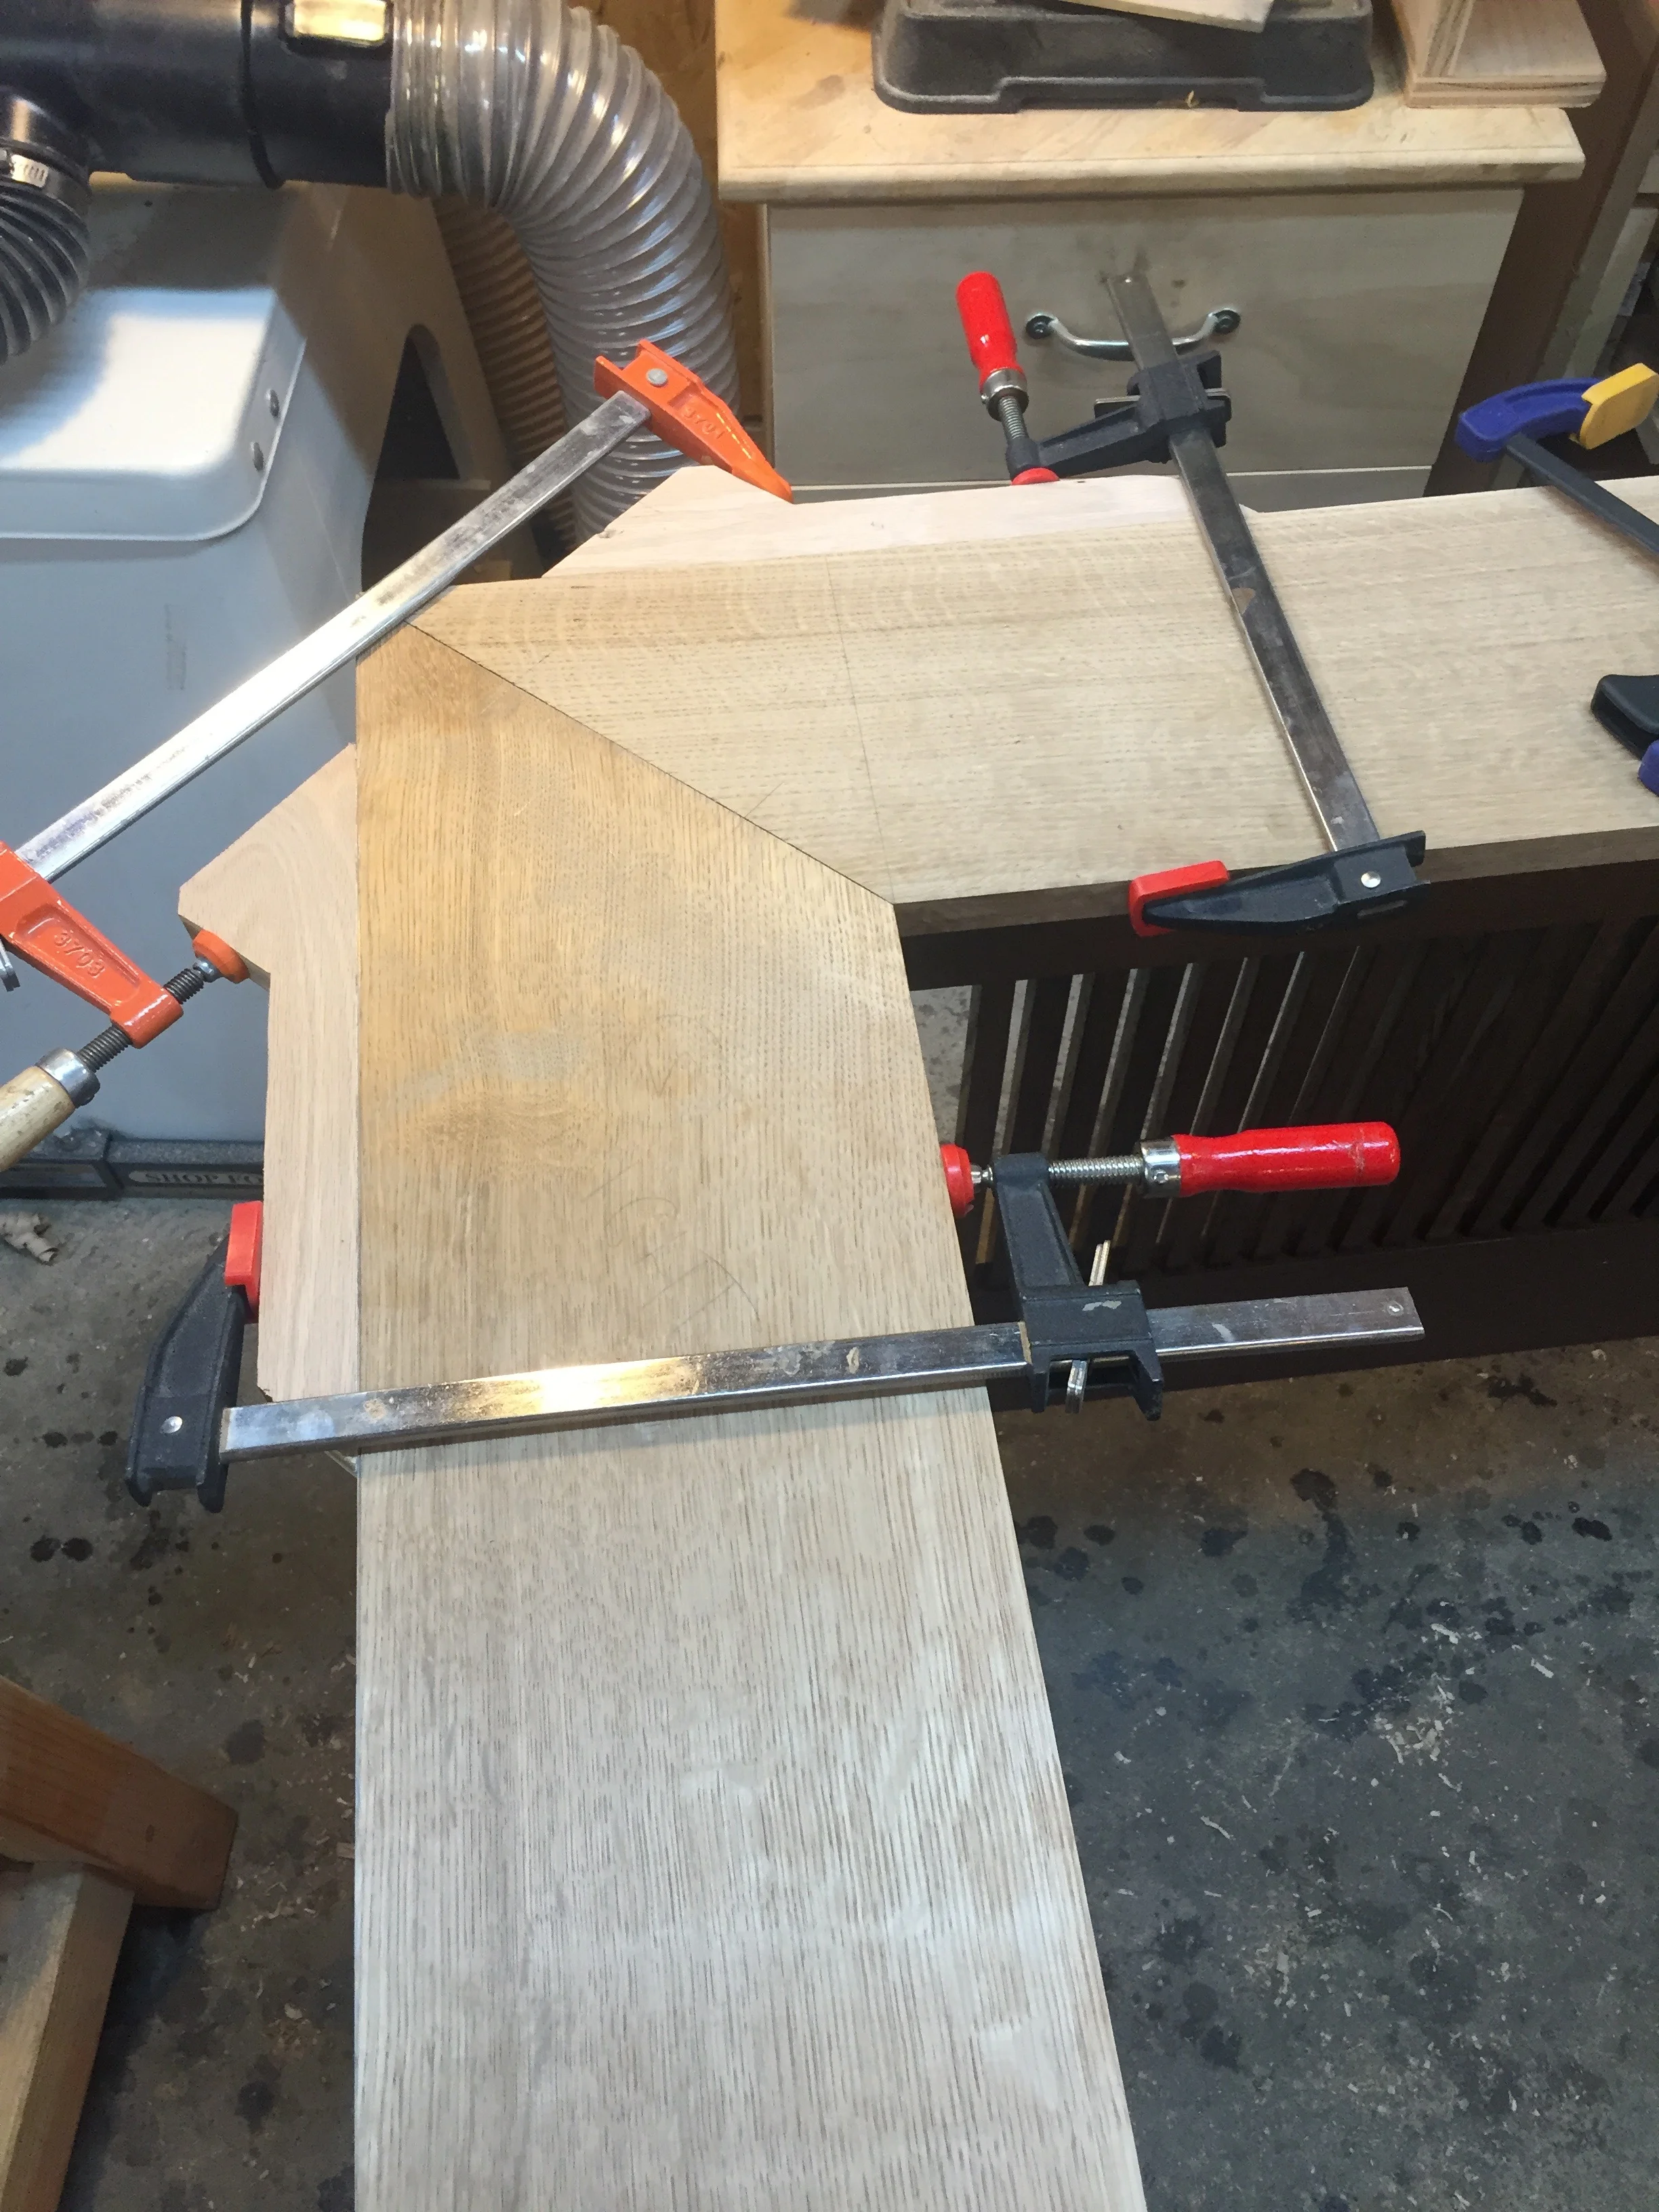
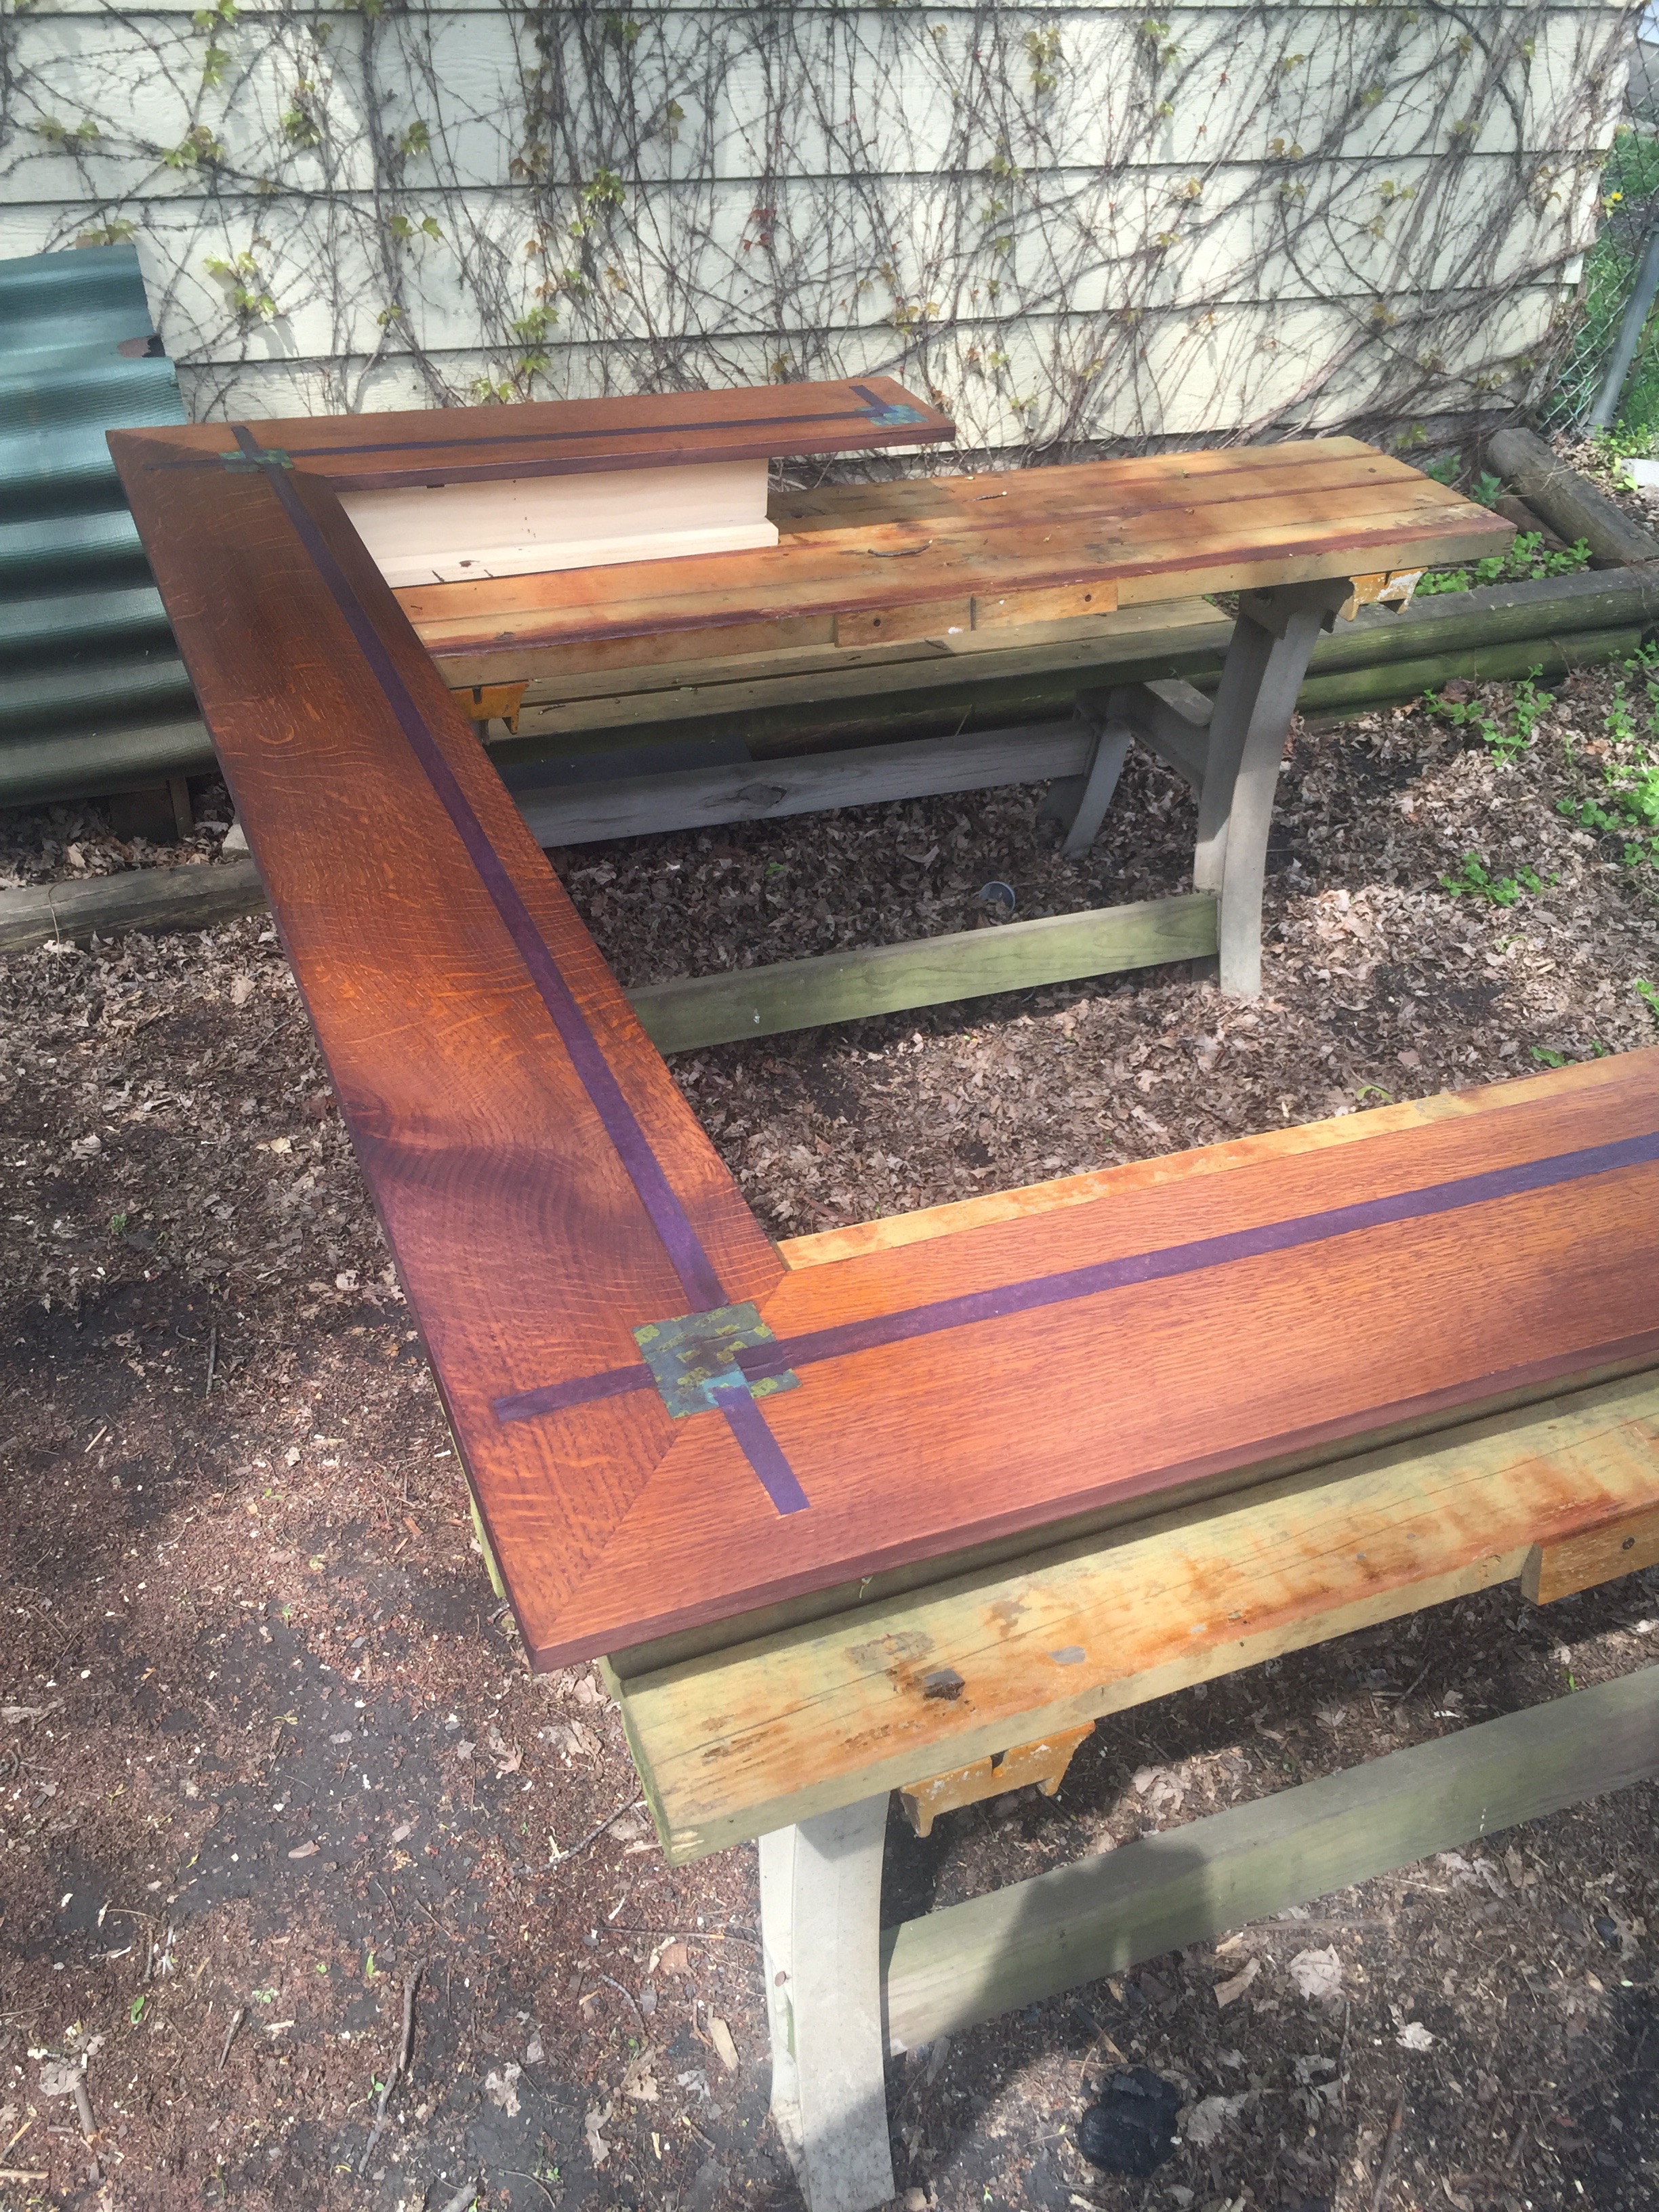
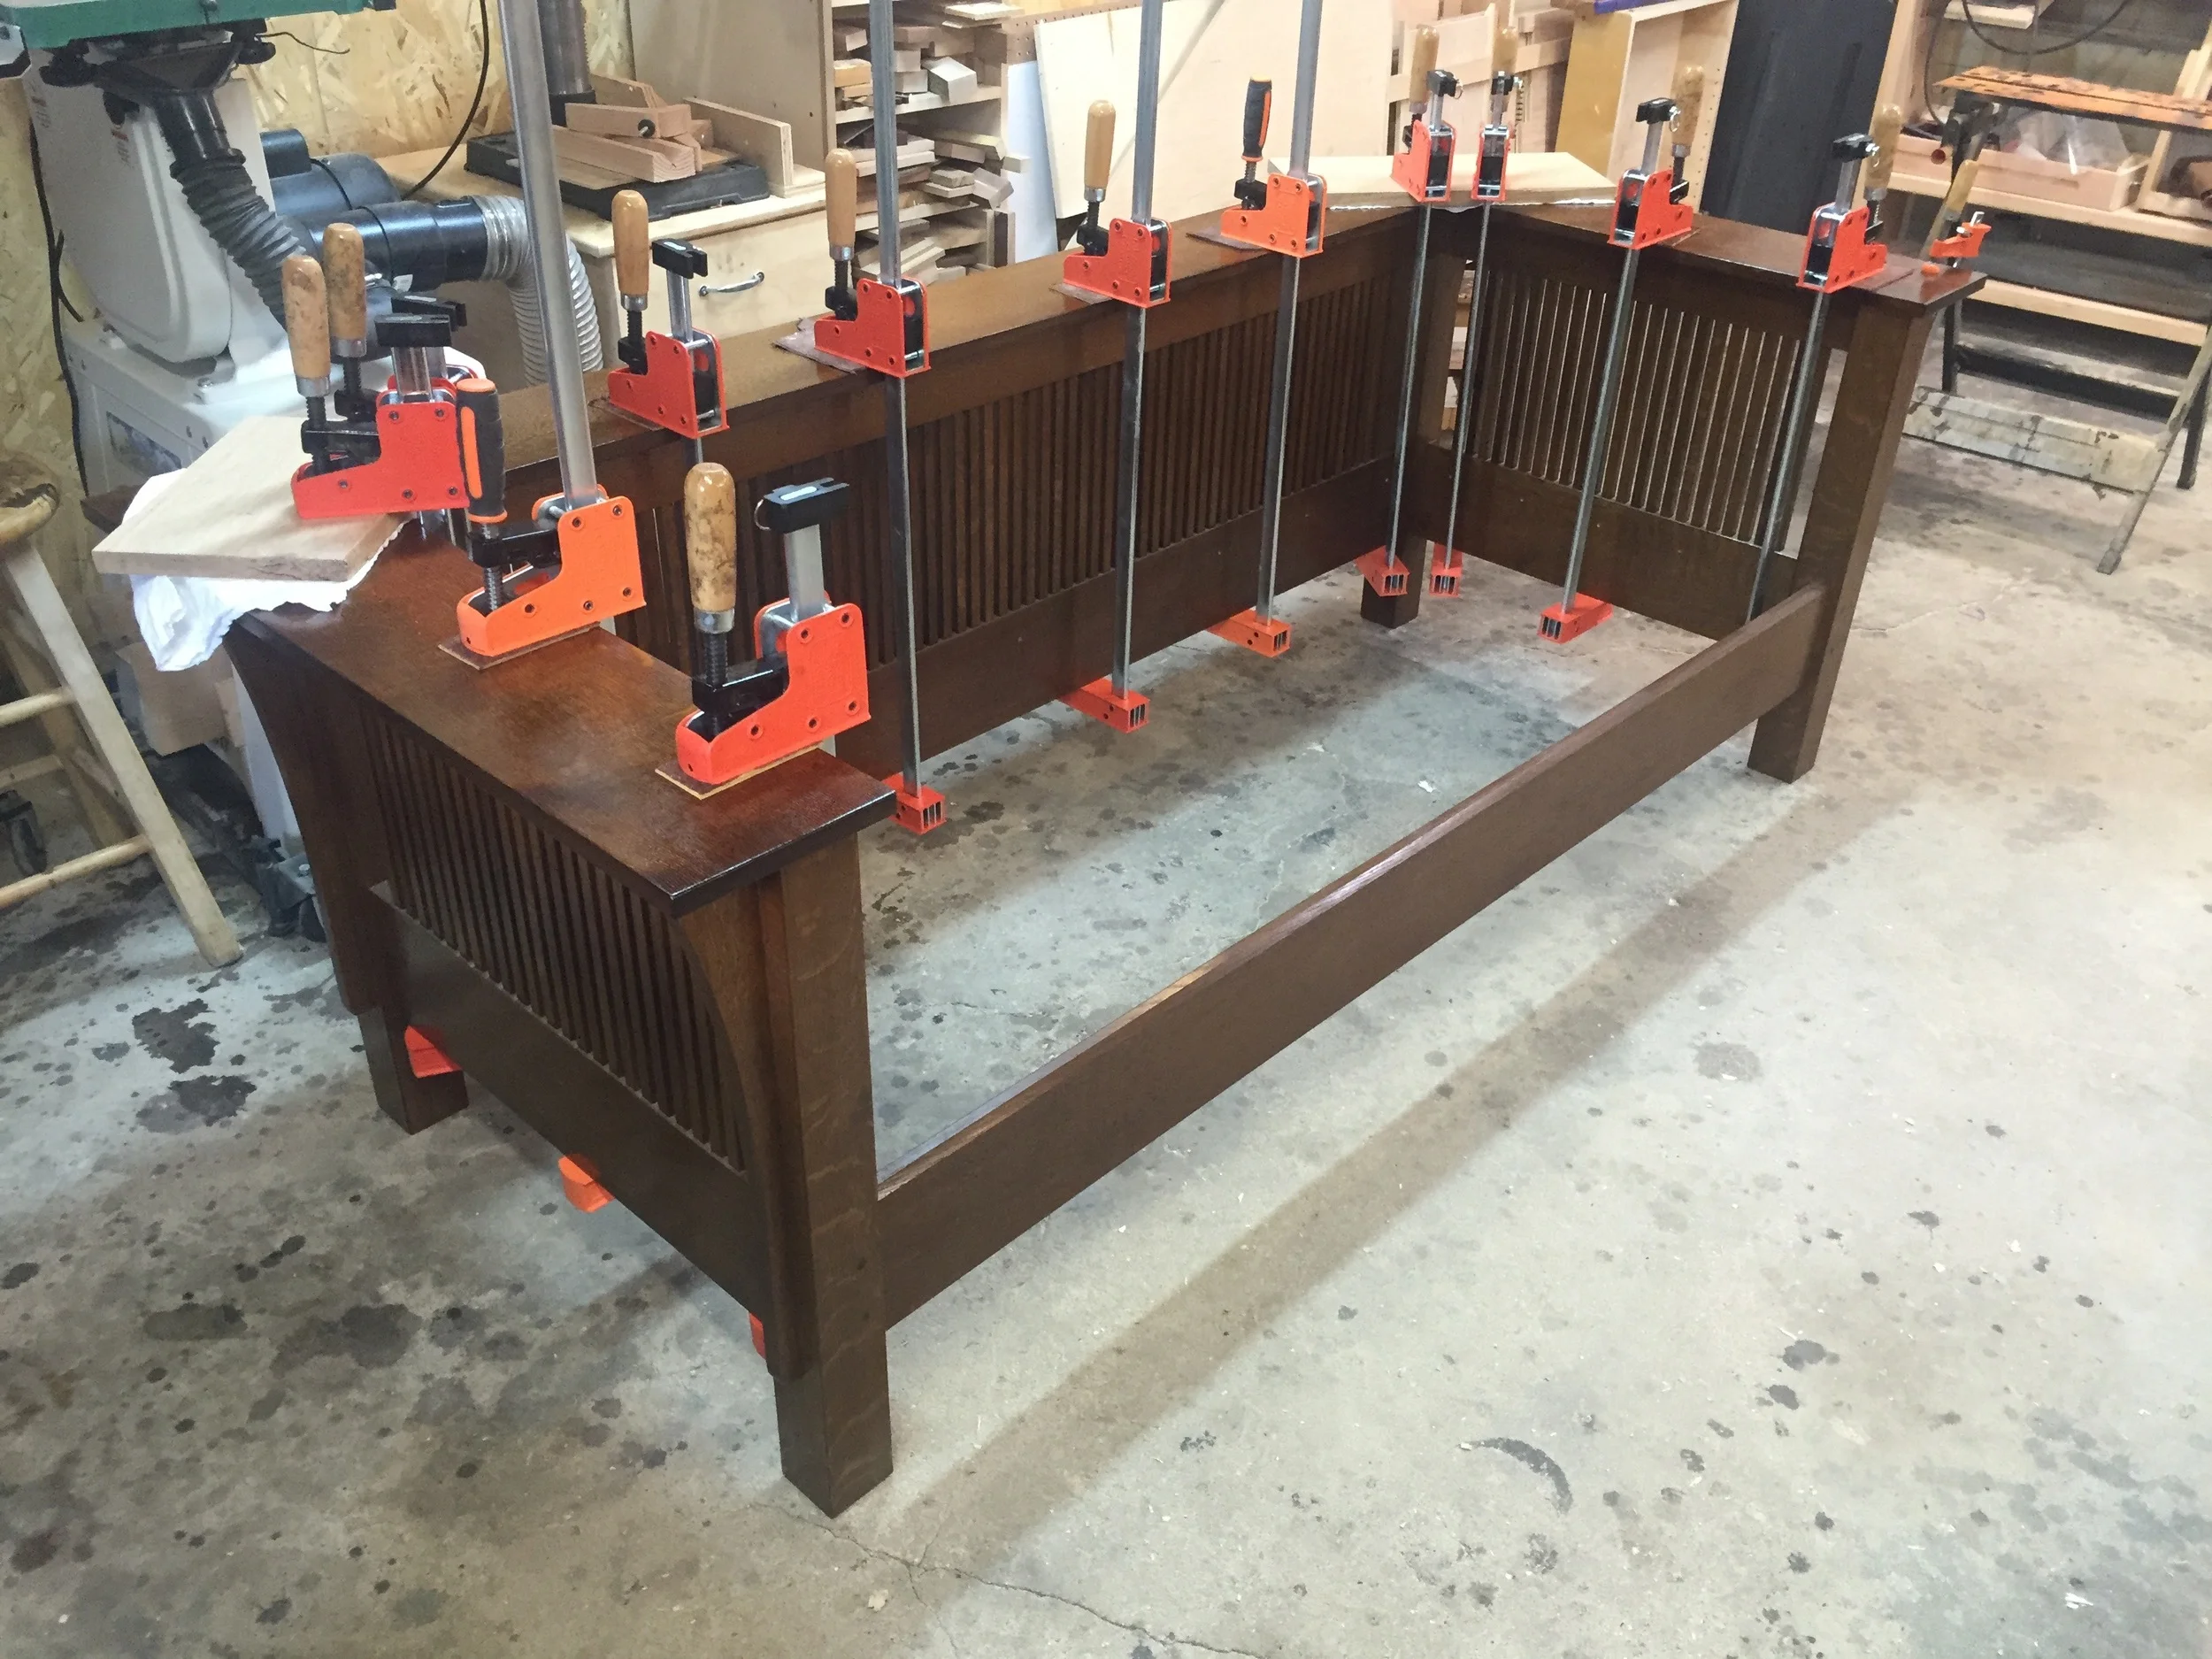
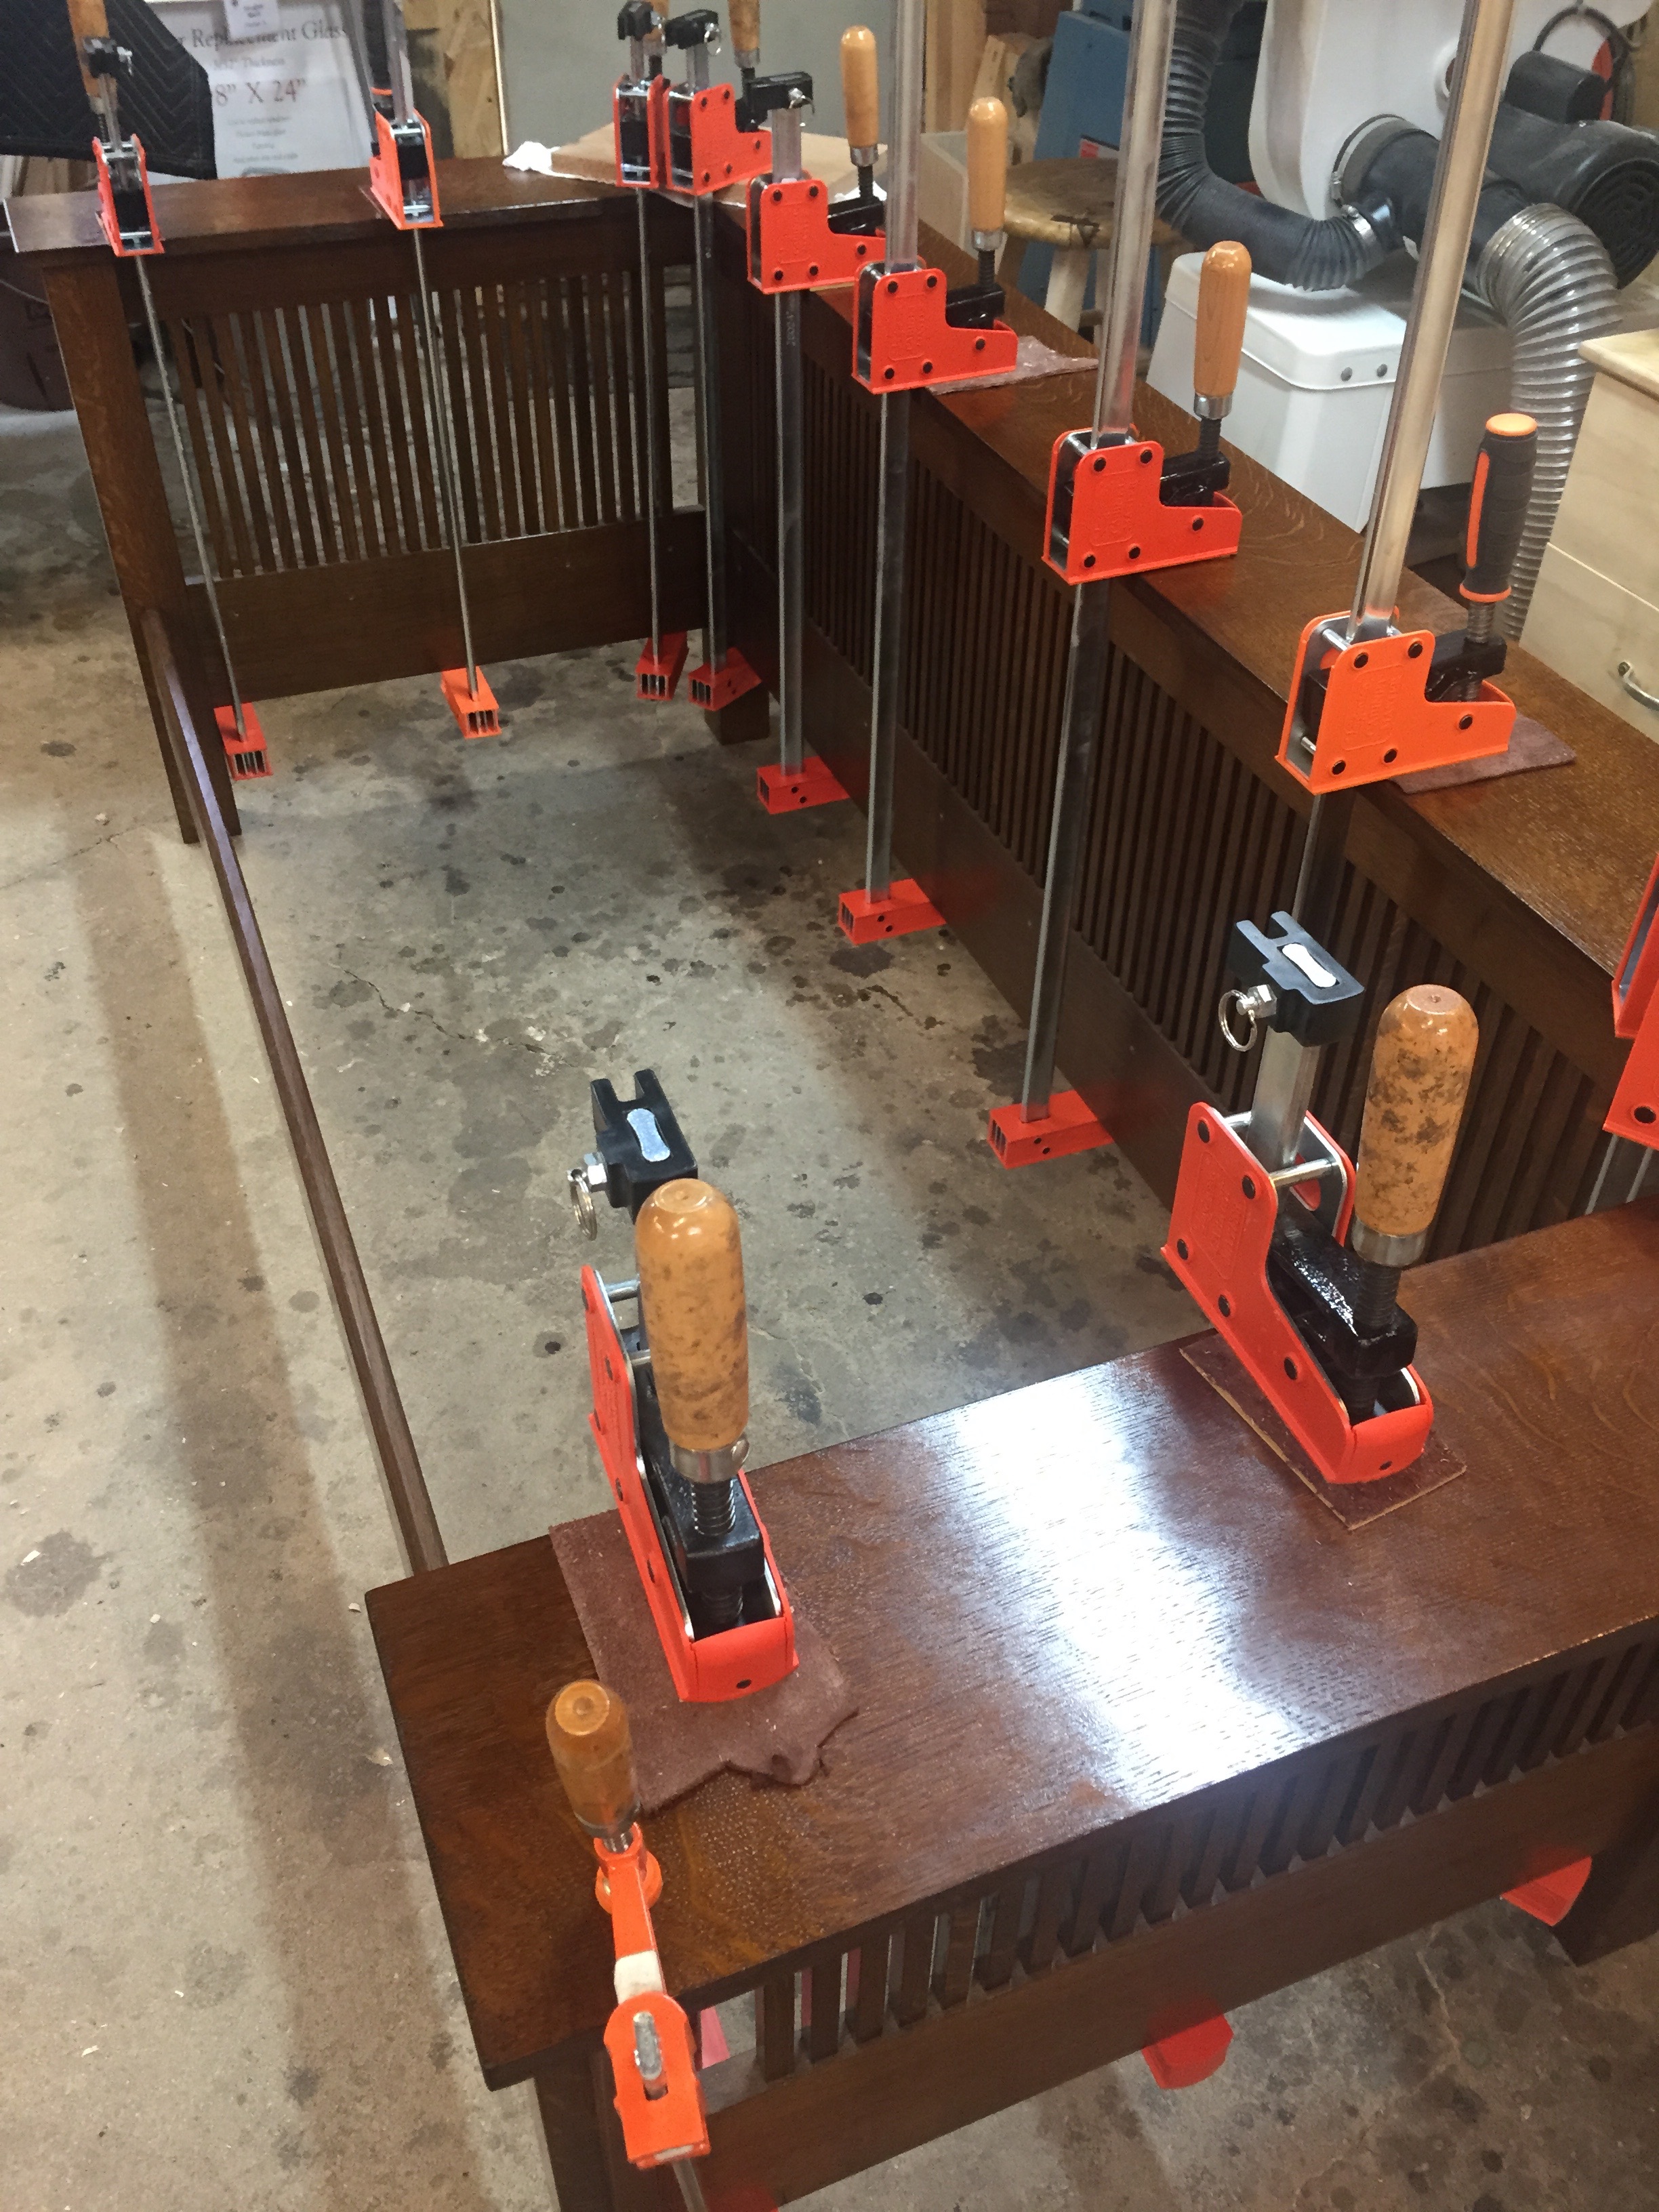
Re-gluing the corrected joint
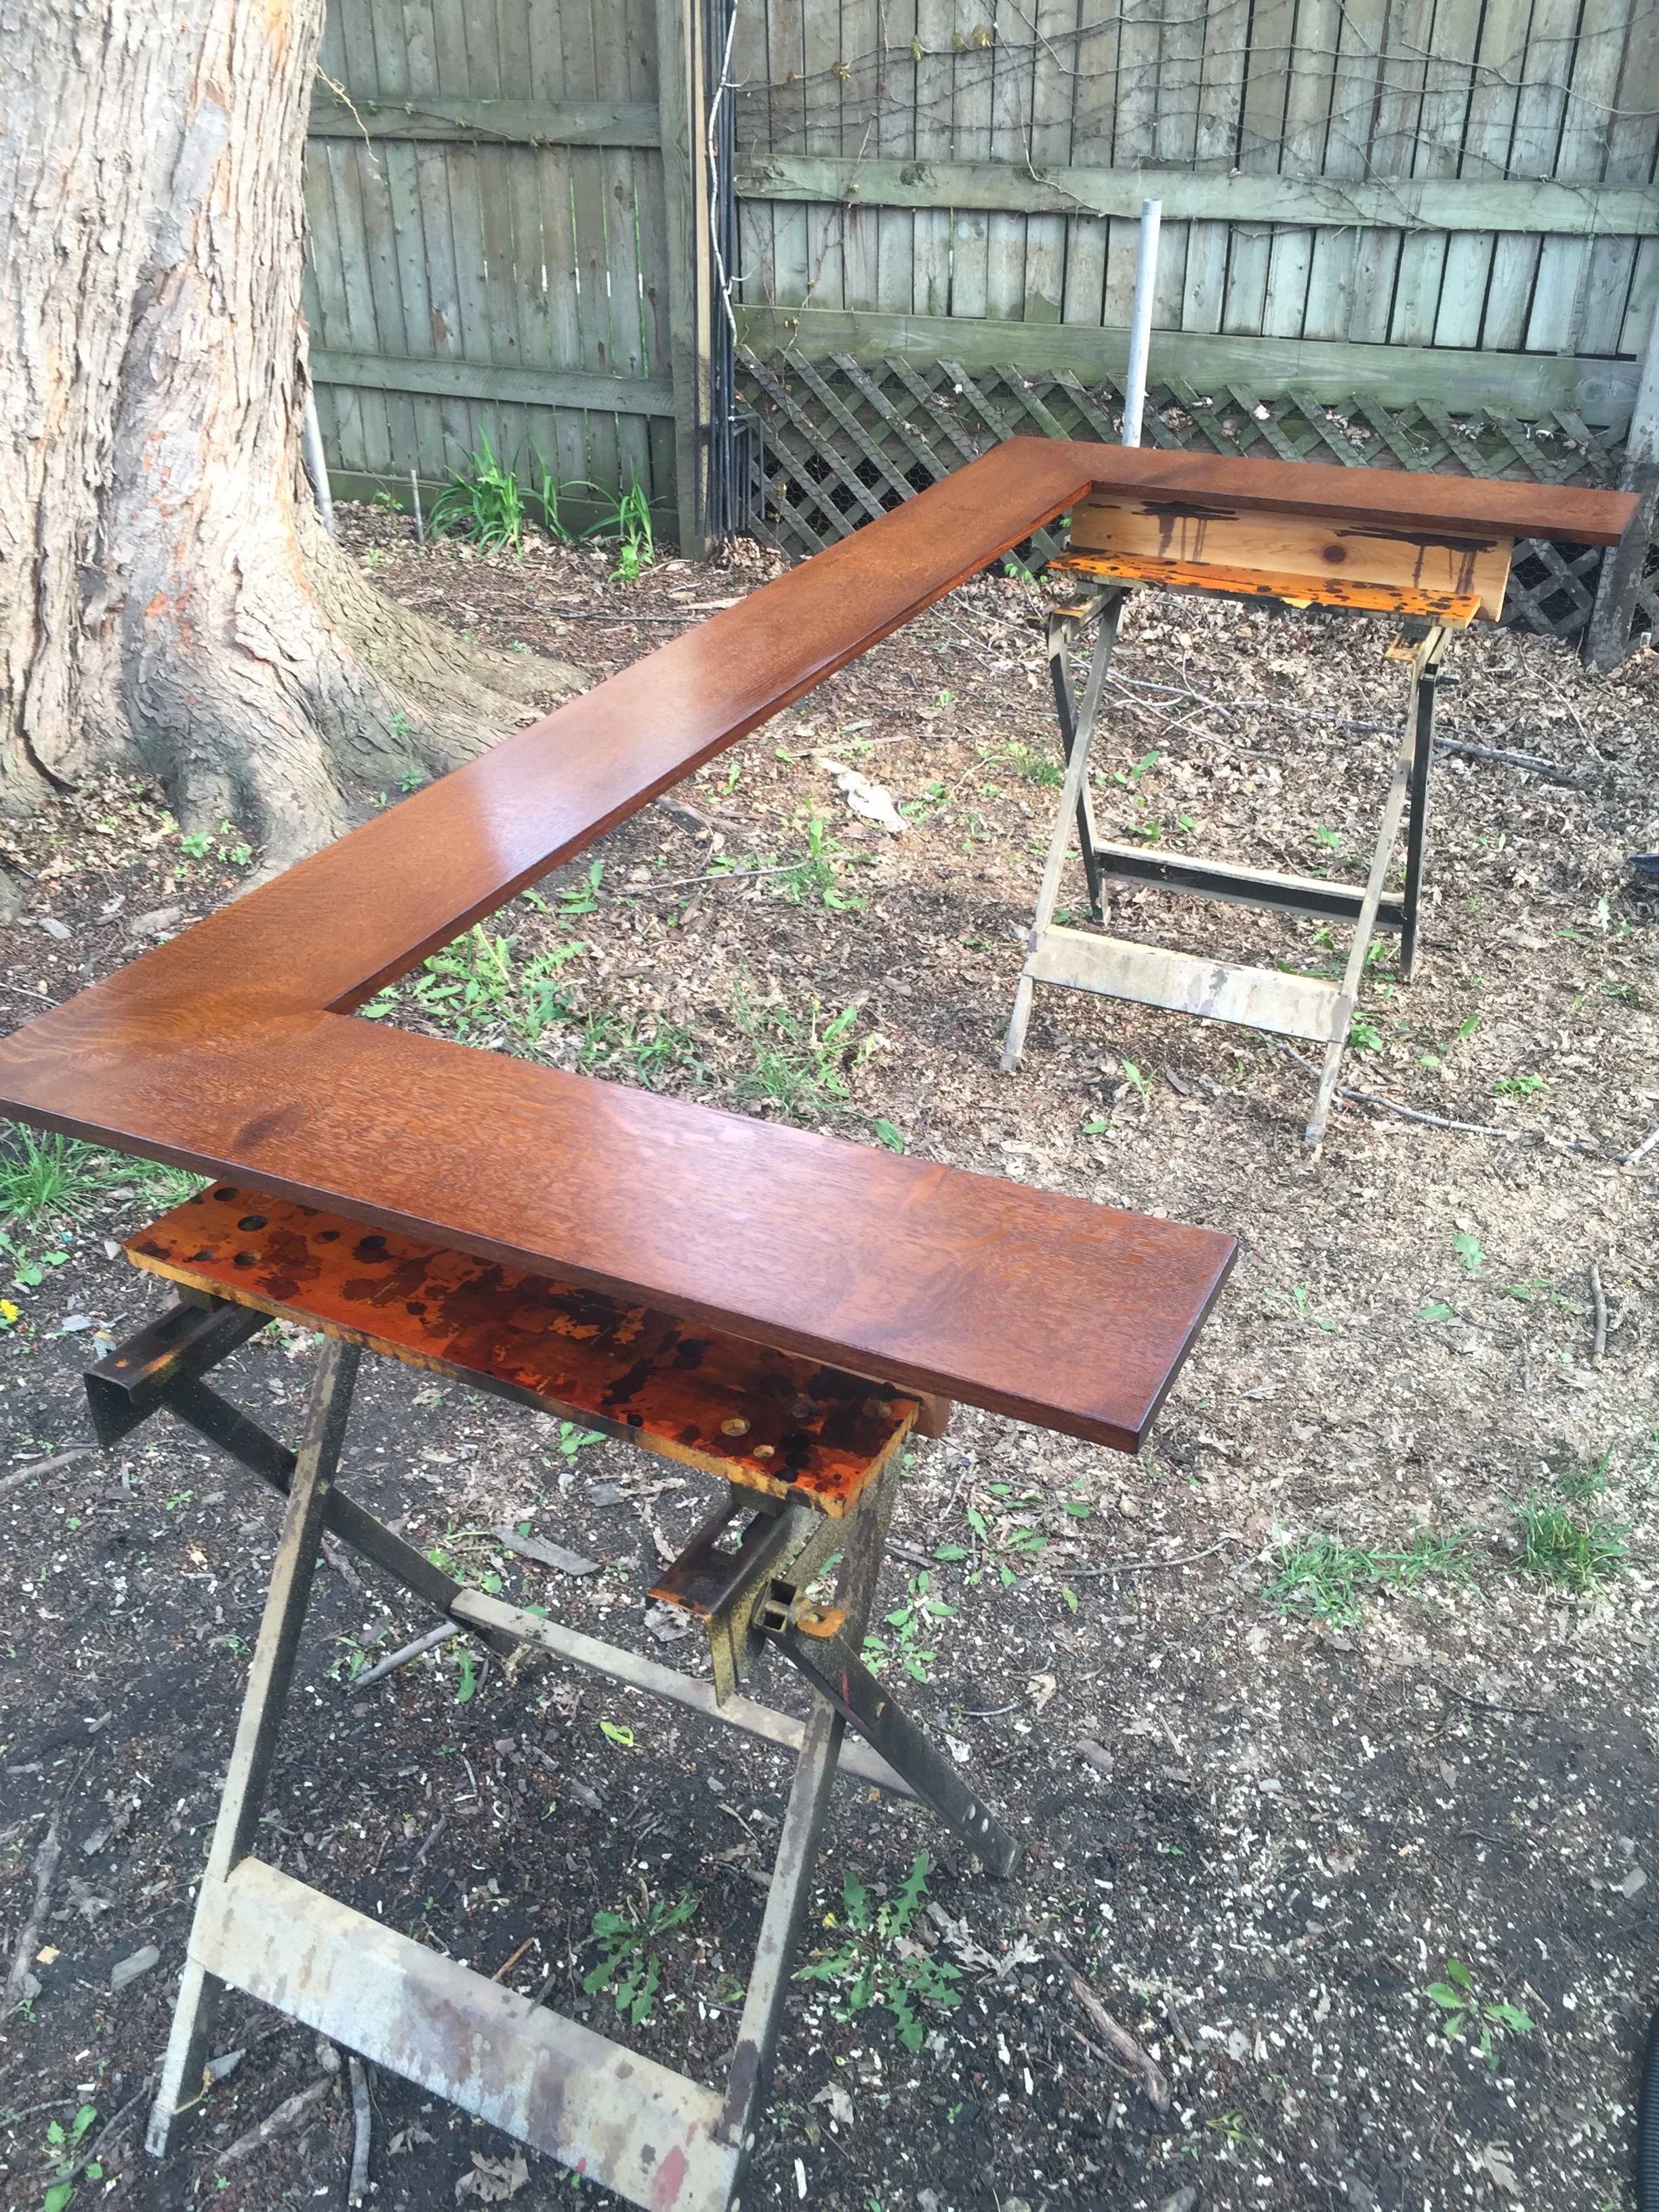
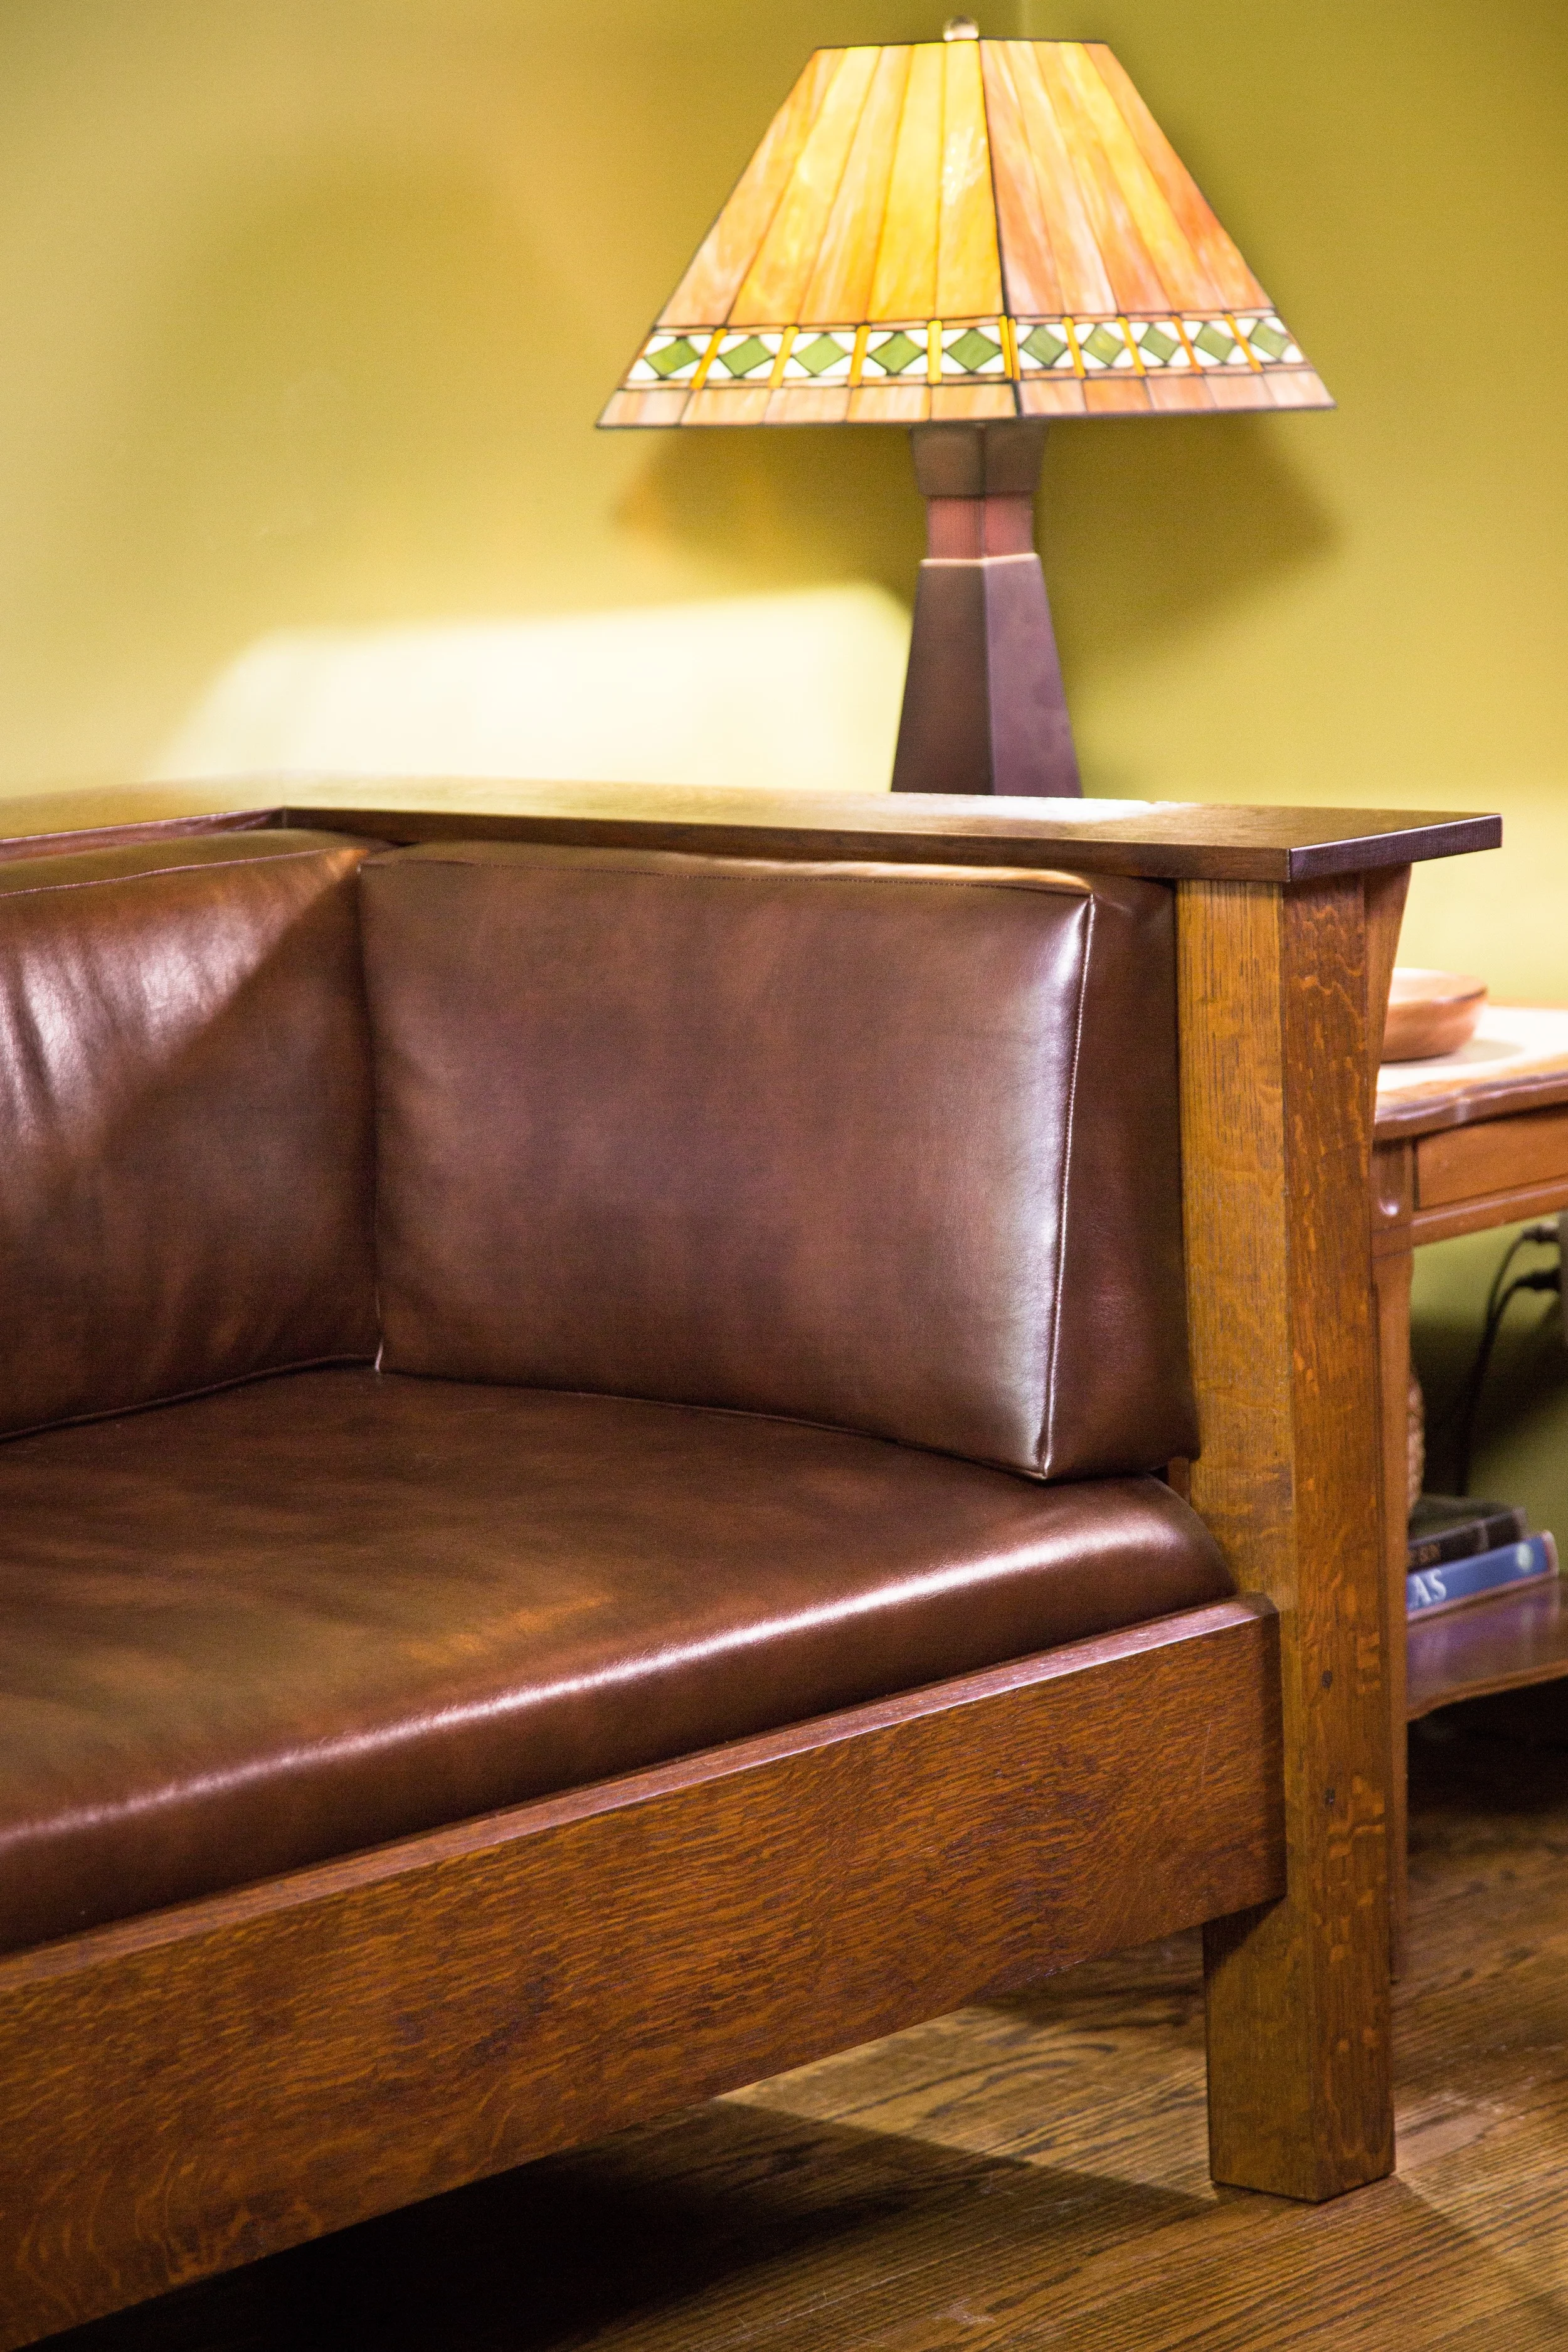
With the arms now finished, I glued them to the bases, finally seeing the whole pieces more or less in their final form. One benefit to doing all that pre-finishing is that any glue squeeze out, and there was some, was very simple to remove. The glue doesn't stick the the shellac finish, and it just pops off with a little pressure from a wooden spudger or a fingernail. After the squeeze out was cleaned up, I applied a few coats of shellac to the assembled piece to blend all the pre-finished elements together. And finally, I applied a coat of dark brown paste wax with 0000 steel wool, and buffed it out with a cotton rag to a nice, matte glow. This last step was pretty time consuming, as the final assembled piece had a lot of surface area, and many nooks & crannies. But the wax makes it look great. When that was done, all that was left to do was to wait on the upholstery.

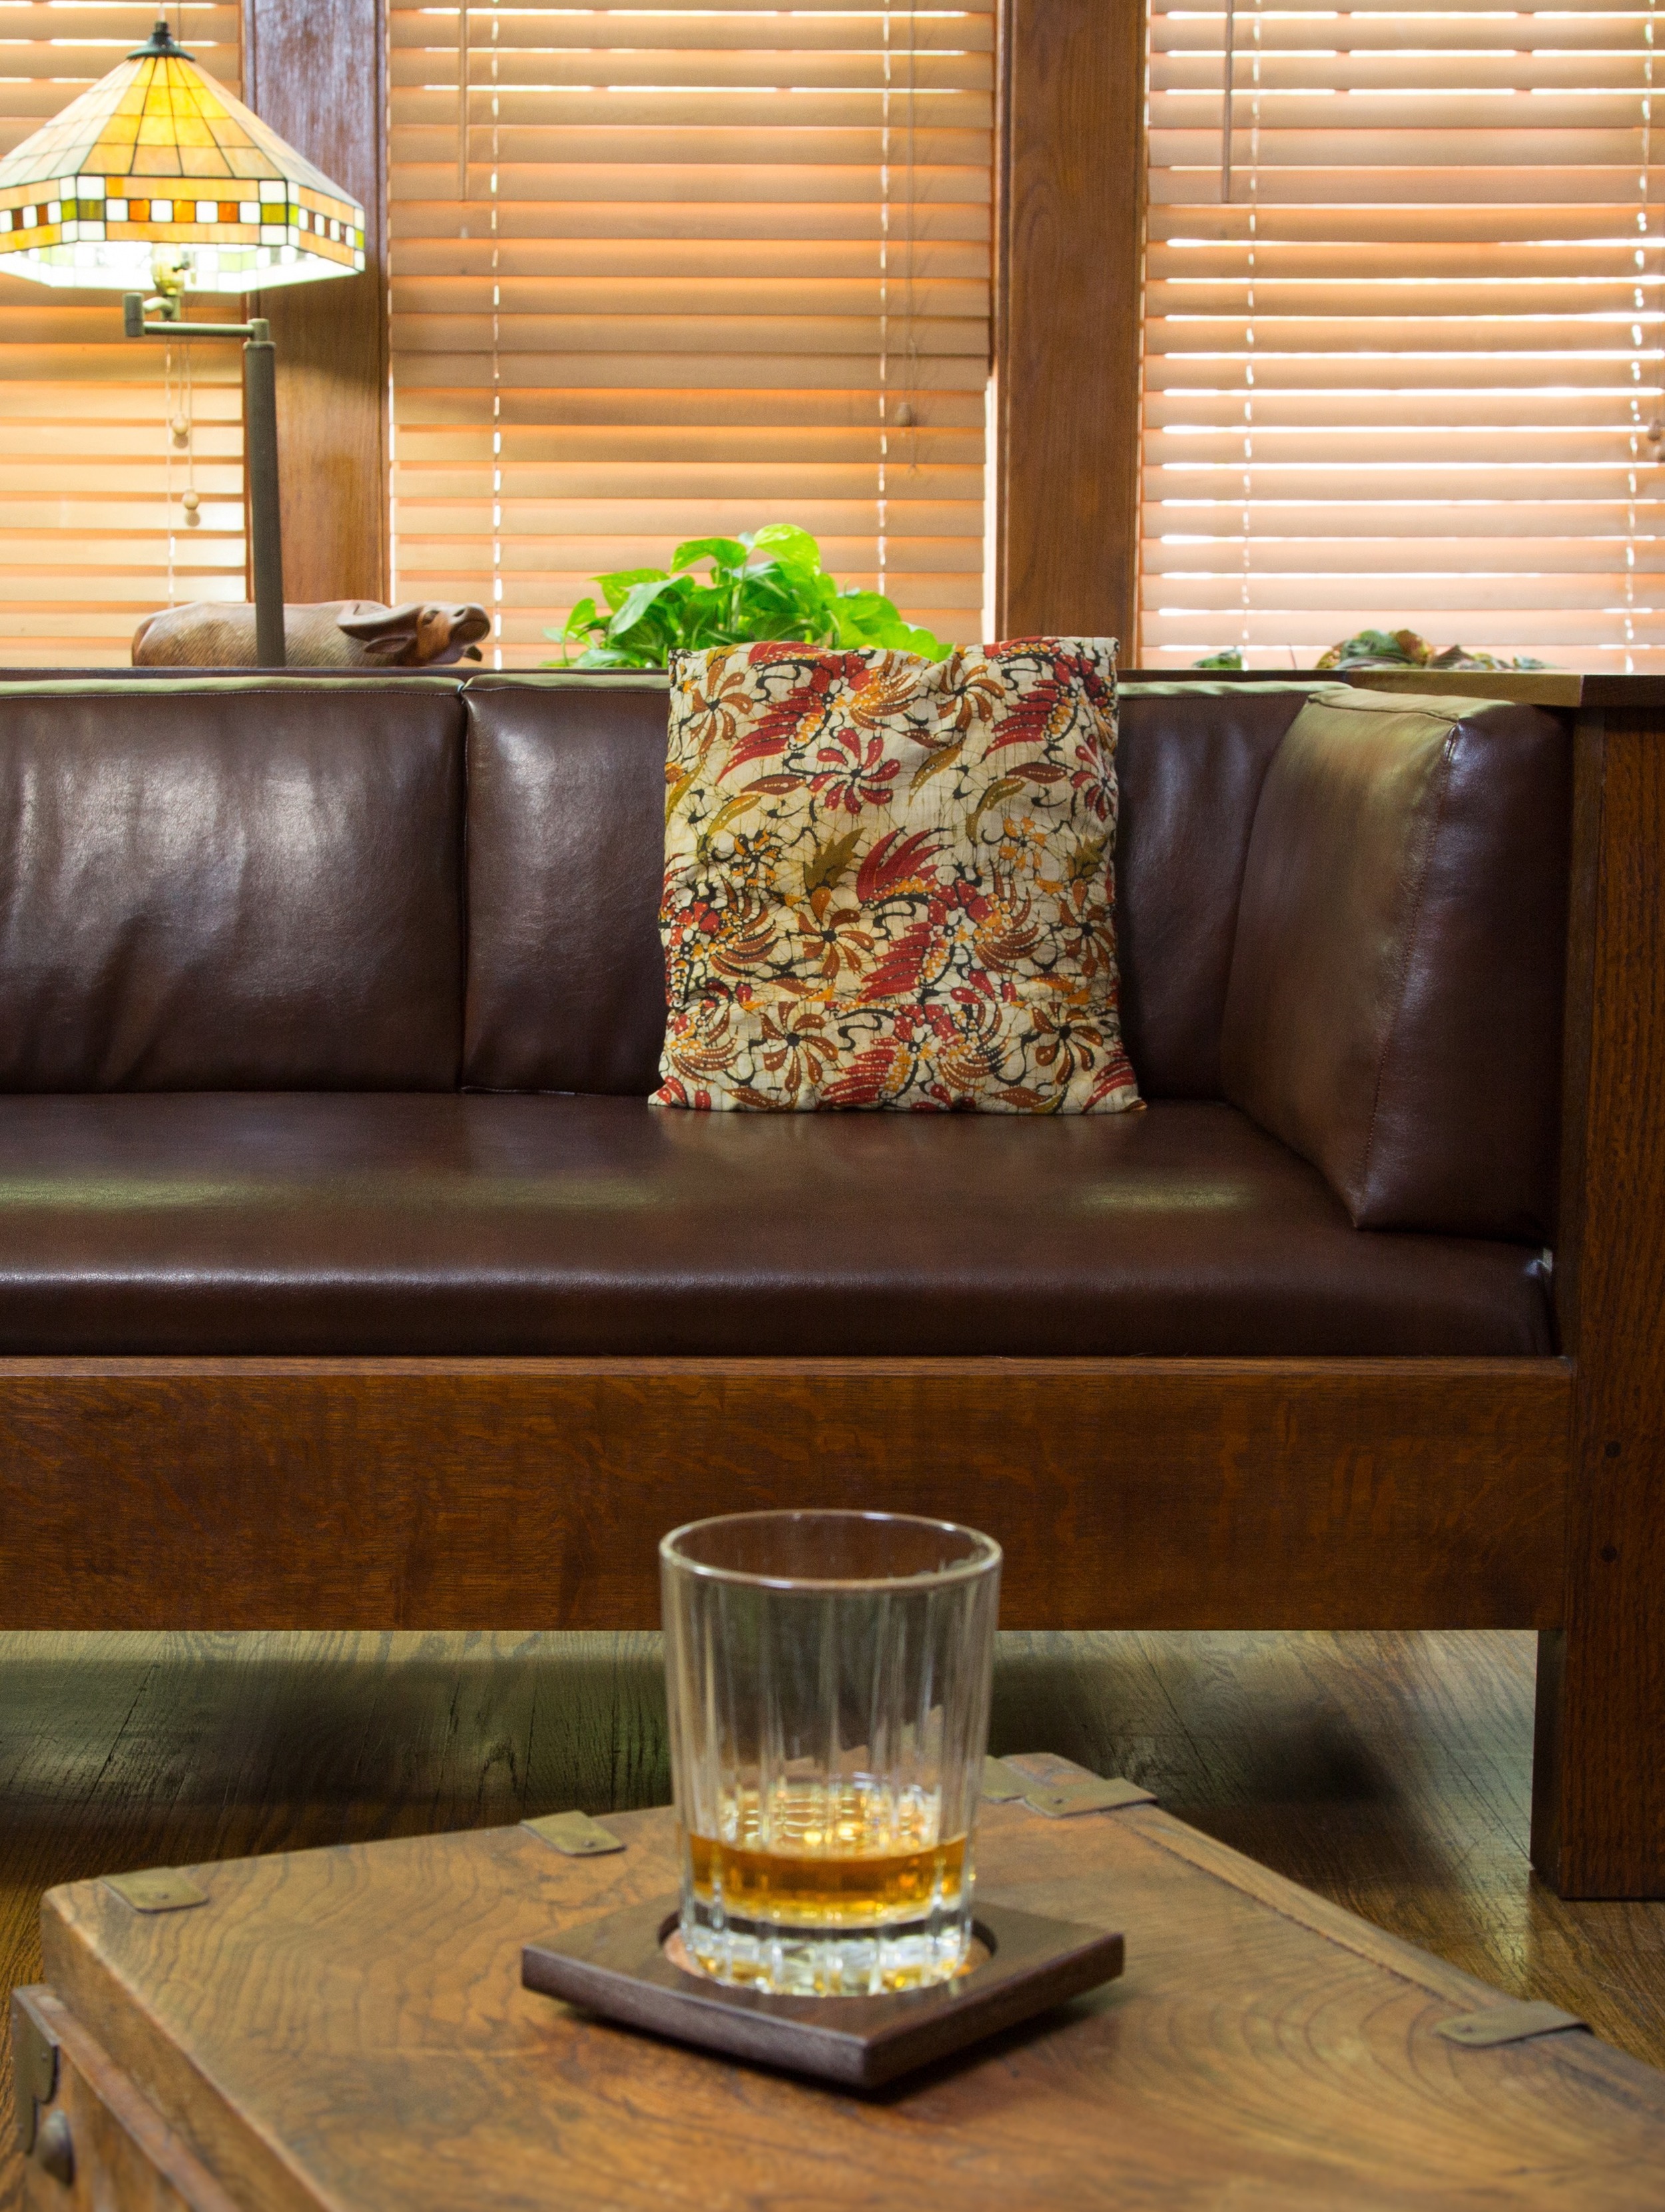
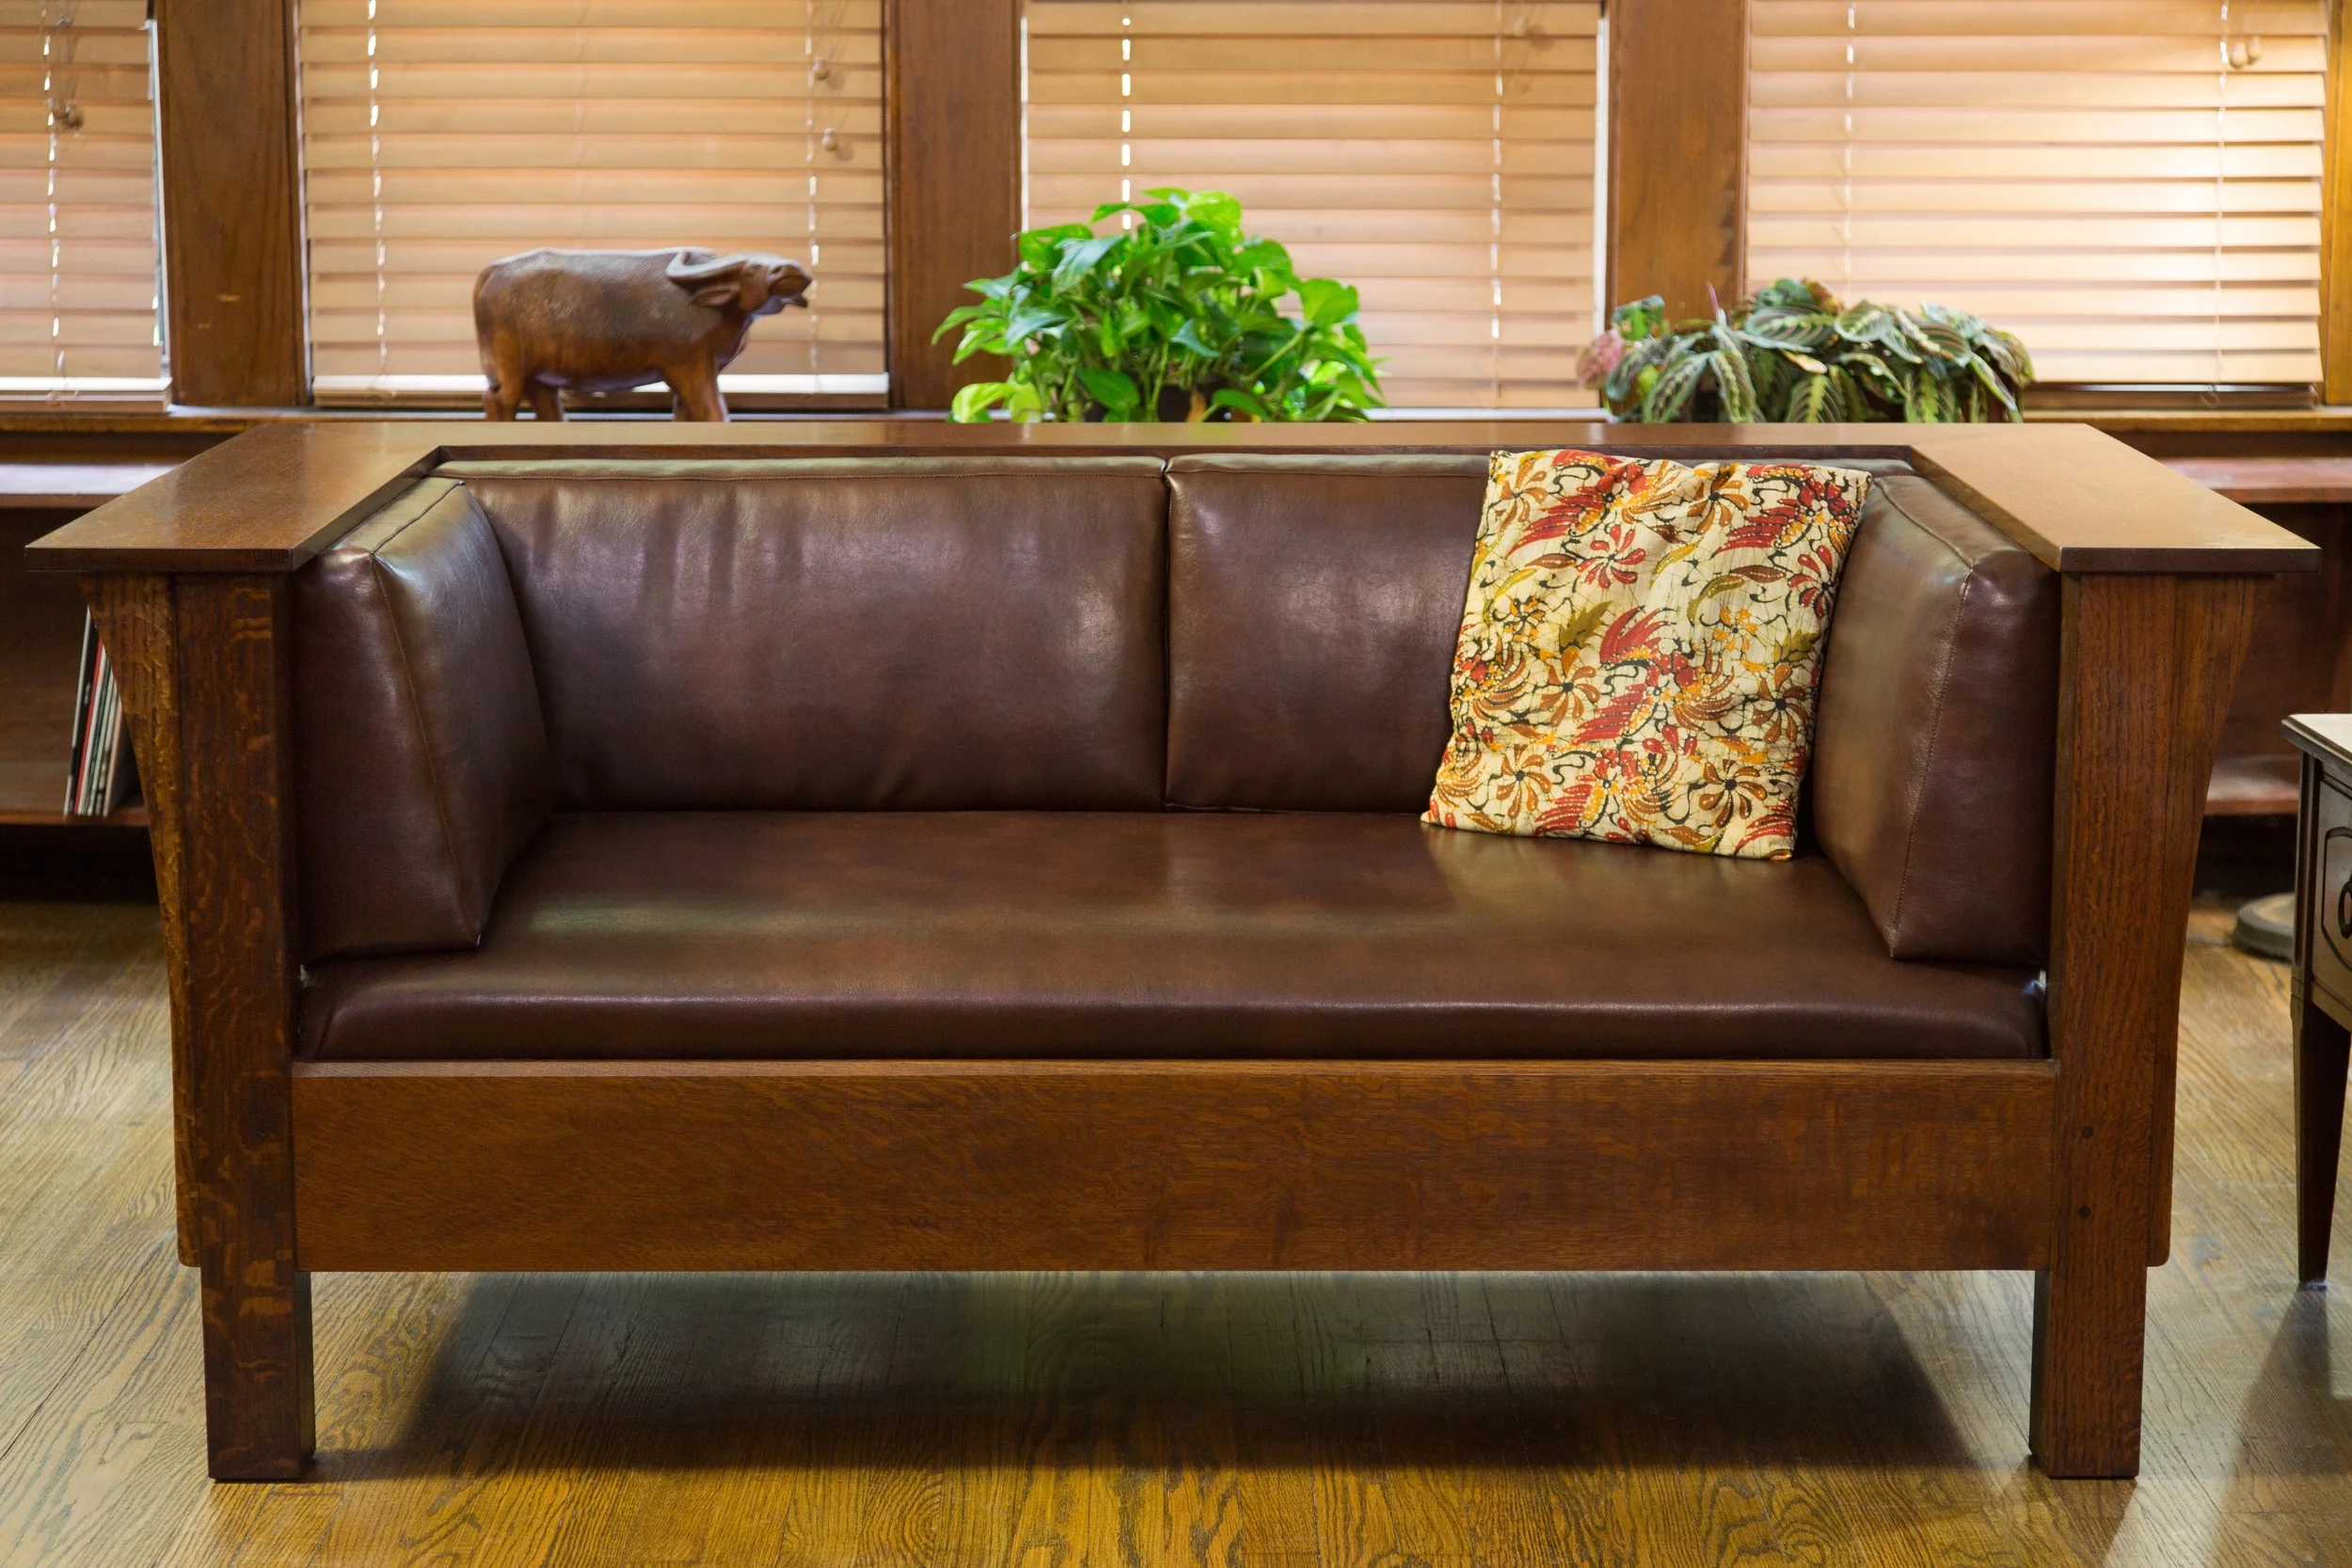
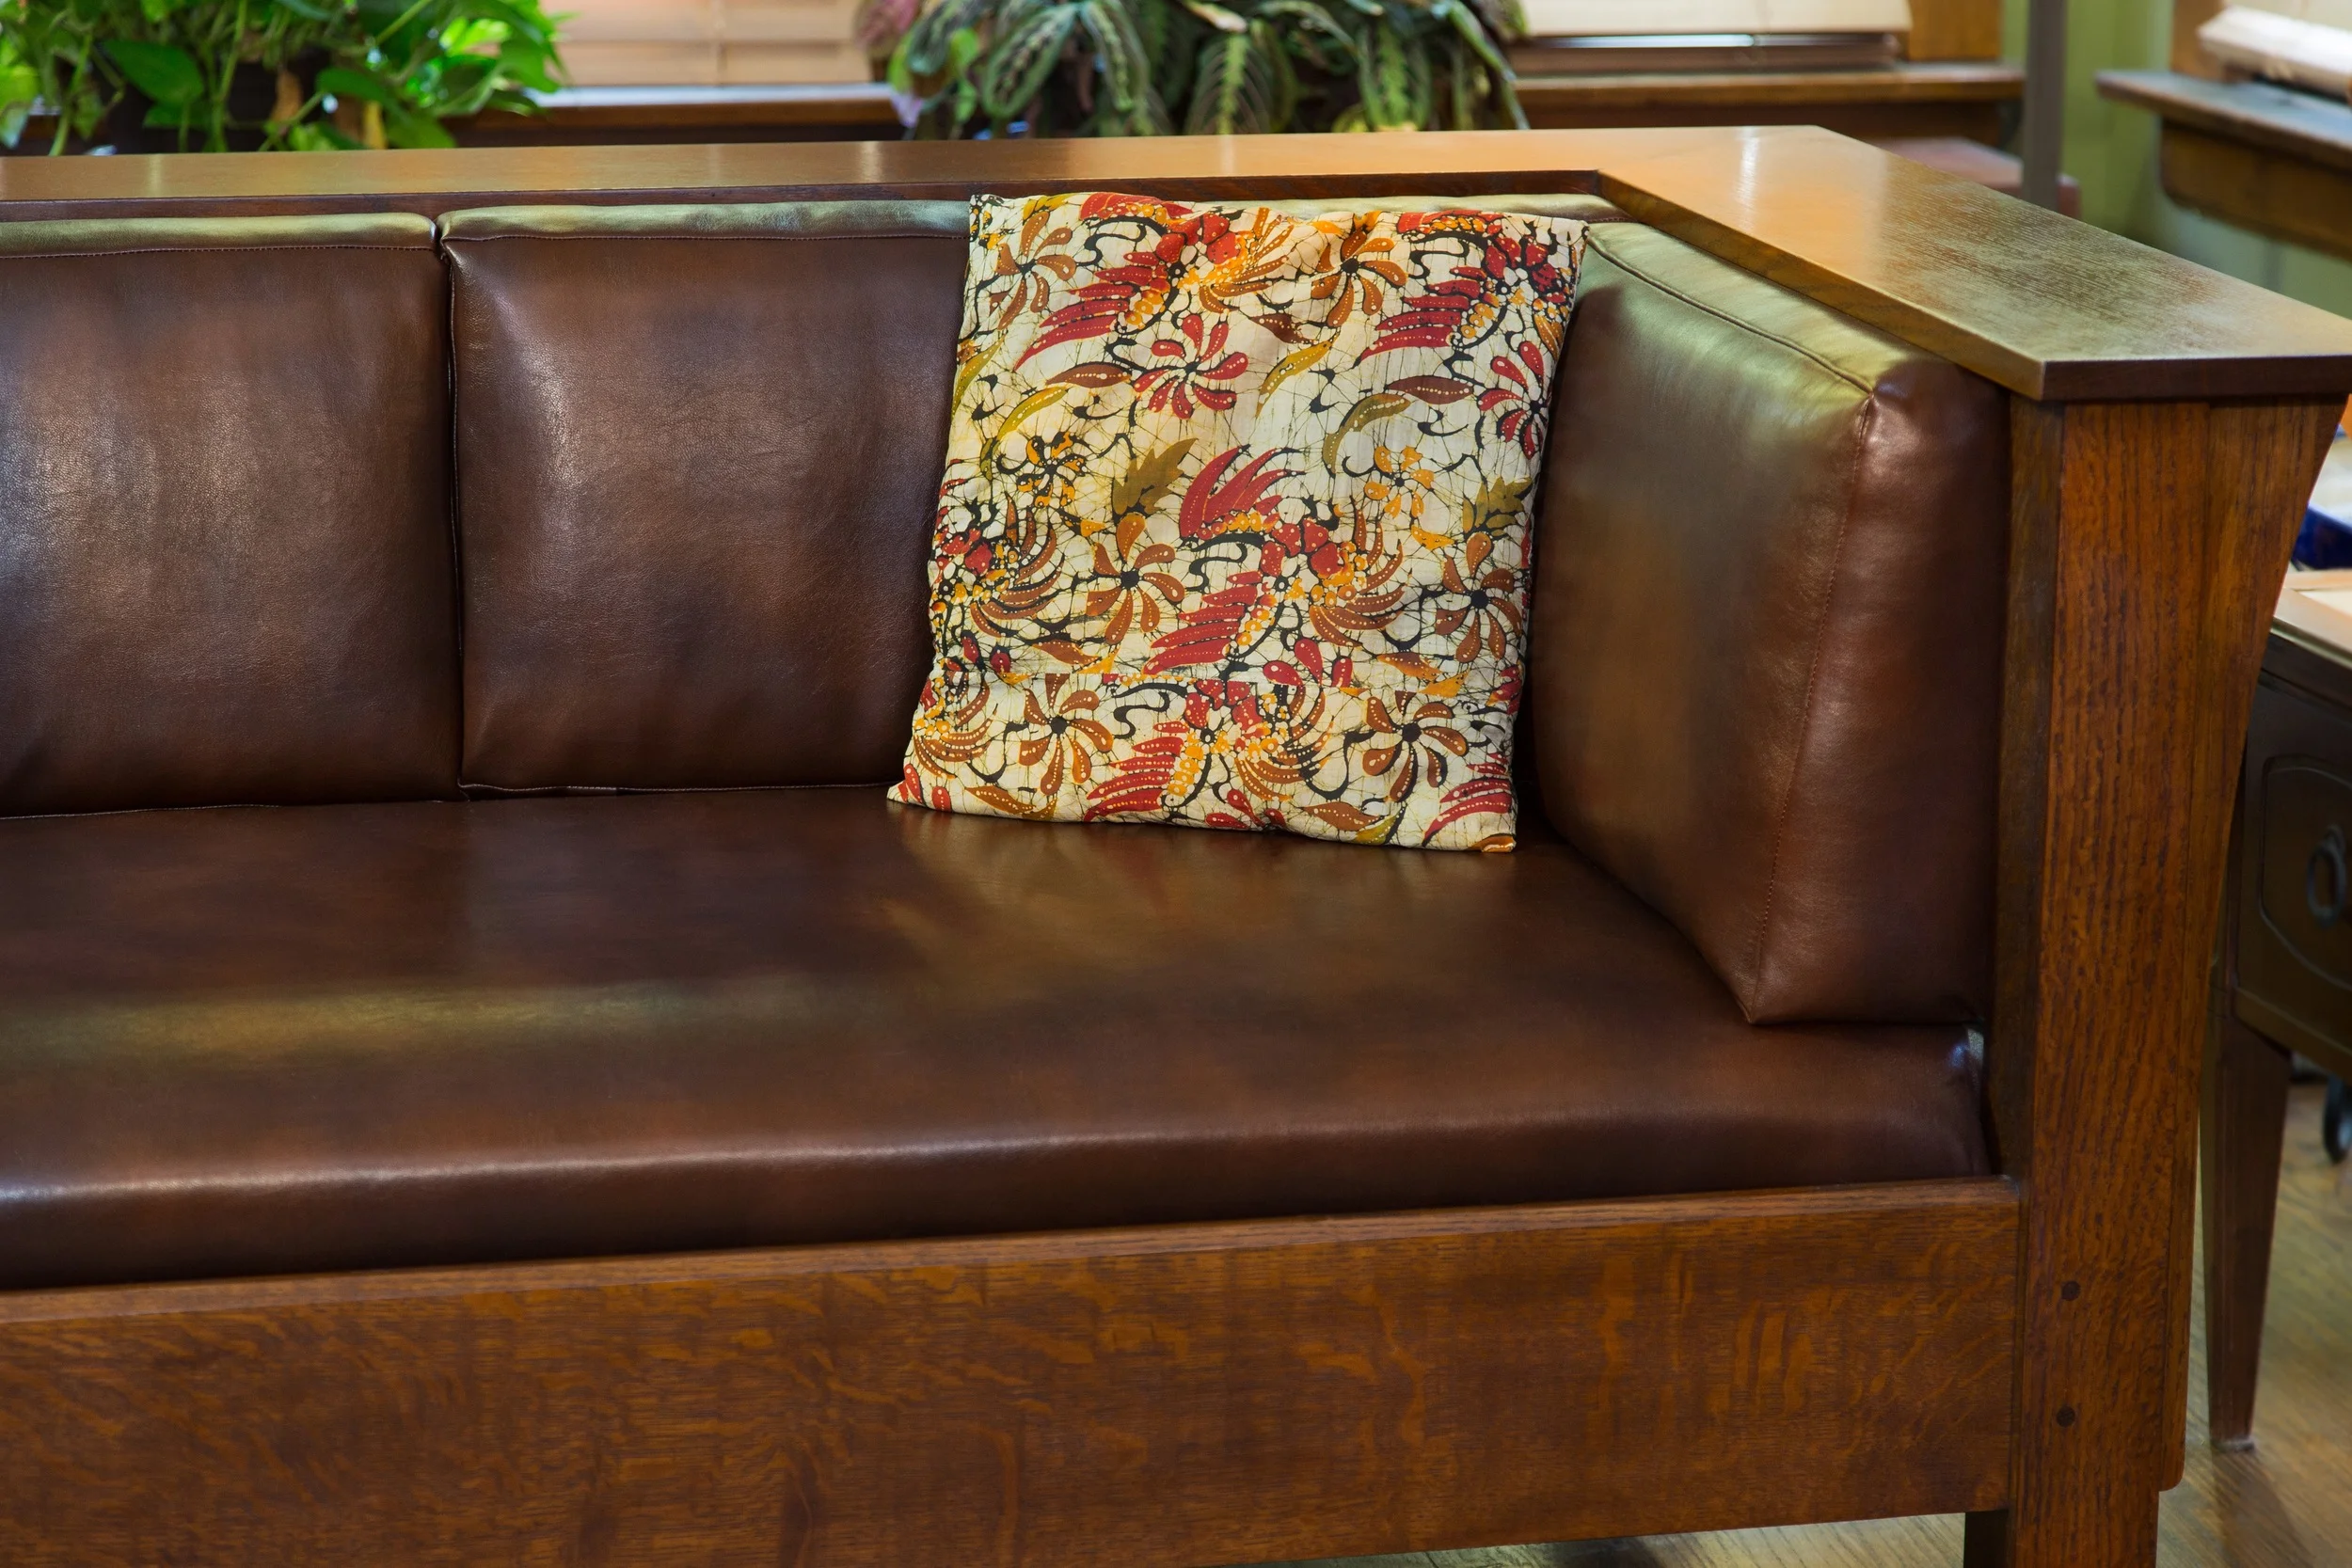
The upholstery was being done be an excellent local upholsterer, Kylie Egge of Recovered Interior. I went with a medium covered mottled leather with a slight texture. To get the upholstery right, we had to do things in two steps. First, they had to make the fitted bottom seat, and place that frame onto the rails in each piece. Seconds, with the seats in place, they could measure for the sizes of the side and back cushions. A few weeks later, the side and back cushions were delivered, and they fit like a glove. It was really amazing to see this all finally come together. It was also the first time I had worked with an upholsterer (and it won't be the last!), and just like with the photography, it was fun to share my project with a craftperson from another trade.
With the upholstery in place, it was time for the most important test - sitting in them. It's funny, because throughout the course of this whole build, I really had no idea if this furniture was going to be comfortable or not. I'd seen pictures of other prairie style sofas before, and it was a respected traditional design, but for all I knew, they could be terrible to sit in. But to our great relief, they are a delight to use. Since early June 2015, we've been using them every day, and couldn't be happier.
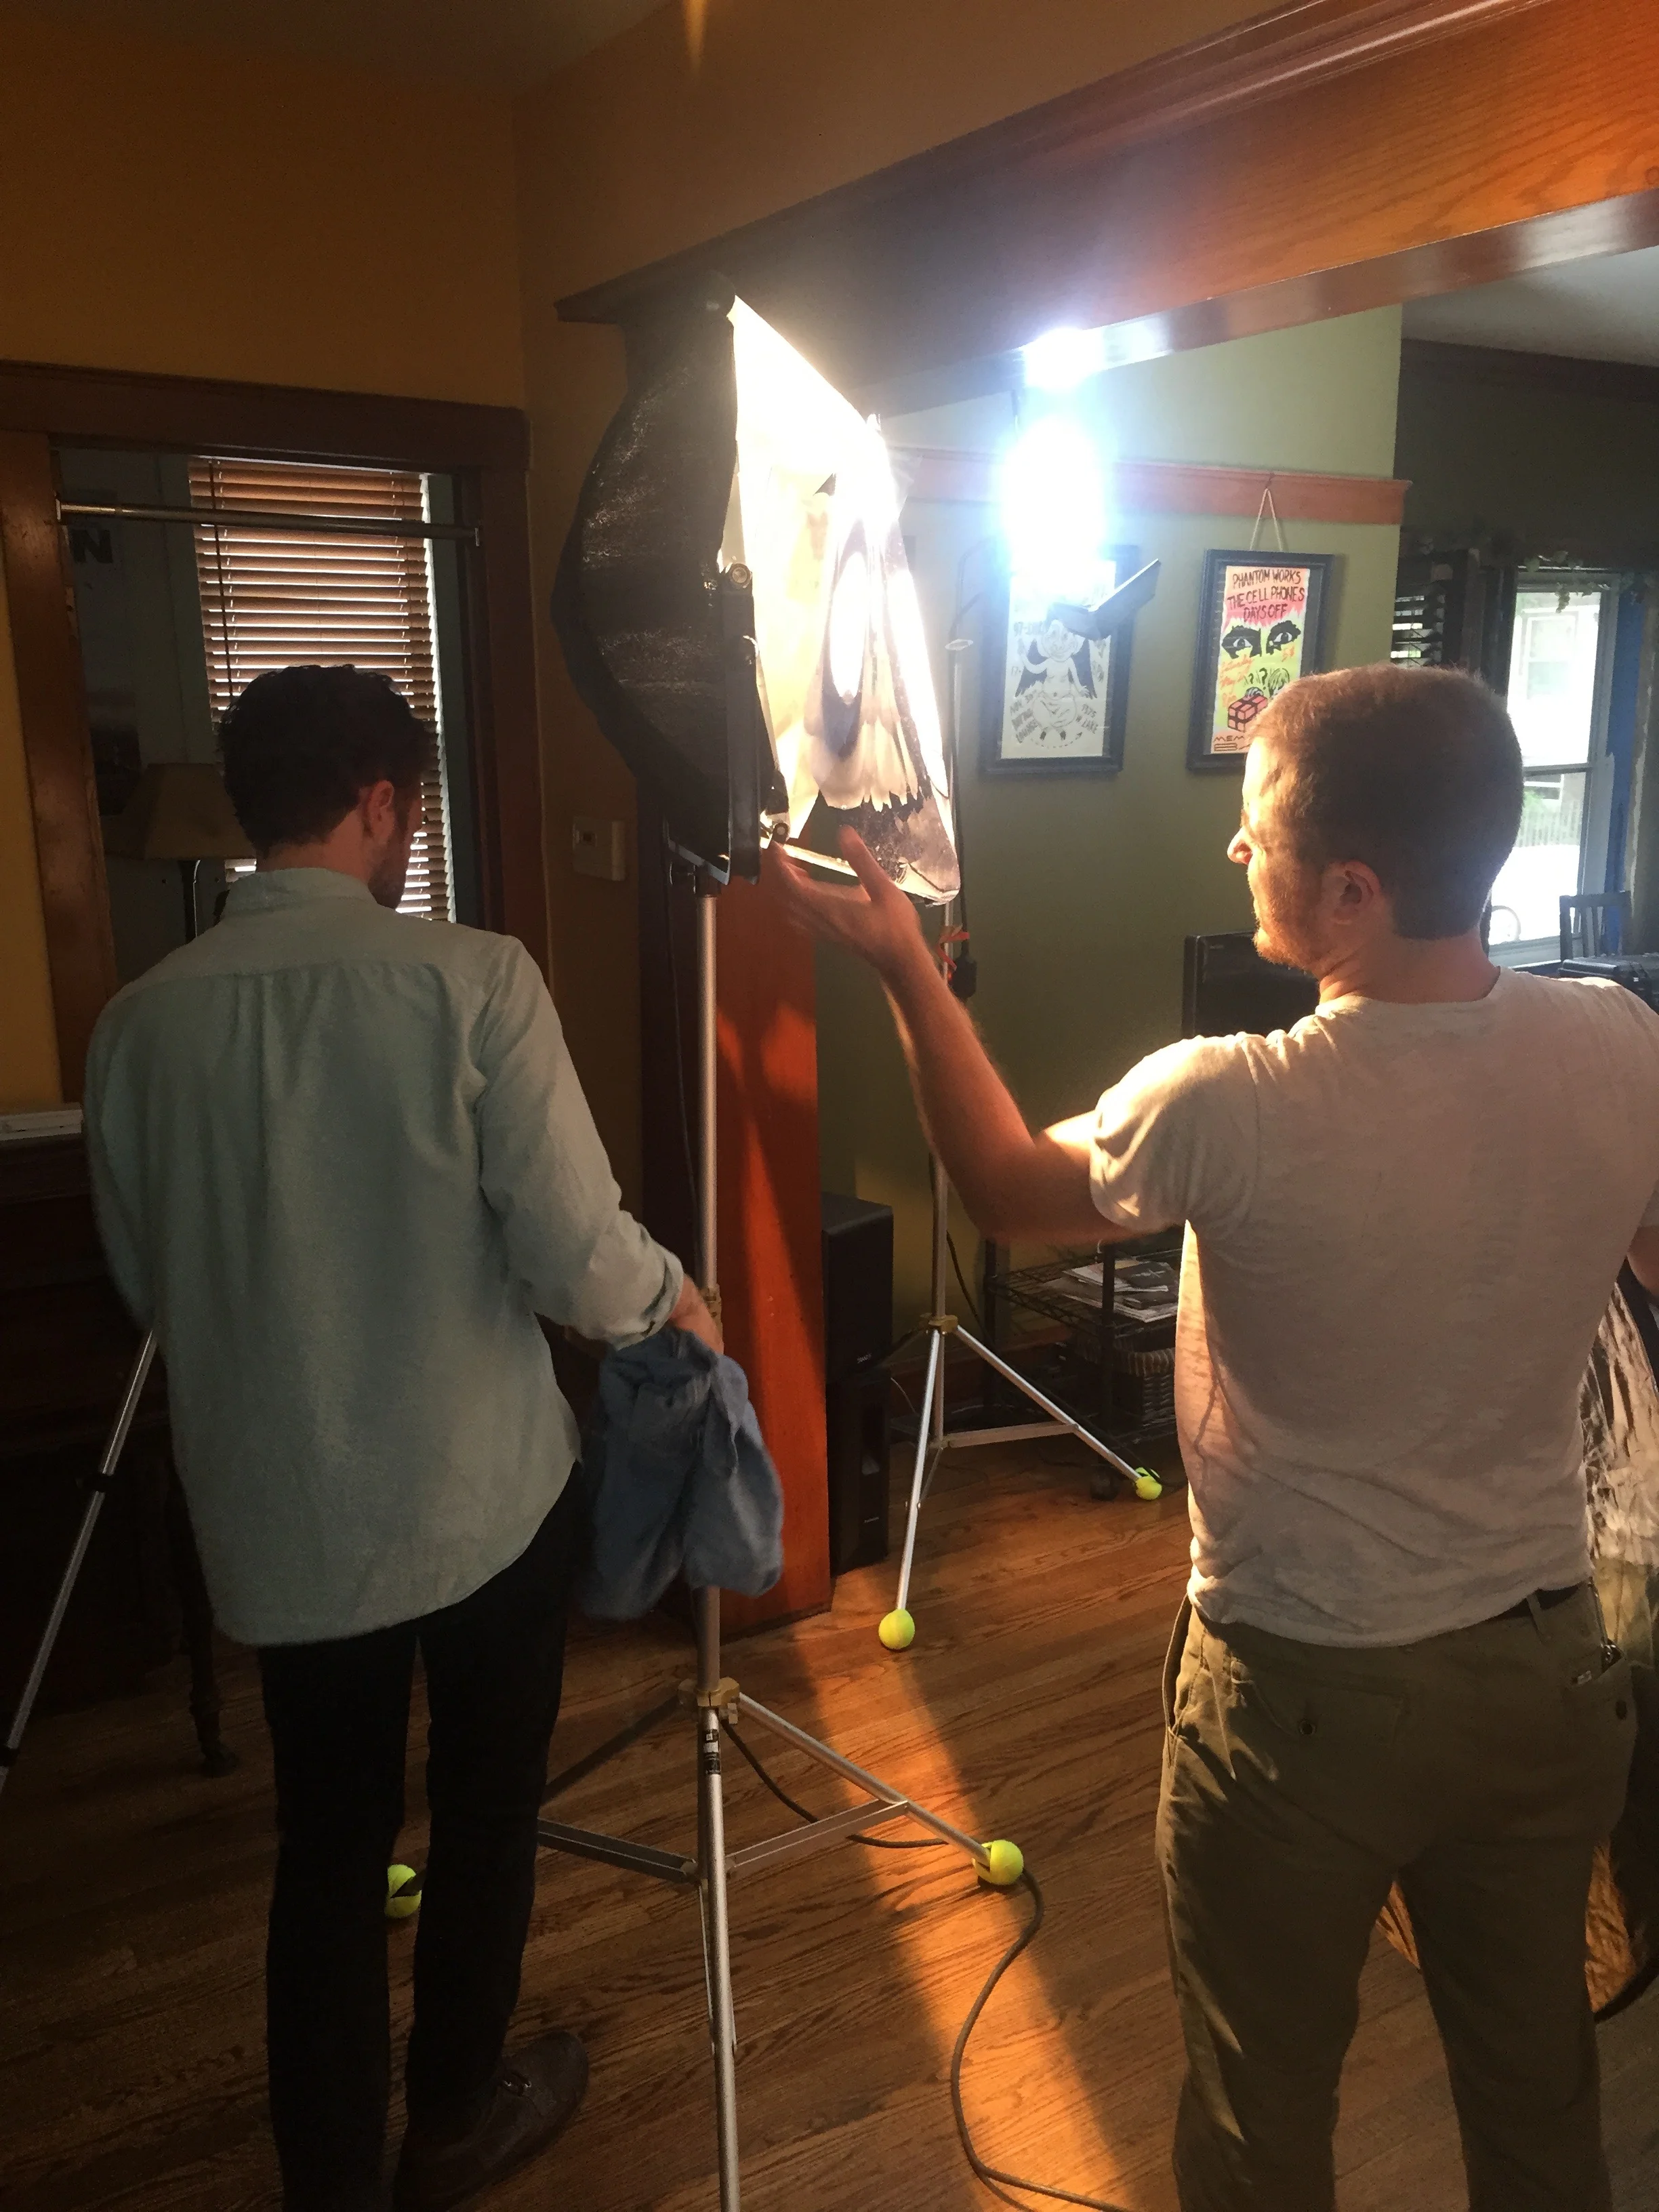
Here's a gallery of the excellent photos by my friends Marcus and Pete, and few photos showing them at work ...
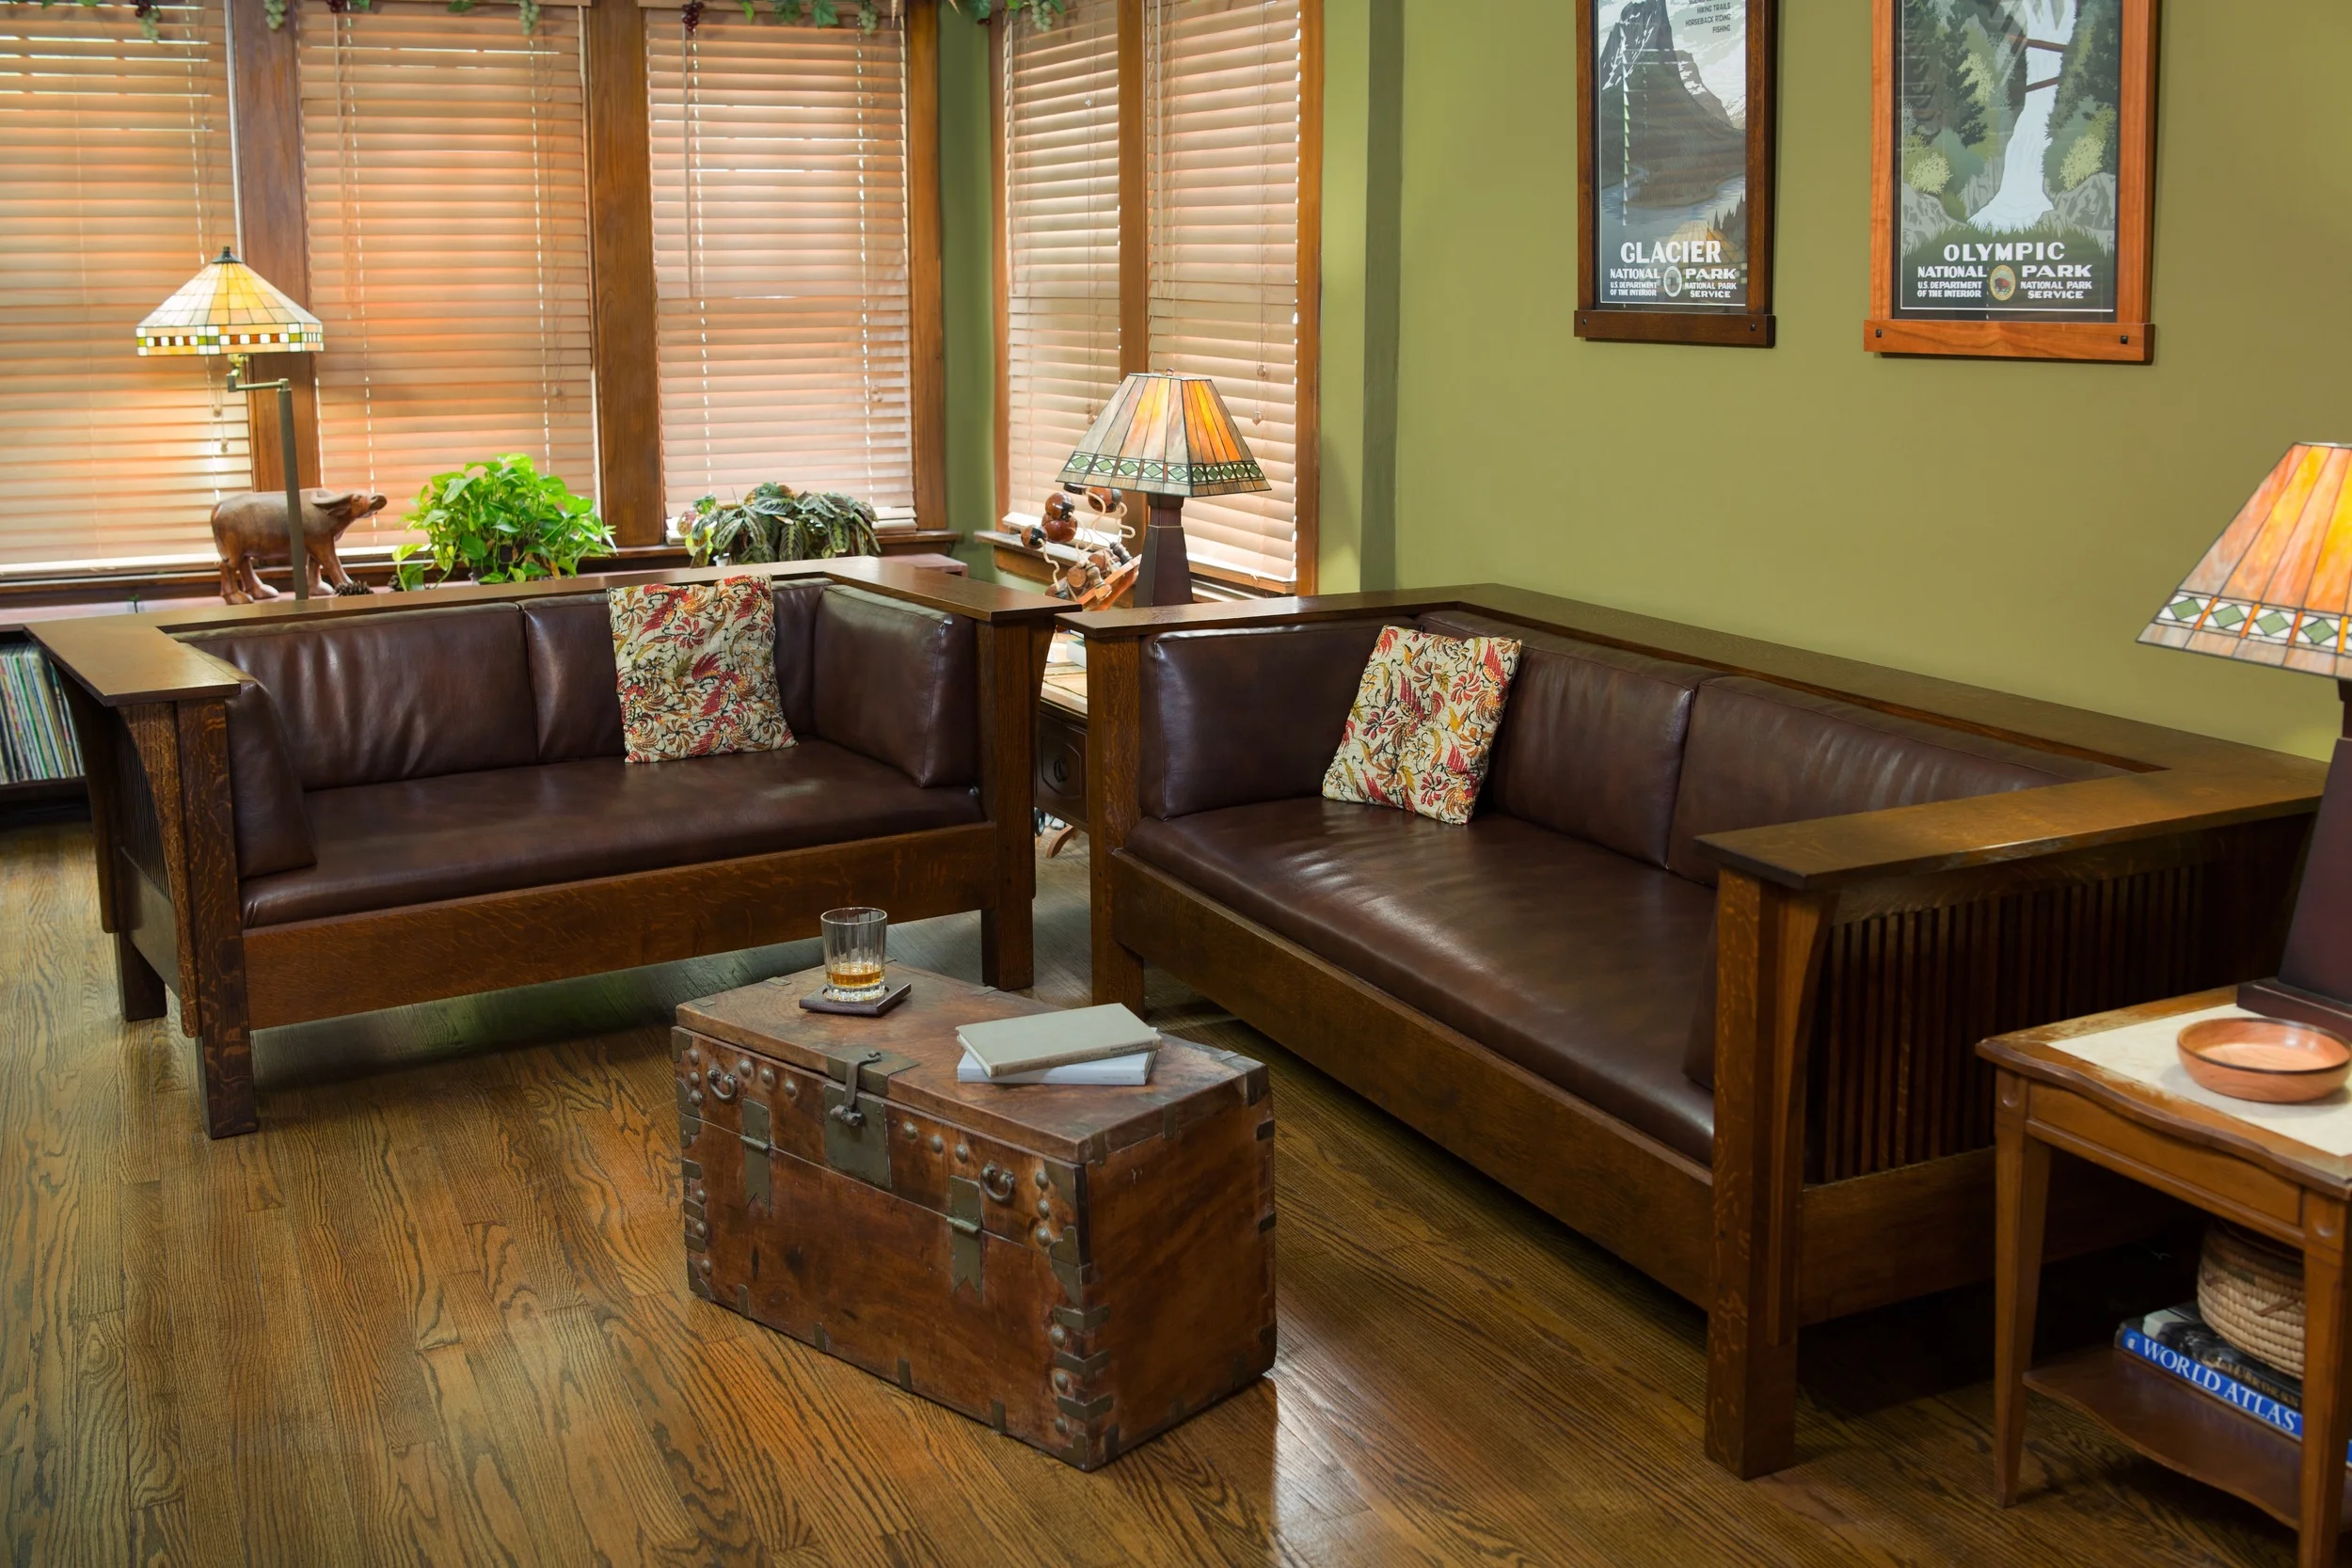


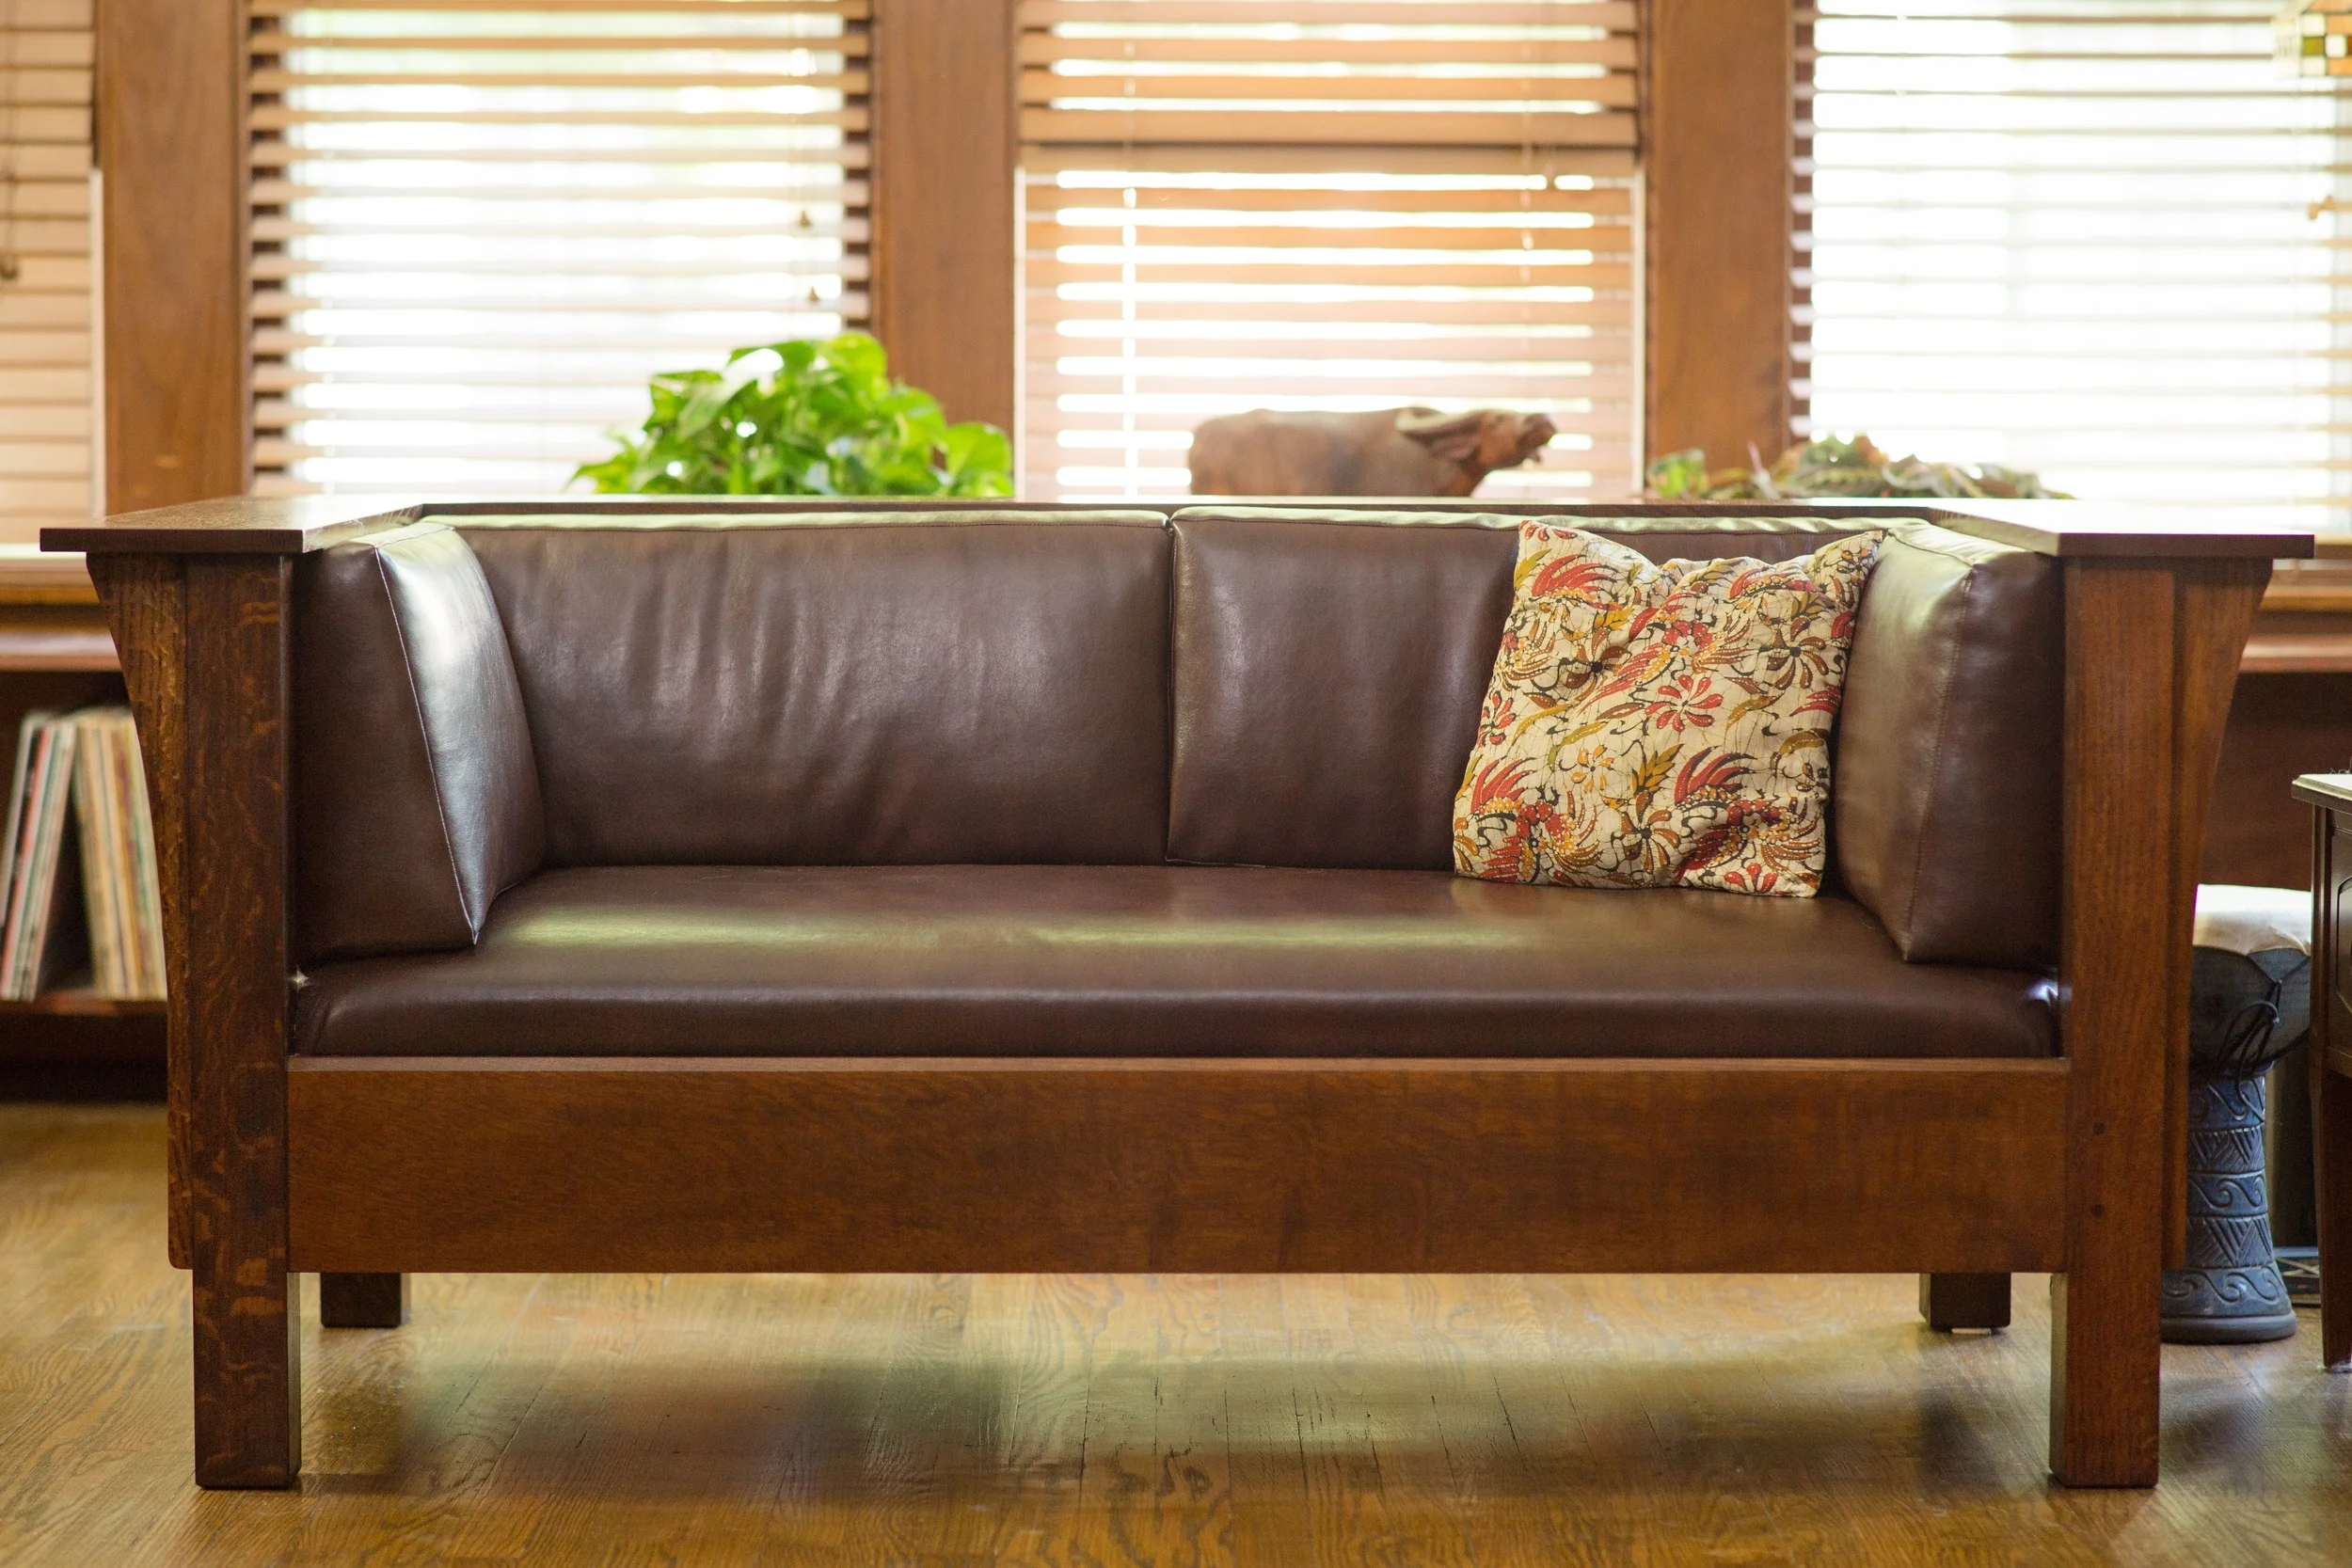
And that concludes the story of the prairie style sofa and love seat build. This was a major bucket-list project for me, and I'm proud of the result. We're thrilled every day at having these in our home.
The wife, and cat, approve!