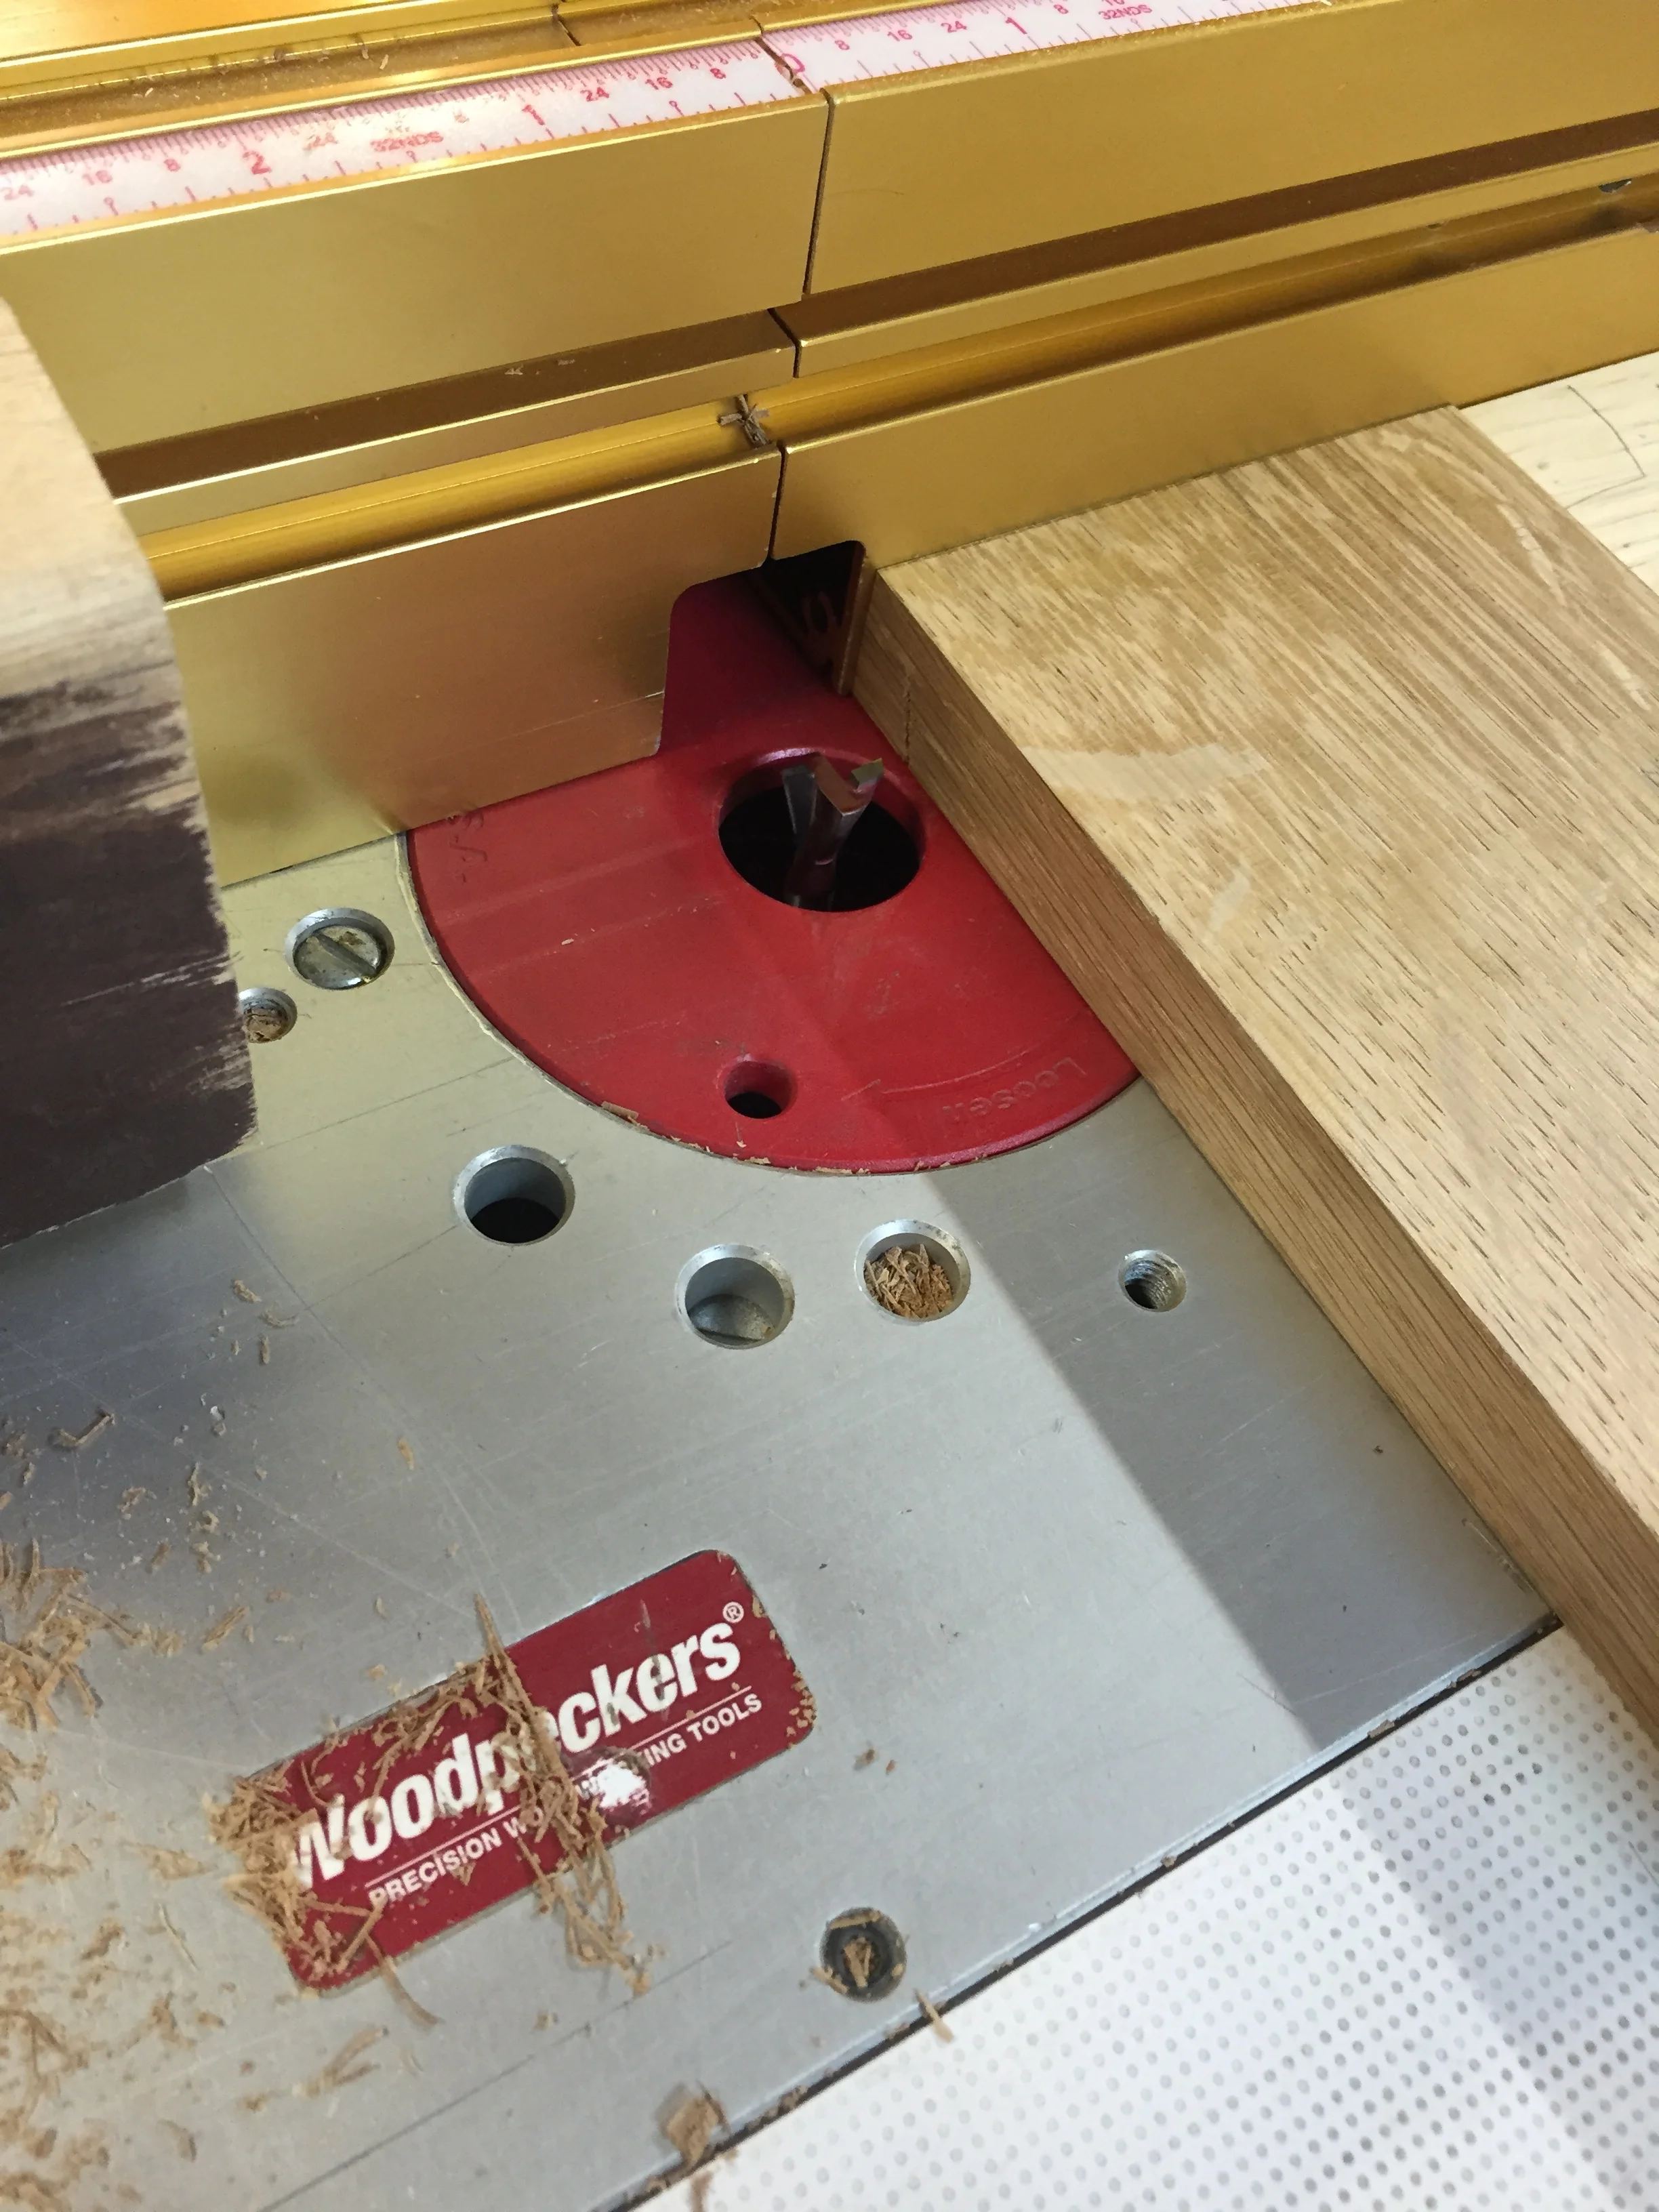
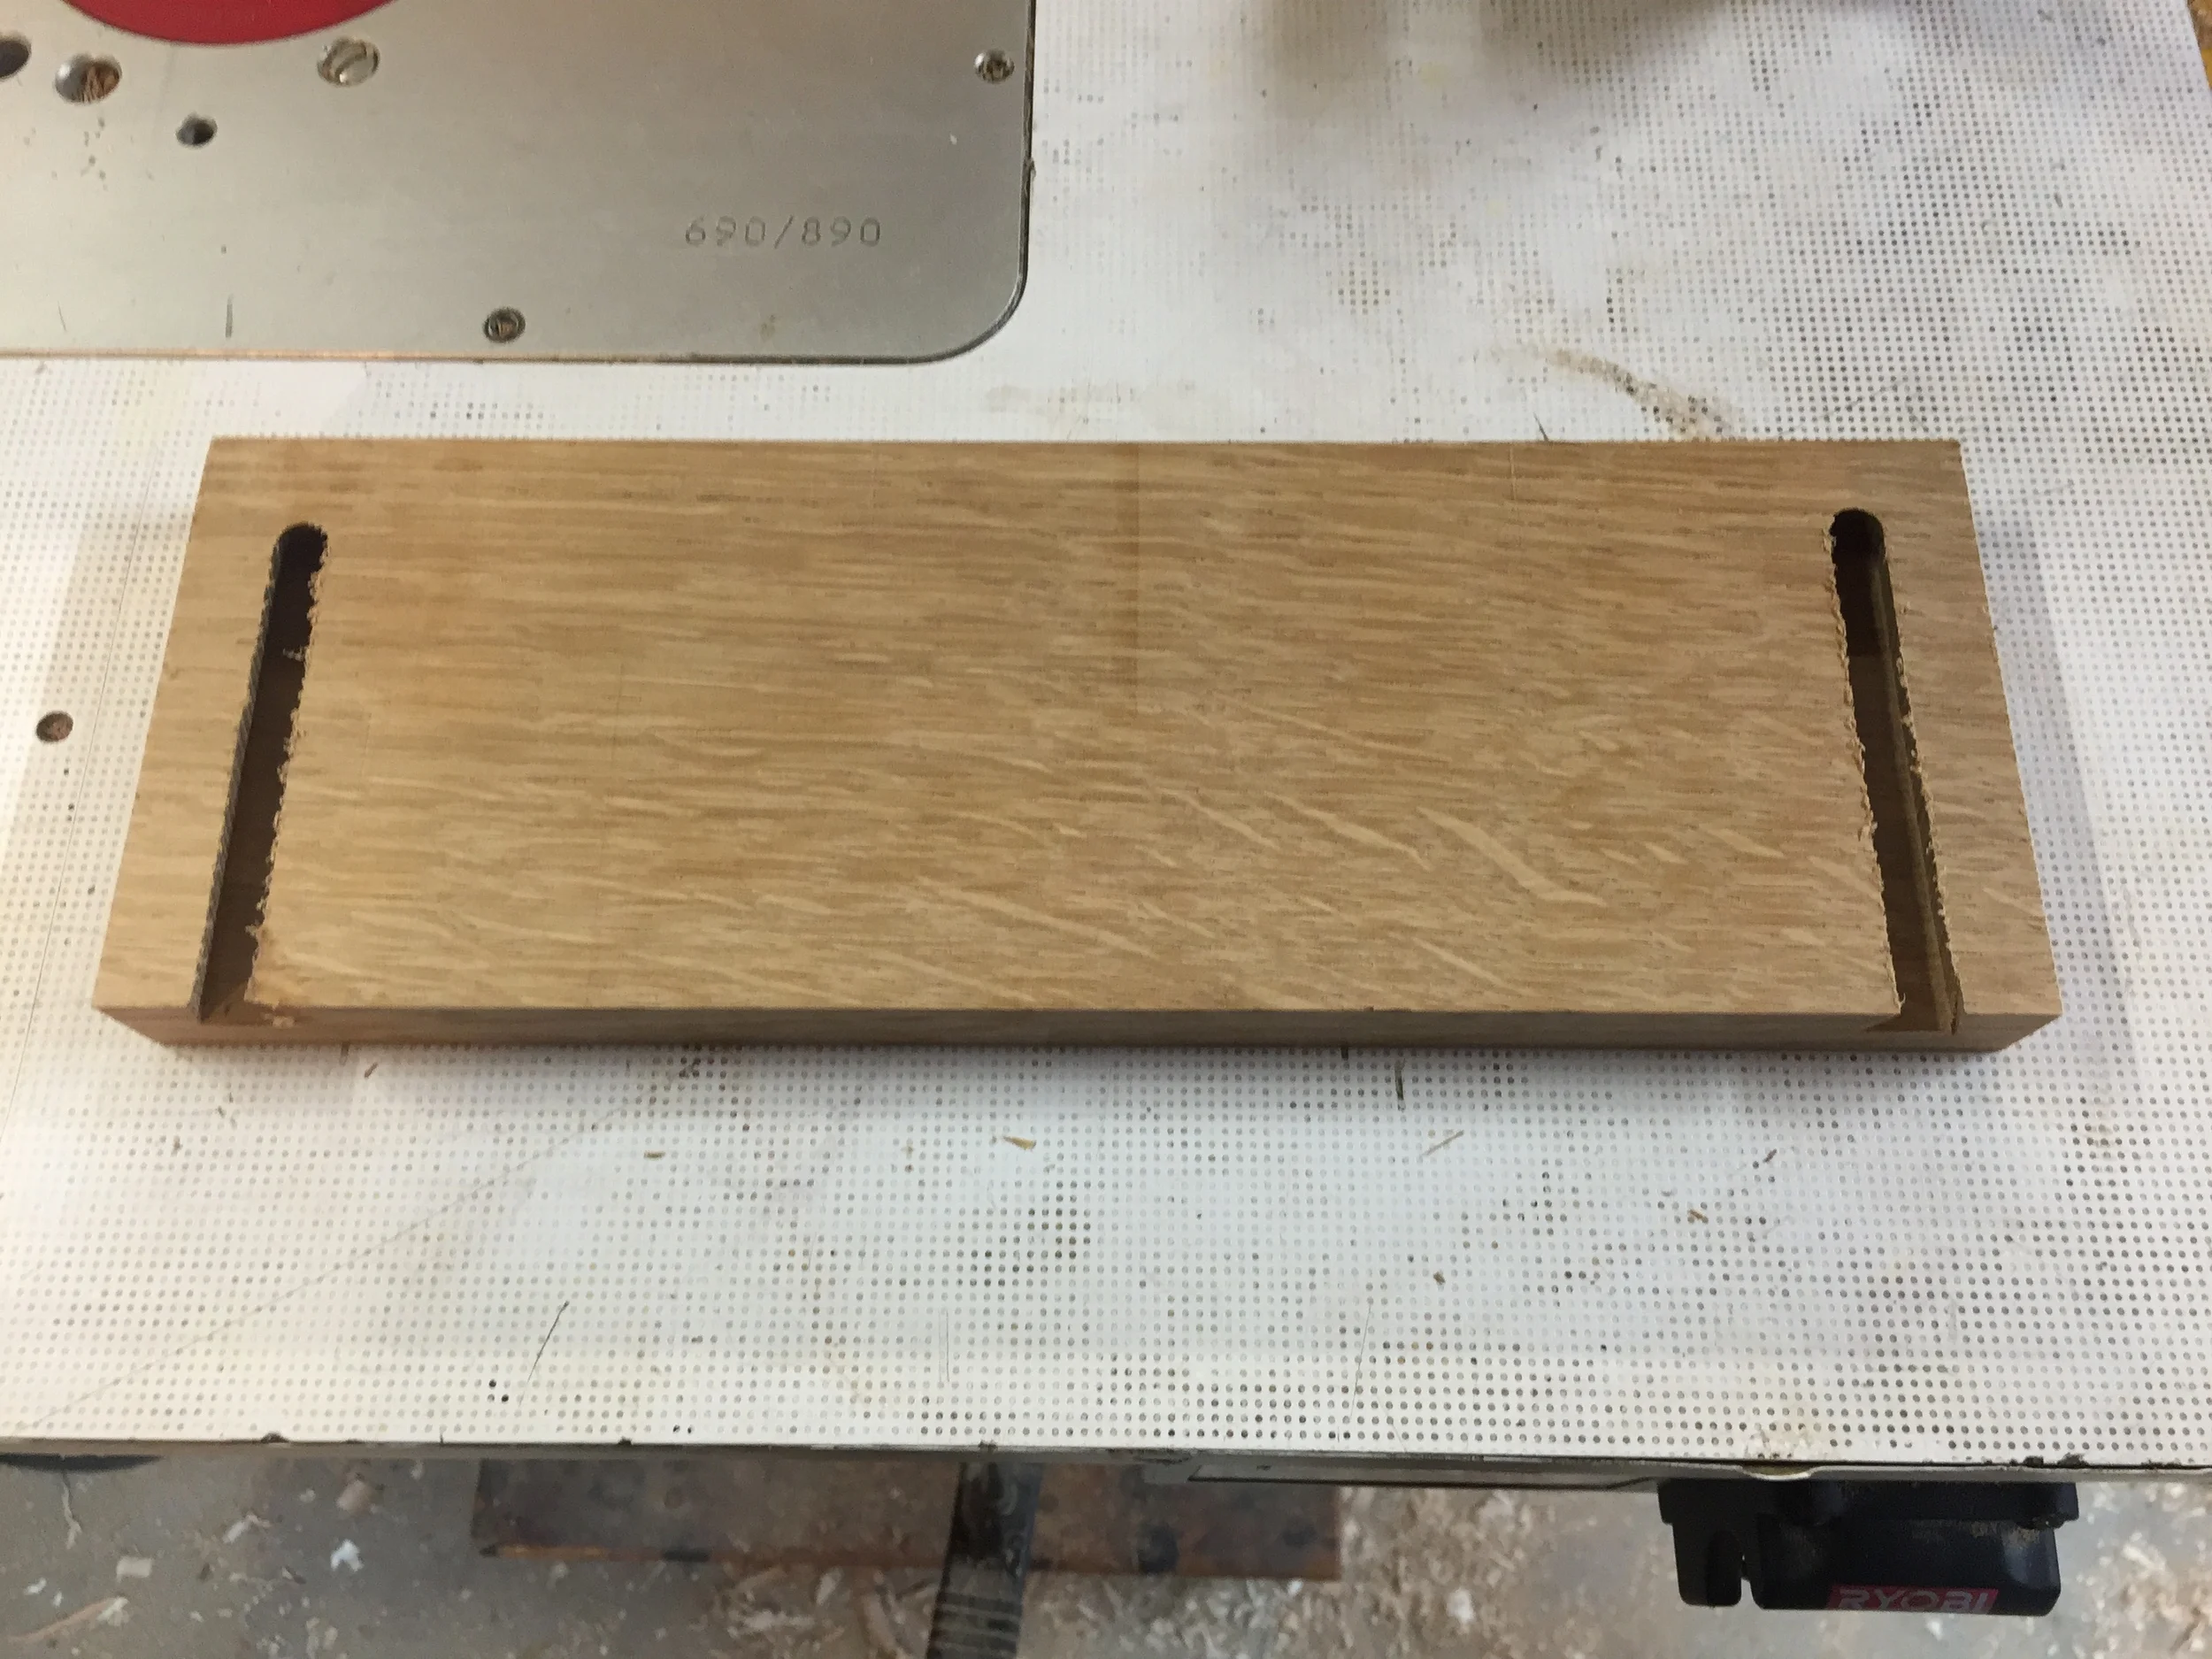
Following the progress from Wardrobe, Part 4, I now turned my attention to the drawers. After sizing them and fitting the fronts, I proceeded to make the boxes, using birch plywood and poplar for the bottoms and sides, respectively. As these drawers hang from runners attached to the sides, the original piece uses sliding dovetails to join the fronts to the drawer boxes. In addition, those dovetails need to be stopped at that the top, so they won't show from above. This makes for a very machine-centric joint. I generally dislike using the router: its noisy and annoying to use. But, it is sometimes the best tool for the job, and for this piece, is is. This is a reproduction, after all, and that's how it was done then too.
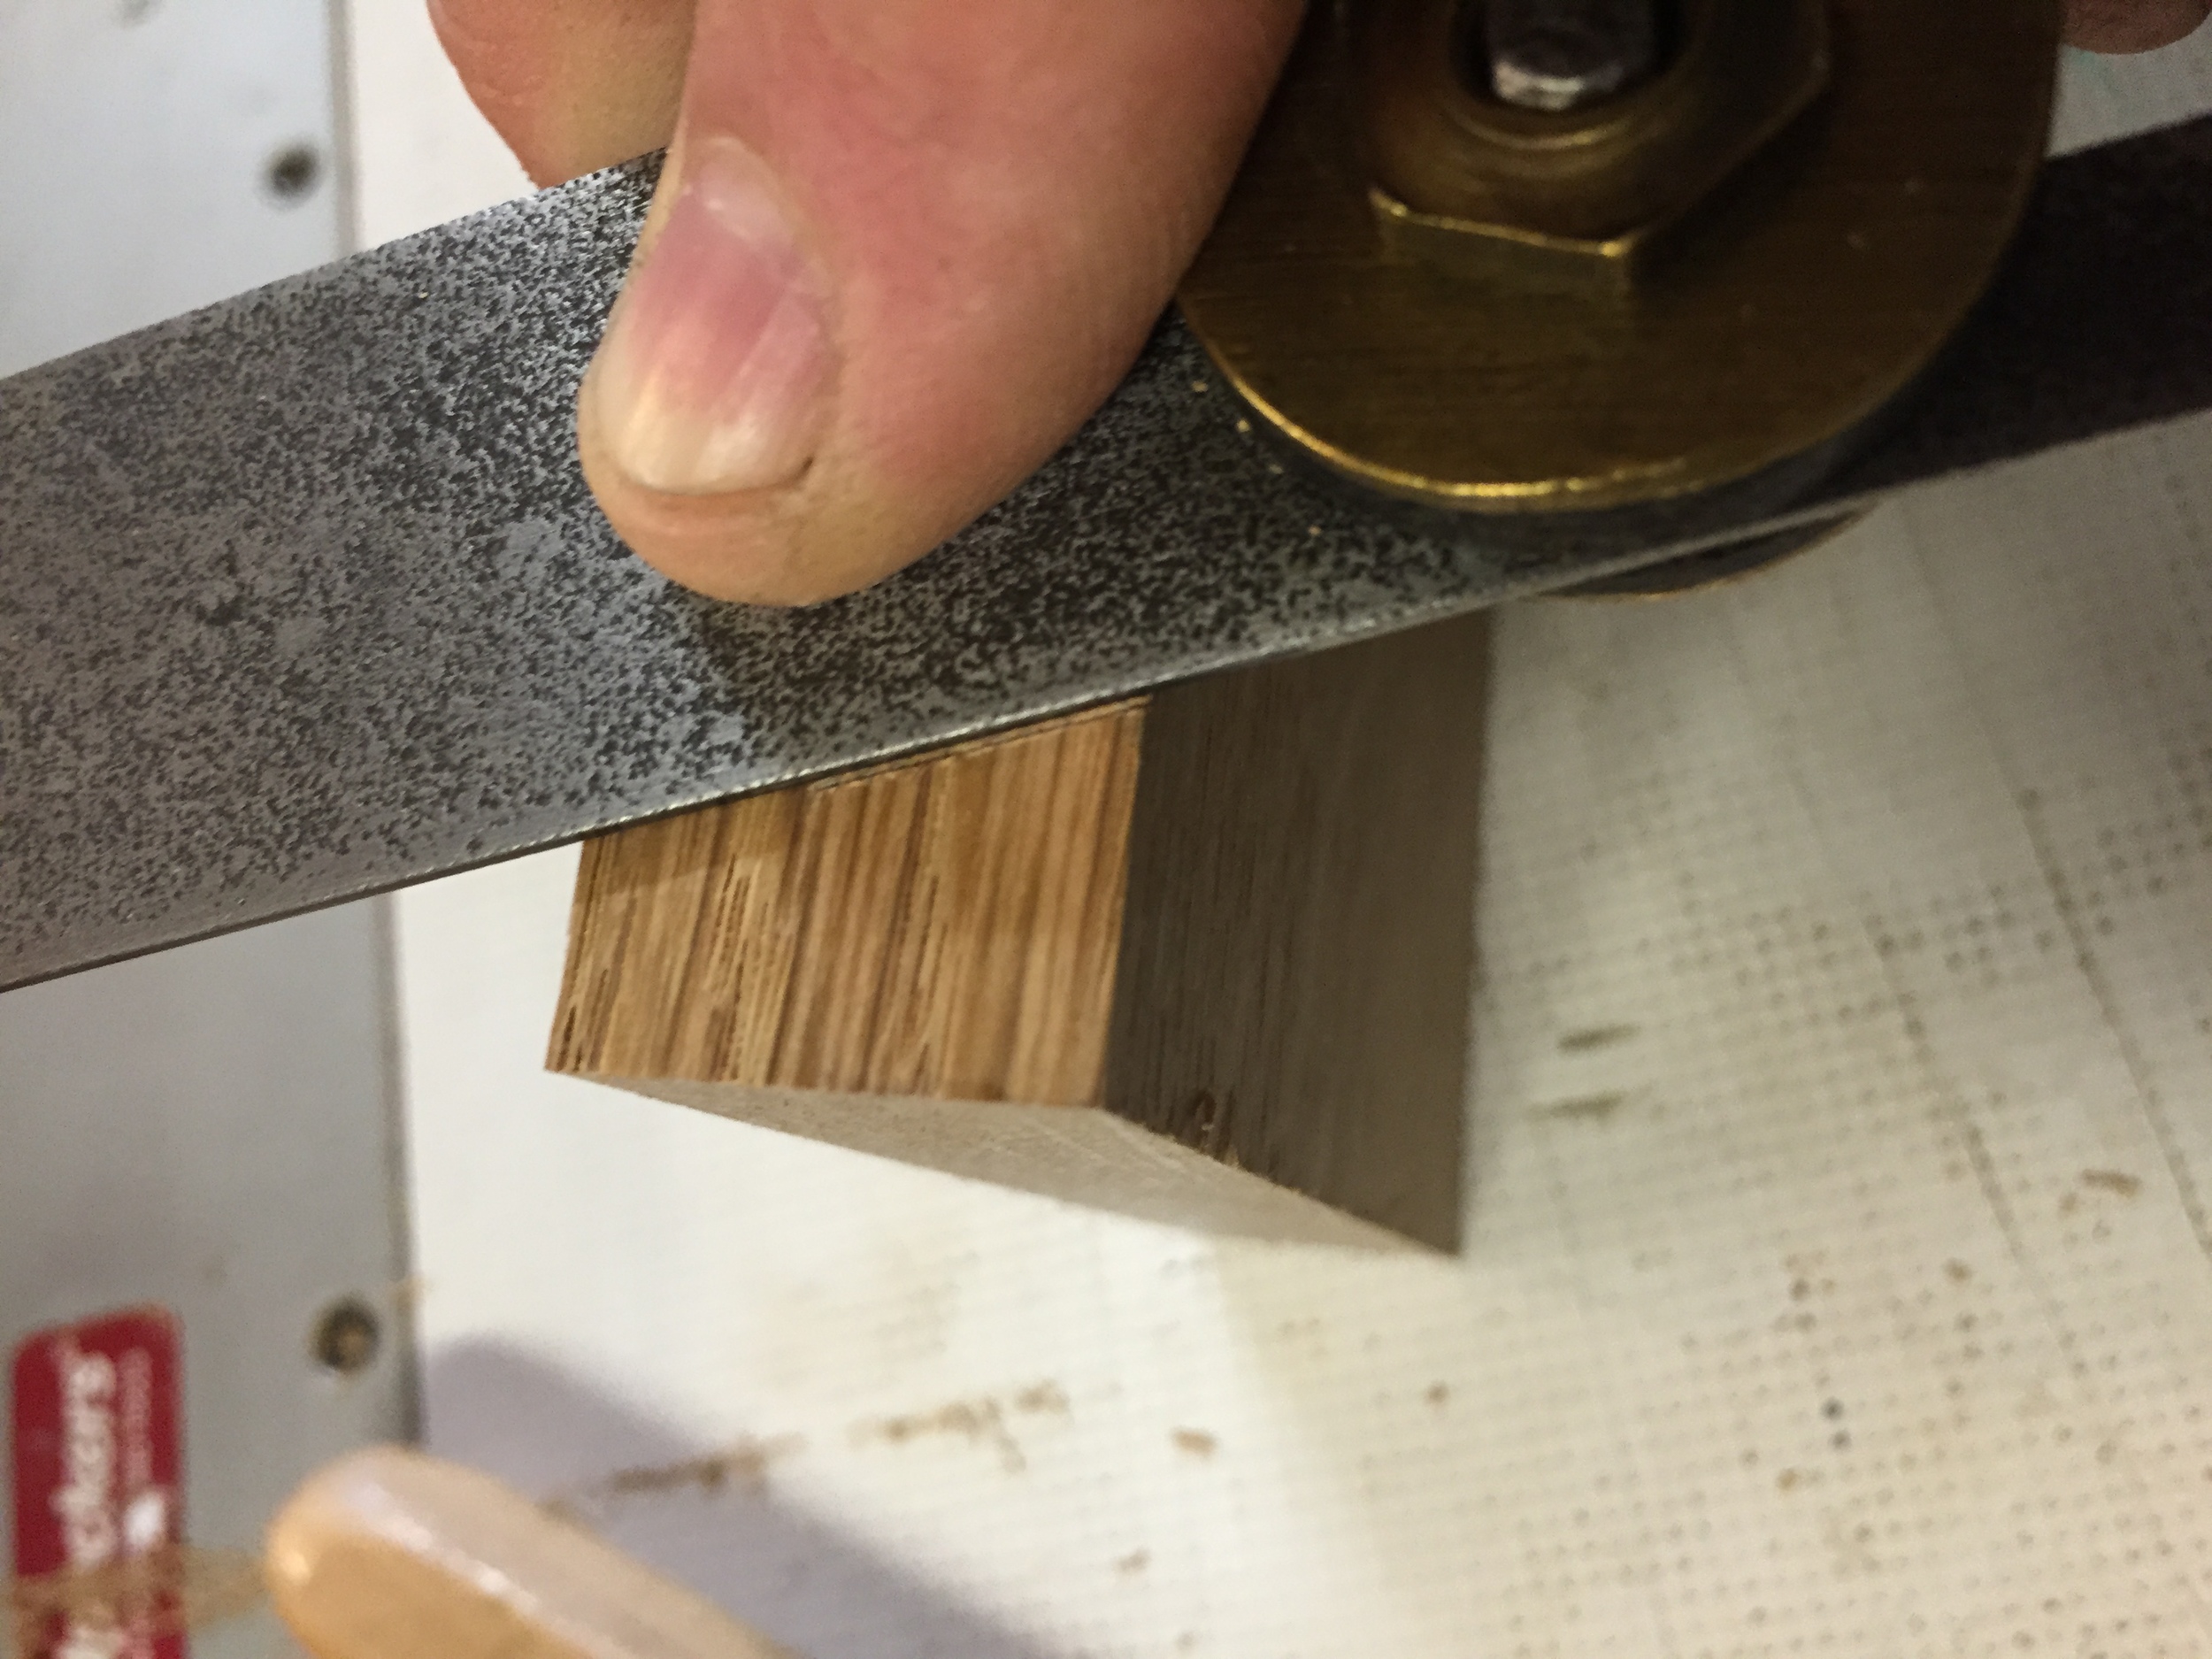
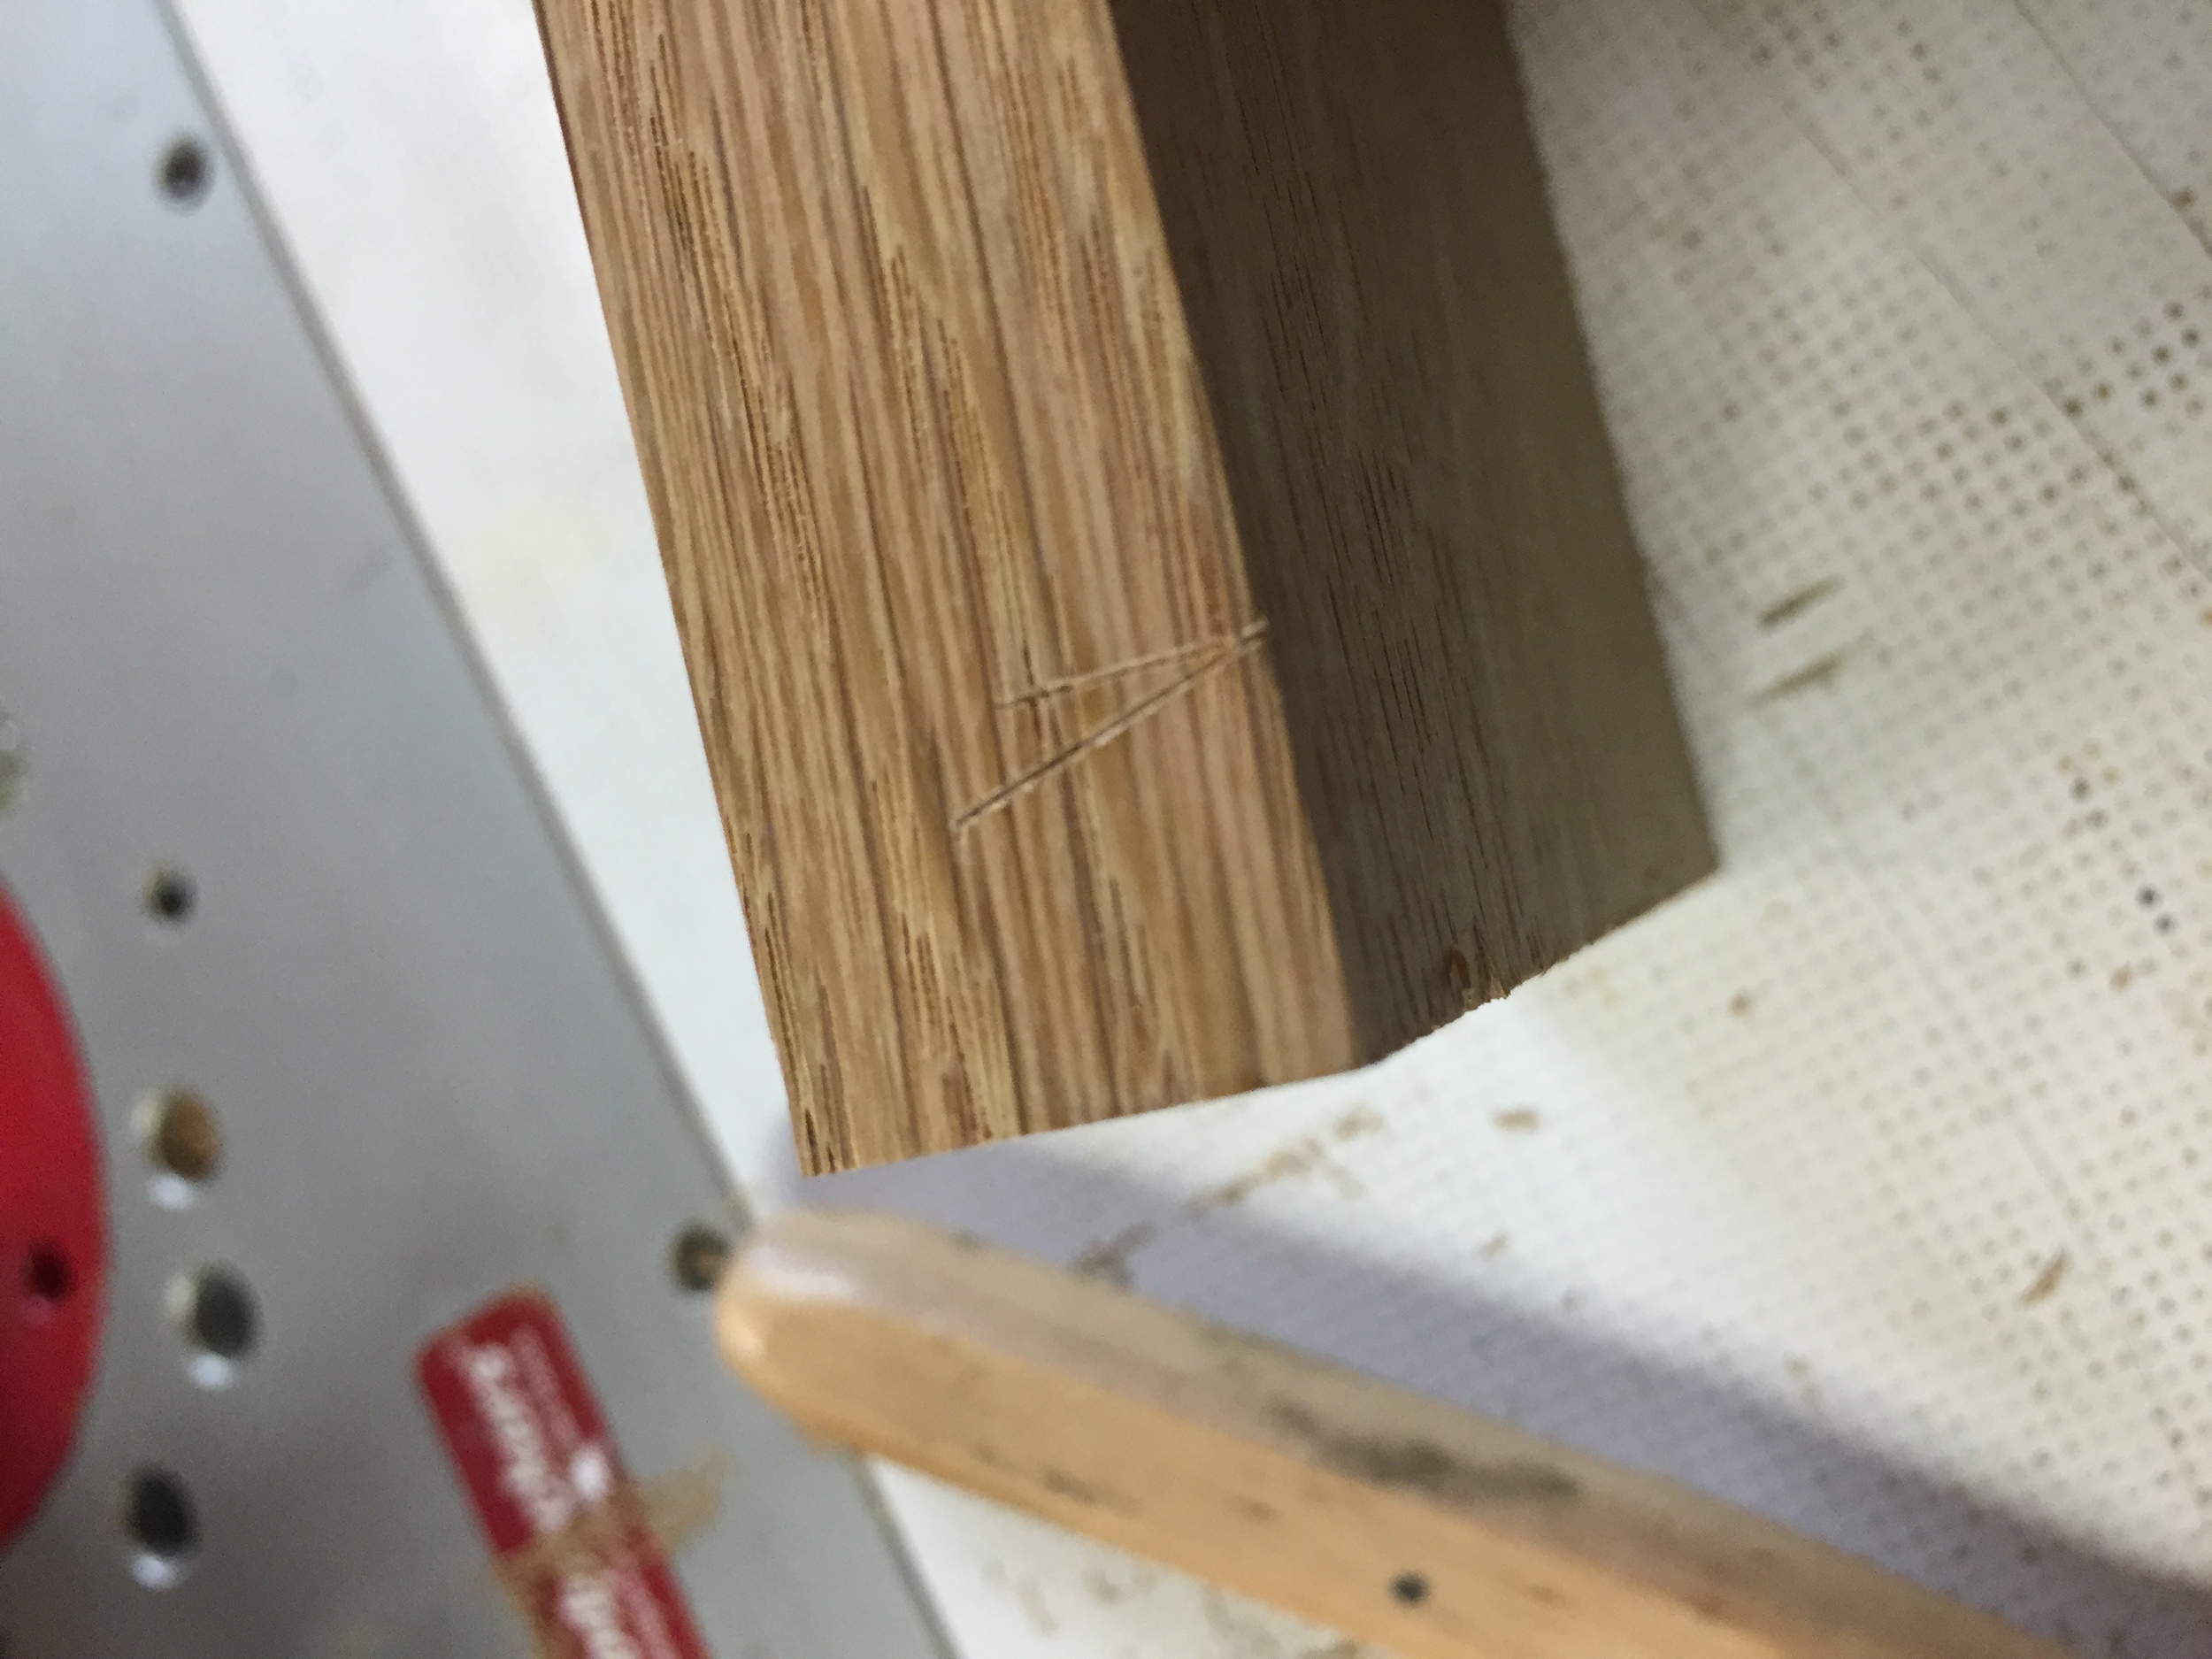
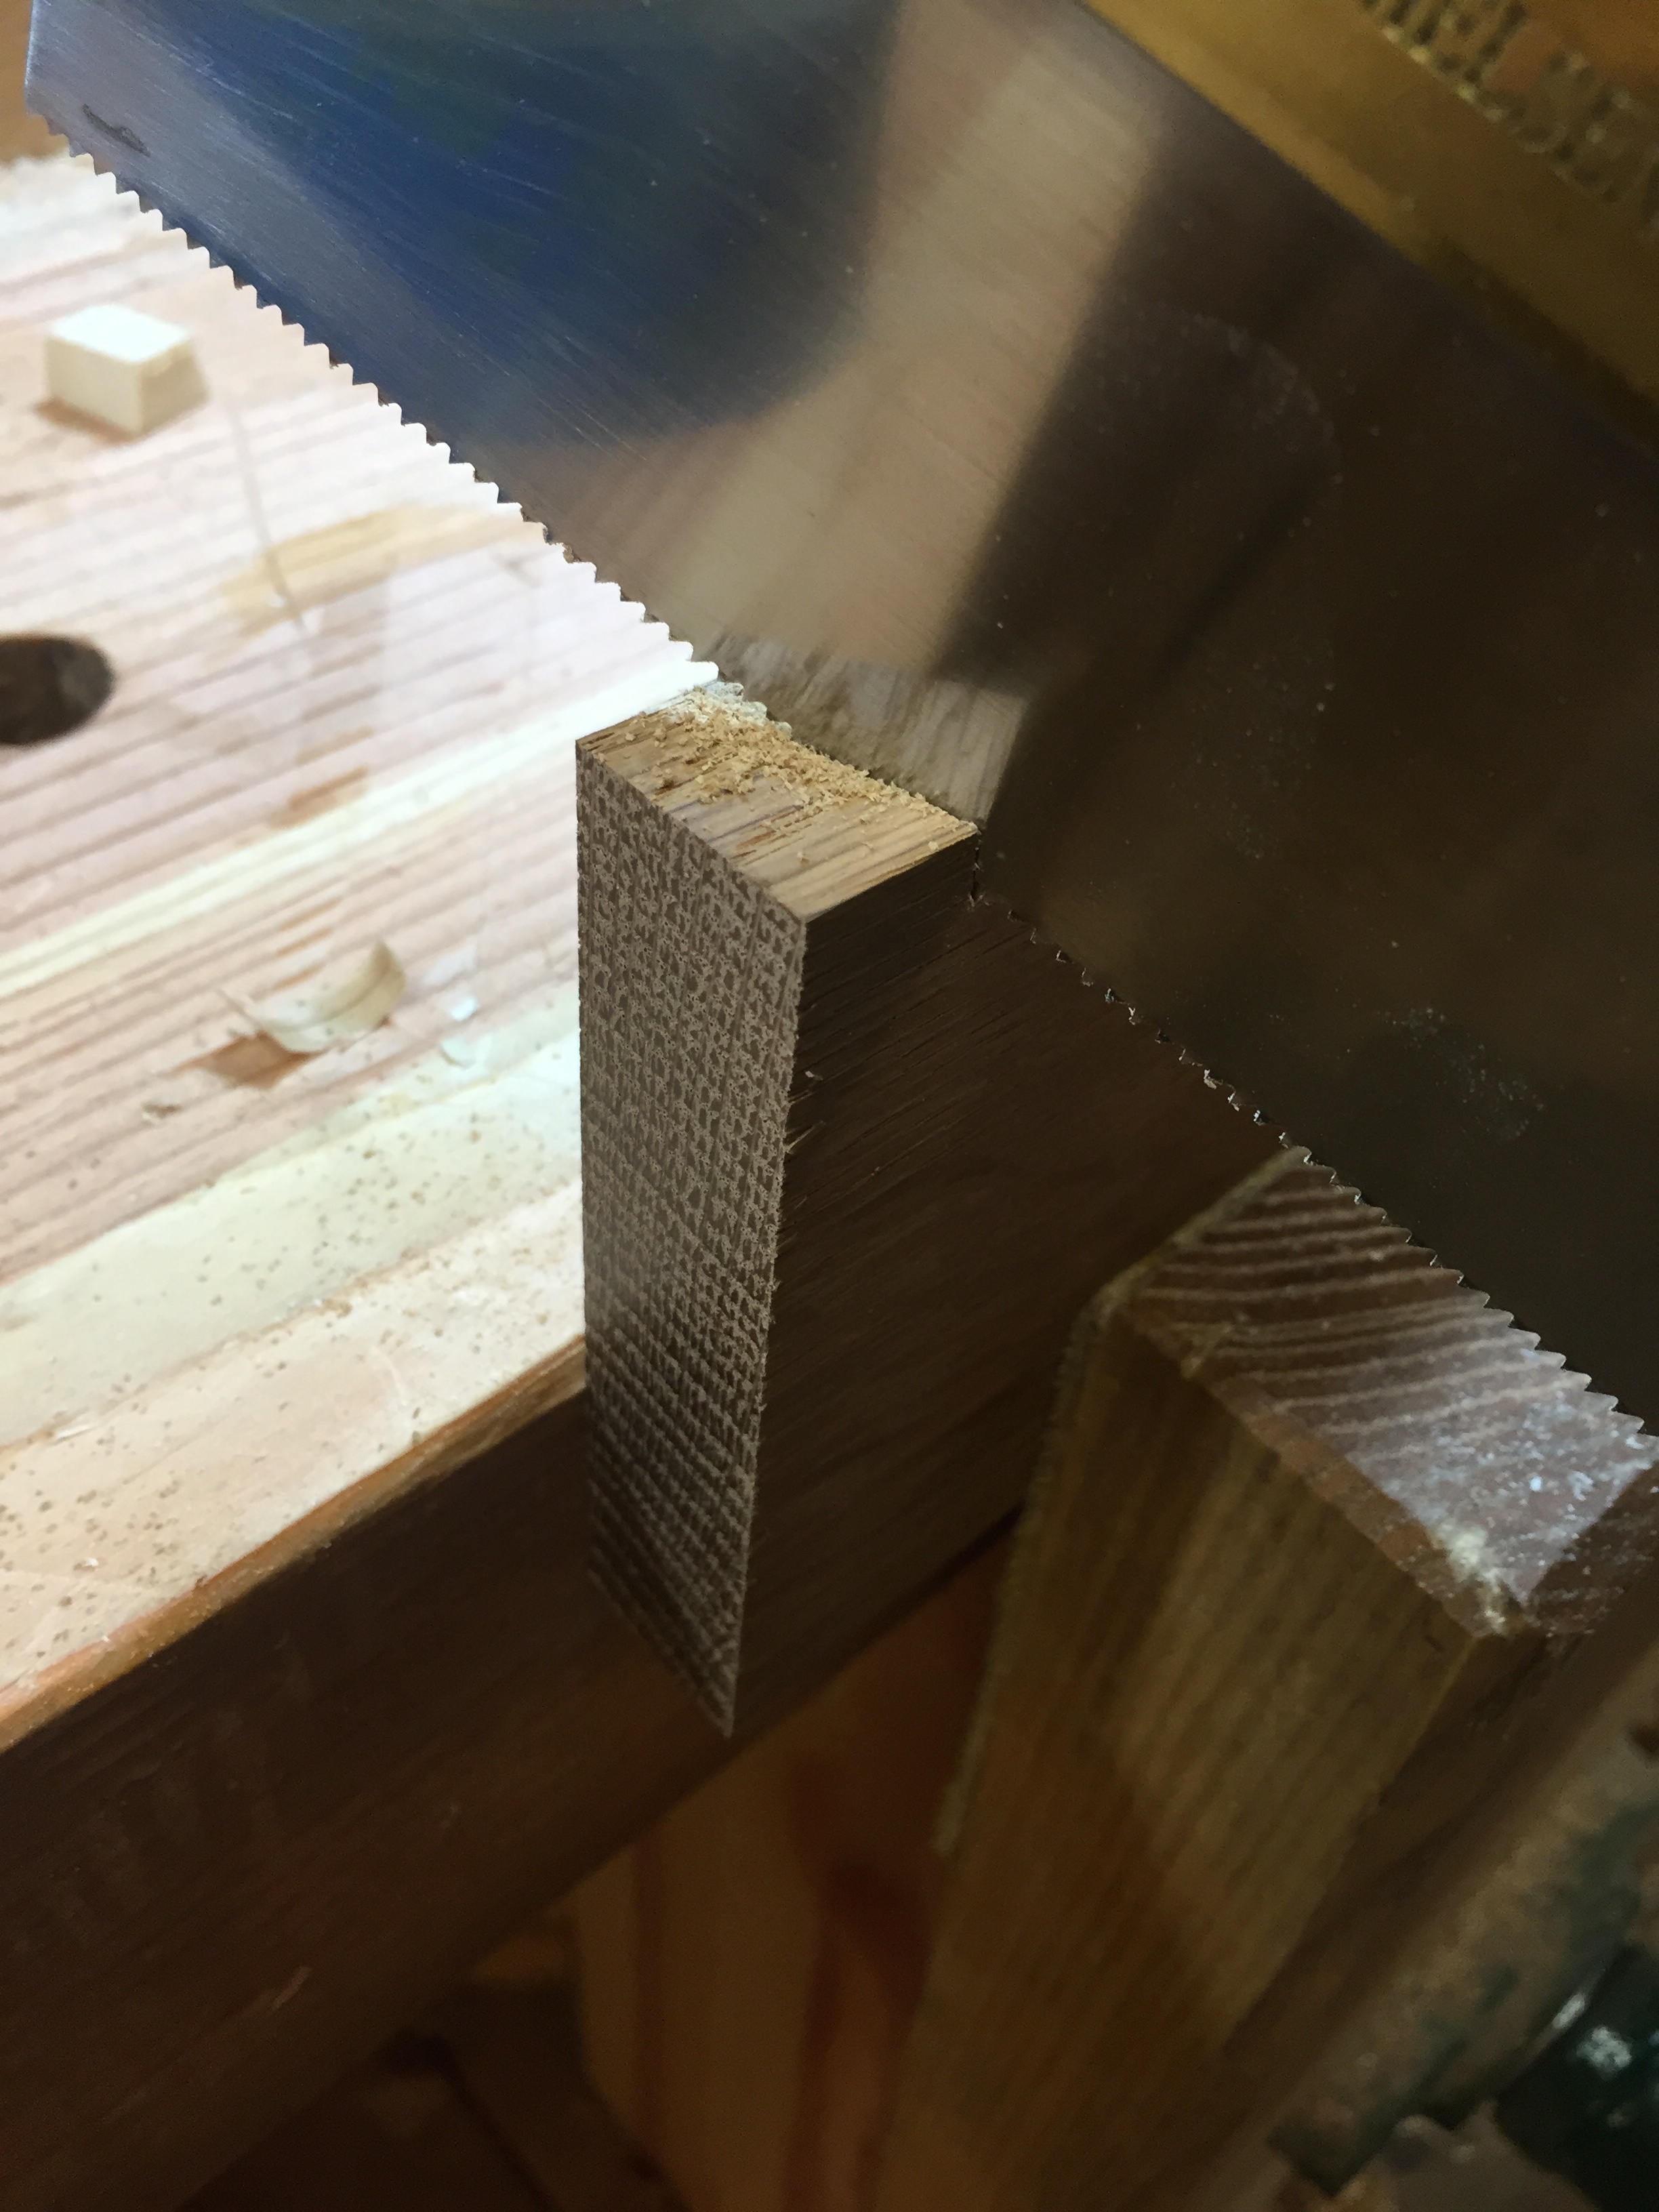
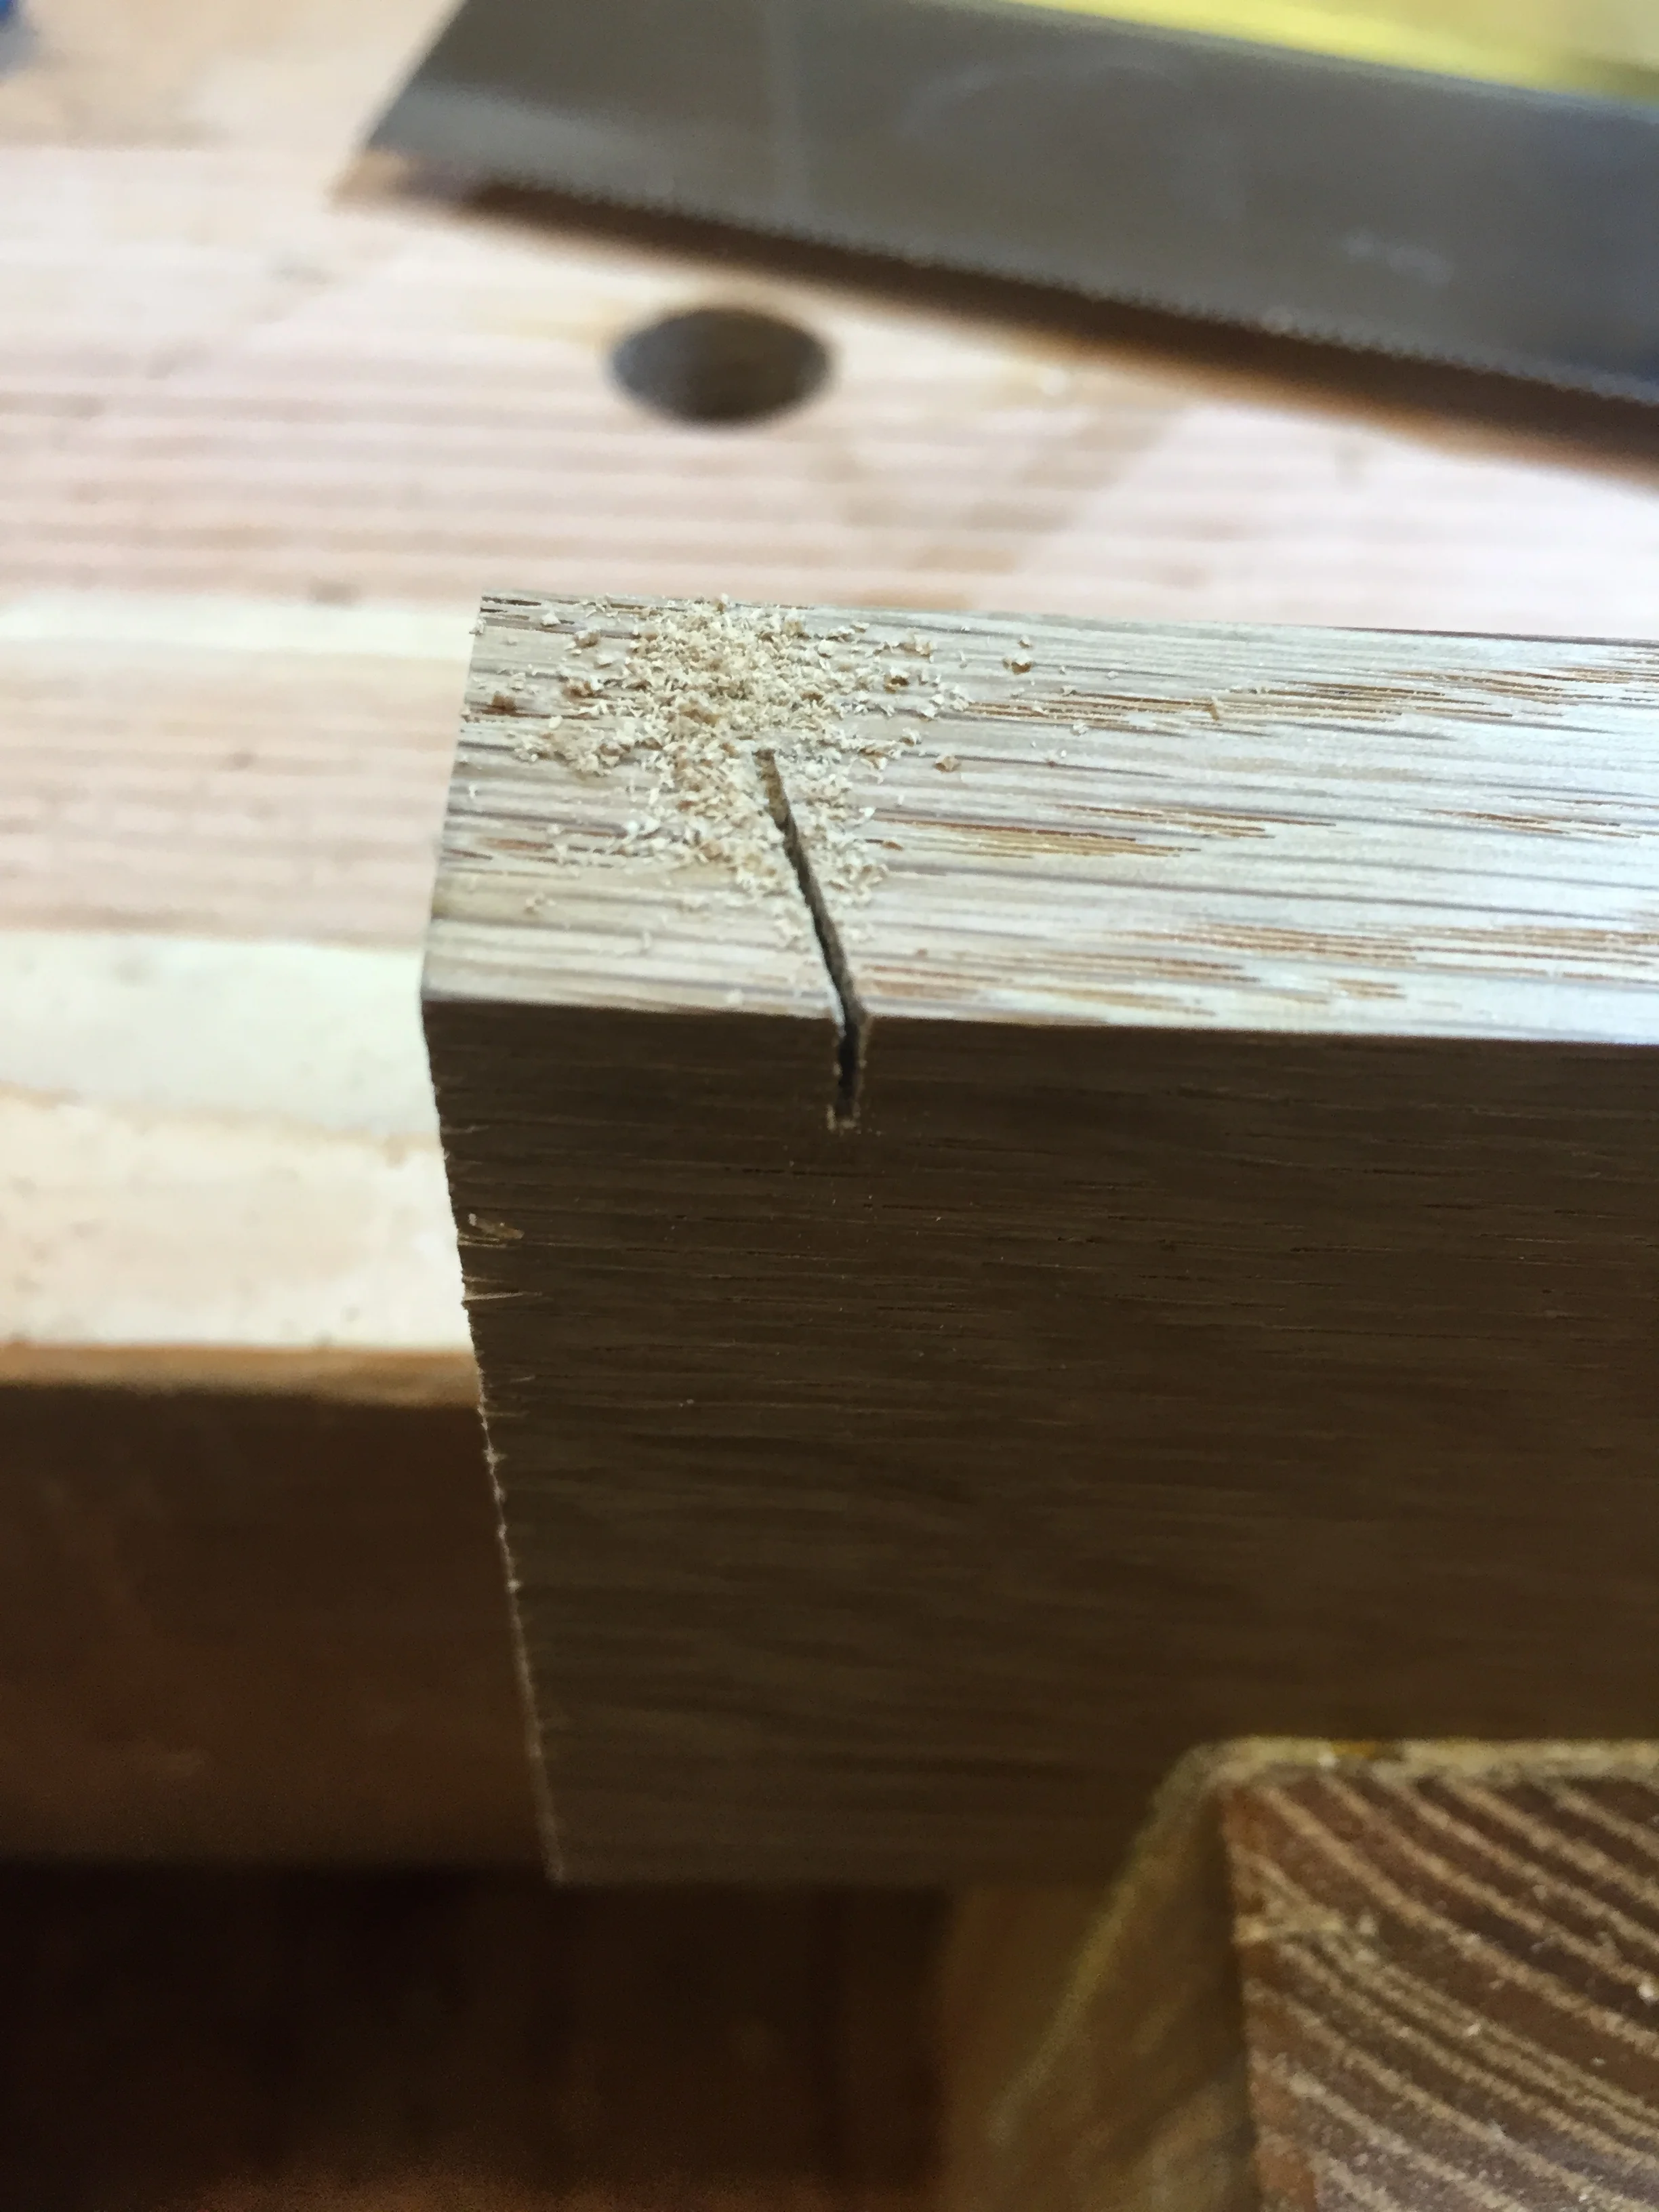
I did find when routing the grooves that the dovetail bit would tend to blow out one of the sides of the cut, even after backing (or in this case, fronting) the workpiece with a scrap. As its a dovetail bit, there's no sneaking up on it, or doing a shallow cut first, like a straight cut would allow. It's the whole thing or nothing. That meant I had to lay out the cuts with a bevel gauge, and do a relief saw cut to sever the fibers on the blowout prone side first. That worked well, and I had only a couple of blow-outs to glue back with CA glue. Those looked fine after sanding and finishing.
I then had to do another stopped groove between the stopped dovetails, to make the groove that holds the drawer bottom in place.
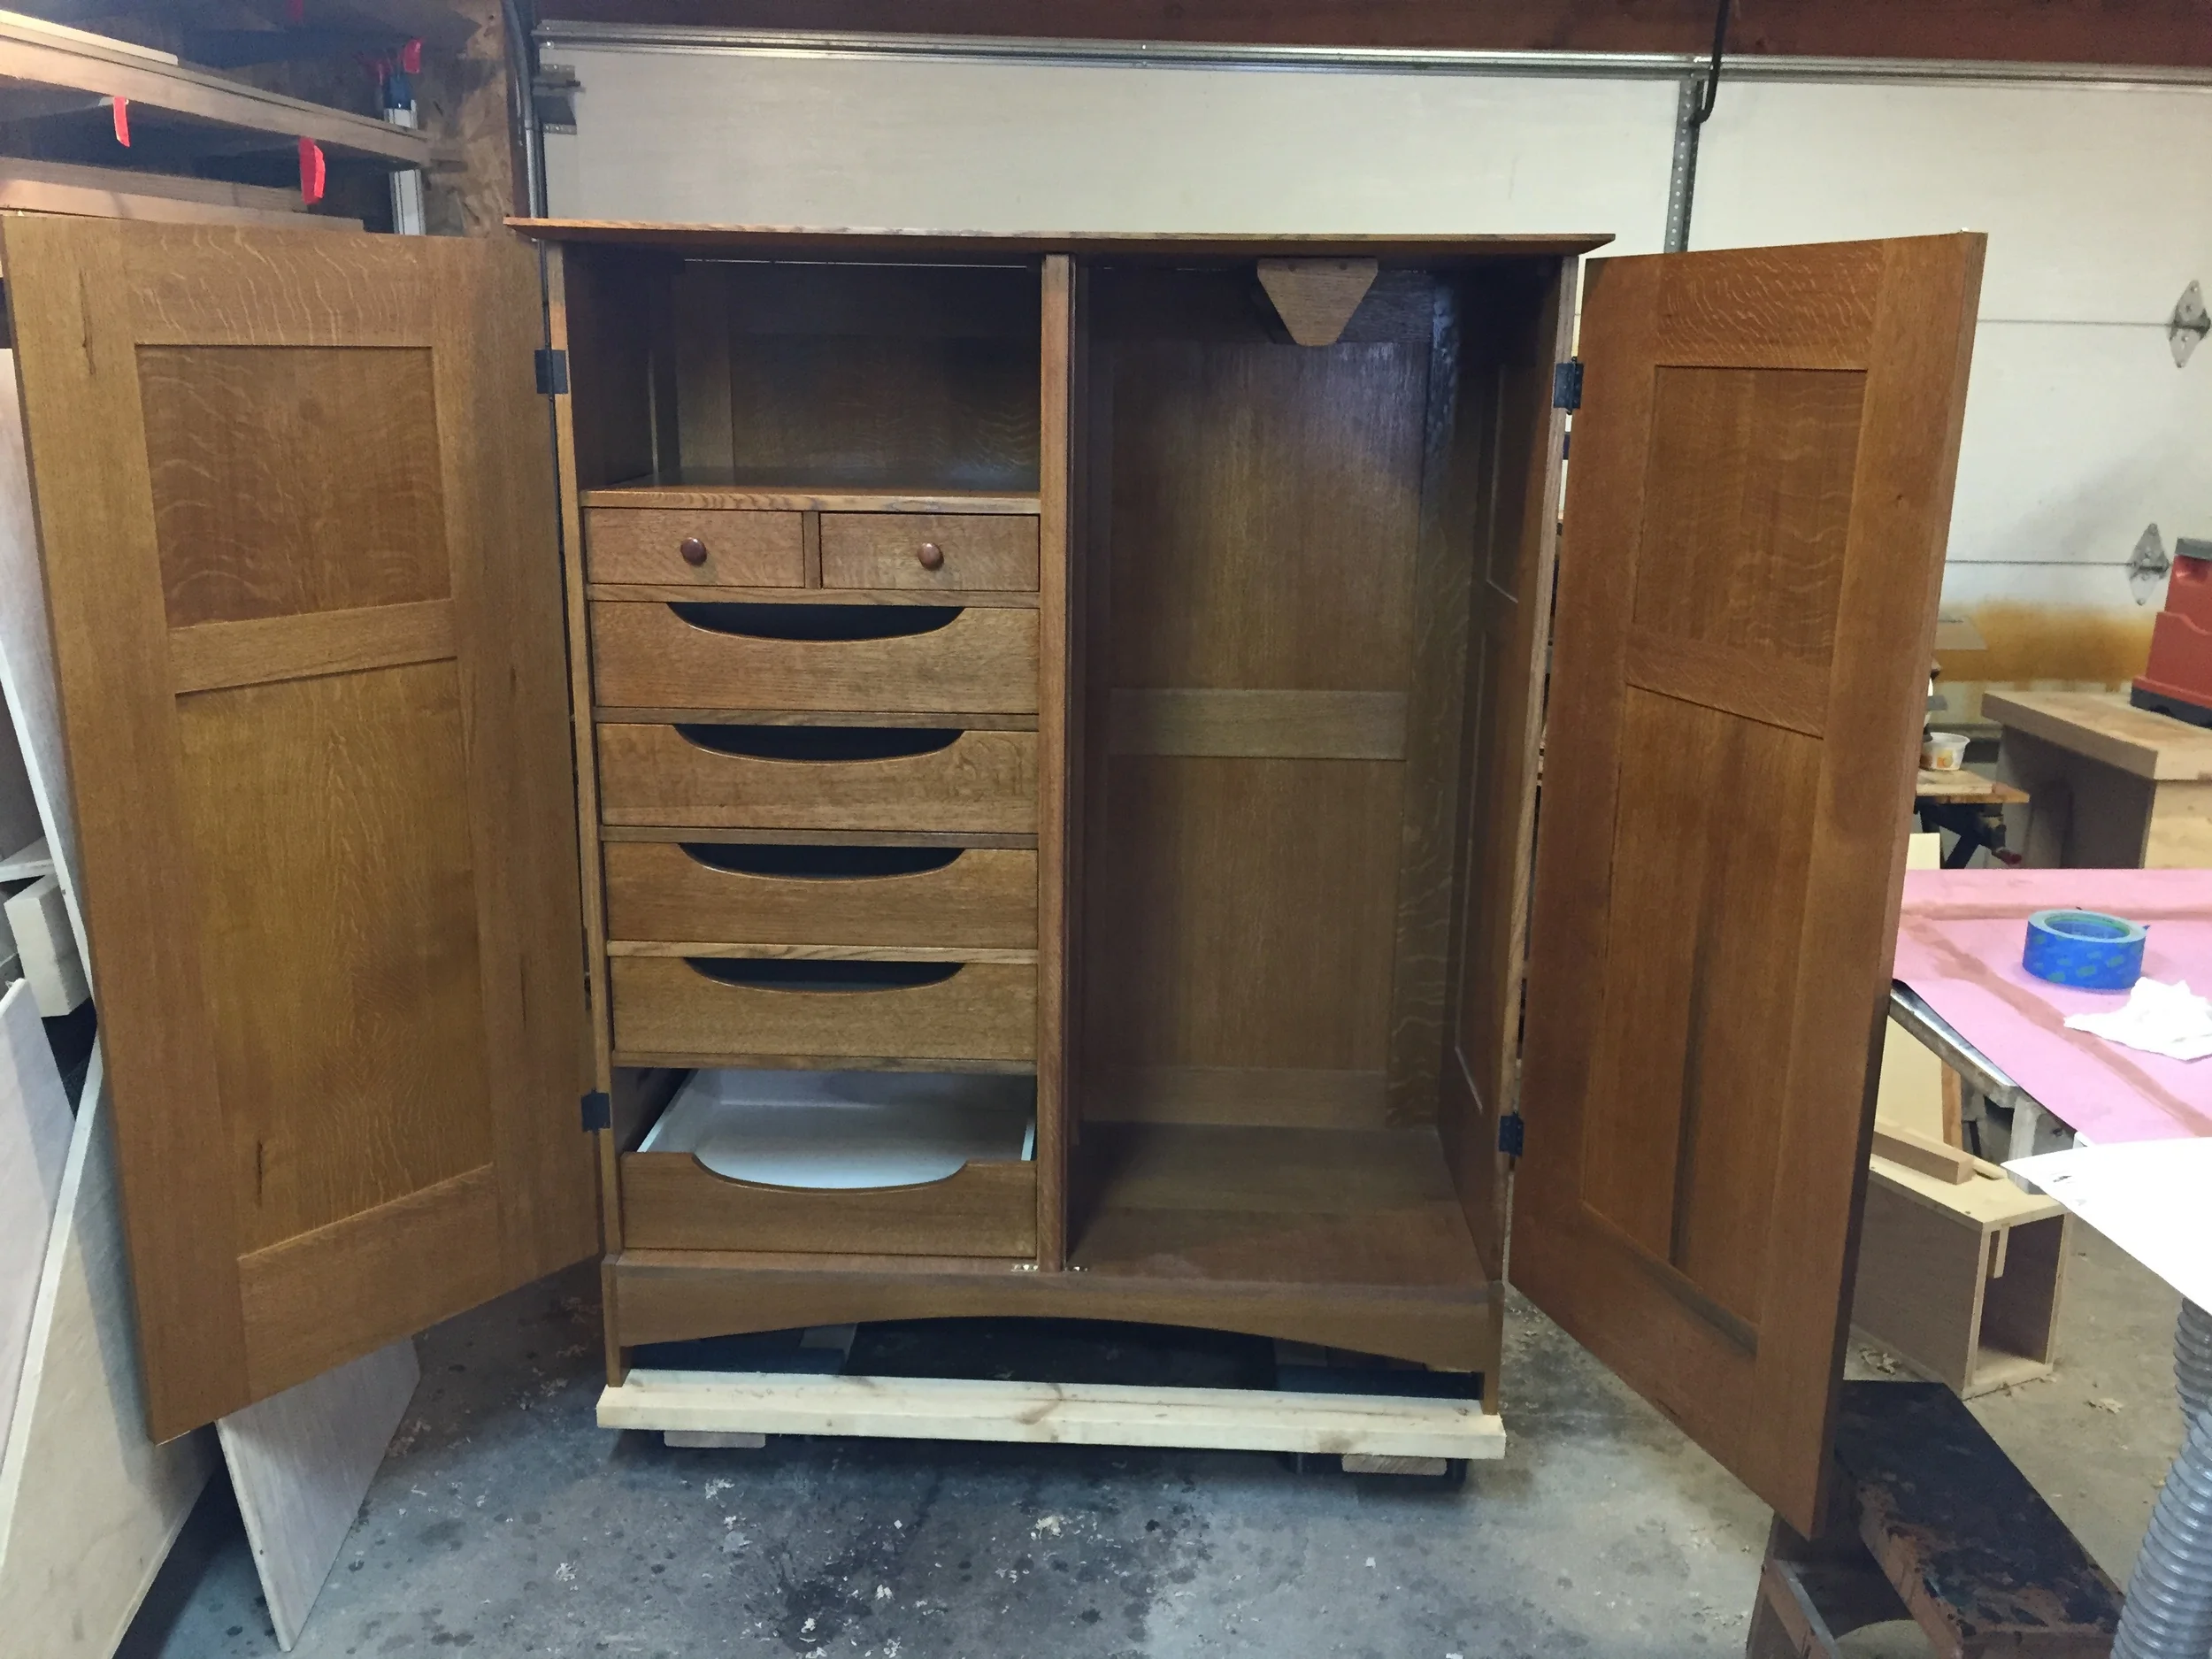
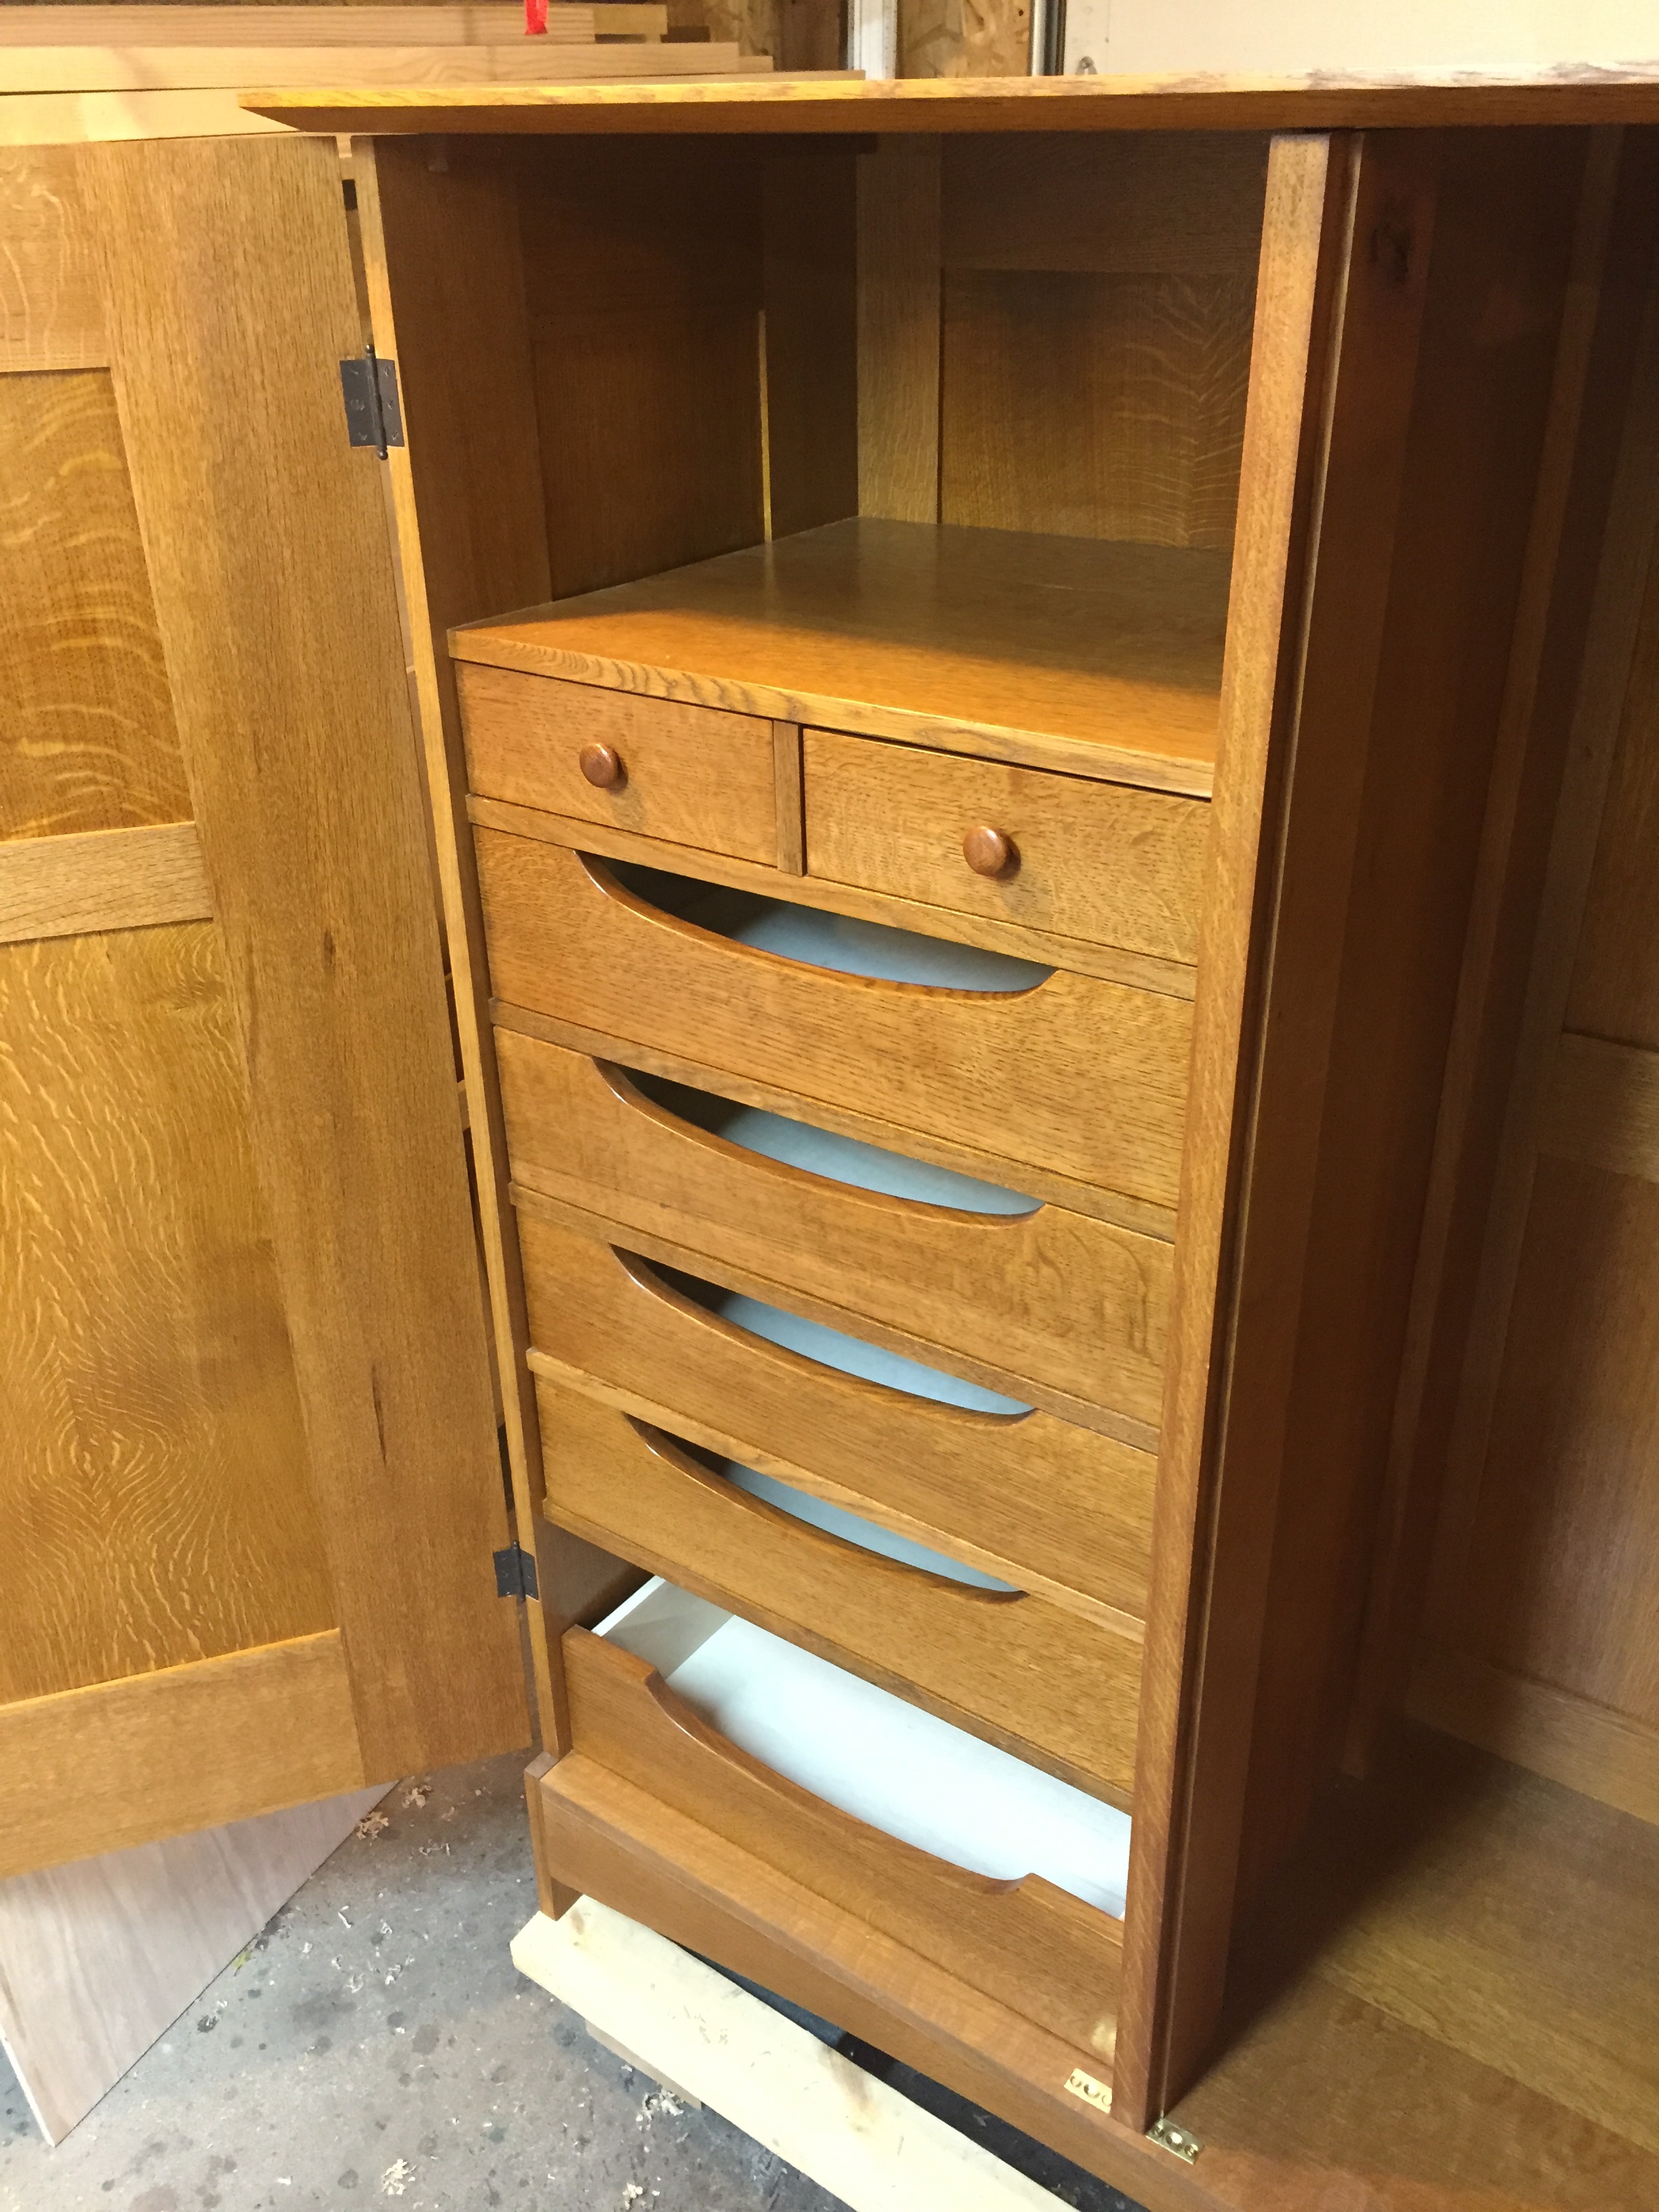
With all those pieces ready, and the sides & backs cut, I was able to do the dry assembly. I decided to leave the sides & bottom of the drawers unfinished. I felt that if I really wanted to, it would be easy enough to go back and apply some clear shellac later. After the dry assembly, I cut the gentle arches that serve as the openings for the hand pulls. Then it was finishing time again (grain raising, water based dye, amber shellac) on the fronts. If you're keeping score, this is the third time in the project I've had to switch gears from joinery & case work to finishing.
The grooves for the runners were cut into the drawer aides with a router, with the drawers clamped to the bench (sorry, no photos of that). Then I made and attached the runners, using unfinished white oak. I tired to be very precise on getting the fit right so the drawers would slide well, the fronts would have the right reveals, and they wouldn't bind. I was generally pleased with the results, but felt I should have done better. They do get a little left-to-right shifty as they're near the end of their extension, but I guess that's to be expected.
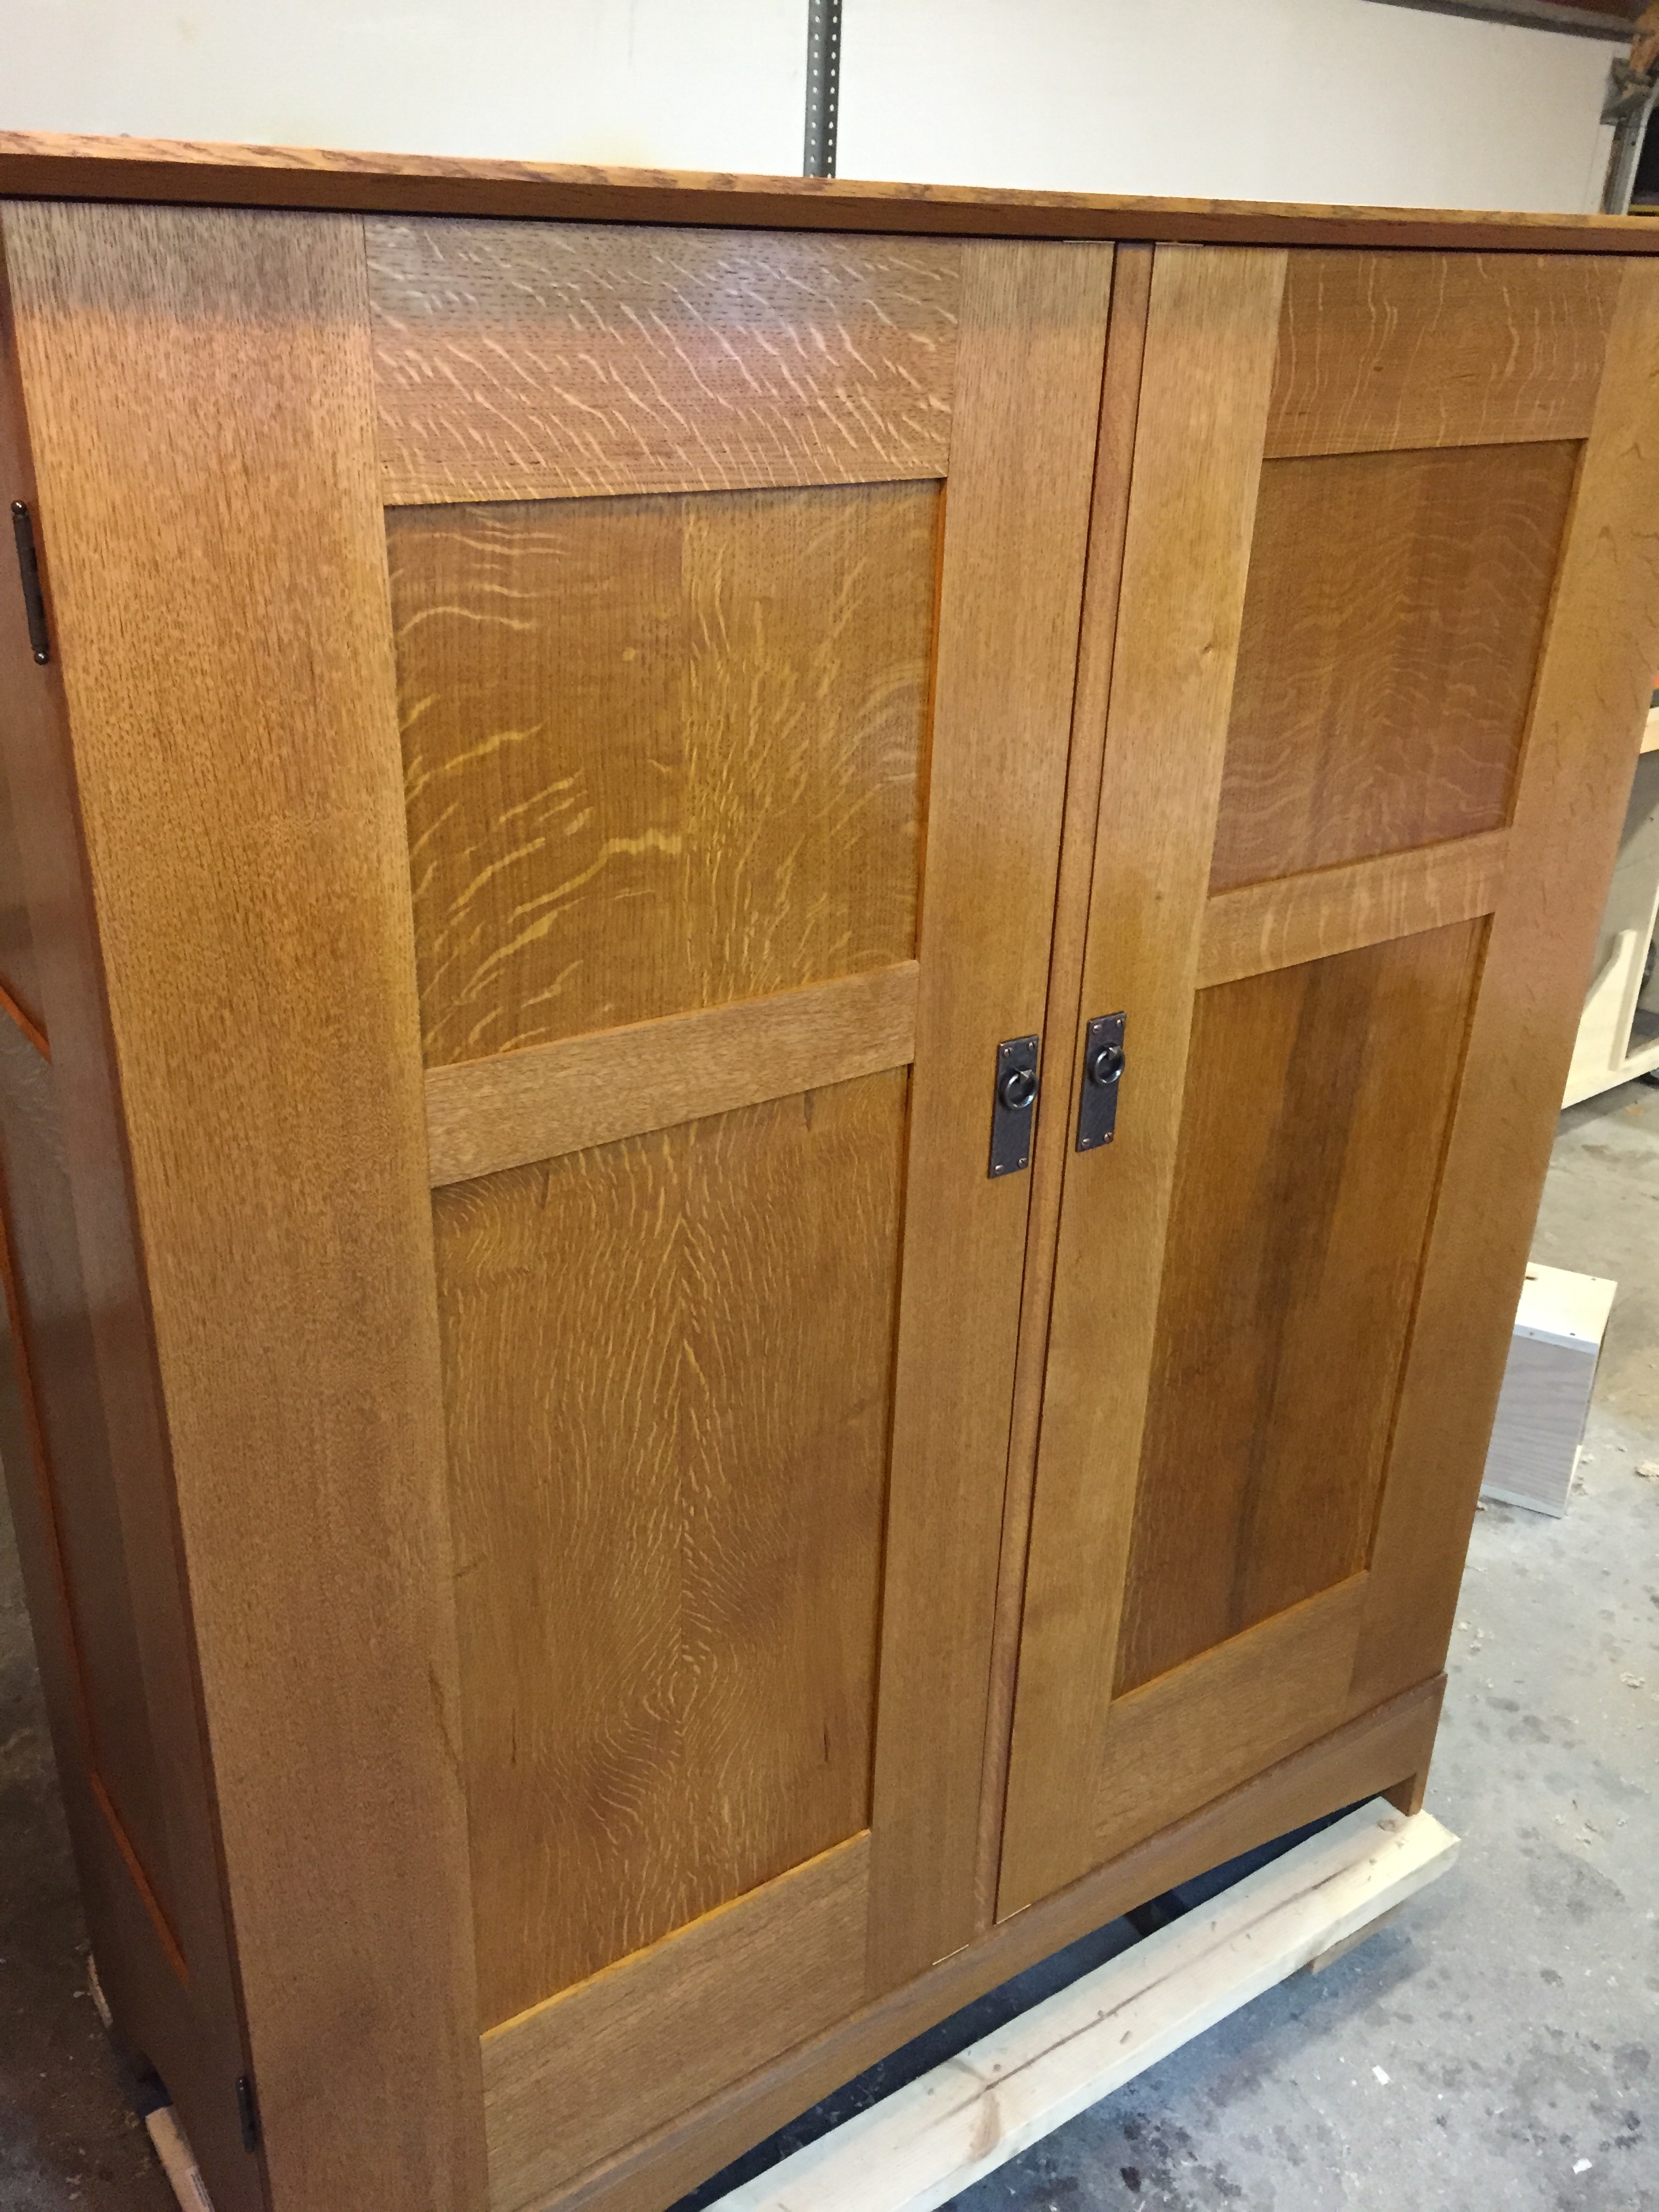
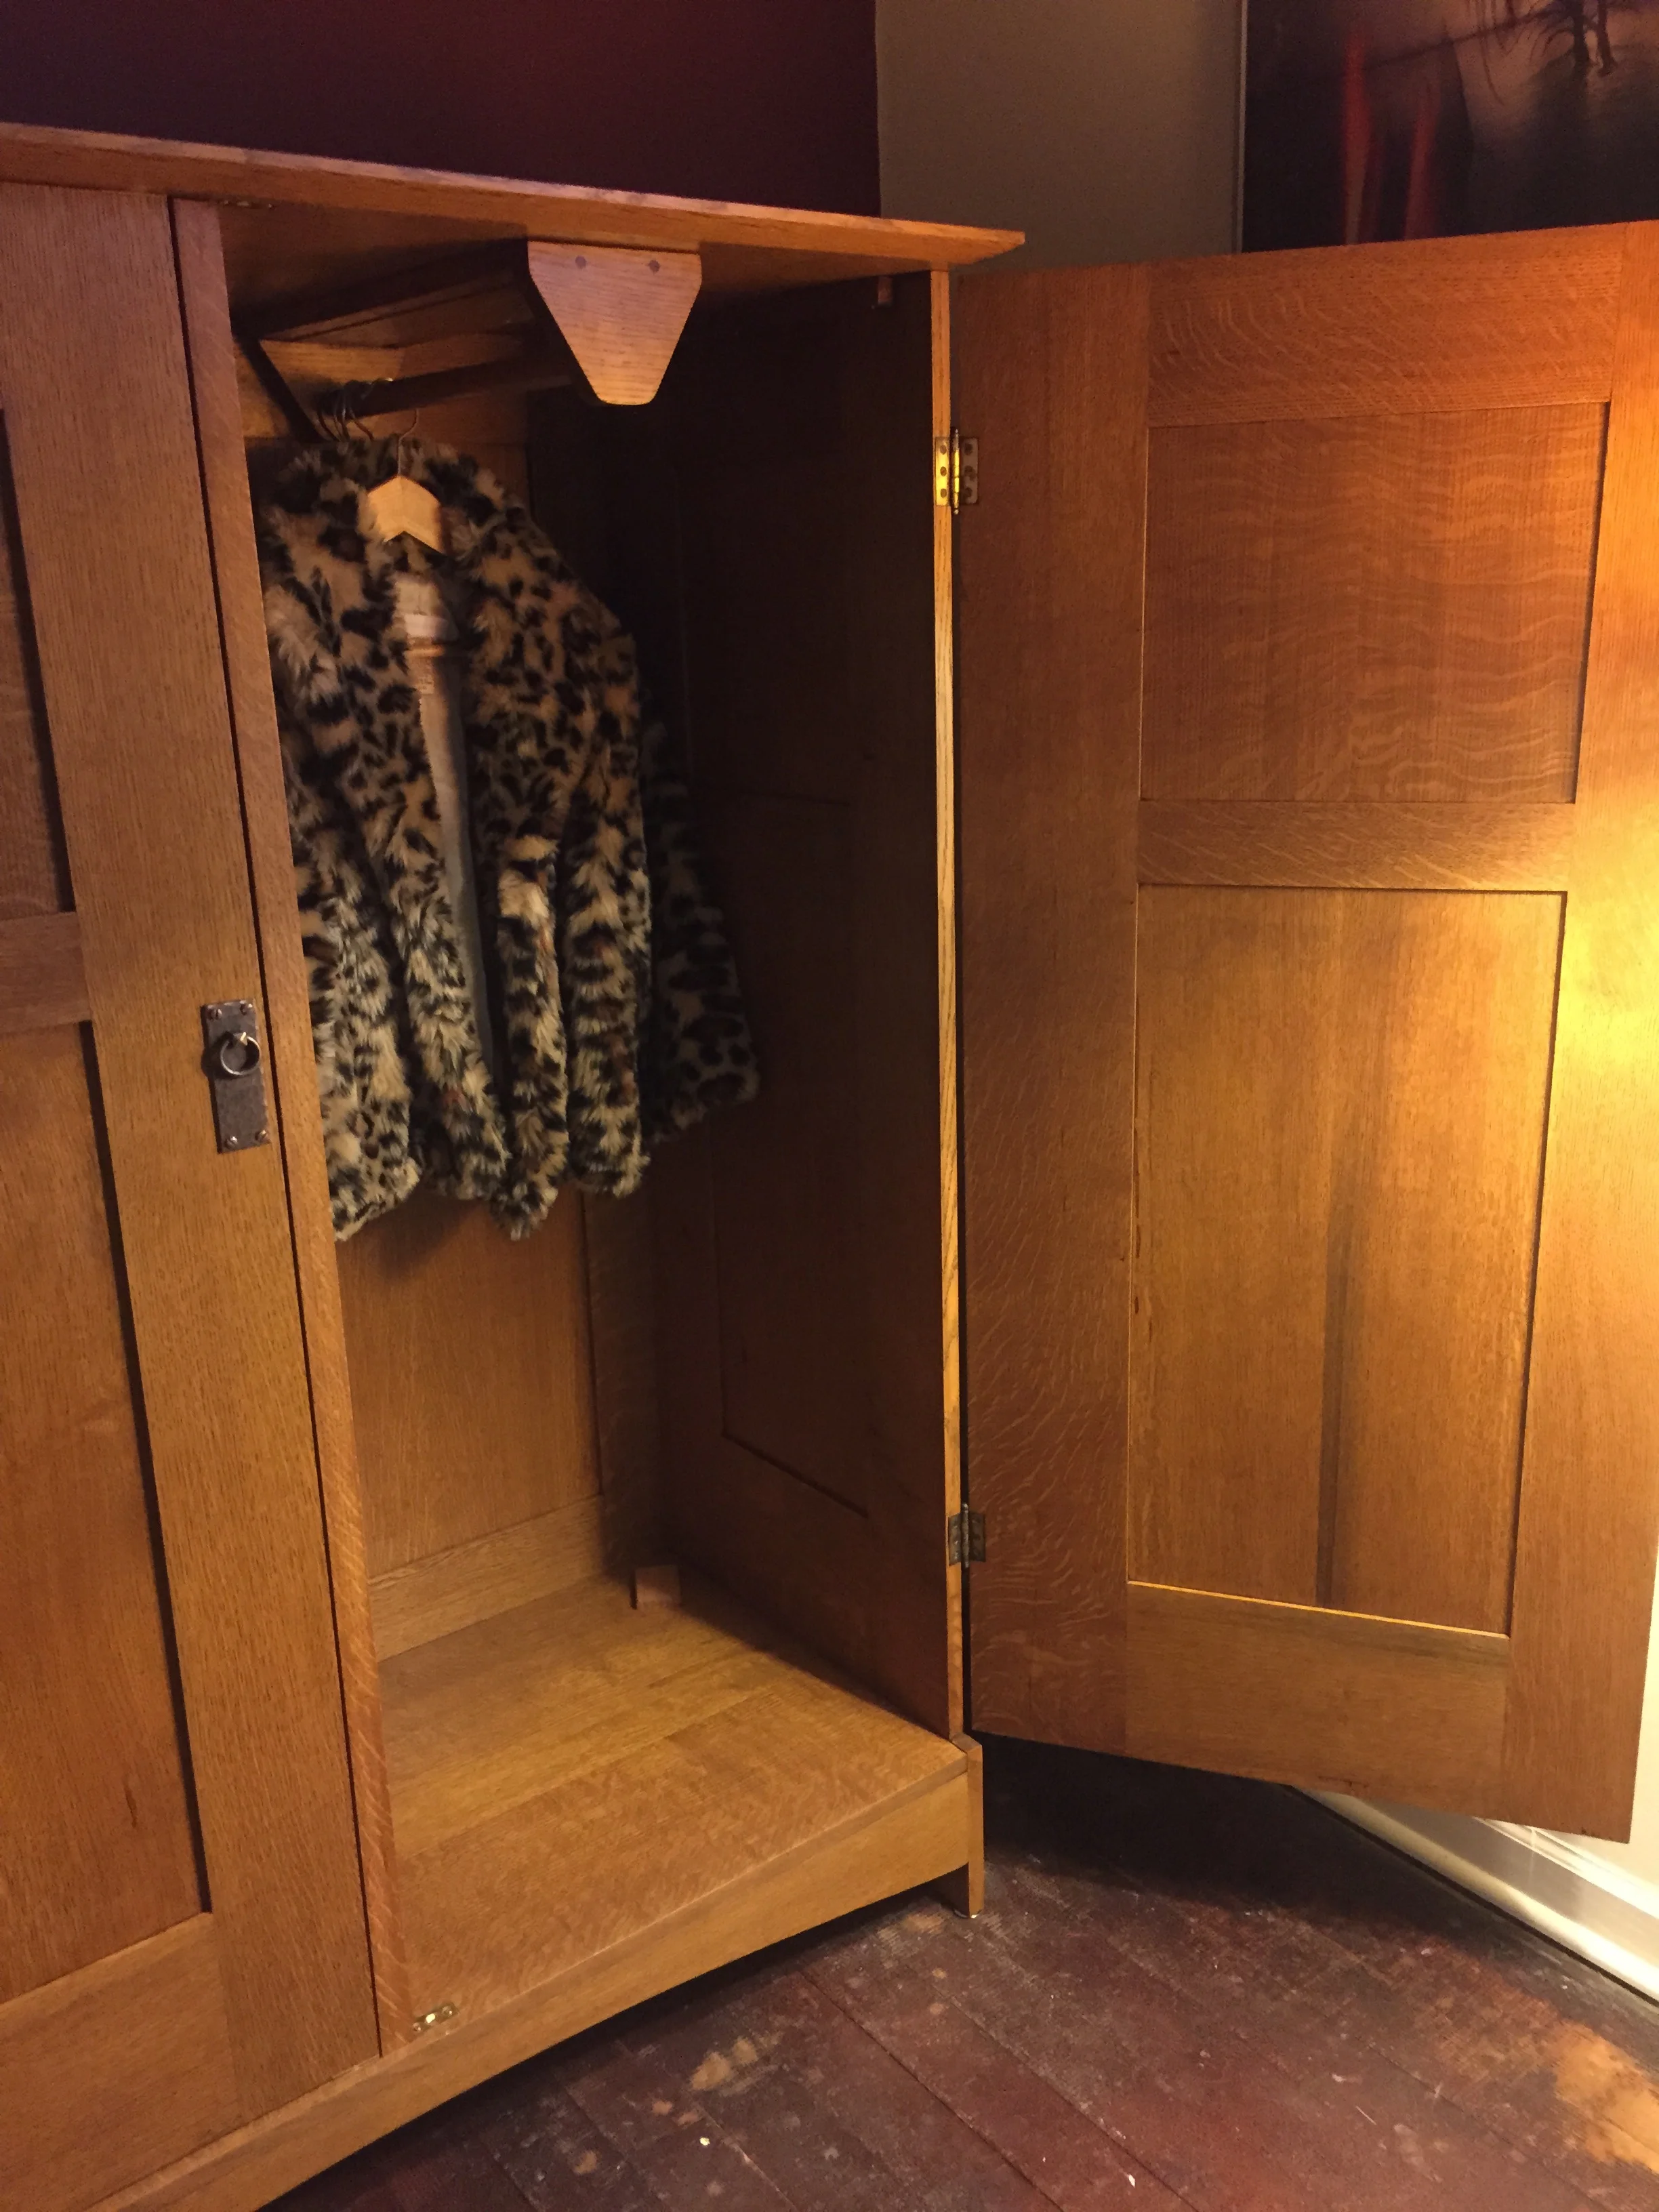
Finally, it was time to fit the doors. They'd been assembled, oversized, with finished center panels, and sitting around the shop for months now, and at last they could be fit to the openings, and finished. I found it hard to work on mortising the lower of the two pairs of hinges, as I had to work near the floor with the huge case on the dolly, but I got it done. It's just awkward to do that chiseling and router plane work crouched down near the floor, and at 90°. There was a bit of attaching-and-removing to be done when trying to get the reveal on the doors correct. One mistake that game back to bite me was that there was a slight bit of twist introduced to this large, heavy case as it sat on the maybe-not-perfectly-level dolly and my not-perfectly-even shop floor. After I brought the thing into the house, placed it on a differently out-of-level floor, the case had a bit of twist it, and in a different direction than when it was in the shop. That twist was telegraphed directly to all the careful fitting I'd done on these large, tall doors. It might have made more sense to have found a very, very flat floor to place it on, then fit things, then shimmed under the feet as needed when it was in its final location. Luckily, nowhere were the doors more than 1/16" out, and after I placed some shims under the feet, it worked fine. But its a good lesson for next time.
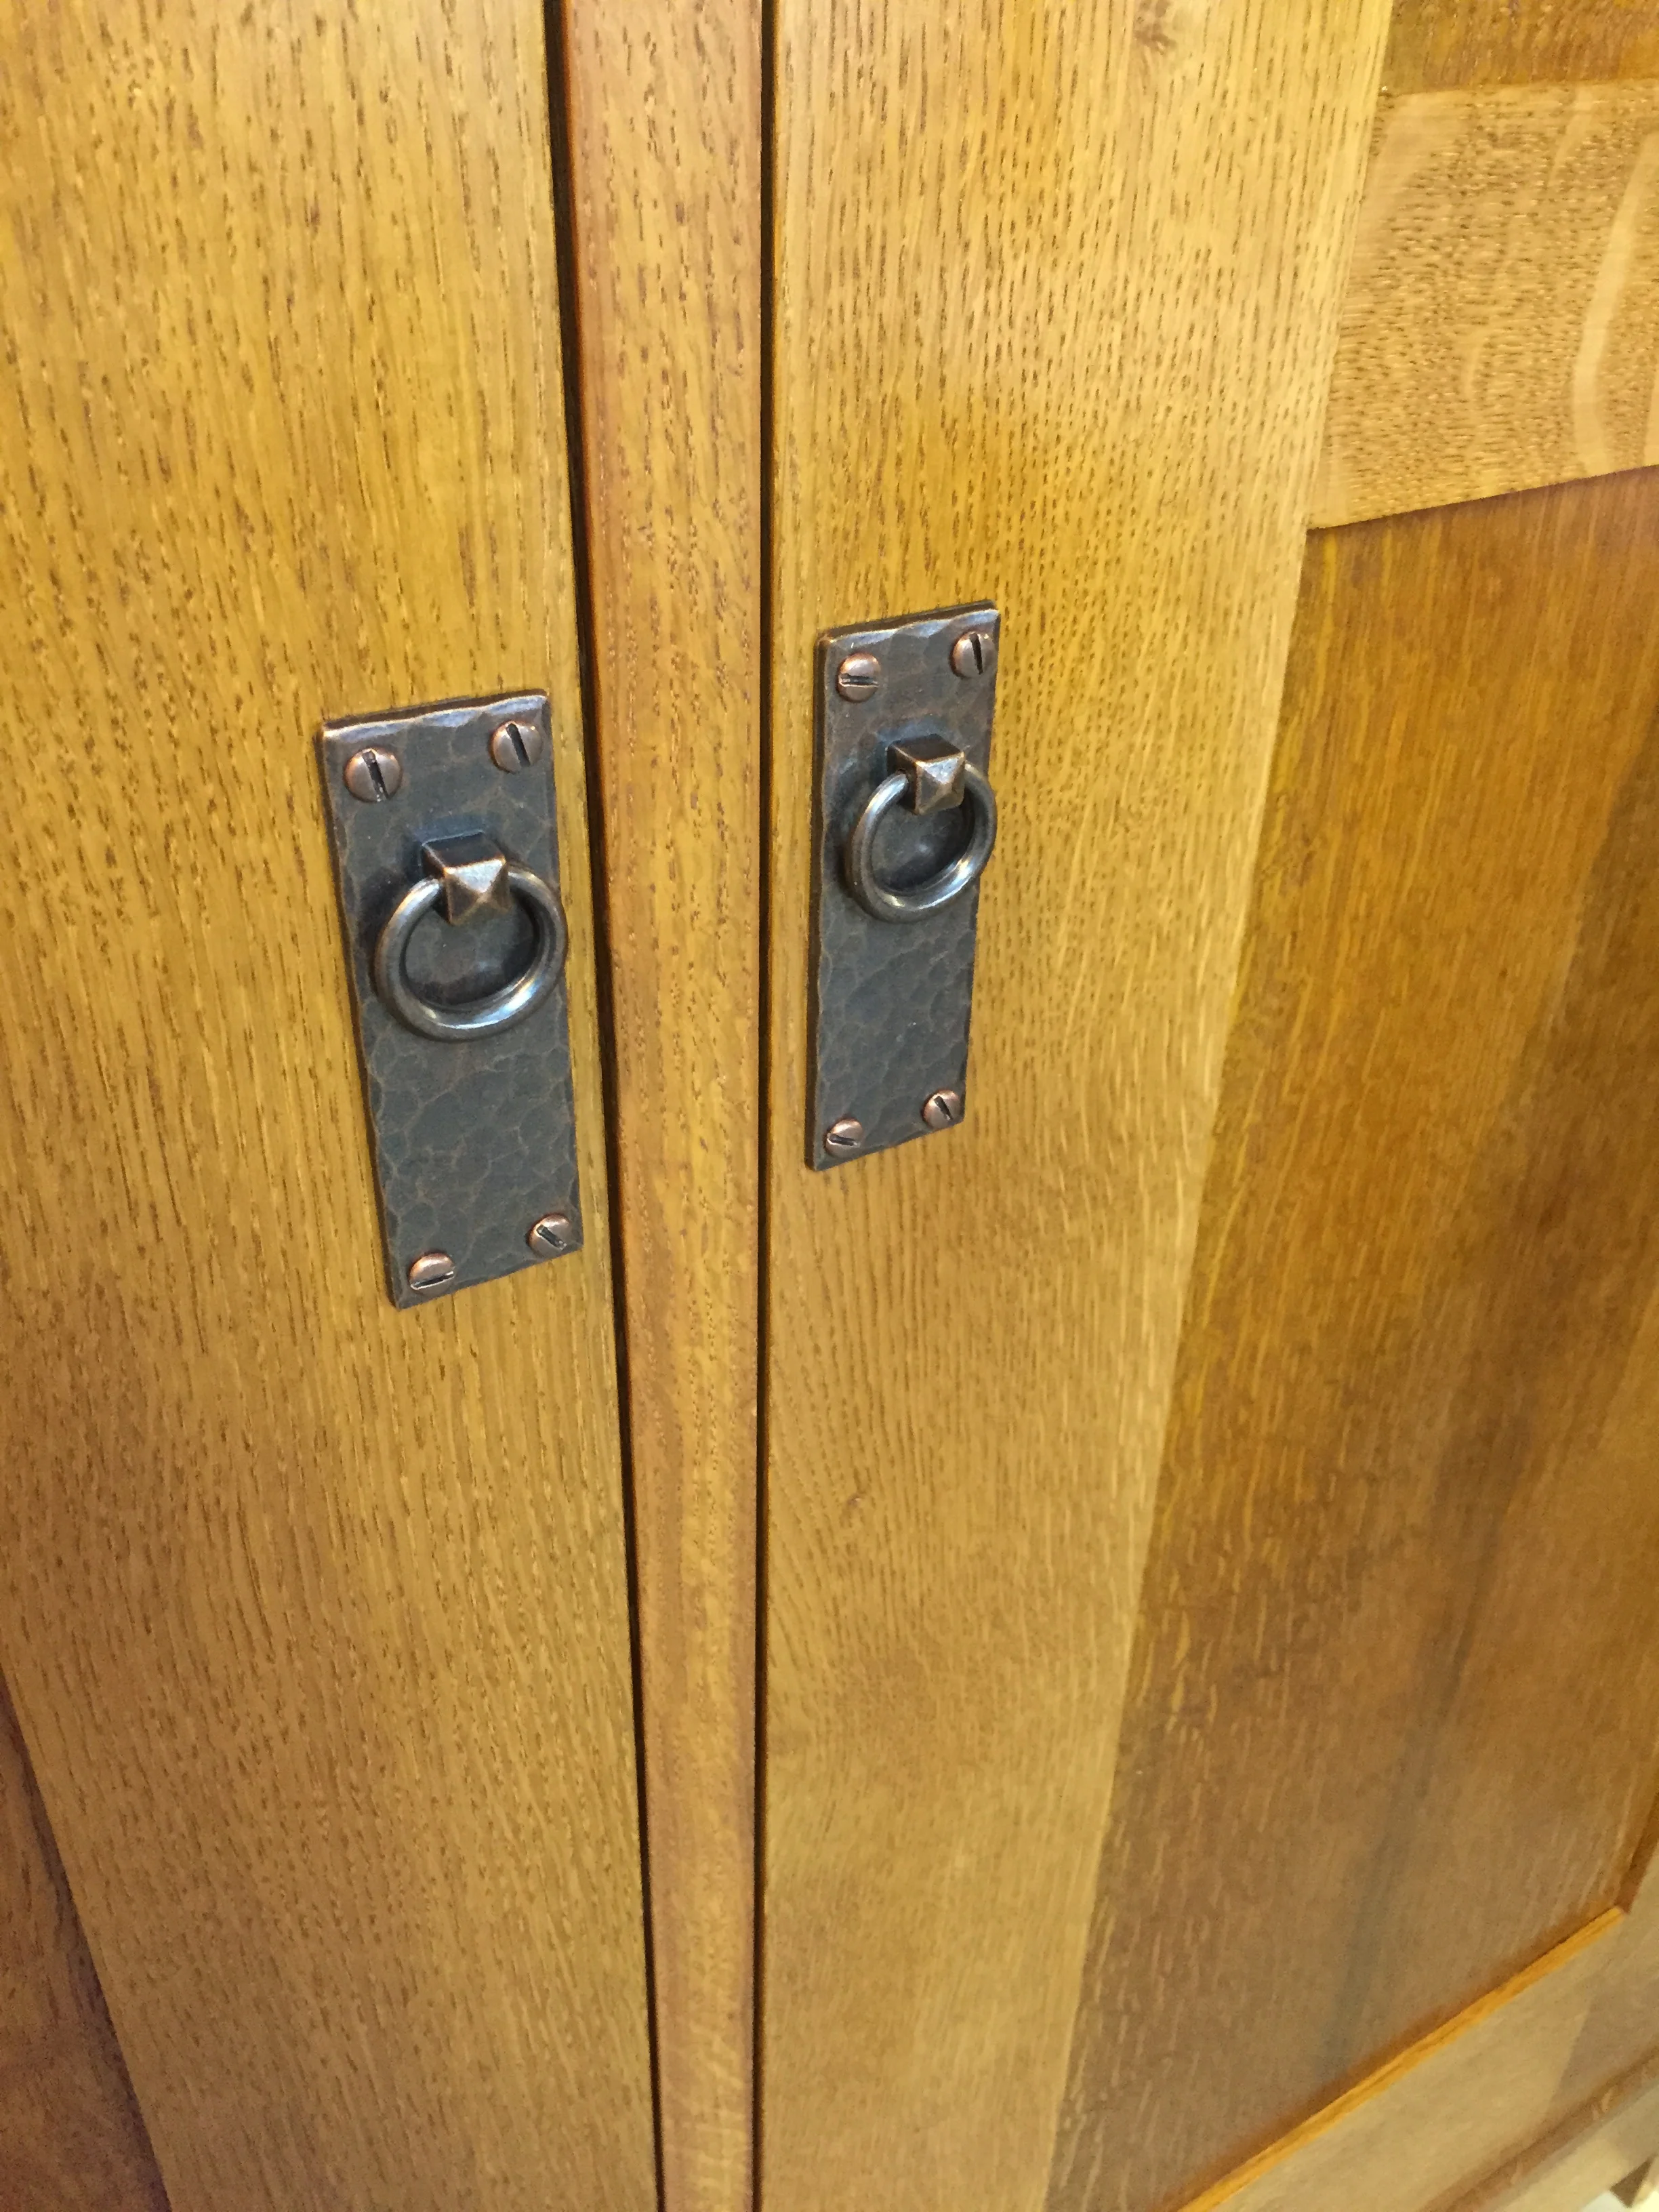
I also fit the pulls, and the ball catches for the top and bottom of each door to help hold them closed. The ball catch part was not in the original plans, and there was no mention or guidance on how to hold the doors closed. I thought of several solutions, but top and bottom ball catches seemed like the most subtle and elegant solution.
And, then back to finishing, again (that's four times!), getting the rails and stiles of the doors done. And then... wow, it was all built! I went over all the finish with any shellac touch ups that were needed, just using a shellac rag-ball. When dry, I went over the whole piece, inside and out, with dark paste wax, applied with 0000 steel wool, then buffed out with cotton rags.
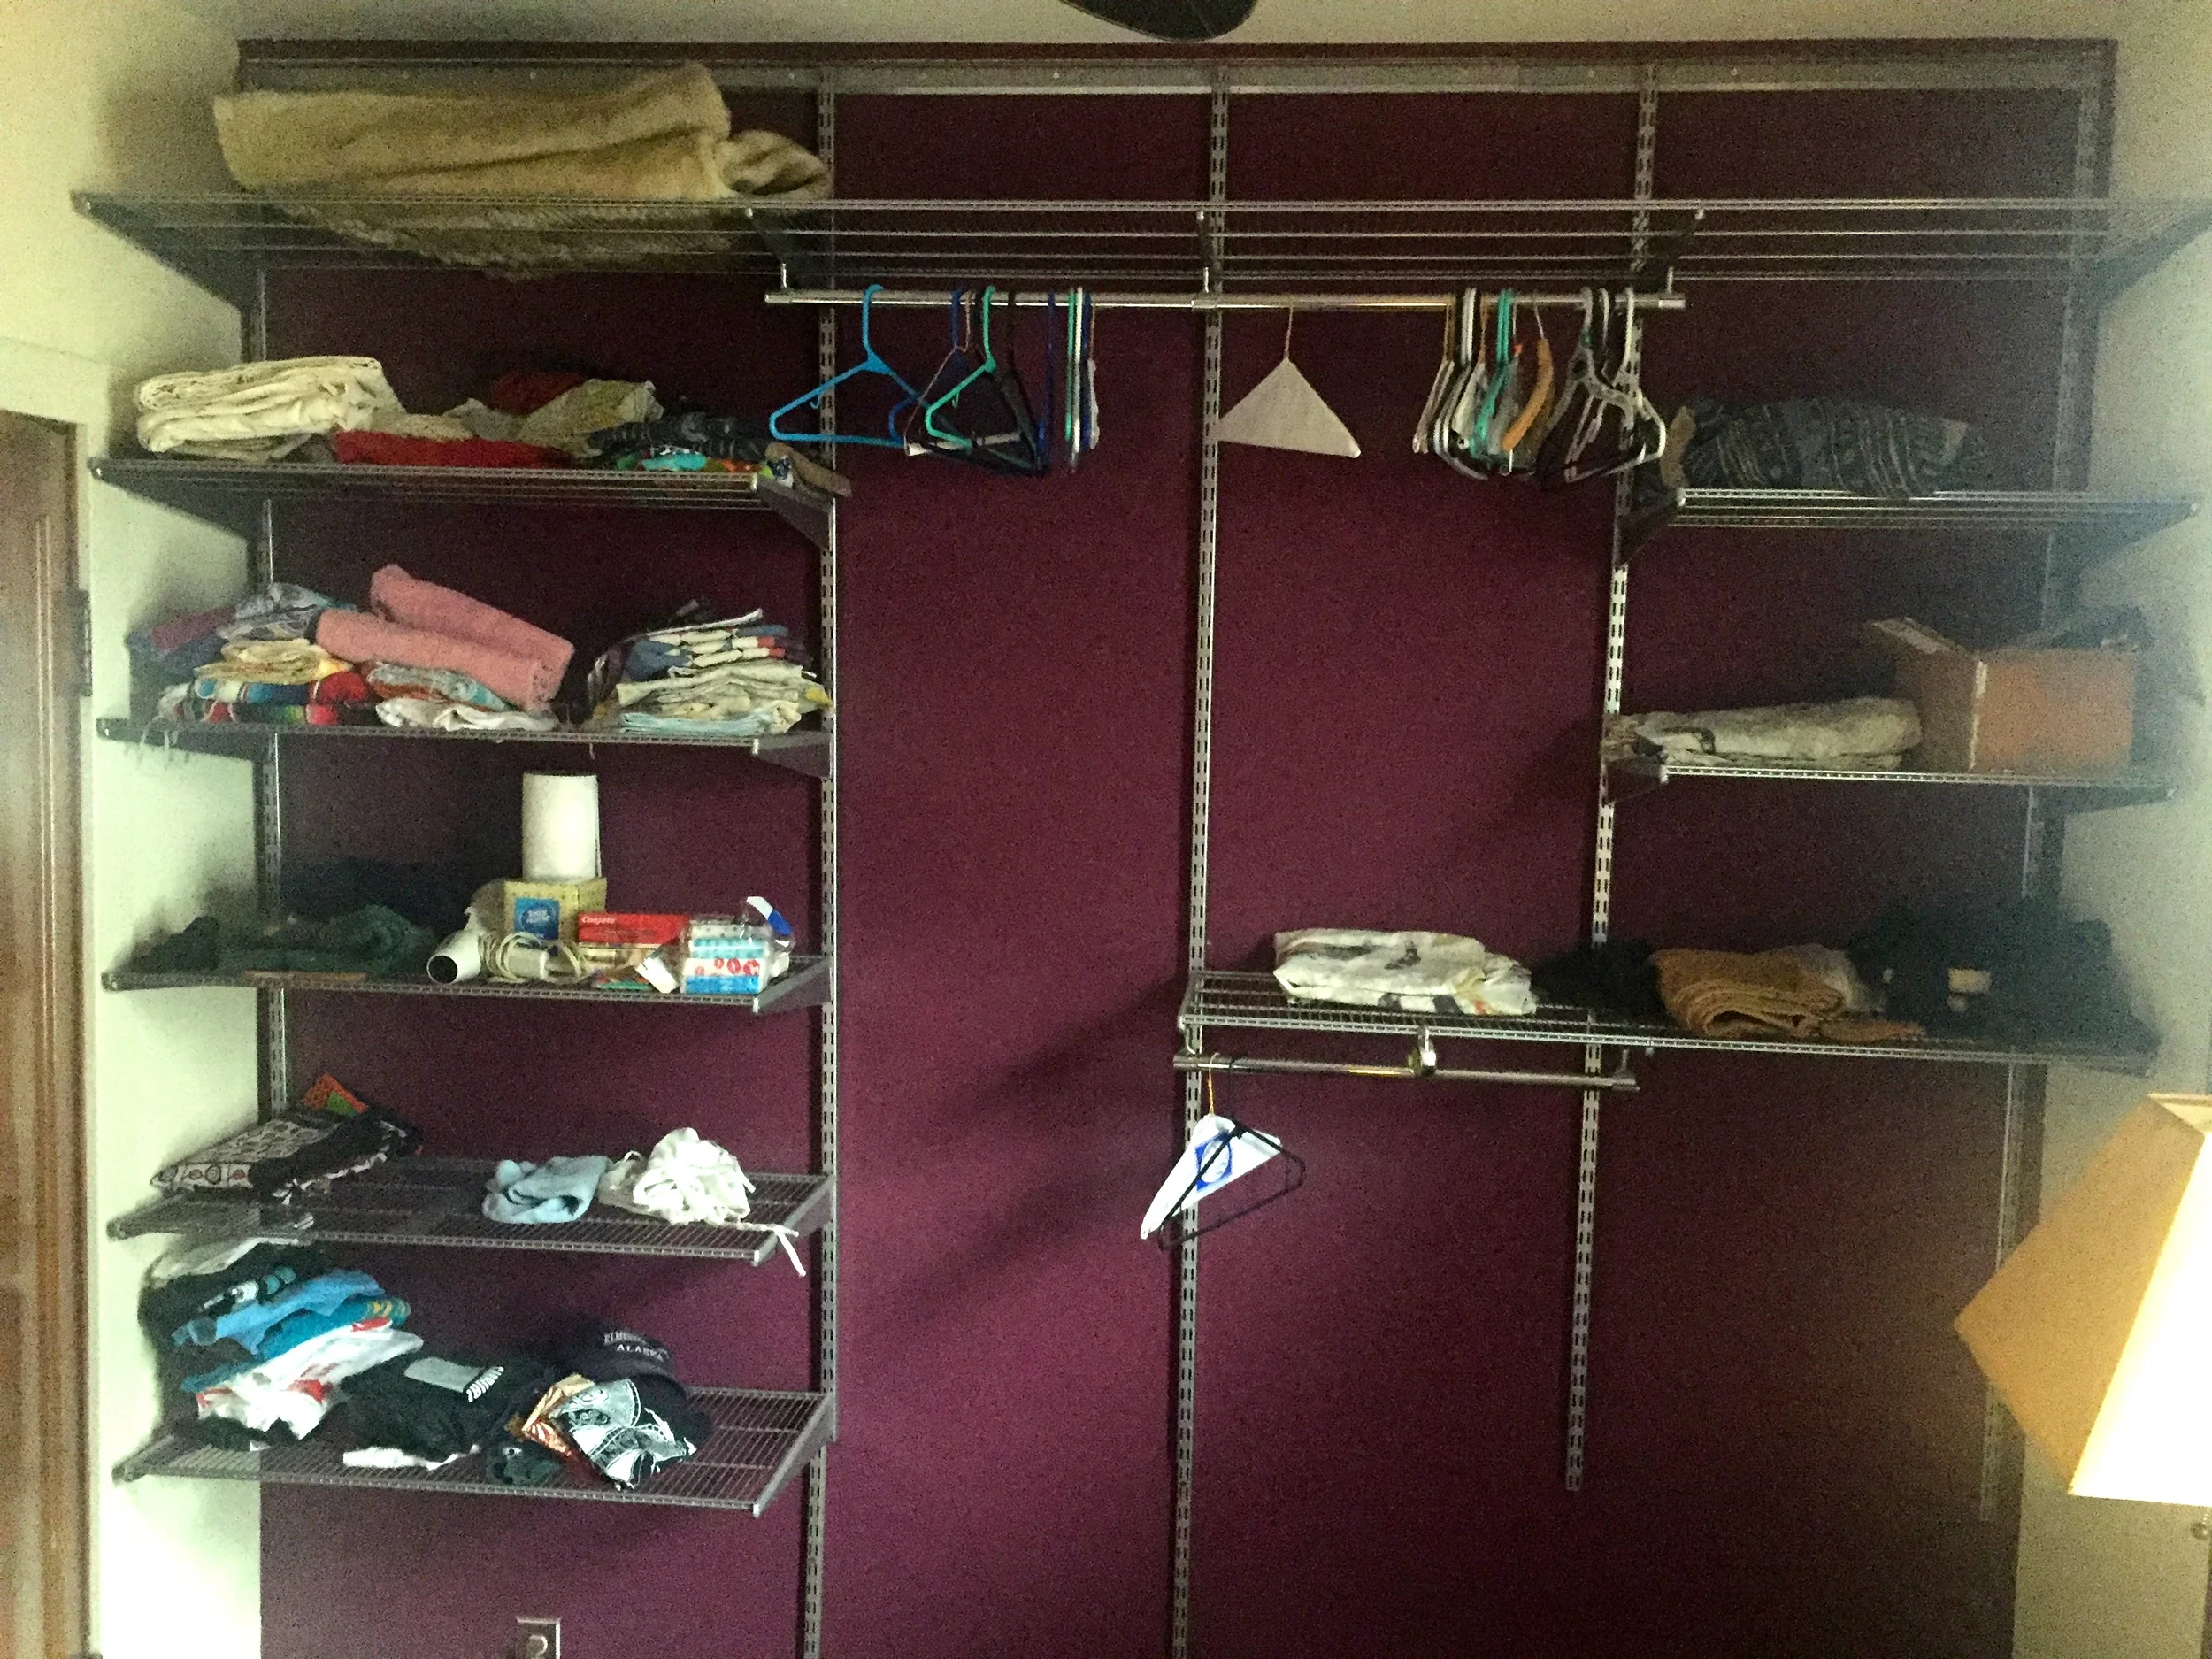
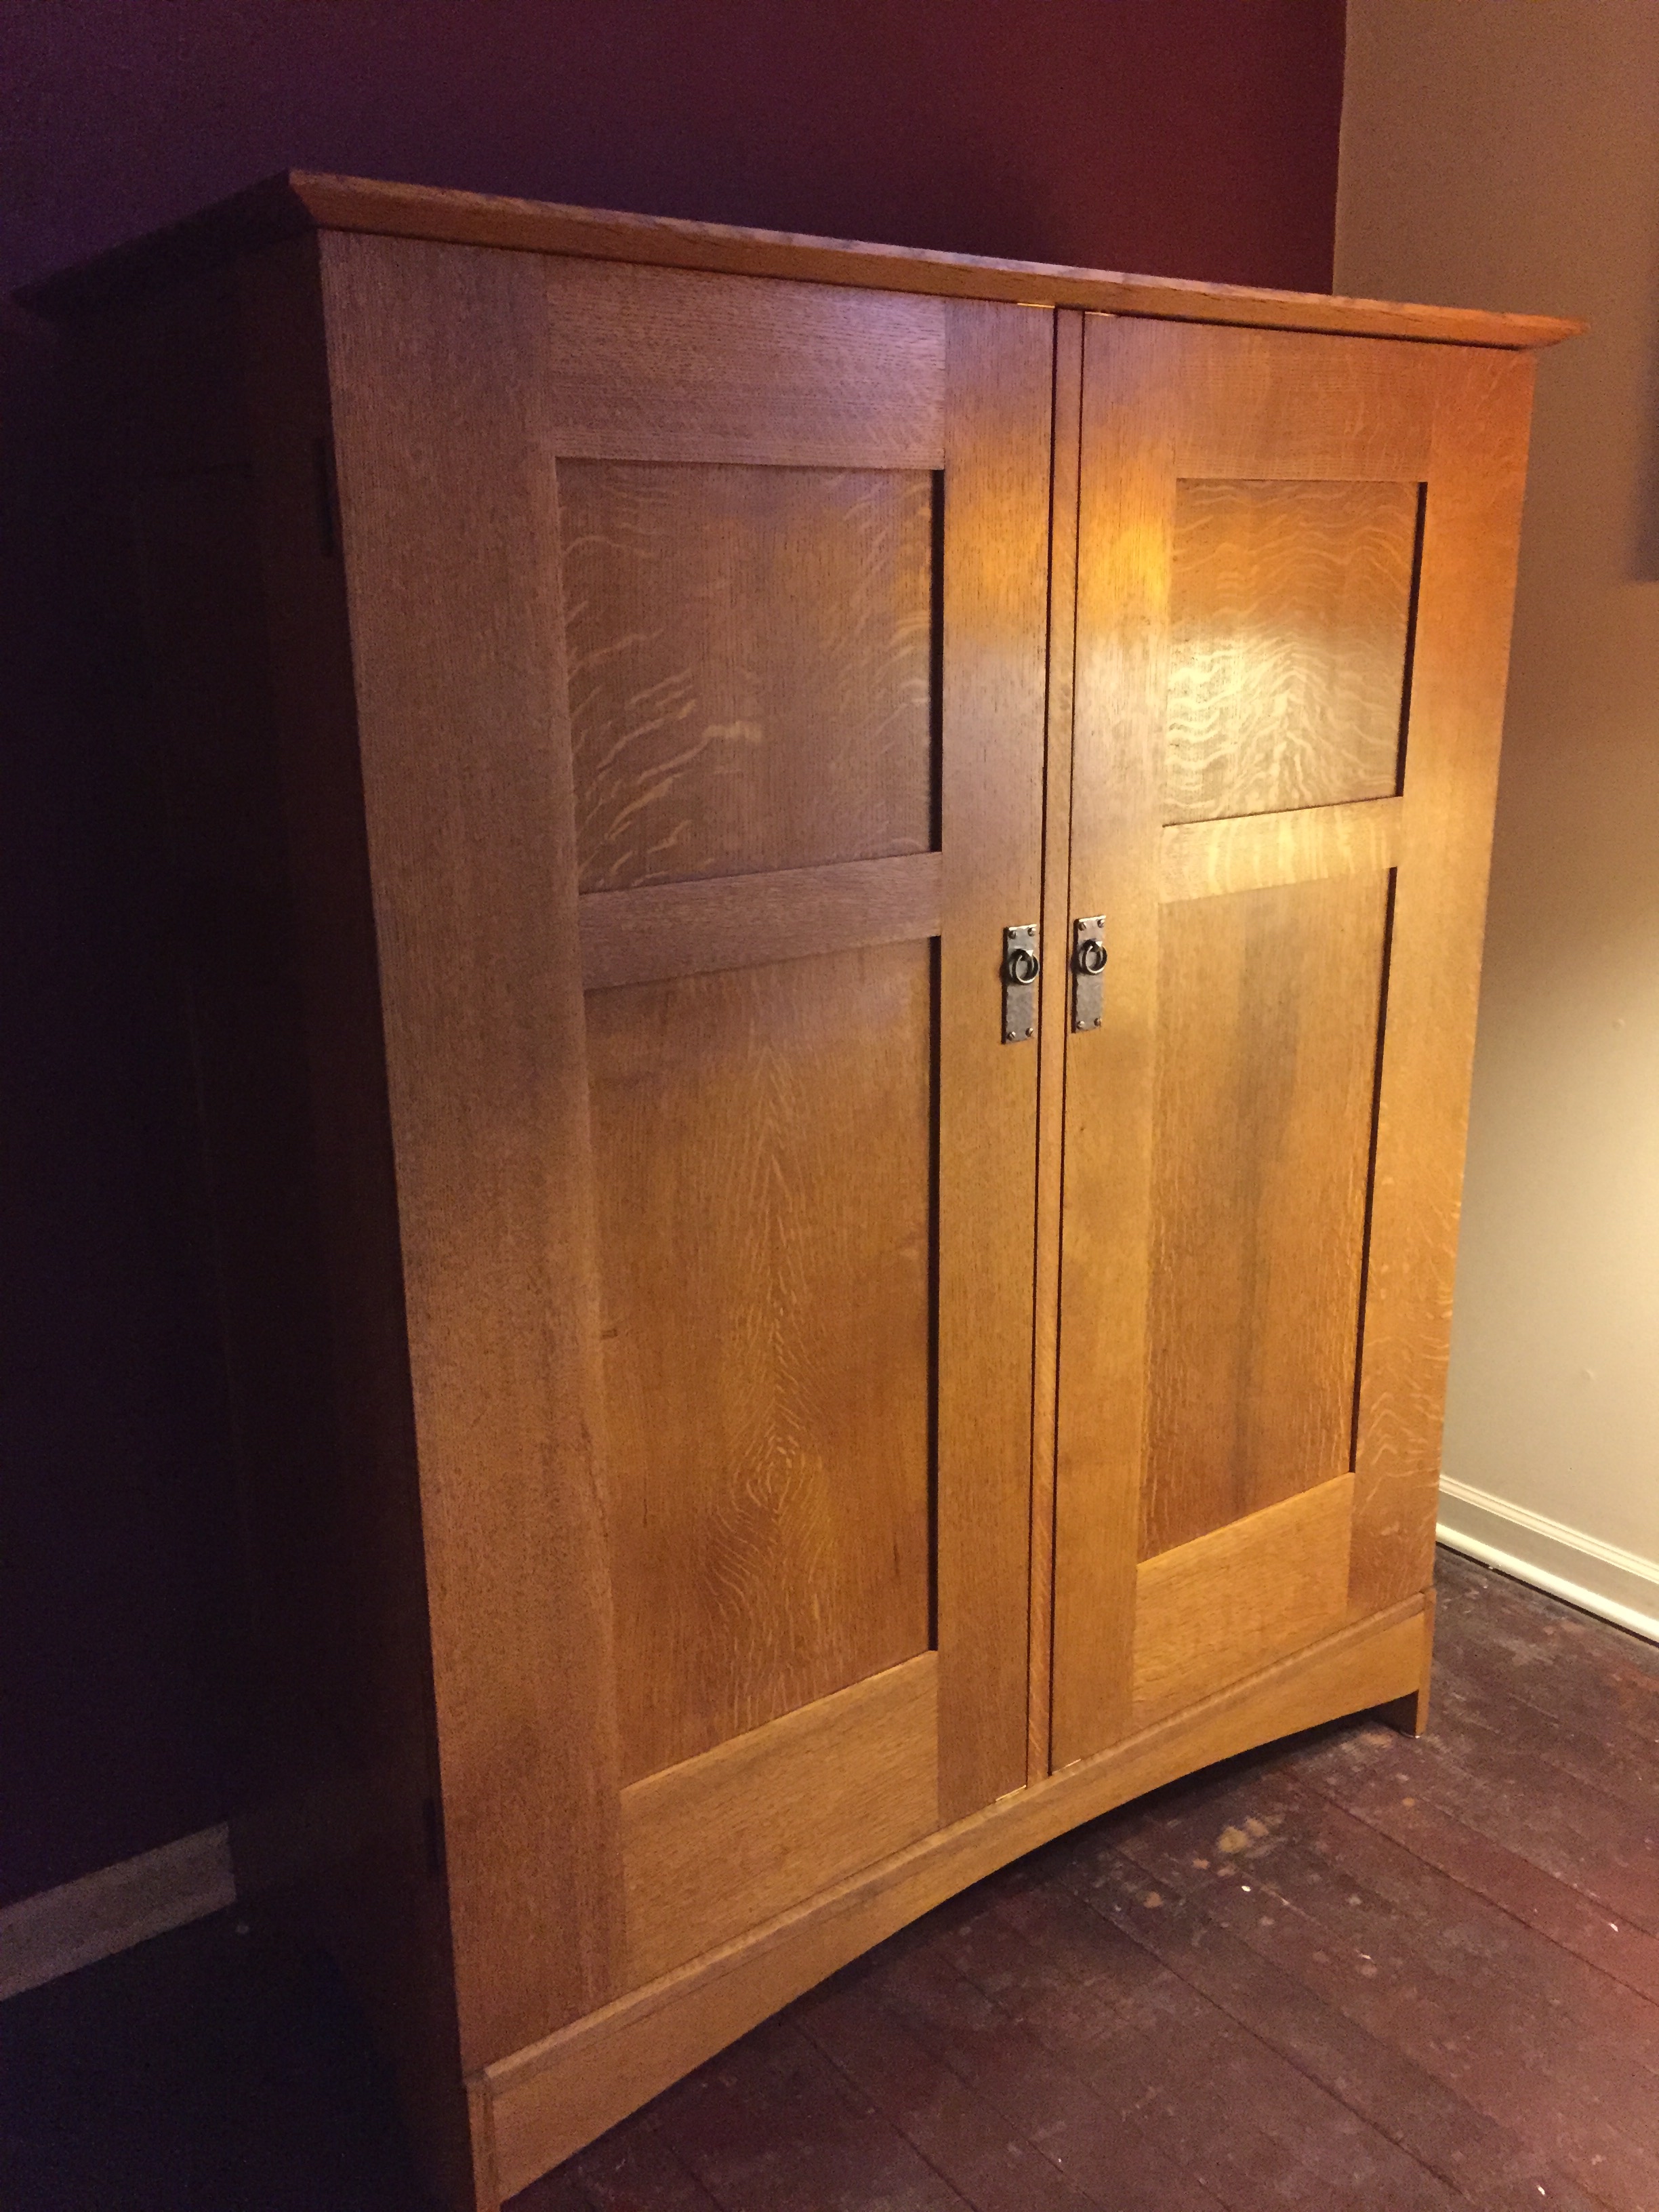
Carrying the piece into our first floor bedroom was a lot work, as even with the doors and drawers removed, it was heavy. I can only imagine how much more heavy it would have been if I'd used full depth drawer dividers. When it was finally in place, I could at last step back, and take it in. It really works for the room, and is a huge improvement over the open, metal shelf system it replaced. As mentioned before, the legs needed a little shimming both to get it level to the eye, and to make sure the doors fit as intended.
Now that is is done, a full confession: this took about one year from start to finish. There were many interruptions along the way, many of those were other projects (that I'll be posting about soon!), some were just the normal flow of other things in my life. The back-and-forth between doing joinery, then switching to doing finishing, was tedious, and I think slowed things down a lot. While I'm very pleased with the look of the solid panels, that added quite a lot of time to this build, and was probably the main reason it took so long to complete. The size was a factor too: there's a lot of lumber in this piece! Also, having to work on other projects while juggling around the various parts and piece of this for a year was annoying. I really do like to work on one thing at a time, and get it done, out of the way, and start something new with a clean and open shop. So, hopefully, I'll avoid this type of situation again.
But I'm proud of this piece: its one of the biggest I've ever attempted, and its just plain beautiful. I love having this in my house. Seeing it in place, along with the other pieces I've built, fills me with a certain serenity and generates genuine feelings of satisfaction and accomplishment. There's noting like making a beautiful and useful object that I hopefully will be able to enjoy to the end of my days. I guess that's why I do it.
Thank you for following along.


