When I started woodworking, as in really serious furniture making, my #1 bucket list piece to build was a classic Stickley Morris chair. Something about this chair called to me, and I felt that getting to the point of being able to build it would be a significant point on my woodworking path. But since then, I've built larger and more complex pieces, with that chair in always in the back of my mind. This past spring, I finally got the chance to check that one off the list.
My friend and fellow woodworker Brett got his first big commission to build a Morris chair, and as we were sharing a shop at the time, I couldn't resist the chance to build one too. Scores of woodworkers have made this chair before me. Not just scores, zillions, It's a classic, icon design, and many are drawn by the same charms that I succumbed to. And it's not that it is a masterfully difficult piece to build, but it has it's challenges. There are also many, many, many variations on how to build one, both in design choices, and construction methods. But in my mind, this is a standard bearer of what I like about being a woodworker, and what appeals to me about the Craftsman style aesthetic. It's both simple, and elegant. It is plain, but with subtle proportions that speak to a strong, solid form. I set out to build a up reproduction Gustav Stickley #369 Morris Chair. I took a lot of direction from Bob Lang's article in Popular Woodworking #189 from April 2011, as well as from his blog post on it. When it was all said and done, or mainly done, It came out fantastic. Did I mention it is comfortable too?
I'll run through the build sort of quickly here, for you woodworkers out there that like that sort of thing.
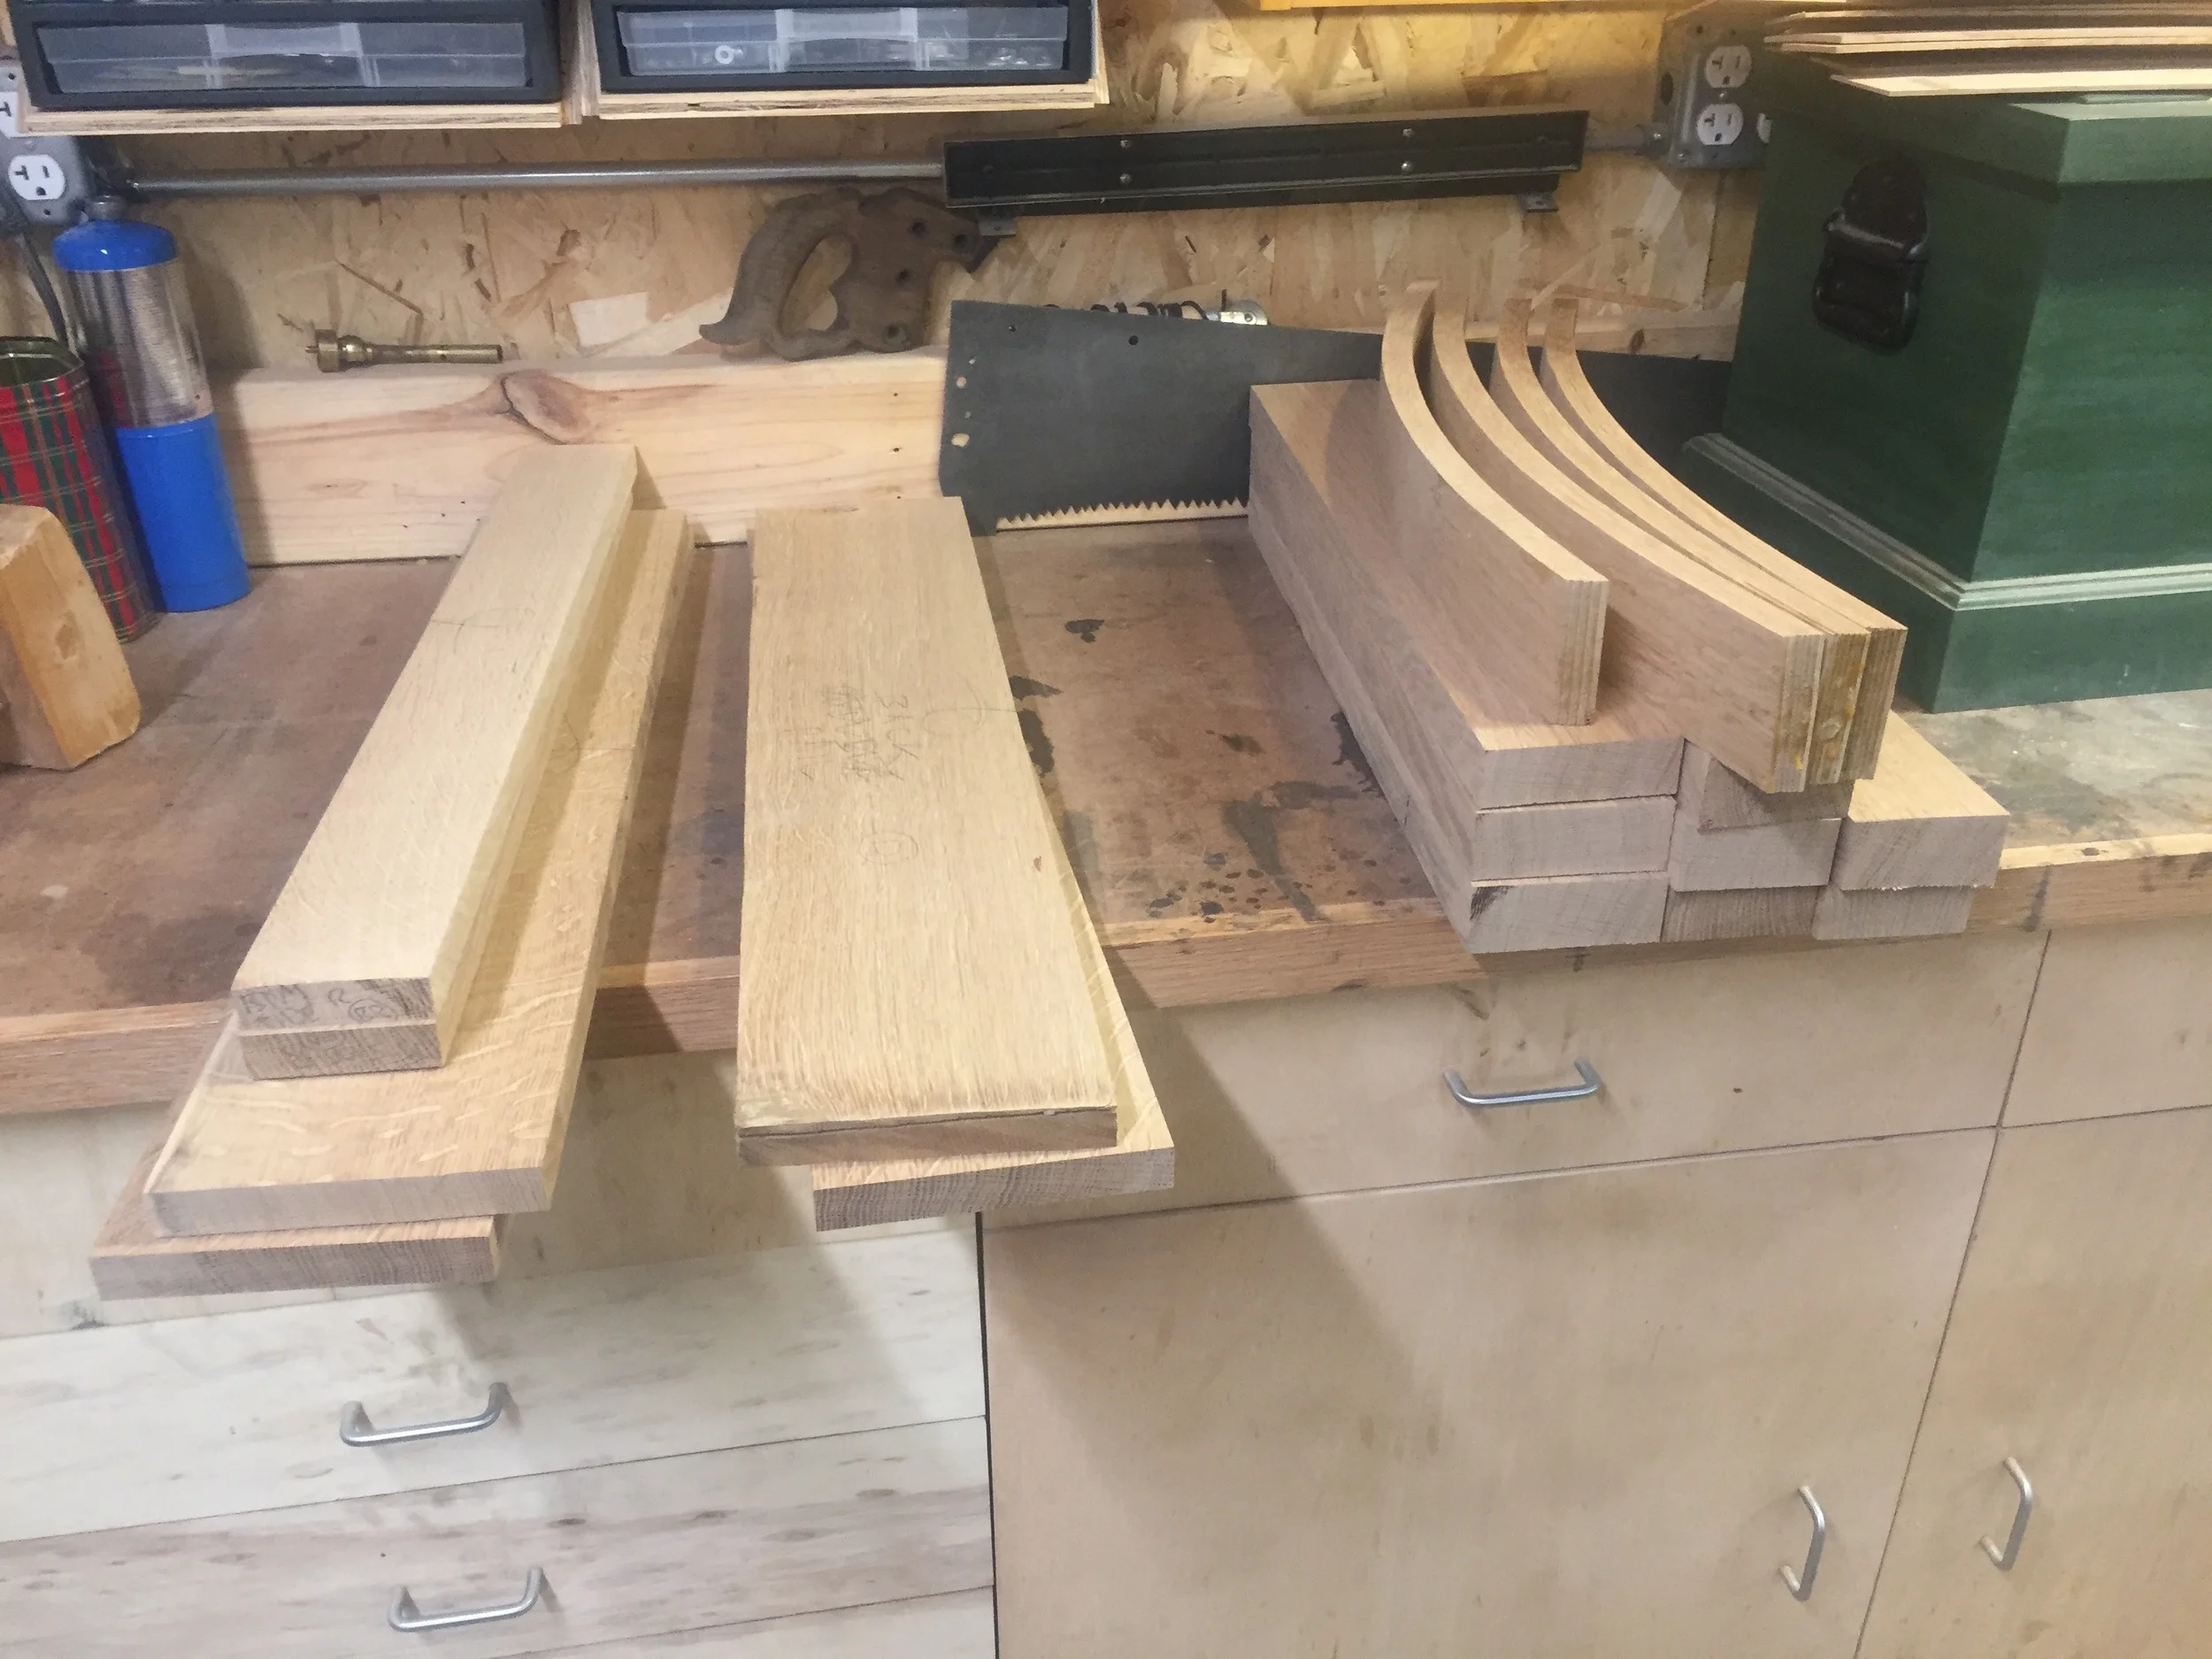
As it's a reproduction, the style calls for using quarter sawn white oak. Again. I'm getting pretty used to QSWO. Good thing I love it. i've seen plenty of "modern" revision of the Morris chair in other woods (cherry and walnut look the best), but nothing works nearly as well as good old white oak.
enough legs for two chairs
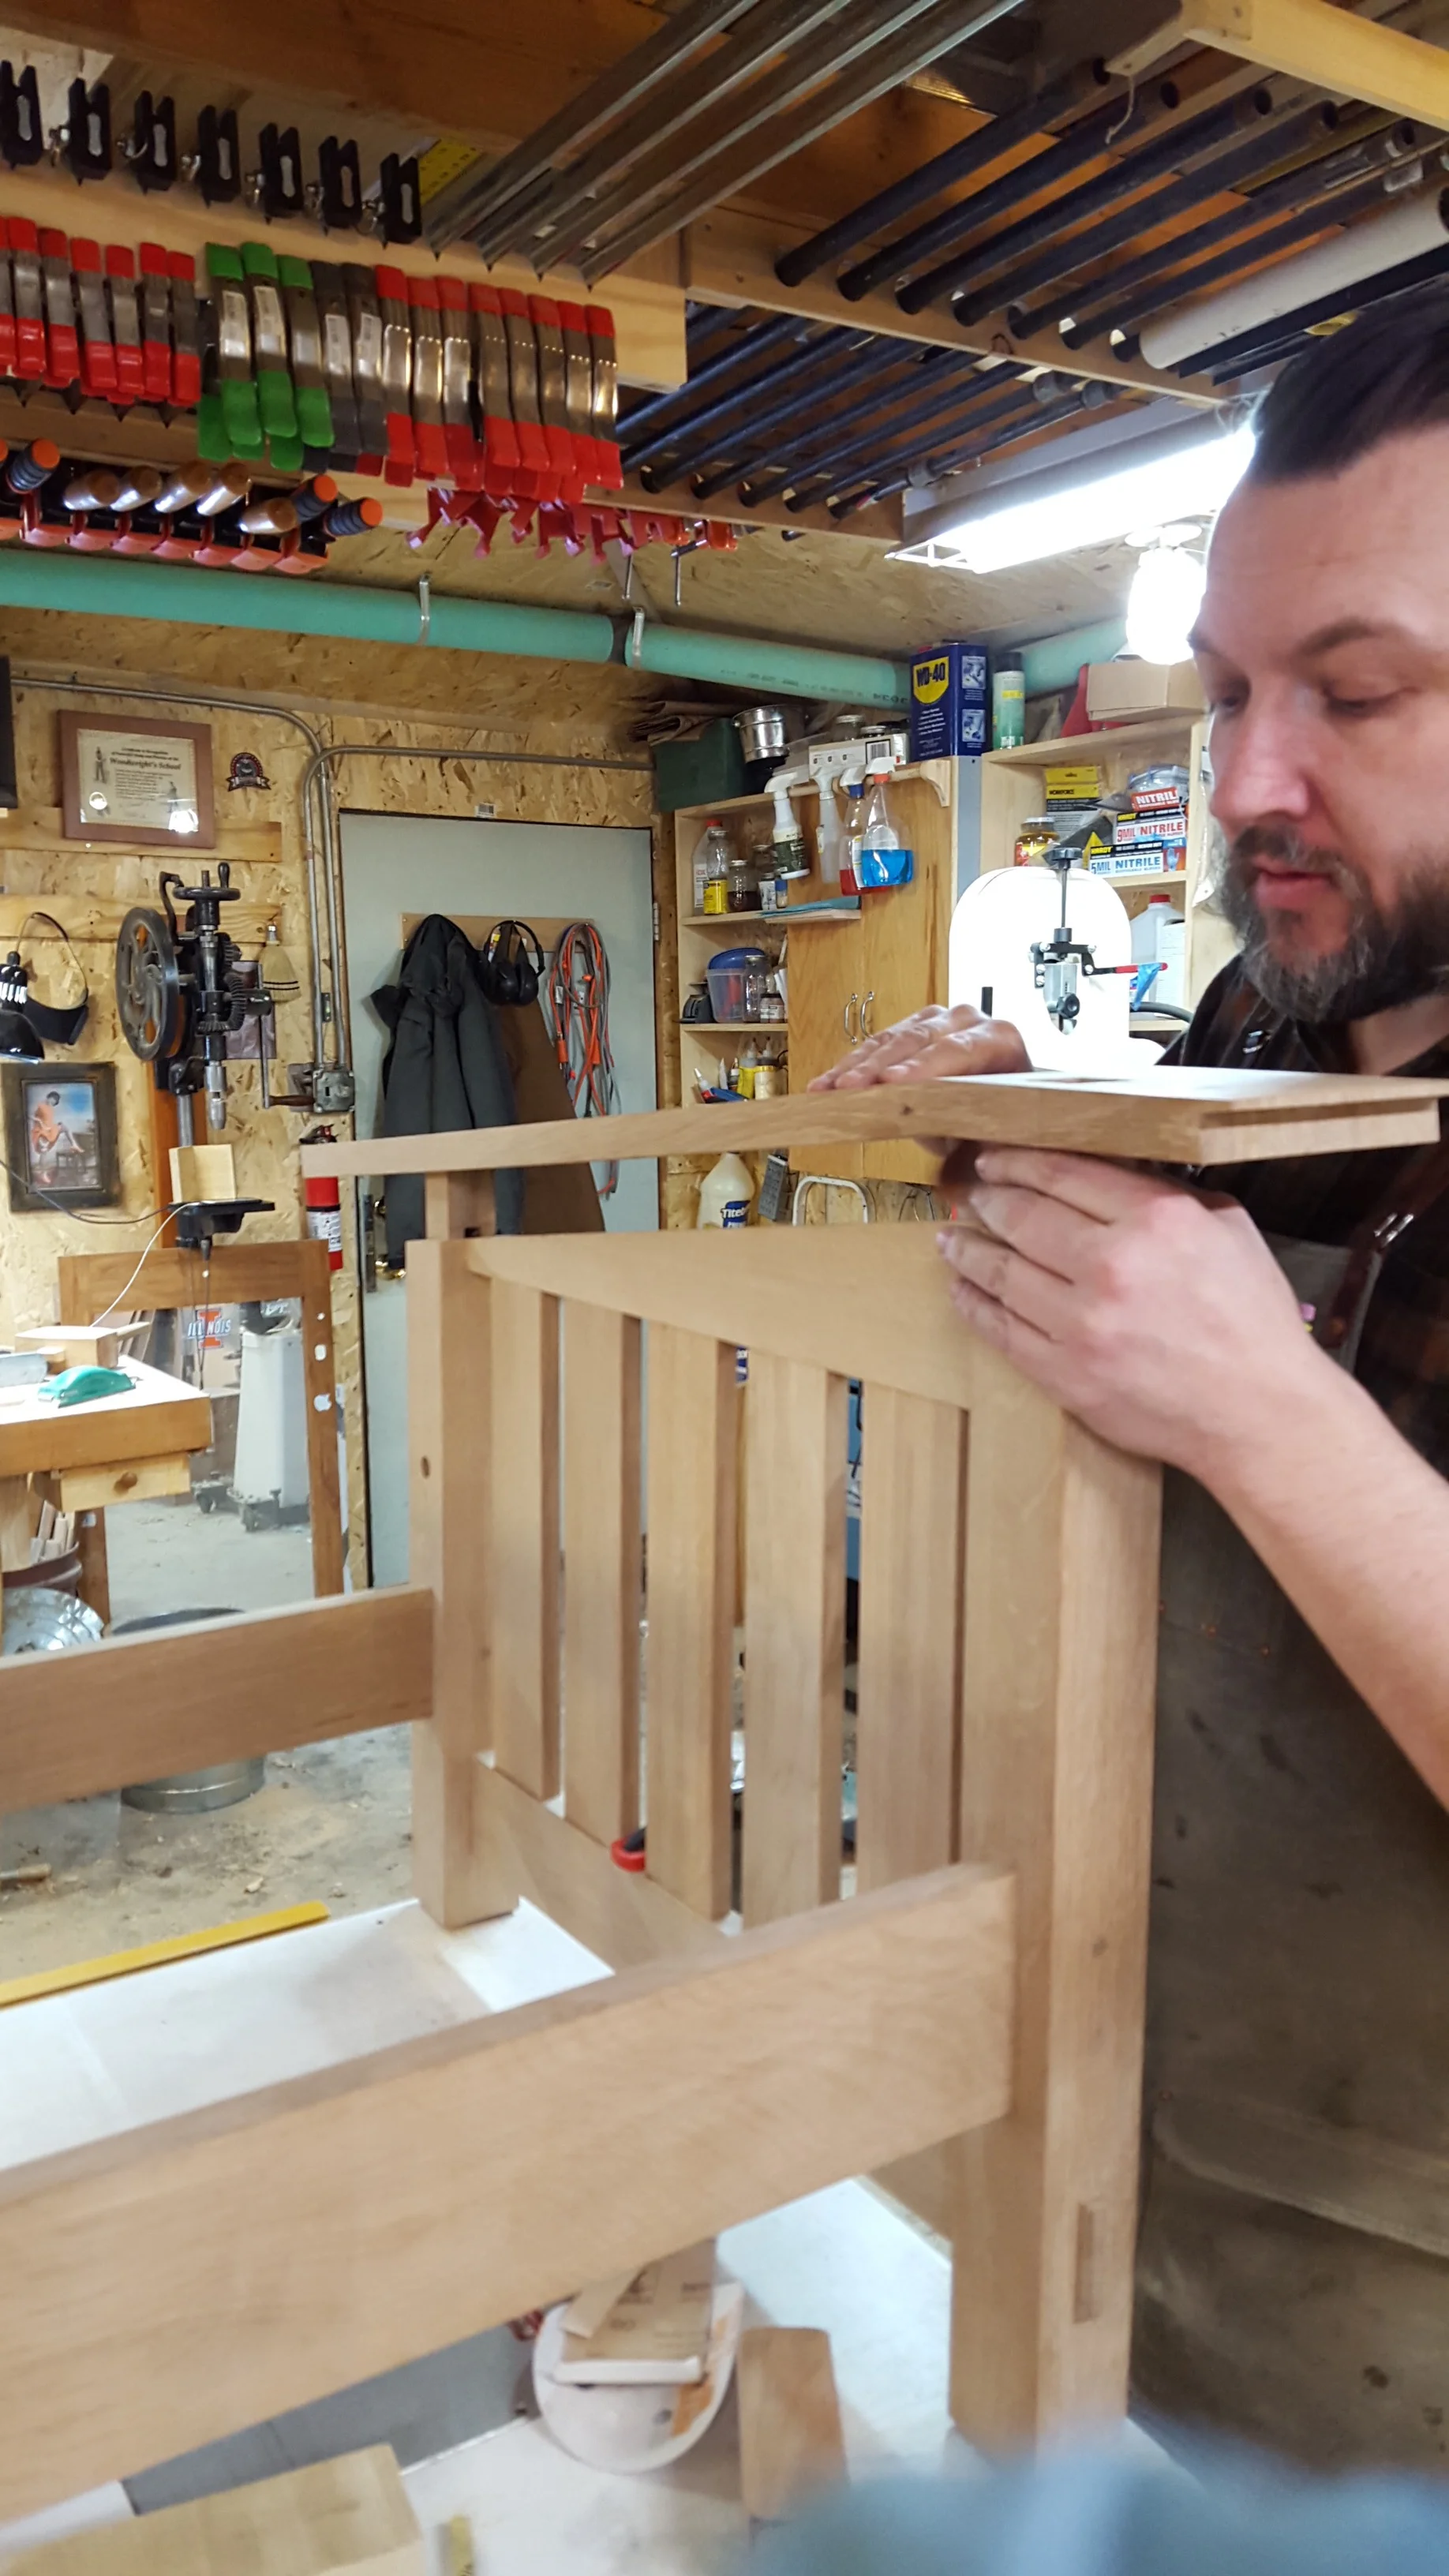
The build started with the legs. And a hallmark of the style is to make quarter sawn grain appear on all four sides of the legs, but adding veneers to two of the faces. Then it was on to milling the rails/stretchers, and side slats. The sides are where one of the first complications in this build arises. At first glance, the side assemblies look like simple square "ladders". Where the top arm is an obvious slat front to back, the bottom rail also is at an angle, and is about 3/4" lower in the back than in the front. The means the shoulders of the bottom rails where they meet the legs are angled. and all the shoulders on the bottom of the slats are angled. Each slat is a slightly different length. And then there's the angled shoulder for the through tenon where the back leg meets the slanted arm. There is a lot to consider.
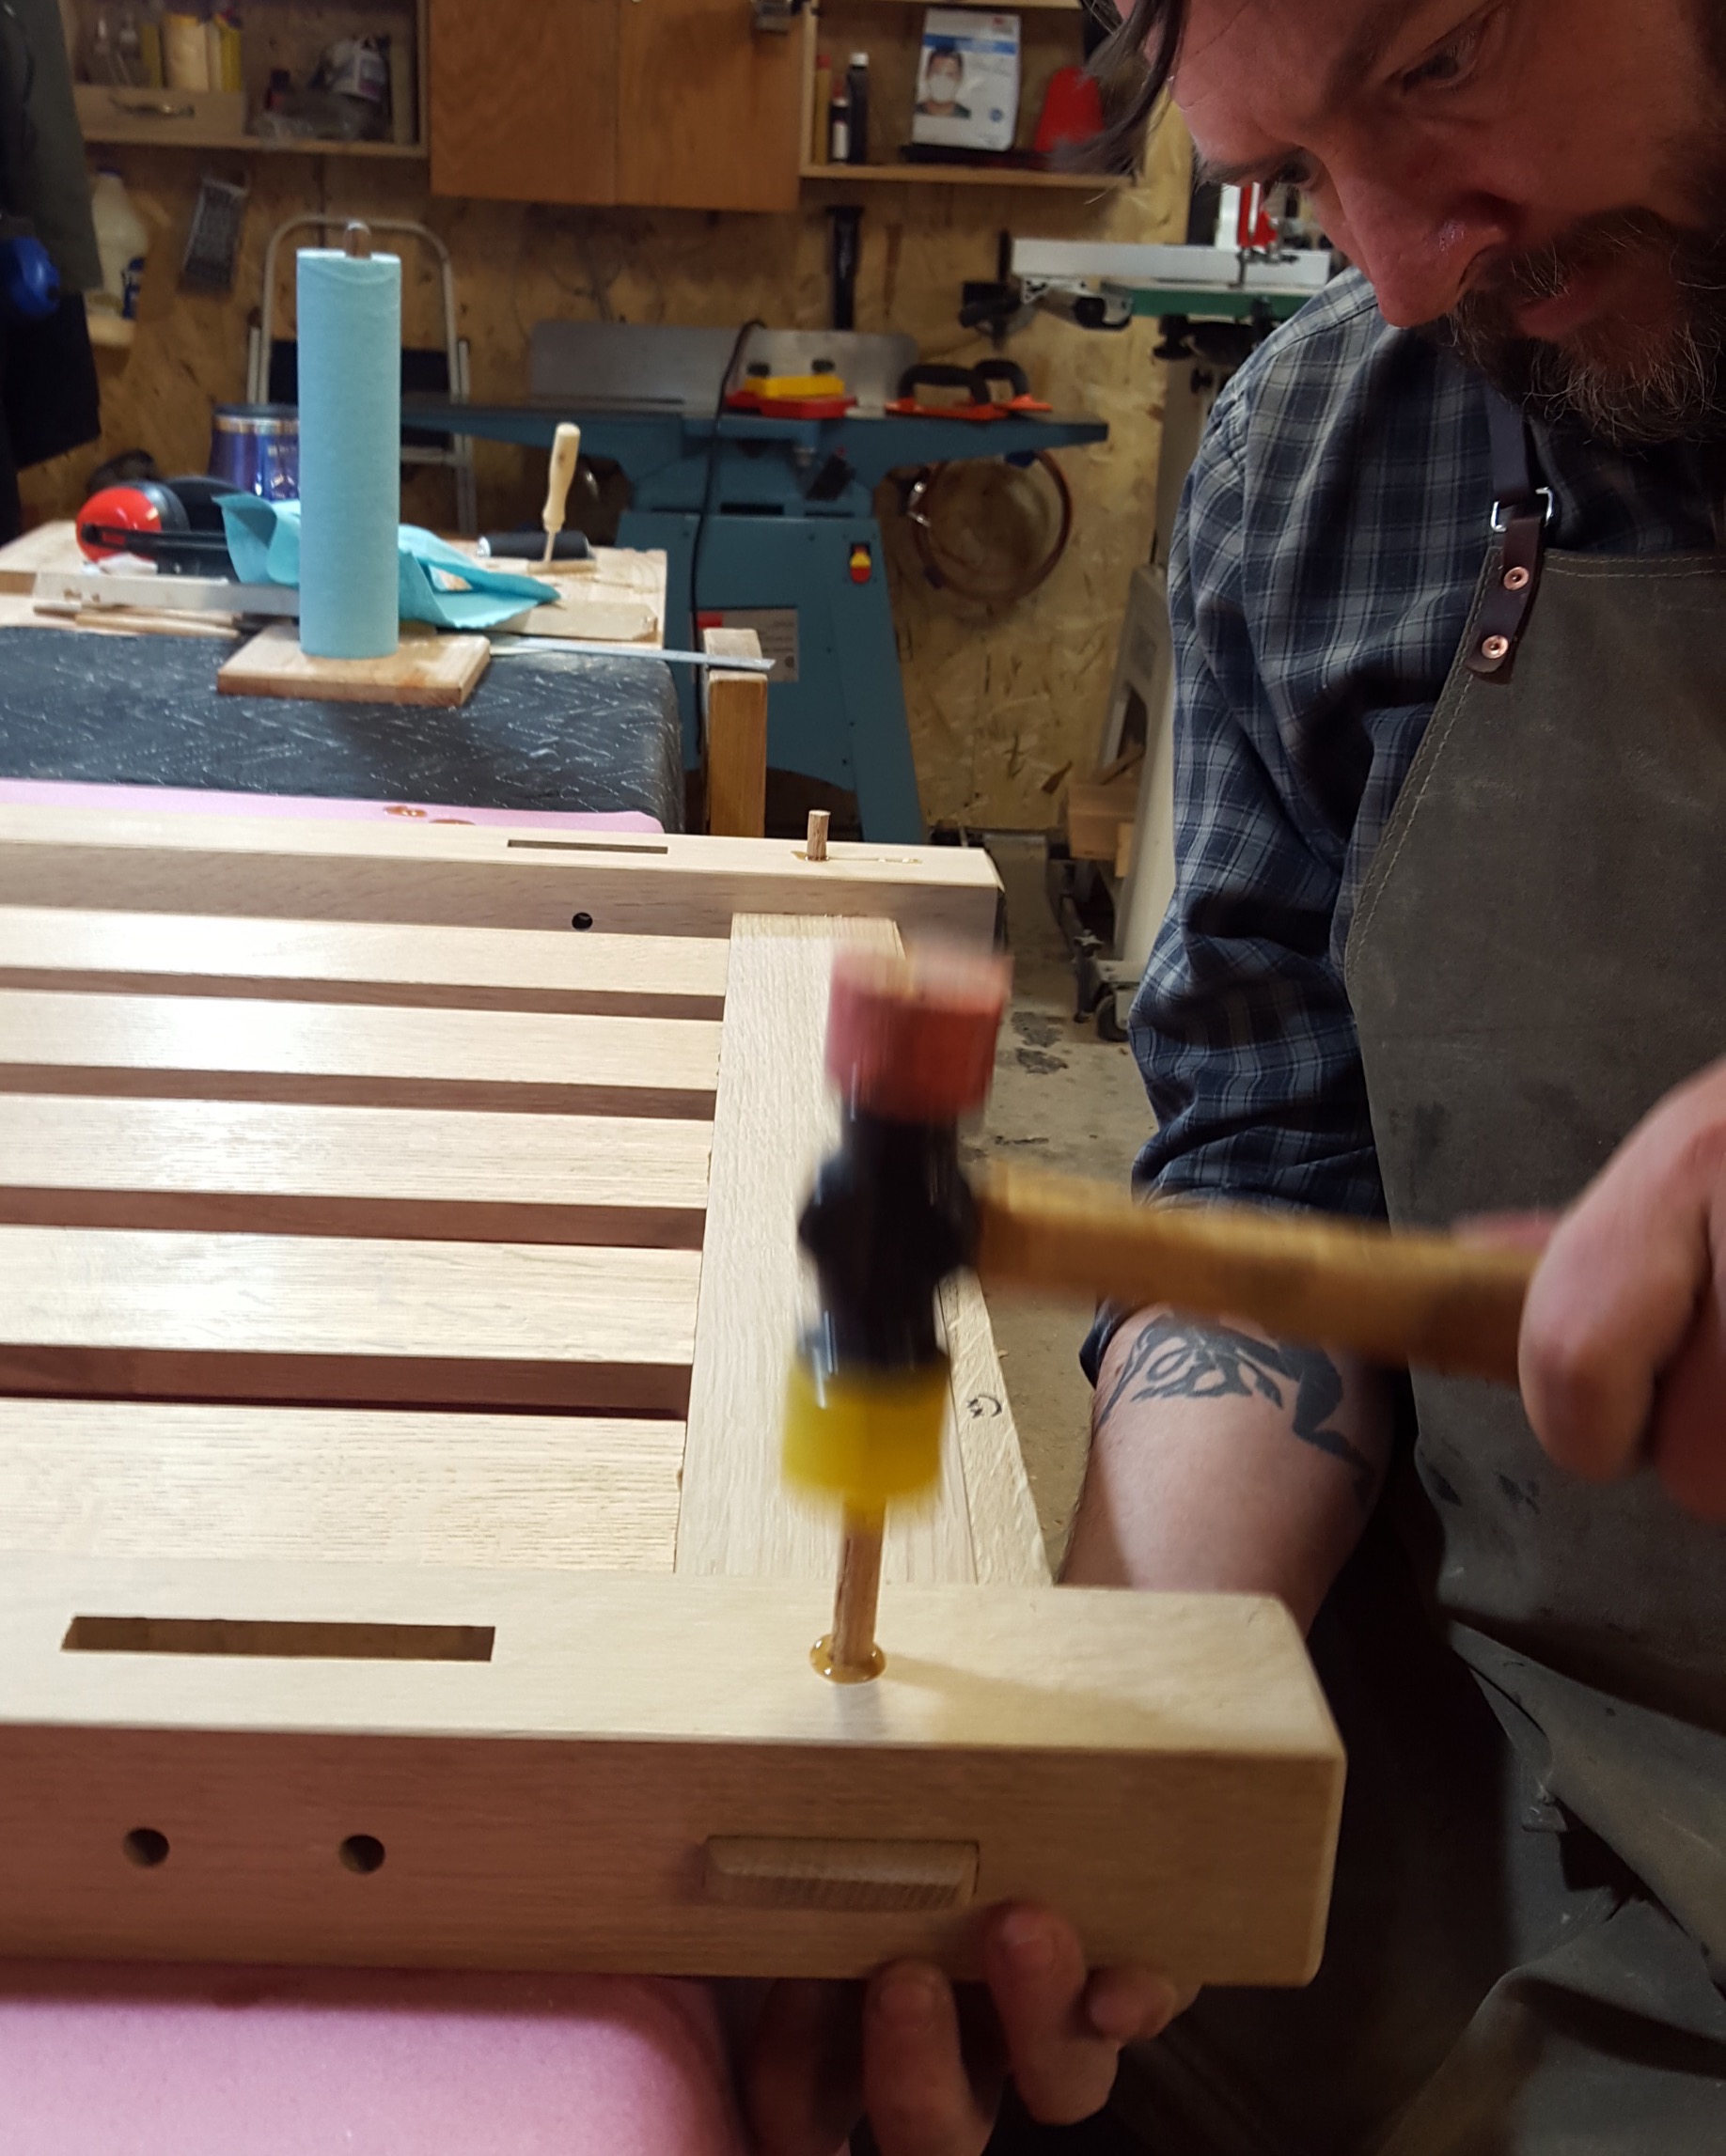
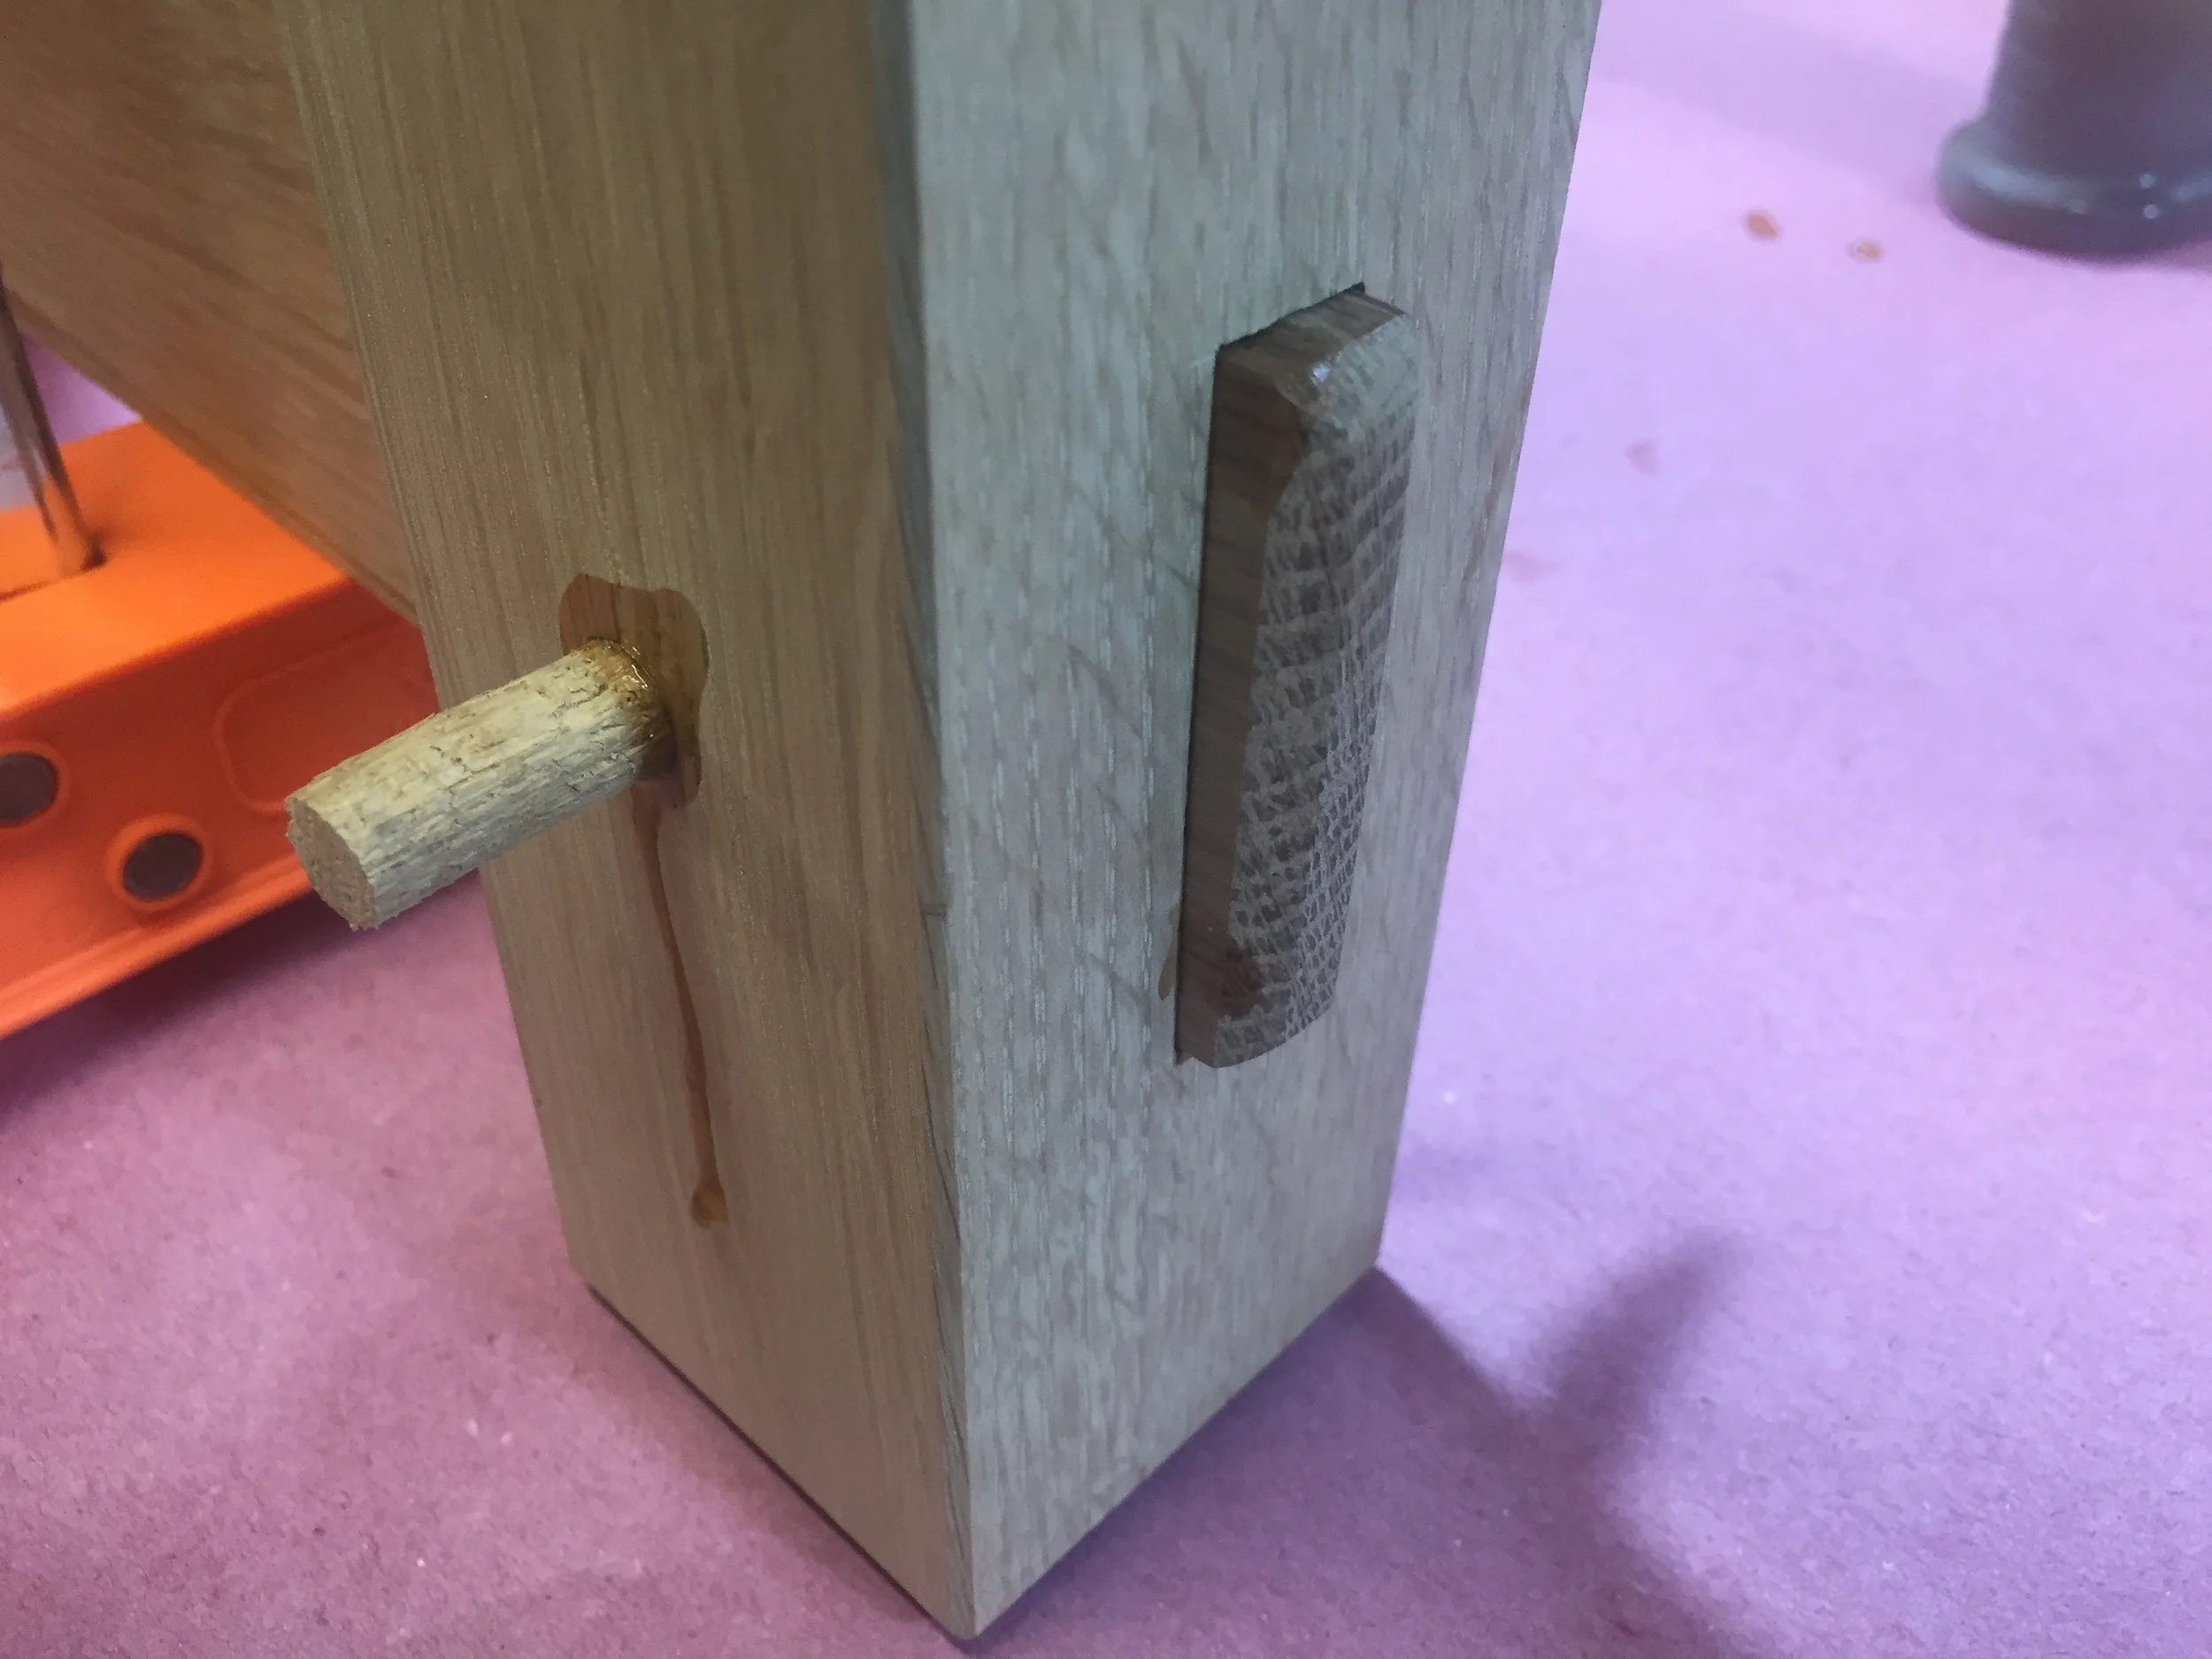
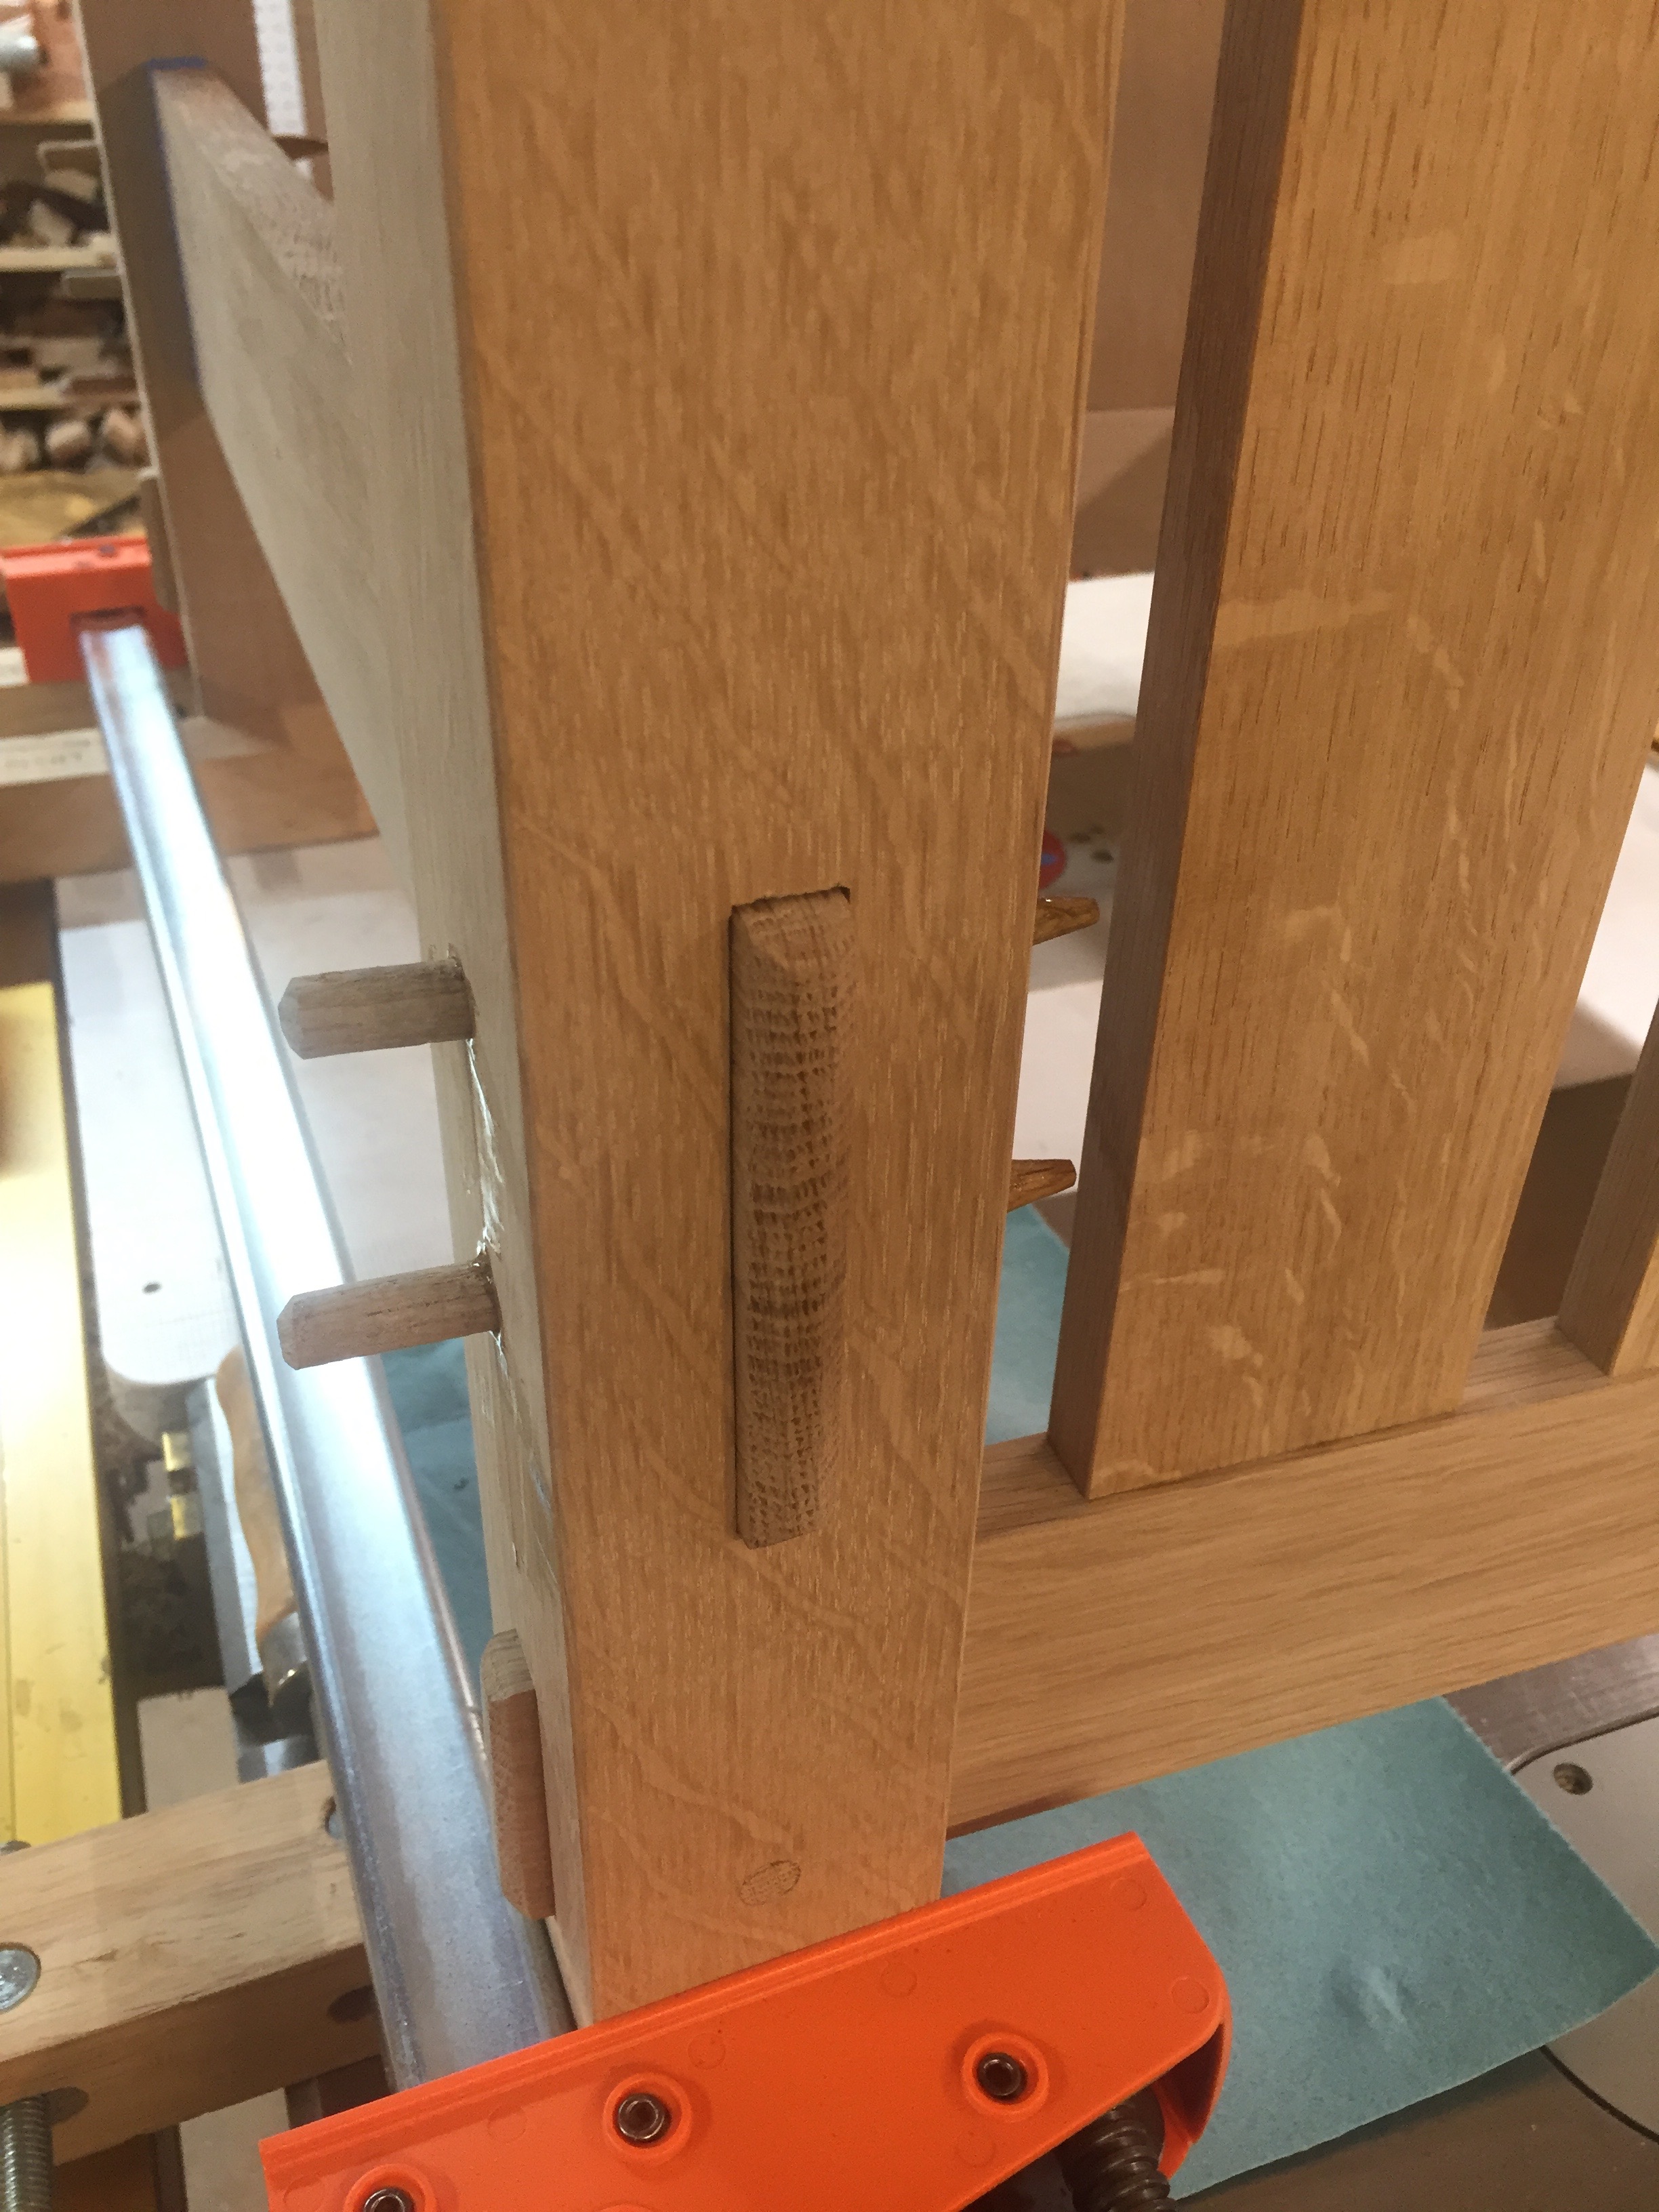
After the sides are assembled, the two sides are joined by two beefy stretchers. These stretchers, like the bottom side rails, feature pegged through tenons, a feature I enjoy making a lot. The pegs are draw bored to pull the shoulder's tight, then trimmed off and chiseled flush.
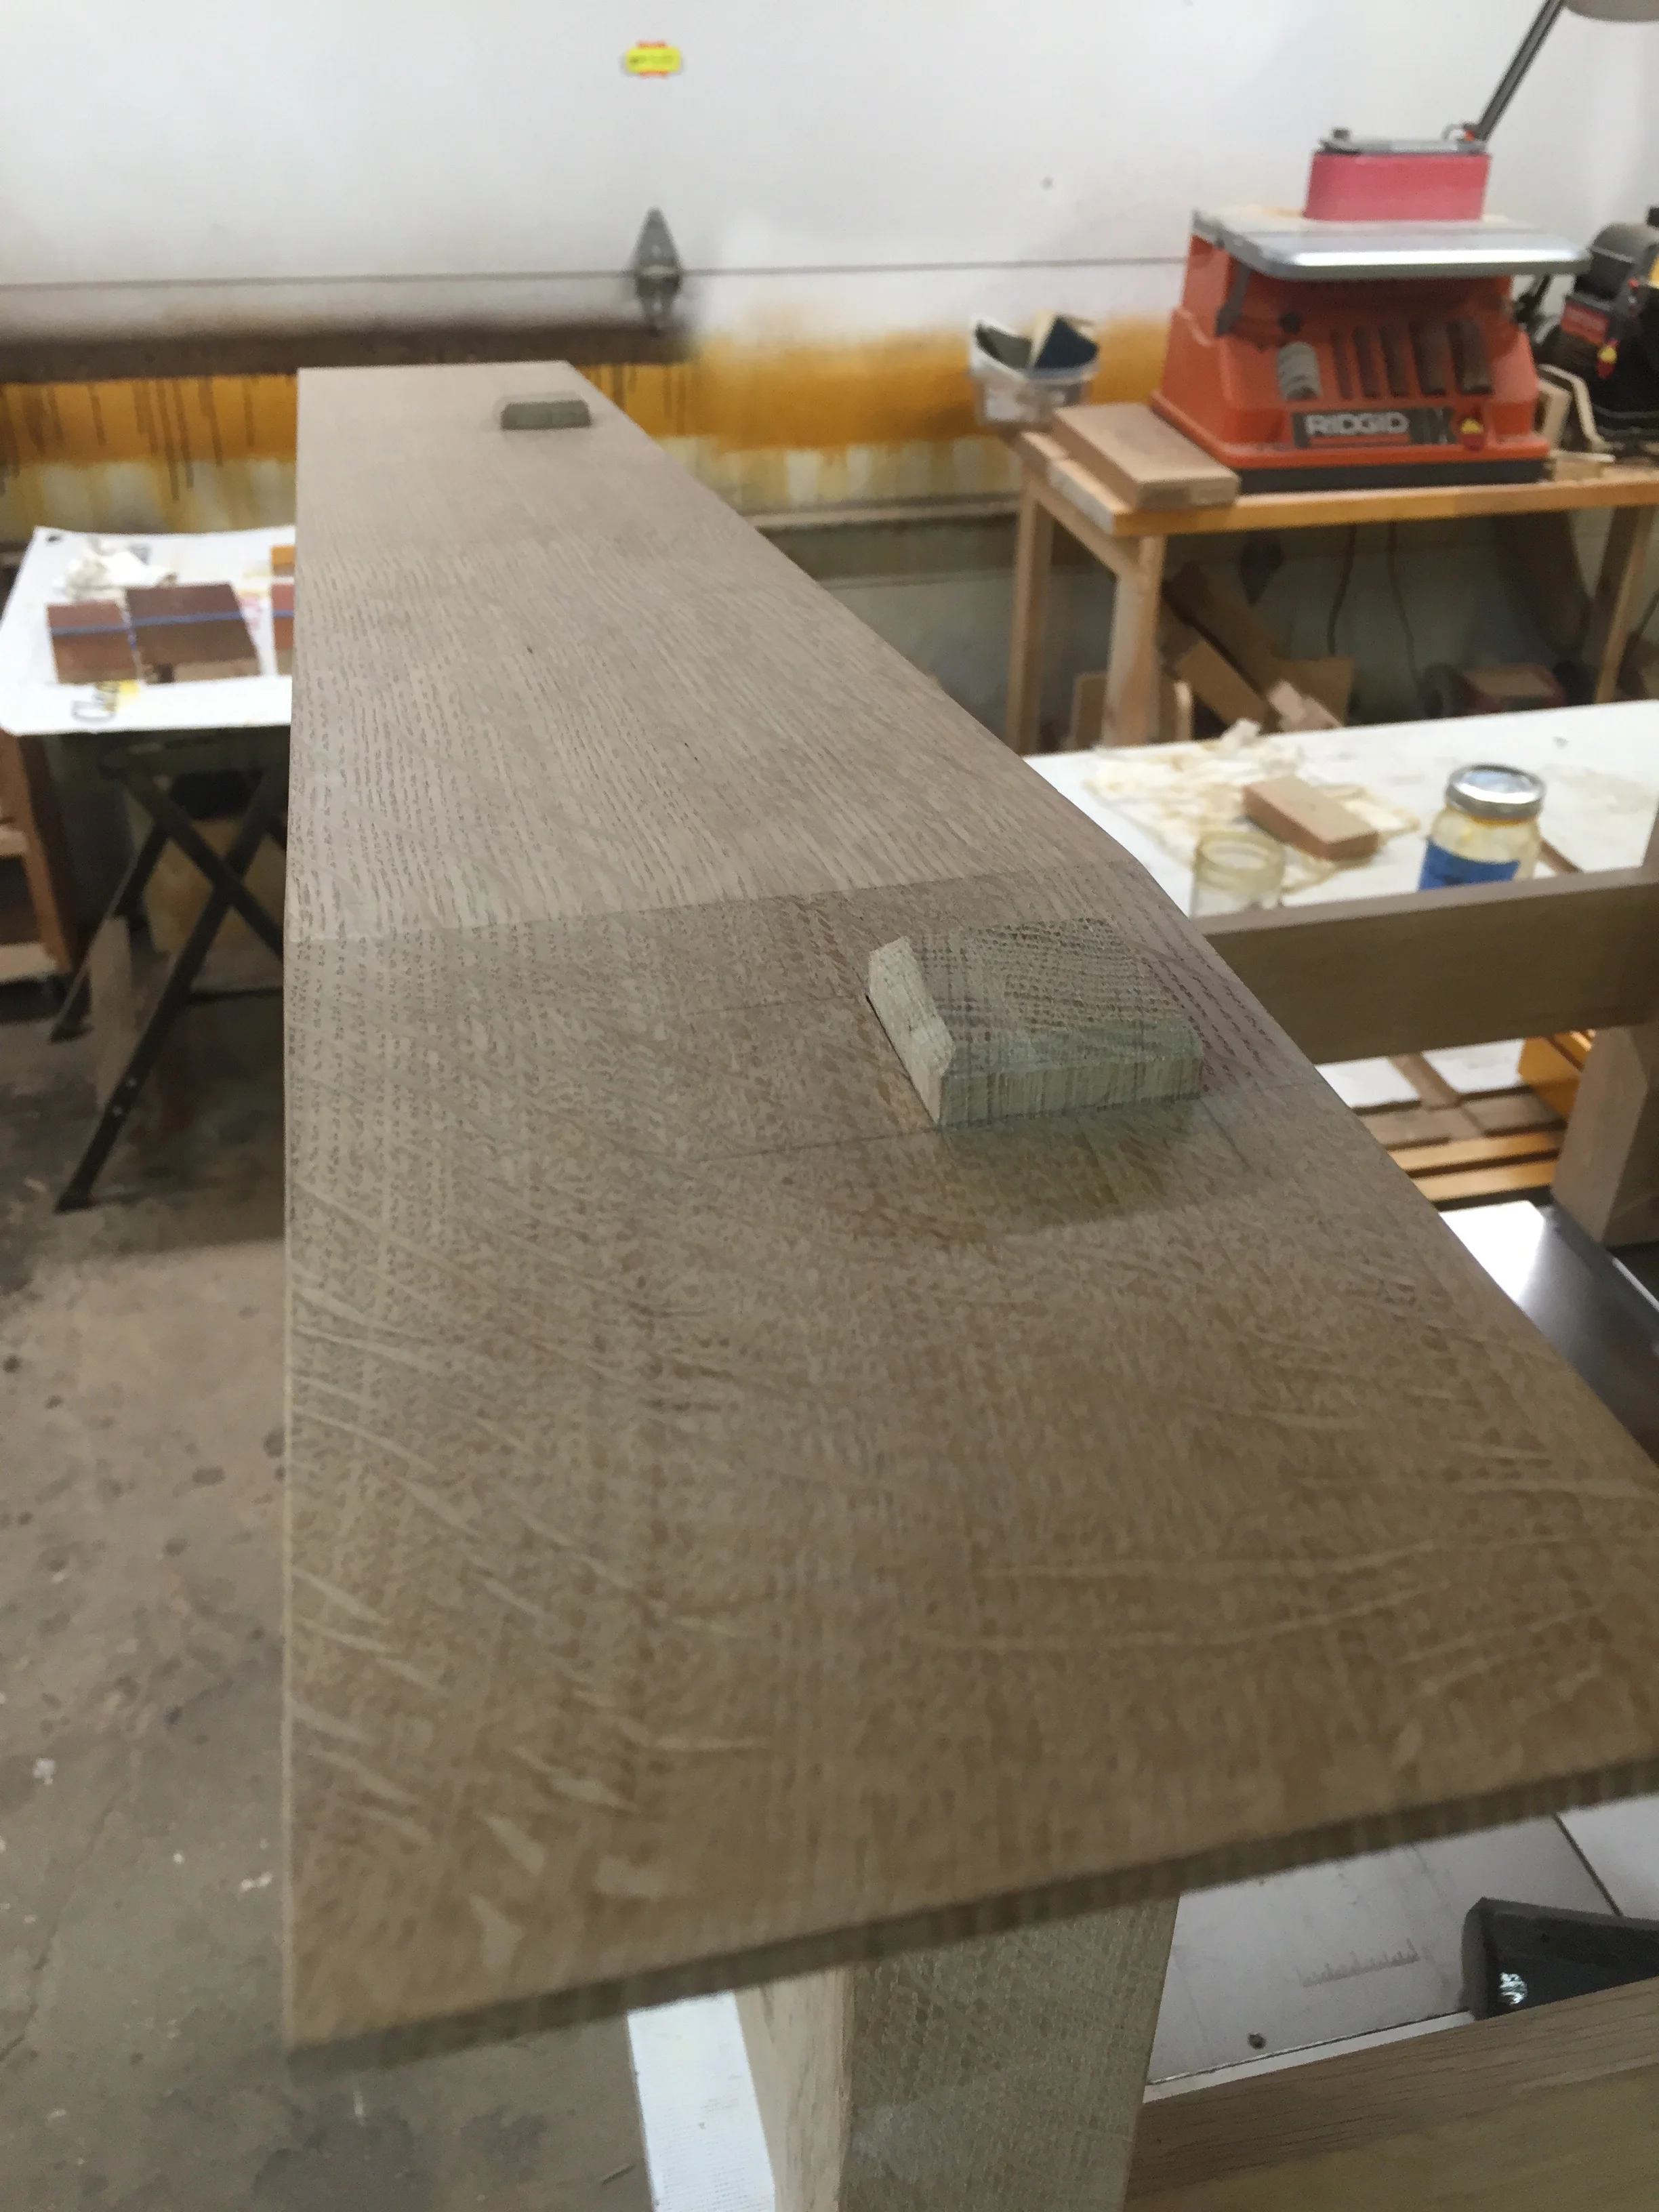
The next challenge are the slanted arms. They are slightly "hockey stick" like in profile, with a bend near the top of the arm. This was one of coolest details of this build to make. The technique is to take a straight arm, and then cut an end off at the desired angle, then glue the cutoff onto the bottom side of the arm, resulting in a "bend"...
Once you've made that very tricky cut, re-glued the cutoff, and smoothed it out, it looks absolutely seamless, with the glue line disappearing. The grain direction matches perfectly, and the result is very cool.
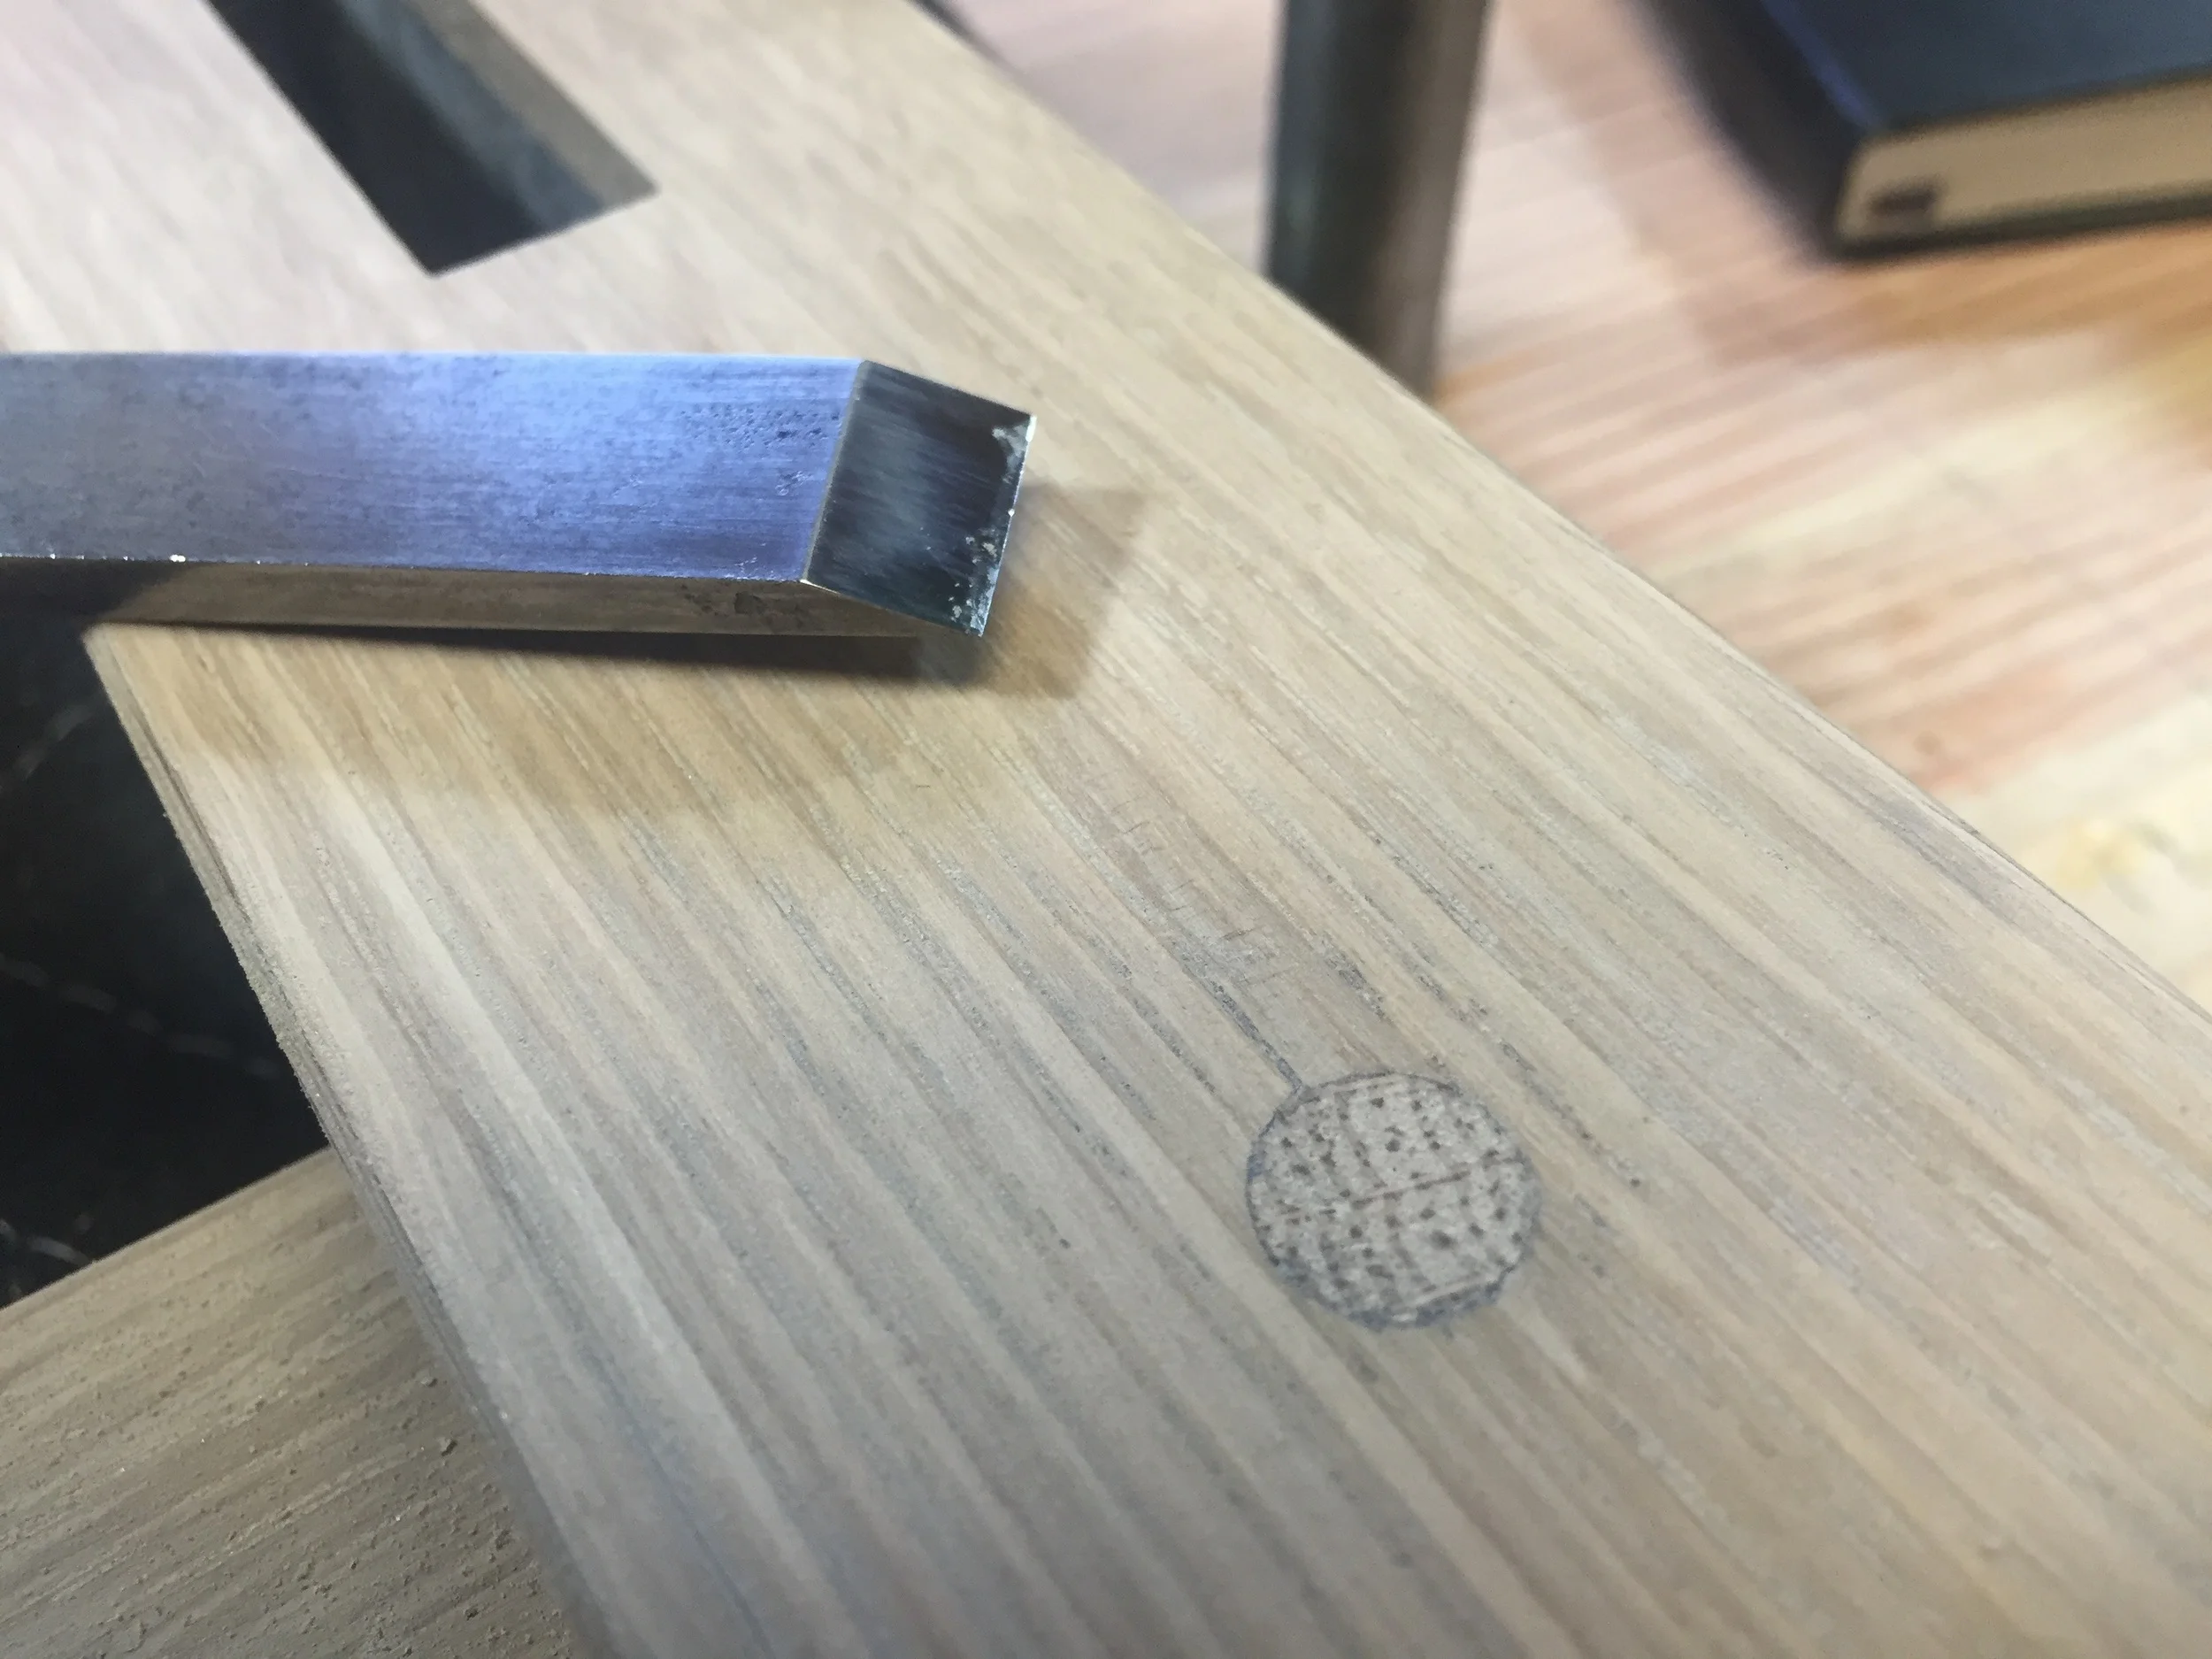
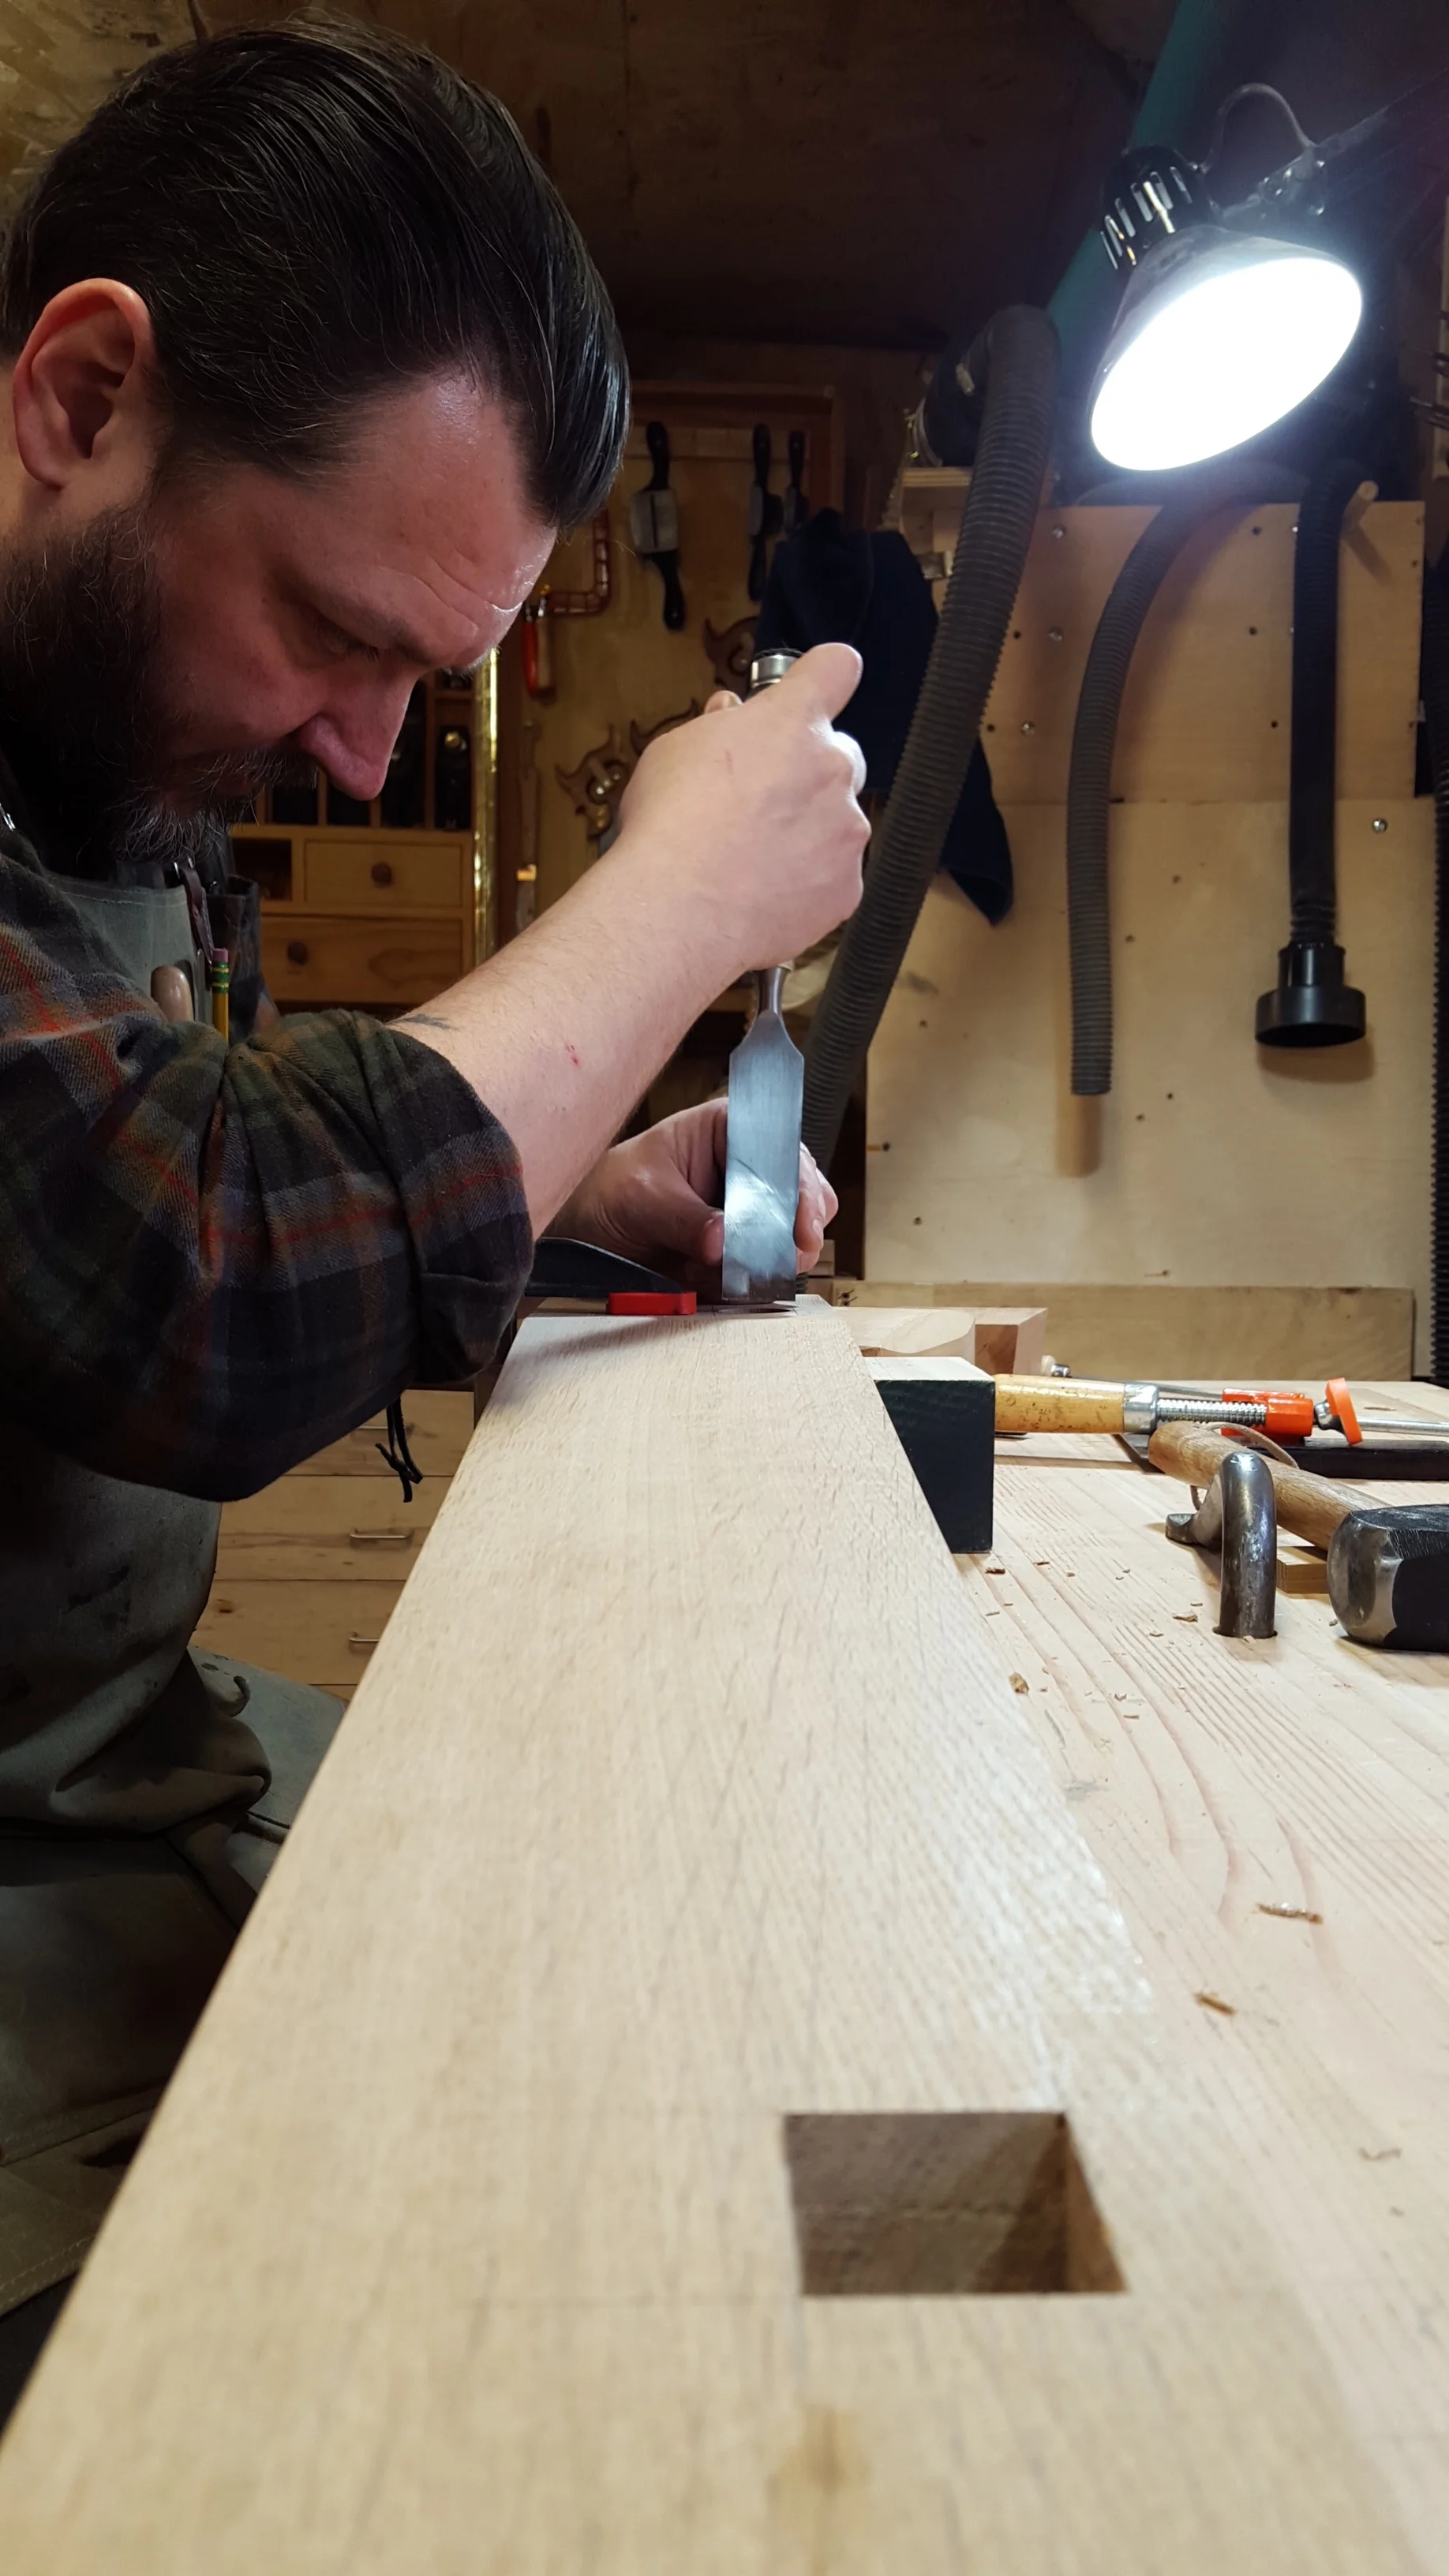
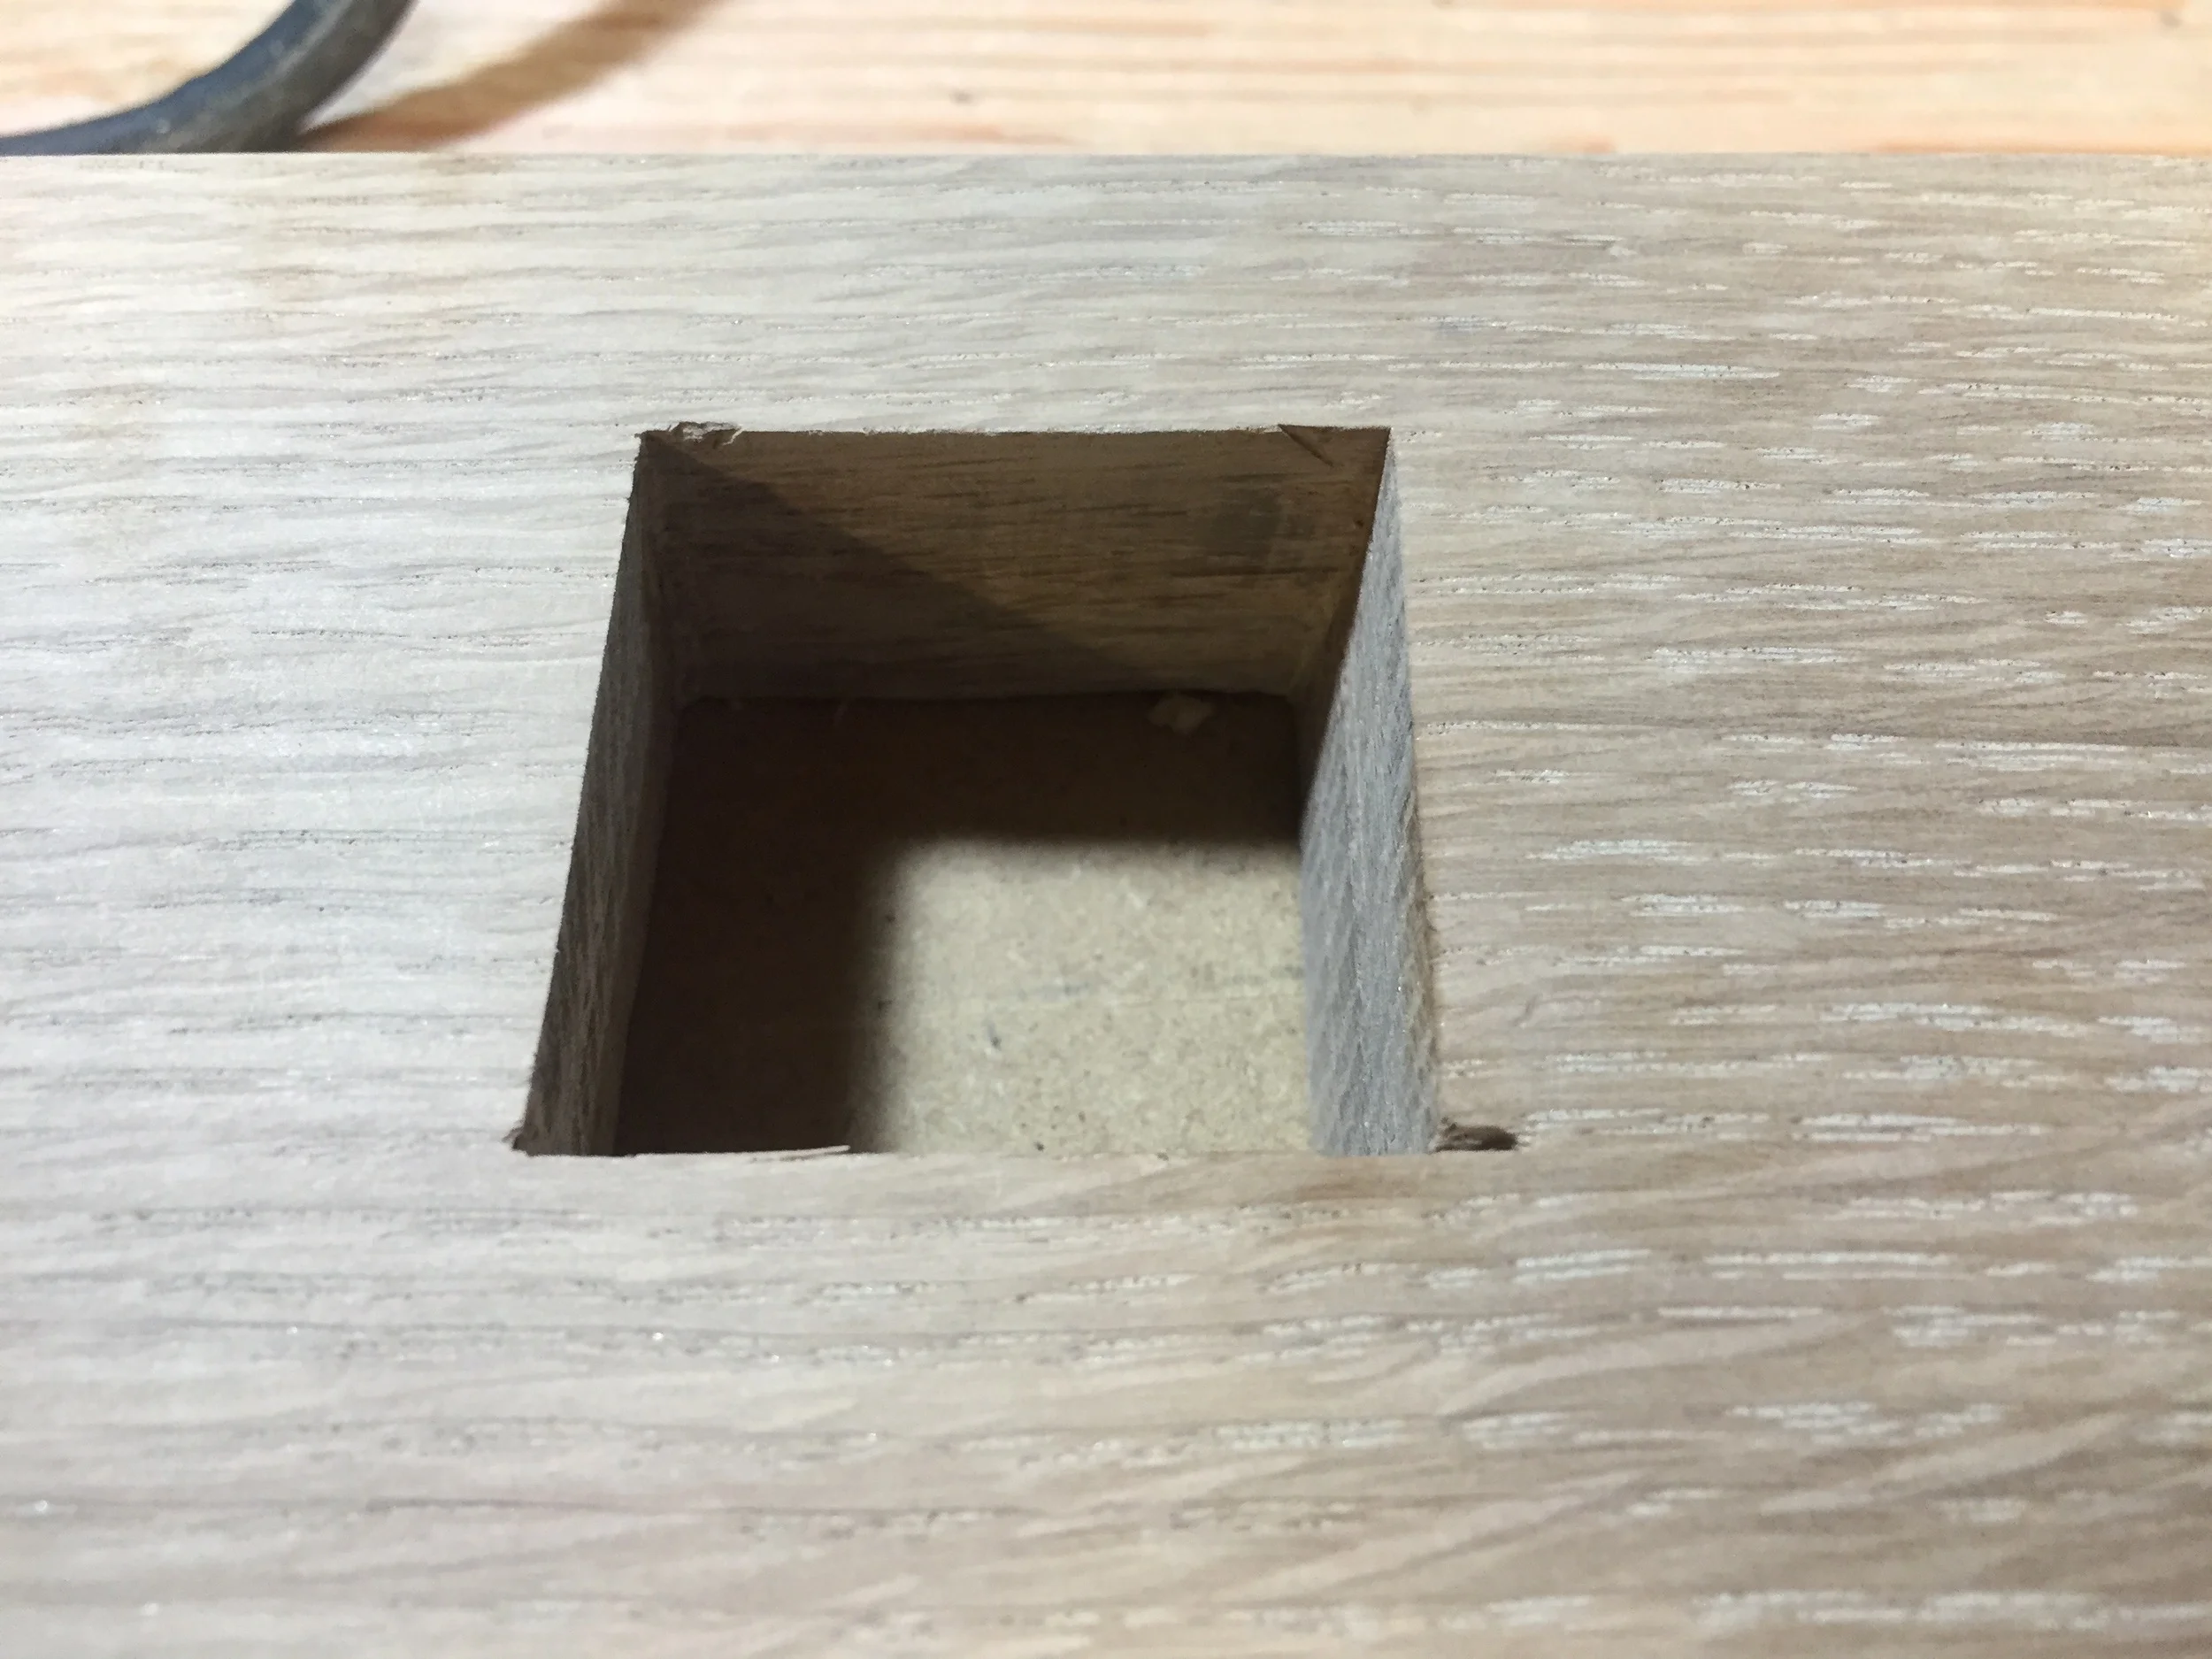
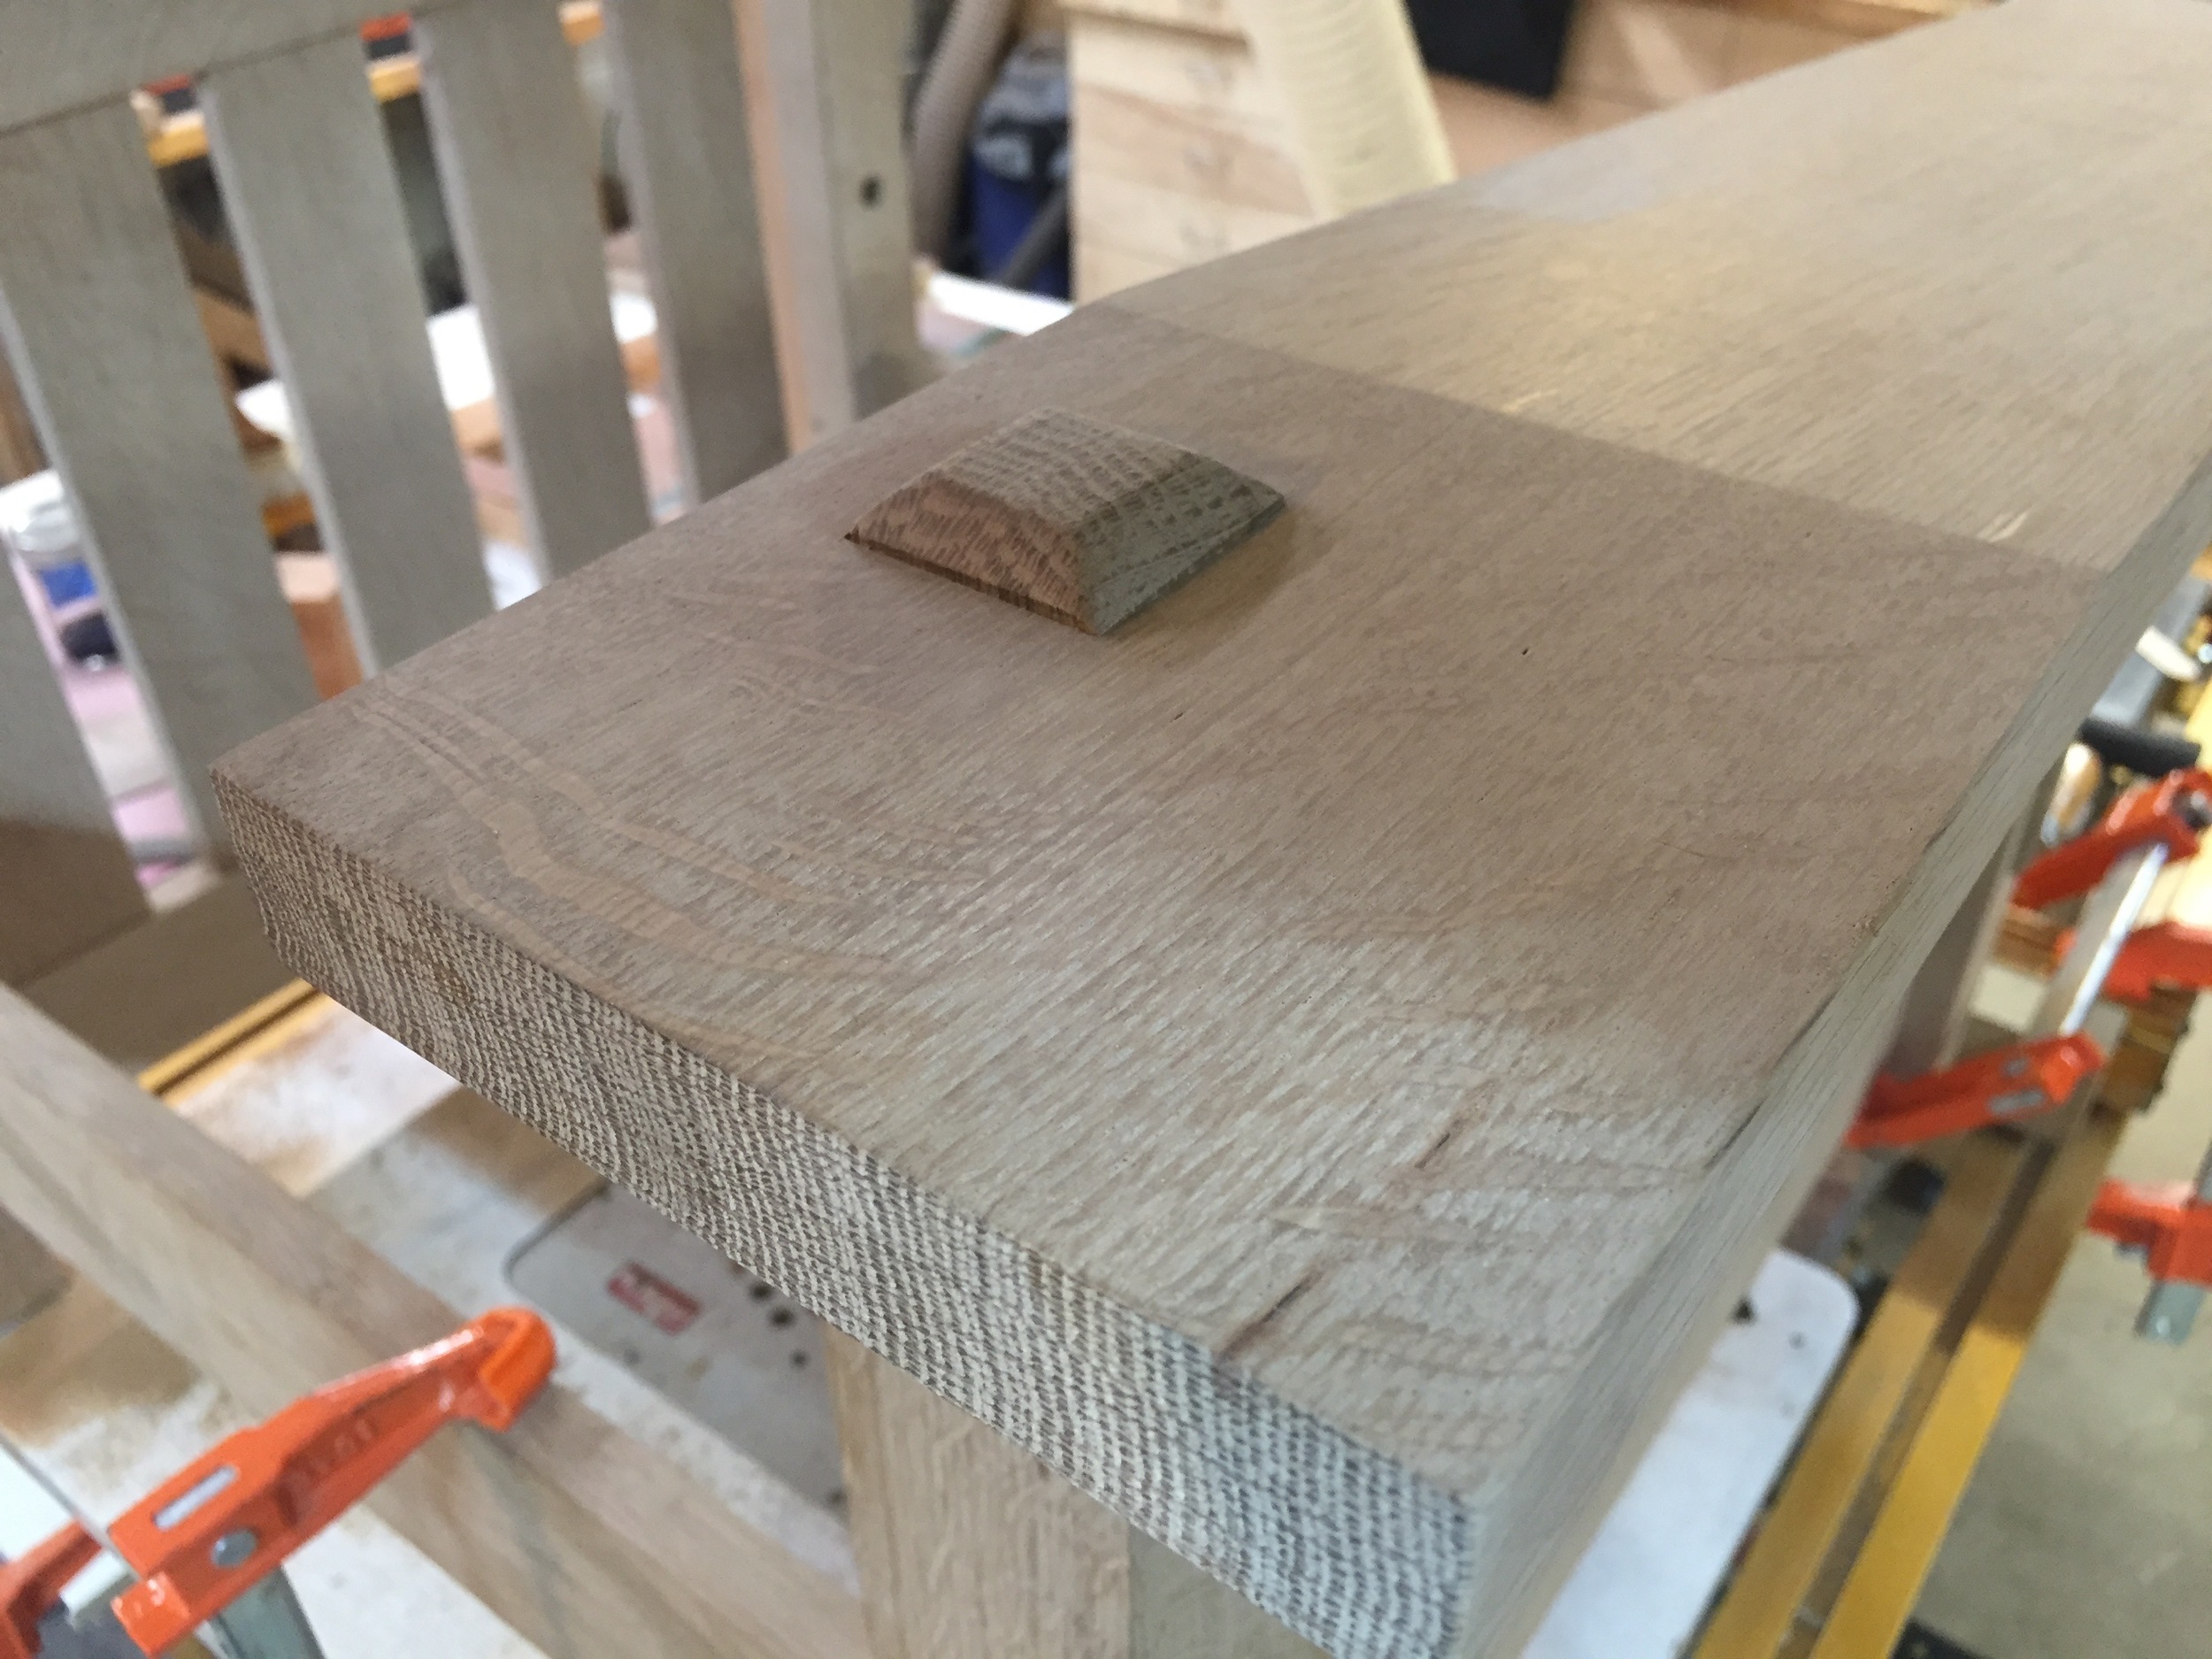
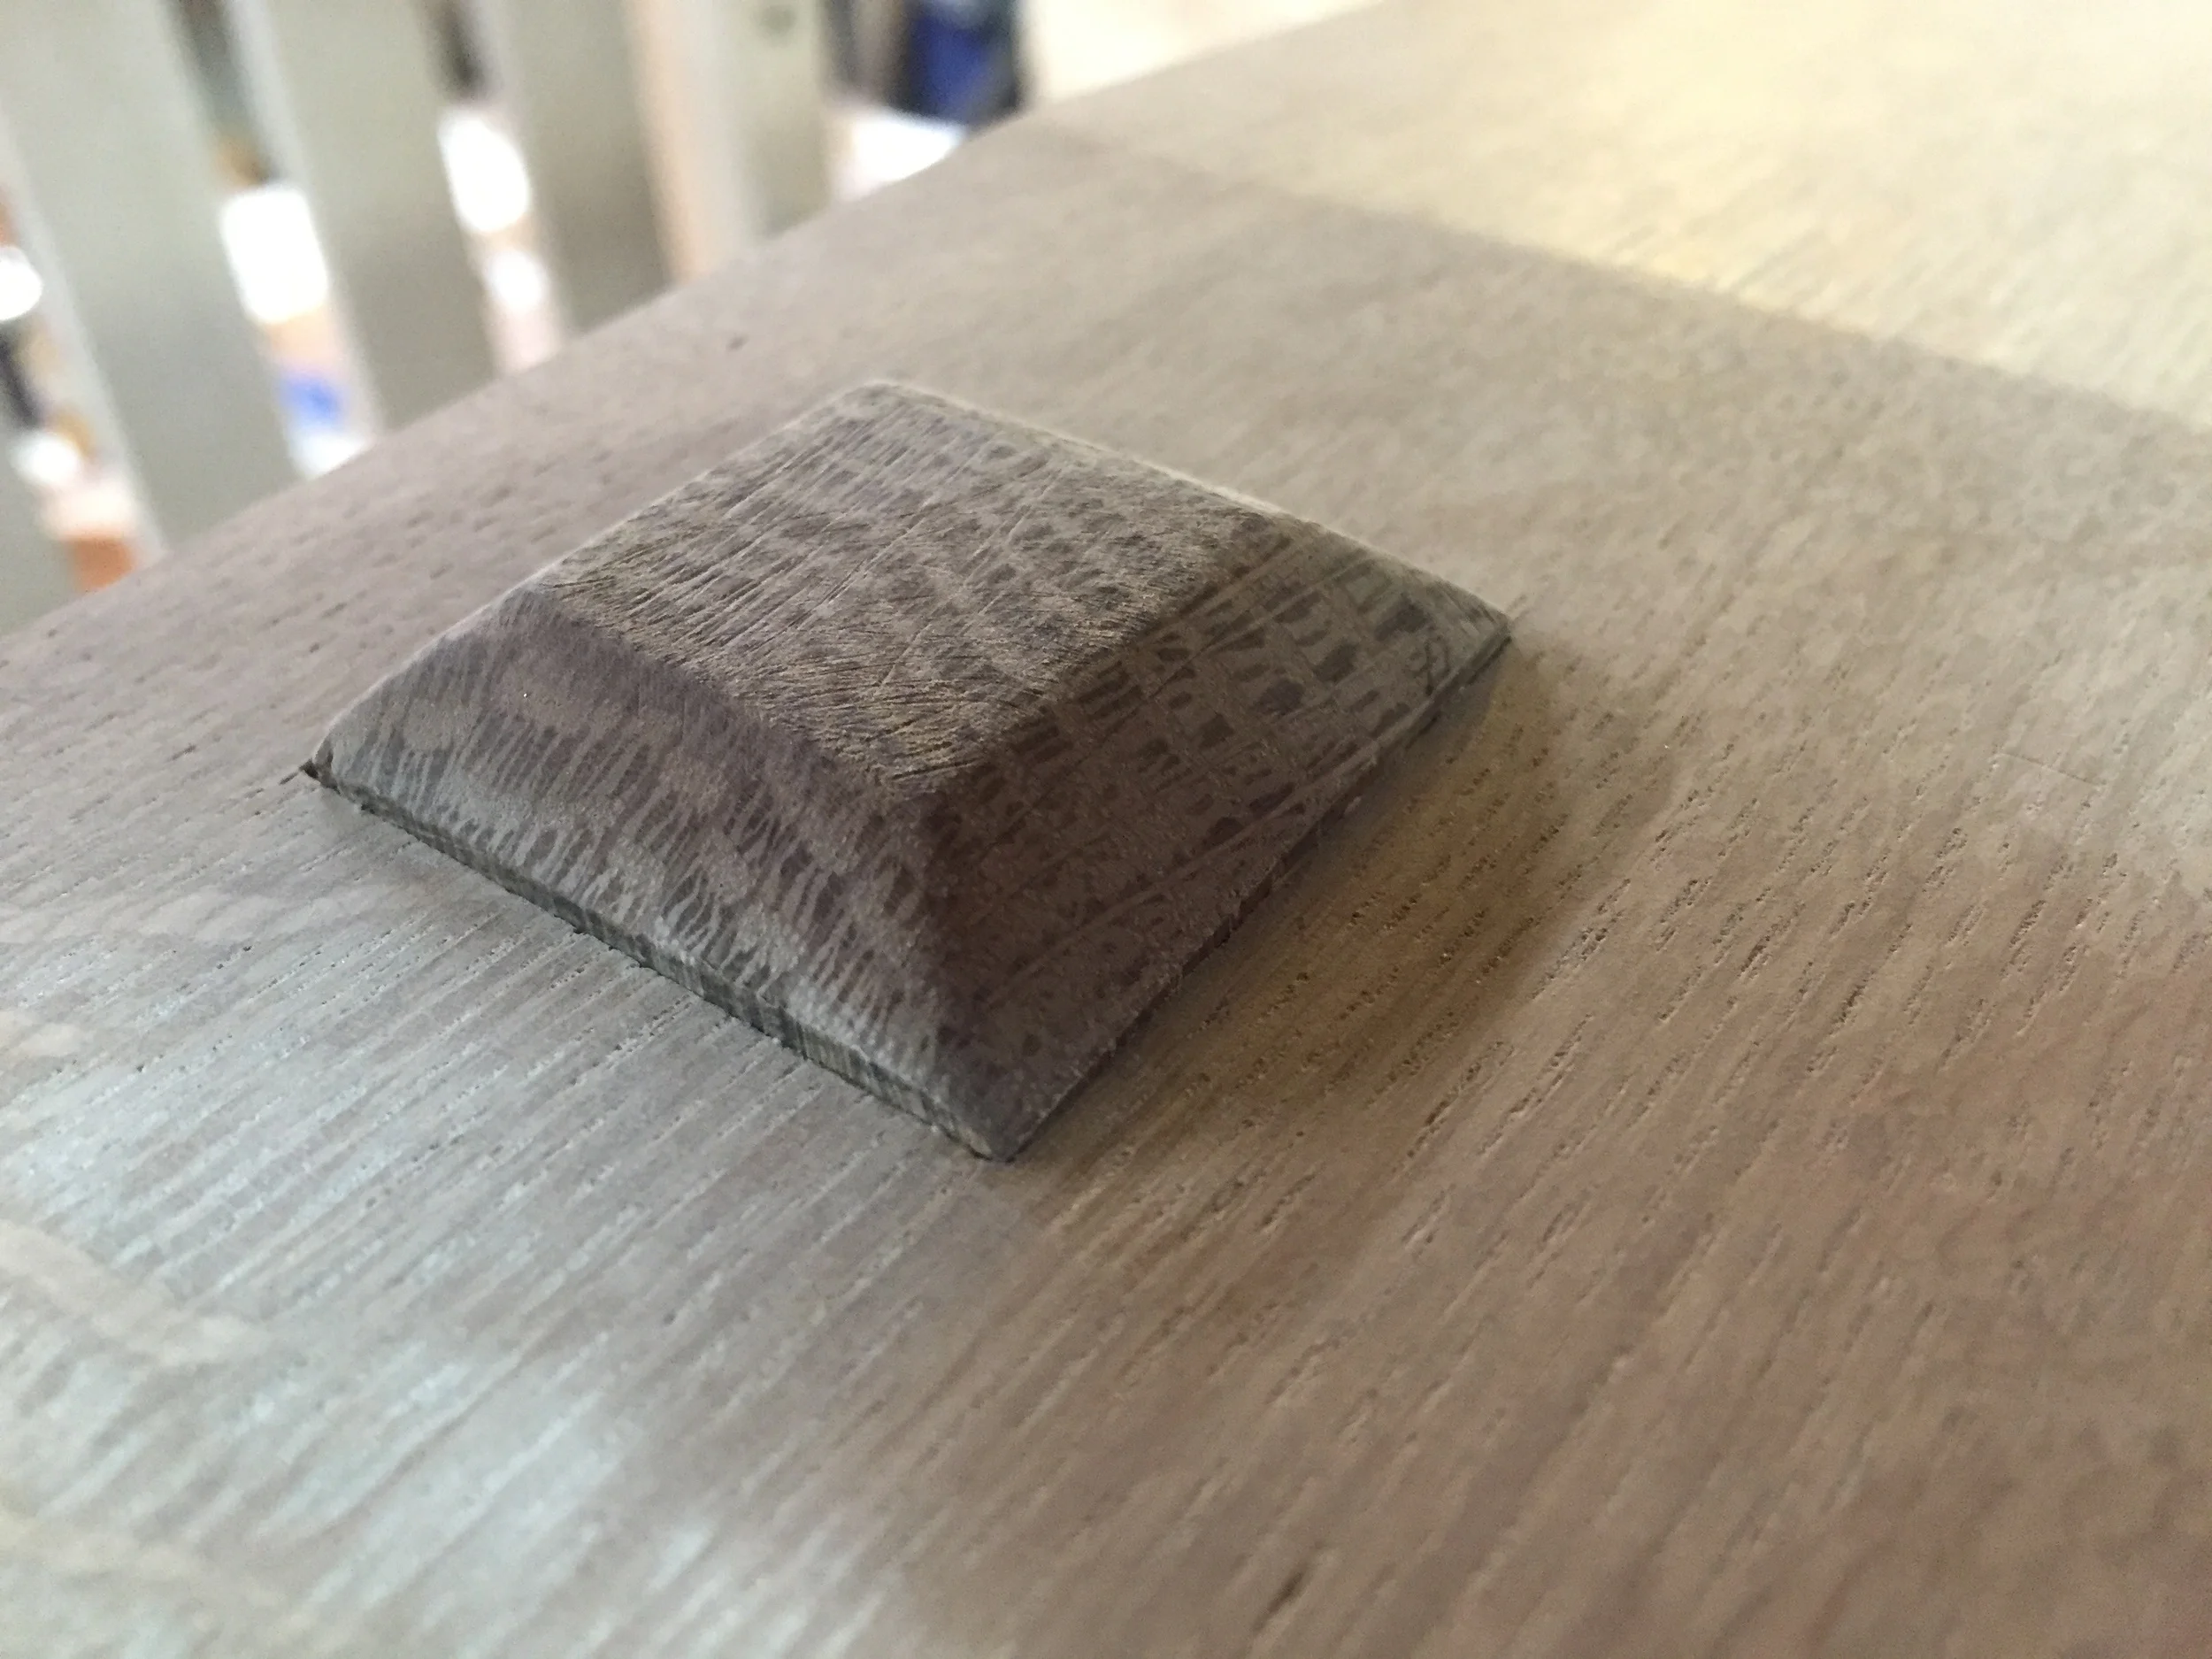
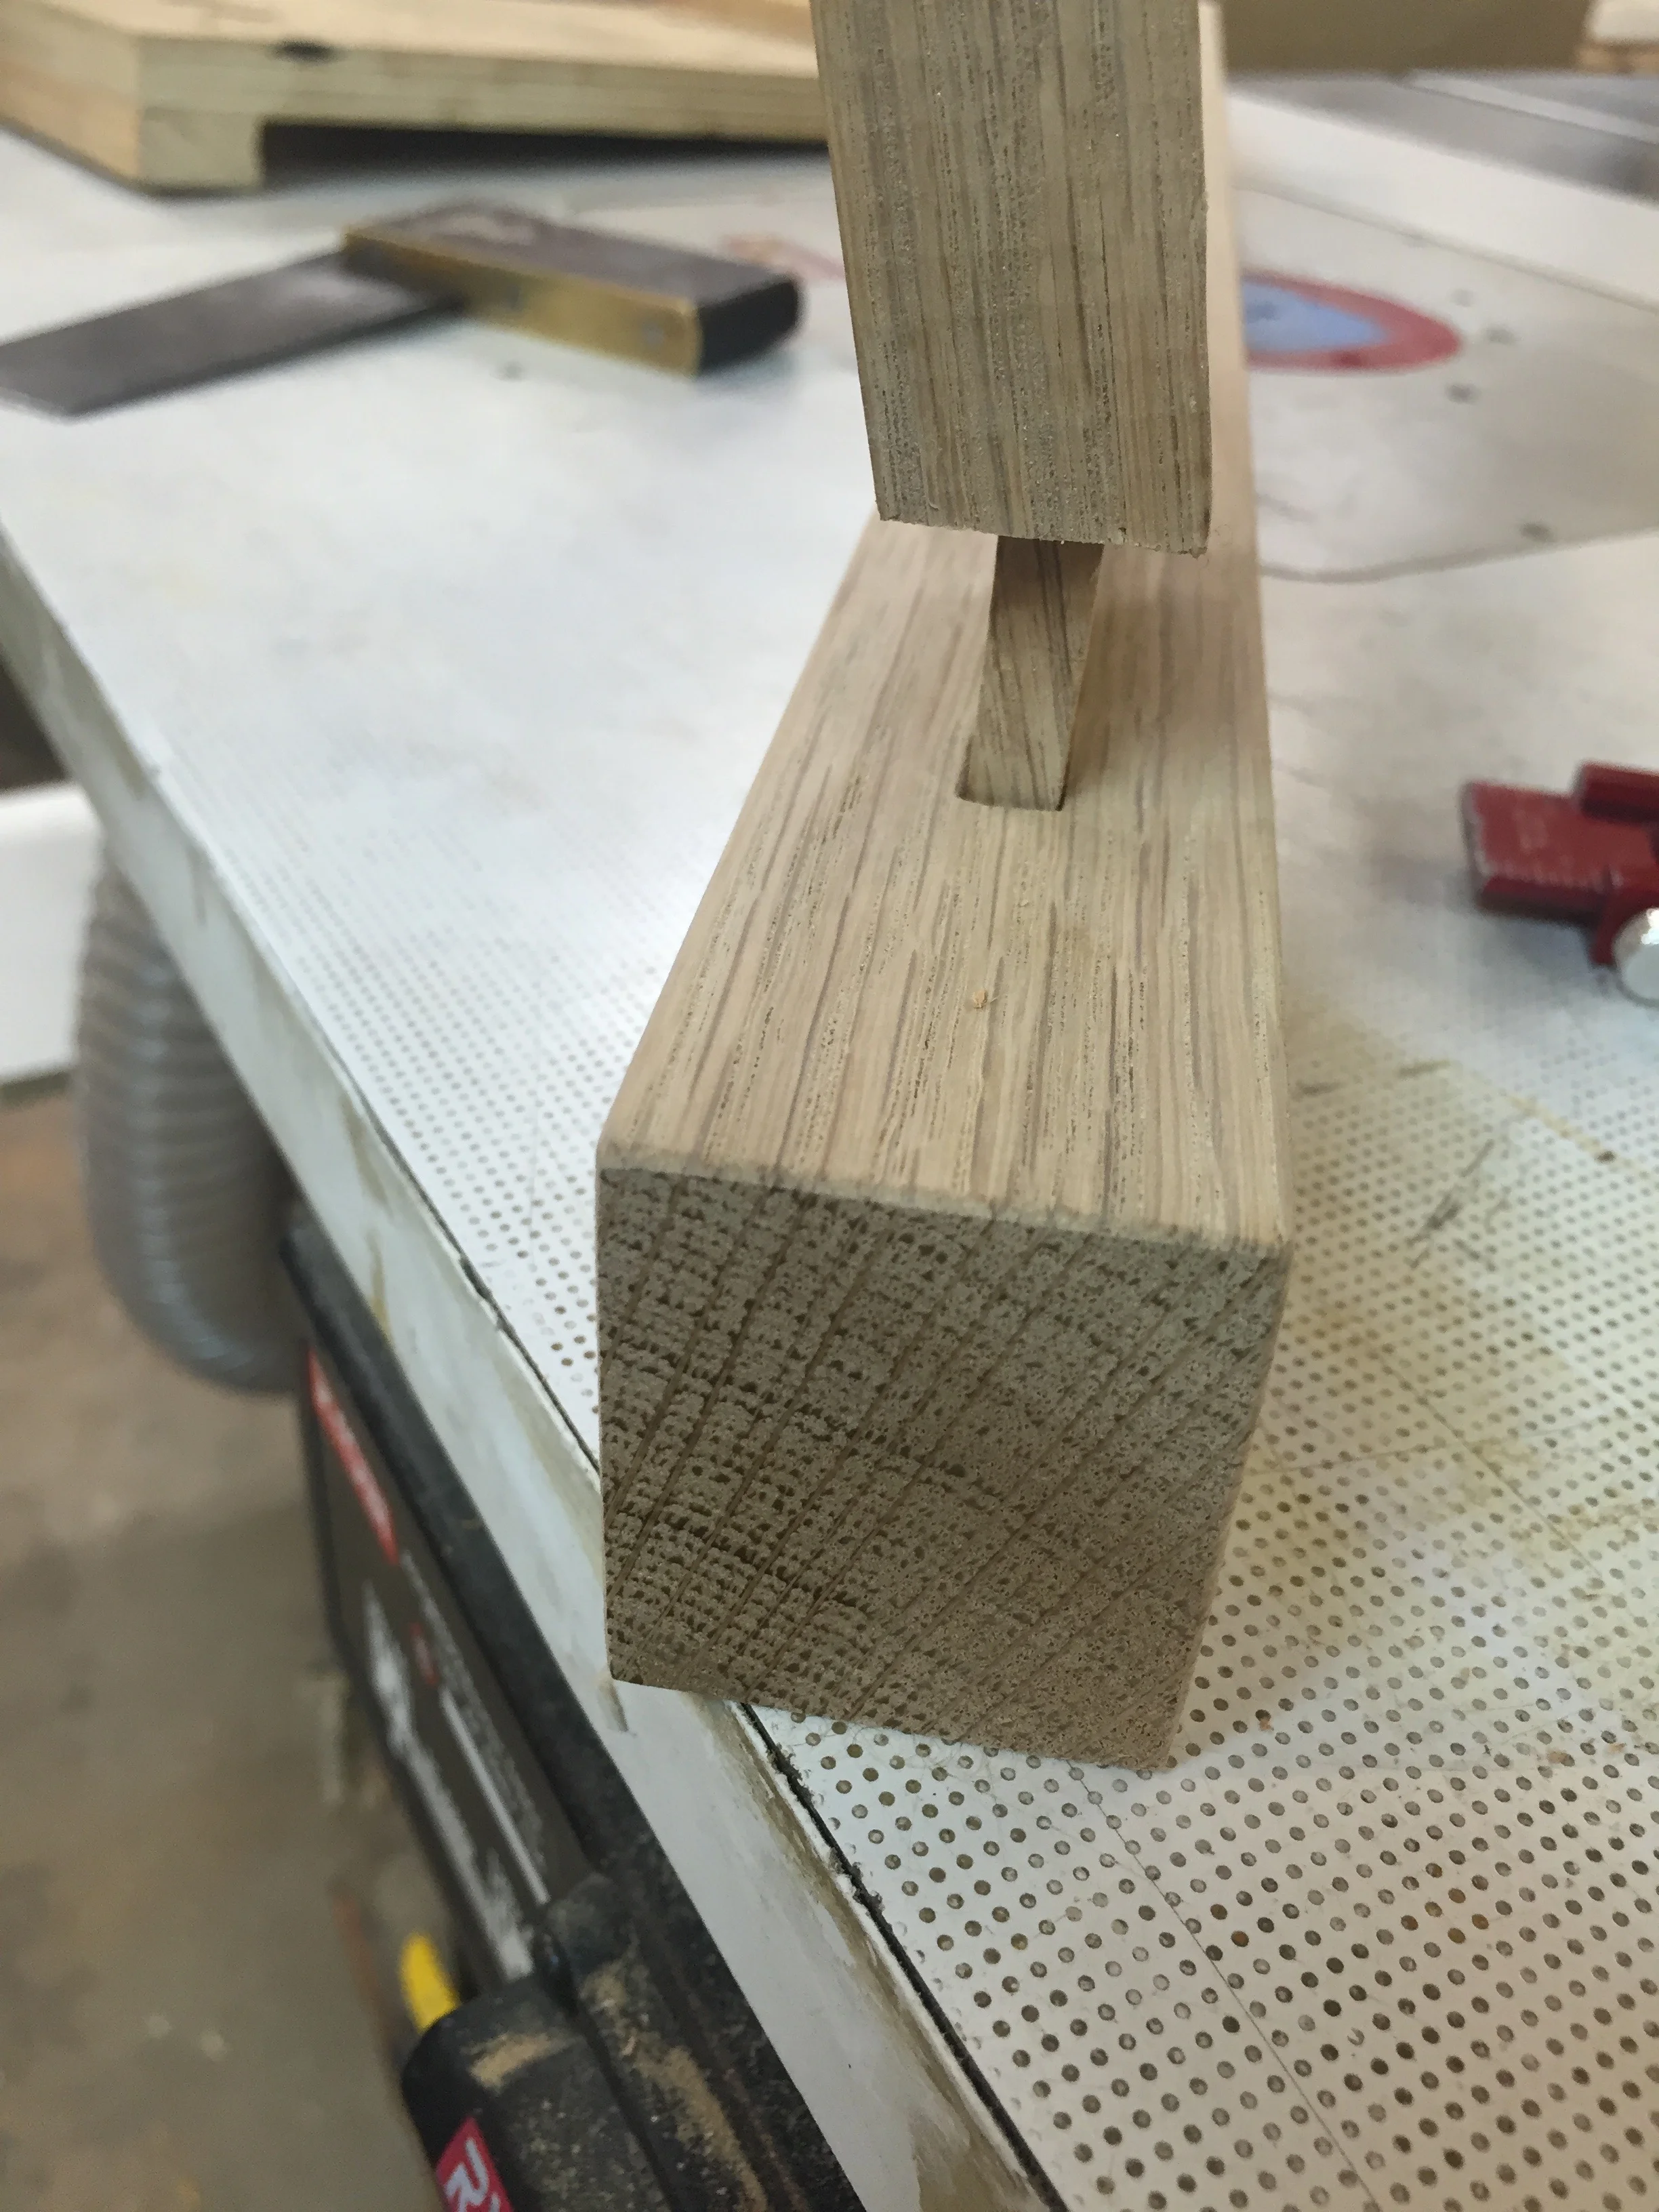
The arms need through mortises cut to fit the tenons on the side assemblies, one is straight, and the other is angled. These have to be snug, and very clean on the top where they are not only visible, but a focus detail. People who sit in the chair look at and feel these through tenons, looking at how they stick up from the arm. This detail says a lot about how the chair is made, and is a great example of how the Craftsman style's exposed joinery really works to communicate the design and feel of the piece. A lot of trial and error is required to sneak up on the fit. In the gallery below, you'll see an image of a mortise where there's a chip taken out of the arm. That was where I had a slip of the chisel. I fixed it by glueing in a sliver of matching material and blending it in. Once fit, the arms are glues to the side assemblies, and the build is two thirds done.
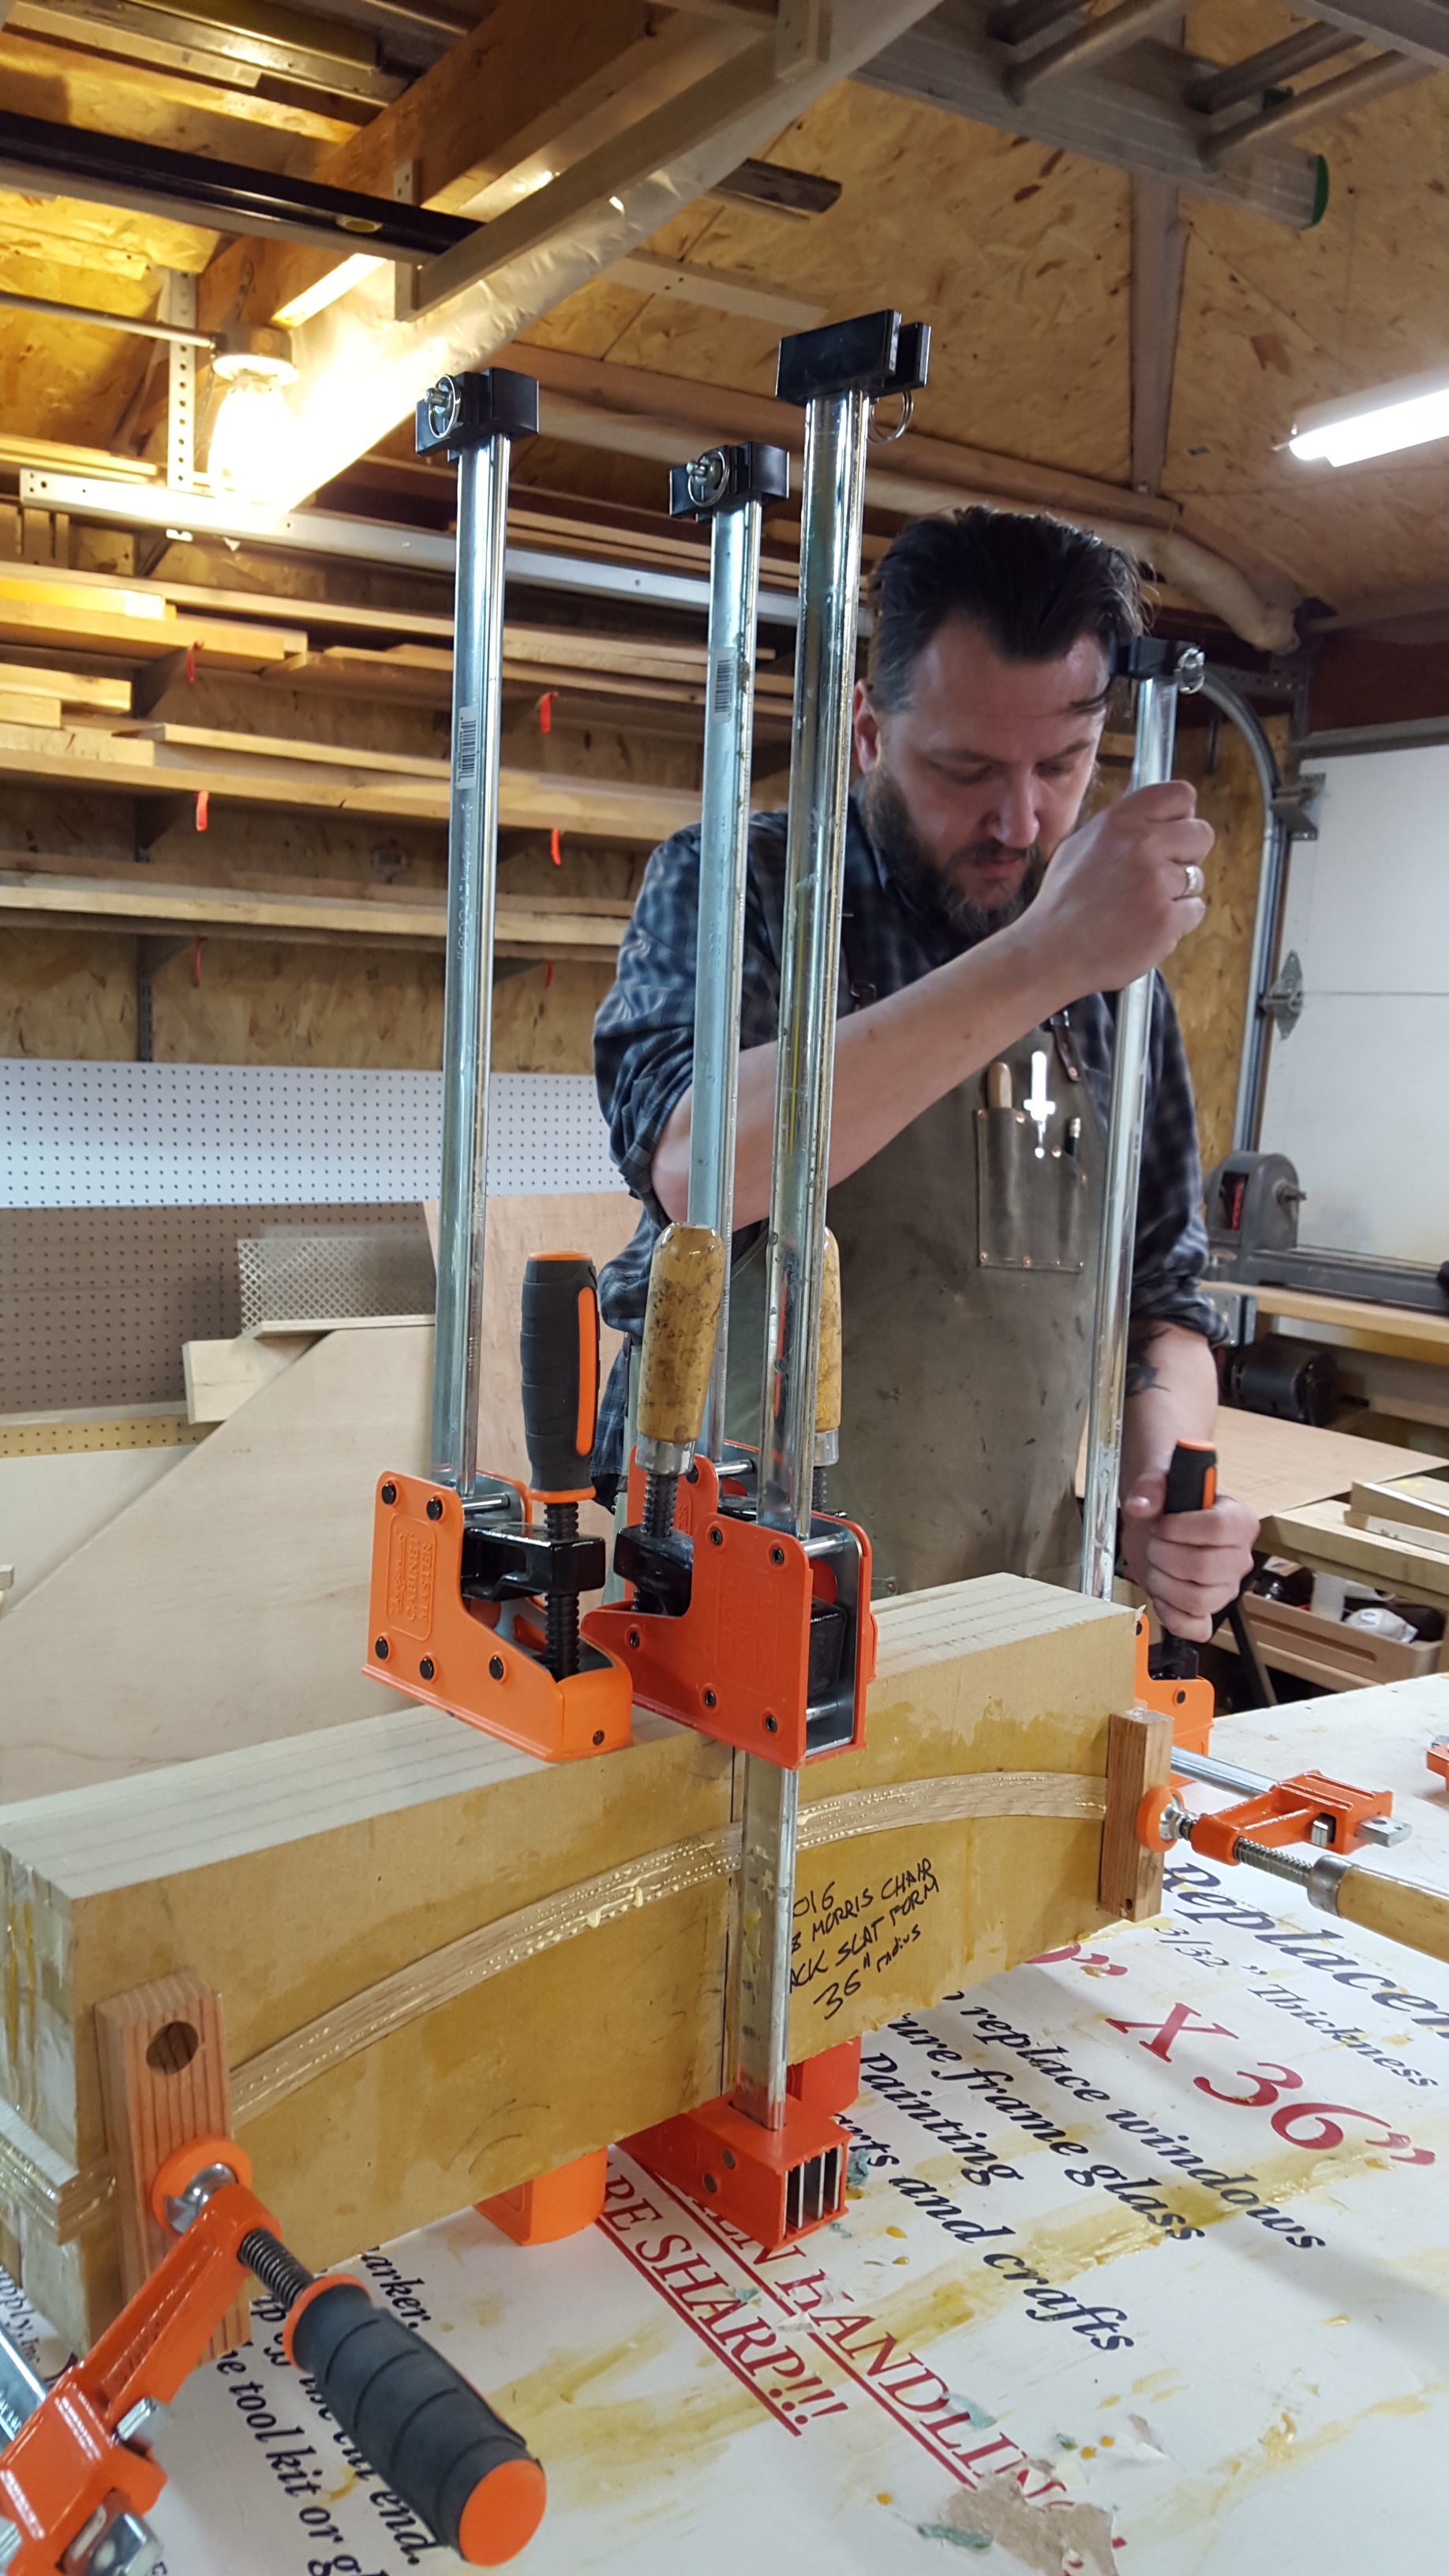
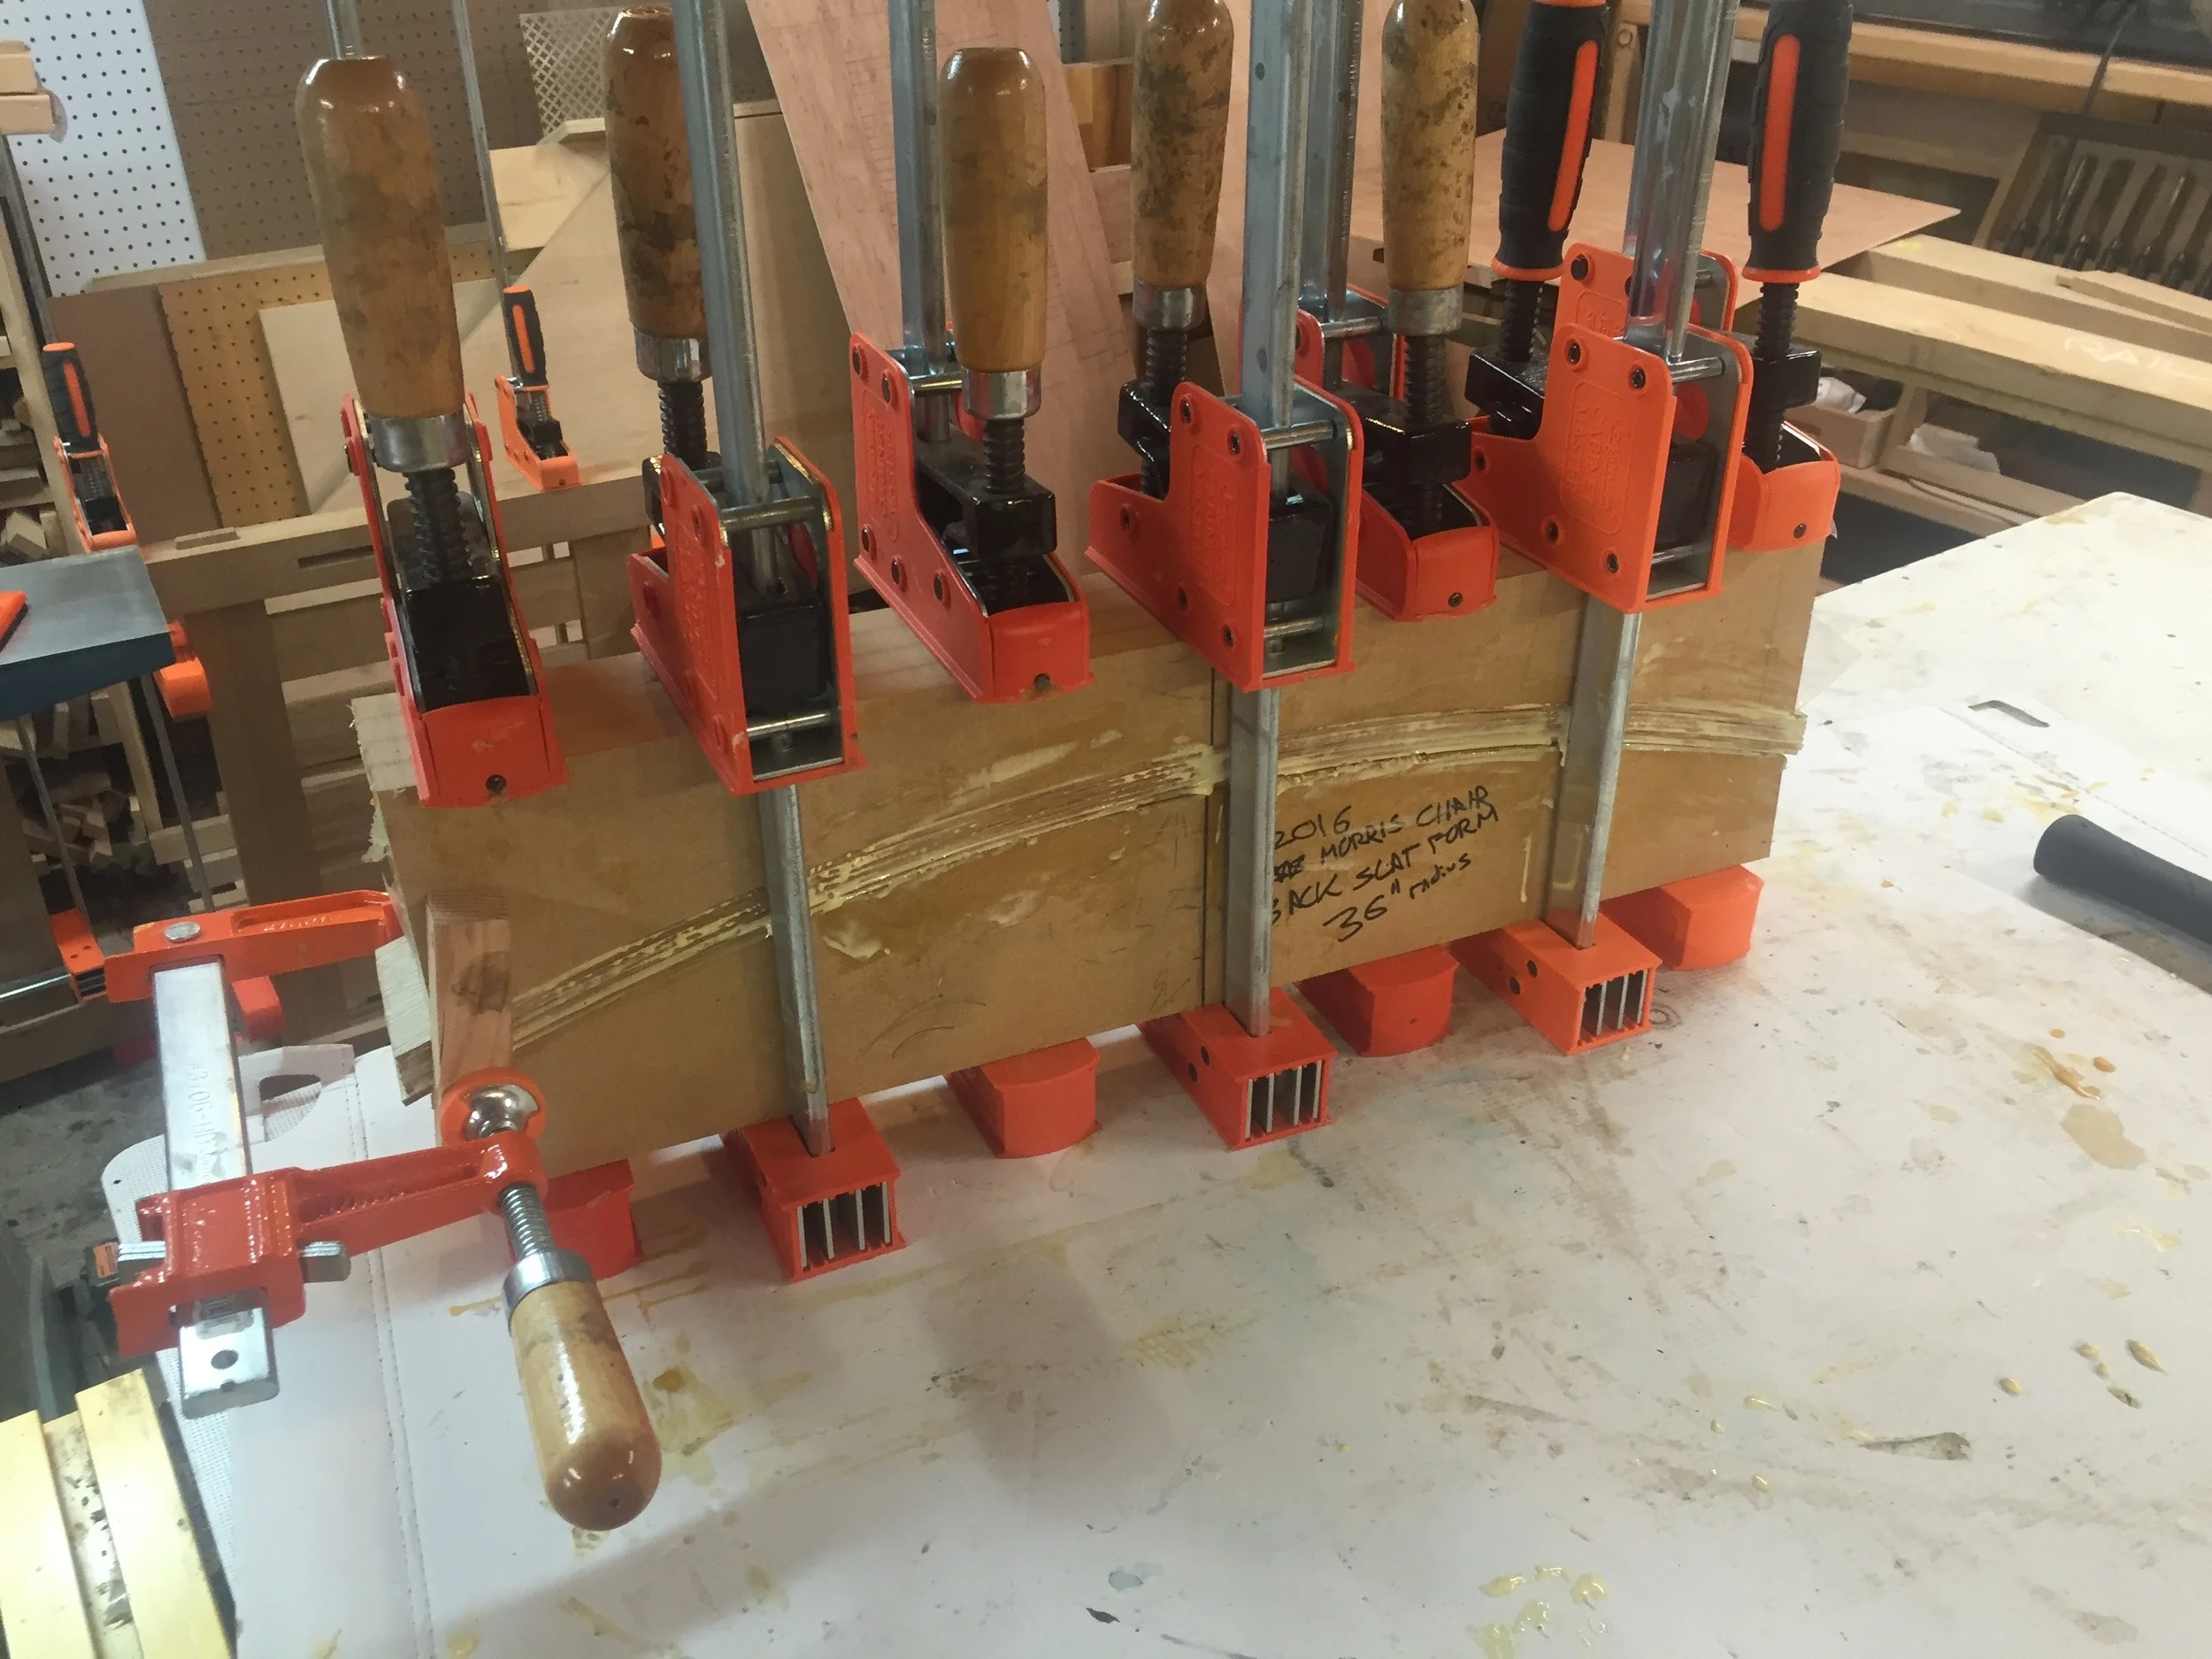
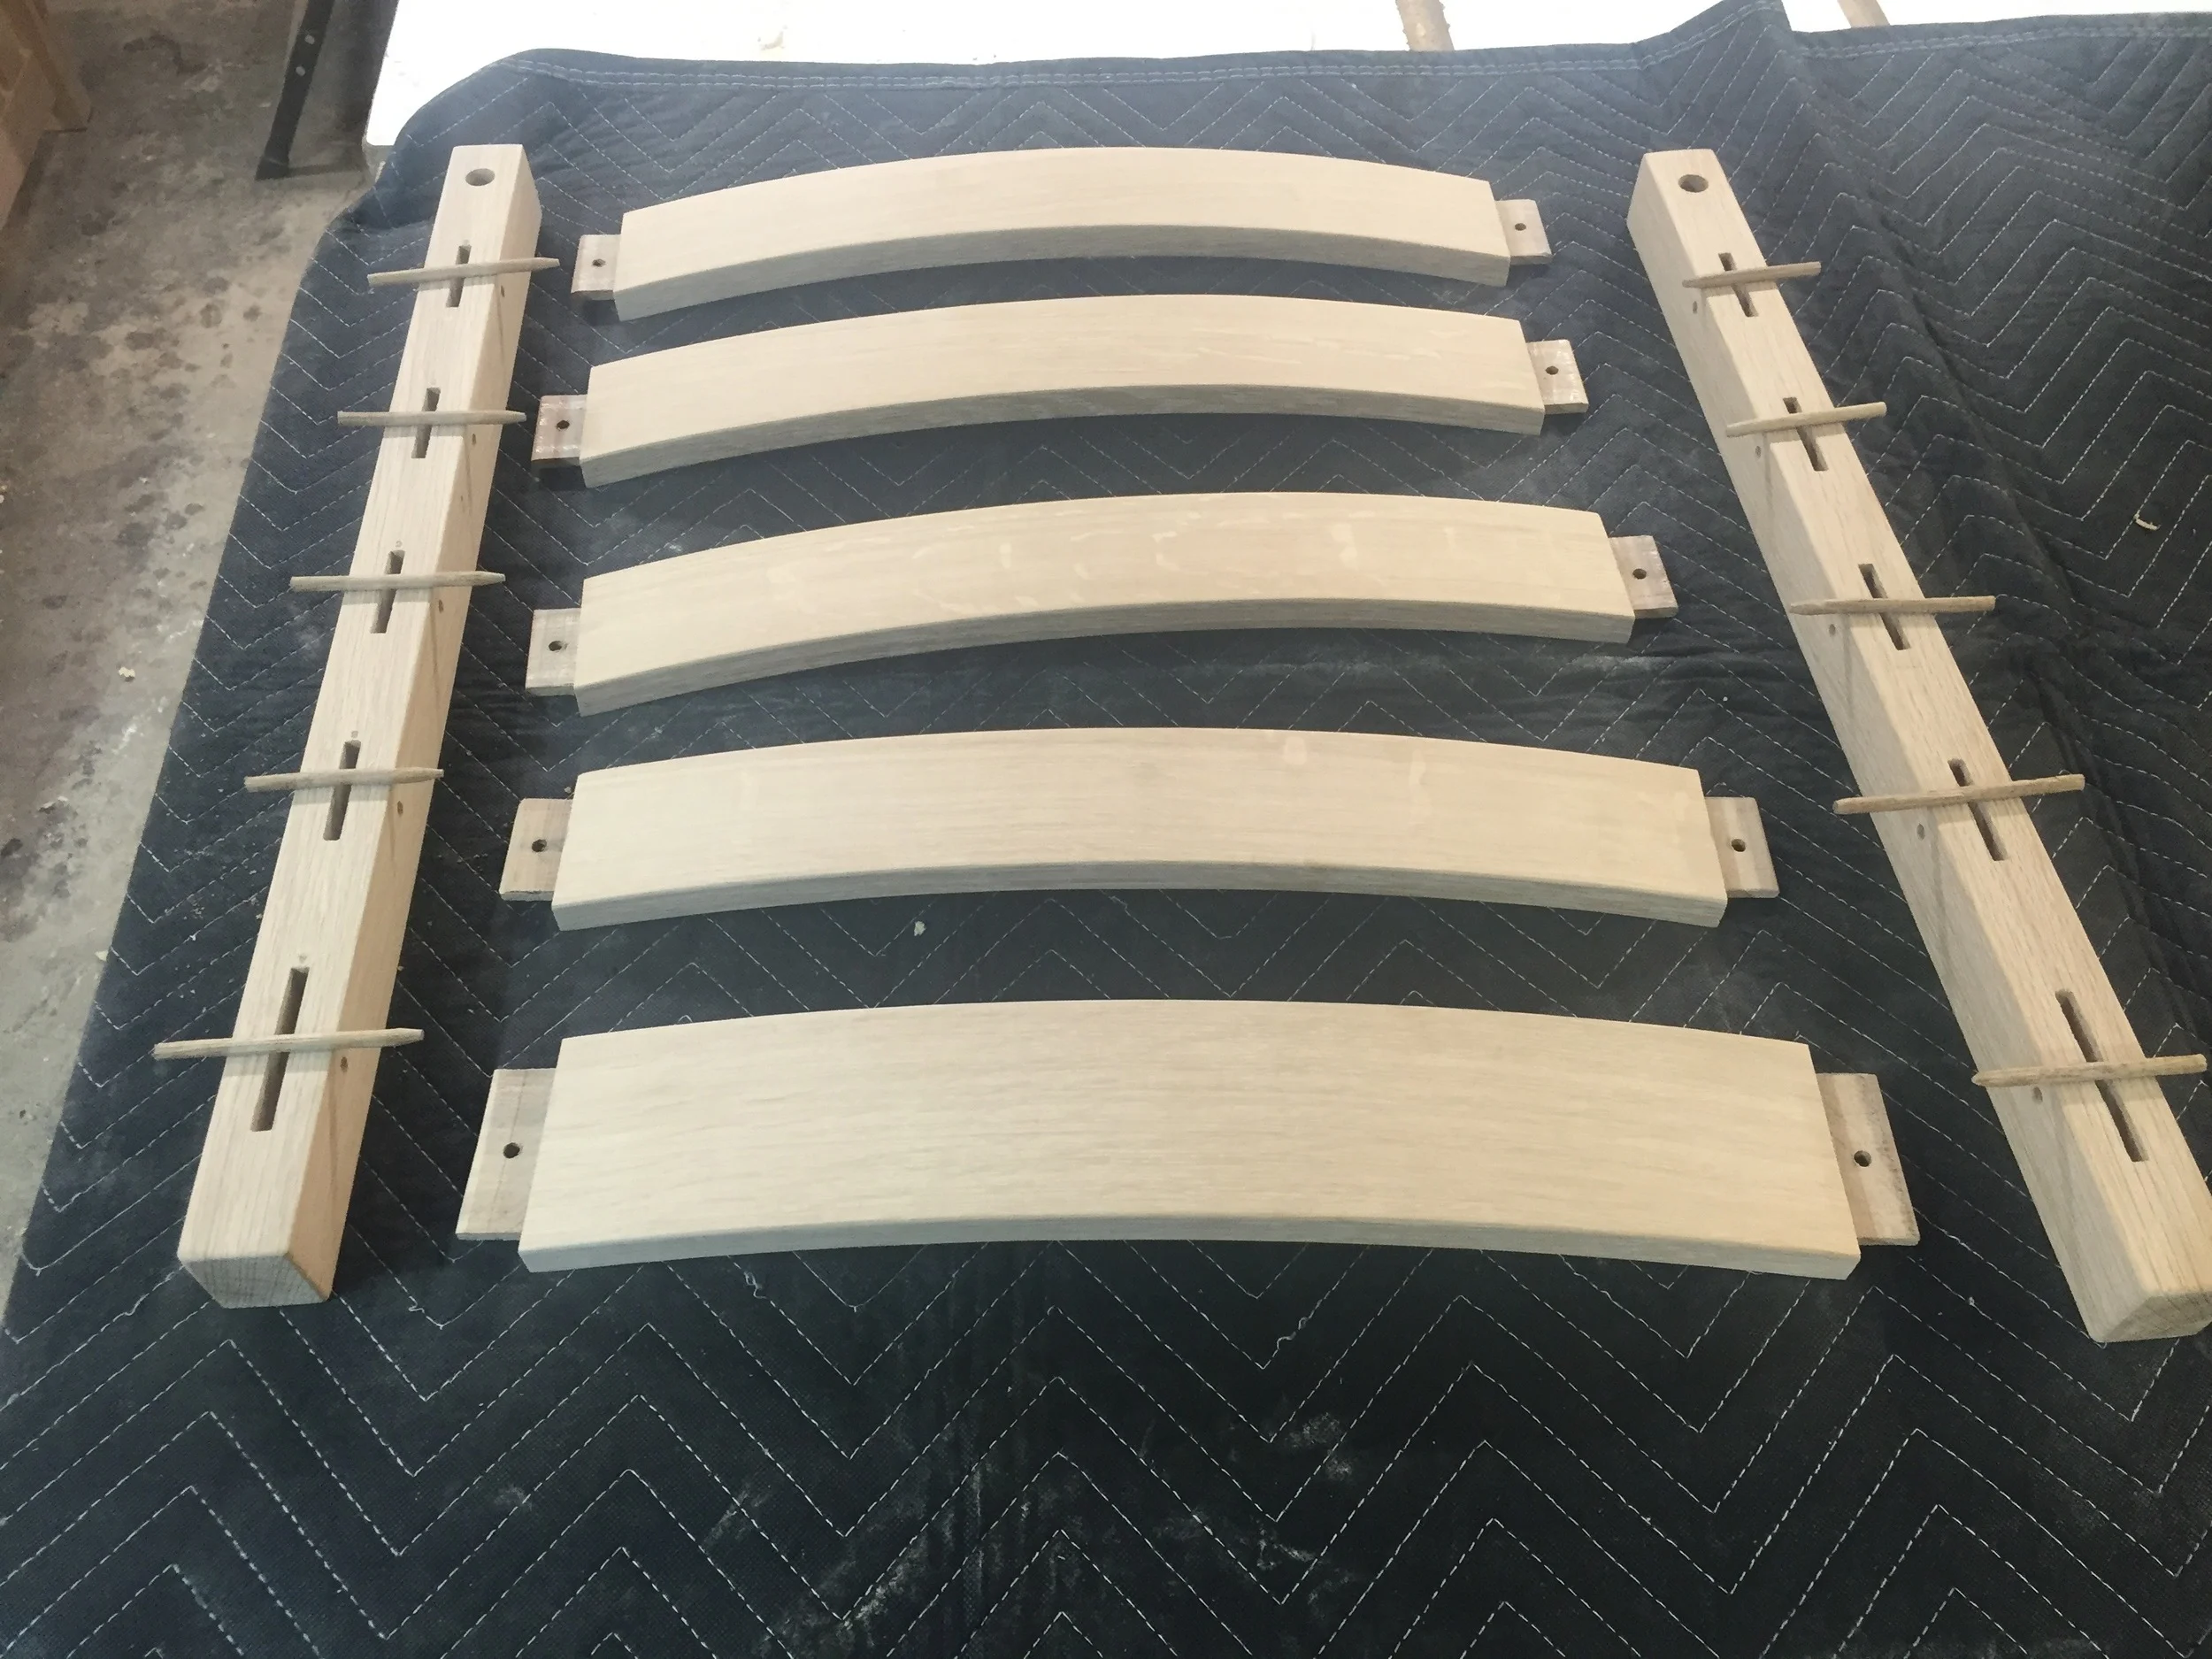
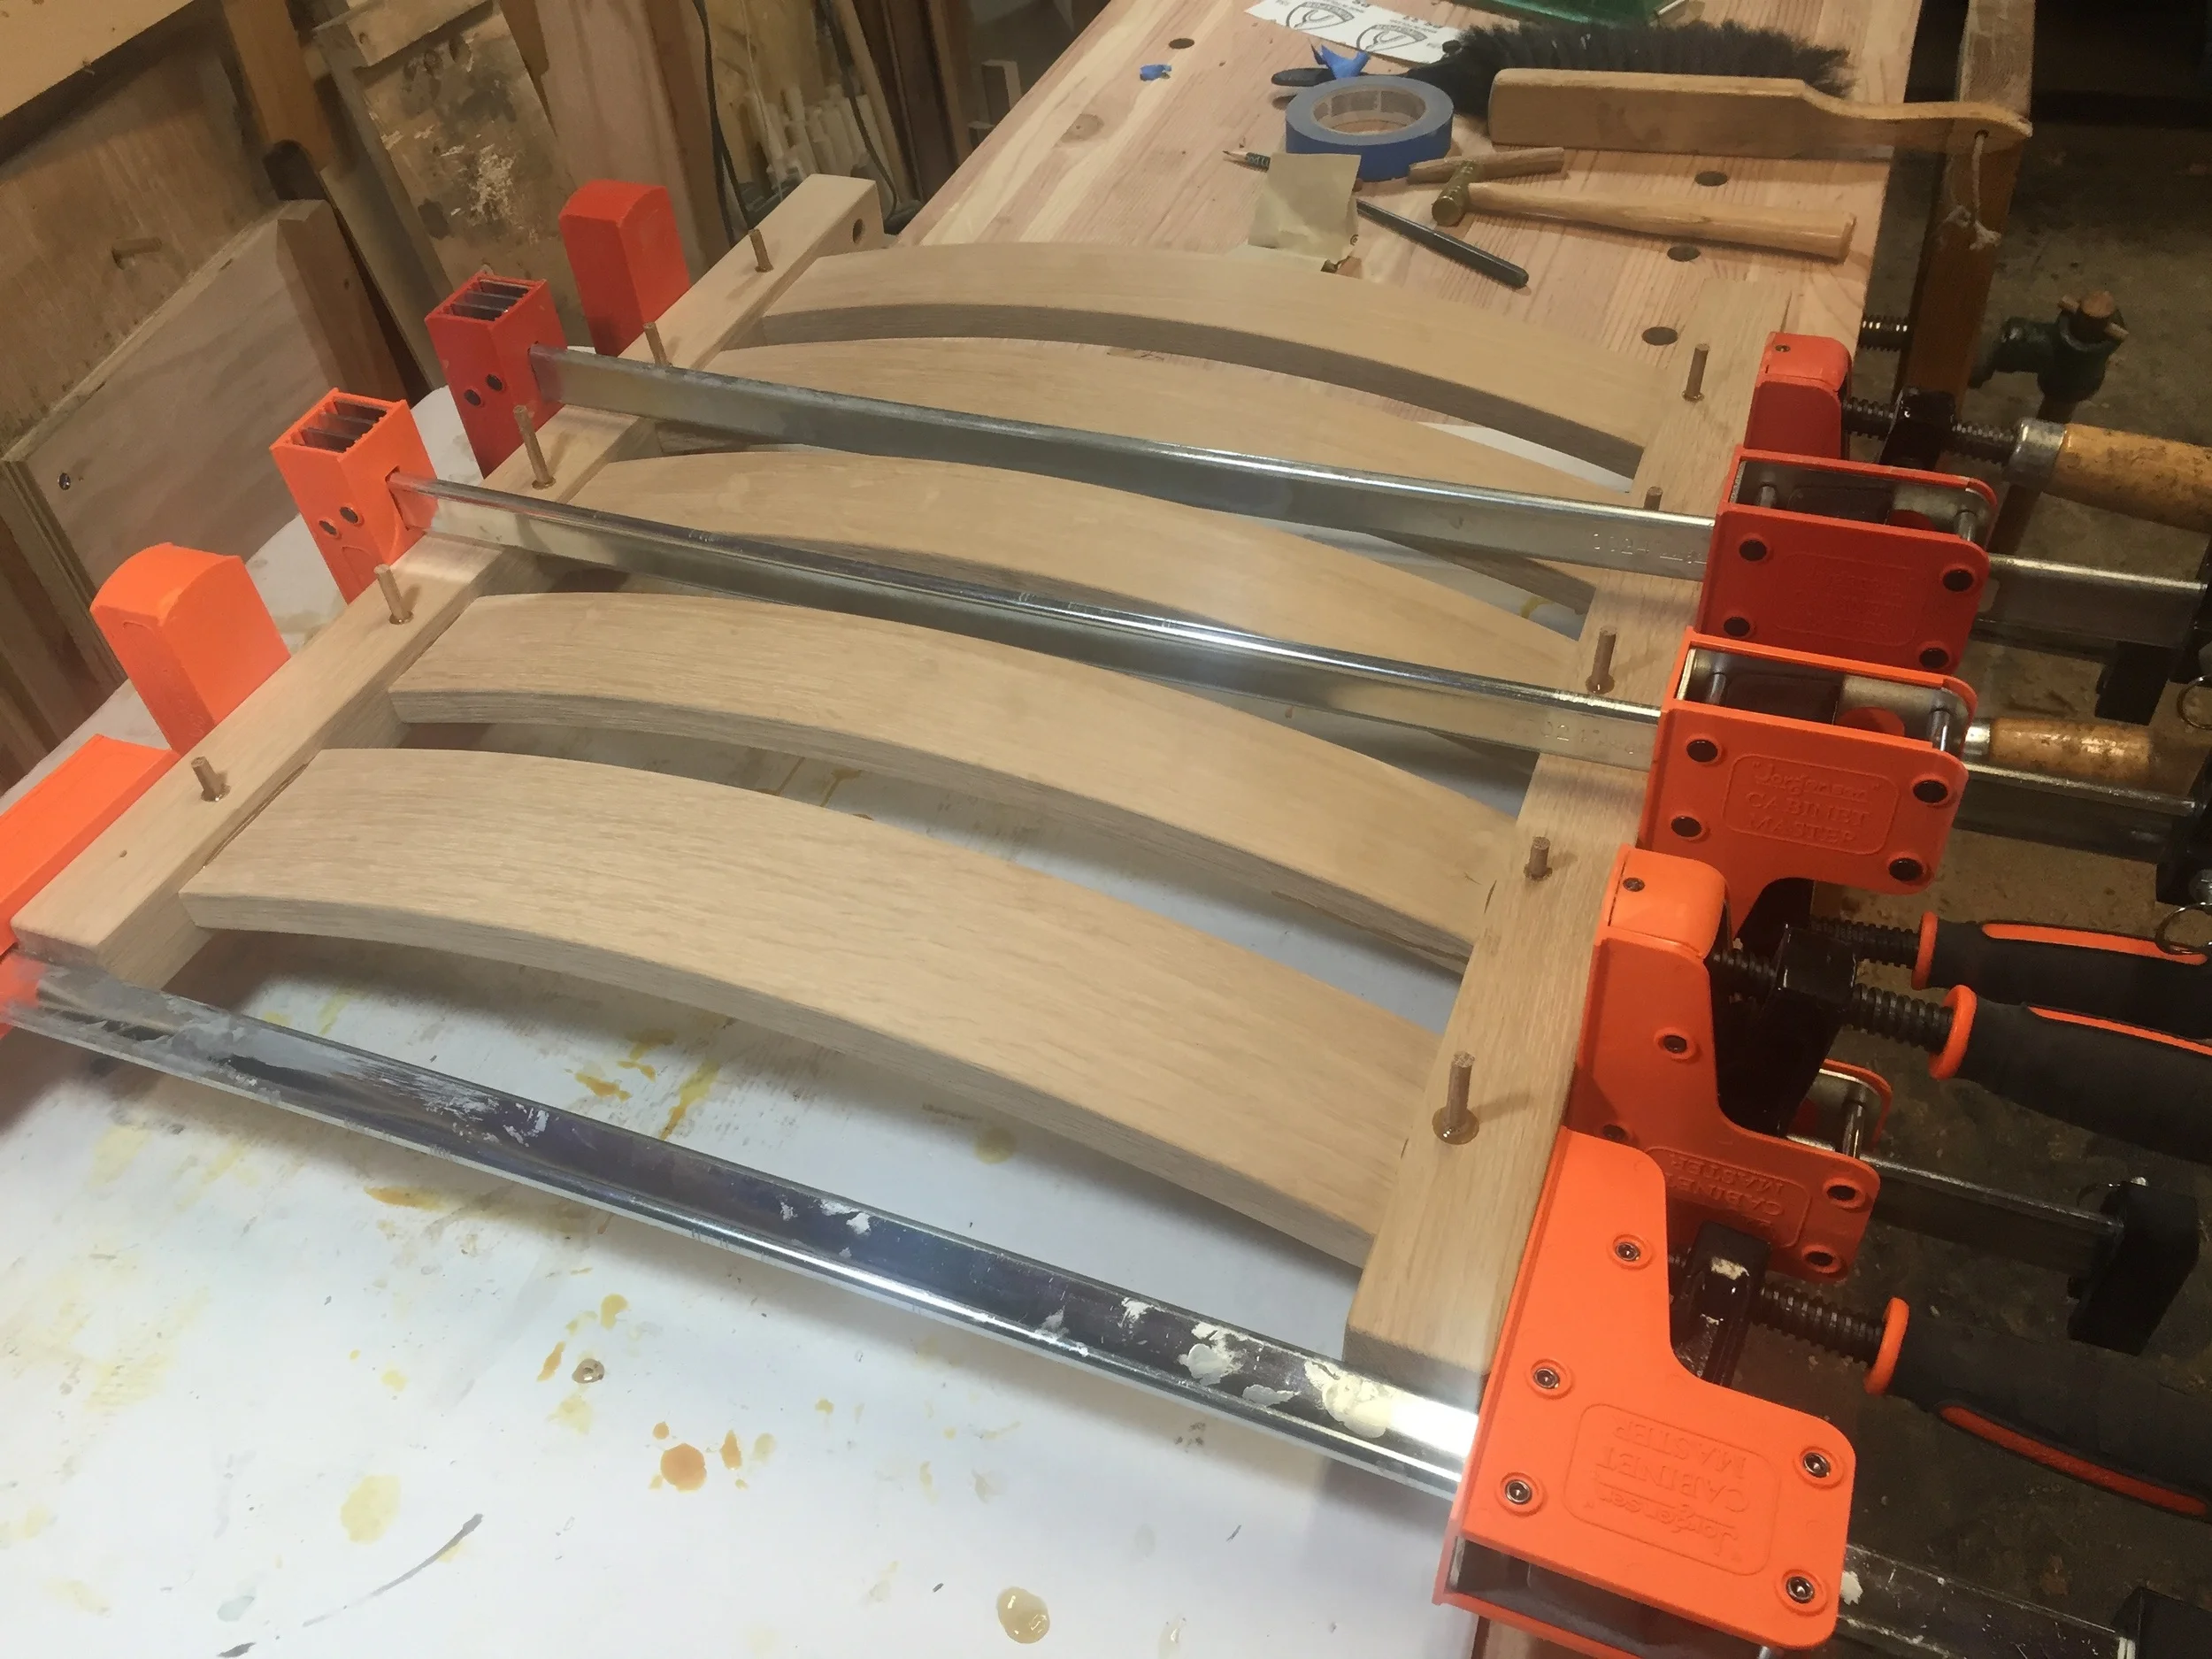
The last part to be built is the back assembly. This consists of a series of curved slats mortised into two stiles. The curved back slats are made by making bent laminations, dried on a bending form. First, thin 1/8" strips are made, then they are glued together again, while clamping them to a form that makes the desired shape. Brett and I tried a few different methods to get there, but we found a good methods and applied it to the rest of the build. This required lots of clamps, lots of glue, and we could only do one or two a day. So we started making these parts at the beginning of the build, and kept at it as we worked on other parts.
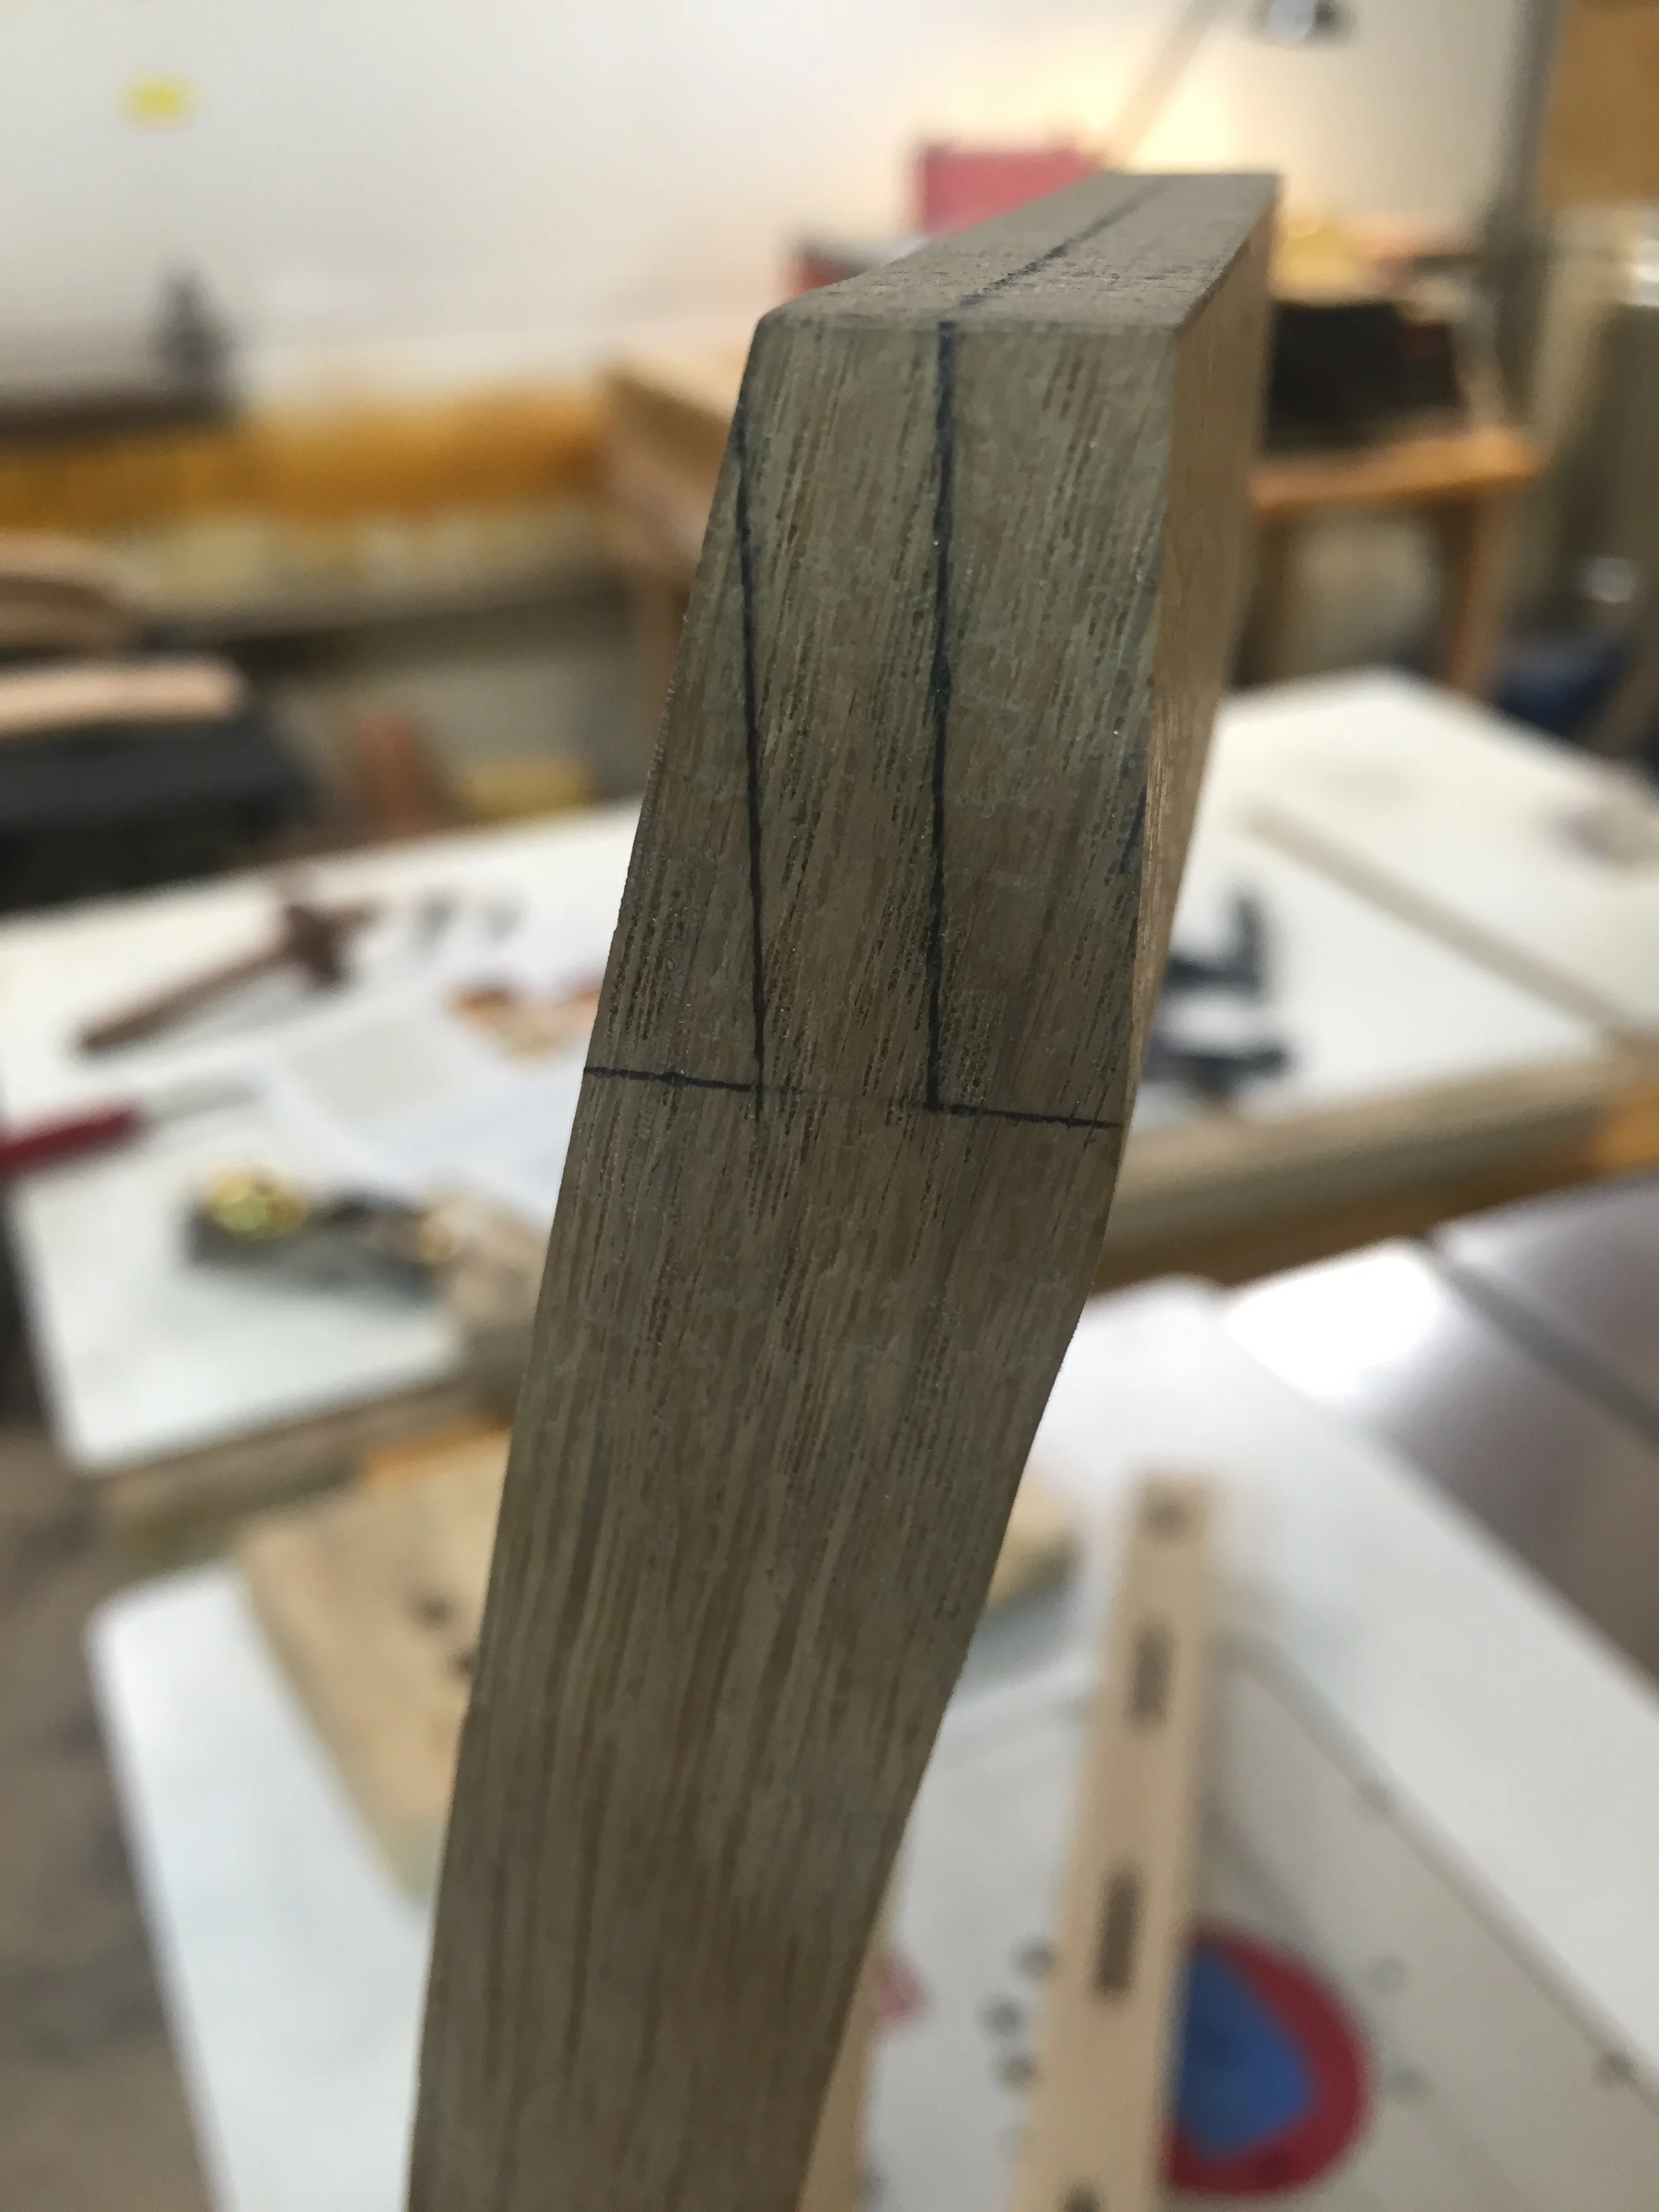
With the slats made, the last tricky bit was to cut square tenons on each of the slats. This took some careful layout, but in the end, all it took was laying it out, and cutting to the line. Then the slats were glued and draw bore pegged in place.
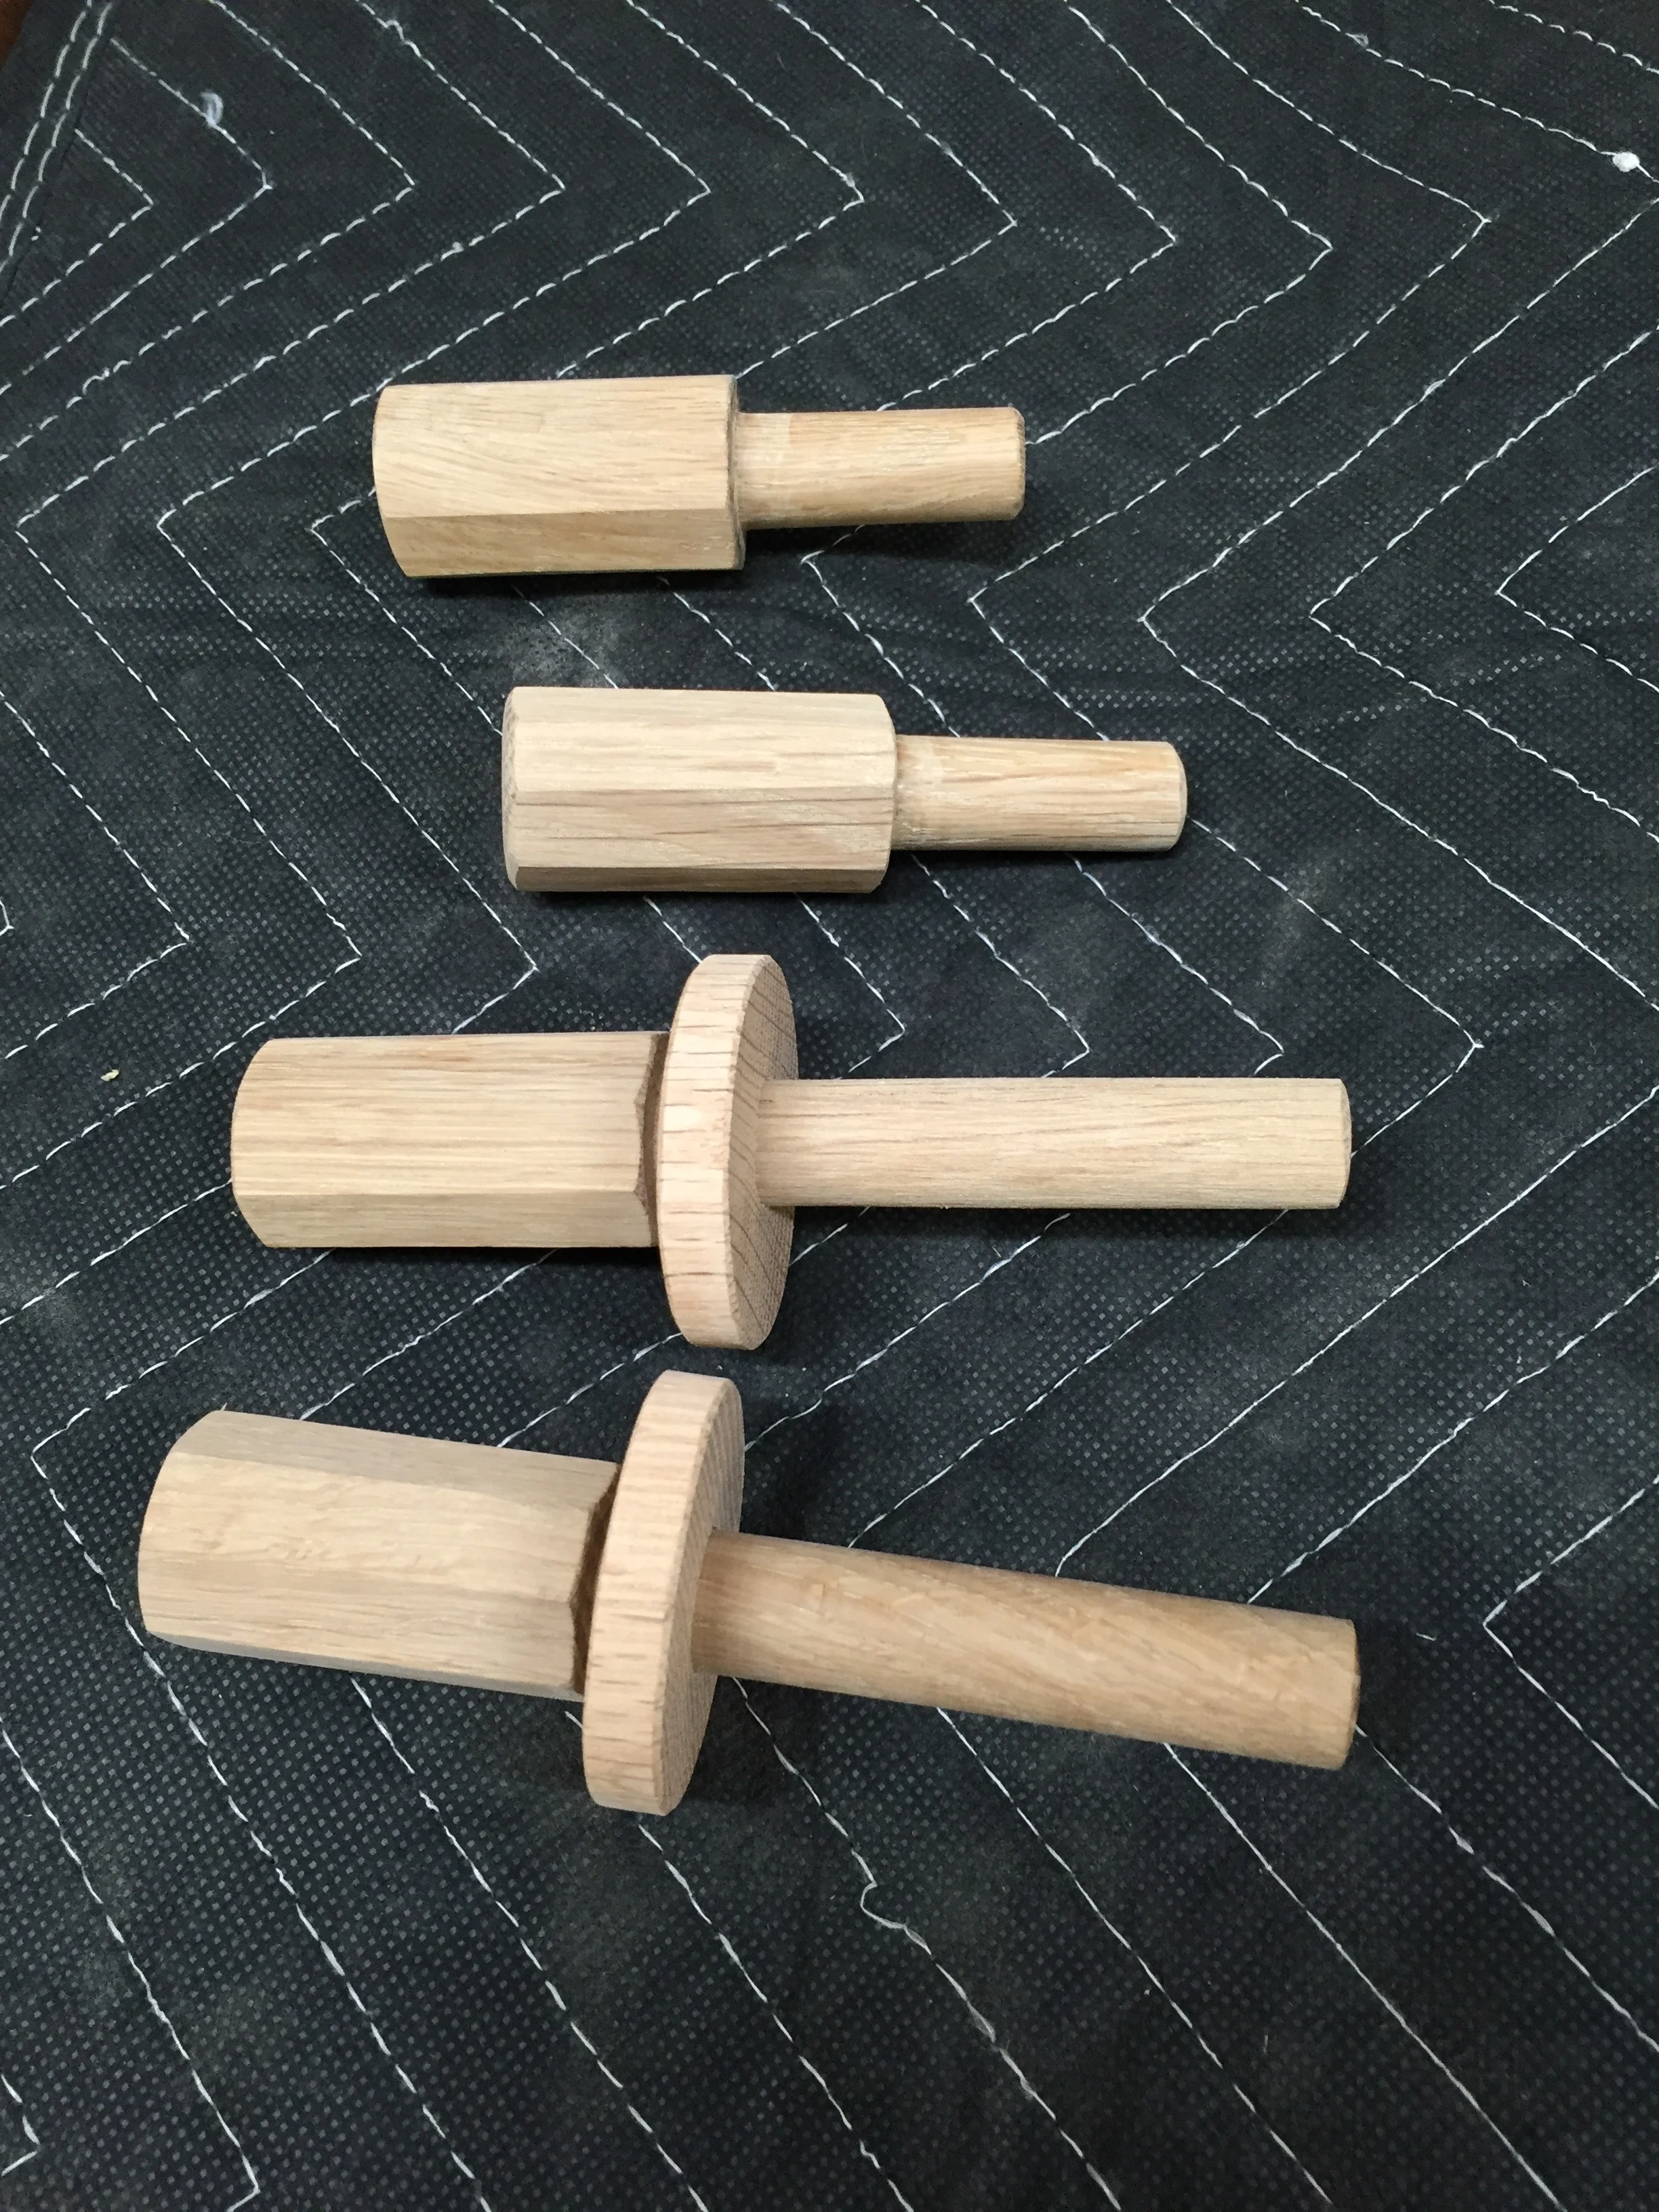
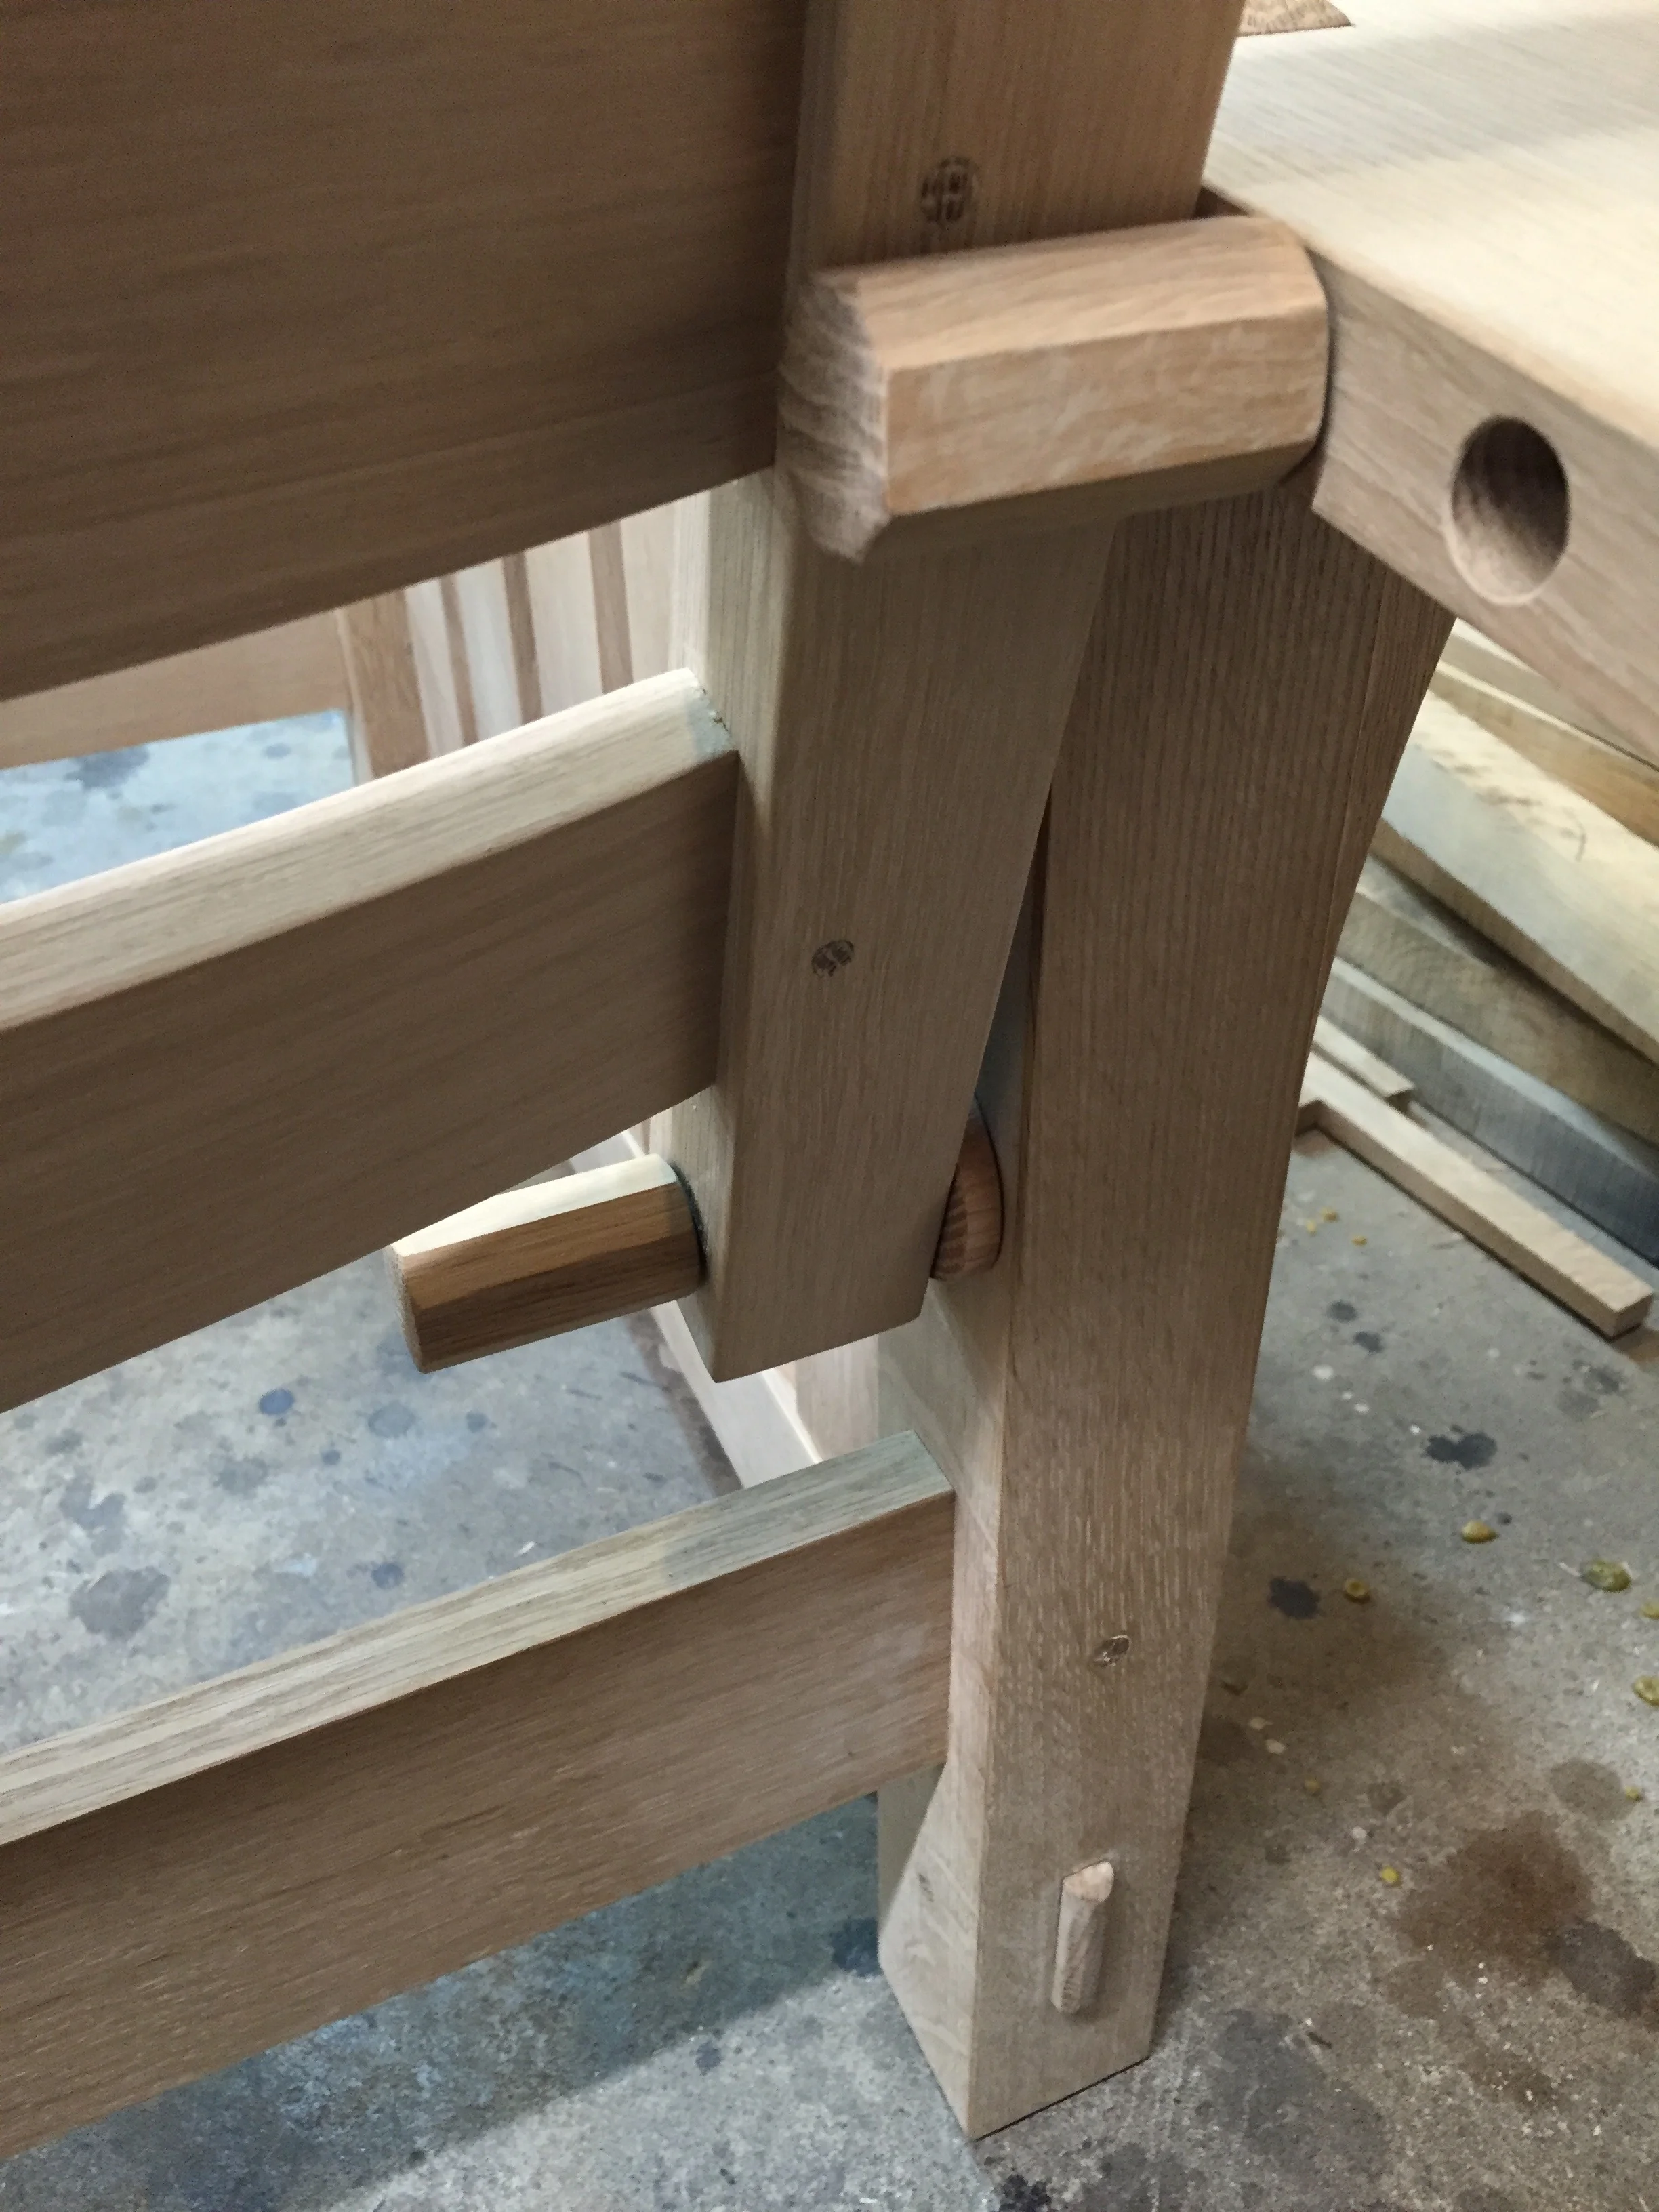
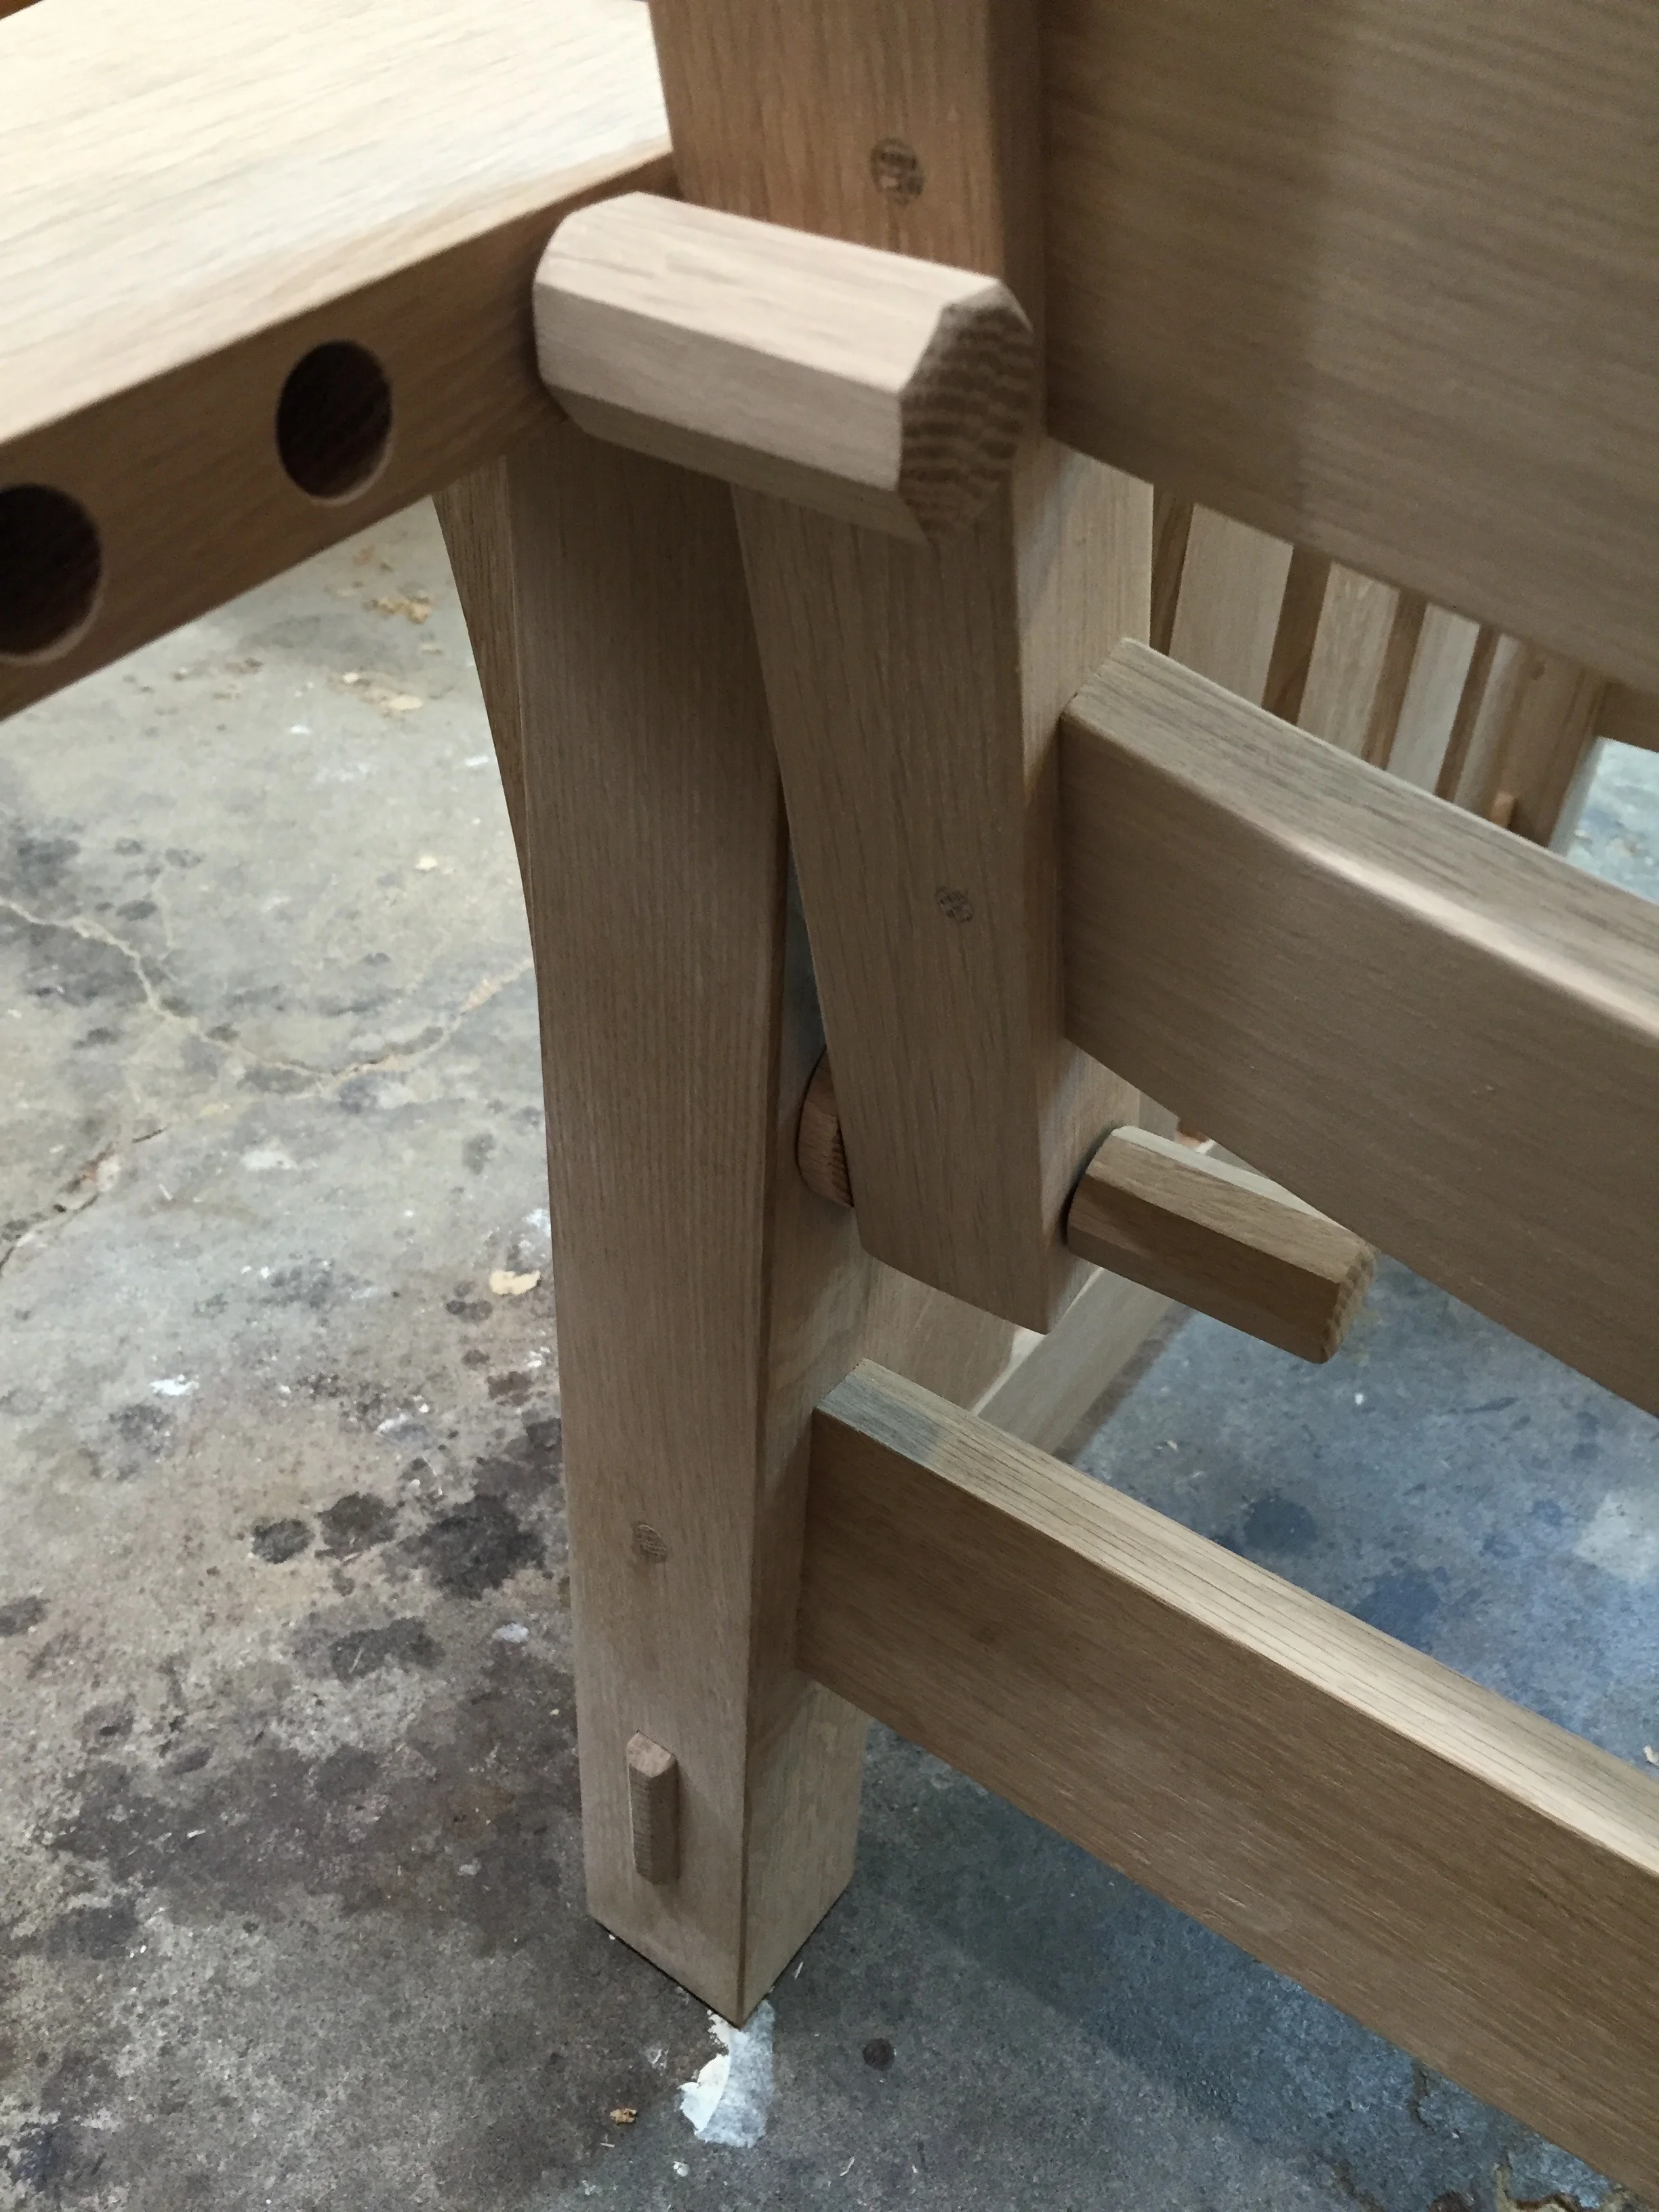
The back is attached to the chair with a few loose dowels and pegs, which allow the back to tilt, and the slant of the back to be adjusted. This was a fun detail to make, and allowed me to have a little time at the lathe. There's also a wooden washer or spacer for each of the pivot pegs. I opted for octagonal pegs, but these could be round or even square. Then a couple of cleats to support the seat frame were added, and I build a simple pine frame for the cushion.
Next up is finishing and upholstery.

