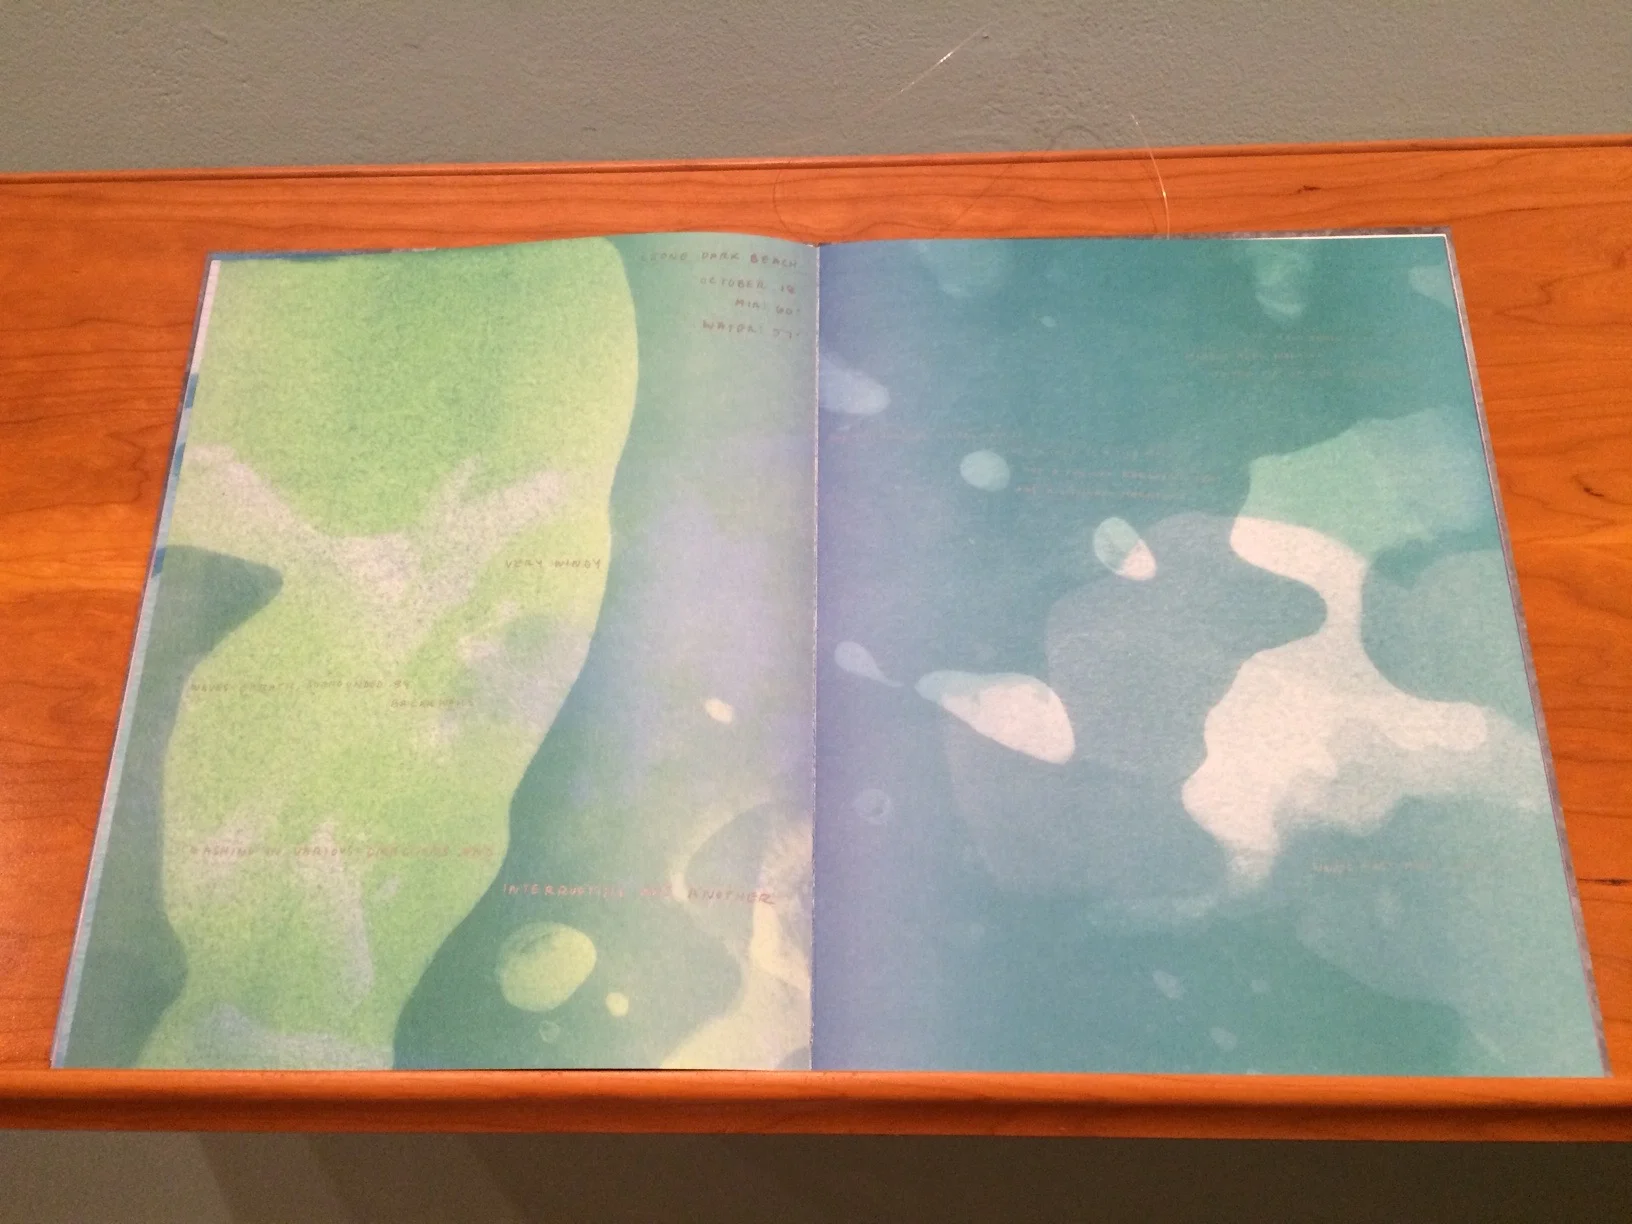
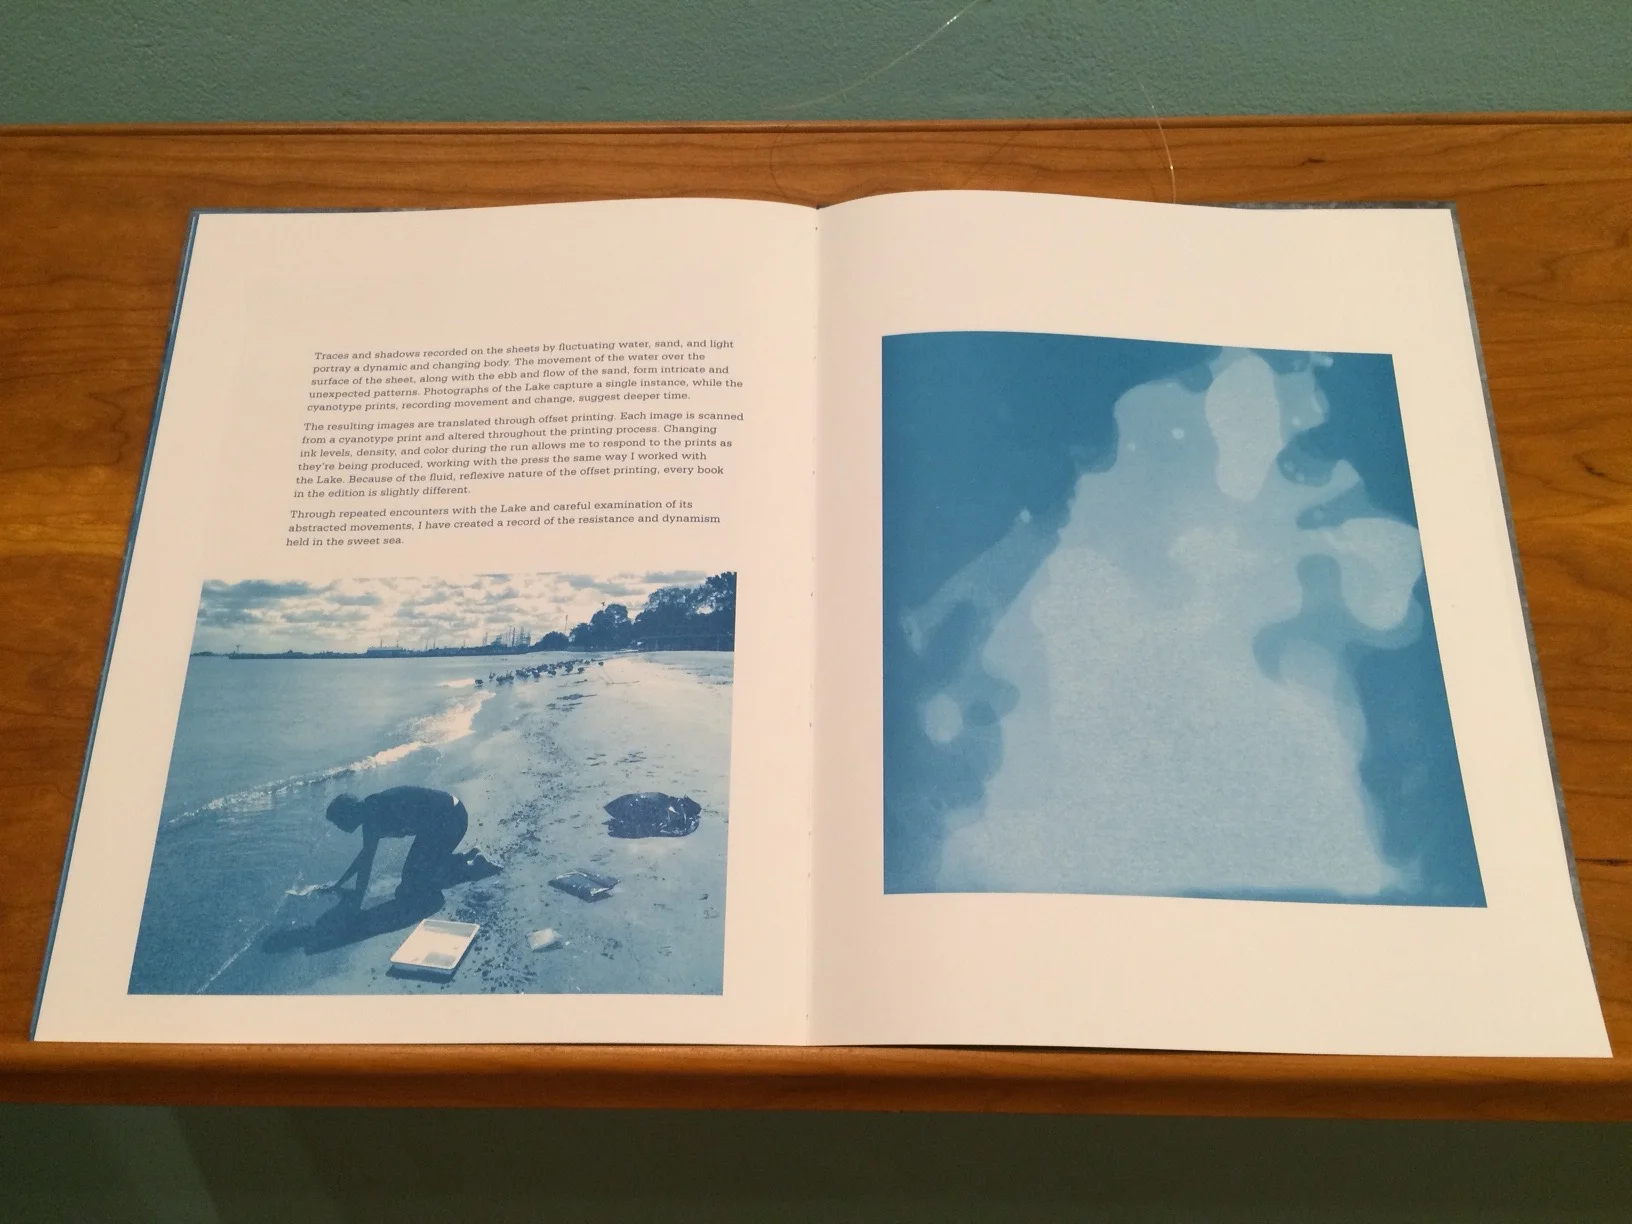
I recently received a commission for an interesting project. A friend of mine, Mary Clare Butler, is an artist that makes hand bound and offset printed books. She was presenting in a show of her work, called "Inland Sea" (read about the Inland Sea project and her process & books on her site) and needed a way to display them. She wanted a wall mounted shelf, but one that wasn't perpendicular to the wall like a regular bookshelf, but rather tilted so that the books would be at an angle to the viewer / reader. She wanted some nice finished wood for the shelves, and came to me to build them. We looked at several wood species, and she was drawn to cherry with an amber shellac finish. I measured the books, and set about making the final size and design.
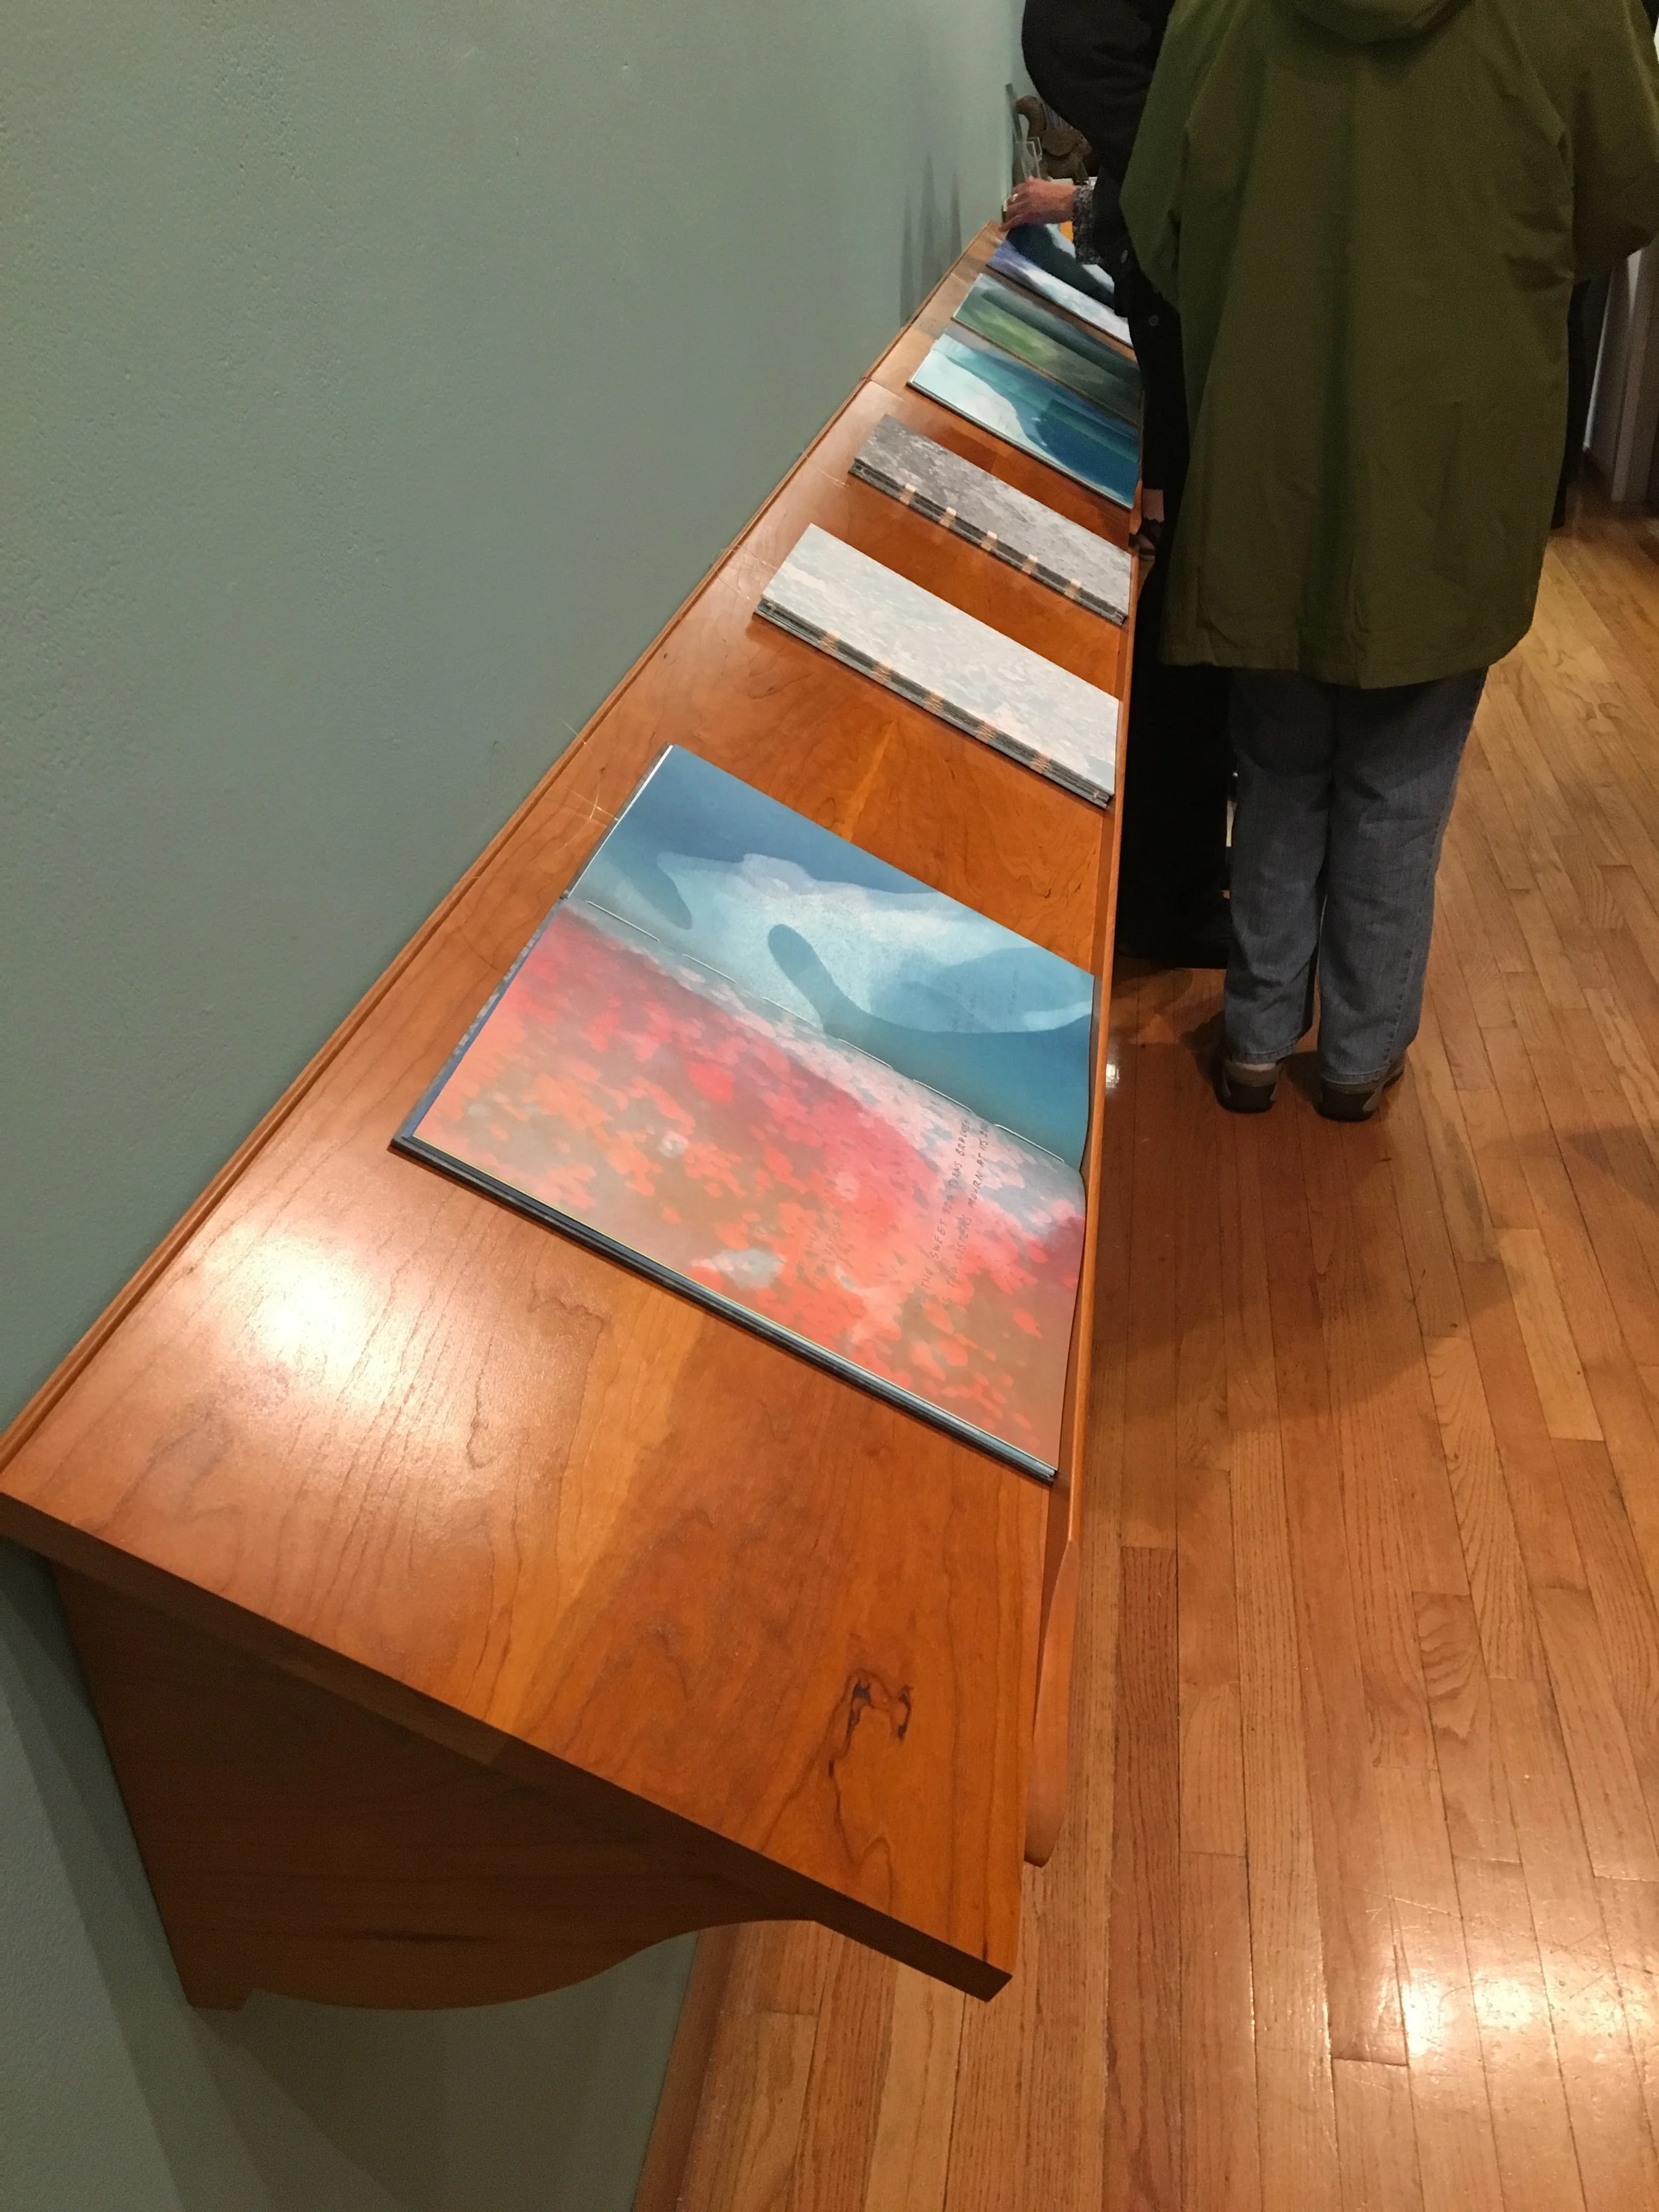
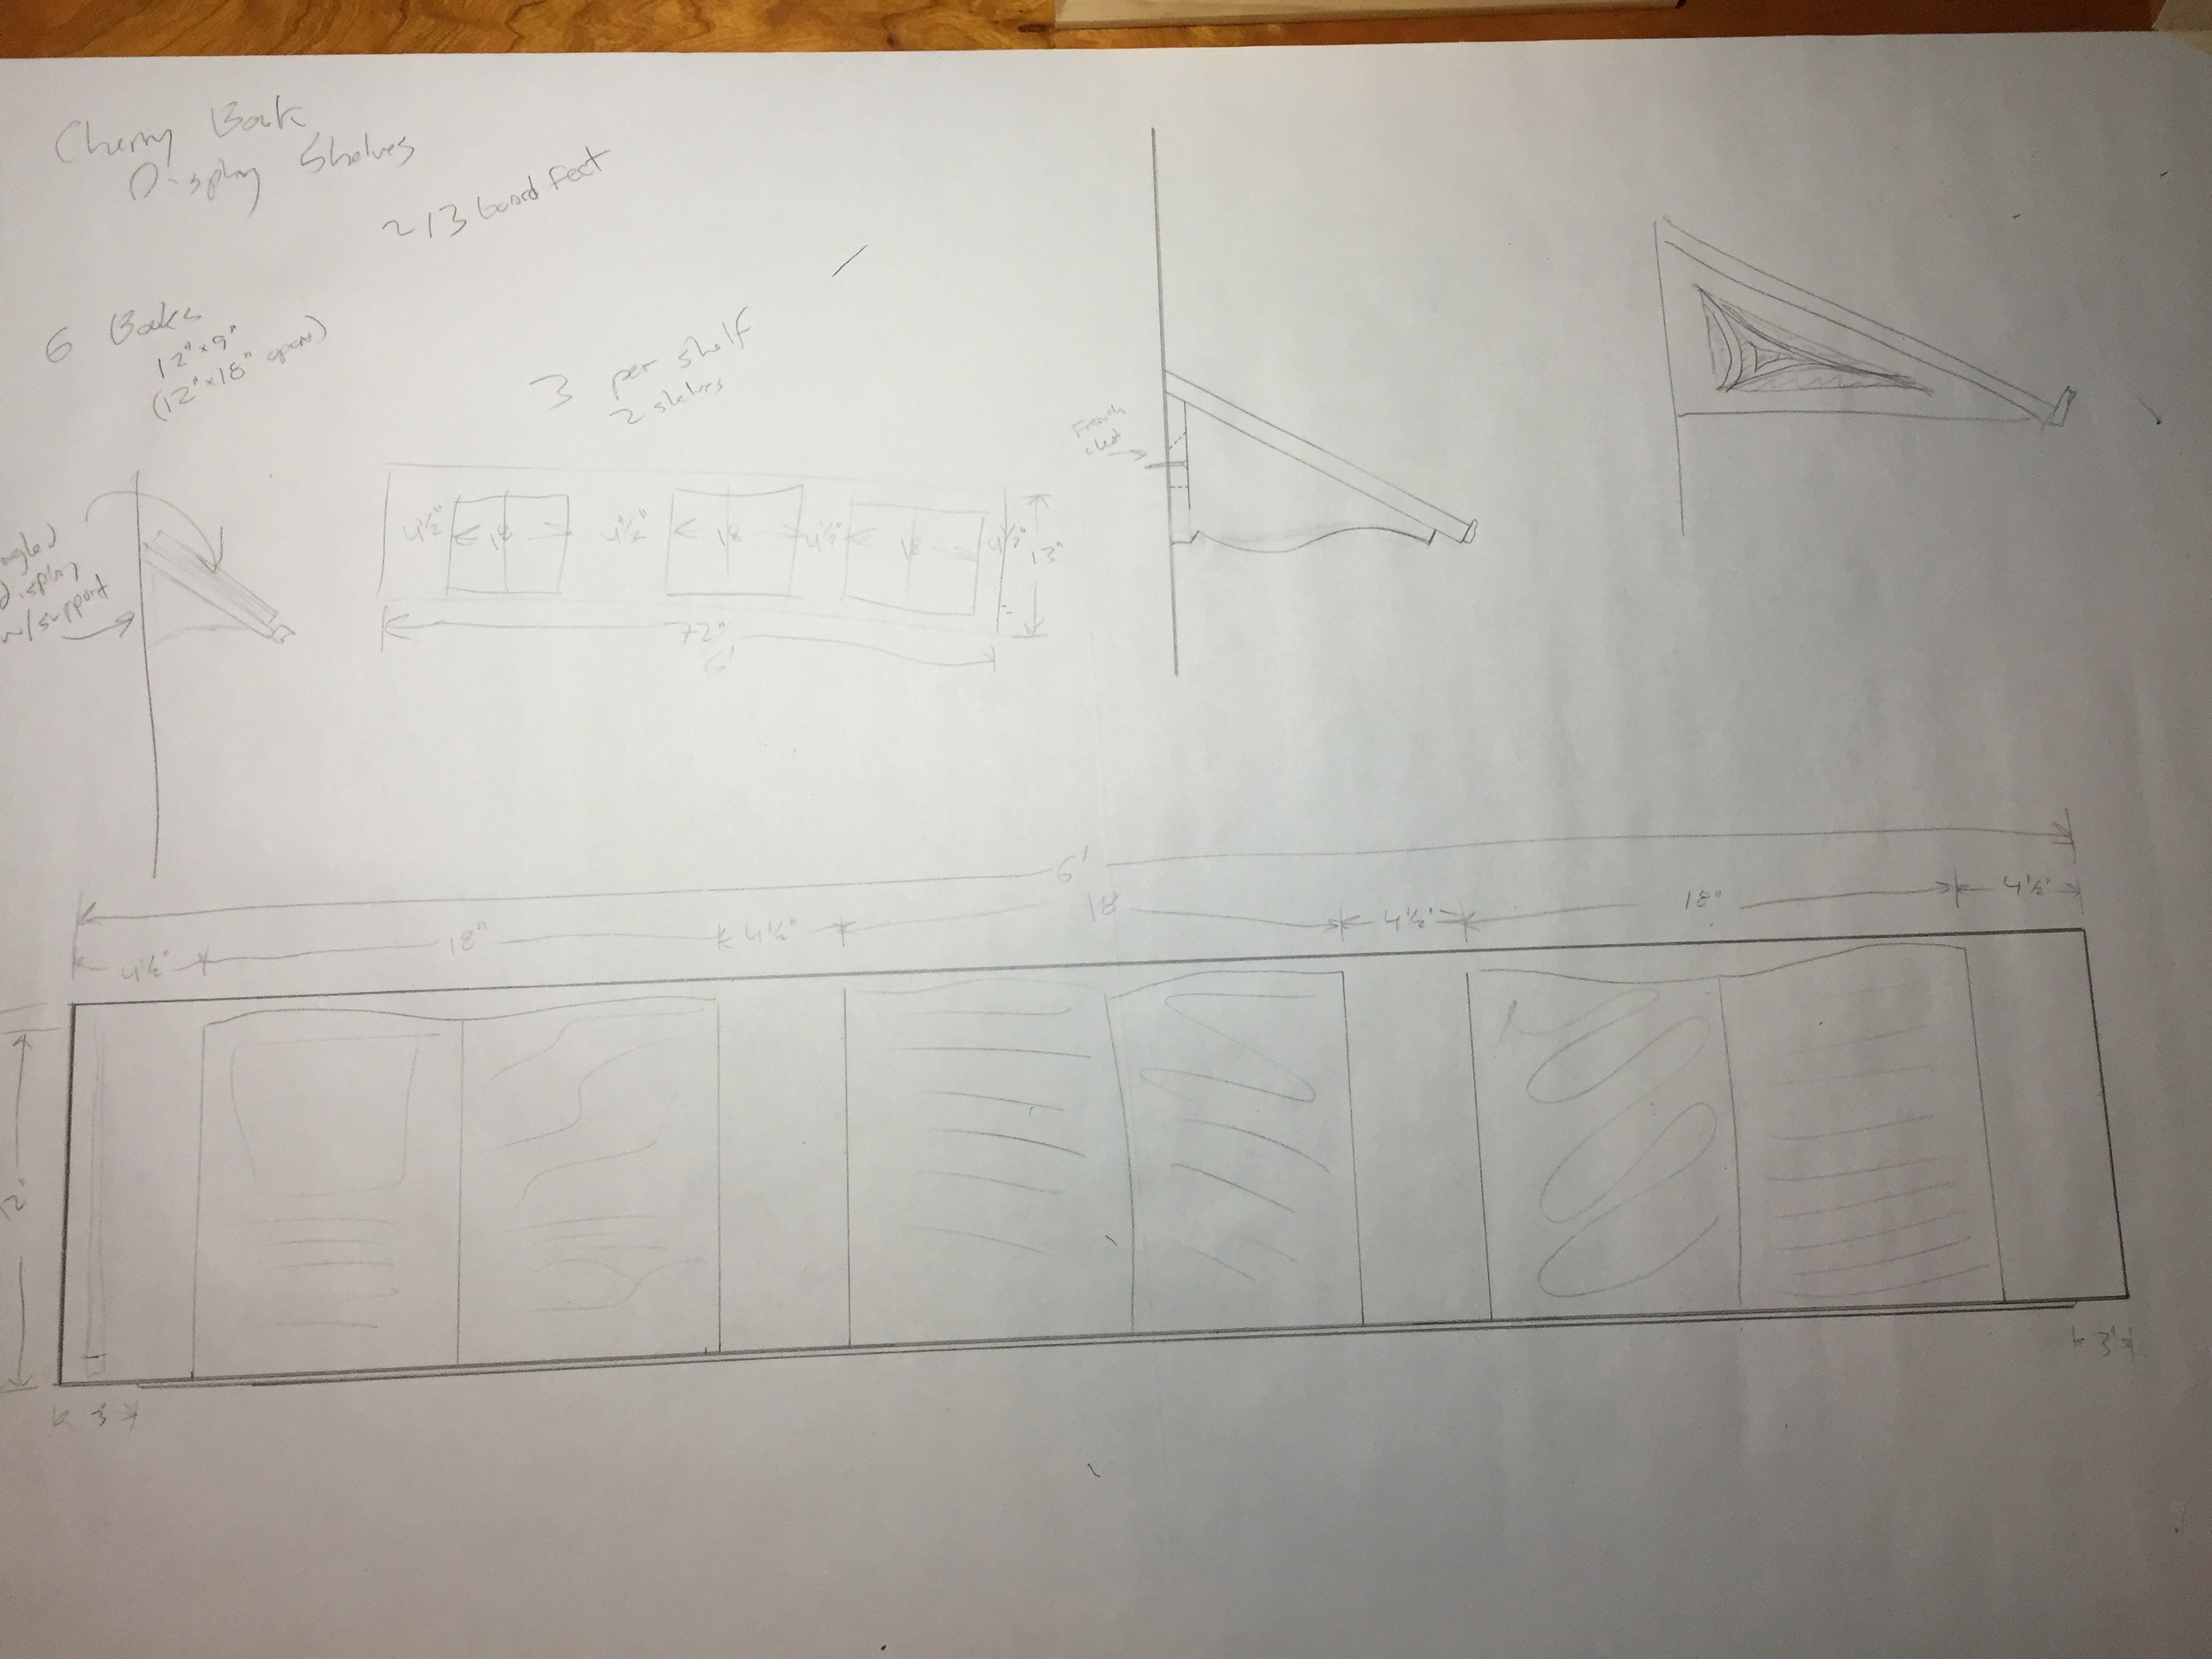
Closed, each book measures 9"w X 12"h, making them 18"w x 12"h open. There were six books to be displayed, so playing around with that, I found that three books per six foot shelf left a nice amount of space between the books. That meant two shelves, that might or might not have been placed next to each other to make one long twelve foot shelf.
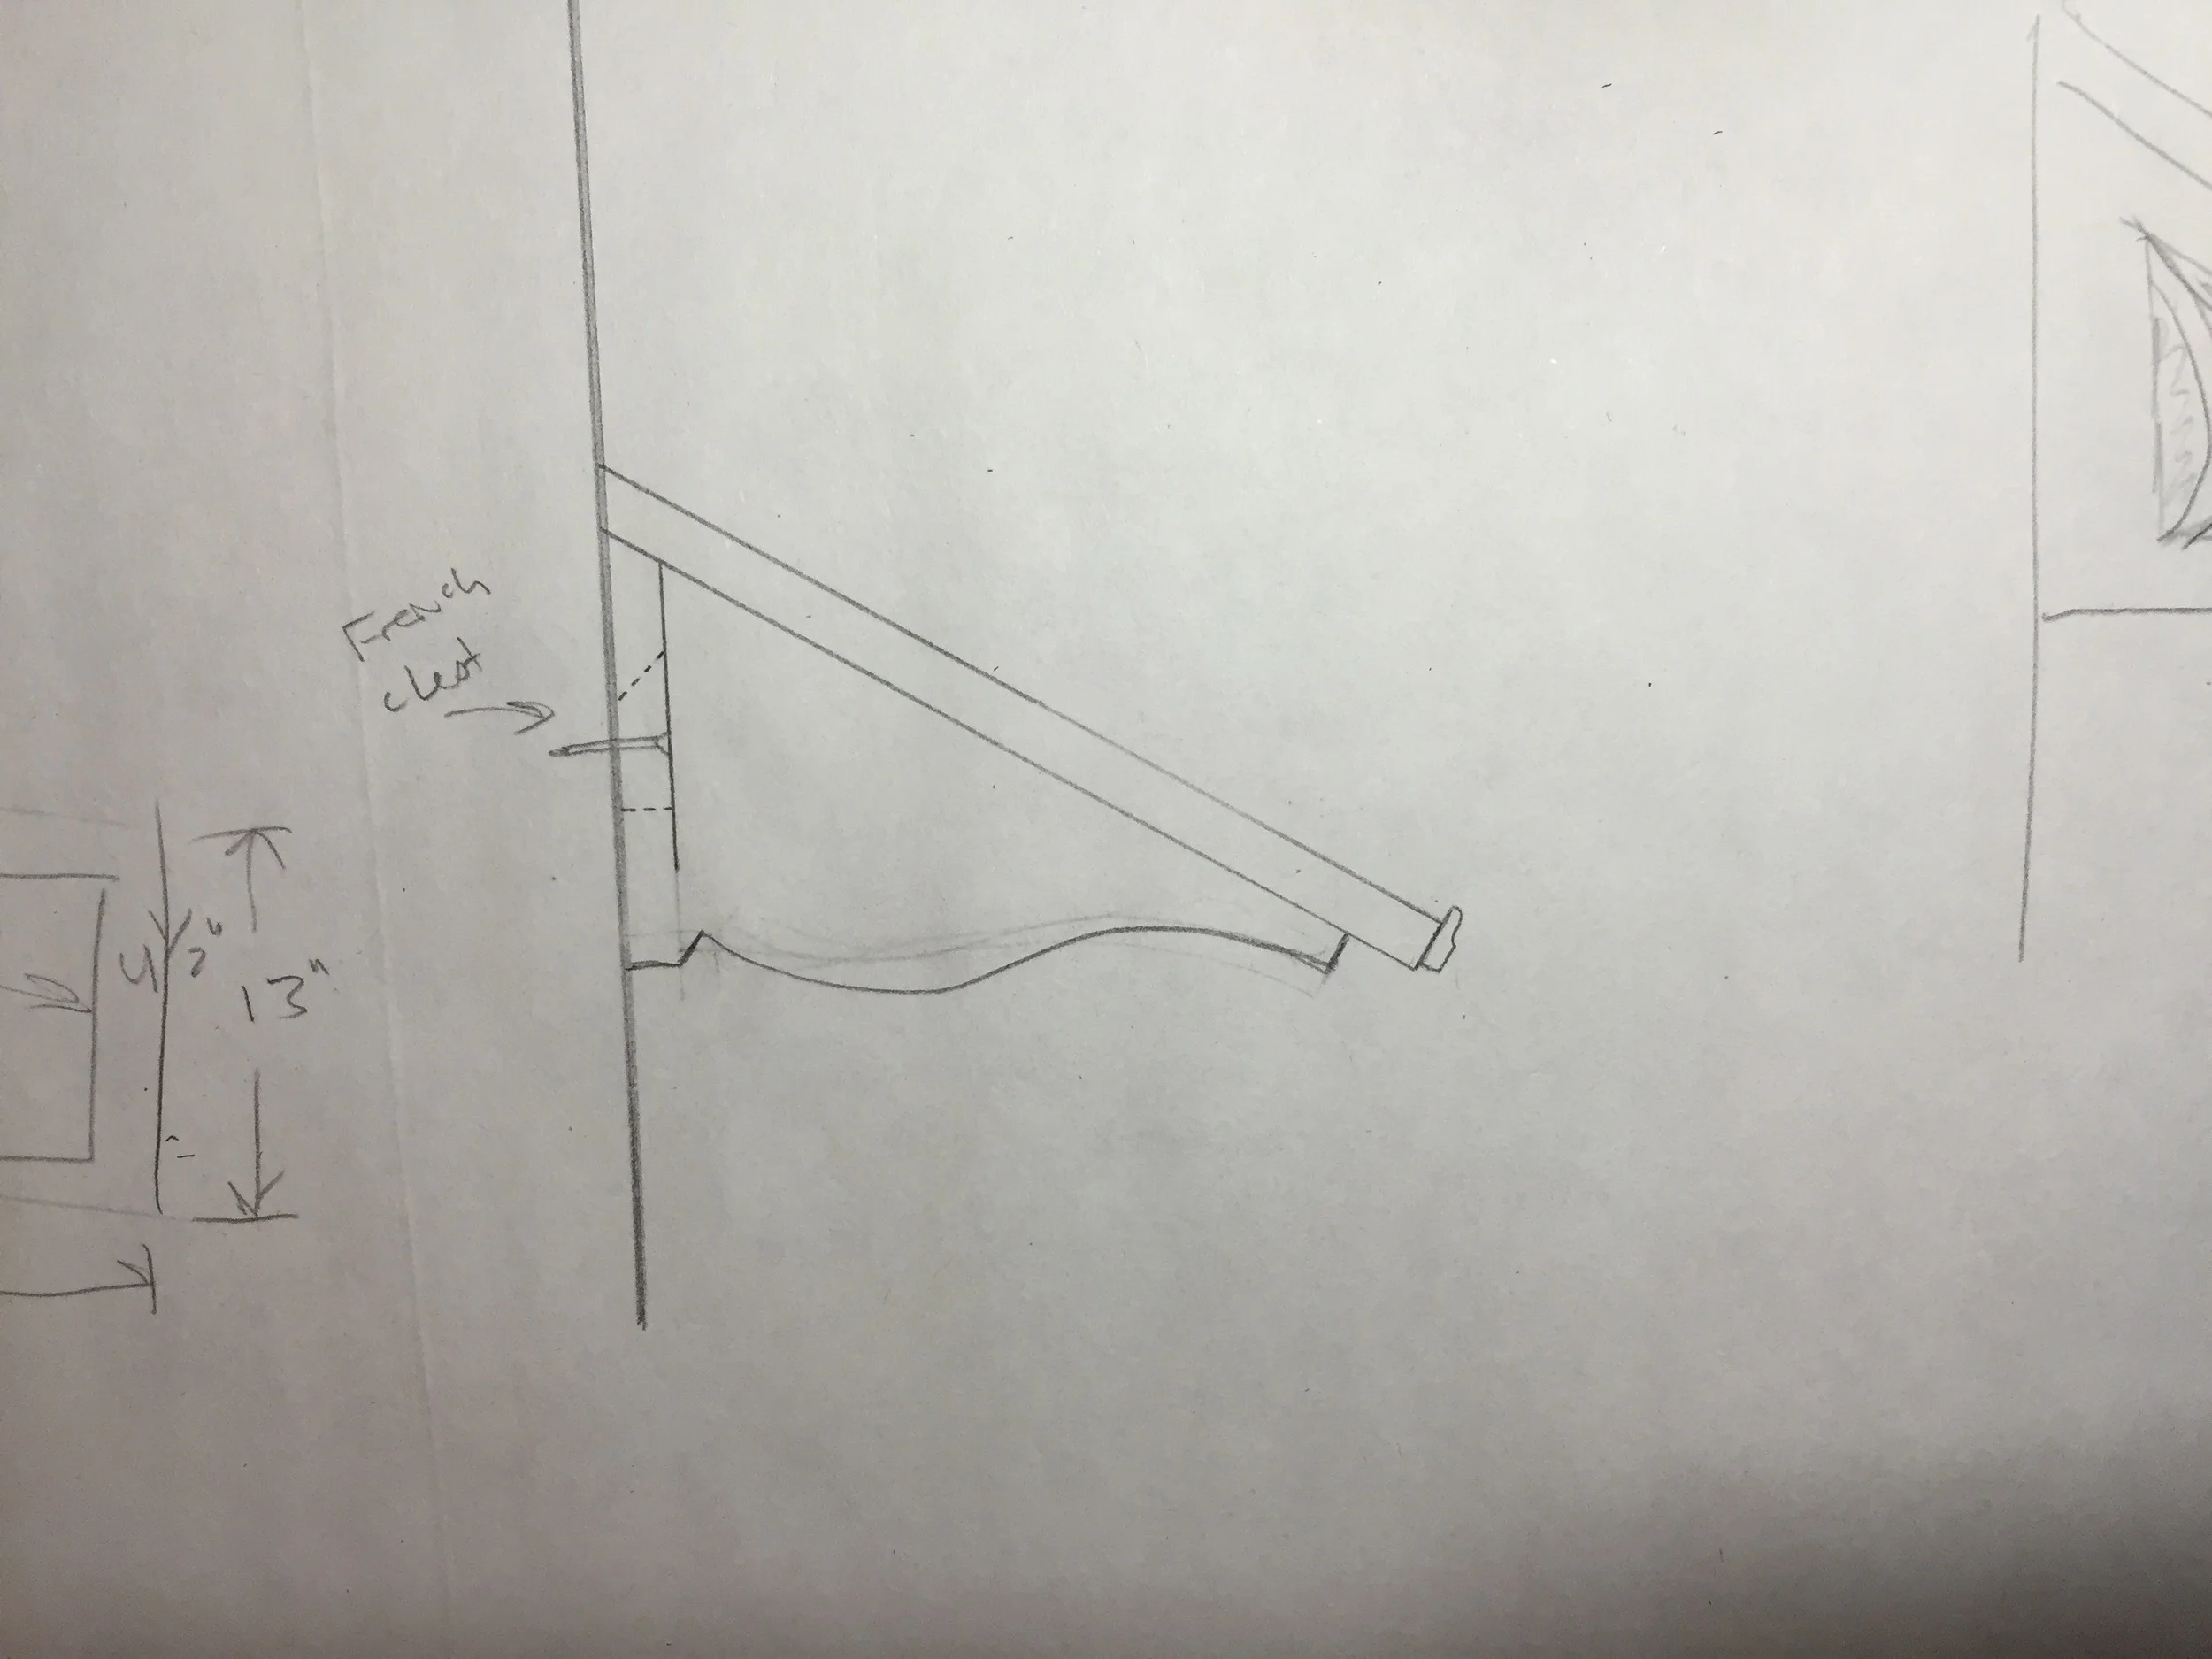
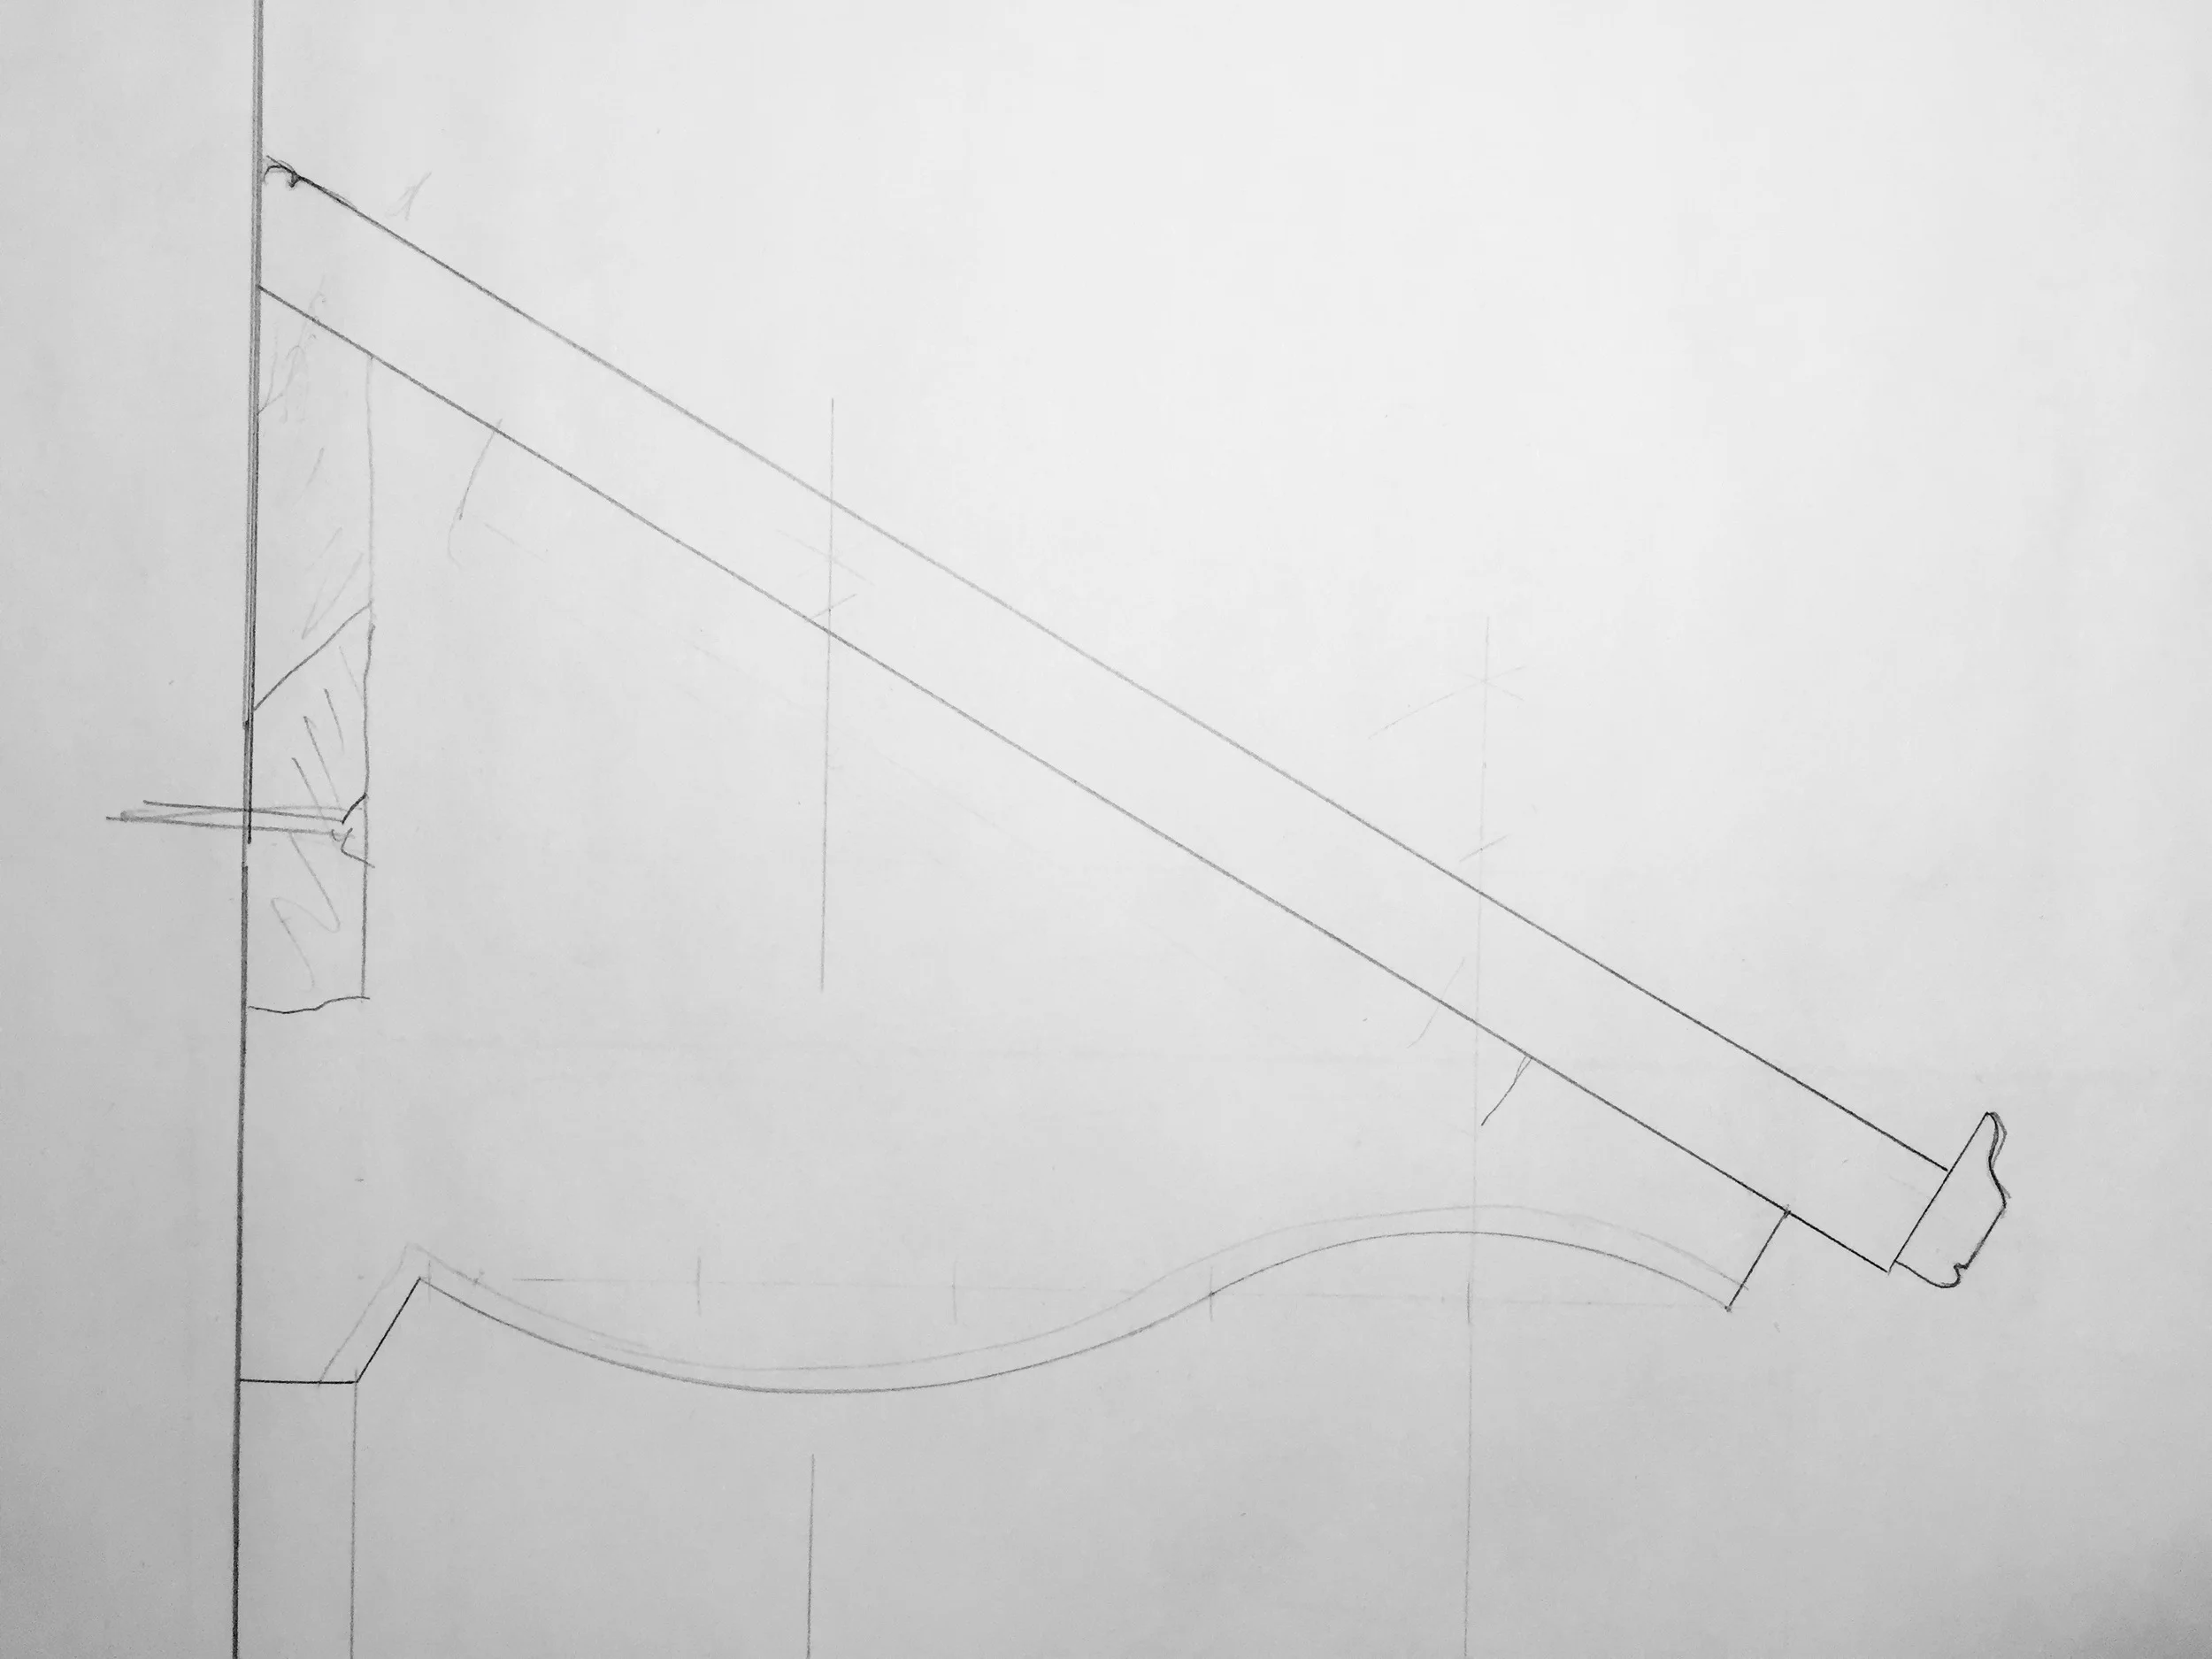
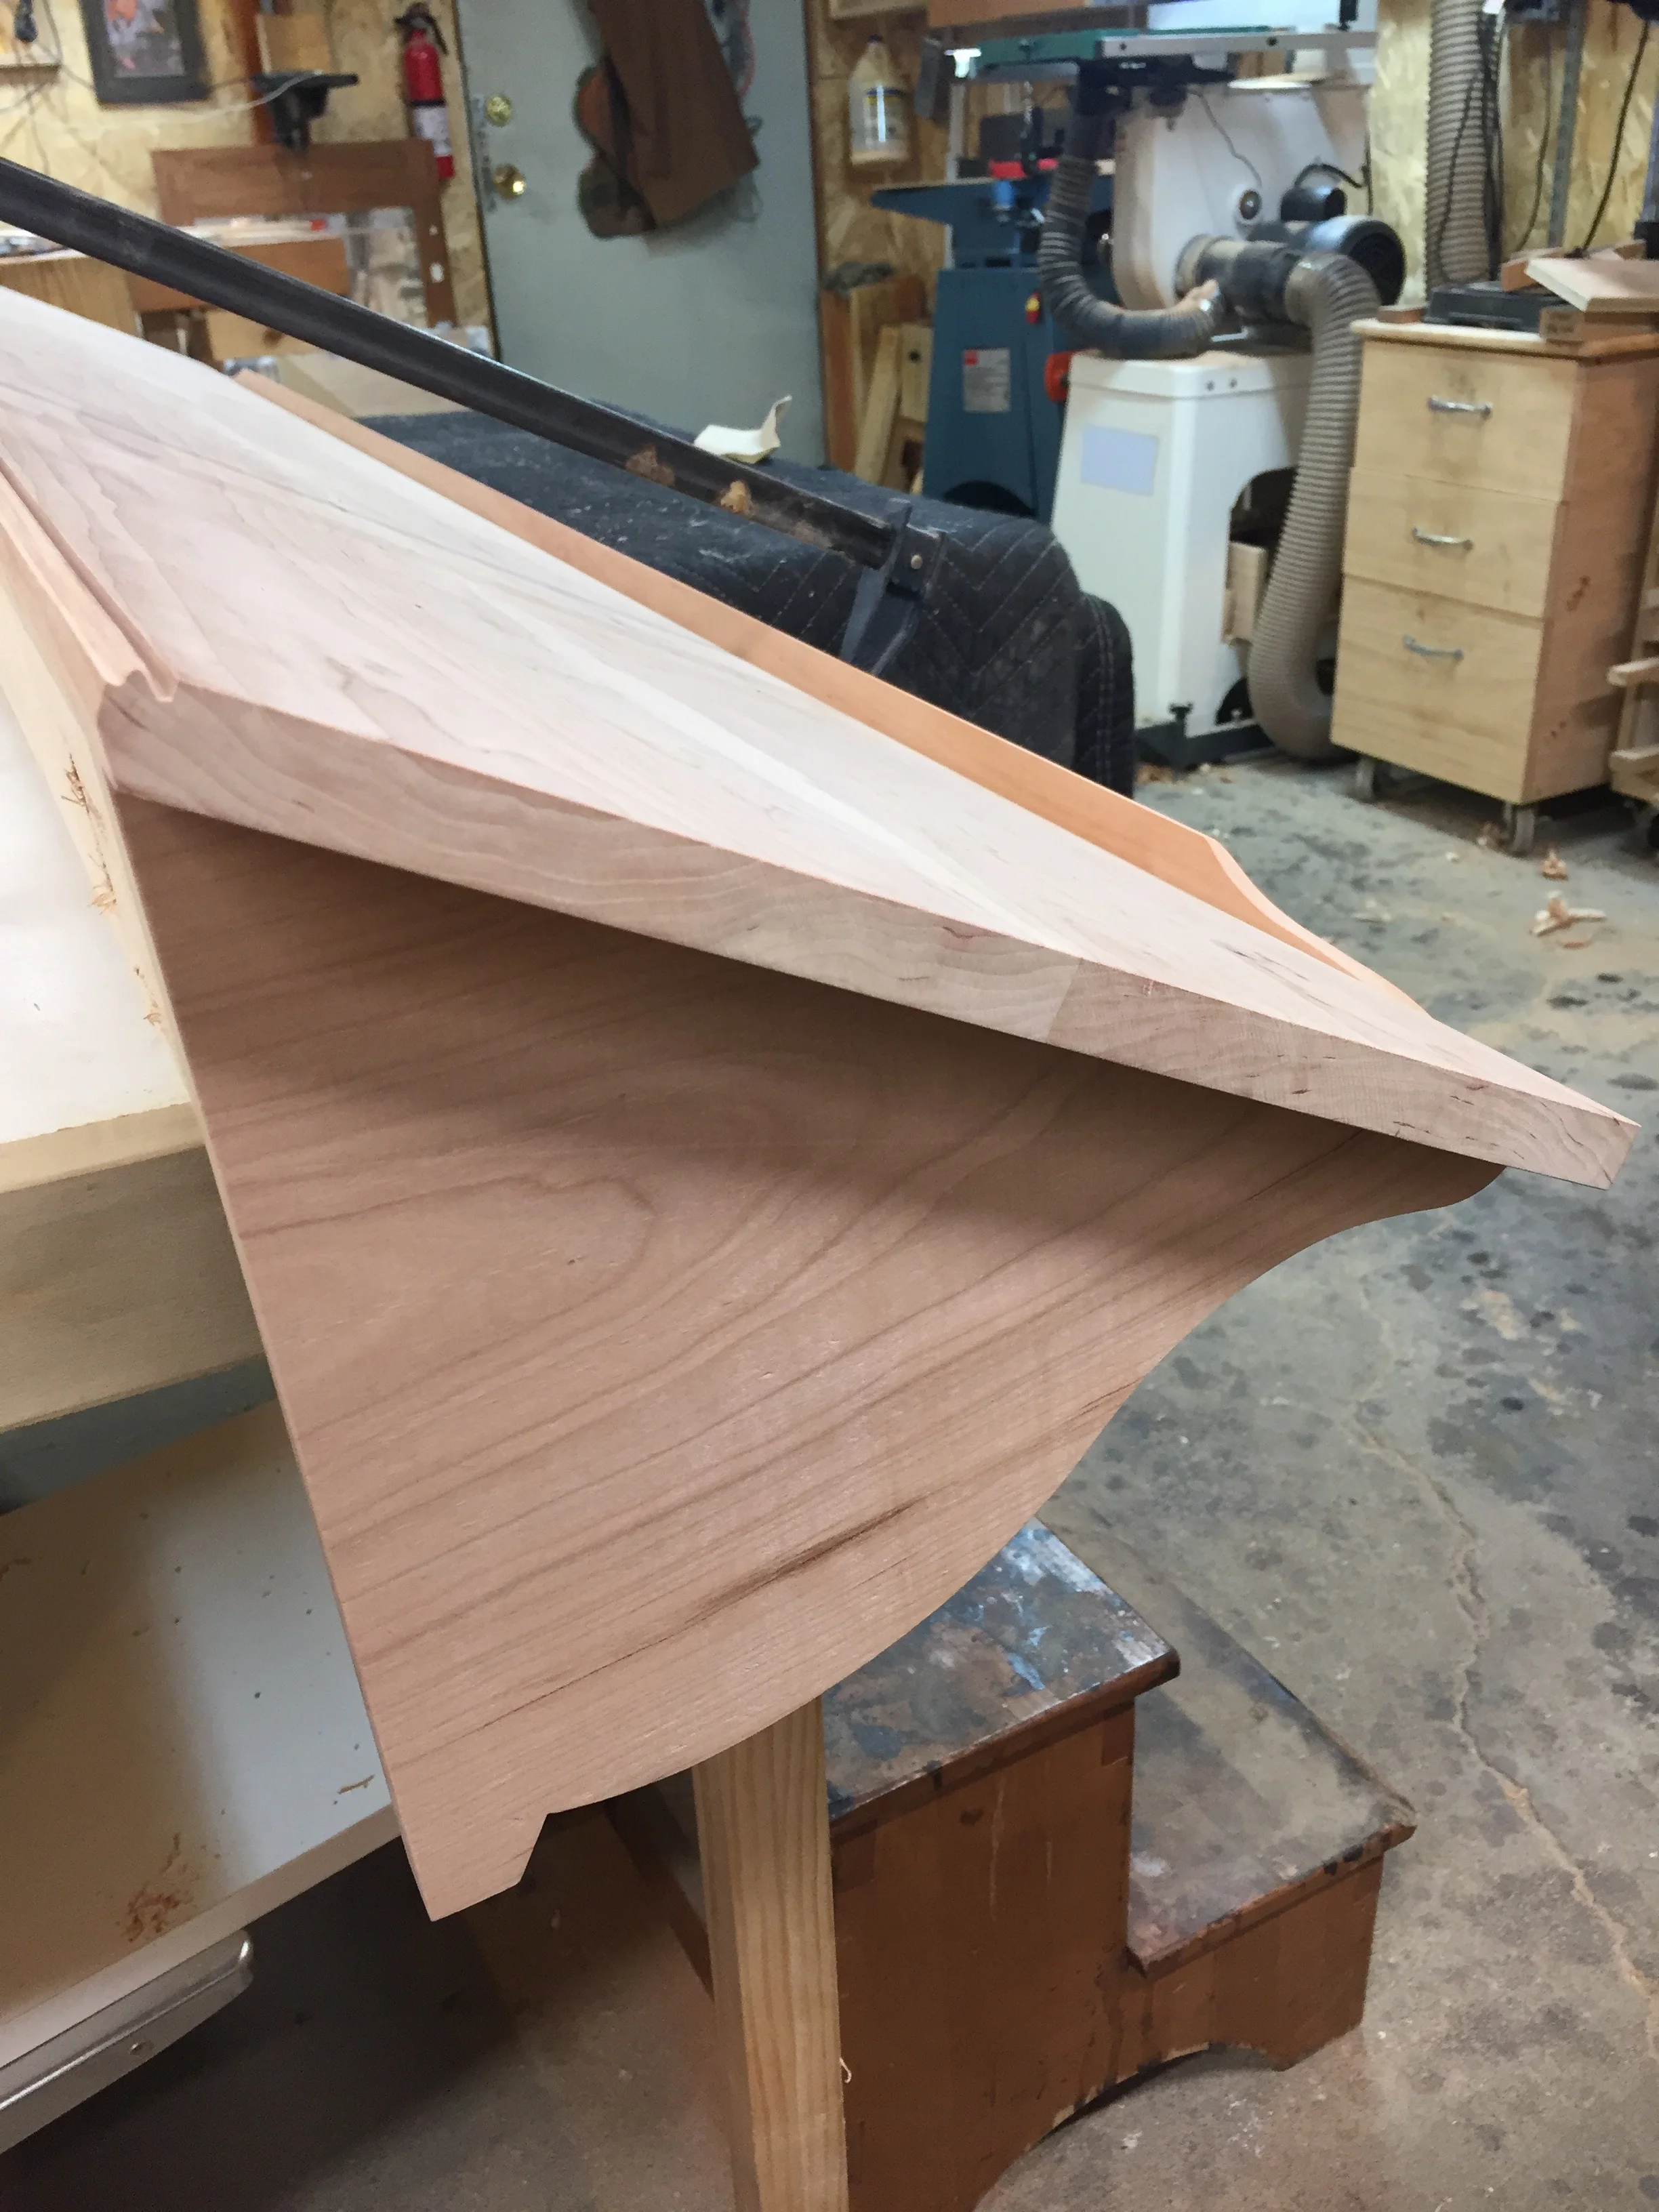
The first element to figure out was the angle of the shelves. After trying several, 30° seemed about right. We knew they would be about 3 1/2 to four feet off the ground, and we wanted to make sure the books were easily seen by both the short and tall. With the angle decided, I turned to the side brackets. I could have simply made them triangles, but that looked too dull and "construction" like -- this was a chance to be a little creative and add a design element. After a bit of drawing, I worked out a classic unequal cyma curve (or ogee curve) that looked nice.
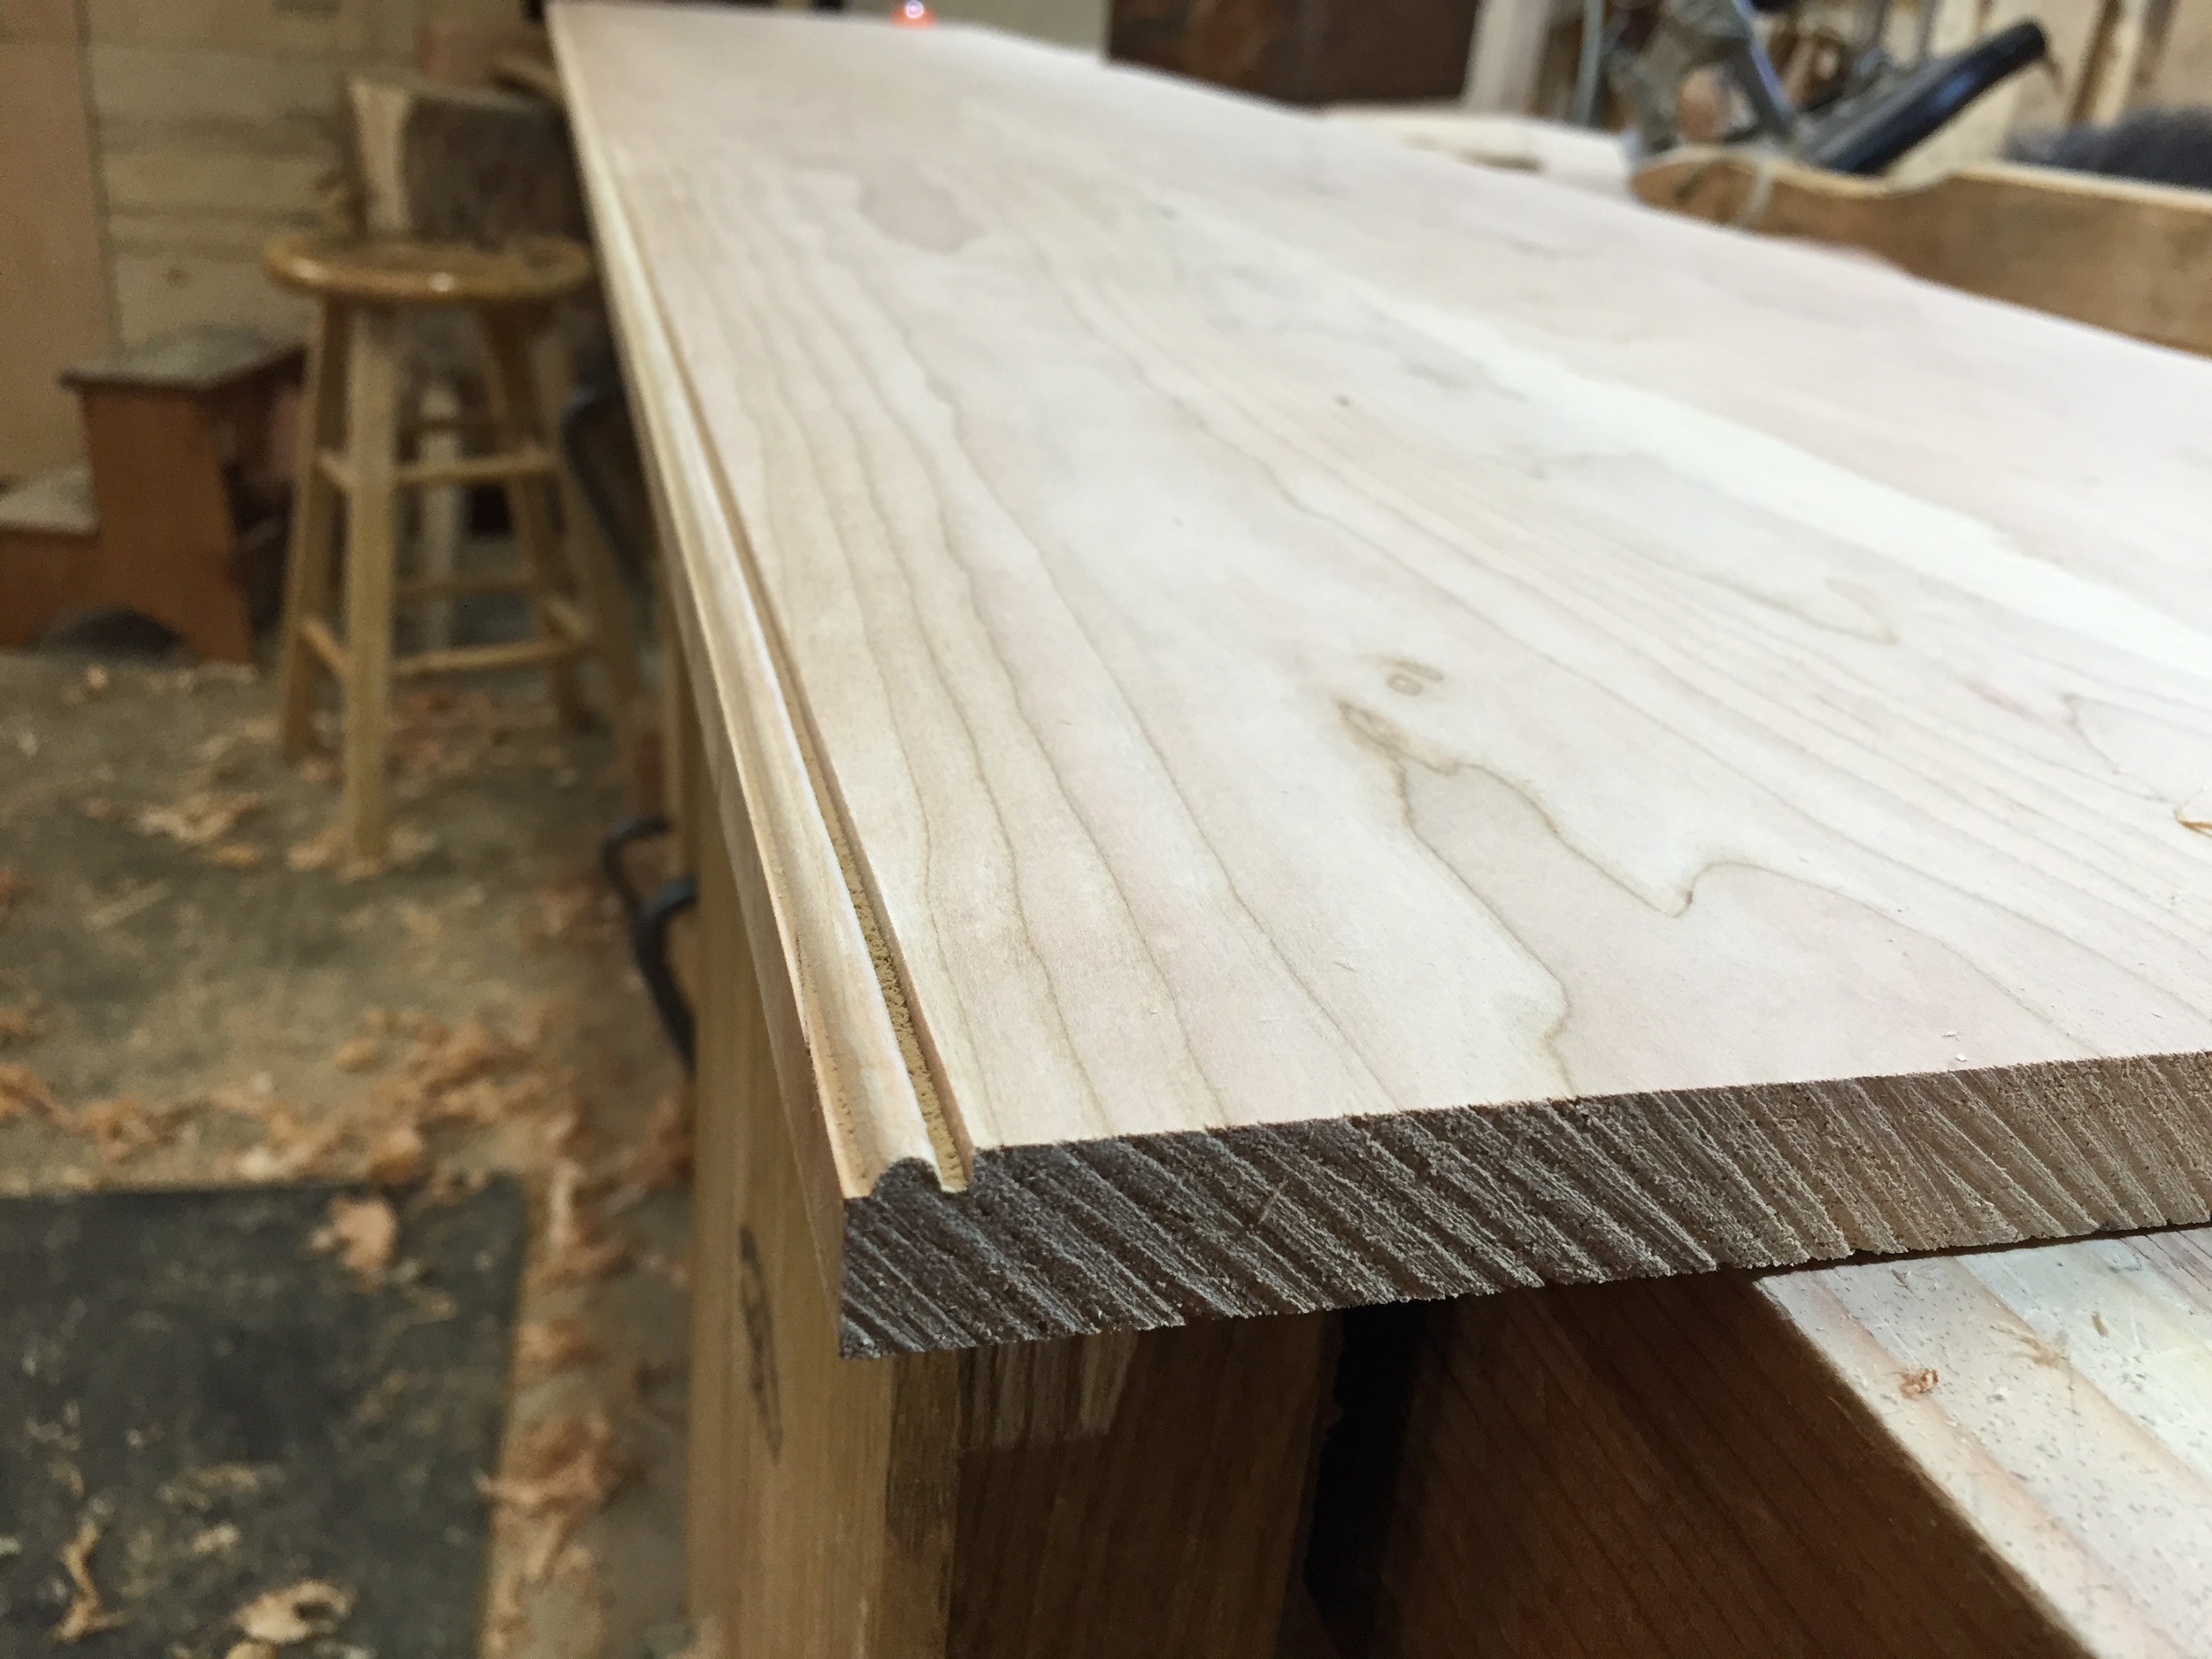
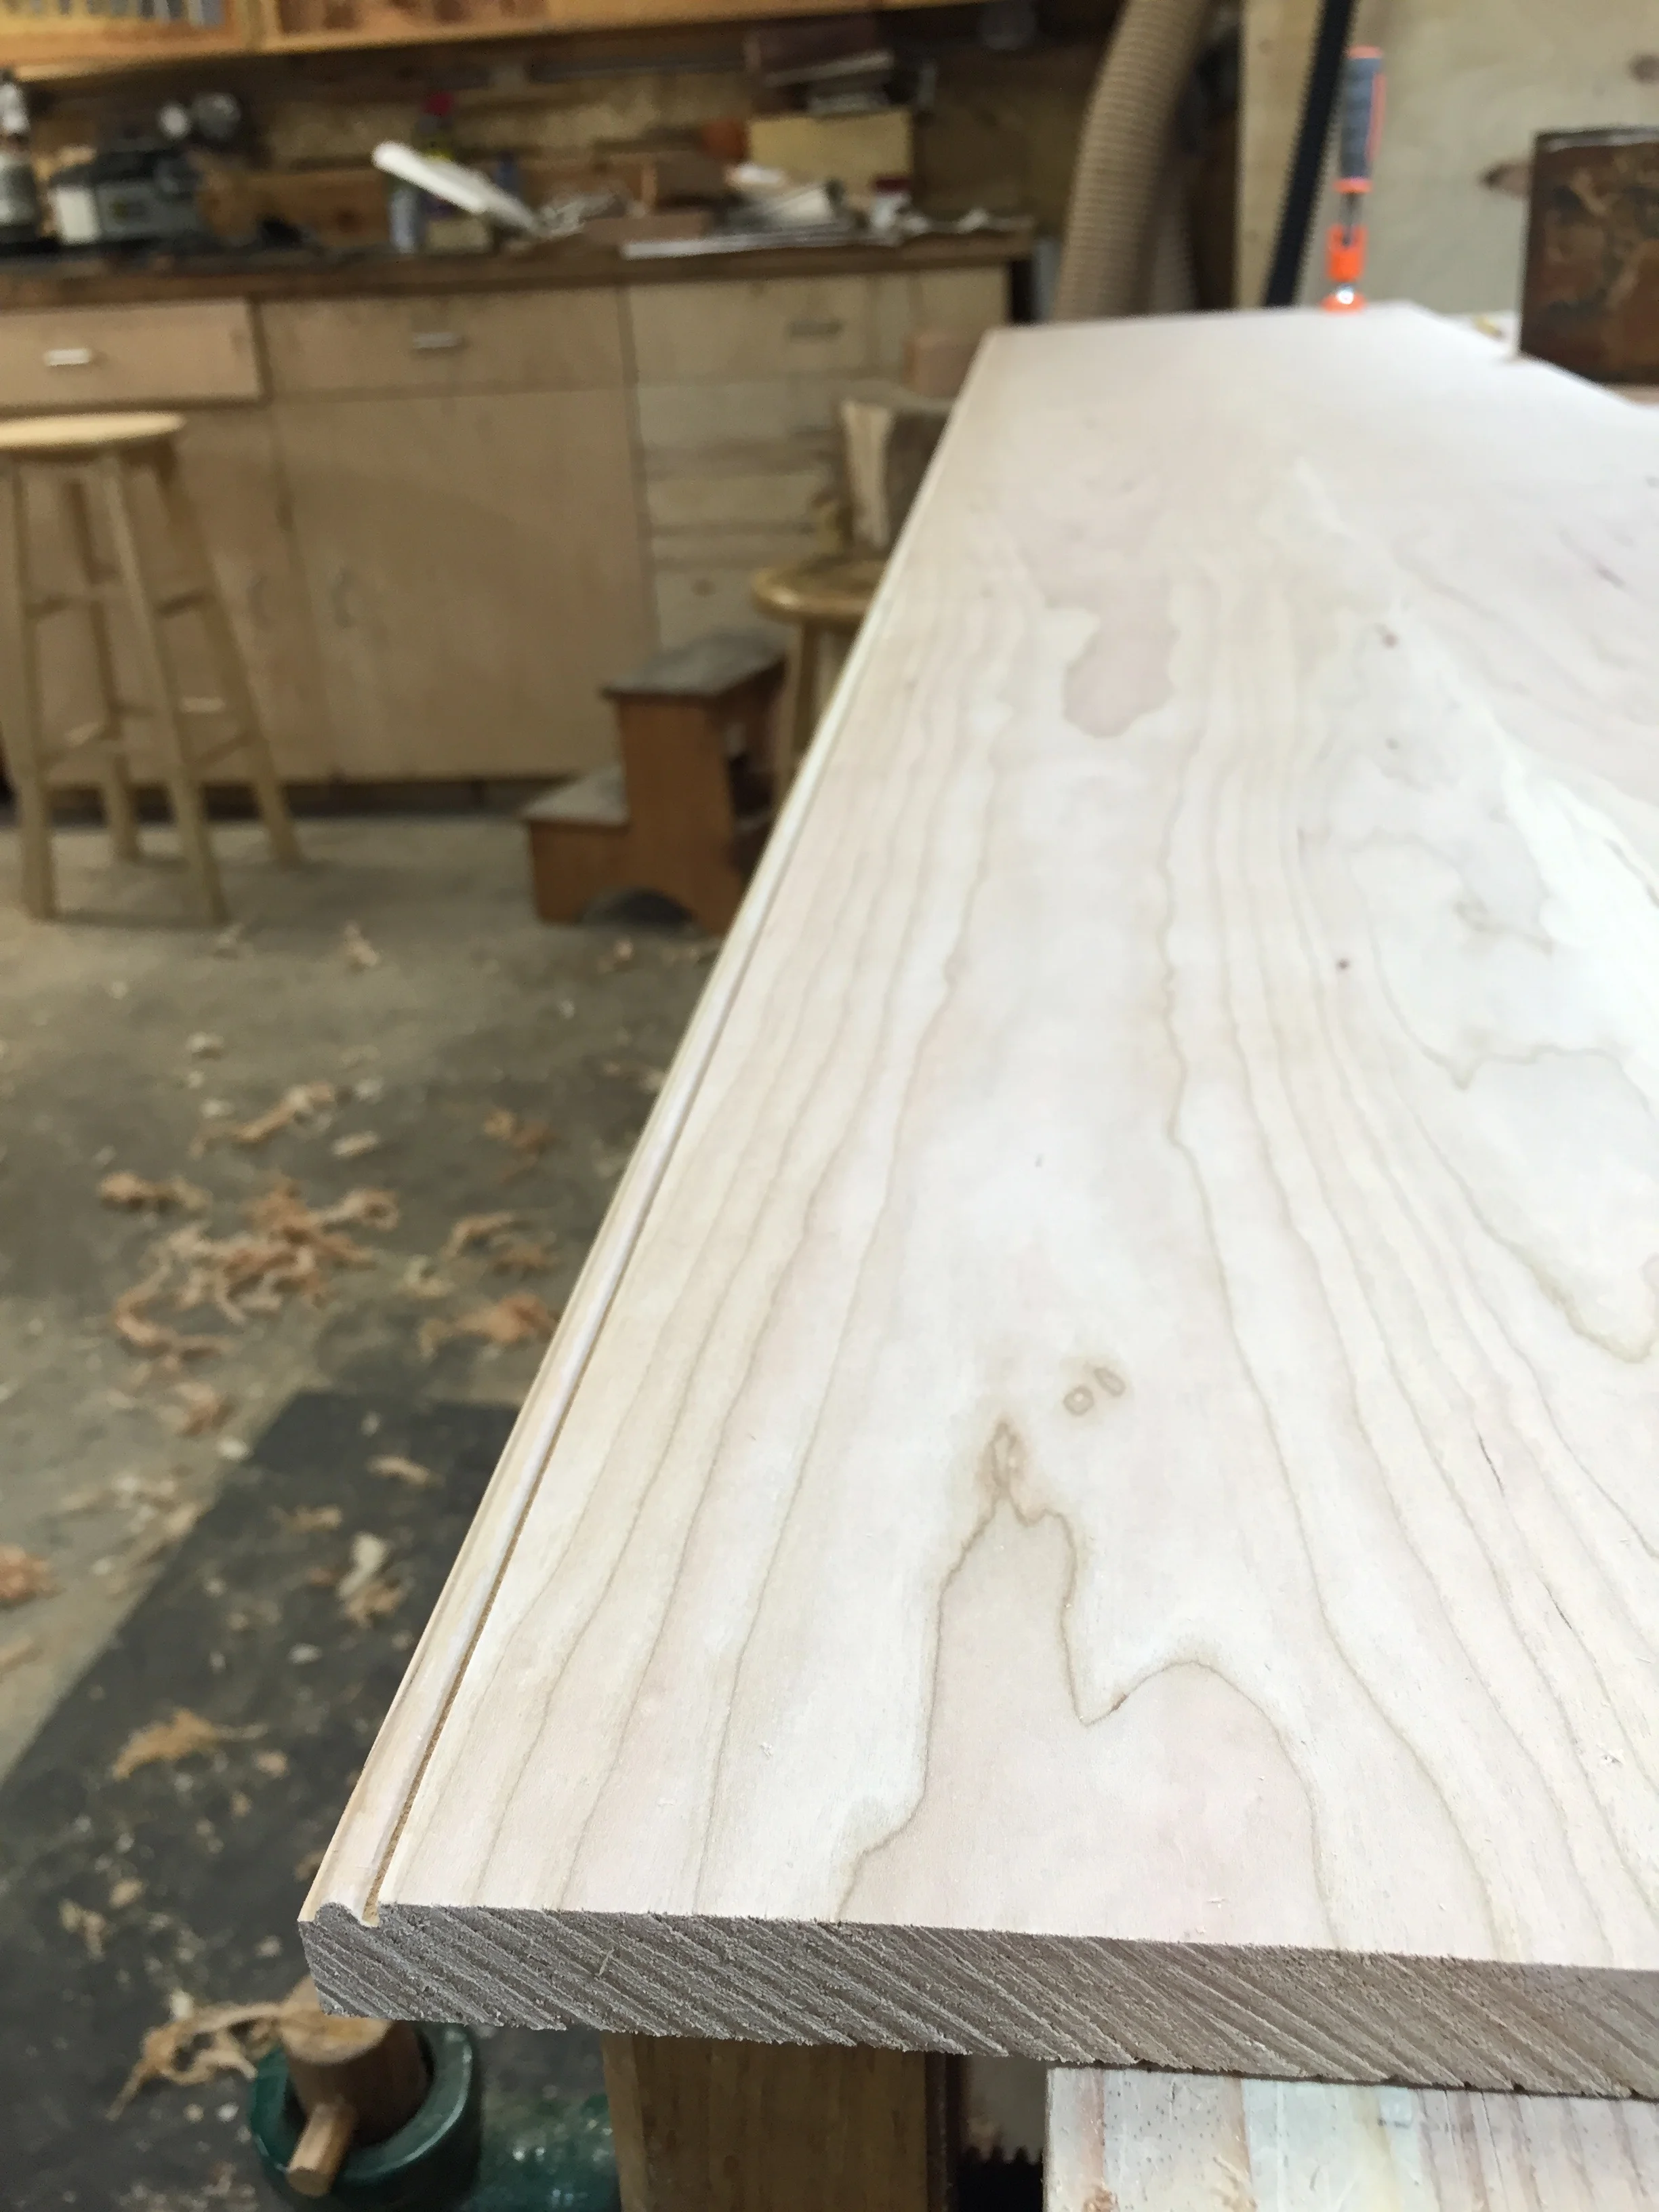
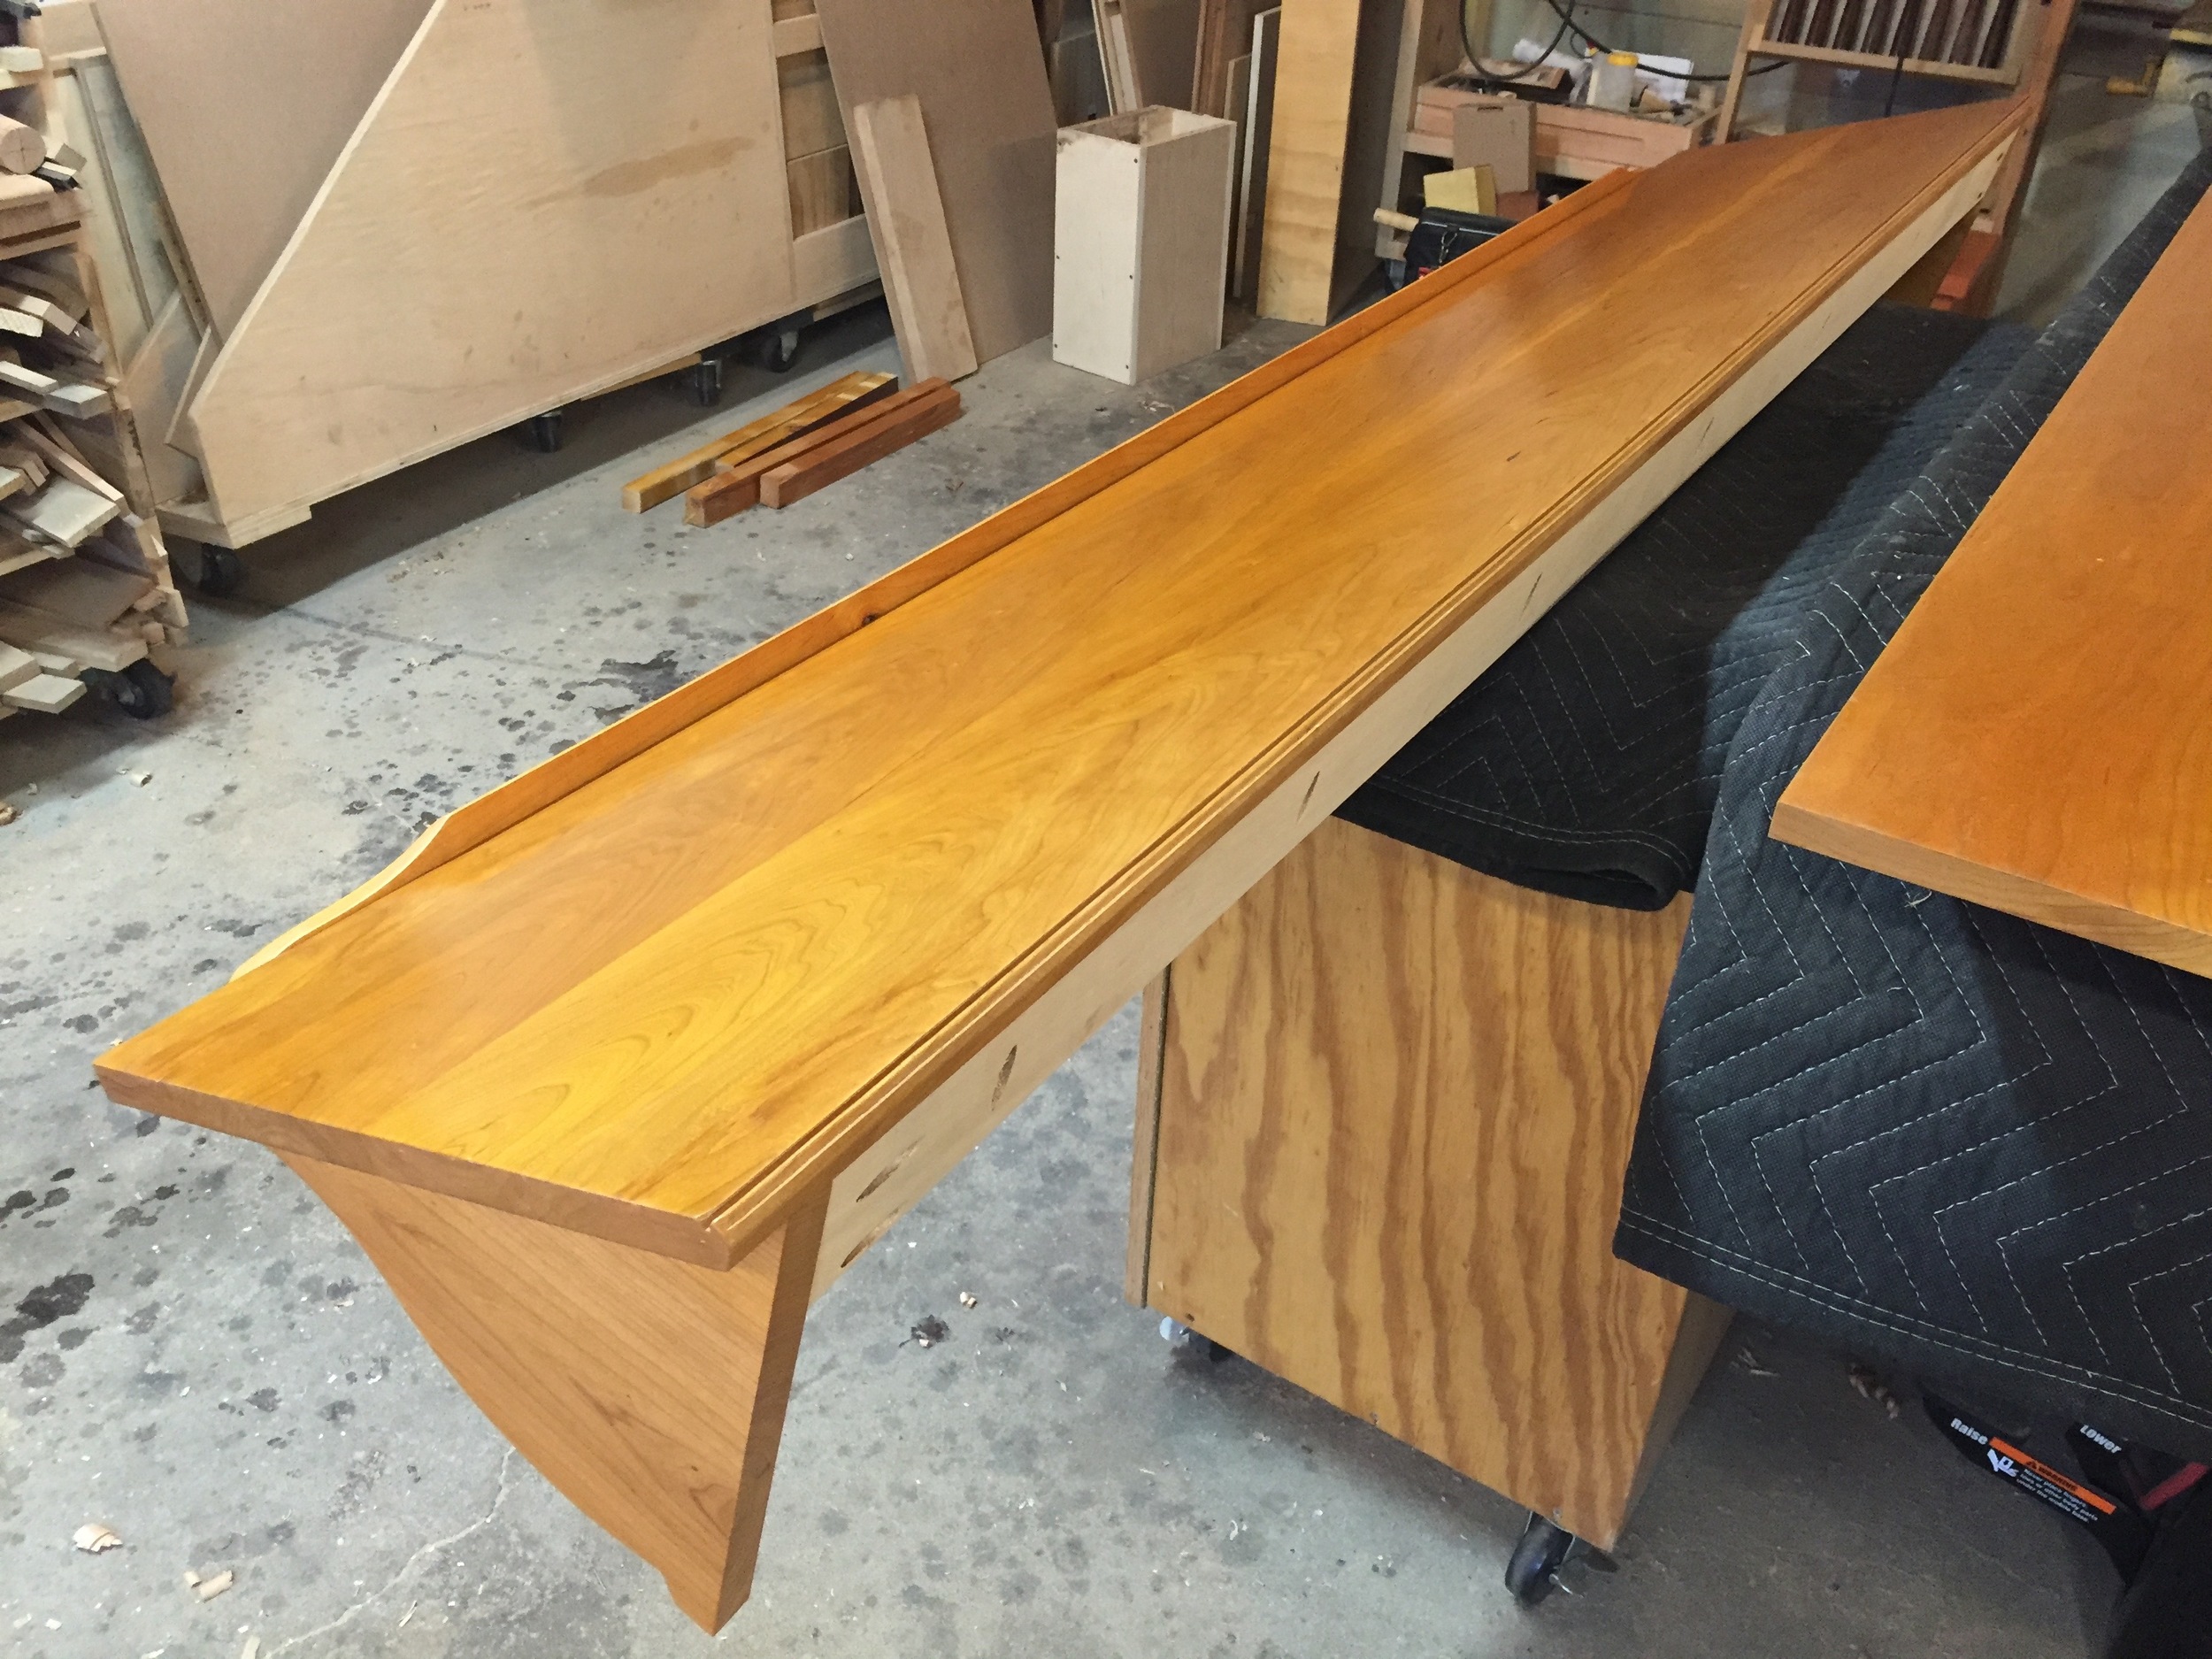
As the angle and bracket design came together, I saw that a potential trouble spot was going to be where the top edge of the shelf met the wall. Walls aren't ever straight or flat, and trying to make a perfect little bevel to meet the wall smoothly along six or twelve feet just wasn't going to happen. So I turned to the venerable bead. Adding a bead to the top edge provides a design element and a shadow line that would plunge the actual contact between the shelf and wall into shadow, obscuring any irregularities.
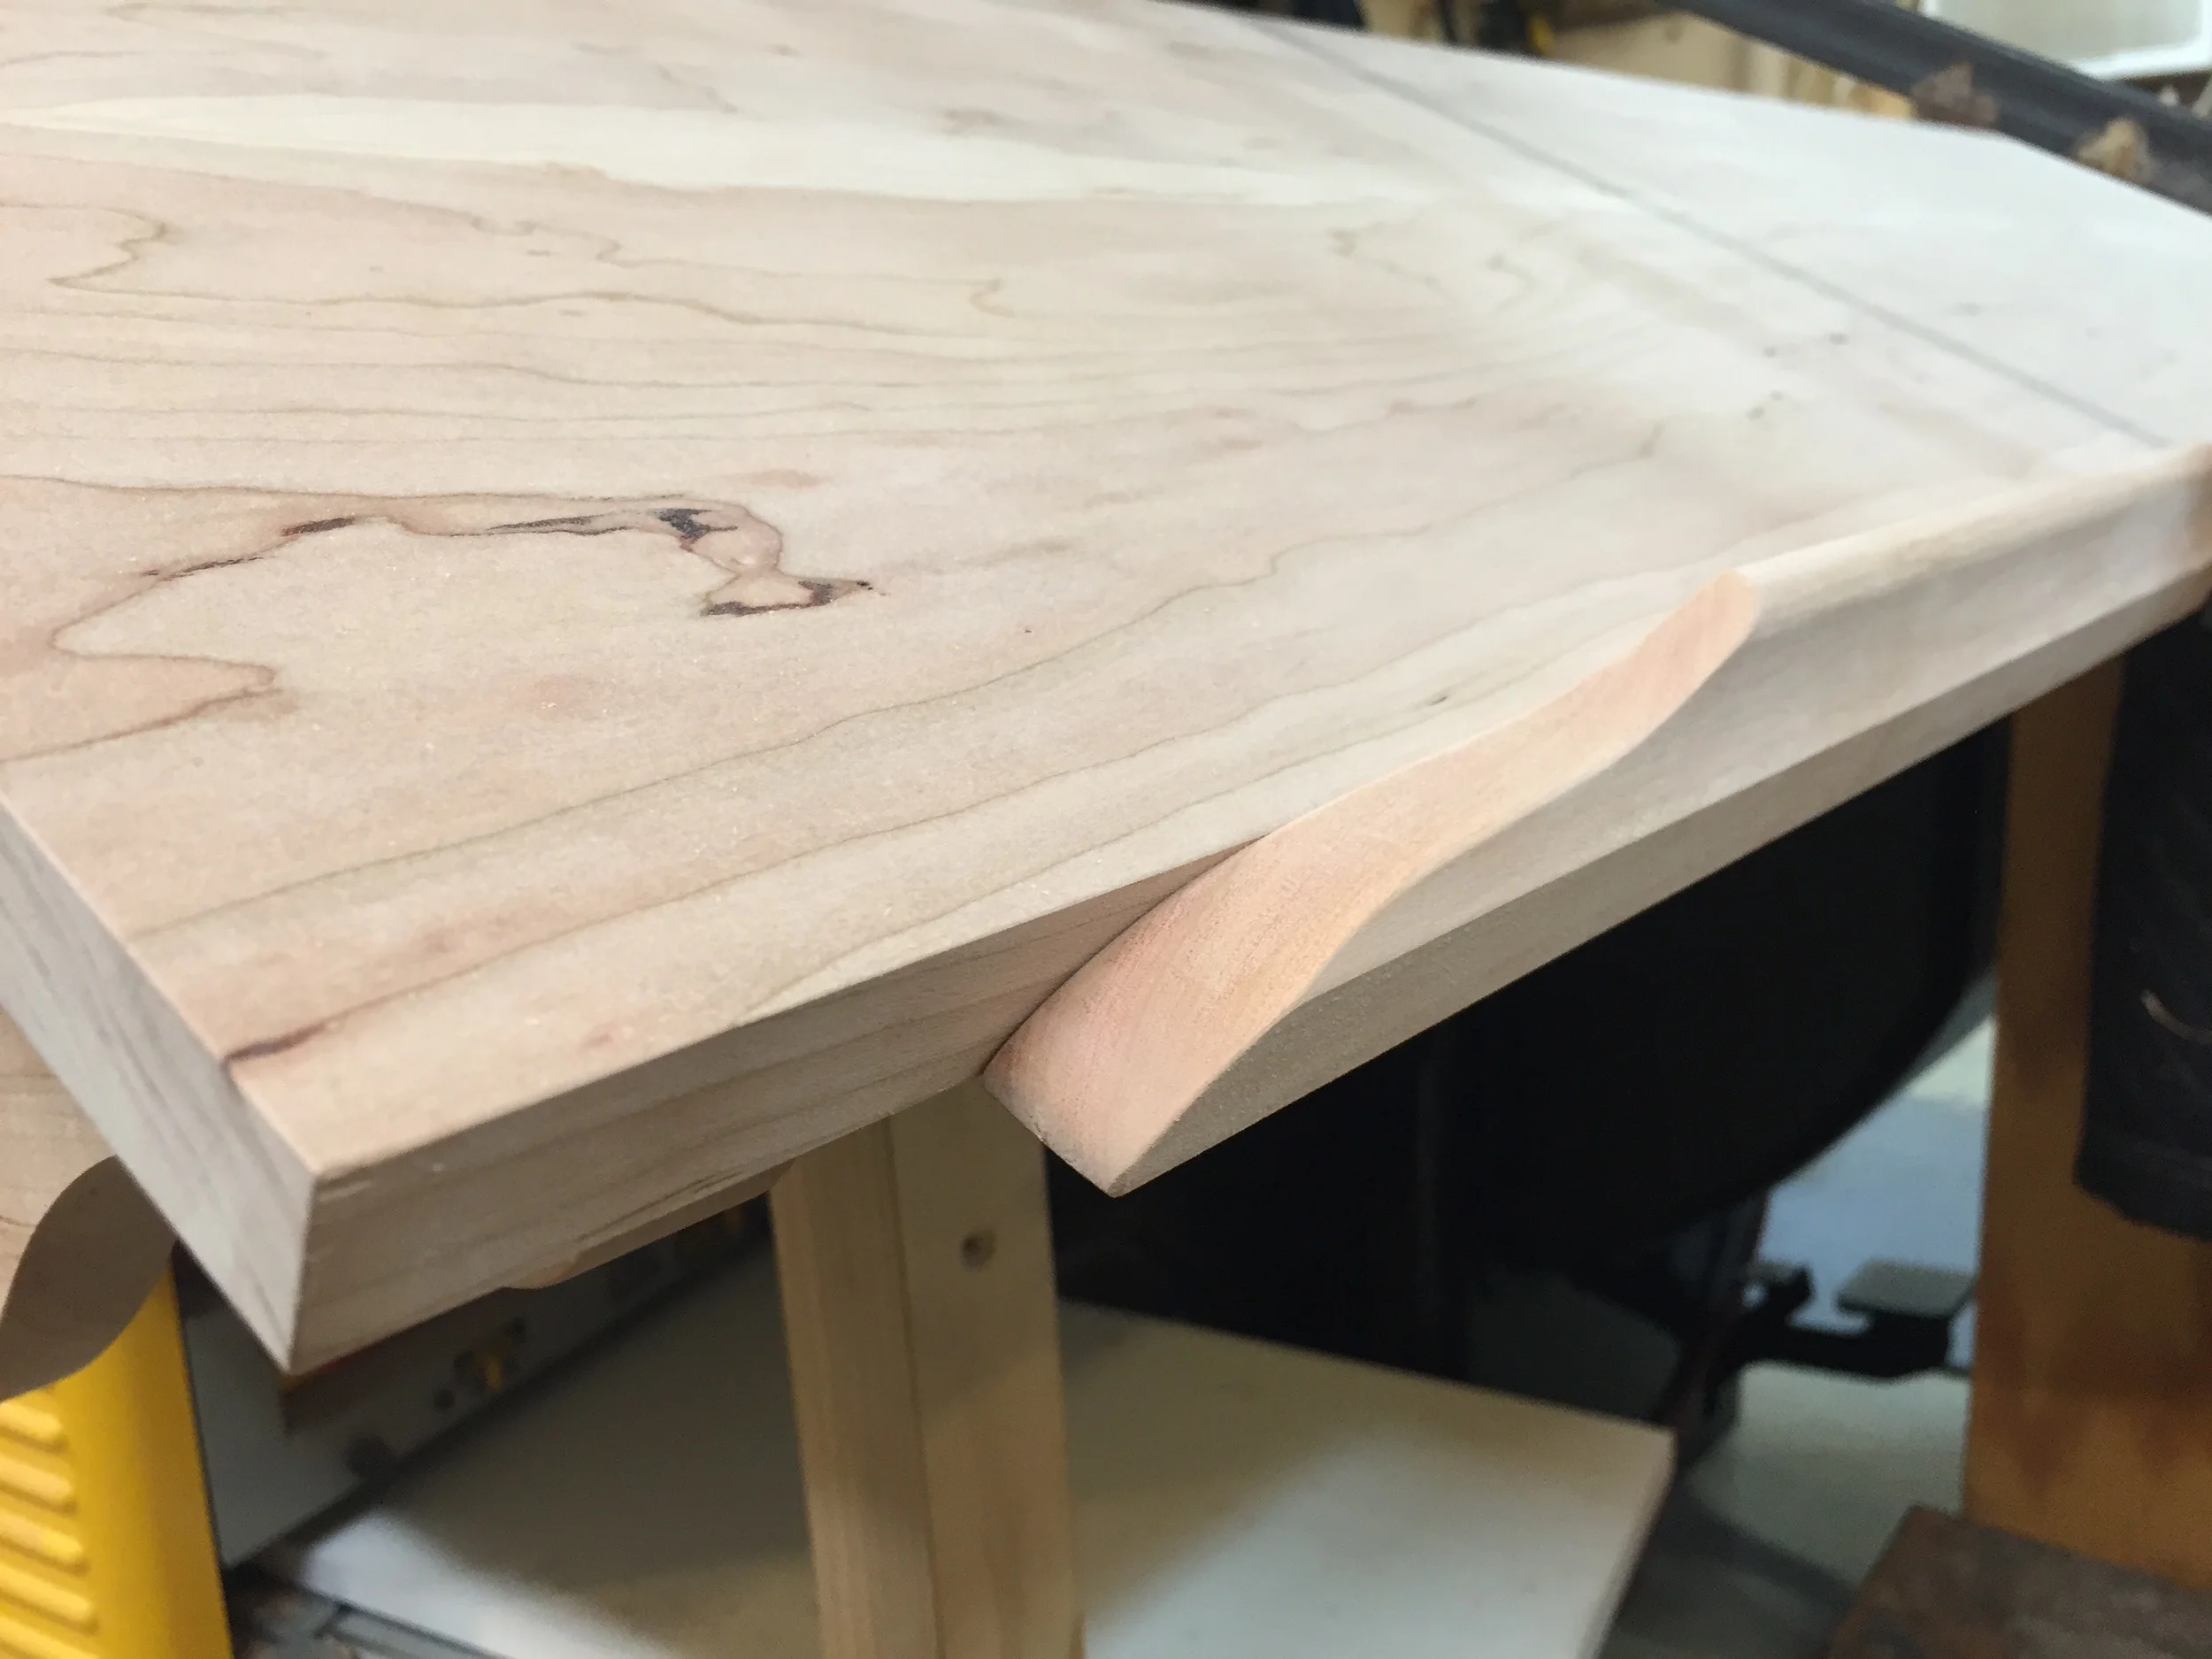
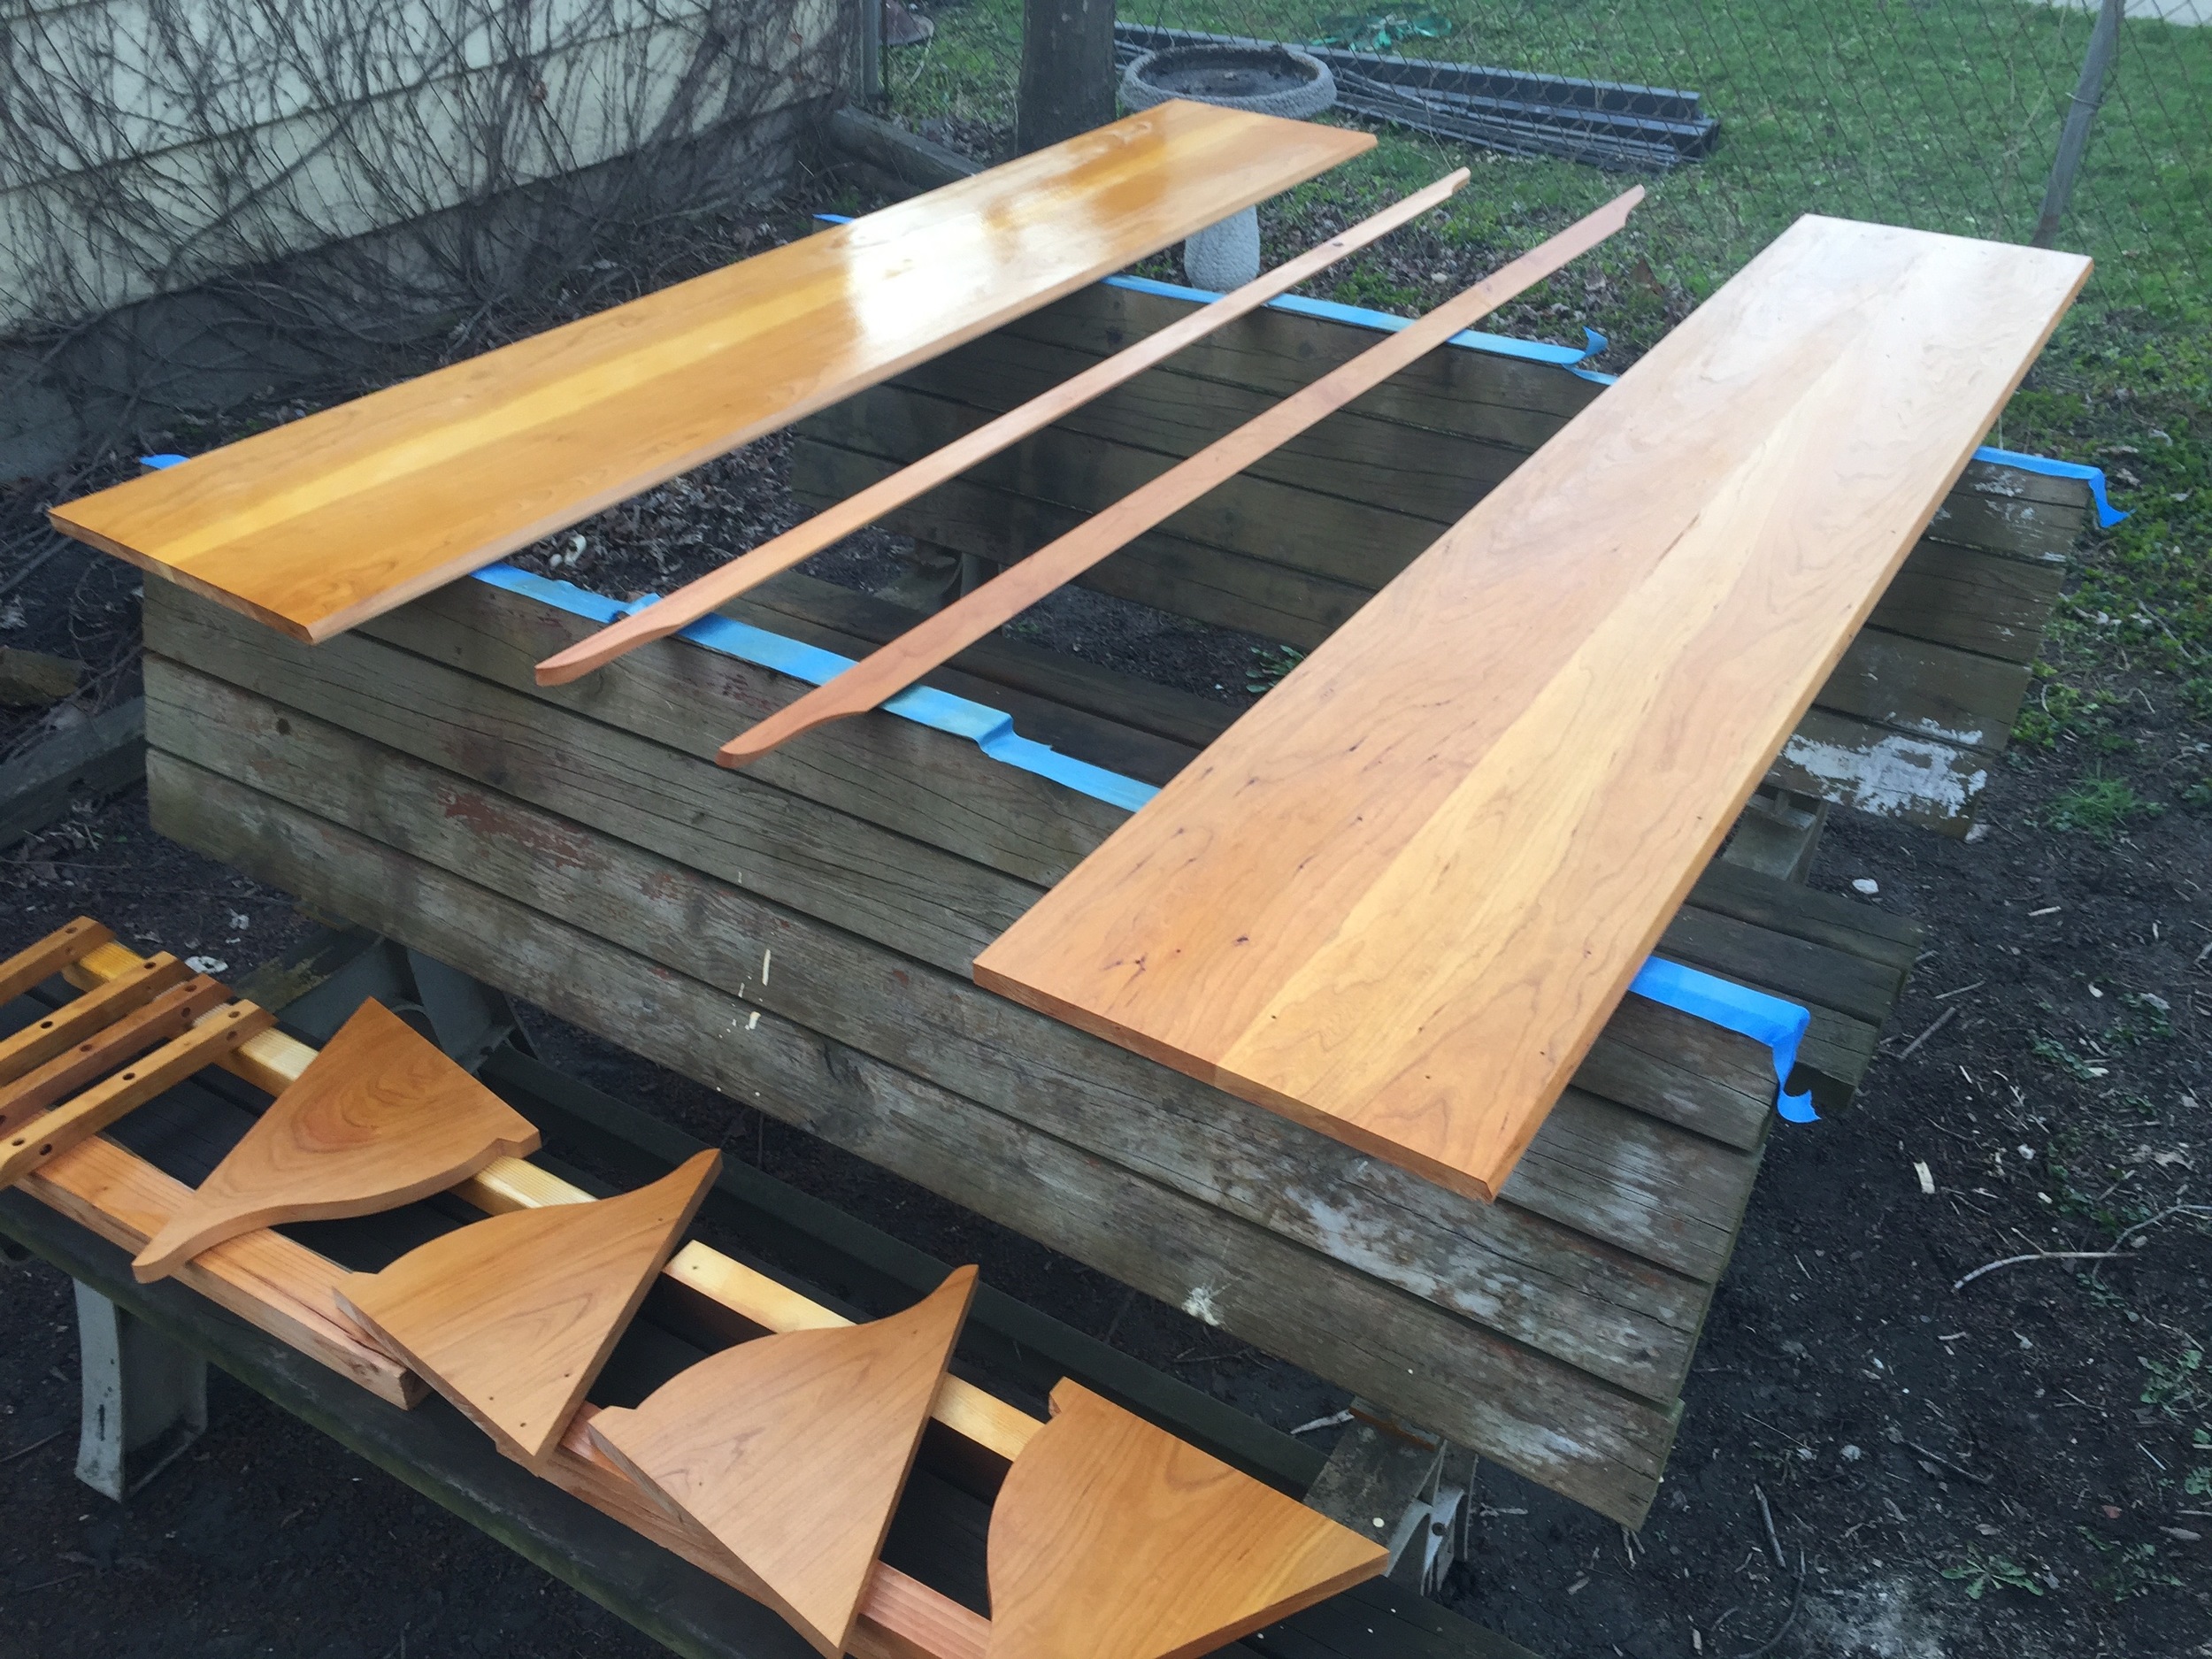
Finally, I had to consider the stop or cleat on the bottom edge of the shelf that would prevent the books from sliding off onto the floor. This was yet another chance to add some detail. I decided to use two intersecting cyma / ogee curves, one along the face or width of the stop's outer edge, and then long gentle ones at each end. Where they intersected created nice shadows and added to the sweep of this otherwise utilitarian feature.
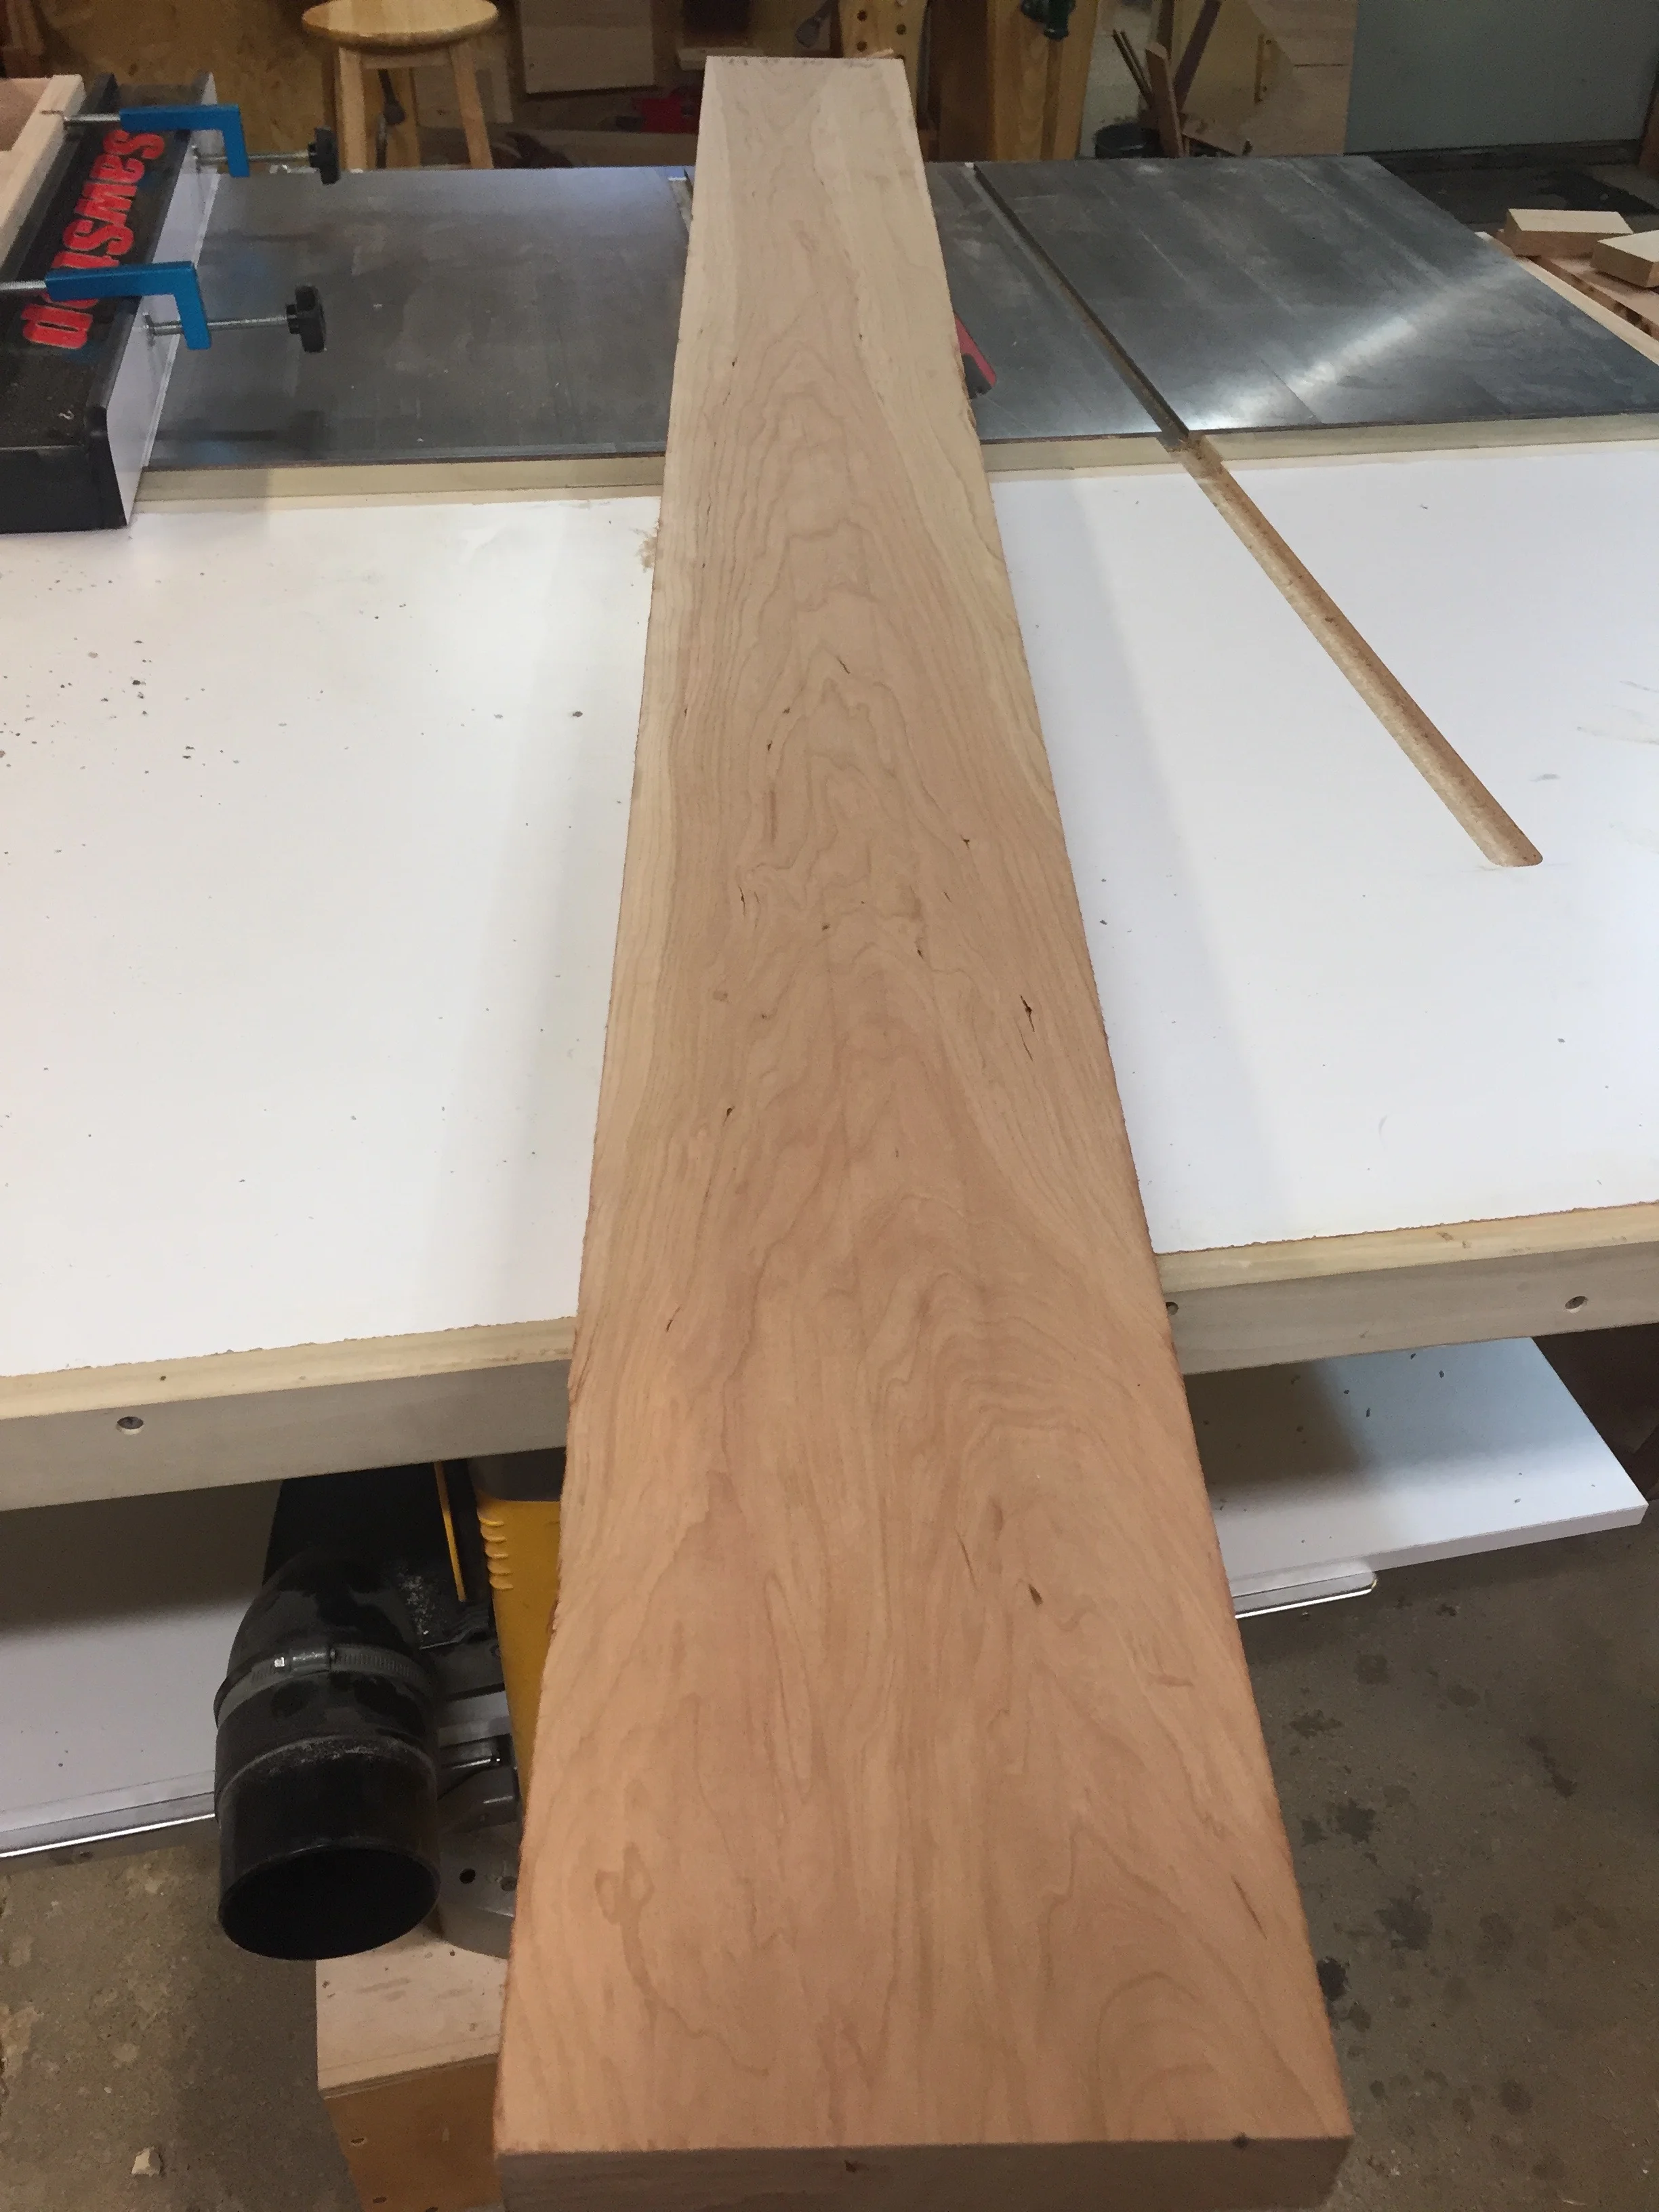
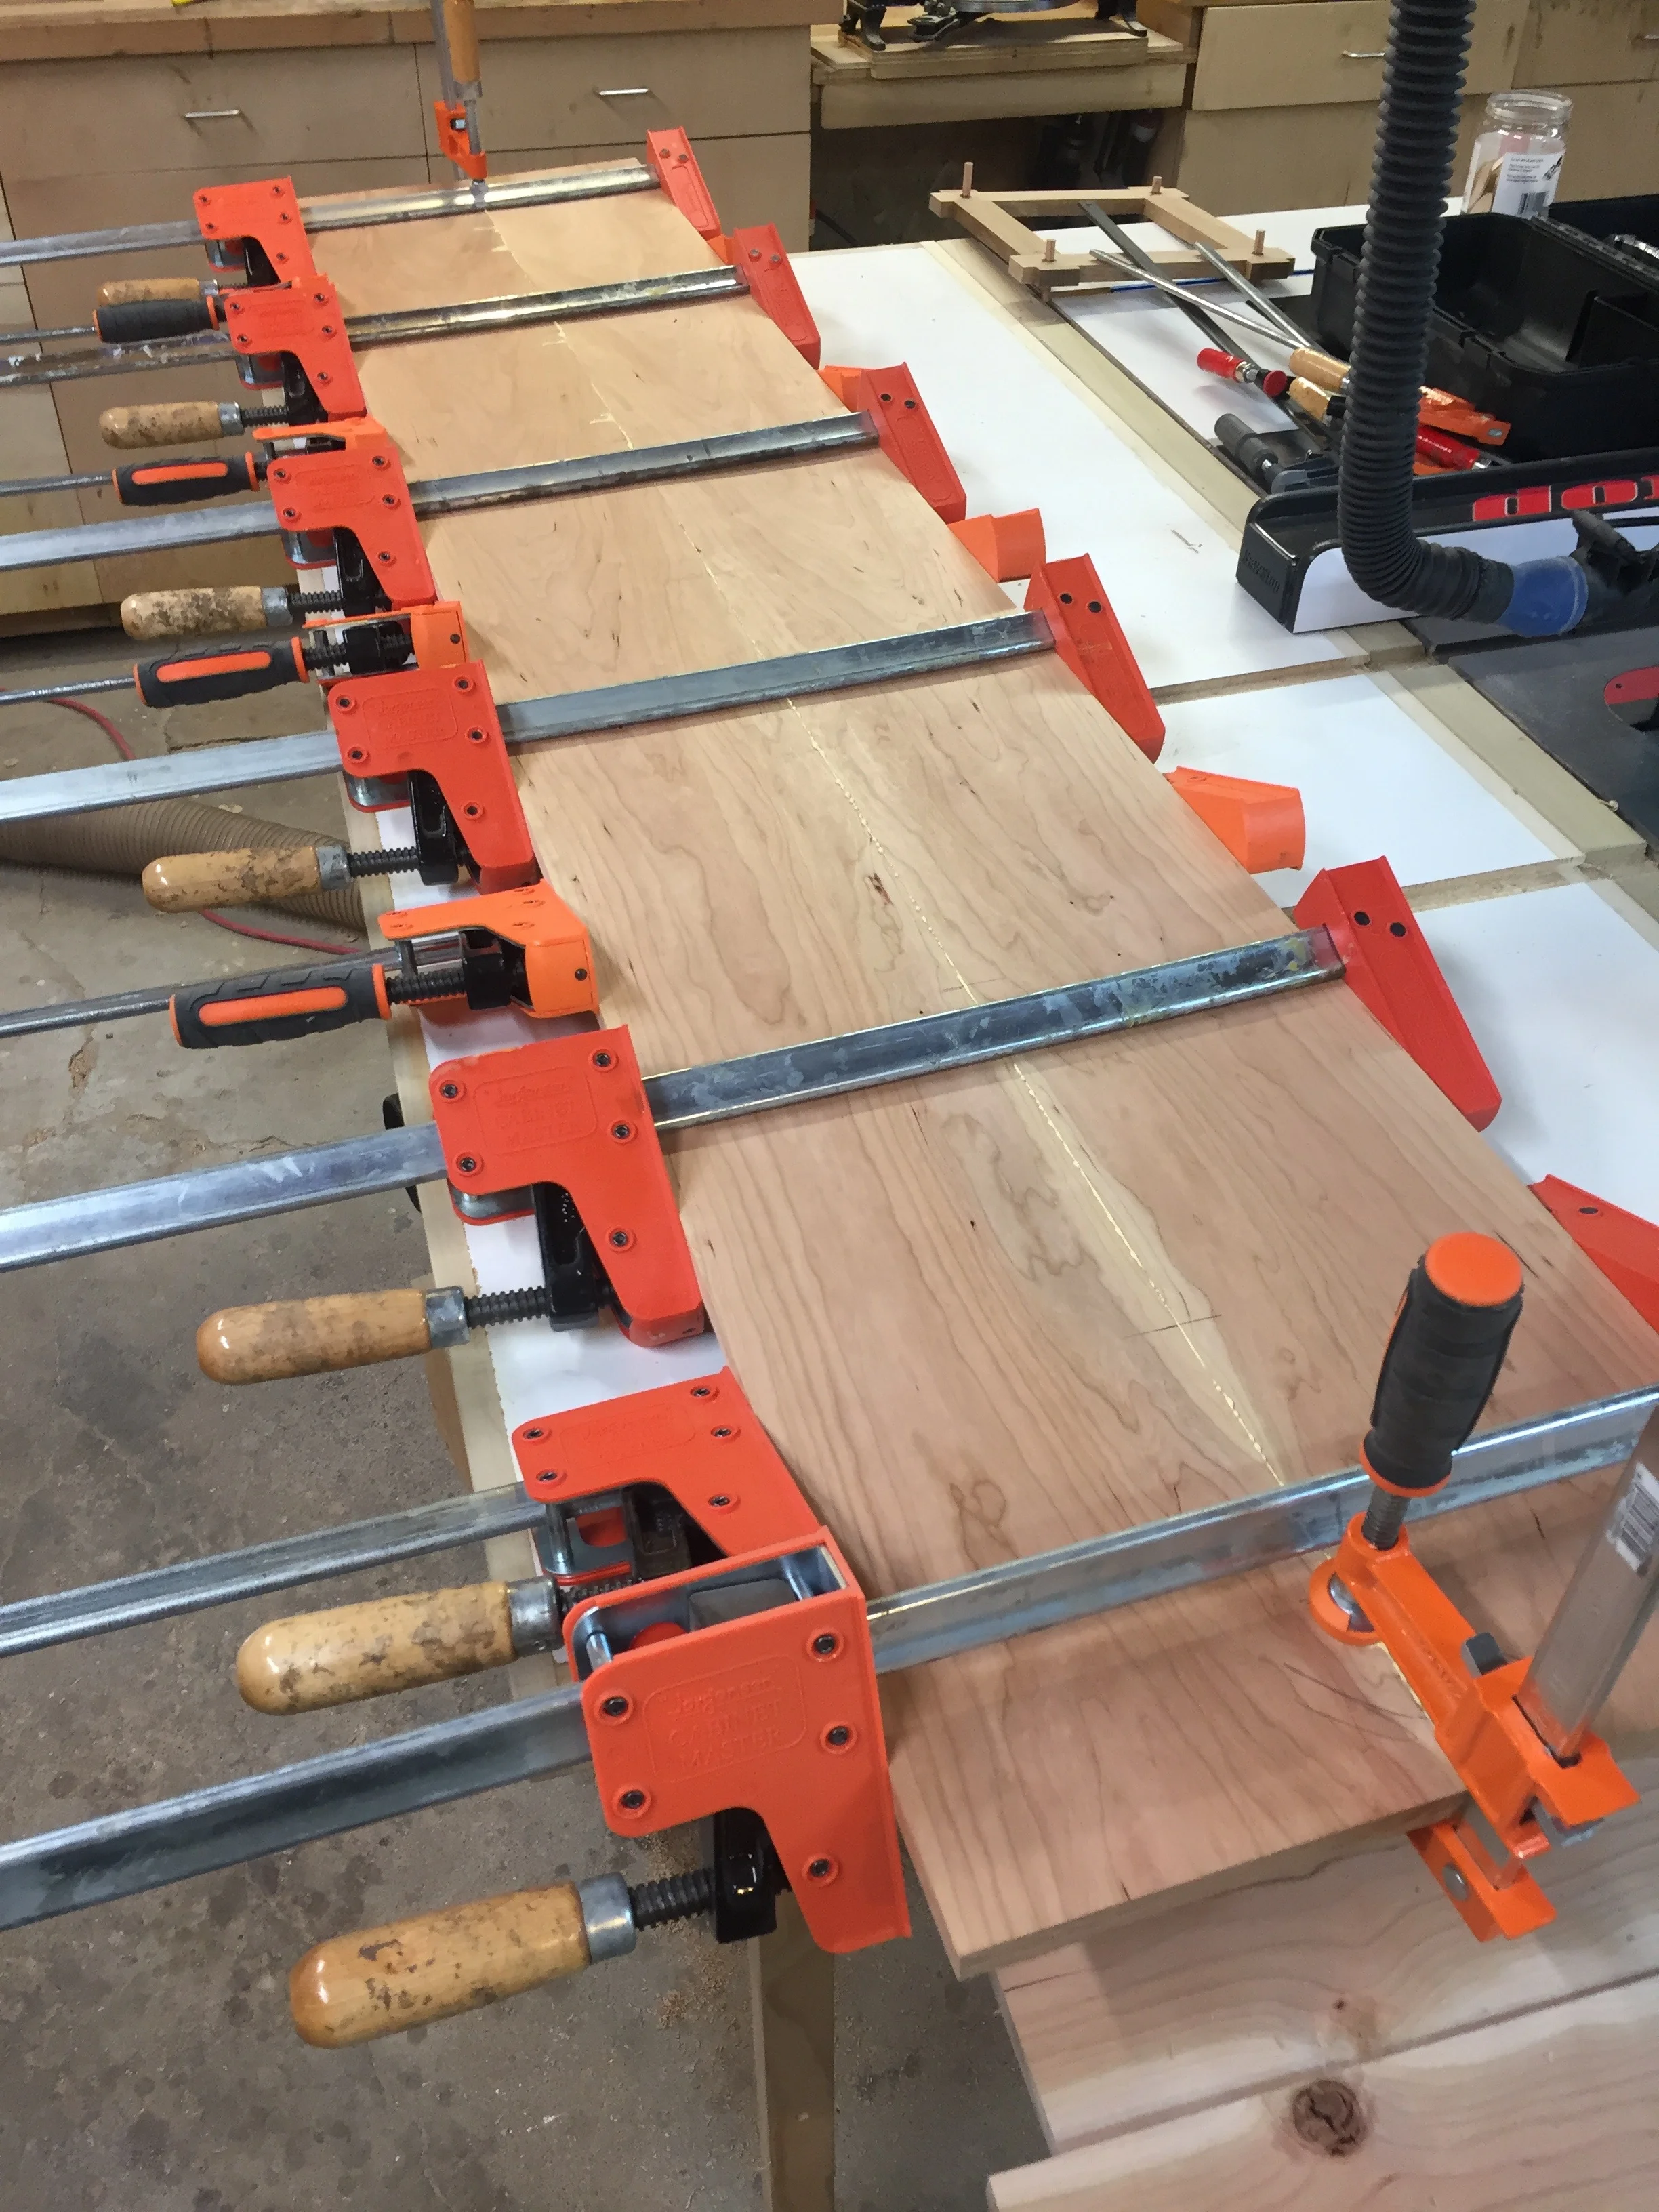
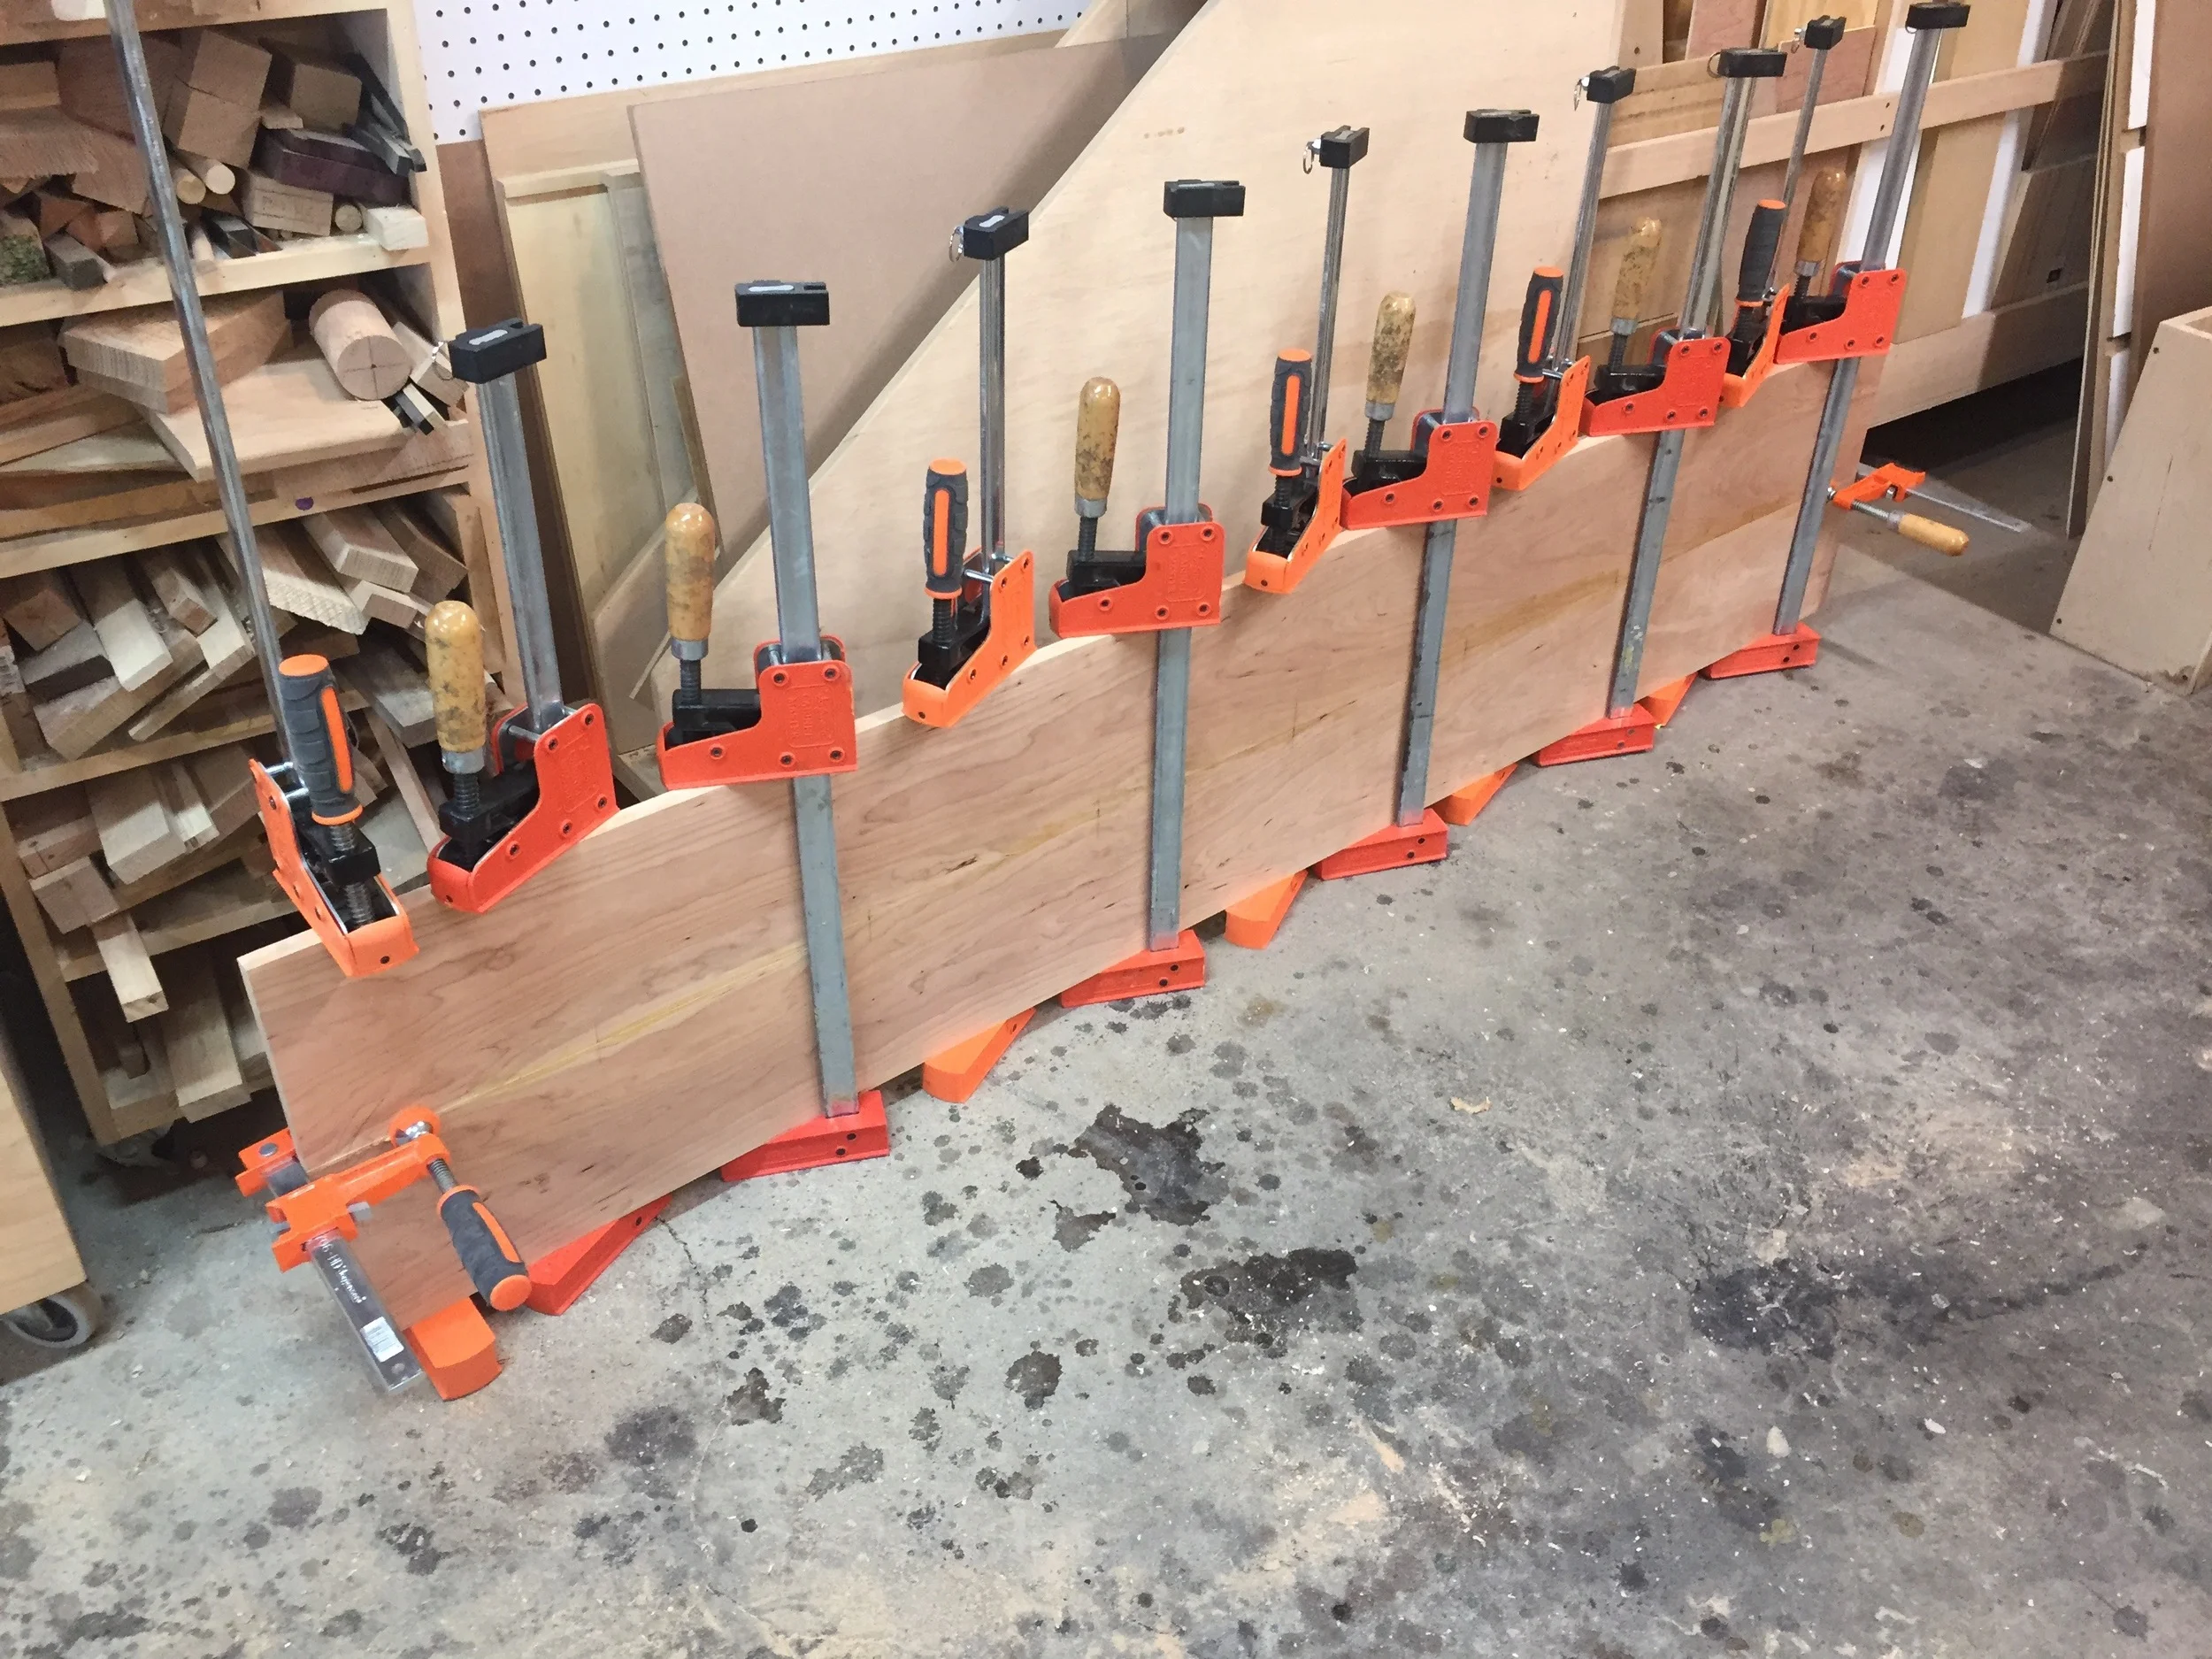
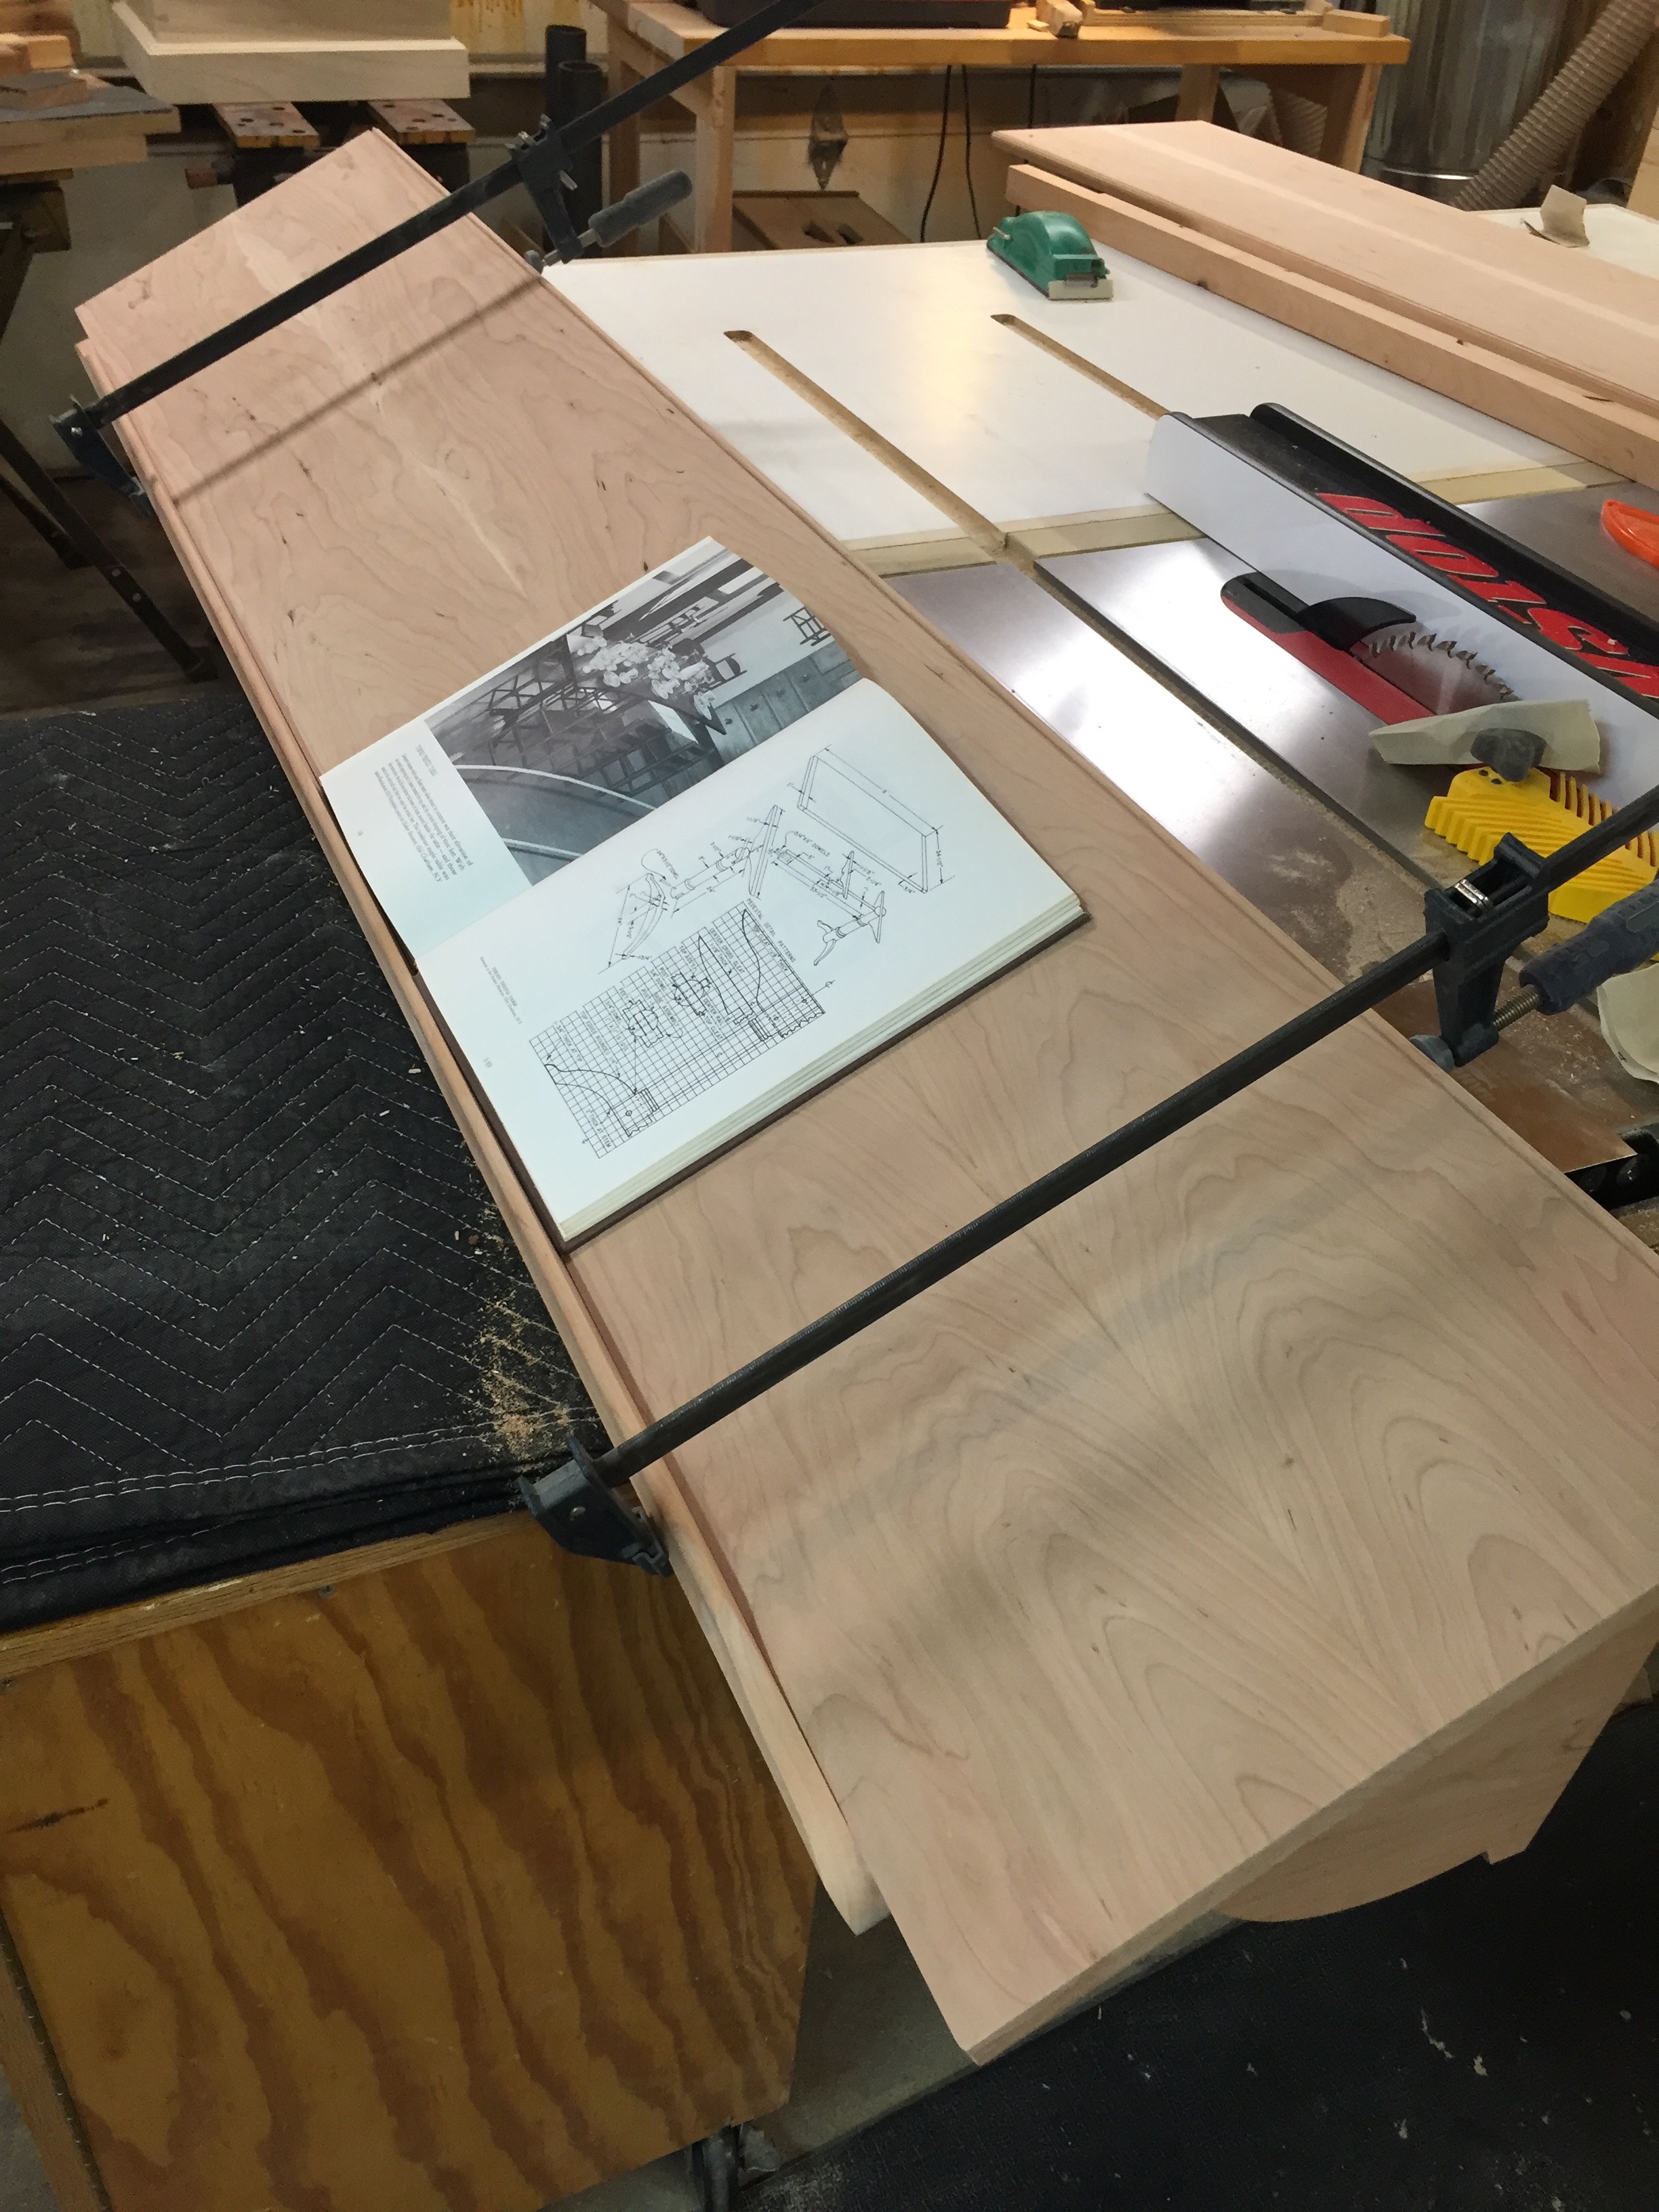
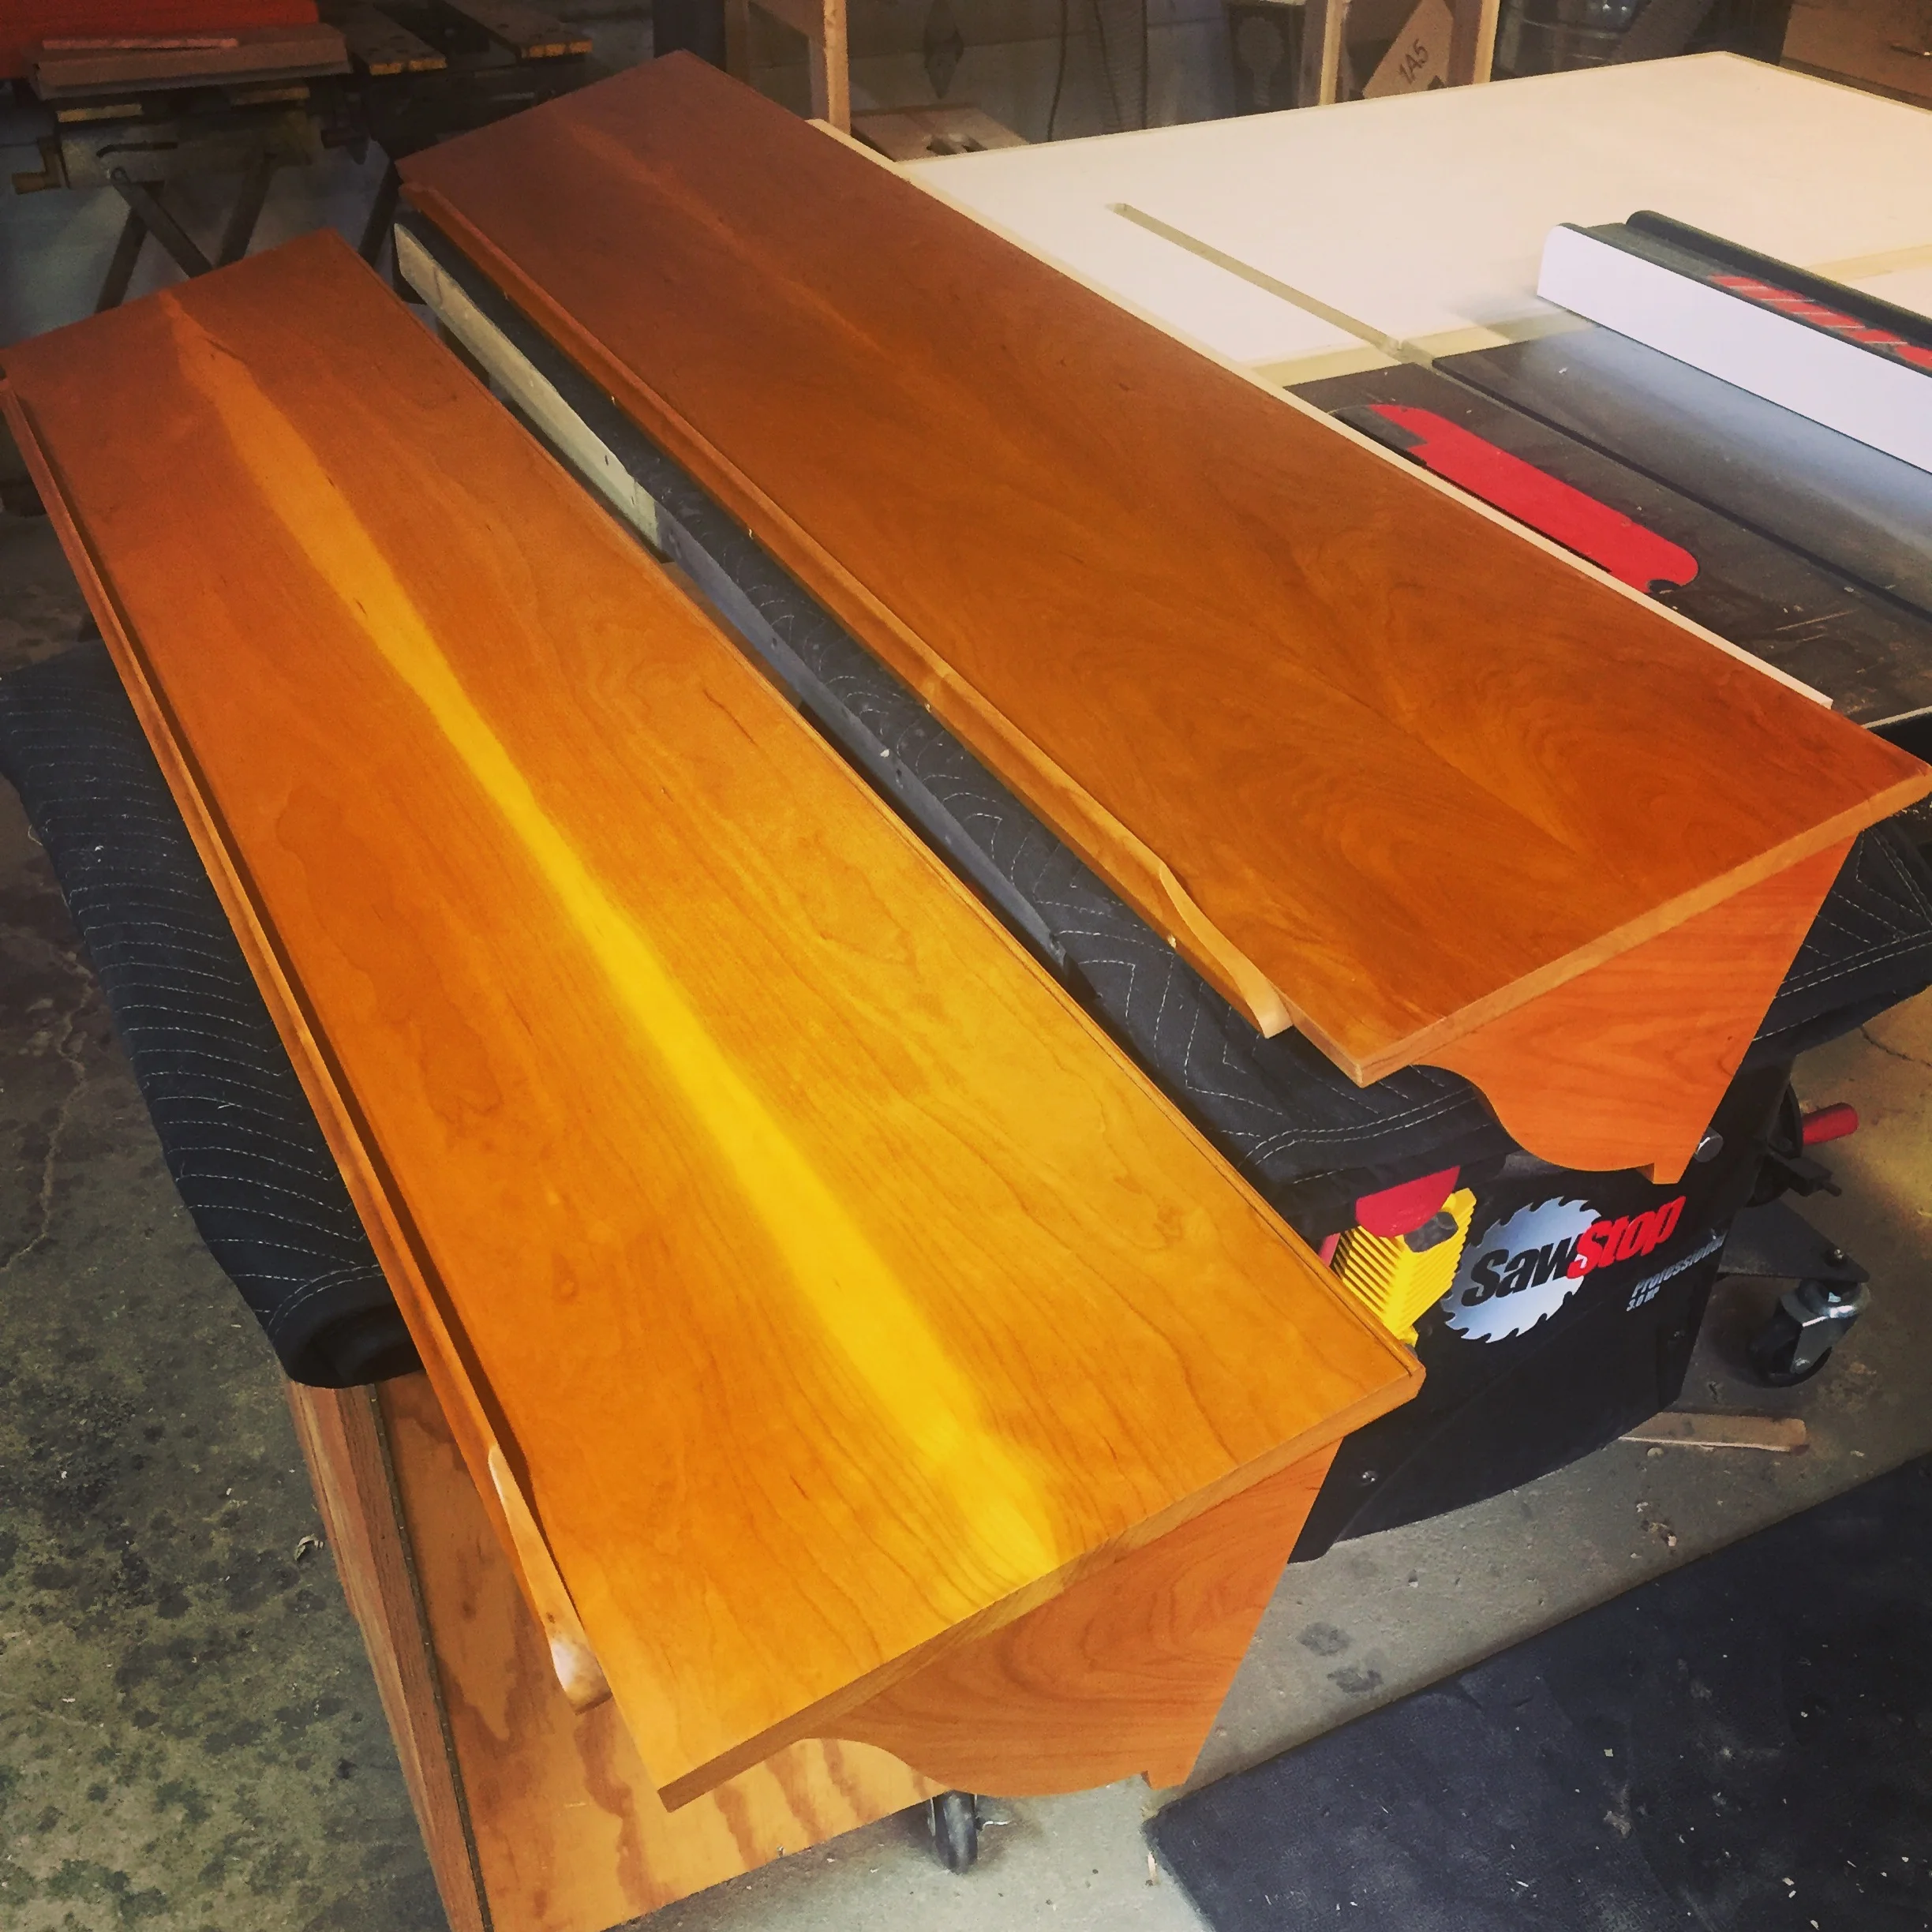
With the design in place, I set about the build. The shelves were to be 14" wide, so I was hoping to find some wide cherry boards for this purpose. But the hardwood dealer didn't have anything that wide in stock, so I went with plan "B" (always have a plan "B" at the lumber store) and found some 8"-9" wide 8/4 stock, and re-sawed that to make book matched pieces. I flattened, jointed and lamenated those into the pieces I needed, and trimmed them to the final size.
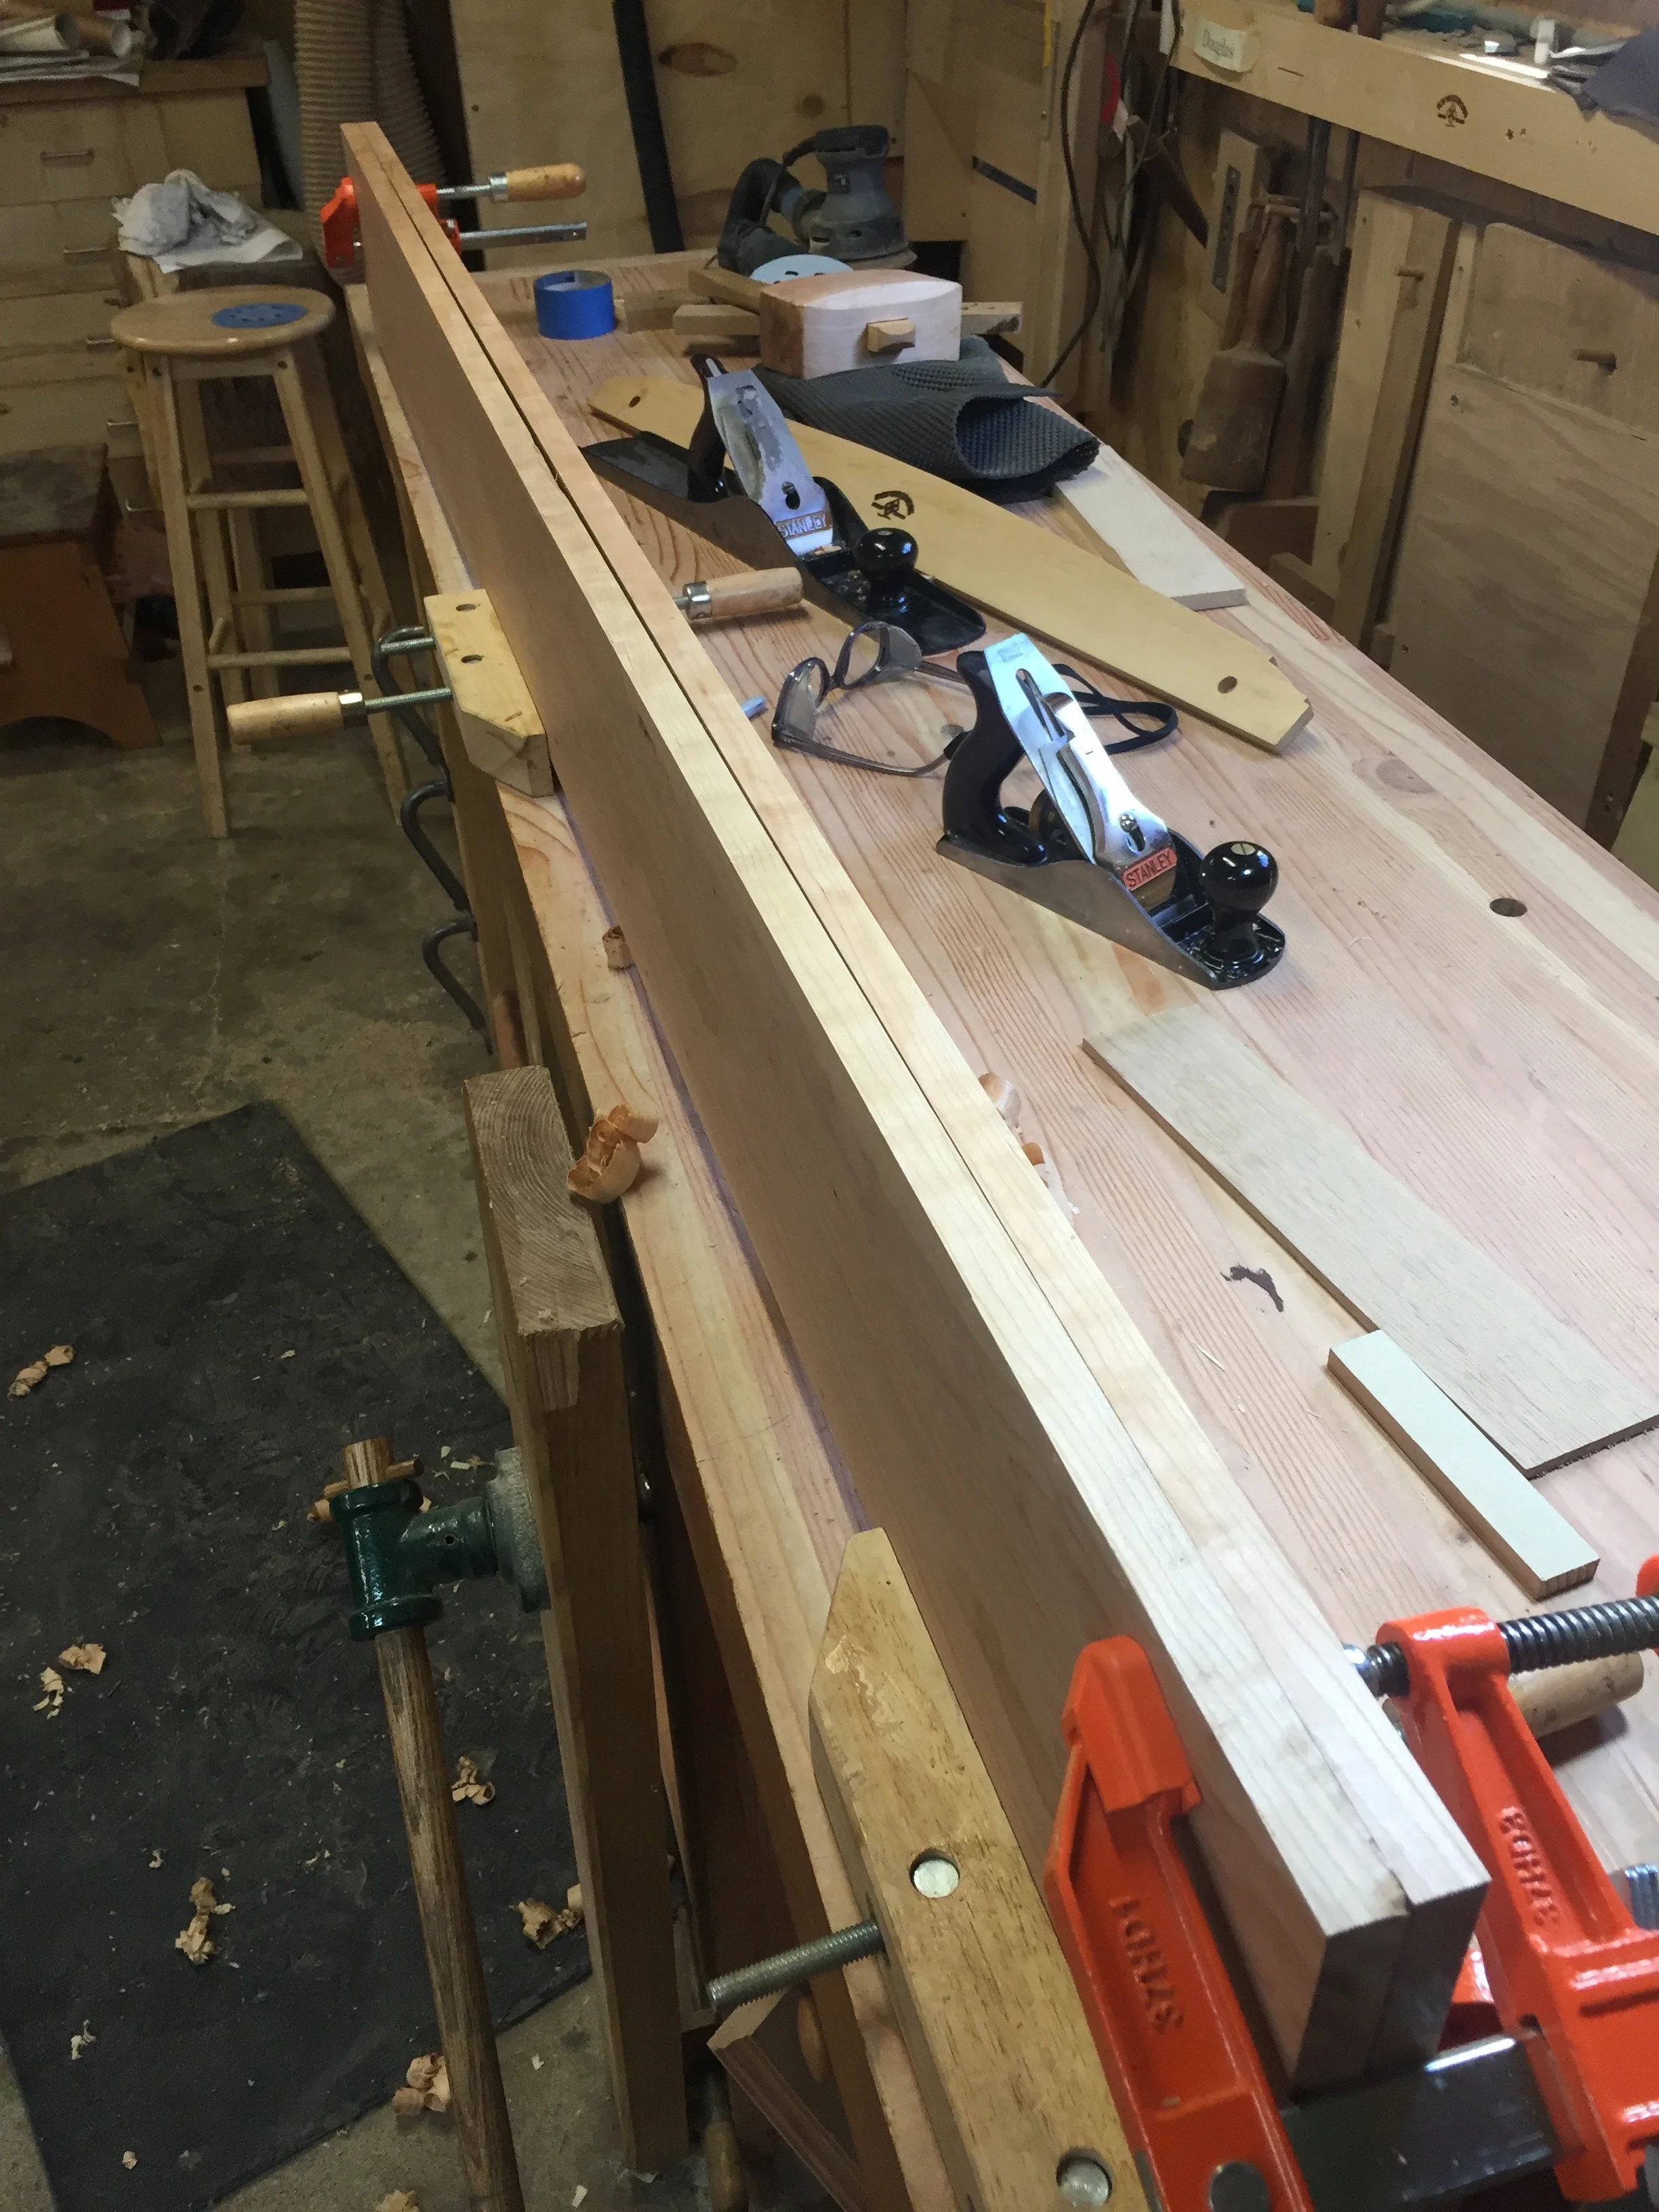
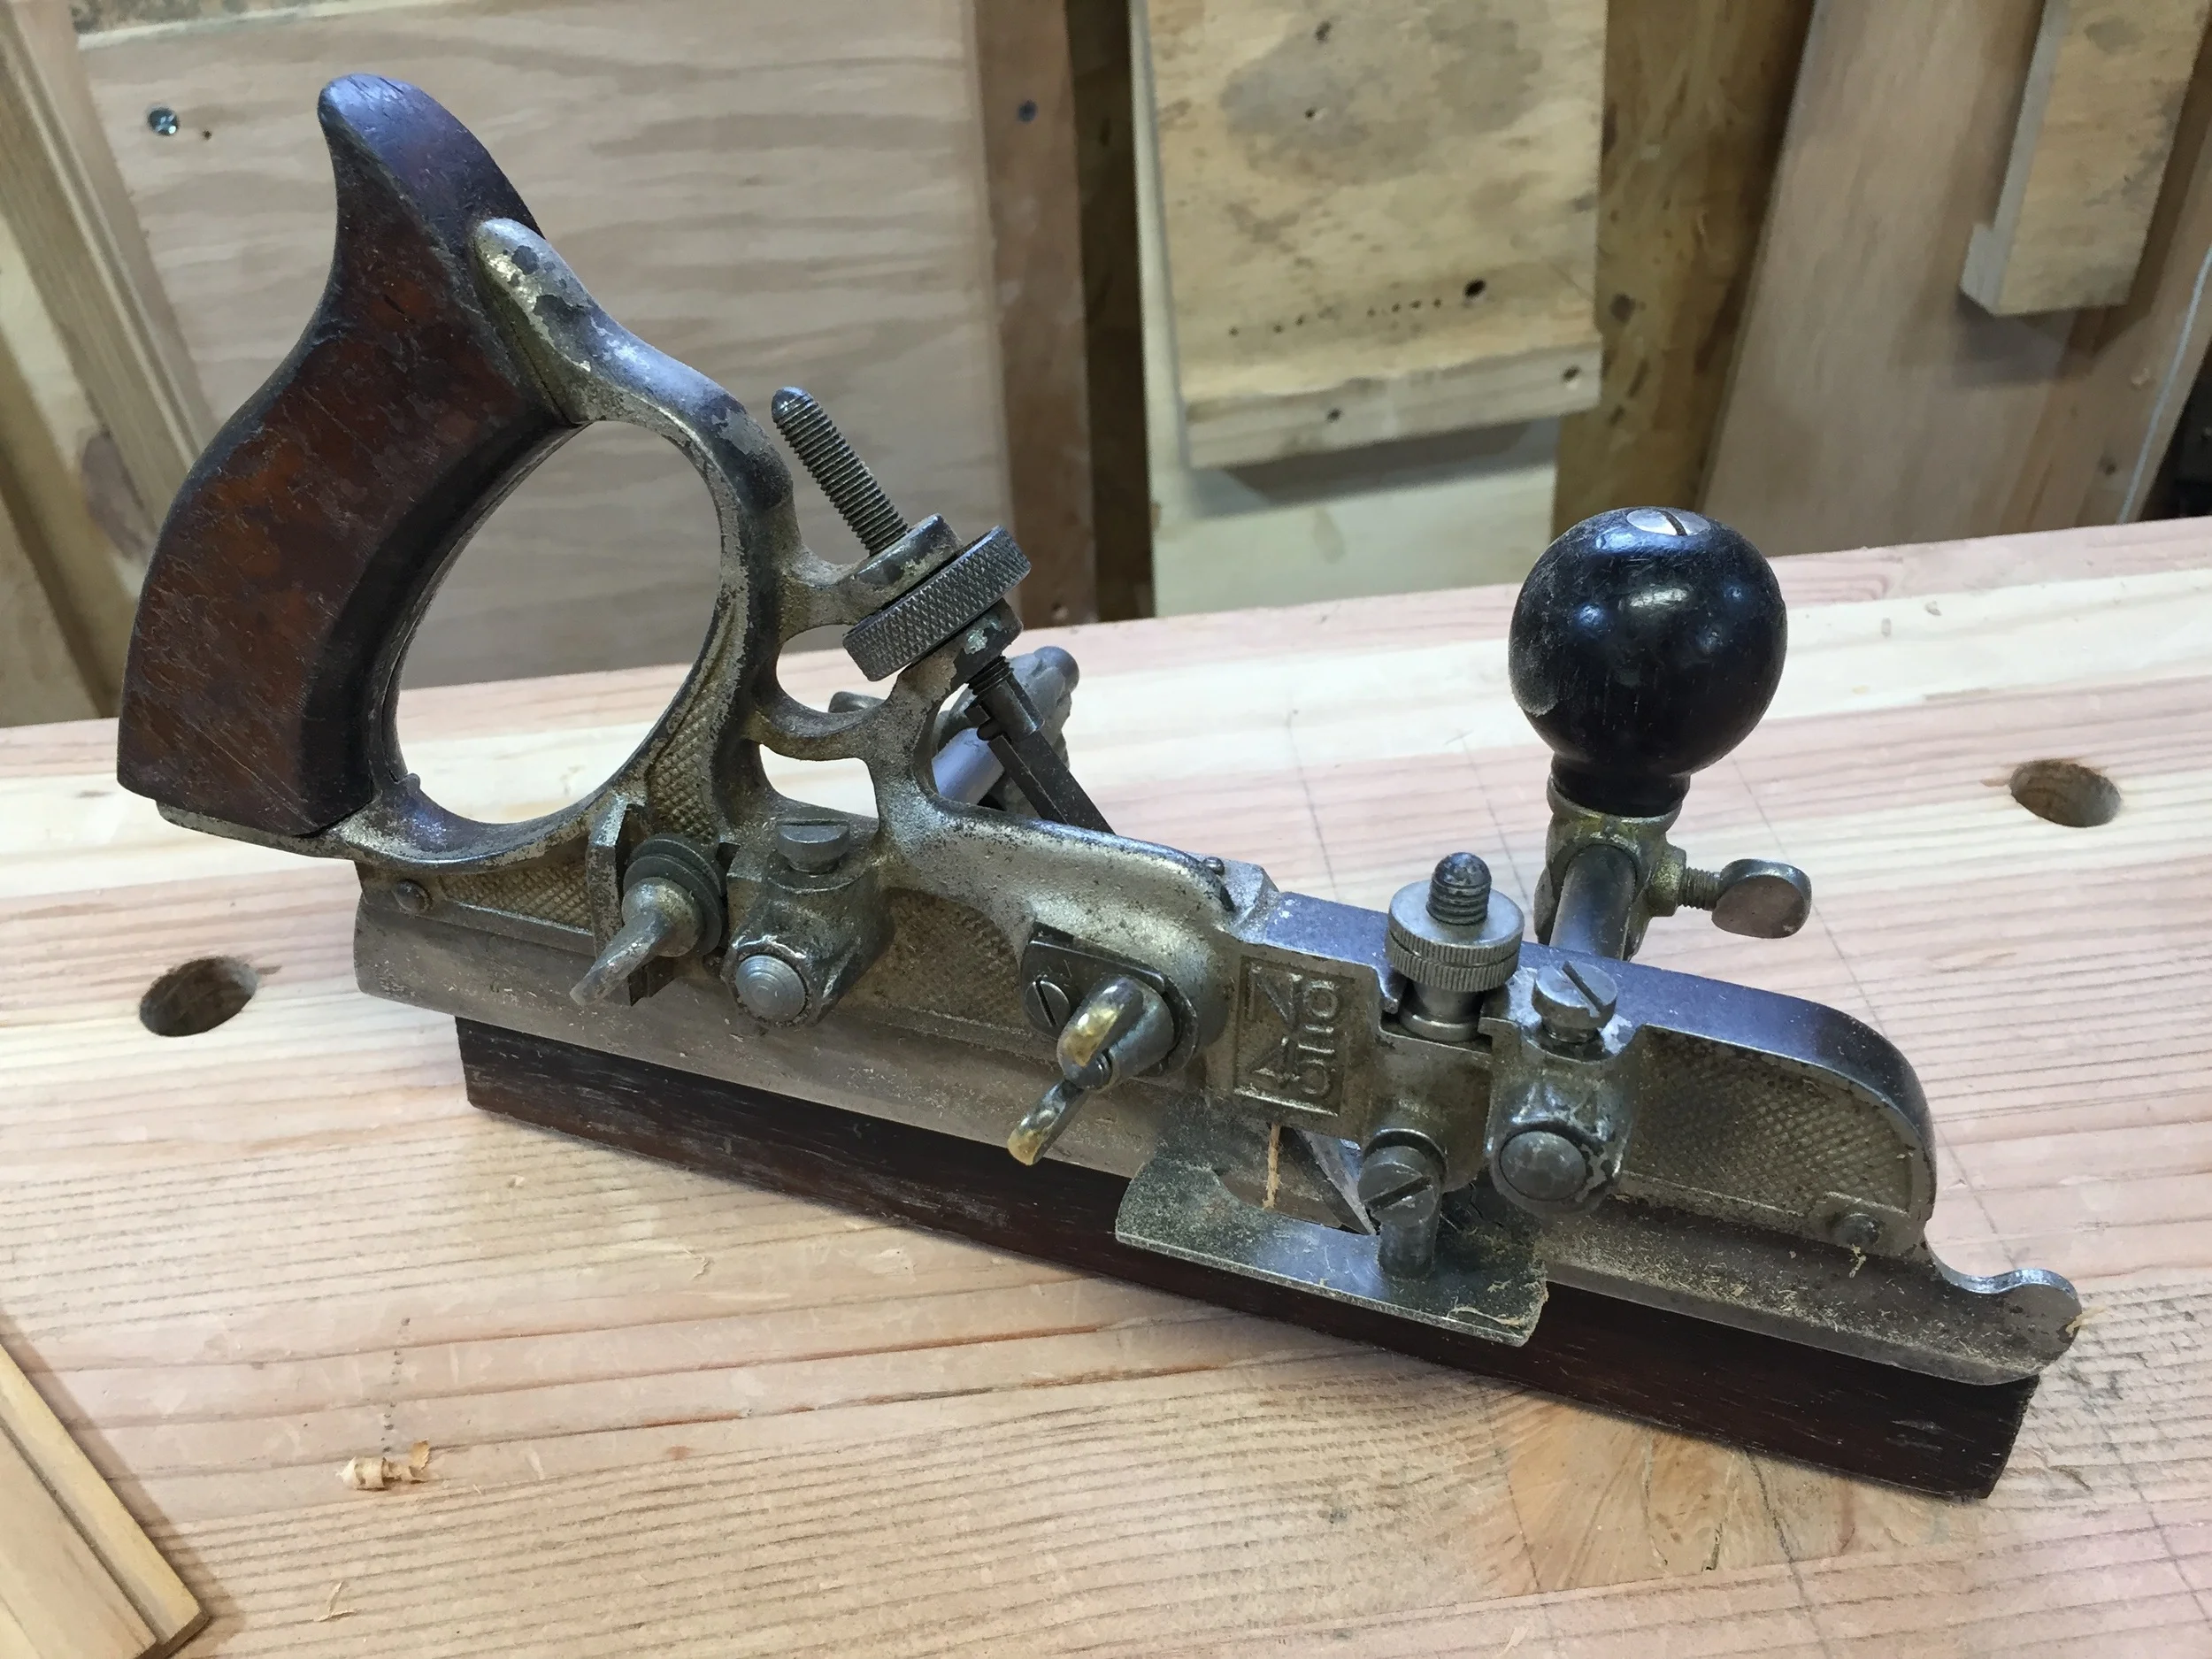
This was good time to apply the top edge bead, so I did that with a beading cutter in my Stanley No. 45. I love that plane, and it made short and crisp work of it.
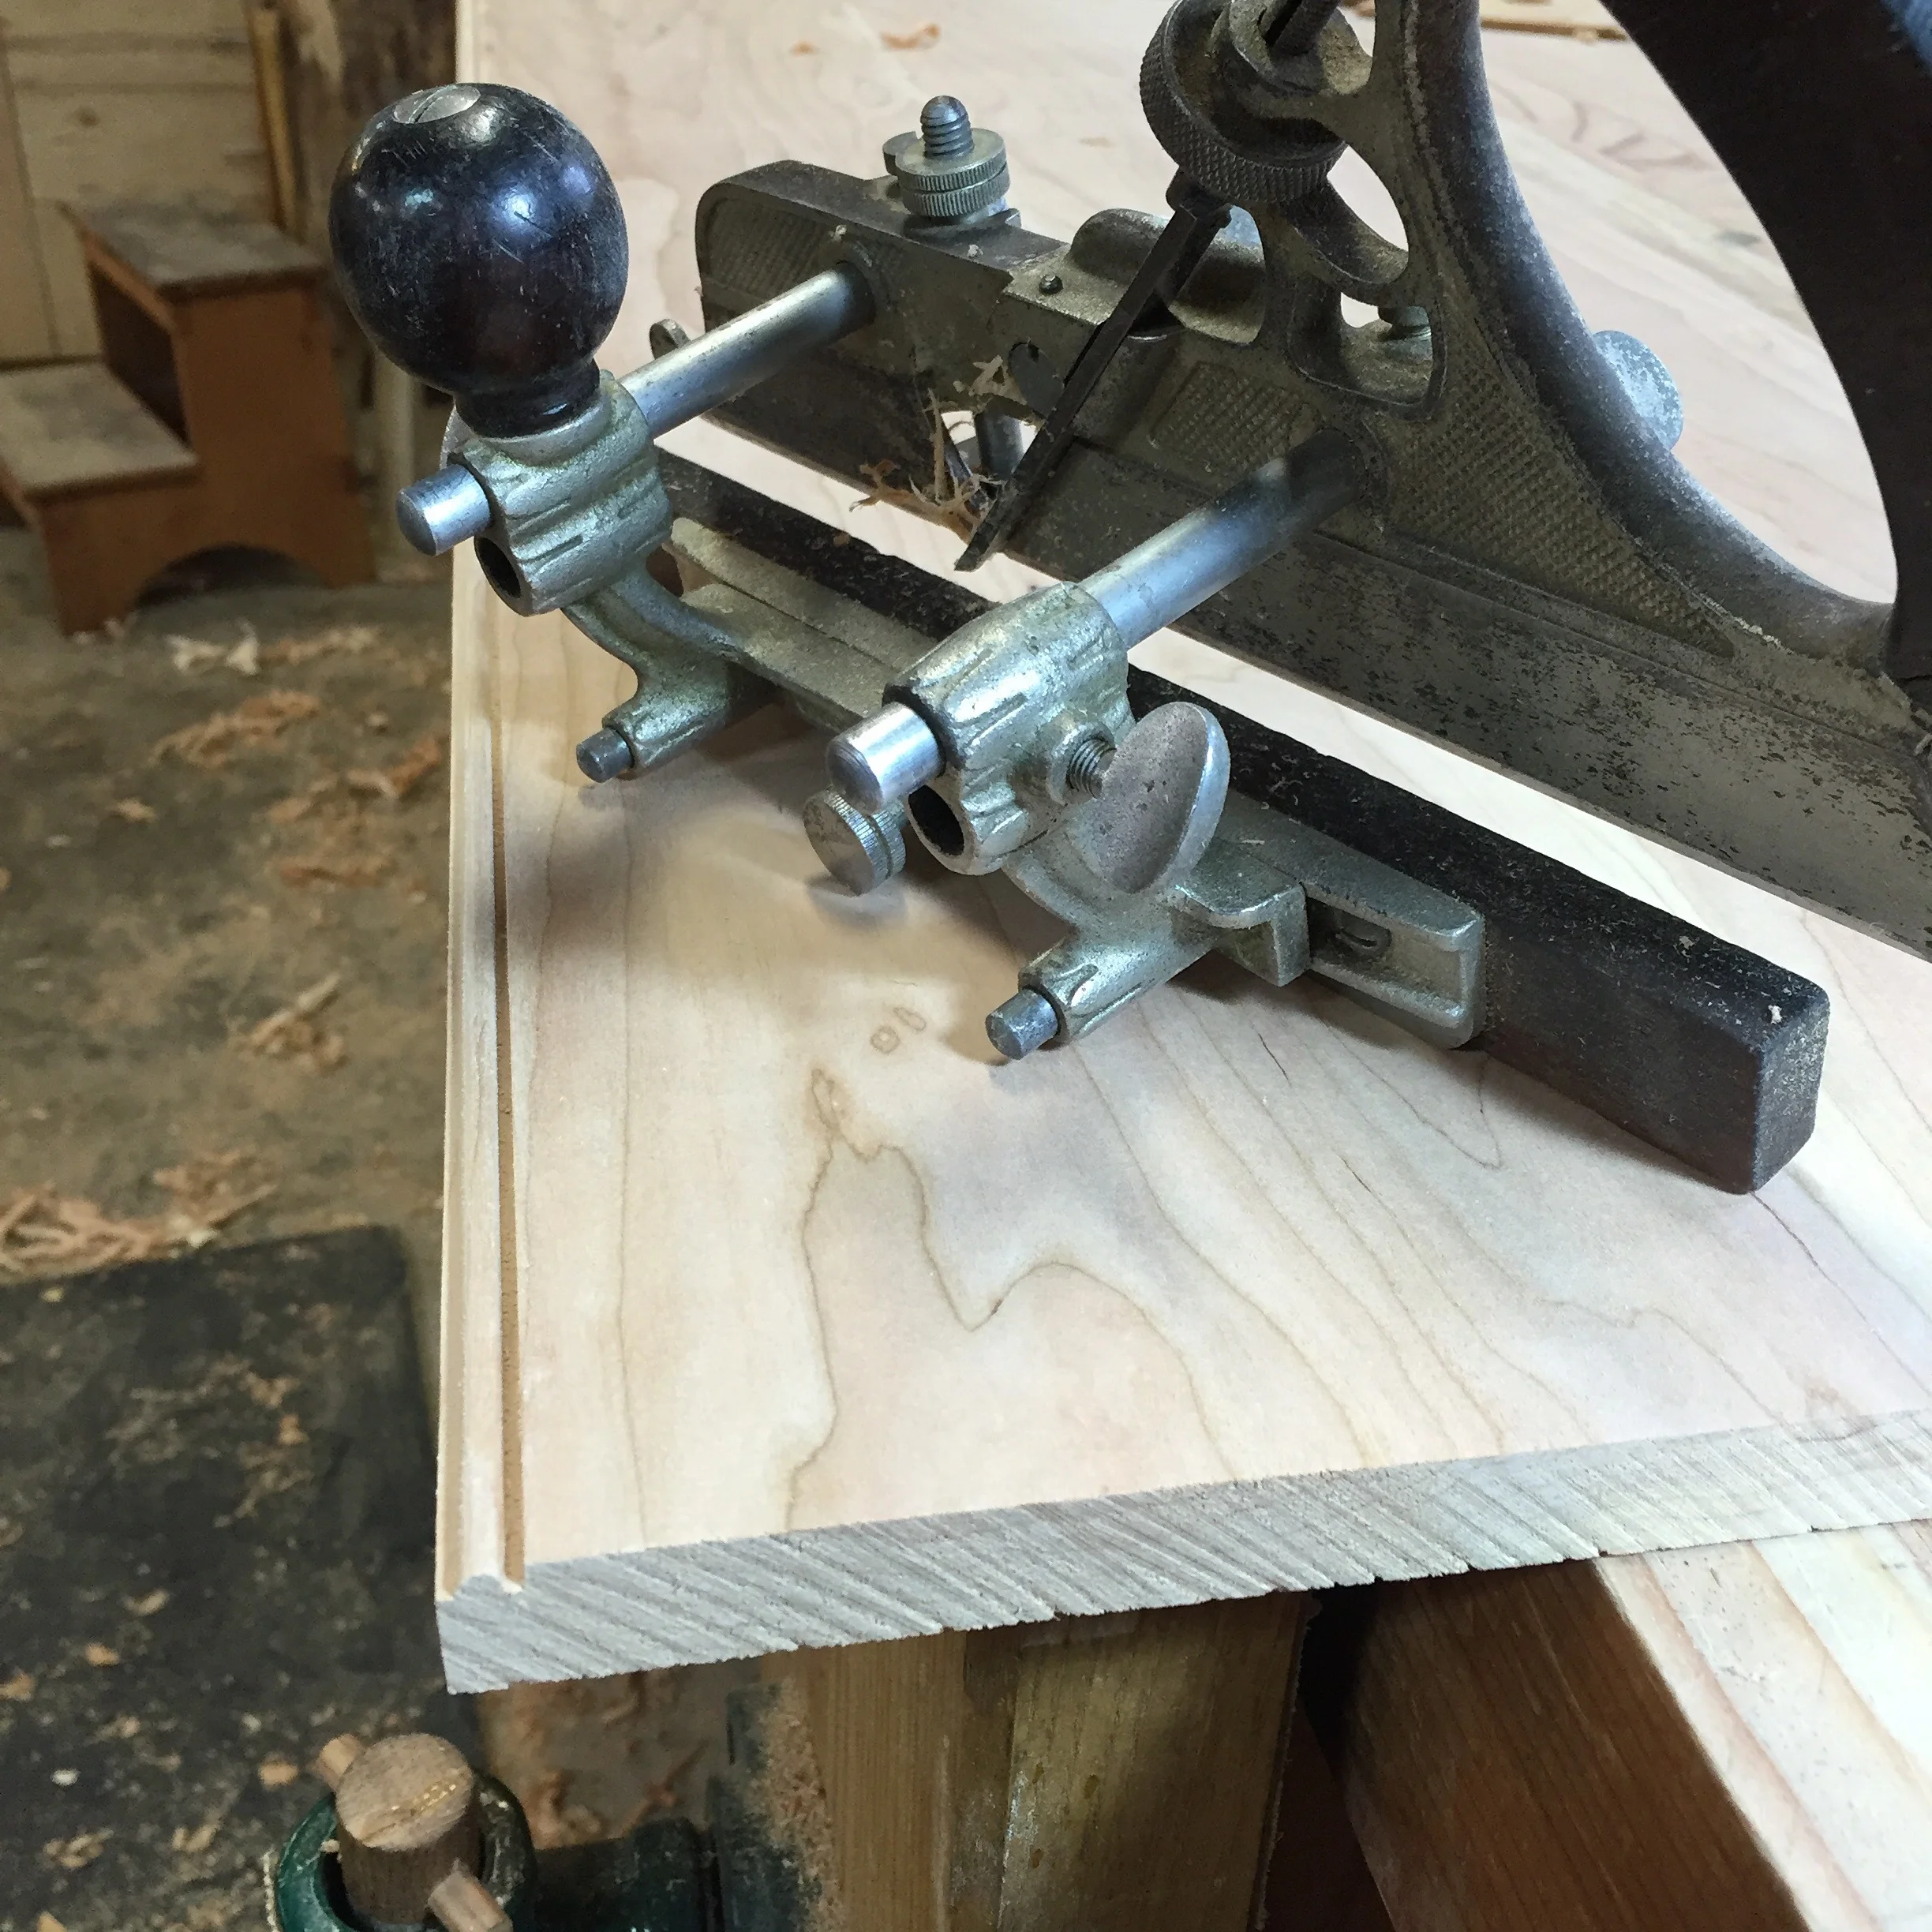
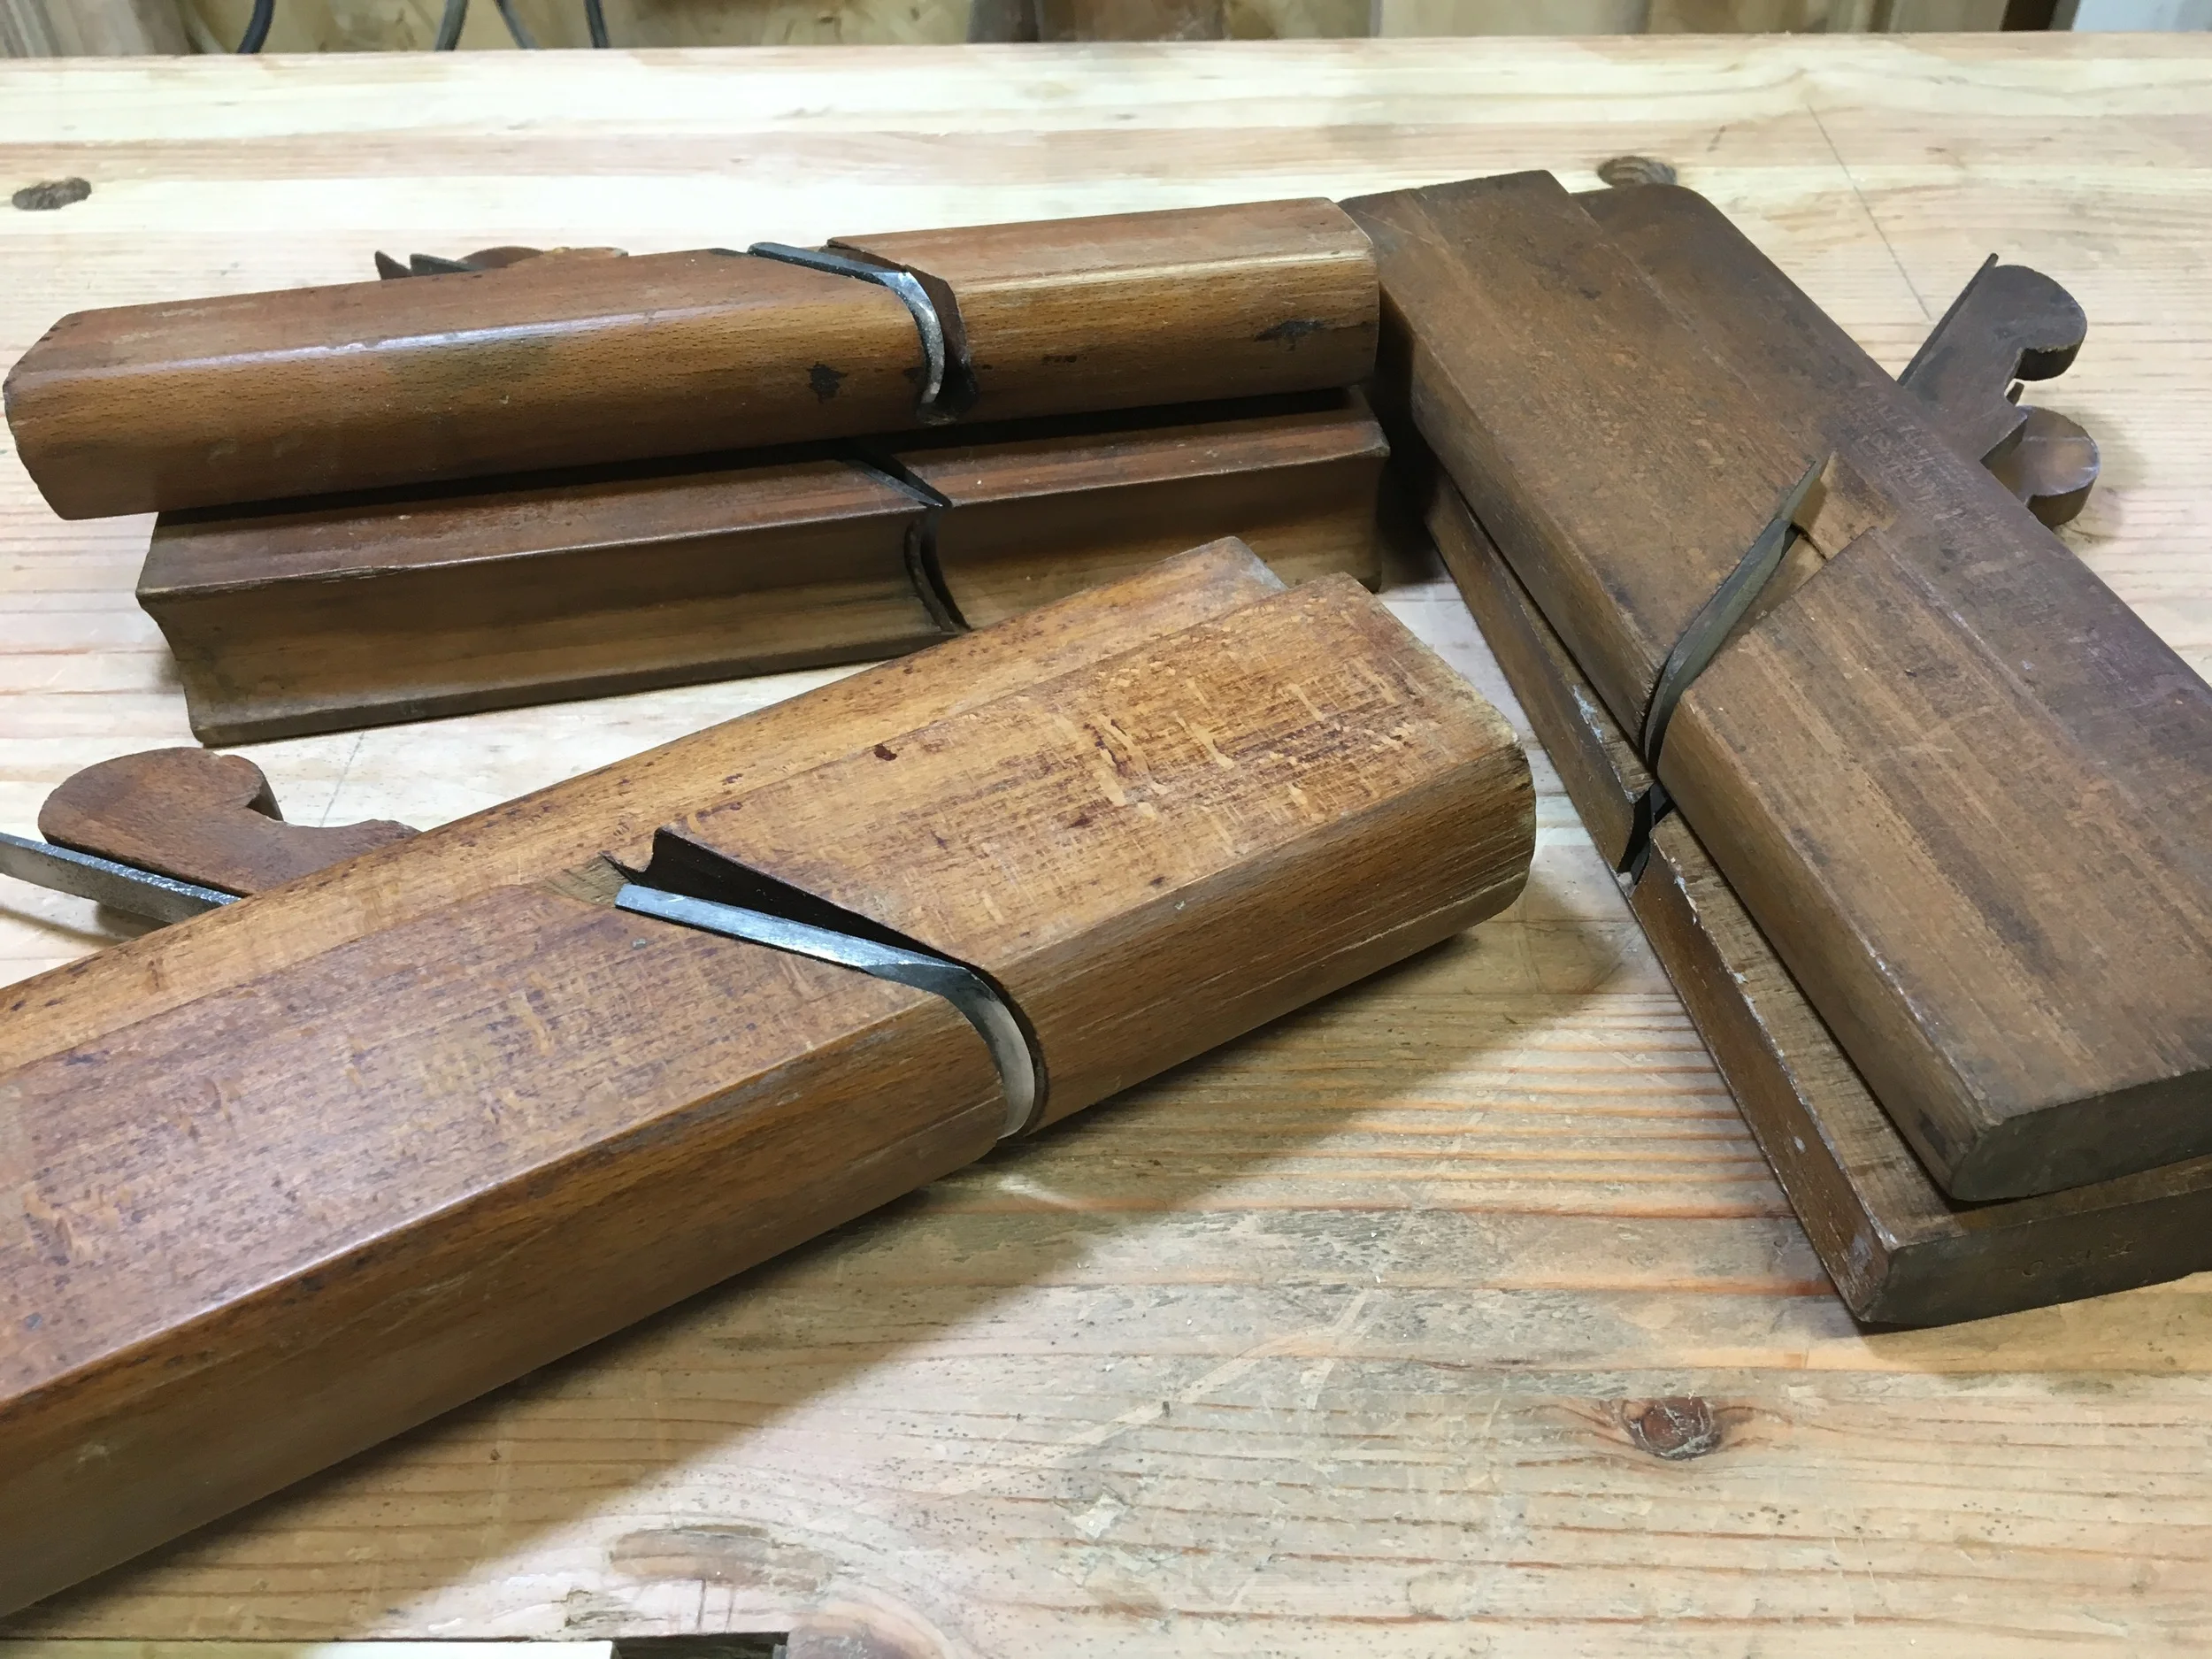
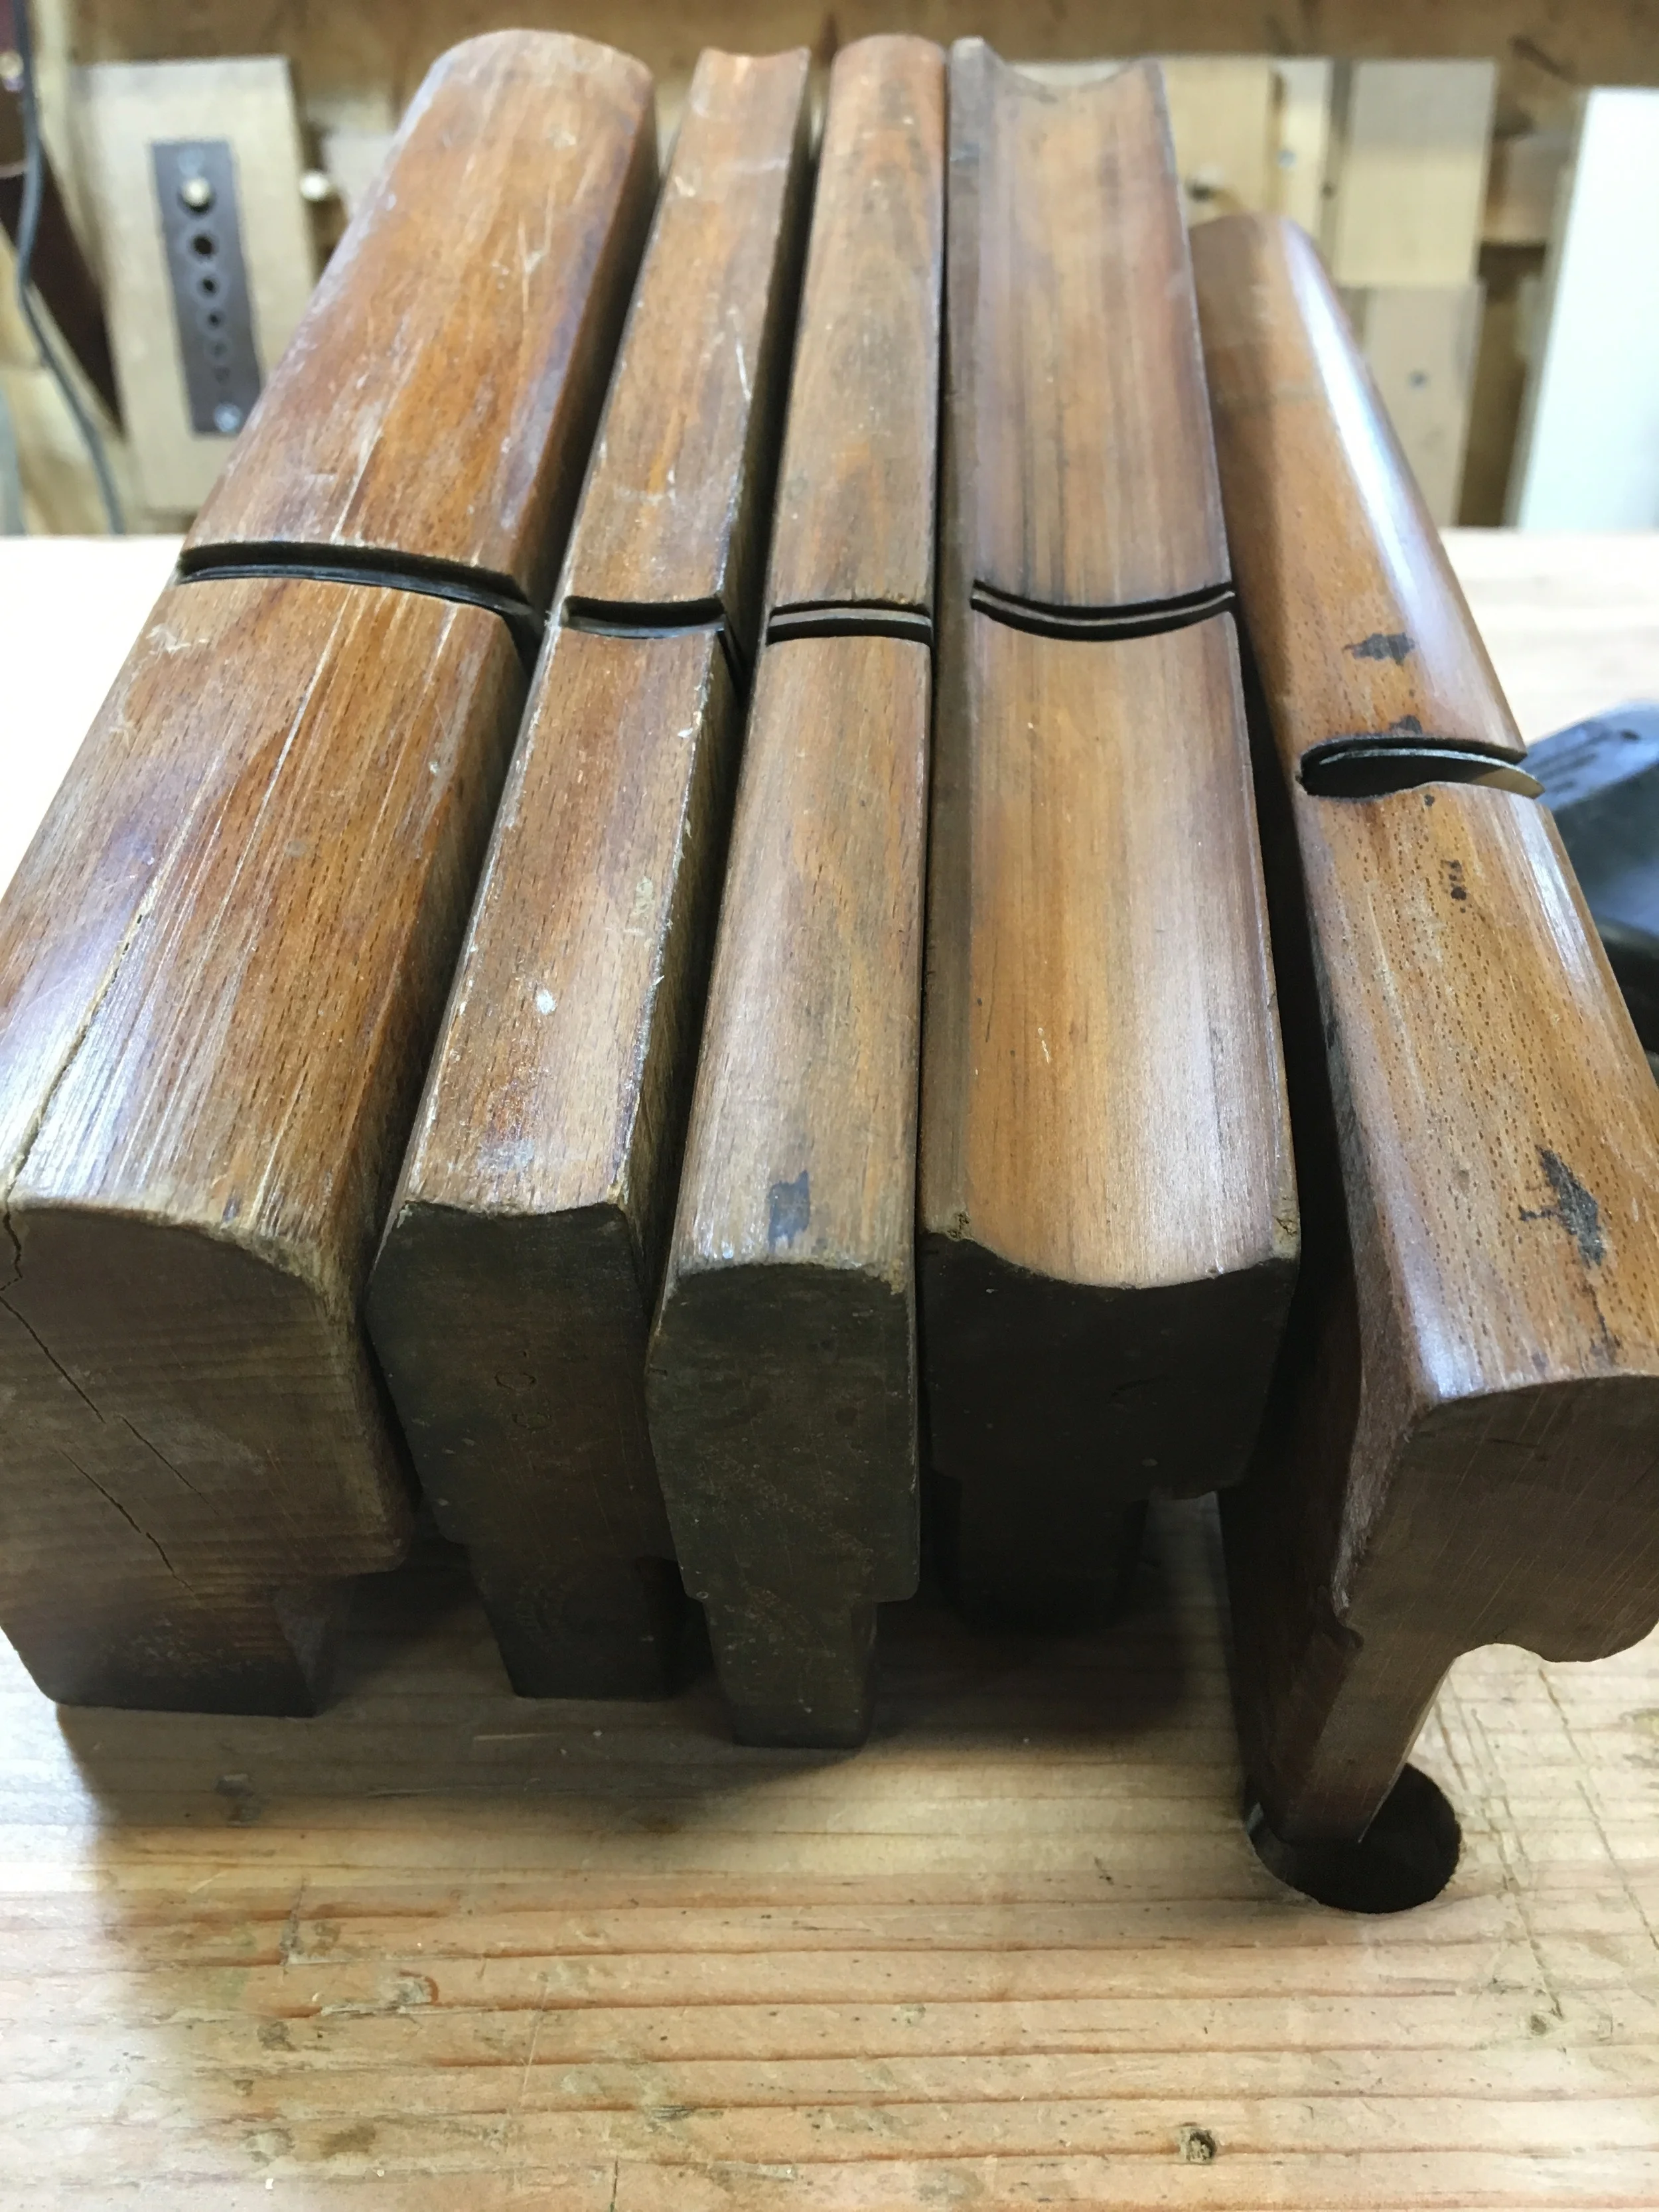
The bottom cleat was fun to make. I drew out the profiles I wanted, made some templates out of 1/4" hardboard, and traced them onto the stock. I then used a couple of the hollow and round moulding planes I have to cut the shape. That process is so much more fun than using a powered router. It is quiet, controlled, and all about finessing to get that final shape. And much more fun than trying to buy one or more dedicated router bits to make a particular shape. With the hollows and rounds, I just designed it, used the planes that were closest to the shapes, and cut it, without having to worry about specific tooling.
I then laid out and cut the side brackets. While I was happy with the design, I remain nervous about the exposed short grain on the lower ends of the brackets. It's not an issue when they're mounted on the wall, but the thought of them getting snapped off in transit worried me (they did make it to their final installation without incident). The brackets were attached to the shelves using screws through cleats. The shelves attached to the wall with a French cleat system I made out of plywood. and attached those to the shelves with pocket screws. The french cleat is a simple and reliable system that makes them easy to adjust when installing.

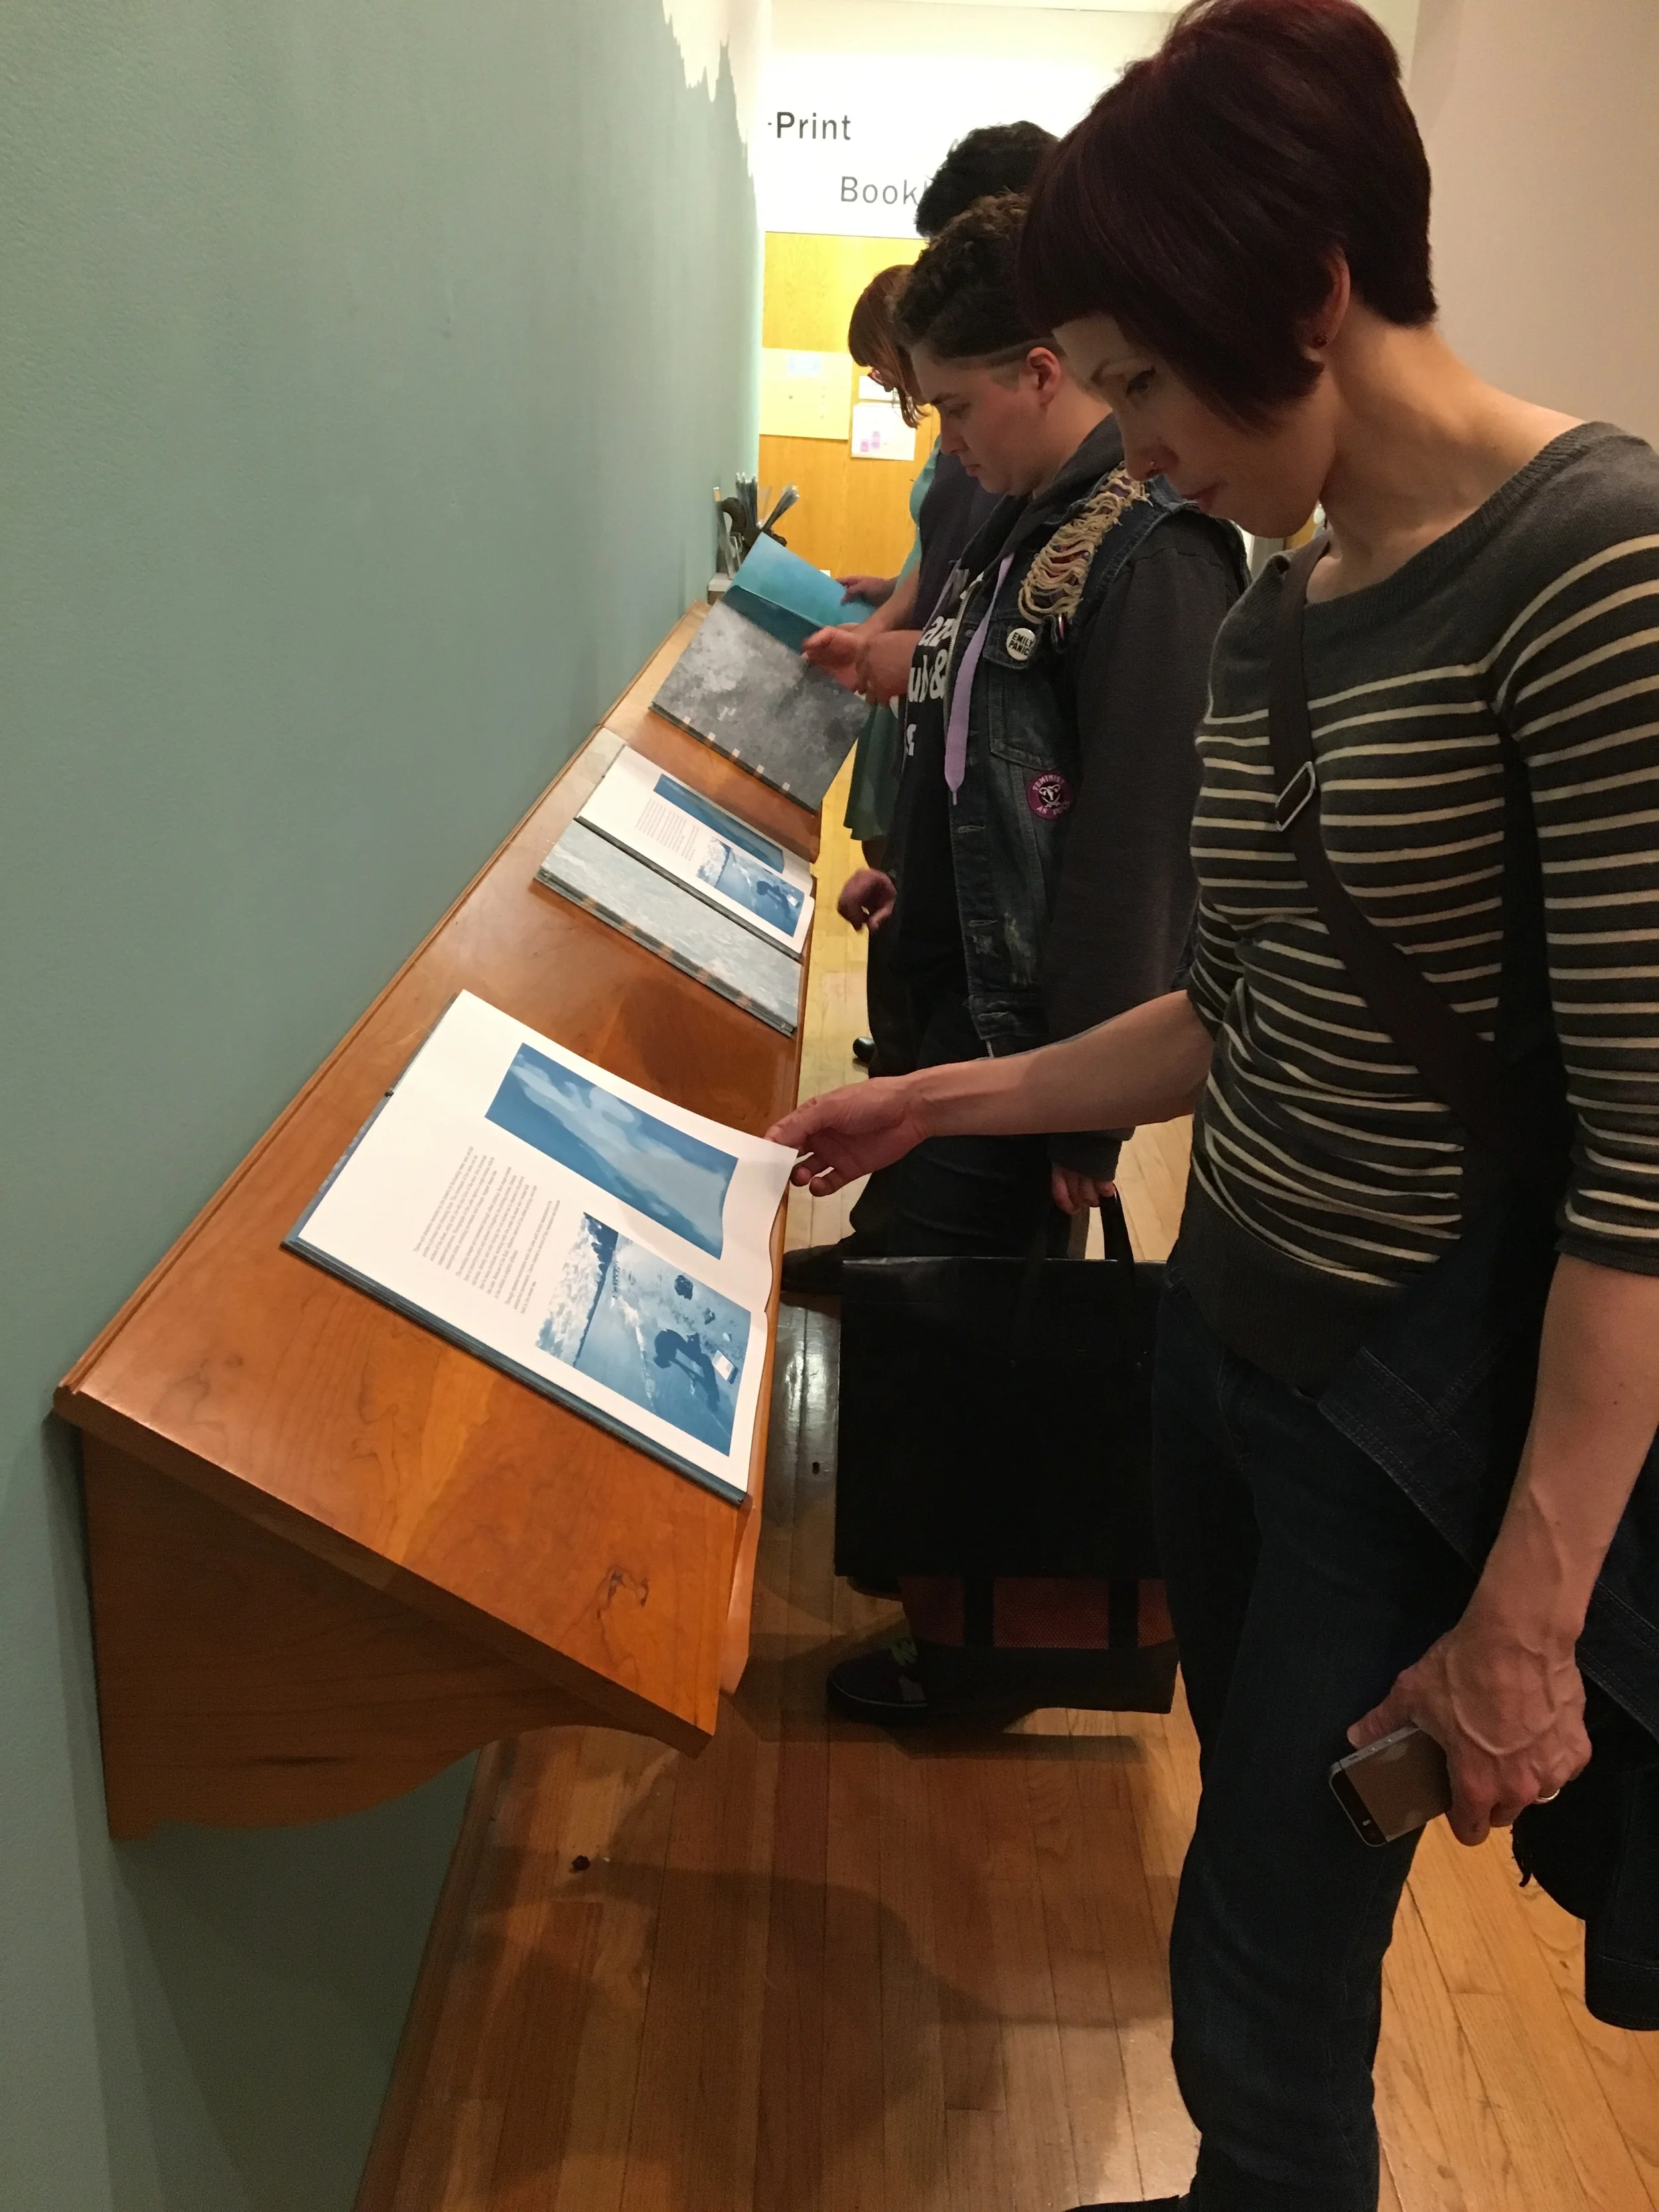
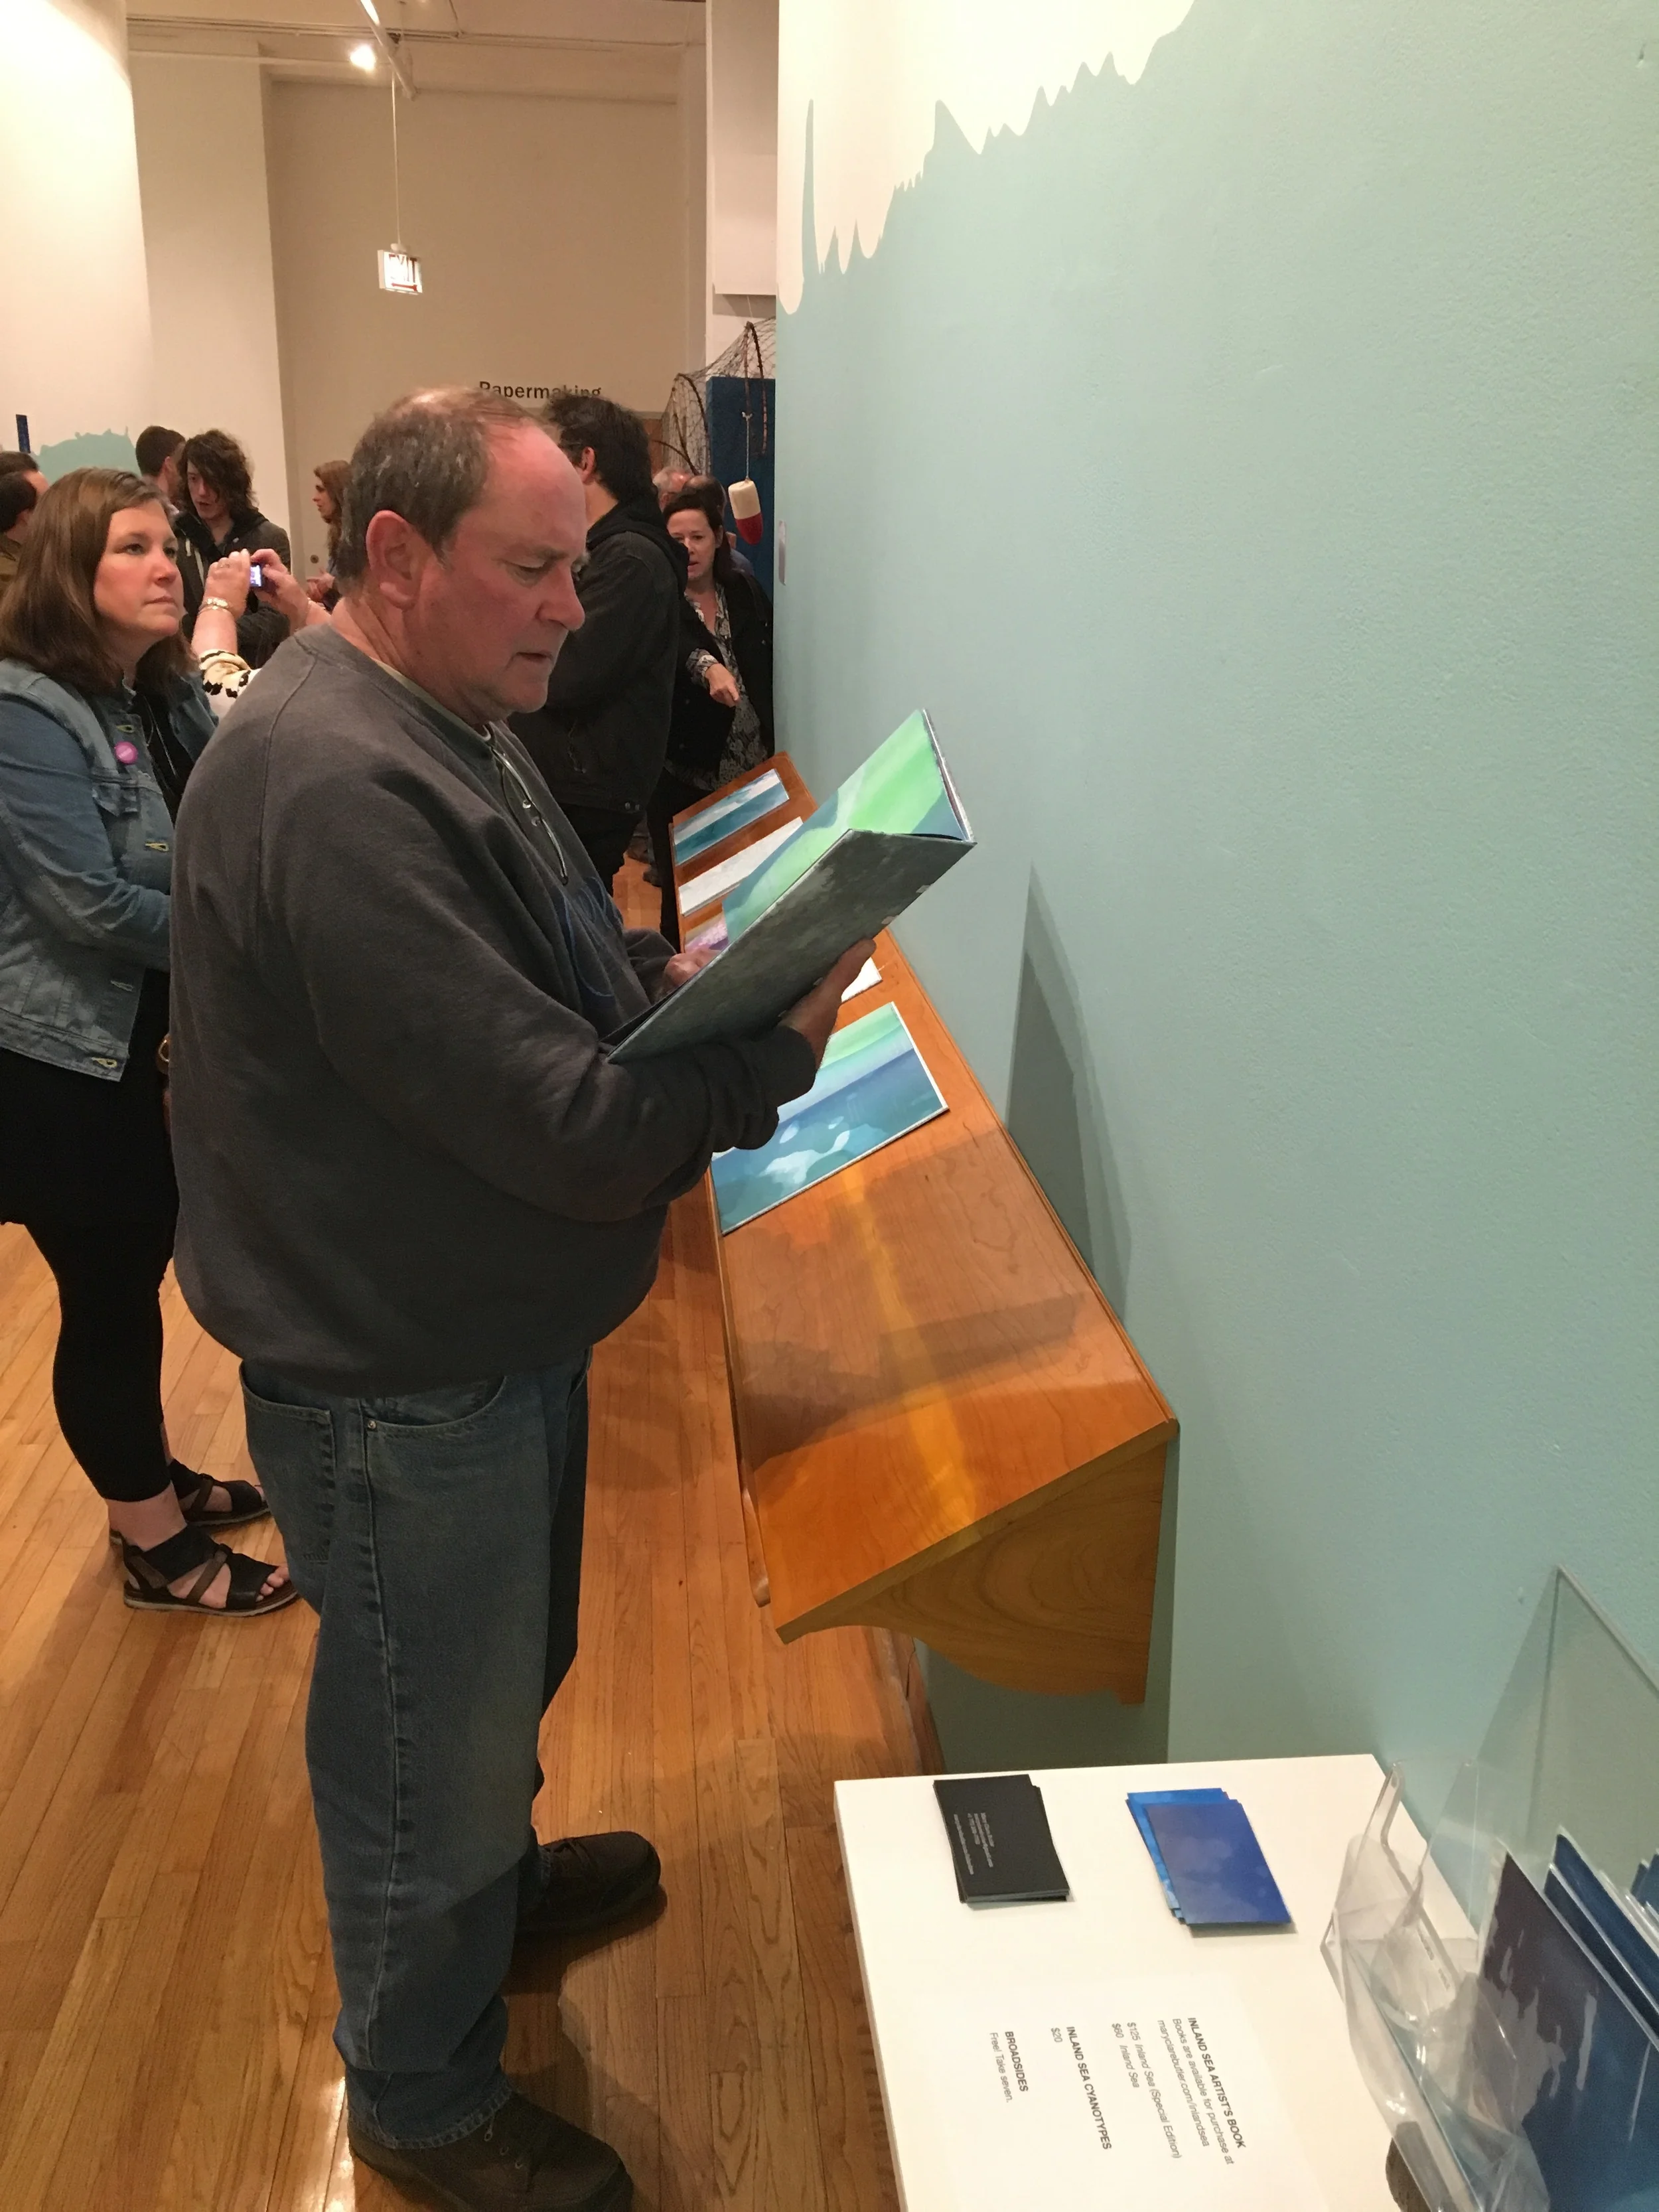
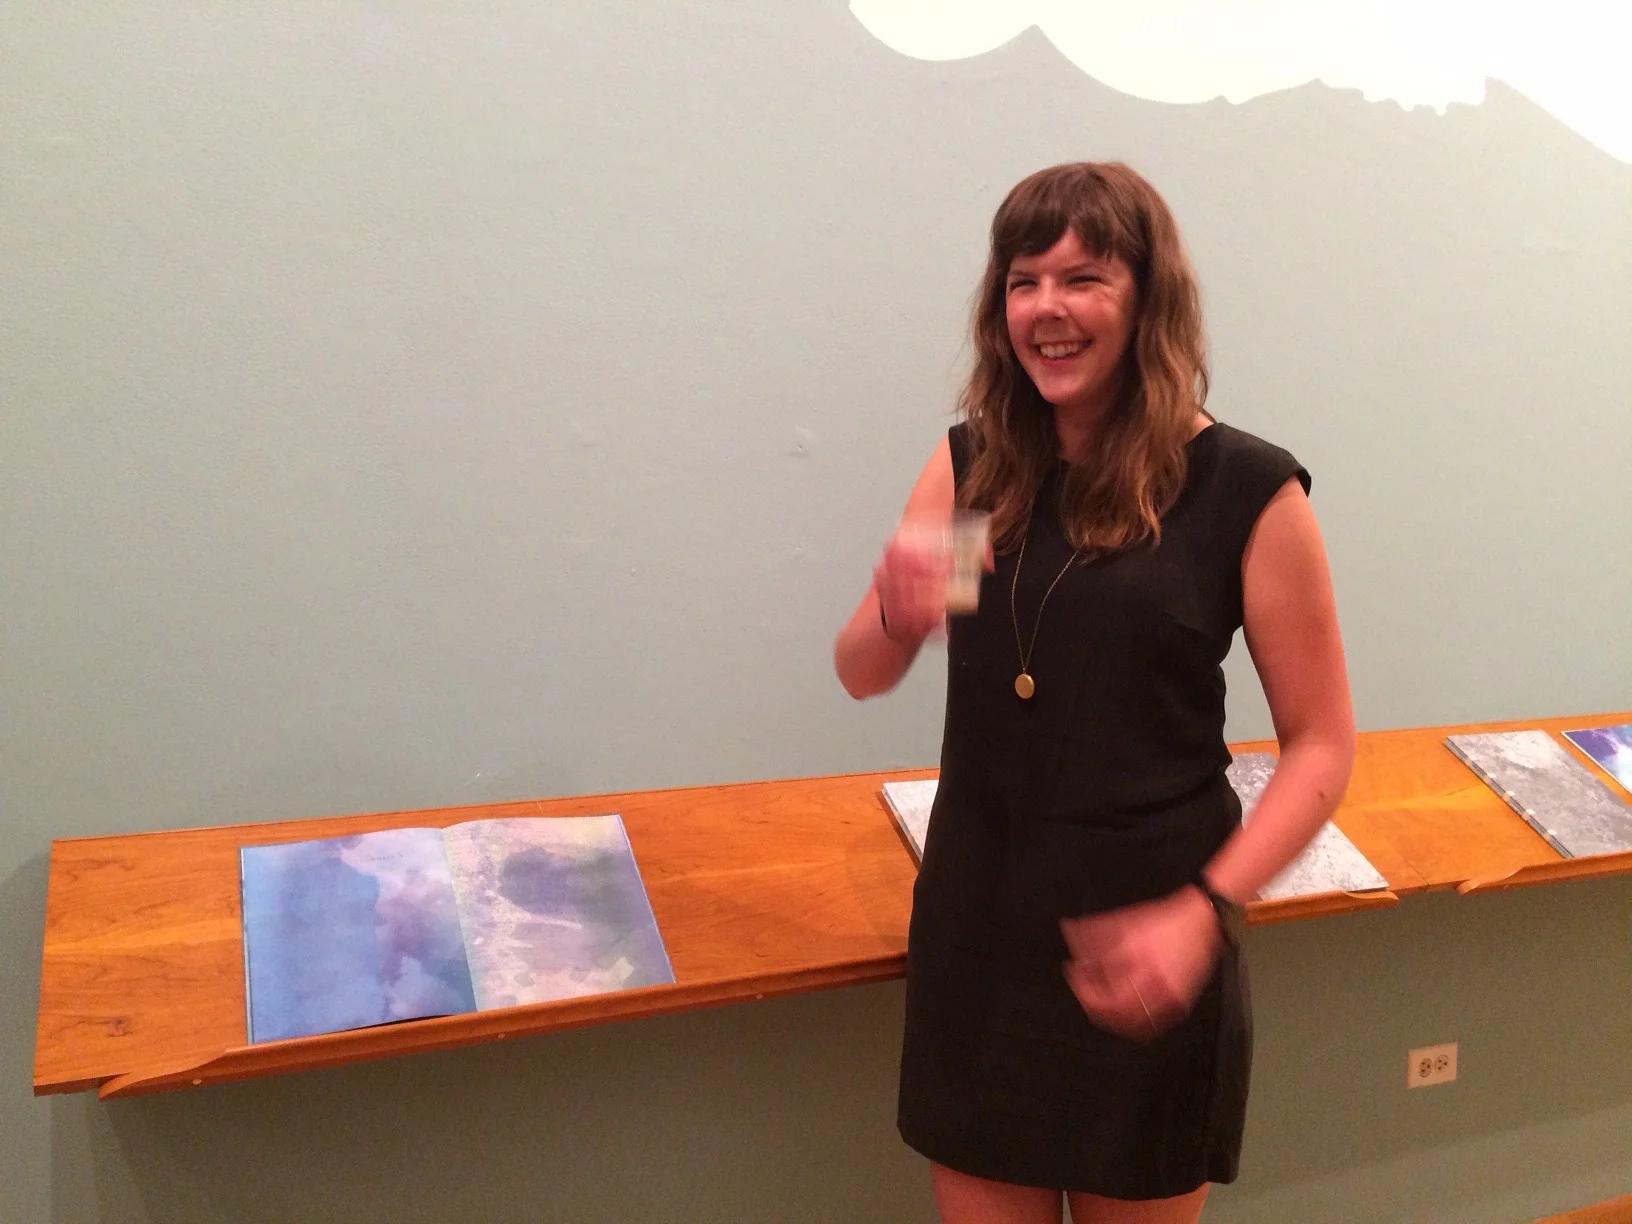
A few weeks later I went down to the show to see them "in action", and I really enjoyed seeing people interact with them. The books were fantastic, and the shelves seemed to complement the natural and organic designs of the books quite well. I was pleased to see that the top edge bead did it's job, making the intersection with the wall nice and subtle. They ended up installing the shelves side by side to make one long, continuous twelve foot shelf, and that worked out fine. I was happy, and Mary Clare was happy. What I really enjoyed the most out of this project was being able to support and work with another artist / craftsperson, and complement their work with mine.