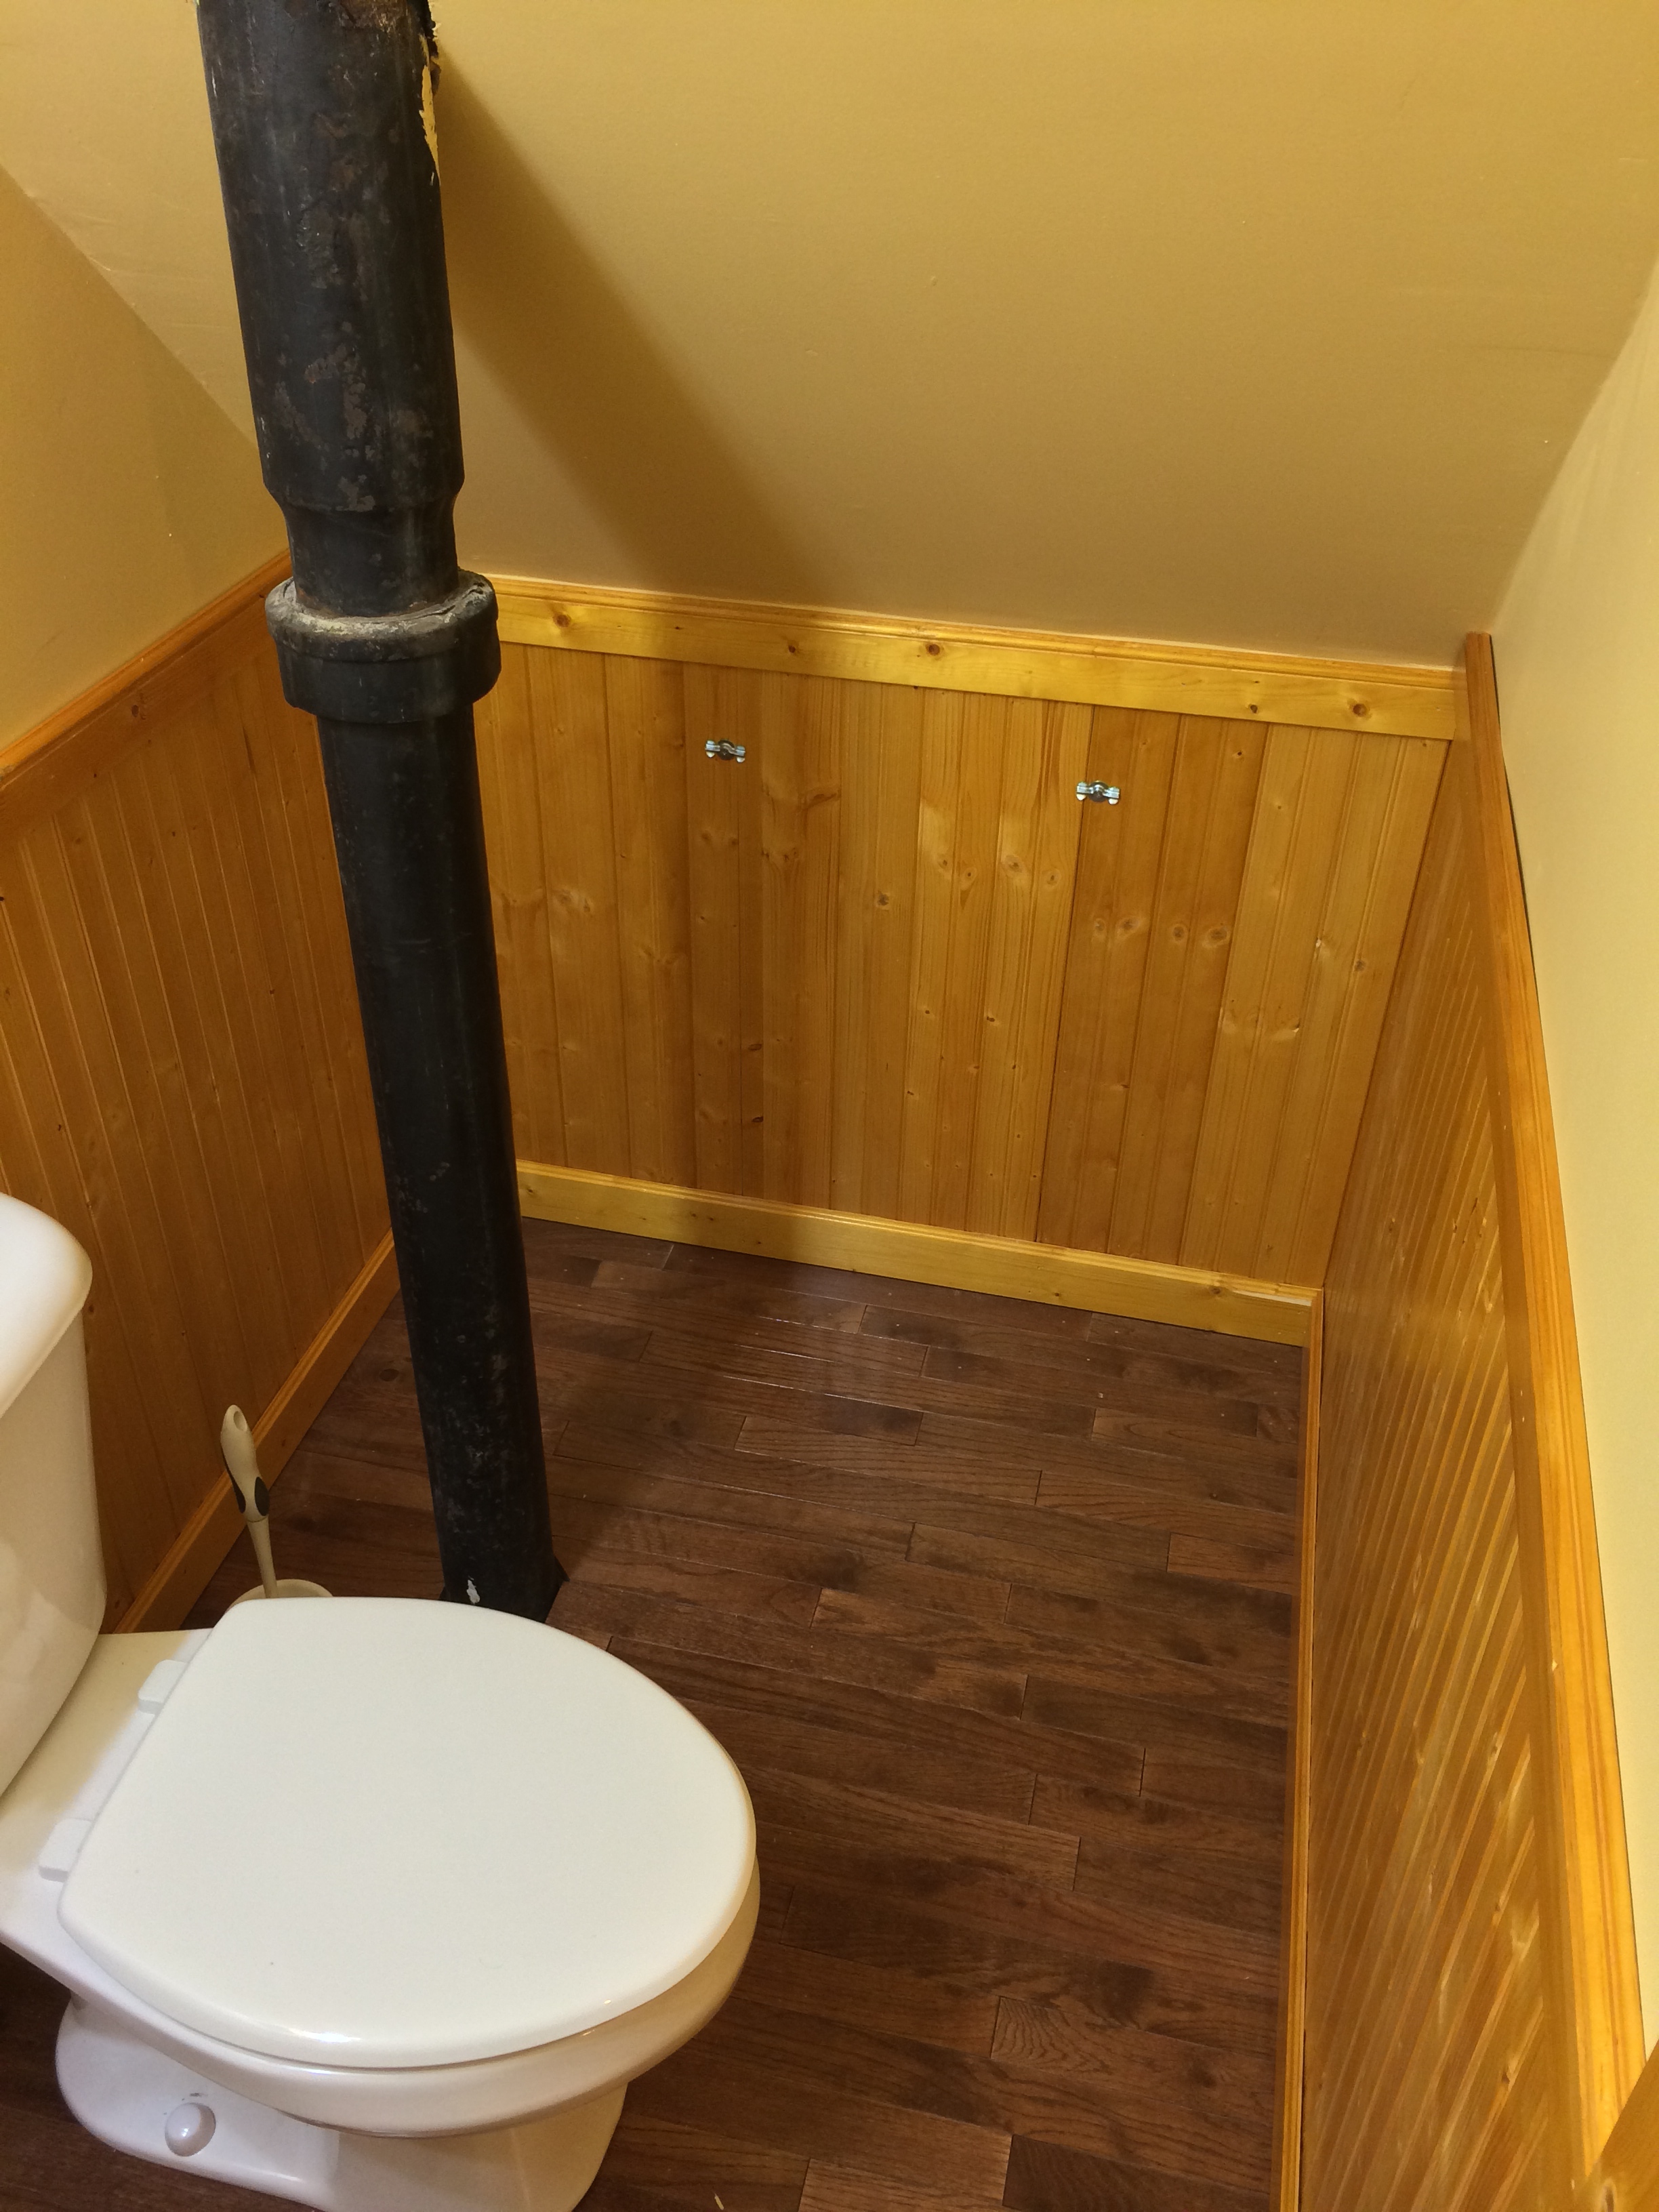
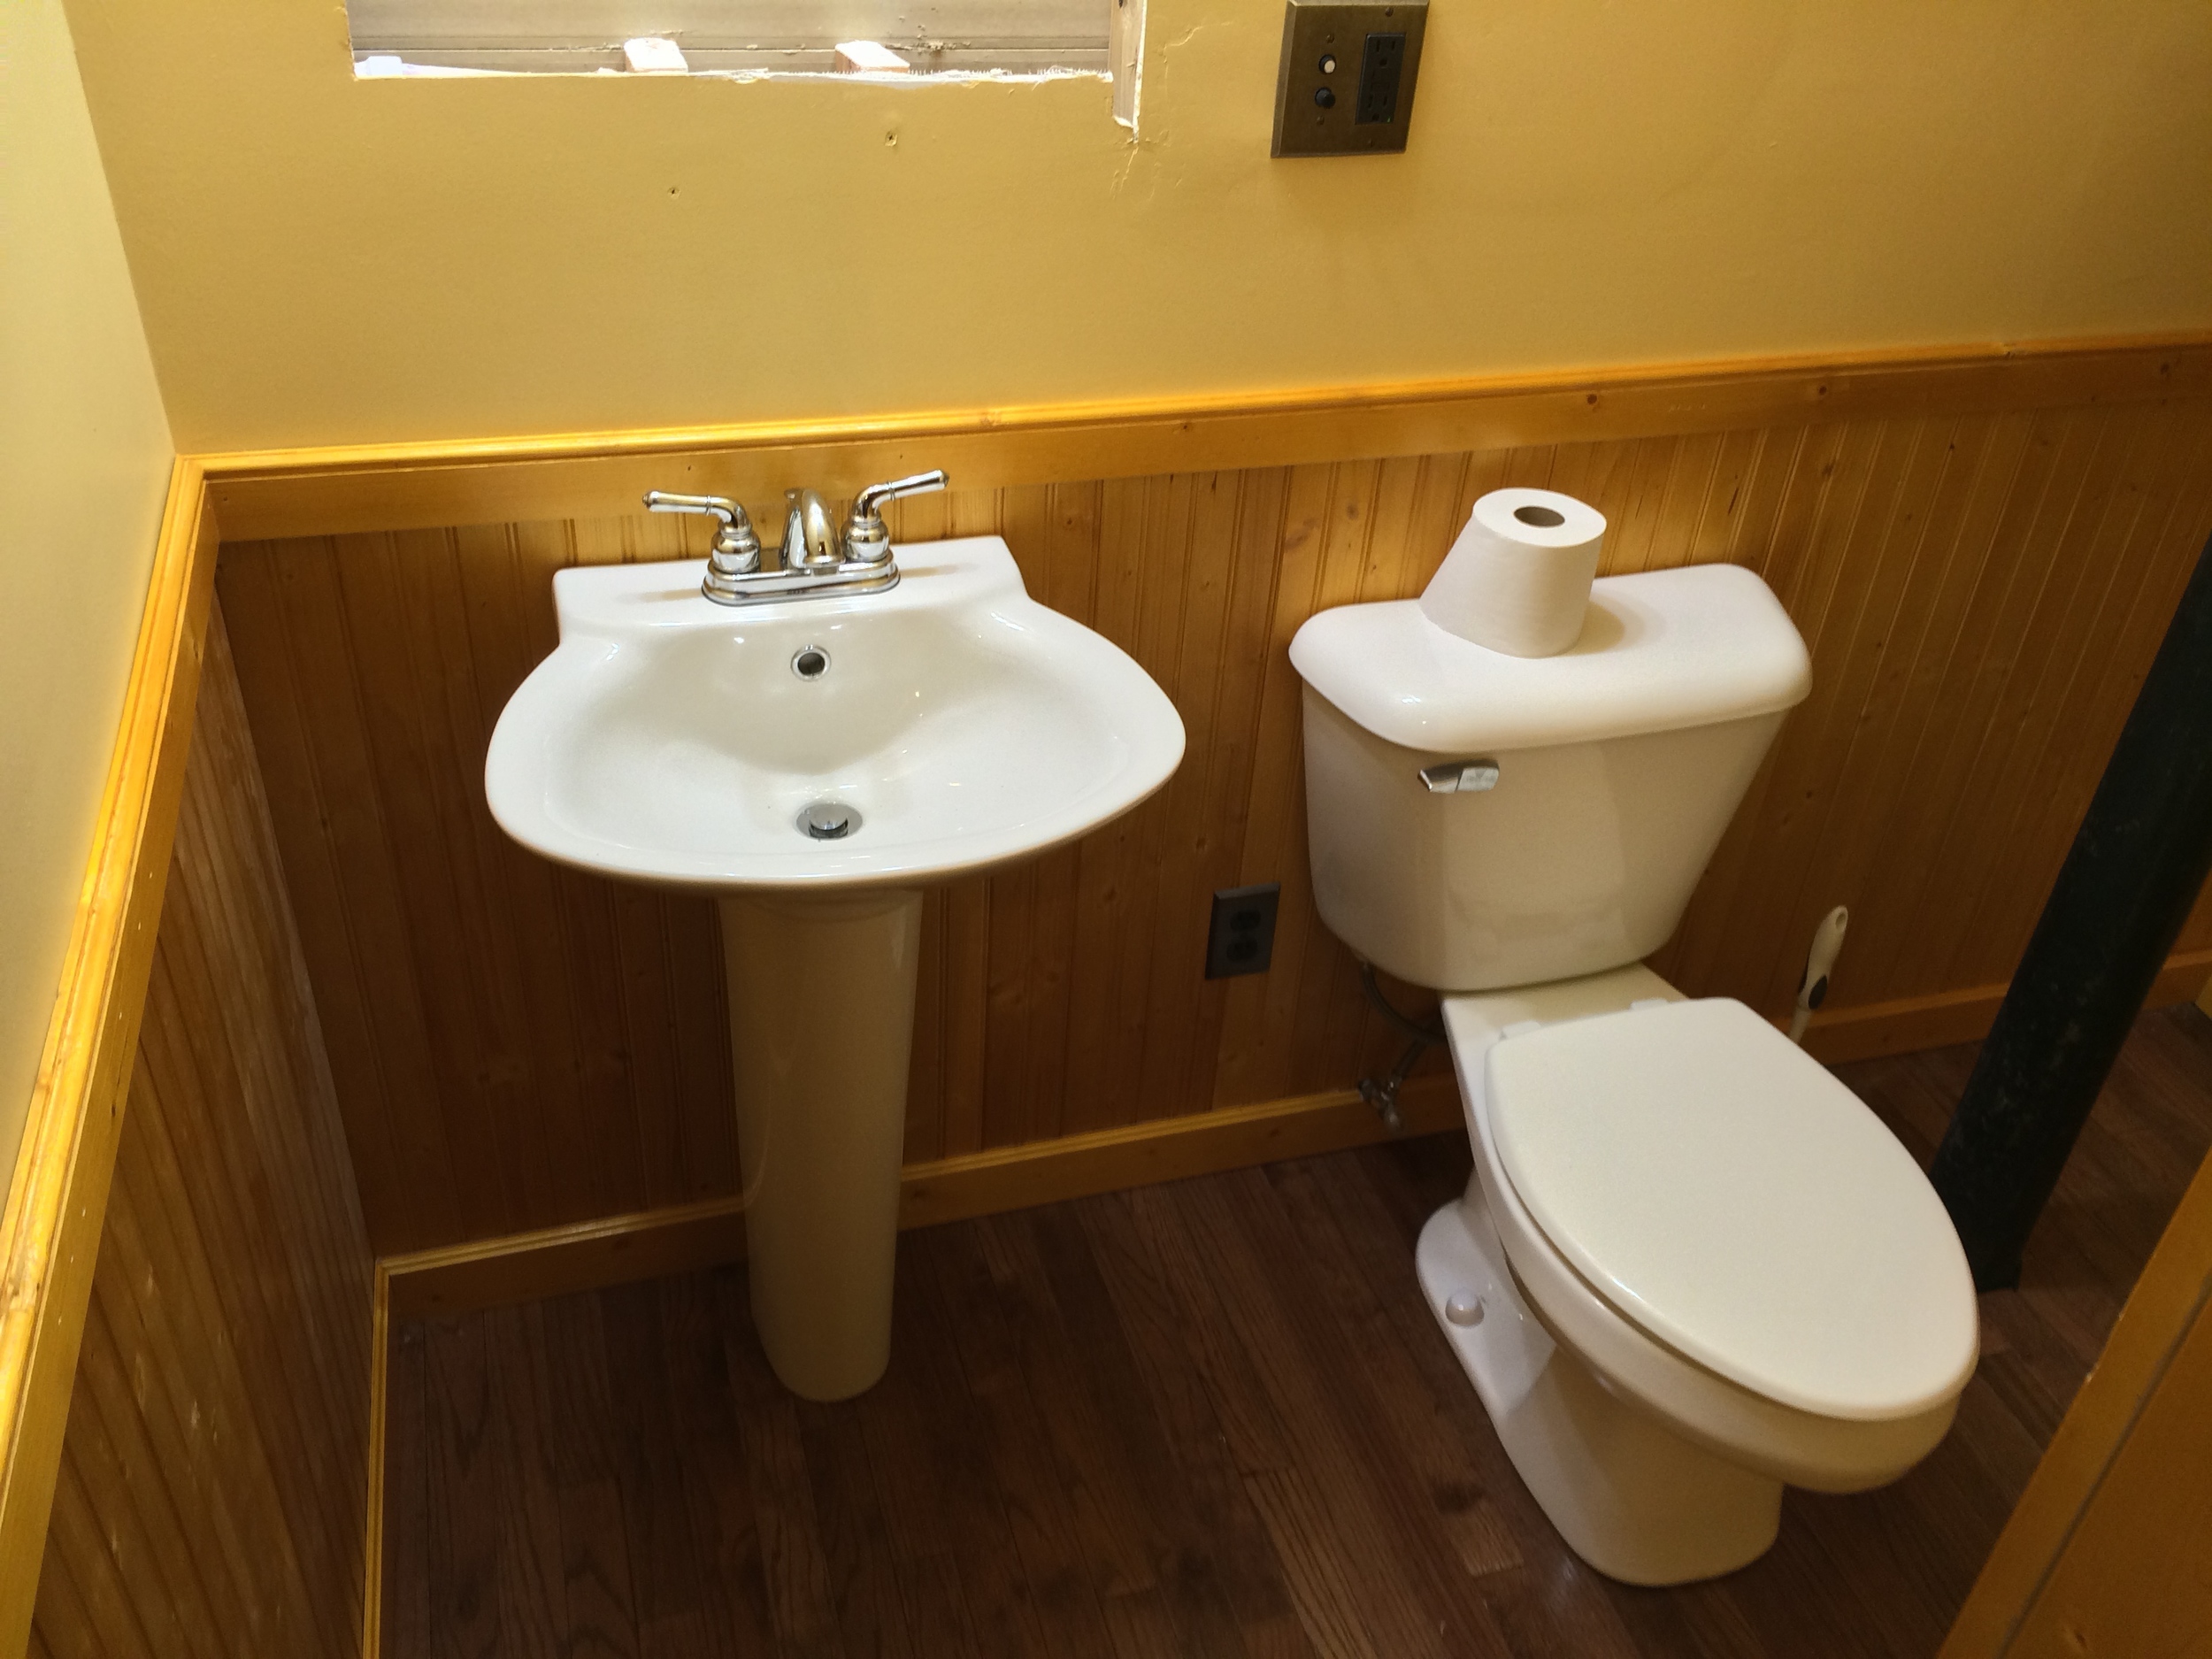
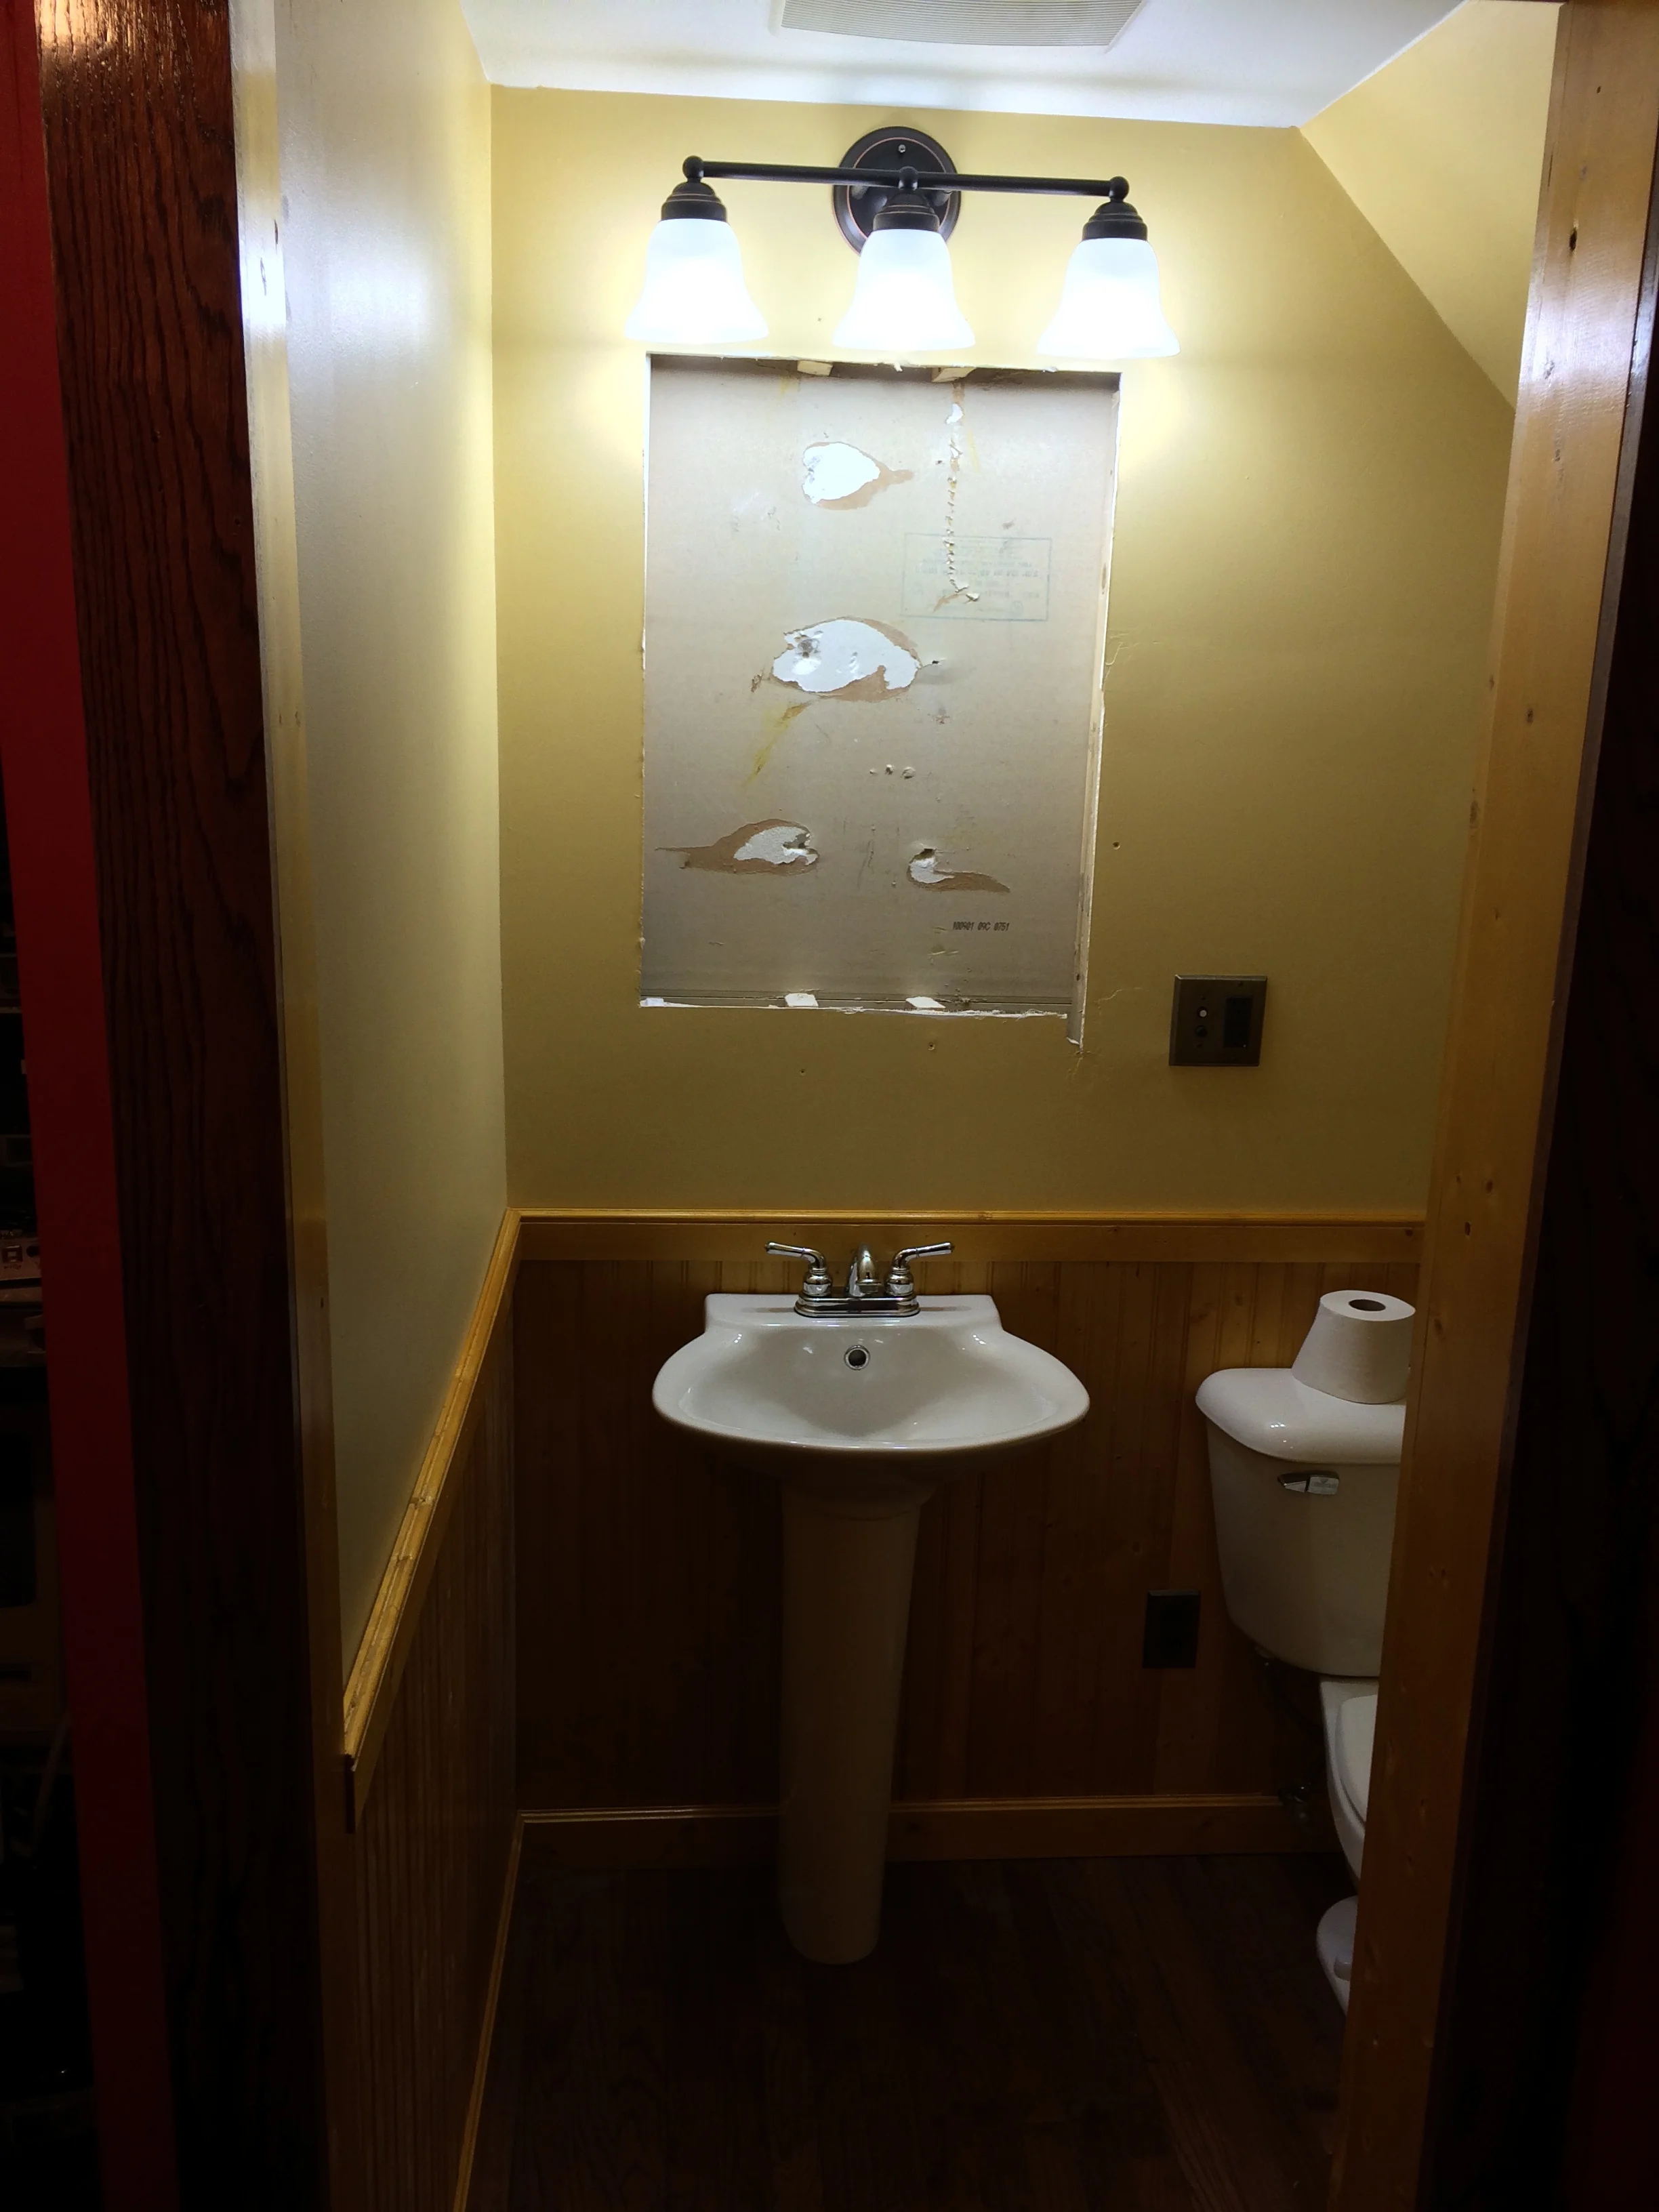
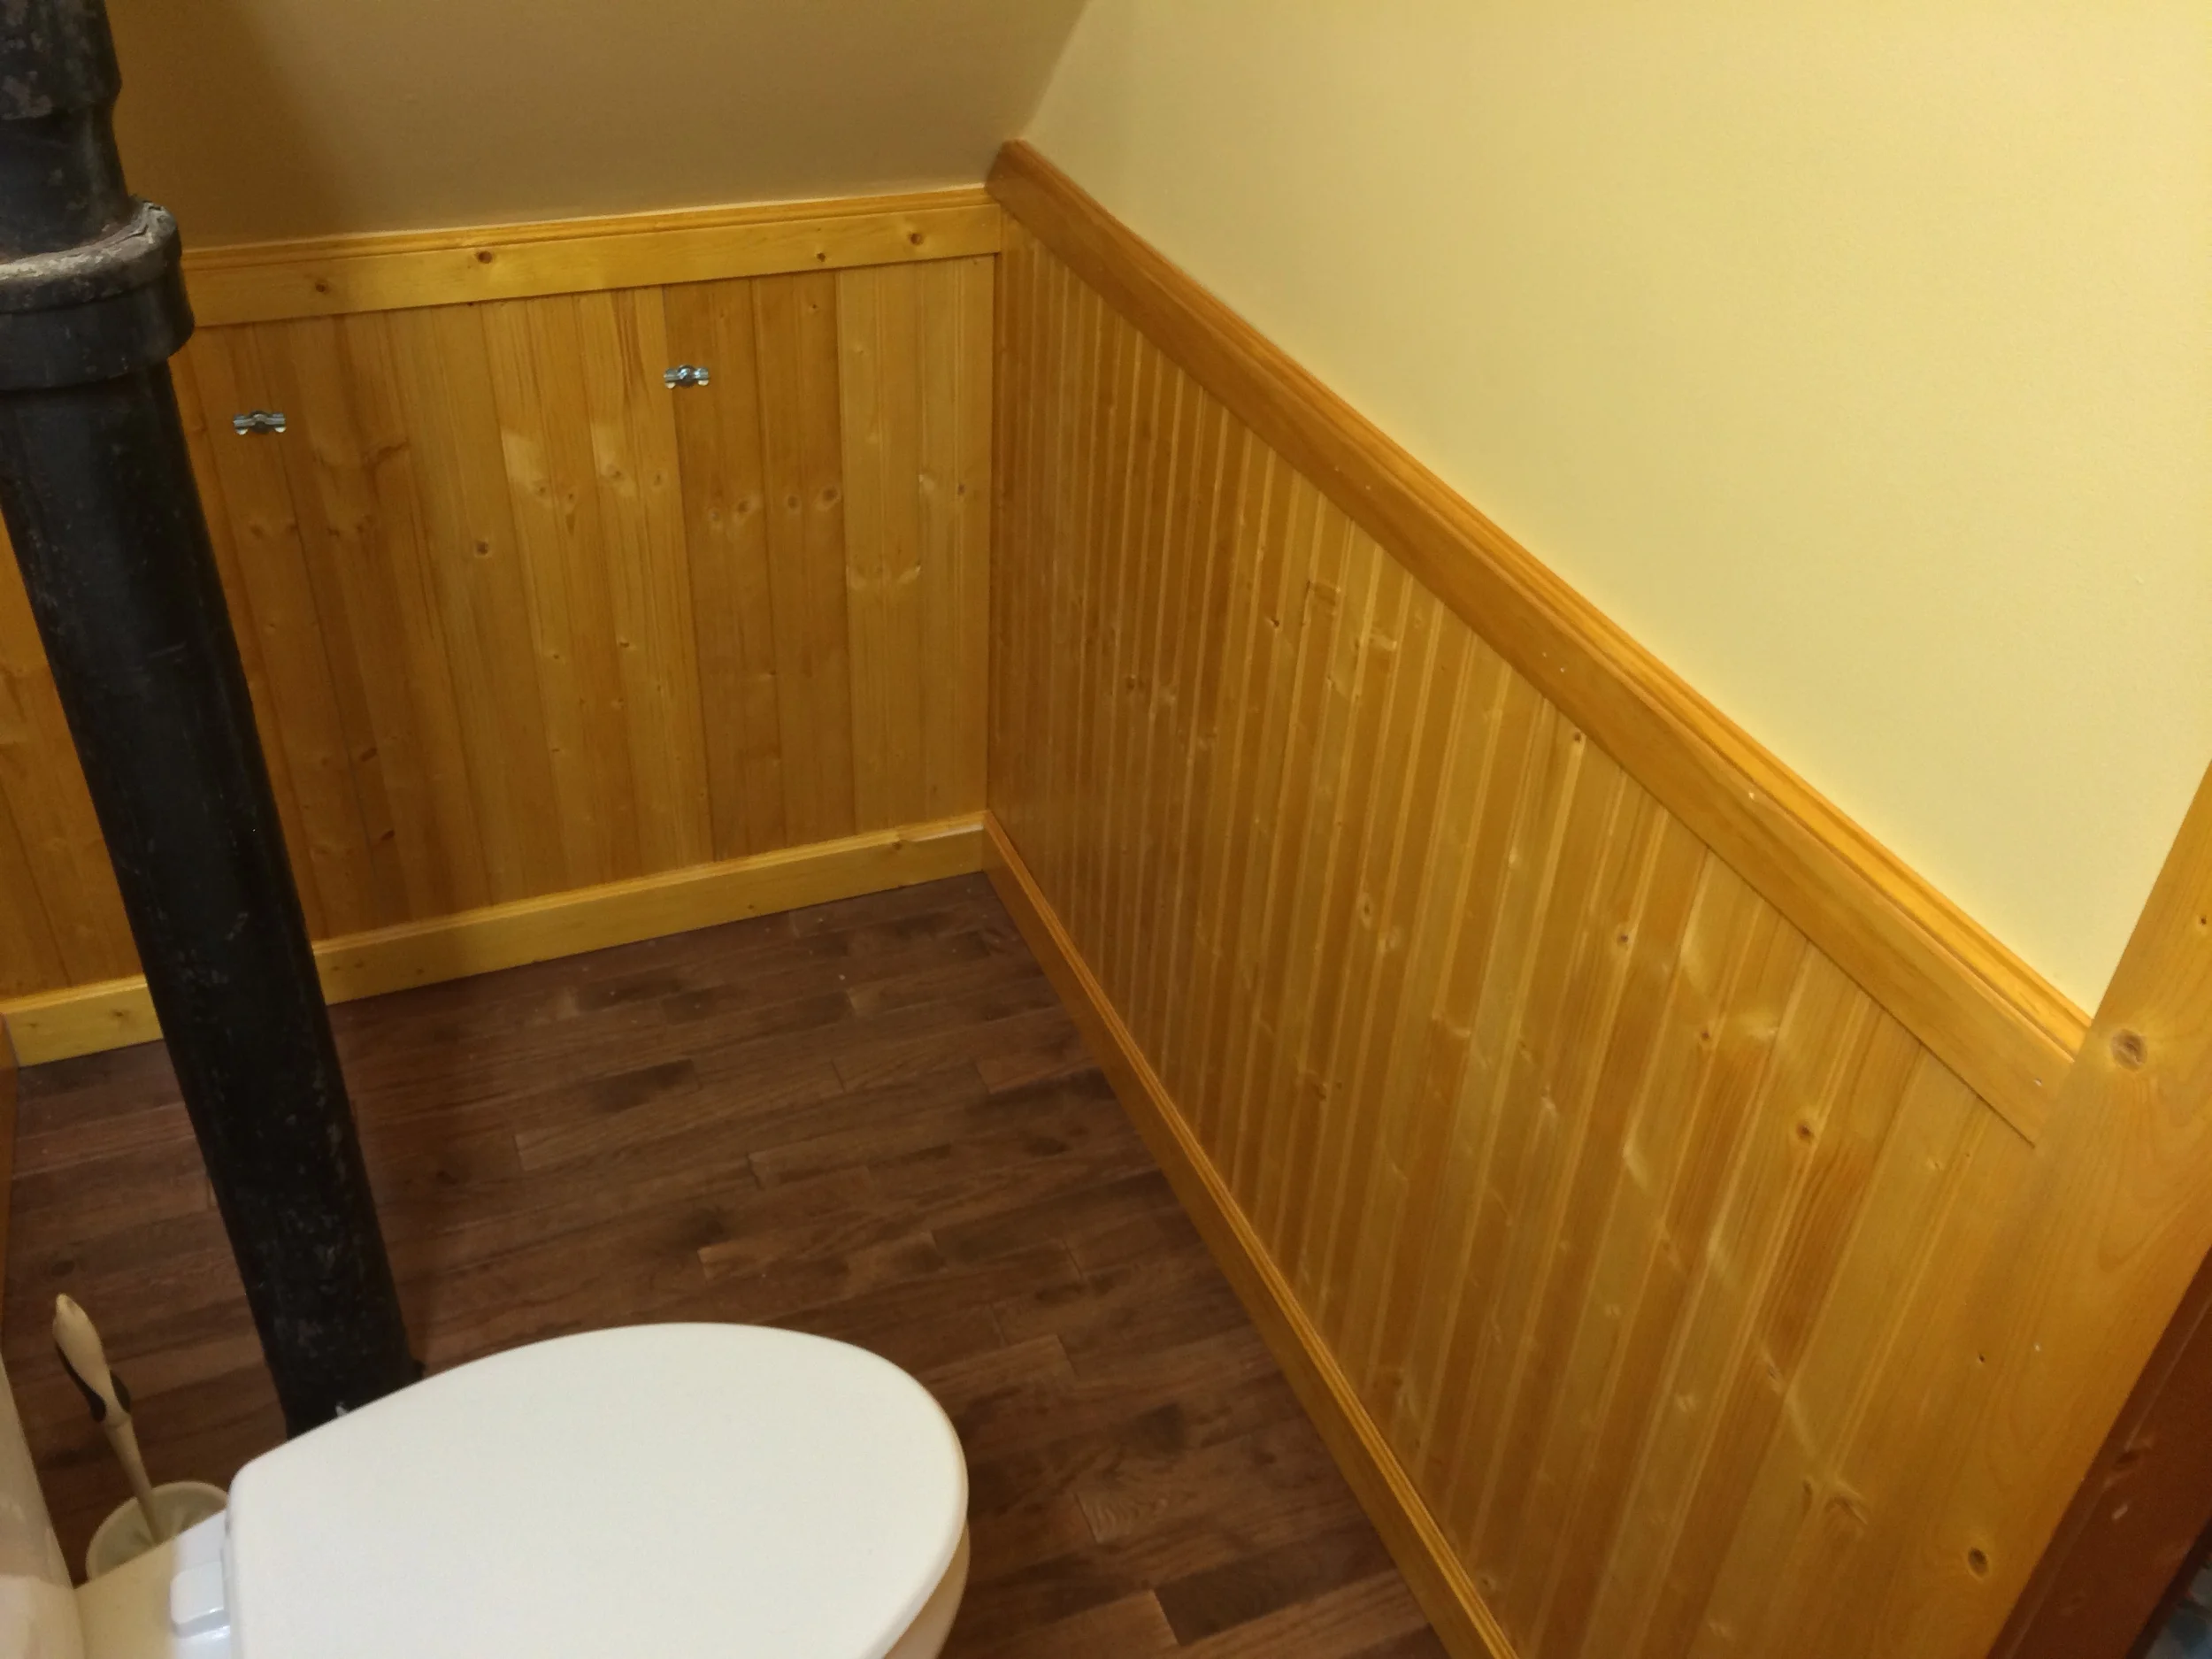
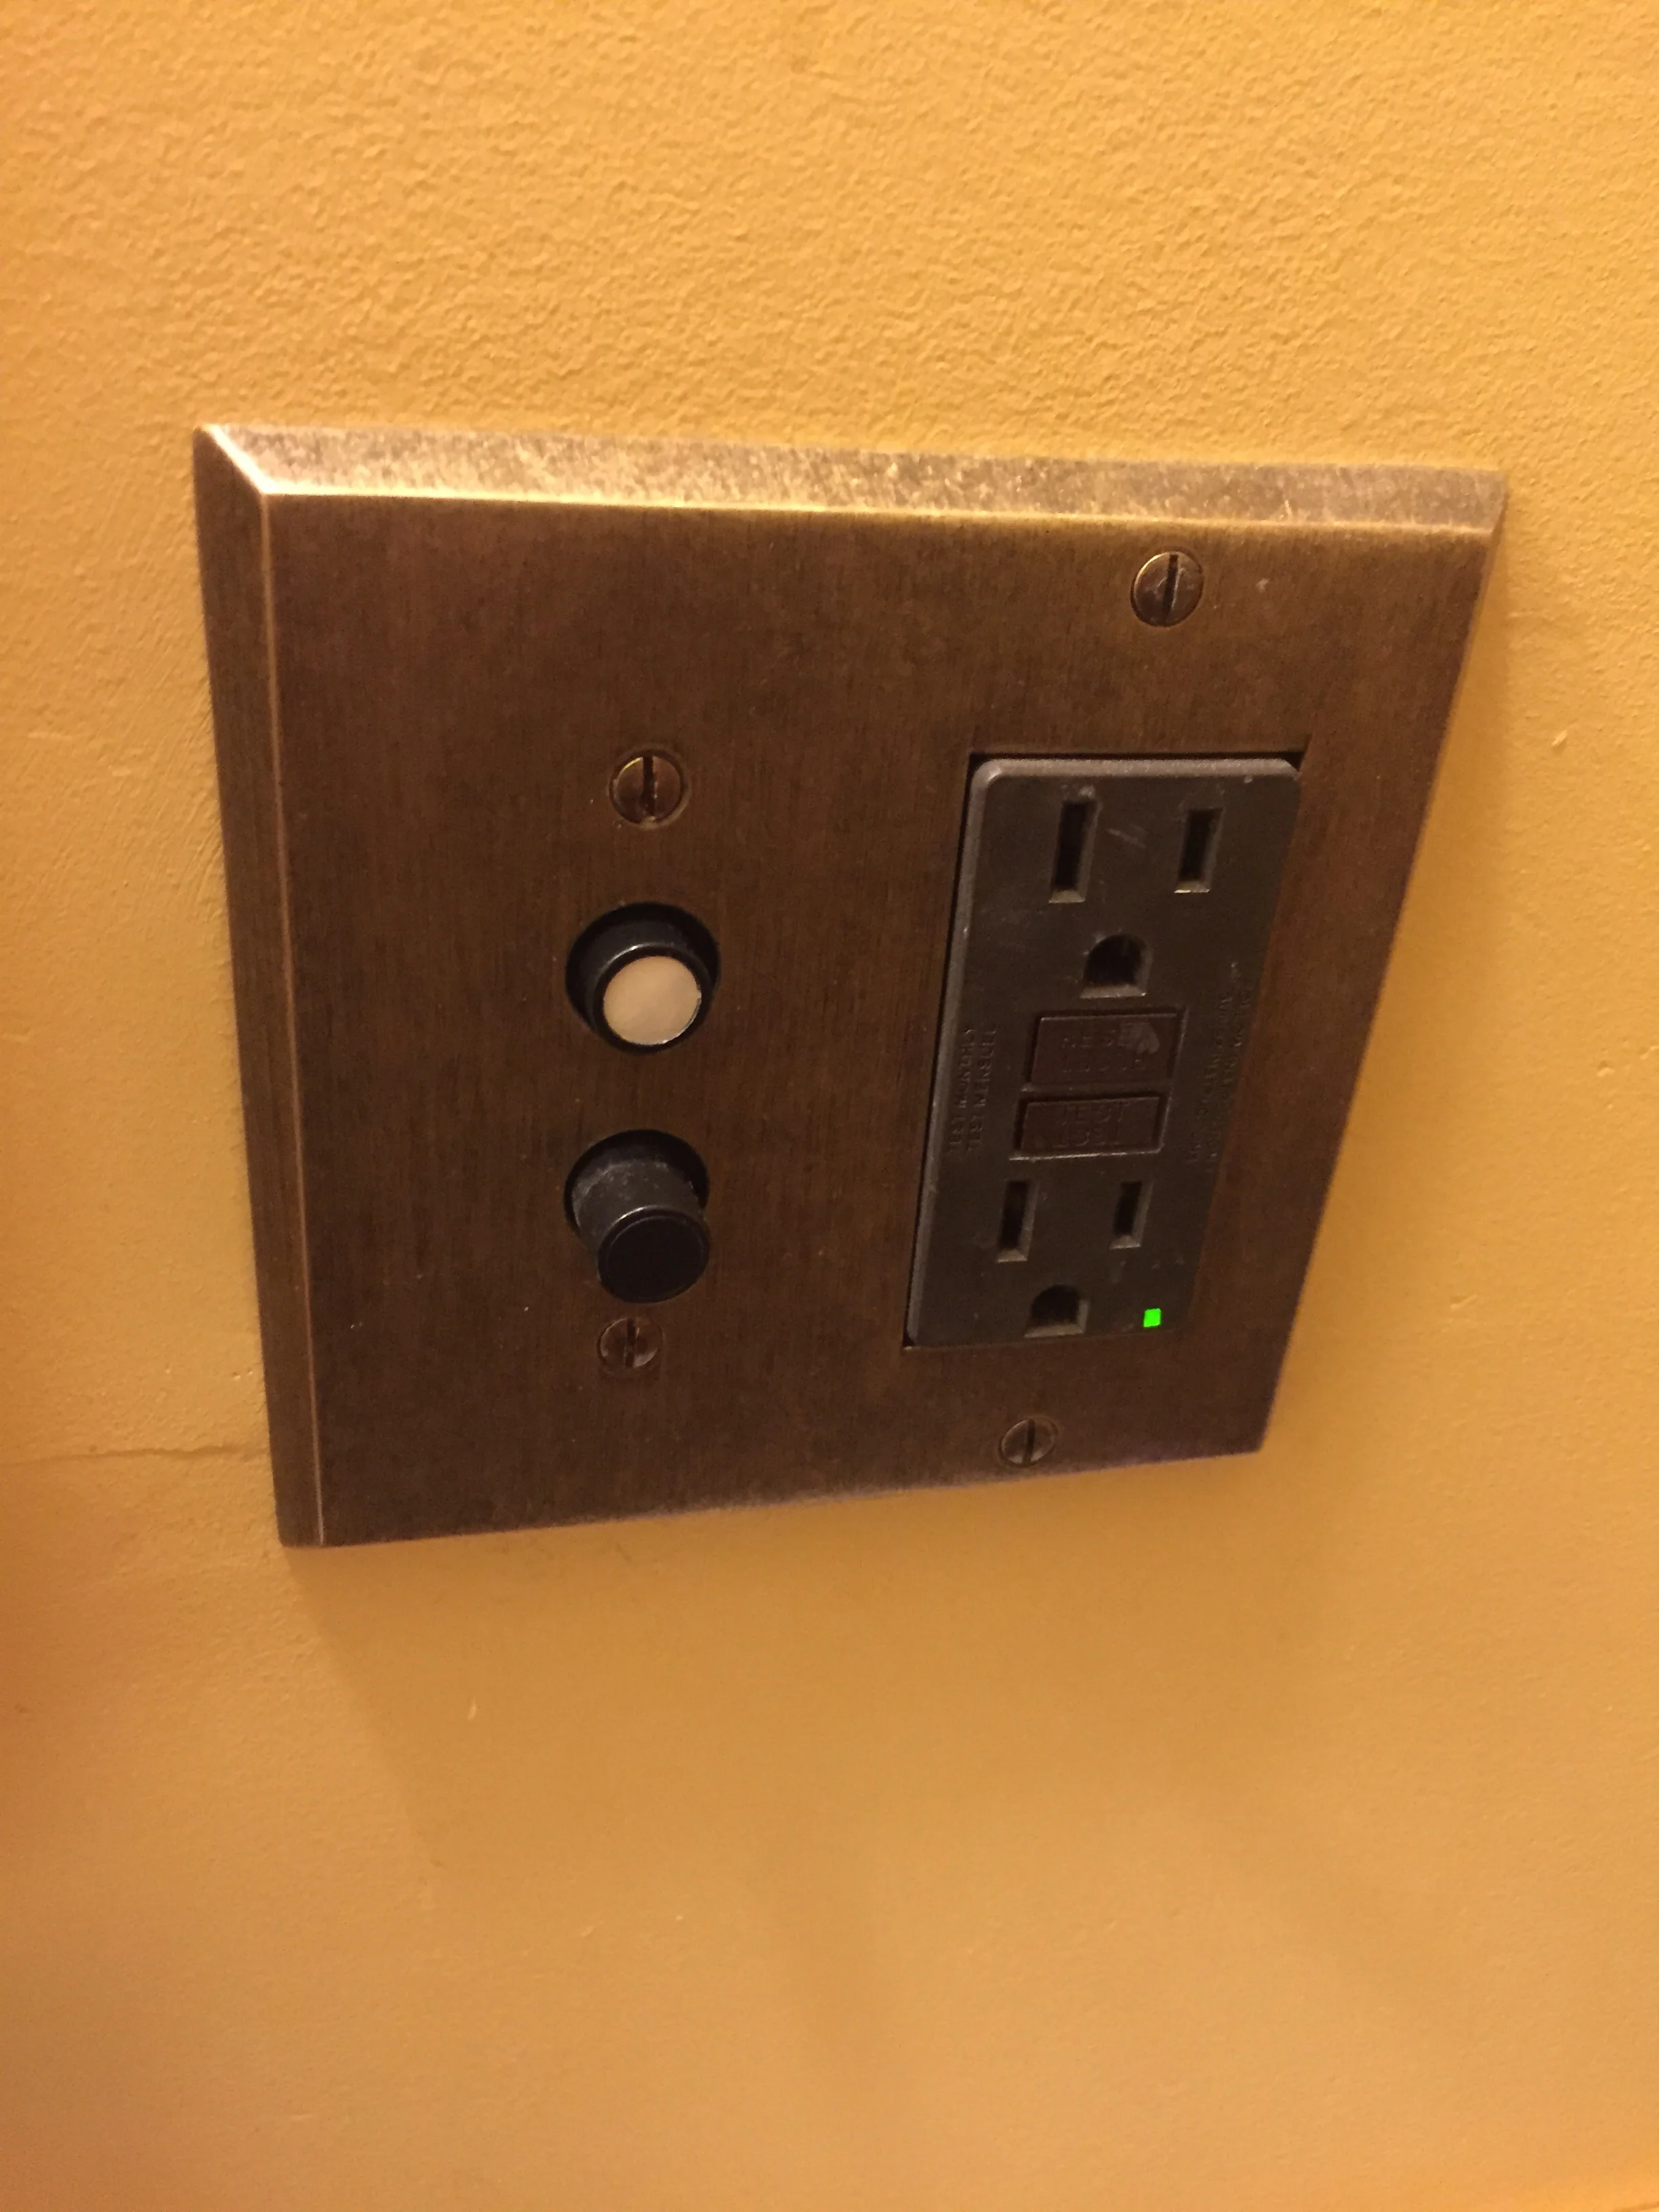
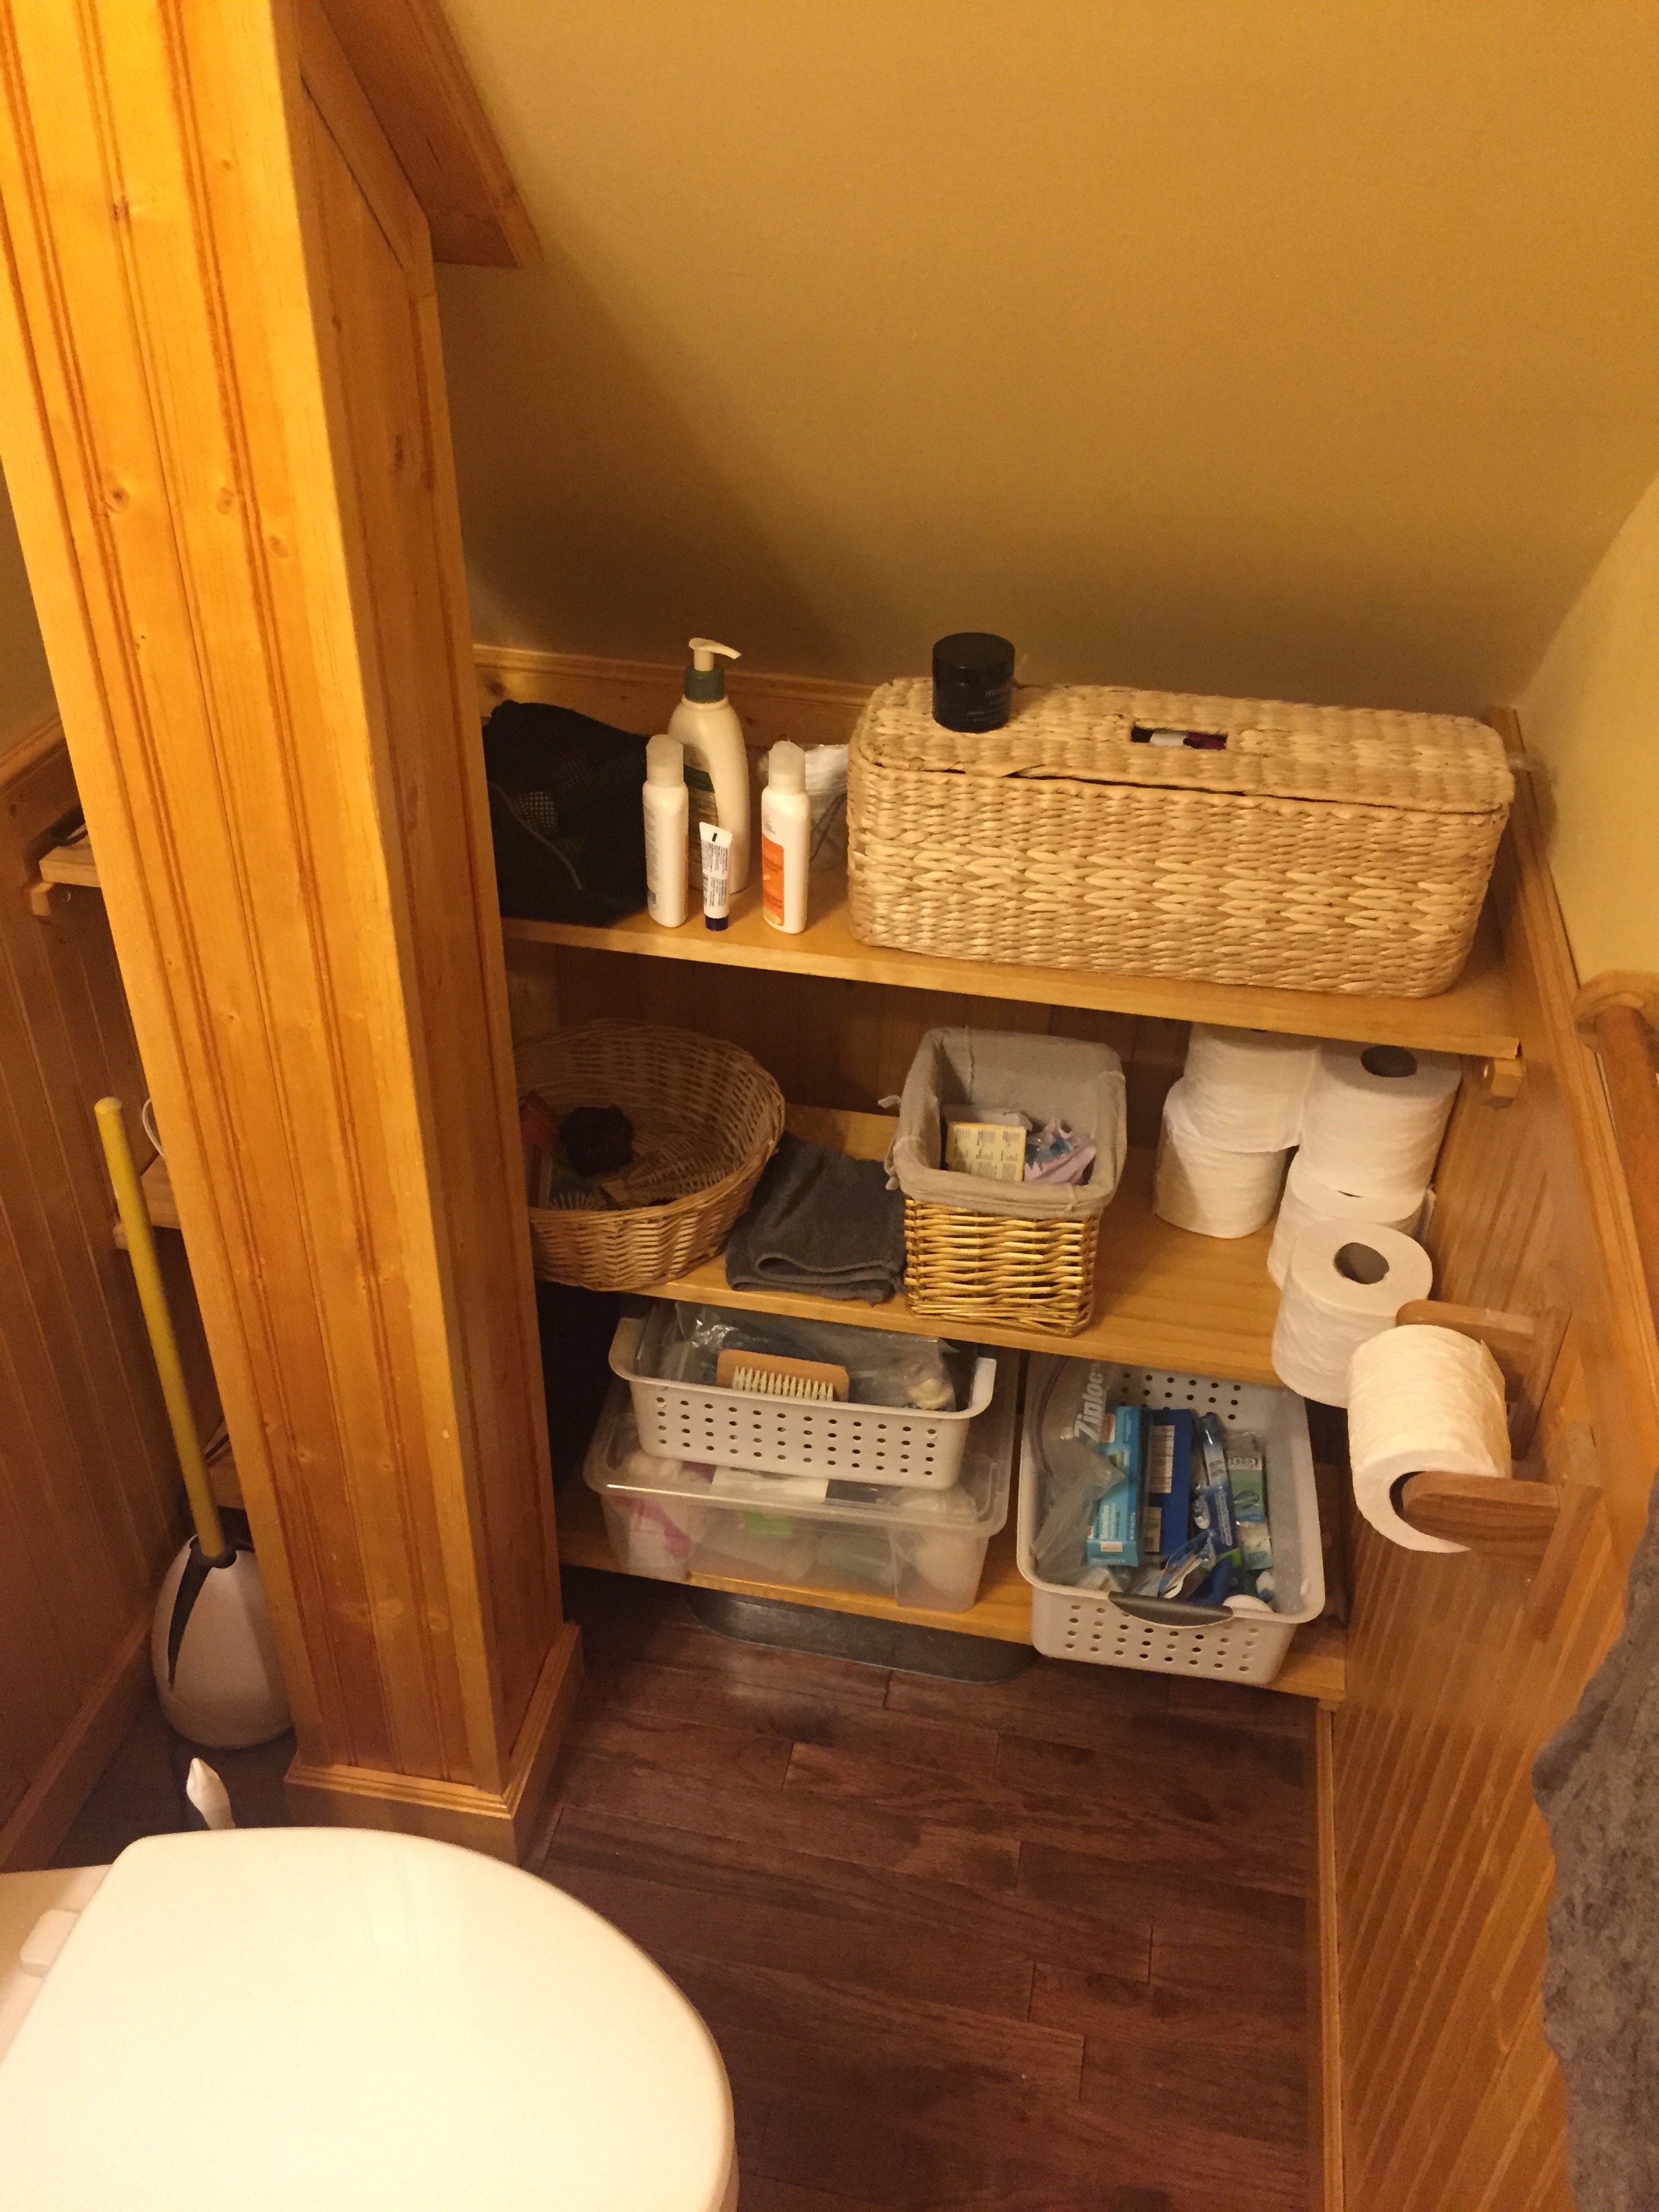
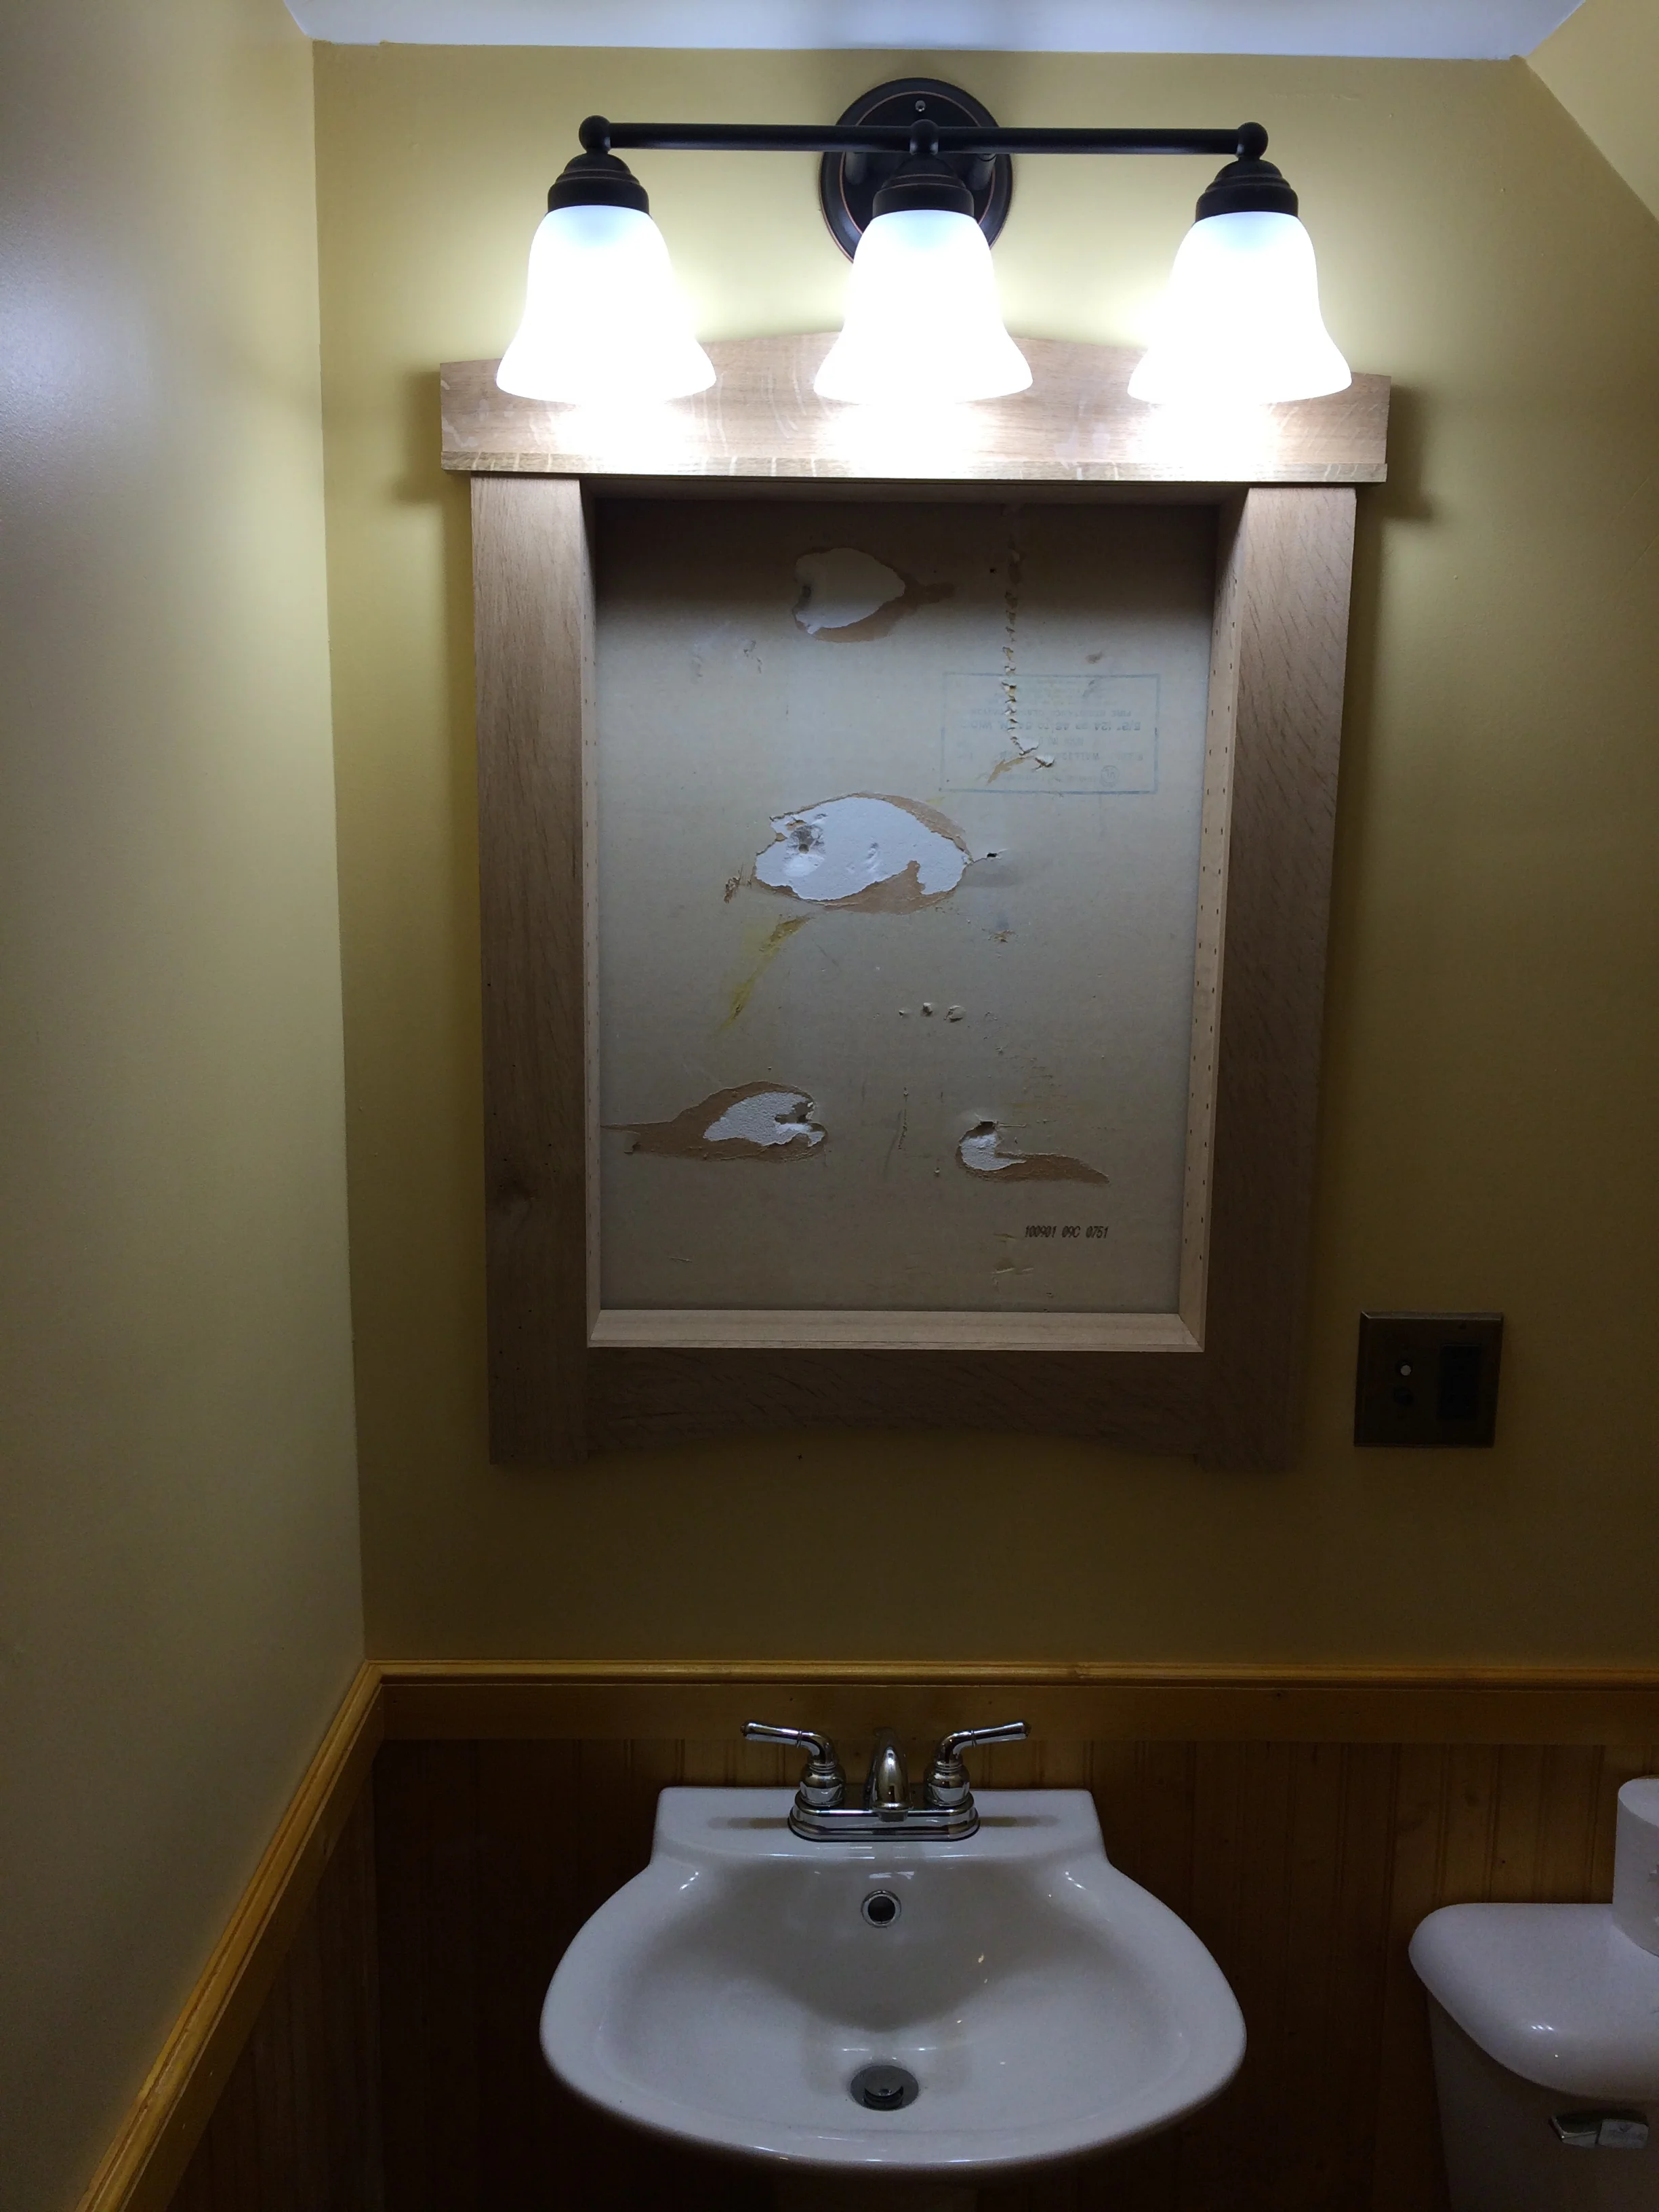
On the second floor of our house, there is a small half-bathroom. It had long been in need of being refurbished, and now that we had re-arranged things, and were using the adjoining room as our master bedroom, the time had come. I went for a simple re-design. We had some left over solid oak flooring from our kitchen remodel, and that fit the space nicely. I used some simple pine beadboard millwork for a wainscot, finished with amber shellac. I had to make a soffit to cover the plumbing stack. I did have to move some electrical around, and installed a three light sconce. I even got fancy and installed an old-timey push button light switch. Followed with a coat of paint, it all came together nicely. But the piece de resistance, and an excuse to get woodworking involved, was a medicine cabinet.
The medicine cabinet was going to be inset into the wall (as opposed to surface mounted), and needed a nice, large mirror, and room for several shelves. For the design, I put together elements from several sources, and laid out the resulting concept in Sketchup.
For materials, I went with quarter sawn white oak, as I was going for a classic craftsman look on this one. Although the wainscot was pine, I felt the oak of the cabinet would tie in to the oak flooring. Plus, I had the stock on hand, and I always like being able to use up "scraps" for smaller projects whenever possible.
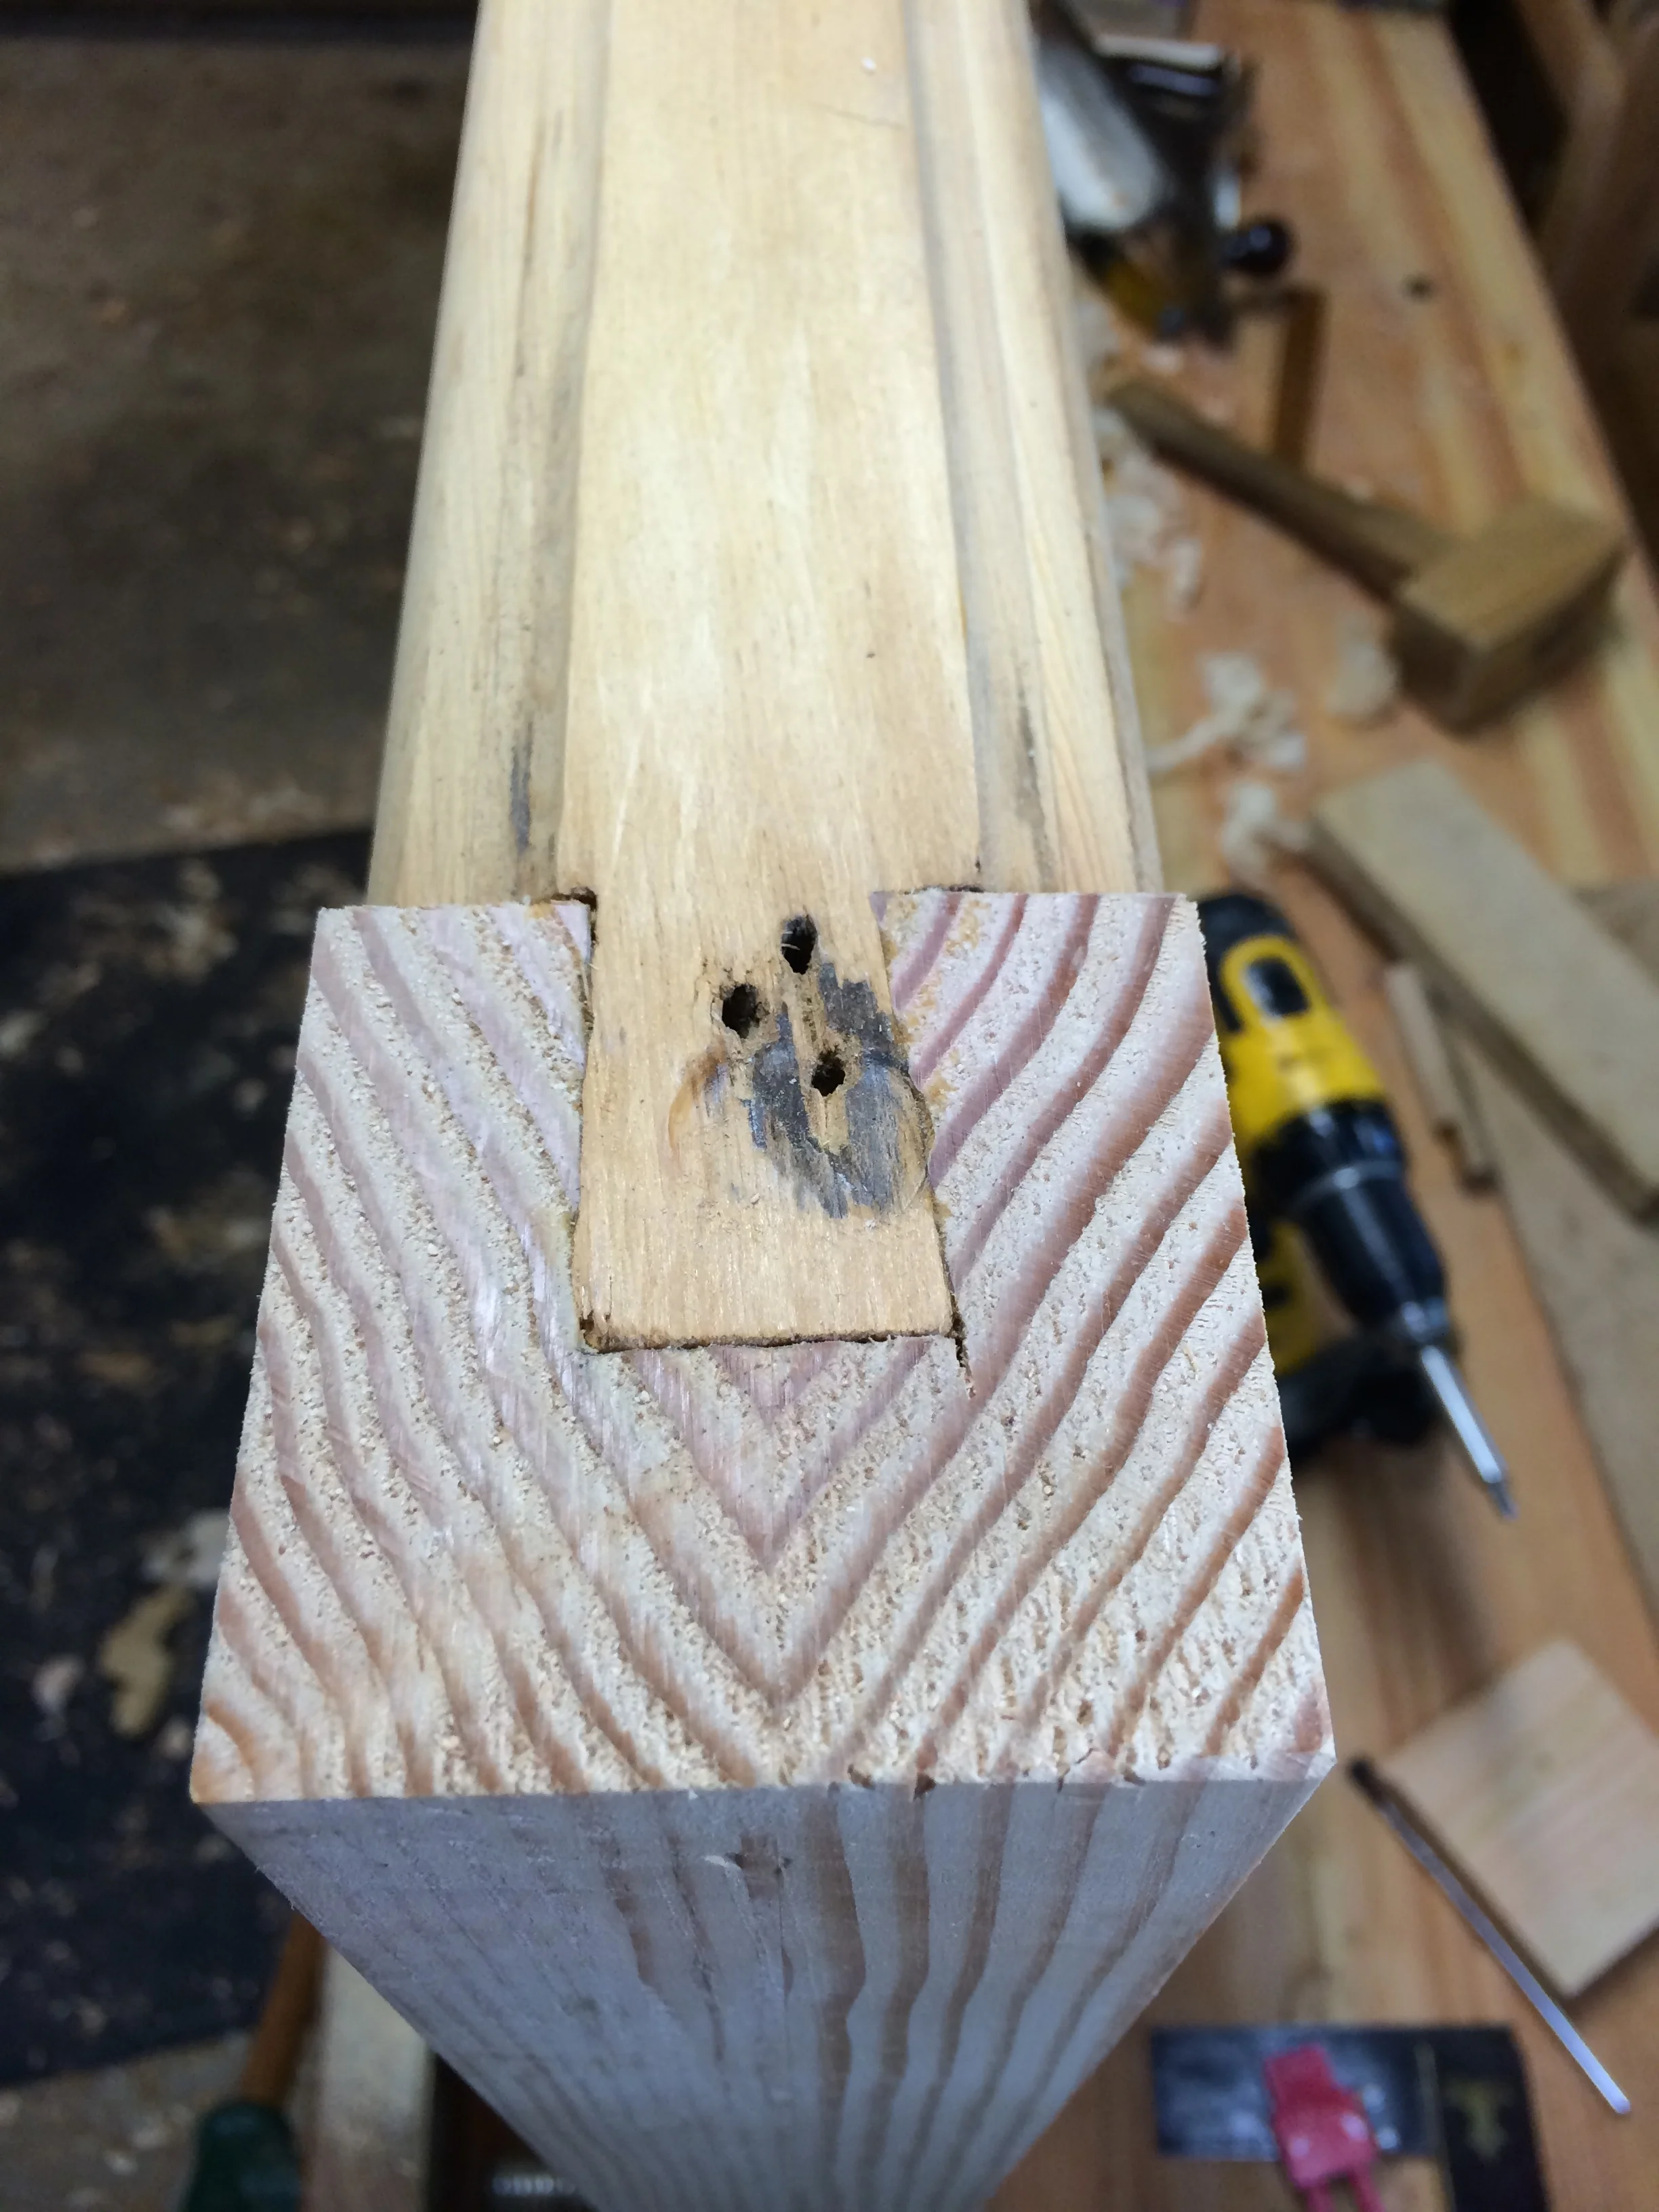
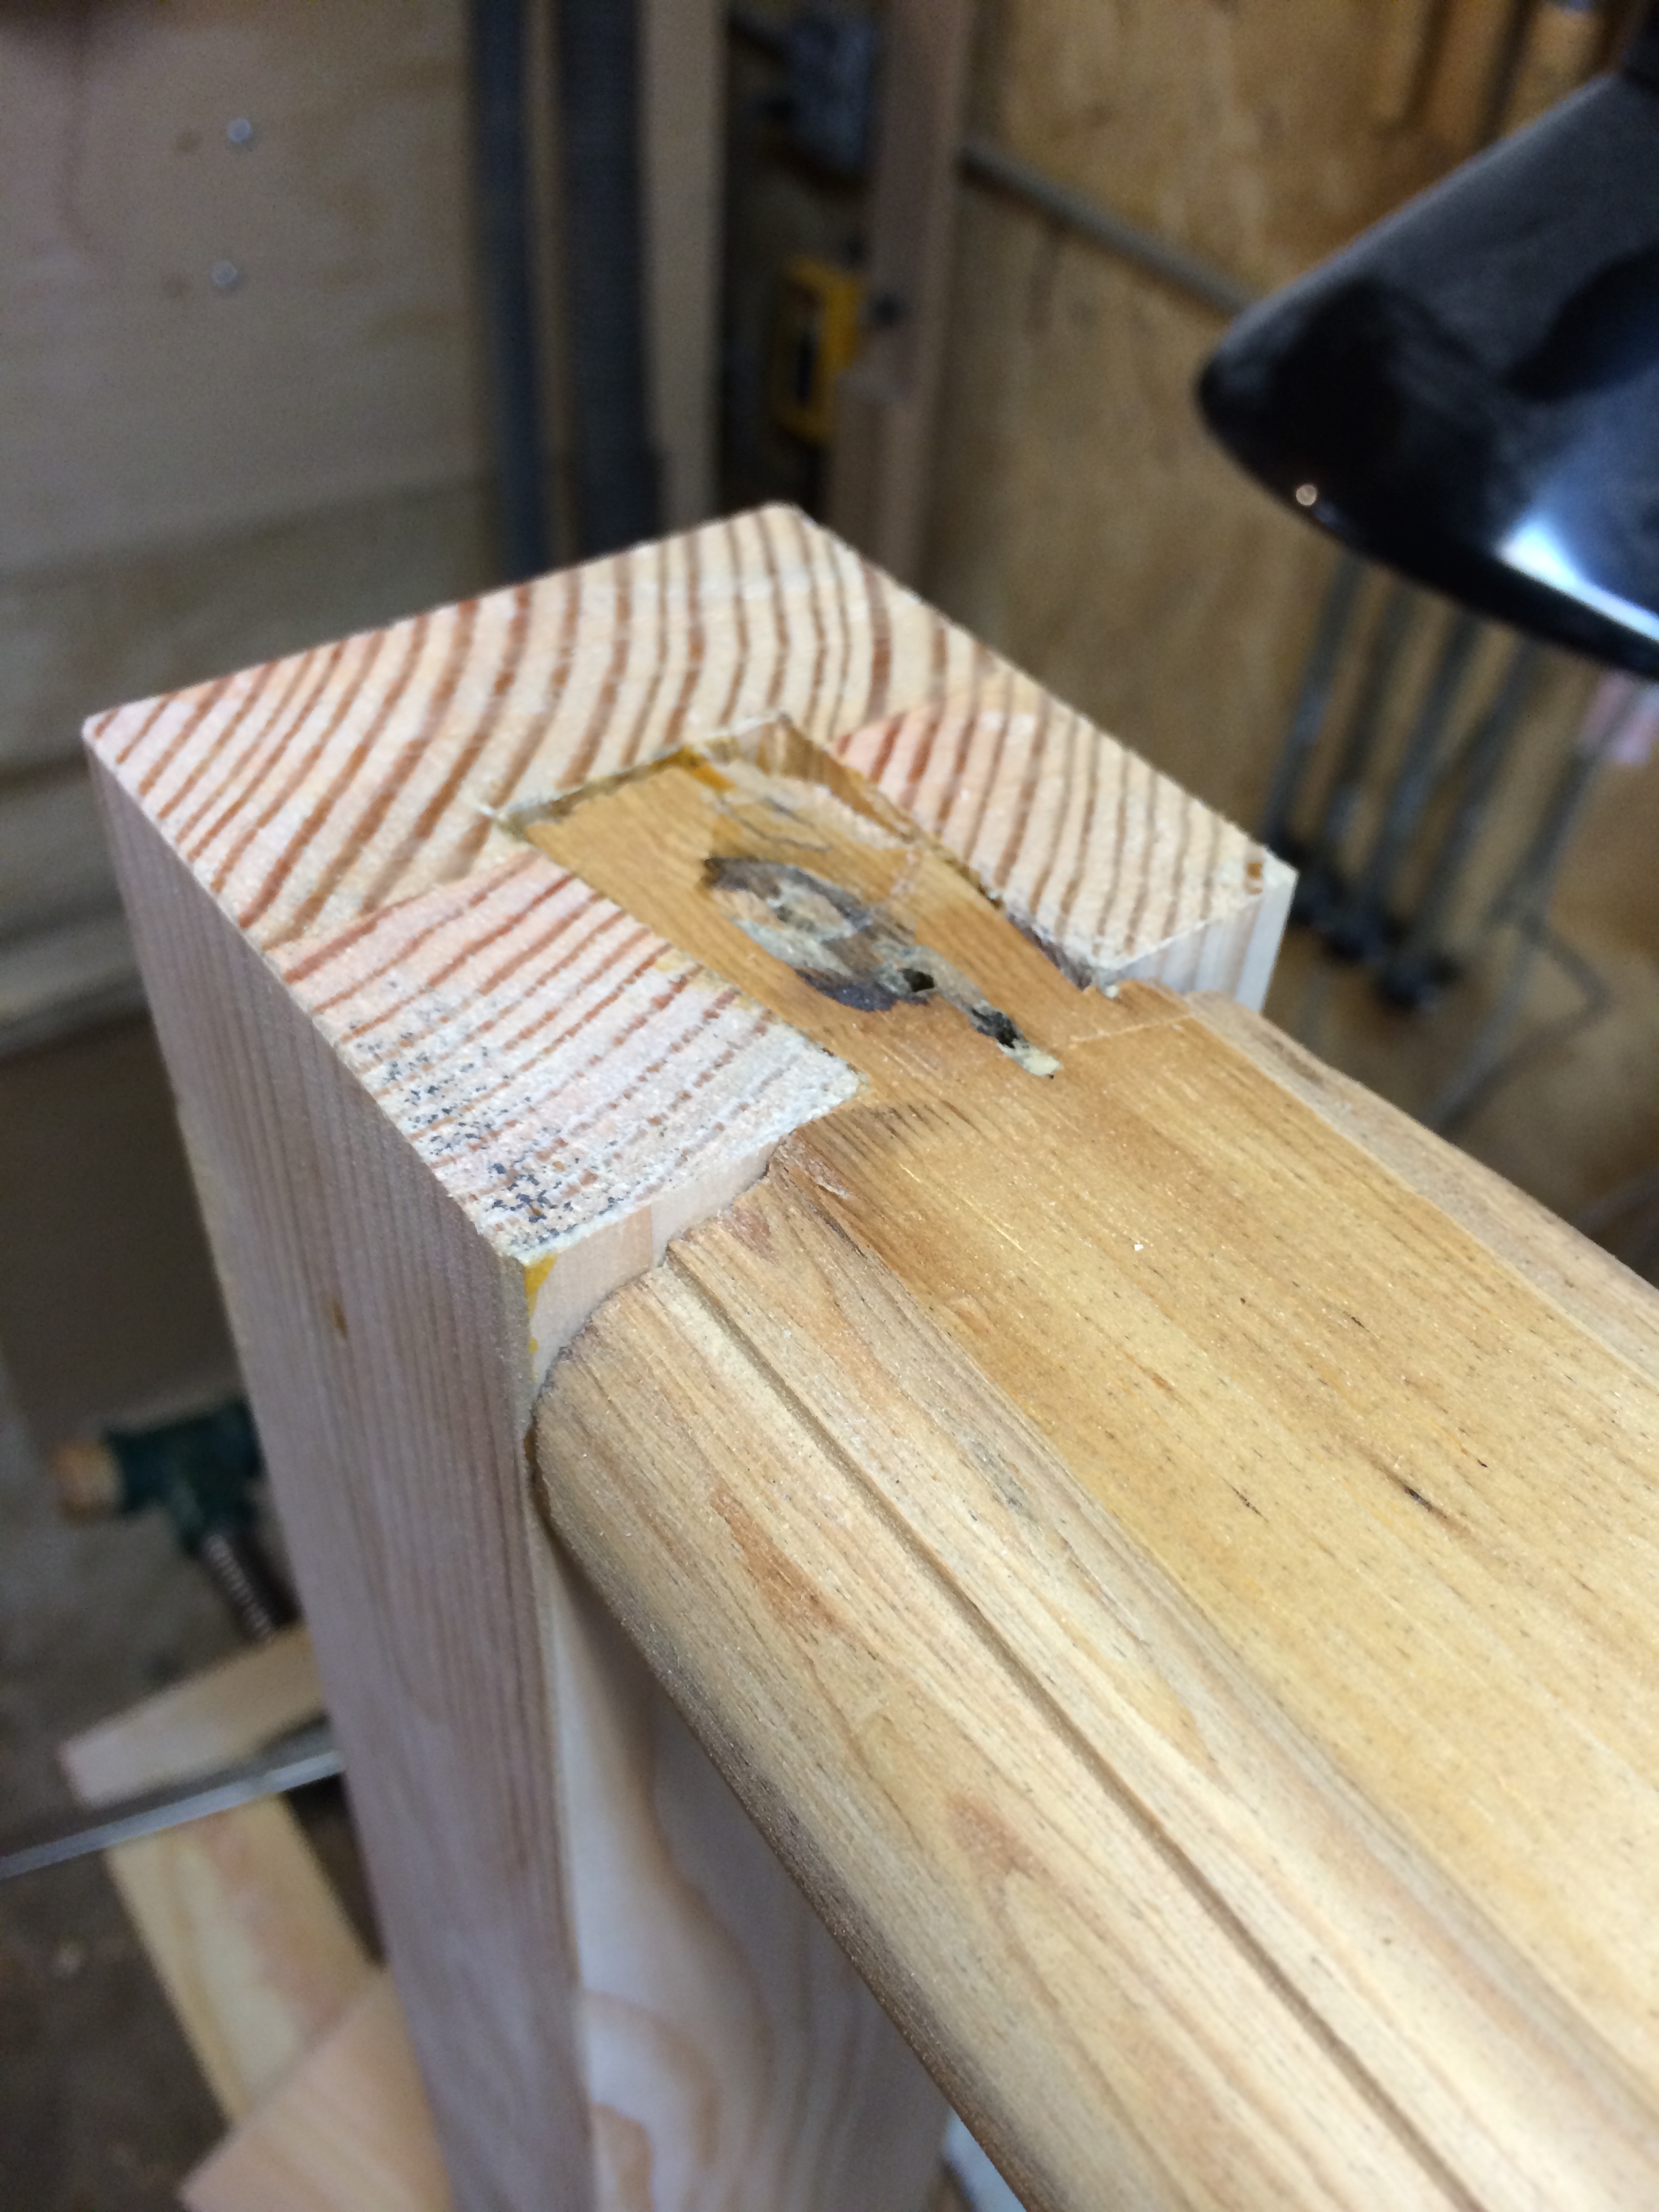
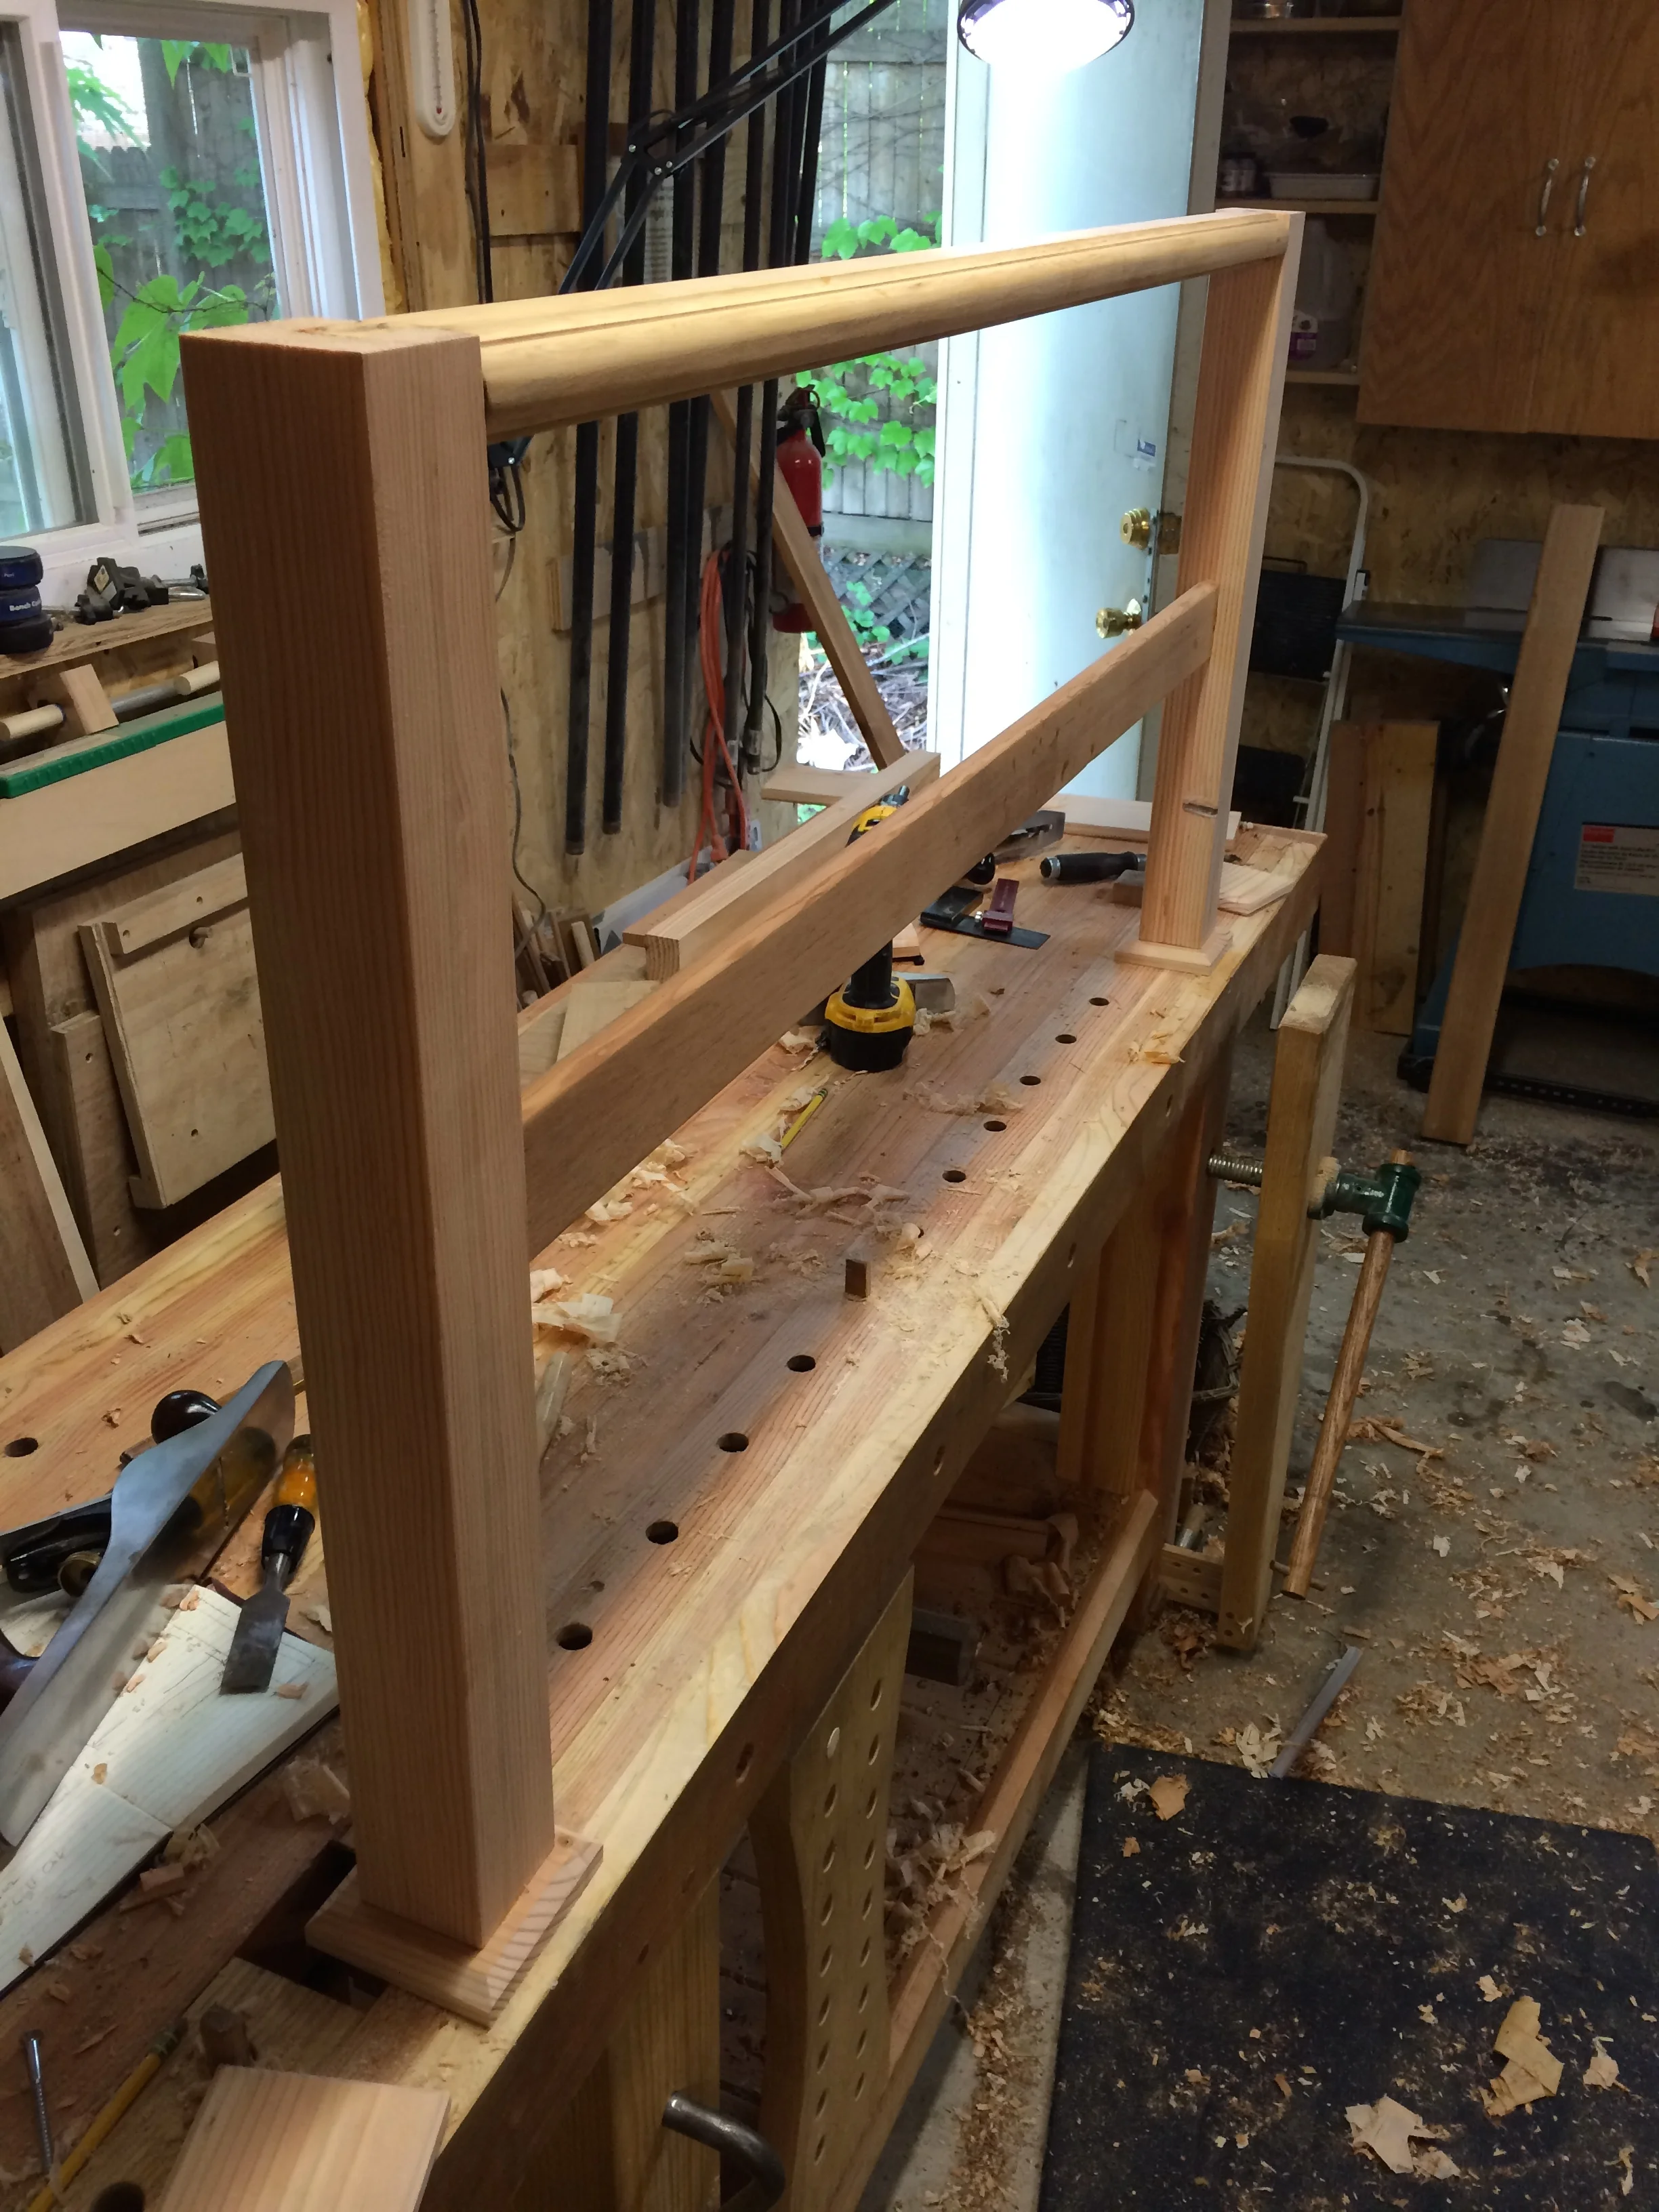
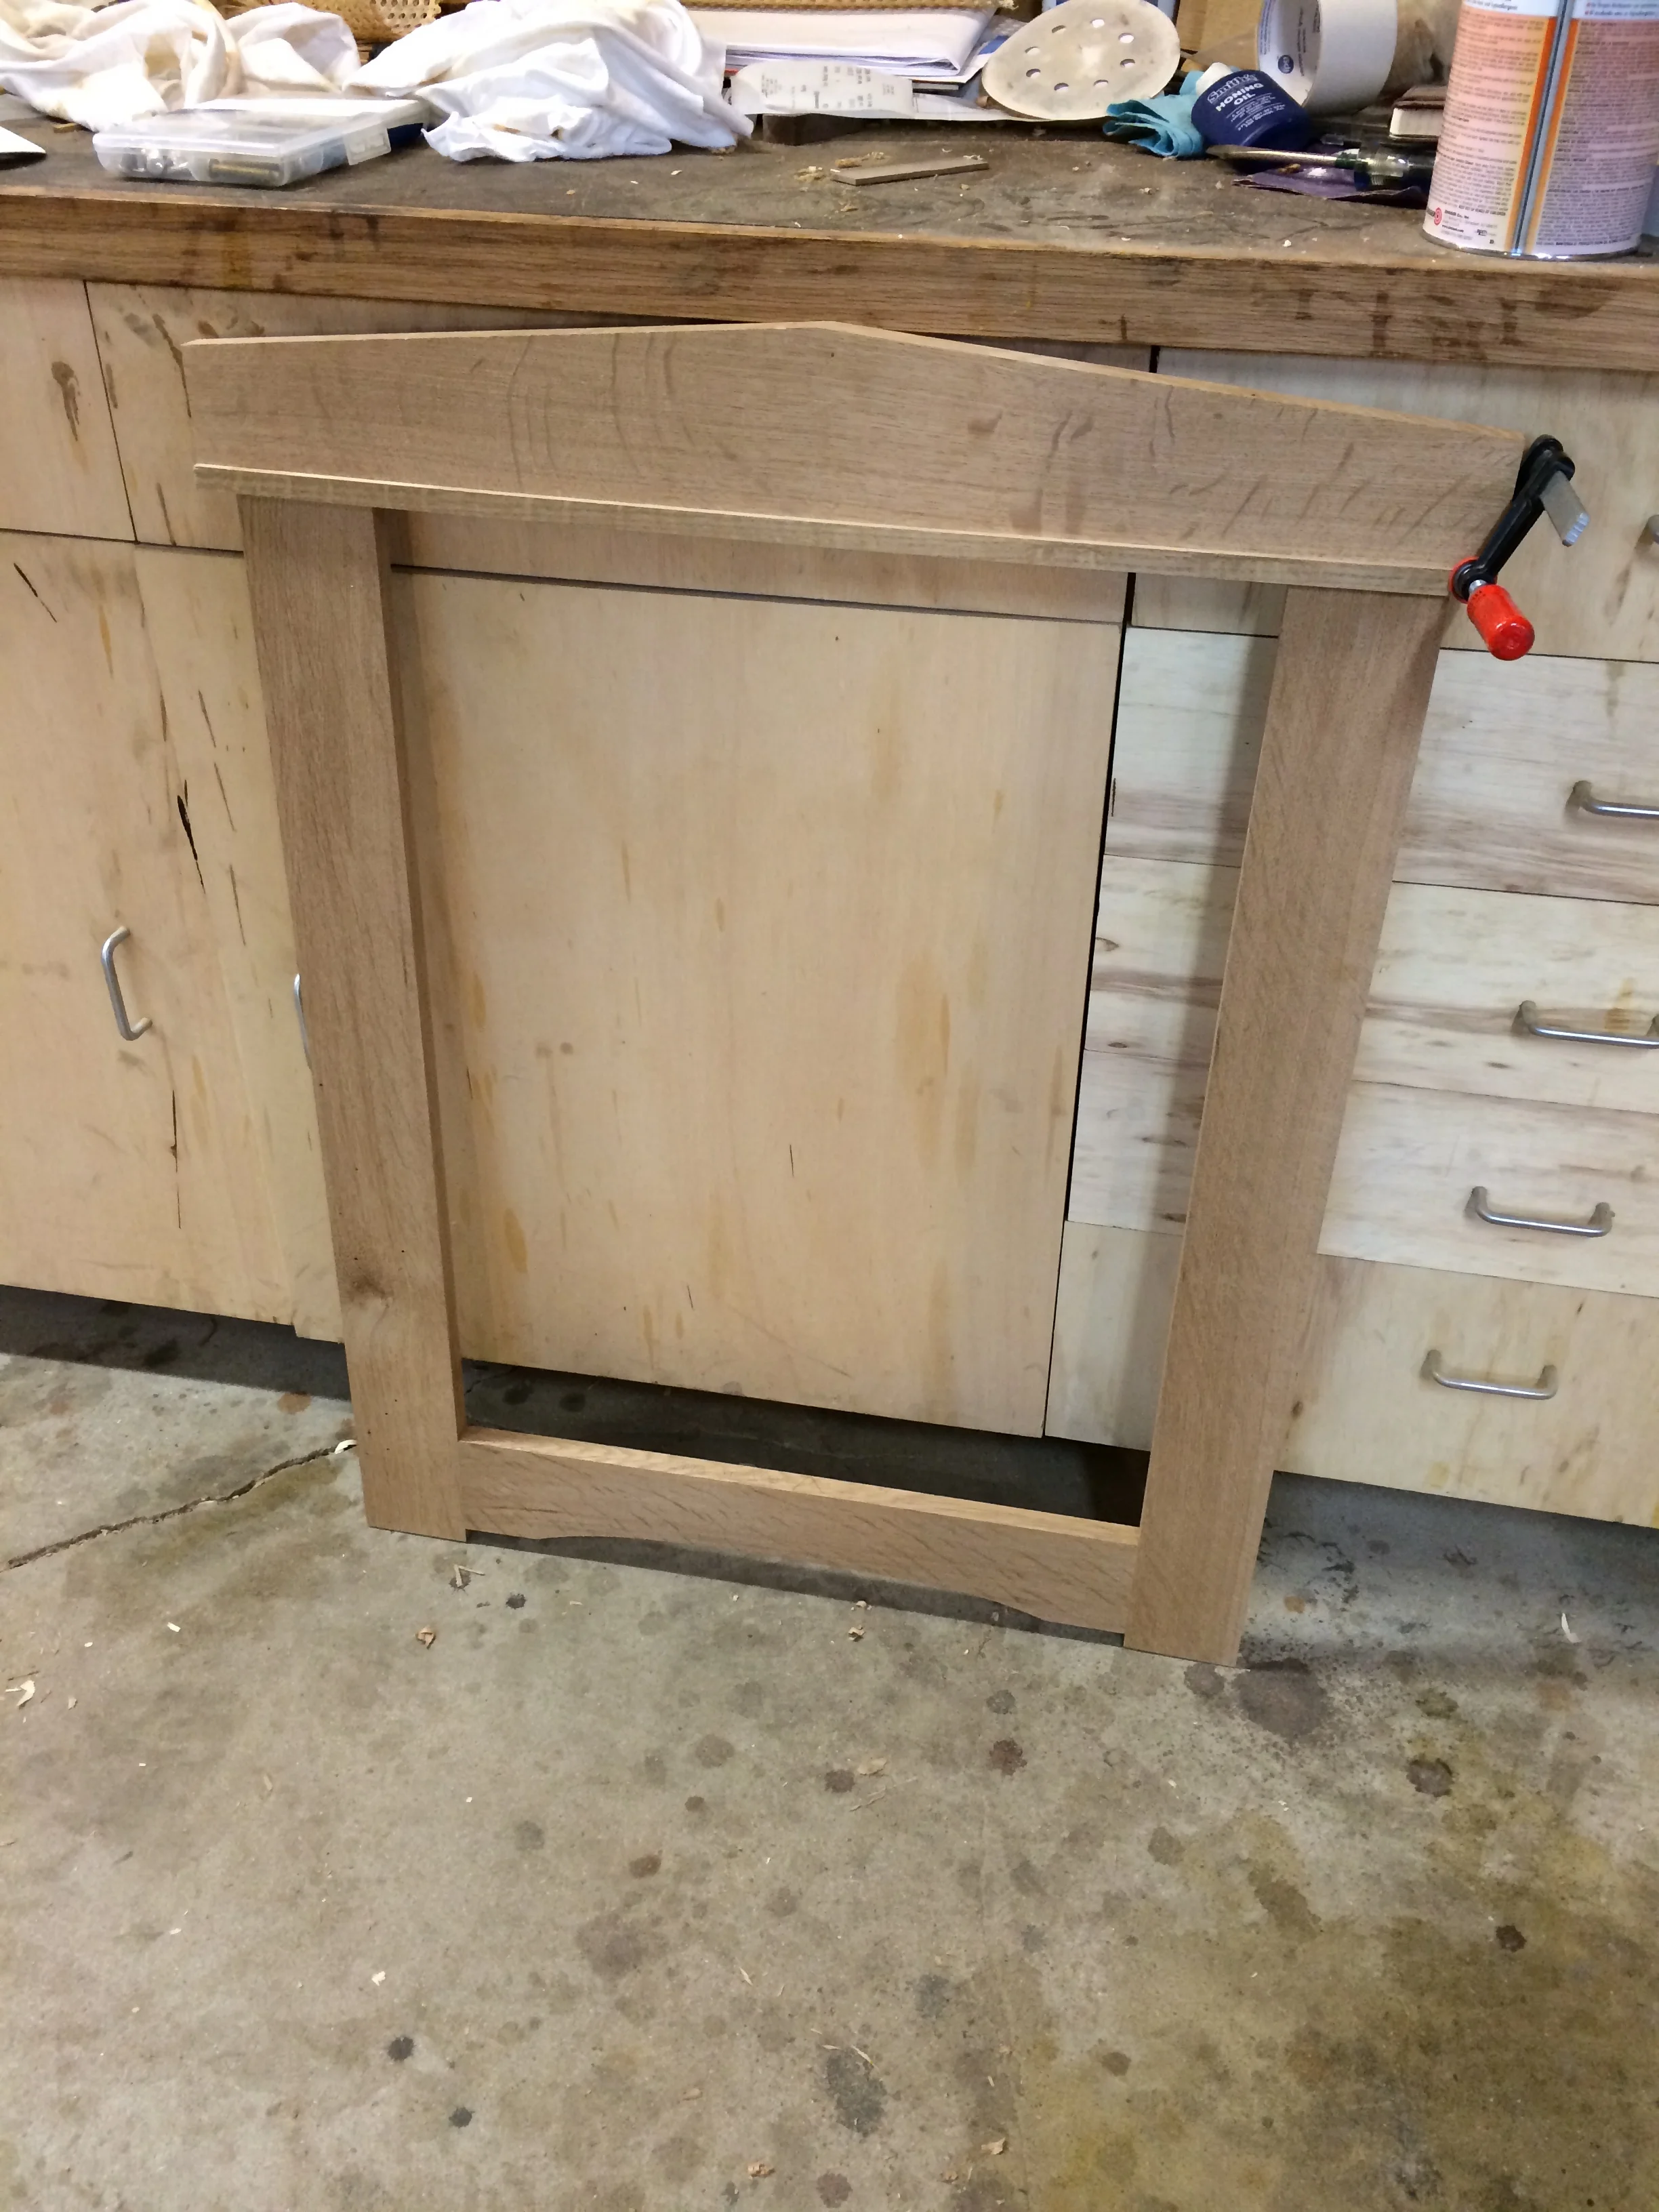
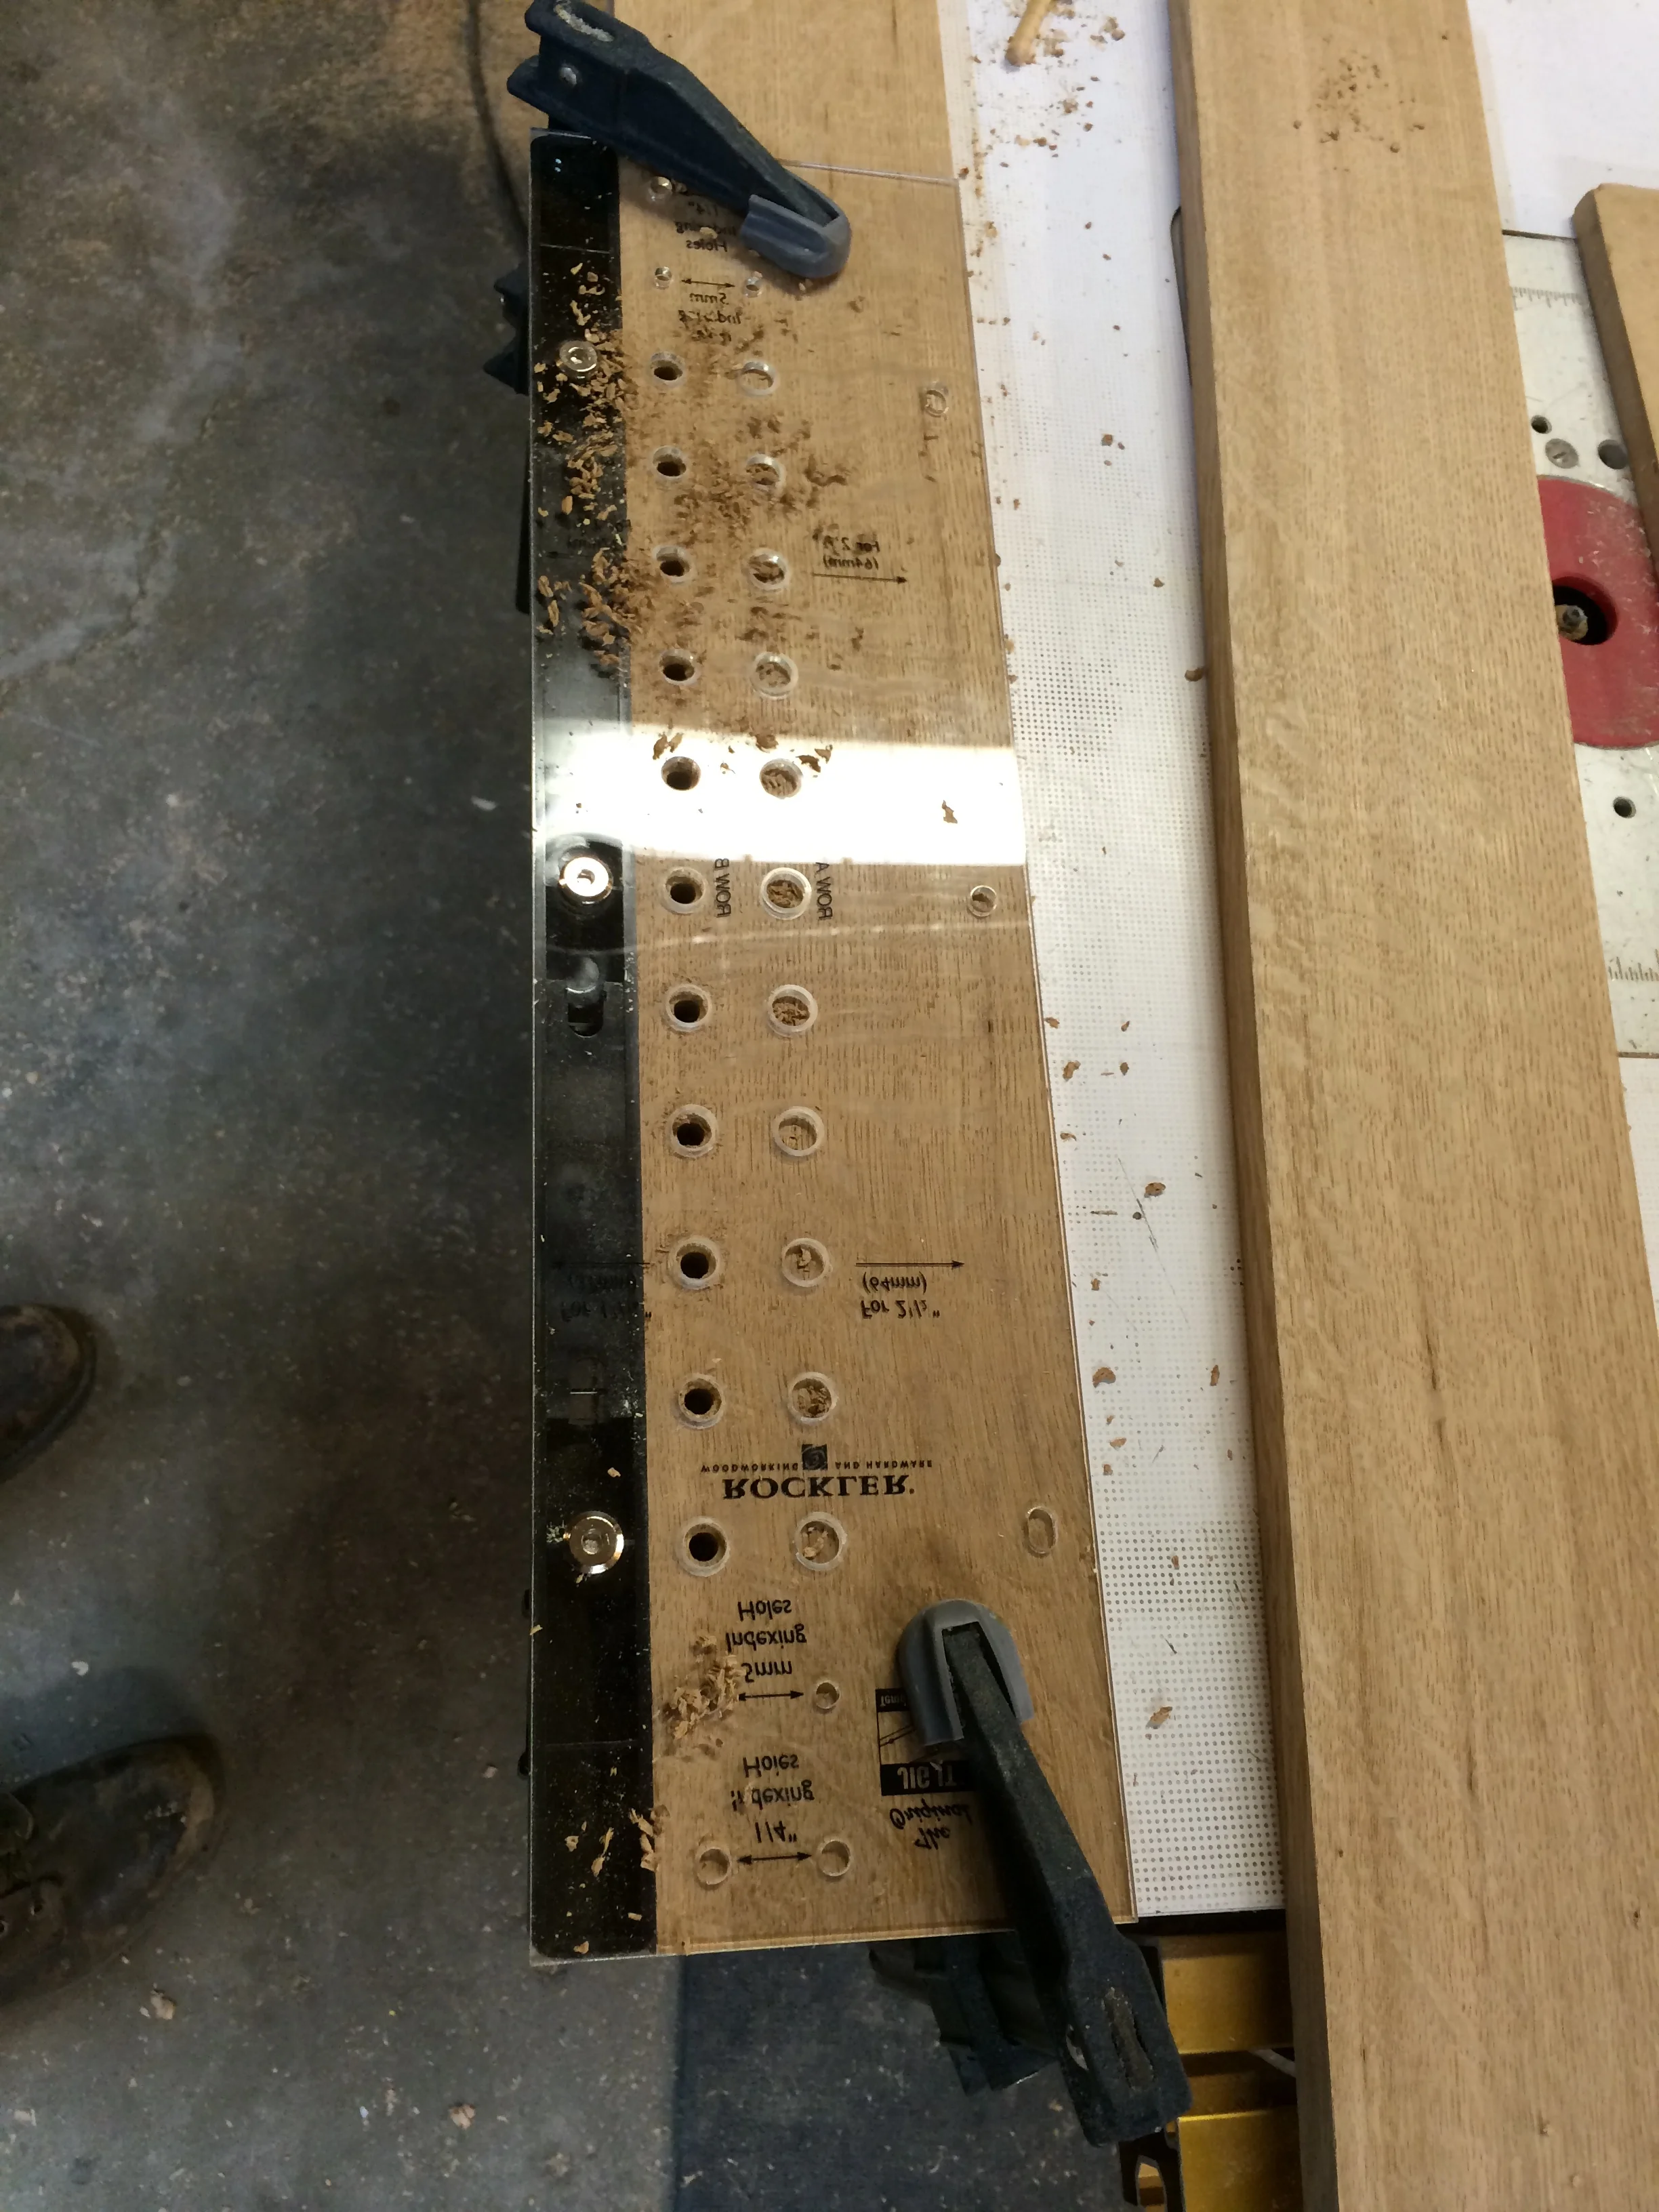
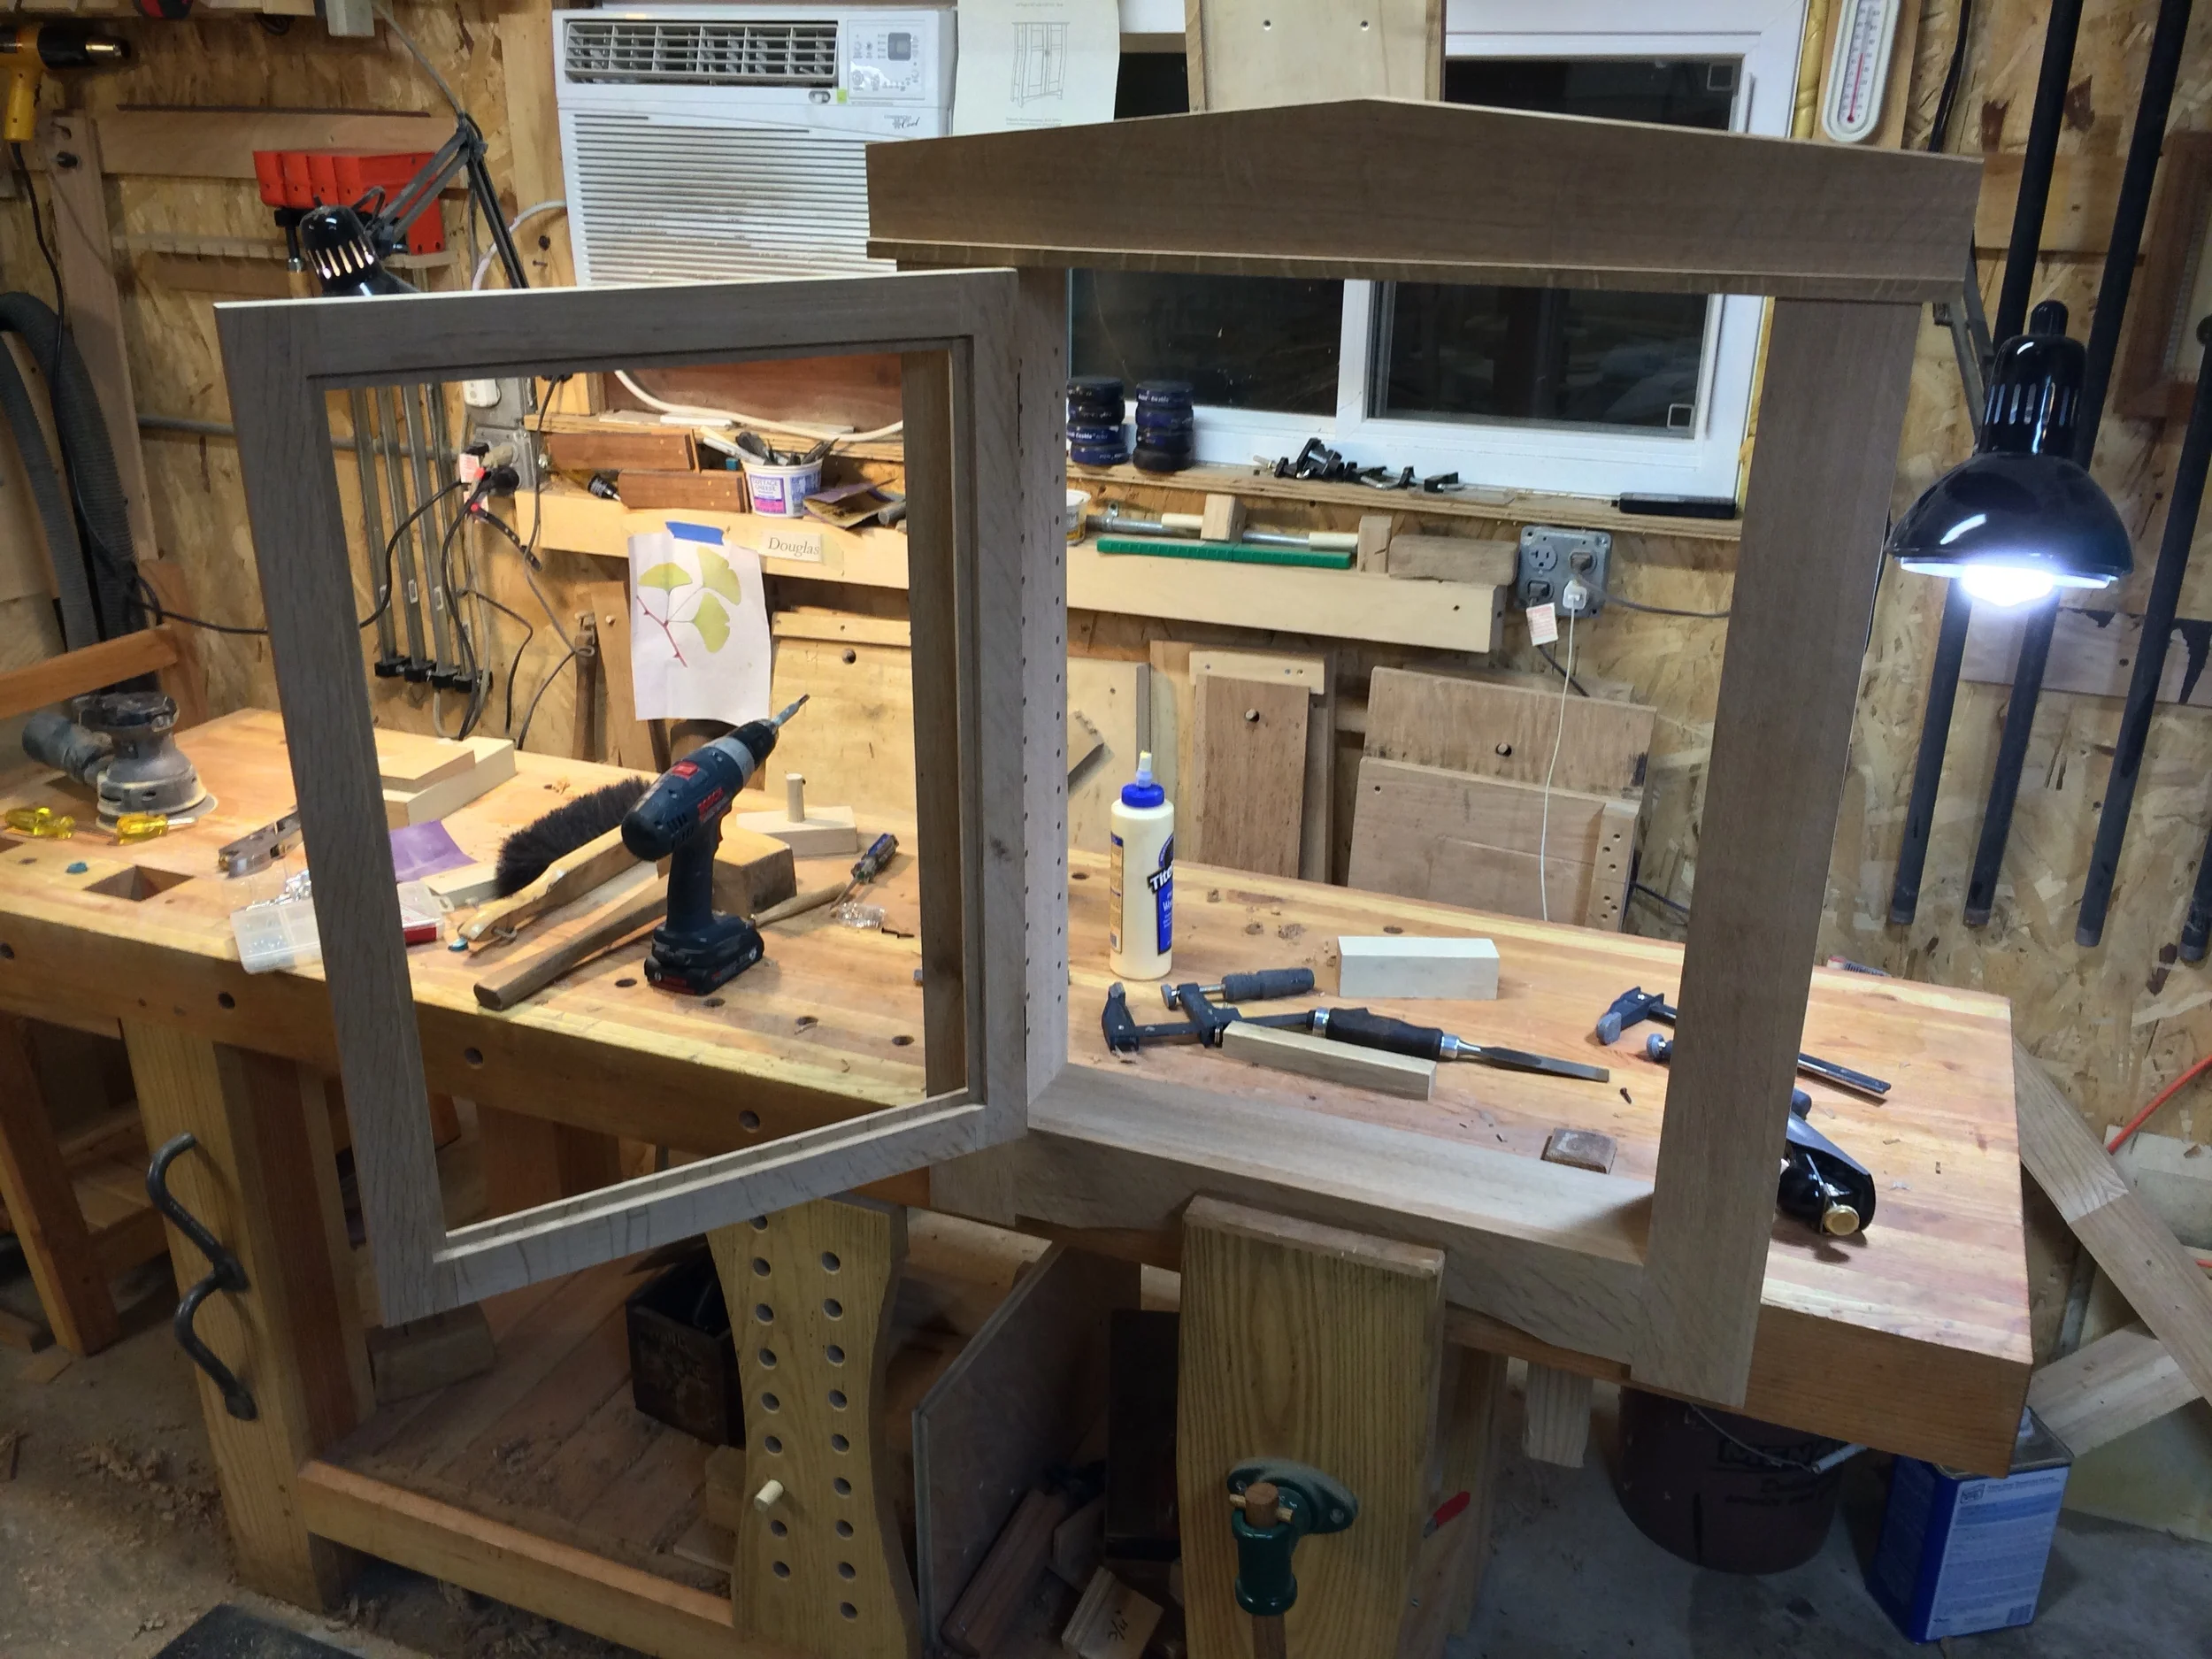
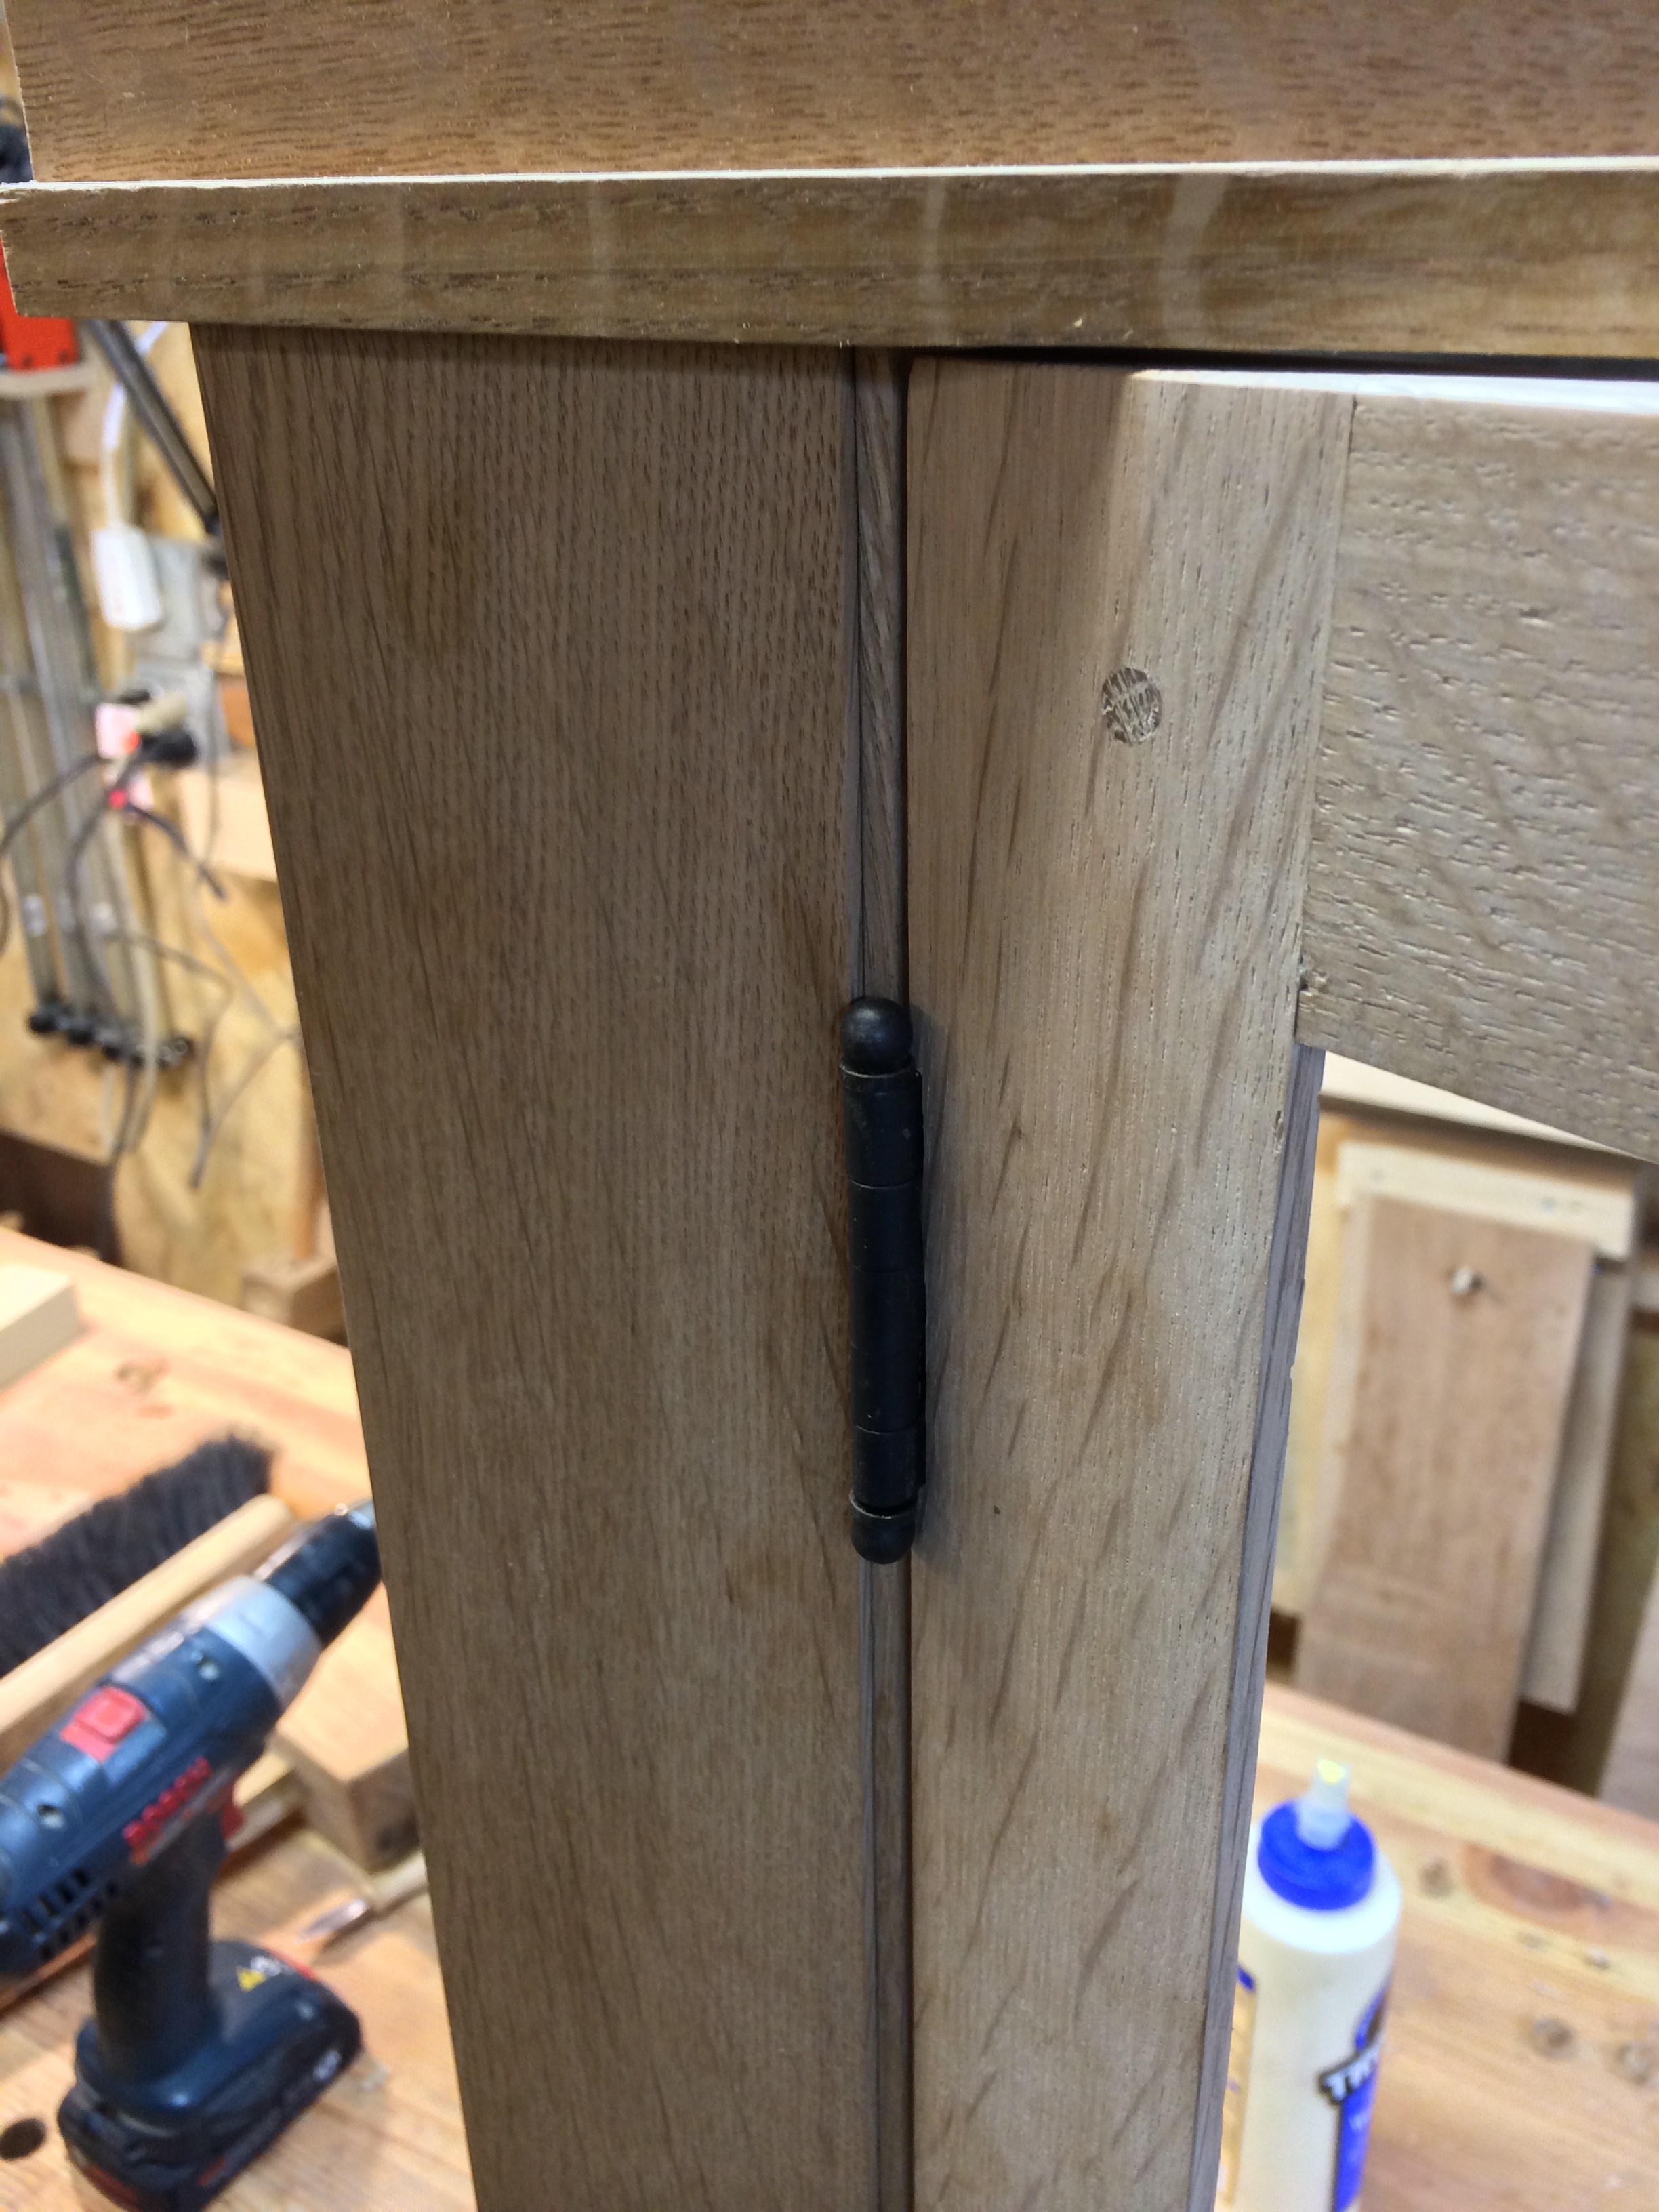
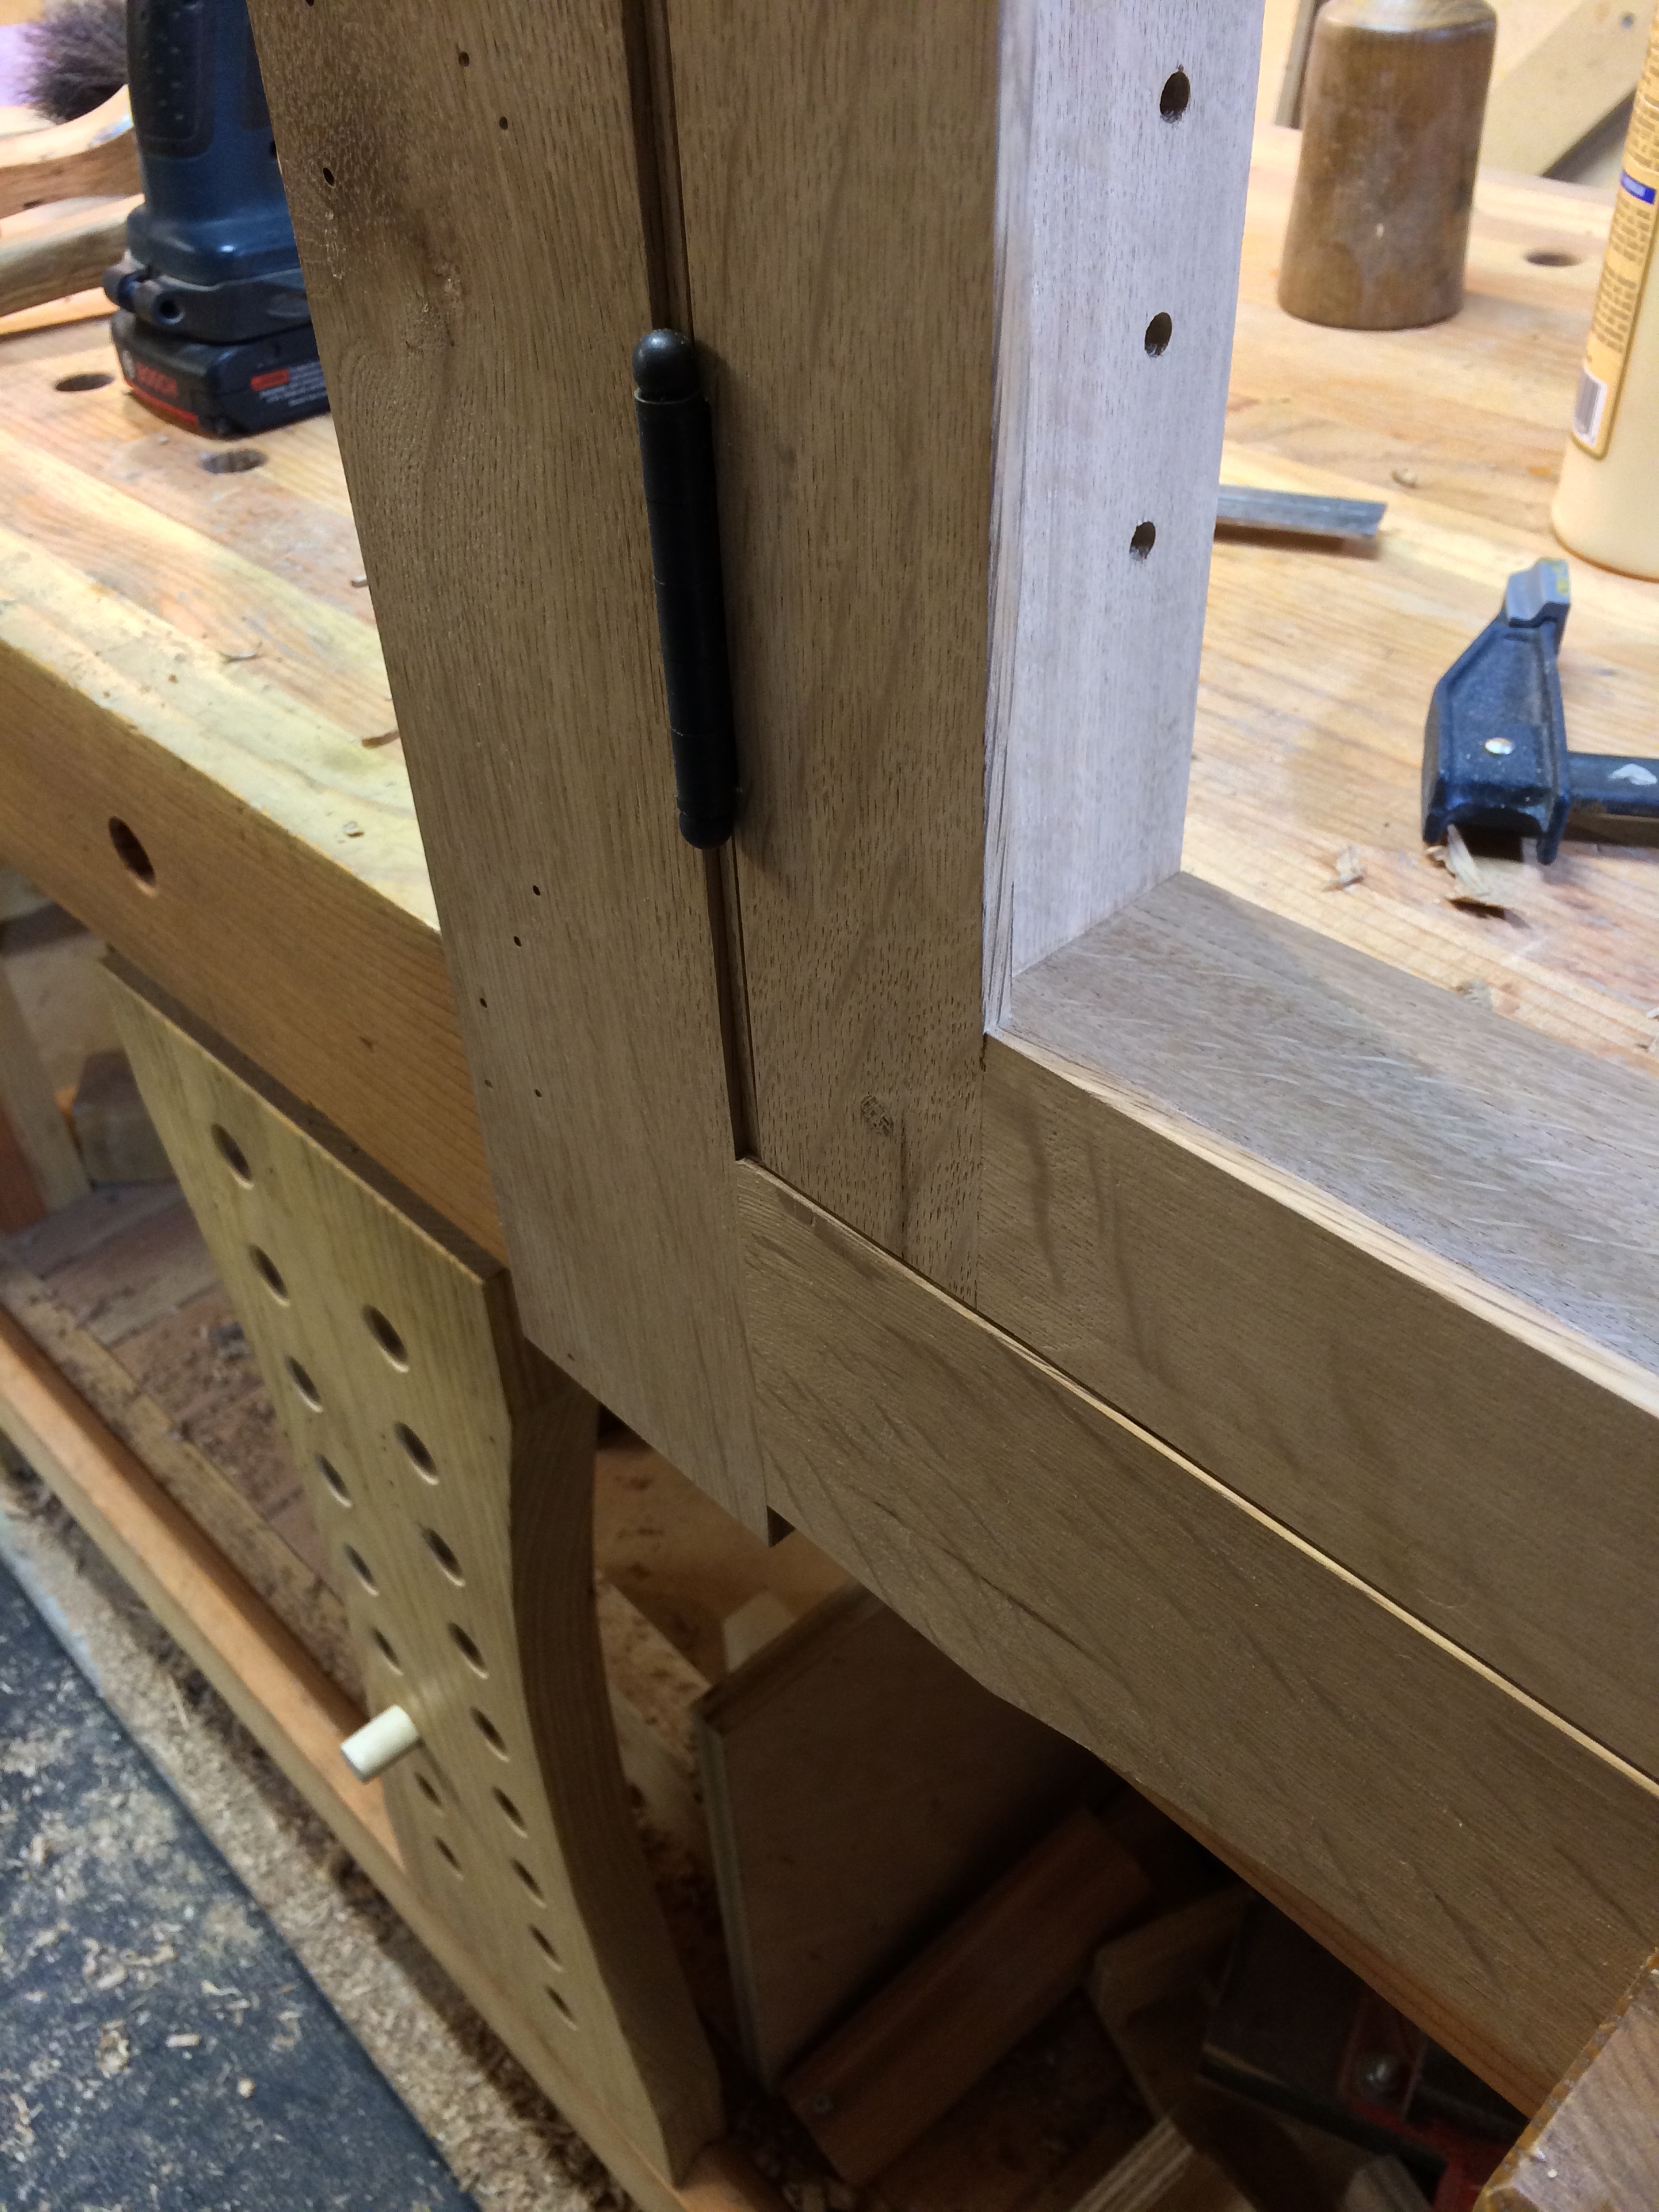
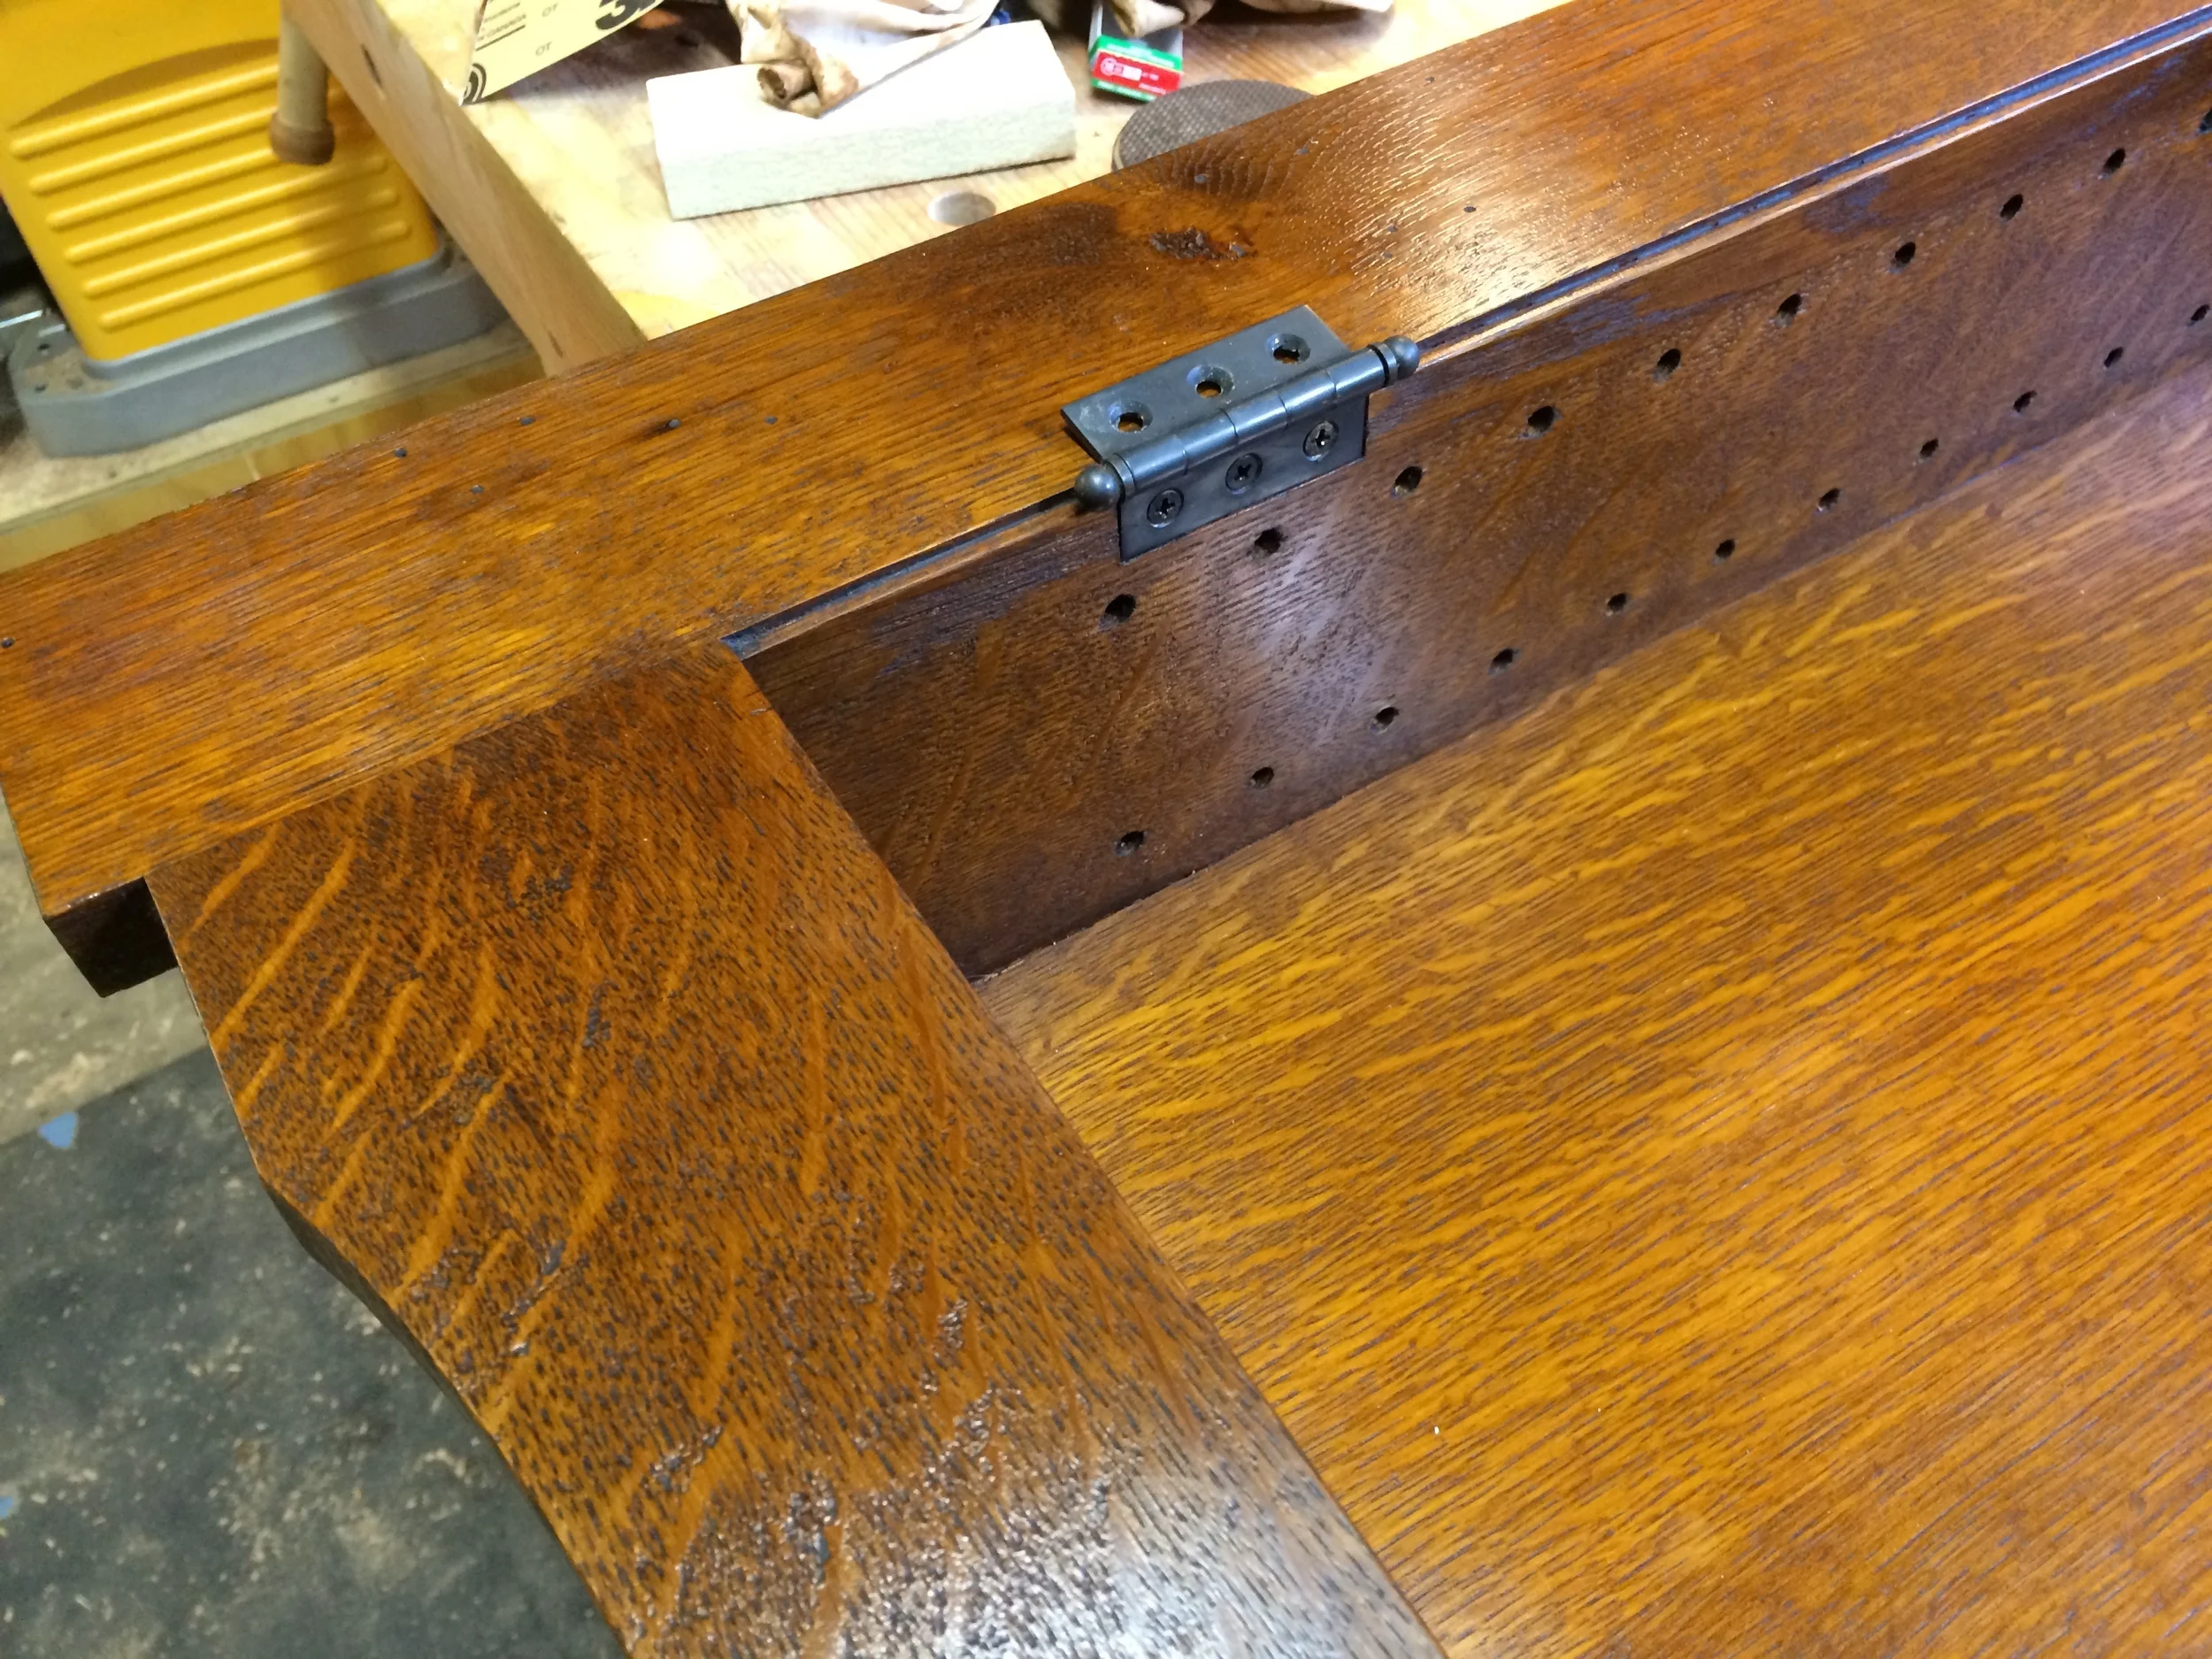
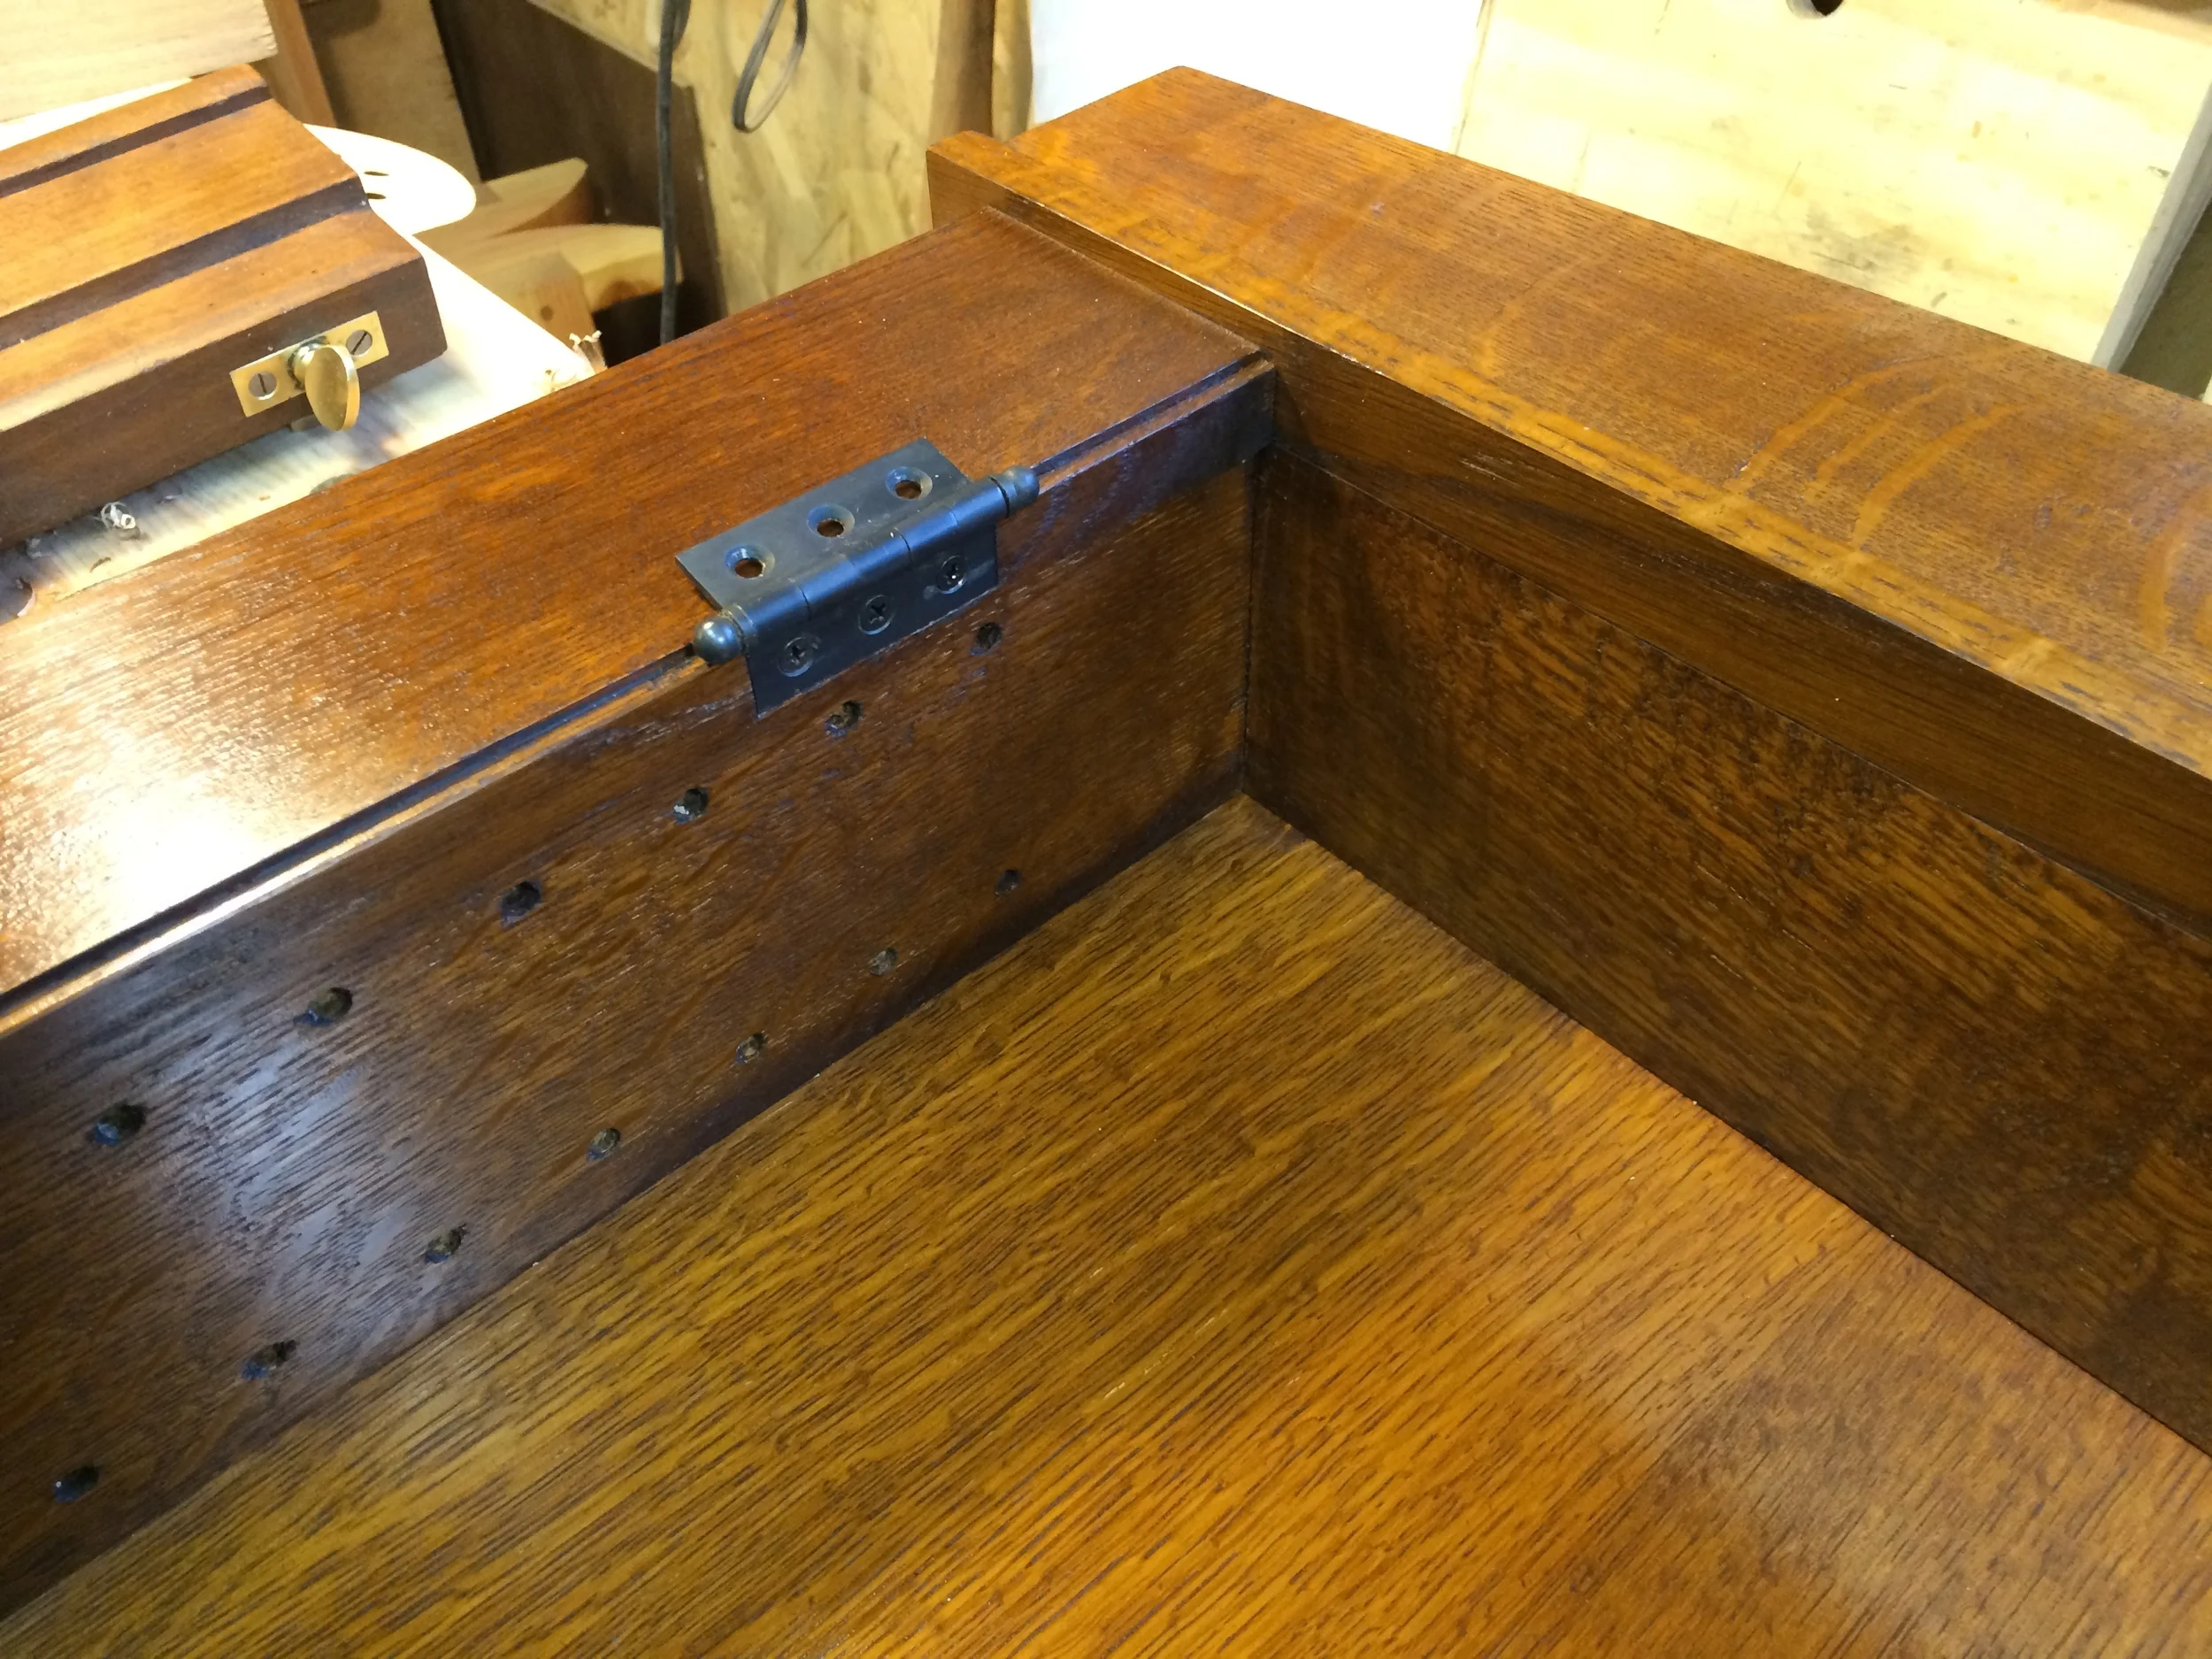
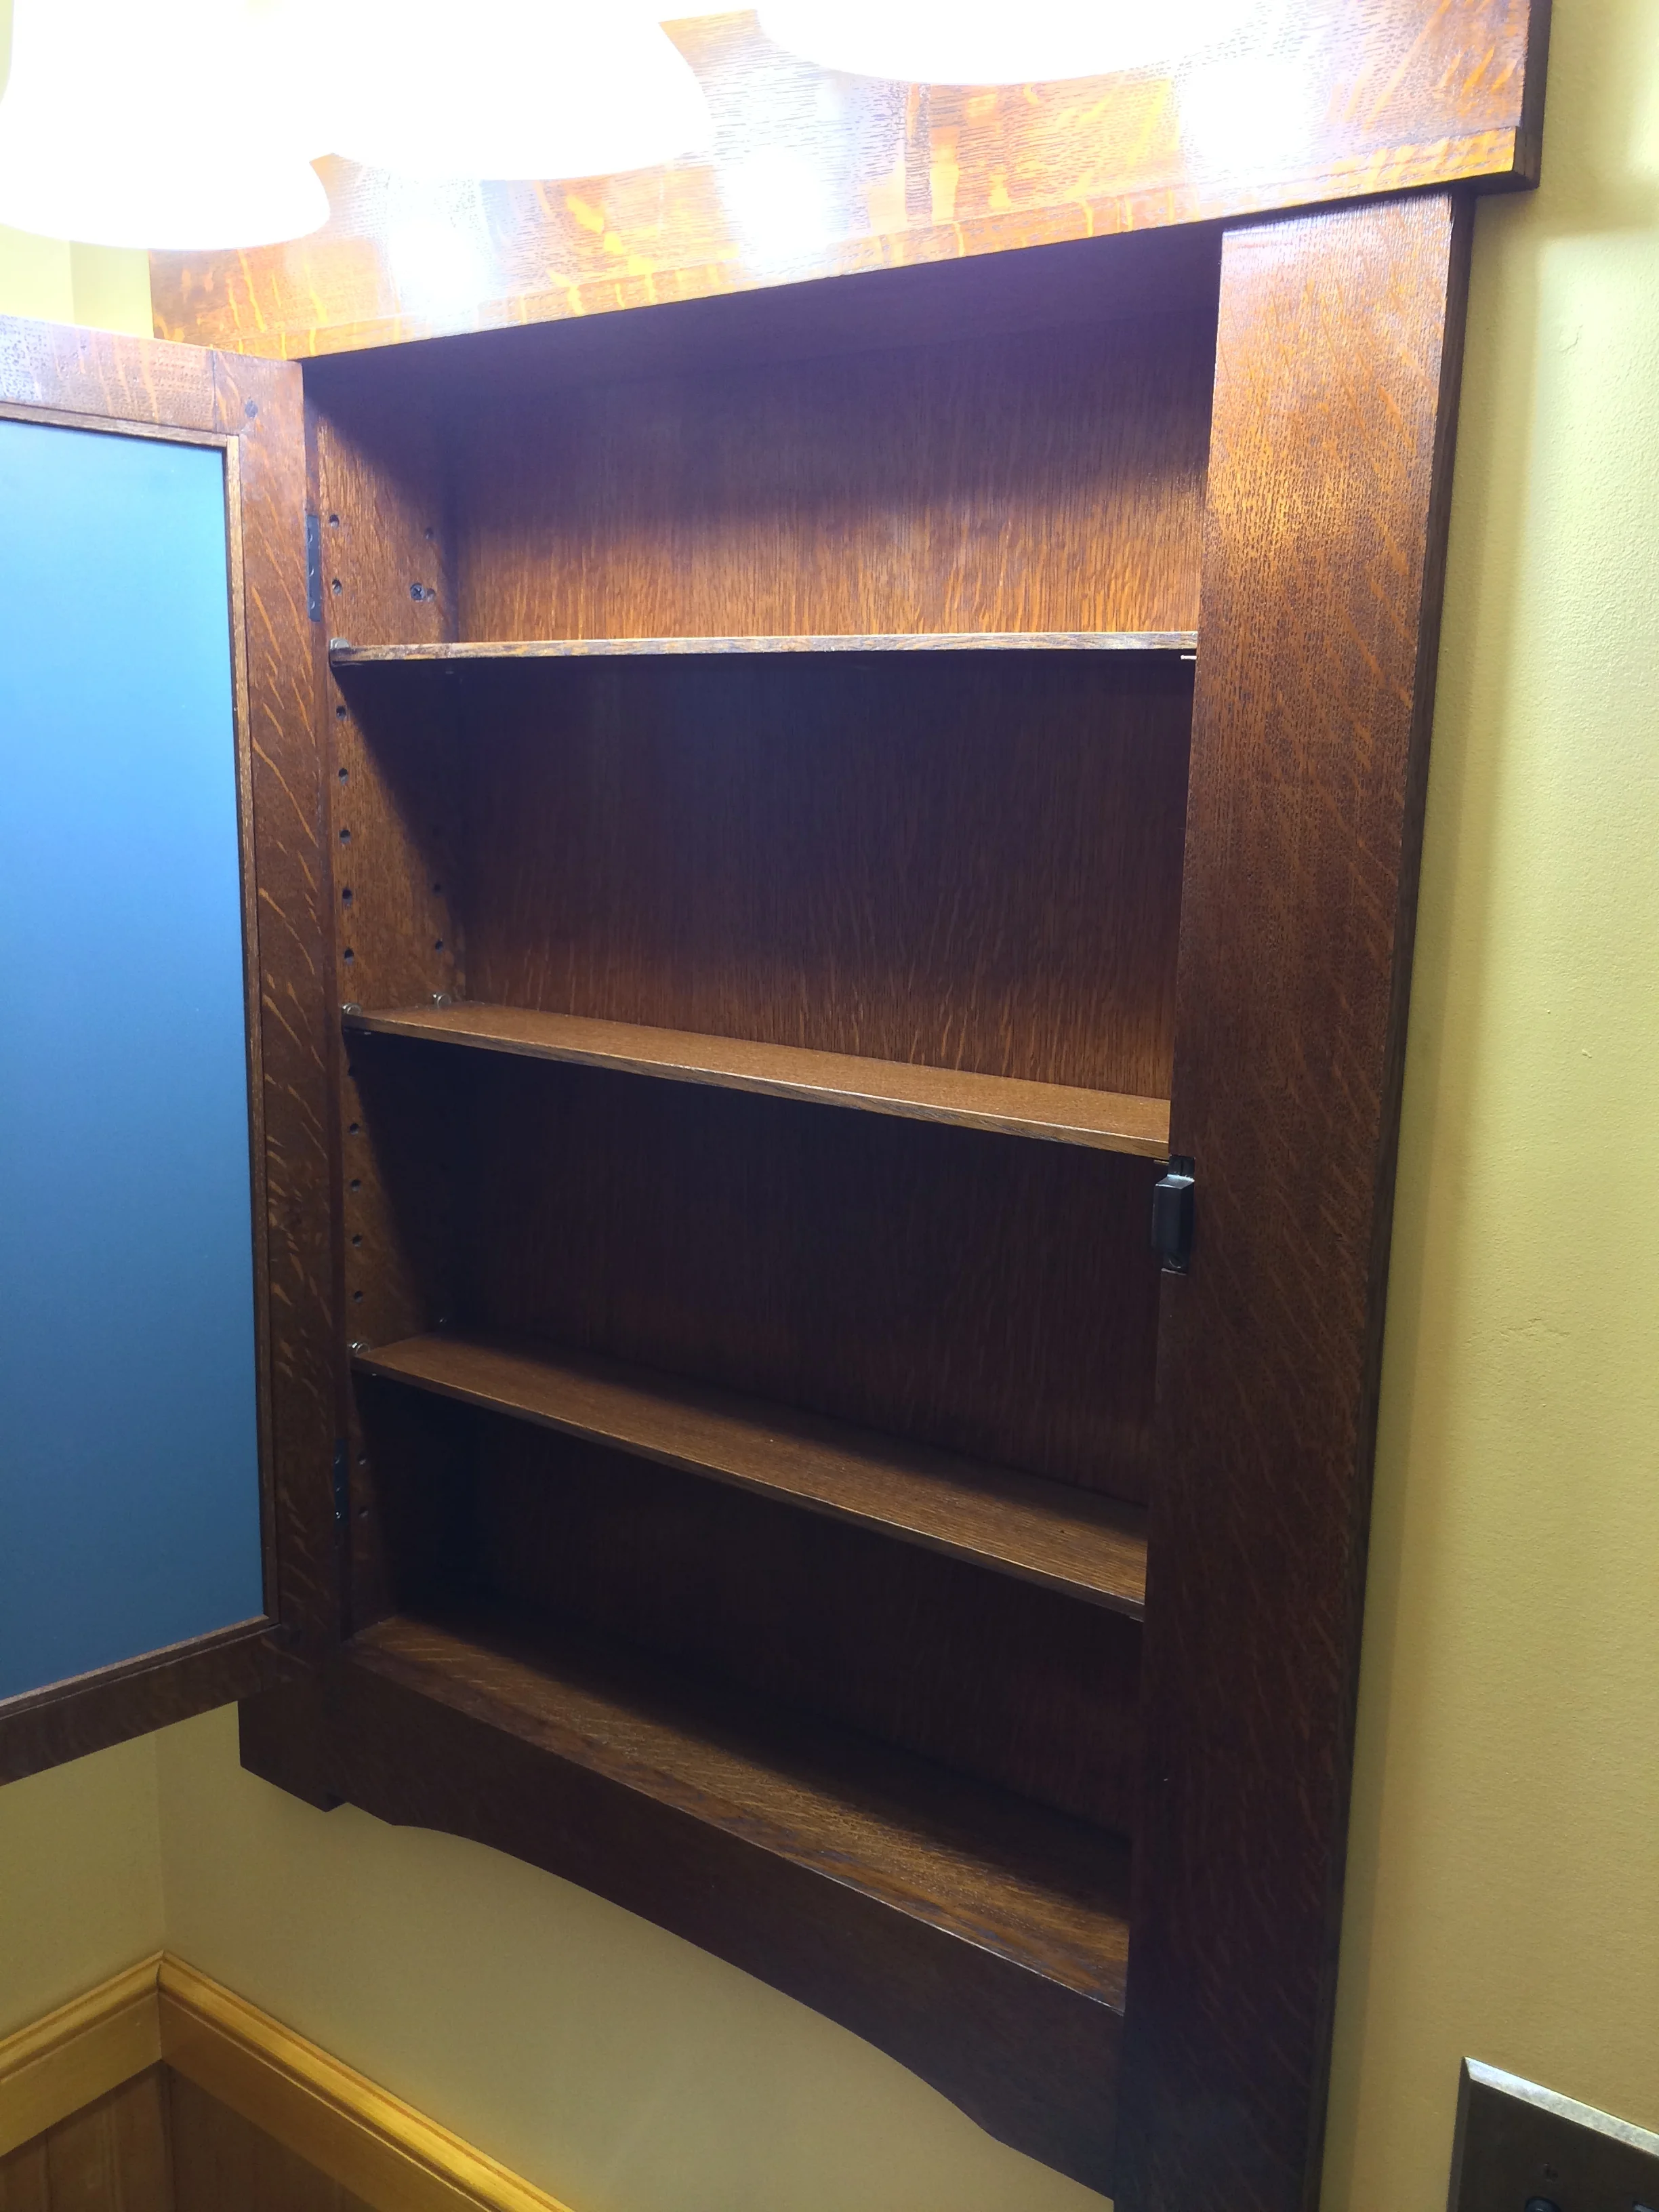
The cabinet is basically three parts: the cabinet body box, the decorative face frame, and a door. Because the cabinet was inset into the wall, and back side would not be seen, so I used pocket screws for much of the joinery on the frame and body. The door, having to be strong (as it had to hold a large mirror, and only supported by the hinges) and seen from both sides, used mortise and tenon joints. I also drilled holes for shelf pins before assembly.
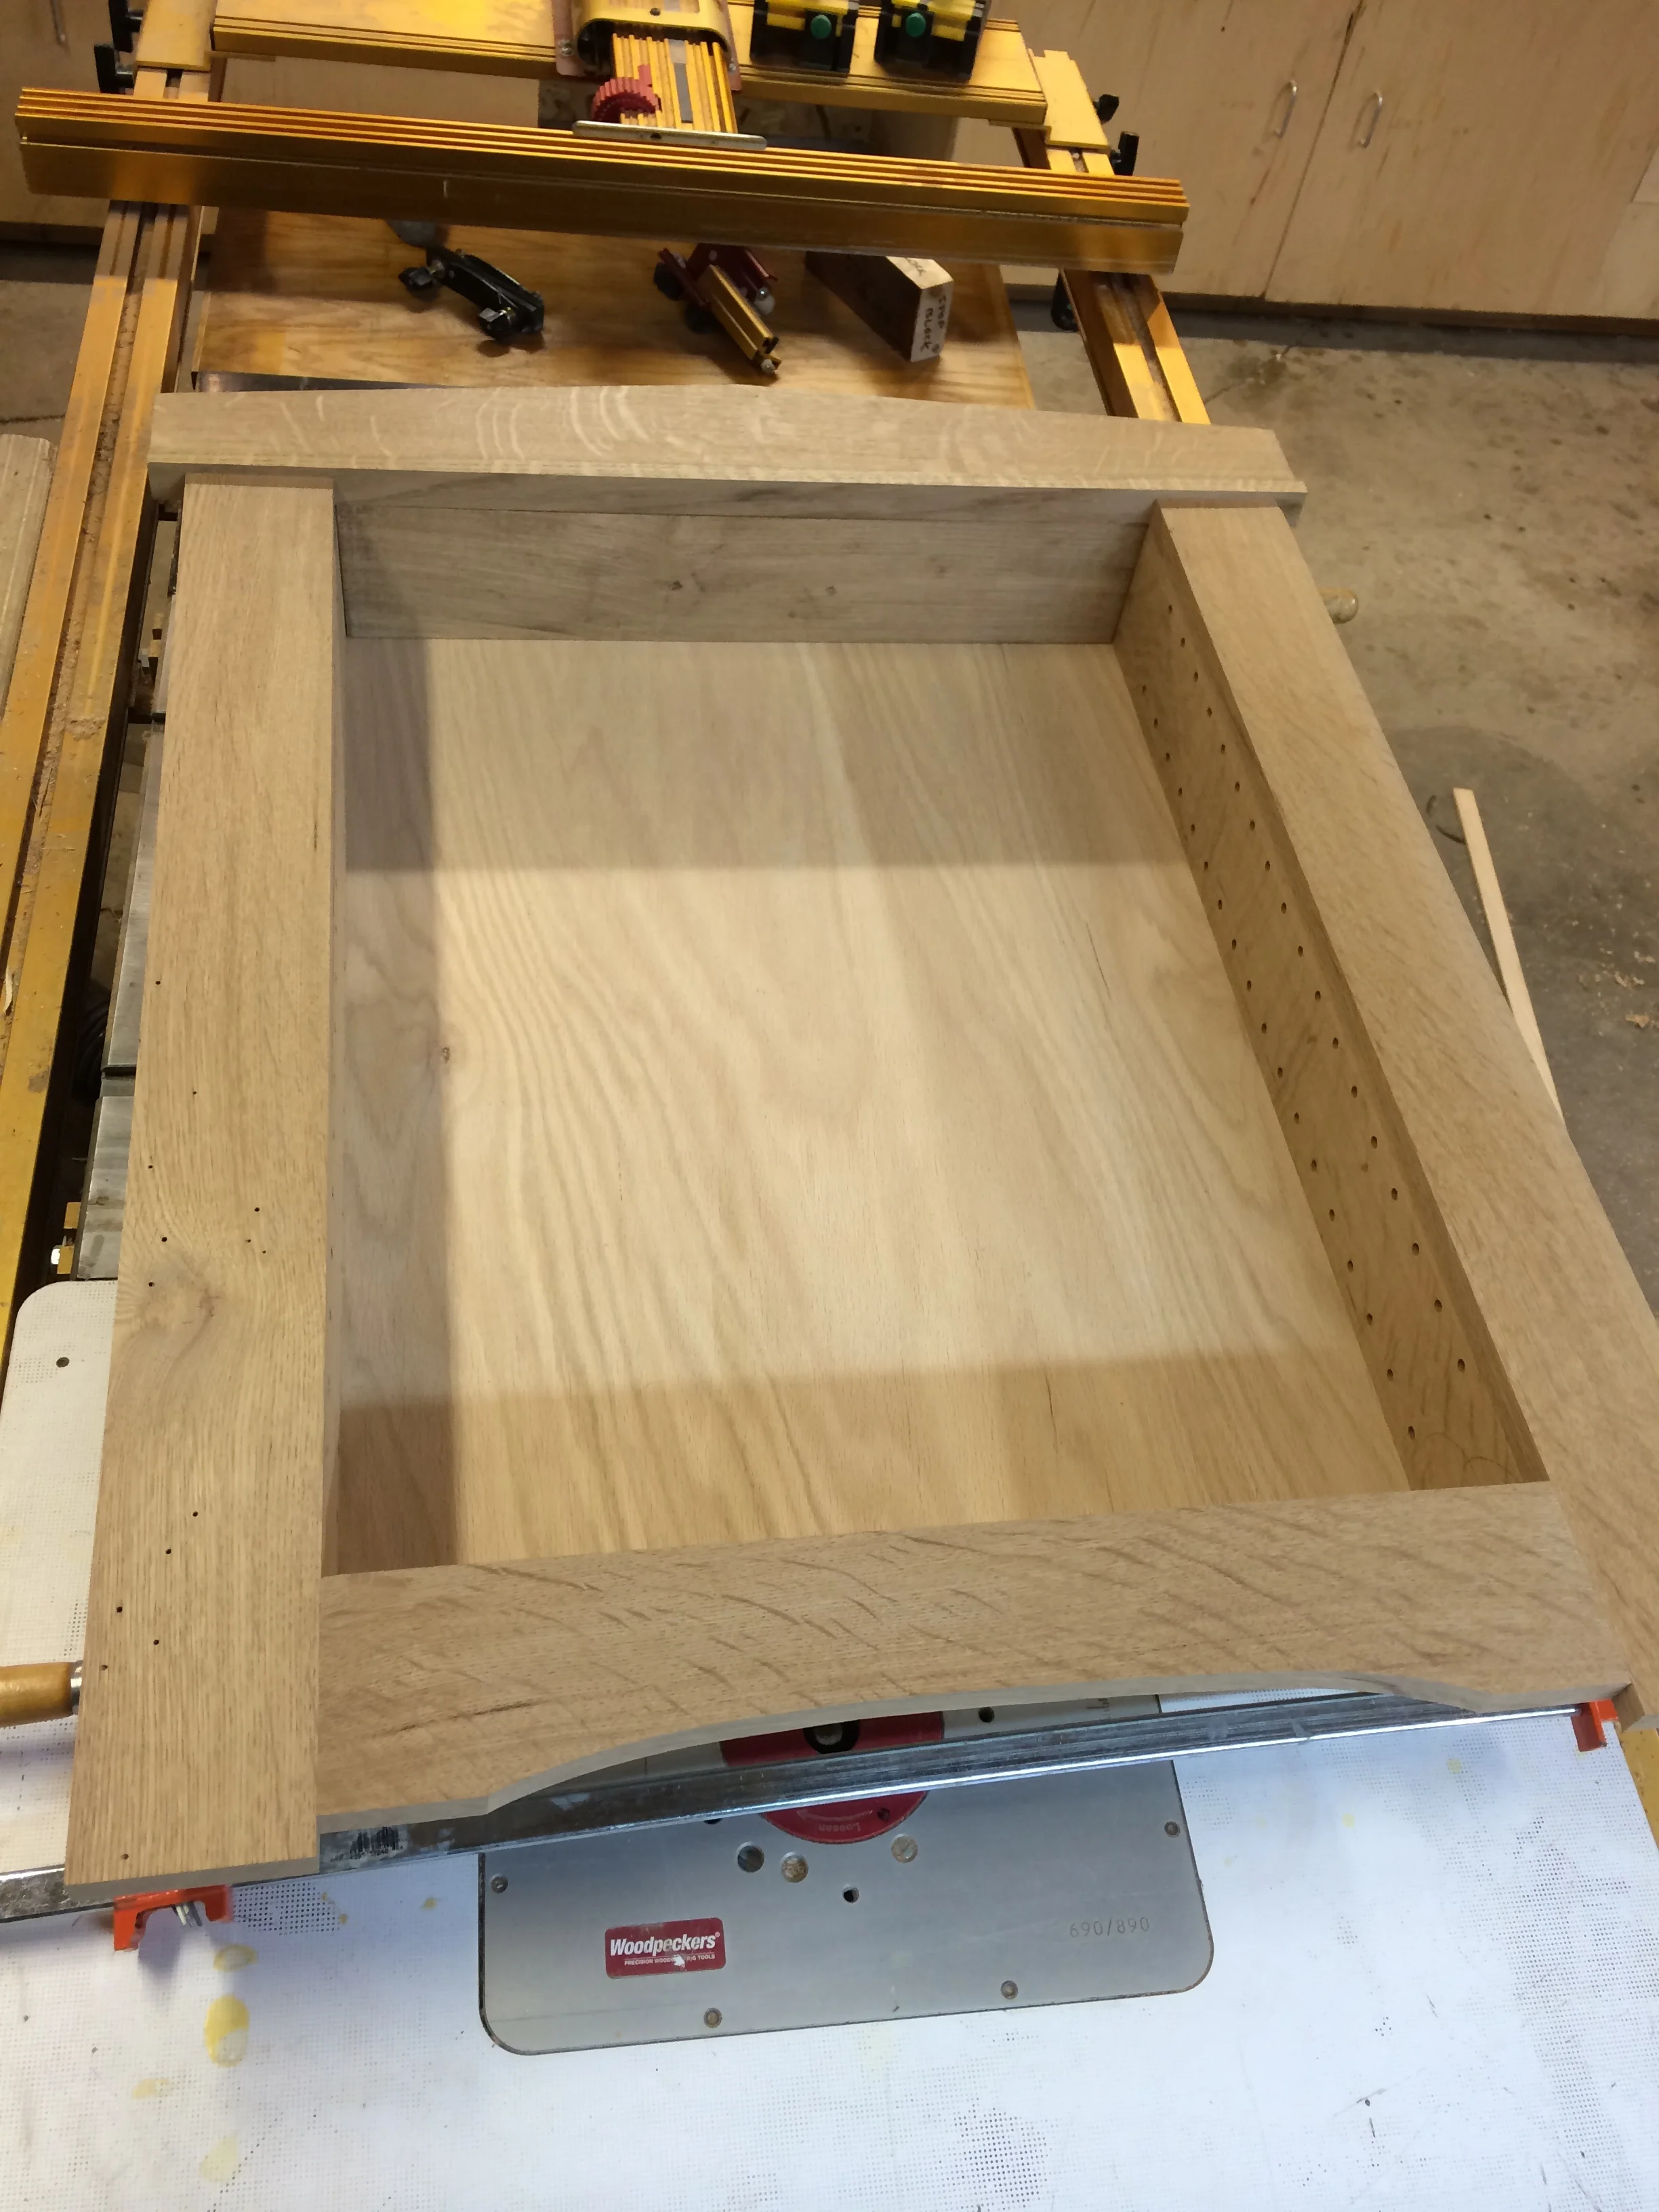
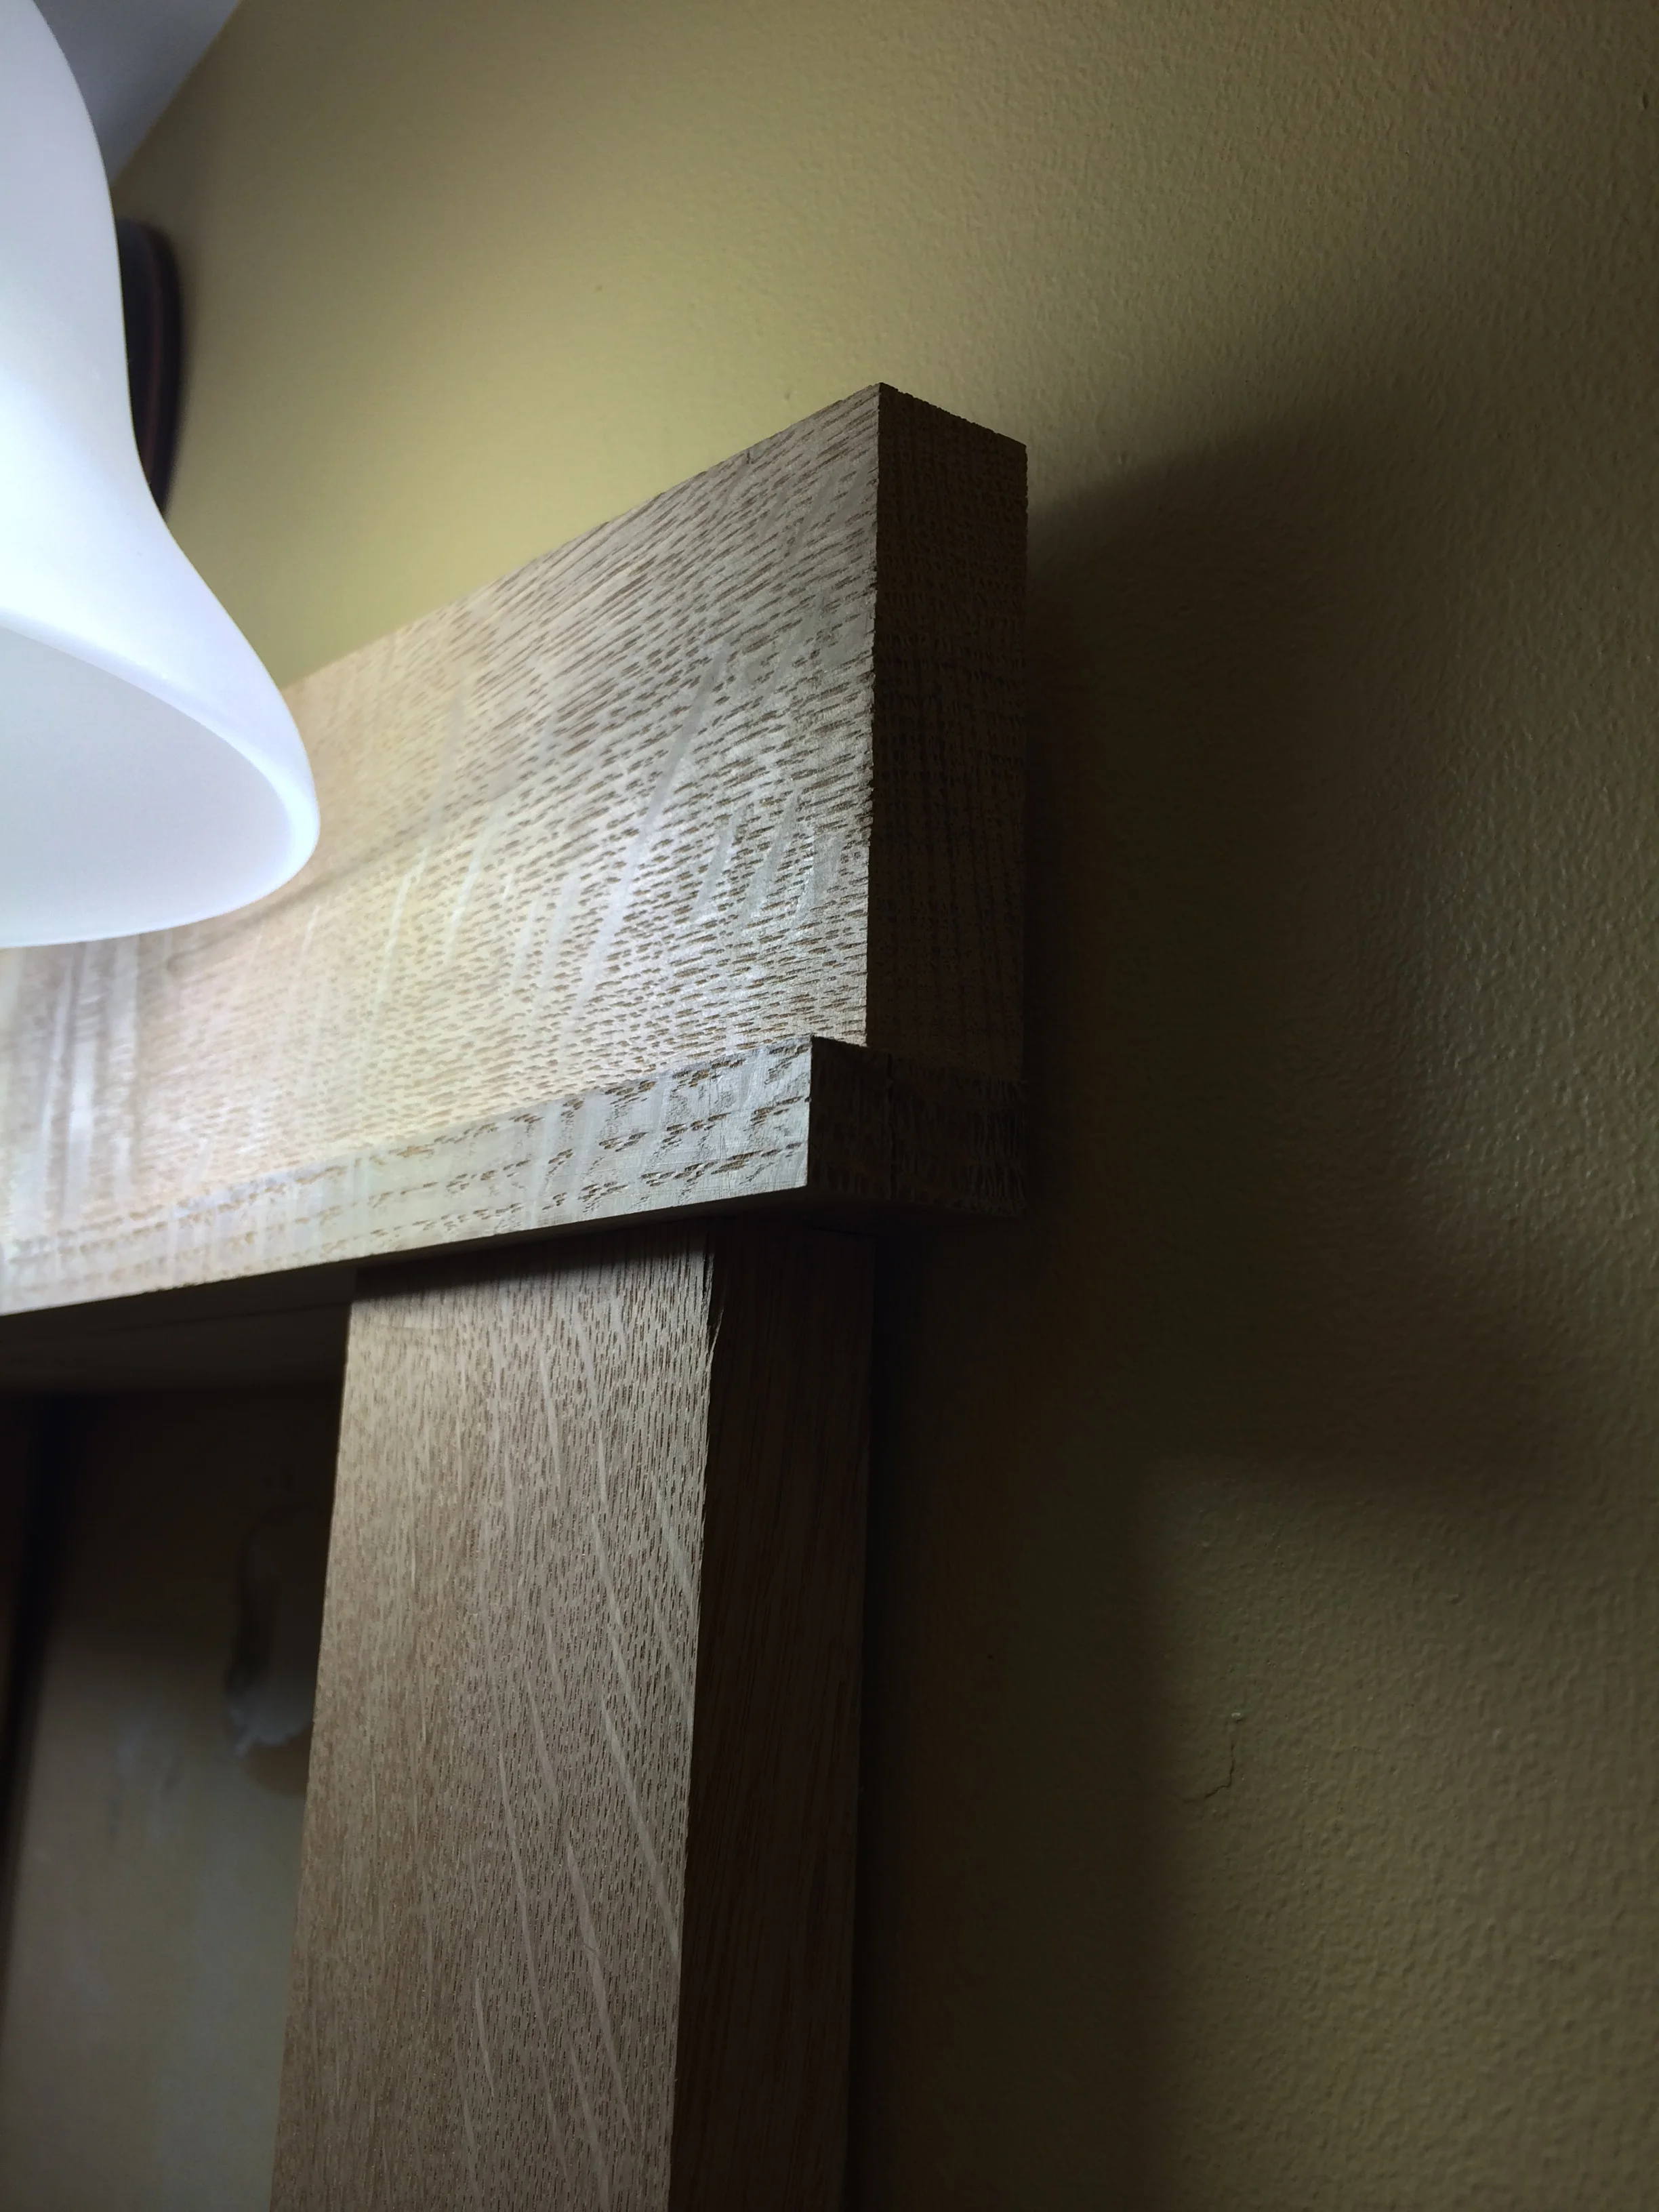
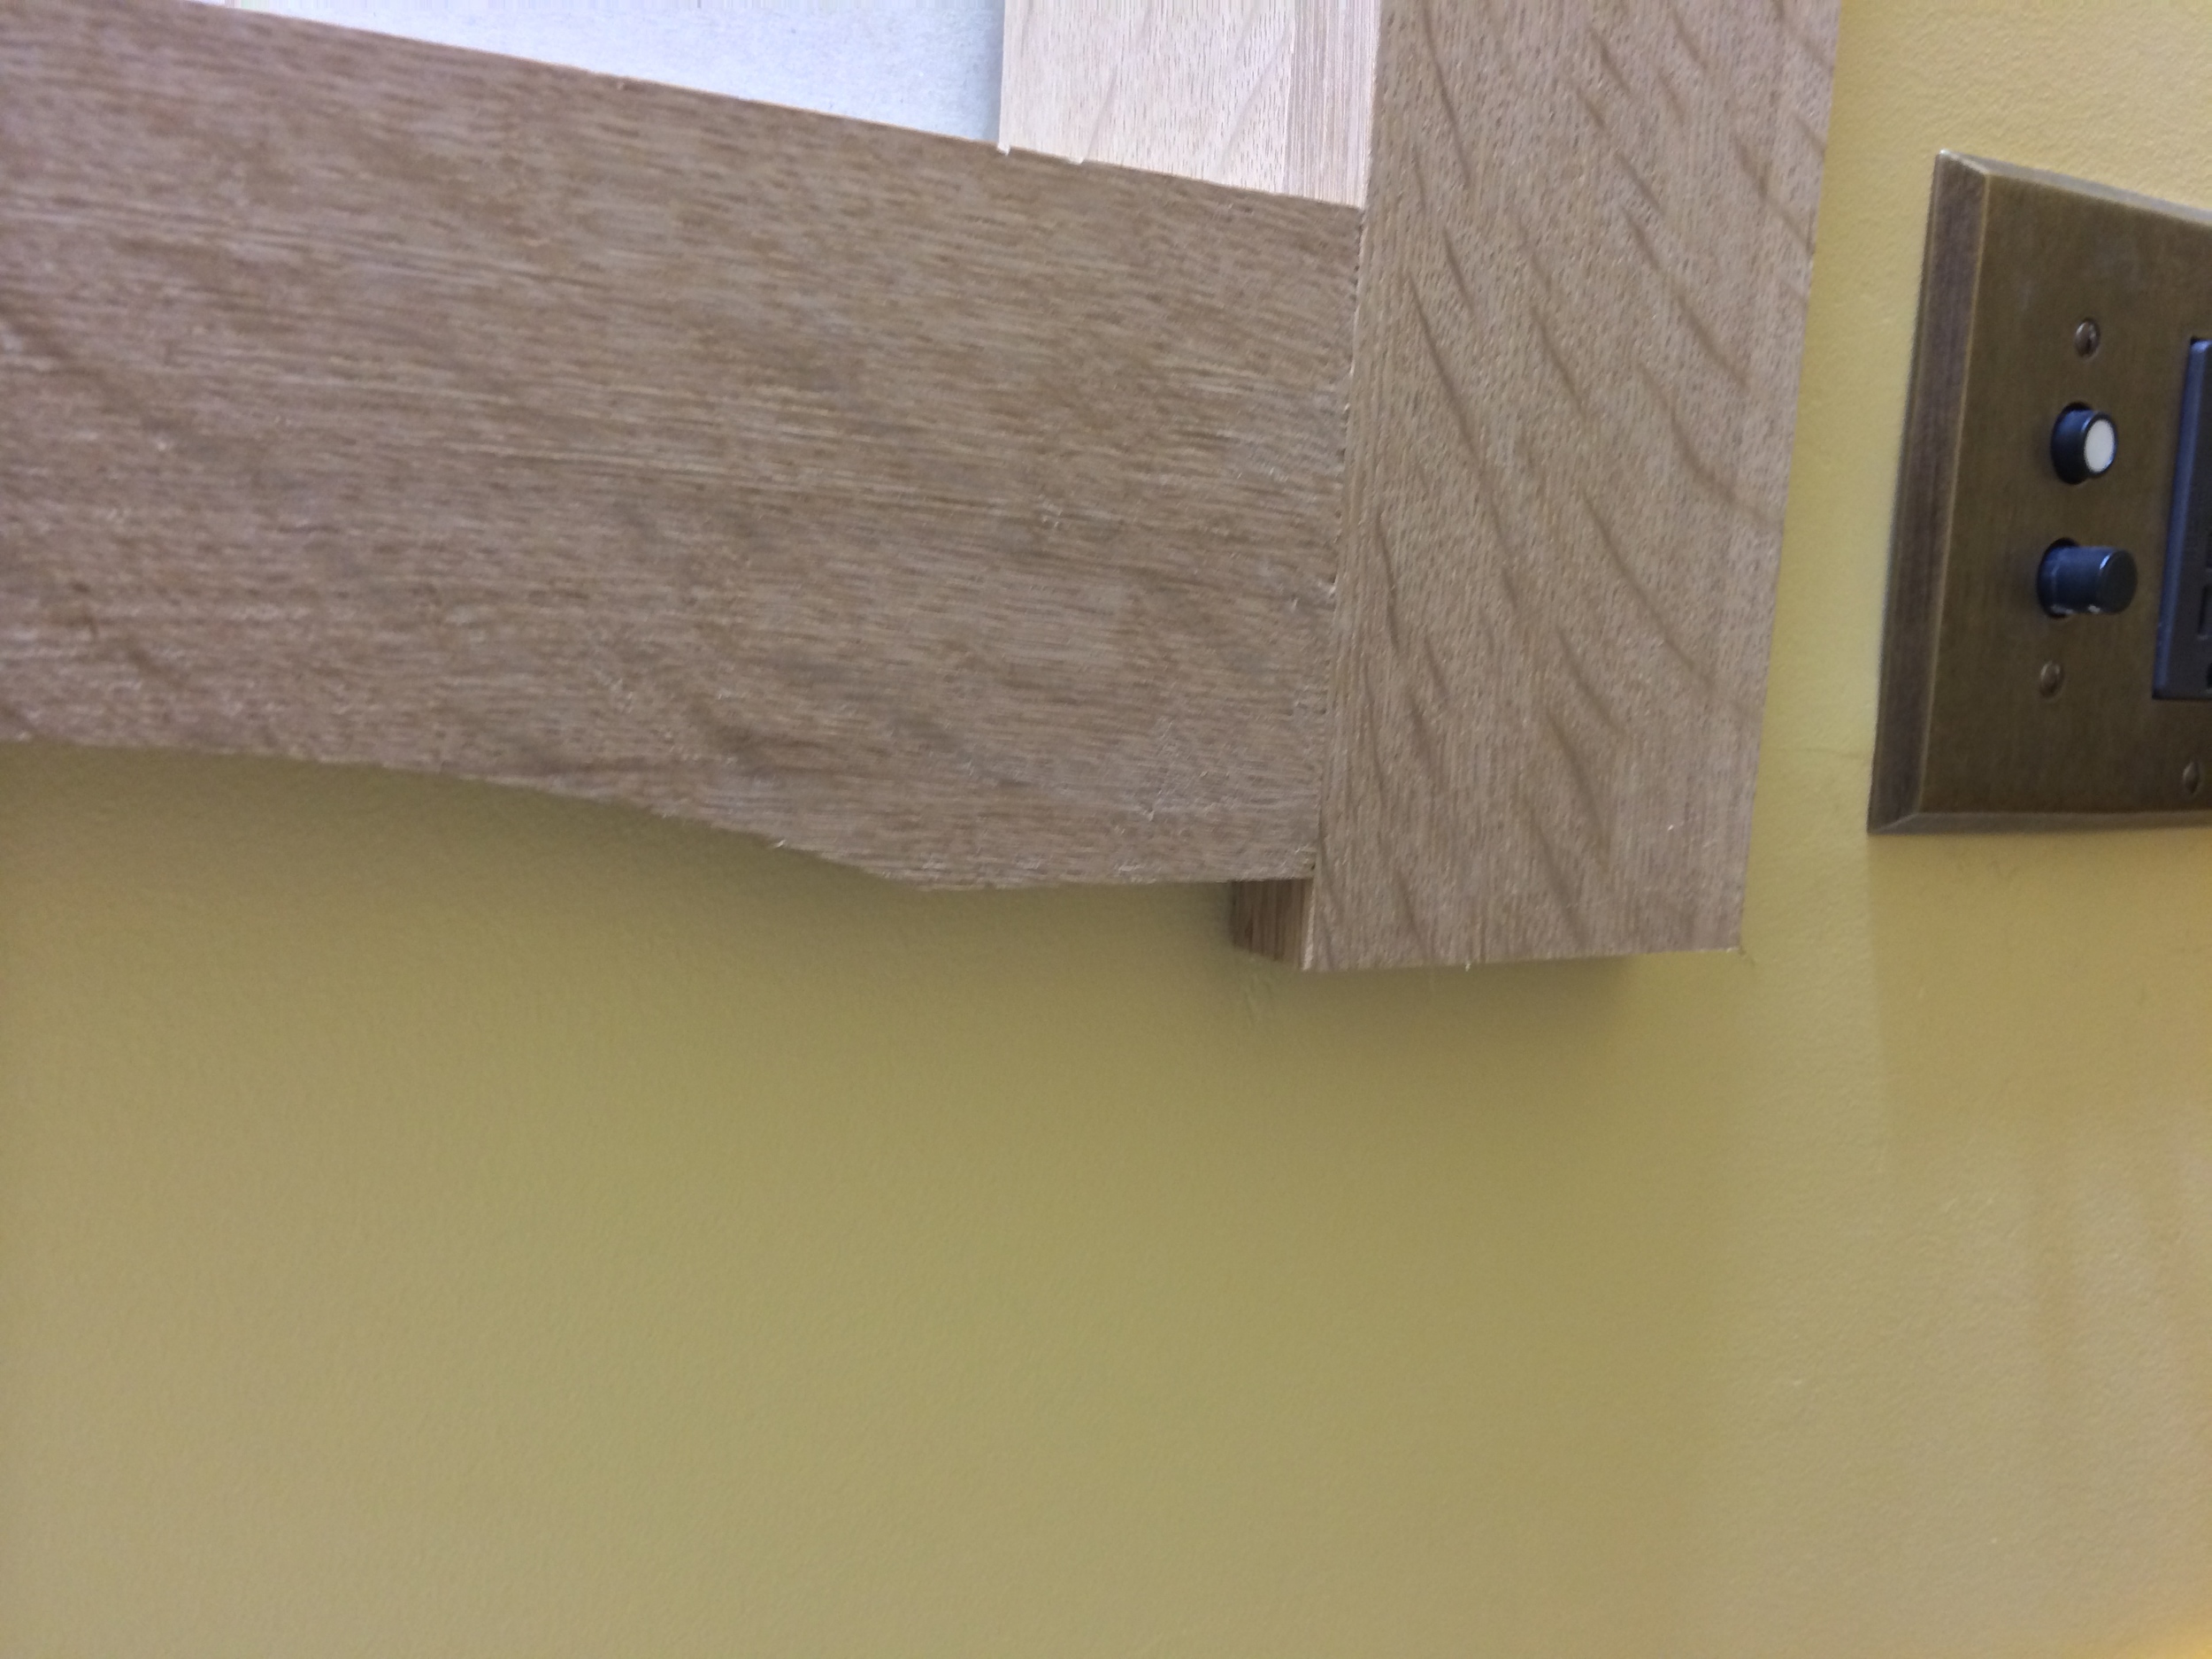
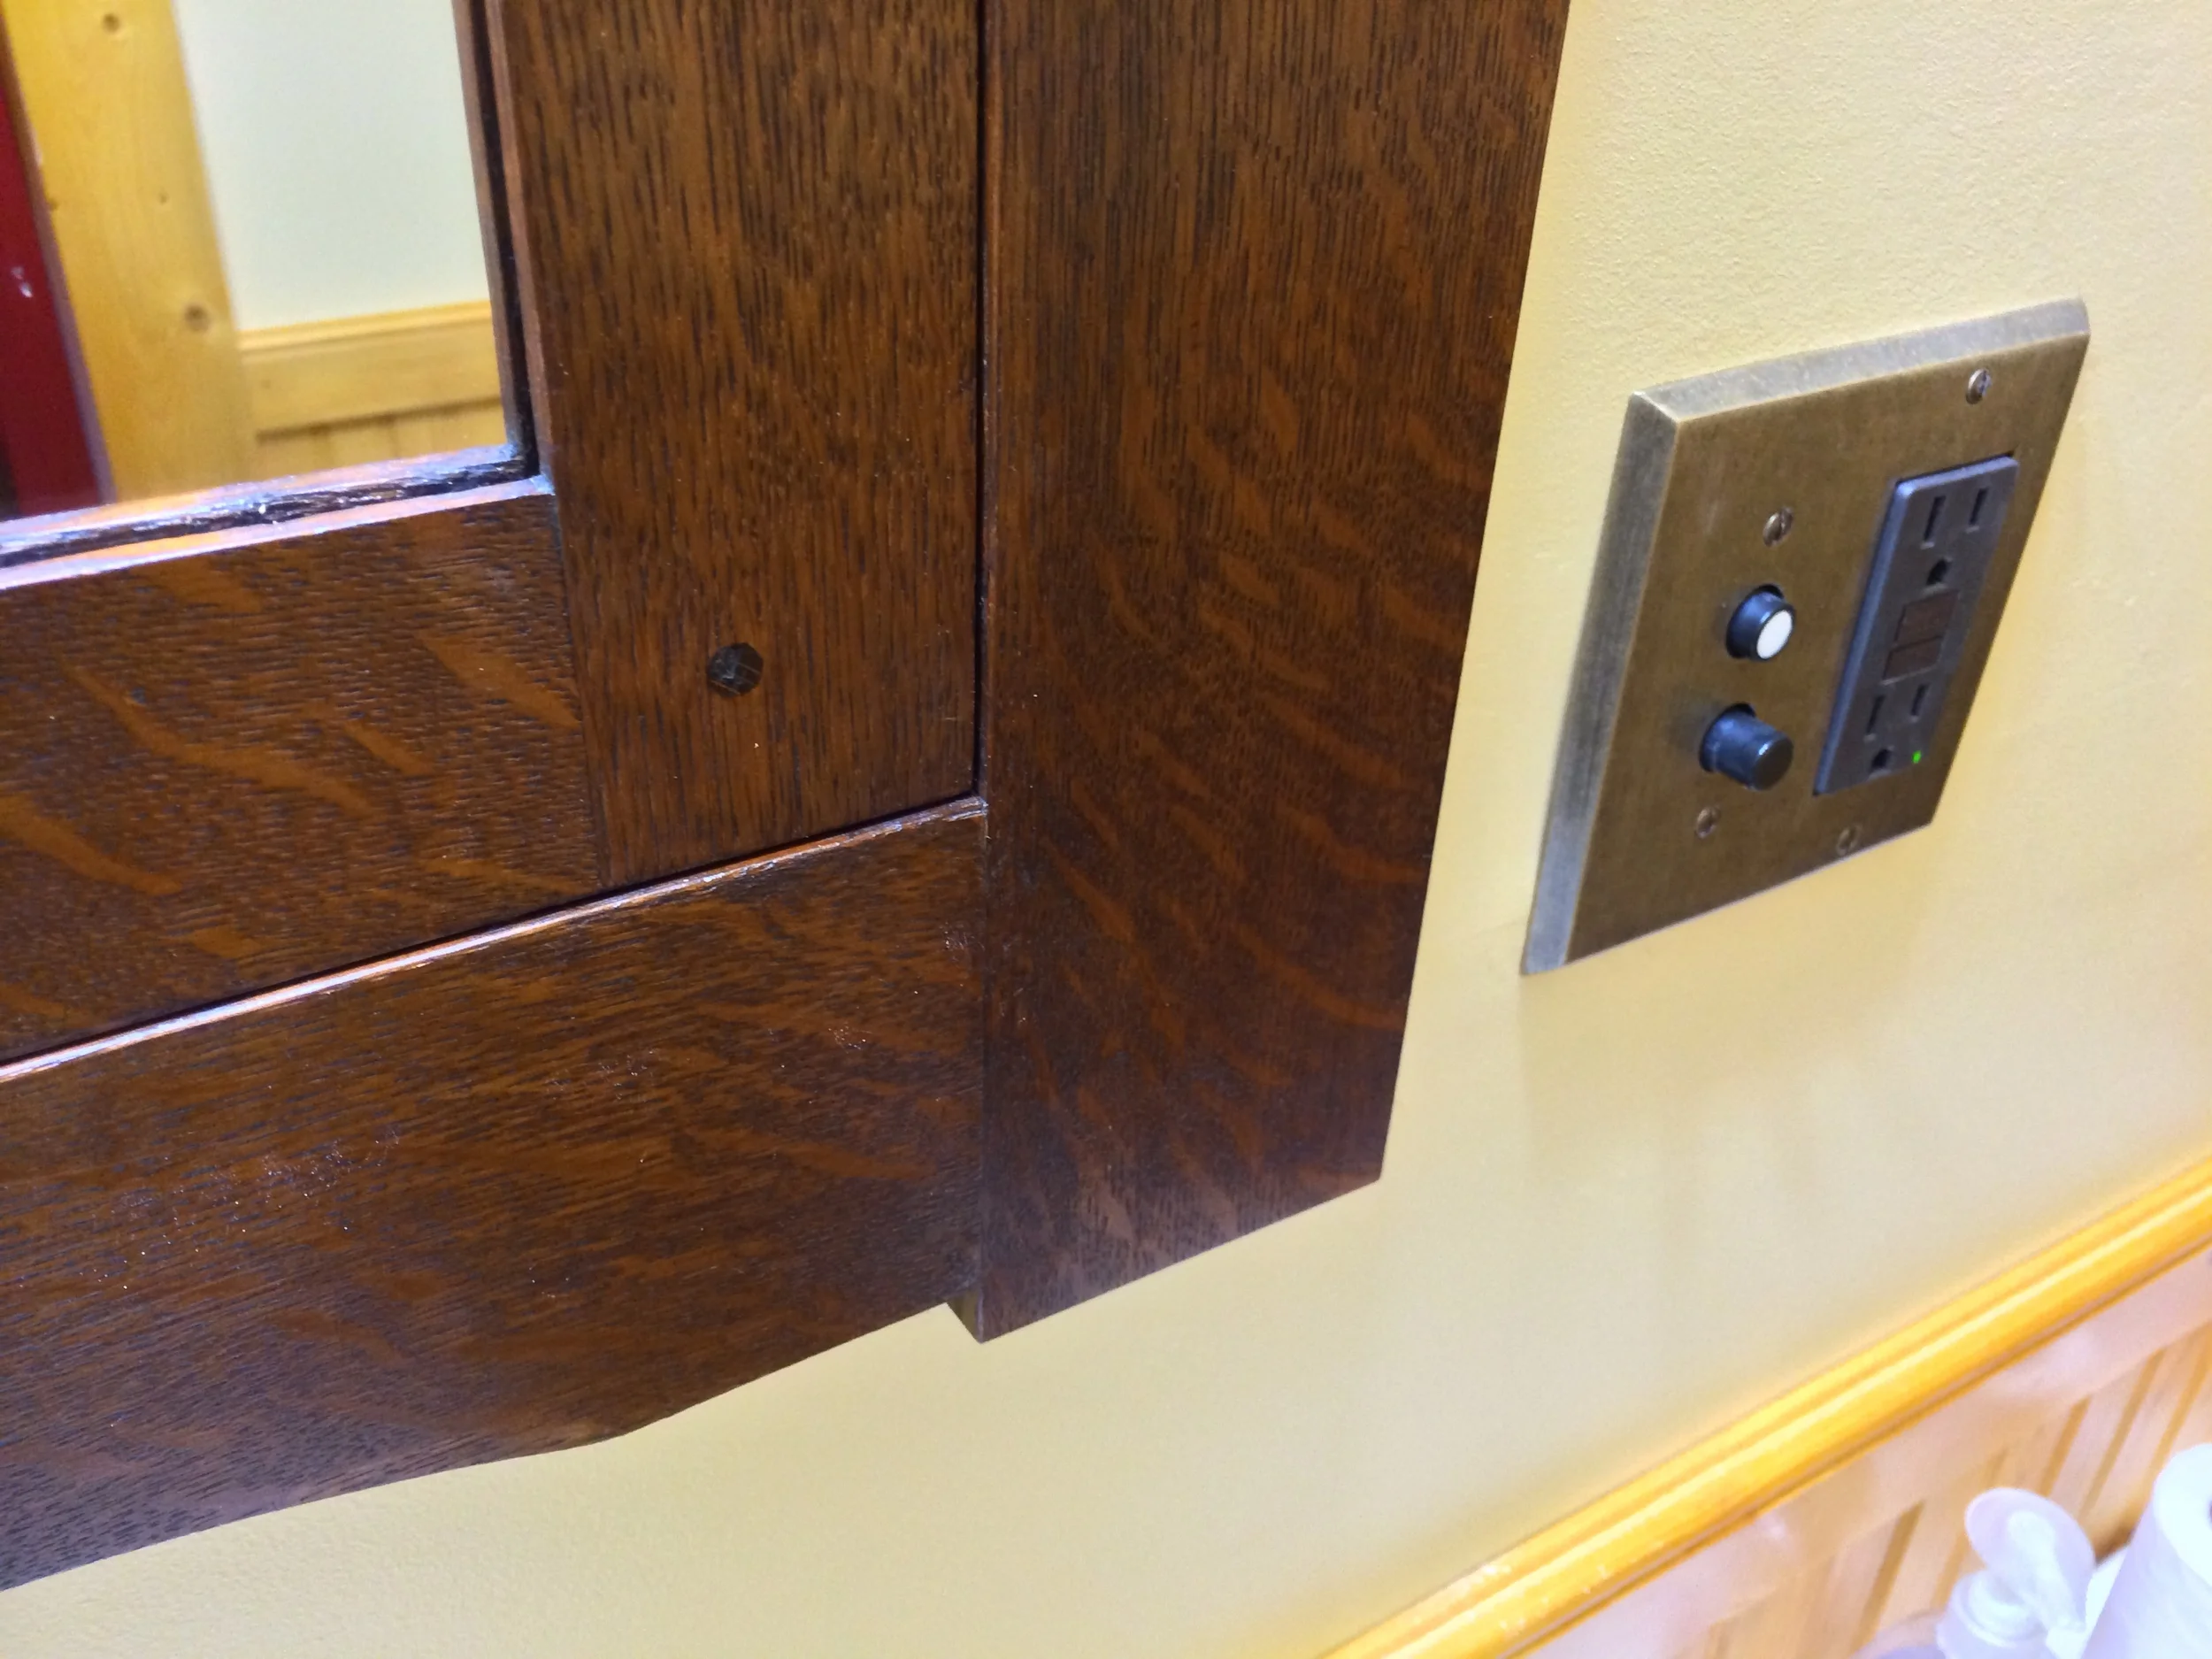
Before getting to the door, I did a test fit on the case body and face frame assembly in the bathroom wall. Luckily, the wall wasn't too irregular, and the frame was going to sit nicely against the wall, with just a little bit of oddness on one corner. But it wasn't going to be very visible, and was hidden for the most part by the sconce.
Back in the shop, I put the door together. The tenons of the door frame were secured with through pegs. I didn't do the drawbore technique here, as the glue and simple straight through pegging seemed to be enough. I then installed the hinge hardware, and was ready for the finish.
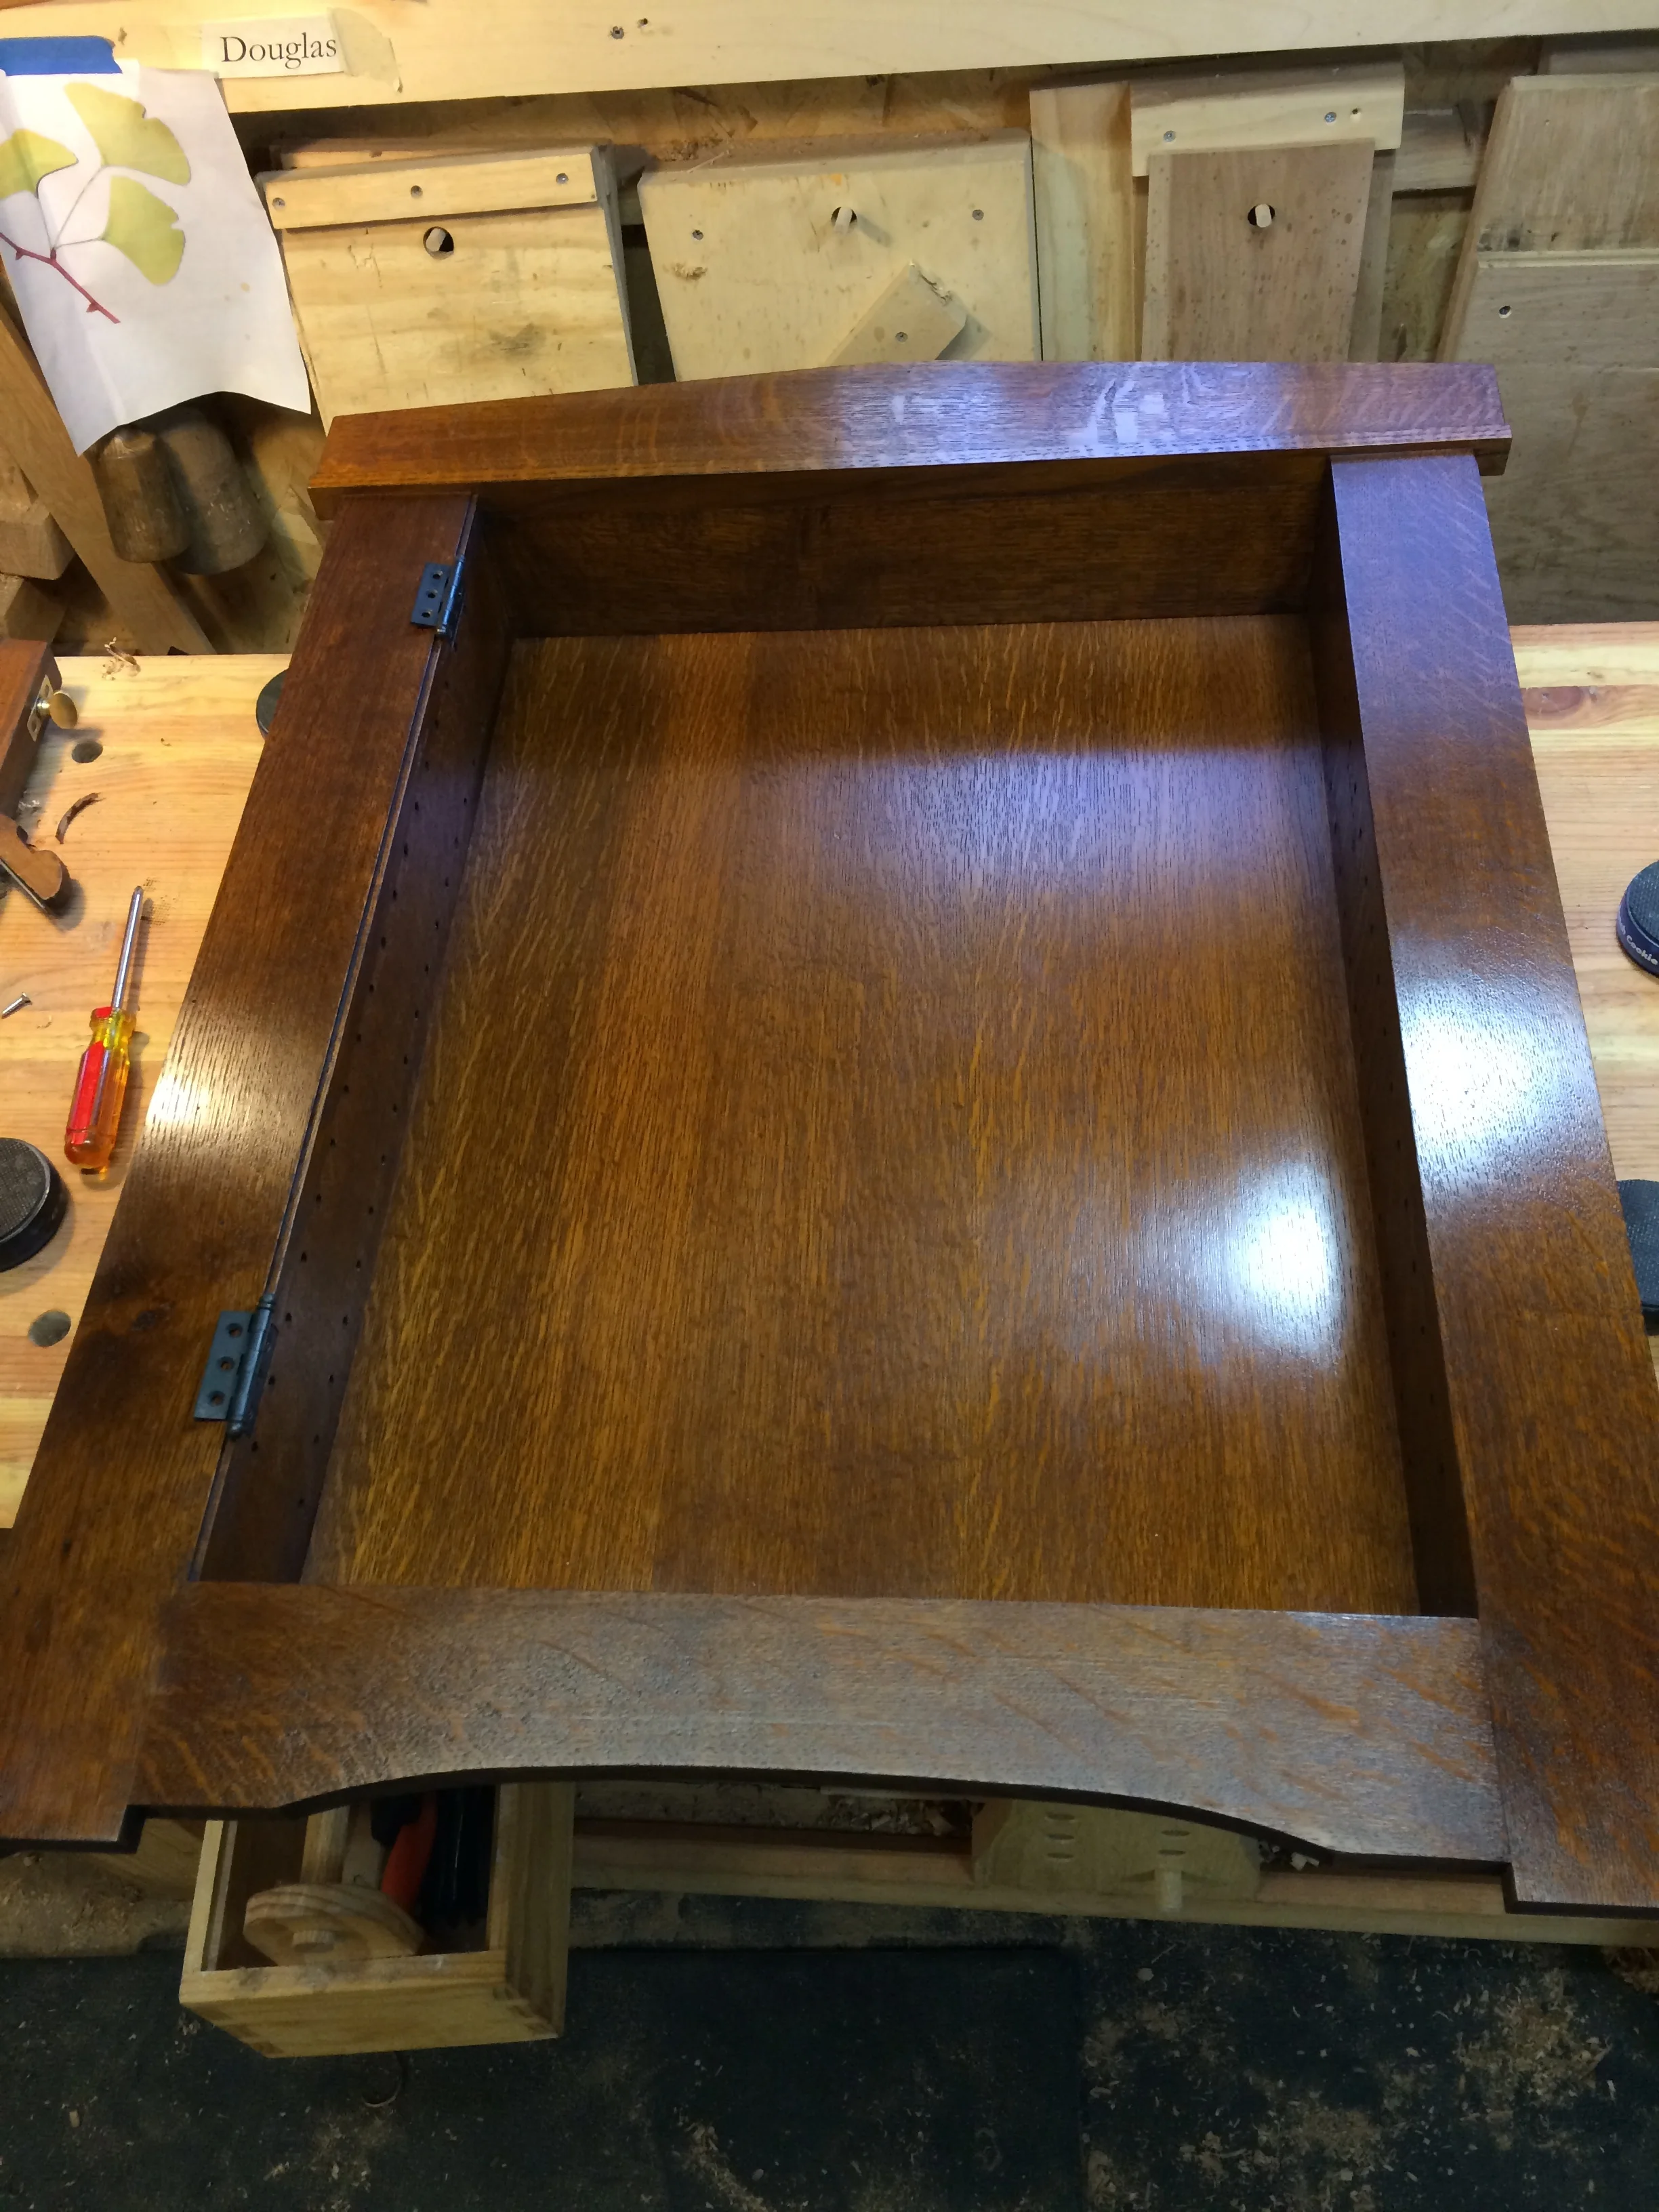
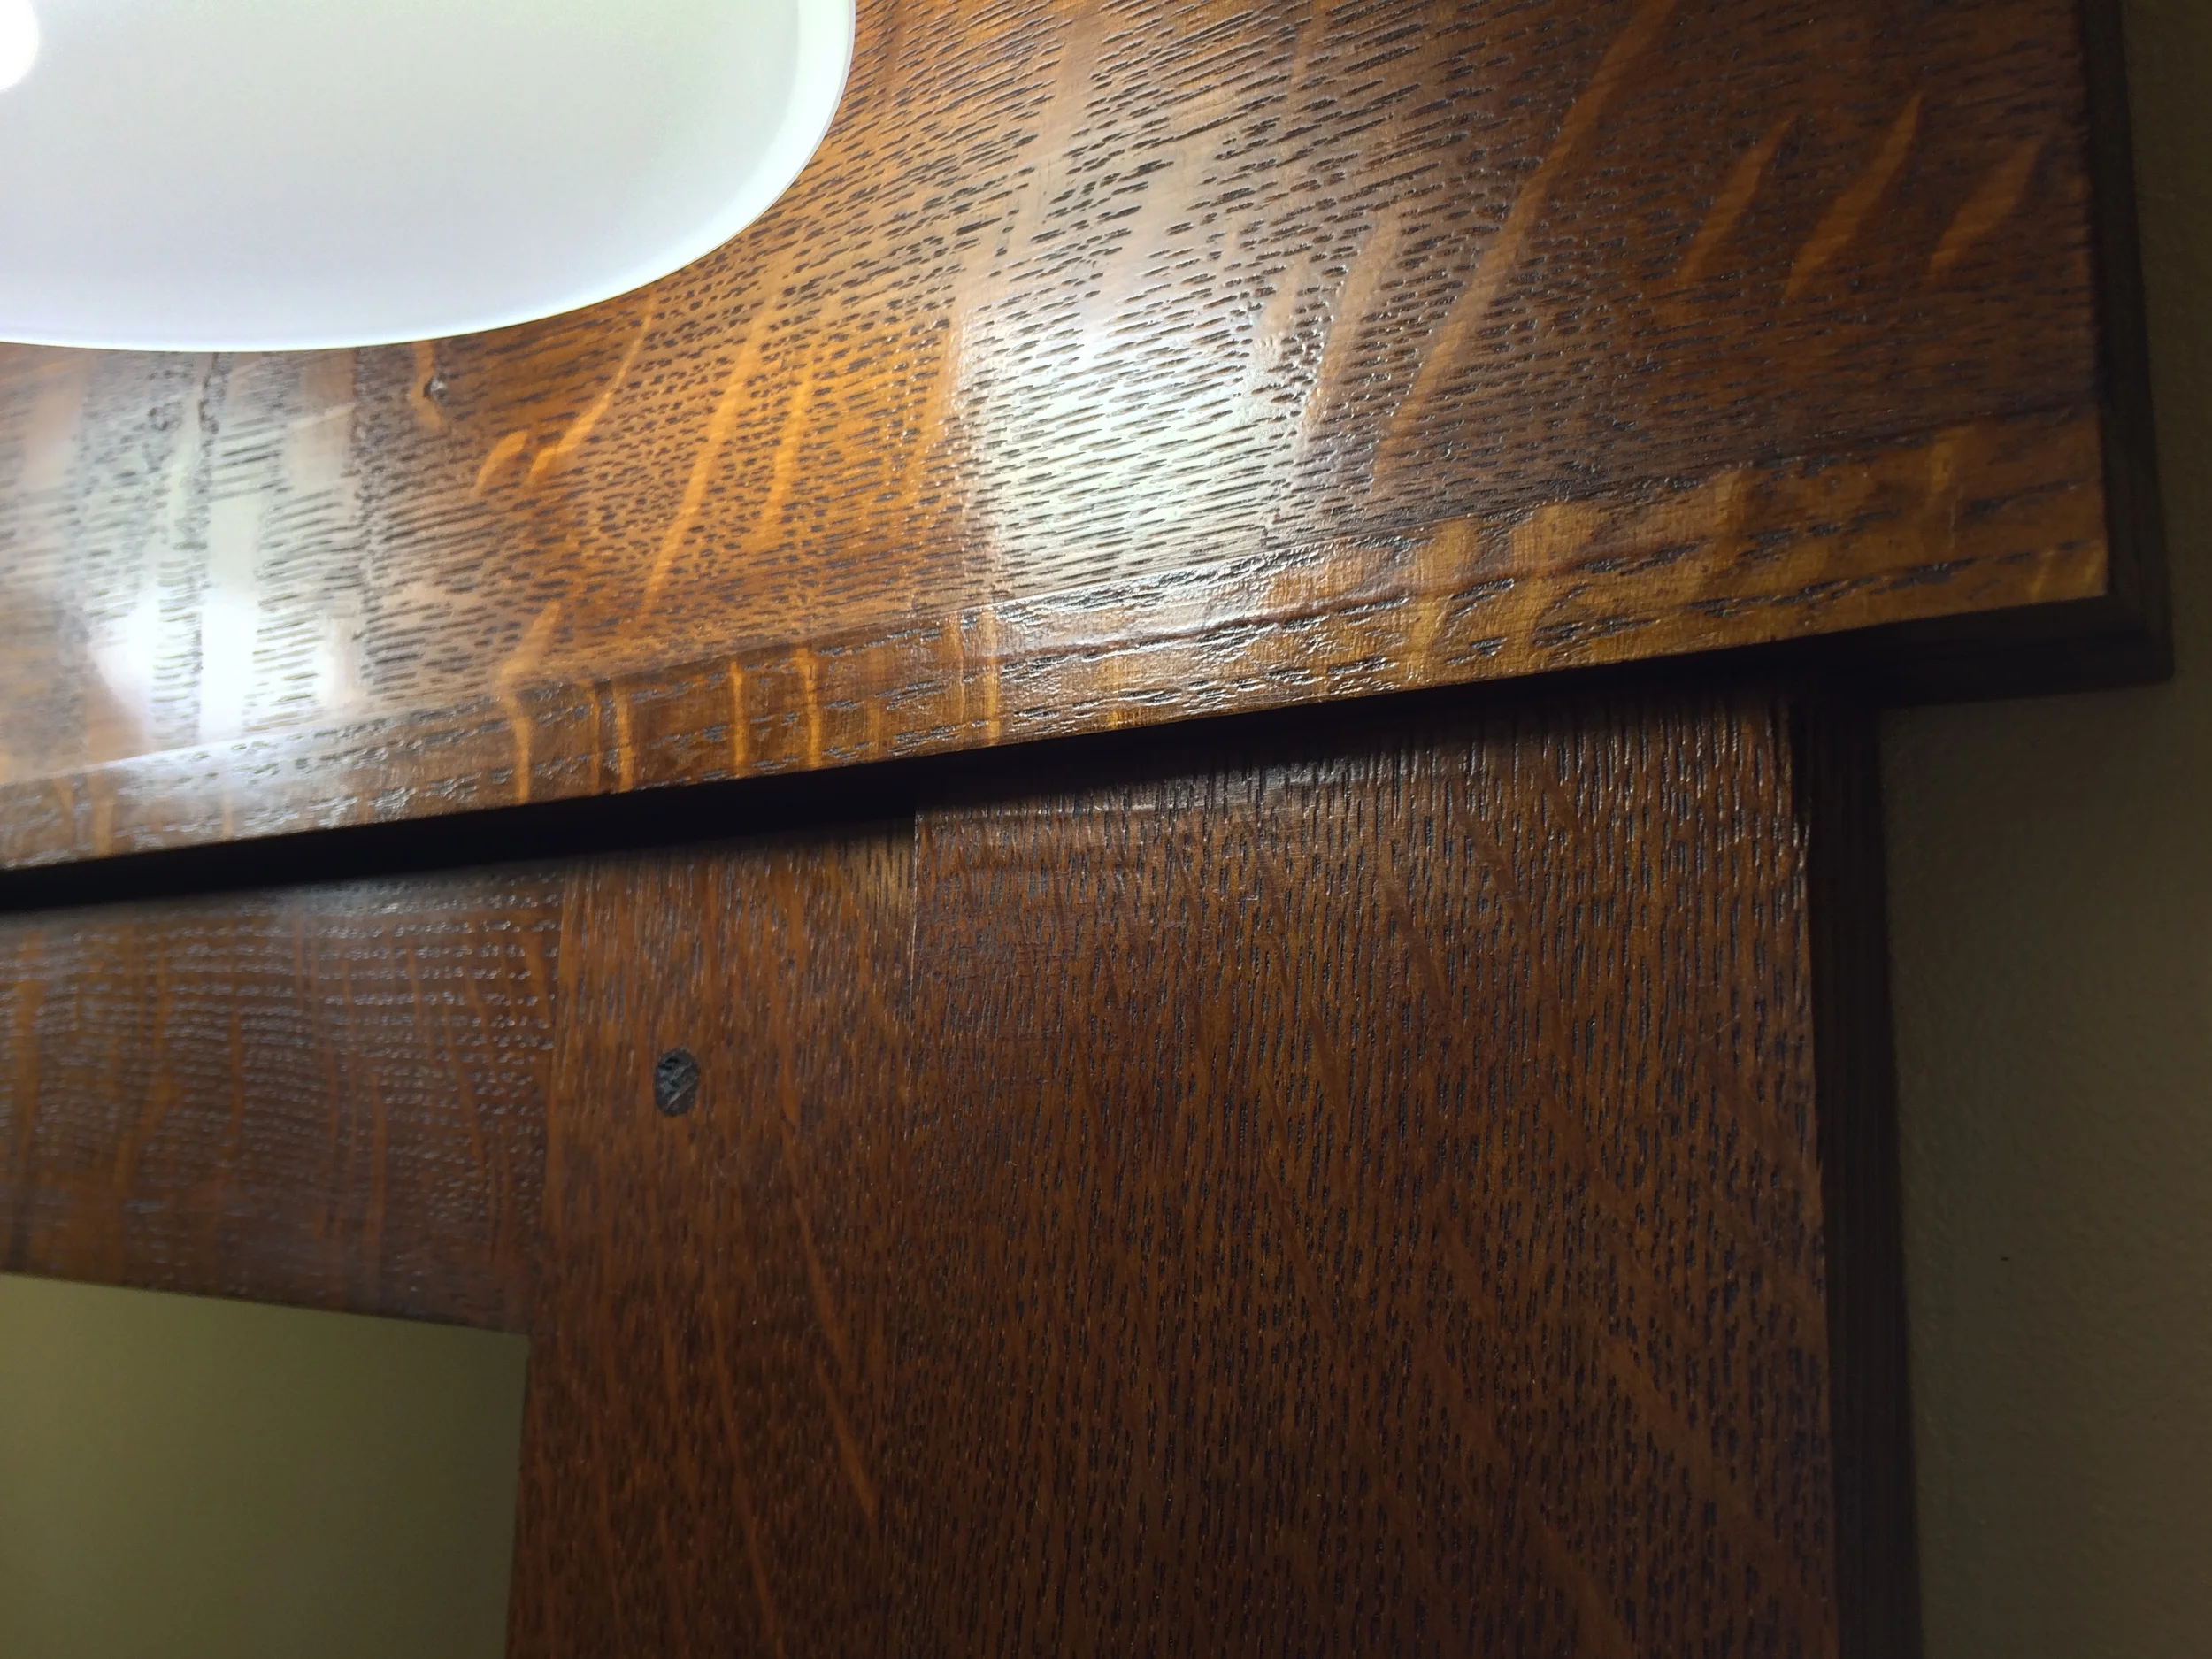
For the finish, I went with my go to process of water based dark mission brown dye, followed by several coats of shellac, this time a darker garnet that I mixed from flakes. I applied about 4 coats, sanding lightly in between, then finished it off with a coat of dark paste wax, applied with 0000 steel wool, then buffed off. This finish process on quarter sawn white oak never fails to look gorgeous to me. After that, I cut the glass for the mirror, fit it into the door opening, and secured it with stops tacked in with brads.
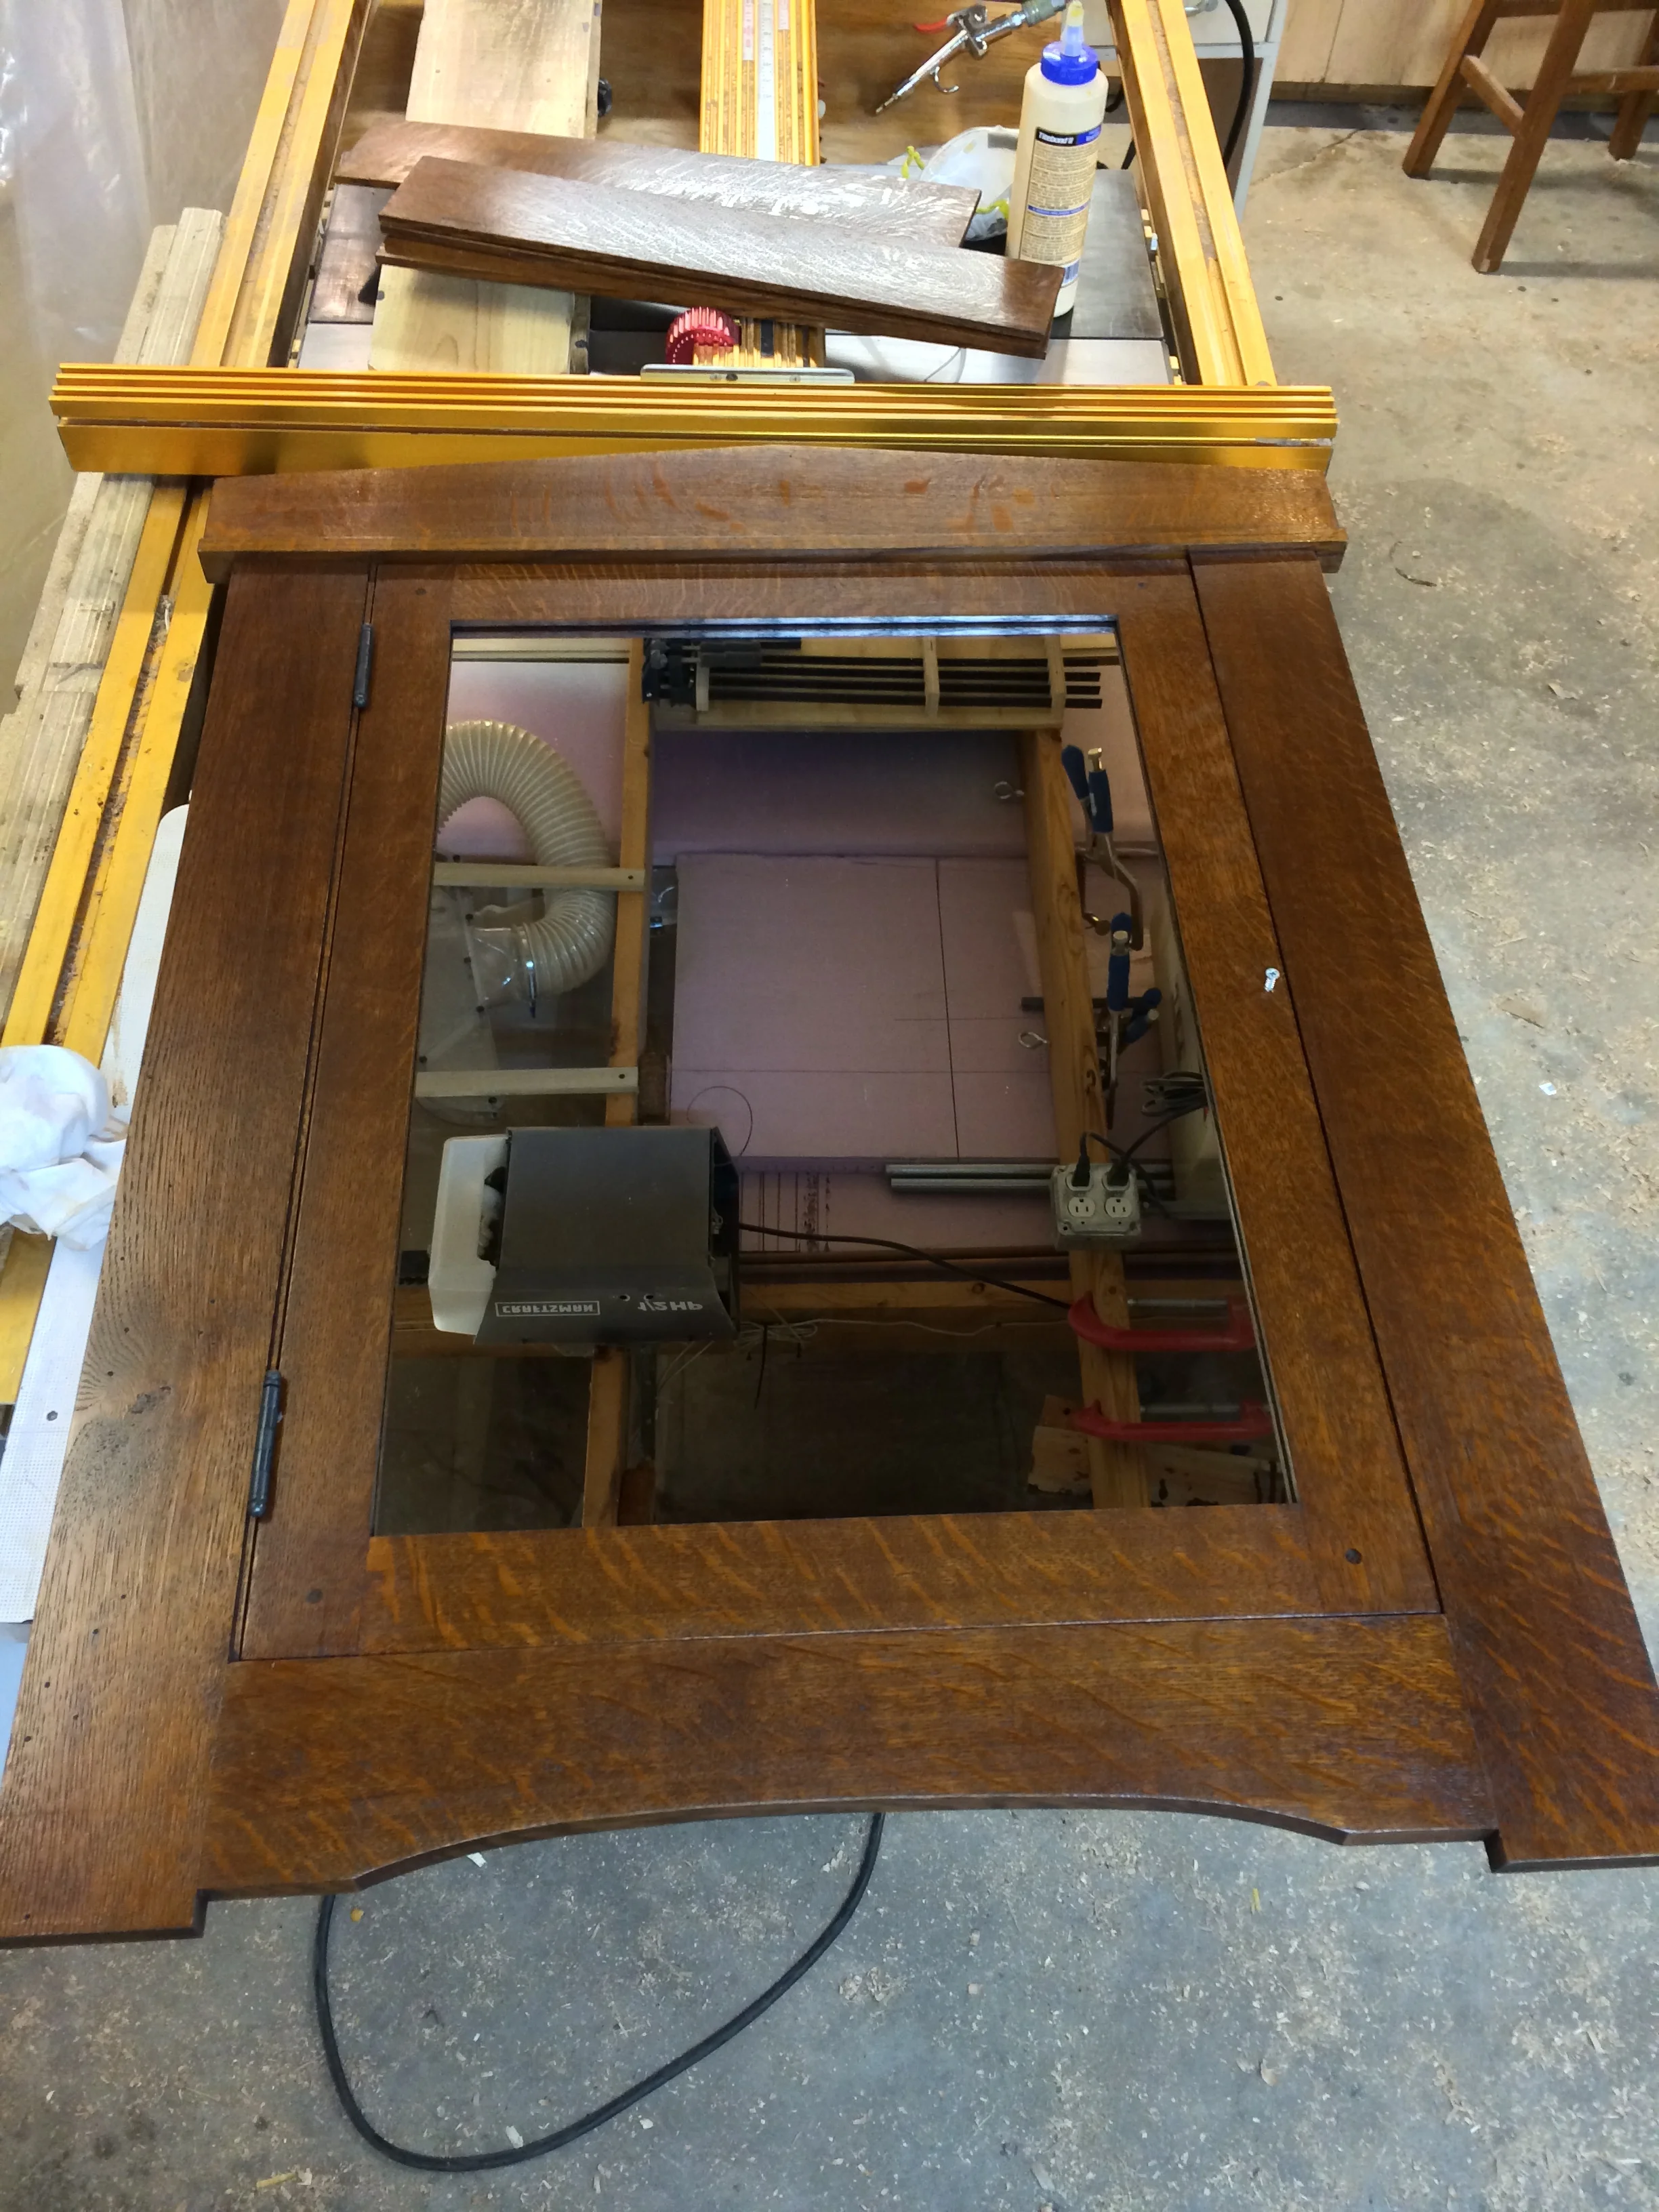
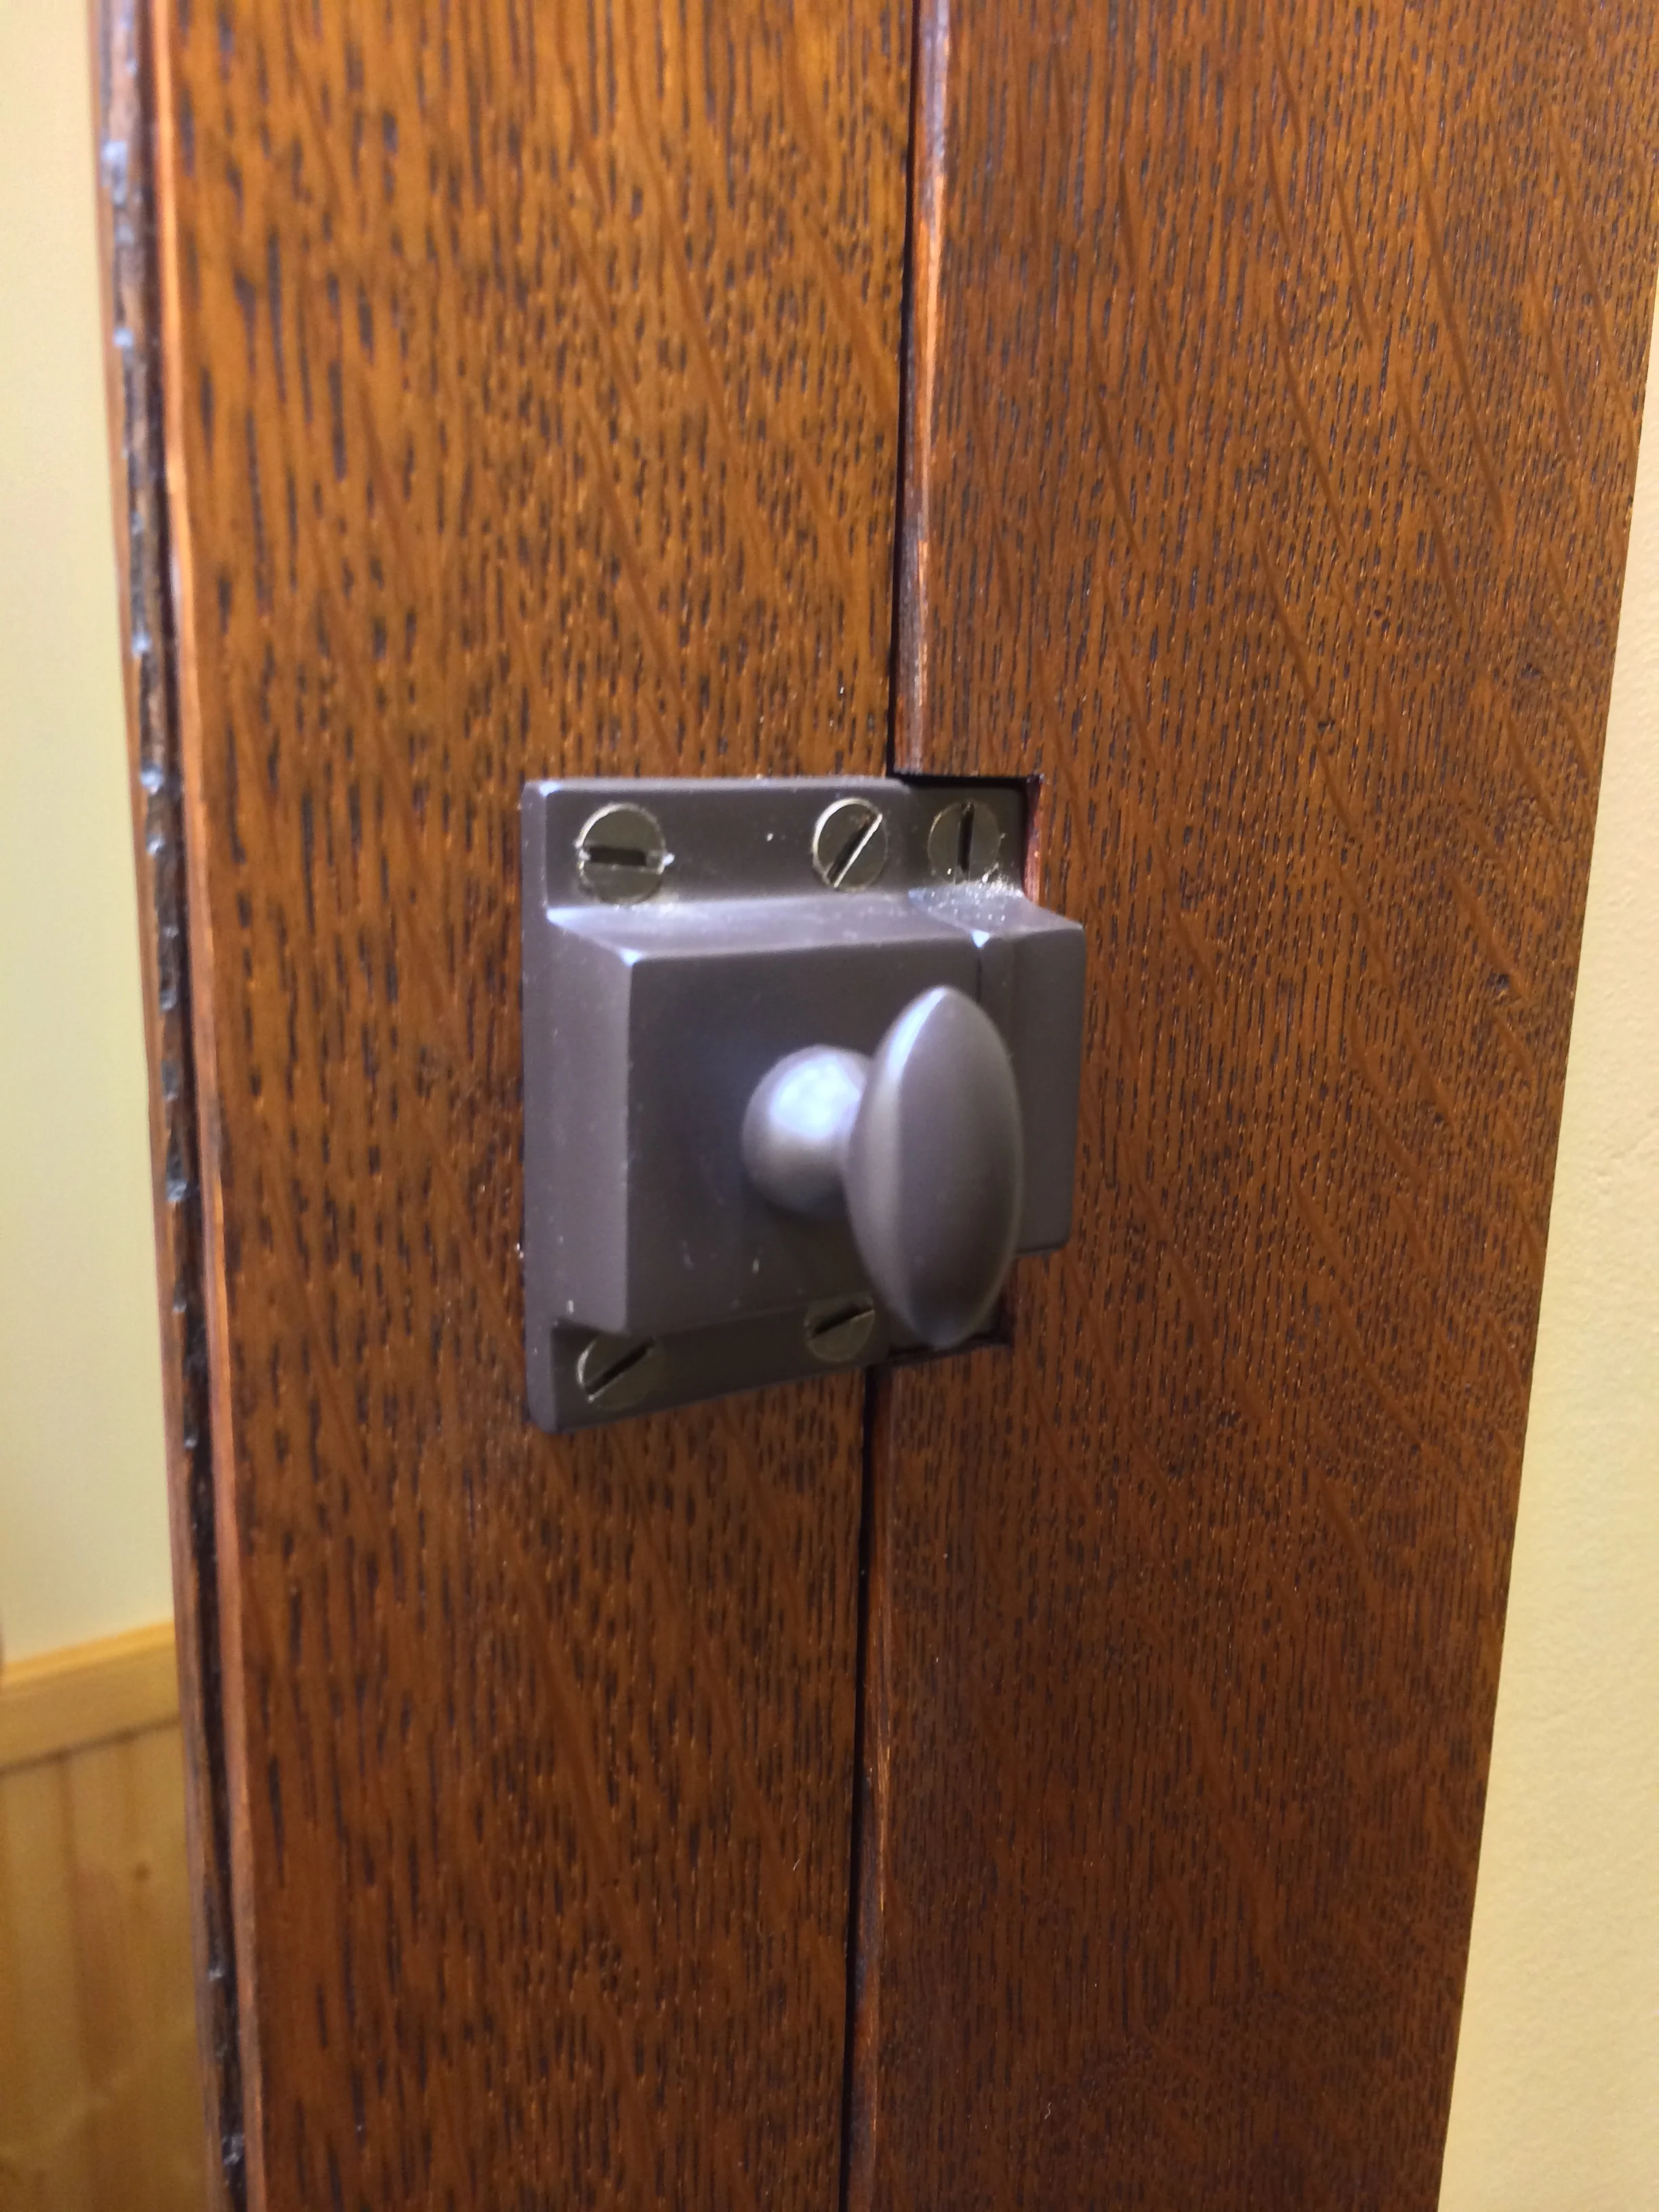
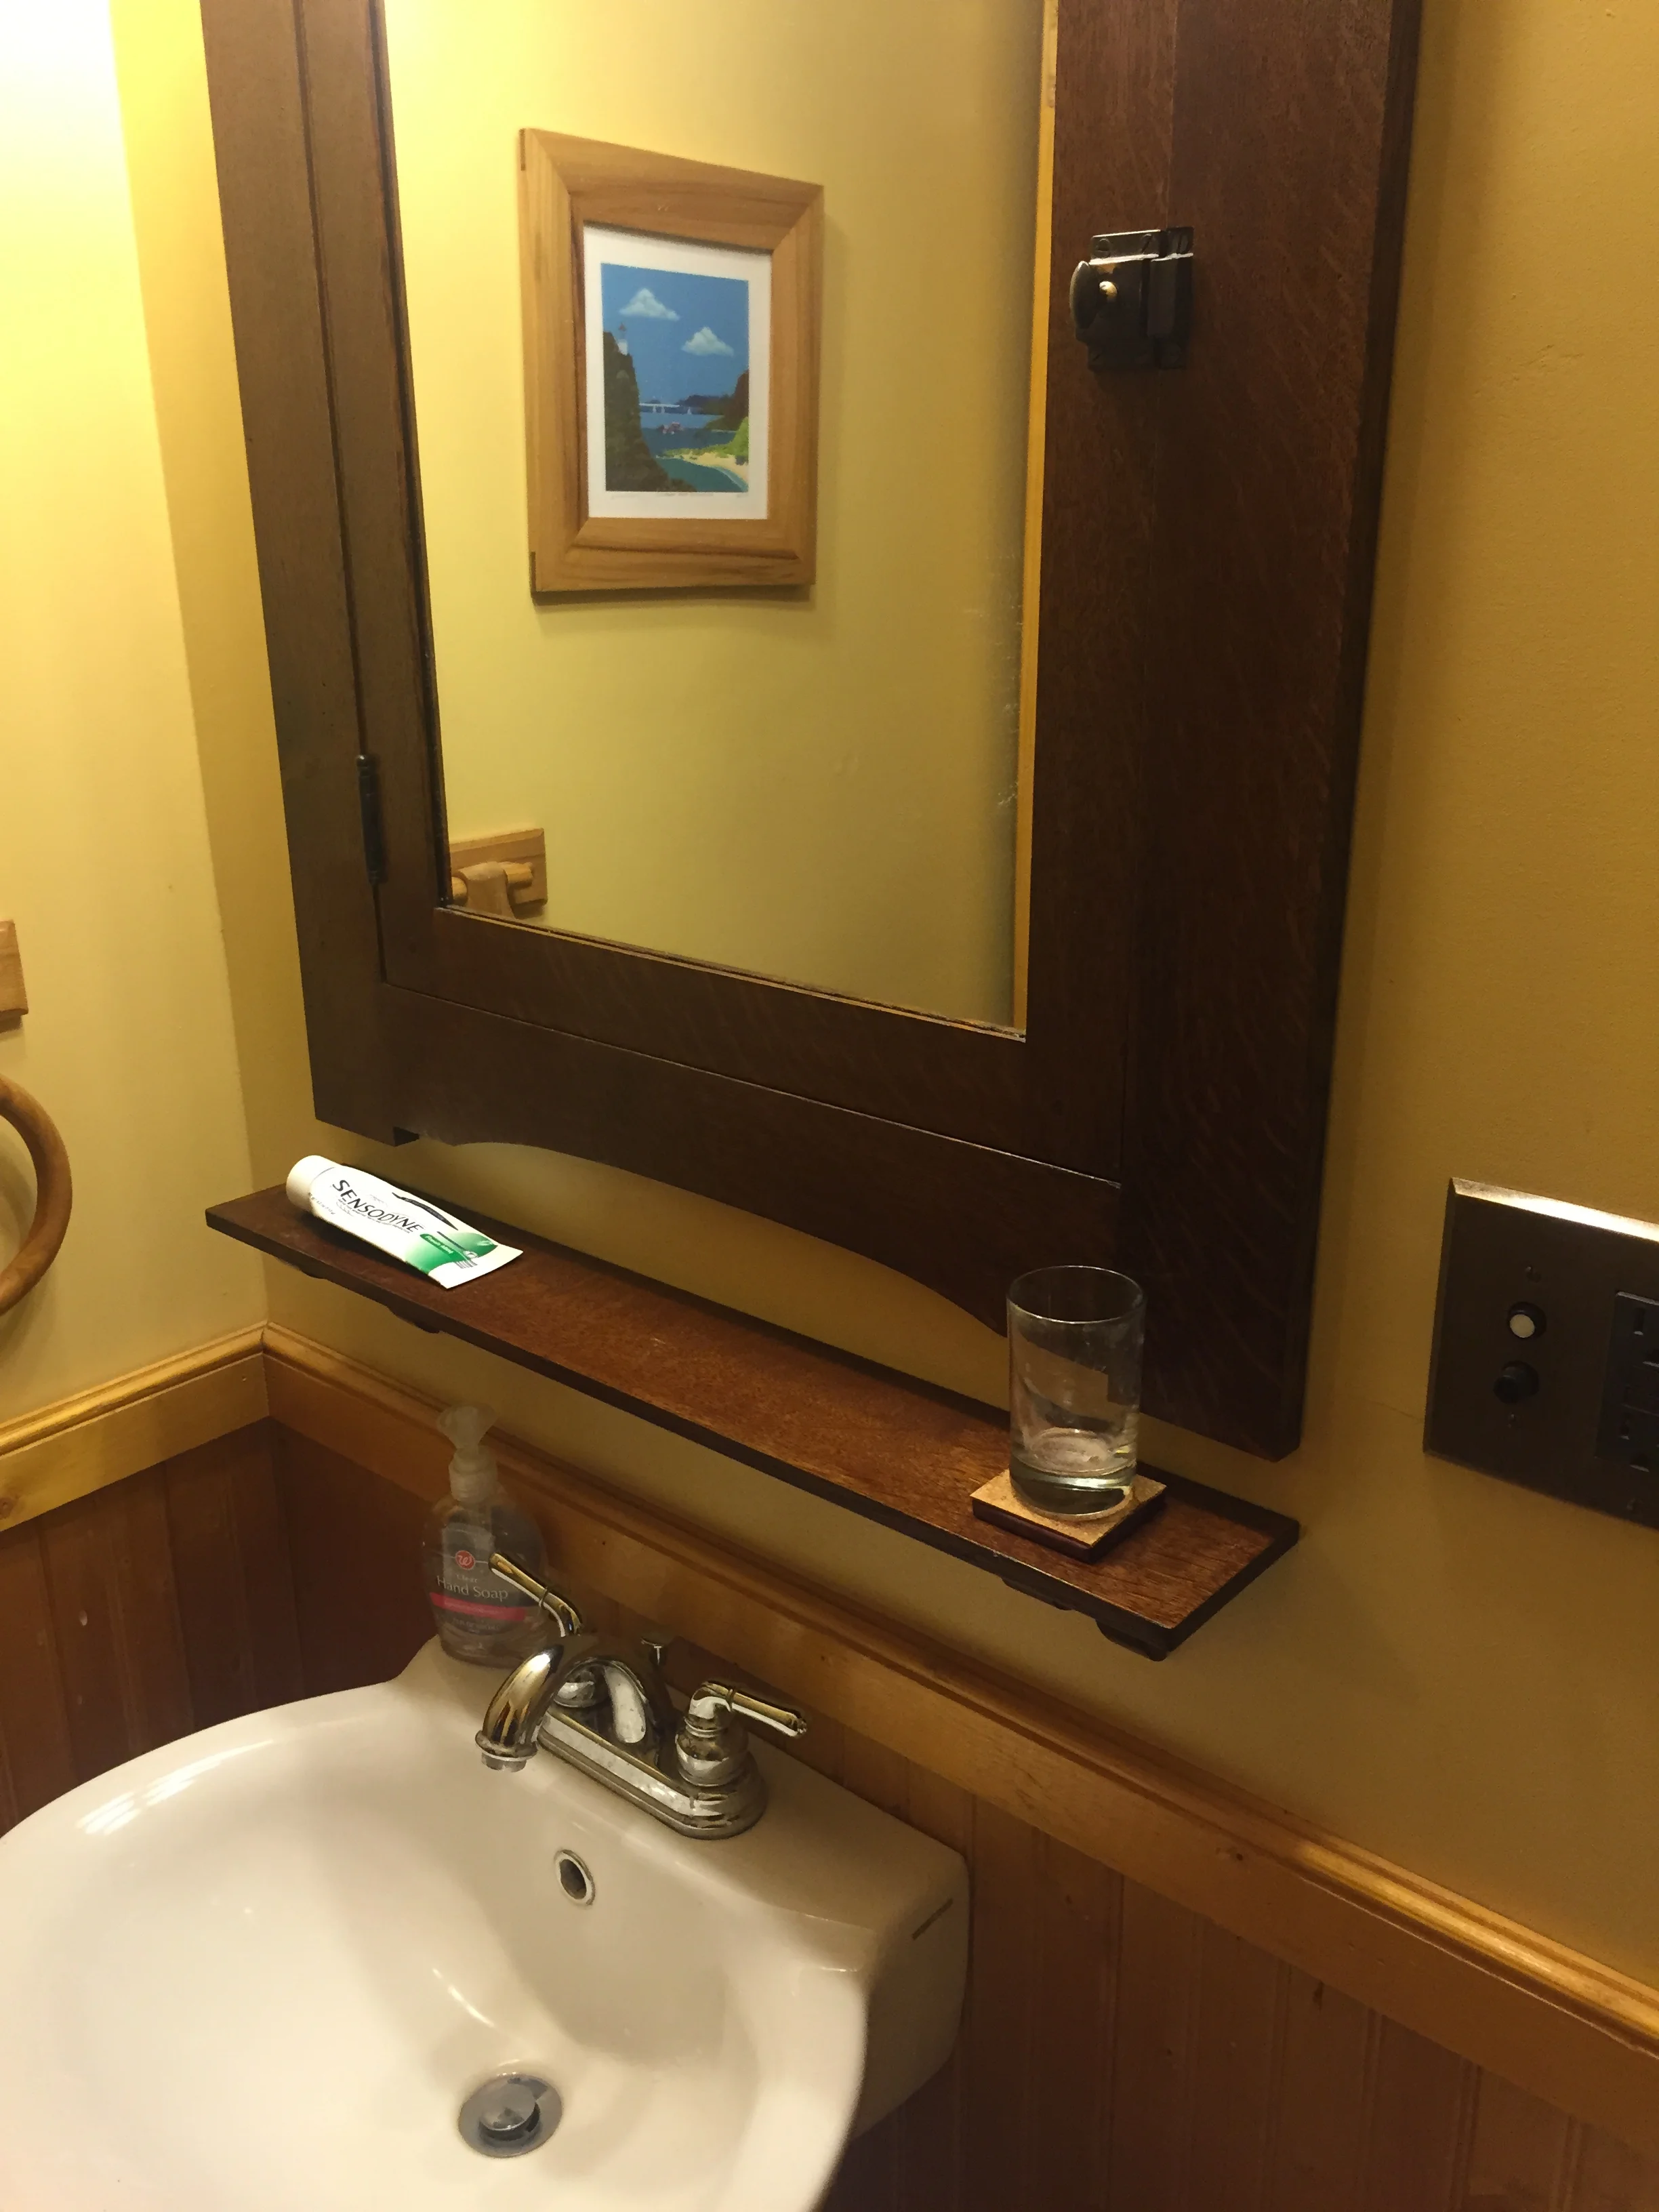
I also made several 1/4" thick oak shelves. Installation went well, thanks the the earlier test fit, and it was attached to the wall studs with a few screws through the case. The final bit of hardware to fit was the small surface mounted latch. Although surface mounted, I had to do some mortising to fit it properly, as the design features a small 1/8" set back/reveal for the door relative to the frame. This makes a nice shadow line in the piece, but it meant that either the latch body had to be bumped out, resting on some sort of little platform piece, or the catch part had to be recessed. I chose to recess the catch as the lesser of two evils.
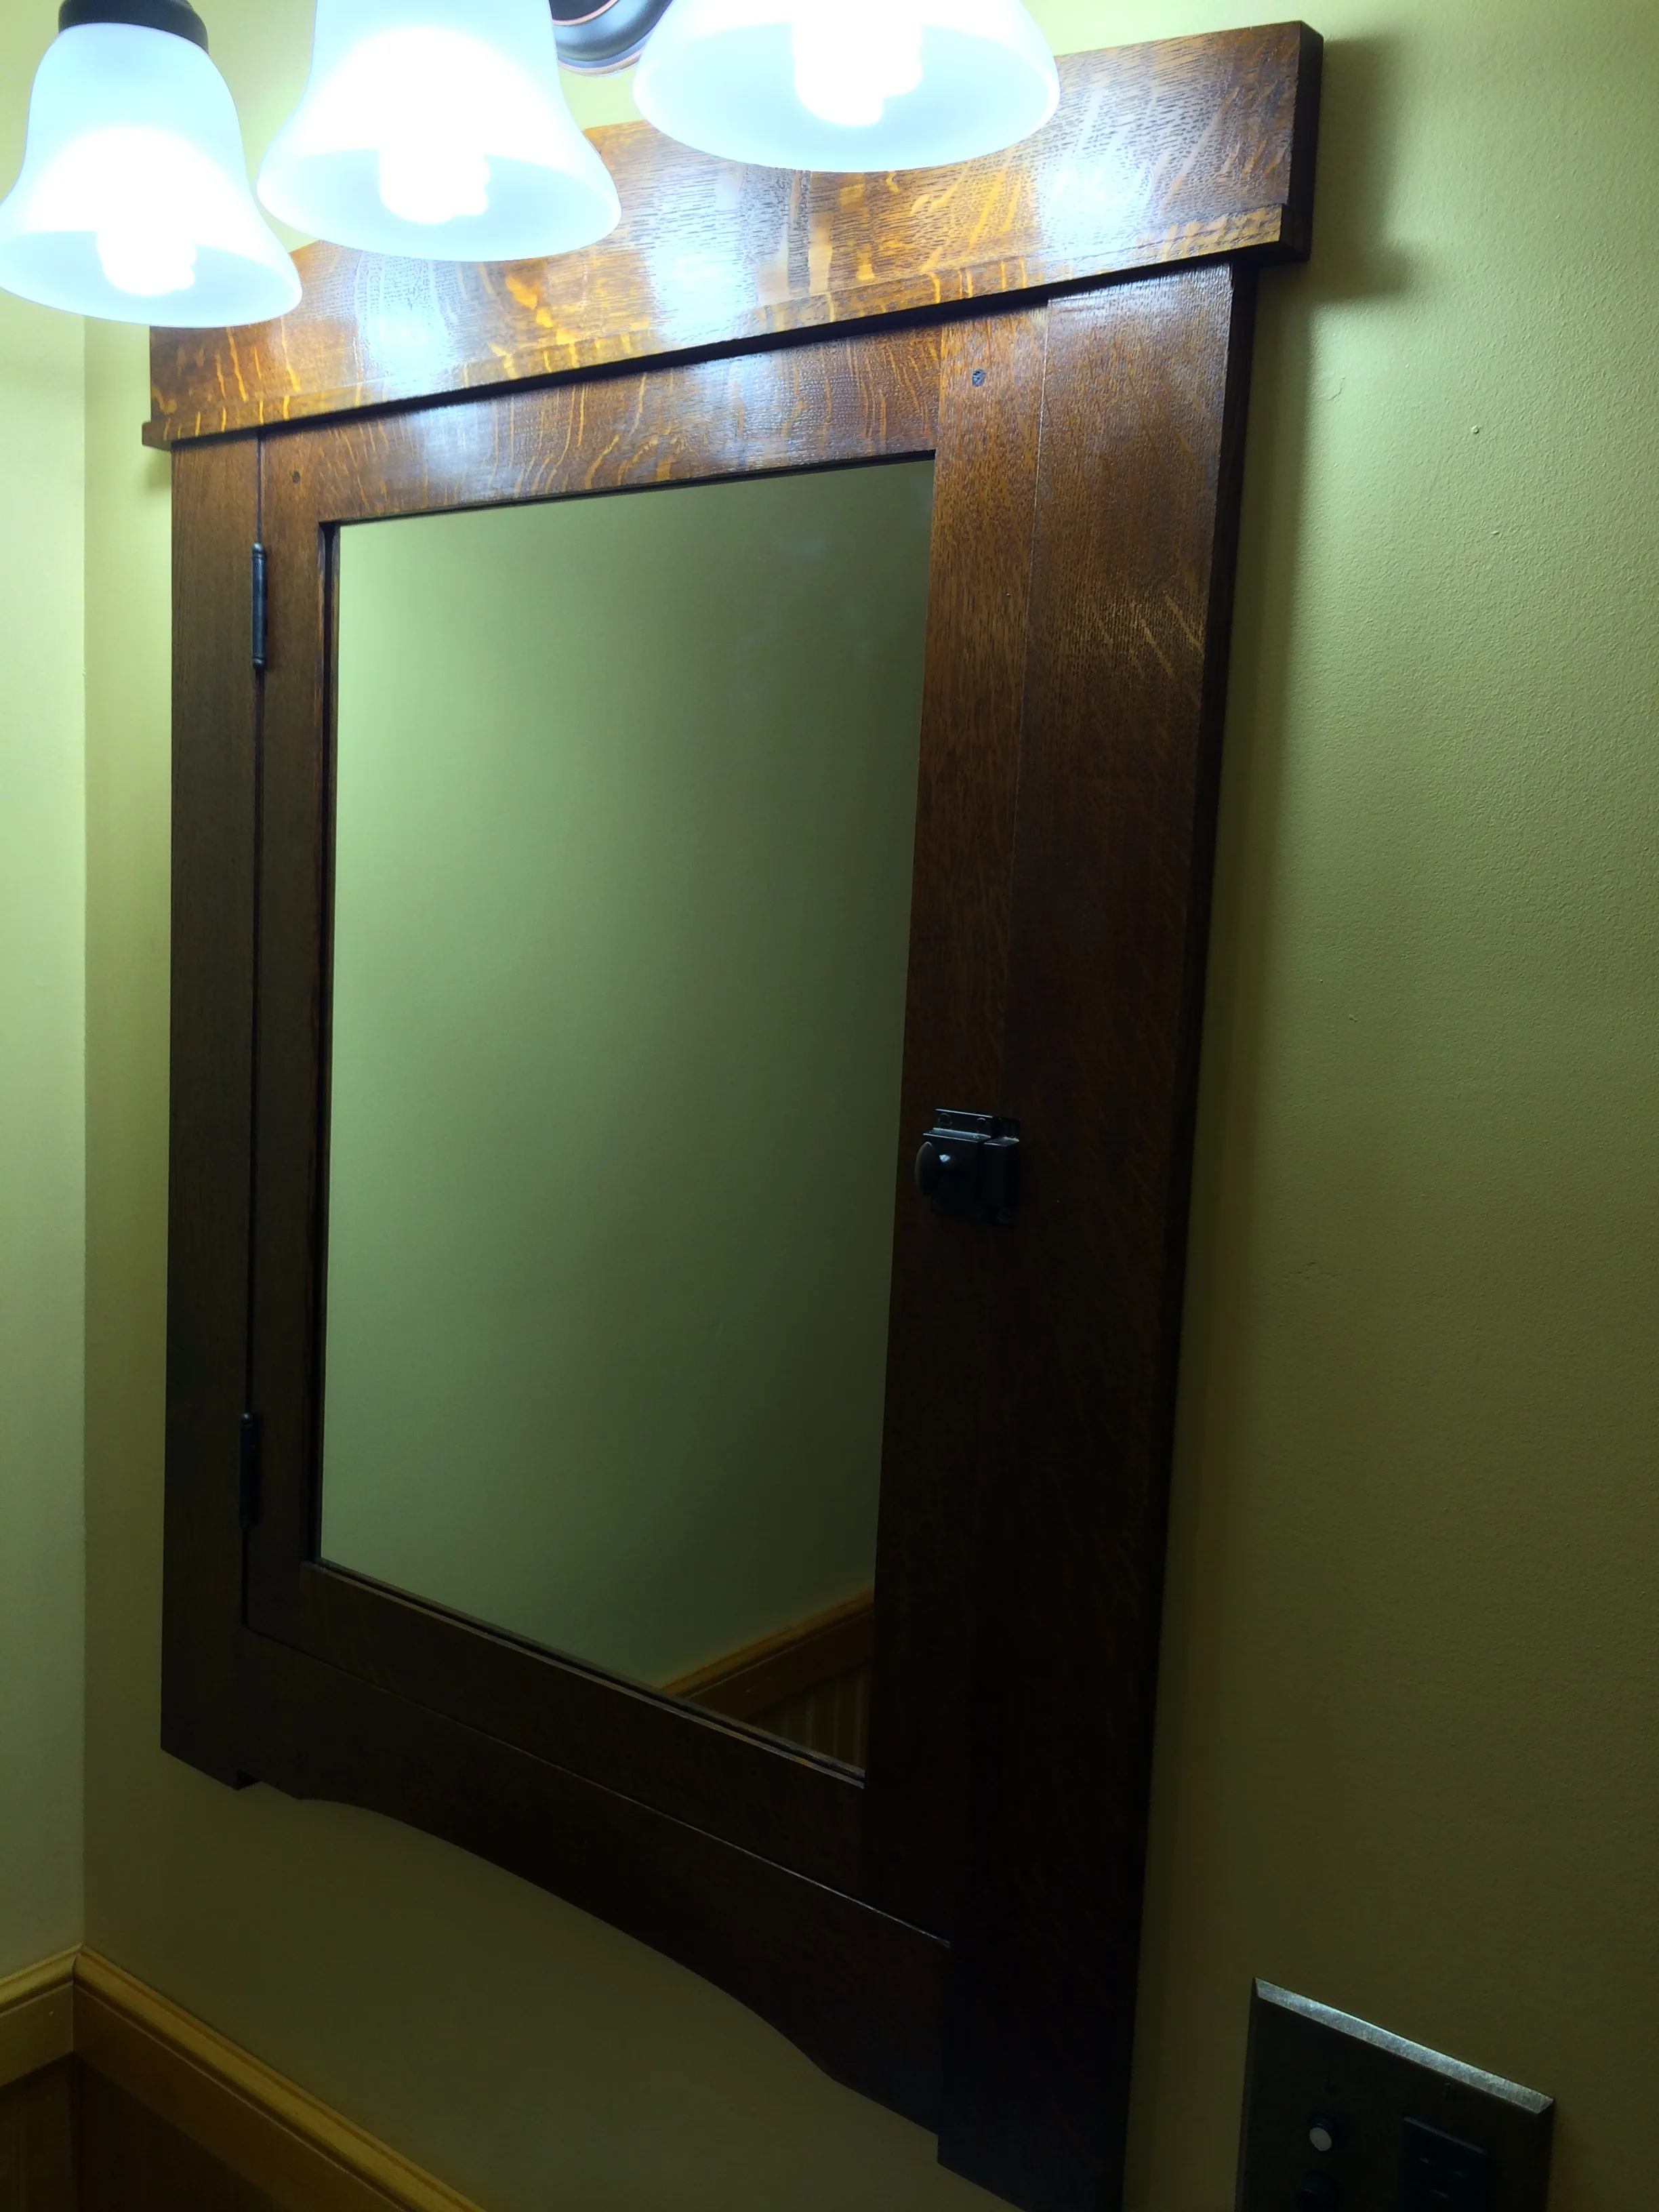


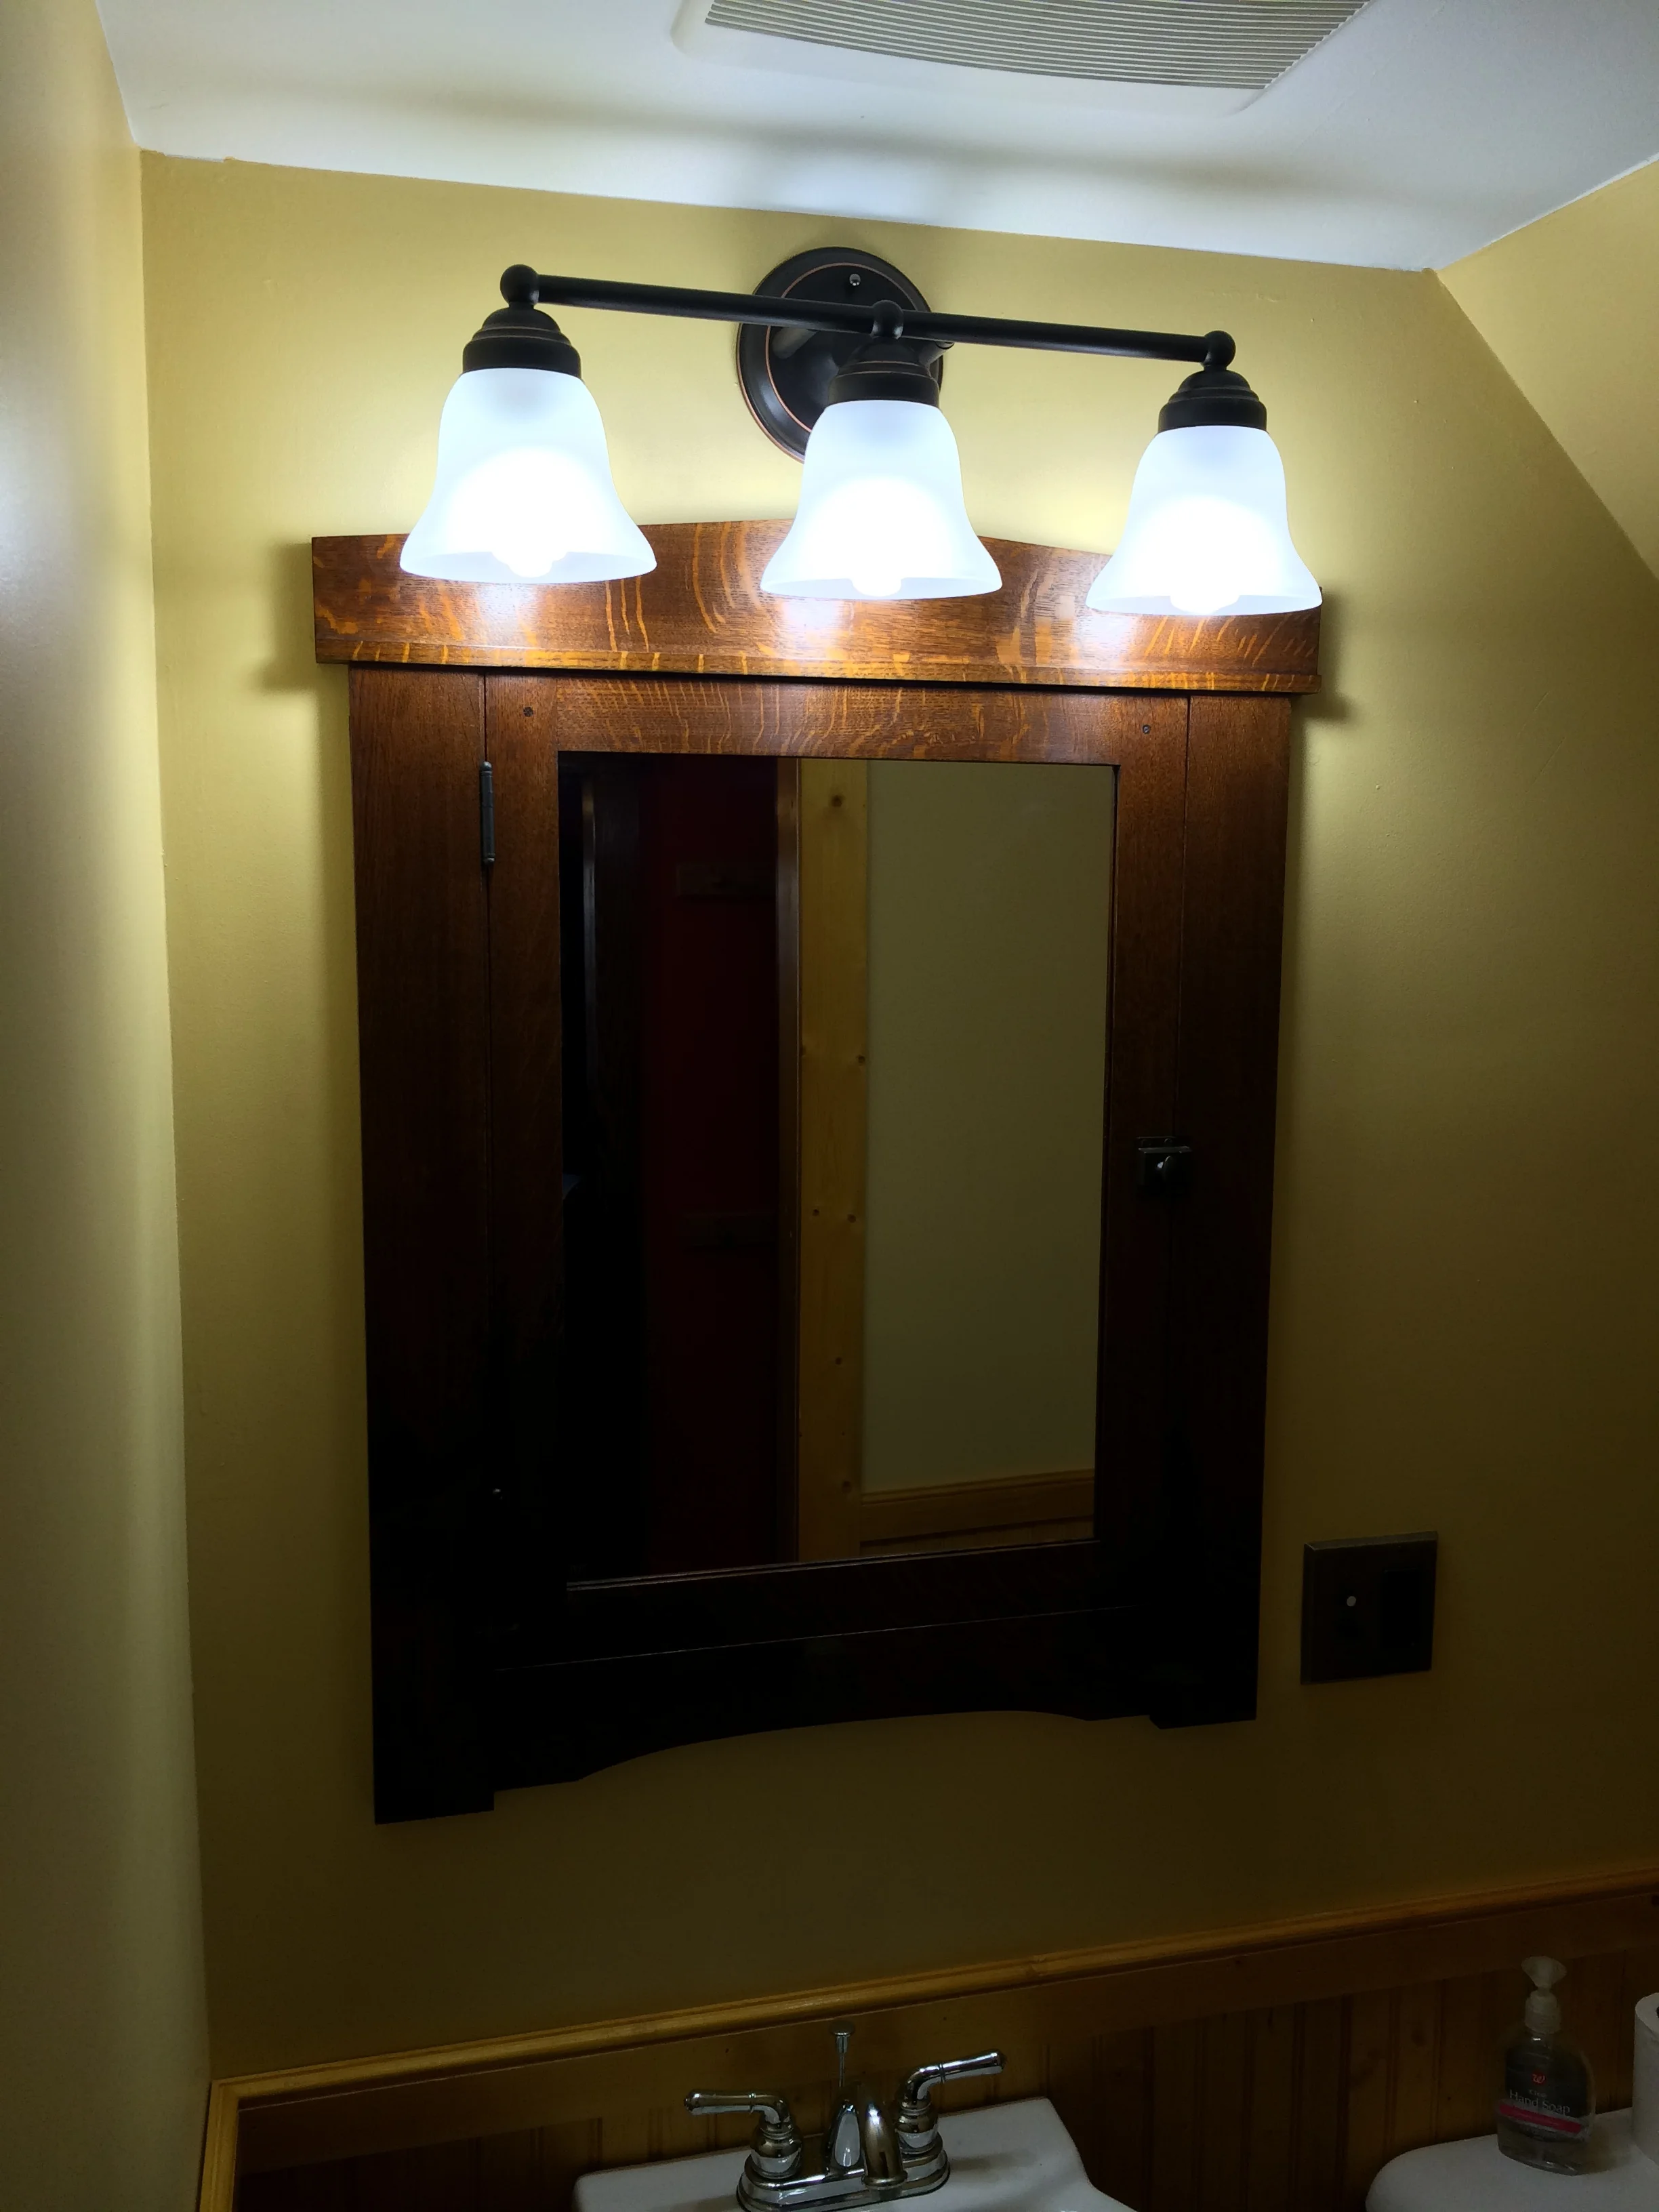
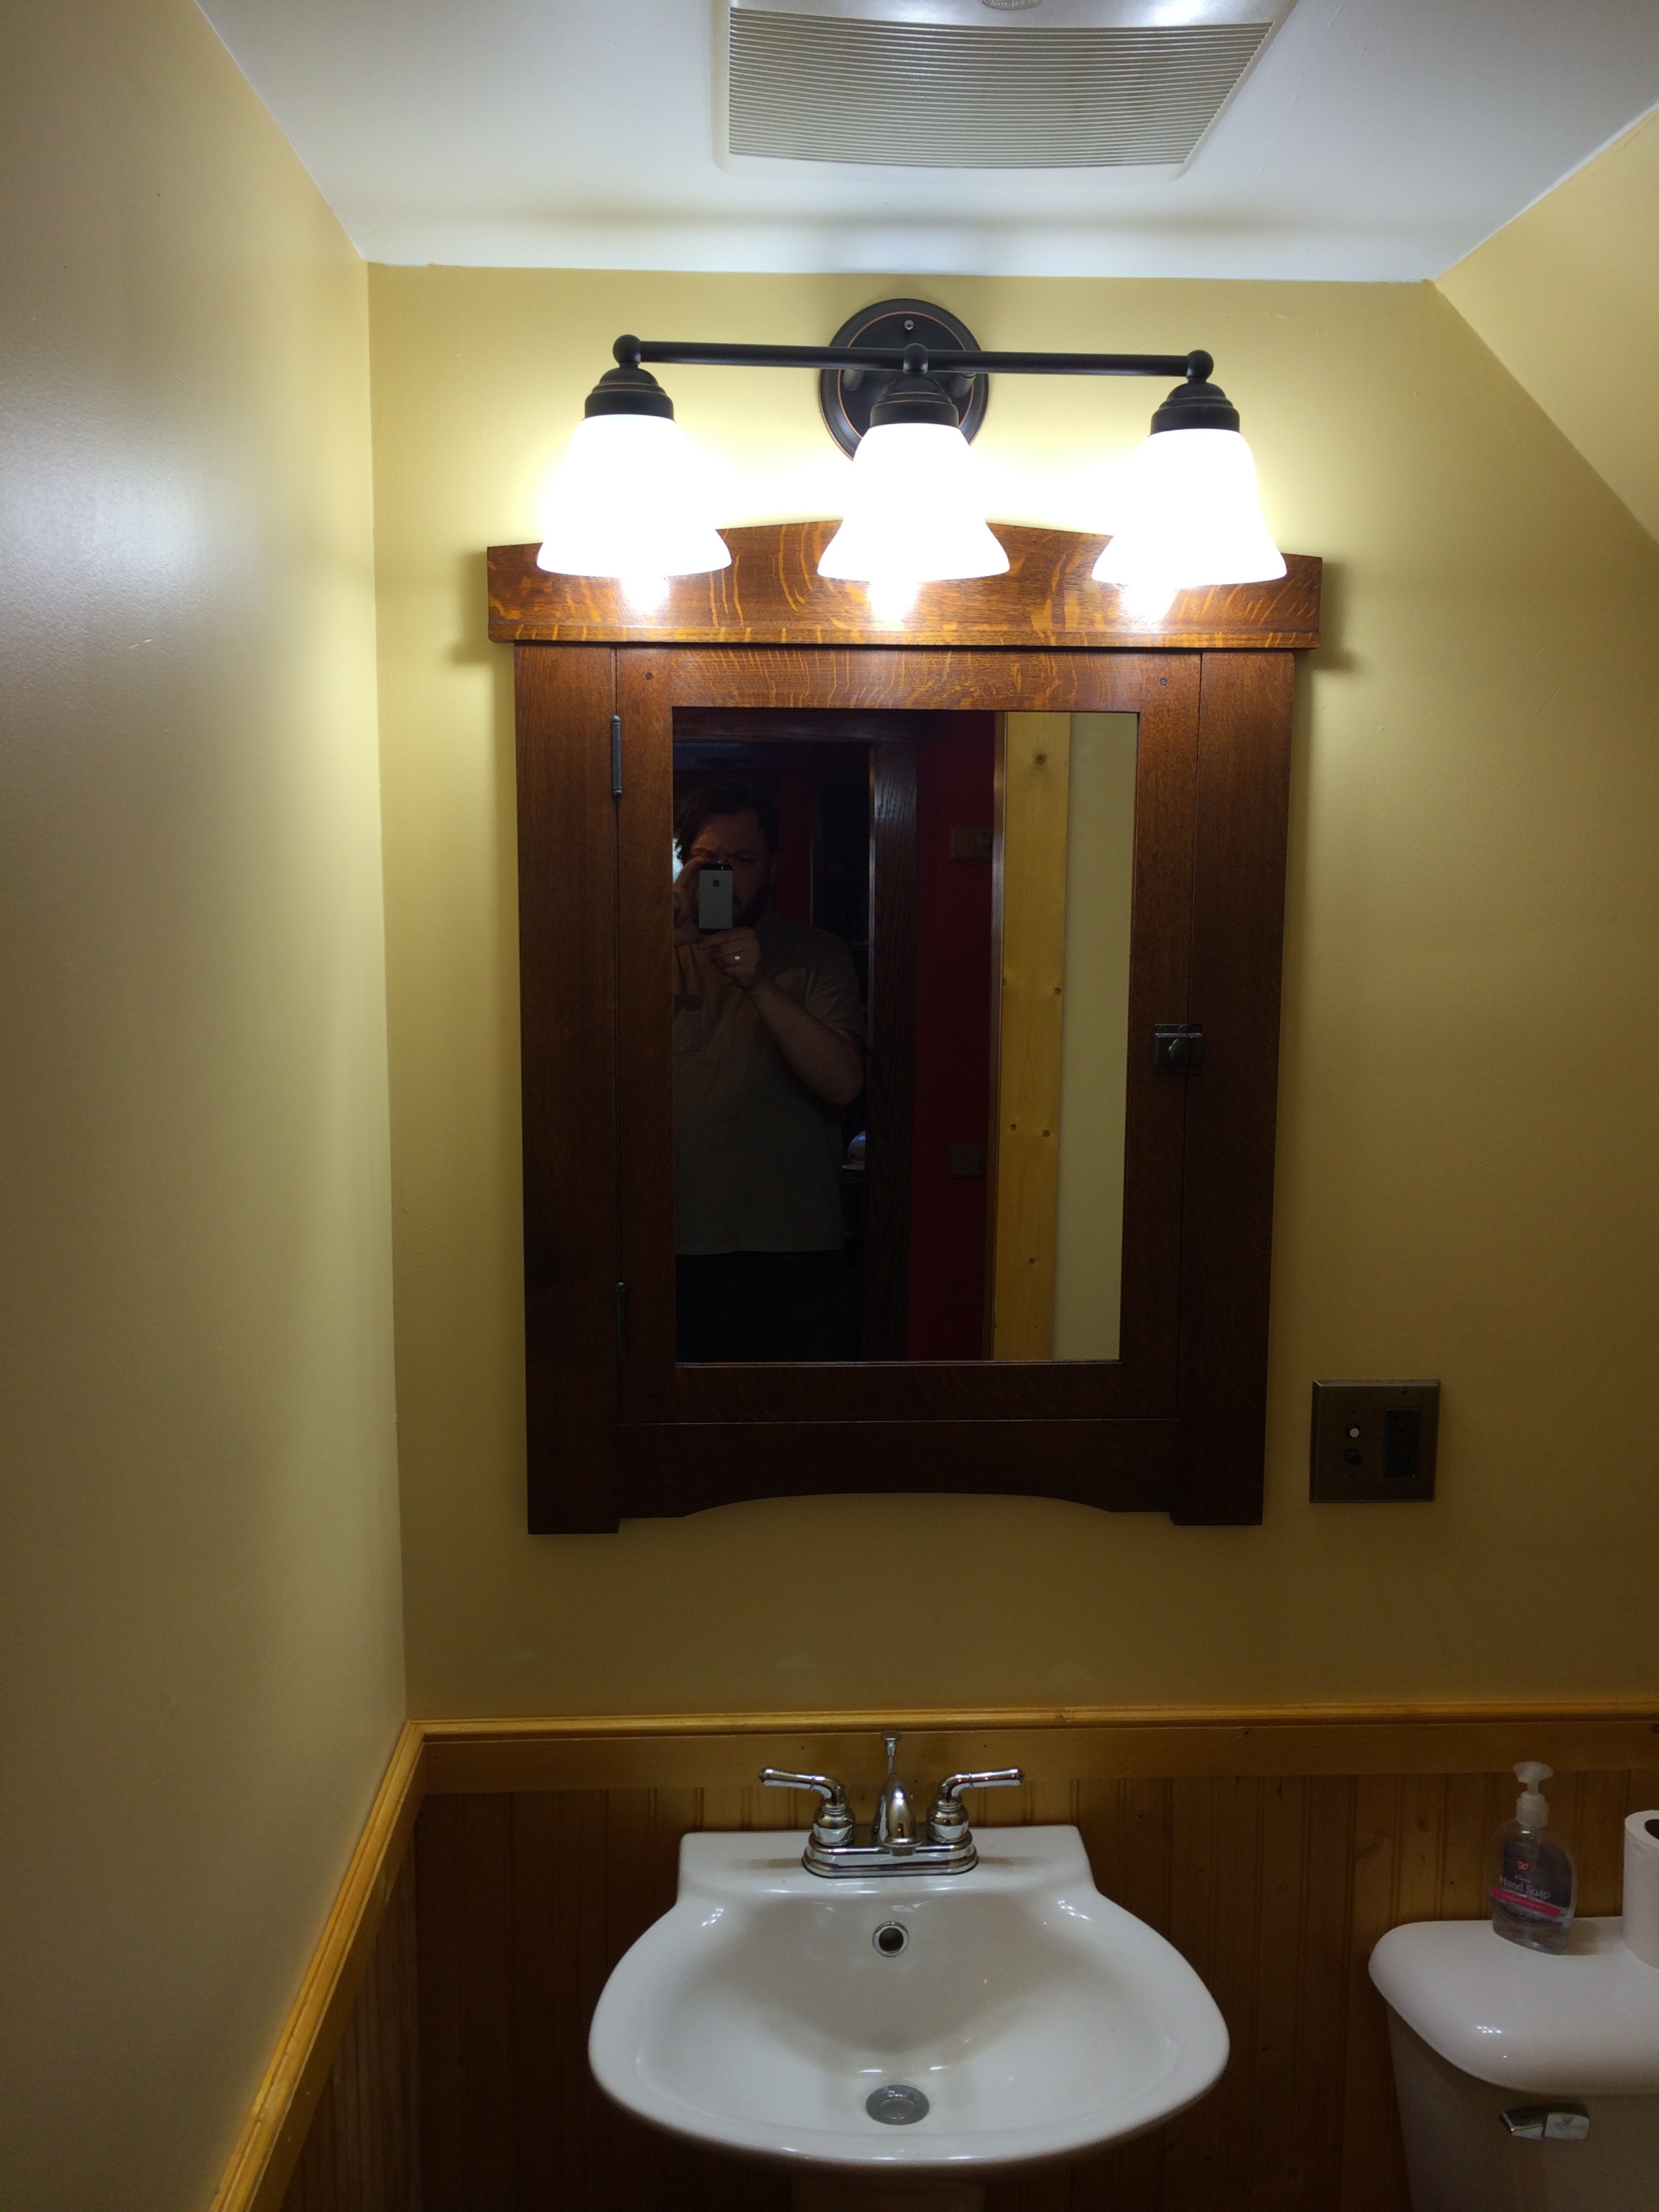
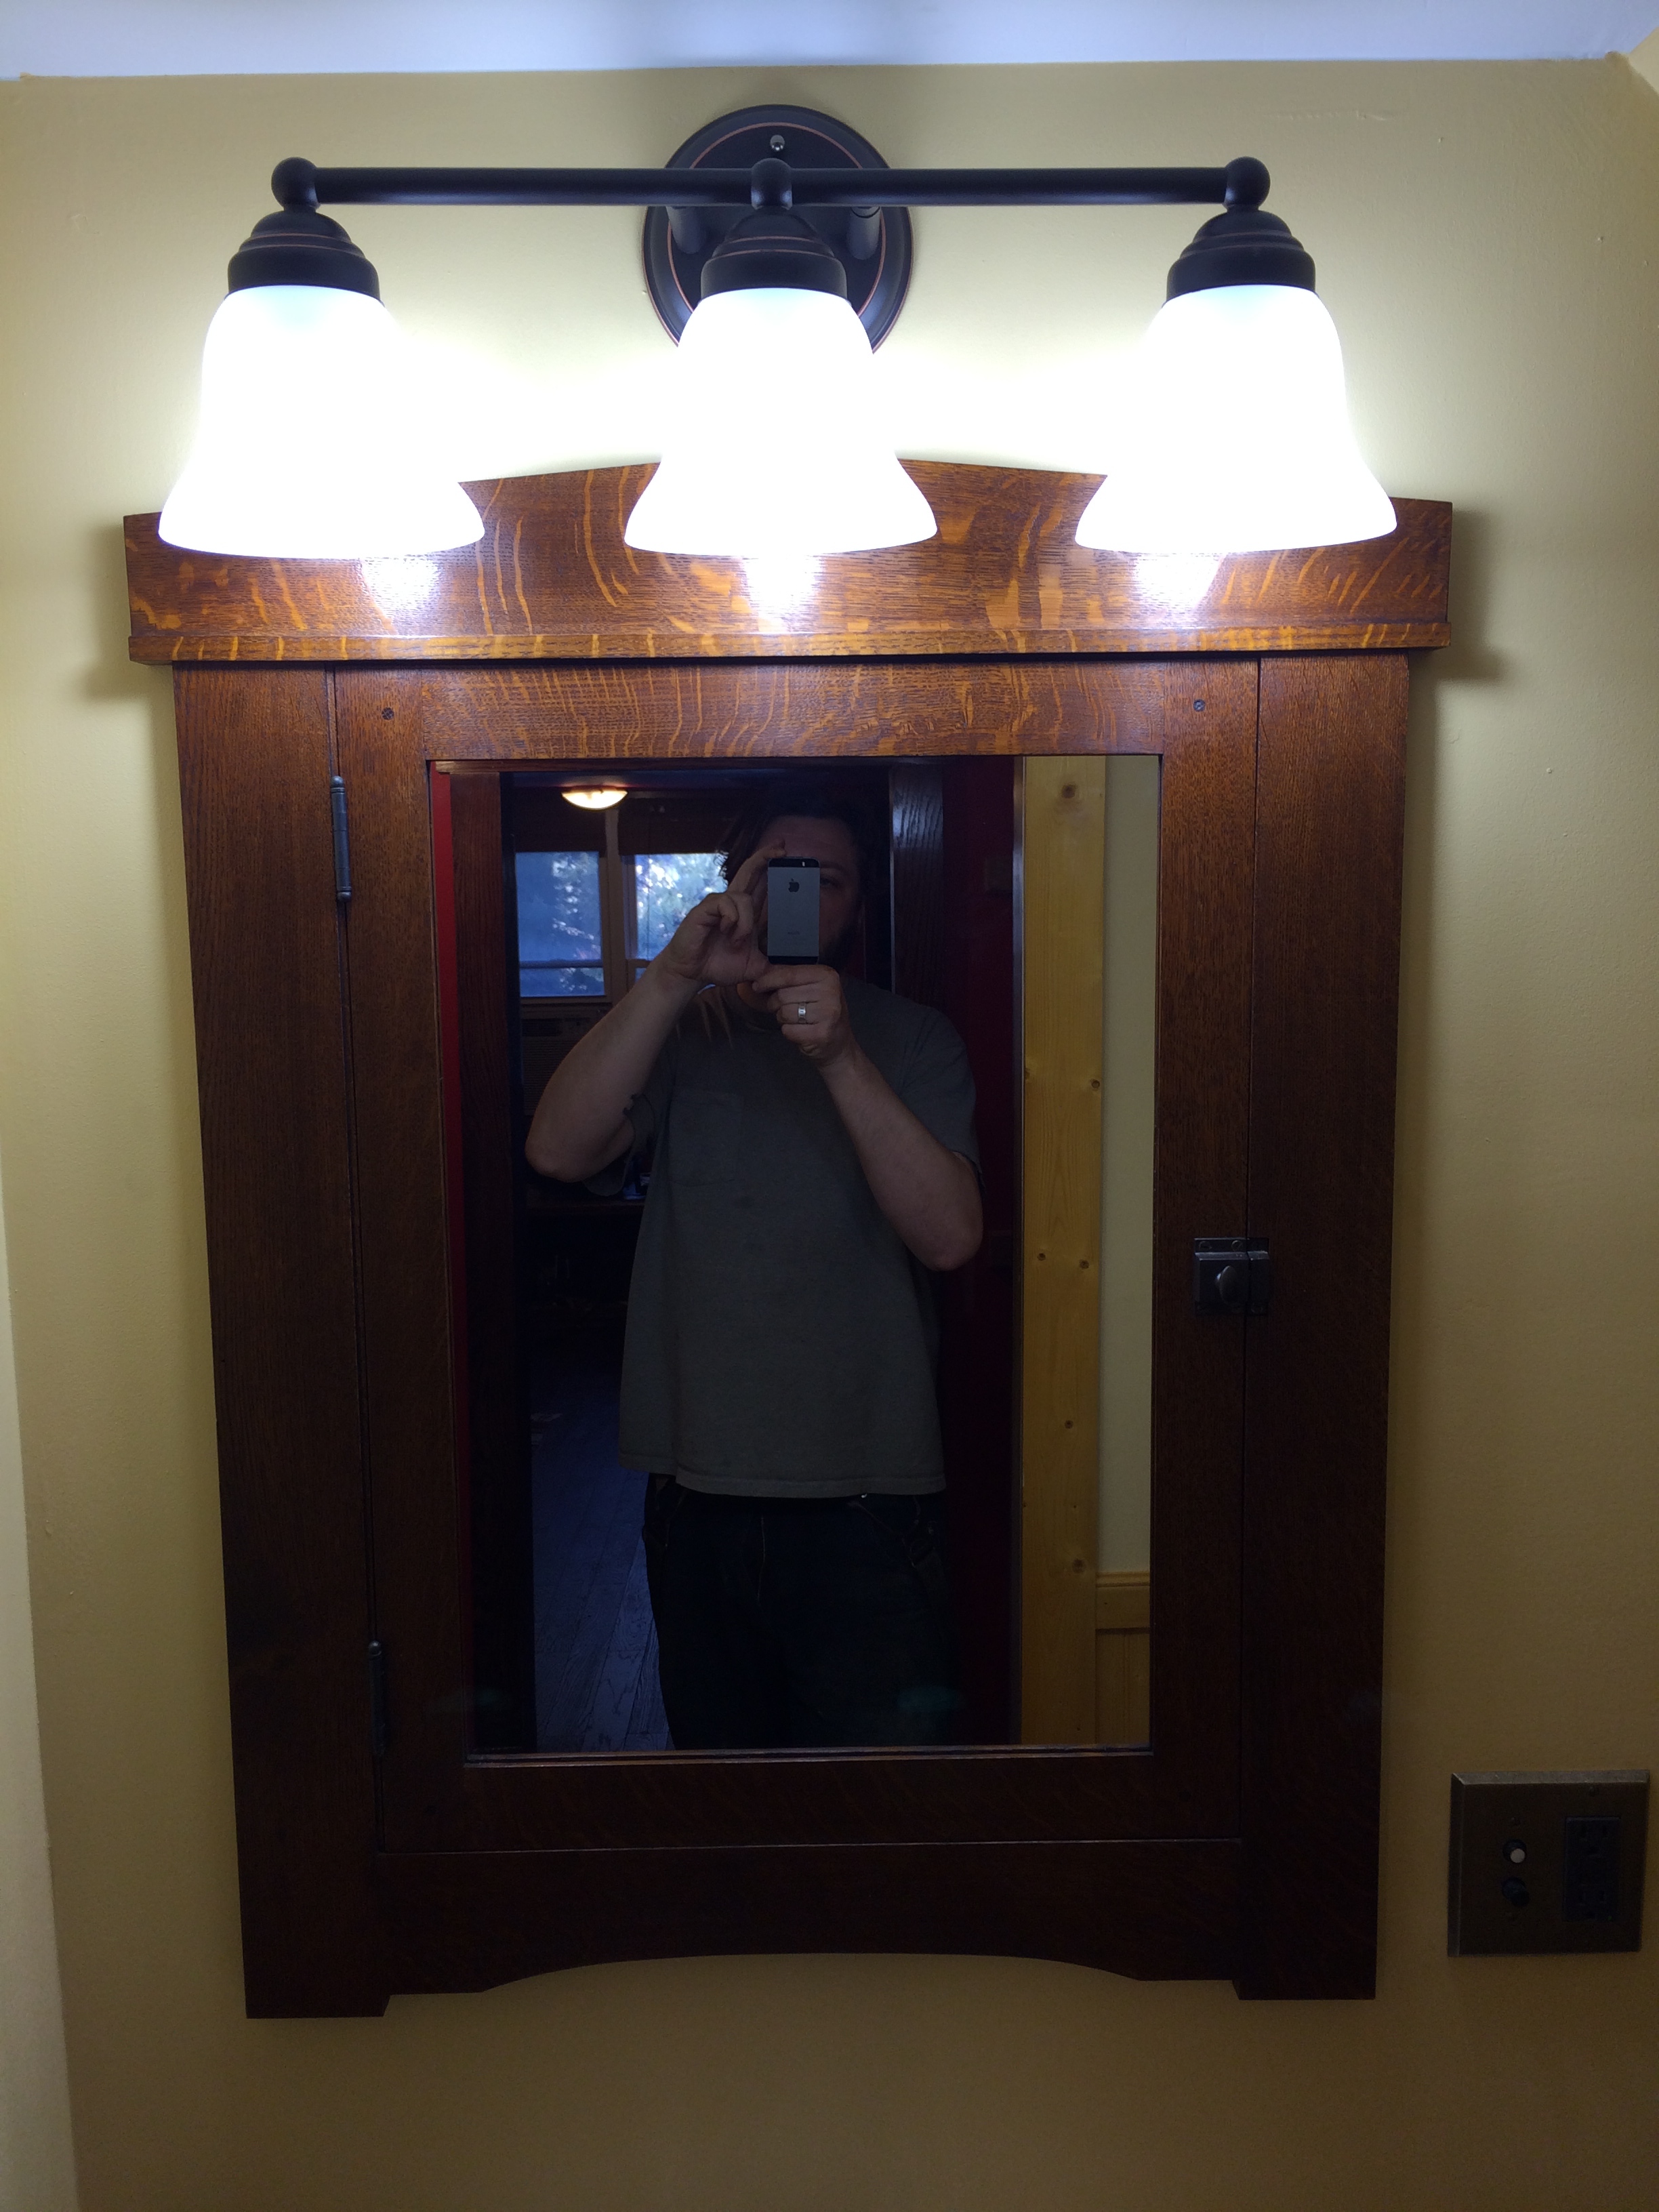

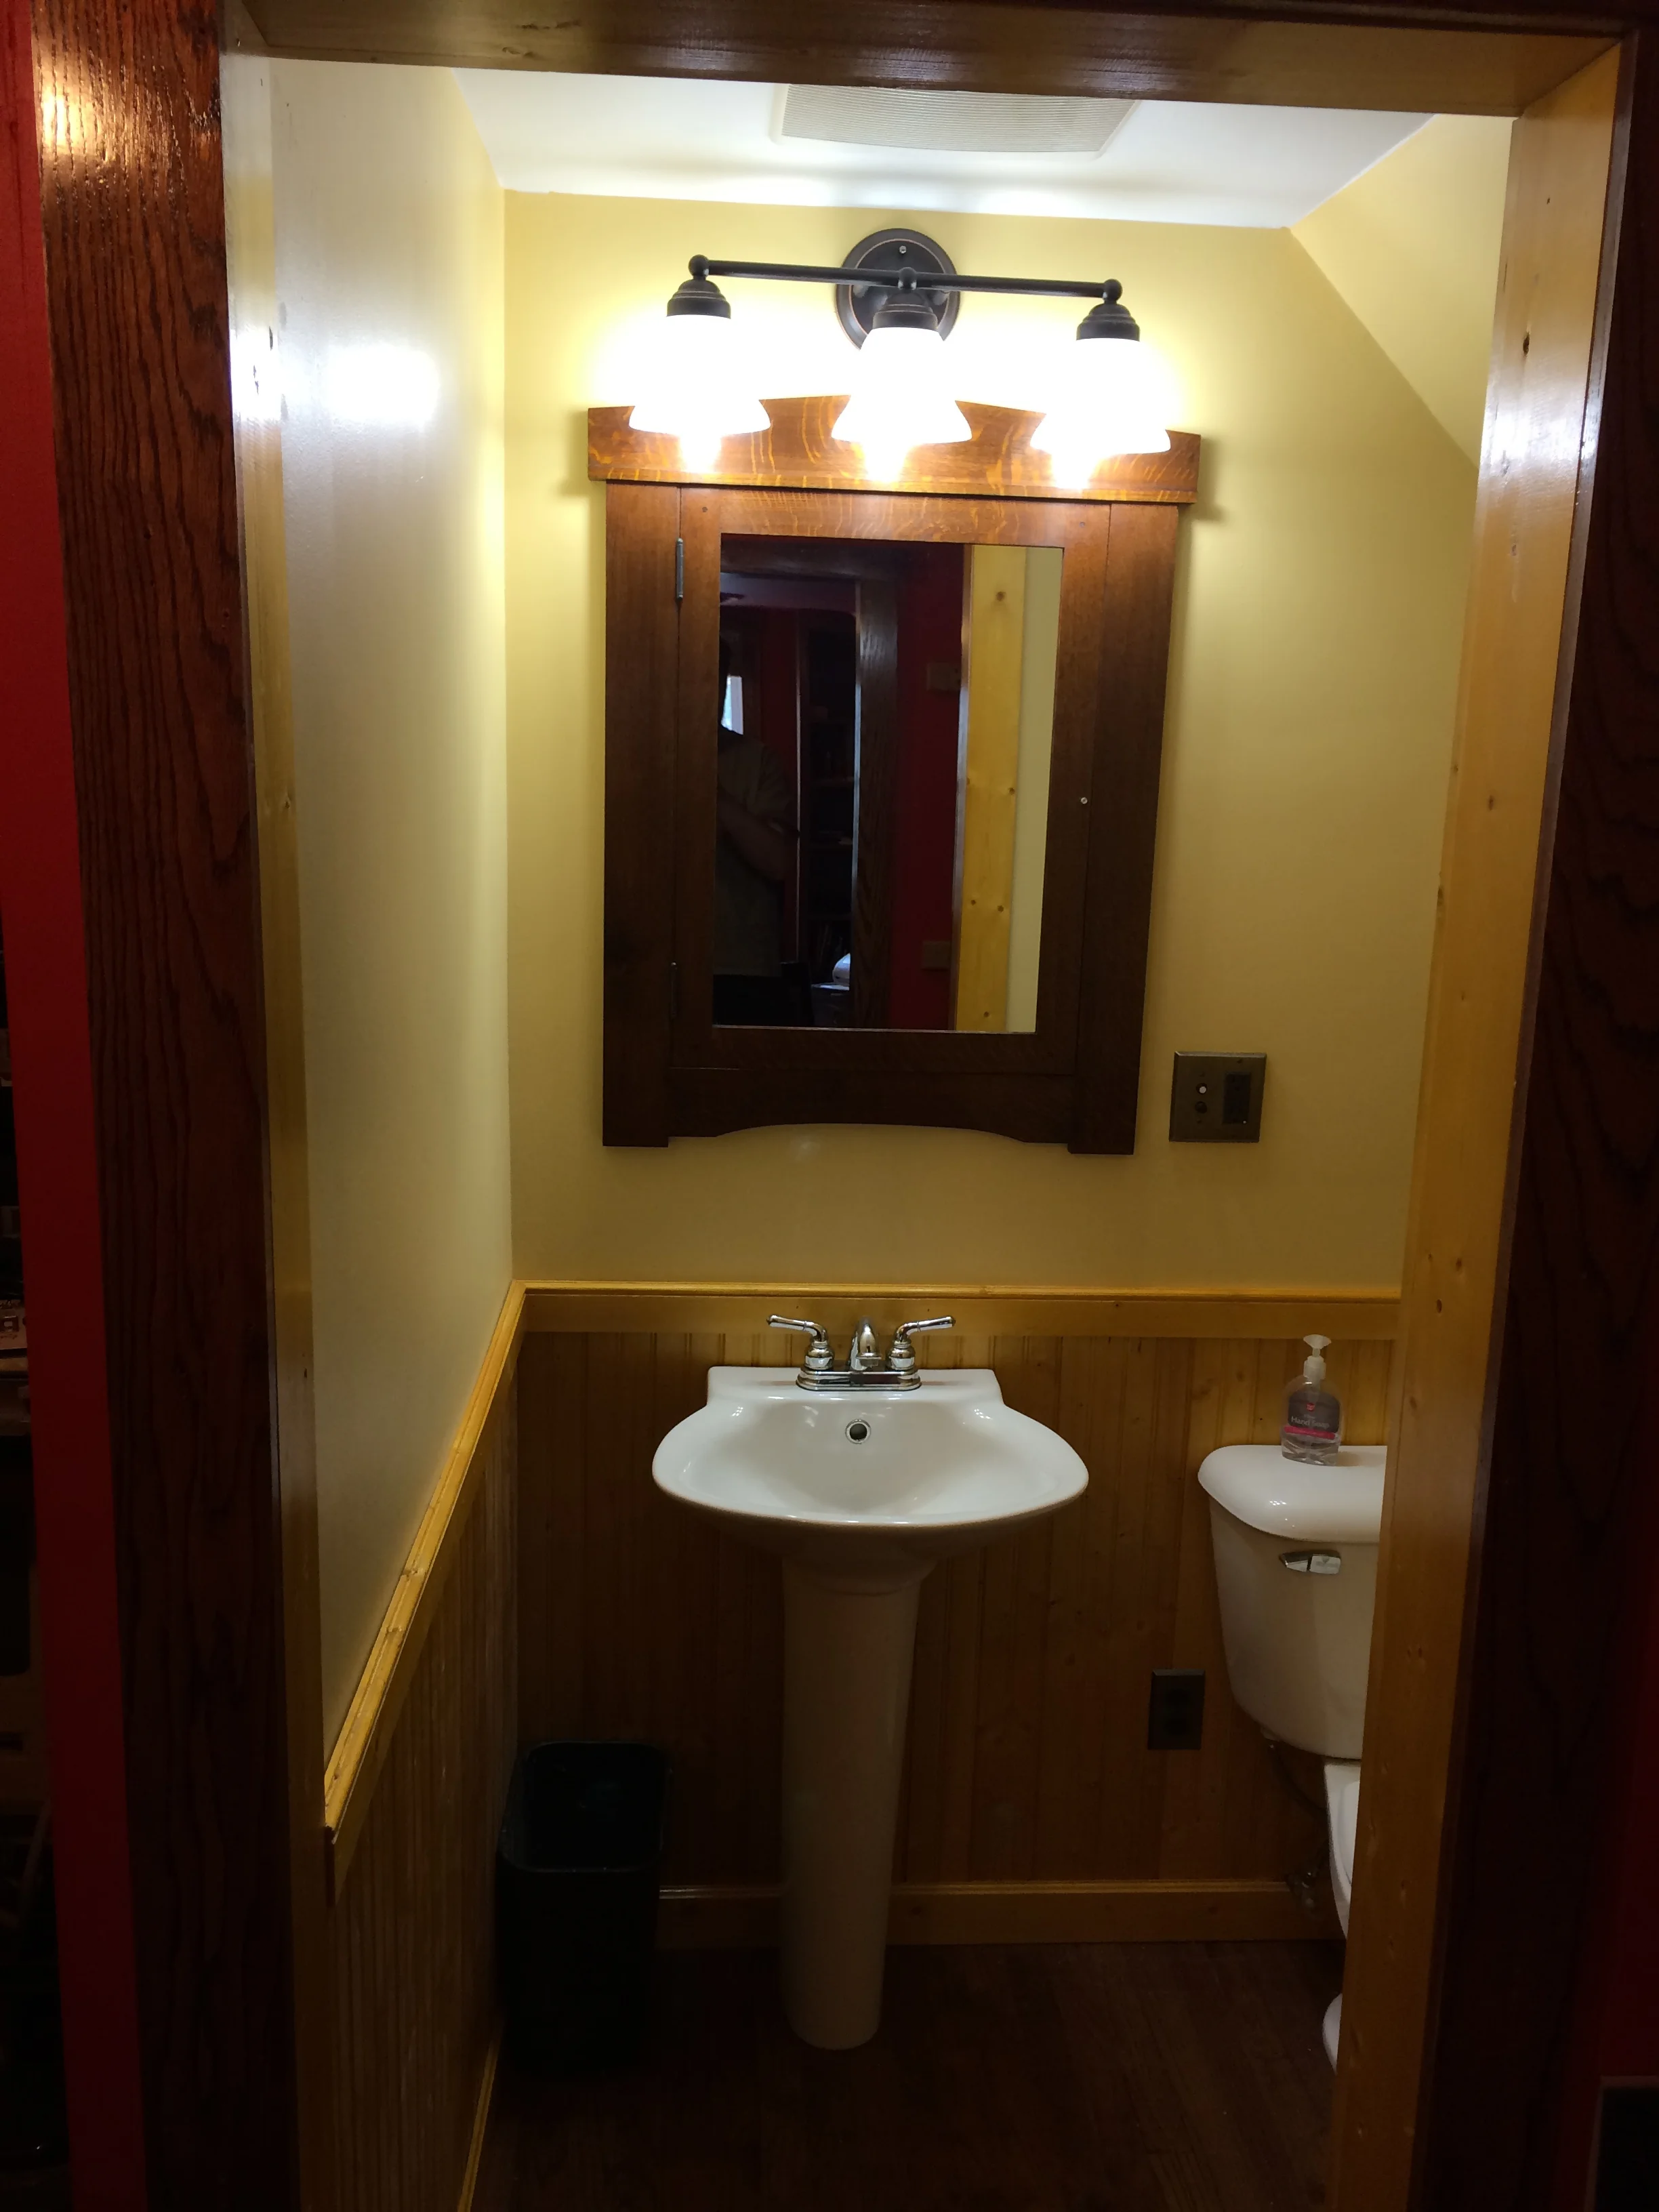
(Please pardon the lousy lighting in some of these interior shots: it's hard get good light in a 5' x 8' windowless bathroom with a slanted ceiling.) Once in place, we were pretty pleased with the result. The cabinet looked good, and did tie into the other elements of the room quite well. You might notice that I didn't install a backer board, to back up the mirror, on the inside of the door. Honestly, I never thought about it during the build, and not until much later when I was watching some other woodworking video with a mirror in a door, and they put a backer on, did it occur to me that might be a good idea. I'll see if that way it is now bothers me or not. So far: not.
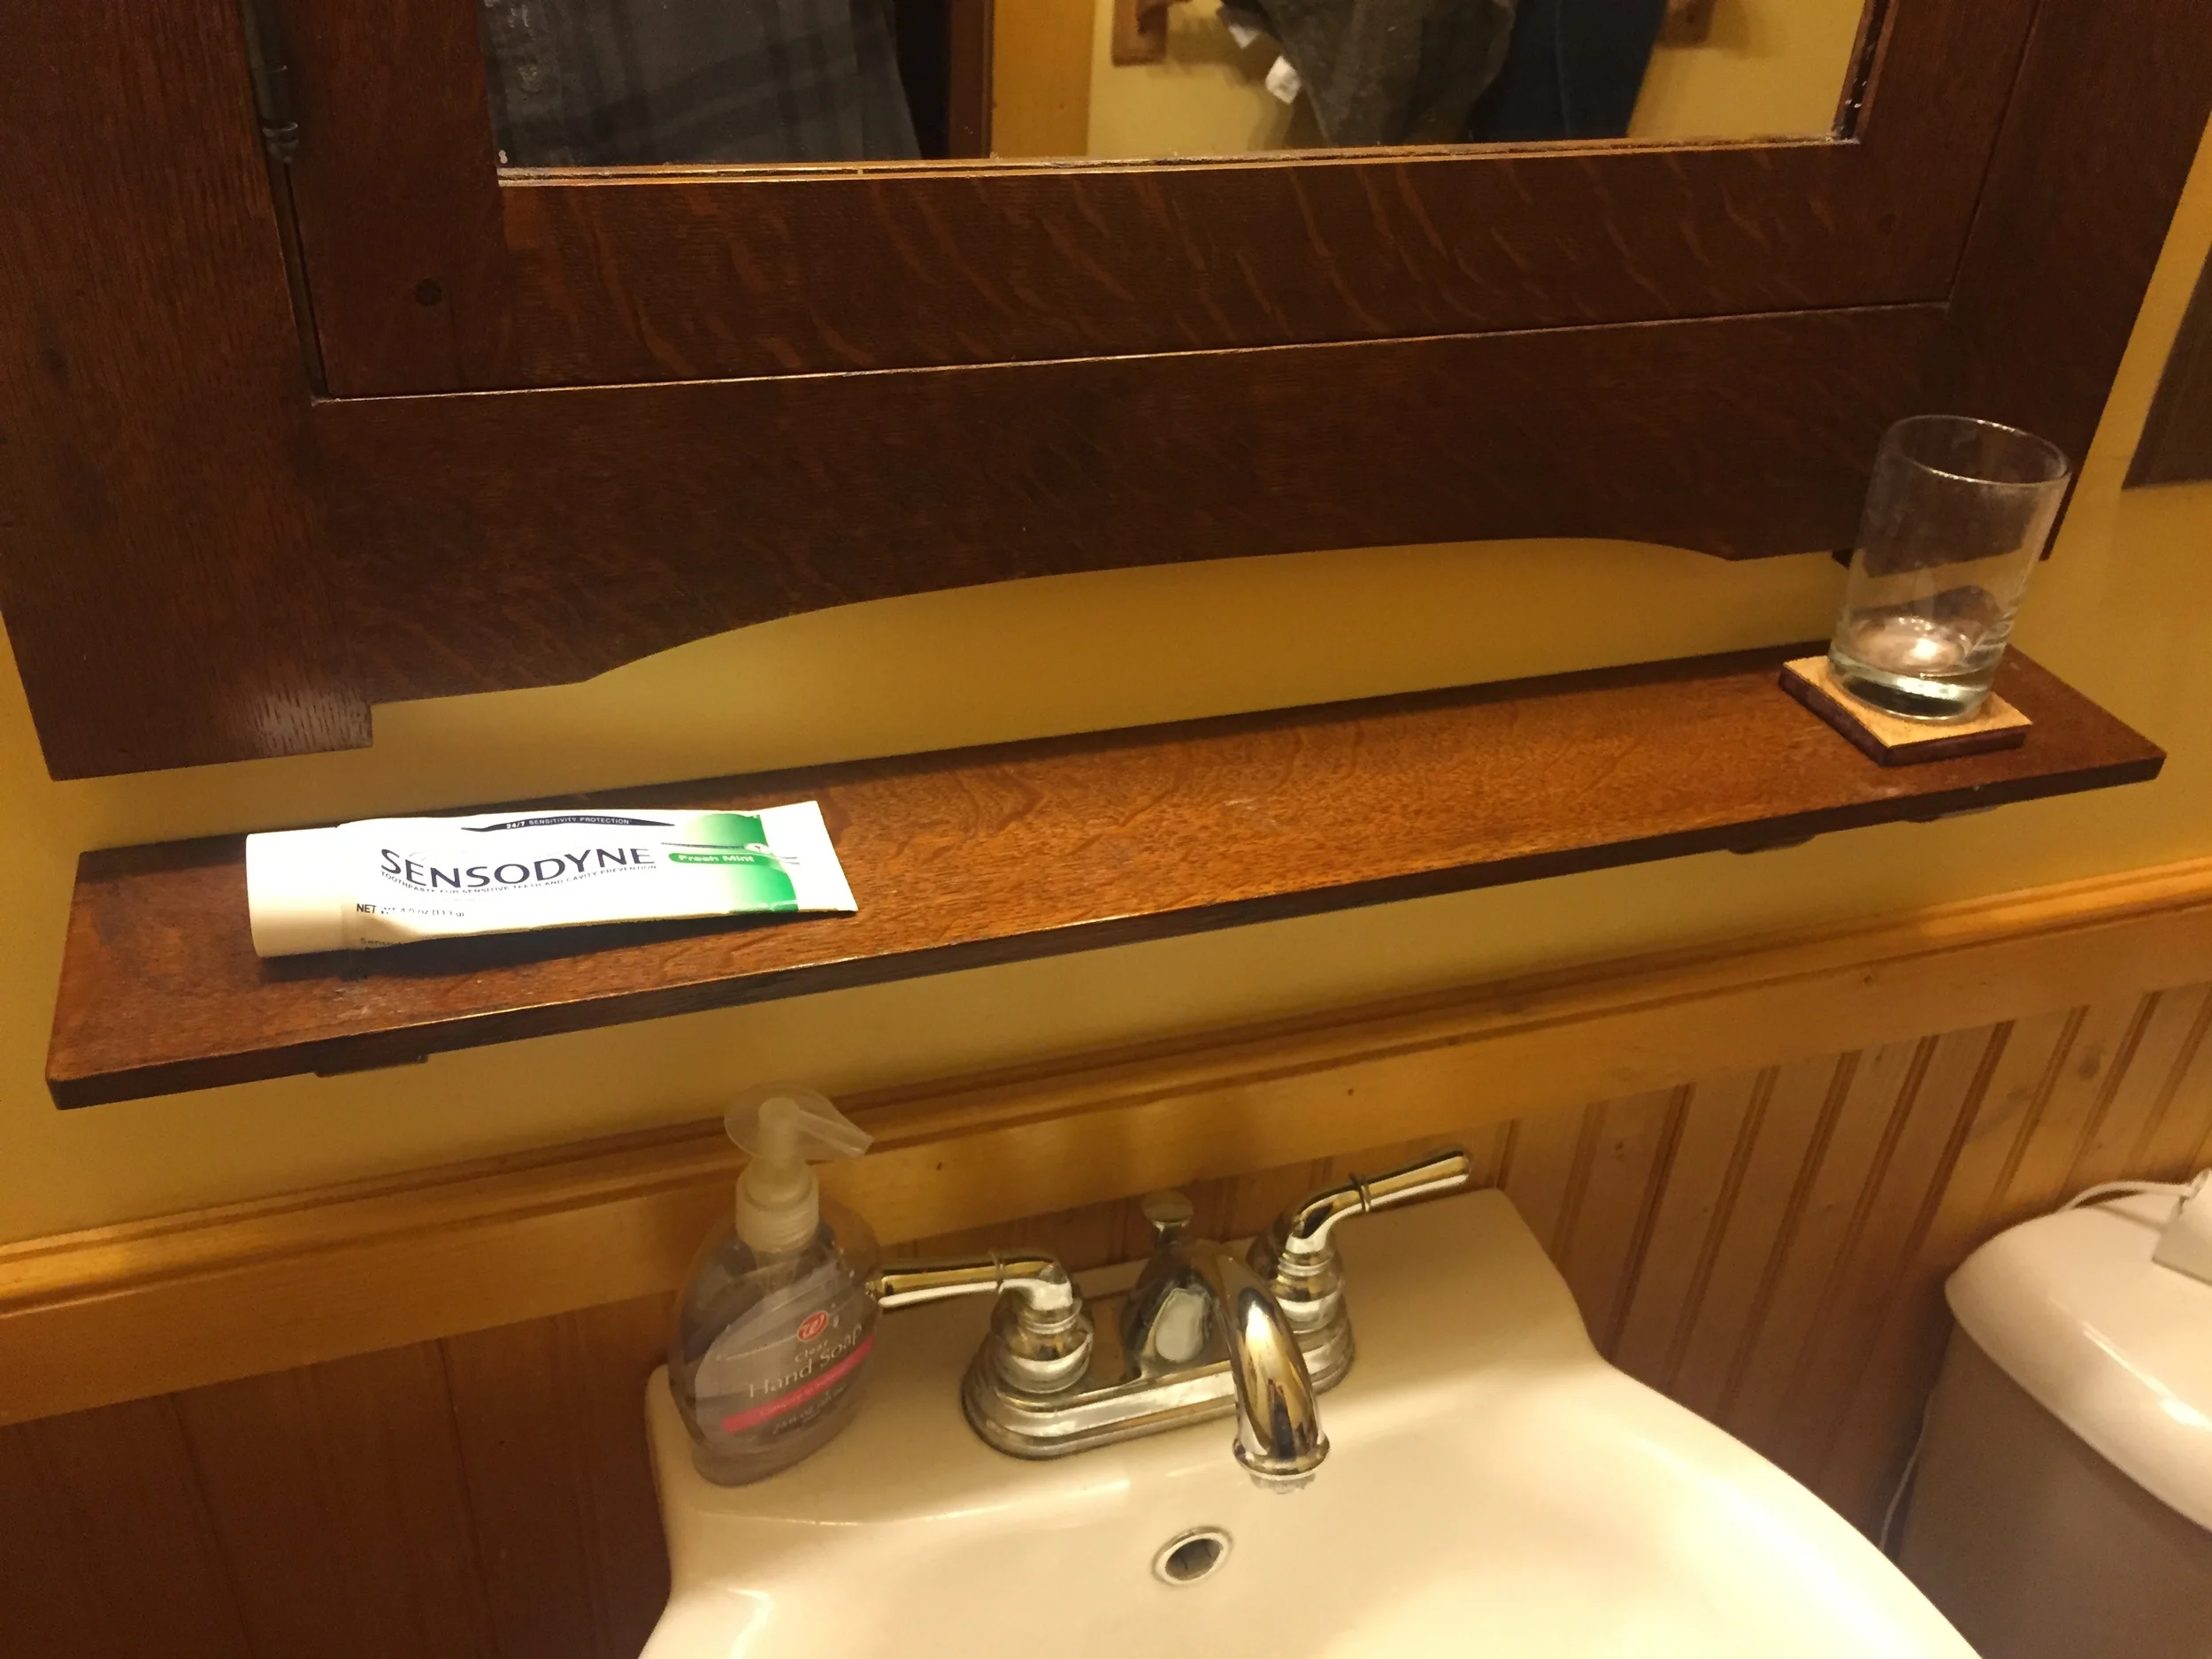
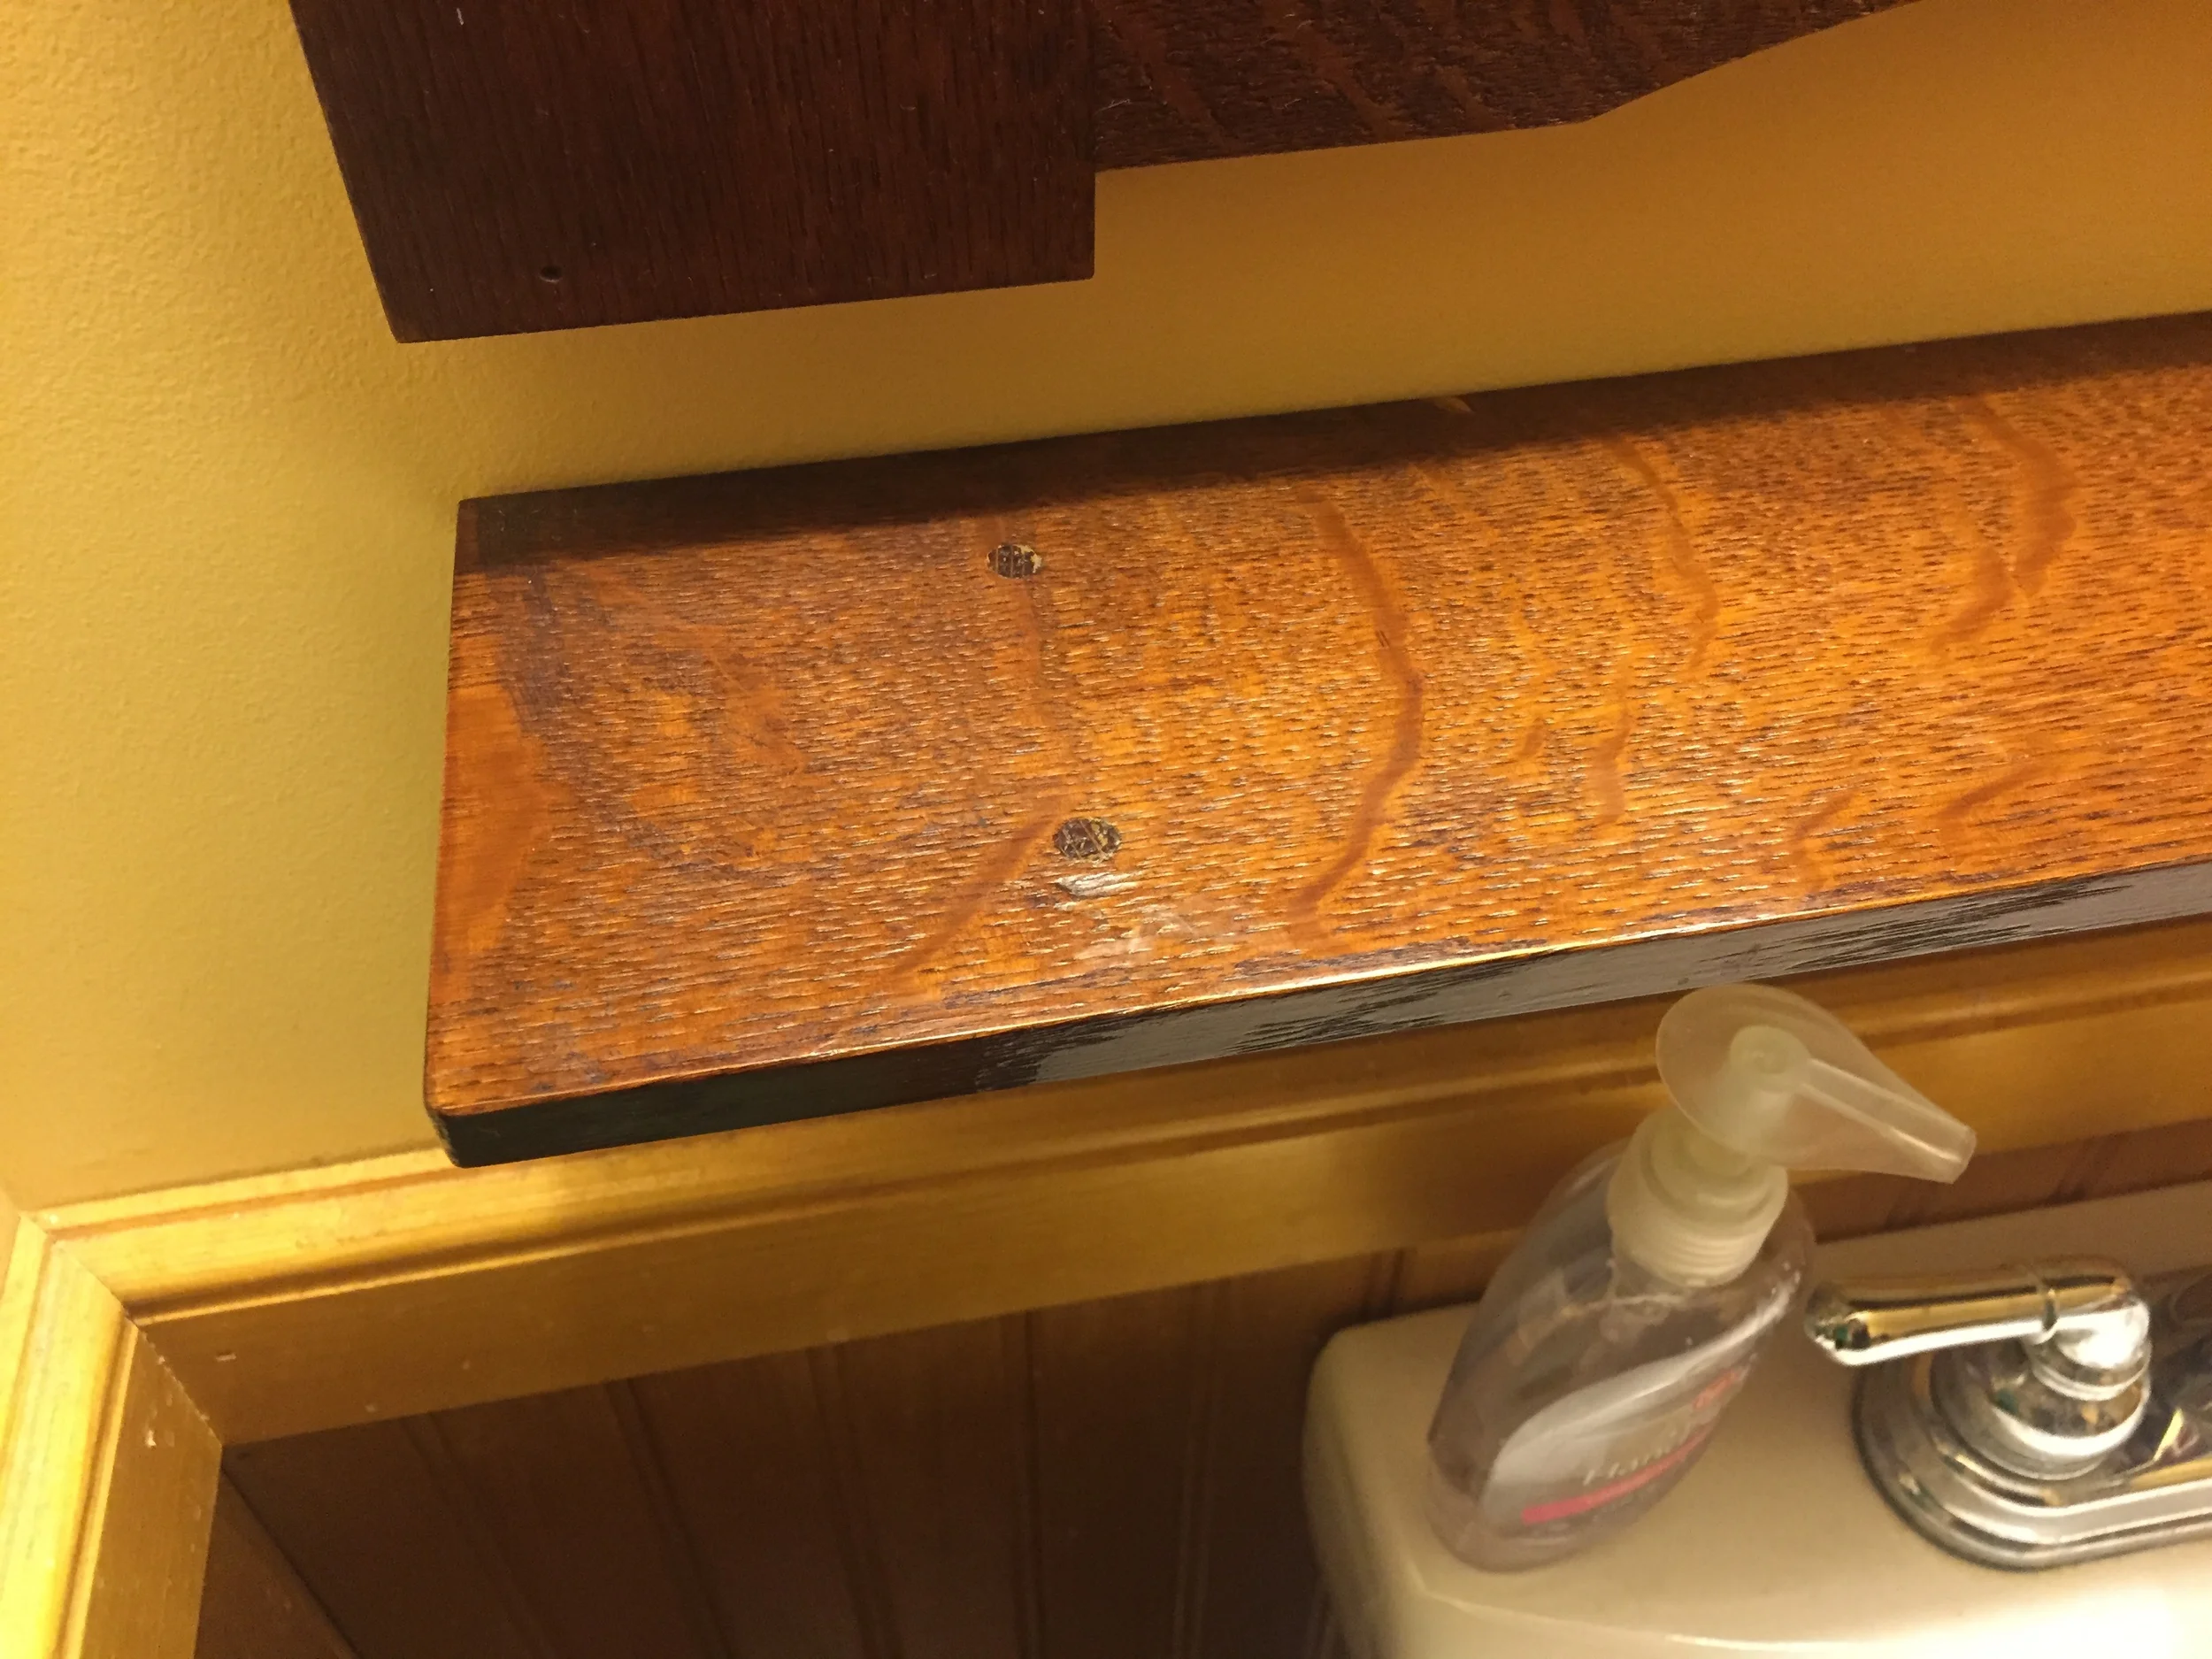
One thing my wife and I discovered after using this setup for a few months was that we had to keep open and closing the door 10,000 times in the course of doing anything up there: shaving, brushing teeth, etc. Mainly because there is not one horizontal surface to place anything on: the sink is just a small pedestal, and... well, that's it. So, I took a little more shop time, and made a small white oak shelf that sits between the sink and the medicine cabinet. It works perfectly, and solved the horizontal space problem nicely.
This was a nice home improvement-meets-furniture project, that both solved a problem and made our home a little bit nicer. Thanks for reading.