Living in the Chicago area means that I have a lot of access to some great Frank Lloyd Wright stuff. As a fan of Arts & Crafts/ Prairie/ Mission/ Craftsman furniture and style, I love being able to visit the FLW Home & Studio in neighboring Oak Park, the Robie House in the Hyde Park neighborhood of Chicago, not to mention the number of houses and buildings that Wright, his partners, students and admirers built throughout the area. Like many, I have a love/hate relationship with Wright's works. They're full of intense positives: they are undeniably creative, challenging, innovative, and wonderfully thorough, while at the same time full of terrible shortcomings and flaws: often poorly built, uncomfortable, limited in utility, often with a preference for style over practical considerations. In some ways Wright comes off sort of like a high-faulutin' fashion designer, one that makes incredible designs that are totally impractical, but when their influence trickles down do the "real world", are sound and rewarding. Not always, but sometimes.
(I guess its sort of silly to try to wrap up the essence of the Frank Lloyd Wright experience in a few sentences, but you get the idea. Apologies to the millions of scholars and thousands of art and architecture authors out there.)
But as a woodworker, I love visiting Wright's sites and looking at the woodwork and furniture, and trying to imagine the eccentric Wright driving them all nuts as they tried to execute his ideas. Recently, I had a chance to visit the Robie House in Chicago's Hyde Park area with my family, a place I'd always meant to go, but hadn't had the chance. Needless to say, it was absolutely great, and so very worth it on many levels. While there's a lot to discuss about the house, this post will focus on my observations as a woodworker and furniture maker.
Let's get to it. Red oak. Among woodworkers, there is a pretty big crew of red oak haters out there. They have their reasons: red oak, being one of the most plentiful hardwoods in the midwest and eastern United States, is cheap, and thus, everywhere. Being everywhere, its overuse has made it tiring to the eyes. Add to that the flood of "golden oak" finished, tacky "country" style house trim and furniture, and it has been beaten. to. death. For woodworkers, they find it brittle and splintery, and some don't even like the smell! Oh poor red oak, you are indeed the red (oak) headed stepchild of the woodworking world. But, do we blame the poor noble red oak for being the victim of abuse and misuse? Is it red oak's fault that it is plentiful, and thus used on cheap pieces and tacky interiors? Clearly, that's unfair. I put it to the red oak haters that they need to challenge themselves to use red oak creatively and tastefully, and discover ways to give this maligned and disrespected wood another chance.
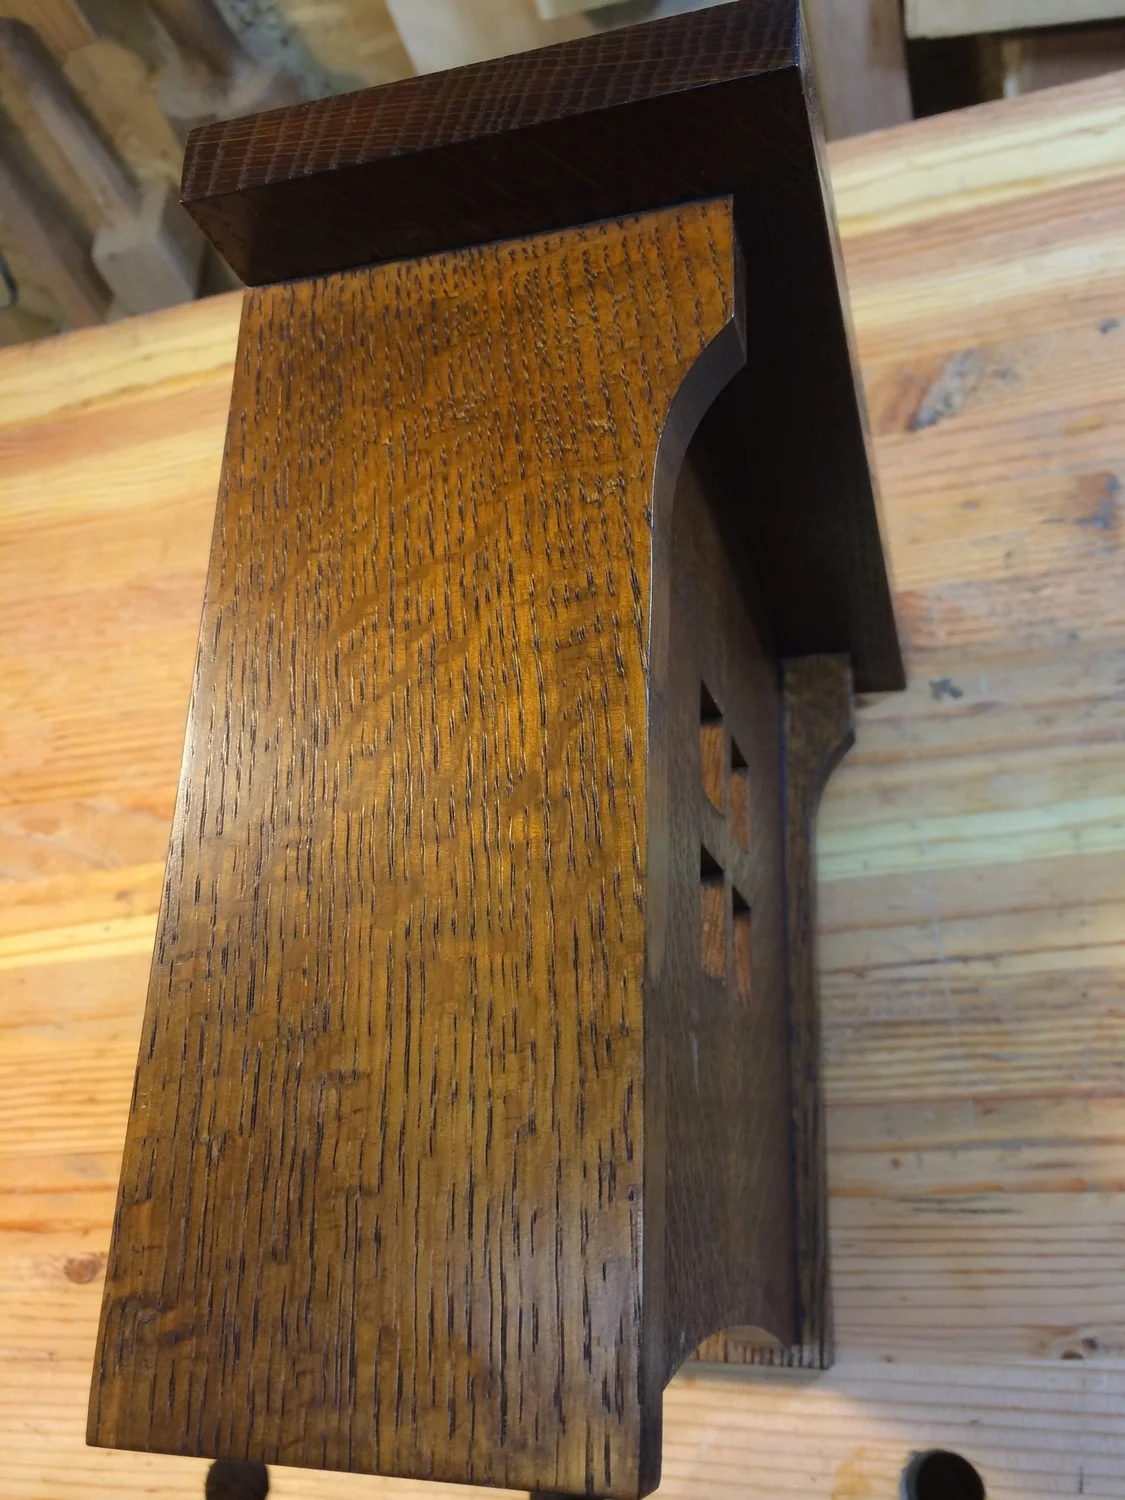
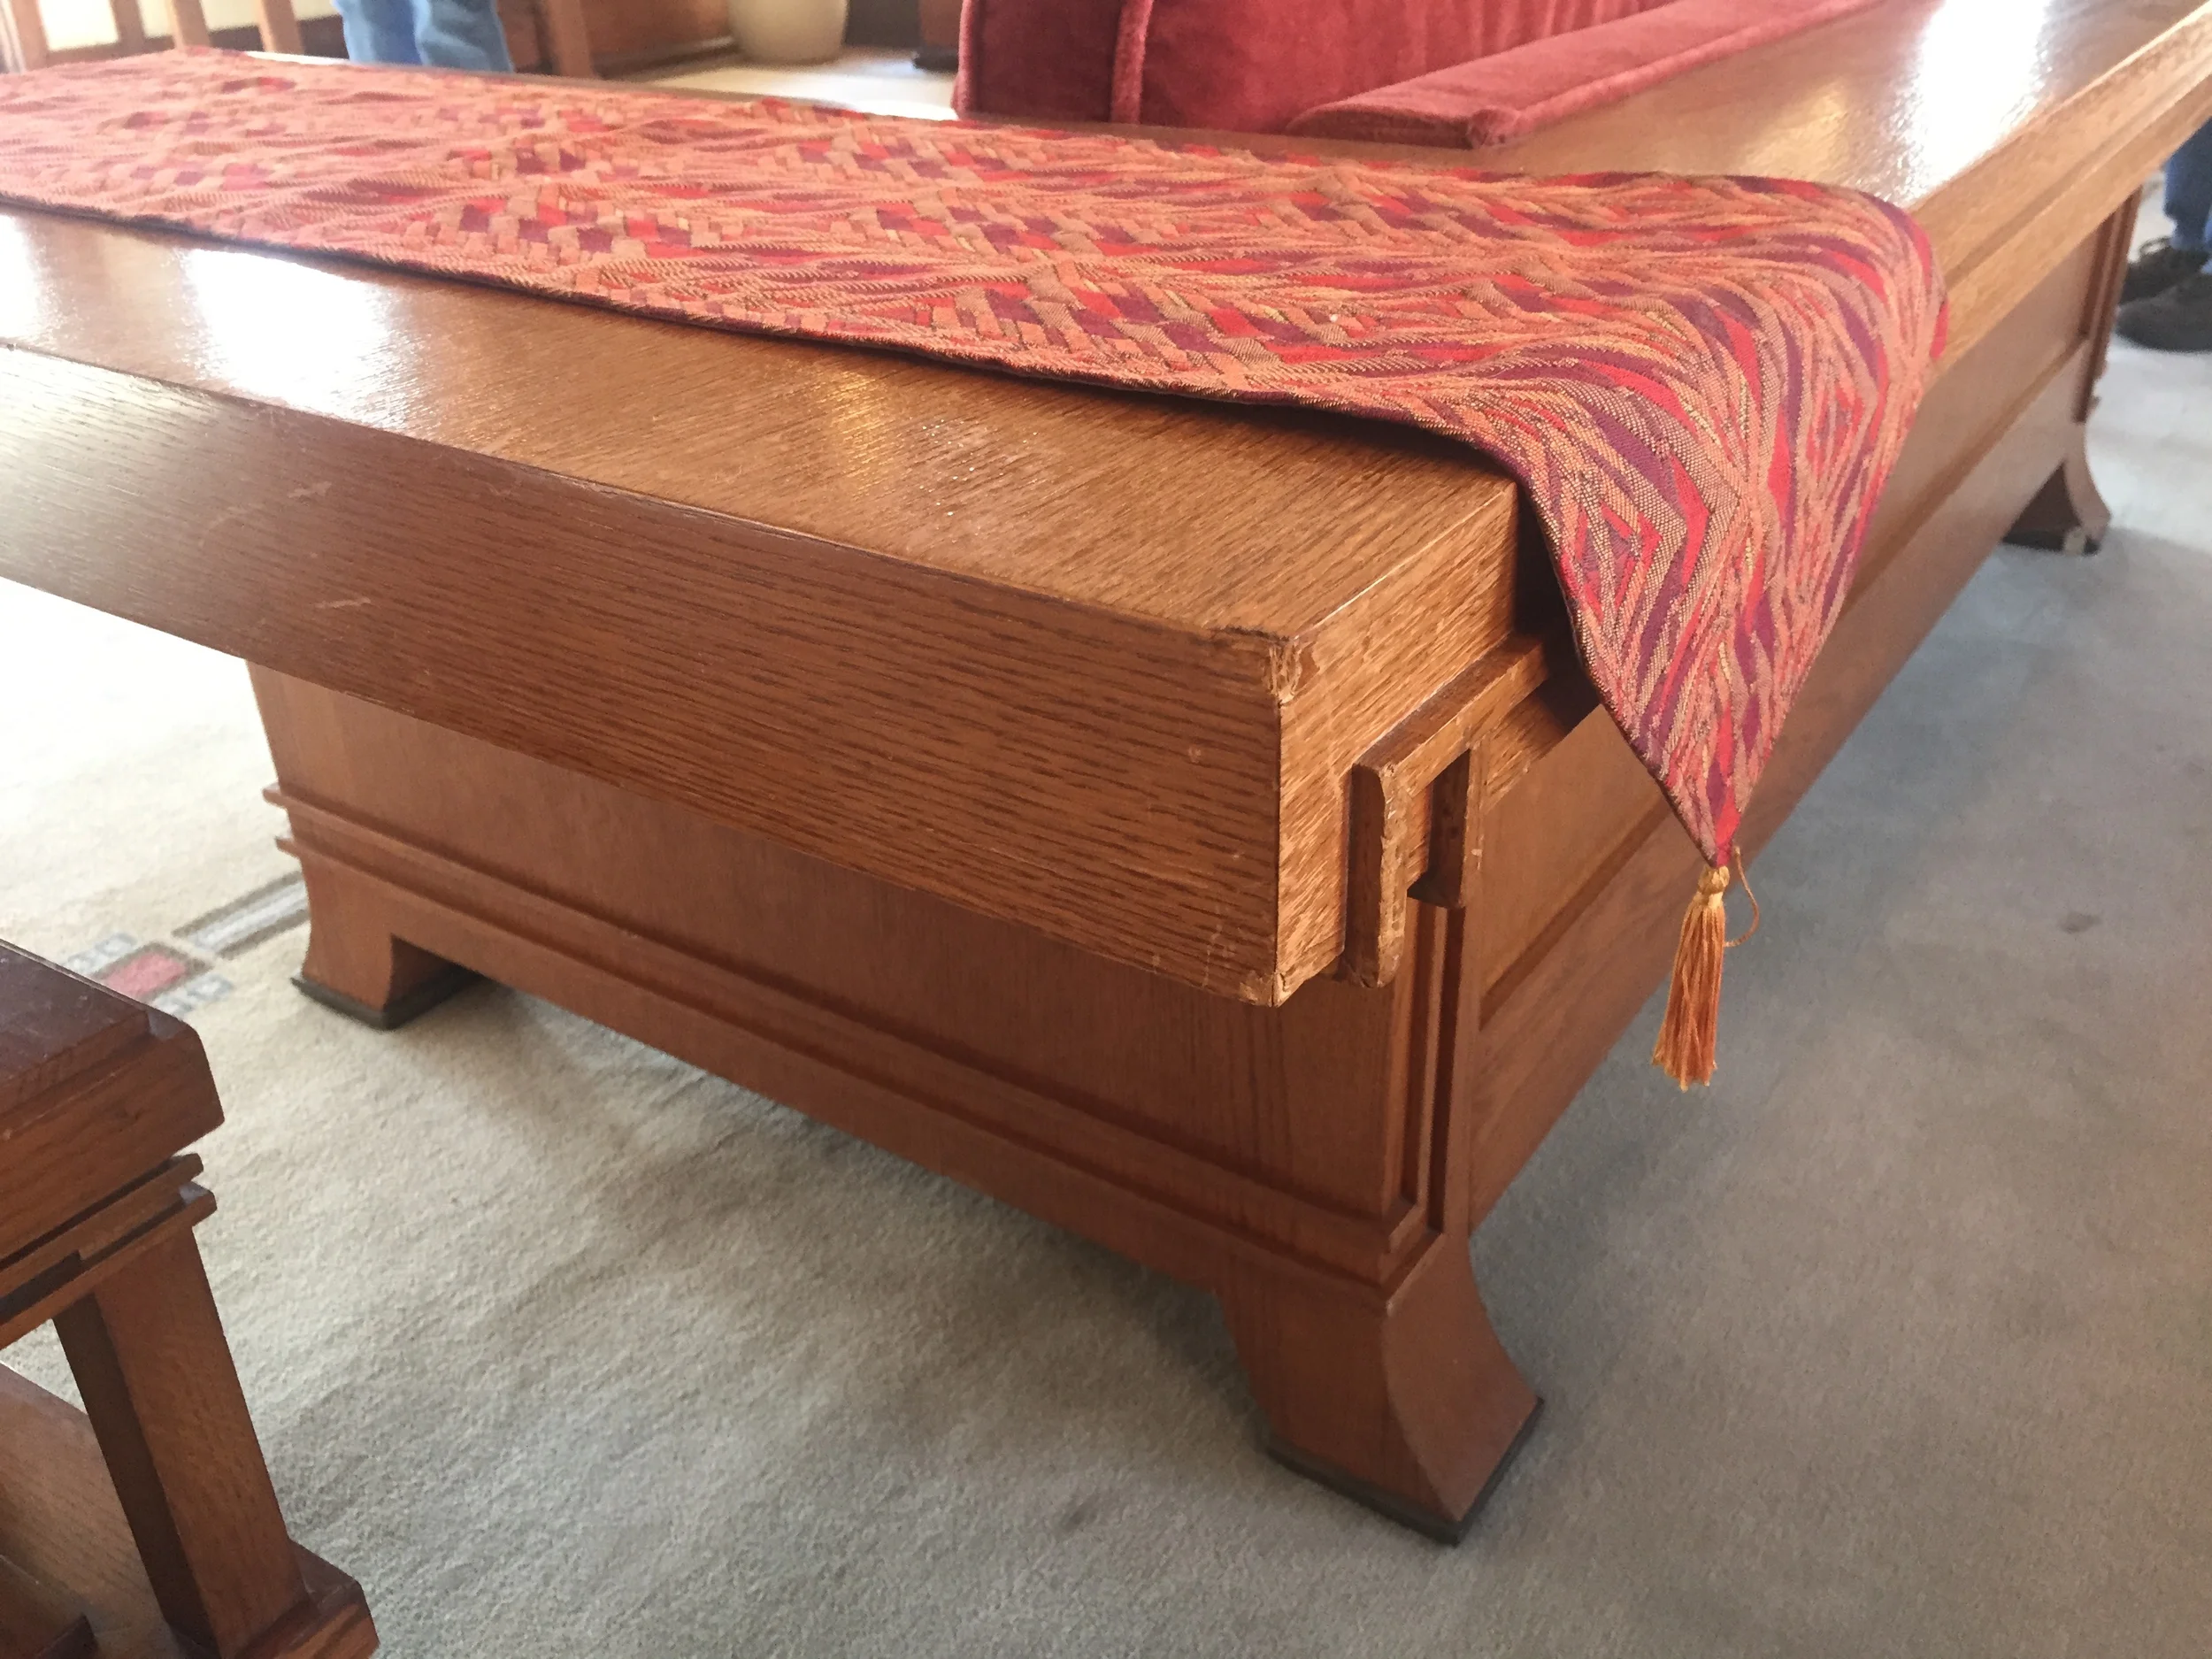
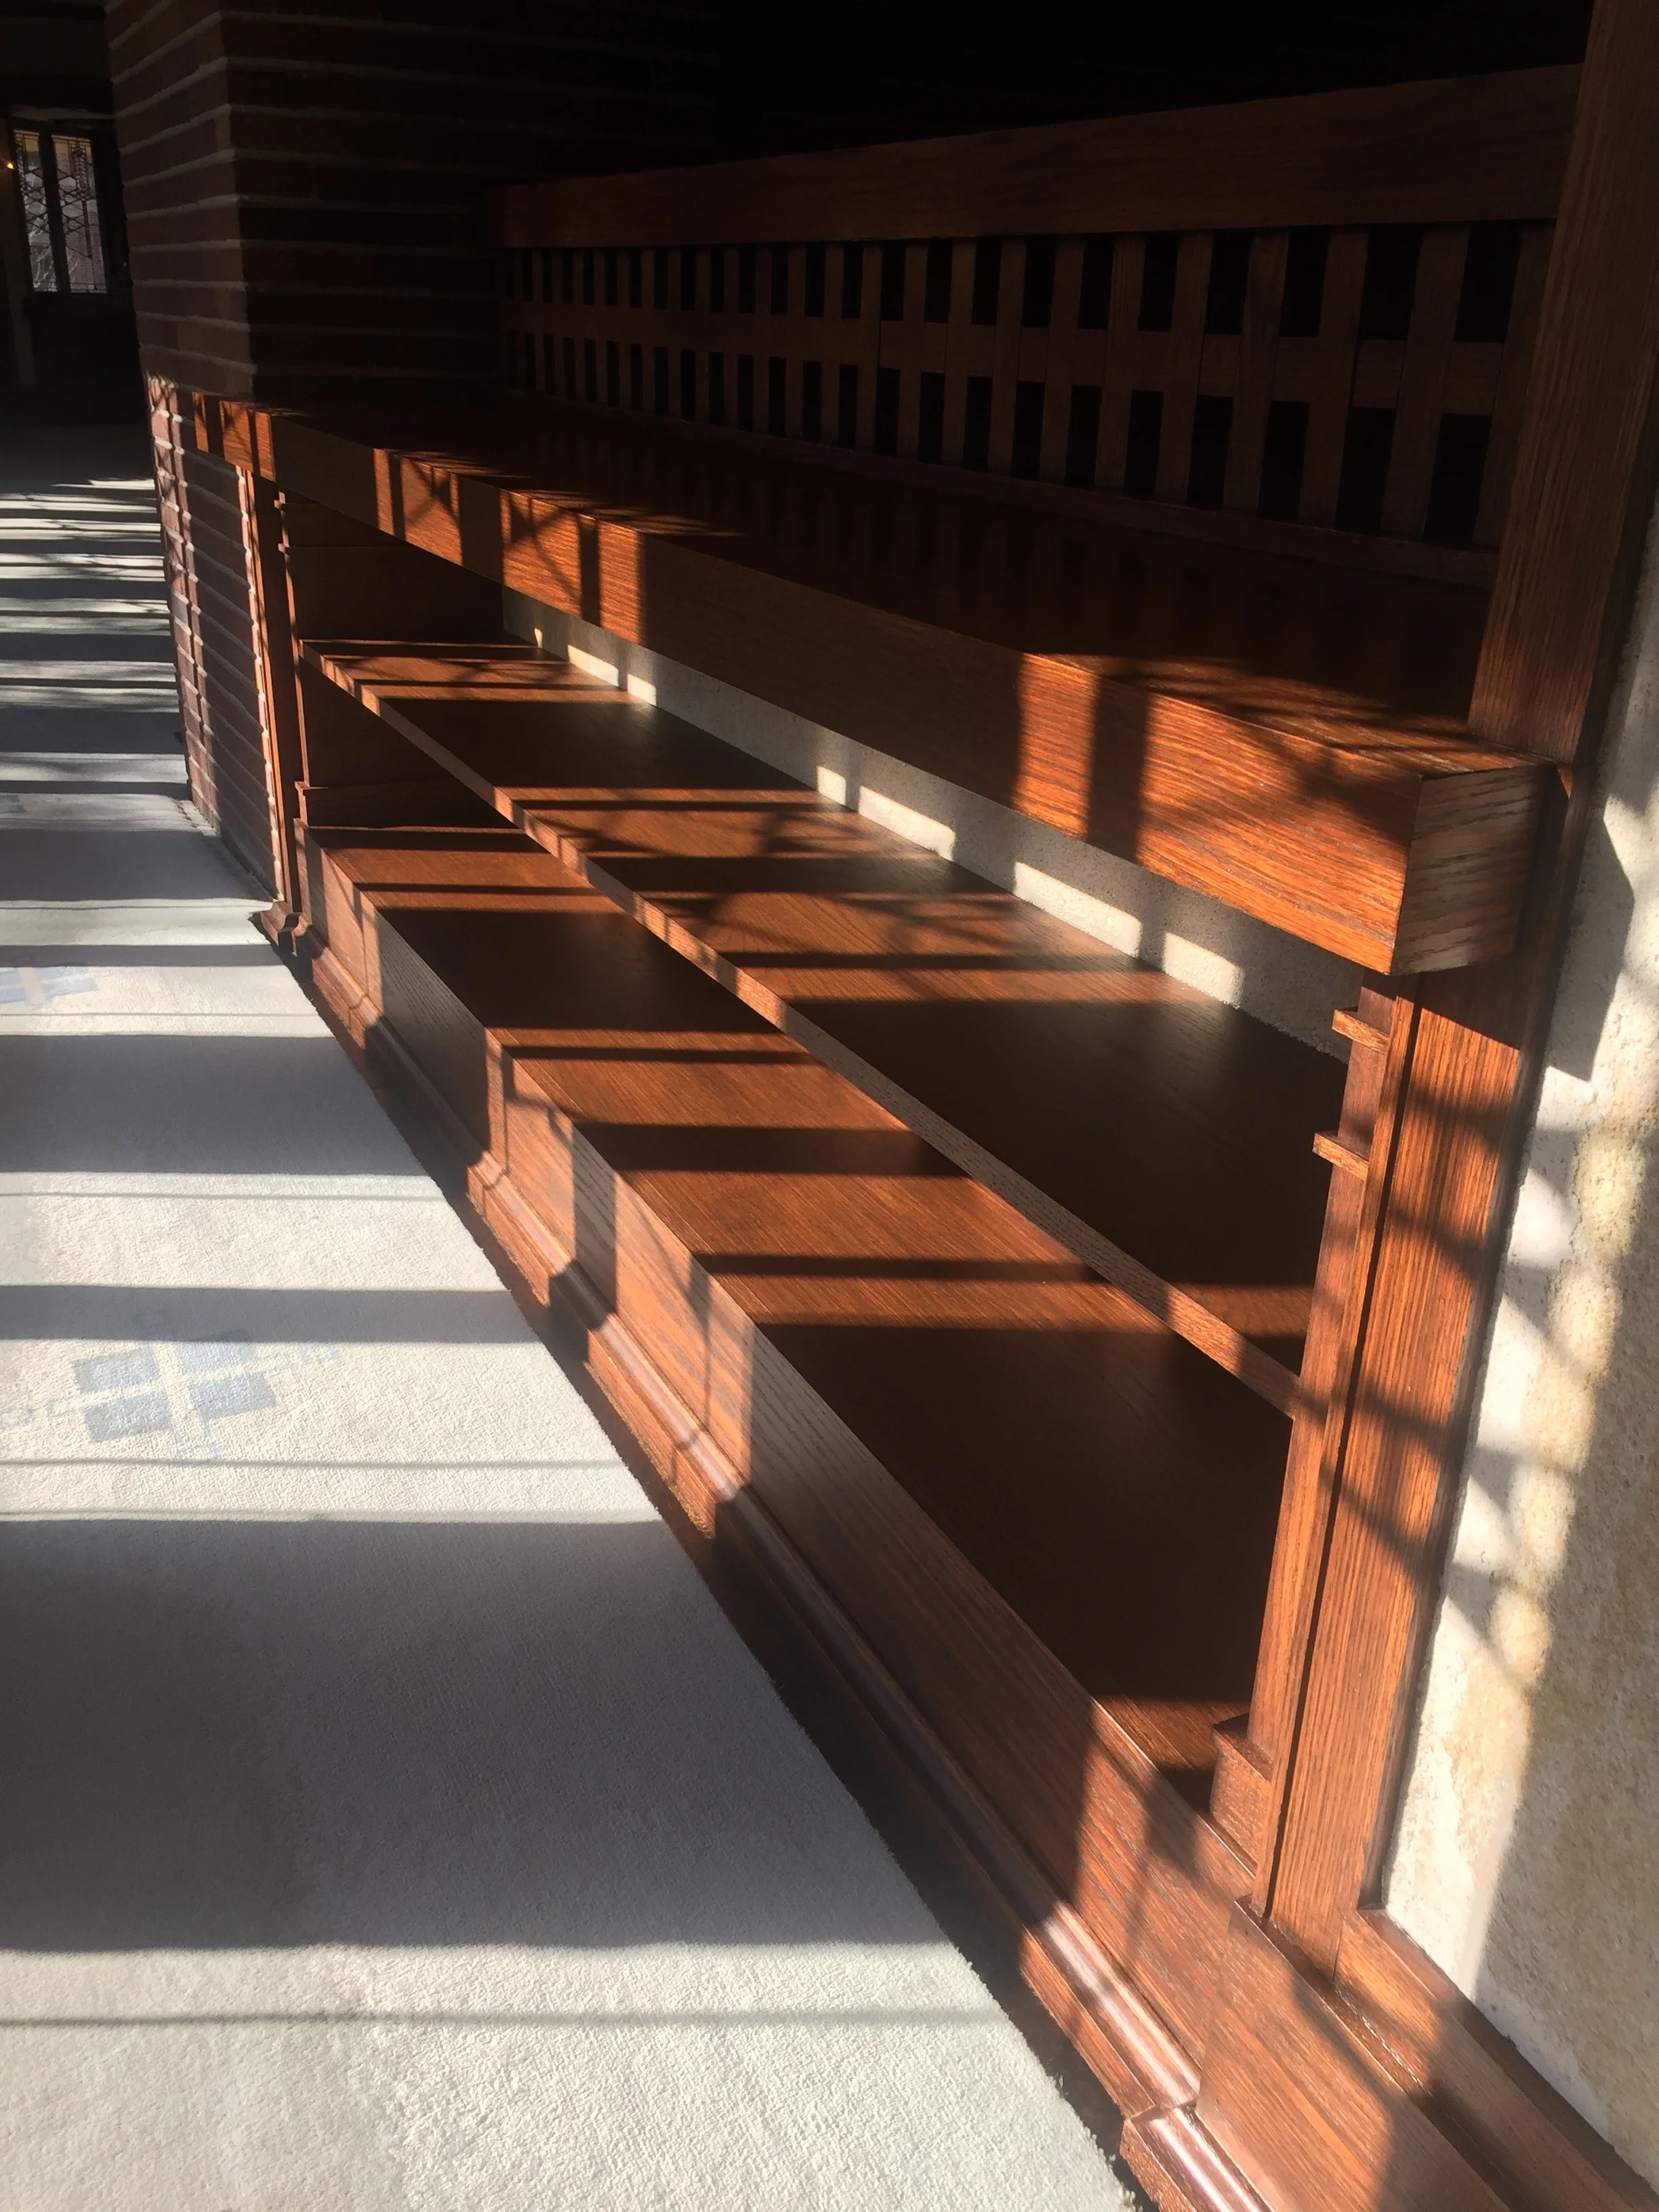
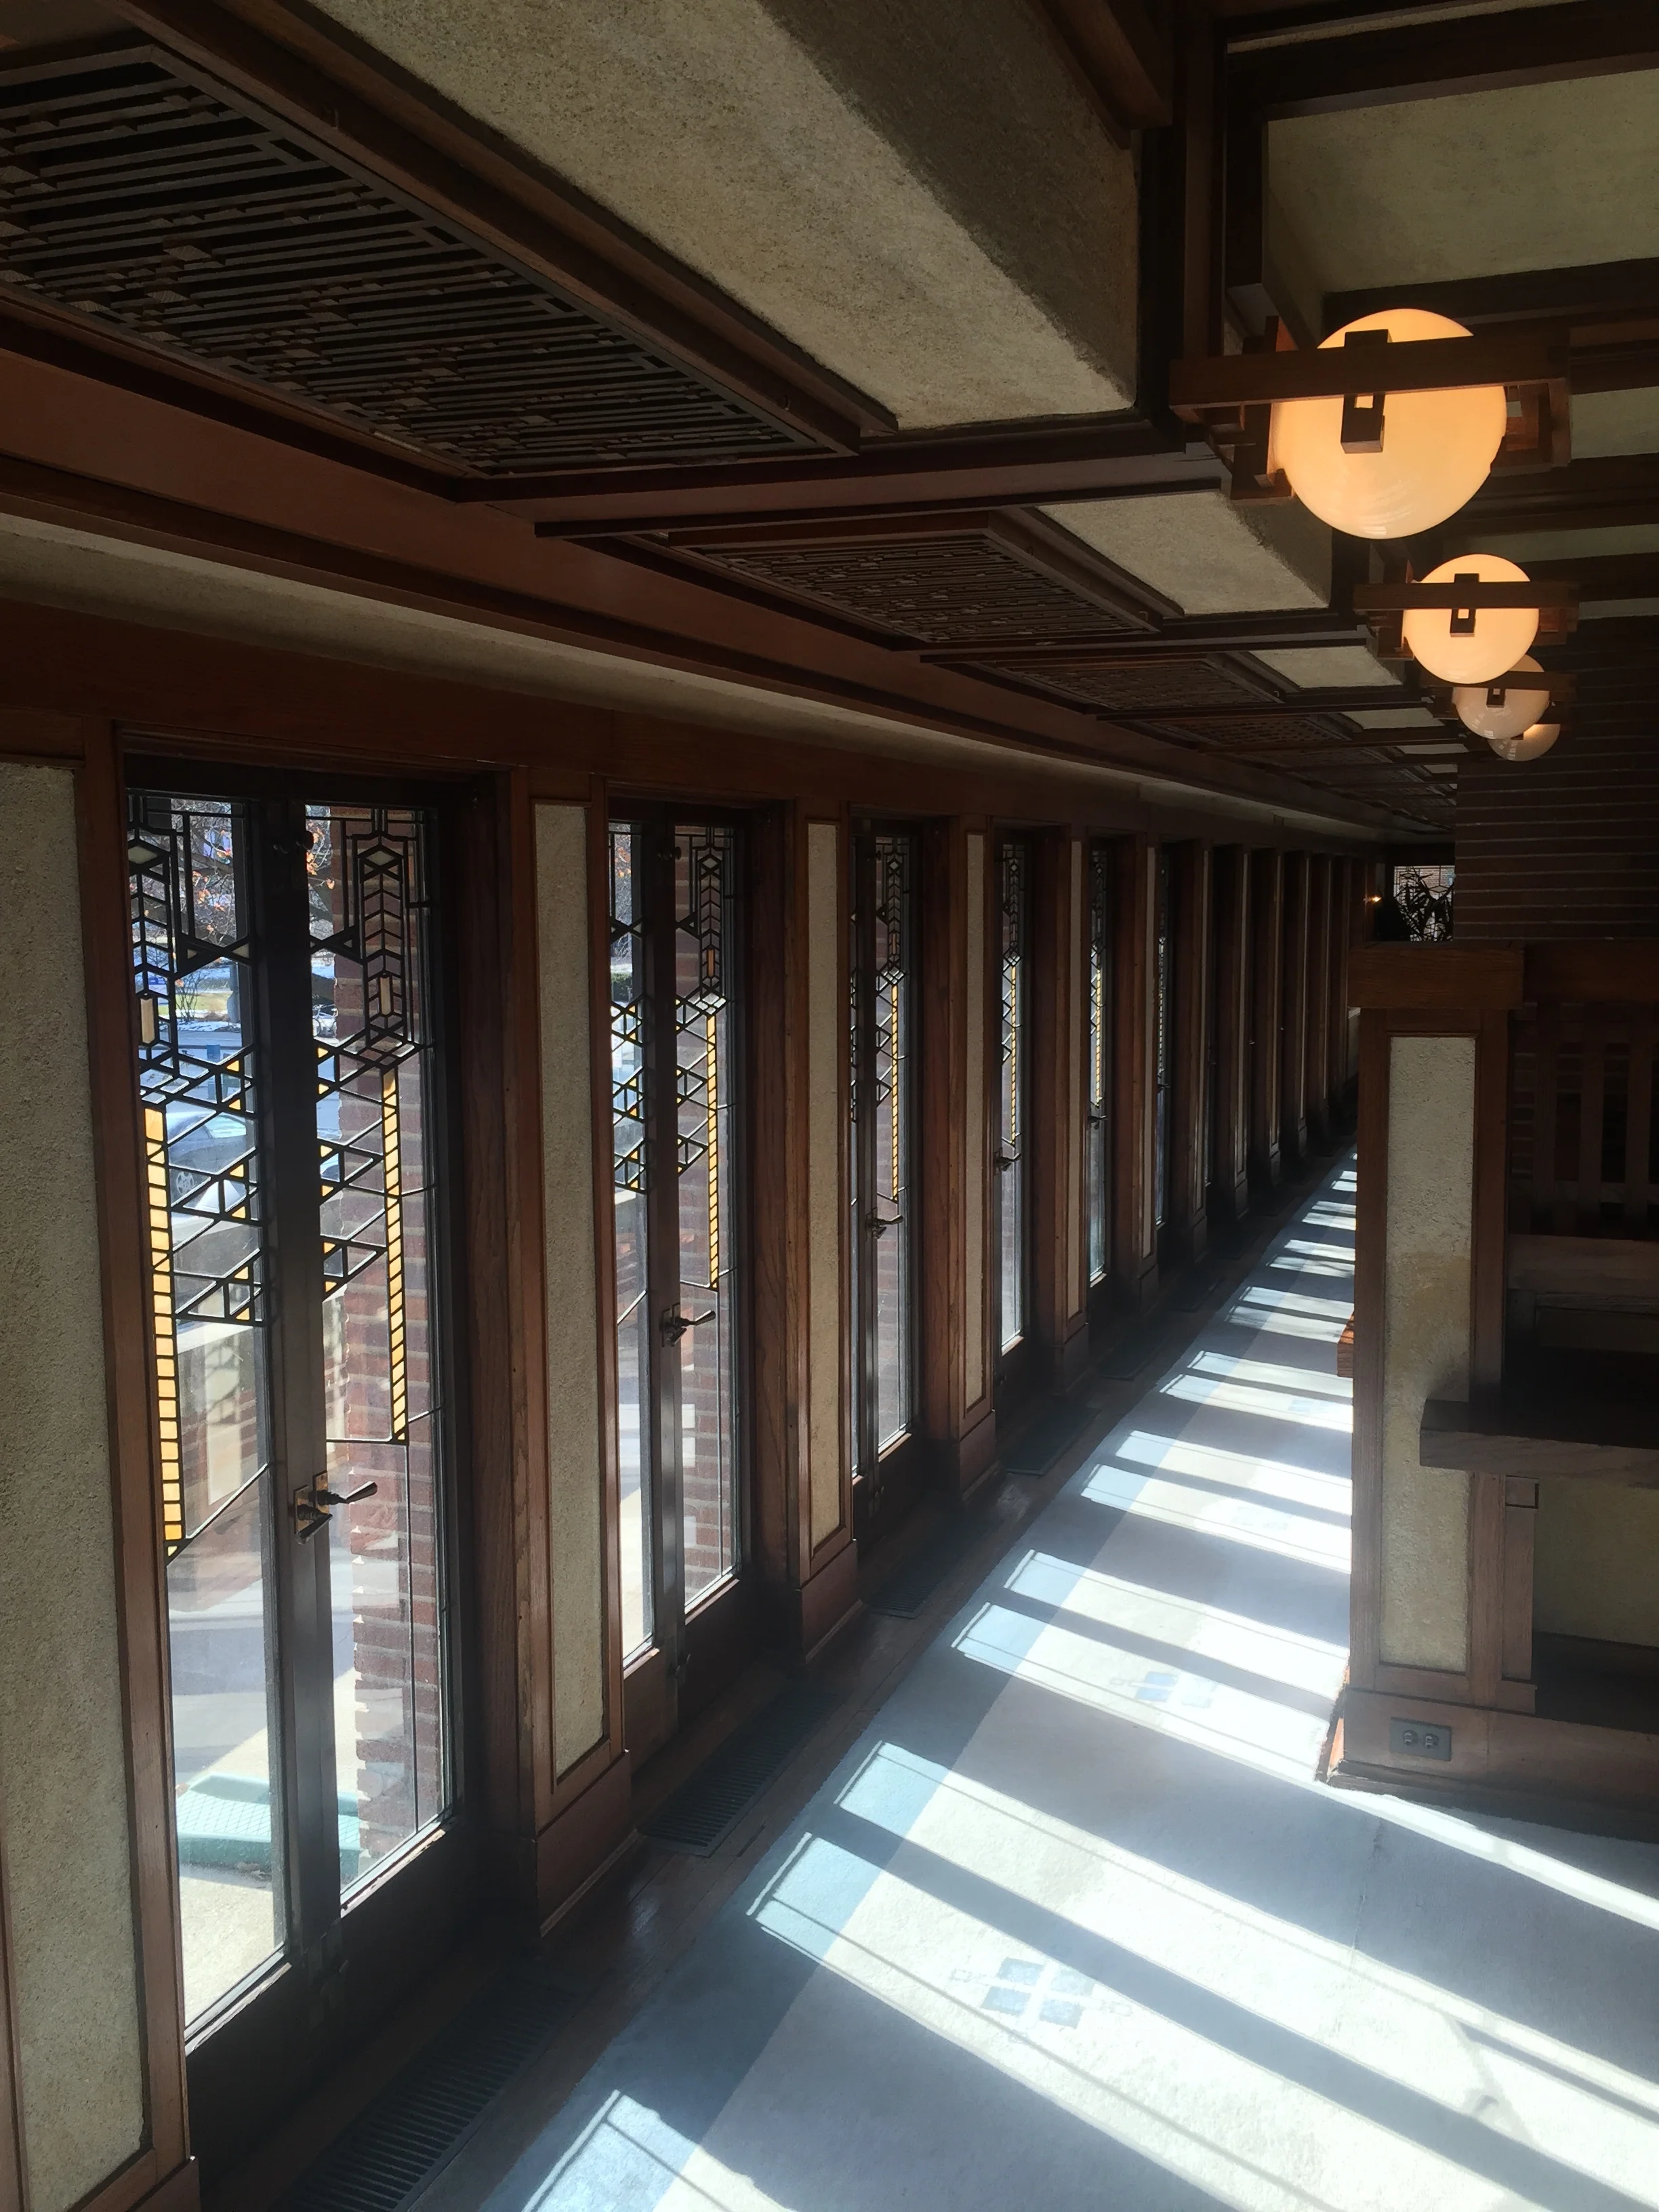
Which brings me back to Frank. One of the central themes of Wright's "Prairie Style" philosophy was the use of local materials, the use of which blended a building to its surroundings. This is a tenet of Stickley's Craftsman style, William Morris's Arts & Crafts movement as well. In the 1909 Robie house, aptly called Wright's "Prairie style masterpiece", did he use mahogany, or sepele, or wenge as the wood of choice? Did he use chestnut, black walnut, or even noble white oak? No, he used red oak. But he didn't use it all flat sawn, with crazy cathedral patterns, and stained "golden brown". No, he used it all sort of ways, dyed/stained a deep brownish red, and often quarter sawn, or rift sawn, with nice tight grain. (If you think you hate red oak, and instead think quarter sawn white oak is vastly superior, you need to take a good look at quarter sawn red oak, it is every bit as amazing). Here's some pictures from that interior...
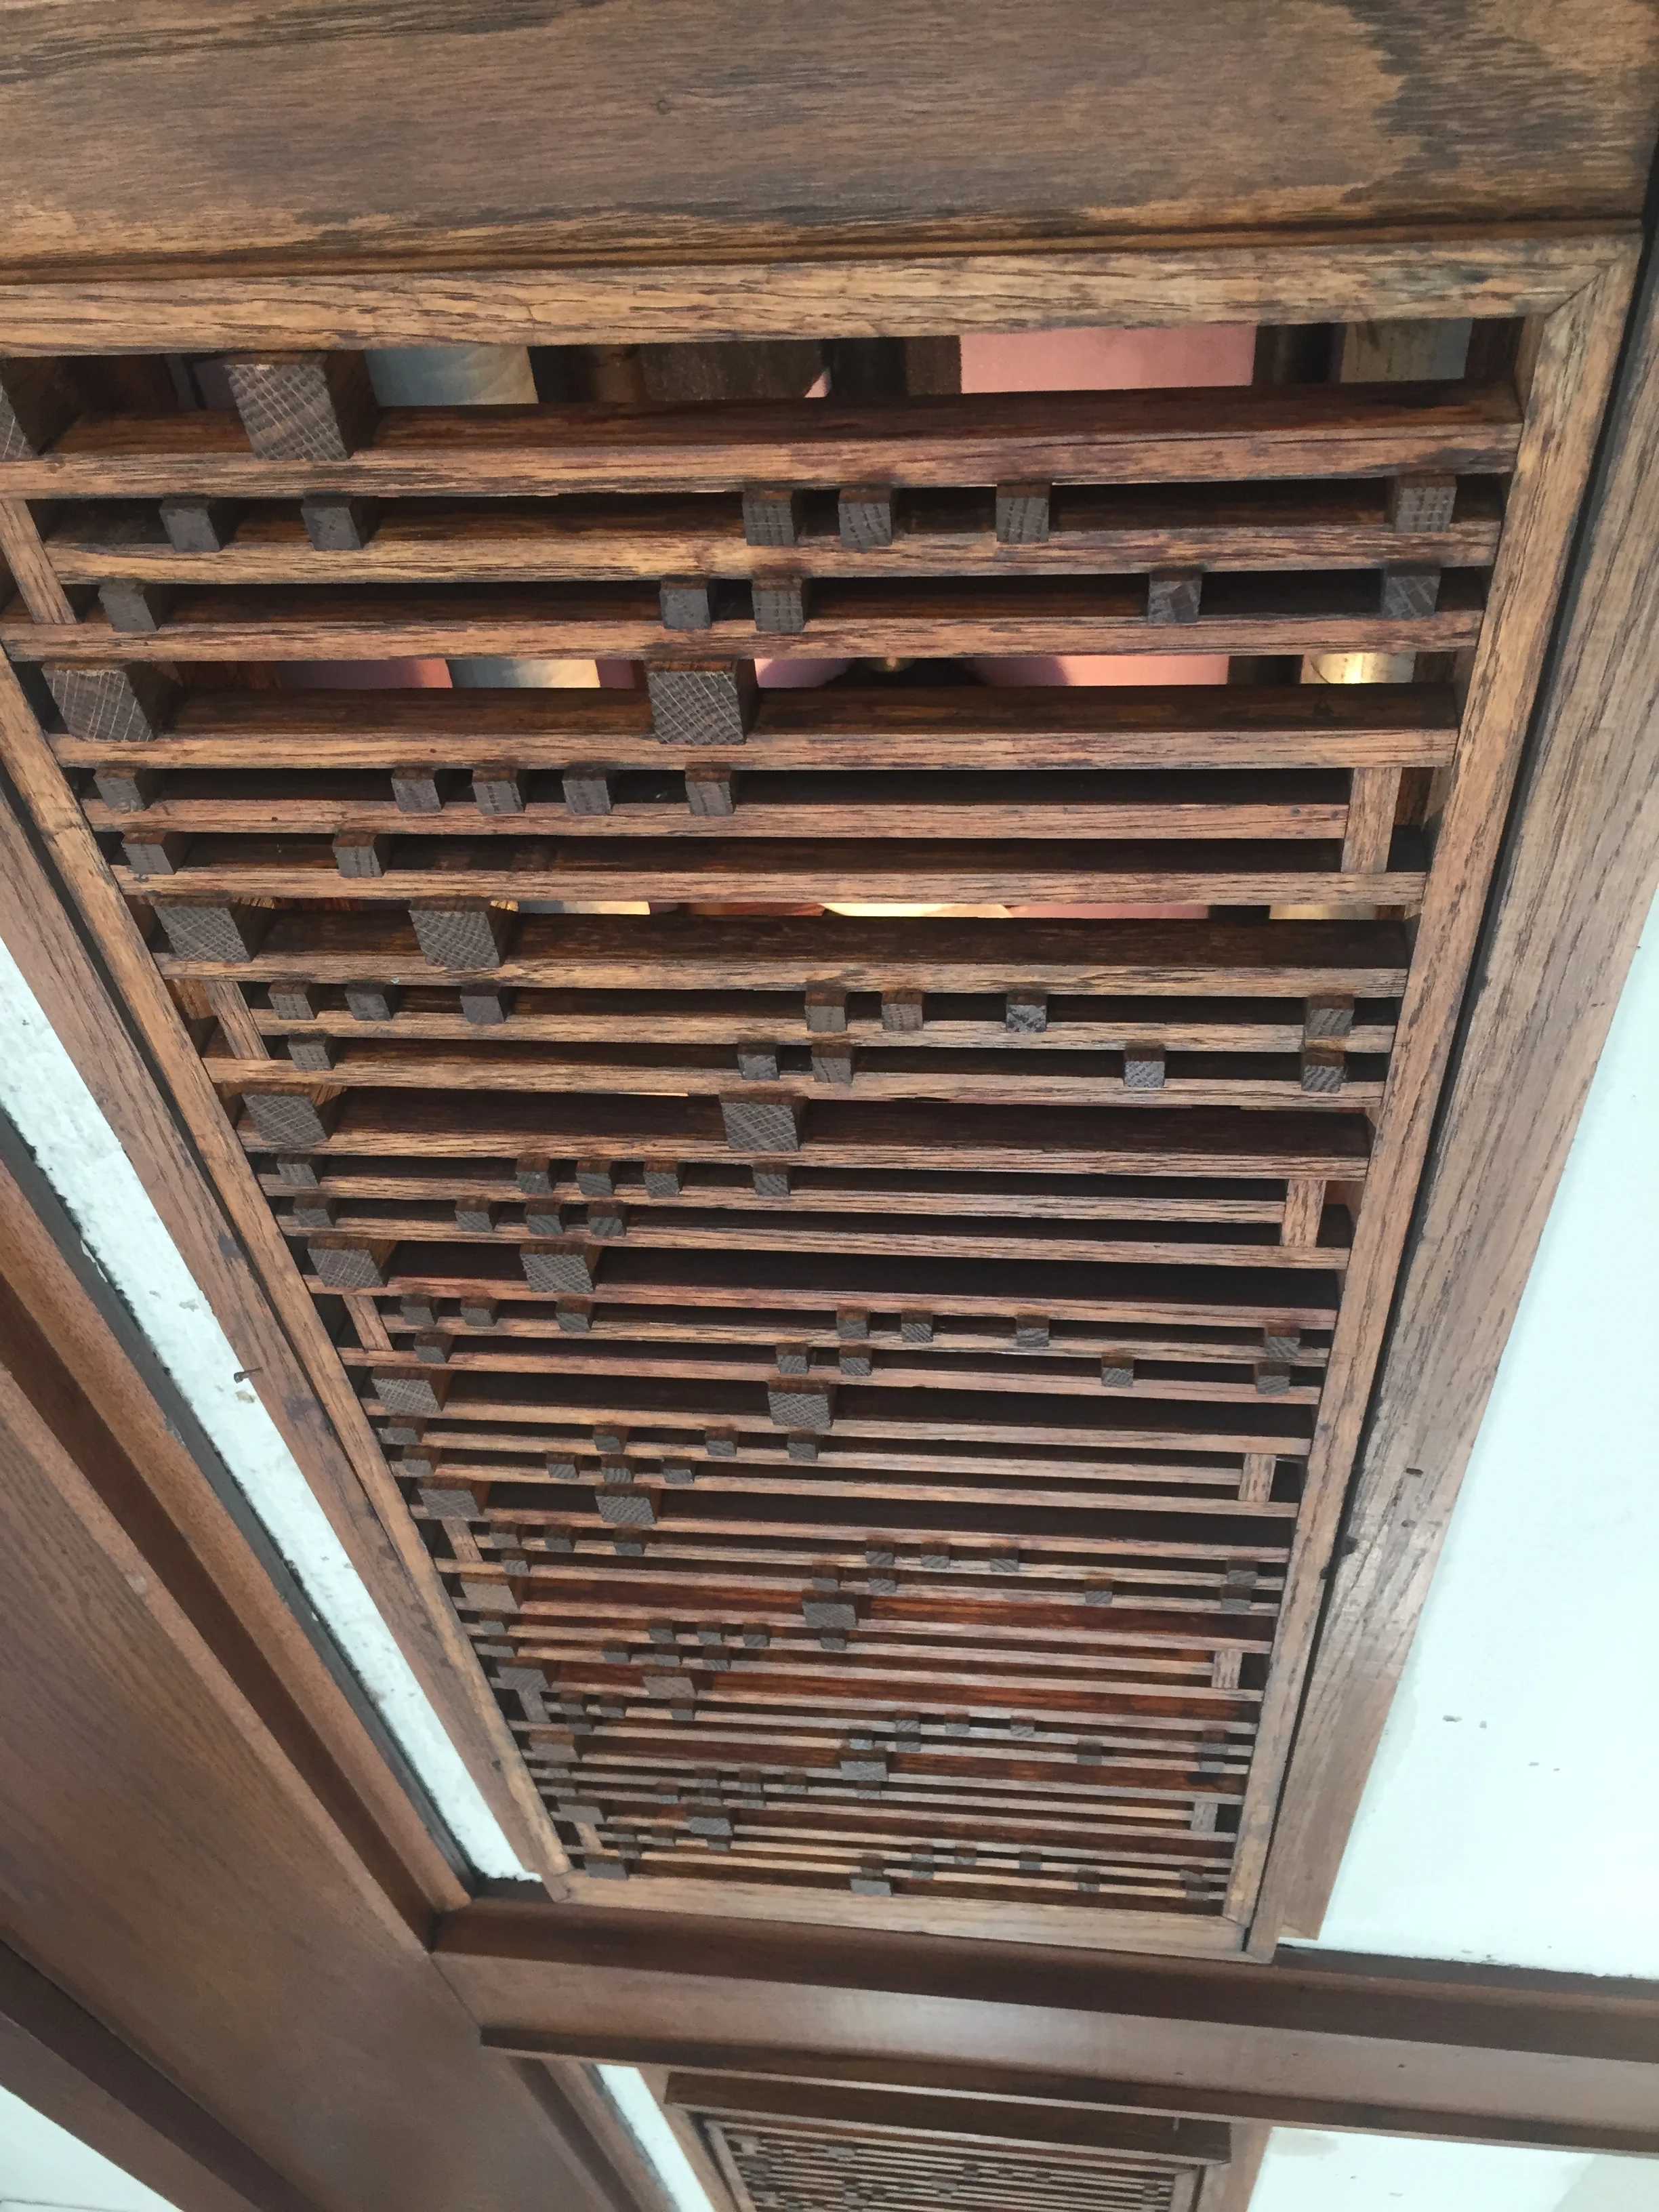
And the piece de resistance, the kitchen counter...
(while my iPhone photos here aren't the best, here's a Google search that get you many more interior and woodwork shots)
Yeah, pretty nice. And very nice all together, the furniture and the woodwork working together. The lesson I take away from all this is that Wright took something mundane and common, red oak, and not only found fantastic ways to use it beautifully, he made it part of the whole theme, connecting the house, the interior treatments, and the furniture, to its place in the world. (I'm sure he could have just been being cheap as well, opting for red oak over white as a cost cutting measure. But look at the result). Sure, it's subtle, but the best parts of Wright's designs are just that: subtle, direct, and seemingly so simple after they're explained and pointed out that they come off as "obvious". That's the genius in great design.
Thanks Frank, and red oak!