I couldn't resist - another plane

Tool addiction is a real problem for some. I see the appeal, and am aware of the danger. I'm still in control, and managing to keep it at bay. At least that's what I'm telling myself. 

With that in mind, a few weeks ago I found myself with a few hours to kill in a little town, and wandered into a 2nd hand store. I found a box of old rusty tools, and saved this little hand plane. It was all rust, with a broken tote. $5.

After an afternoon of cleaning it up (Evapo-rust bath, re-glued the tote, sanded and shellacked, scoured and re-painted the painted parts, honed, sharpened, and set the iron) and posting some pics on Lumberjocks.com to let the community help me identify it, I present my Ohio Tool Company Savage #3. Apparently, "Savage" was Ohio's discount line. This one is a size I didn't have, and a handy little narrow smoother now.


with my Stanley #4 for comparison

New Tool: Stanley 246 Mitre Box

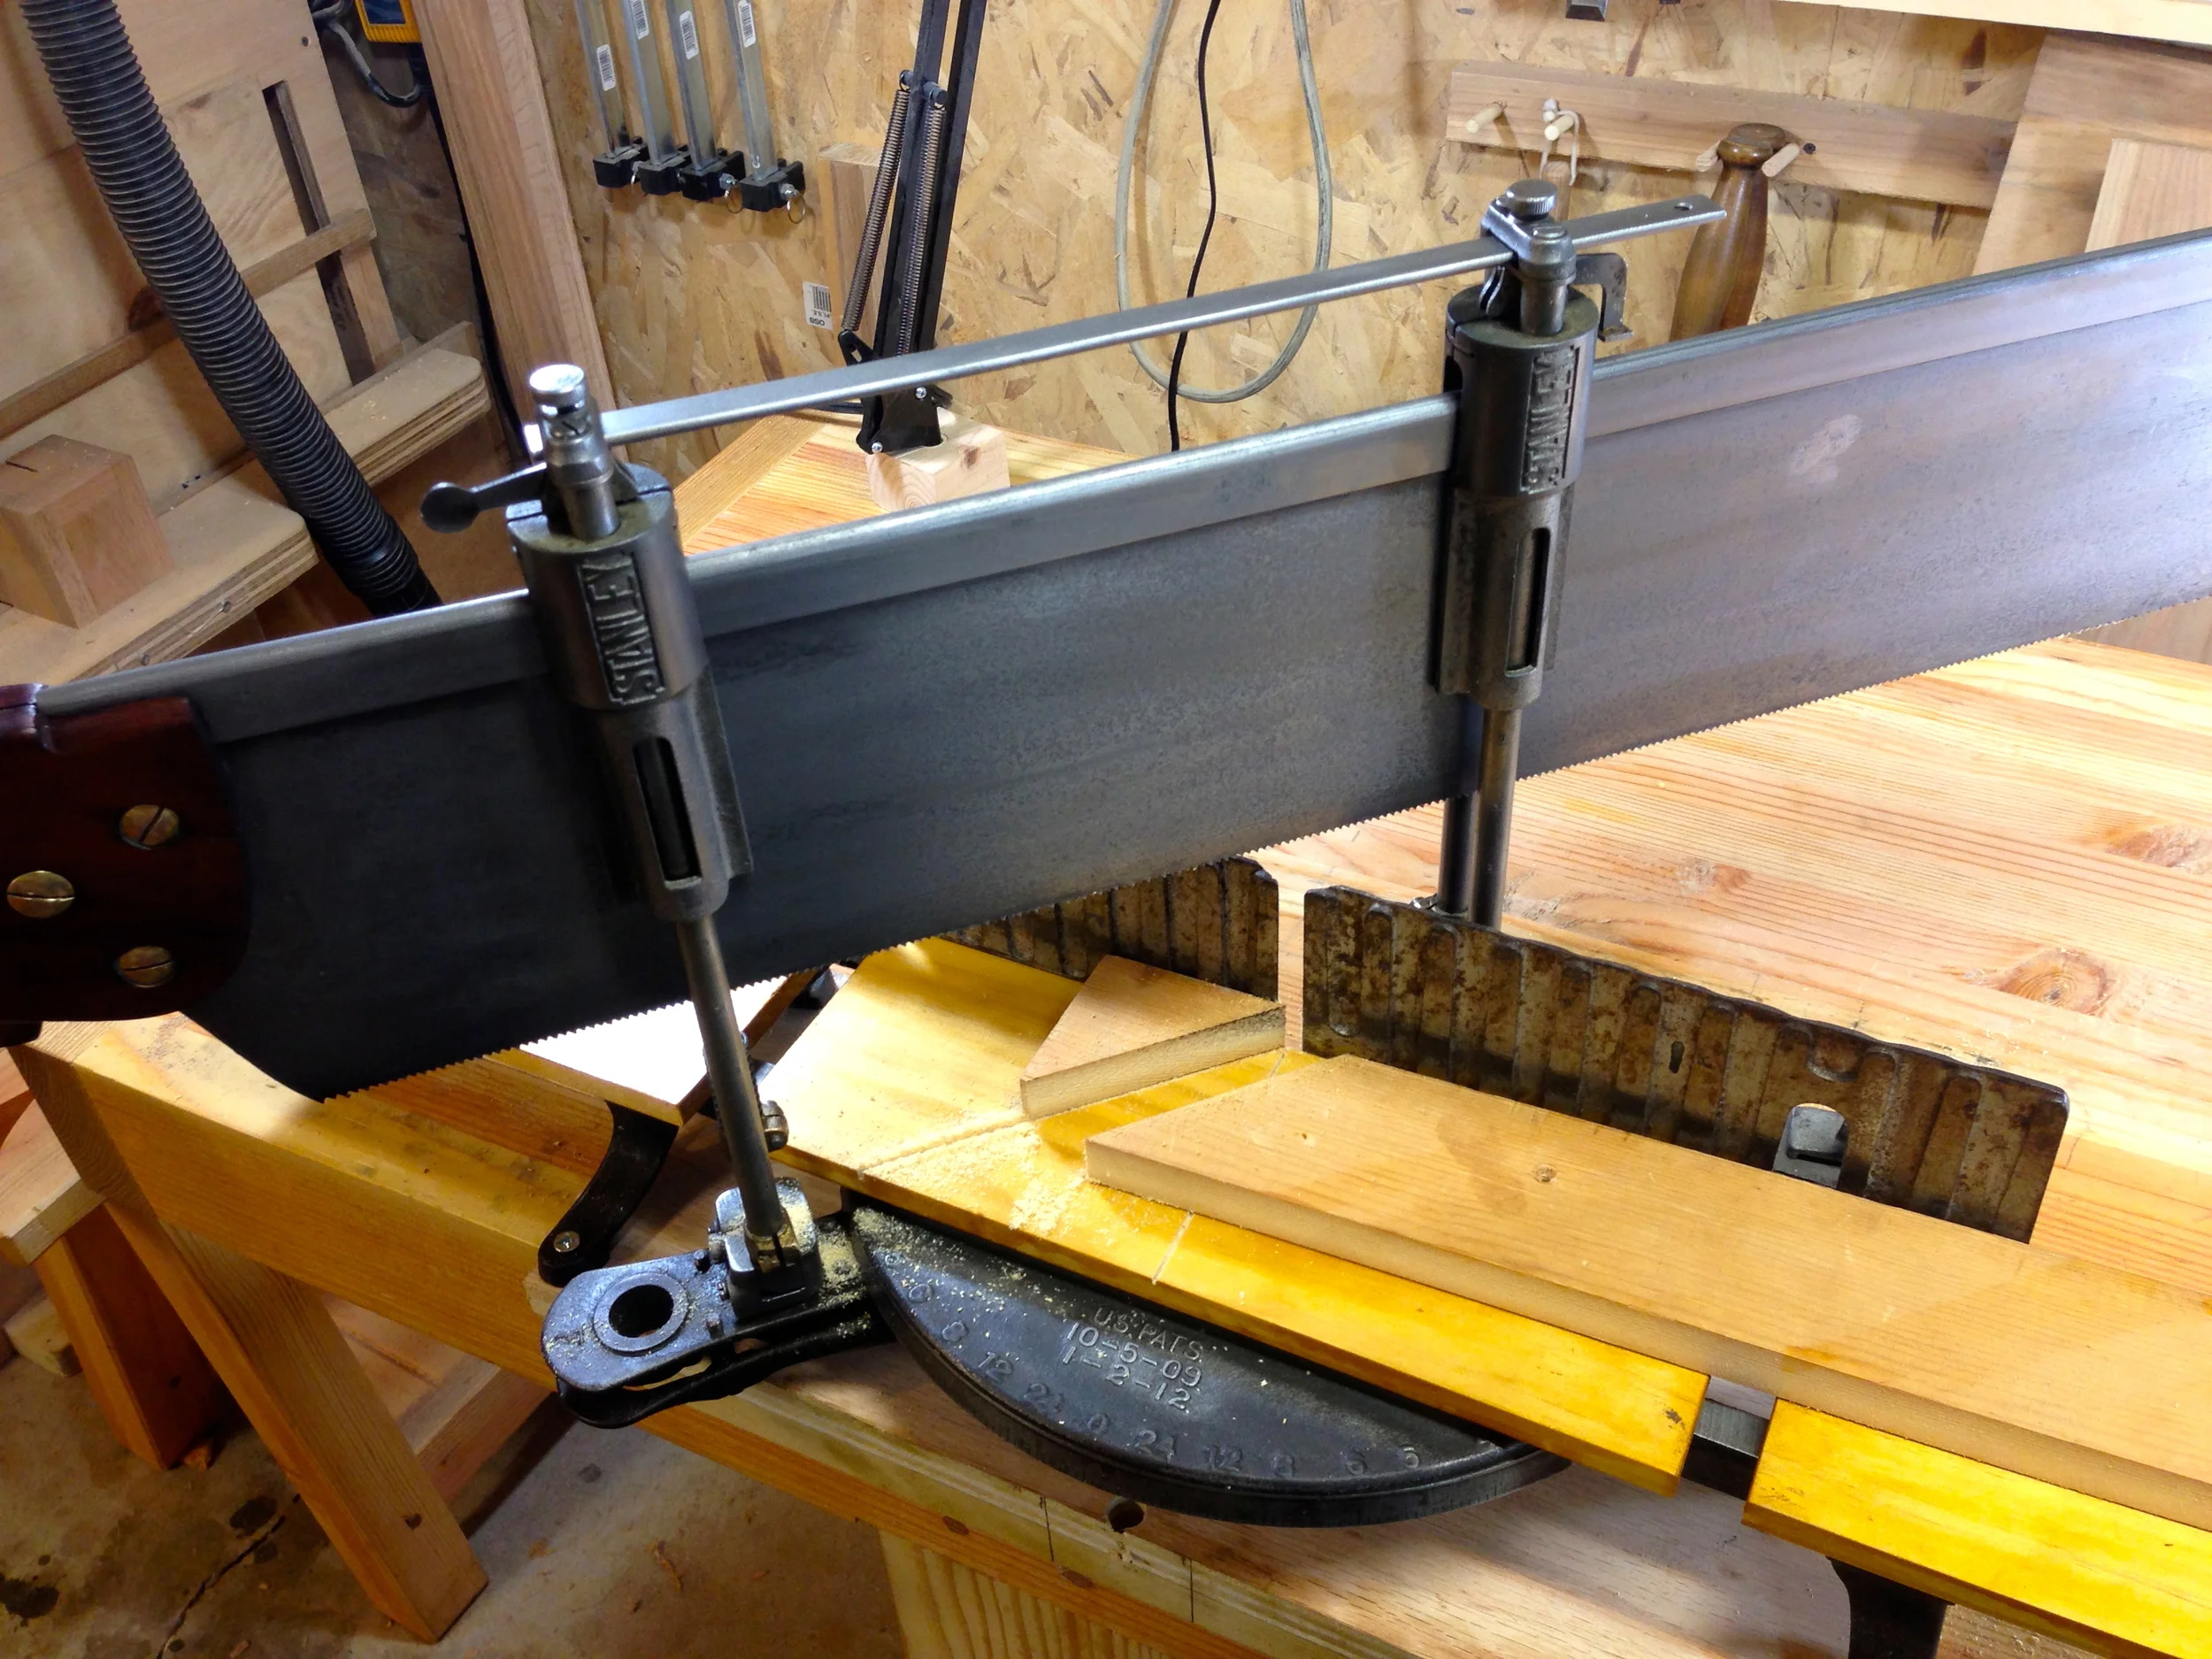
I just added a new (old) tool to my collection, a Stanley model 246 mitre box. I became interested in these types of tools for several reasons. I had a chance to use ones like this during my recent class at the Woodwright's School, and really enjoyed them; I have been getting more interested in hand saws in general and have been learning about sharpening them; and I hate using my 7 1/4" Mikita power chop saw.

A mitre box, and the modern power equivalent, the chop saw, is a great tool for making cross cuts, and angled, or miter cuts. Right angle cross cuts are hard to do on a band saw for work over 14" in length. They can be done by hand with a crosscut backsaw and a bench hook, with fair accuracy. And with a bit of setup, they can be done very accurately on the table saw, with a special shop made crosscut sled. But nothing beats a mitre box or power chop saw for fast, convenient, and (with a stop blocl or guide) repeatable cross cuts that involve little setup.

But my powered chop saw is unpleasant due to the noise, dust, and difficulty of calibrating it. It's just not that accurate. Without being able to reply on it for precise cuts, I used to use to for rough cuts, and then cleaned those up with one of the other methods described (or a shooting board on the bench). If I stared with that saw, I'd spend time cutting/trimming everything twice. It was a $100 or so saw when I got it several years ago, and while it does the basics, it just isn't a very good tool. The upgrade from the one I have is a good to high quality $500-$800 sliding compound miter saw. One like that would be much more precise, have a wide depth and range of cut, and would do a lot, like... actual compound cuts. But it would still be noisy, spew dust all over, require a pretty big footprint in the shop, and its a lot of money I'd rather spend on other things.

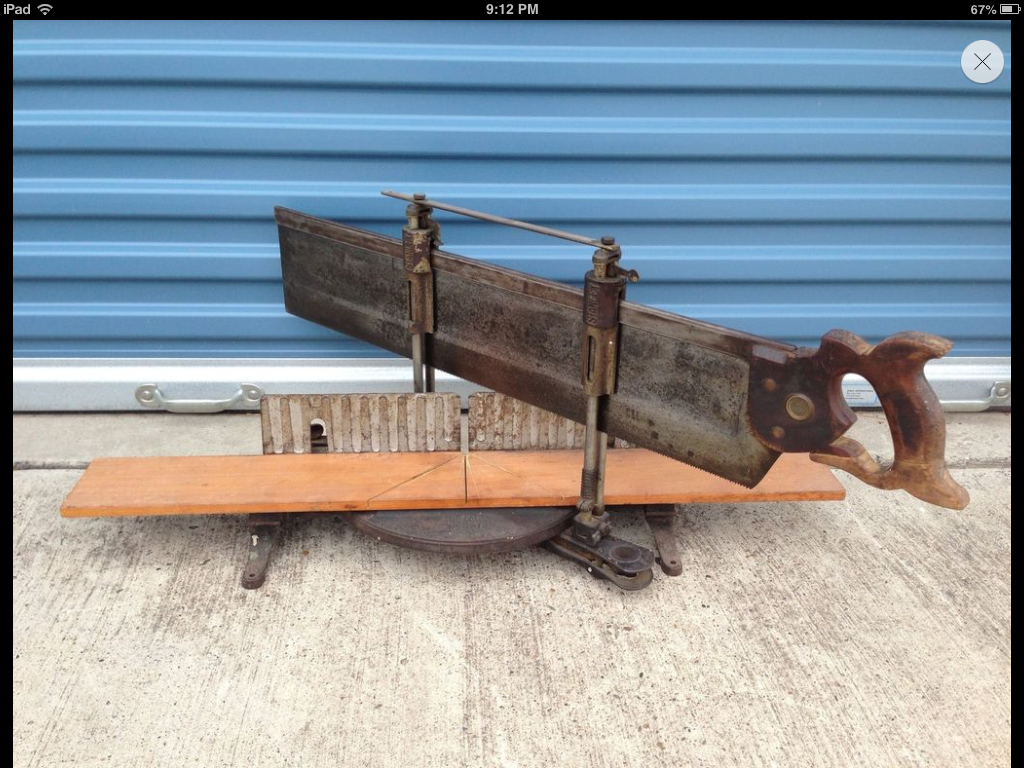
The old-timey hand powered mitre box is super precise, quiet, doesn't spew sawdust everywhere, and has a rather small footprint. It can easily be set under a bench when not in use. And it just looks cool. After learning about what to look for in mitre saws in a podcast by Bill Schenher at Billy's Little Bench, I saw one listed for a good price on eBay, and won the auction for about $80 shipped. It arrived a few days ago, and spent some time this weekend cleaning it up.

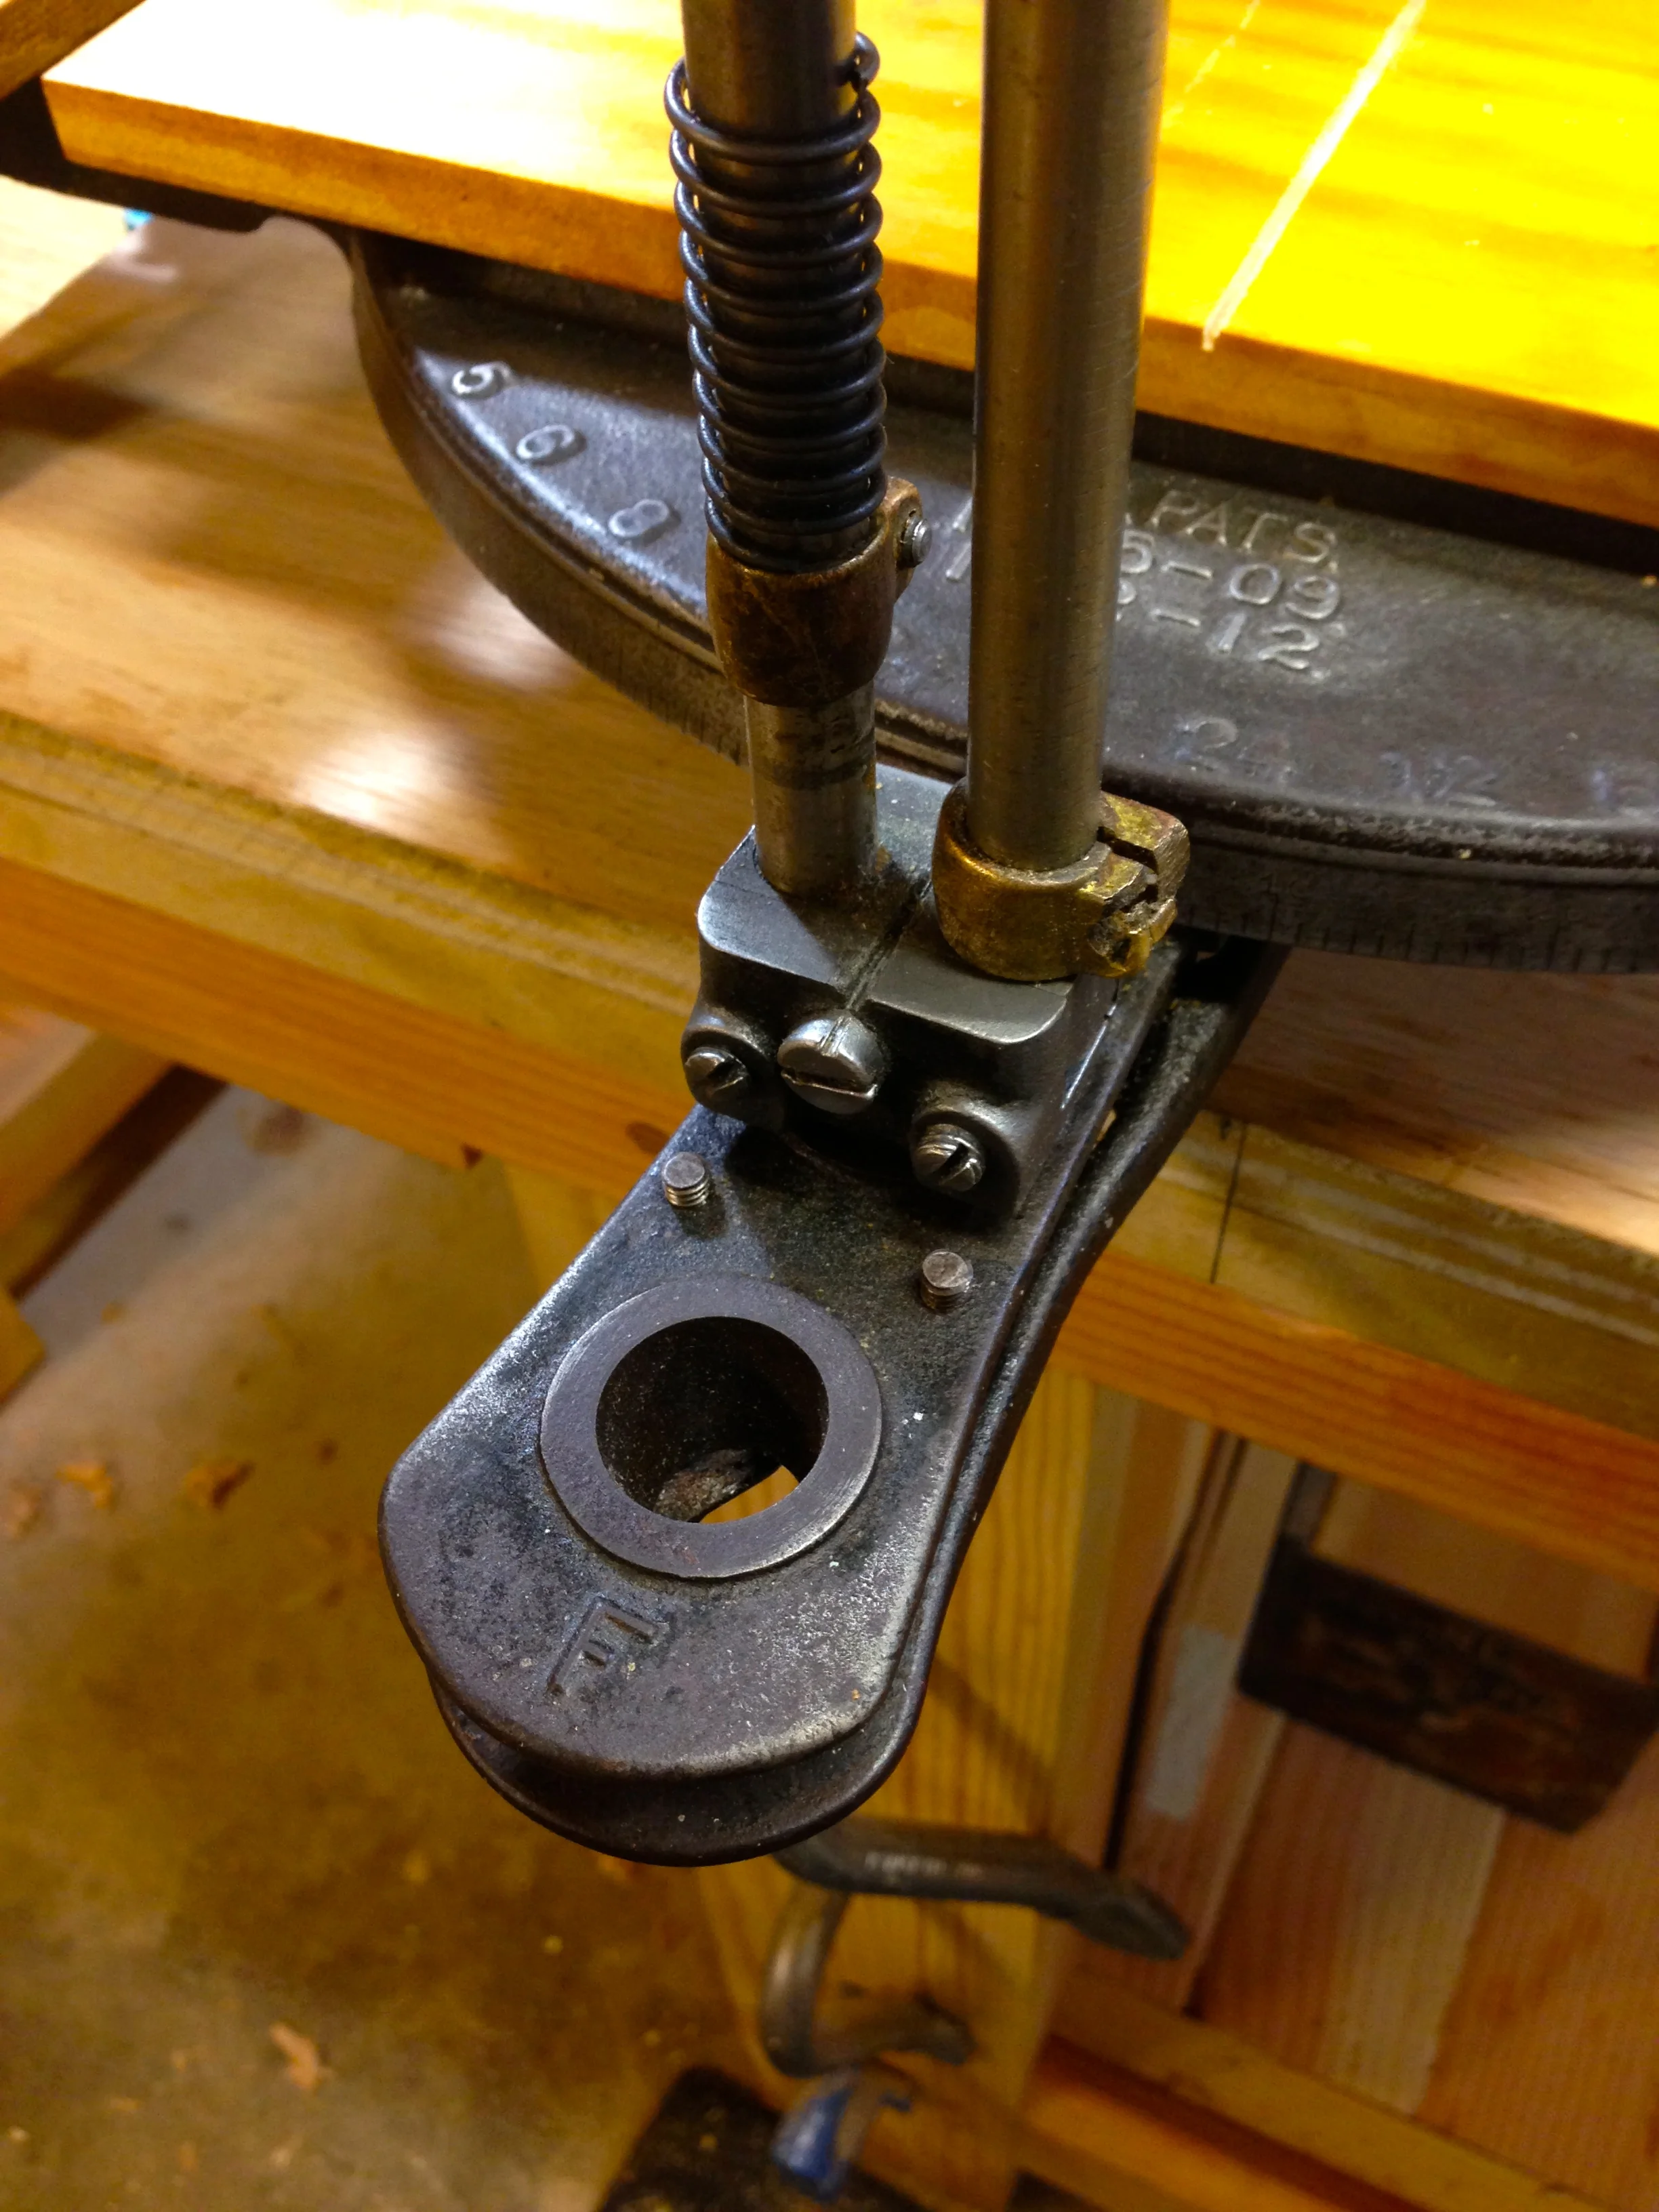
Restoring an old is a lot of fun for me, for some weird reason. I like taking something that someone else has discarded or thinks is useless, and giving it new life. I'd like to think that the original owner or owners would fell good that their old trusty tool is getting another chance to do useful work. I'n not a preservationist or crazy "restore to like new condition" type of guy, but I like to clean of the dirt and crud, get rid of the rust, polish the brass, finish the wood, and make it work like it was new. This went pretty well, and with the help of the original manual and parts list, I was able to take it apart, put it back together, and adjust it to perfection.

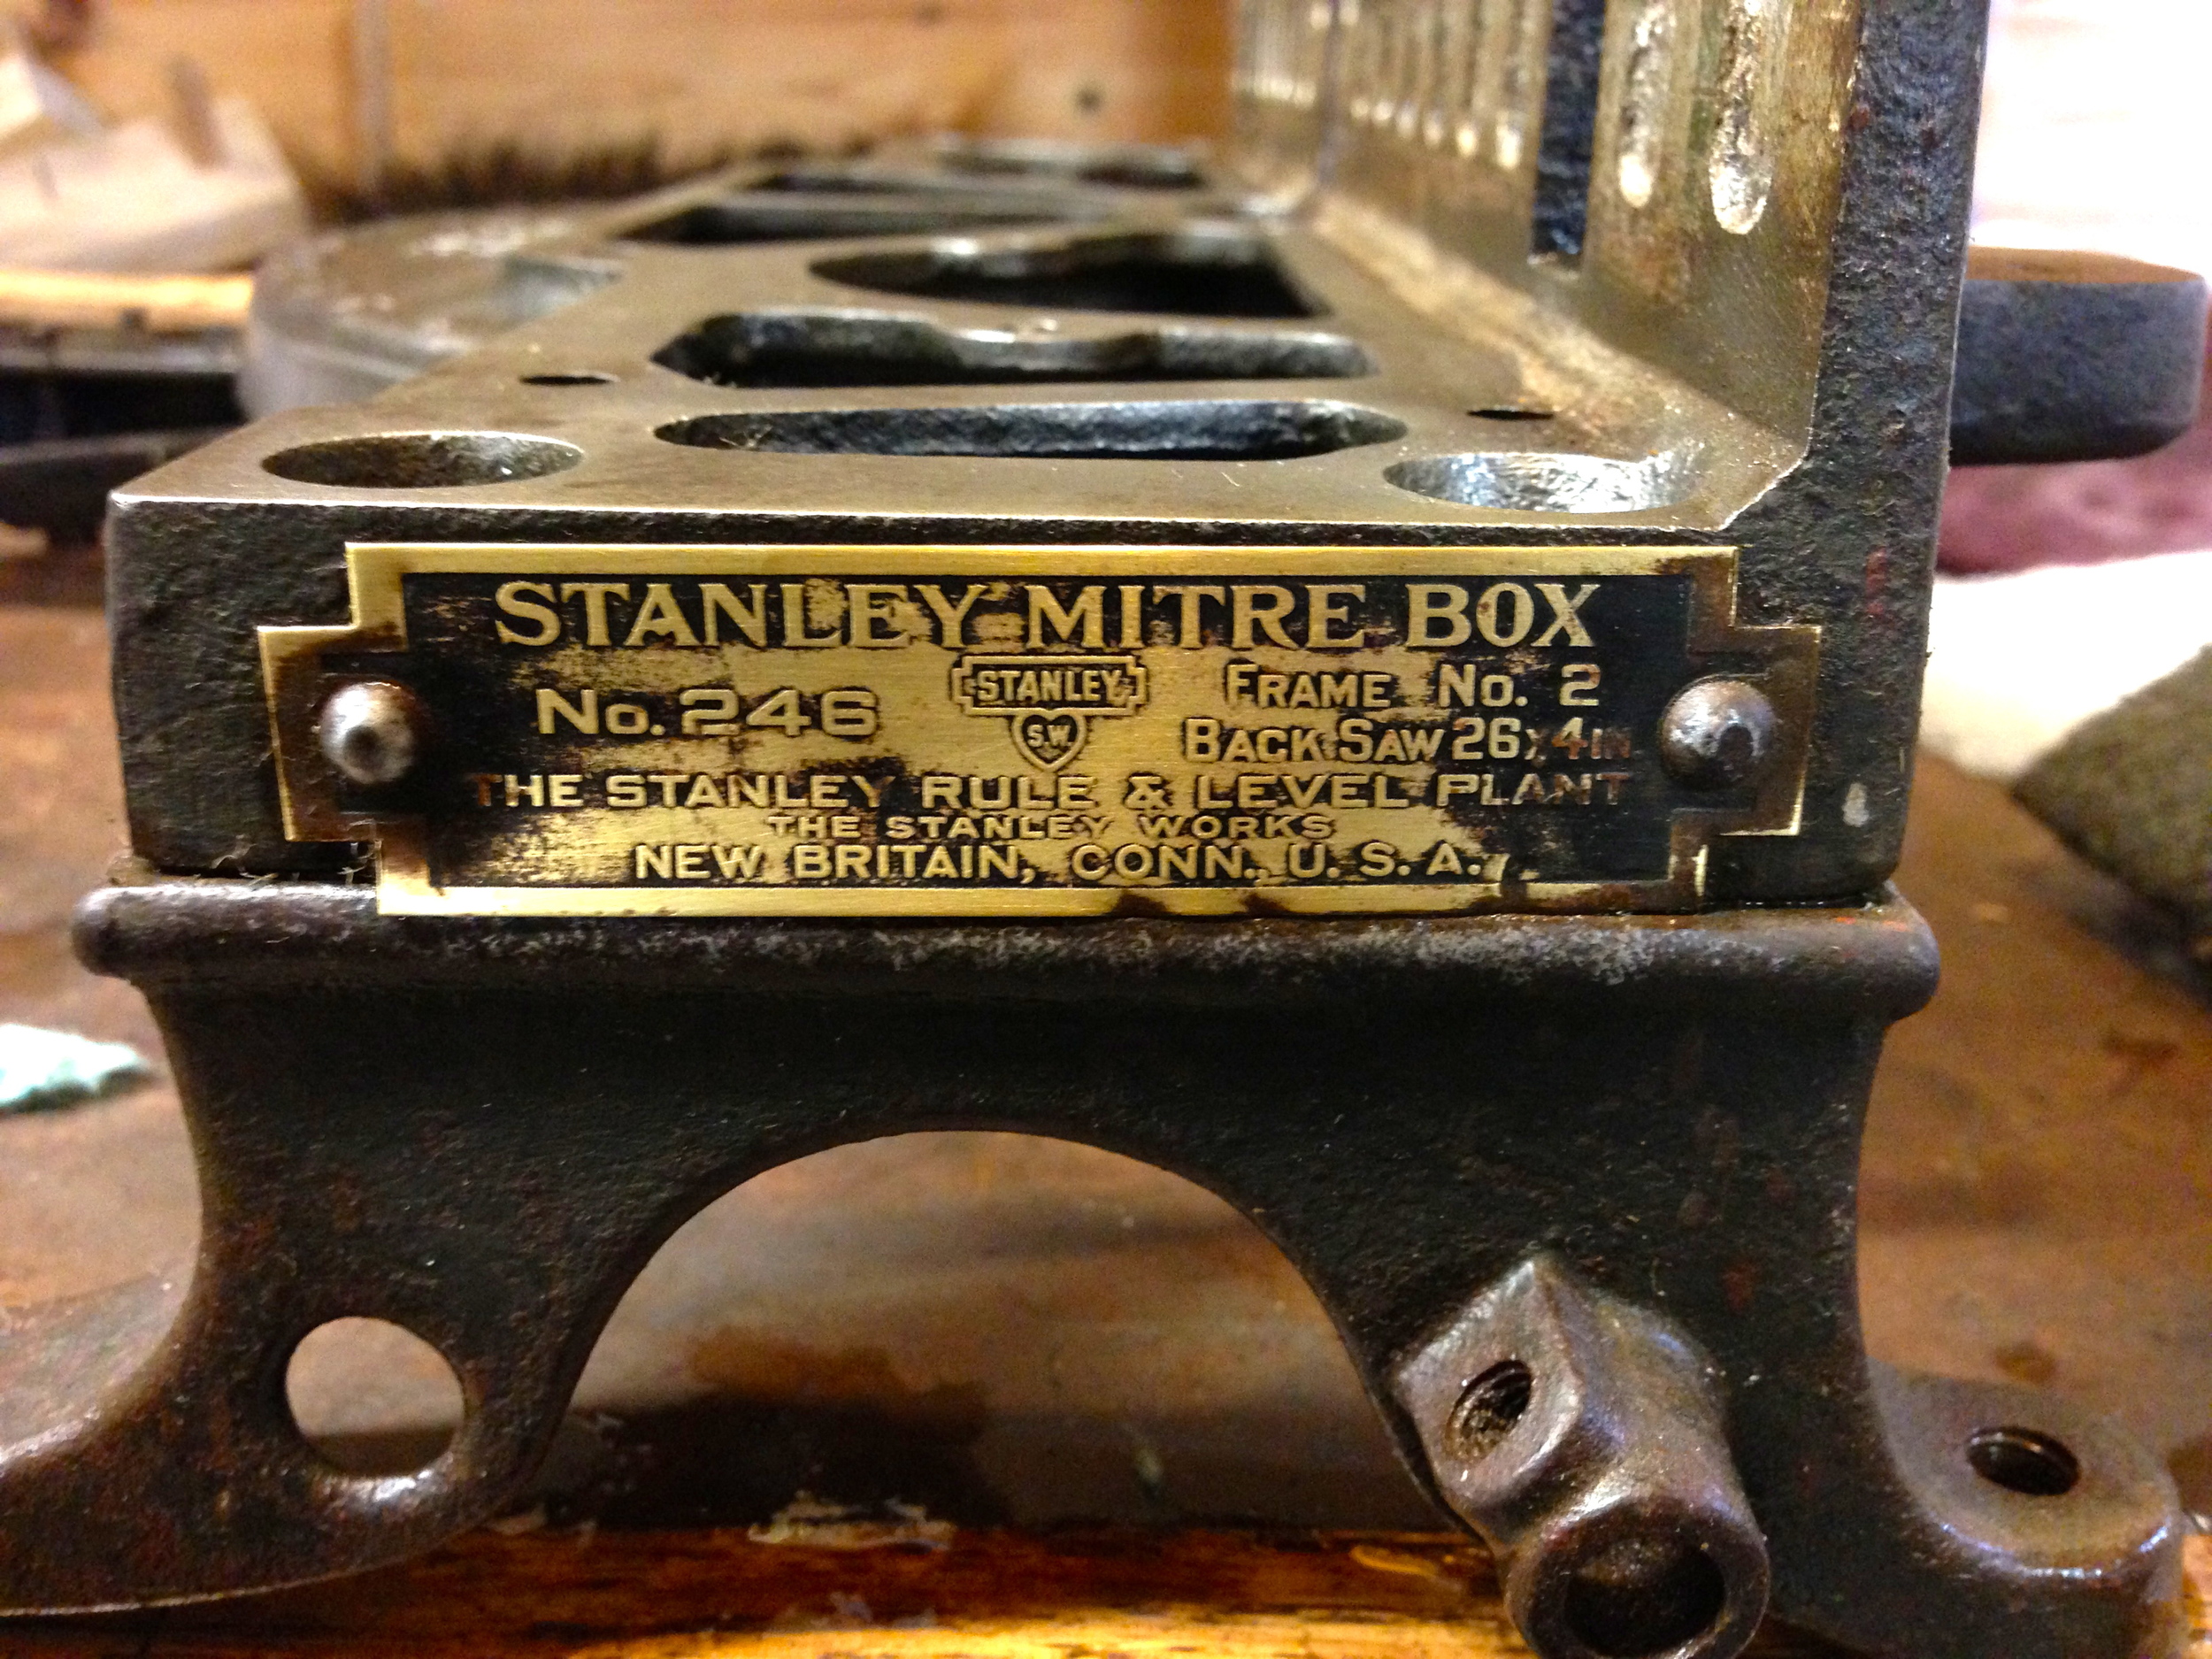
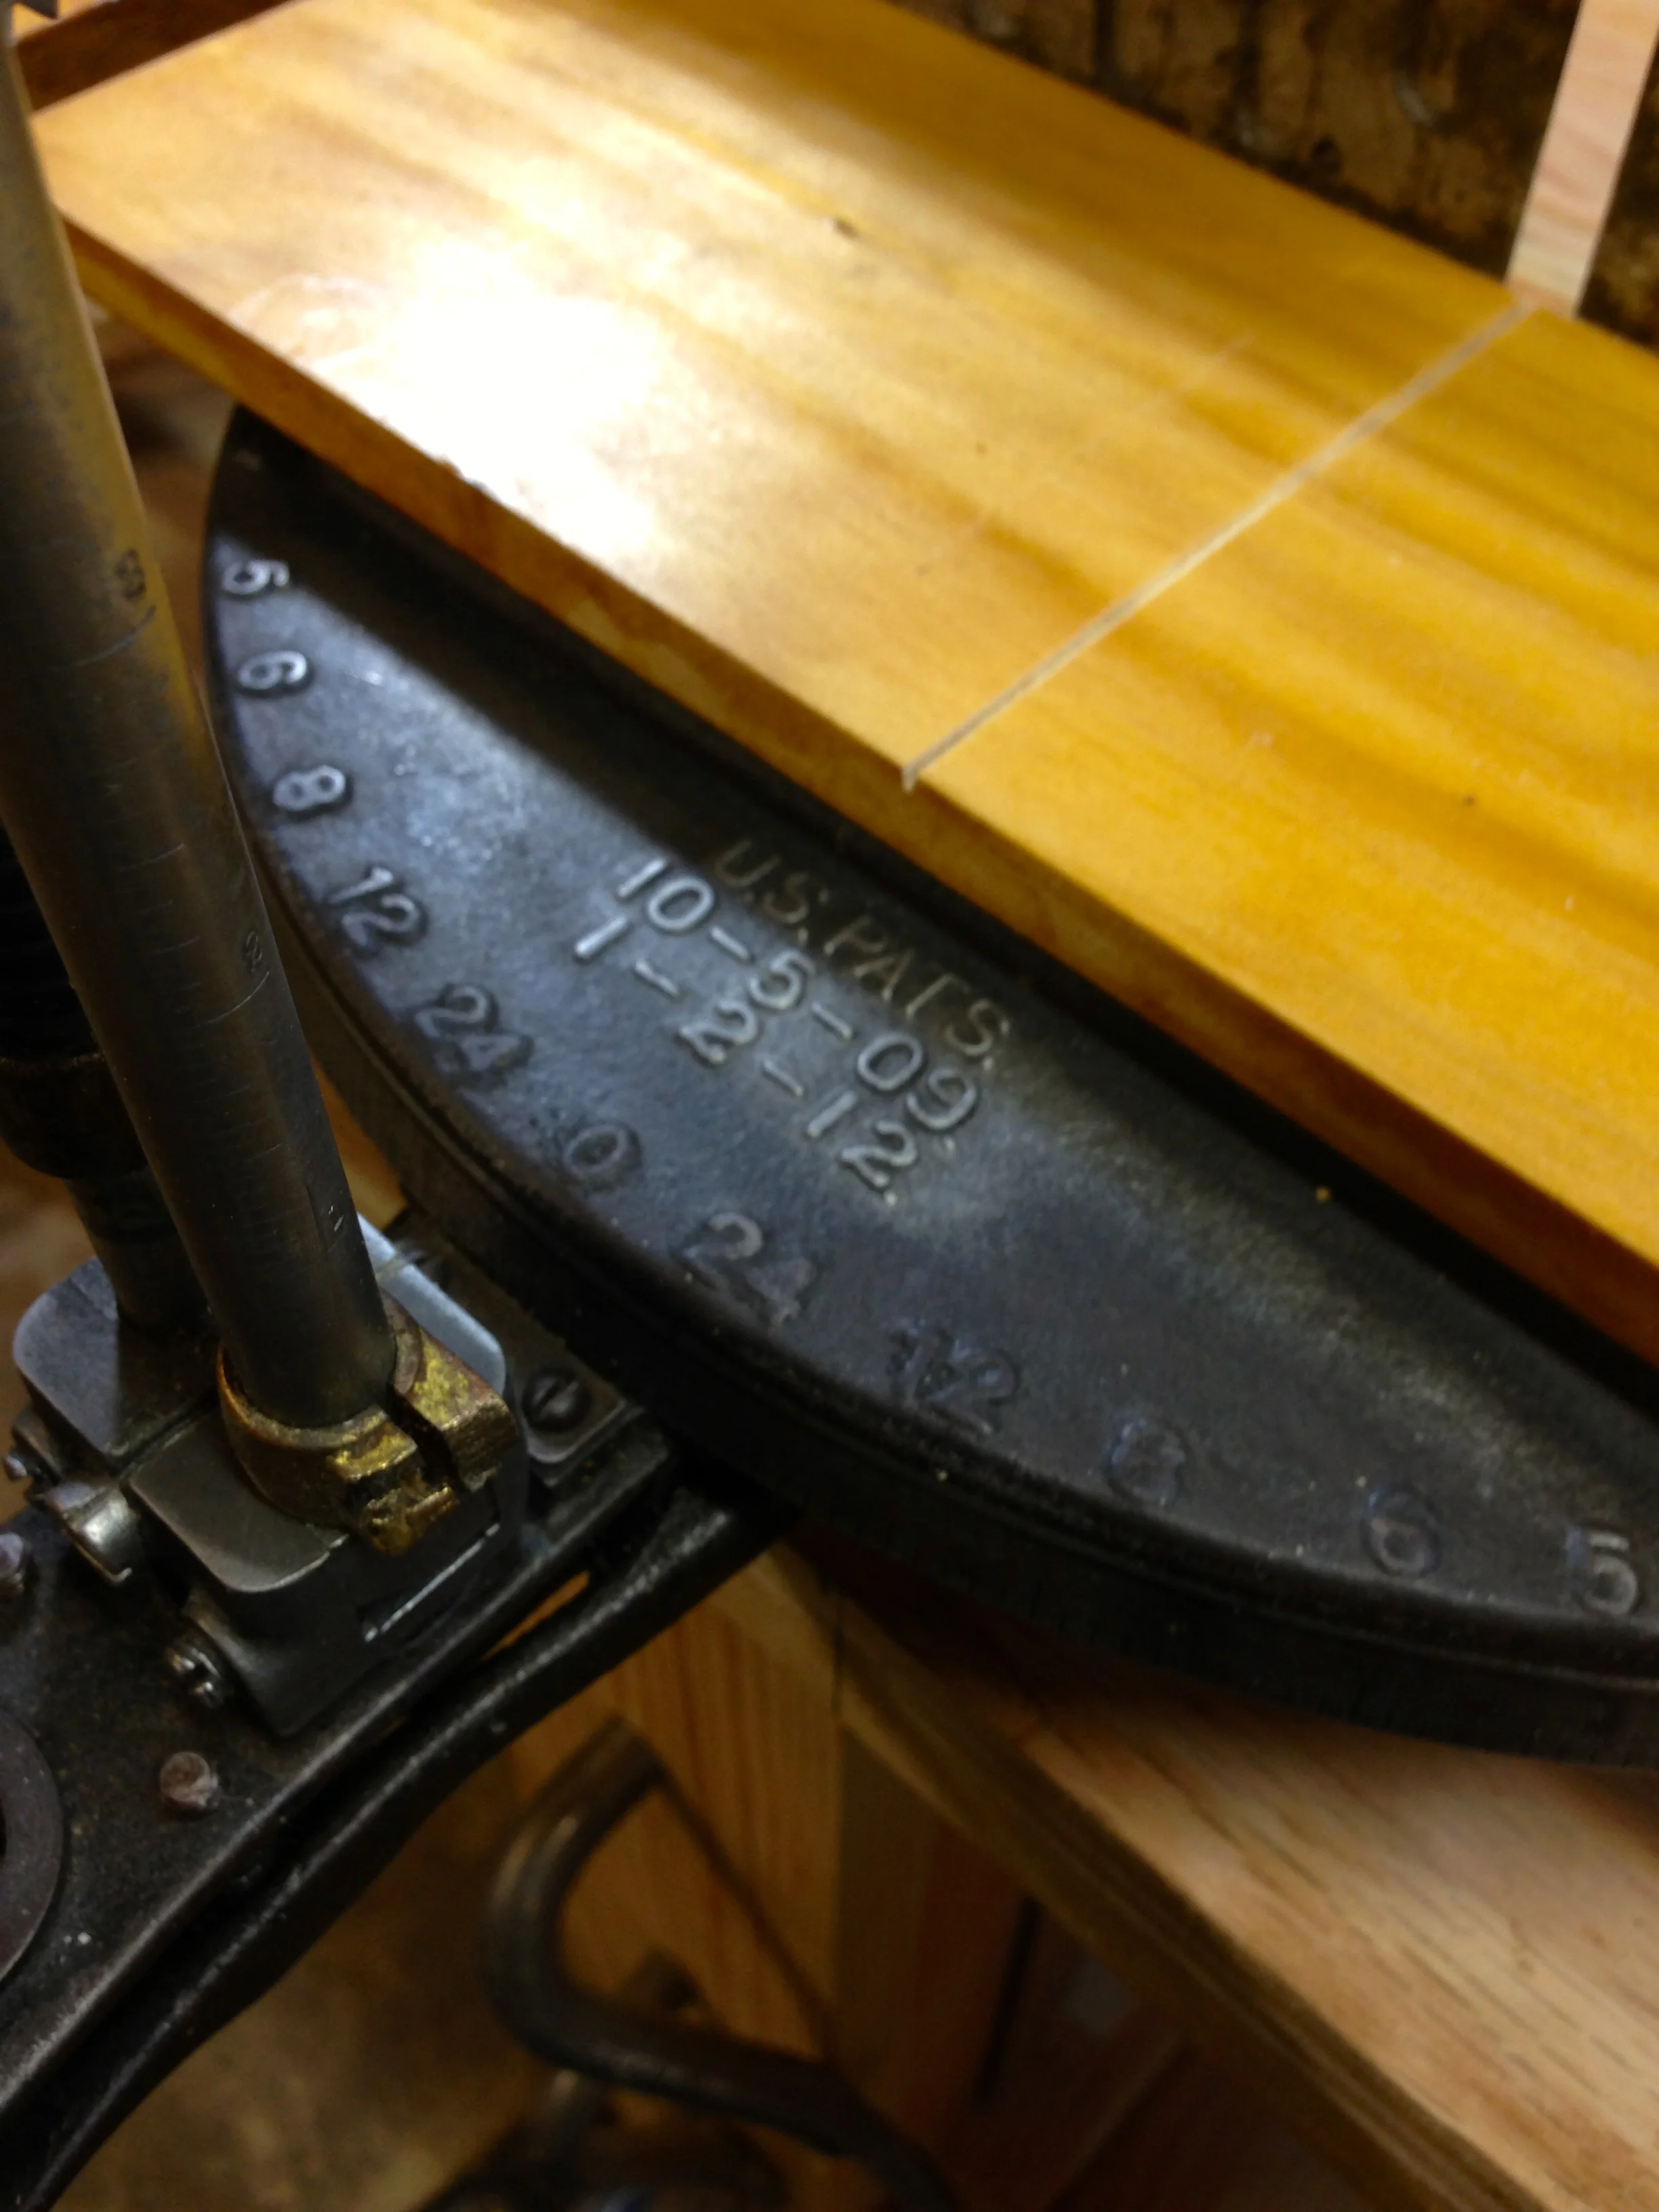
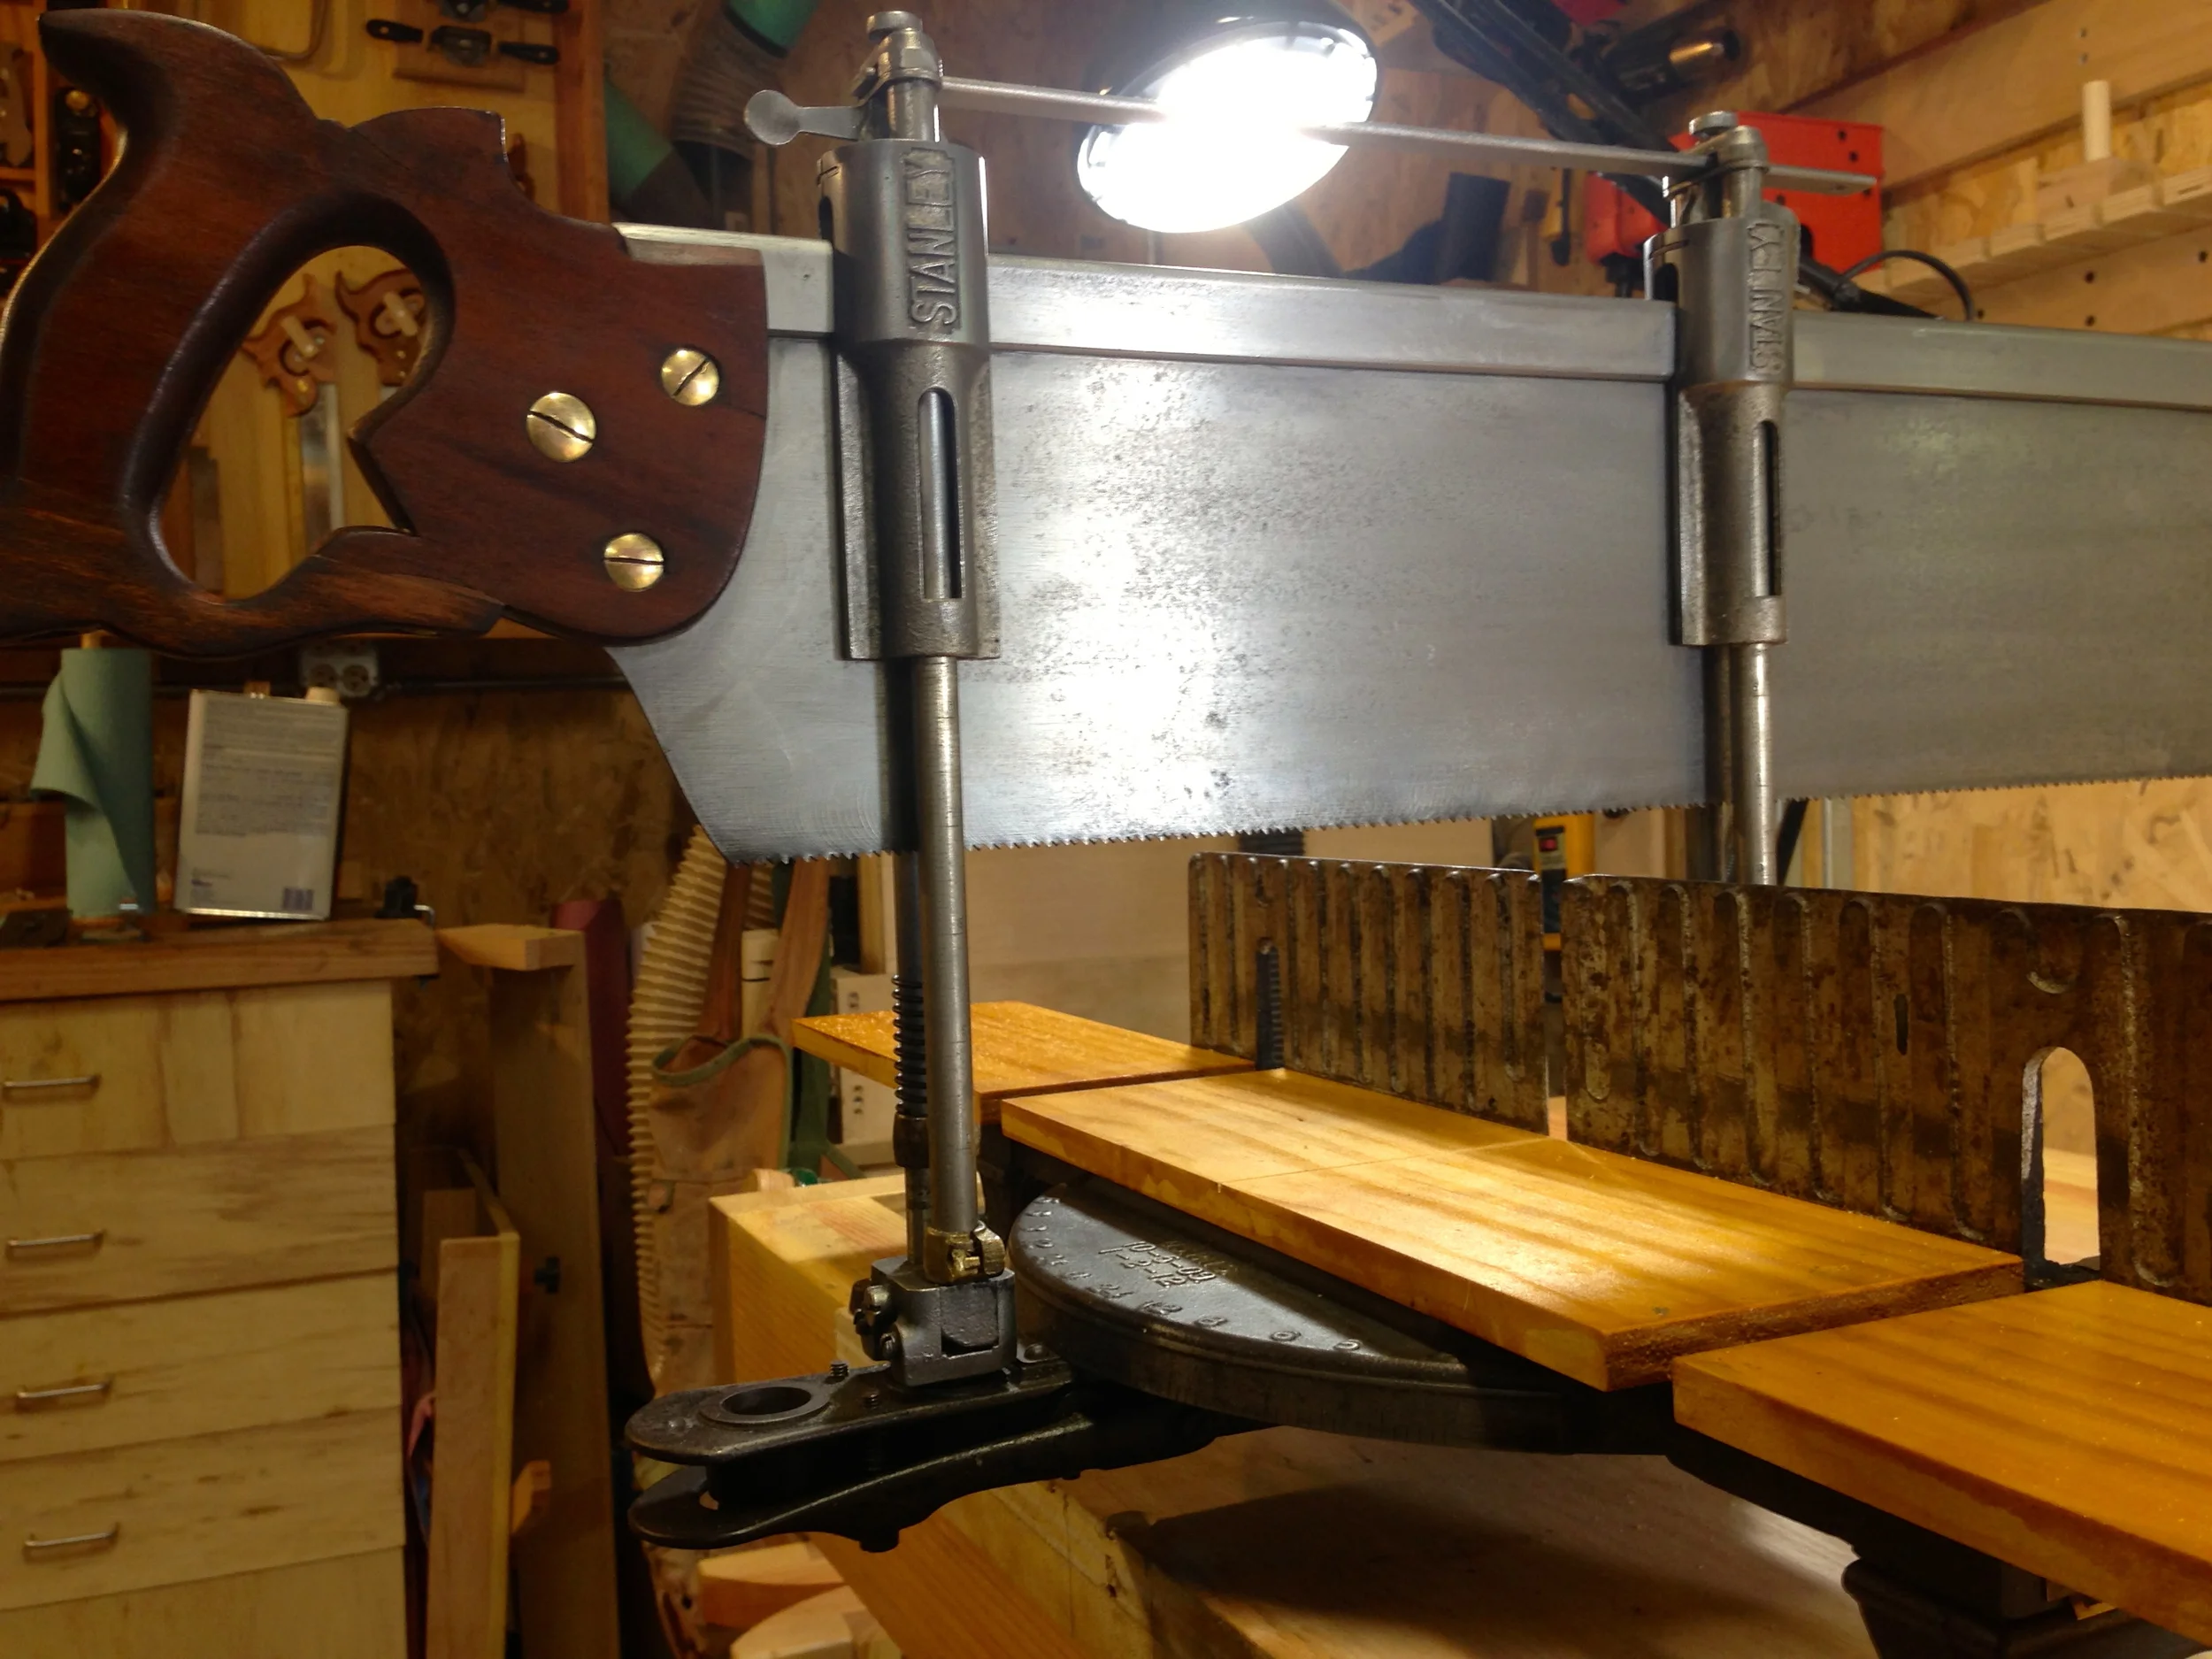
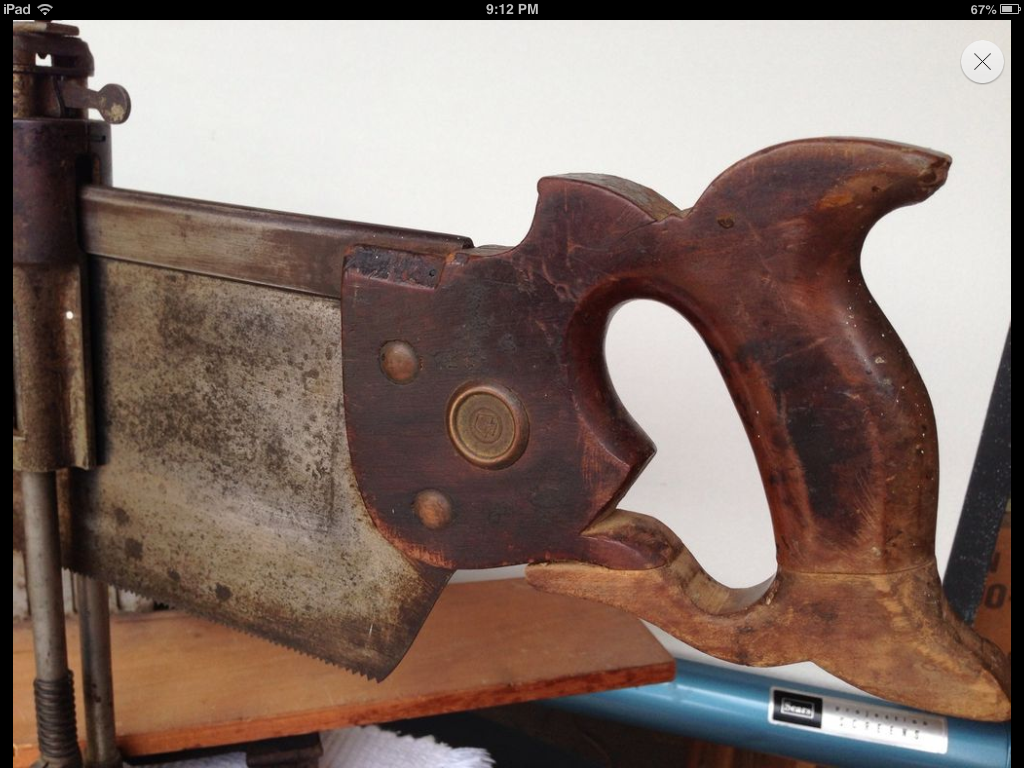
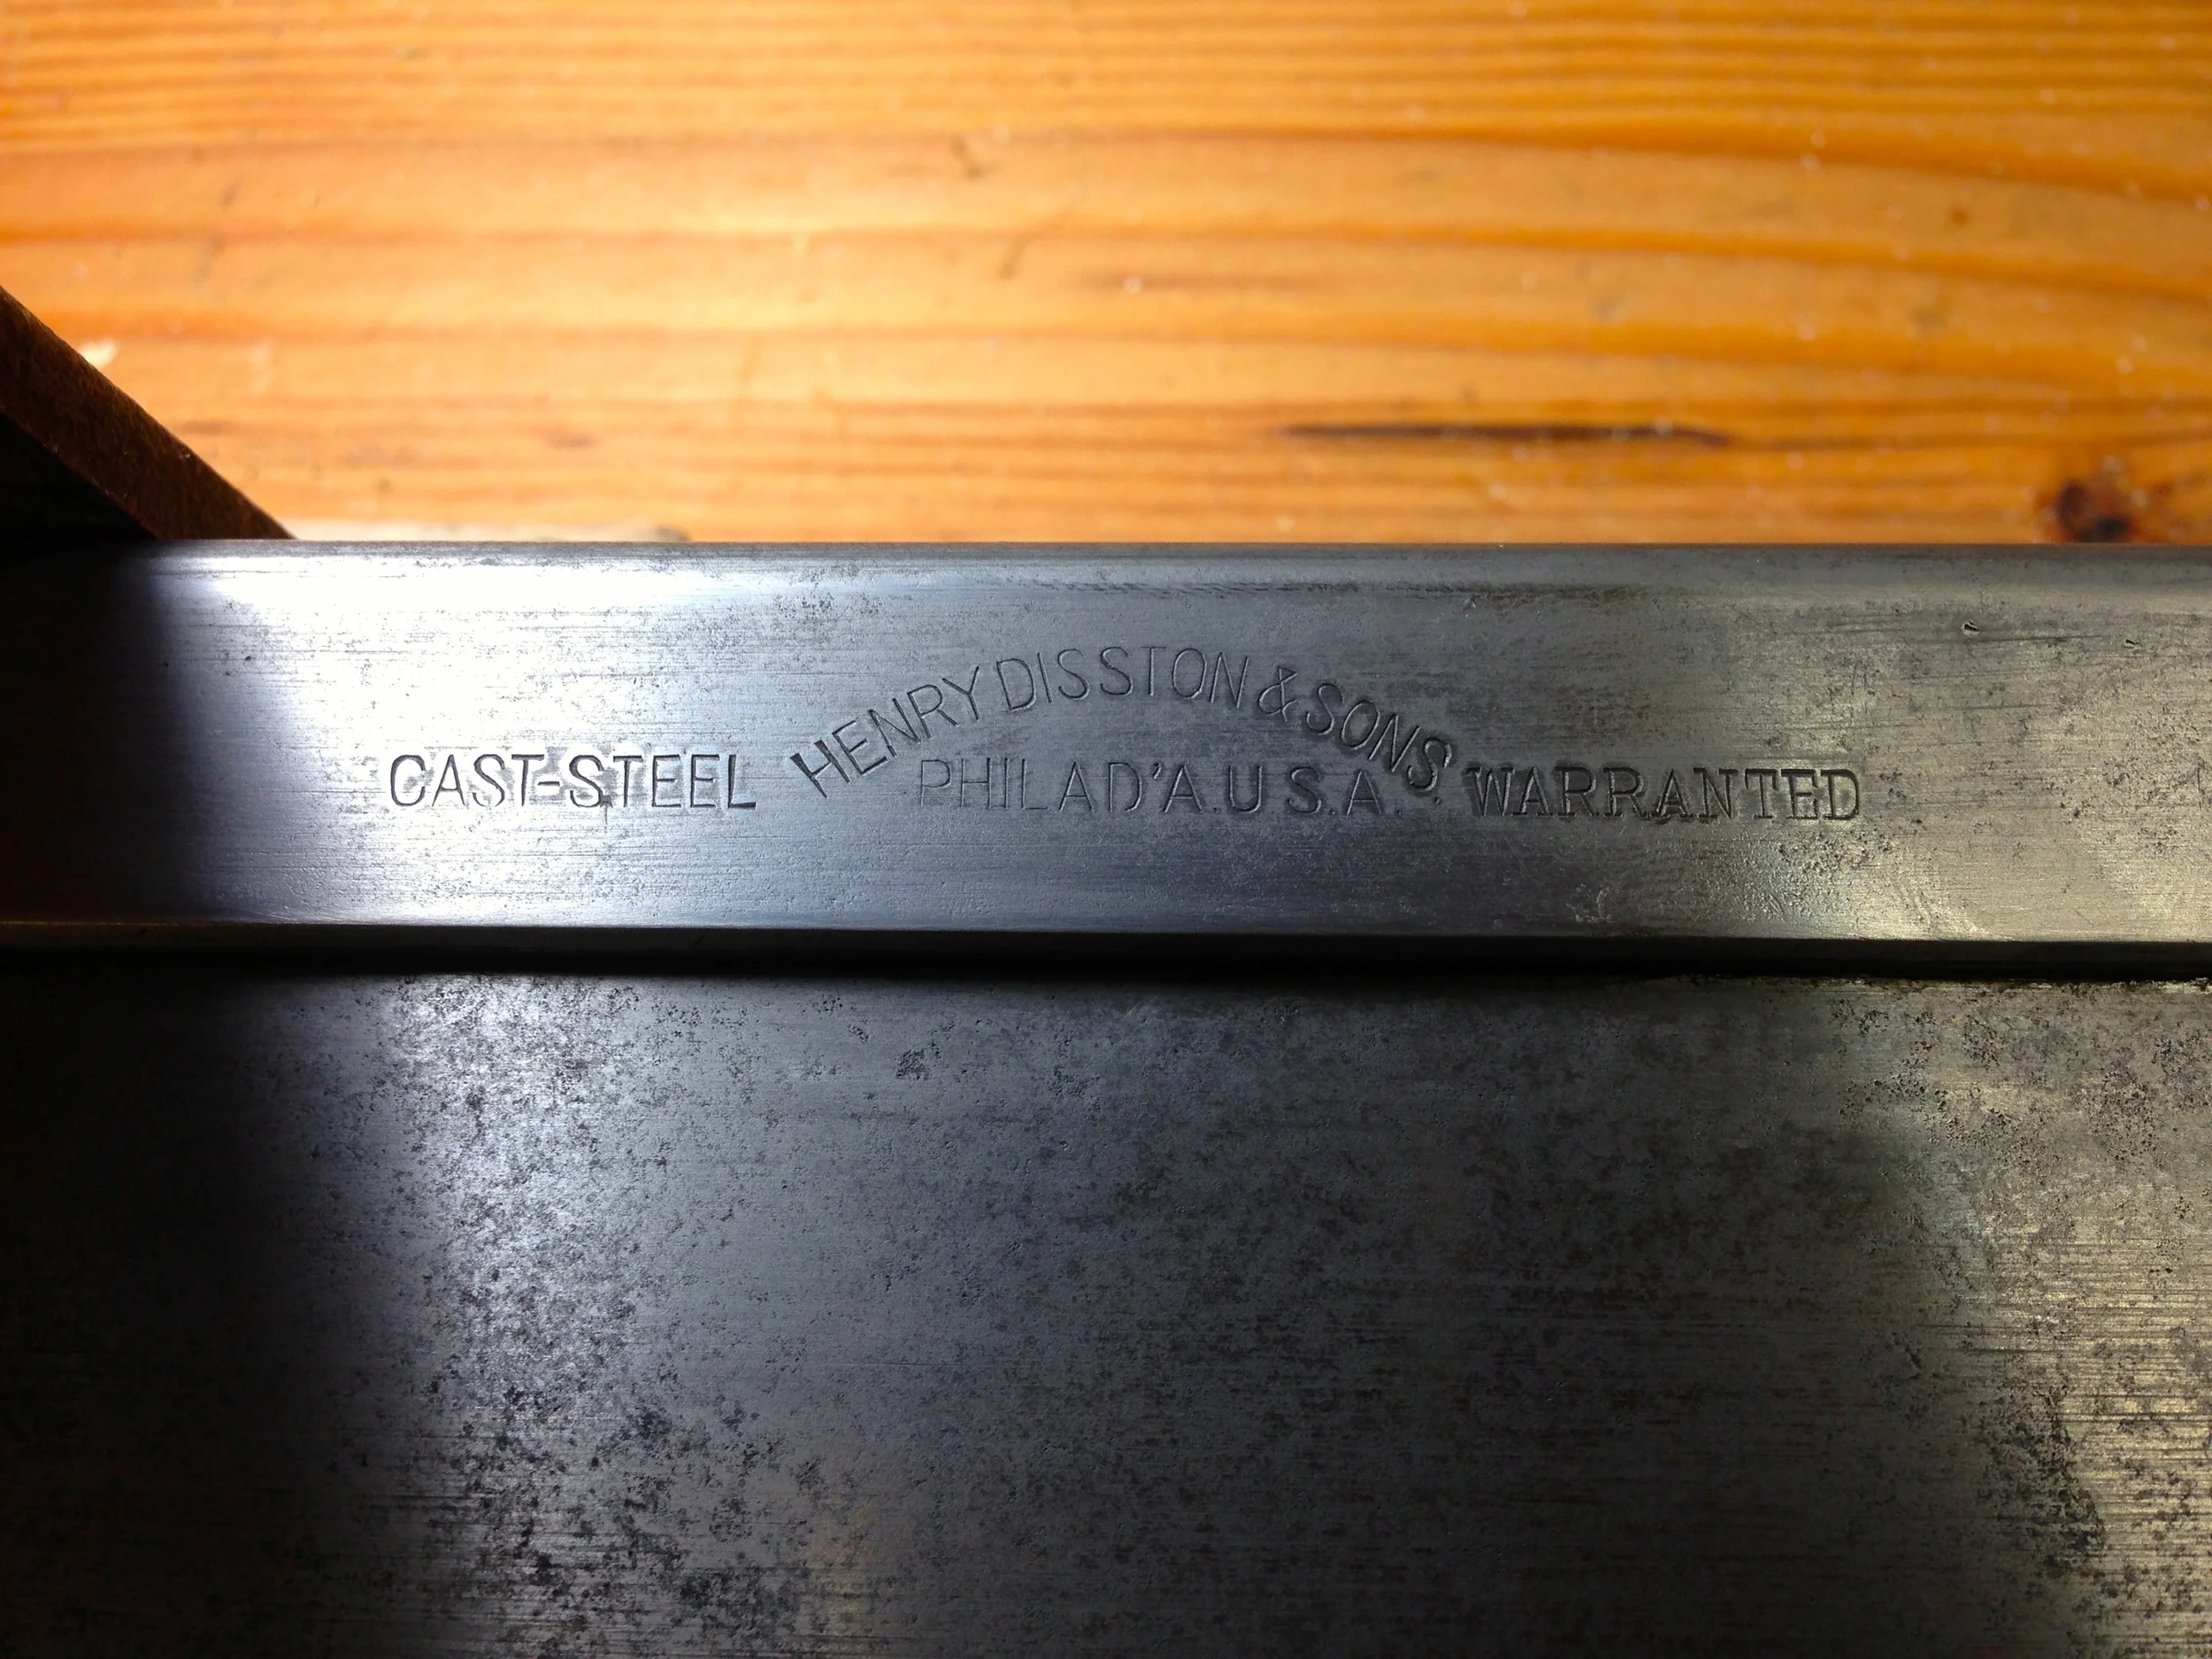
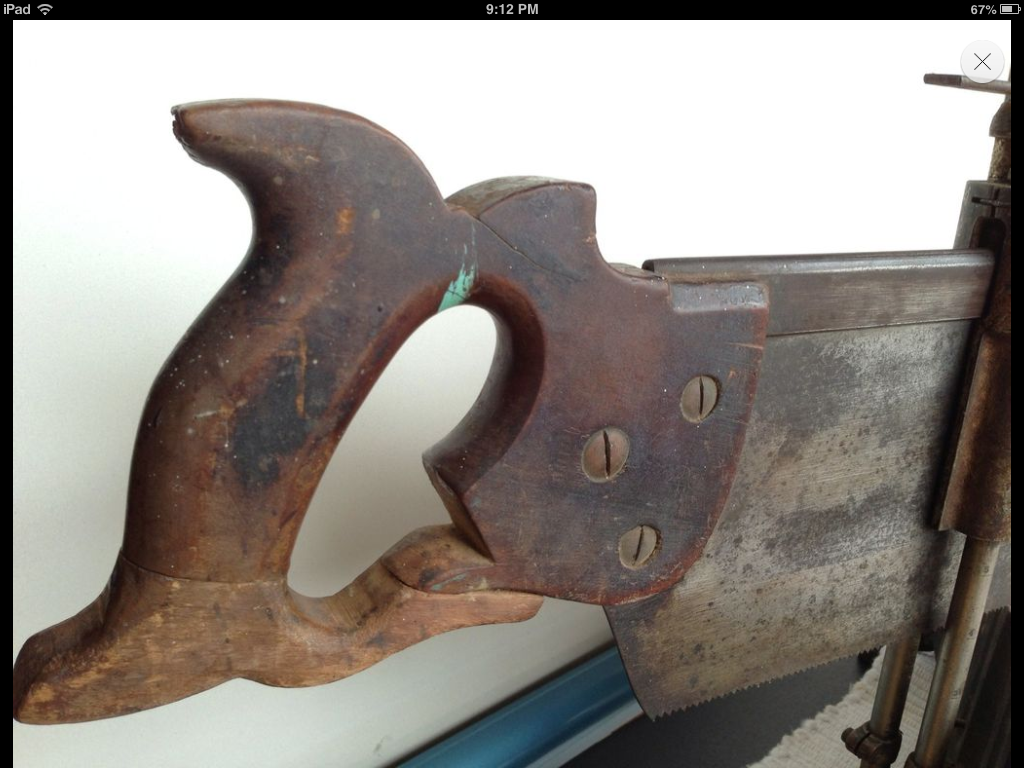
As far as I can figure it, this mitre box dates to the 1920s or so. These mitre boxes were sold by Stanley, and Disston supplied the saw. My saw, oddly enough, has a Disston medallion on the handle, a Disston stamp on the back bar, but the etch on the saw plate itself says "Langdon Mitre Box, Millers Falls". EDIT: The saw was made by Disston for a Millers Falls box, and ended up with this Stanley box. Also on this box, there is one minor part broken that I can replace, and some stock guides that are missing, but easily replaced with a shop made solution. The handle had been repaired badly with two screws and failed glue, but I re-glued it, and sanded the join to match. The saw's blade was either sharpened recently, or had hardly been used as the teeth were in great condition and very sharp. It's now both a real worker, and a looker.

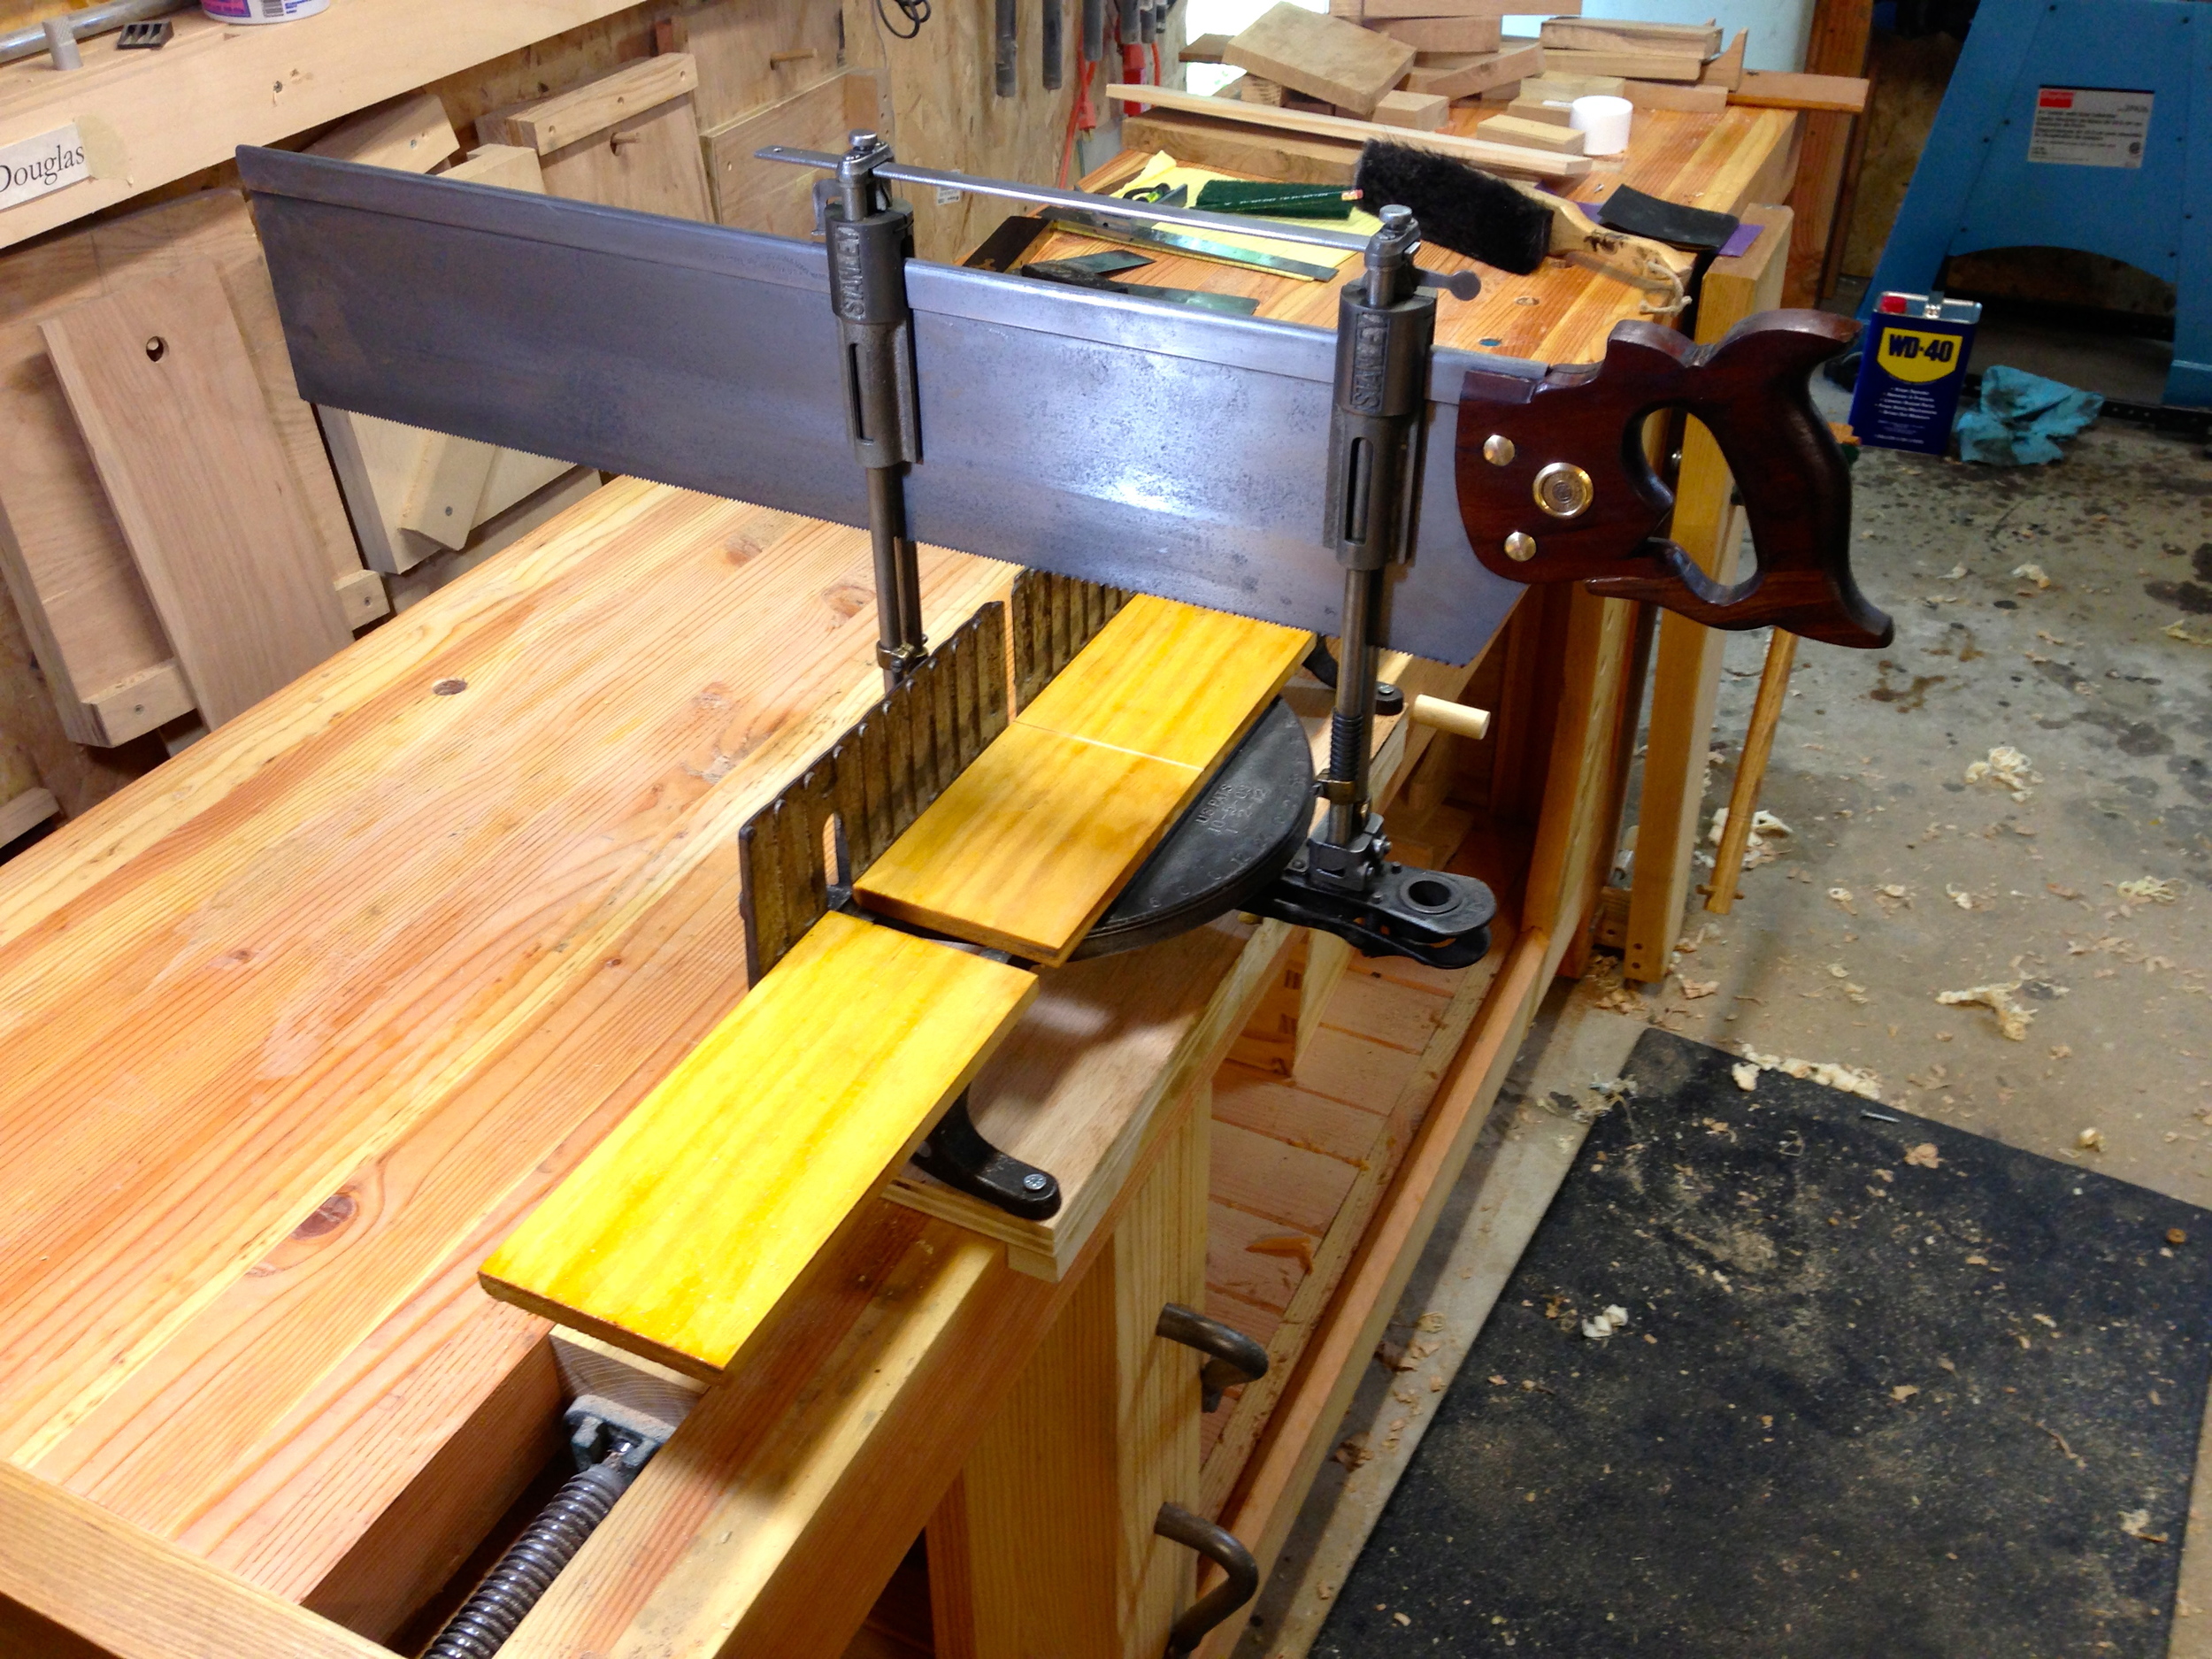
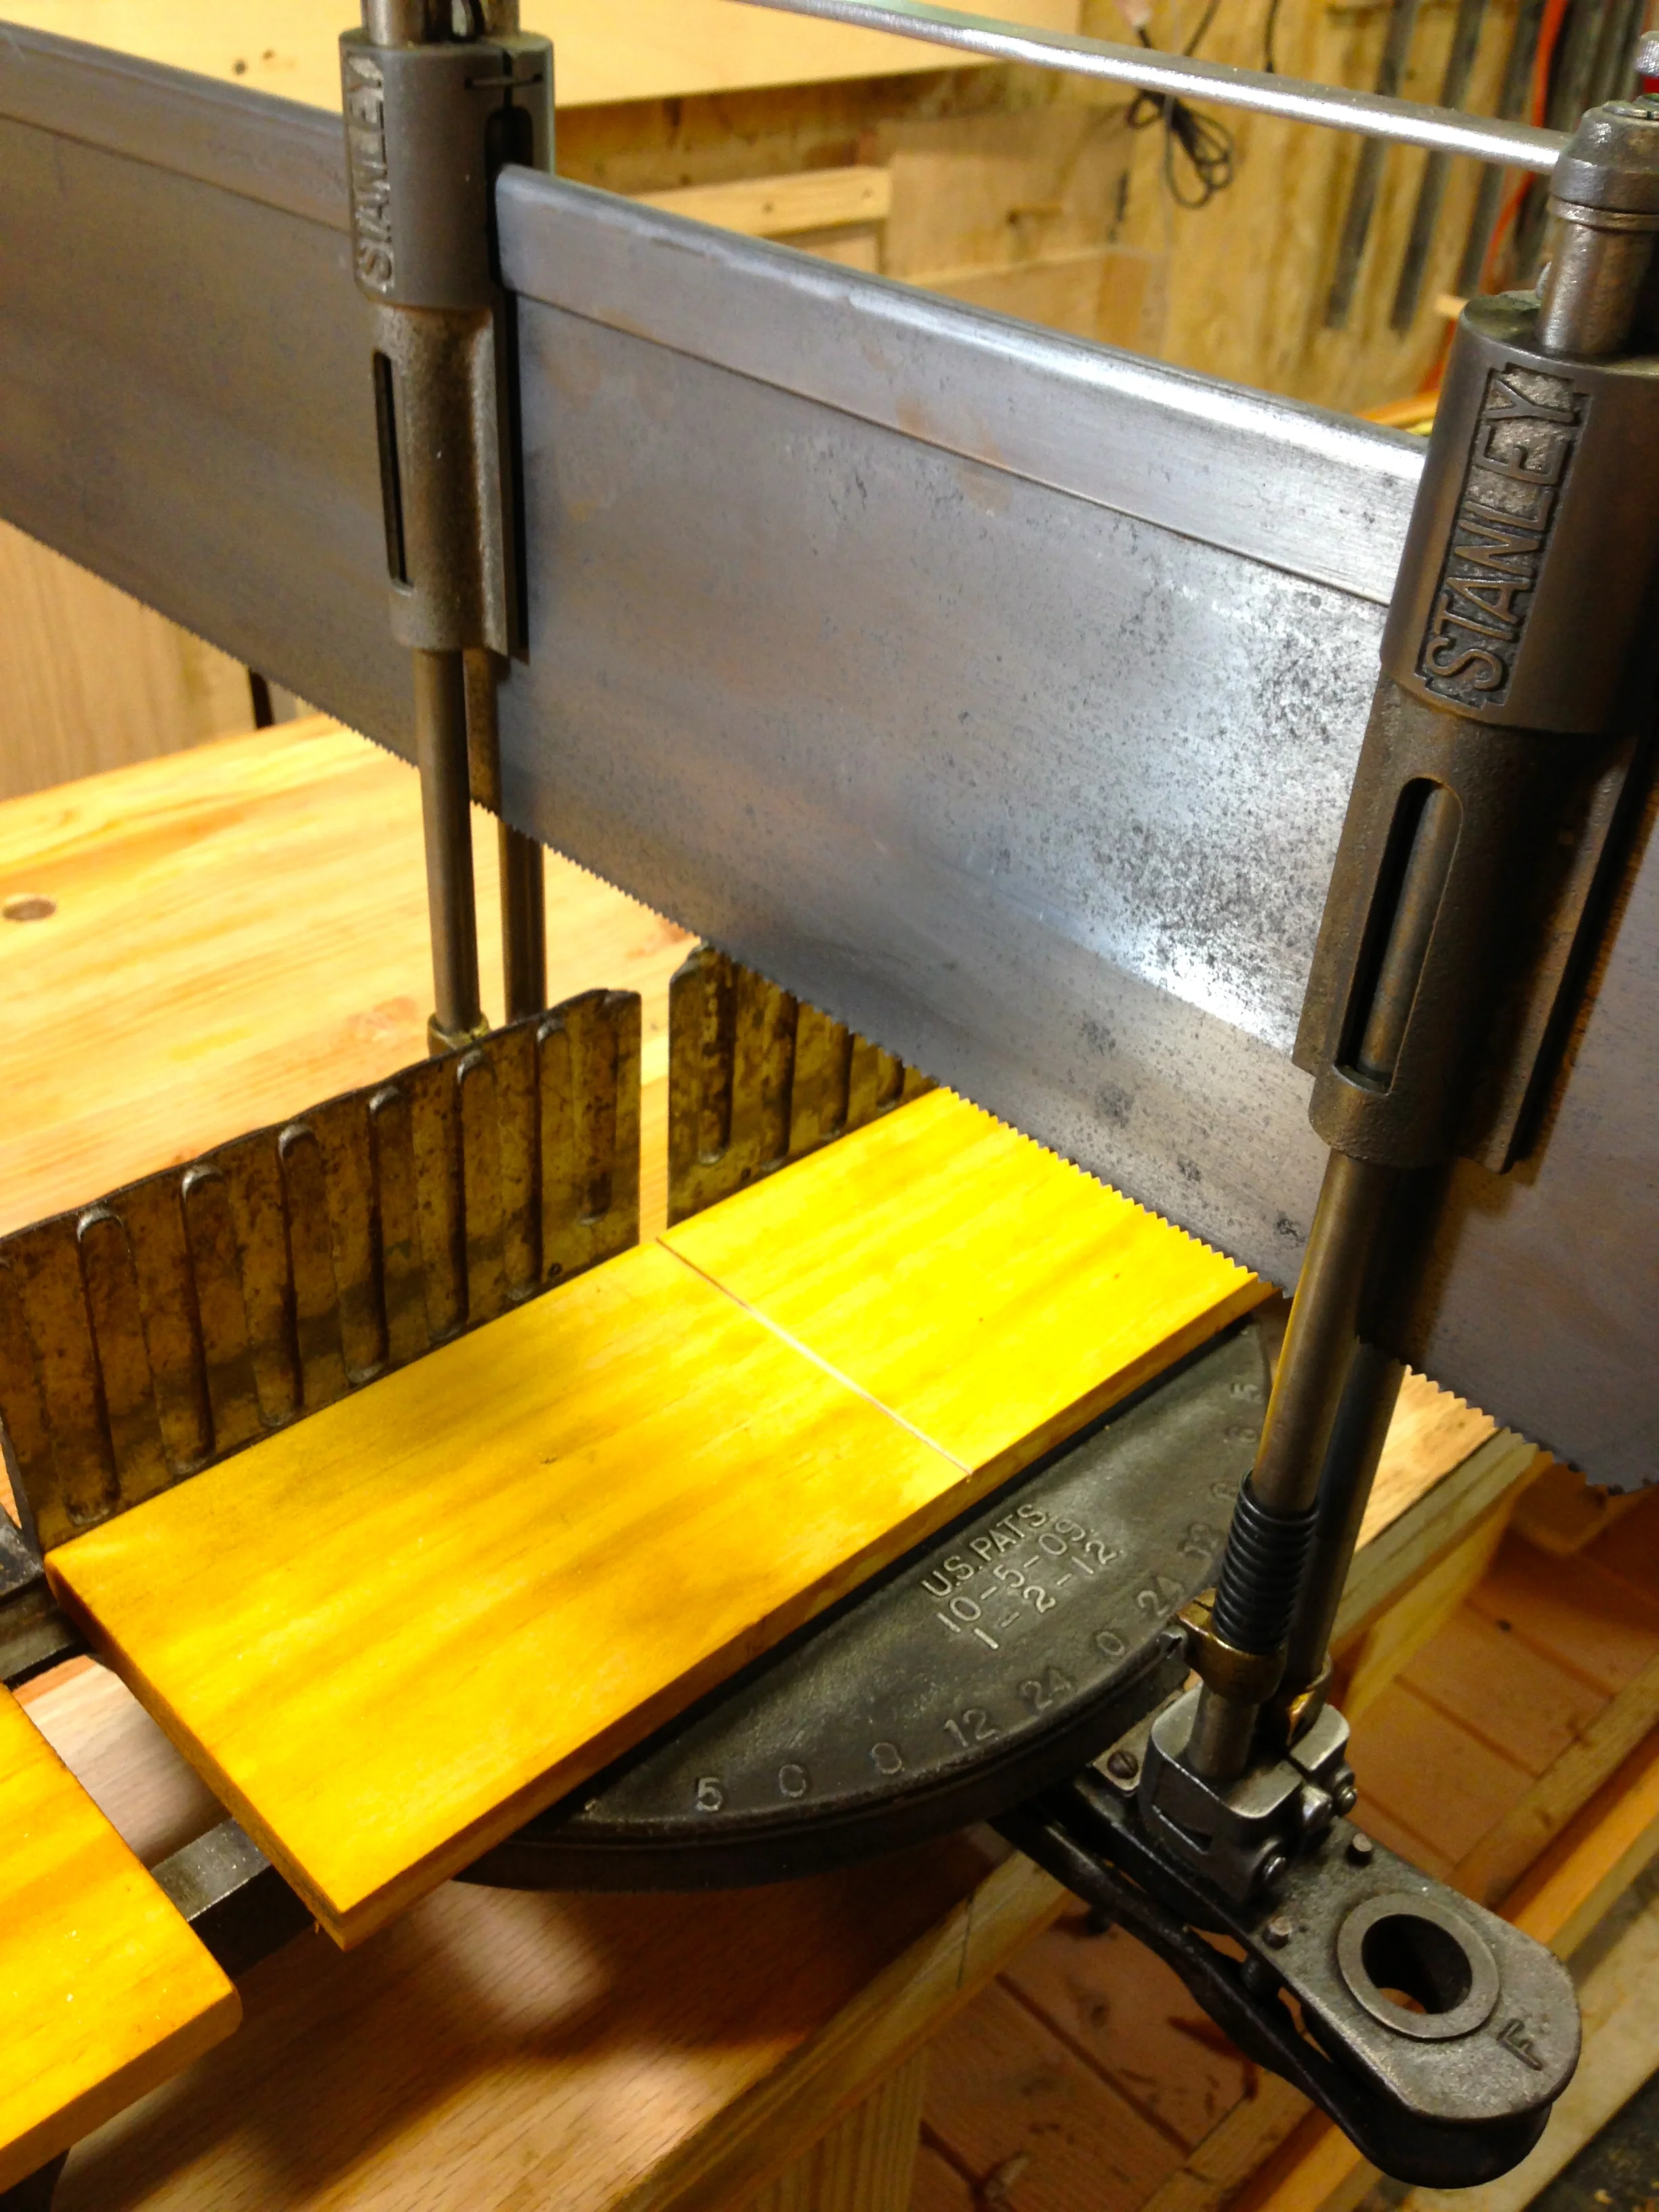
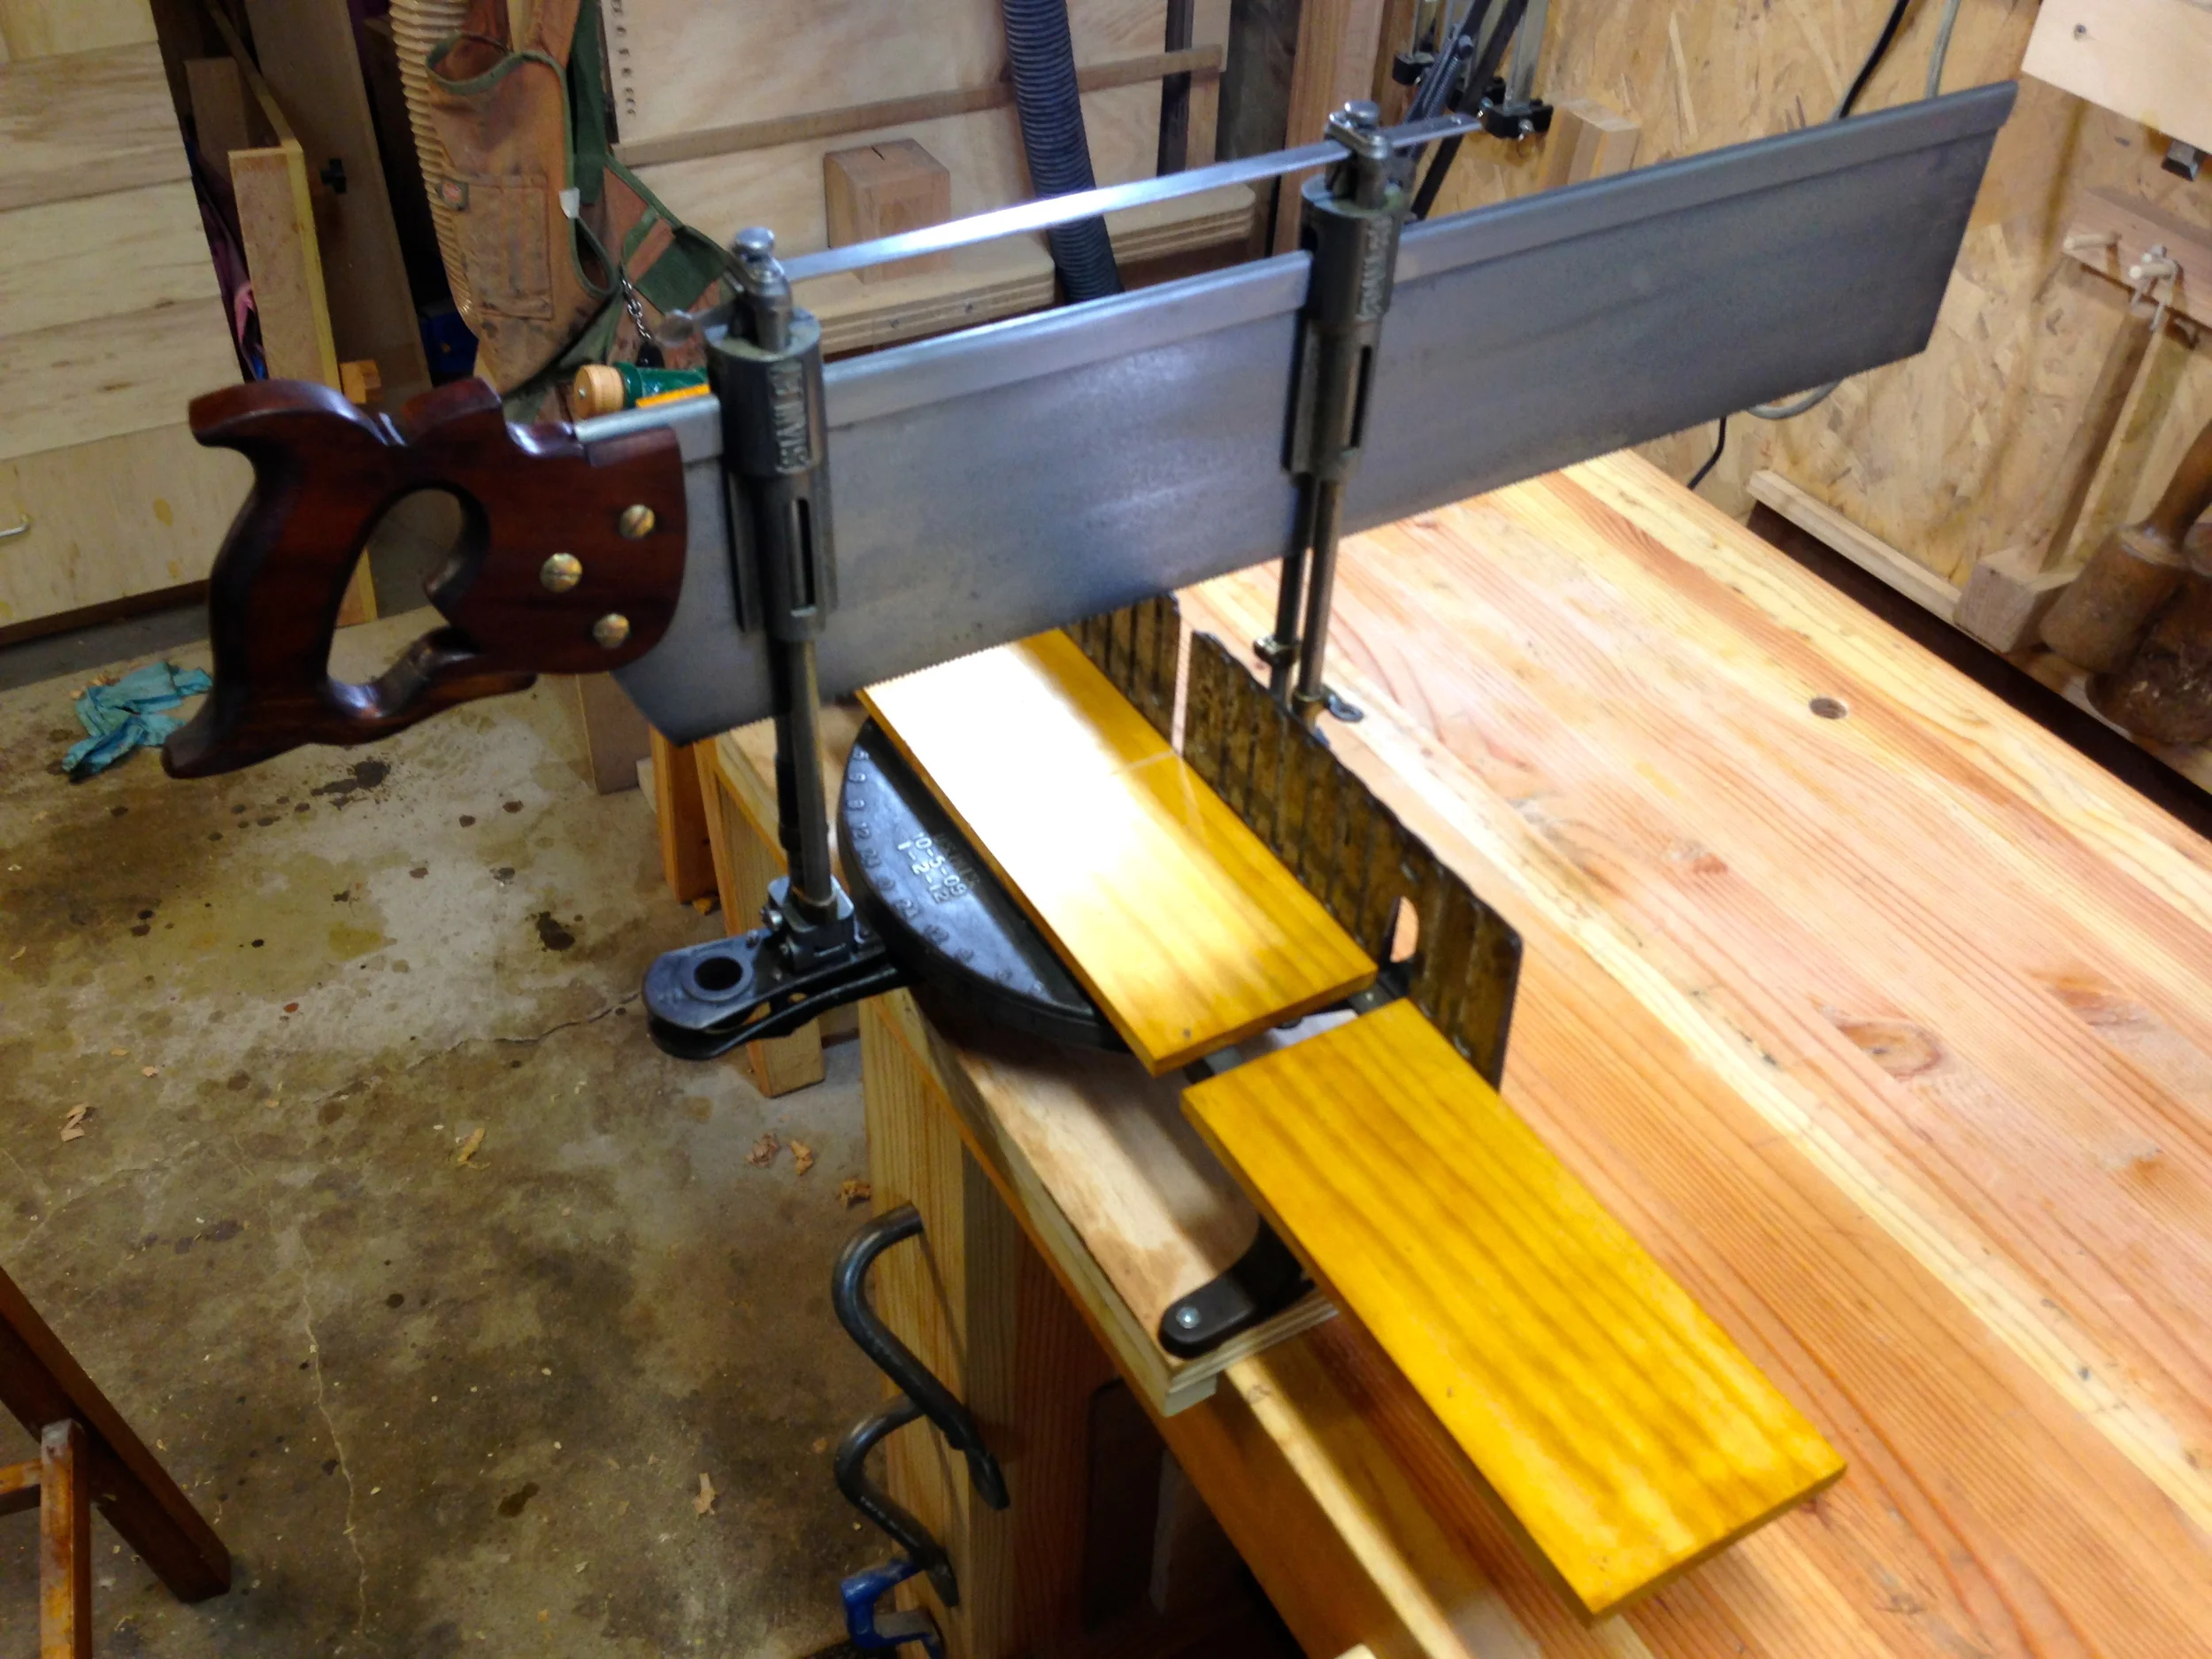
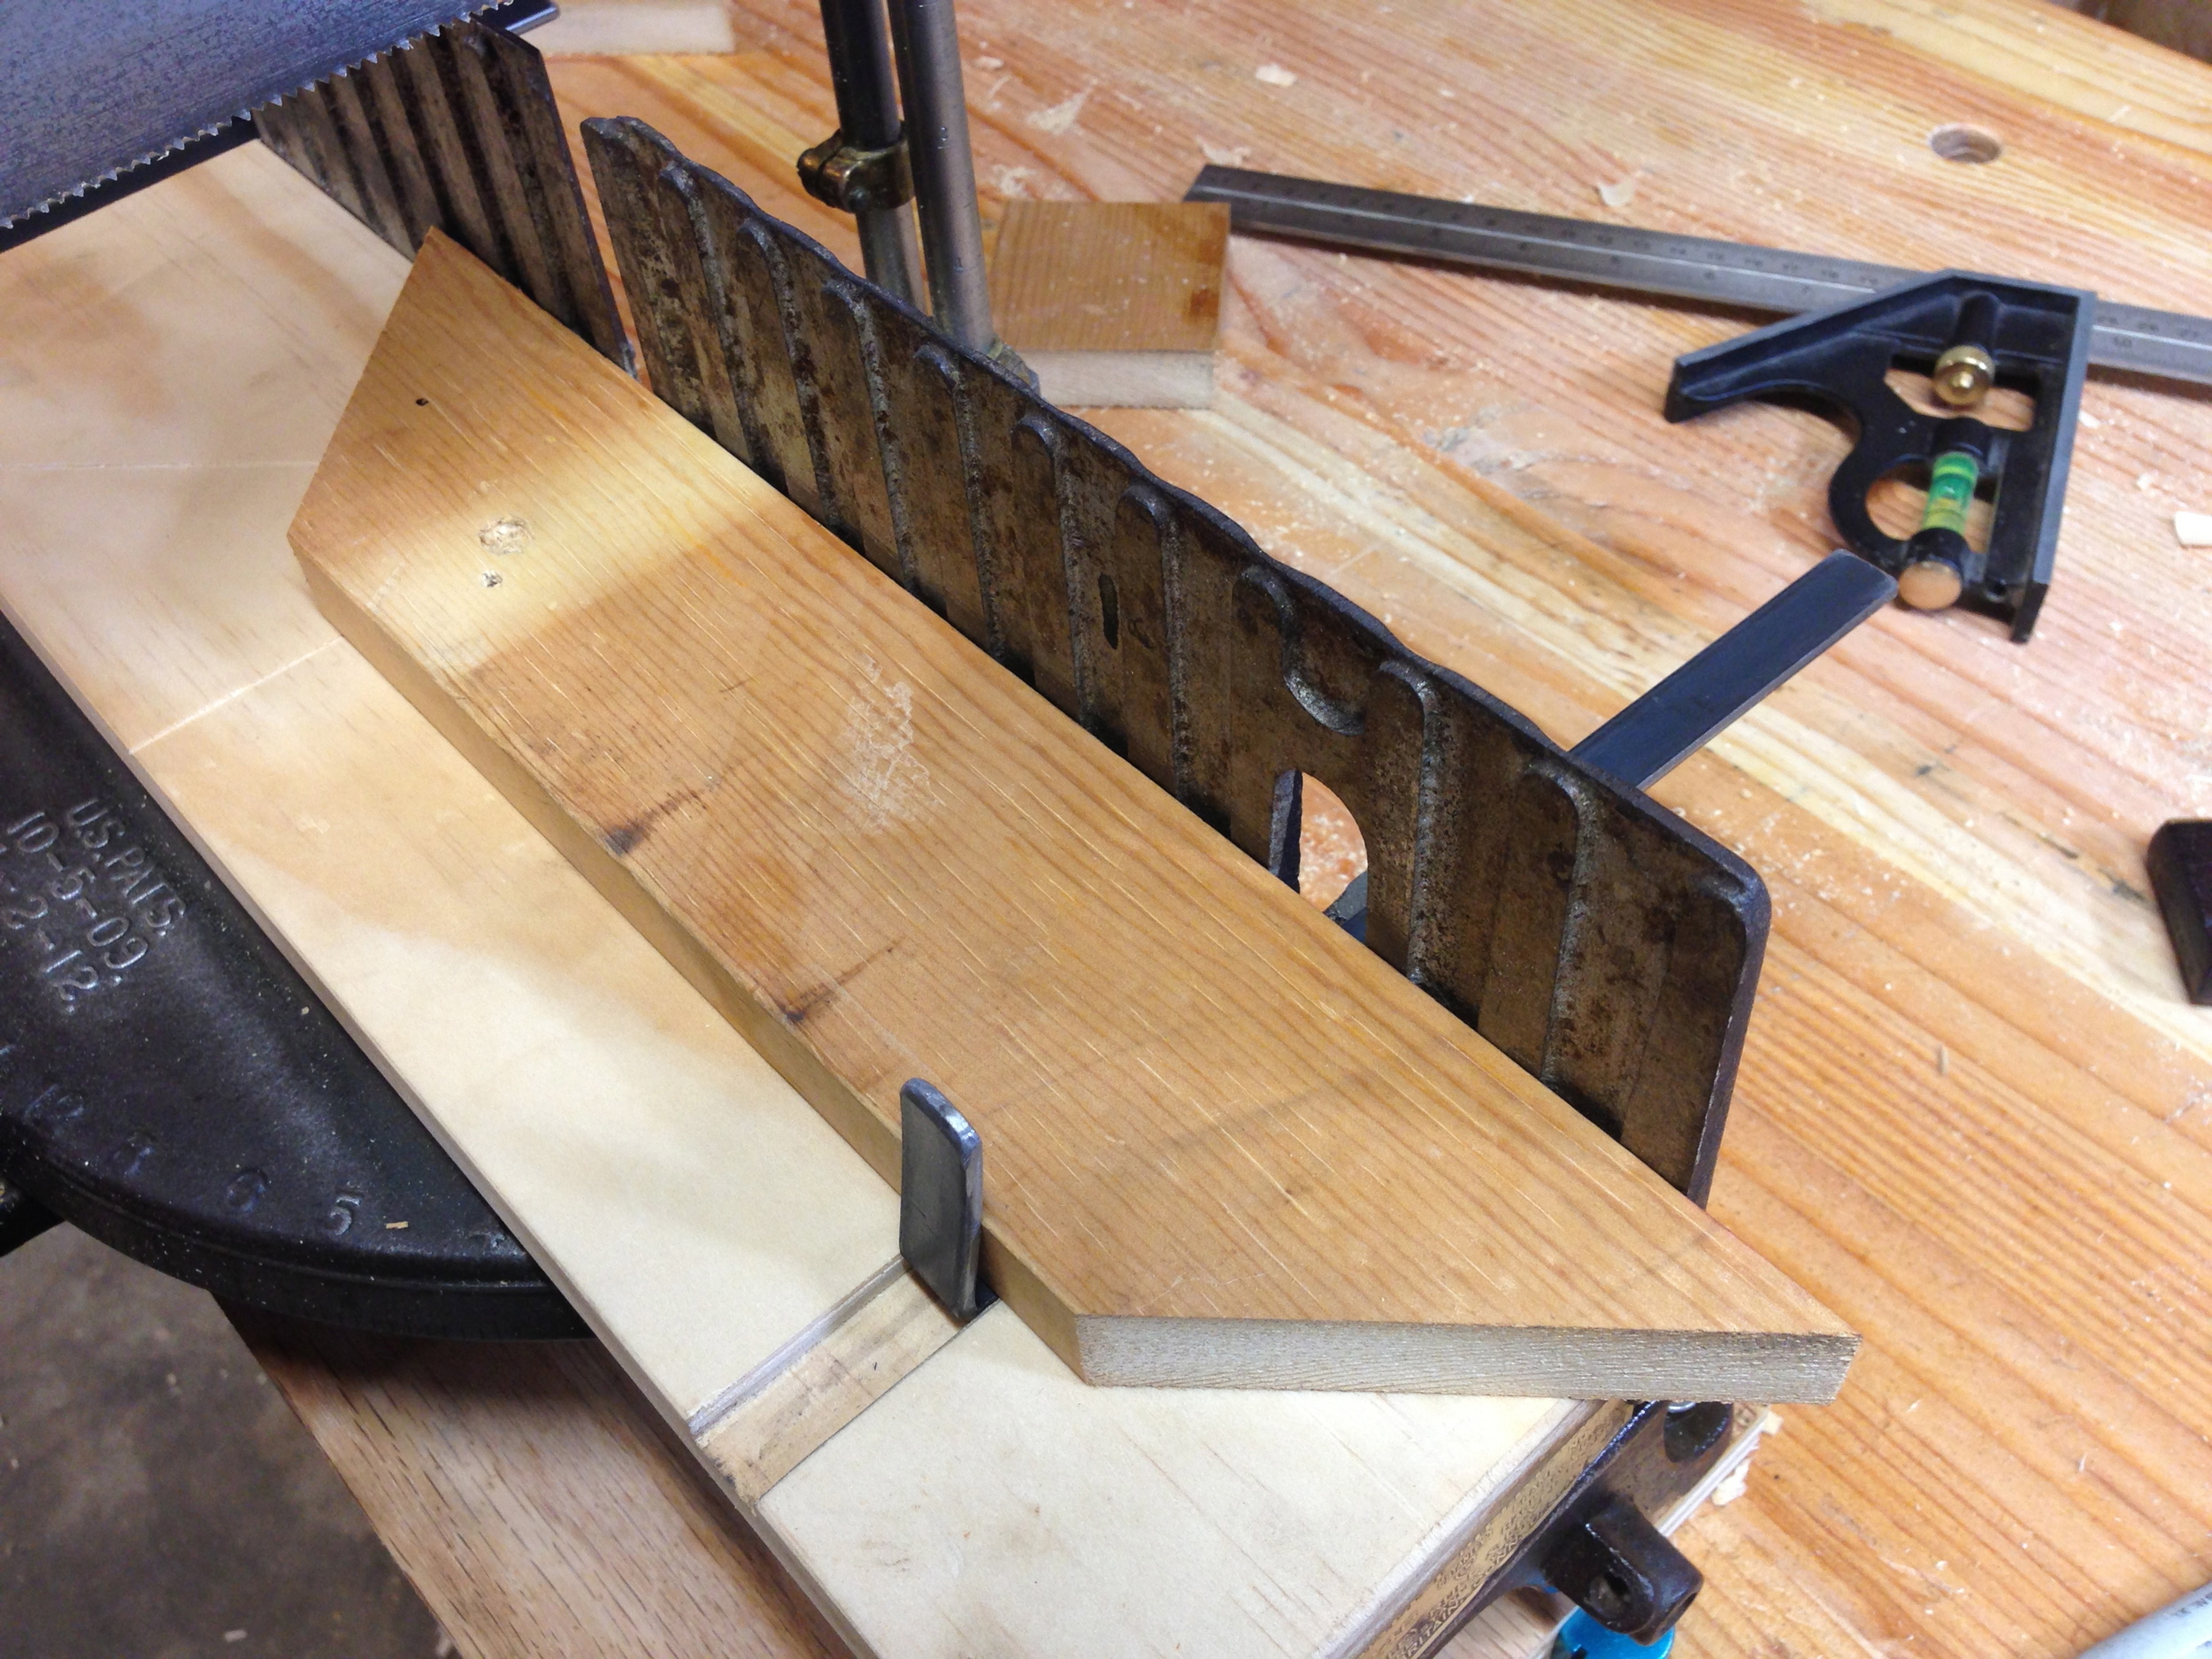
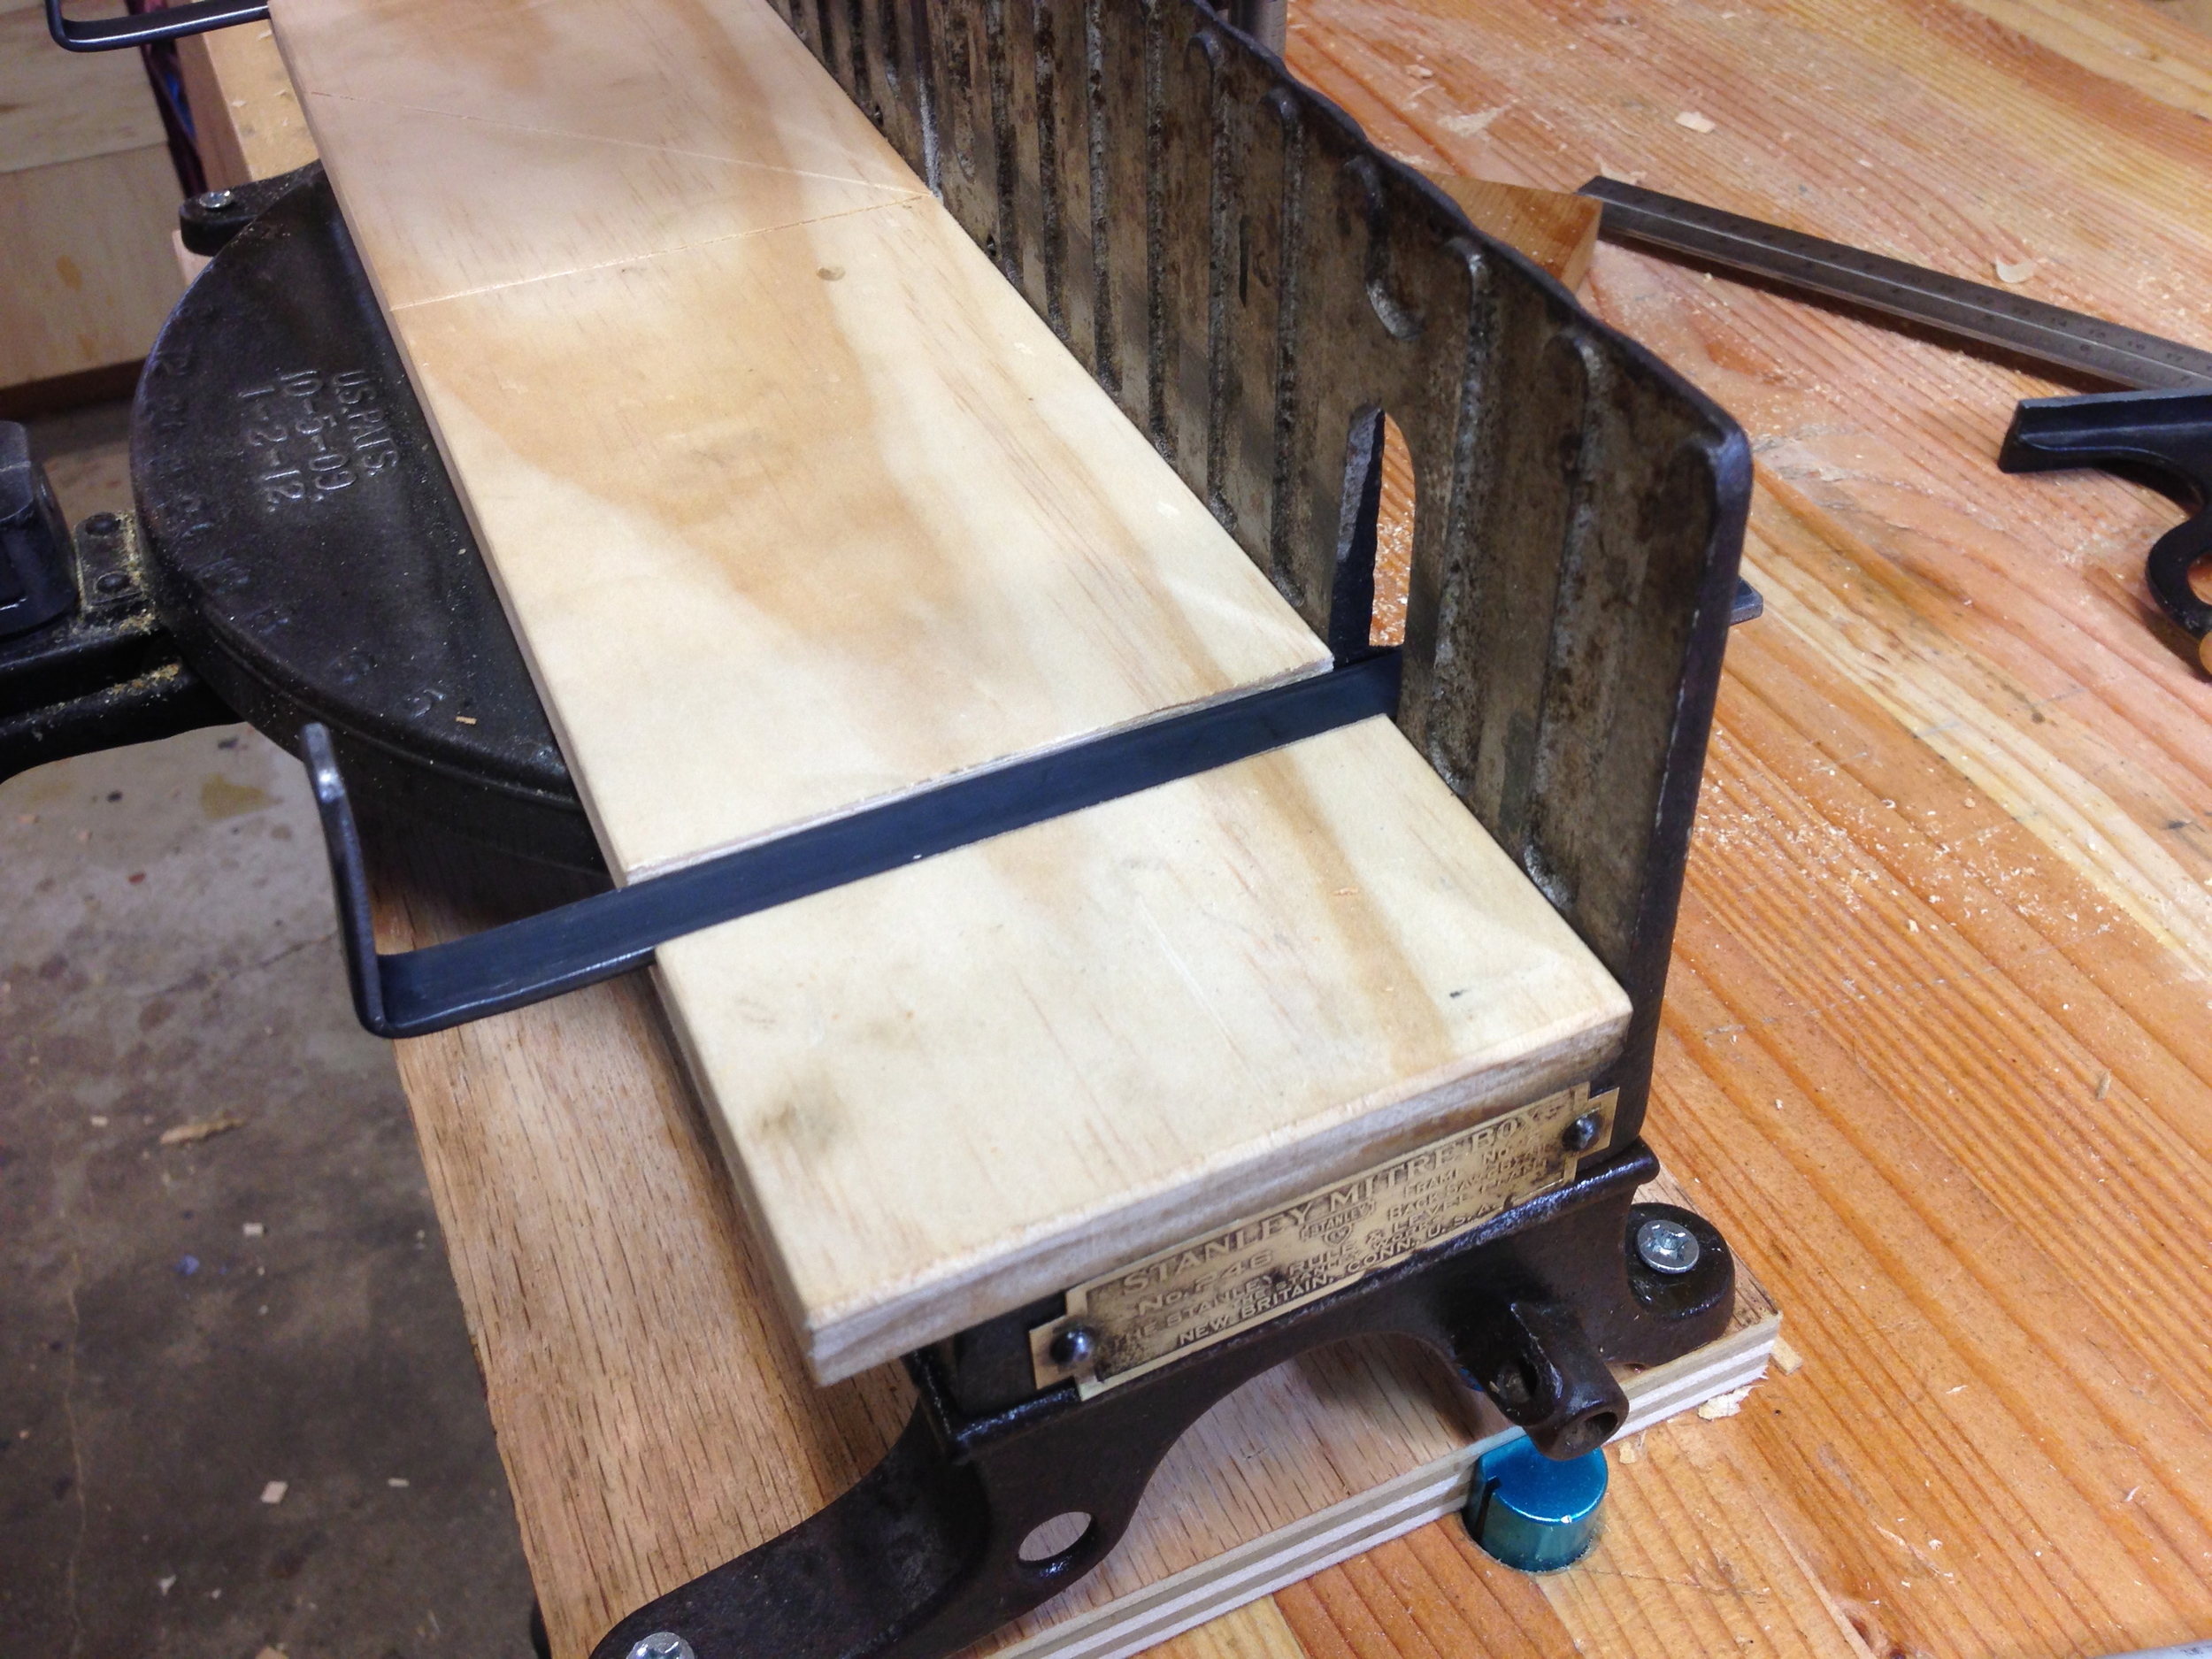
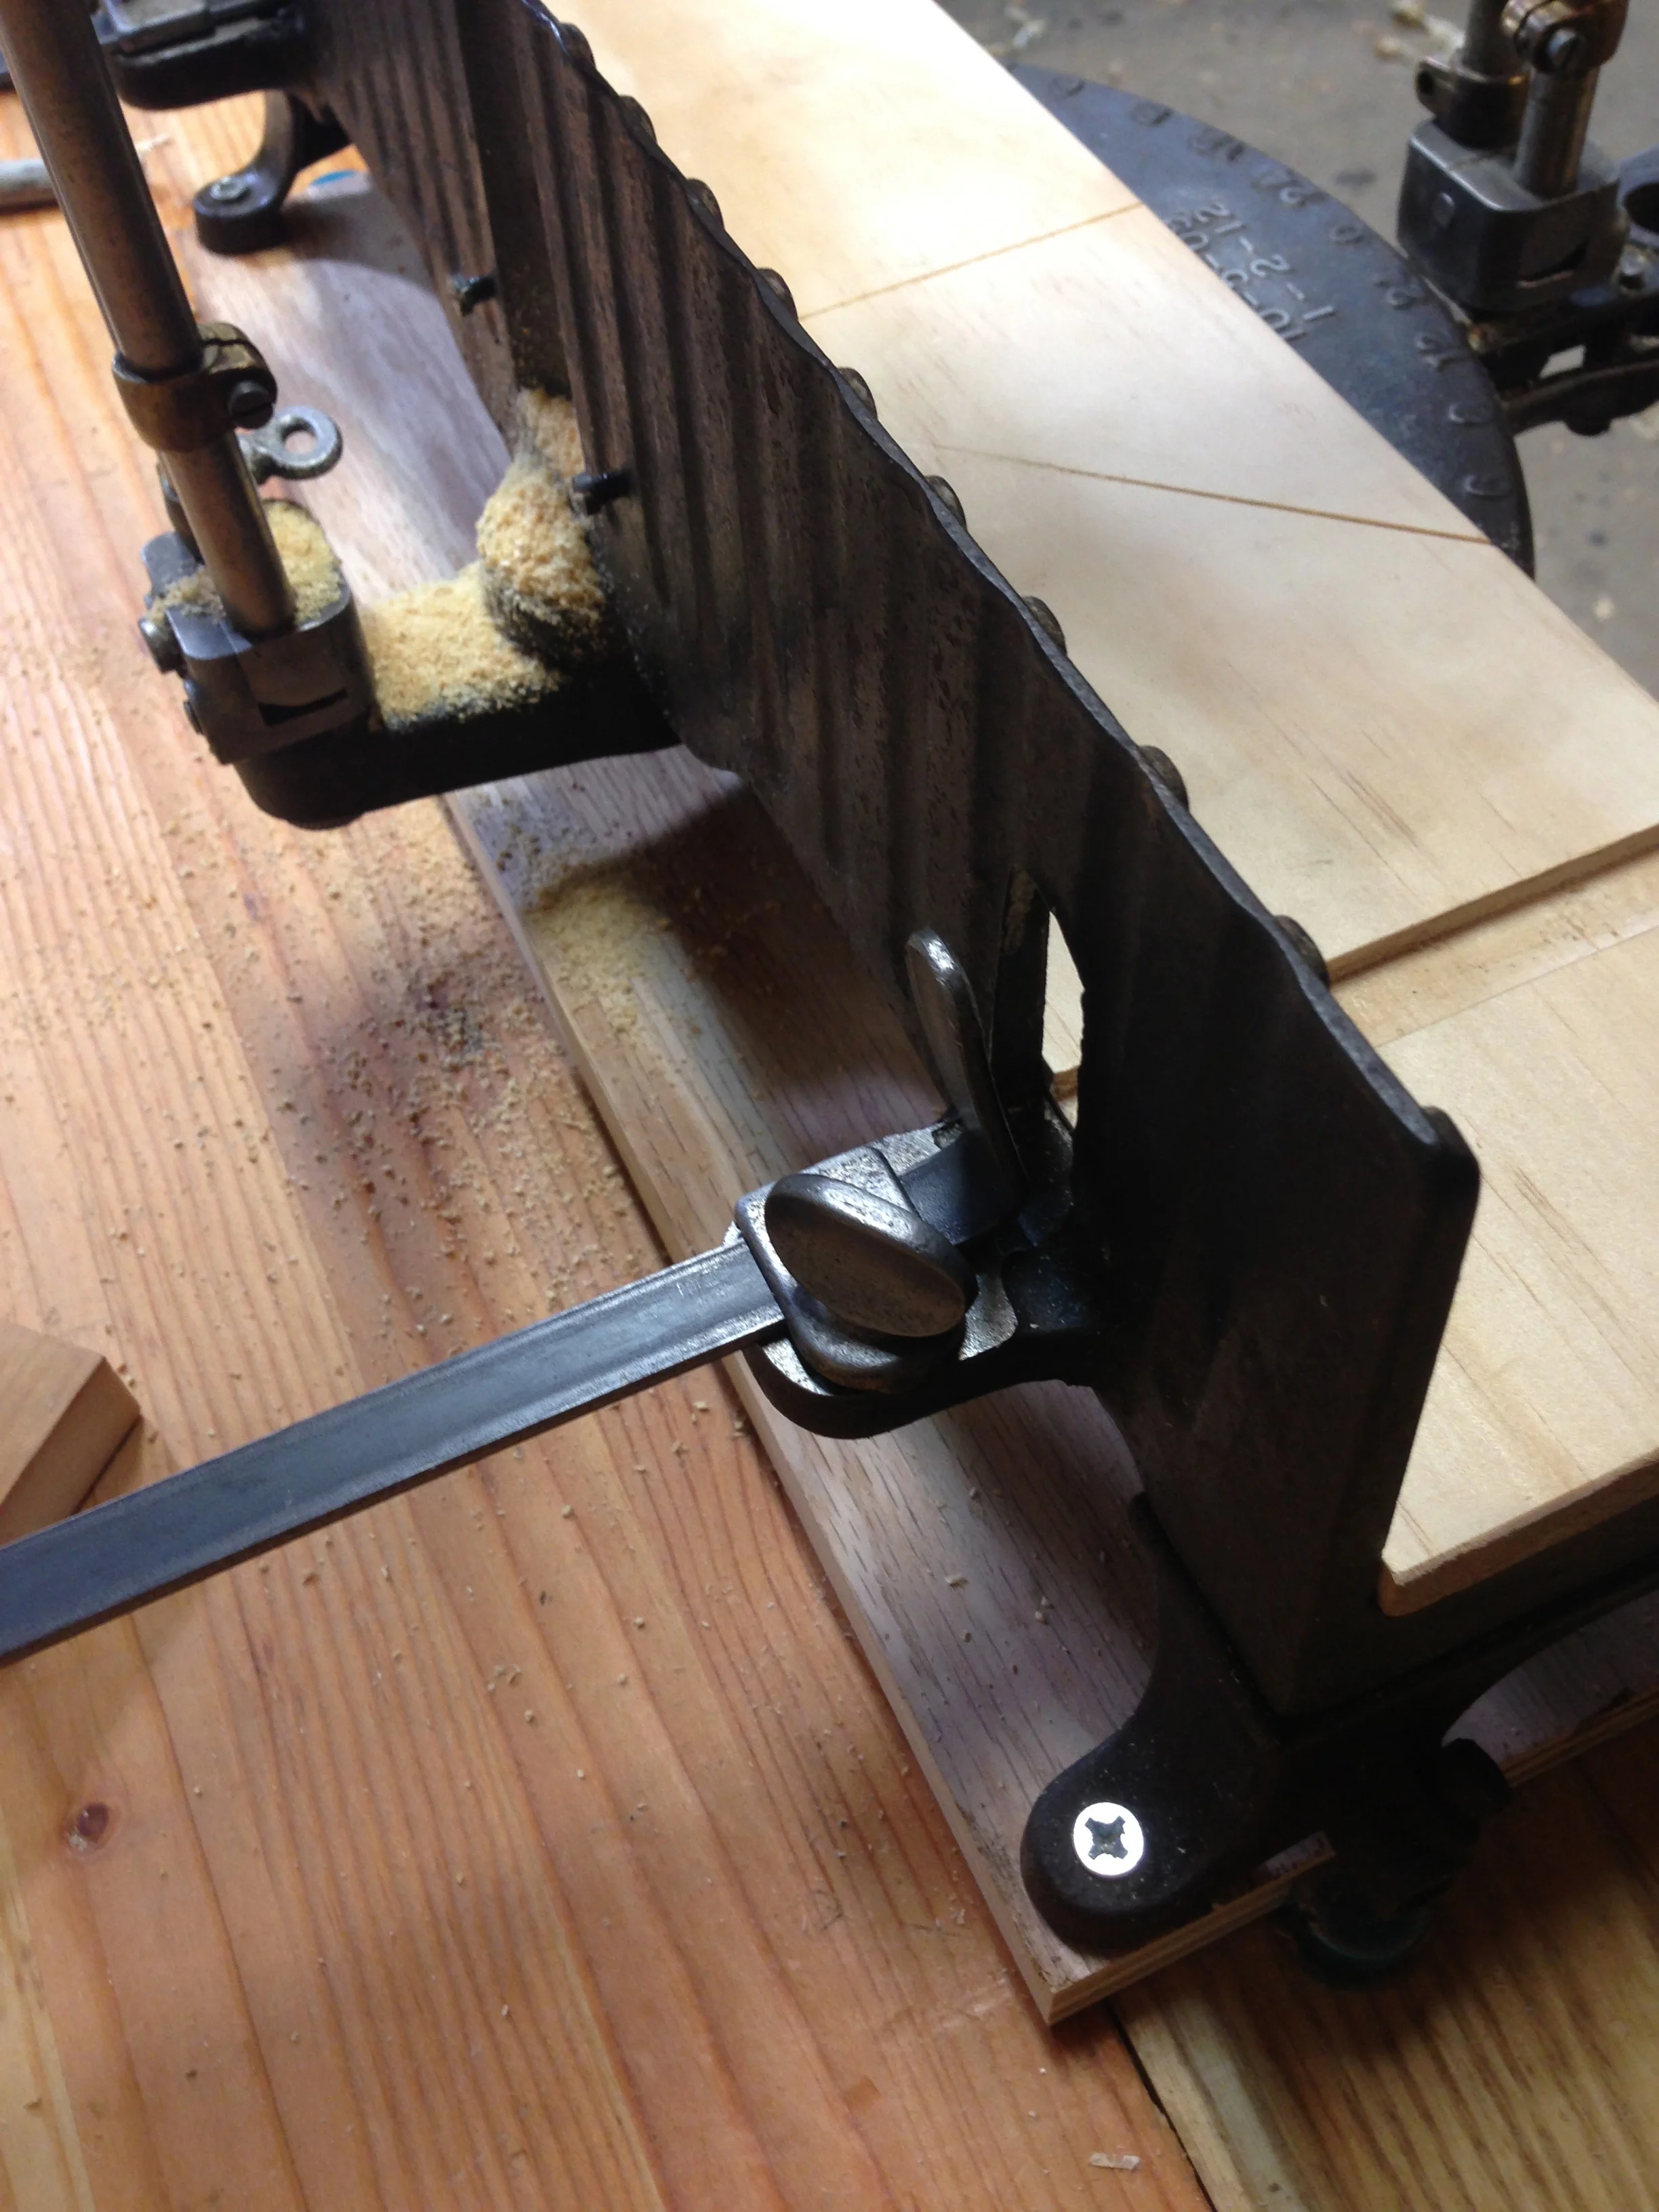
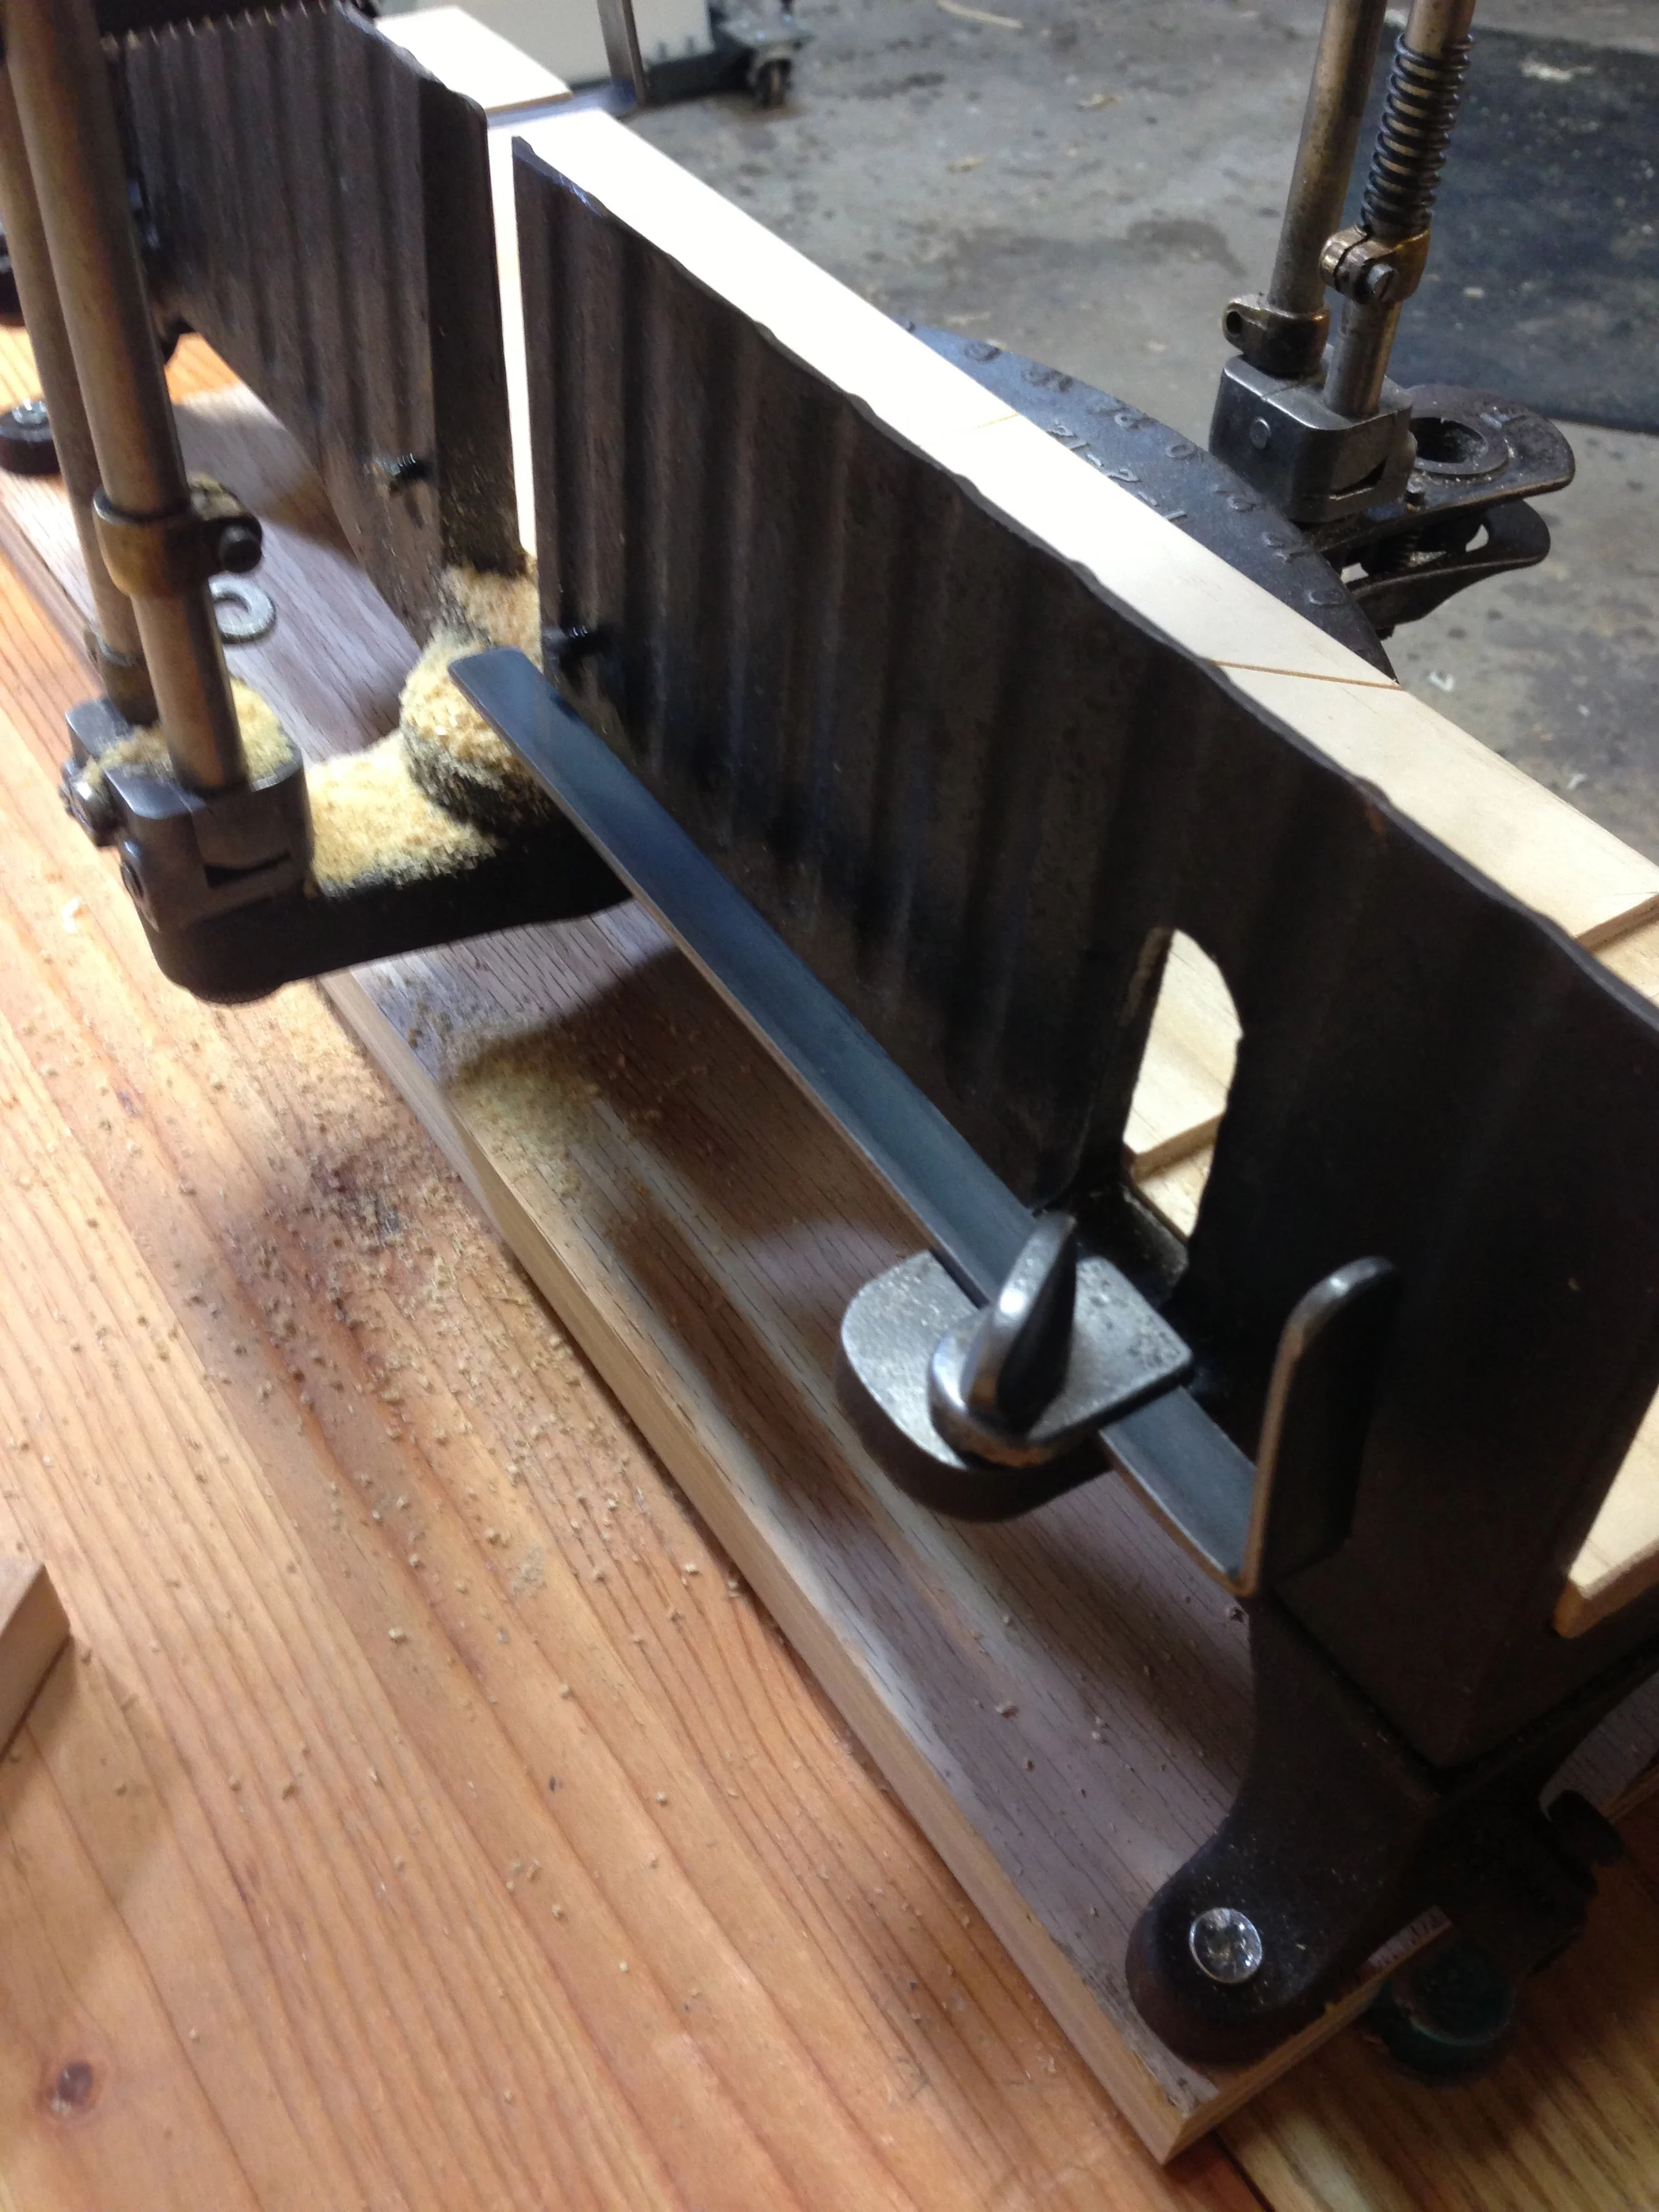
I have a project that needs a lot of angled cuts, and can't wait to put this to the task. The chop is getting yanks out of the shop, and I'll keep it in the basement if I find I have a need for it. Here's some photos of the restored box, and some "before" pictures too...


Addendum: 

I was looking over other examples of the Stanley 246 online, and saw how the stock guides interacted with the sacrificial board with a dado, not a full through cut as mine was. So I decided to fabricate my own stock guides, and re-do the board. I acquired some 1/2" steel stock from the bog box store, and simply cut, bent, and smoothed it to fit. I them made a new sacrificial board with dadoes, and like the result much better. The stock guides look like they should be flimsy and unhelpful, but really do help hold the work. They are even better with the assistance of the two little pointed set screws that can be extended into the work near the cut opening in the fence, providing the tiniest point of "grip" to the work. 


Sharpening Western Saws by "Brit"

Shortly after getting started with woodworking, I started hanging out on the woodworking community site, Lumberjocks. It is a fantastic community that has been around since about 2007 or so, and features thousands of active members who make blog posts, tool reviews, posts about completed projects, all with countless photos, comments and discussion. It's been an invaluable source of learning for me.

Although the signal to noise ratio is very good, with most members being very helpful with links, tips and info, some members really stand out above the rest. One of those is Lumberjock's member Andy Lovelock, aka "Brit", from Dorset, England. He's been posting info, pictures and videos on various topics, but mostly old tool restoration, from braces to saws.

Today, I saw that he has outdone himself, by posting a 2 1/4 hour long video on sharpening western saws. The video is detailed, well edited and paced, and beyond thorough. The most amazing part is that he did this all for the love of sharing what he knows with his fellow woodworkers. As he states in his Lumberjock's blog post...

This instructional video has been provided free of charge and I’m not looking to profit personally from it in any way whatsoever. However, every year my local community puts on a charity Christmas carnival, the purpose of which is to raise money for local charities by collecting donations from the general public on the day. If you find the video useful and would like to show your appreciation, please consider making a donation at http://www.highcliffecarnival.org.uk/

It's this sort of "we're all learning together, so let's help each other out" attitude on Lumberjocks, and elsewhere in the woodworking community, that has made my journey of woodworking richer and more rewarding. I'll be making a donation in thanks, and I'll be watching this video over and over as I learn more about saw sharpening.

Take a look at his post and video here. 

Thank you Andy!


Back from the Woodwright's School

Me with Roy Underhill, the class' "right brain" teacher. (See, ​I did get a better picture!)

I just returned from my five day class at the Woodwright's School in Pittsboro NC. The class, Benchwork Week, taught by Roy Underhill and Bill Anderson. It's almost impossible to say enough good things about it. It was five days of absolute fun, woodworking immersion, and deep learning. Challenging, informative, and a great experience.  Easily worth the tuition, time, travel and lodging. If you're a beginner, intermediate, or pro, you'll get great value and a great experience out of this class.

​With teacher Bill Anderson, the "left brain" of the pair.

Both Bill and Roy bring master level experience and knowledge to the class, and really helped me zero in on my techniques and processes. With ten students and two teachers (with occasional help from Ed Lebetkin, who runs the tool store upstairs), the attention they were able to pay to each student was considerable.

The project we were working on was a traditional joiner's benchtop tool chest, designed by Bill. The process of building the box took us through layout and straightening of stock (but not flattening), through dovetails, mitered dovetail corners, and frame and panel with mortise and tenon joints. We worked with simple poplar, as the project is intended to get a coat of paint at the end.

Another great thing about the class was tools, tools, tools. The school provided everything we could ever want, all in good shape and sharp. We were encouraged to bring our own tools if we desired, and I brought my tote with quite a few. In addition, Ed's toolstore, which is almost like a hand tool museum with pricetags, was just upstairs. Ed was more than generous, letting us take anything we liked down to the school to use during the class, to try them out. It was tool heaven. If that wasn't enough, my bench neighbor Ted brought an awesome full sized tool chest, stocked with all sorts of Lie-Nielson tool goodies, and was not only glad to share, but kept "tempting" me by leaning over with a "try this...", and I gladly accepted each offer! 

The class took us through finishing the top. Attaching the hardware, painting, and fitting tool holders on the inside were left for us to do at our own shops. I'll be sure to post mine when it's completed.

Thanks to Roy, Bill and Ed , and all my fellow students for a fantastic week! Looks like I have one more thing to do, build a frame...