
The progression of learning to use hand planes is often something like this:
Stage 1: I tried to use (my grandpa's / flea market find / Home Depot $19) hand plane, and it sucks. It just chatters across the wood, doesn't make shavings, and doing any work with it would take FOREVER. (I goes onto a shelf or into the back of cabinet, never to be used again for years).
Stage 2: I finally learned how to set up and sharpen a plane, and I'm getting fair results, some nice shavings - still learning how to use it correctly! I like these, but I'm still not confident. It still takes some time to get real work done.
Stage 3: I can sharpen my blades well, and set up the planes to get whisper thin shavings. I get smooth cuts, but getting work done still takes a while.
This post if for you Stage 2 and Stage 3 types out there. Welcome to Stage 4 (which should really be a lesson you learn at Stage 2, and if someone had shown us this stuff earlier, we would never had had to experience Stage 1)! You learned to sharpen planes, either from classes, books, videos, just getting the sharpening thing down was a lot of work. You tried a bunch of the sharpening methods, from sandpaper on glass, to water stones, to oil stones, to diamond plates, and after buying into those, found the one you liked. You bought all the plane sizes; no.s 3, through no. 8. Along the way, you'd read, or seen, or heard about putting a "camber", or curved edge on some of your plane blades, but you'd never tried it. It was enough working getting a straight across blade sharp. And after searching for that eBay or tool swap plane, doing the restoration on it, or after you saved up and bought that de-luxe Lie Nielsen plane, the thought of "screwing up" that plane's blade by trying to put the curve on it was NOT going to happen.
But it should happen. Let's review what the planes are for. For most work, you really only need three: small, medium, and large. Small: a smoothing plane (a no. 3 or no. 4), Medium: a jack plane (no. 5) and Large: a jointer/try plane (a no. 7). Use the jack plane to rough size your parts, removing a lot of waste. Then use the jointer on larger, longer boards to flatten them, and finally, use the smoothing plane to smooth the surface. Of these three, putting a camber edge on the jack plane is the place to start. By cambering the edge you are able to quickly and easily remove a lot of wood, and GET SOME WORK DONE. The curved edge can take large bites out of the work while still letting you drive the plane through the wood, and get down near your pencil line quickly, so you can move on to the other planes. A jack plane with a straight blade set fine works like trying to paint a house with a toothbrush. A jack plane with a straight blade set deep works like trying to shovel snow with a 4' x 8' sheet of plywood: huge bites that are too big to lift or remove. It's the camber that lets you take nice bites out of you work. So for flattening a board, taking that 1/2" of width off a board without sawing it, the cambered jack is the way to go.
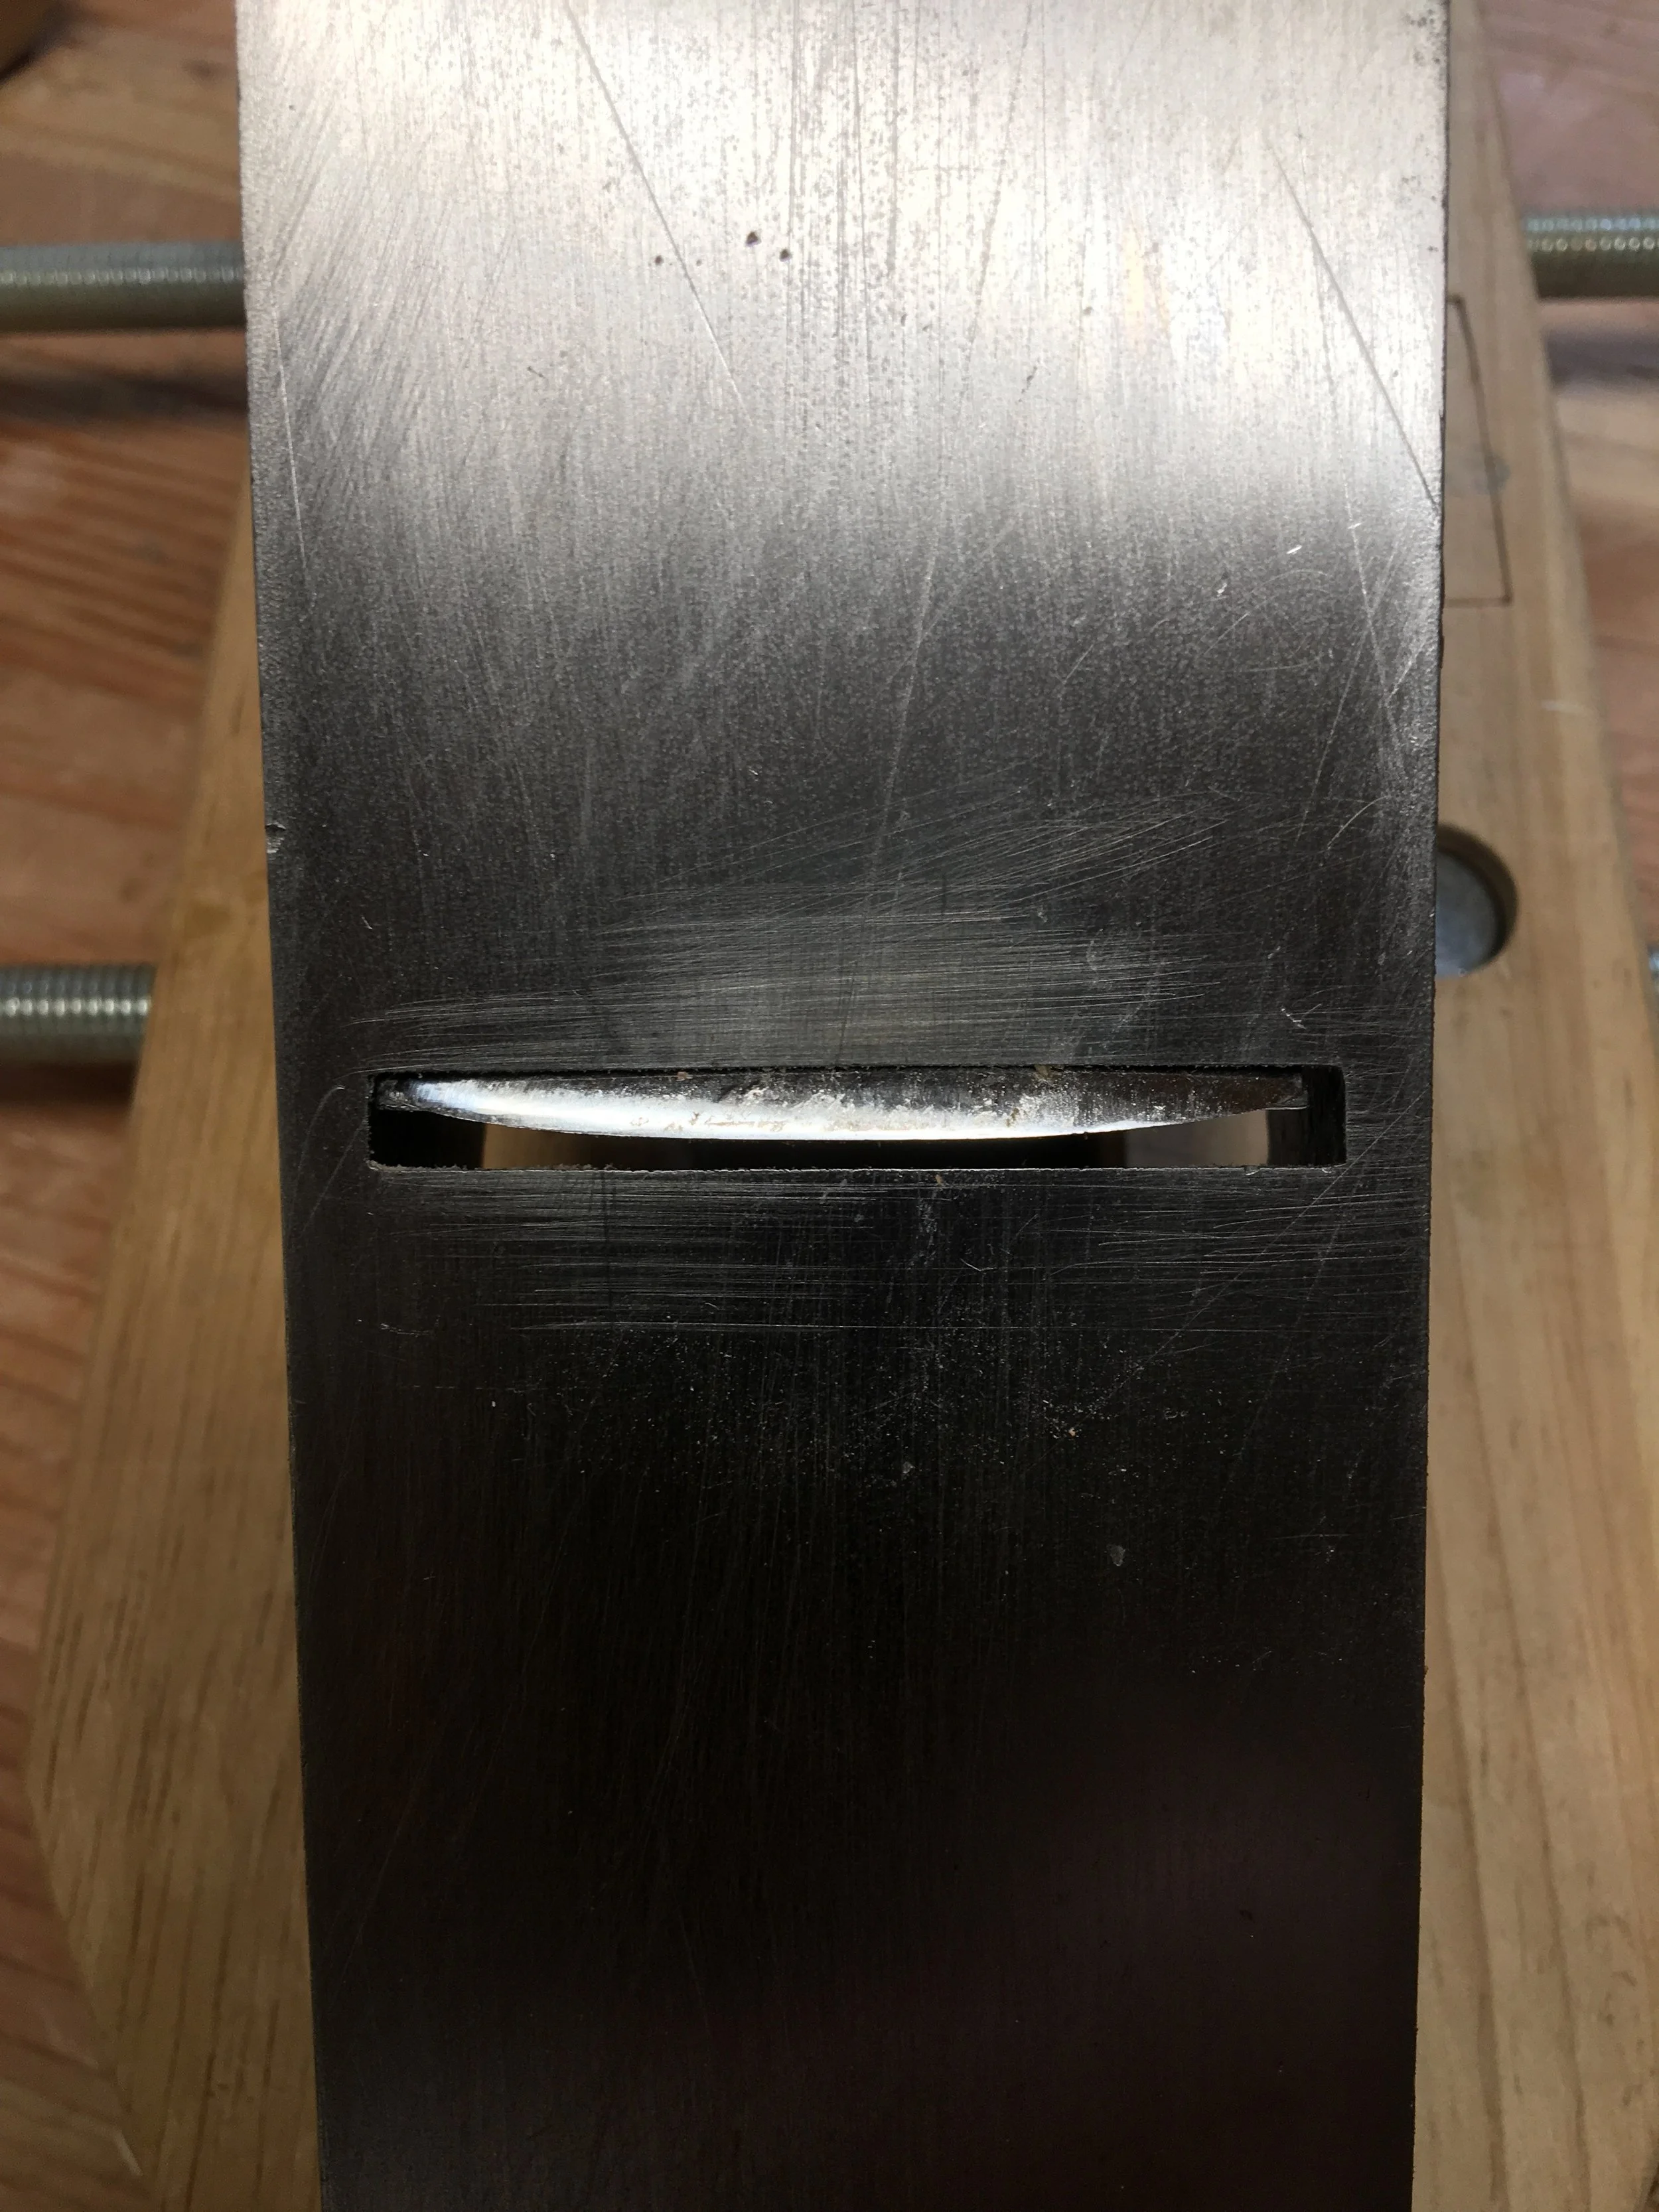
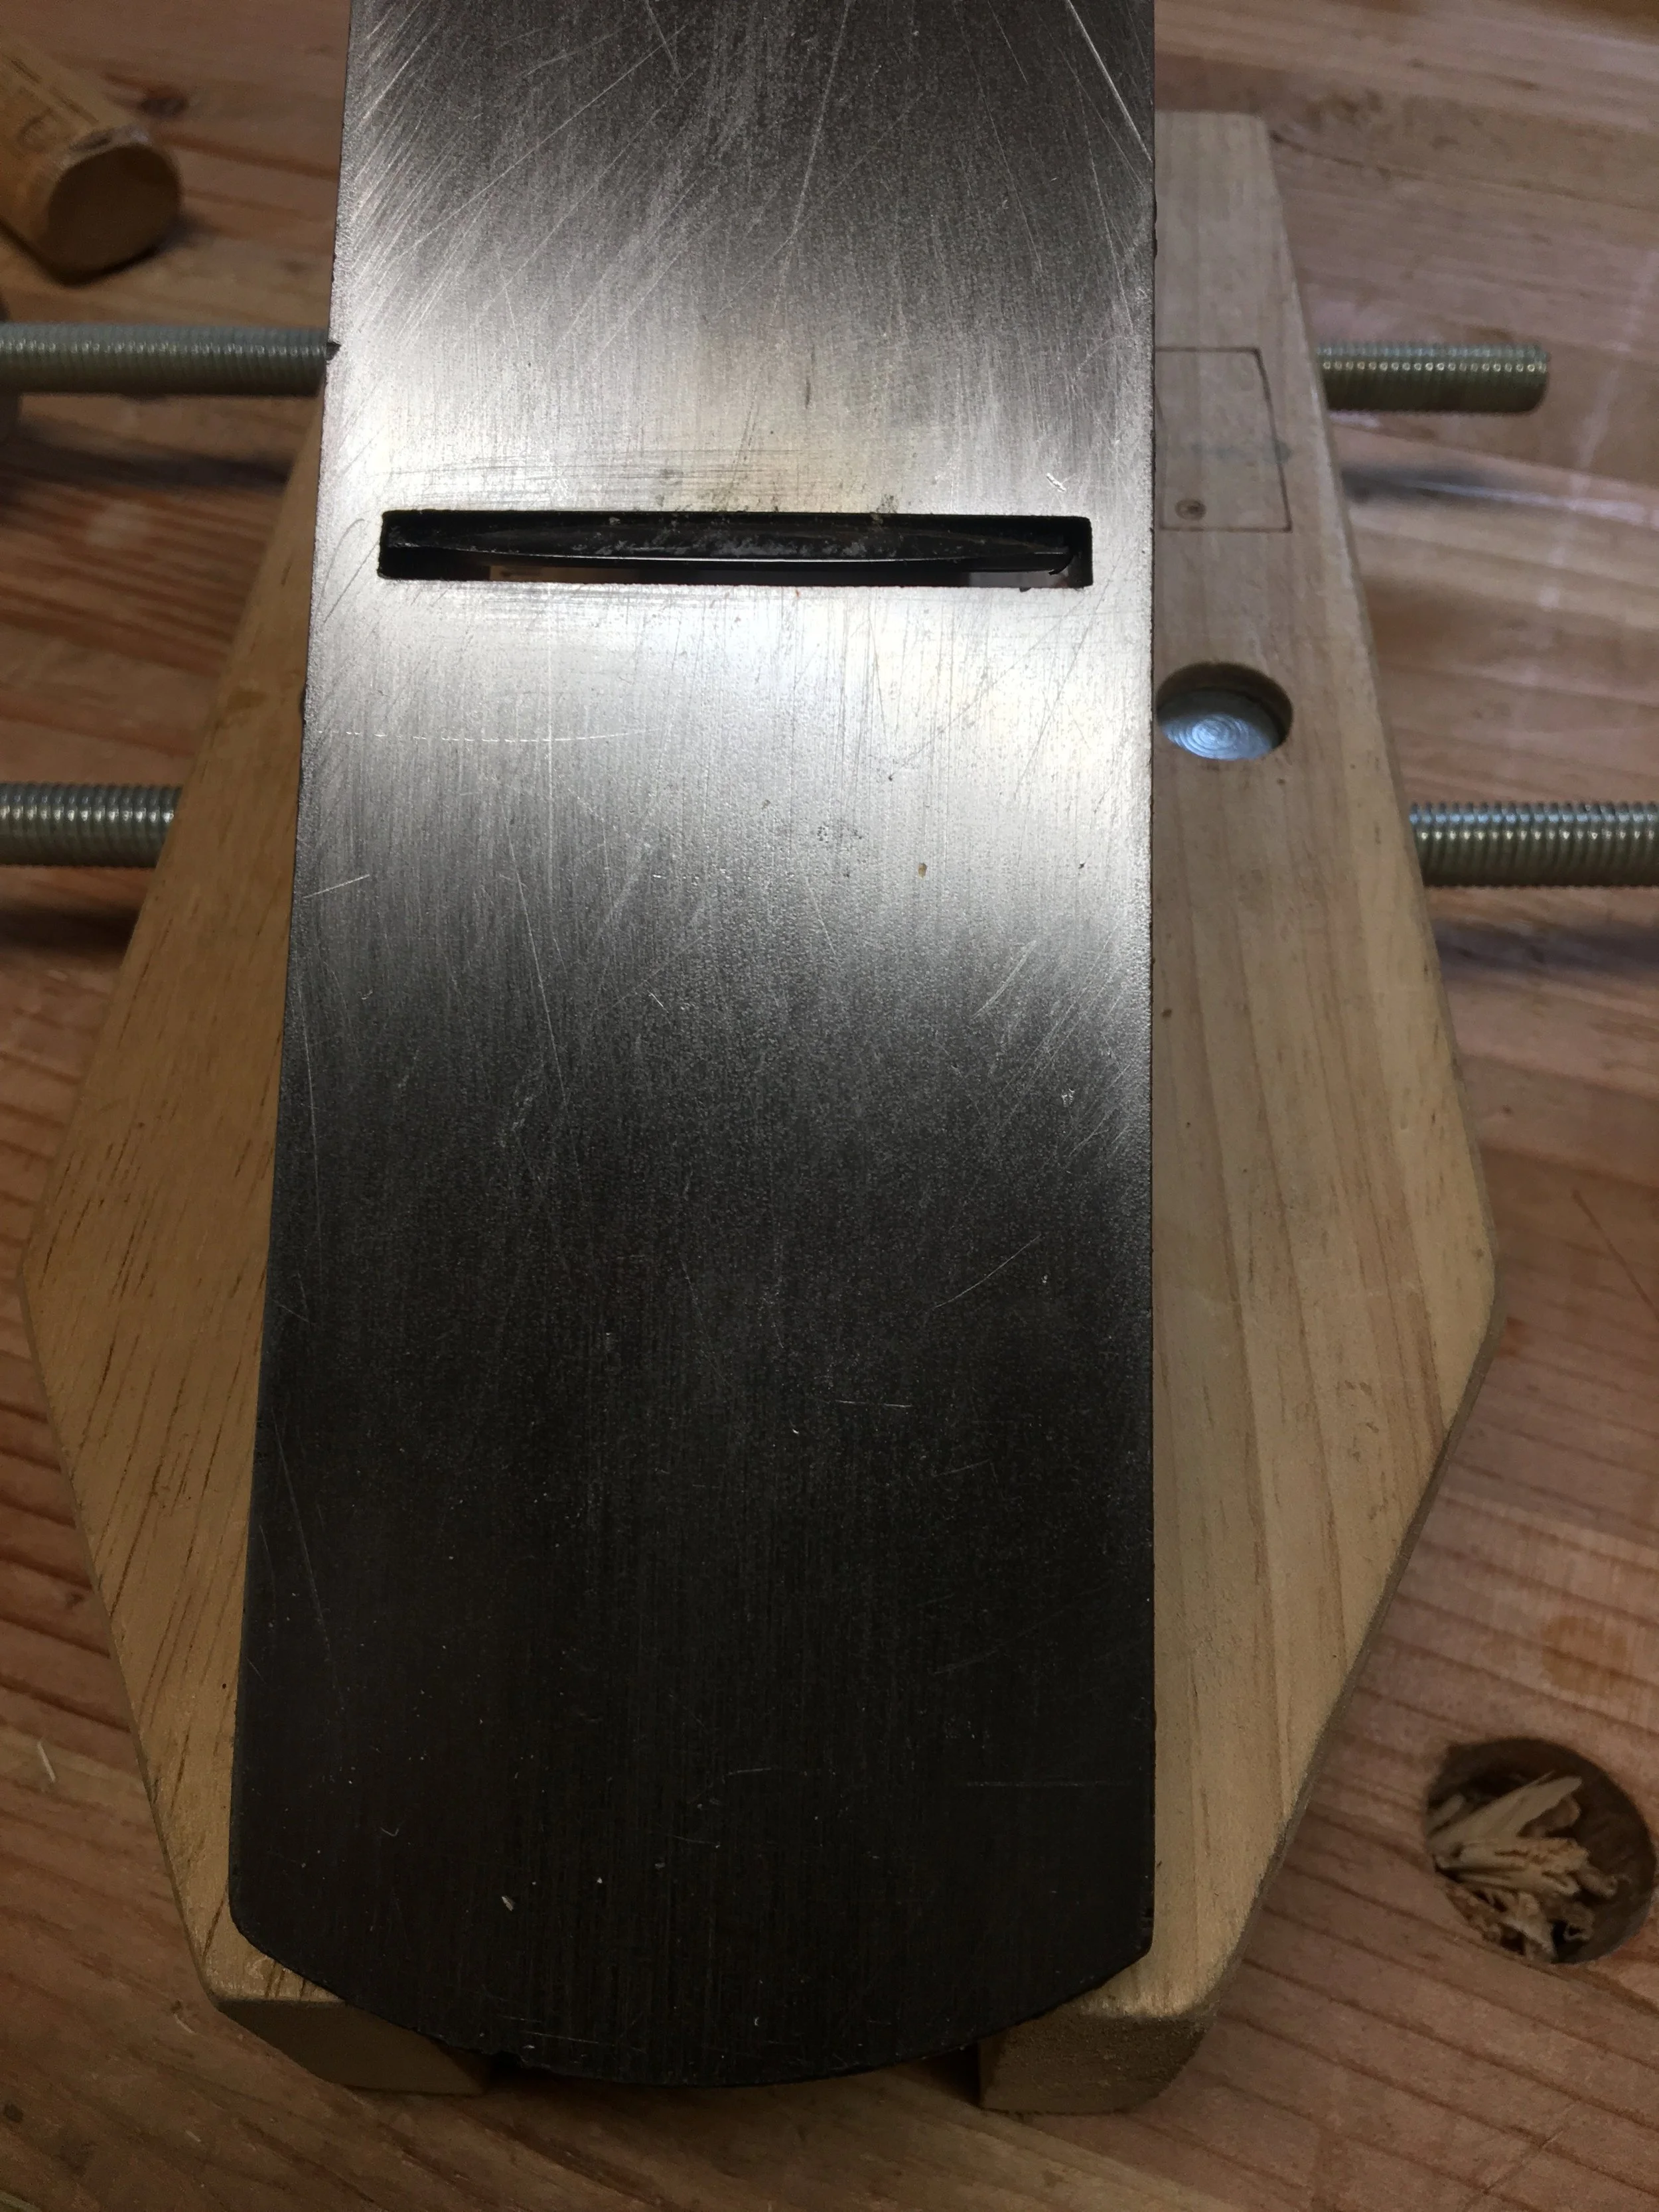
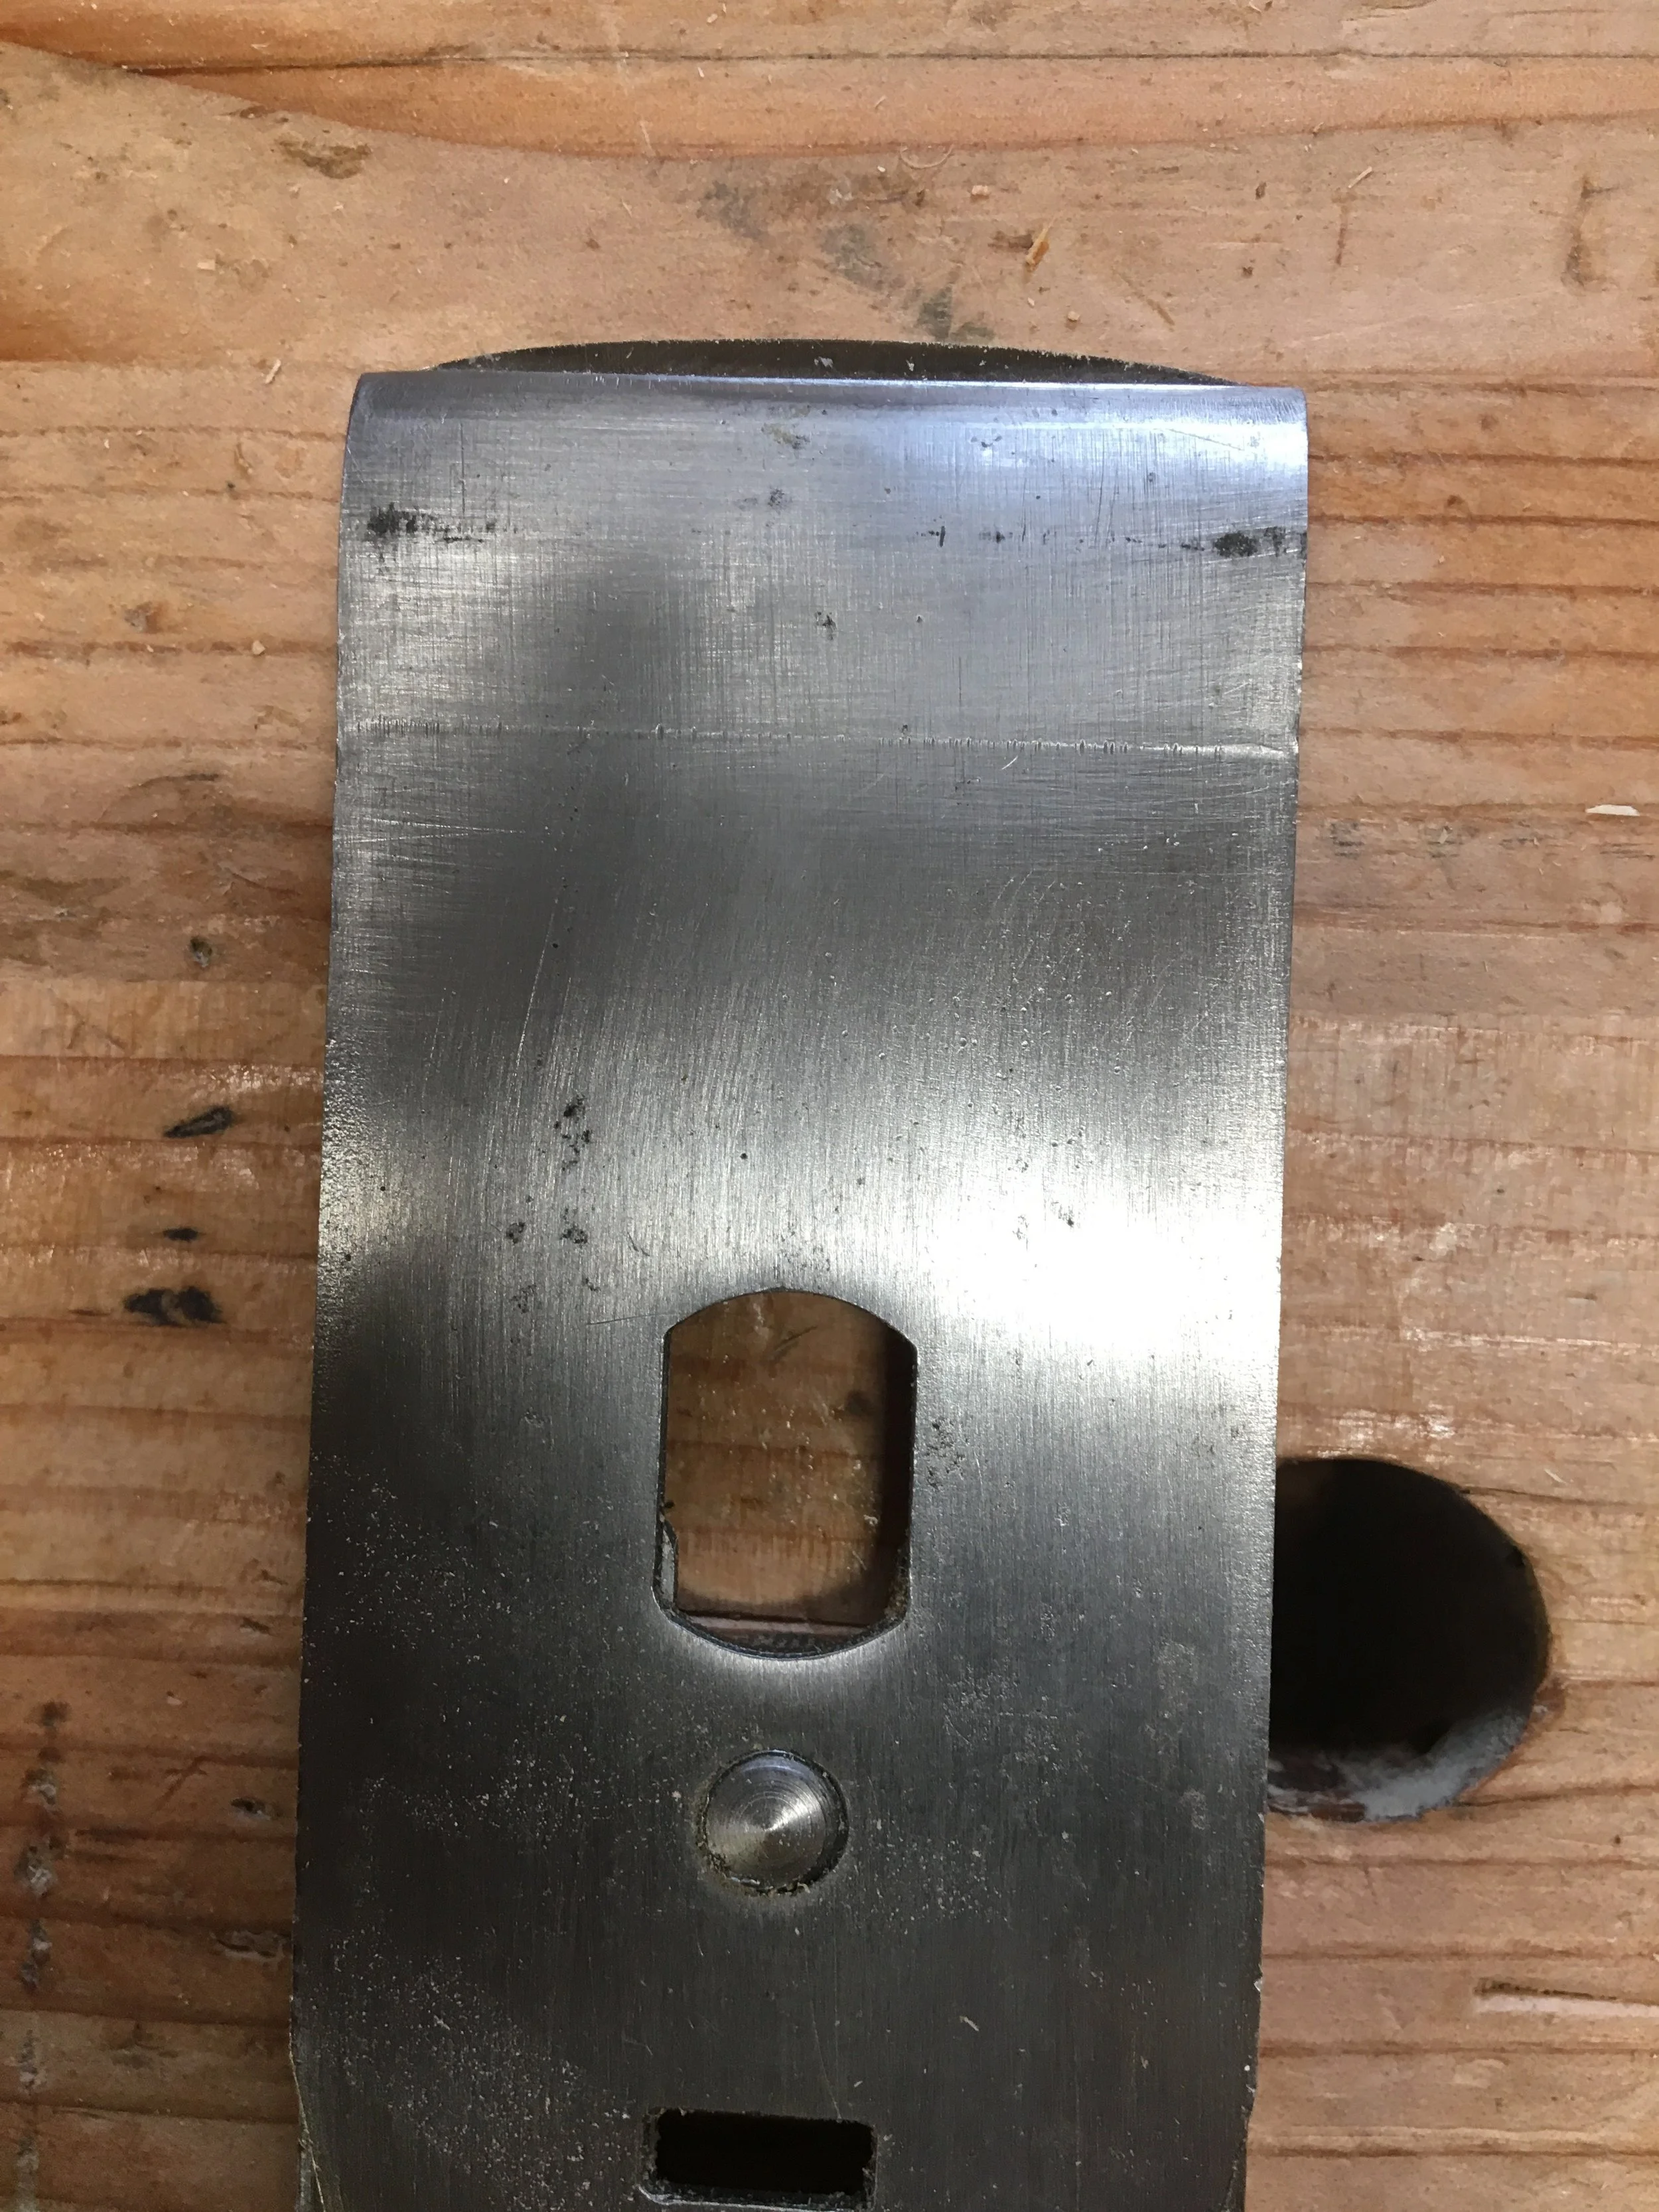
the strong camber on my jack plane
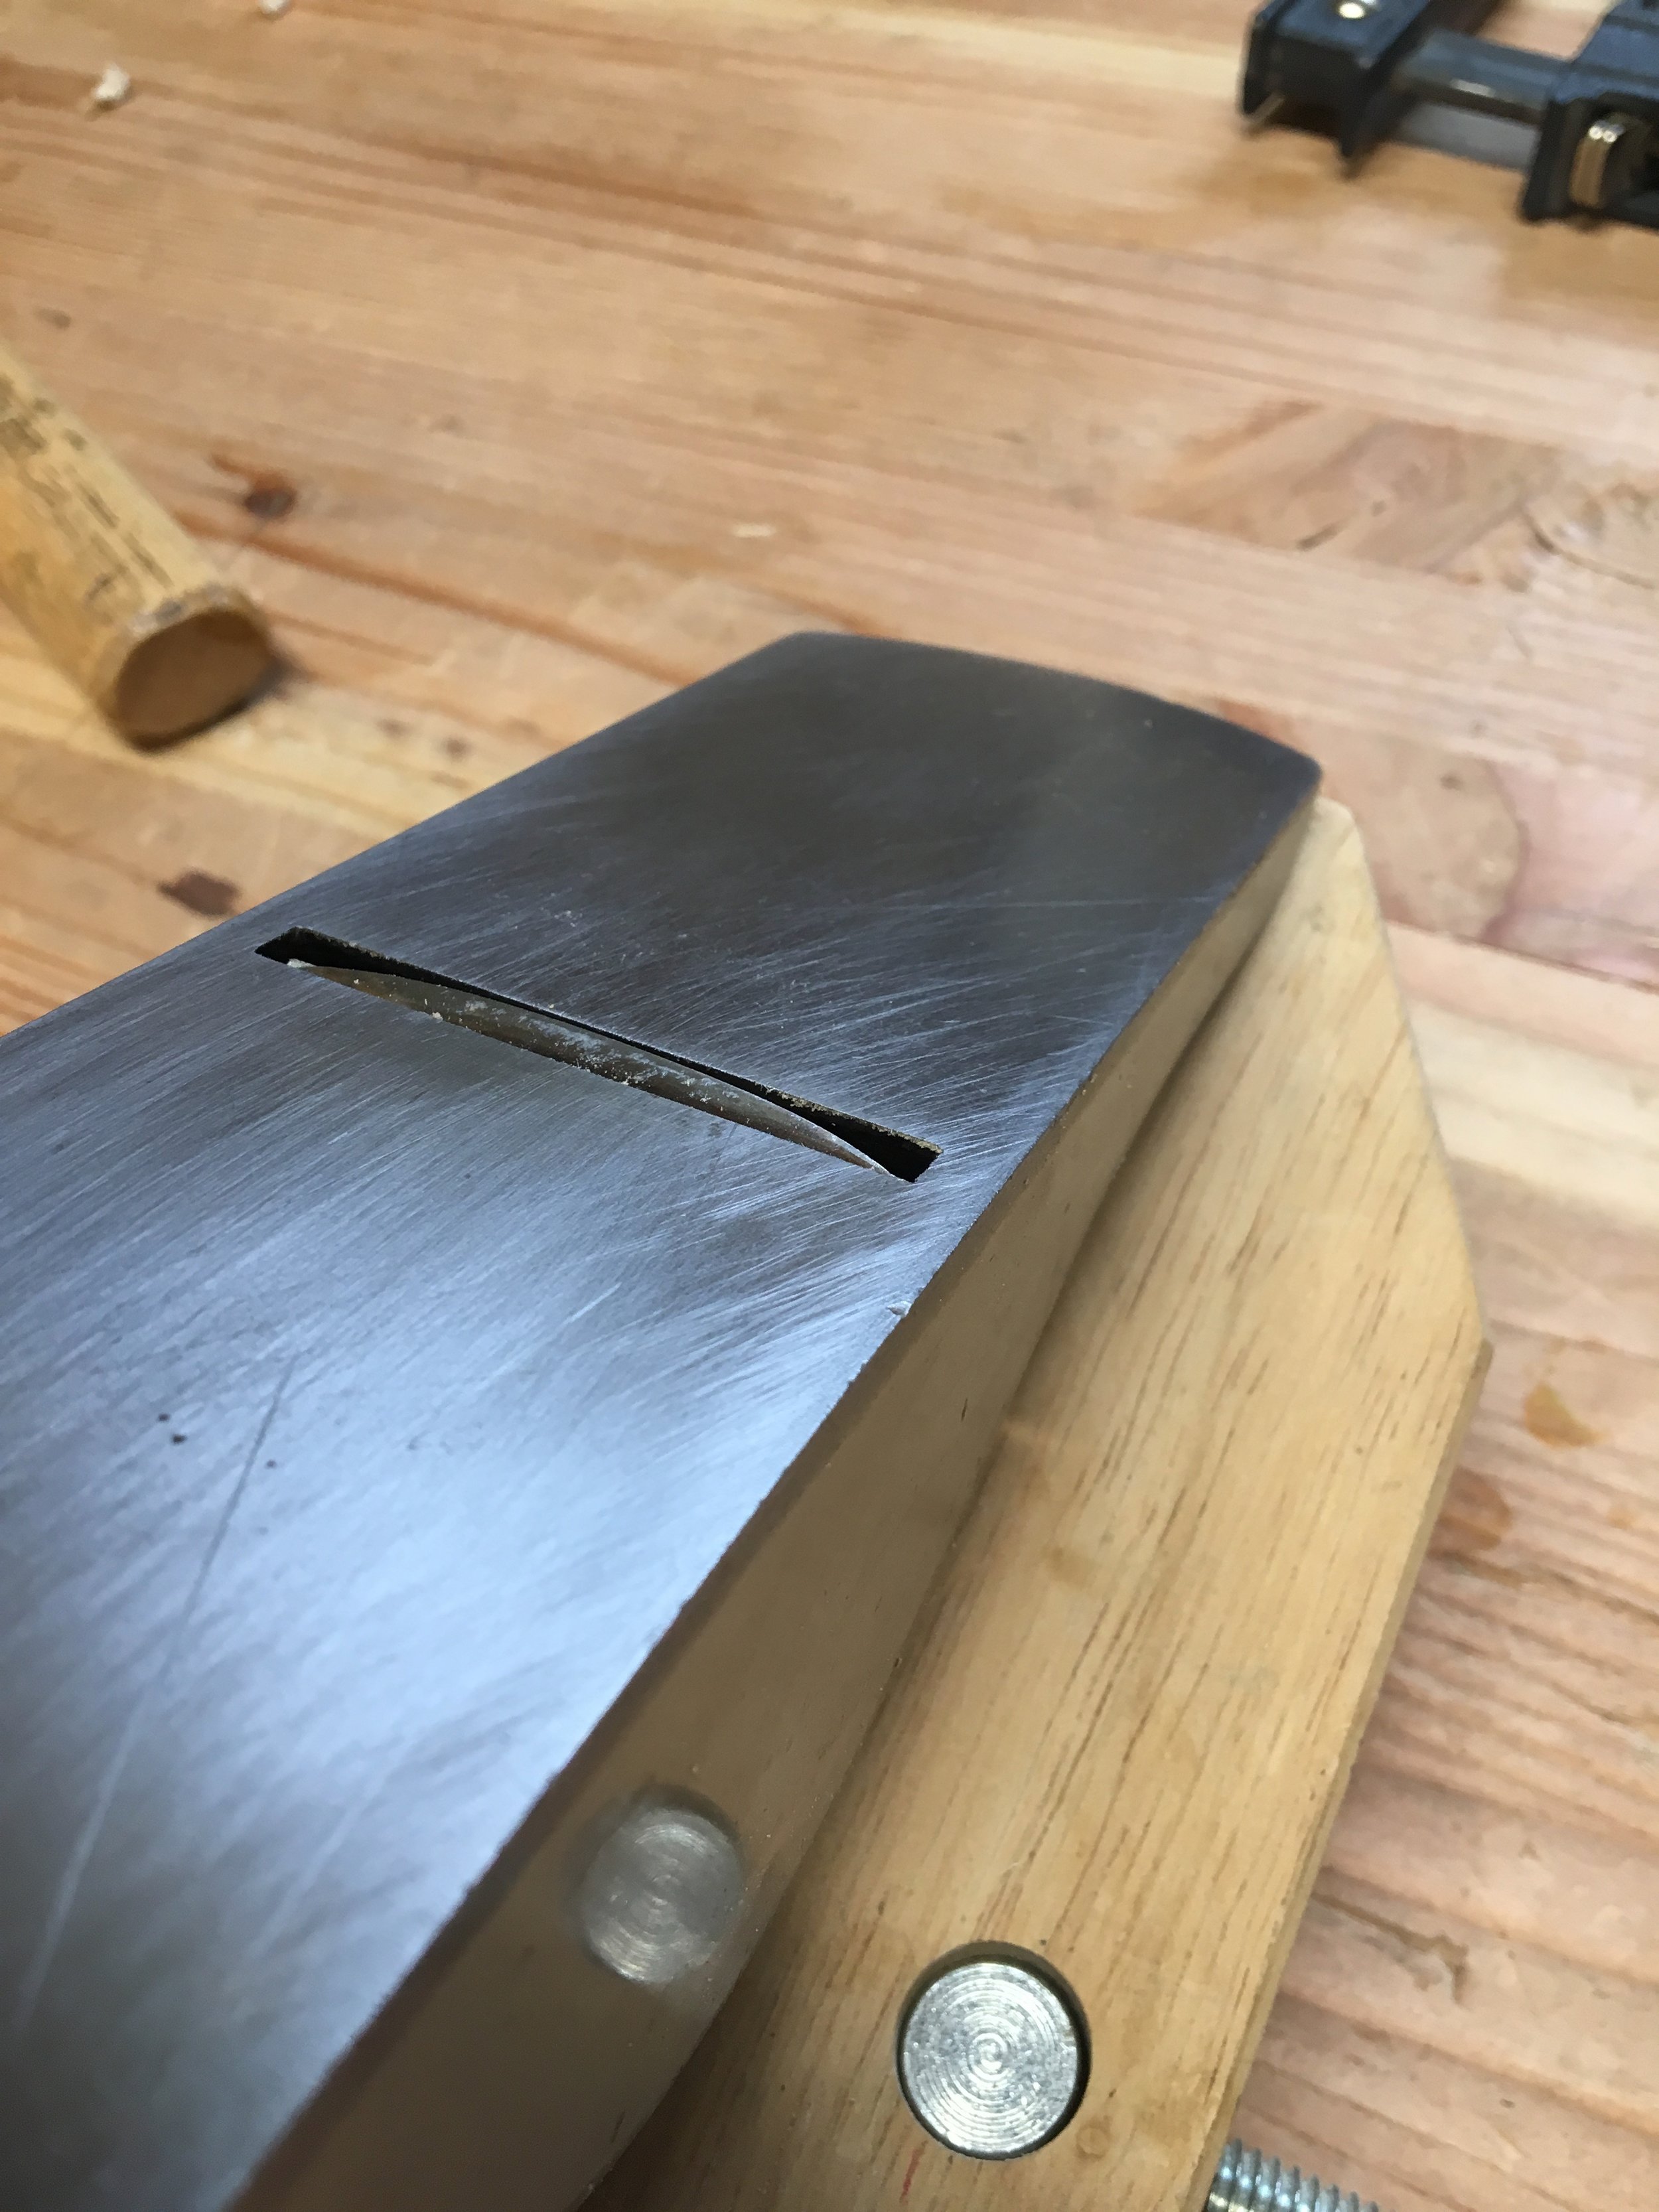
So how to create a camber? You simply tilt the blade side to side when sharpening, alternately applying pressure to the left and right as you work the iron back and forth on the stone. If you're using a honing jig or guide, you can't get a camber, (unless you have a fancy honing guide with a cambering attachment) so it's time to learn to sharpen freehand.
And how much of a camber? That's a matter of personal choice, but on my jack plane, I have a fairly strong camber at about a 10"-11" radius (I just go by eye).
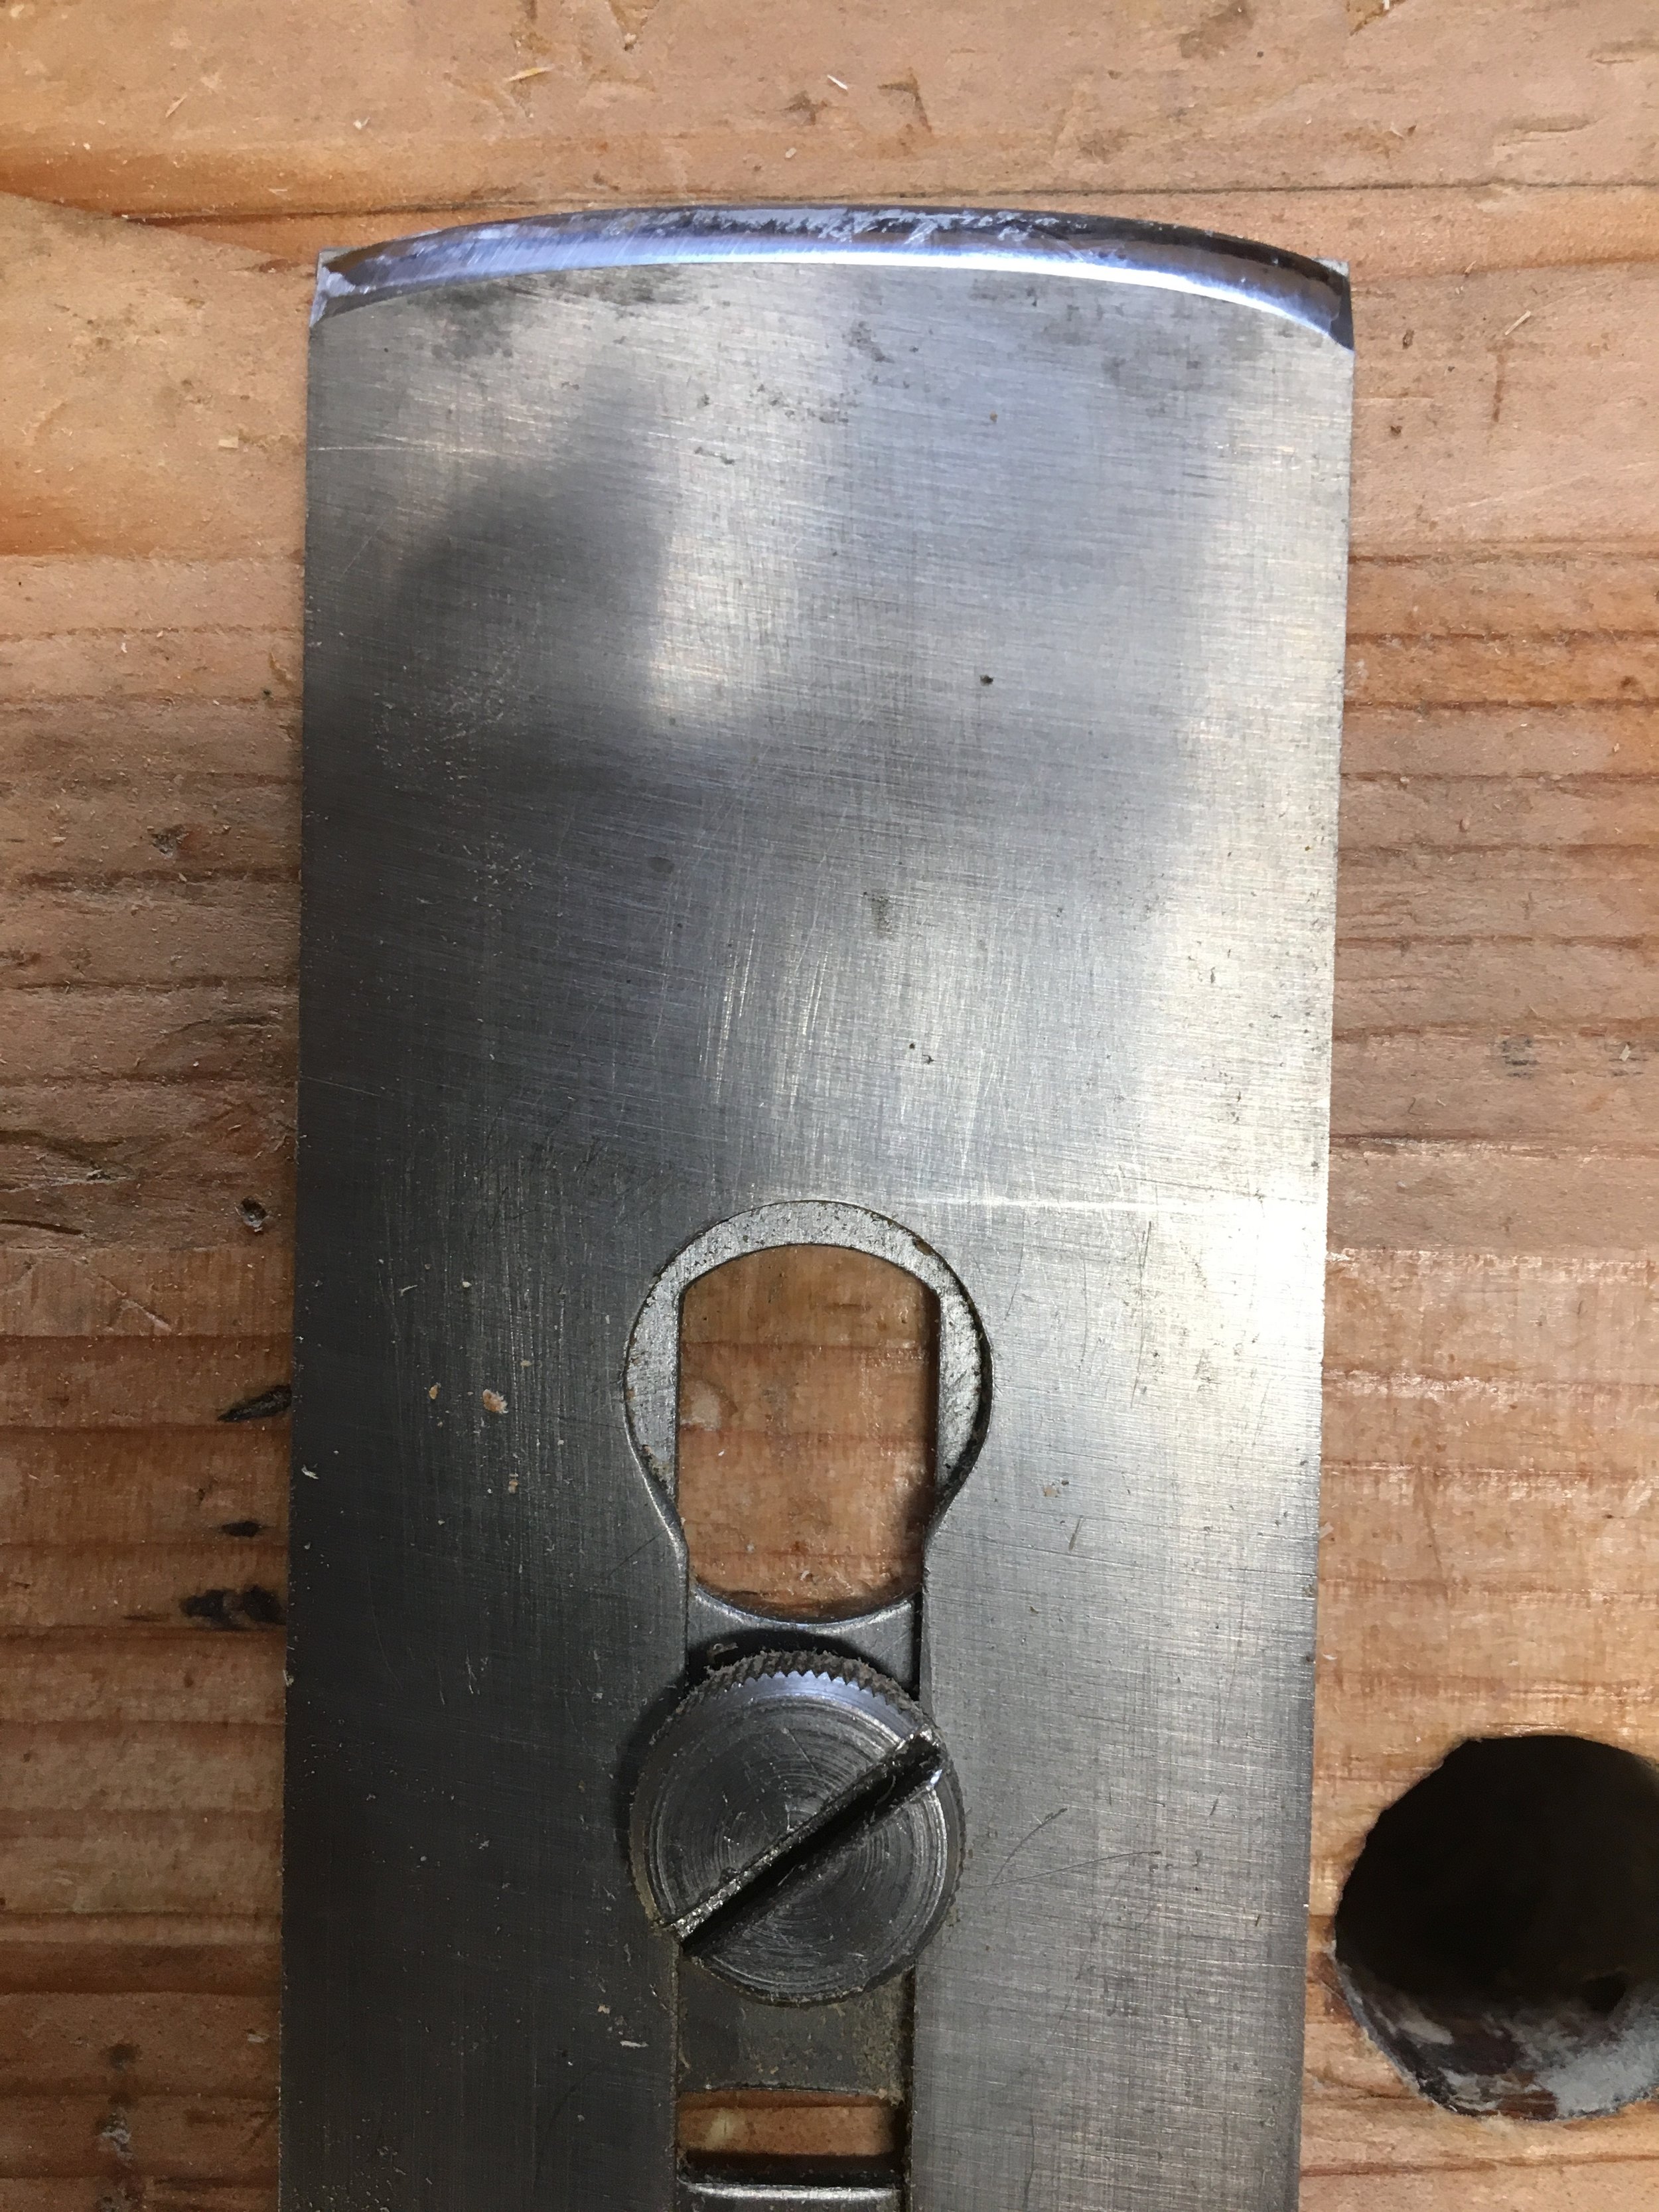
Fir the jointer plane or the smoother, other rules apply. I tend to keep my jointer plane blade with no camber, so that there is no arc to the cut when I am jointing panels for a glue up. On my smoother, I have a very slight, almost non-visible camber, that I get with just adjusting pressure when honing. I also slightly round the corners of the blade to help alleviate any plane tracks that sharp edges would cause.
But that discussion of for another day. For now, I hope I have encouraged you to try cambering you jack, and discovering the joy of quickly removing a lot of material fast.