Detours

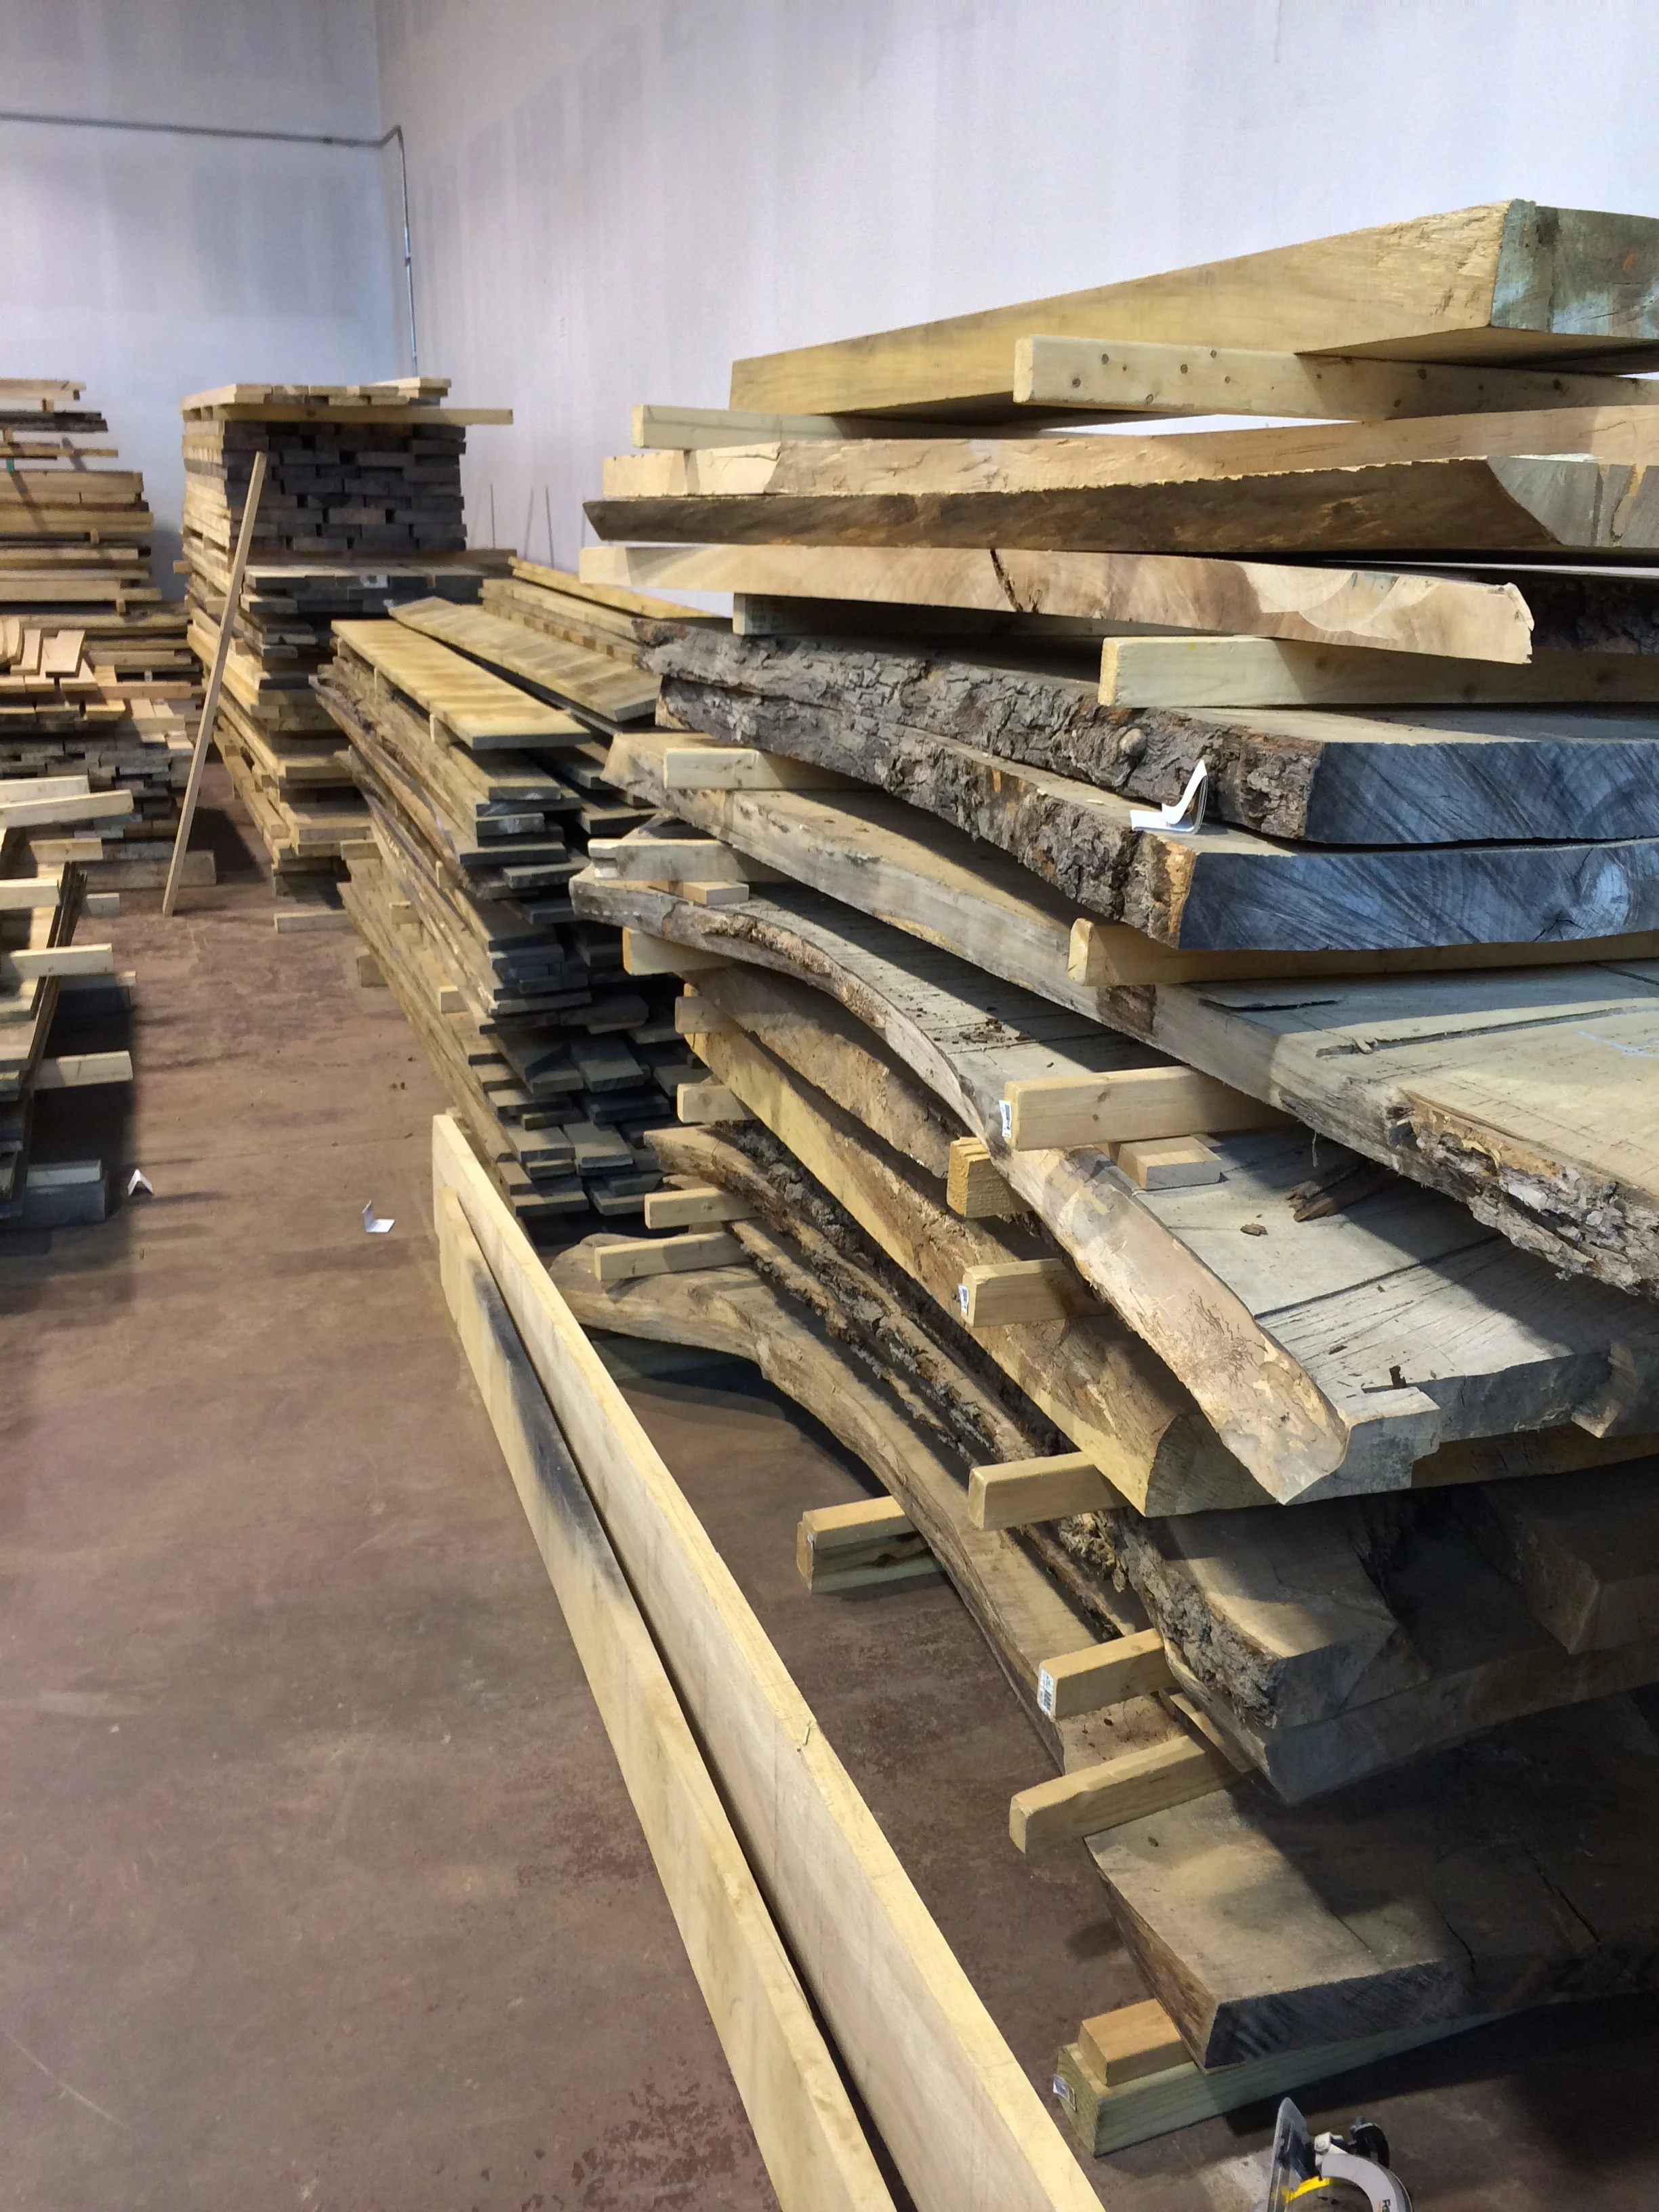
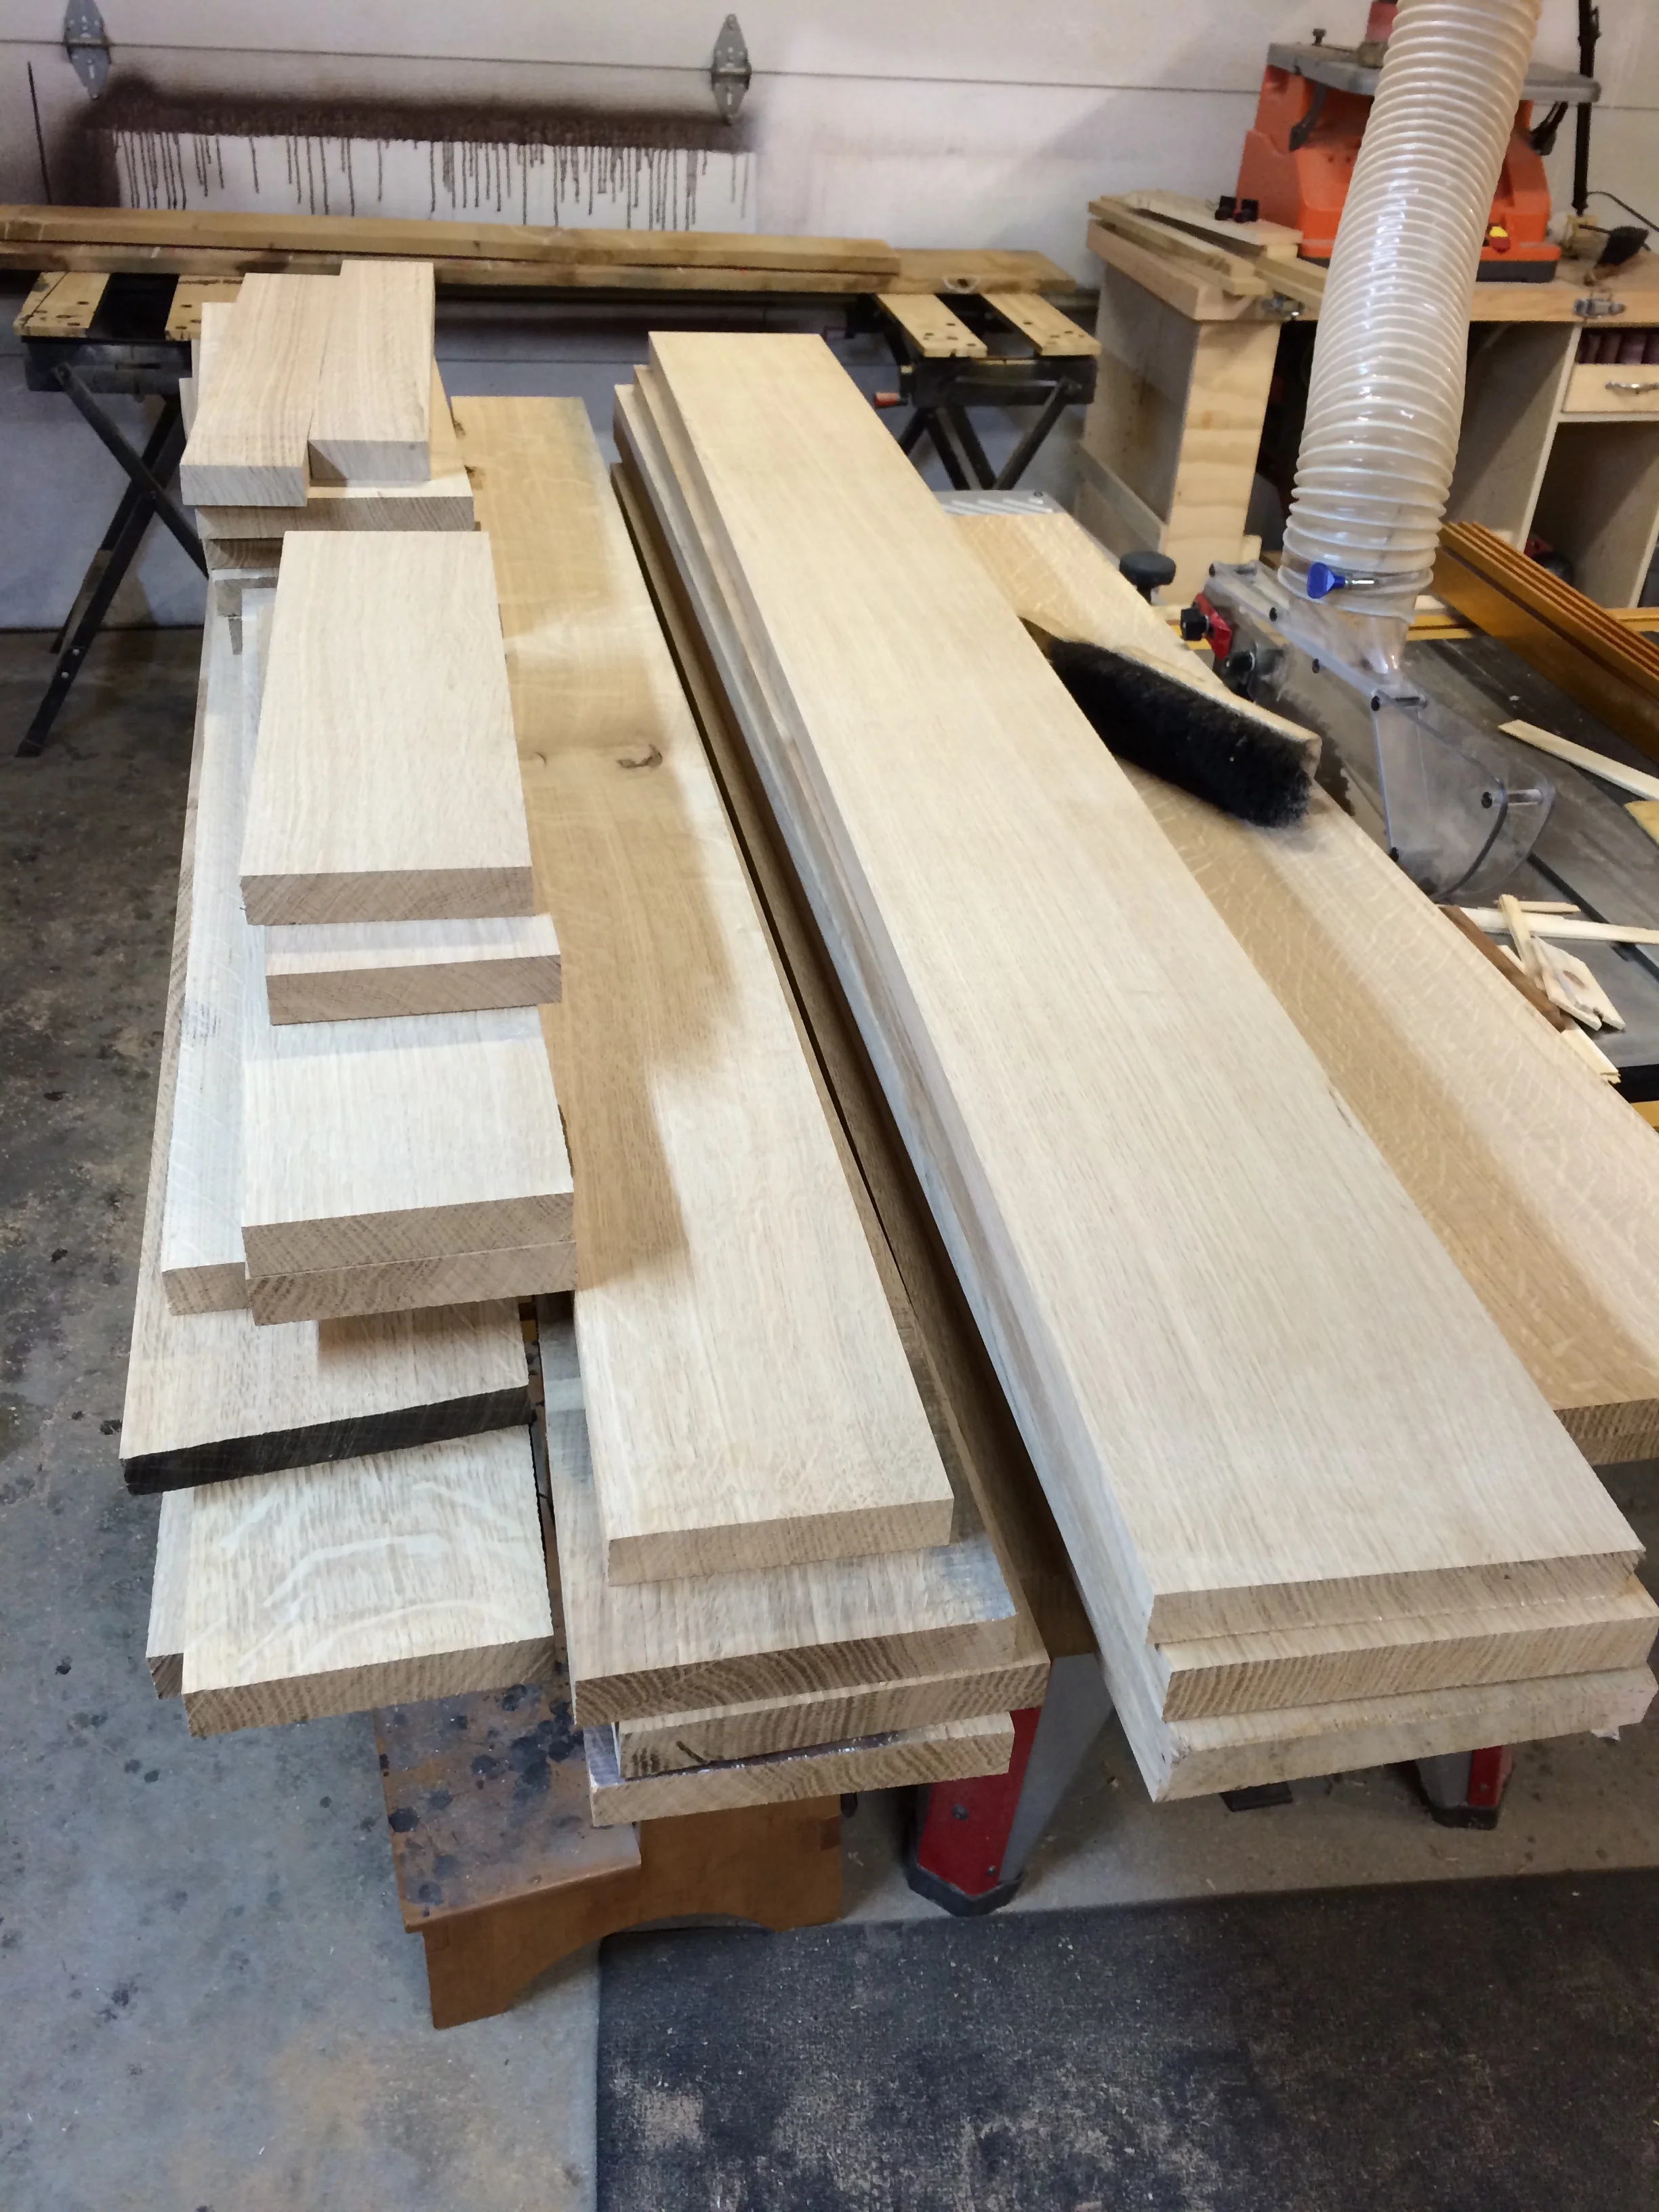
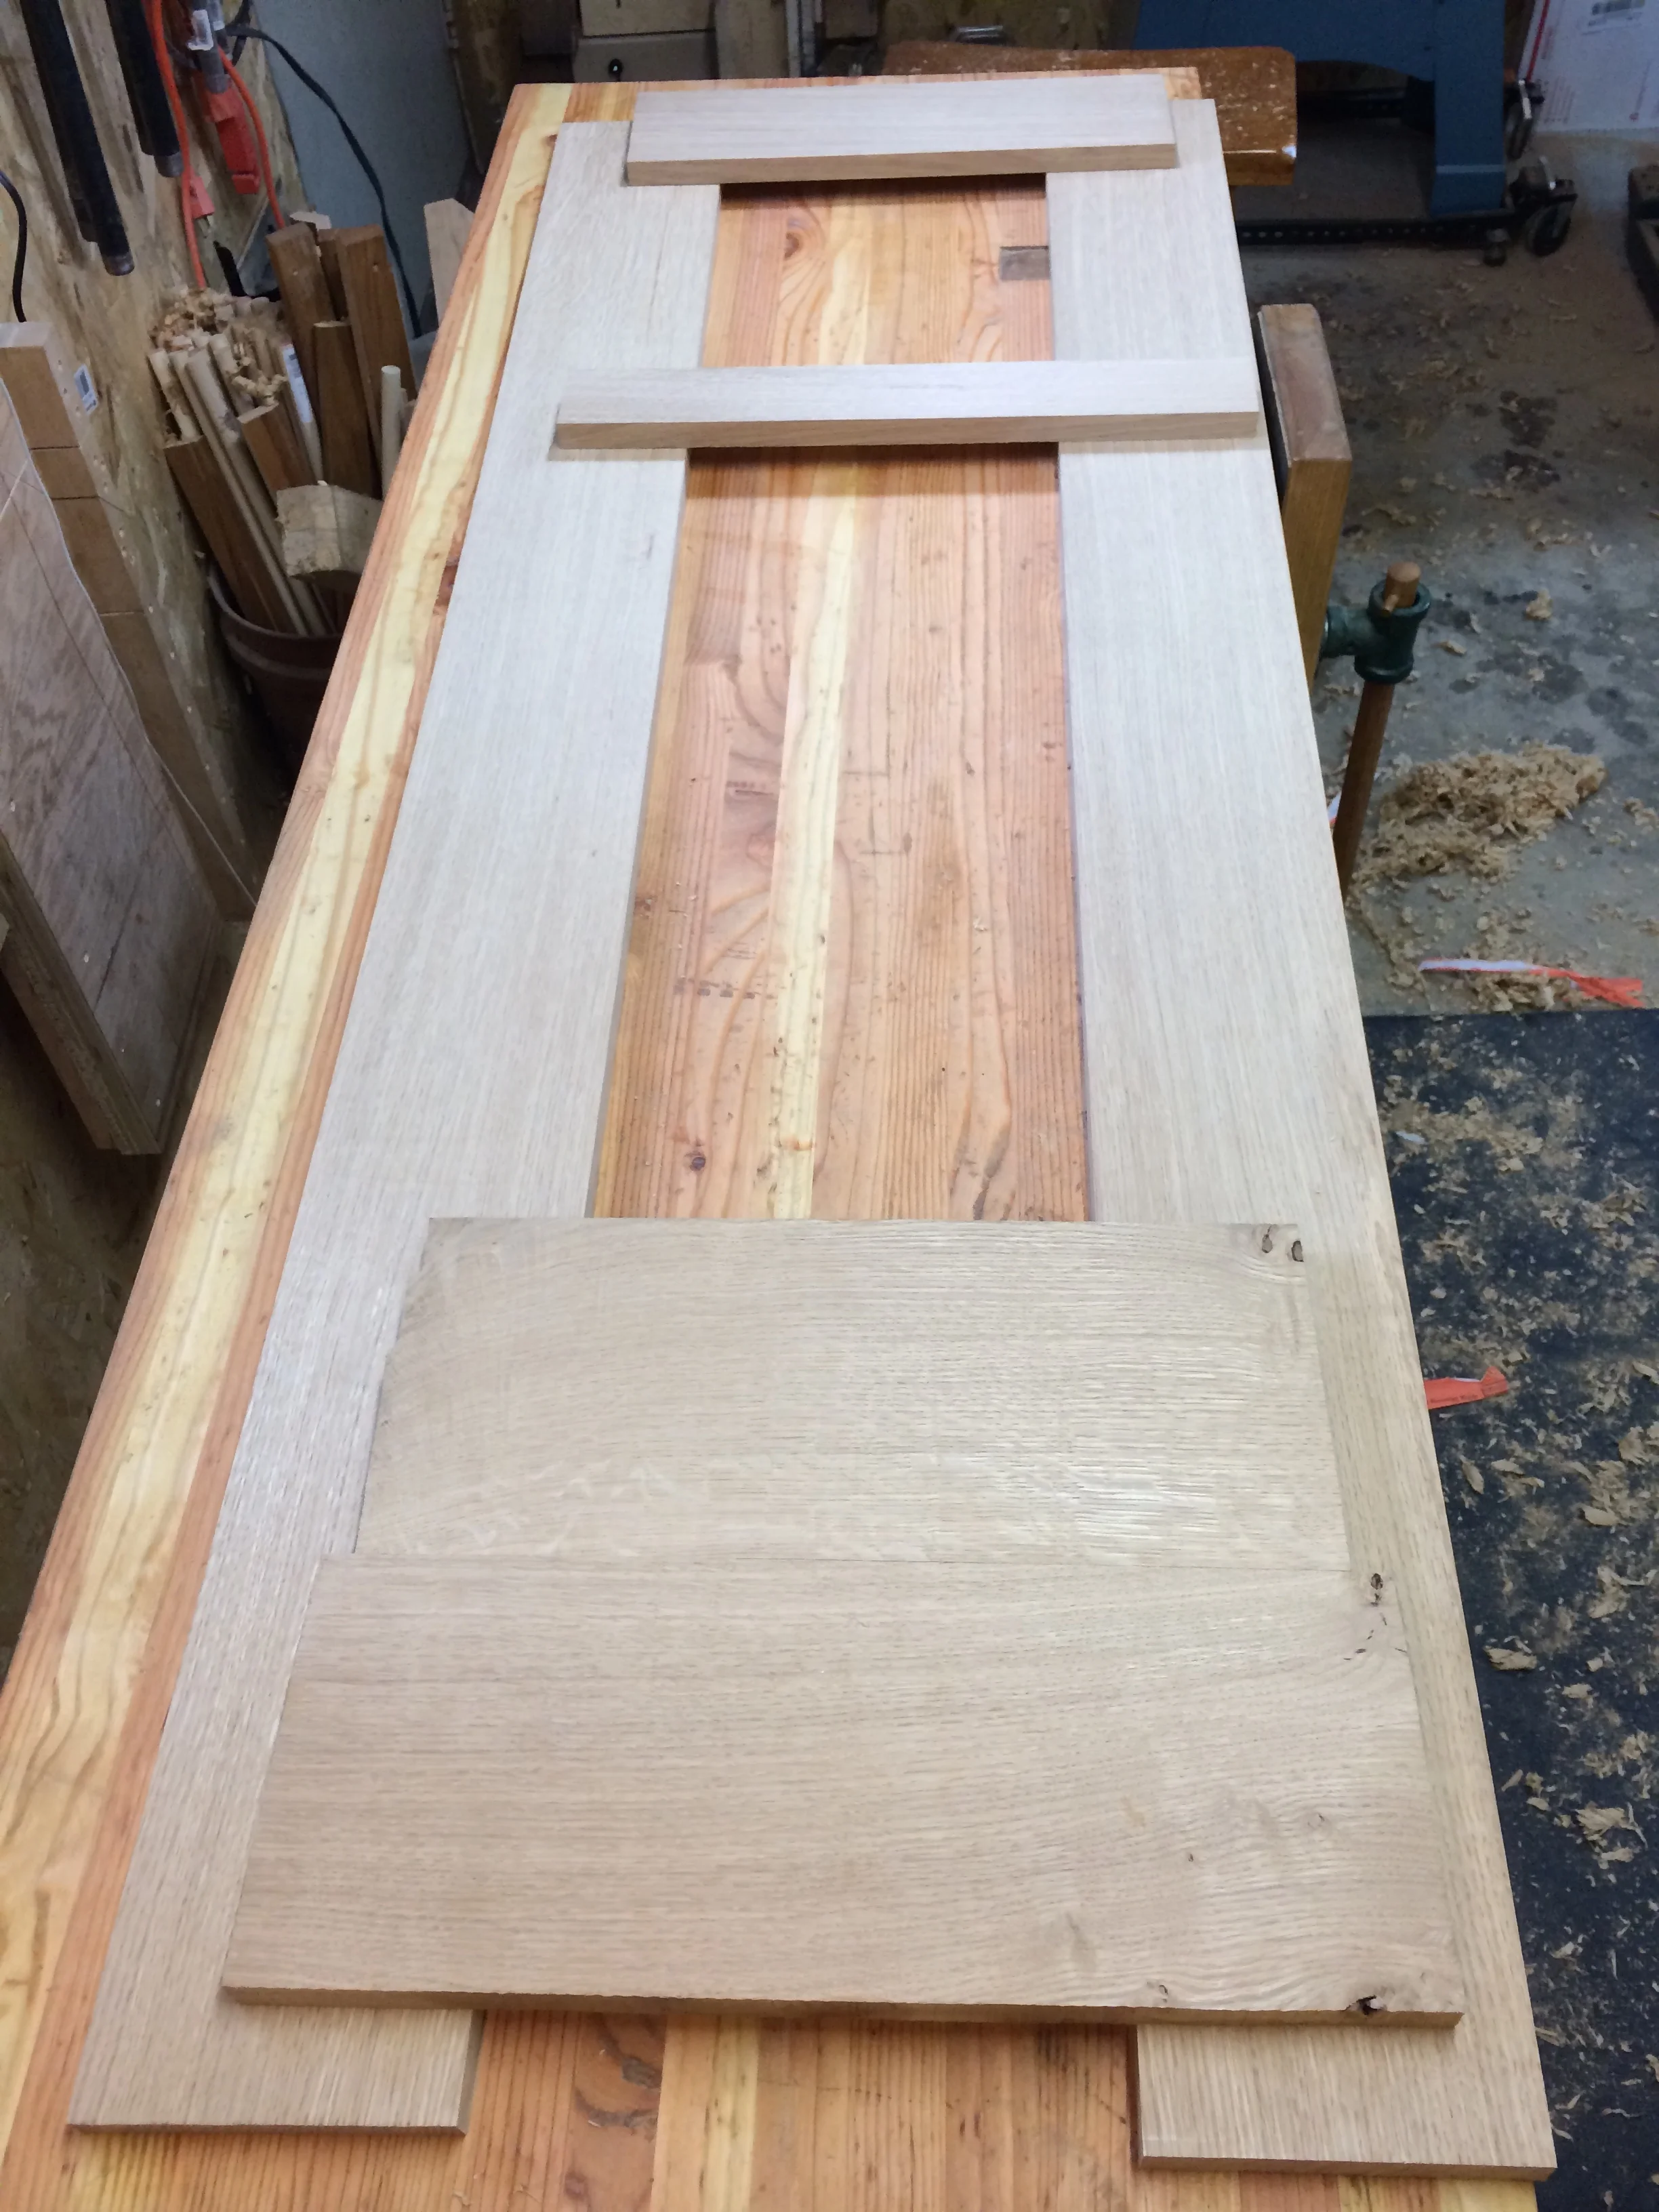
Working on a large project, like my current wardrobe project, takes a lot of time. And large projects go faster when I can get large blocks of time to work on them (so, that's weekends). When I have only an hour or so here & there, I find it hard to "get into" a large project, knowing that I'll soon have to stop.

Instead, I often use that time for little detours like cleaning the shop, organizing stuff, sharpening, tool maintenance, or even little side projects. And even though I'm not making progress on anything big, I'm still having fun in my shop. Here's a few detours that I went on recently.
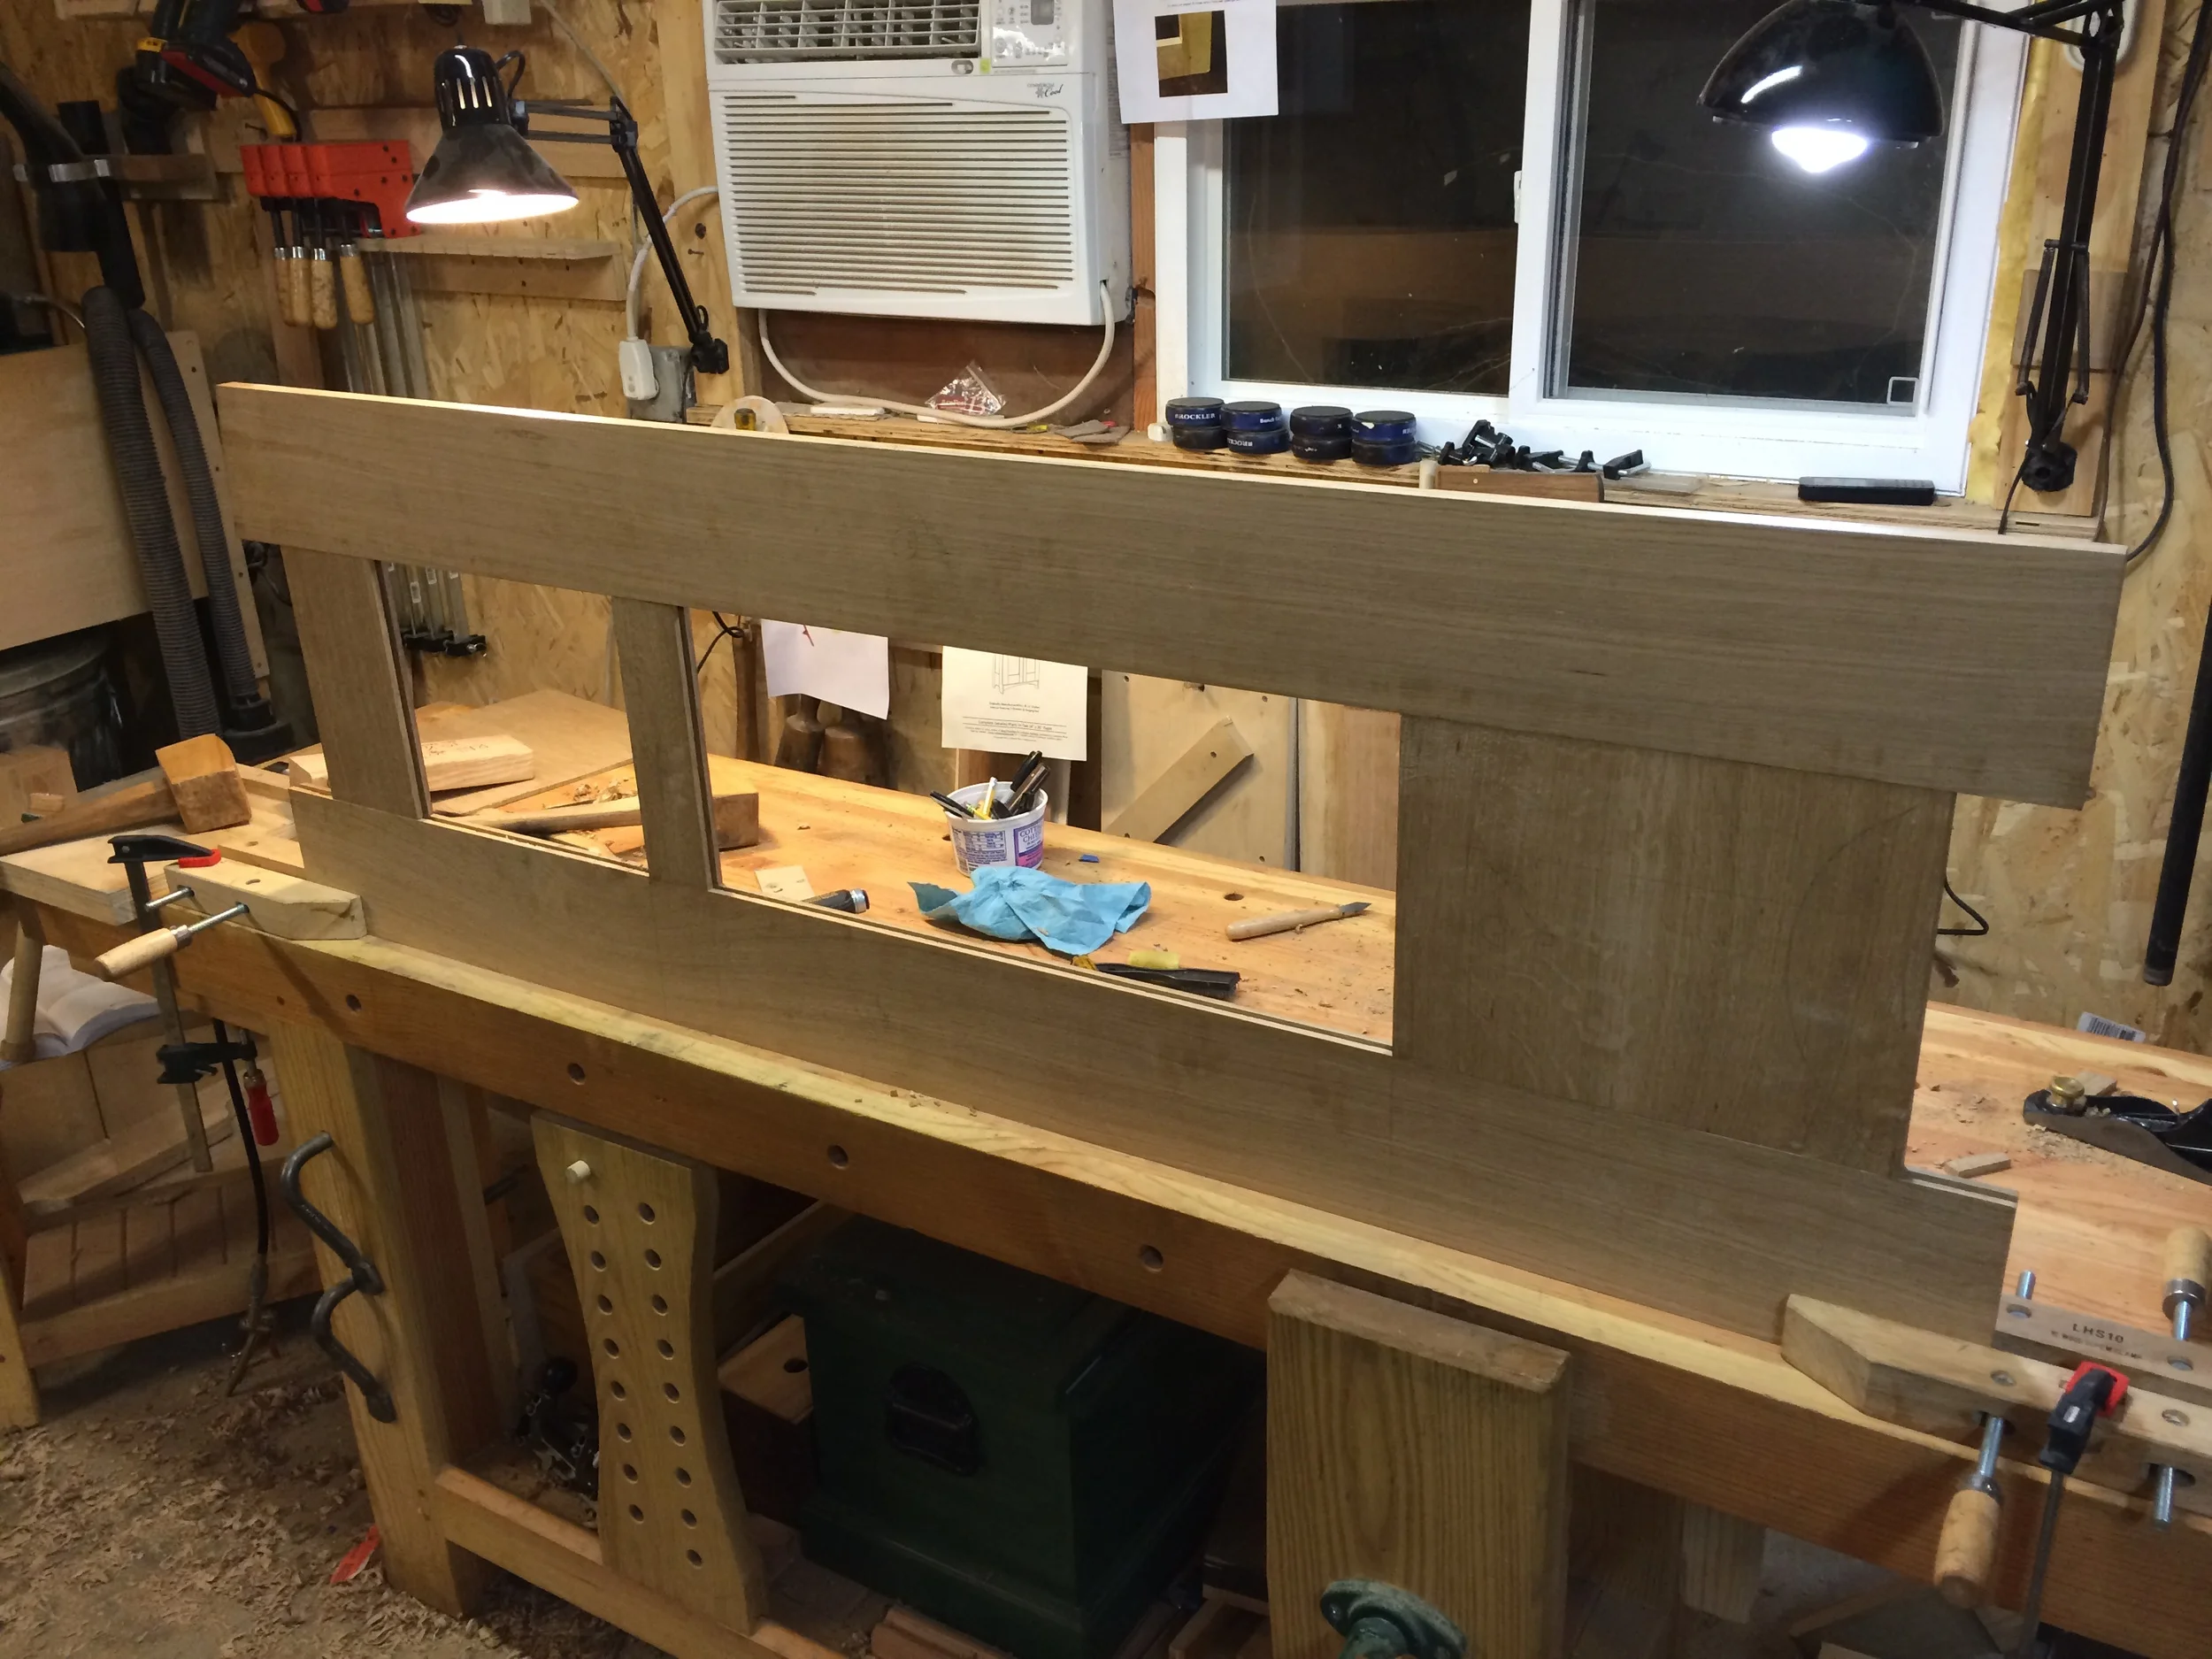
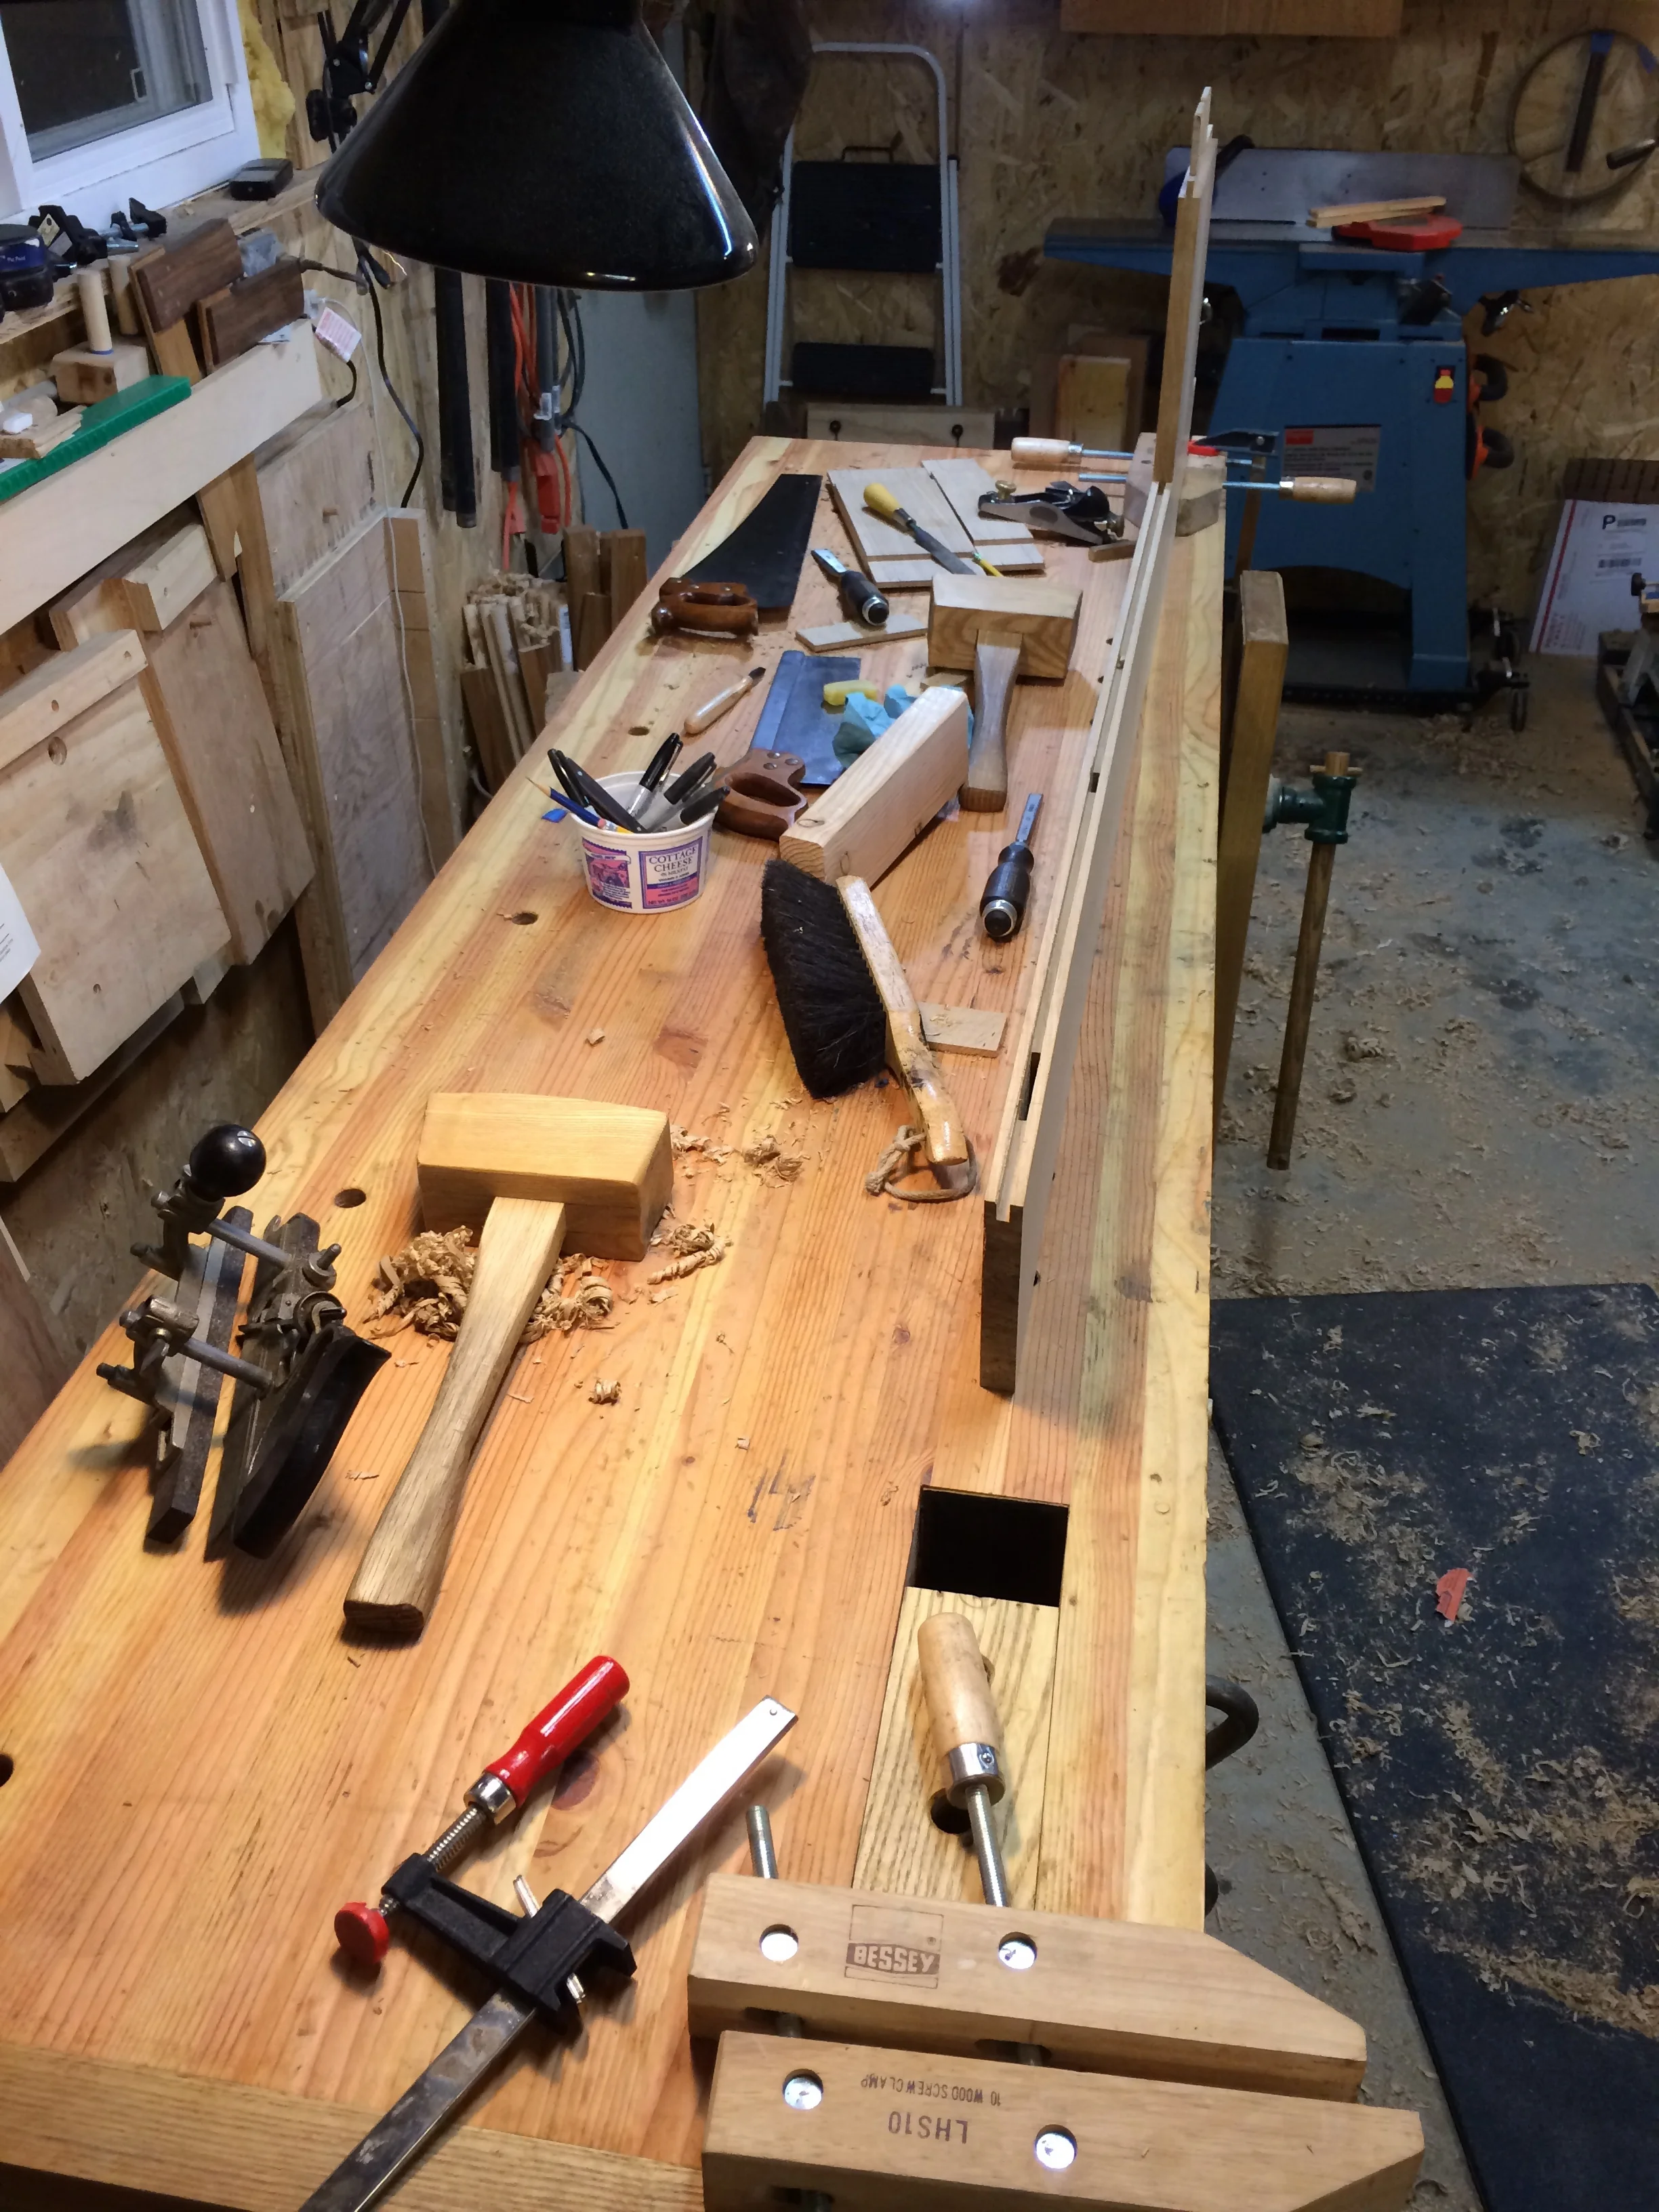
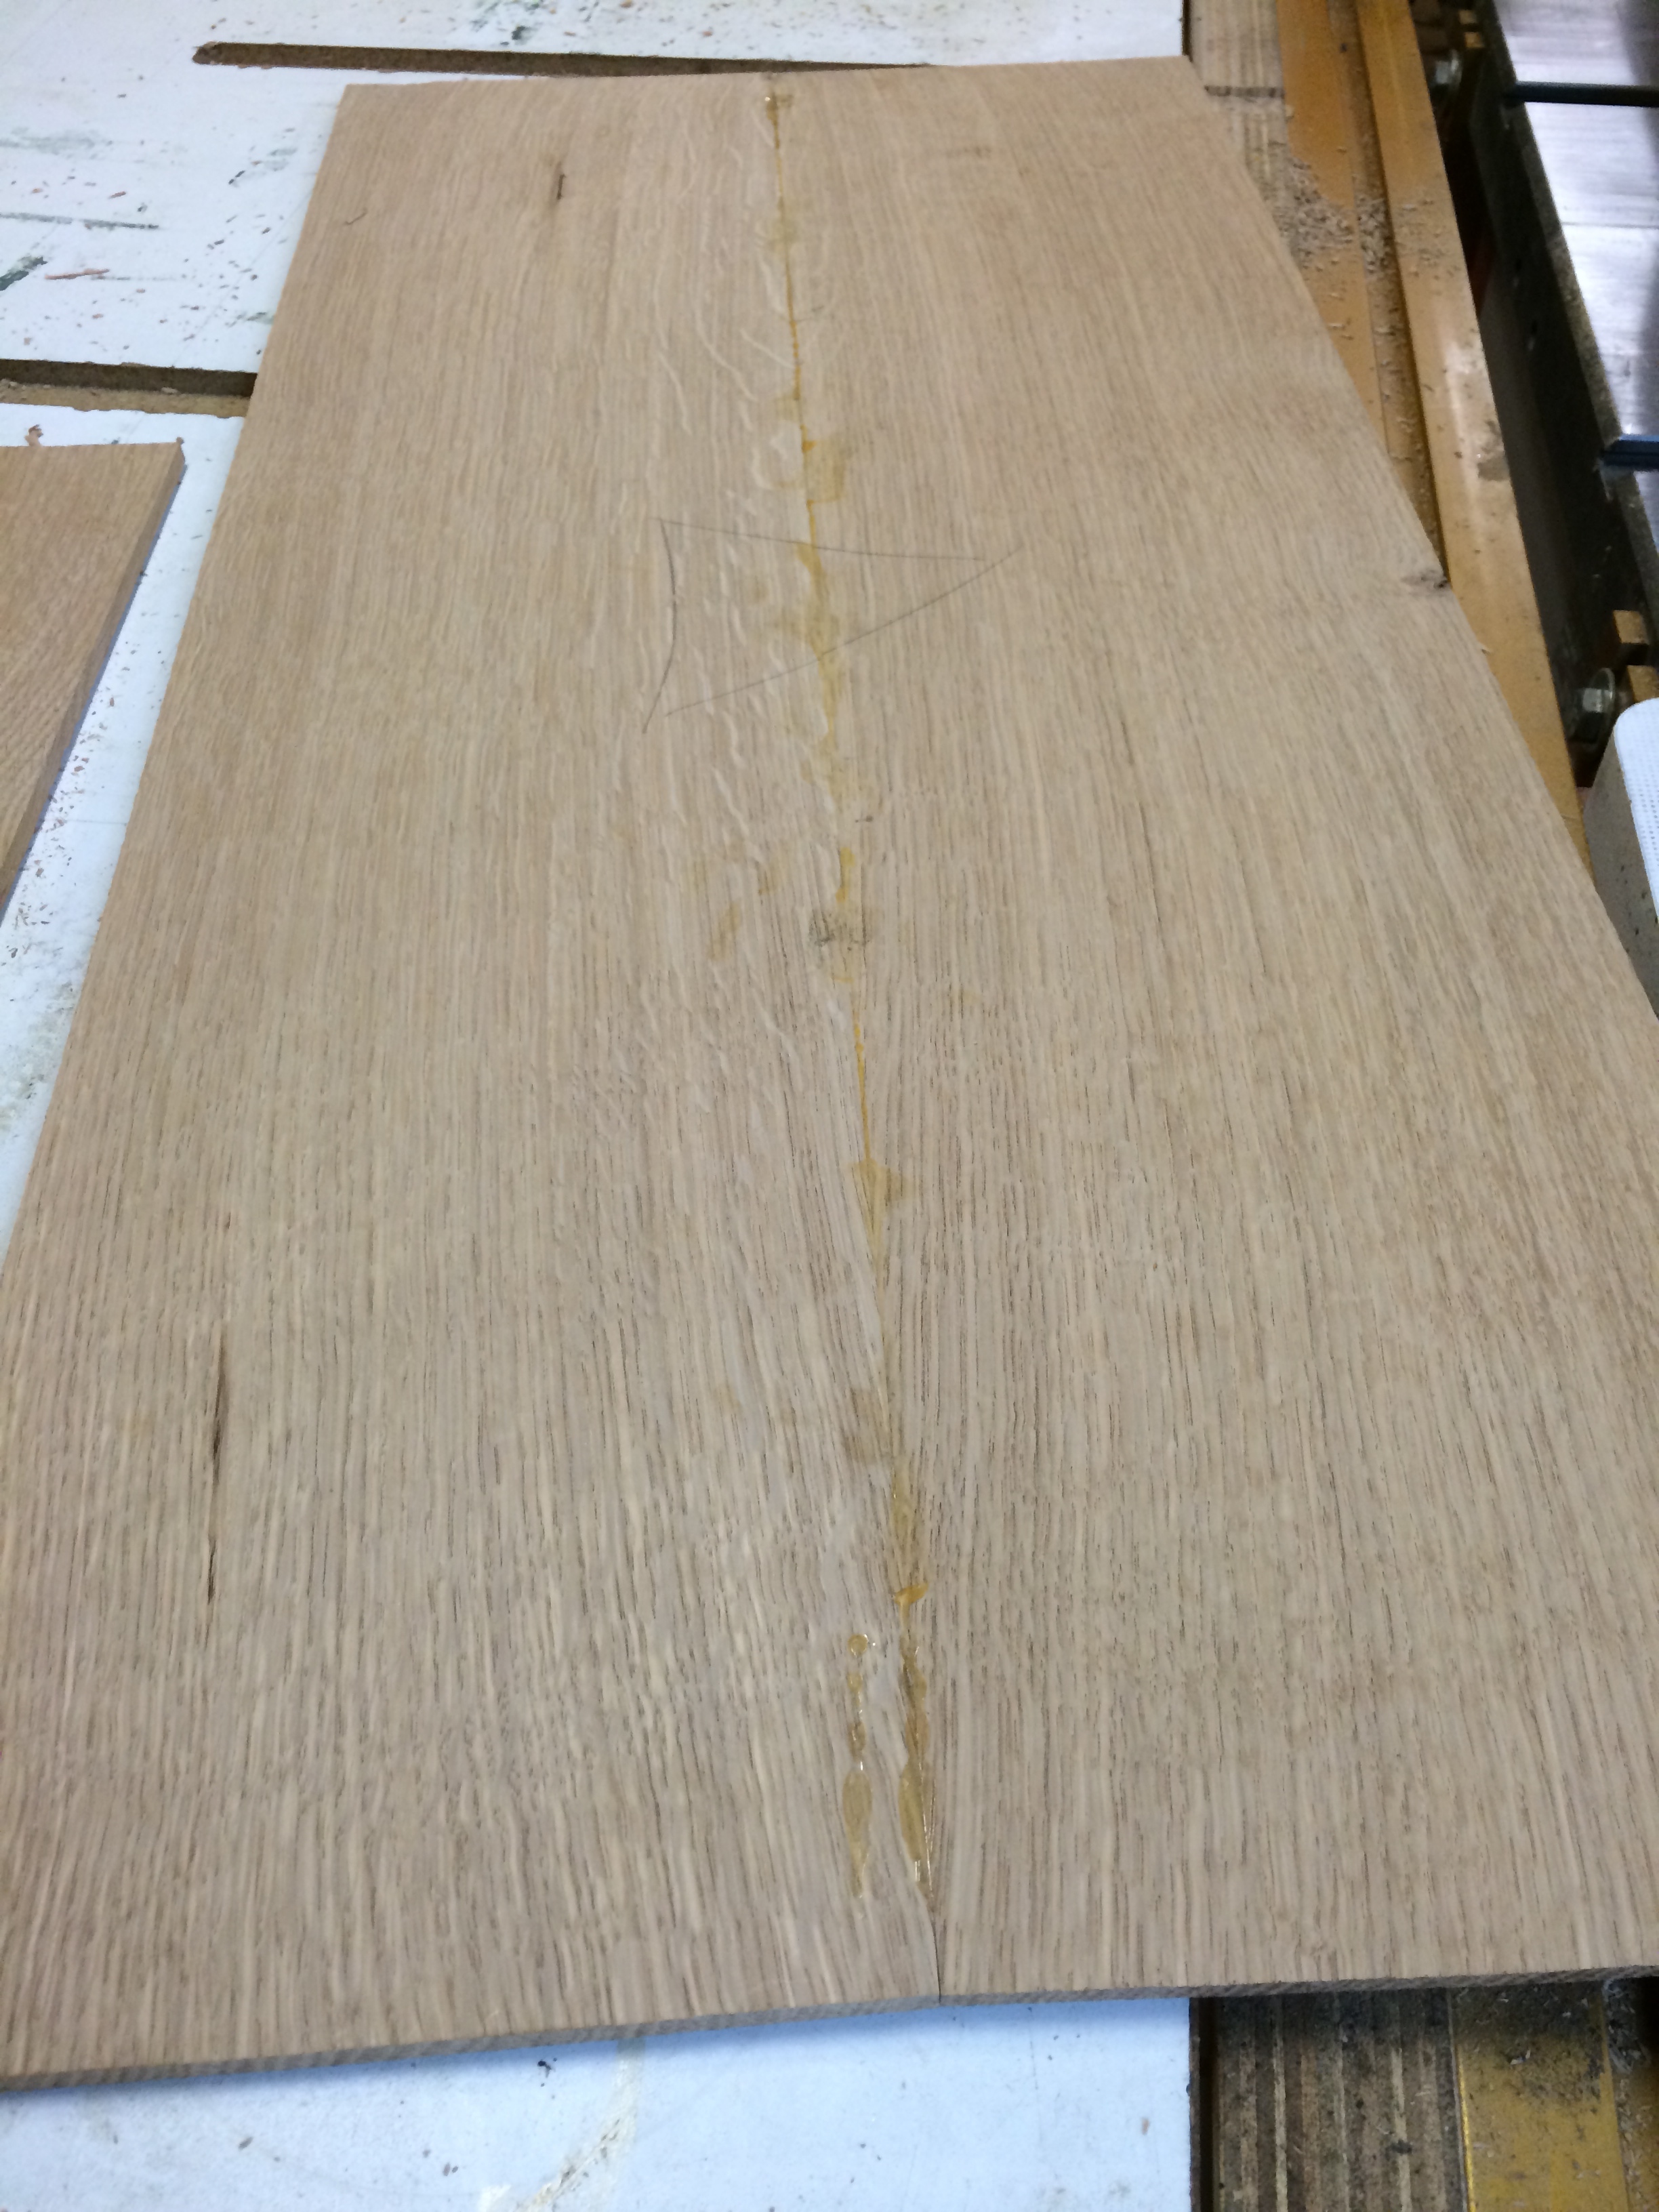
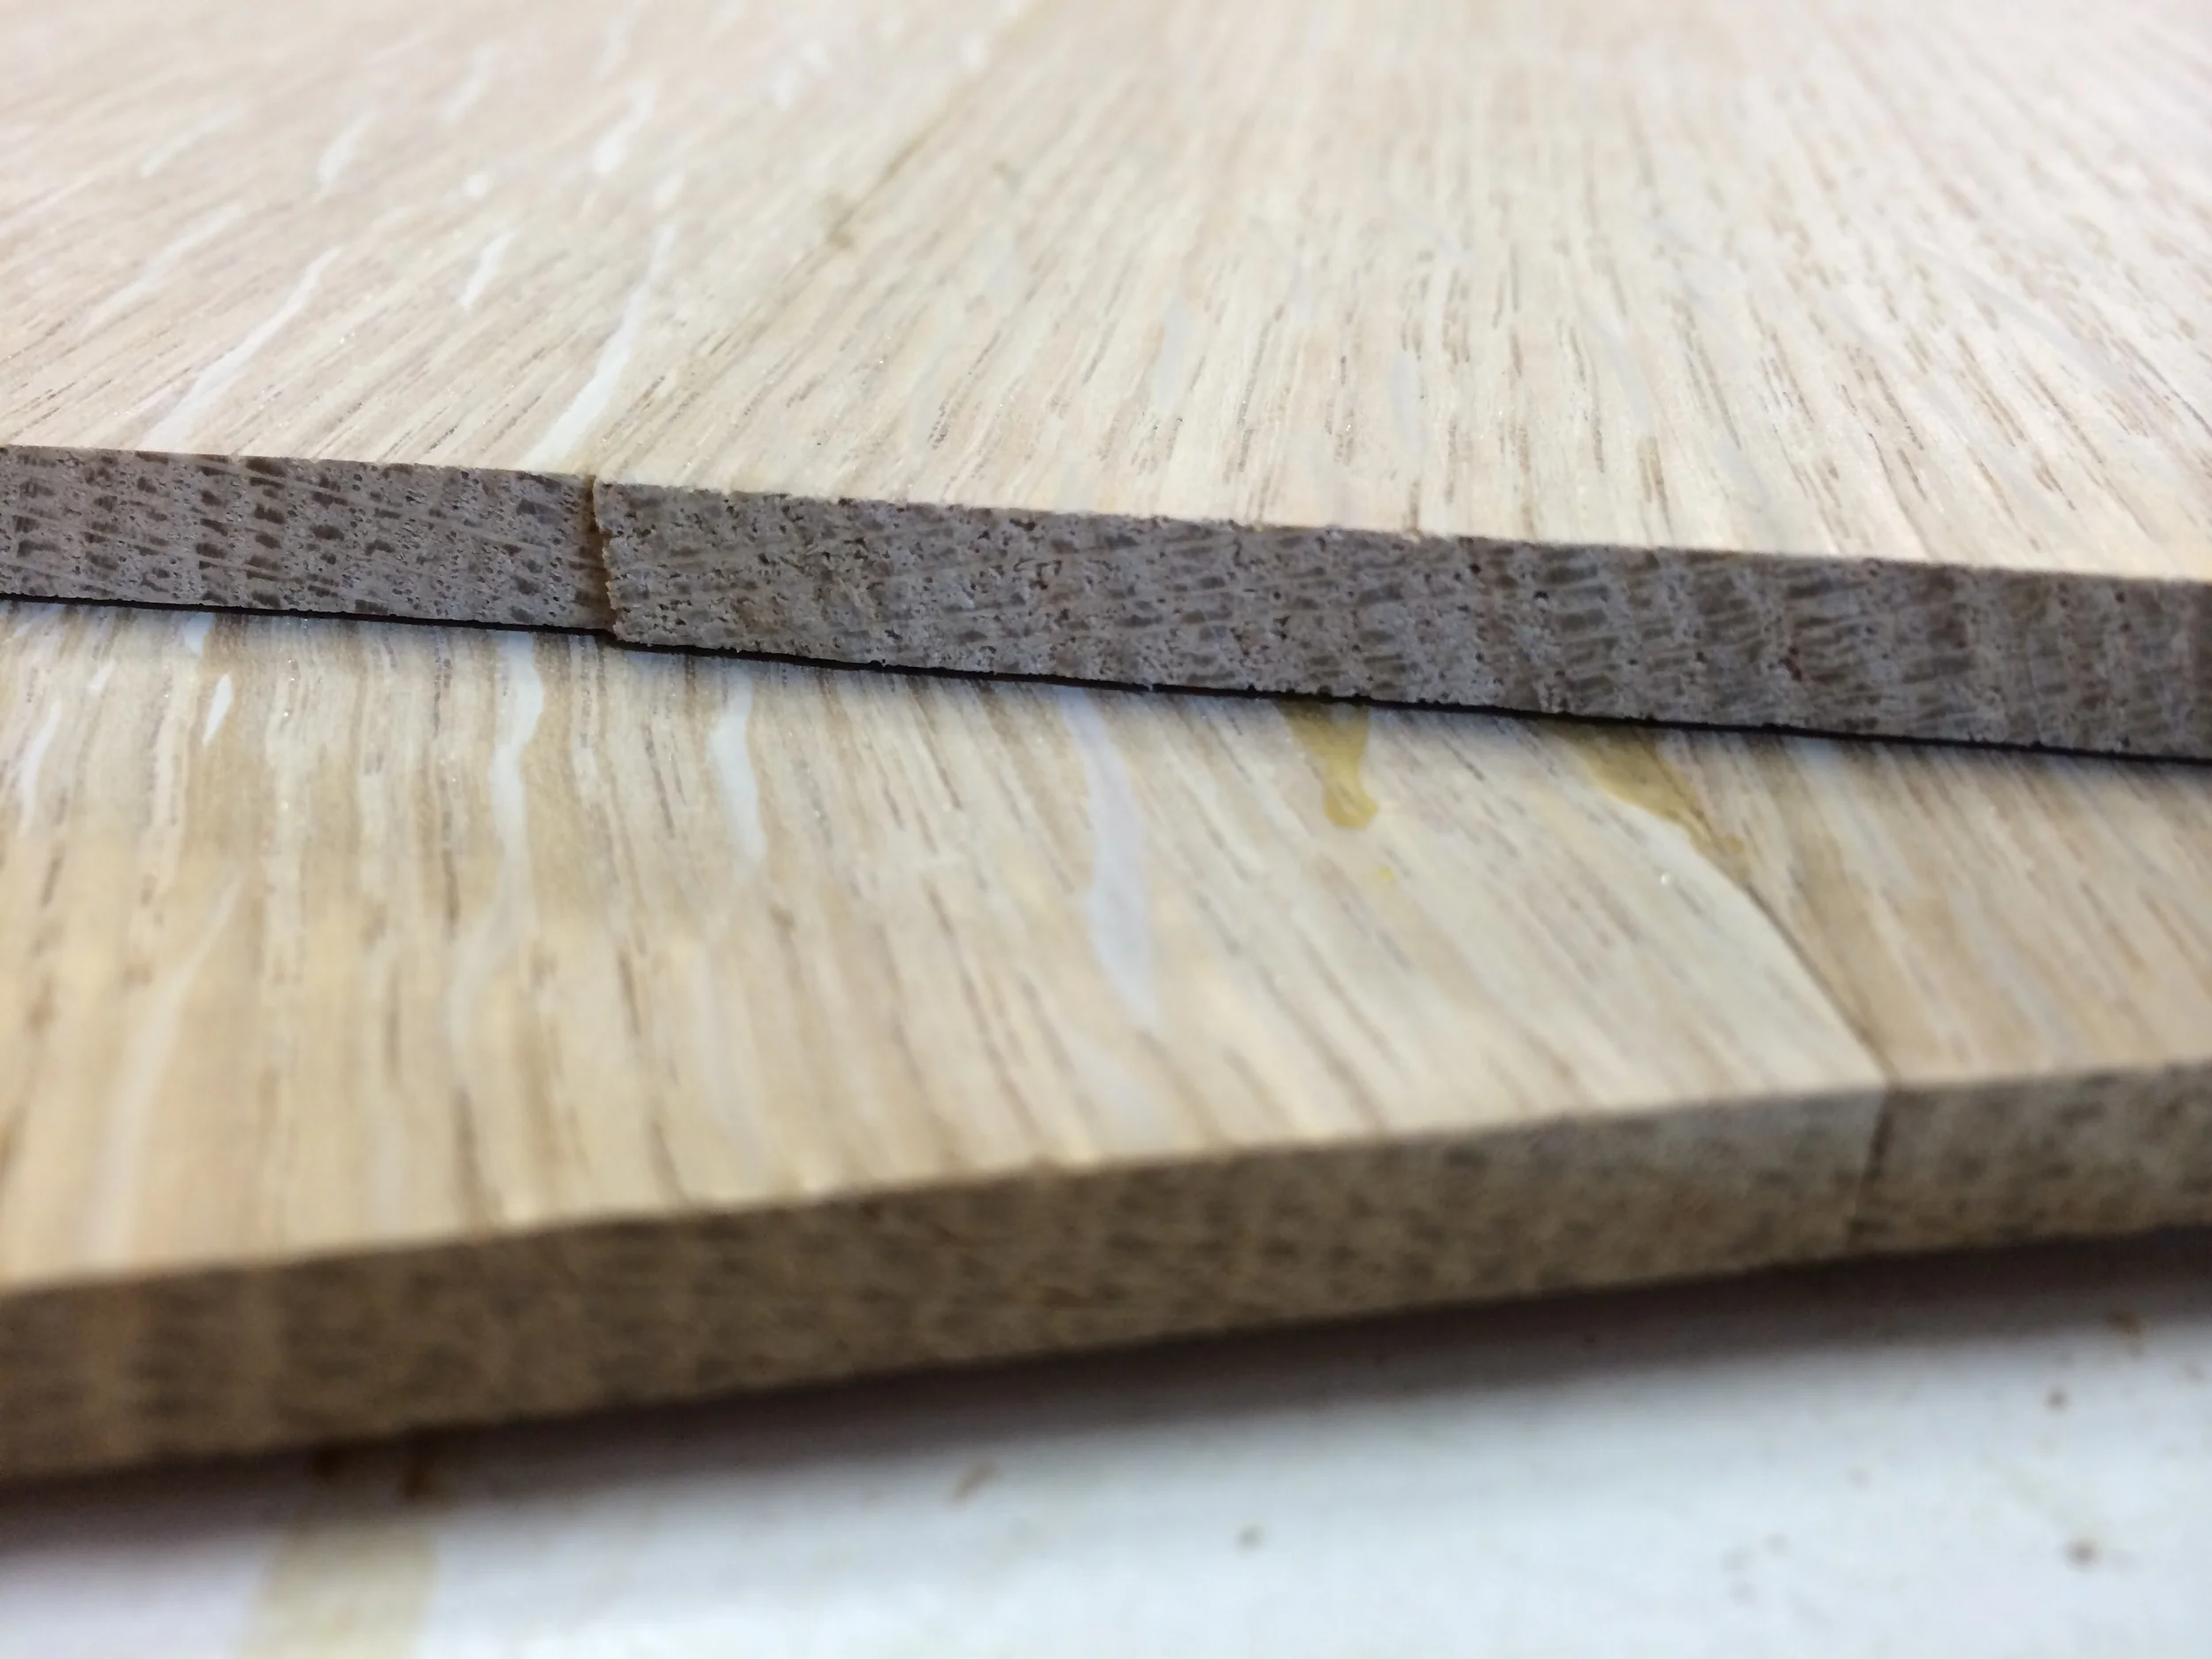
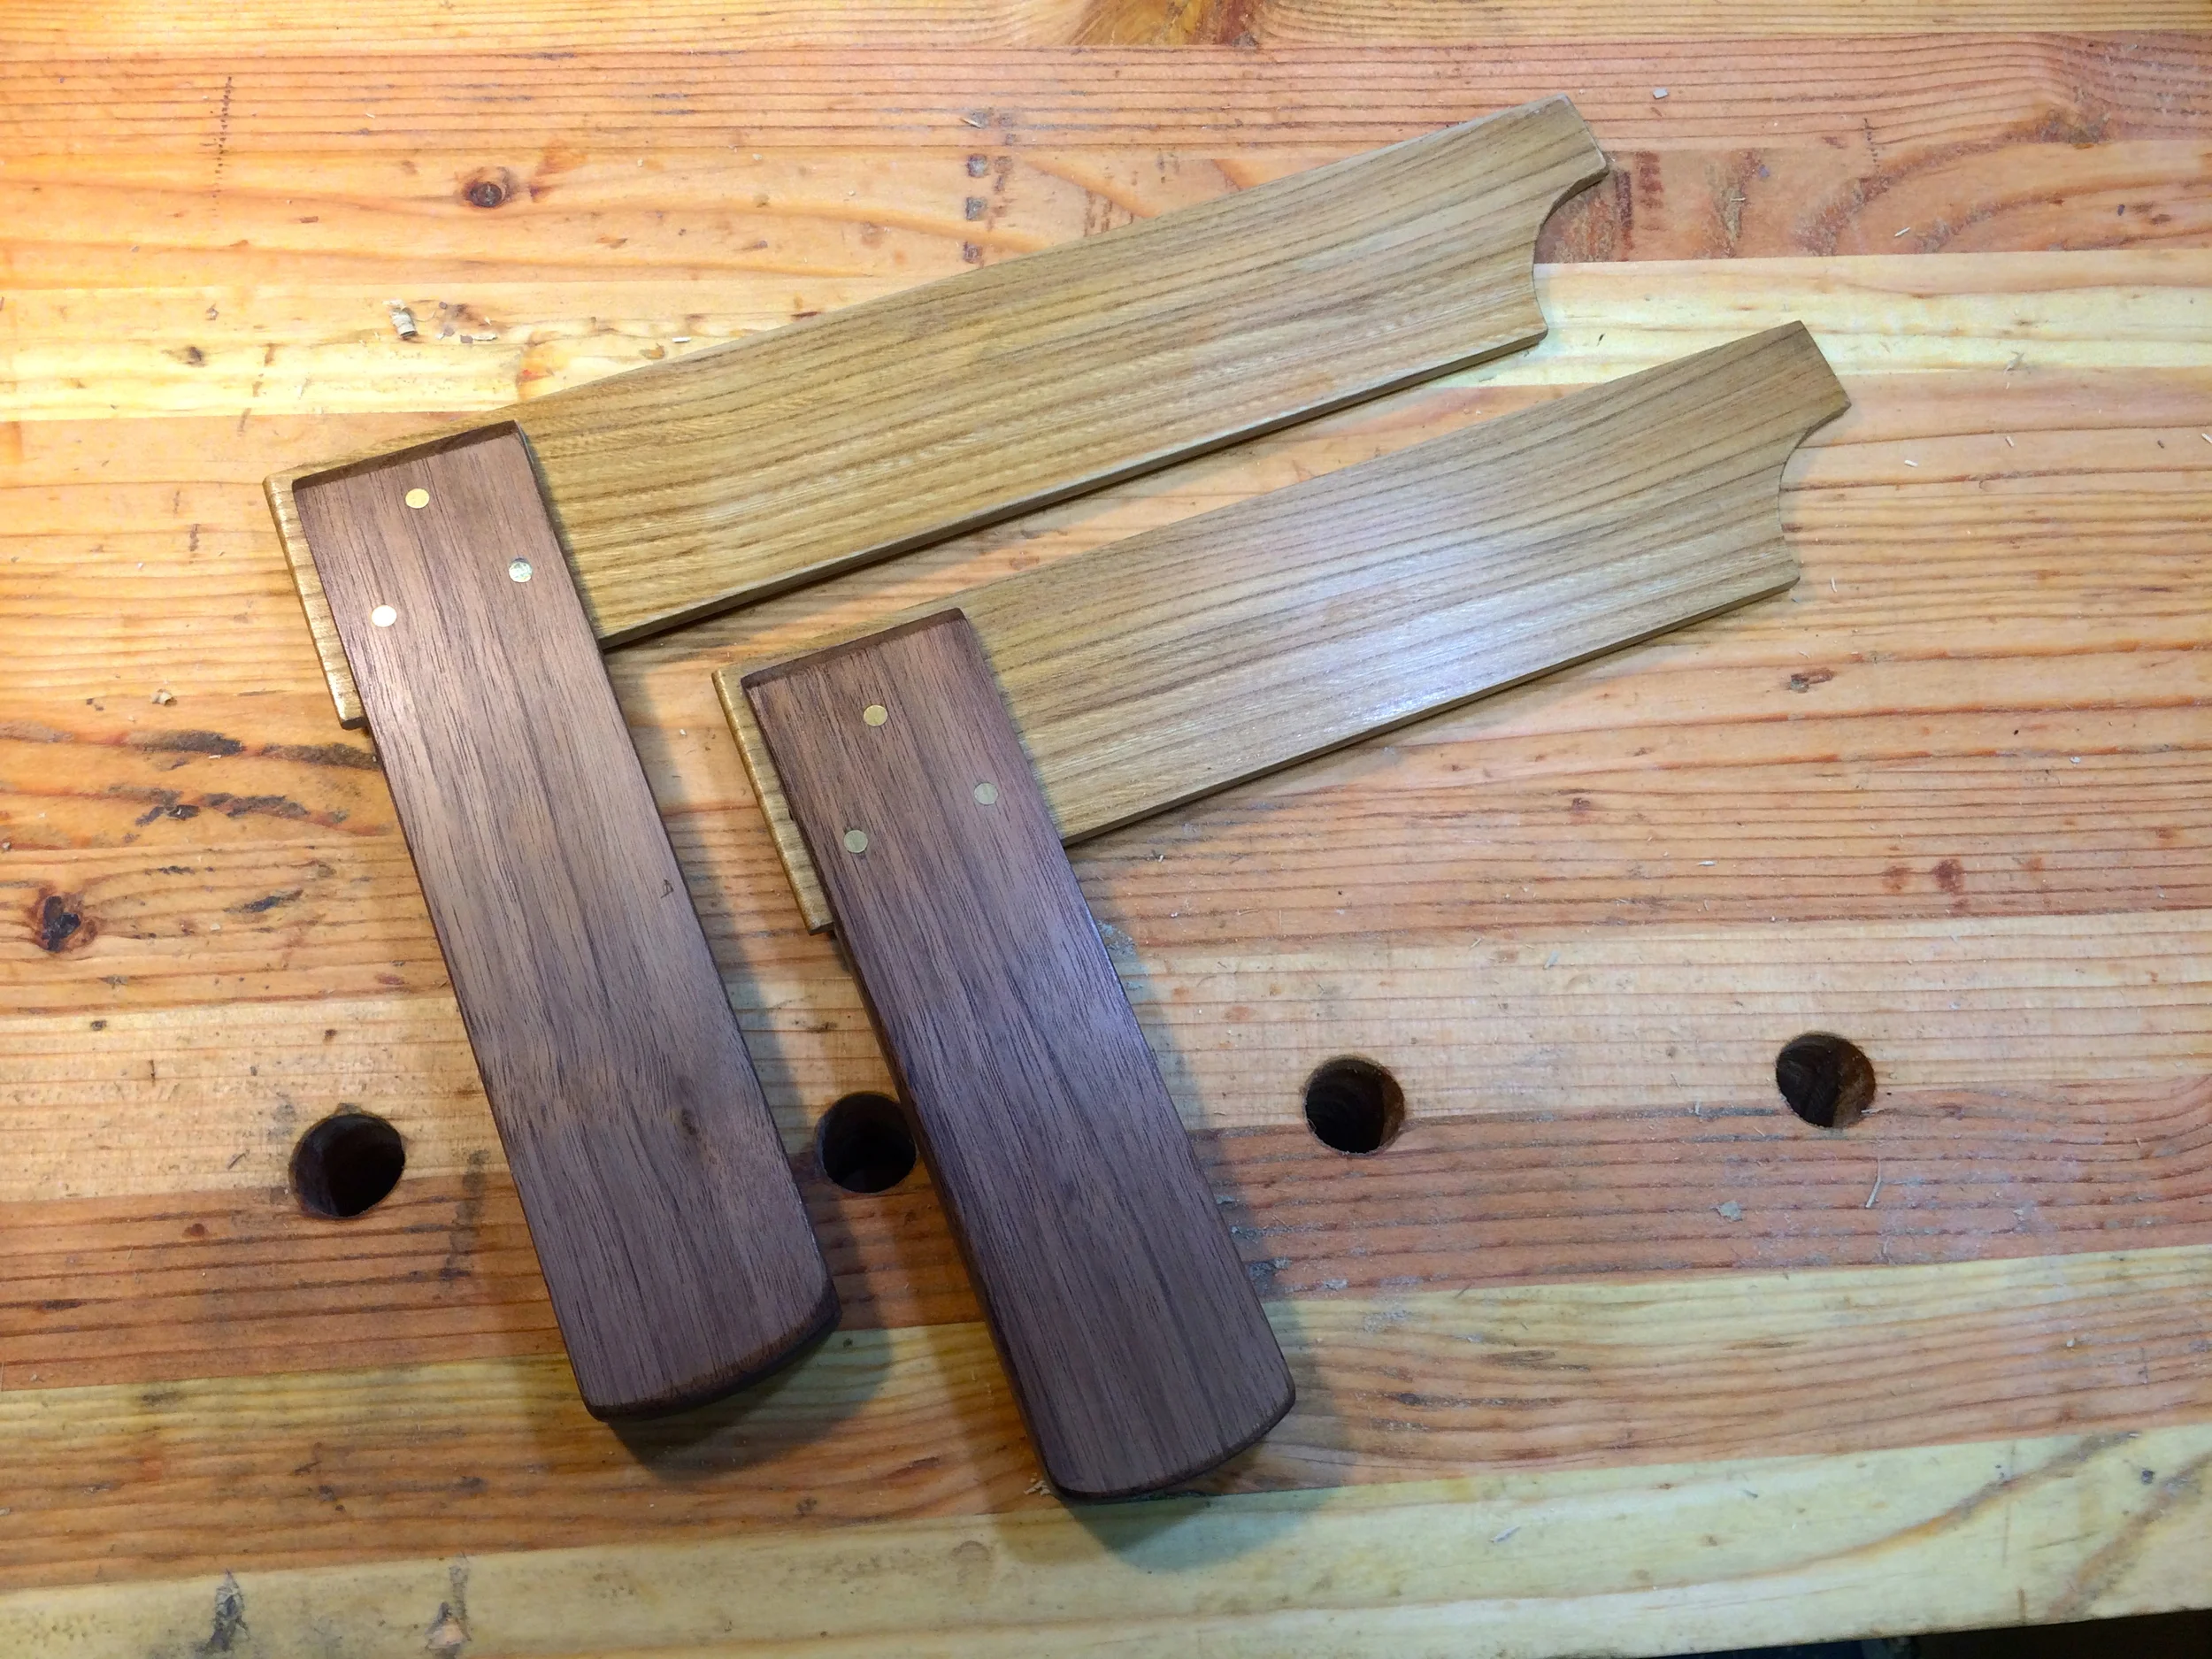
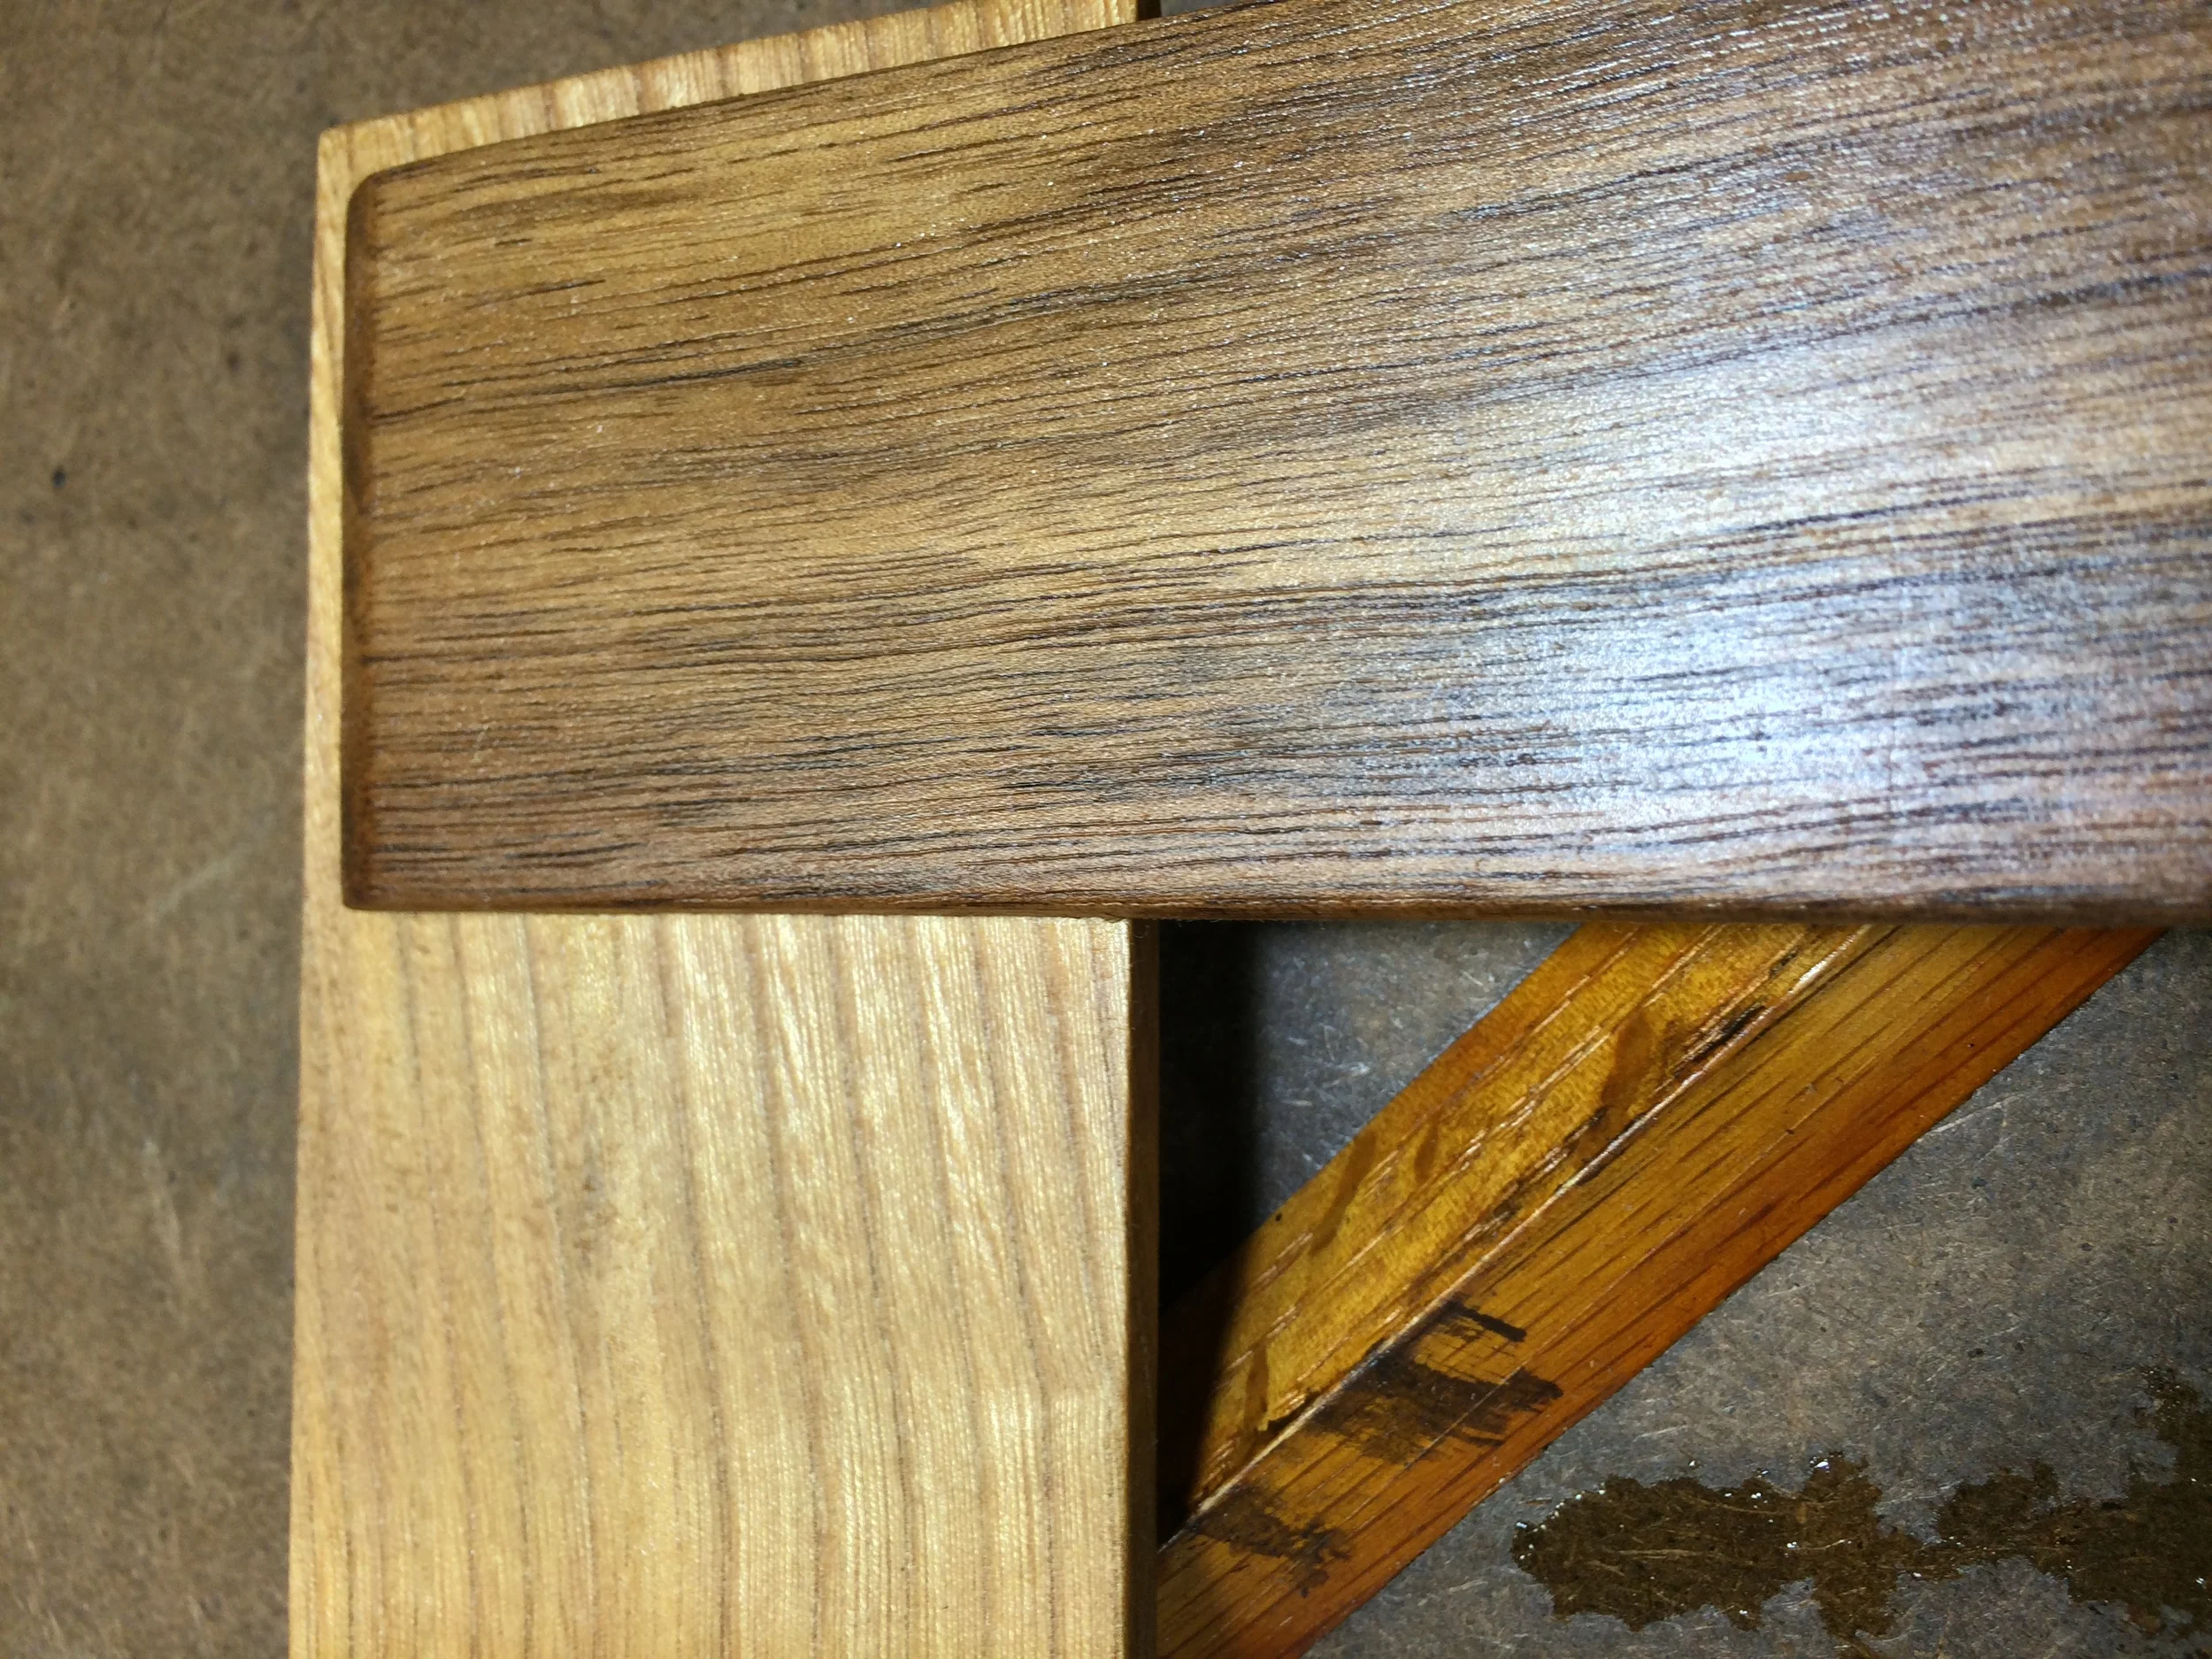
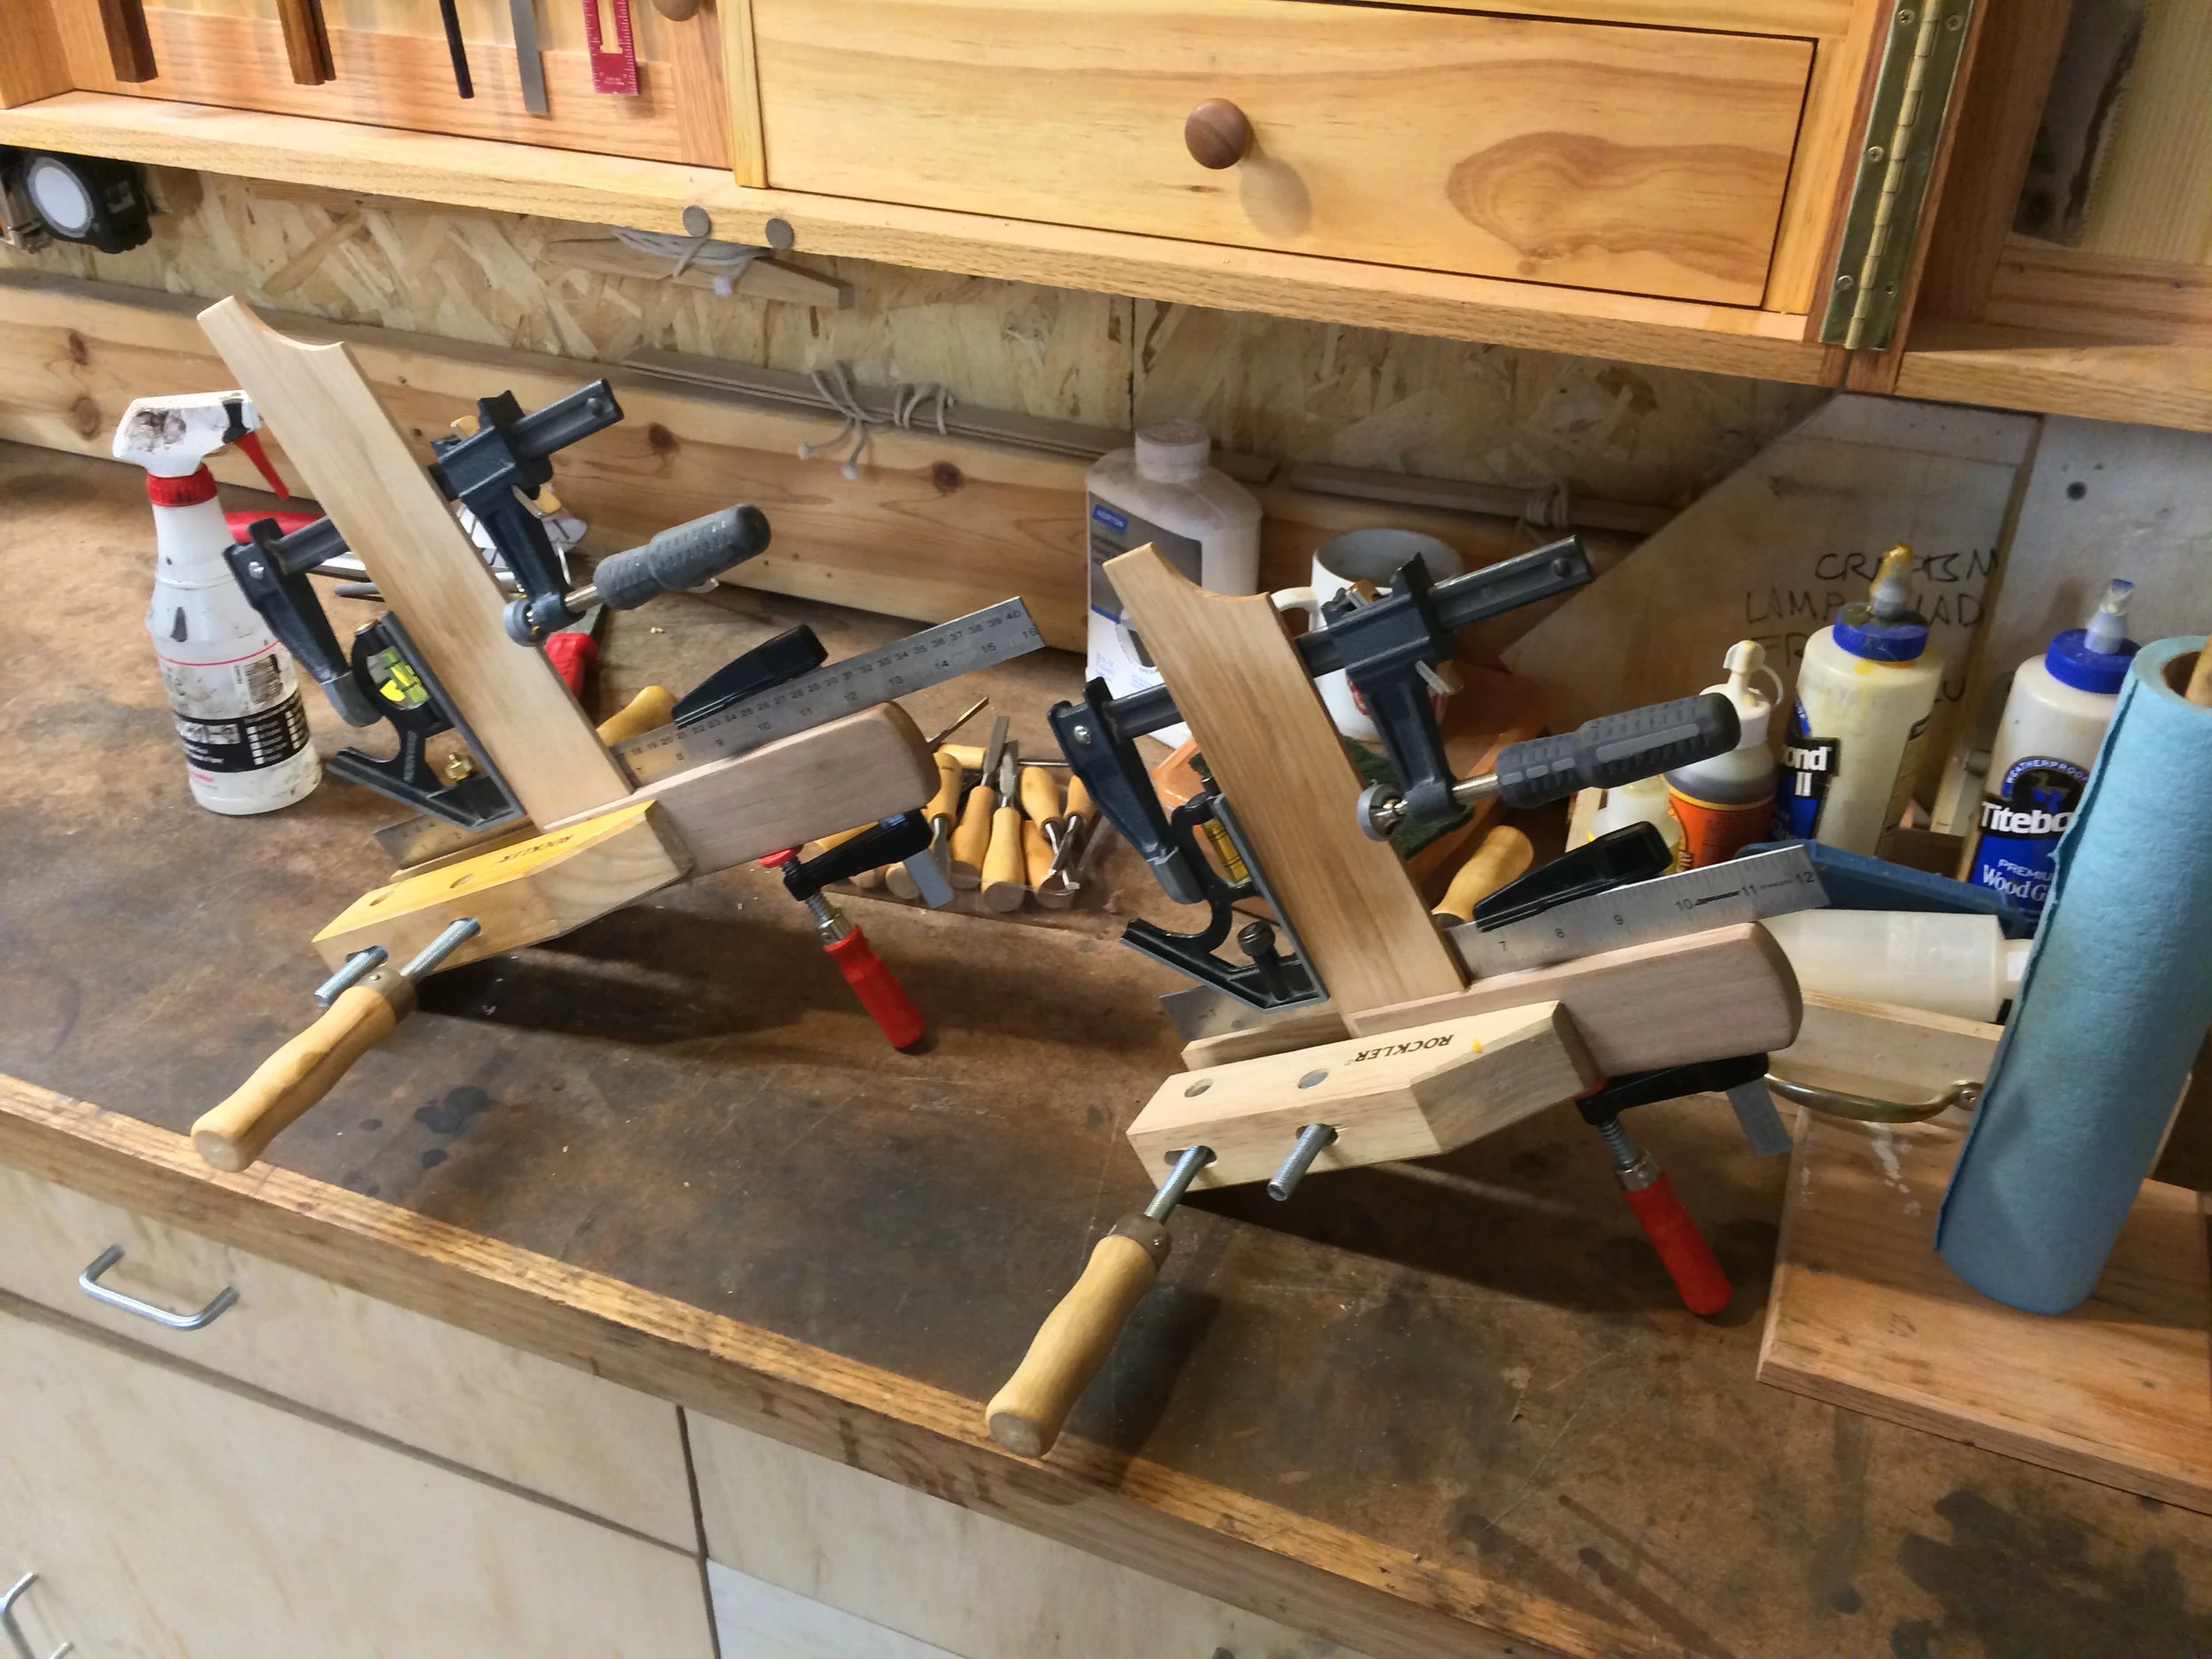
Saw Support

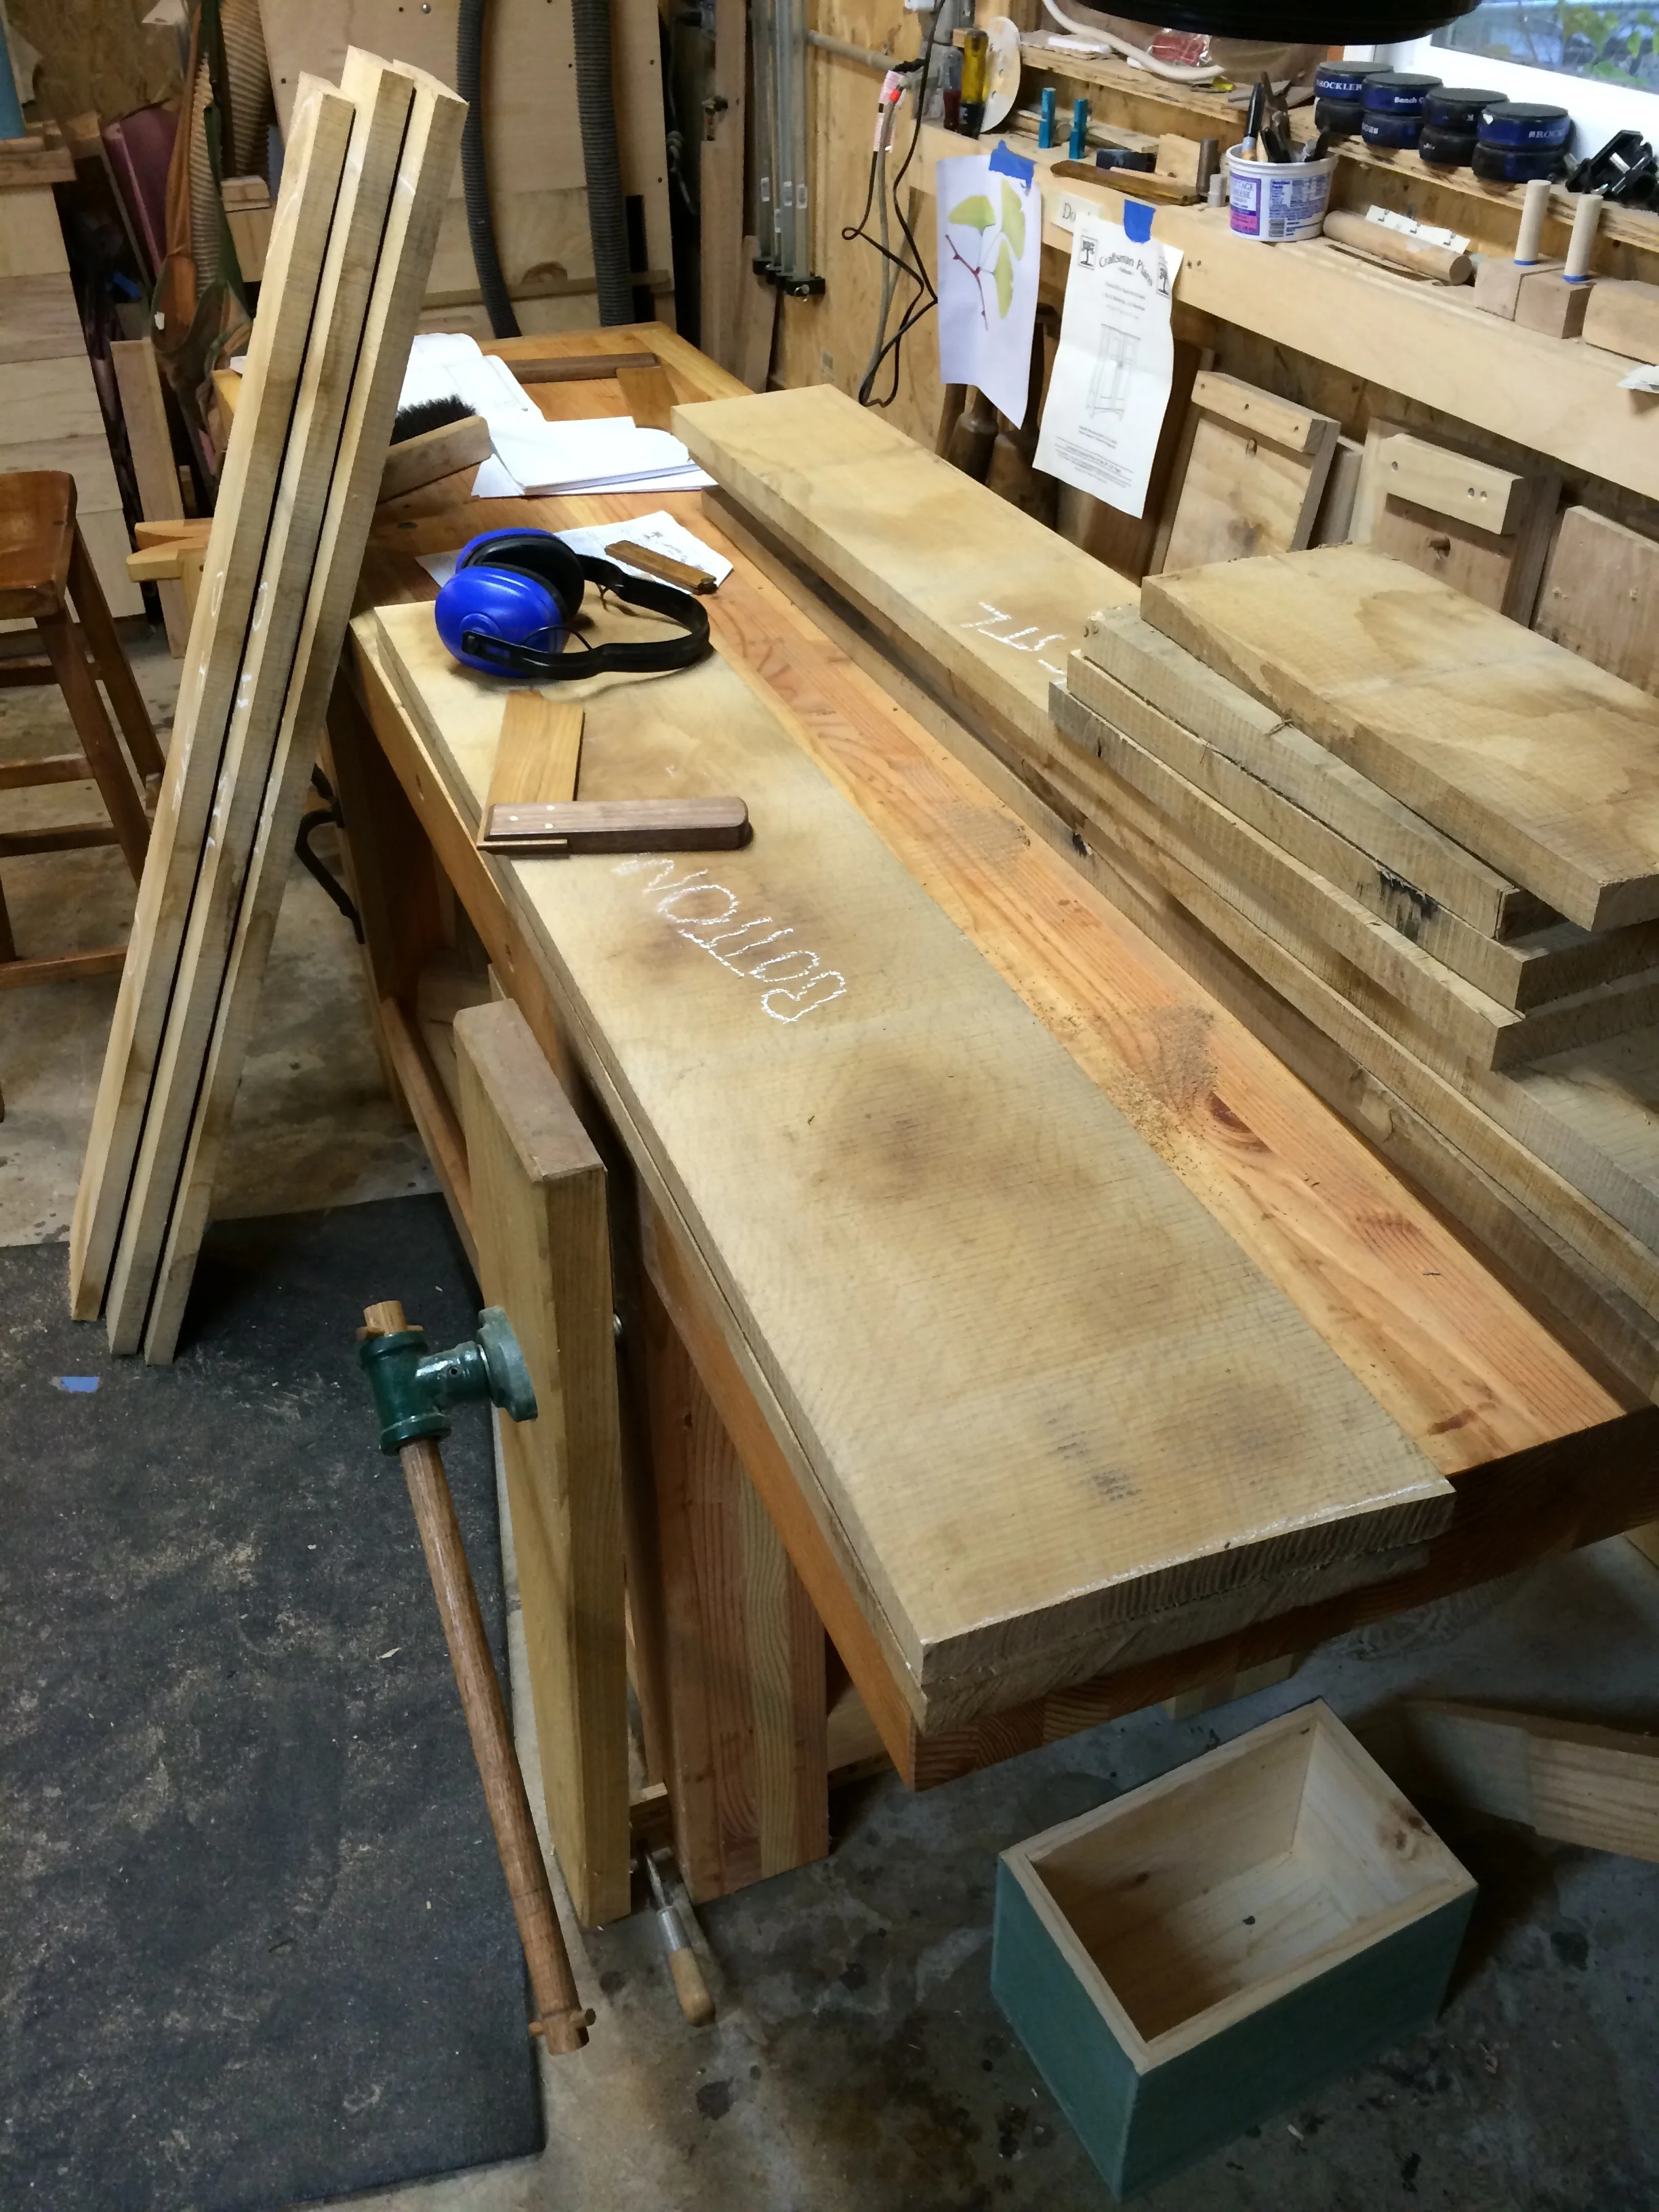
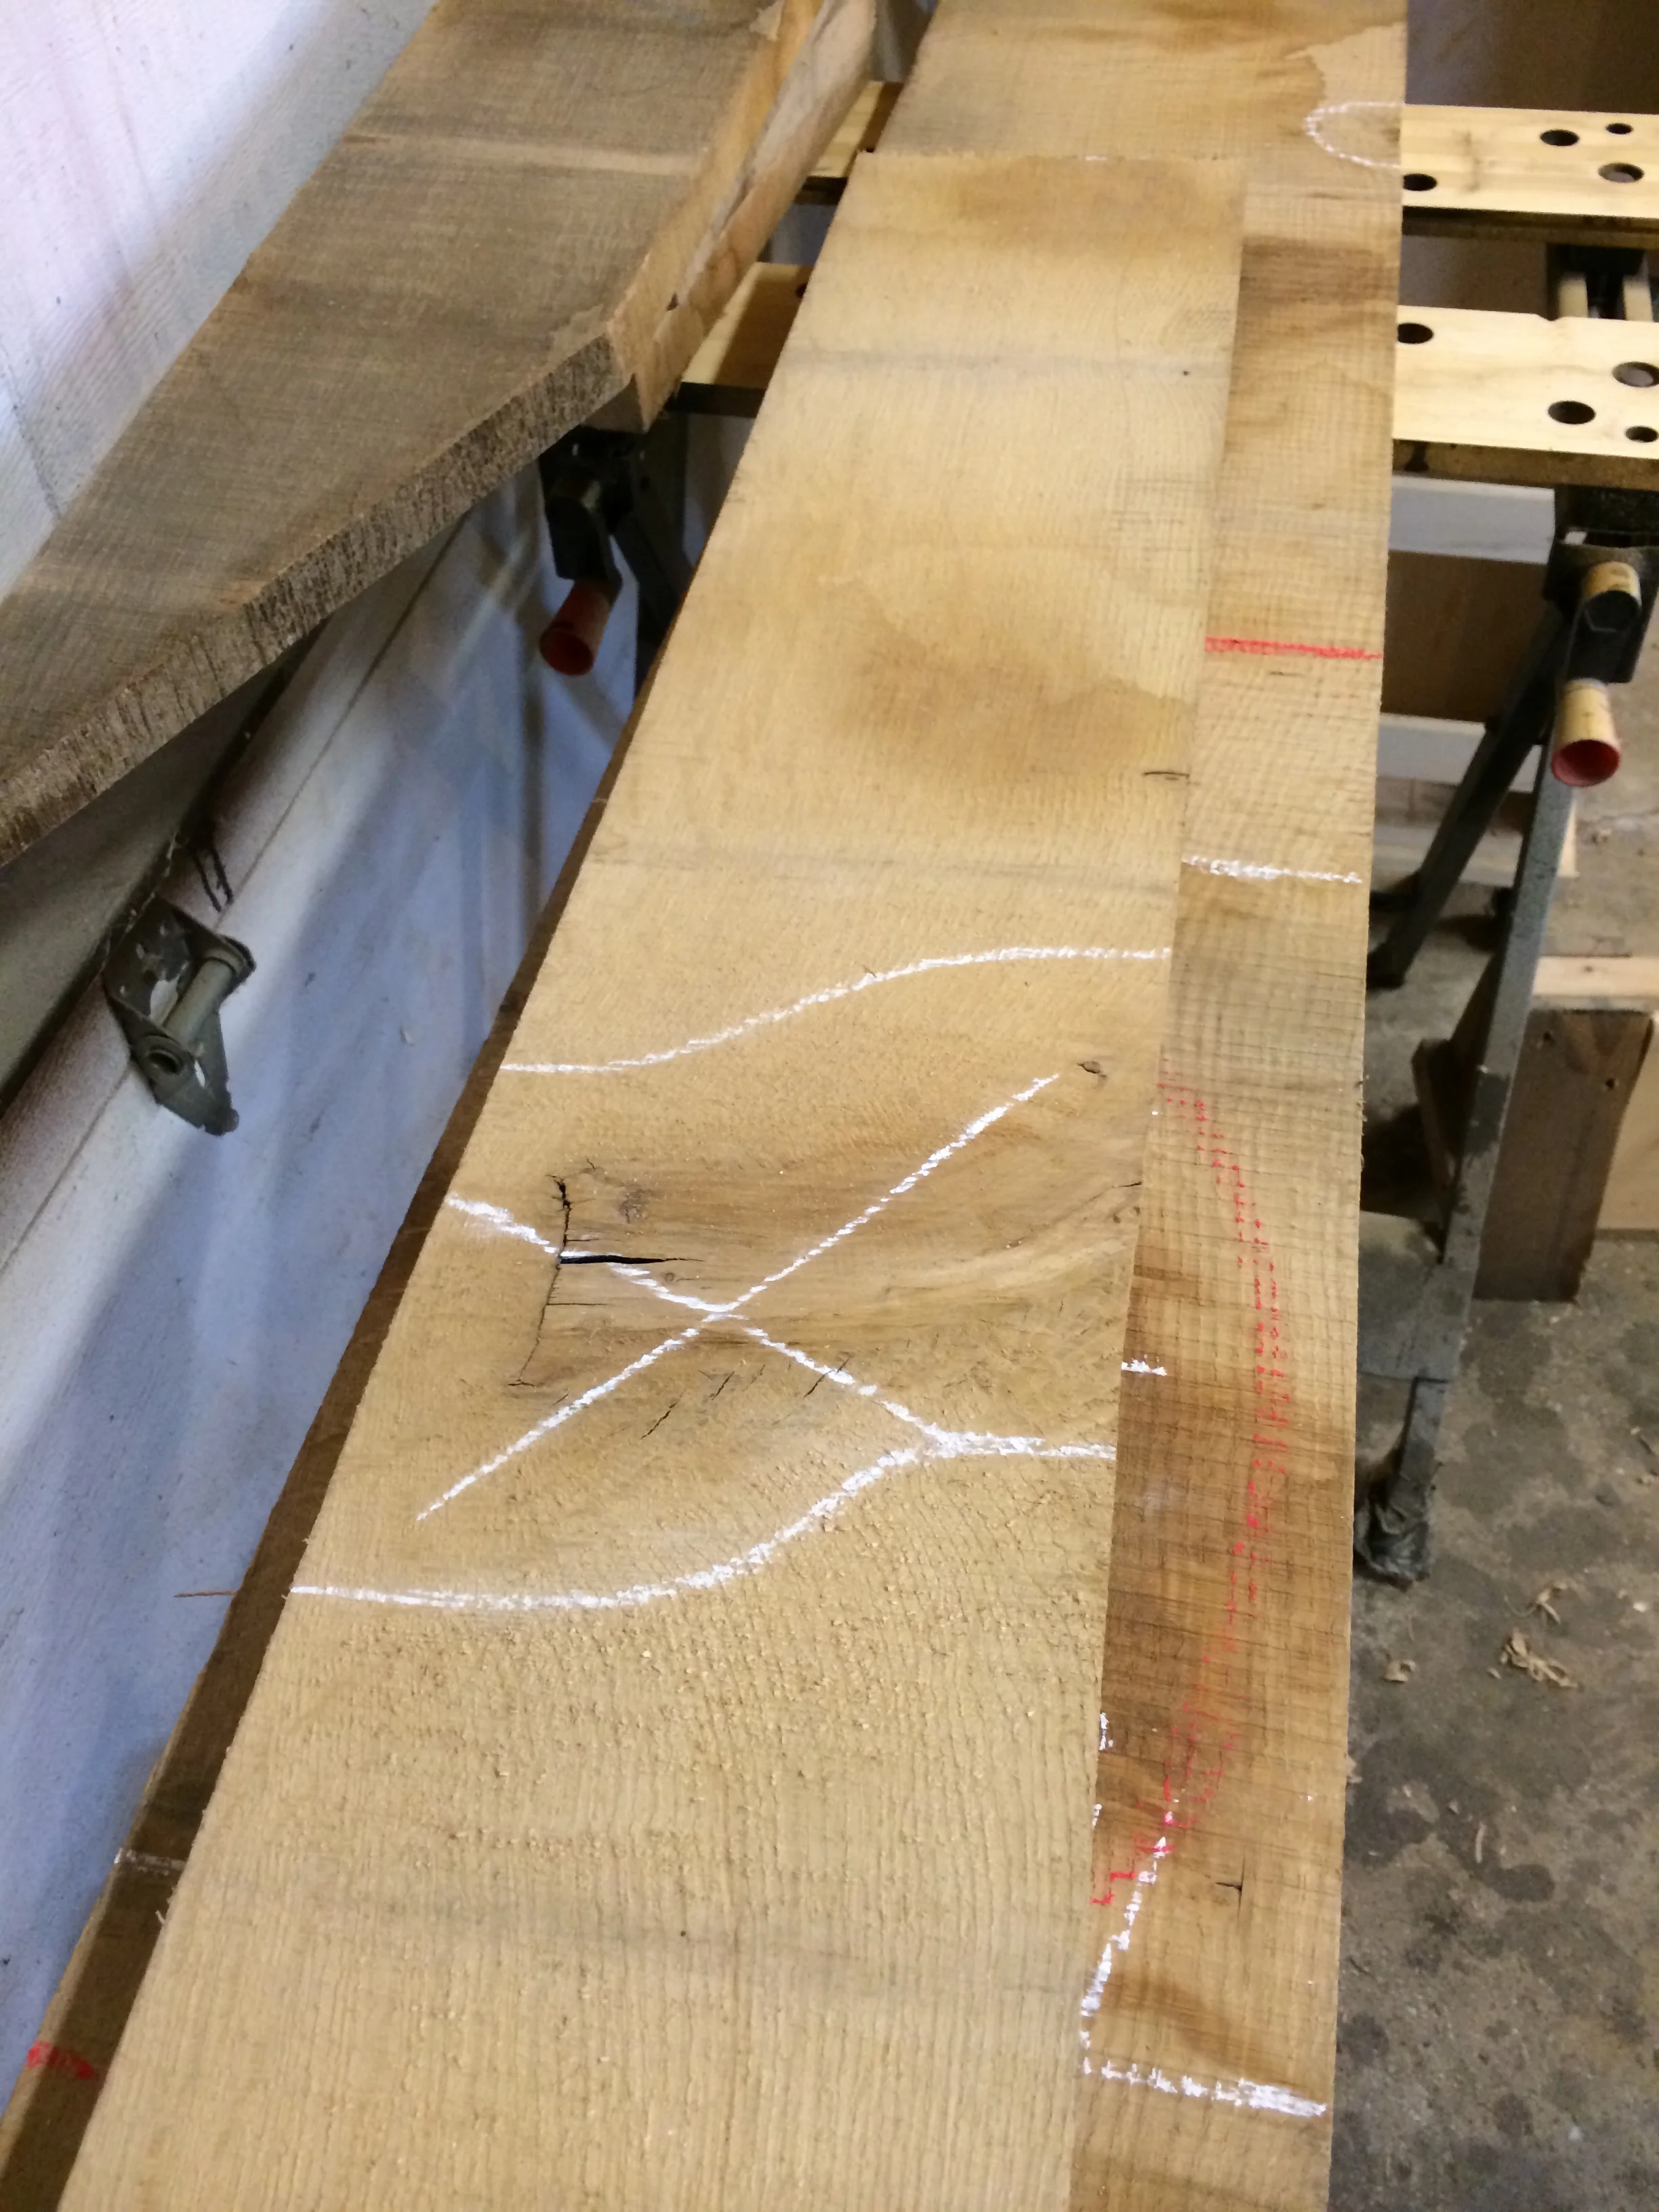
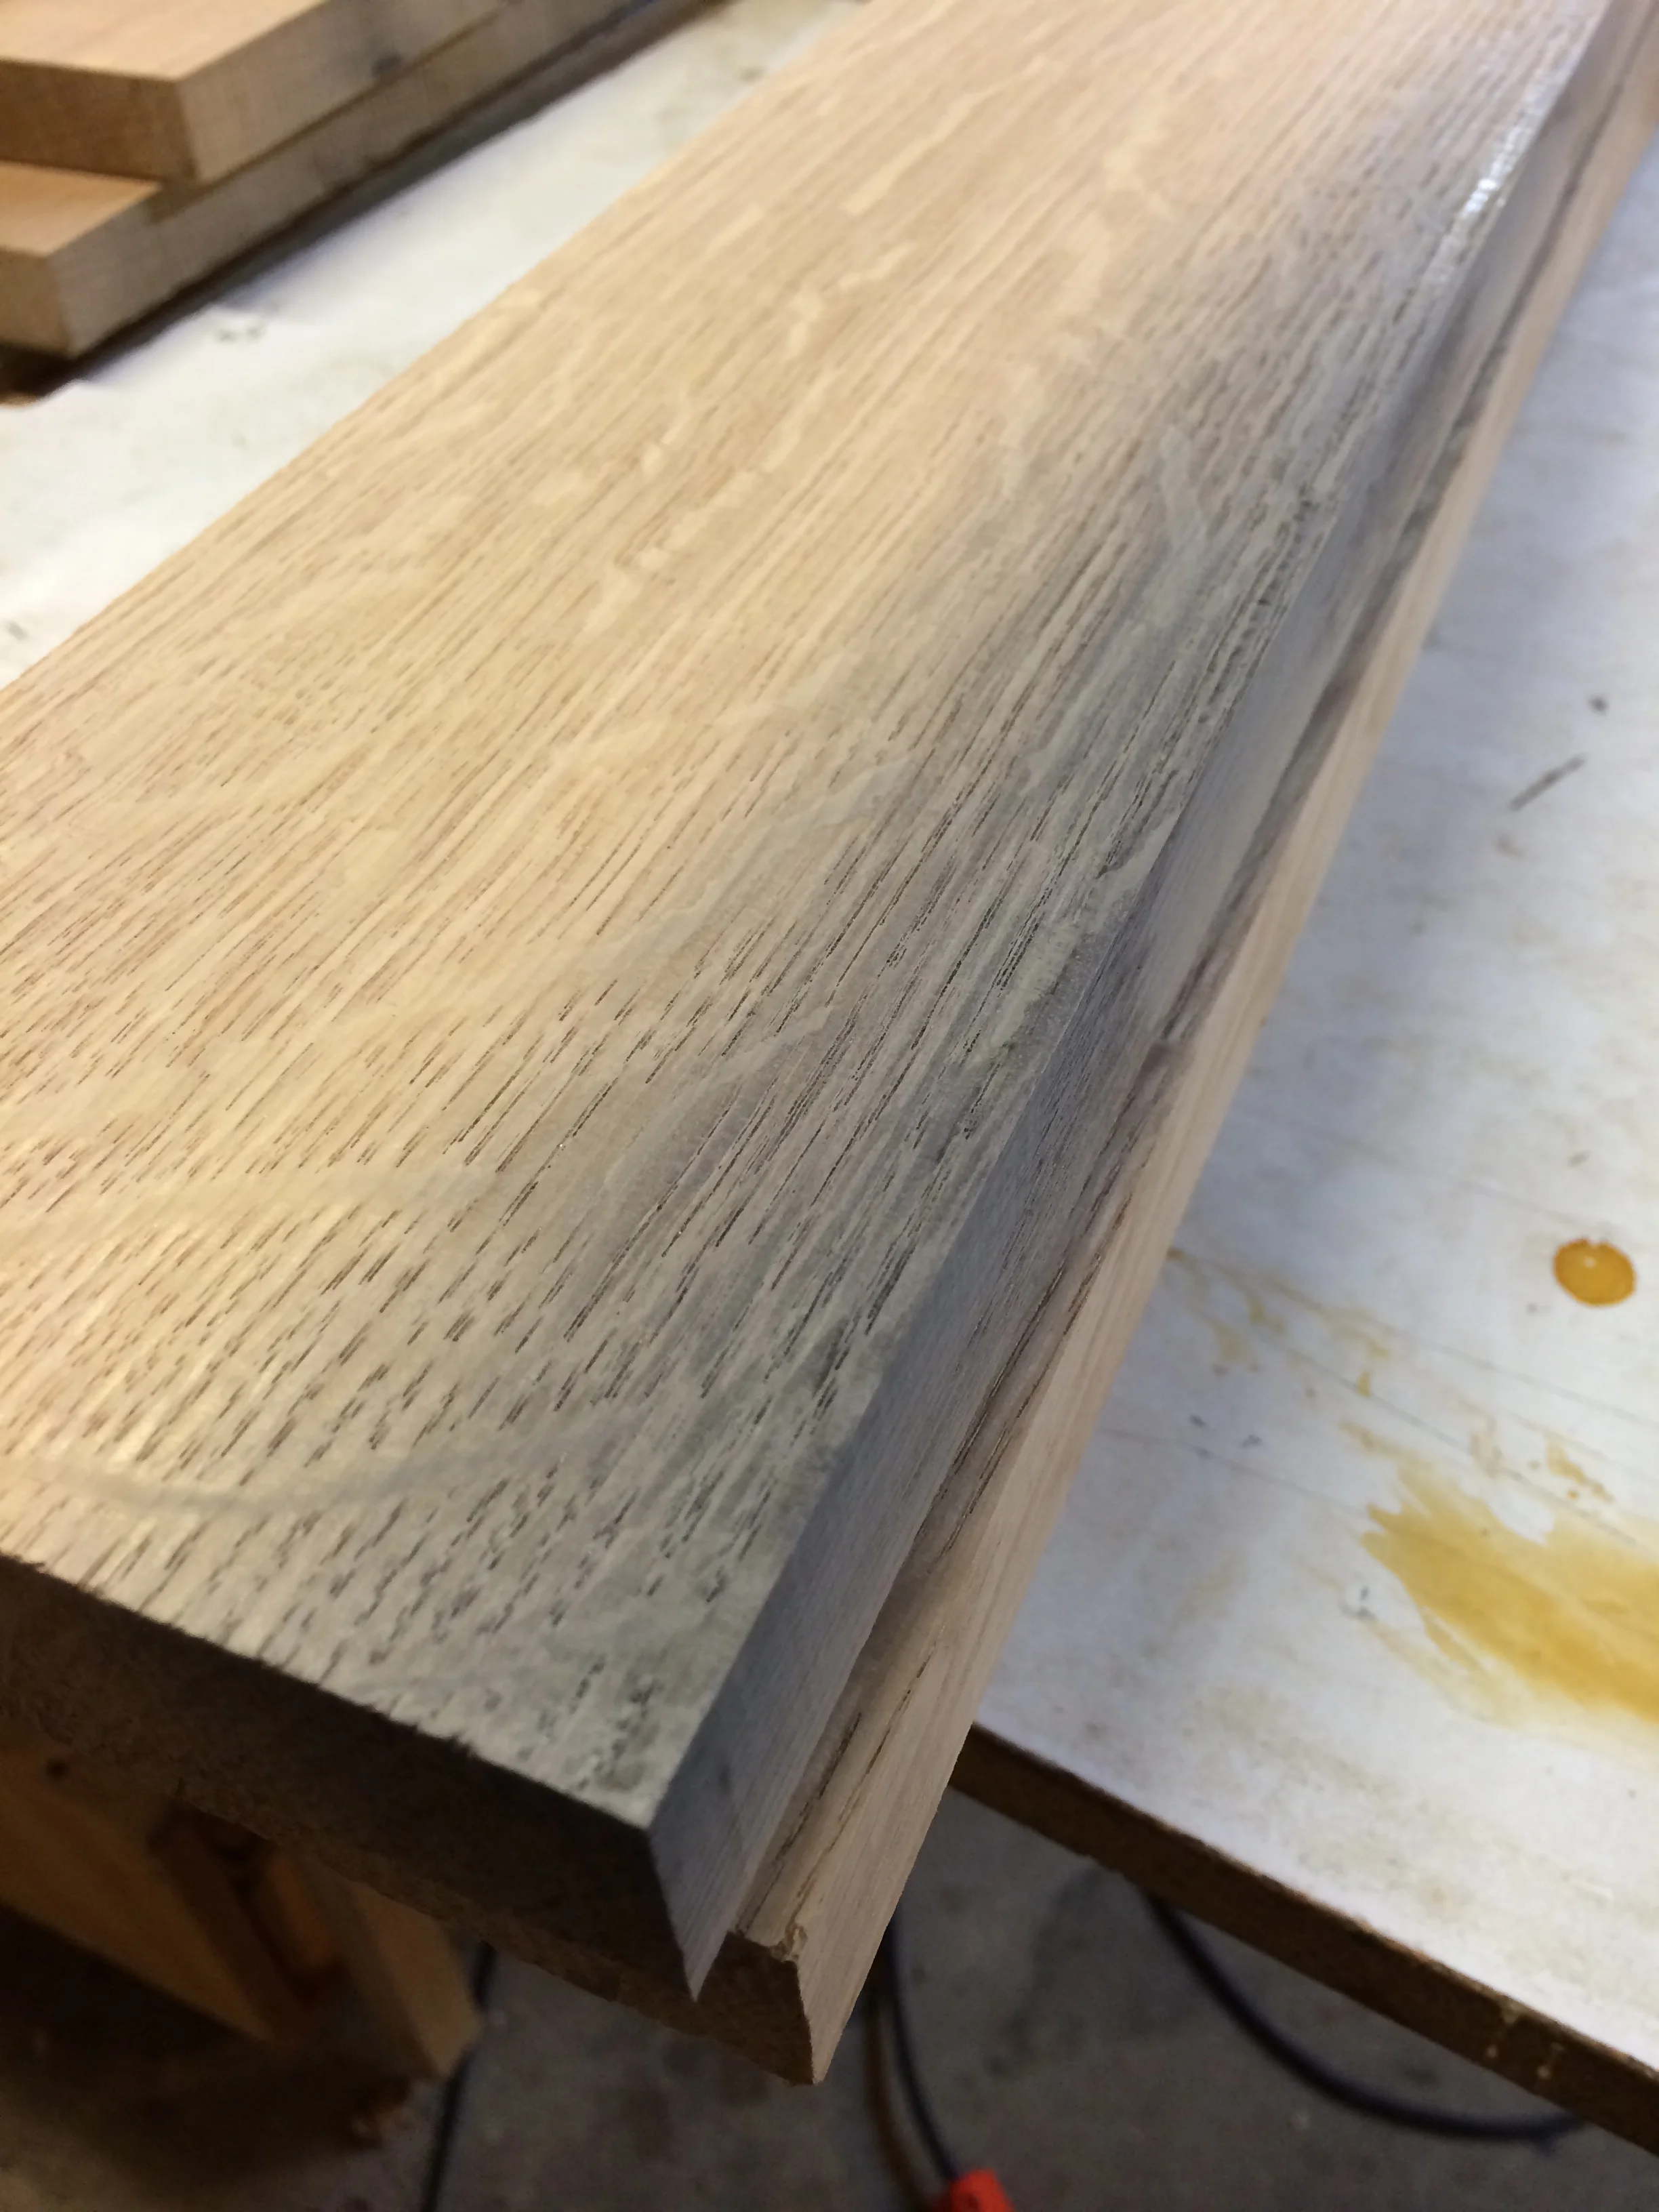
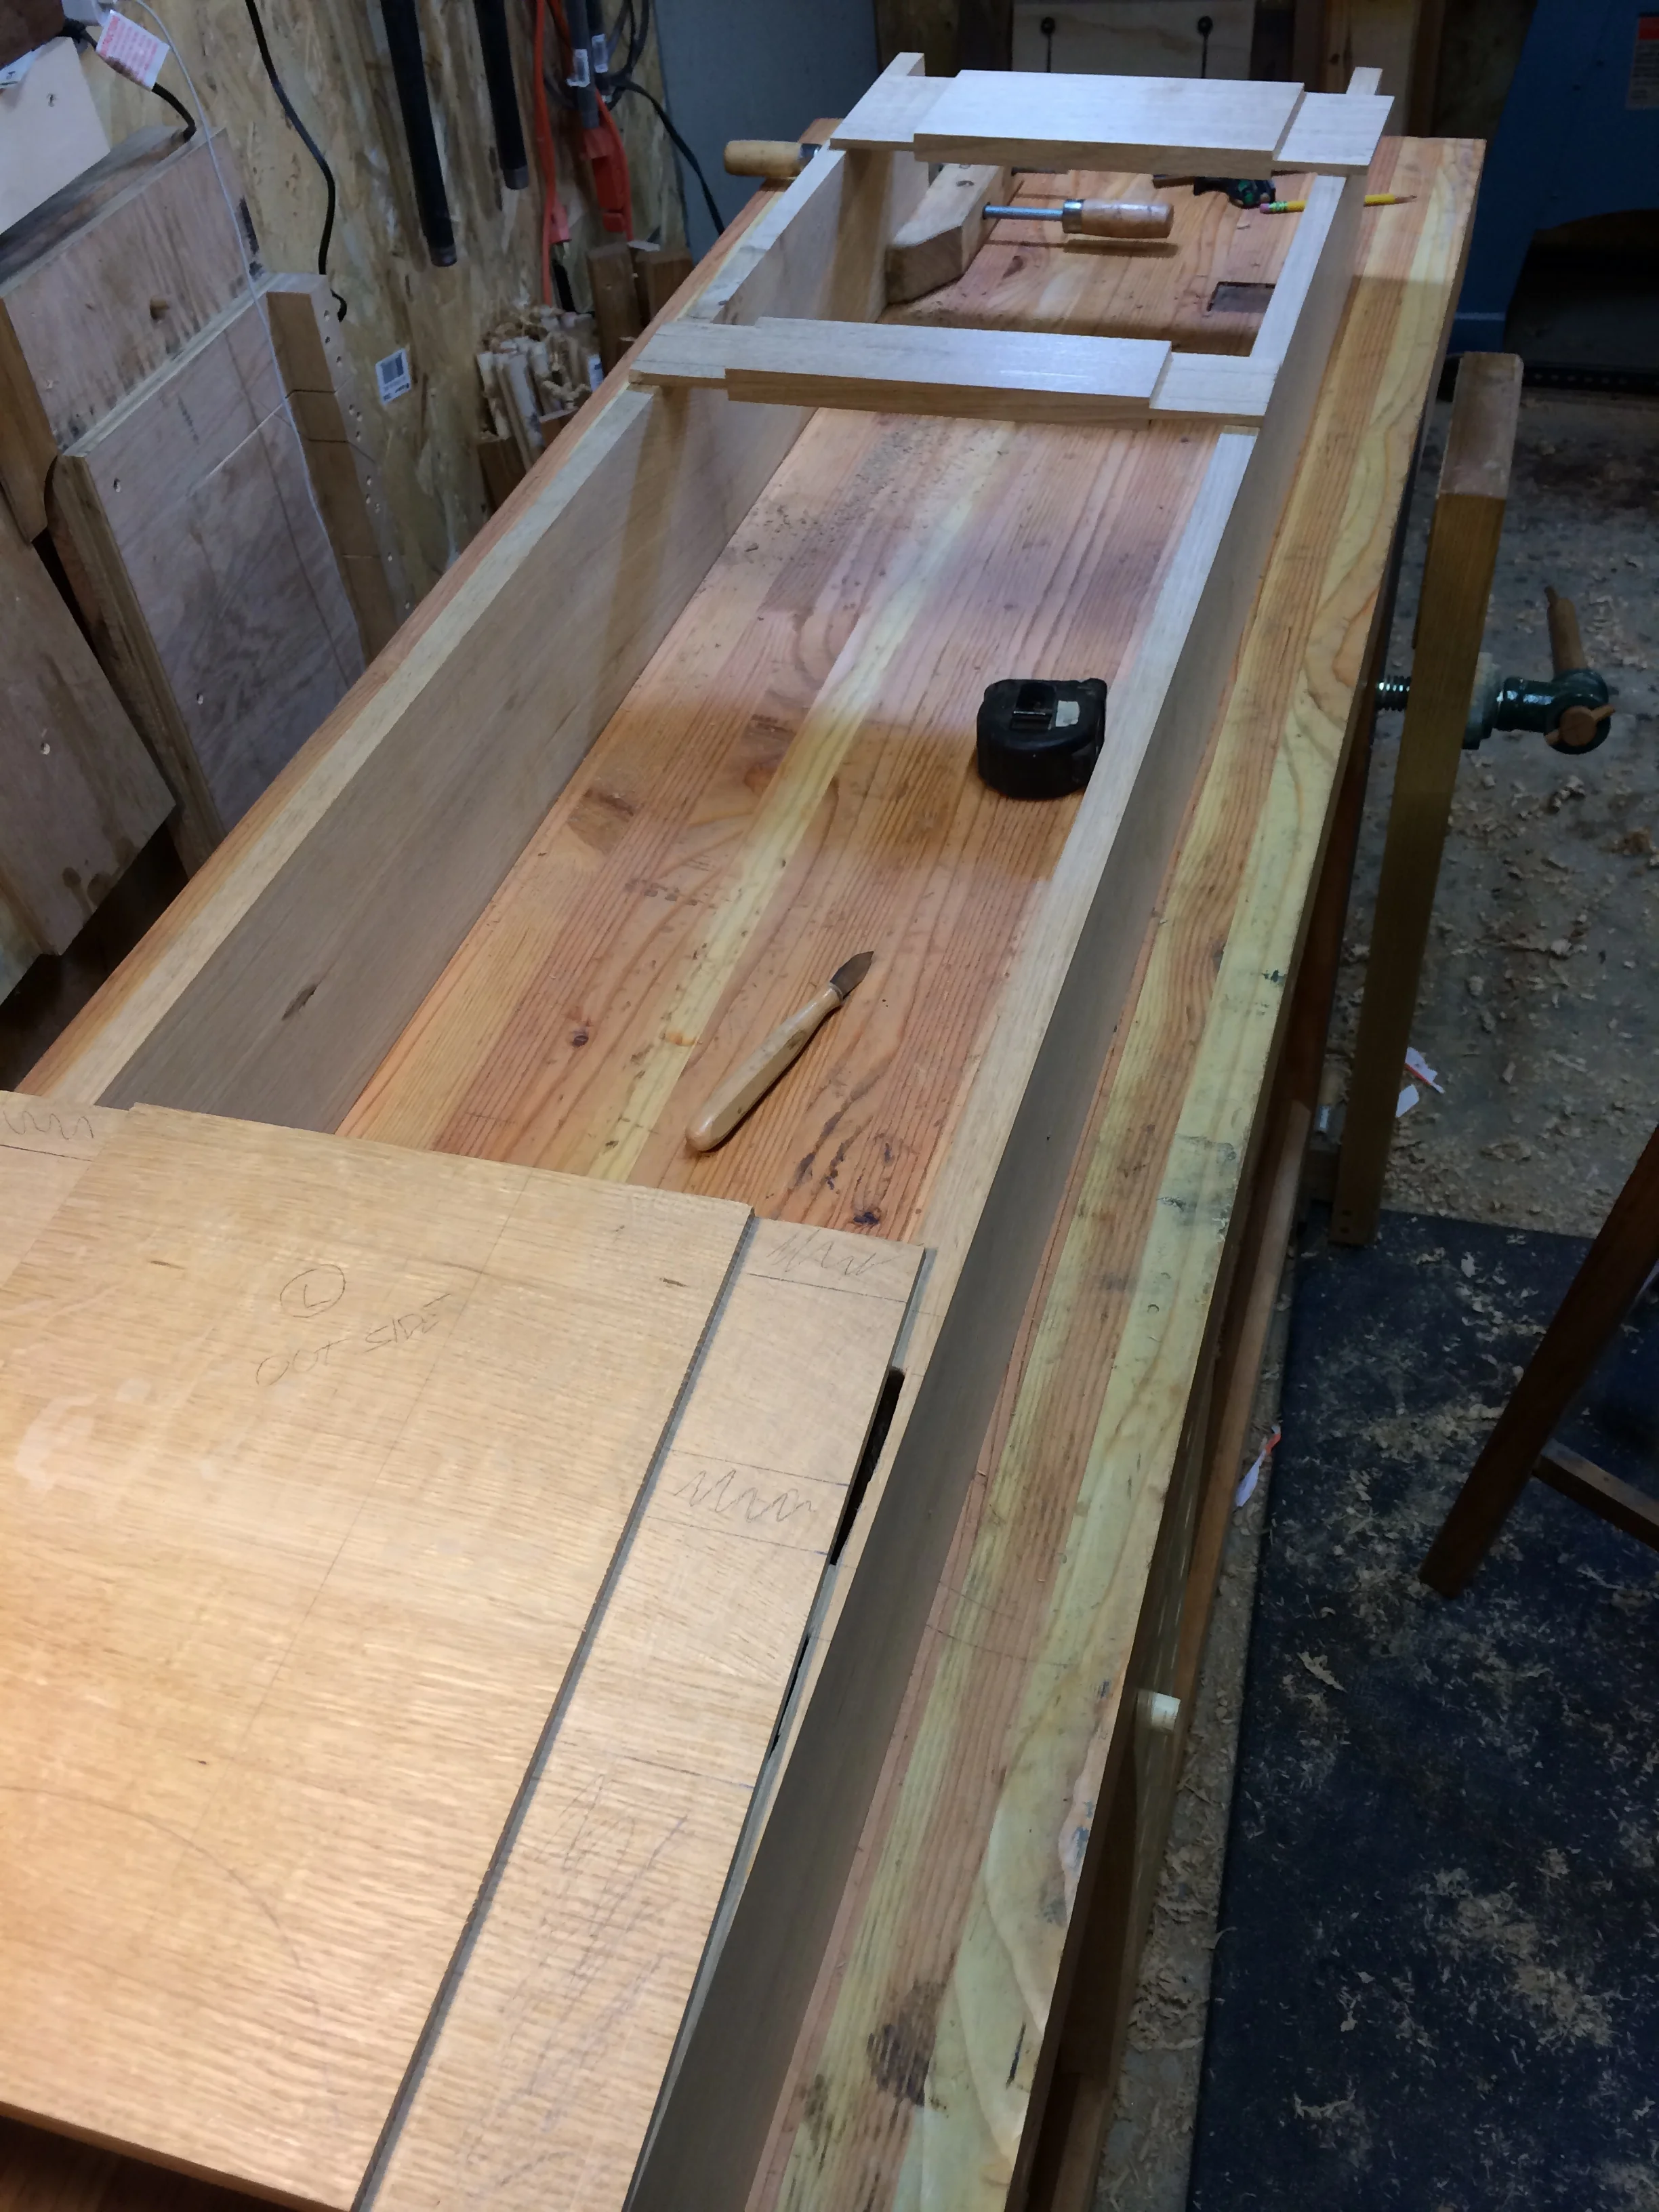
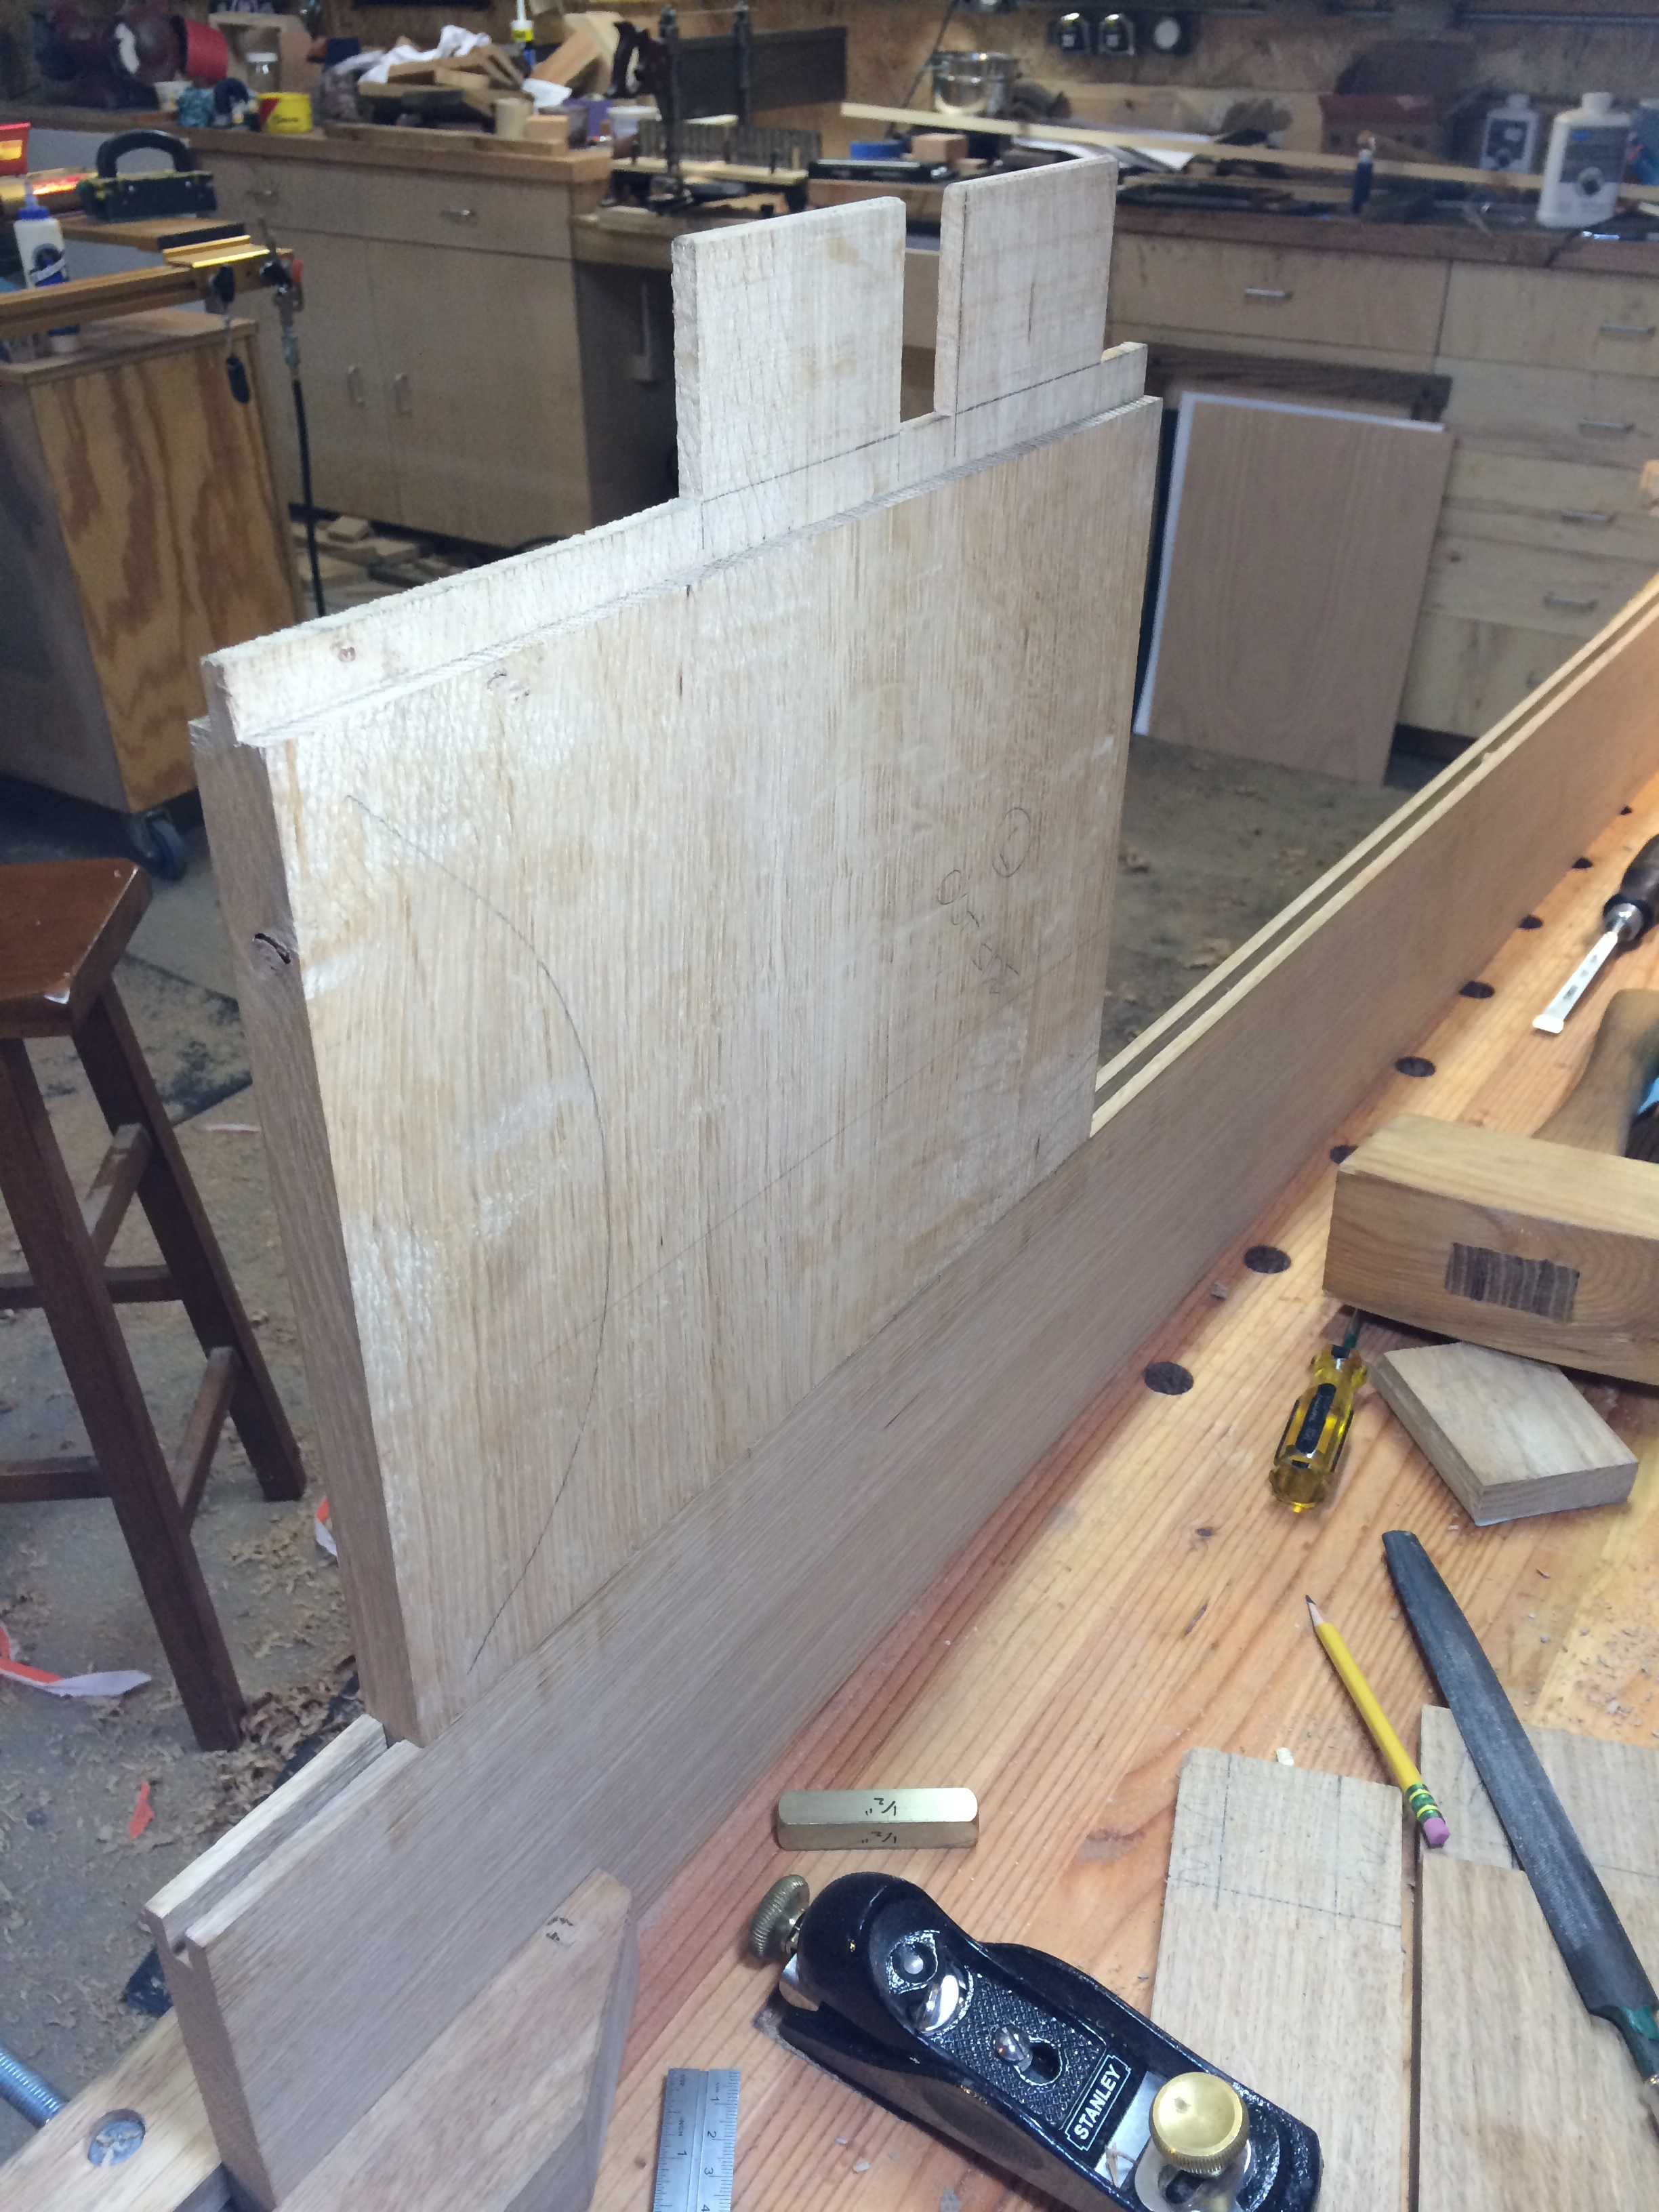
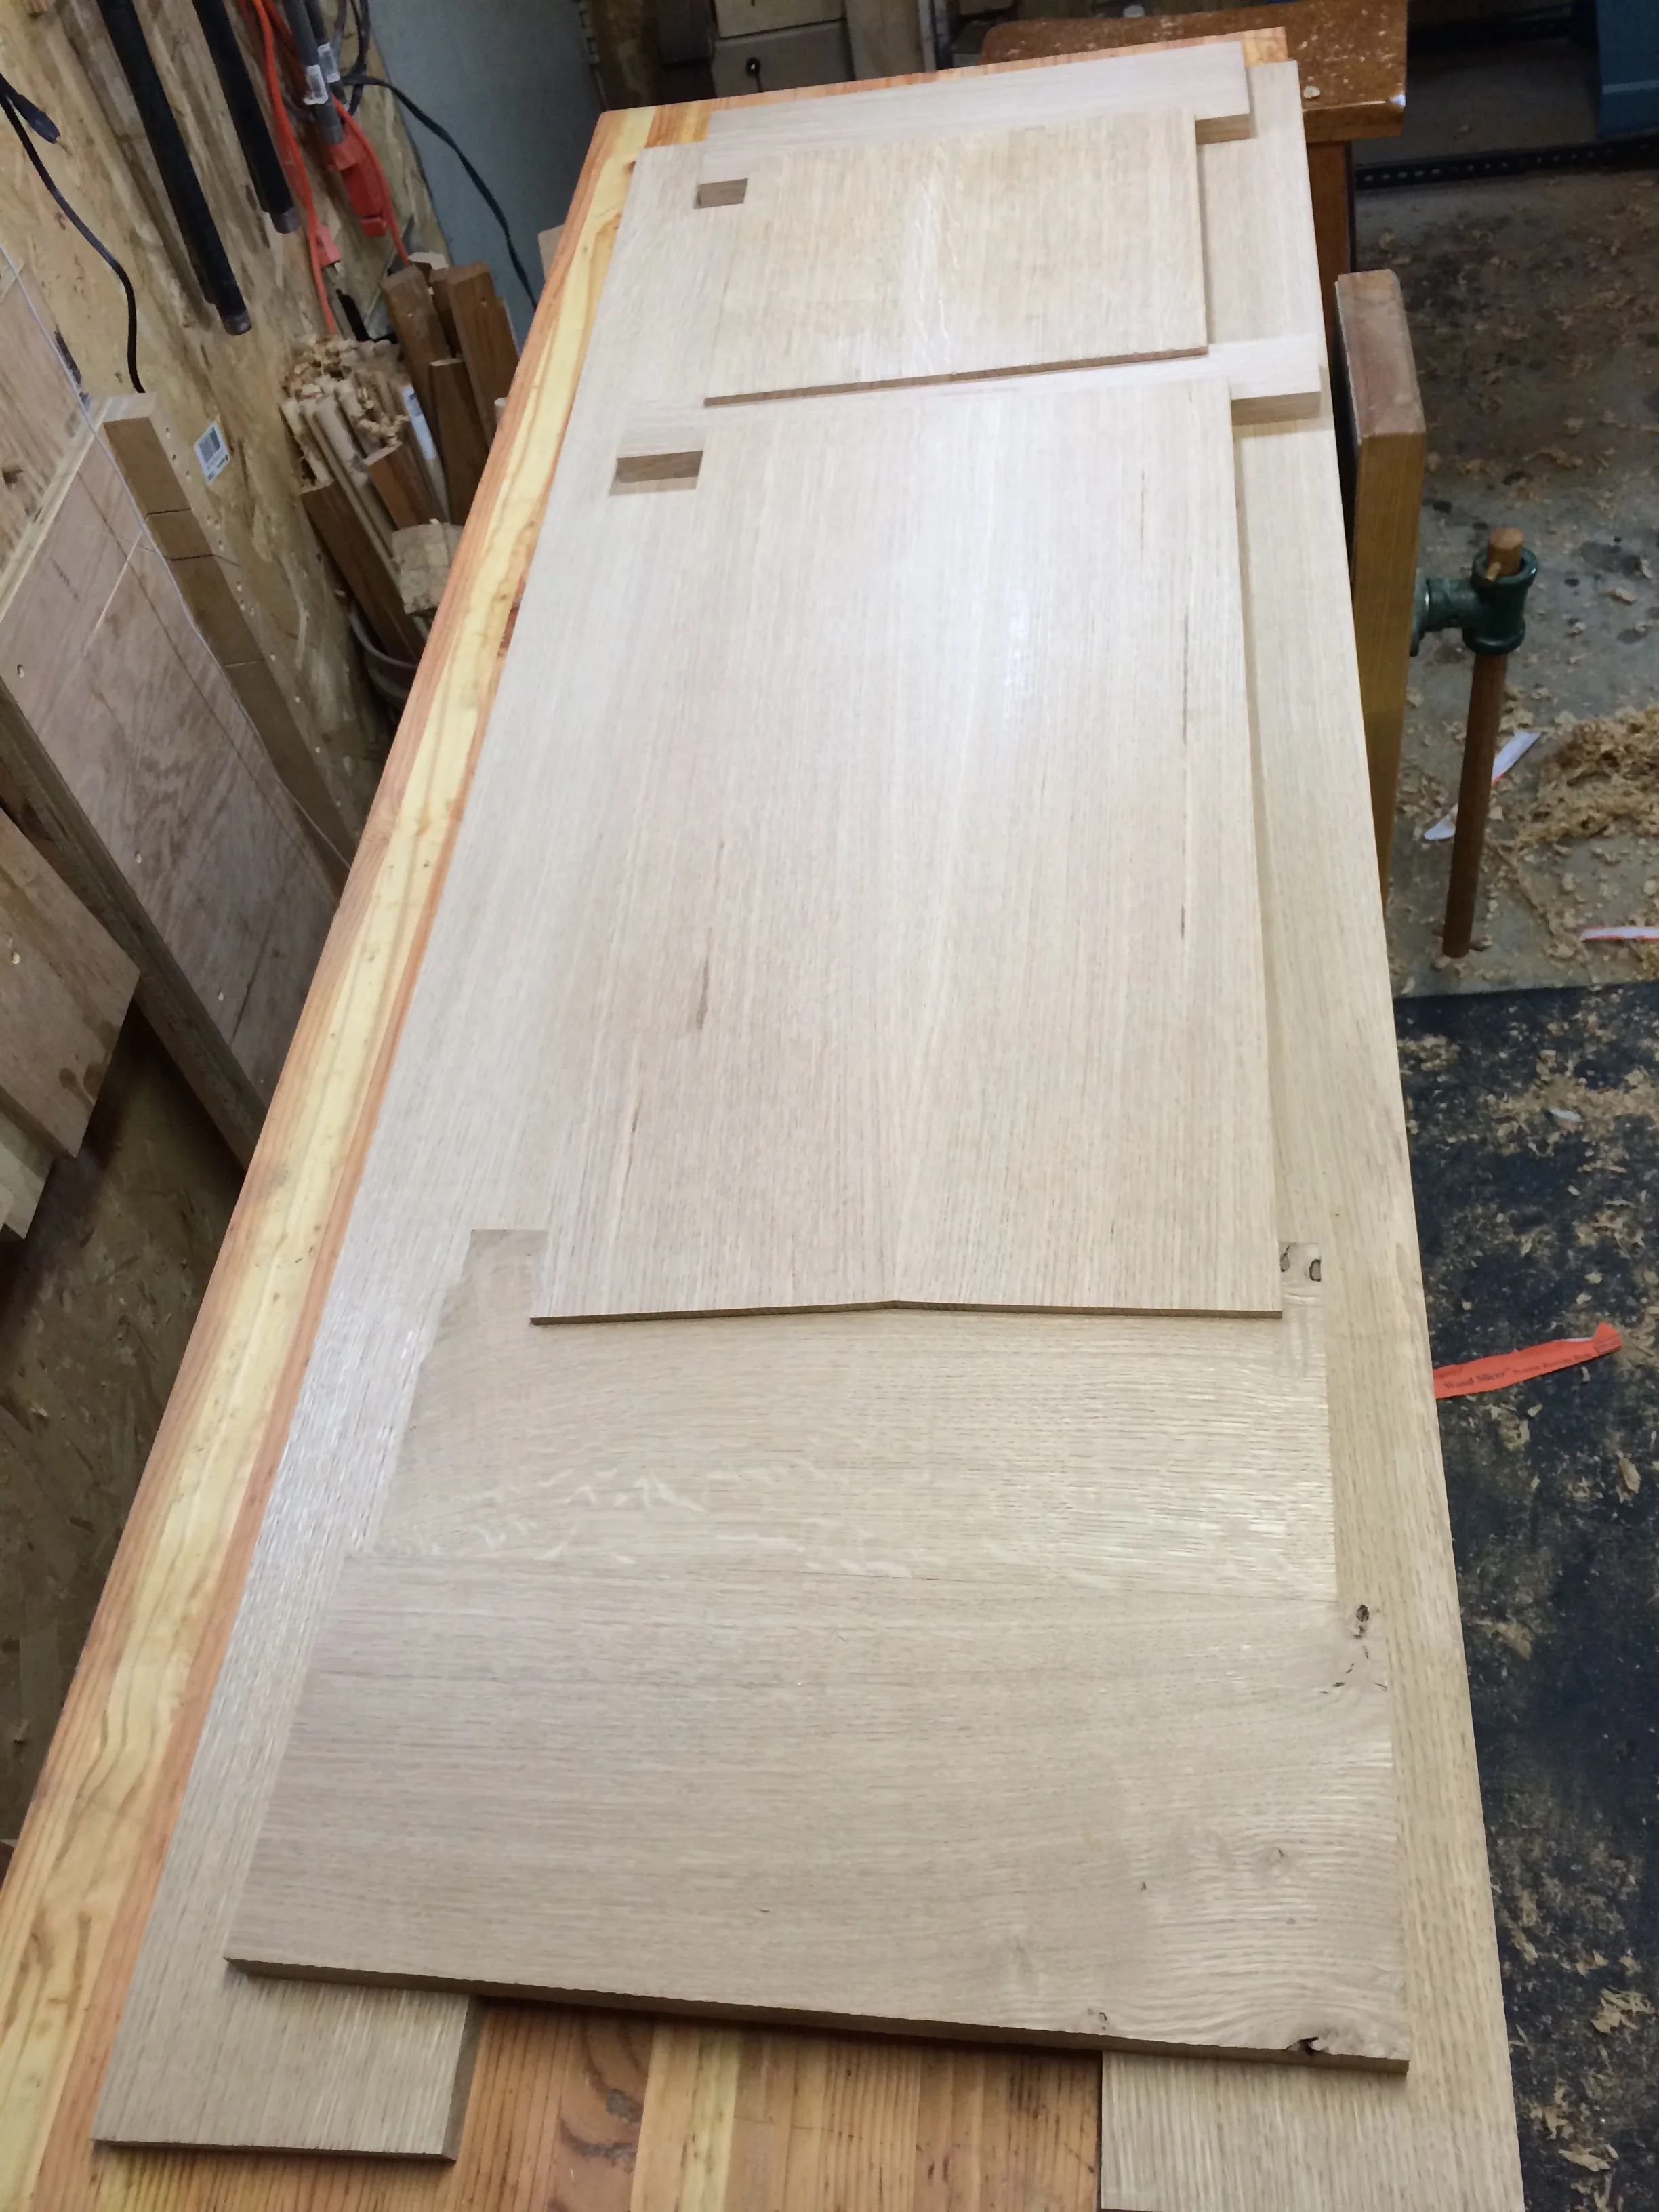
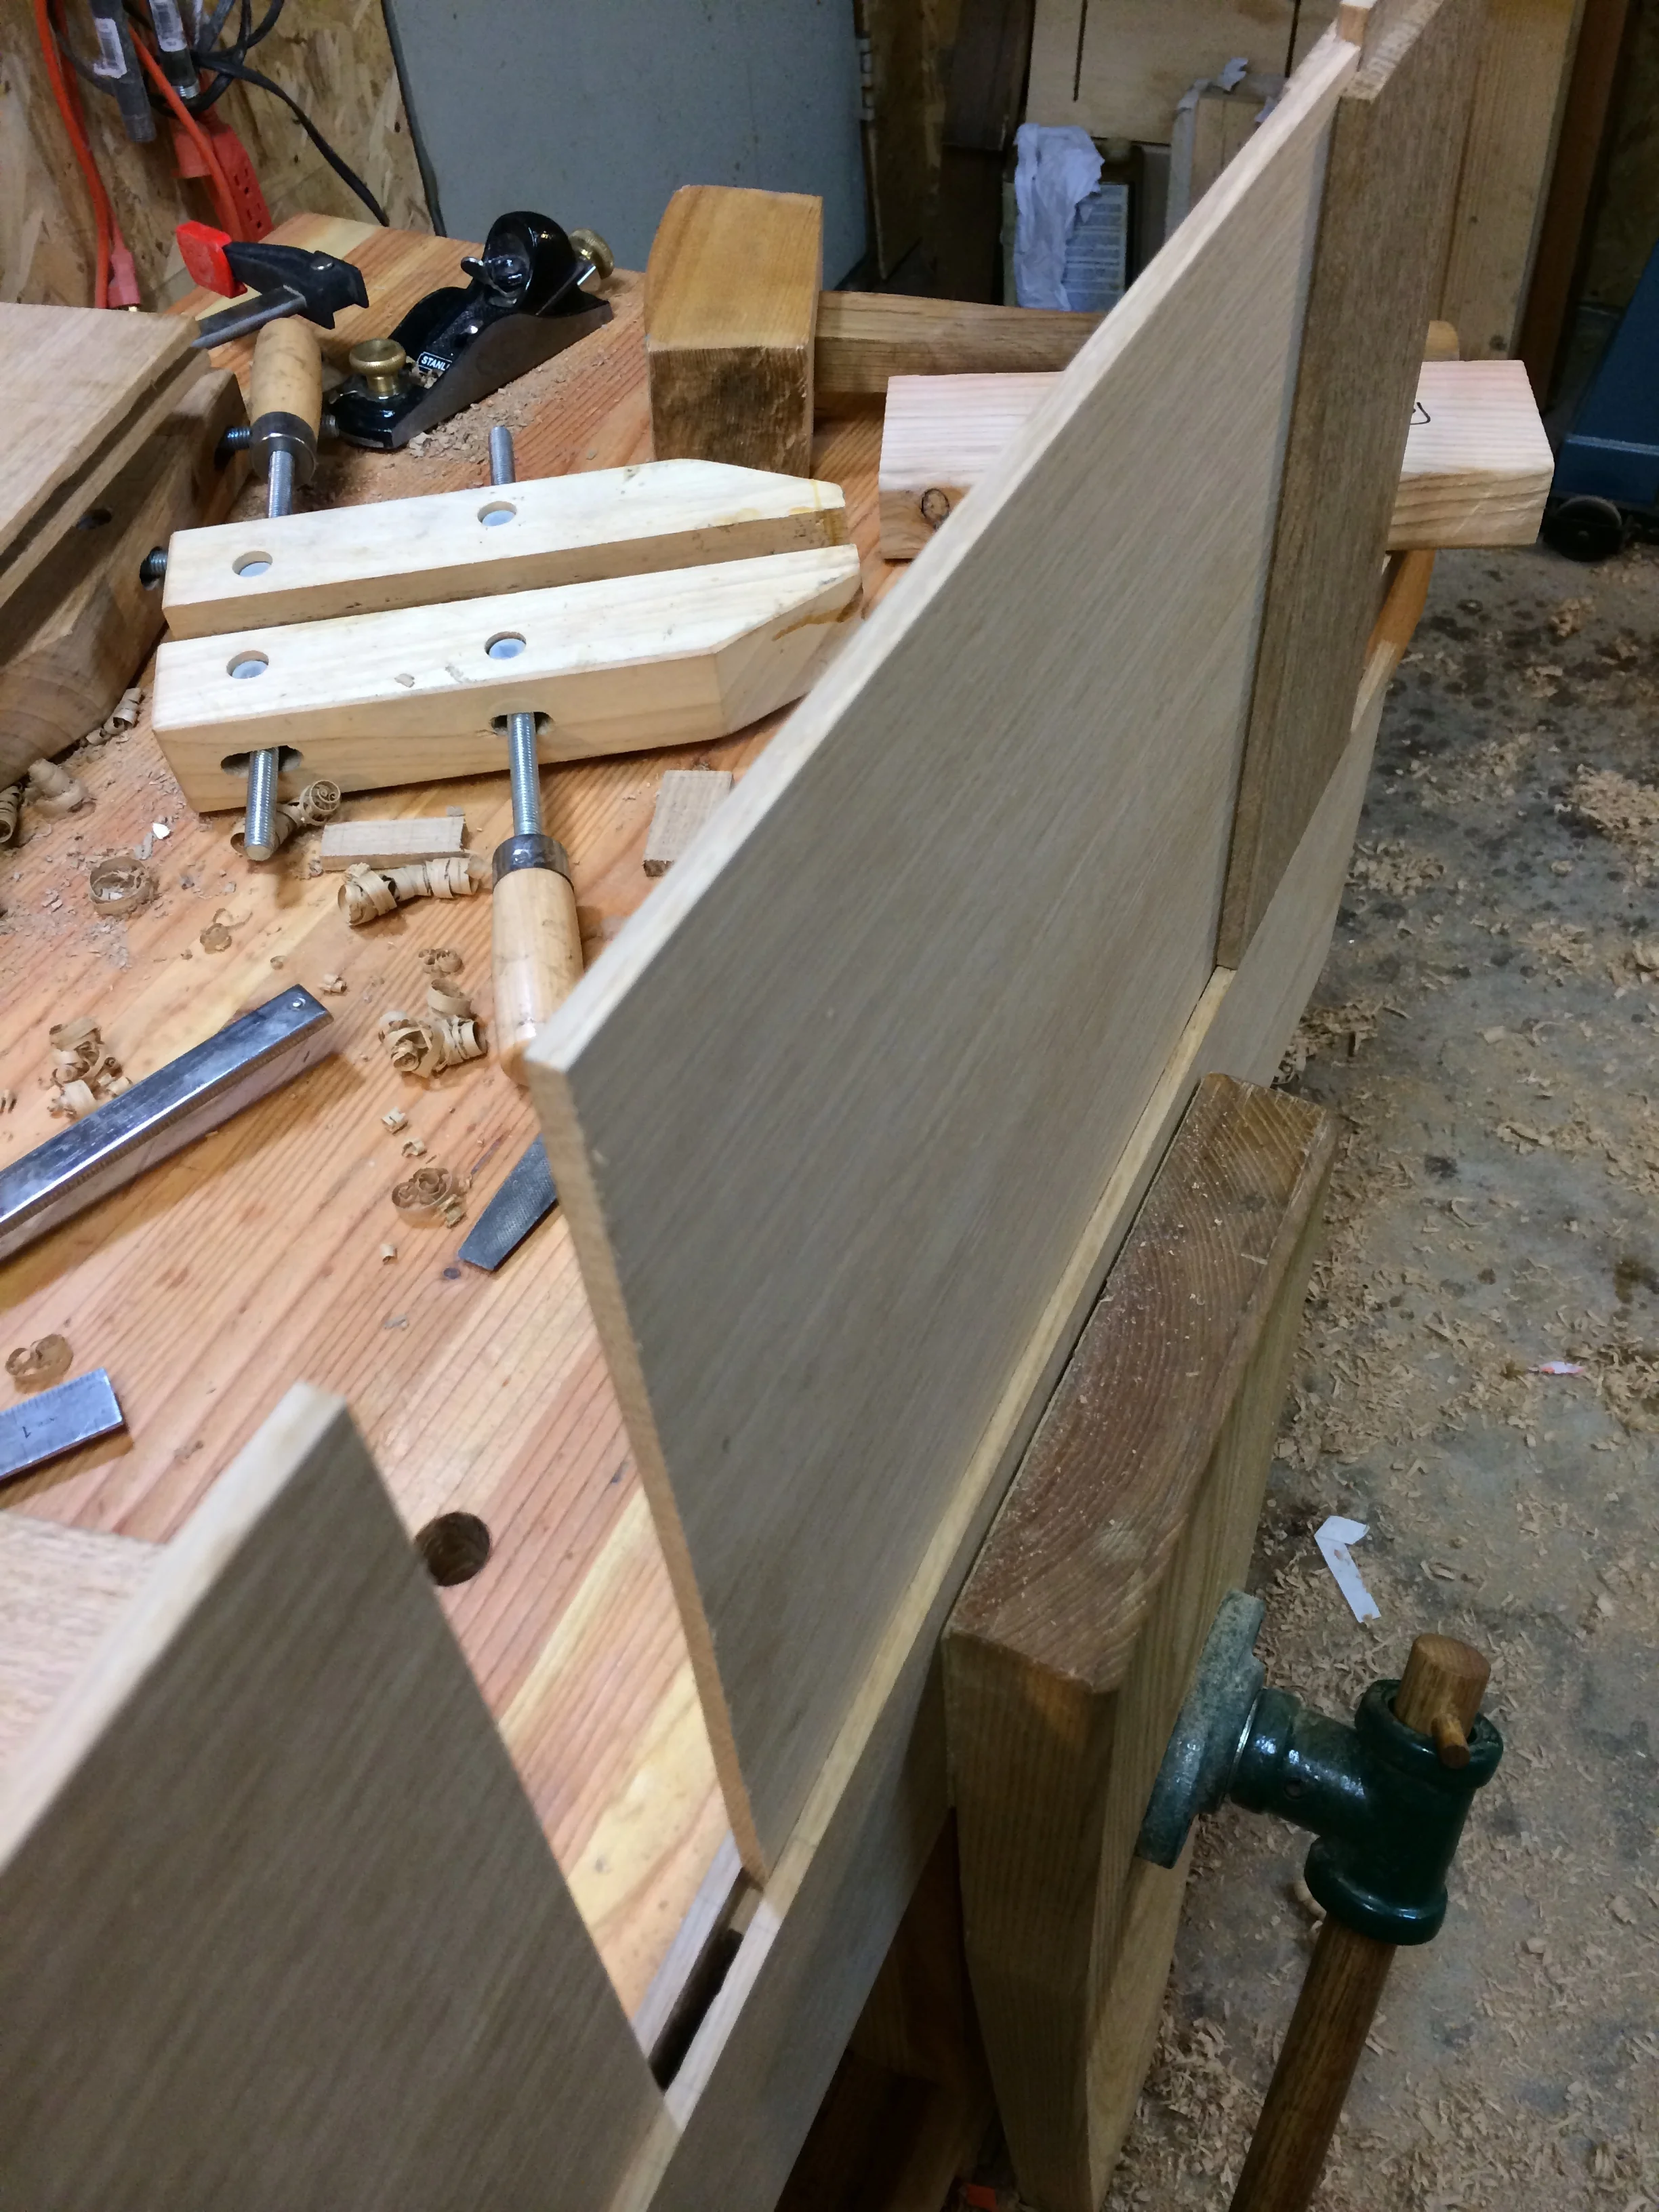
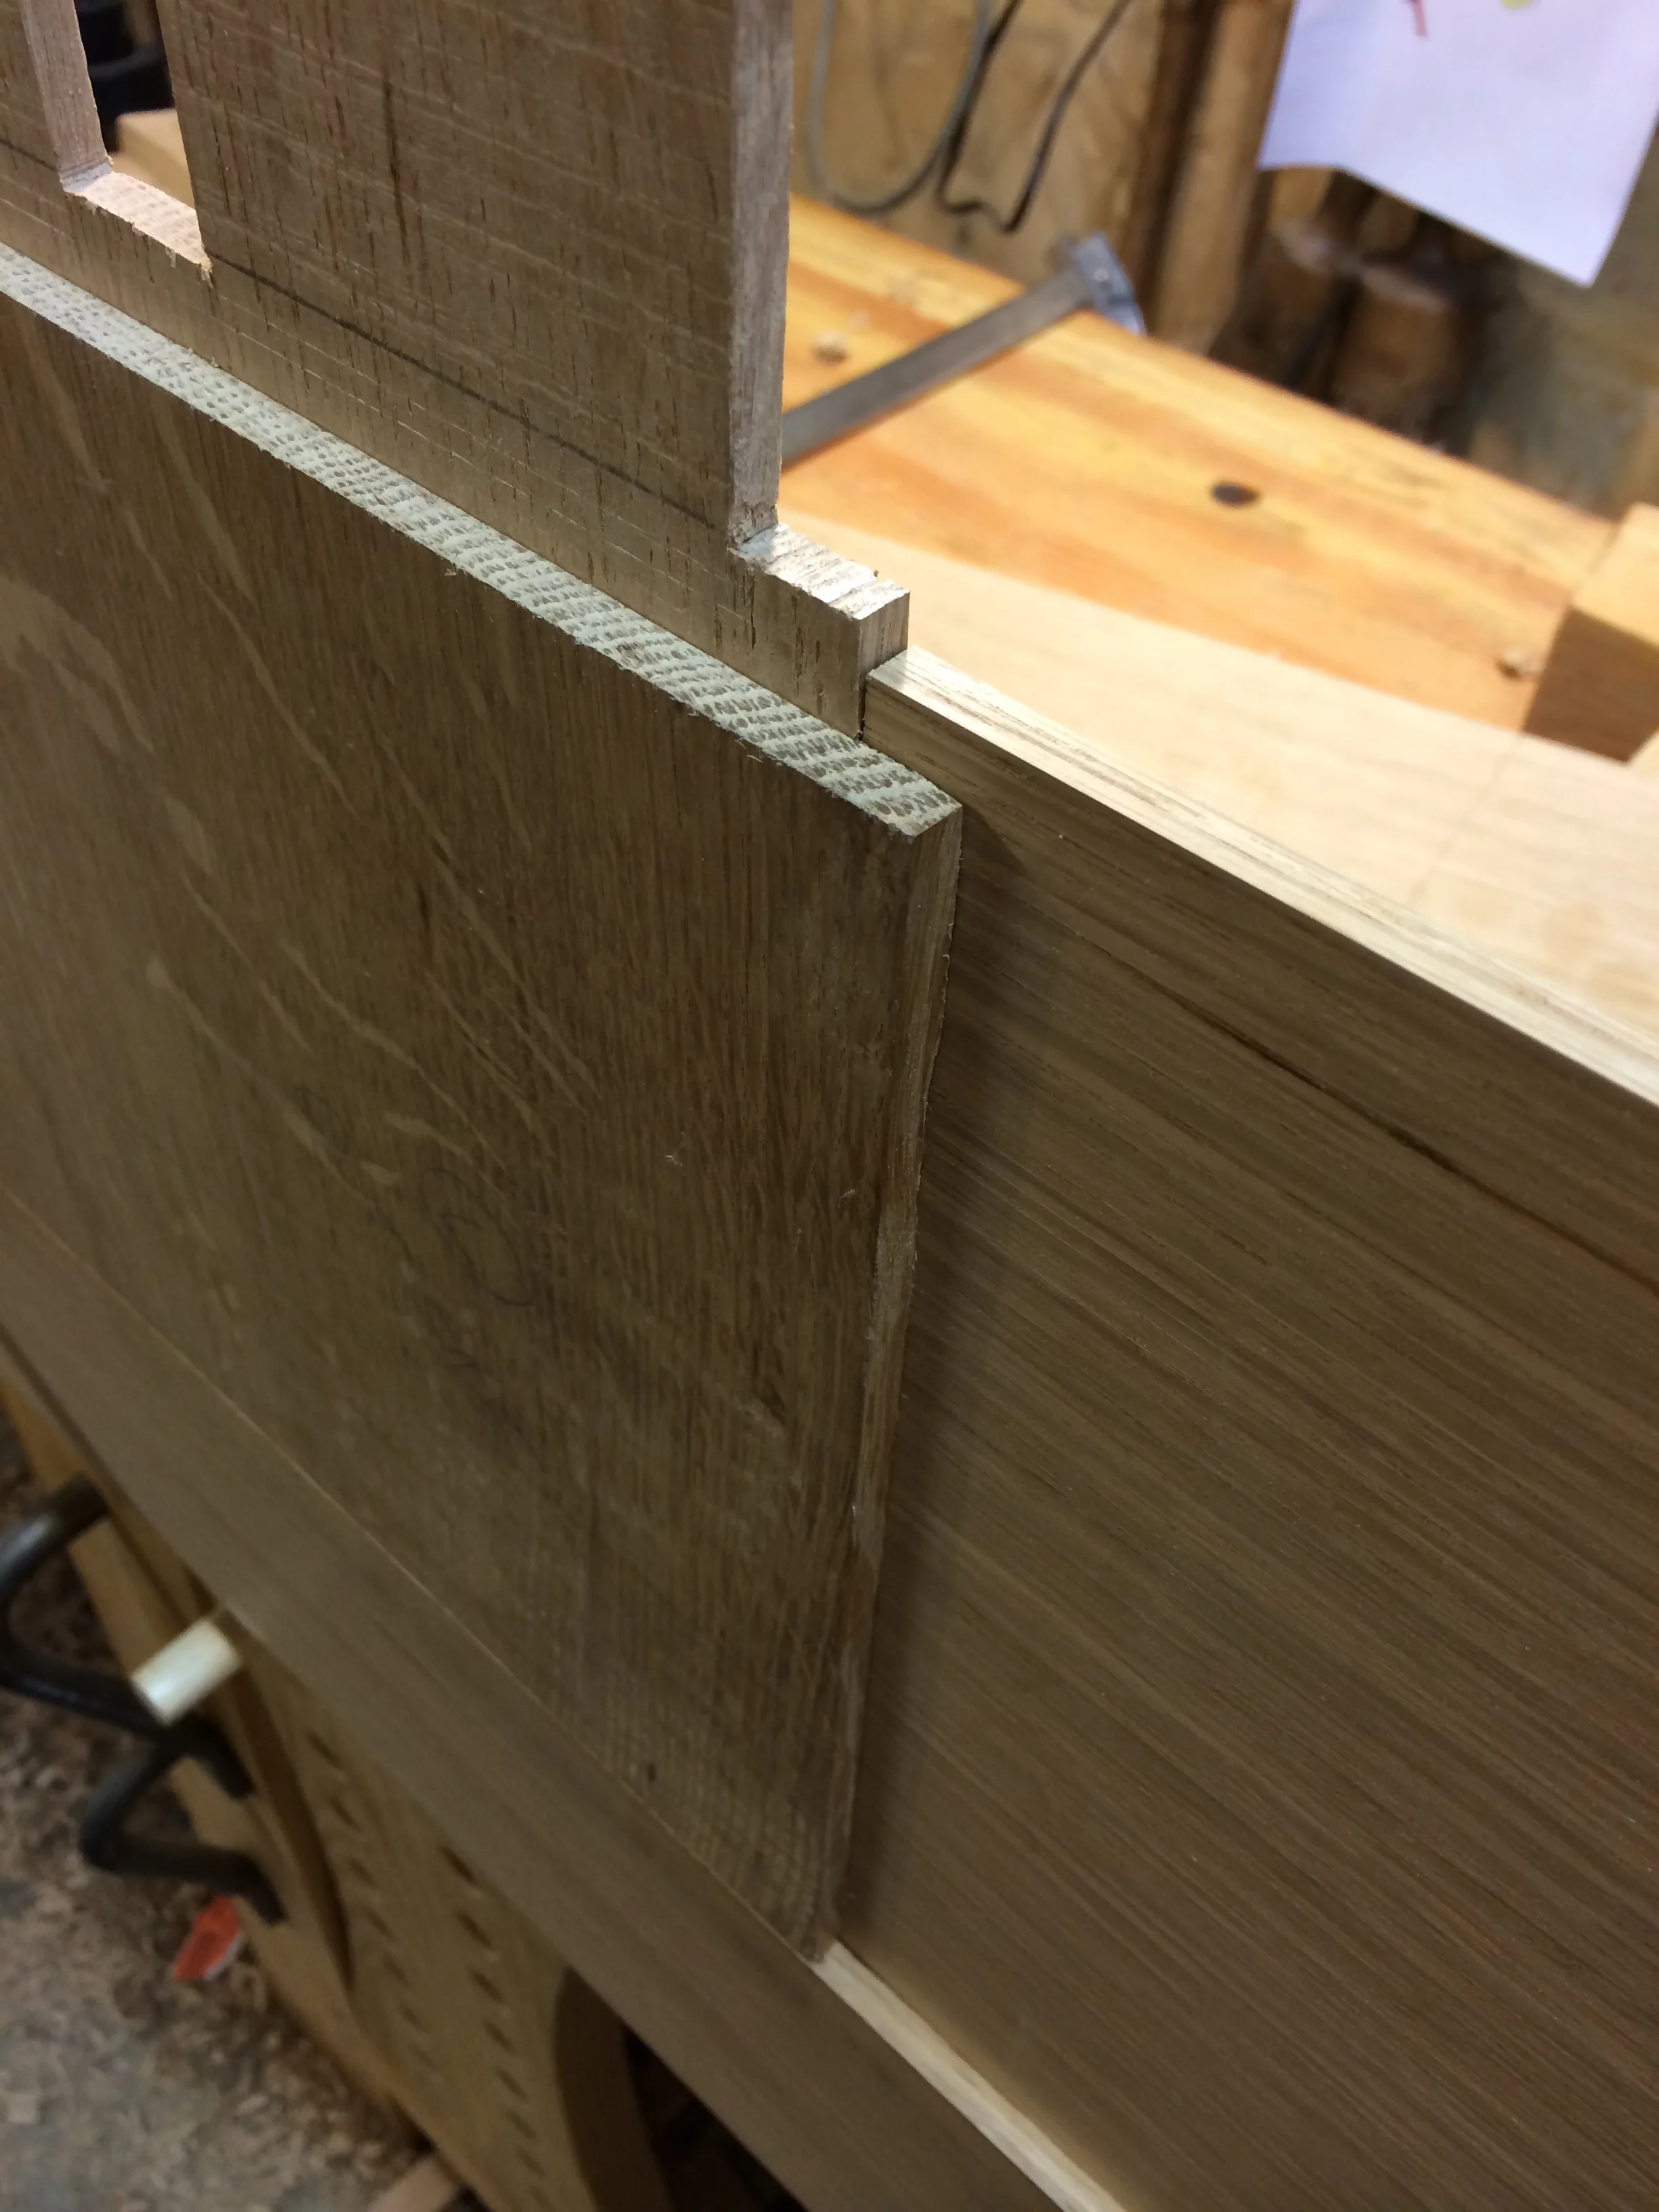
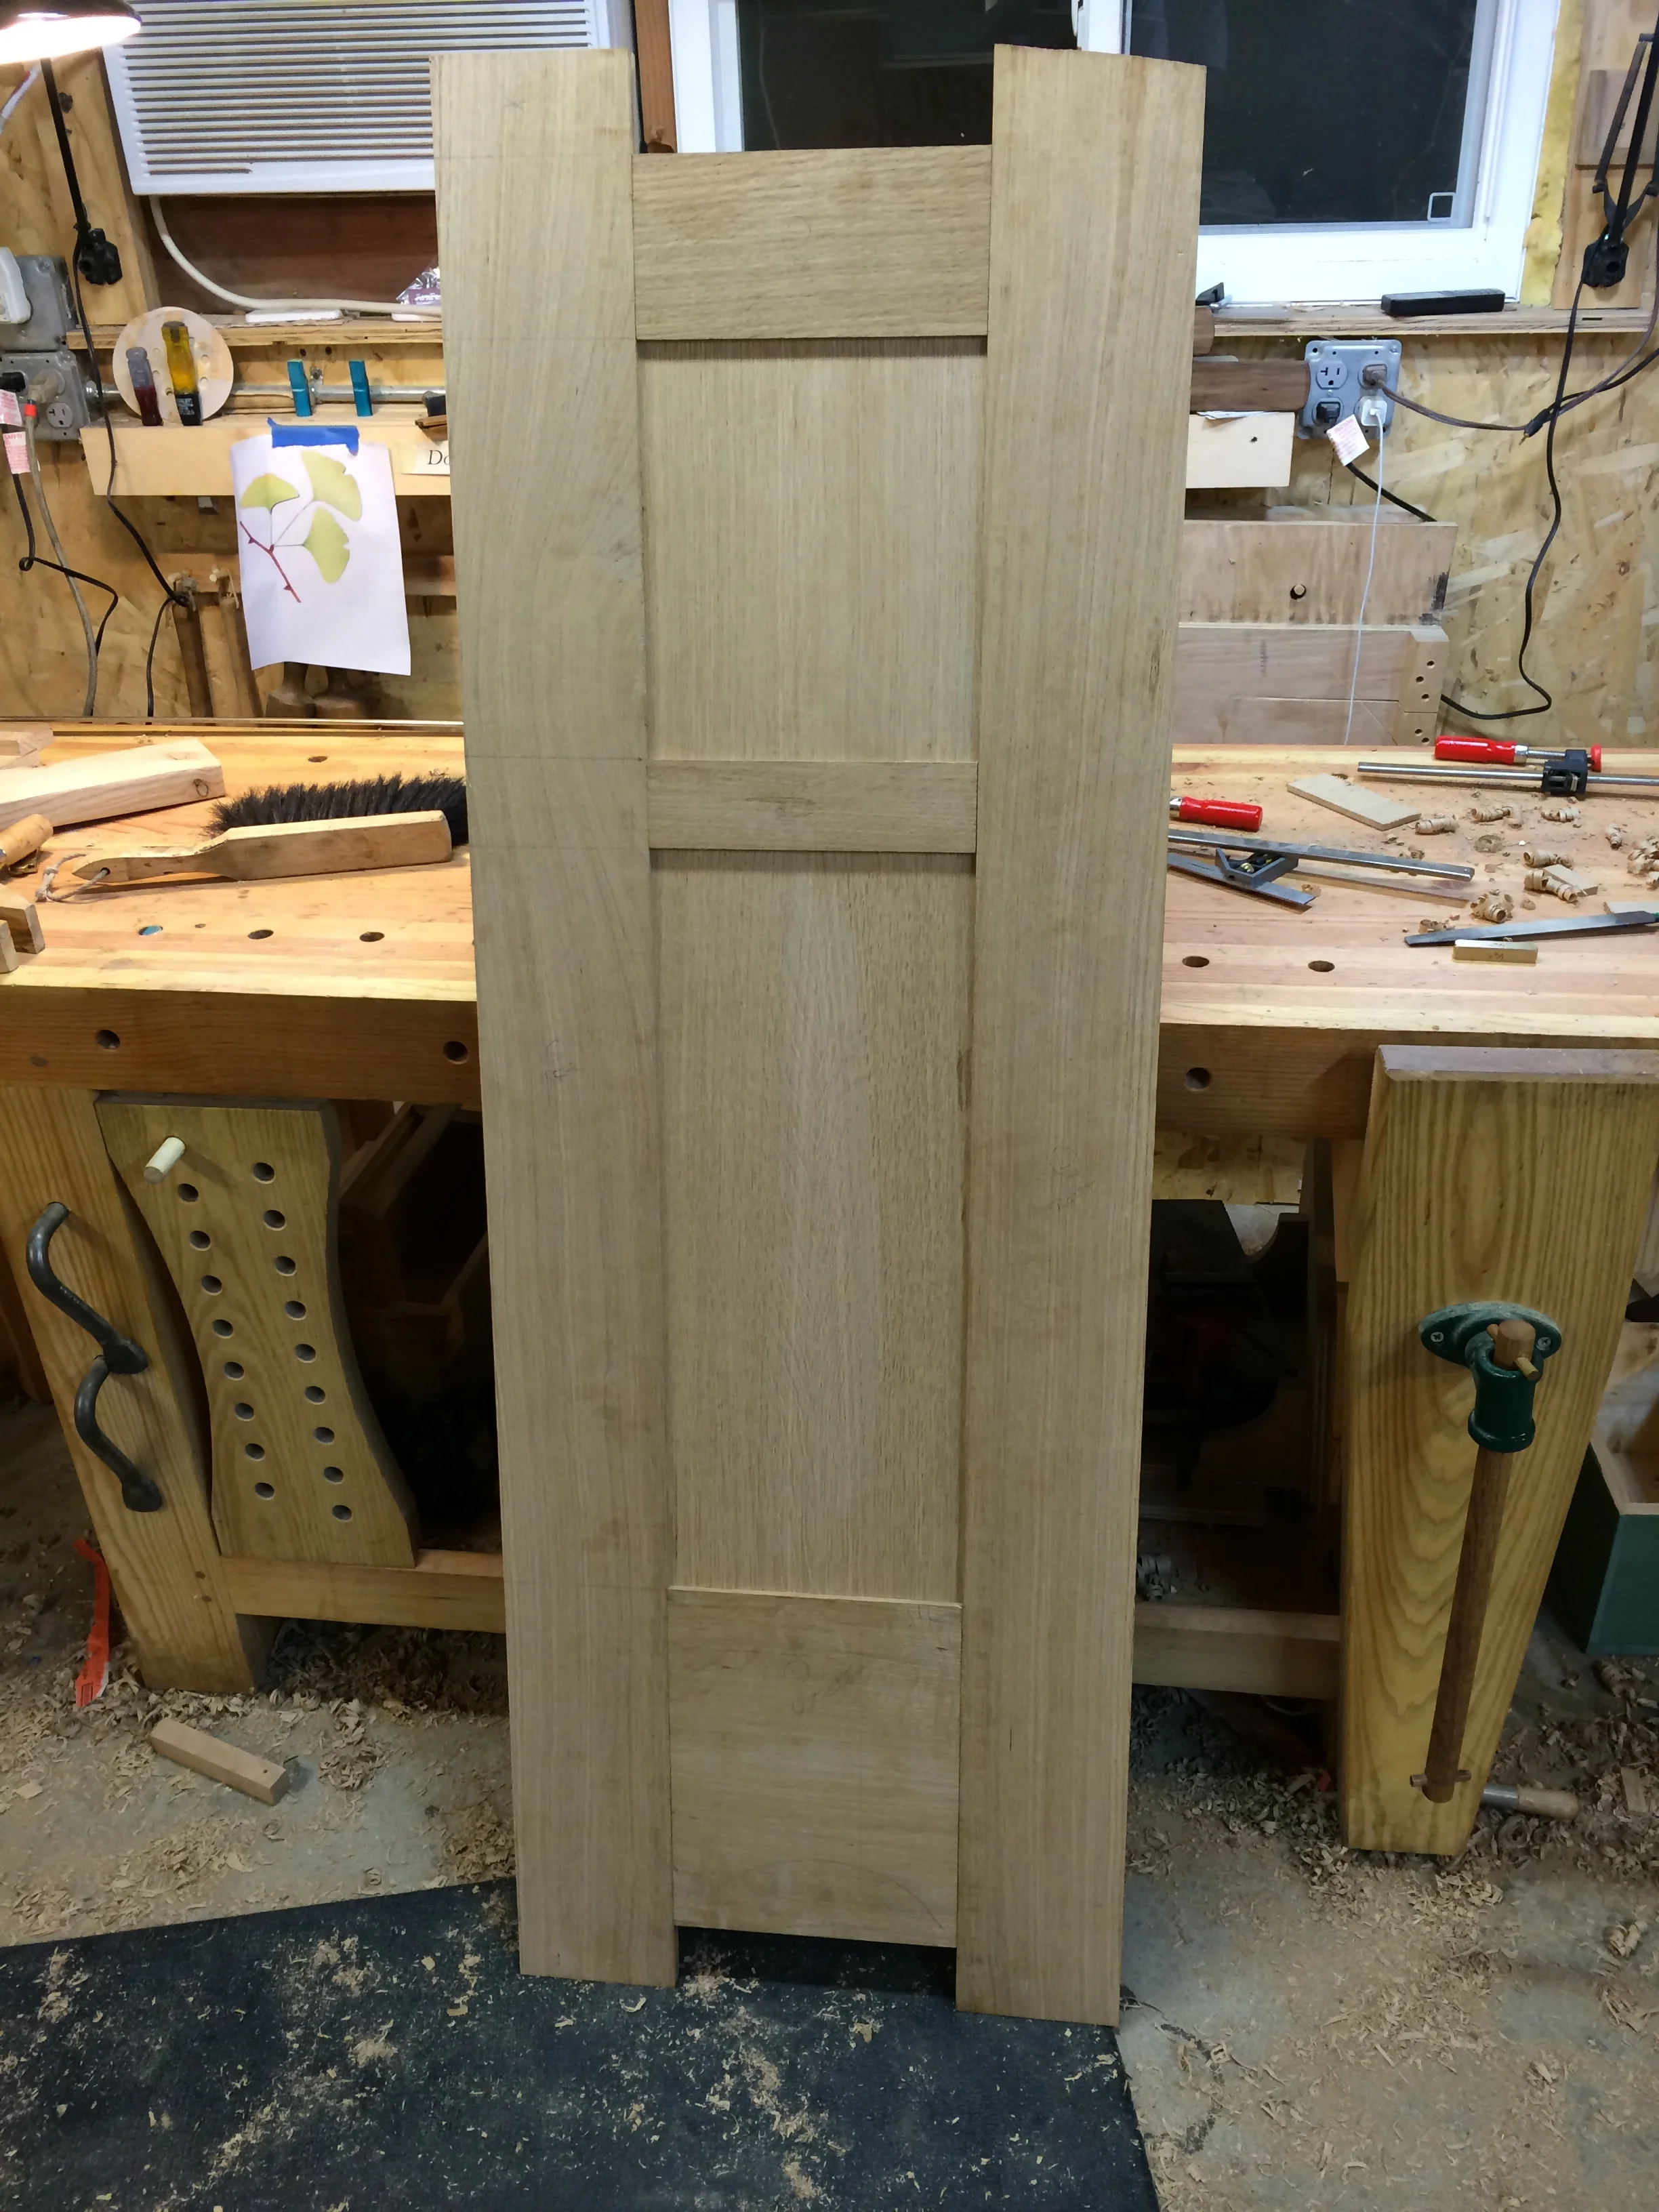
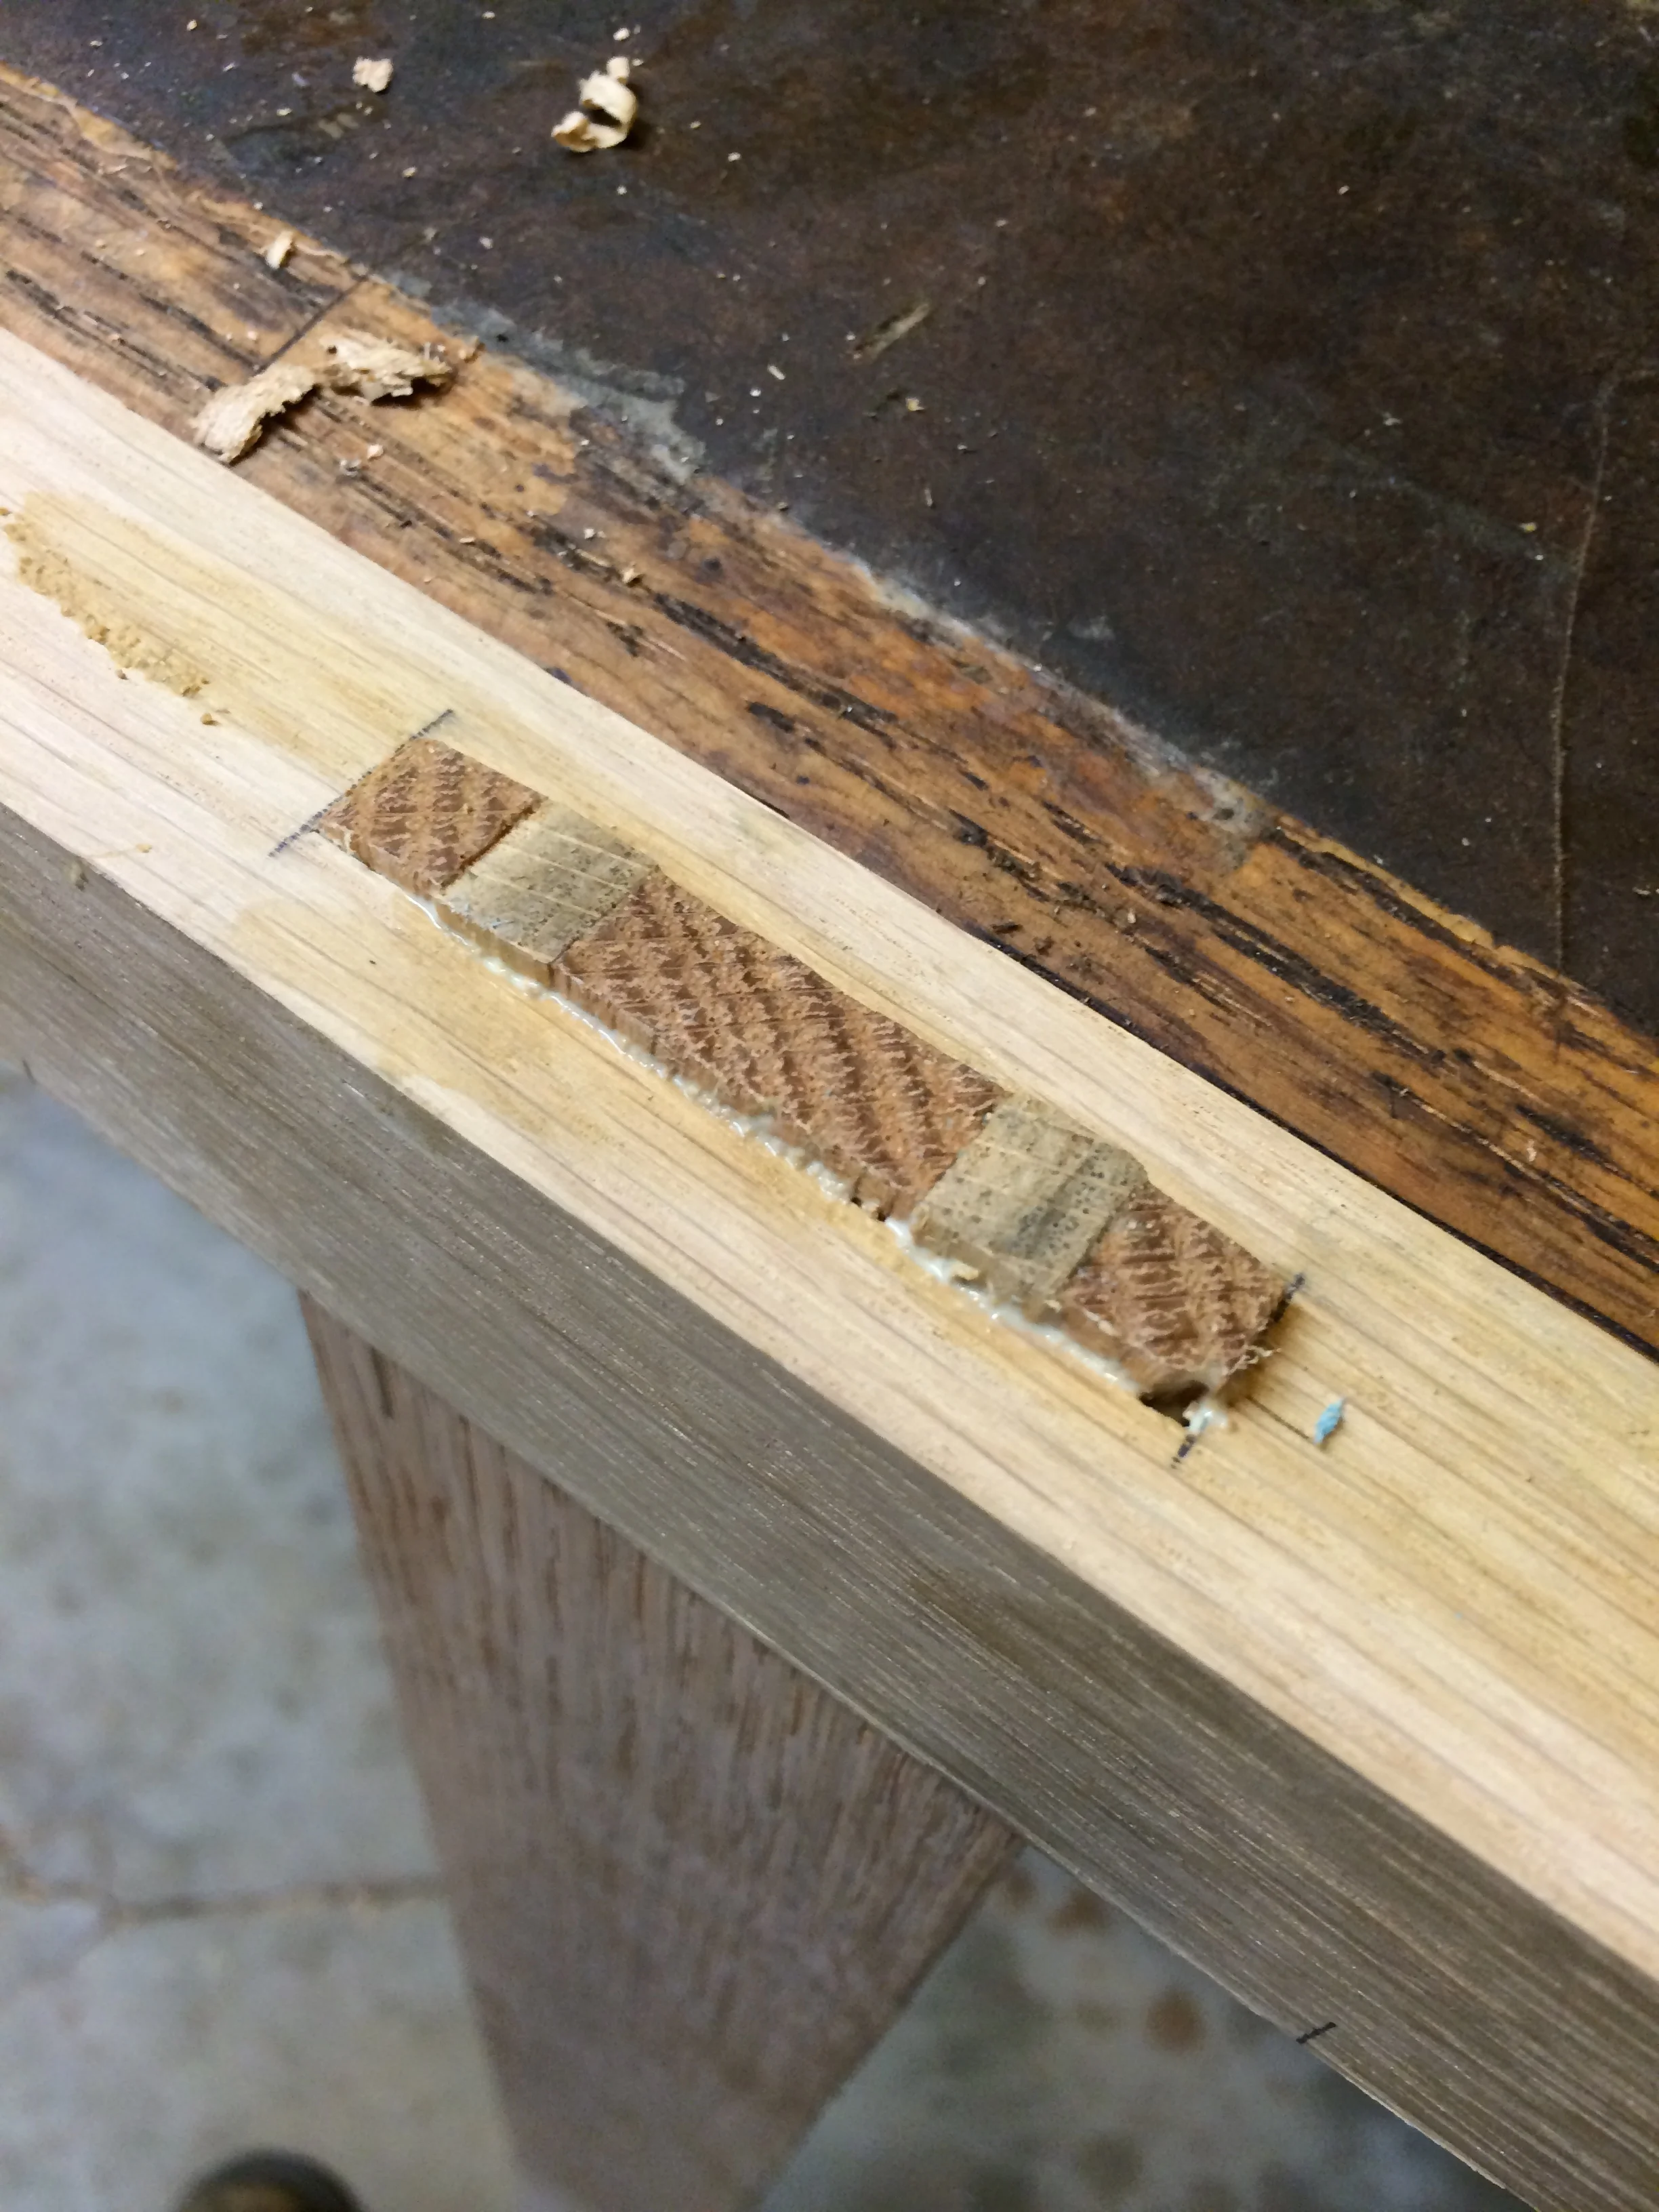
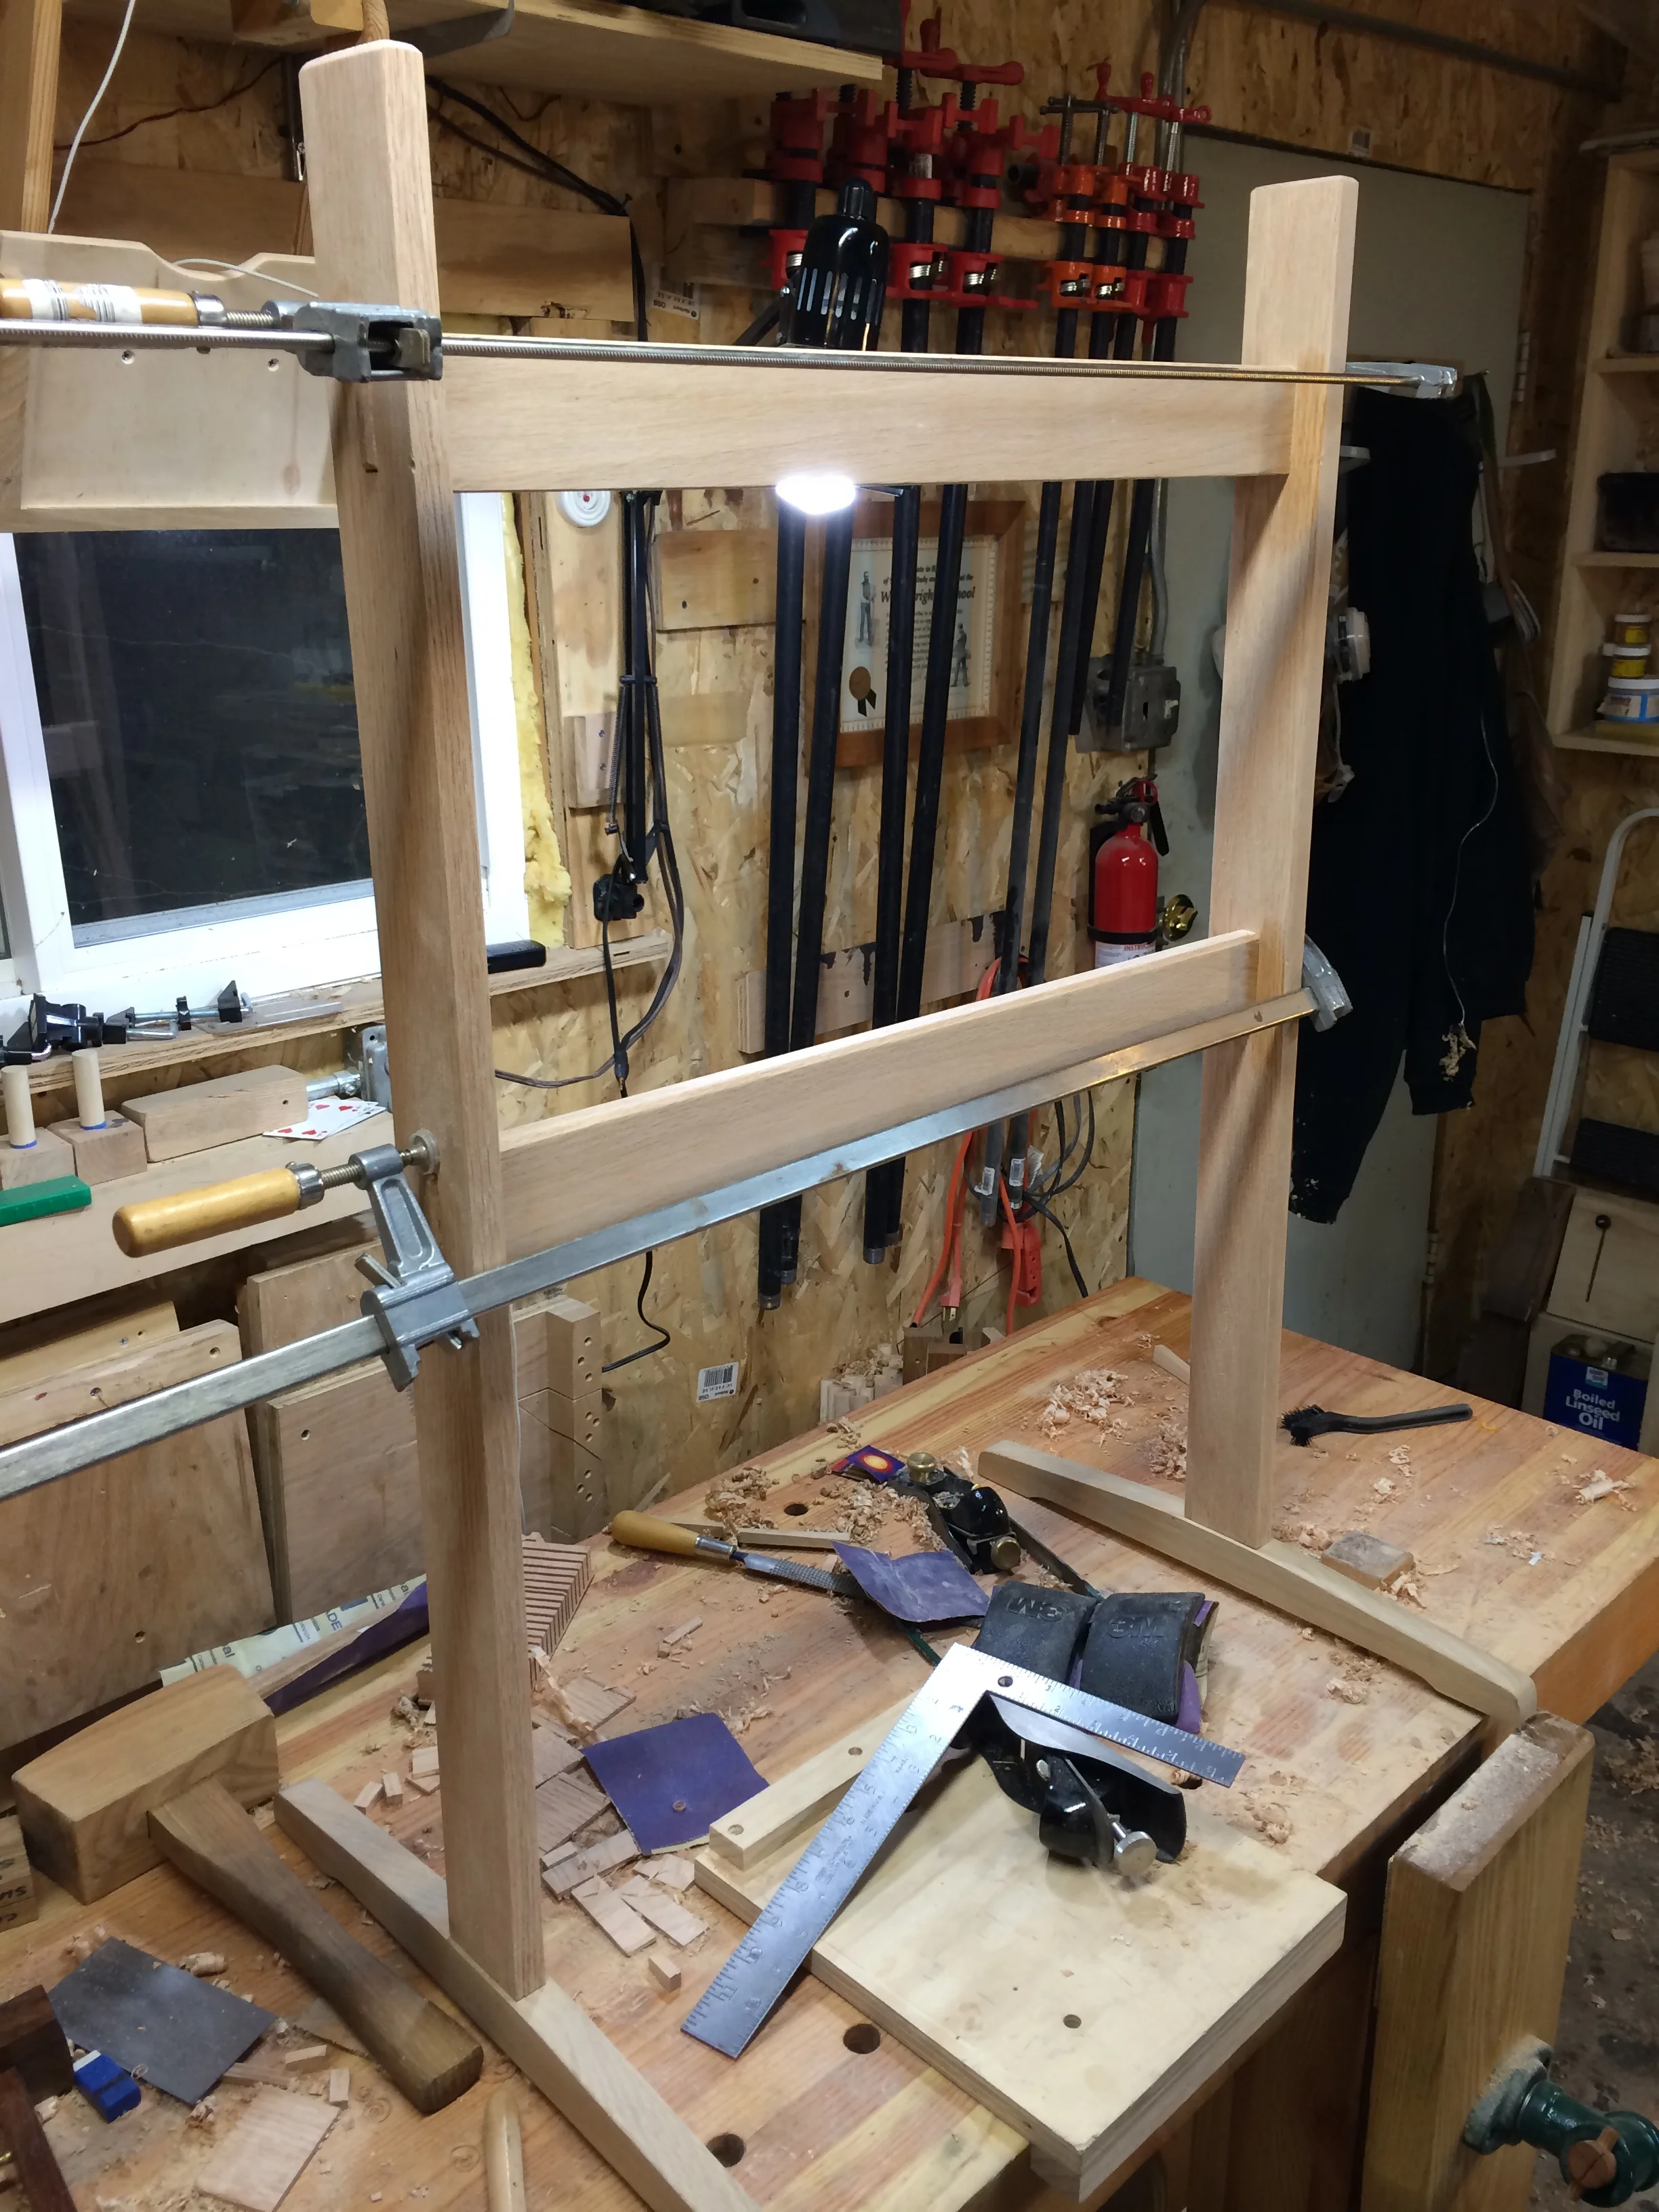
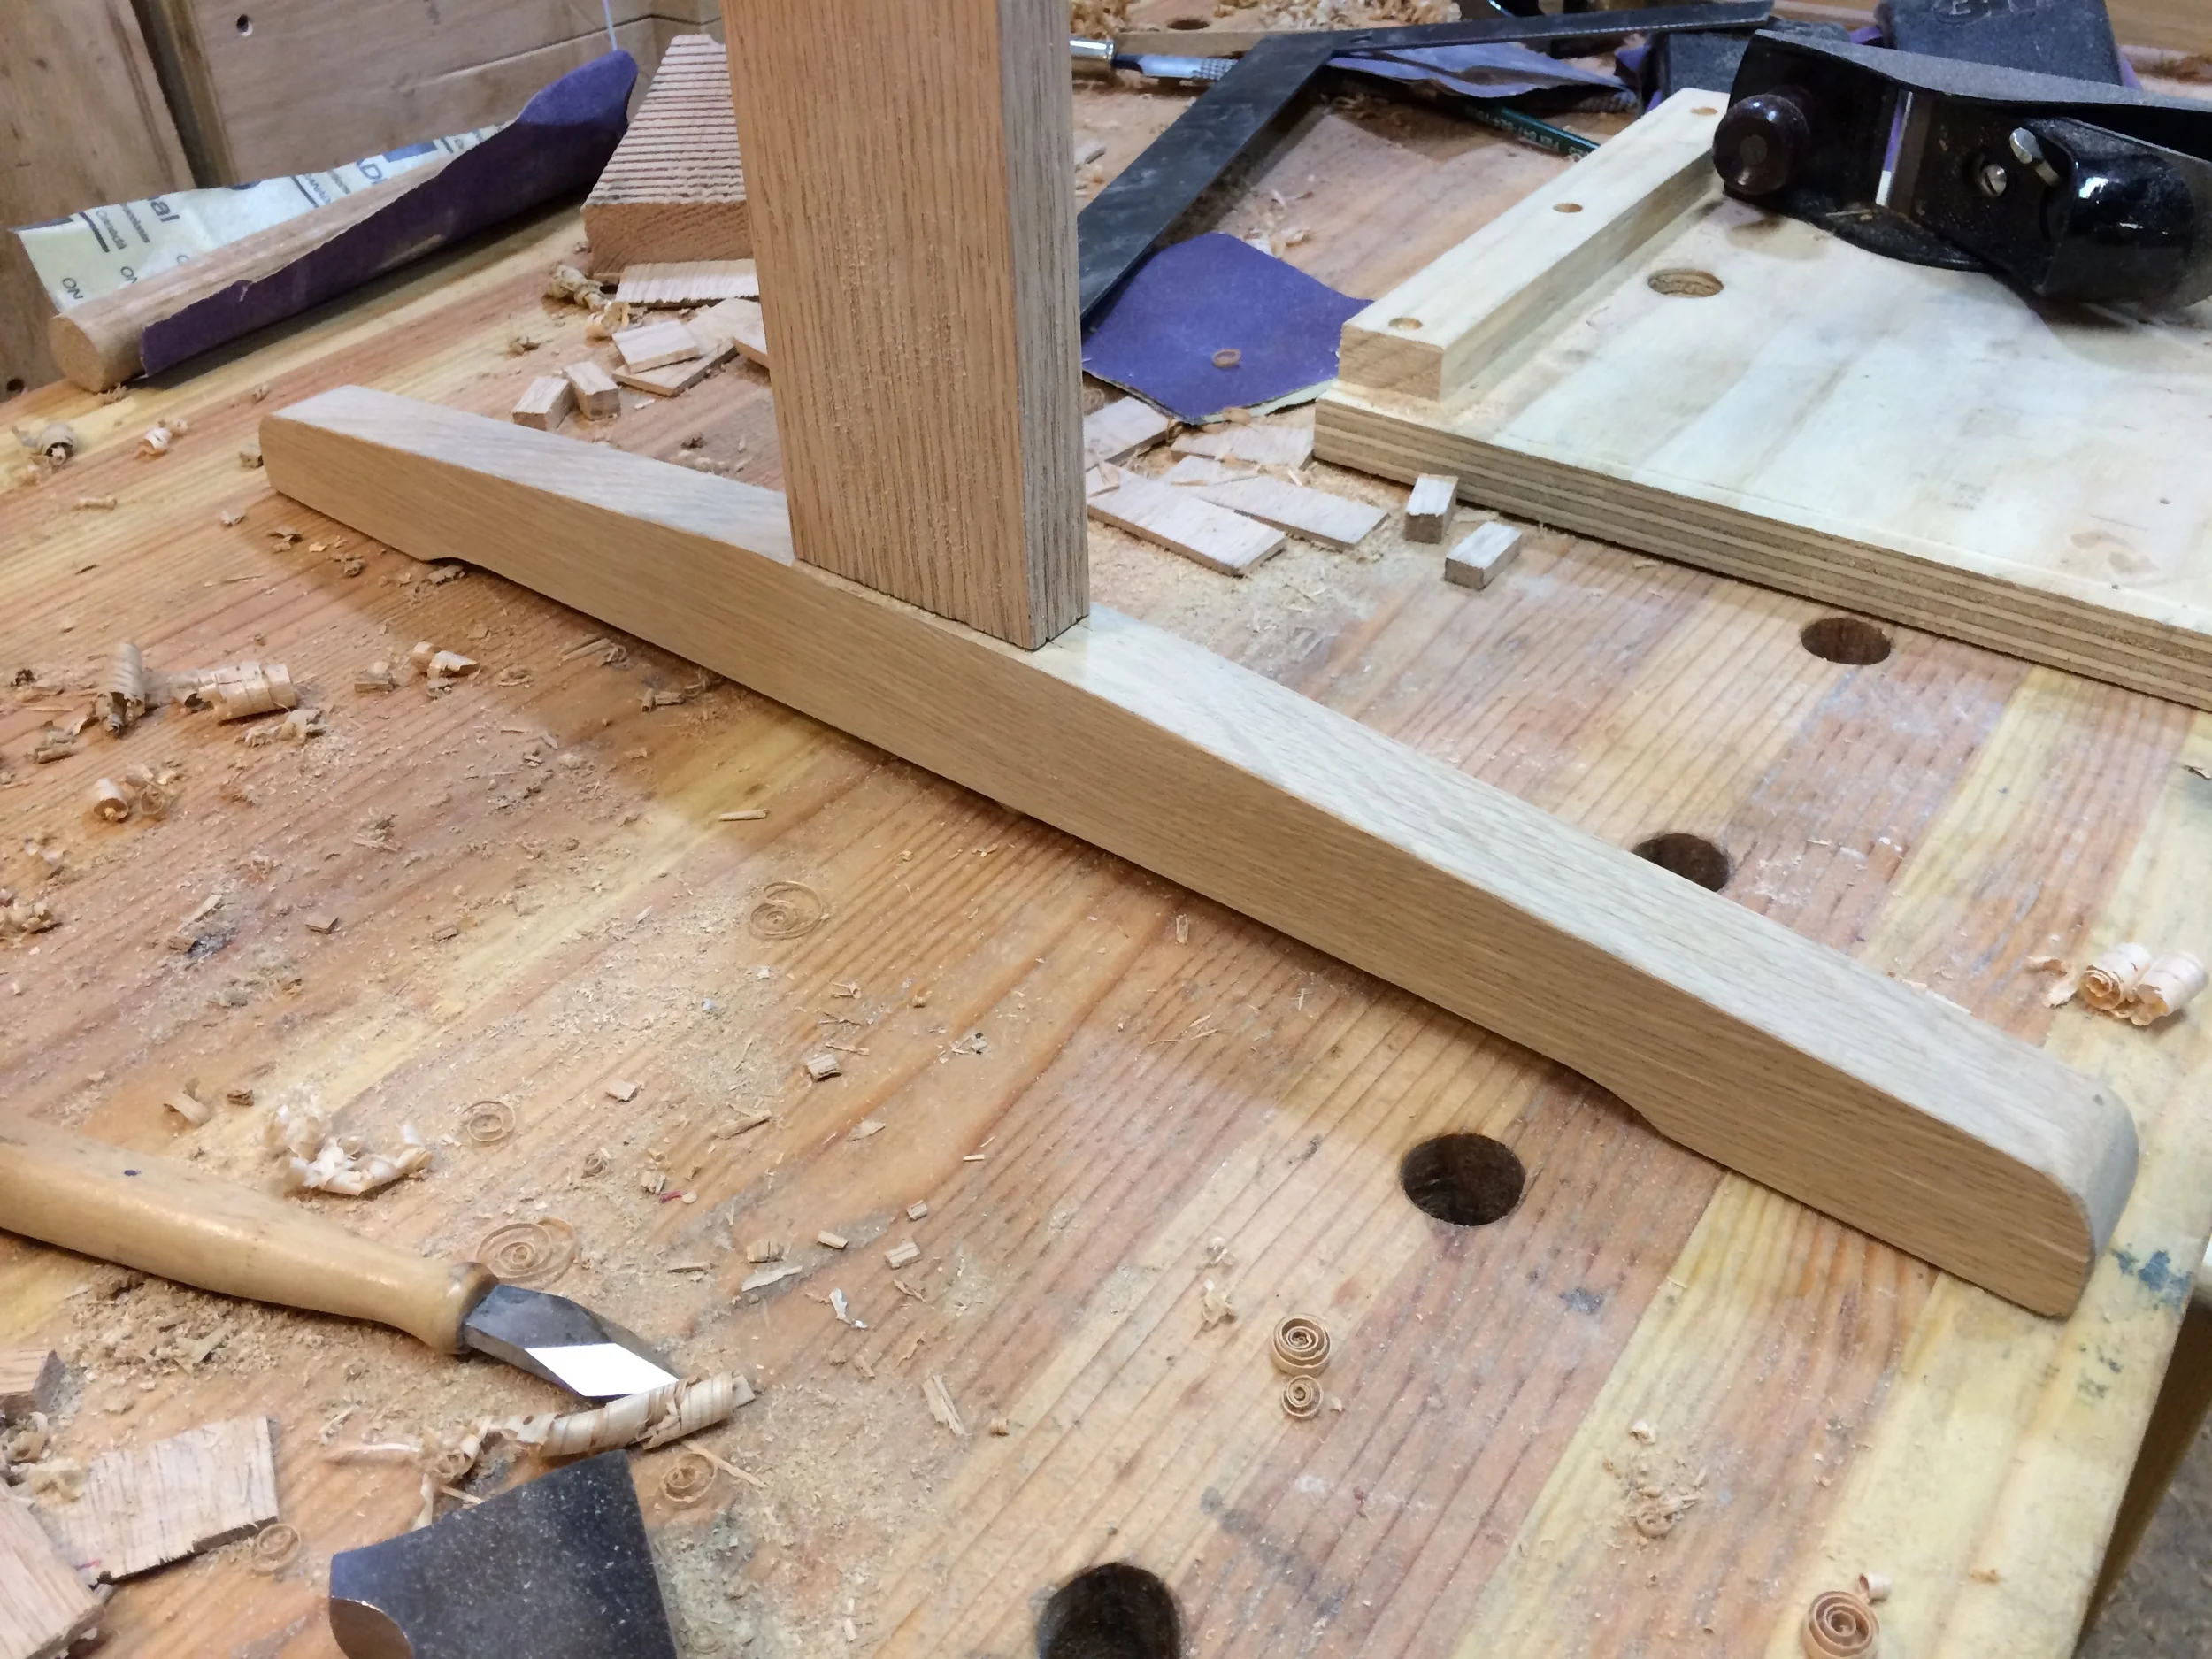
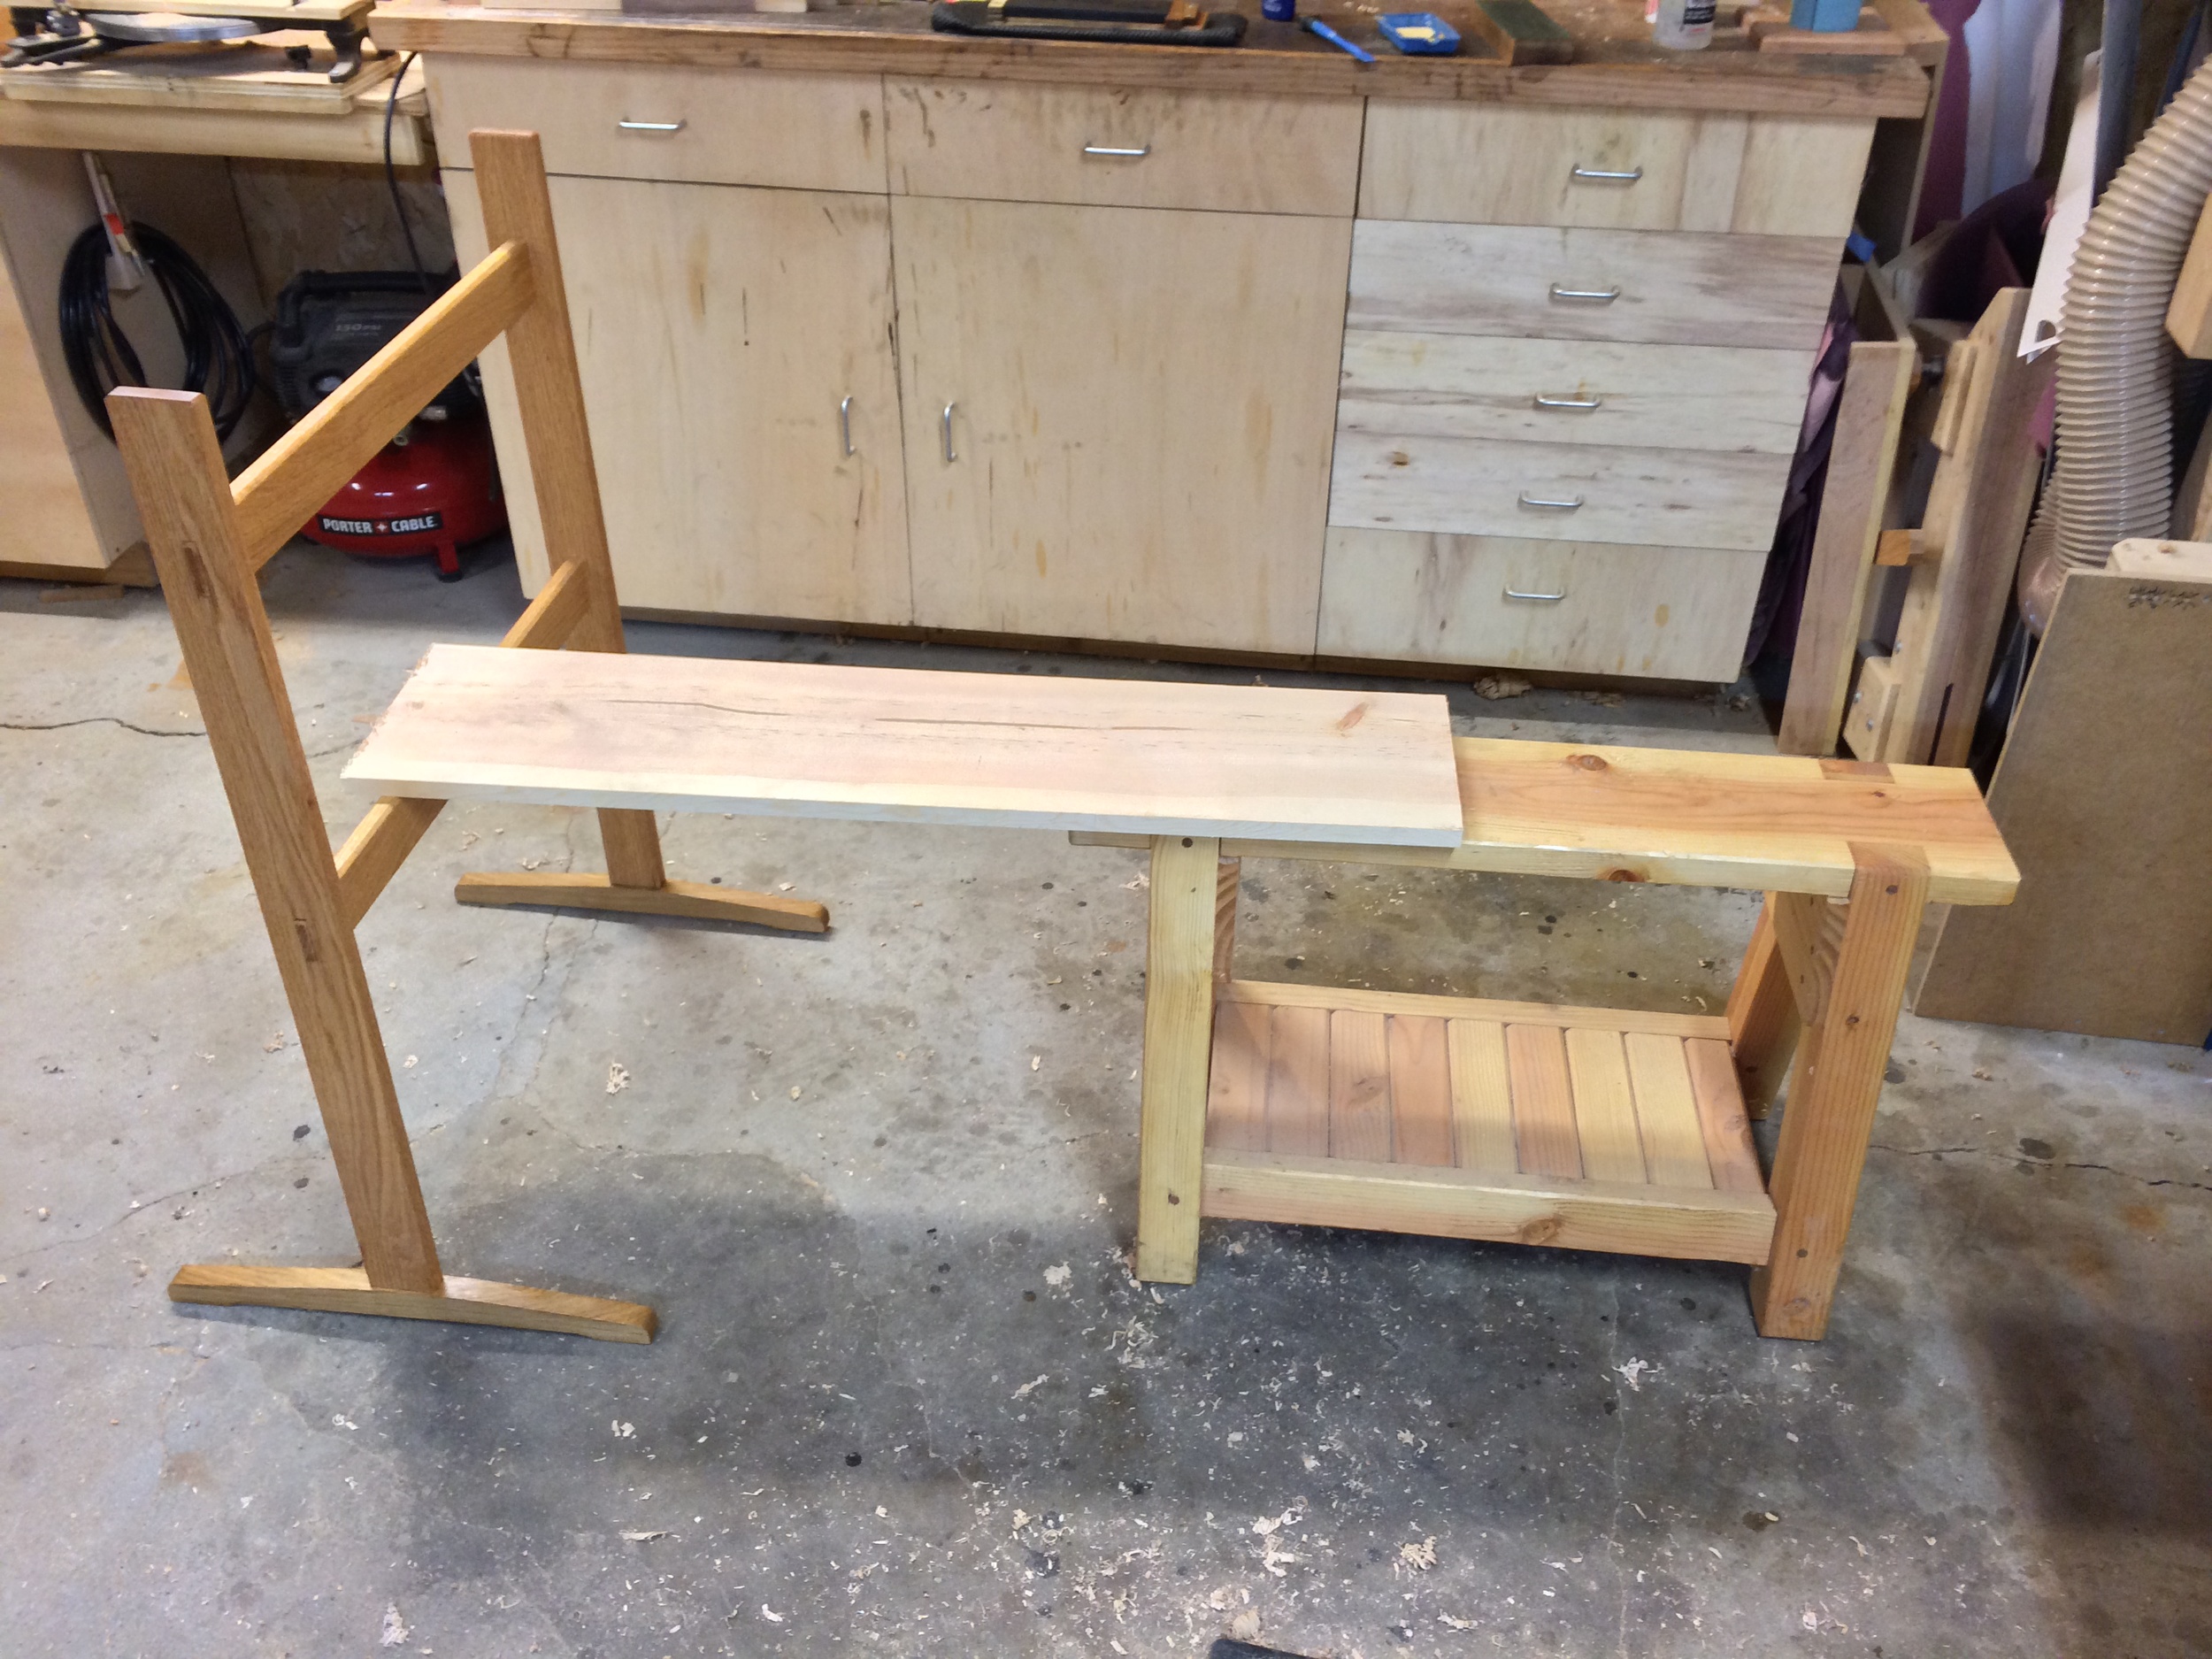
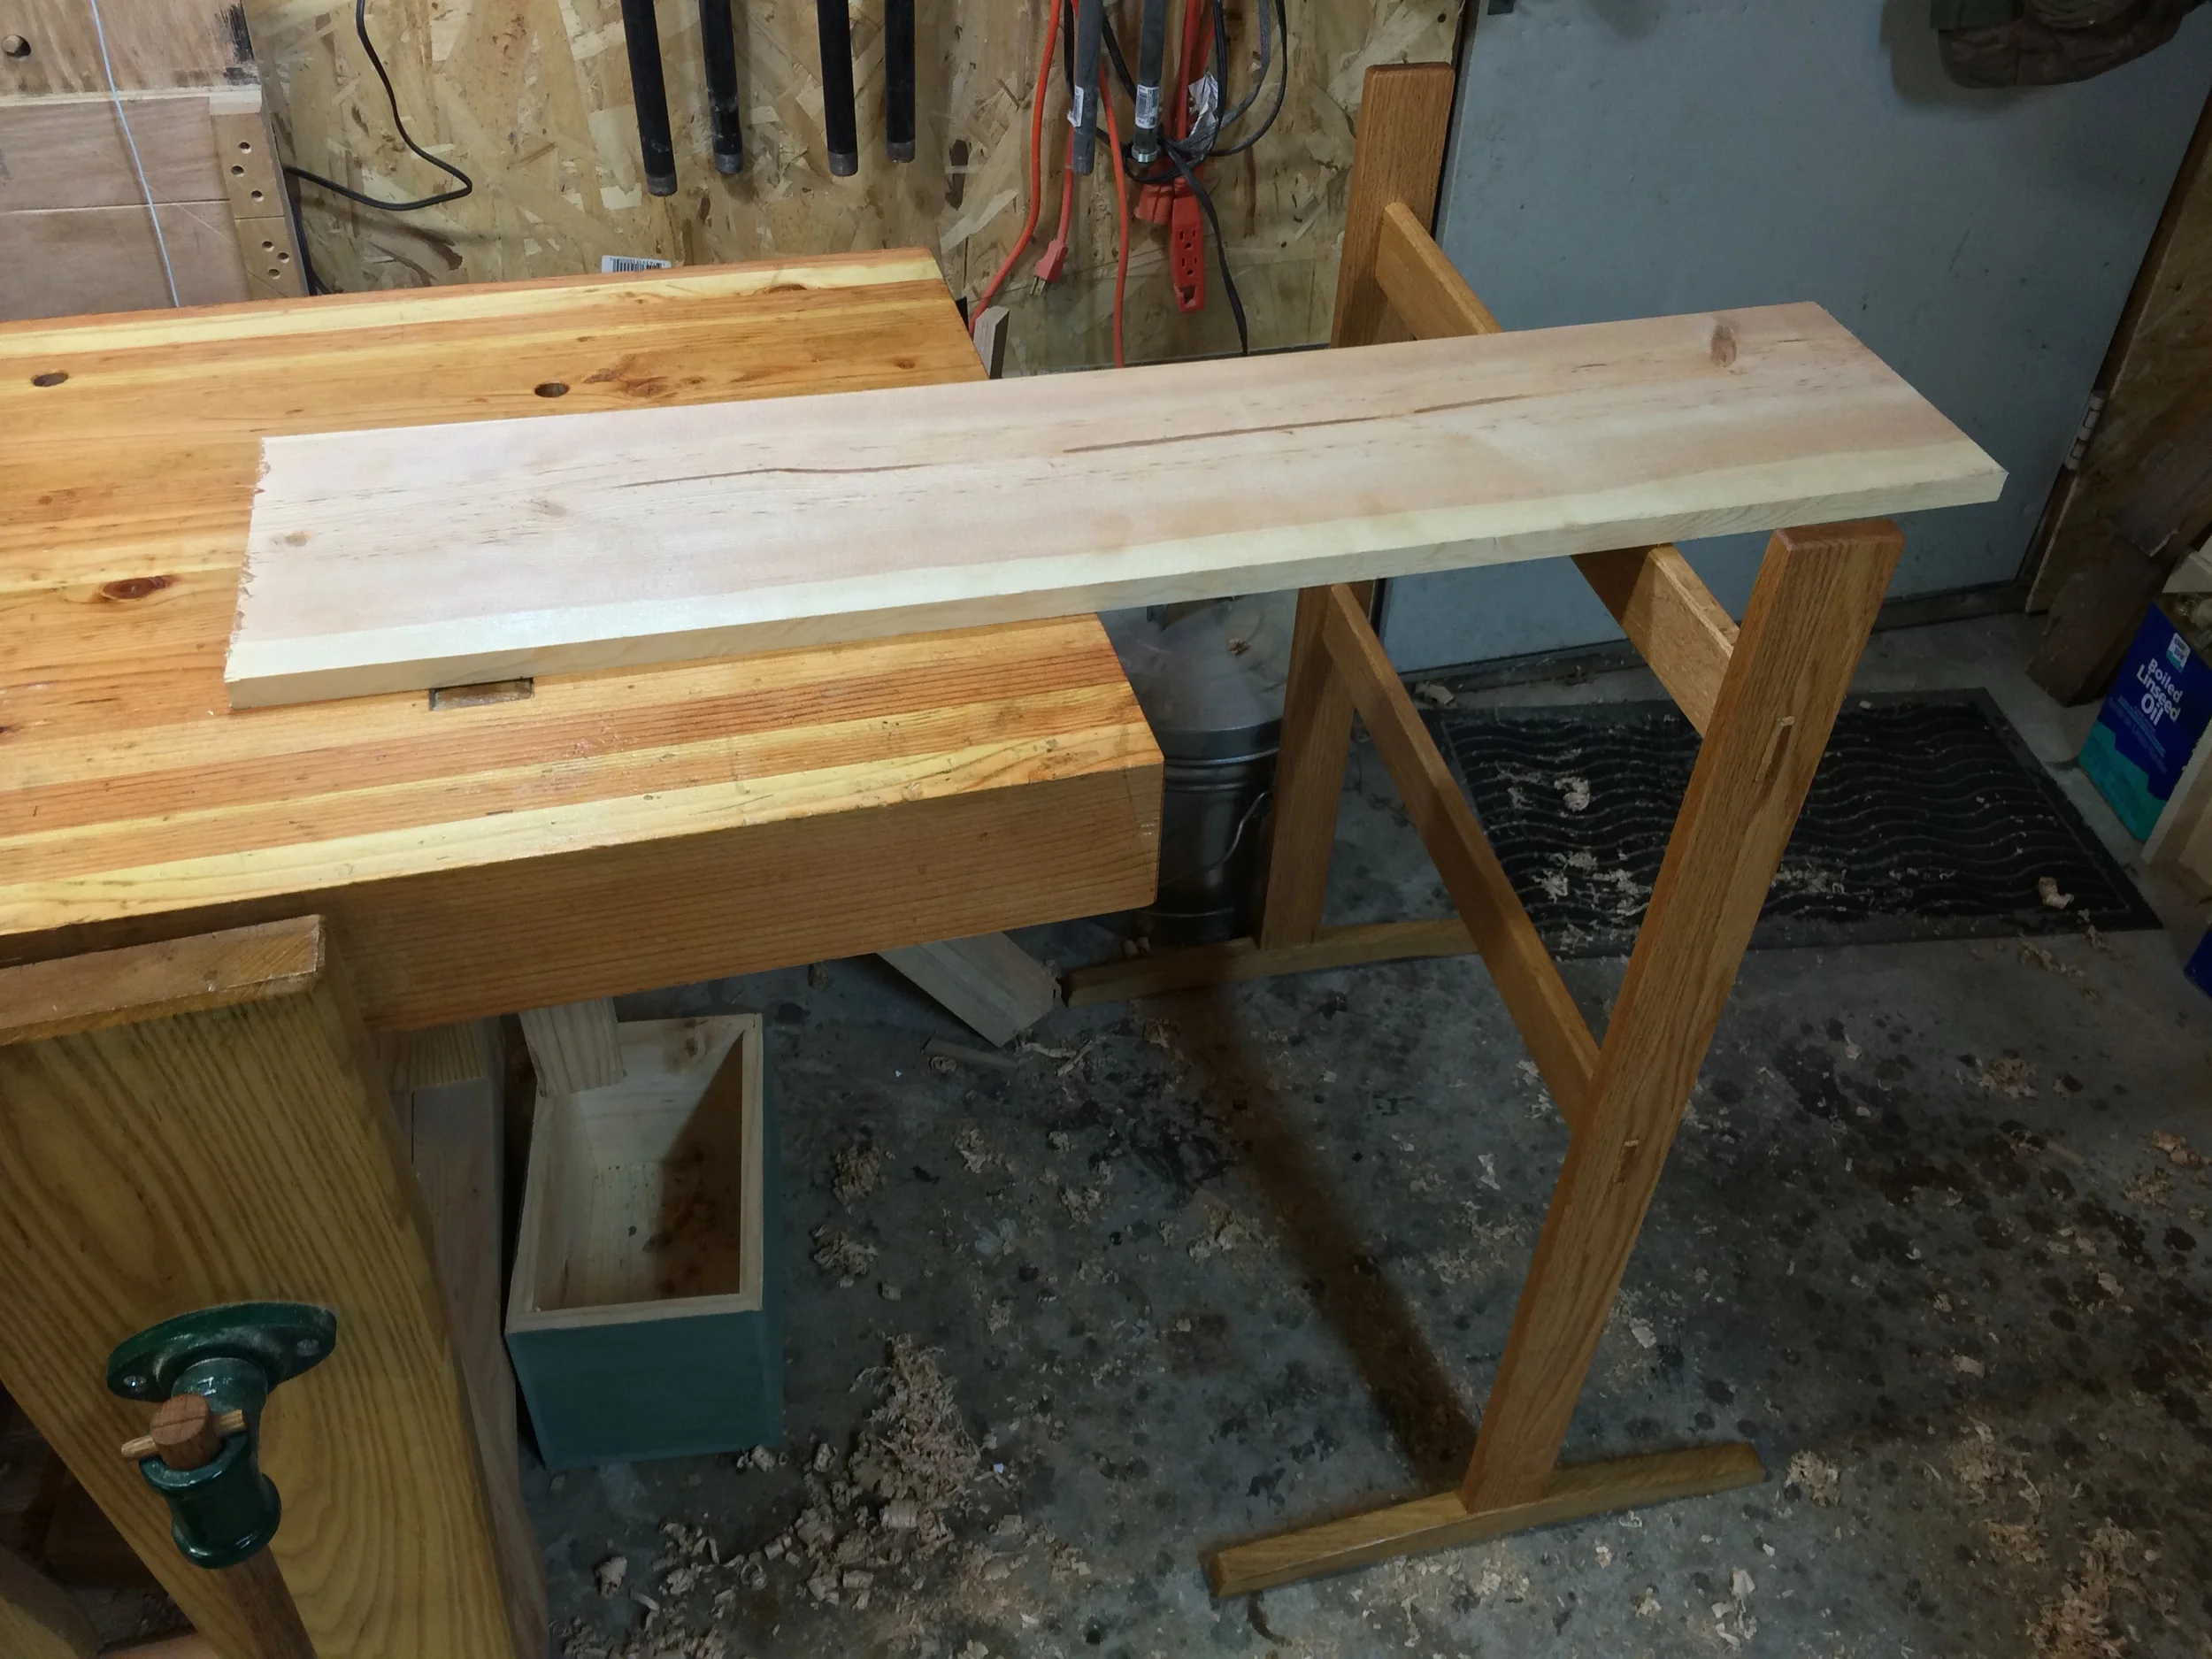
I cleverly (not) built myself only ONE saw bench a while ago. I works great, but when working on a long board, I have nothing to support the other end with - there's nothing around that is the right height. But I don't actually need a whole second saw bench, so instead, I but one of these saw support/work support/work stand things. It has two "levels"; one the height of my saw bench, and the other the height of my work bench. I used some scrap red & white oak for material, and mortise & through tenons to join it, with wedges for the bottom through tenons. I finished it with boiled linseed oil. It's already proven handy.

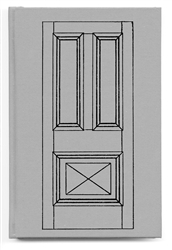
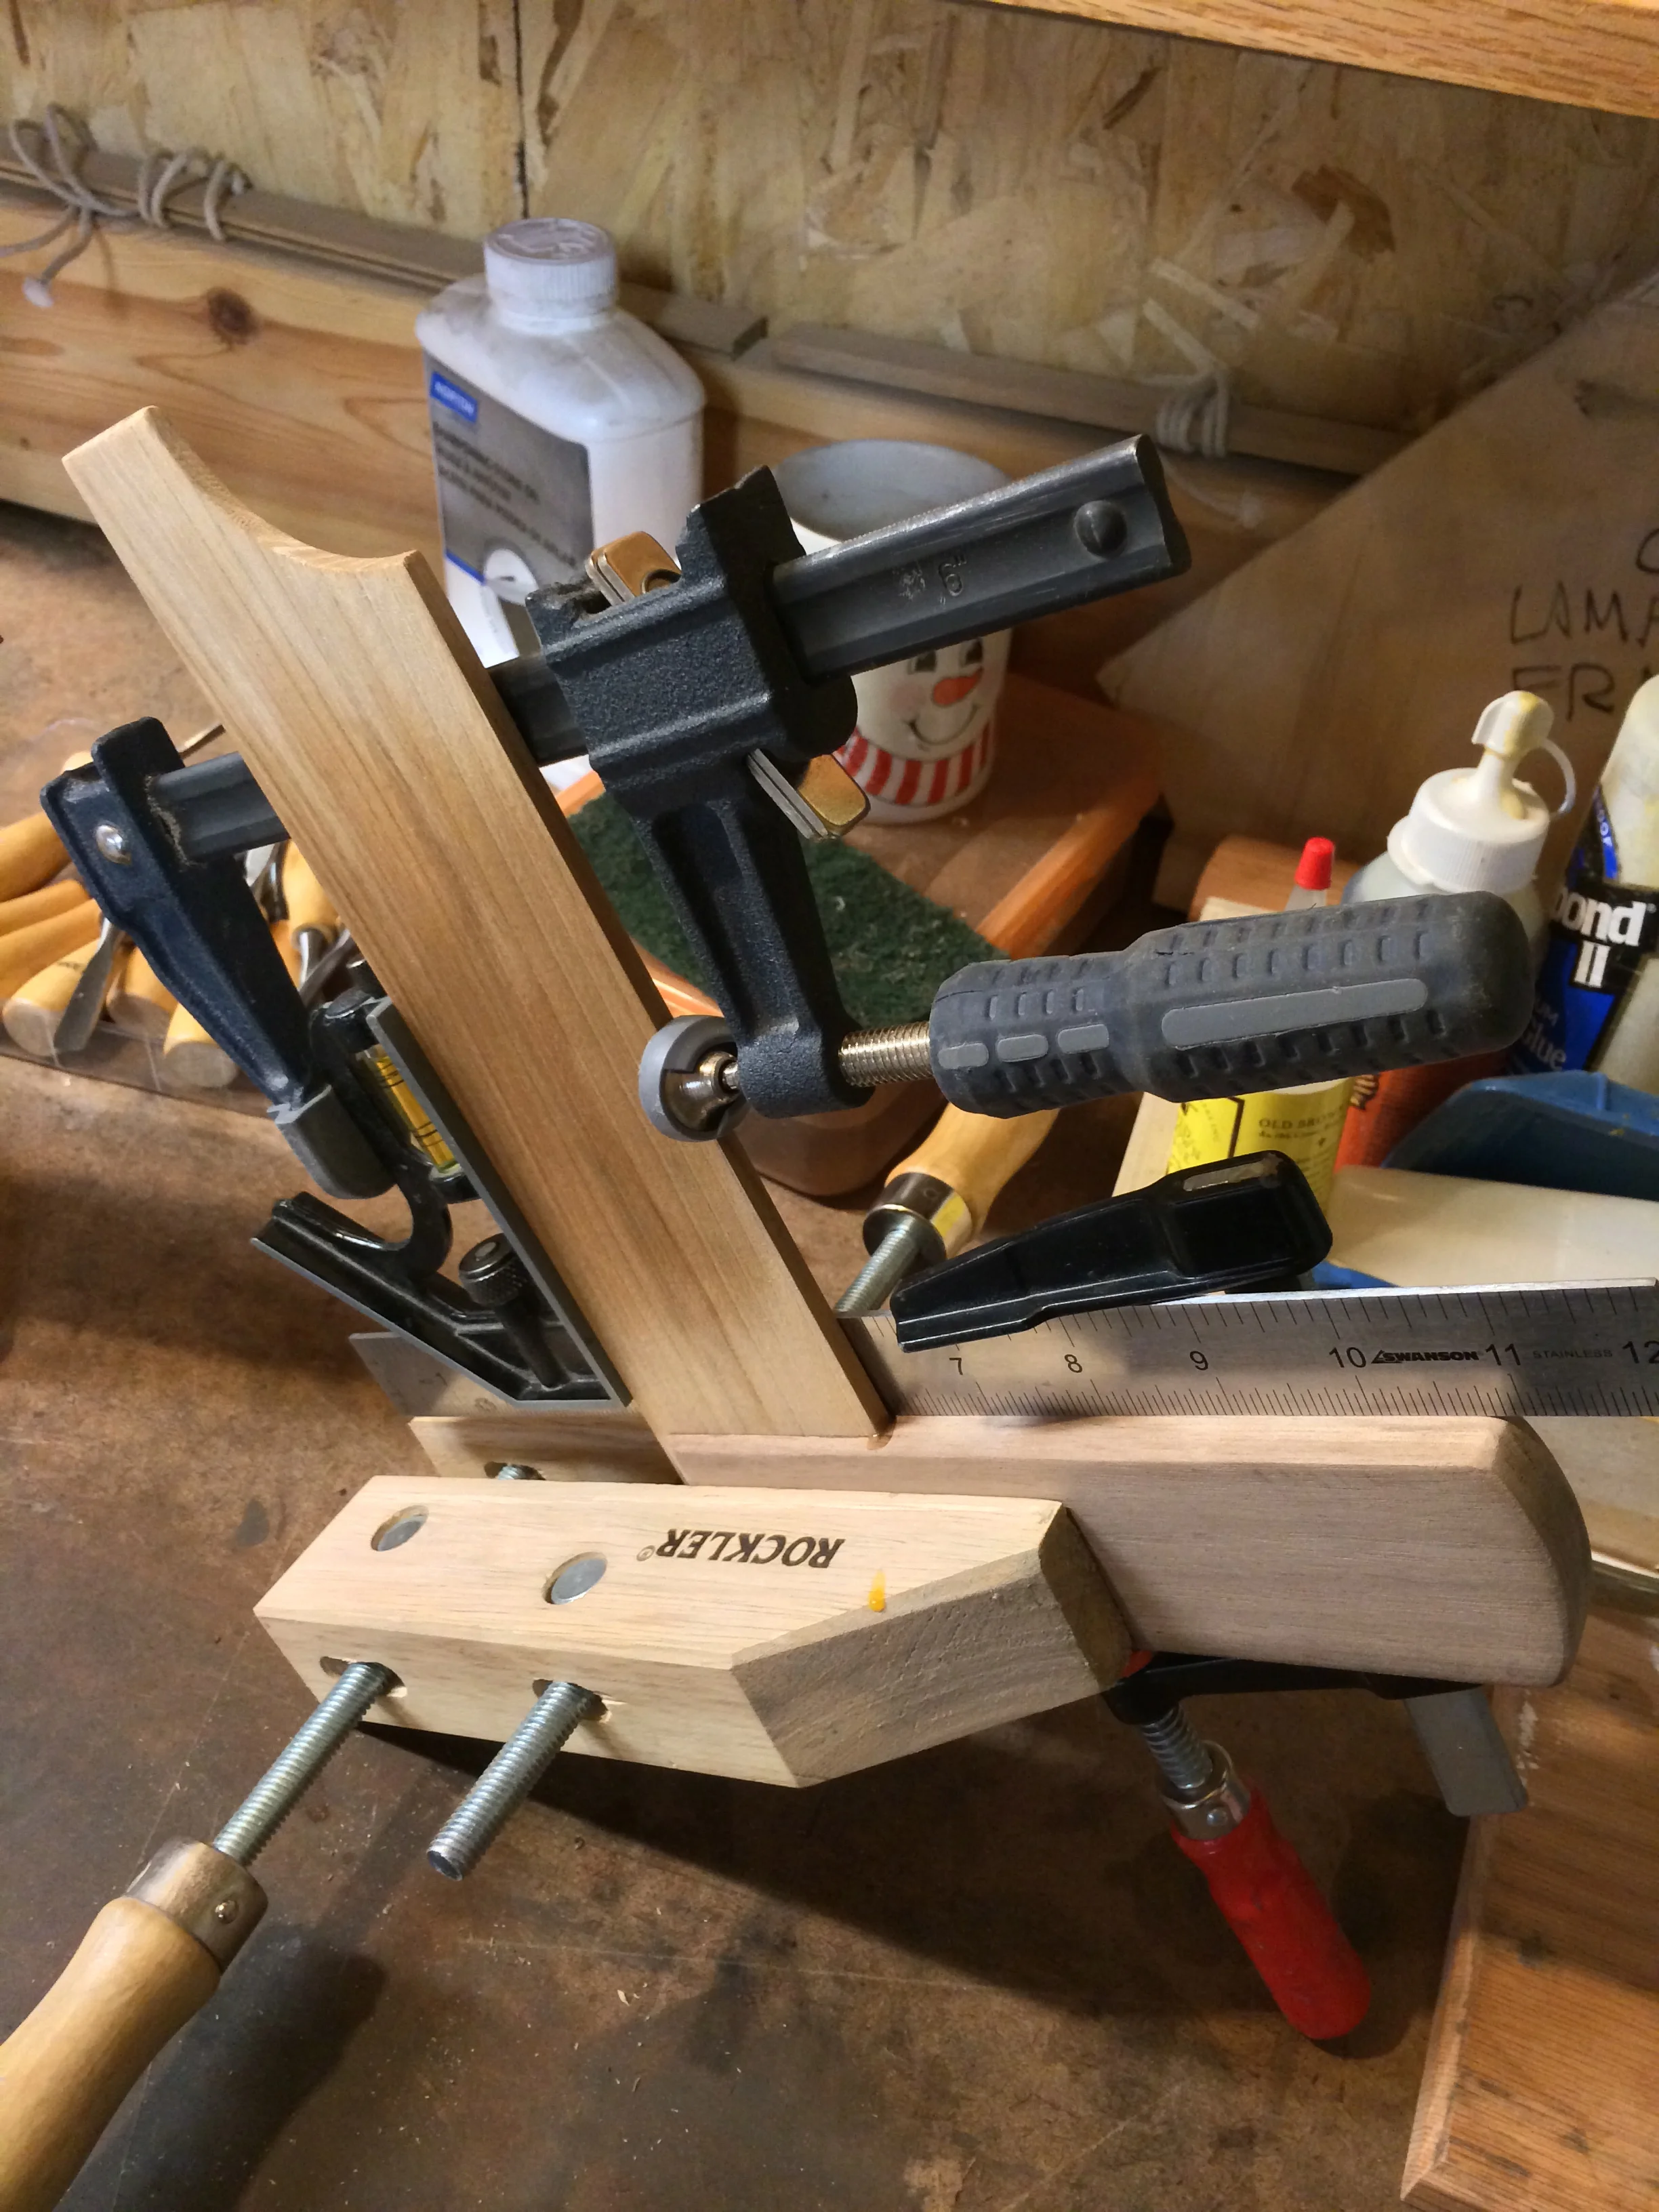
Moving Fillister Plane

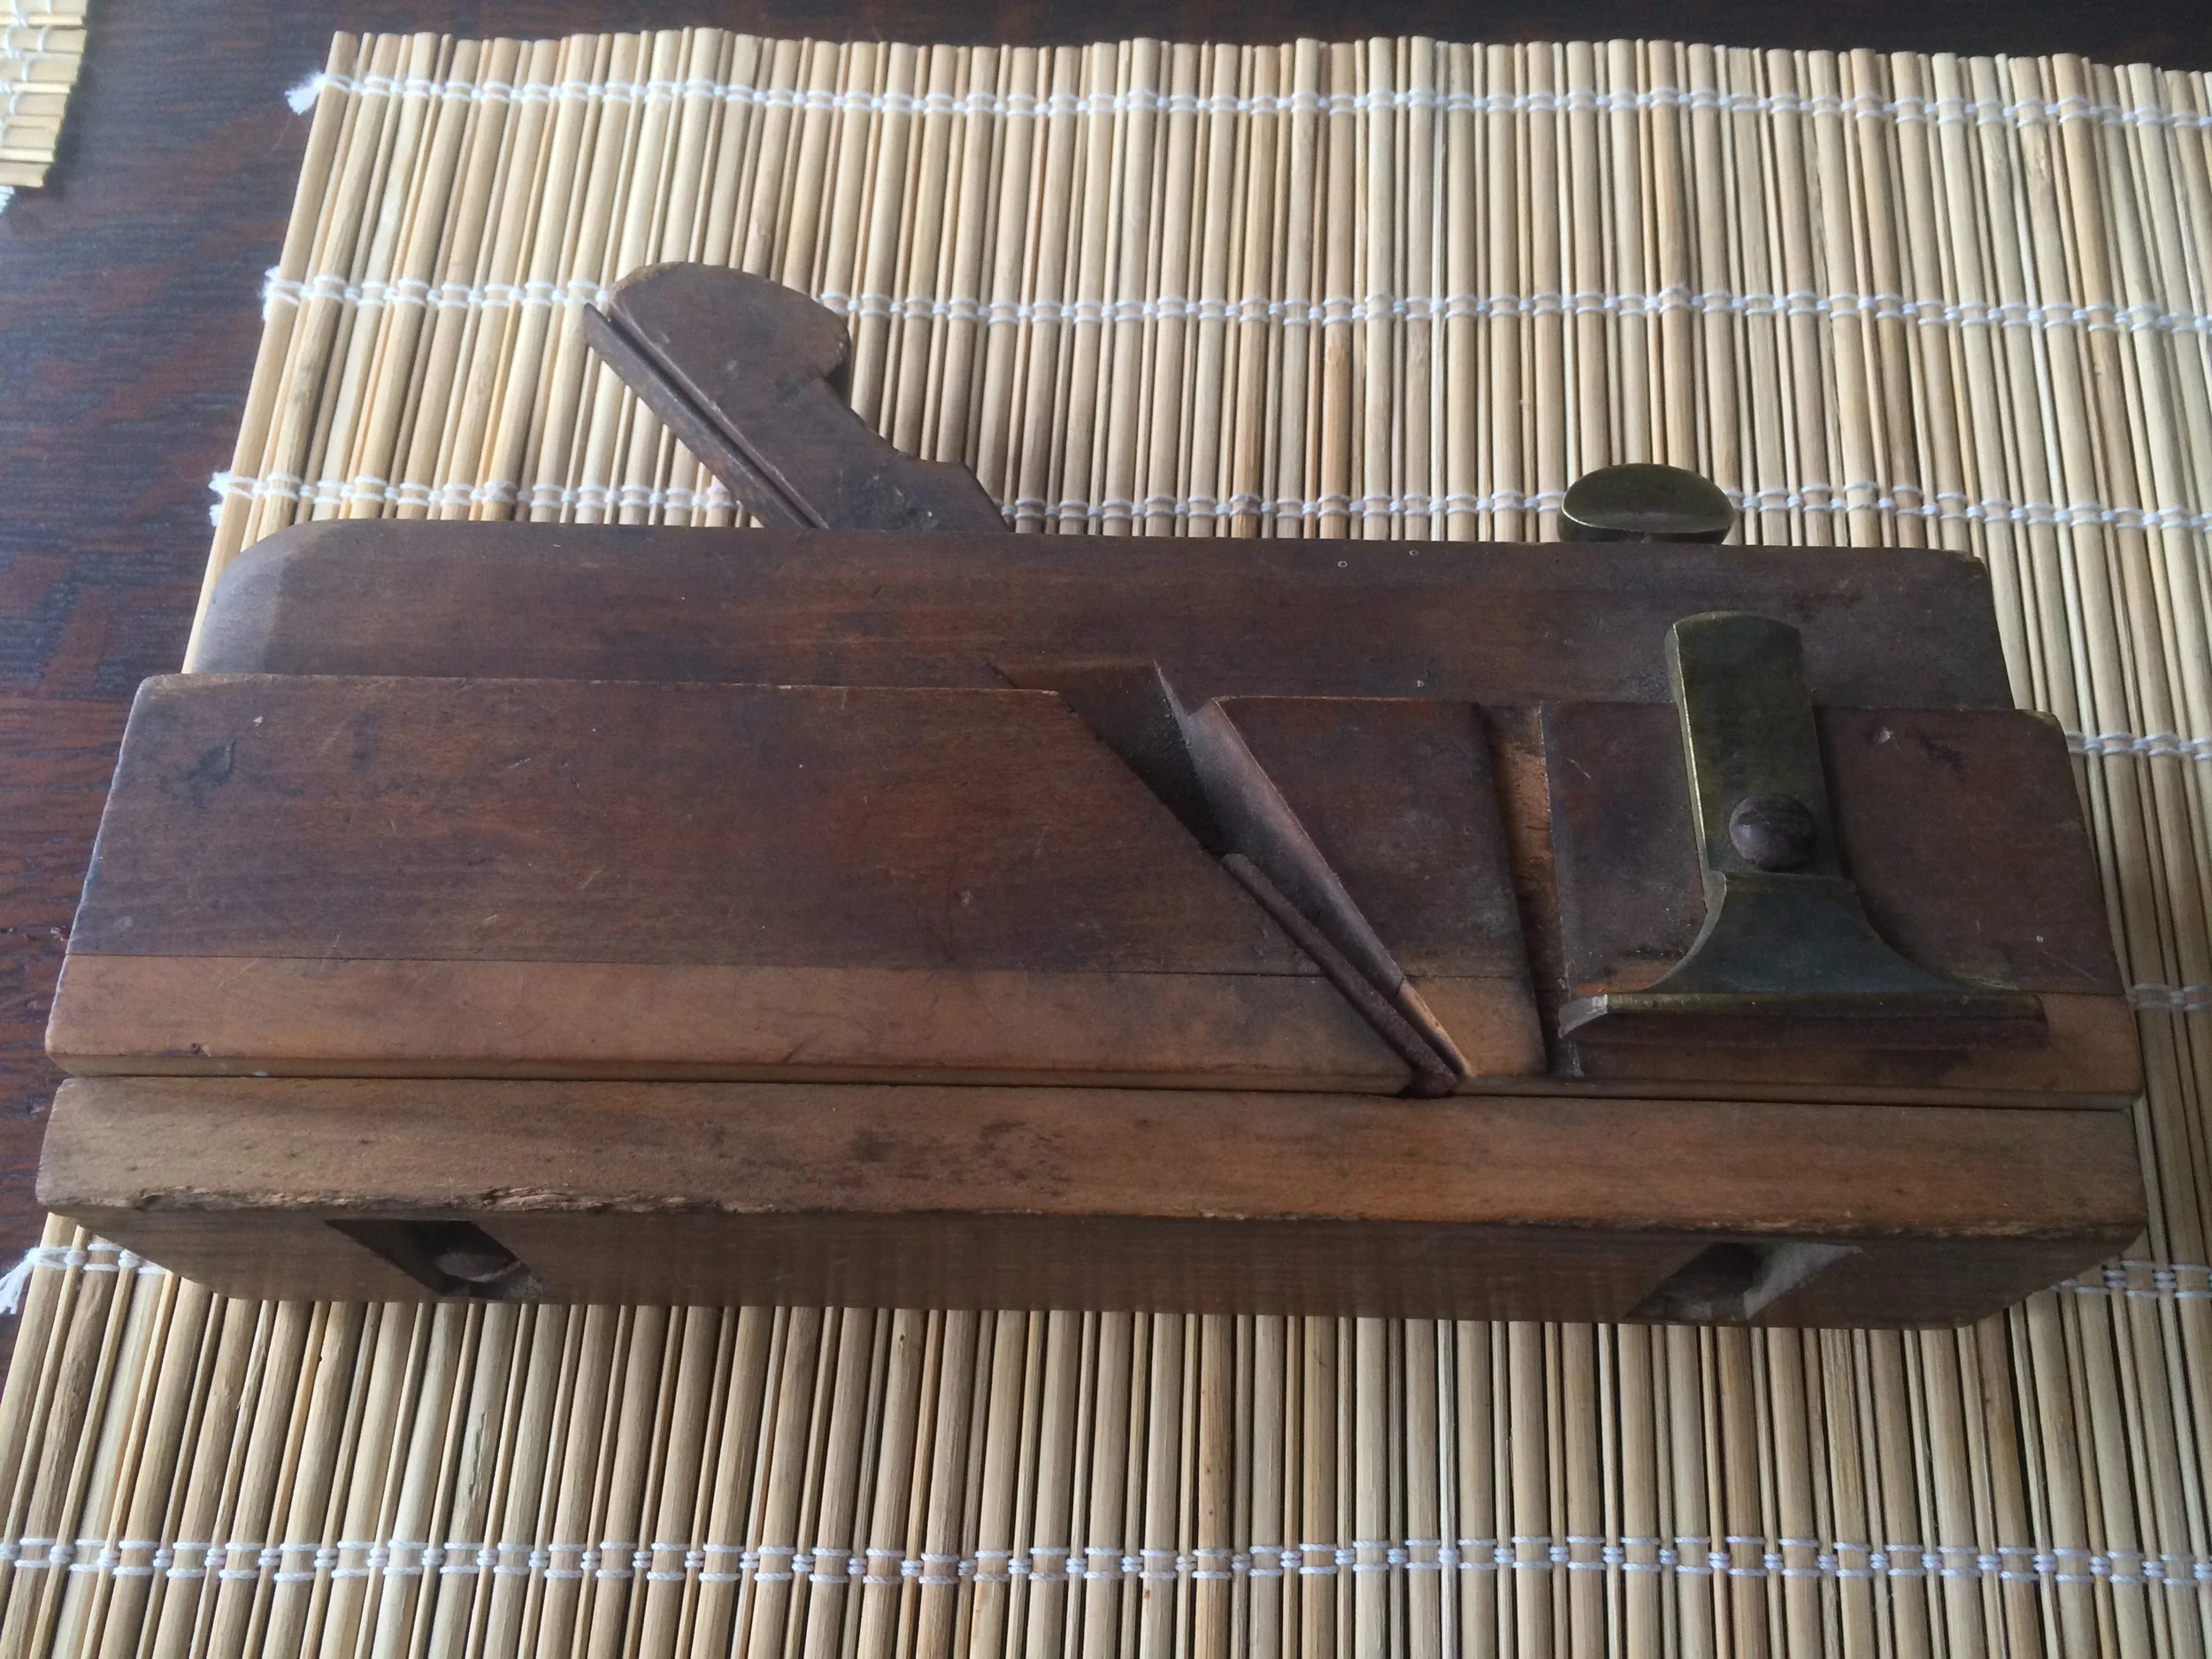
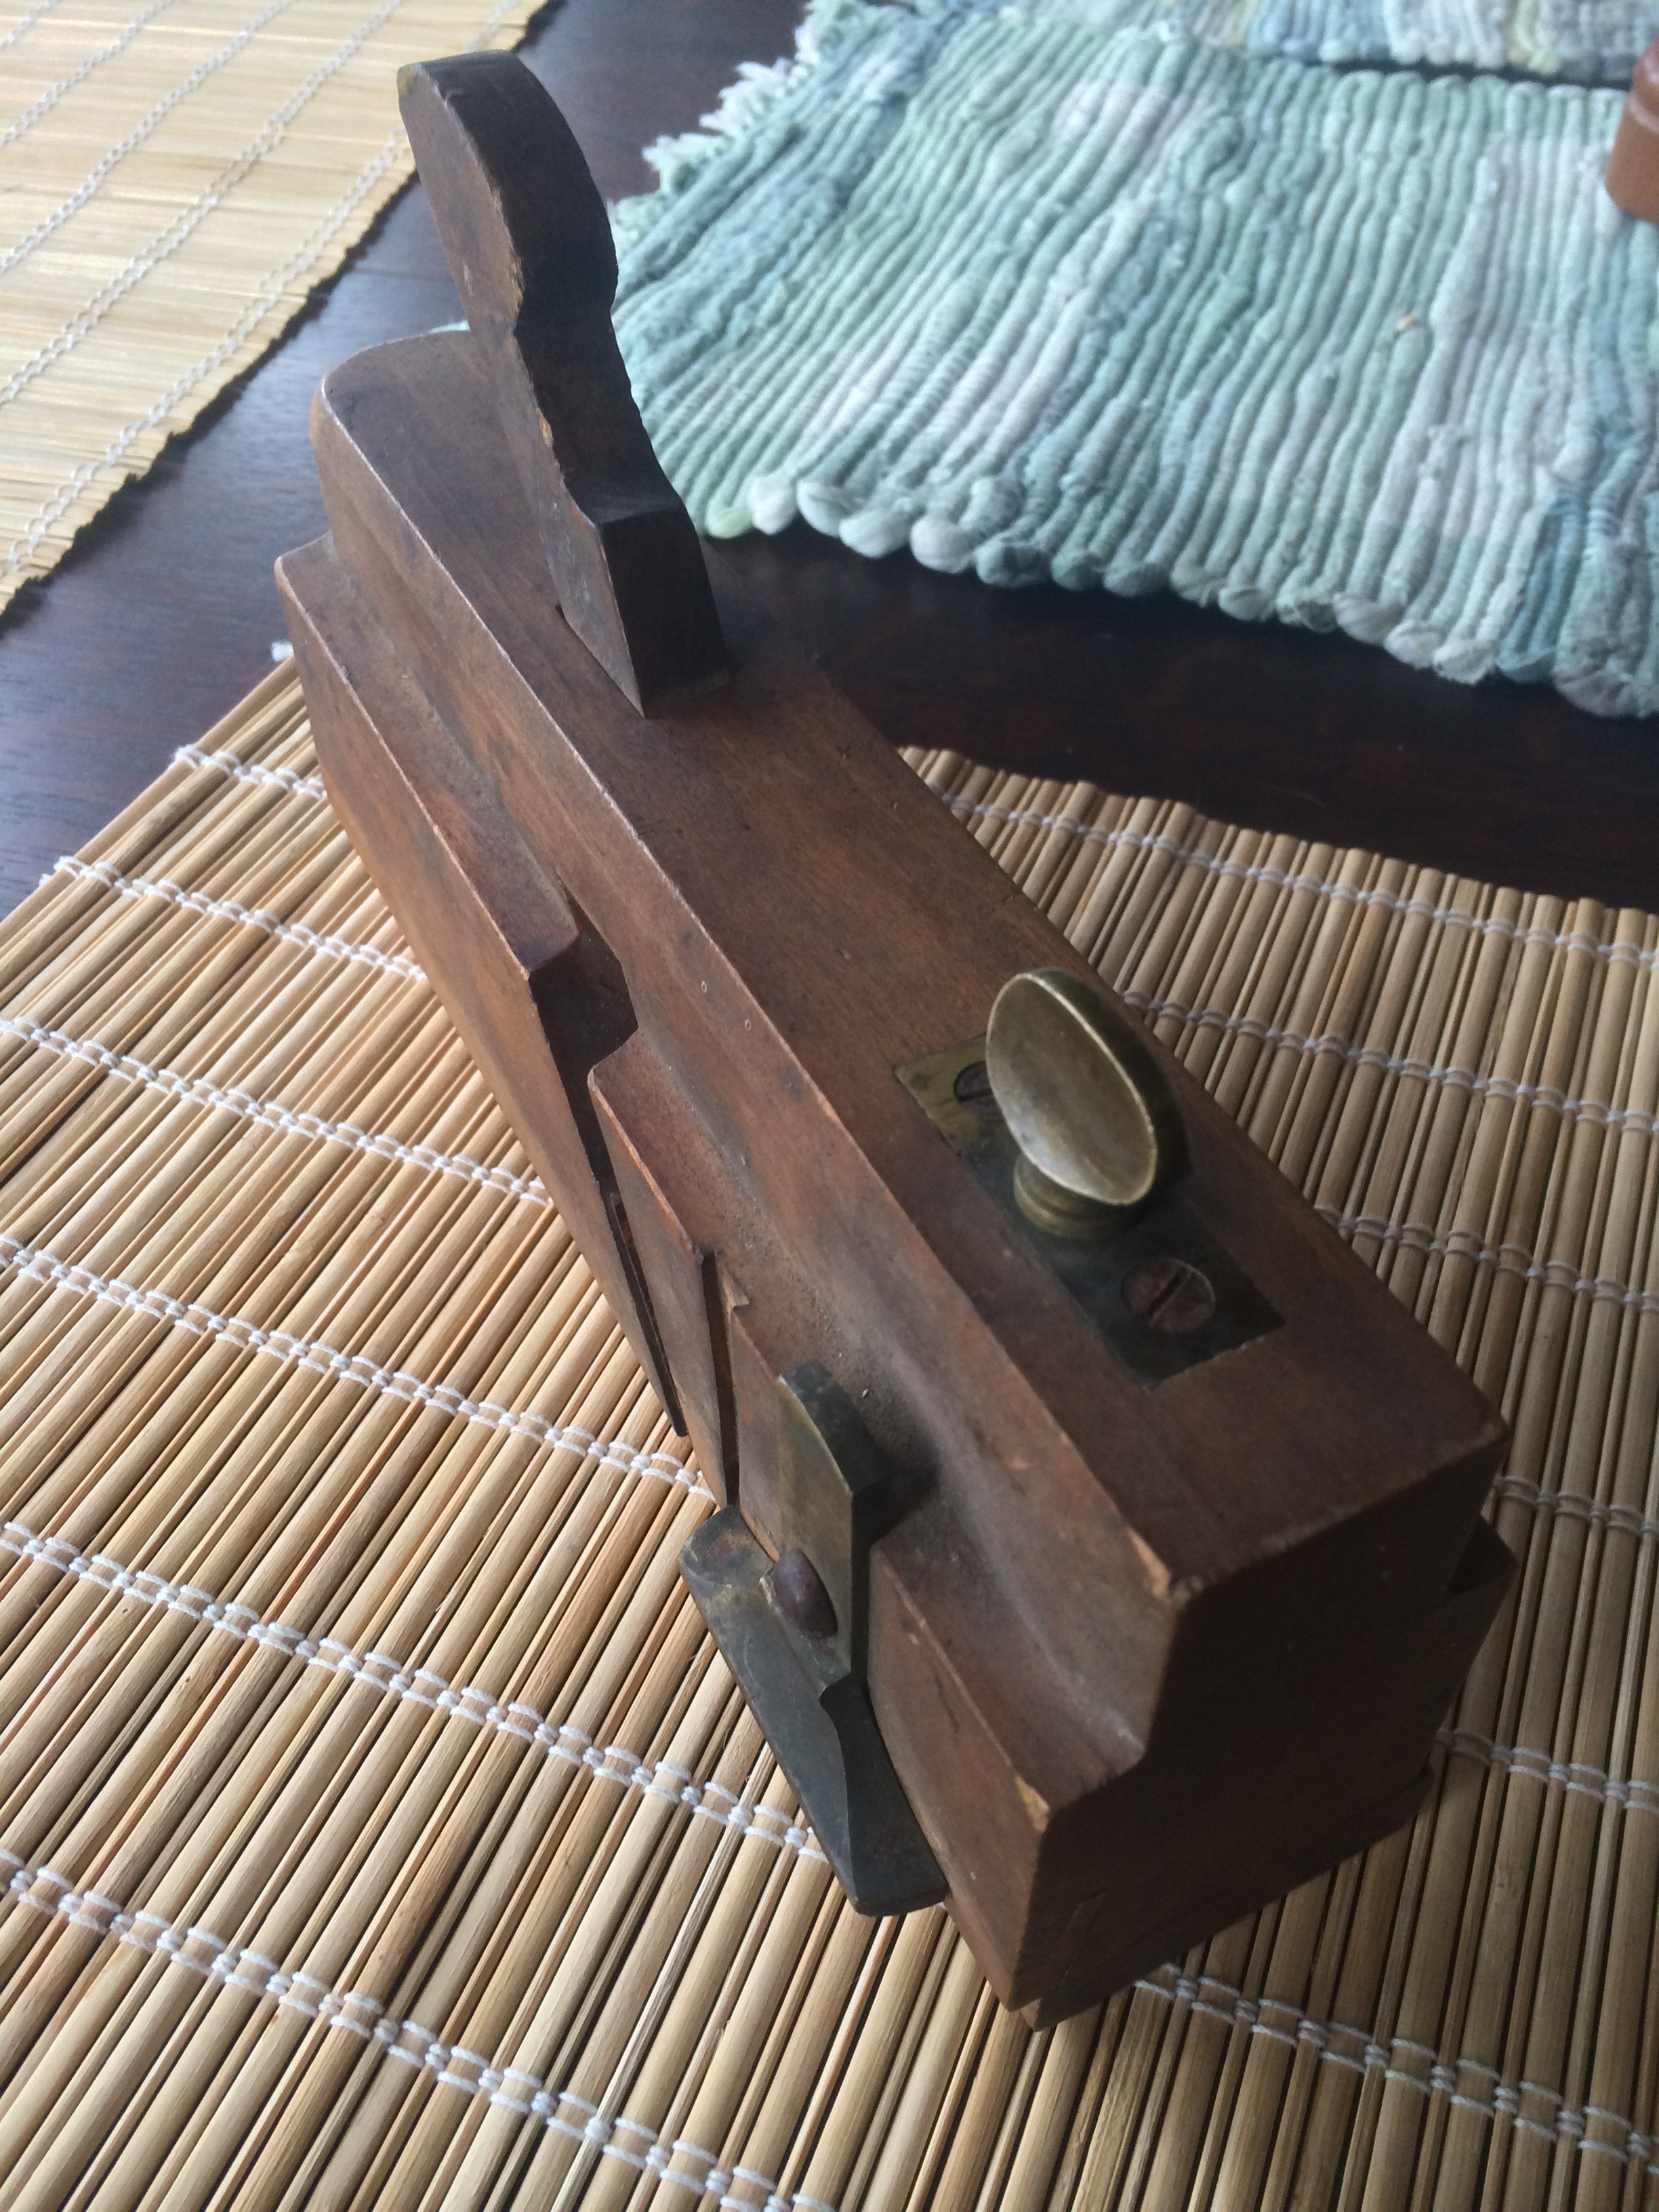
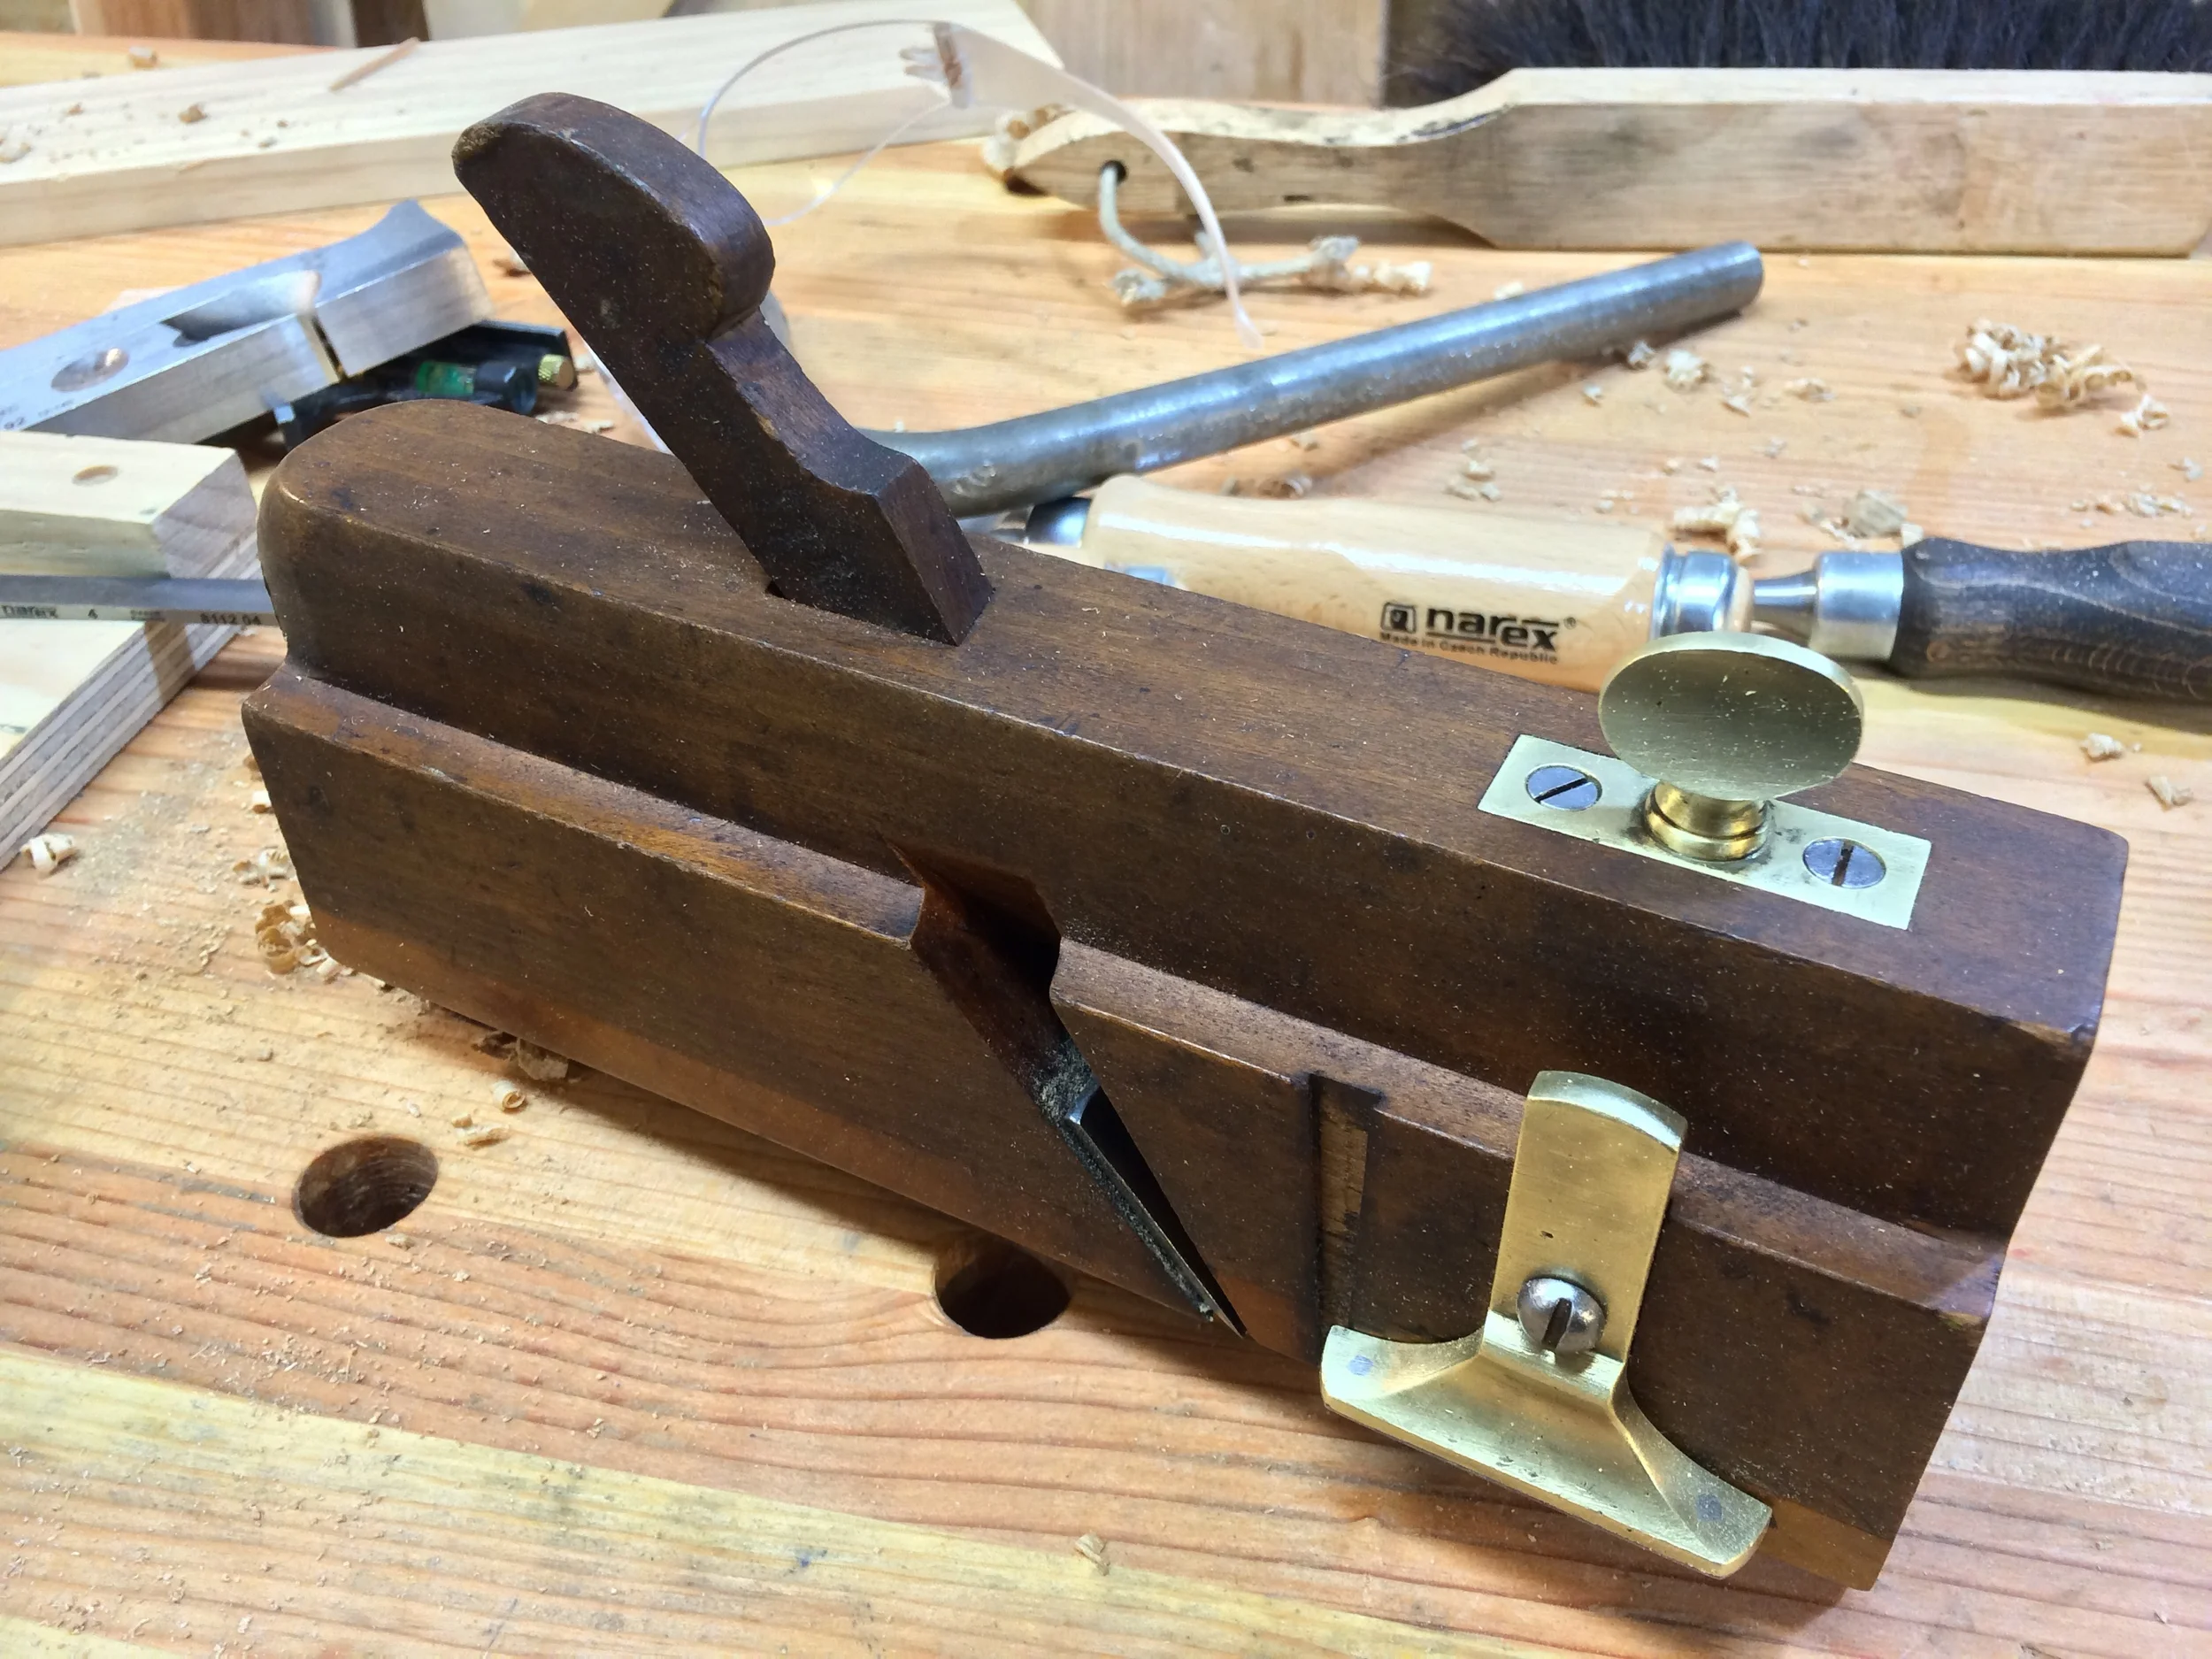
I tossed a bid into an eBay auction a few weeks ago, and happened to win it. It's a cool old wooden moving fillister plane. It's nothing fancy, but it's in good shape, except for the missing nicker iron. I took a little time to knock off the rust, clean it up, and sharpen the iron. It works great. A future detour will be to find some tool steel for the iron, cut & shape it, and then harden & temper it (something I haven't tried yet, but am inspired to do so by blacksmith Peter Ross).

Band Saw Maintenance

When my band saw blade started drifting, on even the simplest cut, I knew something was screwy. Especially since I'd recently put on a new Woodslicer blade about three weeks ago. A little investigation later, and damn it if the bottom thrust bearing hadn't seized up. Amazing how that makes such a difference -- you'd think the blade could still just slide along it. Oh well, a phone call to Grizzly.com service, and in a few minutes I had the part on order. But that means no band sawing for a while. 

Wardrobe, Part 2

Woodtopia at Horigan Urban Forest Products

Woodtopia at Horigan Urban Forest Products

I've made some progress on the wardrobe build. I started a few weeks ago with a couple of trips to Horigan Urban Forest Products for some white oak. It's always a good experience there, as they consistently have great material, in quantity, and are very helpful.

With my lumber in hand, I sized my pieces and marked out where my parts would go. I followed it up with a milling session, squaring up the parts and cutting them to slightly larger than final size, and then letting them acclimate to my shop. I'm still learning on estimating material, and discovered I was going to have to go back for more, (there's a lot more going on in this wardrobe than I thought as far as material goes). But I had enough on hand to start working on the main case.

As there was some learning to be done on this build, I wanted to use one of the parts to help figure out my process for the others, so I started with one of the sides. The plans I am using as my starting point don't specify much of the joinery: it can be done however you like. Therefore, I had to figure out the sizes and placement of the mortise & tenons. Looking at the drawing of the side shown here (left), I decided on using a single mortise & tenon on the top two rails, and double mortise & tenons on the bottom wide rail. On the bottom one, I also oriented both joints nearer to the top side, so they would be clear of the arc that would be cut for the feet.

I also had to figure out a size for the mortise & tenons that would be appropriate. There is a certain amount of eyeballing that works just fine for this, but as a general reference, I followed some tips I picked up from Bob Lang at his "Mortises, Choose Your Weapon" presentation at the recent Woodworking In America 2013. Those tips go something like this:

  1. Make the tenon as long as possible without risking damage to the mortised piece.
  2. The tenon should be no more than 1/3 thickness of the mortised piece.
  3. Width of the mortise should be 1/2 width of the tenoned piece.

All good rules of thumb. As my material for the rails & stiles was a little thicker than 3/4", I went with a mortise width of about 1/4". Actually, I chose my mortise chisel that was about 1/4"-ish as my size. I then made them approx 2" wide, and 2 1/2" deep. I don't have a mortising machine, so my choices to cut the mortises were either a) clear out most of the waste with a forstner drill bit, and clean it up with a chisel, or b) just use the mortising chisel. I started out doing method a), but found that it really doesn't save me any time. After drilling out the waste, the resulting mortise sides are so rough that the clean up takes a lot of time. Also, with the length my forester bit (about 2 & 1/4" beyond the chuck), the mortise was still shallower than I would have liked it to be, requiring a switch to the traditional mortise chisel method anyway. Just like with the sides, the drilling left a ragged bottom that was harder to work than if I'd used the chisel only. So, I switched to method b) and got better results in less time. Conclusion: with the right tool (a sharp mortise chisel) and the right technique, drilling out the waste is more trouble than it is worth.

I cut the tenons with a dado blade on the table saw, (but could have just as easily used a tenon saw) leaving them slightly oversized to fit later. After I cut the grooves for the panel with a Stanley no. 45 plane, I fit the joints. Next up was re-sawing some pieces for the solid wood panels. A nice new Woodslicer II blade in my 14" bandsaw worked wonderfully, and after my glue up, I had some nice book matched 1/4" panels. Red, over at LumberJocks.com, made a nice post on the process that illustrates that process, and matches what I did pretty closely.

All that was left was a dry fit, and it came out well. Here's some pictures of the assembly. Only five more frame & panels (the other side, the back, and two doors), a top & bottom, the center divider, and all the drawers to go.

Wardrobe, Part 1

The next big project on my bench is a Stickley wardrobe. I am pretty closely following the plan provided by Robert Lang from his site (and from his excellent Shop Drawing for Craftsman Interiors book). One of our bedrooms has no closet, and draping clothes over a folding chair and a plastic storage tub is getting old quickly.

As I am trying to do with each project, I am adding something new to this one. Instead of using veneered plywood for the 1/4" panels, I am using solid wood panels. This makes the build different in a lot of ways.

With the plywood panel method, building each frame-and-panel part (sides, back, doors) involves...

  • stub mortise and tenon joinery for the frame
  • a panel that is exactly the size of opening plus grooves
  • glueing the panel into the frame
  • finishing the panel and frame at the same time

This is all possible because the plywood panels are stable, and don't grow or shrink with humidity the way solid wood does. The panel then is glued to the frames, adding strength to the part. And, as it isn't going to move, can be finished at the end, when the rest of the piece is.

With solid wood panels, things change significantly...

  • the panels are slightly smaller than the openings plus groove, allowing them to move (expand & contract)
  • because they aren't glued to the frame, the don't provide any strength to the frame; joinery is now full mortise and tenon
  • Also, because the panels are loose, and may slightly expand & contract, the panels must be fully finished to their edges before the frame is assembled and glued

In the end, either method provides a perfectly acceptable piece of furniture. So why choose the solid wood method over plywood? Am I trying to earn "authentic" points? Nope. Instead I choose to try this out because I've never done it before, and I want to see how it goes. Yes, it will be more work, but I'll also learn something I wouldn't have otherwise.

Windows and Doors by Hand

My entry into the world of woodworking was inspired from several different directions. One was the basic act of making things by hand. Another was my desire to learn about history through furniture, joinery, carpentry, and architecture. Another was to find at least one way out of trap of the consumer culture, and into the maker culture. And another was the desire to be a little greener in how I lived on the planet.

In the desire to be greener, my first major woodworking project, that of re-build my entire kitchen, was an eye opener. It all started with our kitchen windows: a row of seven double hung sash windows that were hard to open & close, with a lot of the surrounding woodwork chewed up, rotted, and crappy looking. They had taken a beating over the years, and weren't helped by the fact that soon after buying the house, we opted to have them painted, as the thought of restoring them, and re-finishing or re-building the woodwork was totally out of our skill set at the time.

But just two+ years ago or so, when I was just getting started woodworking, we were ready to re-do our entire kitchen. Removing the cracked tile floor, getting rid of the cheap home center paper veneer cabinets, etc etc, and building the whole thing. We wanted to return to nice wood trim around the windows, and that meant dealing with the old stuck-prone, drafty, sash windows. We thought "lets get some nice new energy efficient windows!". We followed the conventional wisdom that new vinyl windows were infinitely better than original sash windows. We thought they were more energy efficient, easy to clean, and looked...  Hmmm. The look... they looked... plasticky. That was a tipping point. I really didn't want to spend all that effort to make nice oak craftsman style cabinets, install a hardwood oak floor, oak trim, and still have white plastic windows.

A bit of internet research later, and I came across a local business, Chicago Green Windows who had the simple motto "don't trash that sash!". It started making sense; these old wooden sash windows had been there for 100+ years, and when refurbished and weather proofed, would be every bit as energy efficient as the vinyl ones. But even better, they will last another 100 years, where the vinyl ones will have the handles and other bits break, (usually forcing you to replace the whole thing when, ten years later, that version of window isn't made any more), not to mention the un-green act of throwing out 100 year old windows and using yet more energy and materials to make new vinyl ones.

So thats what we did, with the help of Chicago Green Windows, we stripped the paint off, re-glazed them, did patches and repairs where needed, and I rebuilt every inch of the surrounding woodwork. We stained (insides) and painted (outsides) where needed, and they were re-hung with copper chains for the weights and bronze spring strip weatherstripping and rubber weatherstripping on the bottom edges, etc. The result is that they look perfect, go up and down with ease, and WILL LAST ANOTHER 100 YEARS.

That episode taught me a lot about the value of re-using and restoring your home and things in it, rather than just throwing away and replacing stuff.

But not all the windows in our house are original. There are several on the sides, and on the second floor, that are vinyl replacement windows. Guess what? They all have something broken off of them somewhere, and those parts can't be replaced. Several of them were installed terribly, and are hard to raise, lower, and close. And they all look plastic and cheap. I'd like to replace them.

So, it is with great excitement that I saw the recent Lost Art Press announcement of their upcoming release, Doormaking and Window-making. From the description...

As the Industrial Revolution mechanized the jobs of the joiner – building doors and windows by hand – one anonymous joiner watched the traditional skills disappear and decided to do something about it.

This is great, consider it ordered. I can't wait to learn about this and put it into practice. Although I did tackle a big exterior door project (successfully!), sash windows are another frontier. But with this book in hand, those remaining vinyl windows don't stand a chance!

Simple Tools

I few weeks ago, I wanted to do a little project or two, so I made two try squares, and two marking gauges (one a panel gauge). The design for the gauges came from the classic Charles Hayward "How To Make Woodwork Tools", and the squares from a Jim Tolpin article in Popular Woodworking, "Building a Handmade Try Square".

The squares are made from some nice elm a fellow woodworker gave me, and some walnut I had in the shop. The gauges are white oak. These were fun, and I definitely have the bug for making my own tools. I'm sure there's more to come.