Exterior Kitchen Door, Complete

It's been a while since posting Door Build part 3, but that was due to some delays in getting the insulated glass for the last step. (For all the steps, and more build pics, see part 2 and part 1). The re-keying for the mortise lock took some time too. But the parts finally were in place (thank you Seth!), and was I able to finish things up...

  • I did a dry fit of the 5/8" insulated, tempered glass (yes, it fit!)
  • I milled and finished the stops that would hold the glass into the rabbets
  • used clear silicon caulk to seat the glass, and then attached the stops
  • stepped back and enjoyed the door

Making the stops were the only "woodworking" part of this round, and I made a profile for them with a Stanley no.45 to cut a rabbet, and then a block plane to make a chamfer to two scribed lines. I then used my miter box and 45° shooting board to trim the miters to fit.

So that's it. I have a beautiful door that matches the kitchen. It is solid, operates smoothly, and secure. It was a big project, one that had to be right the first time. Taking my time, dealing with the details as I went made it come out as perfectly as I could make it.

Post Drill, uh, post

Last weekend, I had the pleasure of attending ArnFest, the annual real world gathering of members of the Old Wood Working Machines forum. Although it ran for 4 days total, I only went on Saturday, for the swap meet, and there was a lot of good stuff to trade and sell, and great people to meet. One of the items that caught my eye was a 1910s-ish era ACME post drill. 

What's a post drill? This site is glad you asked; in short, its a hand cranked drill press designed to be mounted on a post. It was never designed as a precision tool, more of a rough utility tool for a barn or small shop. One distinctive feature is that they have a weird offset chuck that required special drill bits with uniform shanks with a flat on the side. I had been curious about them, when one popped up right there in front of me at ArnFest. For some short money I thought I'd give it try. On the plus side, it was parts complete, and more dirty than rusty, and very thankfully, someone had already converted the chuck to a modern 3-jaw centered chuck,  allowing me to use modern, normal shank drill bits. 

So, it went home with me, and over the next few days, I went through the clean up process...  clean off the gunk, dirt & grime; disassemble everything (thankfully, every piece could be taken apart without much work - no parts were fused together or seized up); take all the rust off; re-paint the appropriate areas; build a "post" to mount it to; reassemble it all and lubricate it; and finally, hang it on the wall and try it out.

It was a lot of work, here's a few pictures of the process...


Finally, its was time to try it out. And, well, it worked, but for a variety of reasons, it just wasn't going to become my new "upgrade to the past" alcohol powered drill press, replacing my electric one. For one, with the modified chuck, there just isn't enough clearance for work taller than 3" or so, depending on the bit you use, even with the table all the way down. Second, it is self advancing, and even at the fastest adjustment, it advances SLOWLY. Really, really slowly. Finally, it has some runout issues (wobbly bit, due to a slight bend in the shaft/quill) that would always be annoying. So, while it won't end up being a useful tool in the shop, I did have a lot of fun restoring it, getting it to work, and learning about it. I just need to find it a good home.

Here's a short video so you could see the drill in action. I apologize for the "upright iPhone" aspect ratio: it seemed to frame the subject well. 

I am demonstrating the operation, and some issues, with a 1910's era ACME post drill.

Door Build pt 3

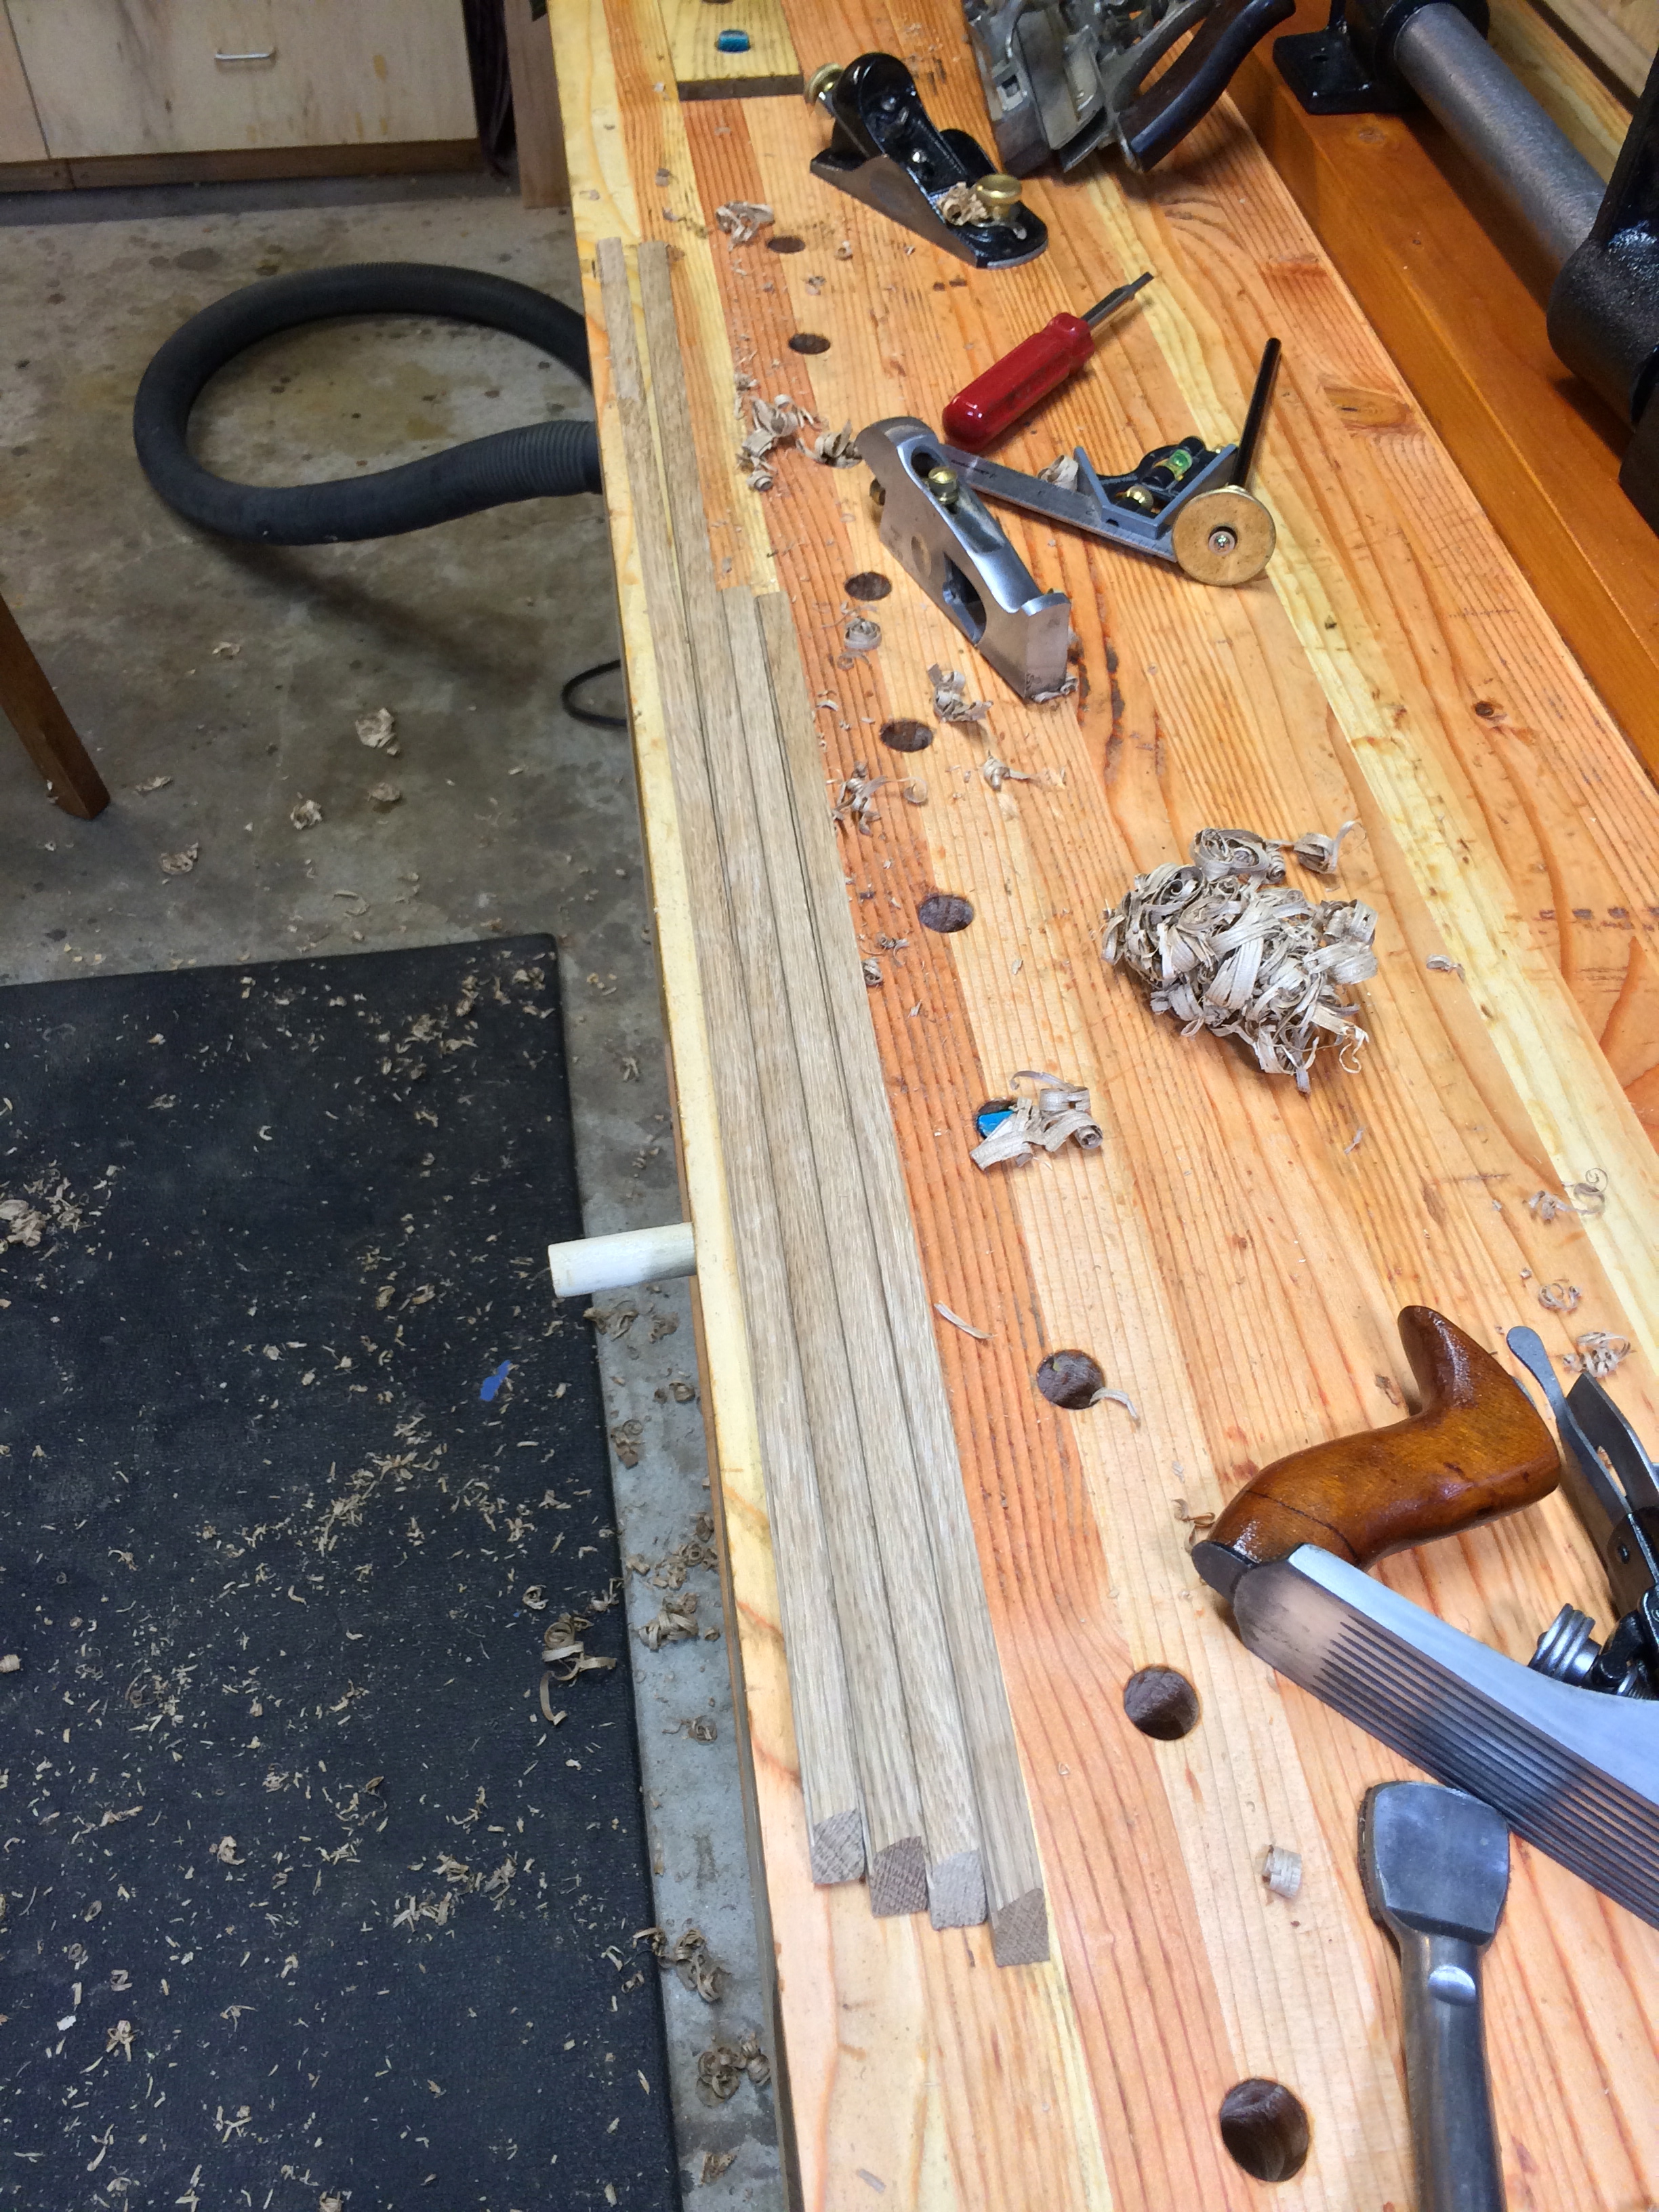
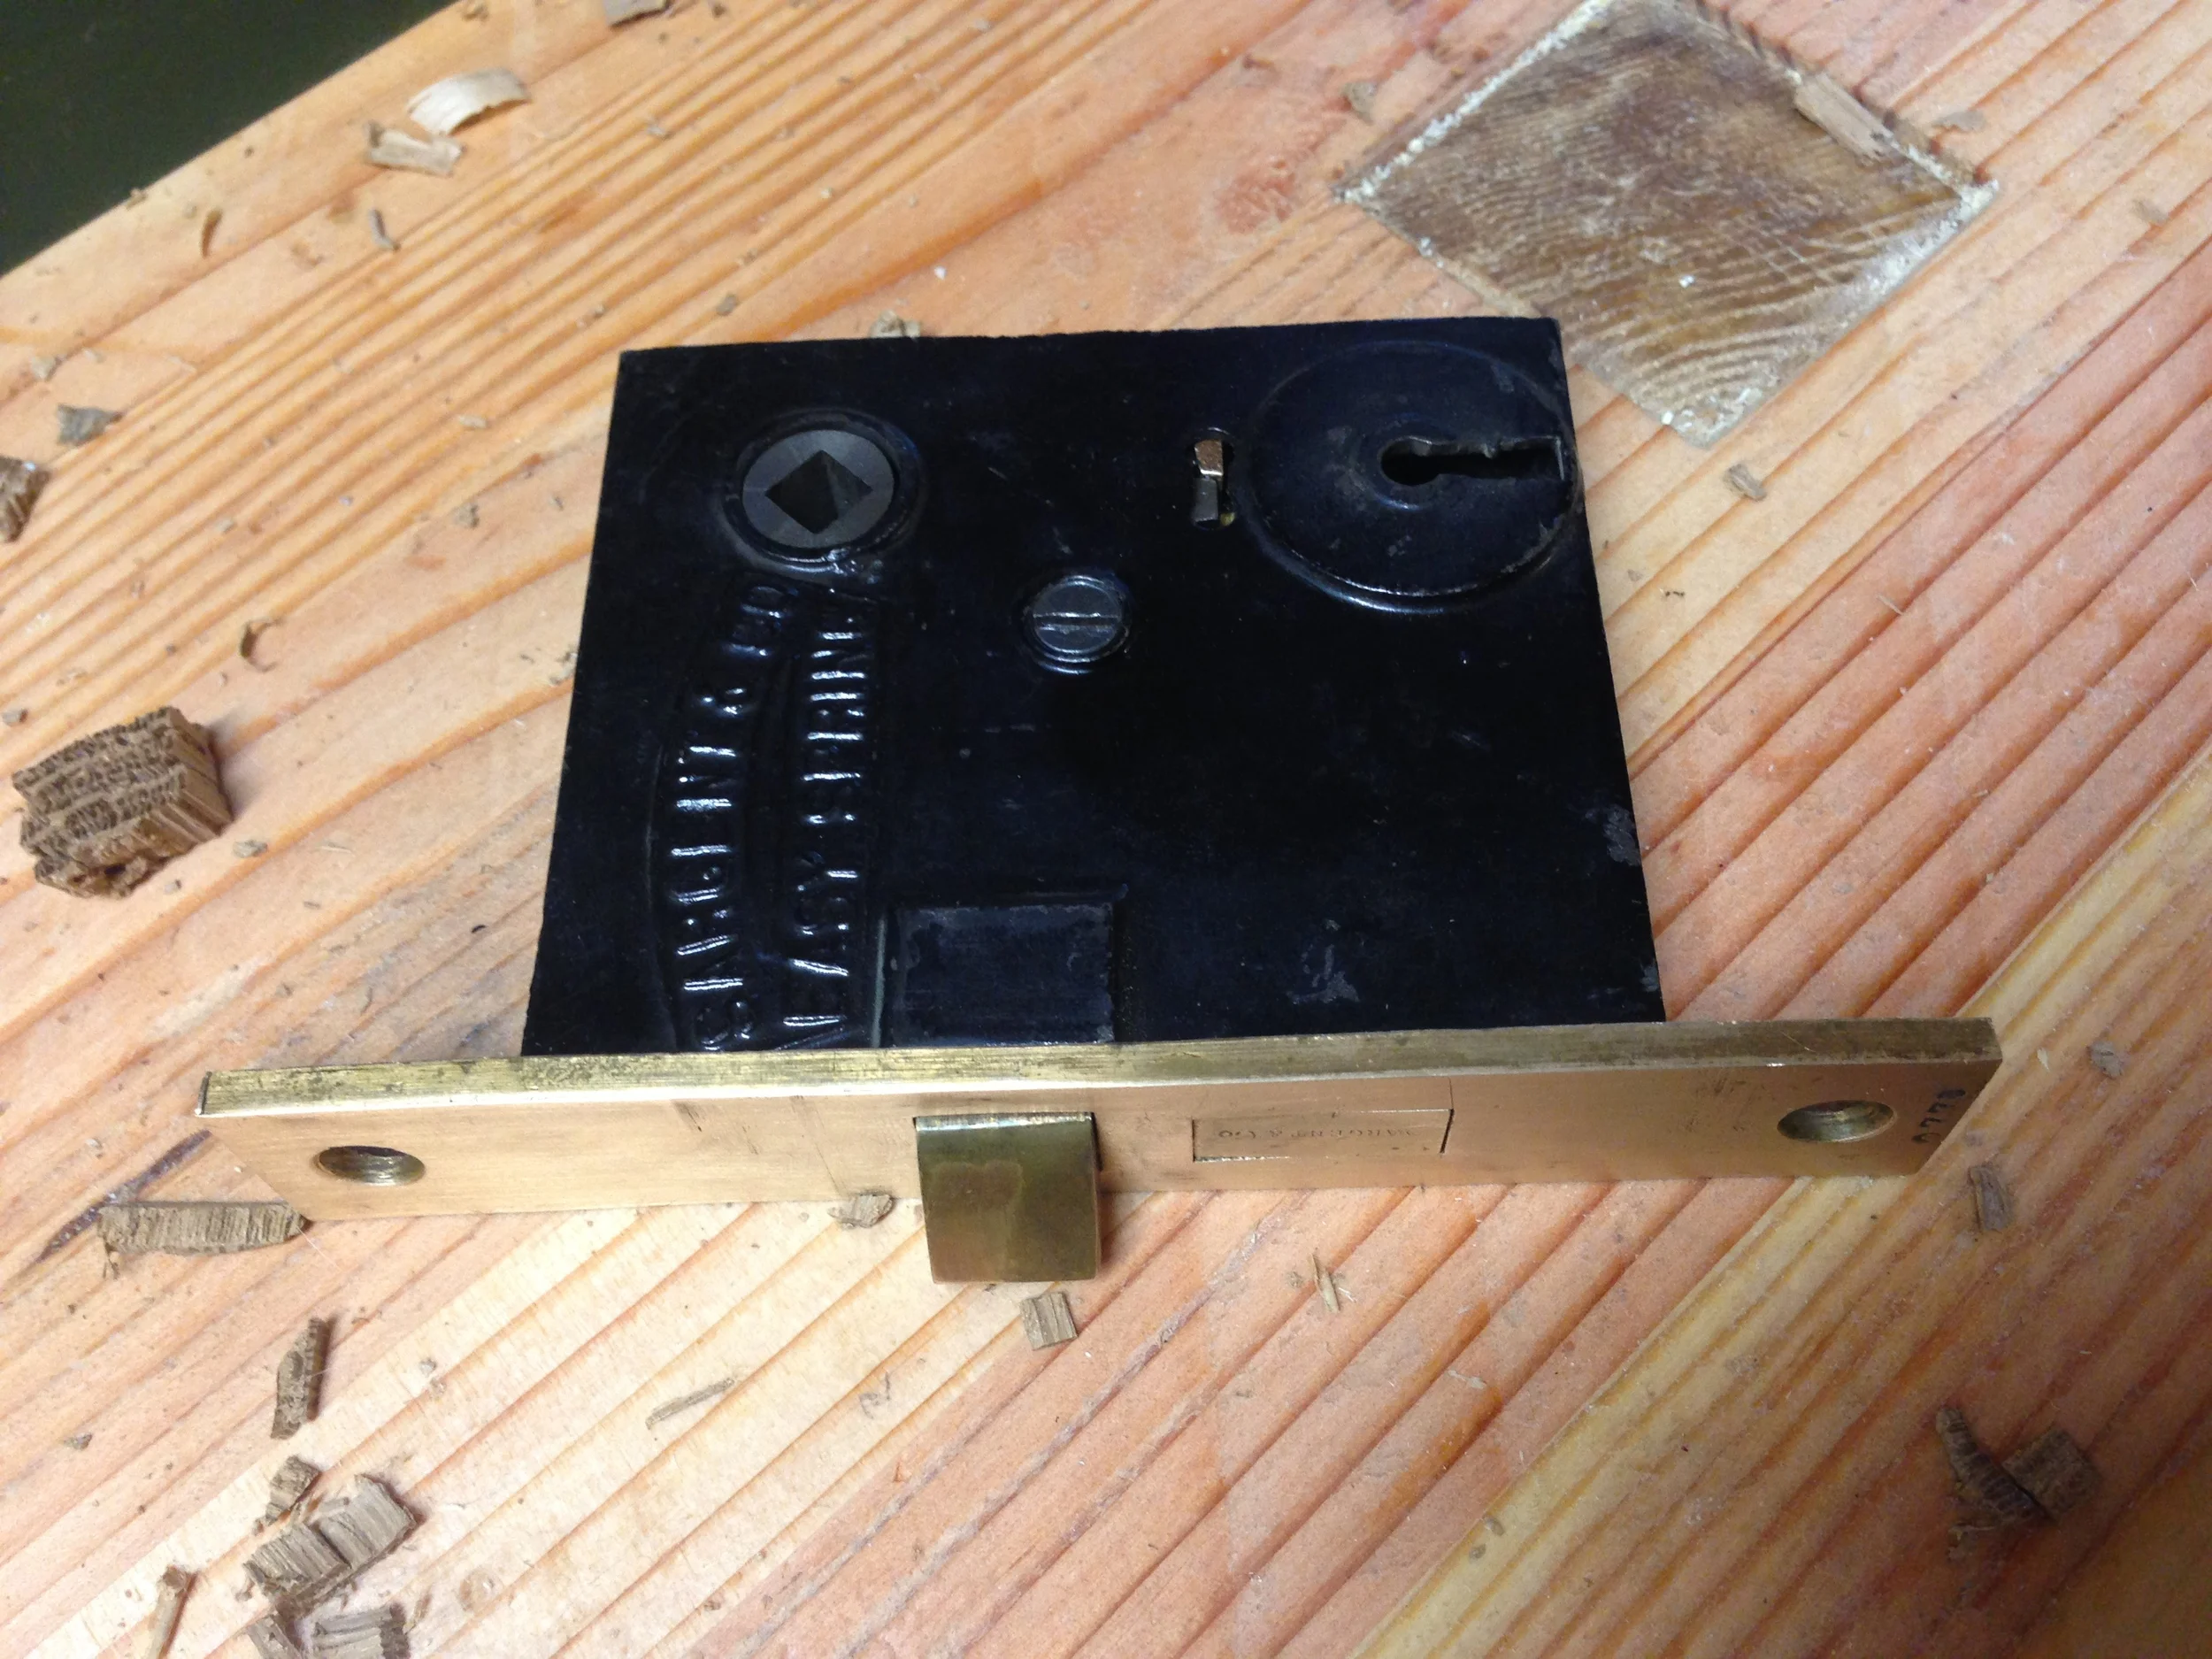
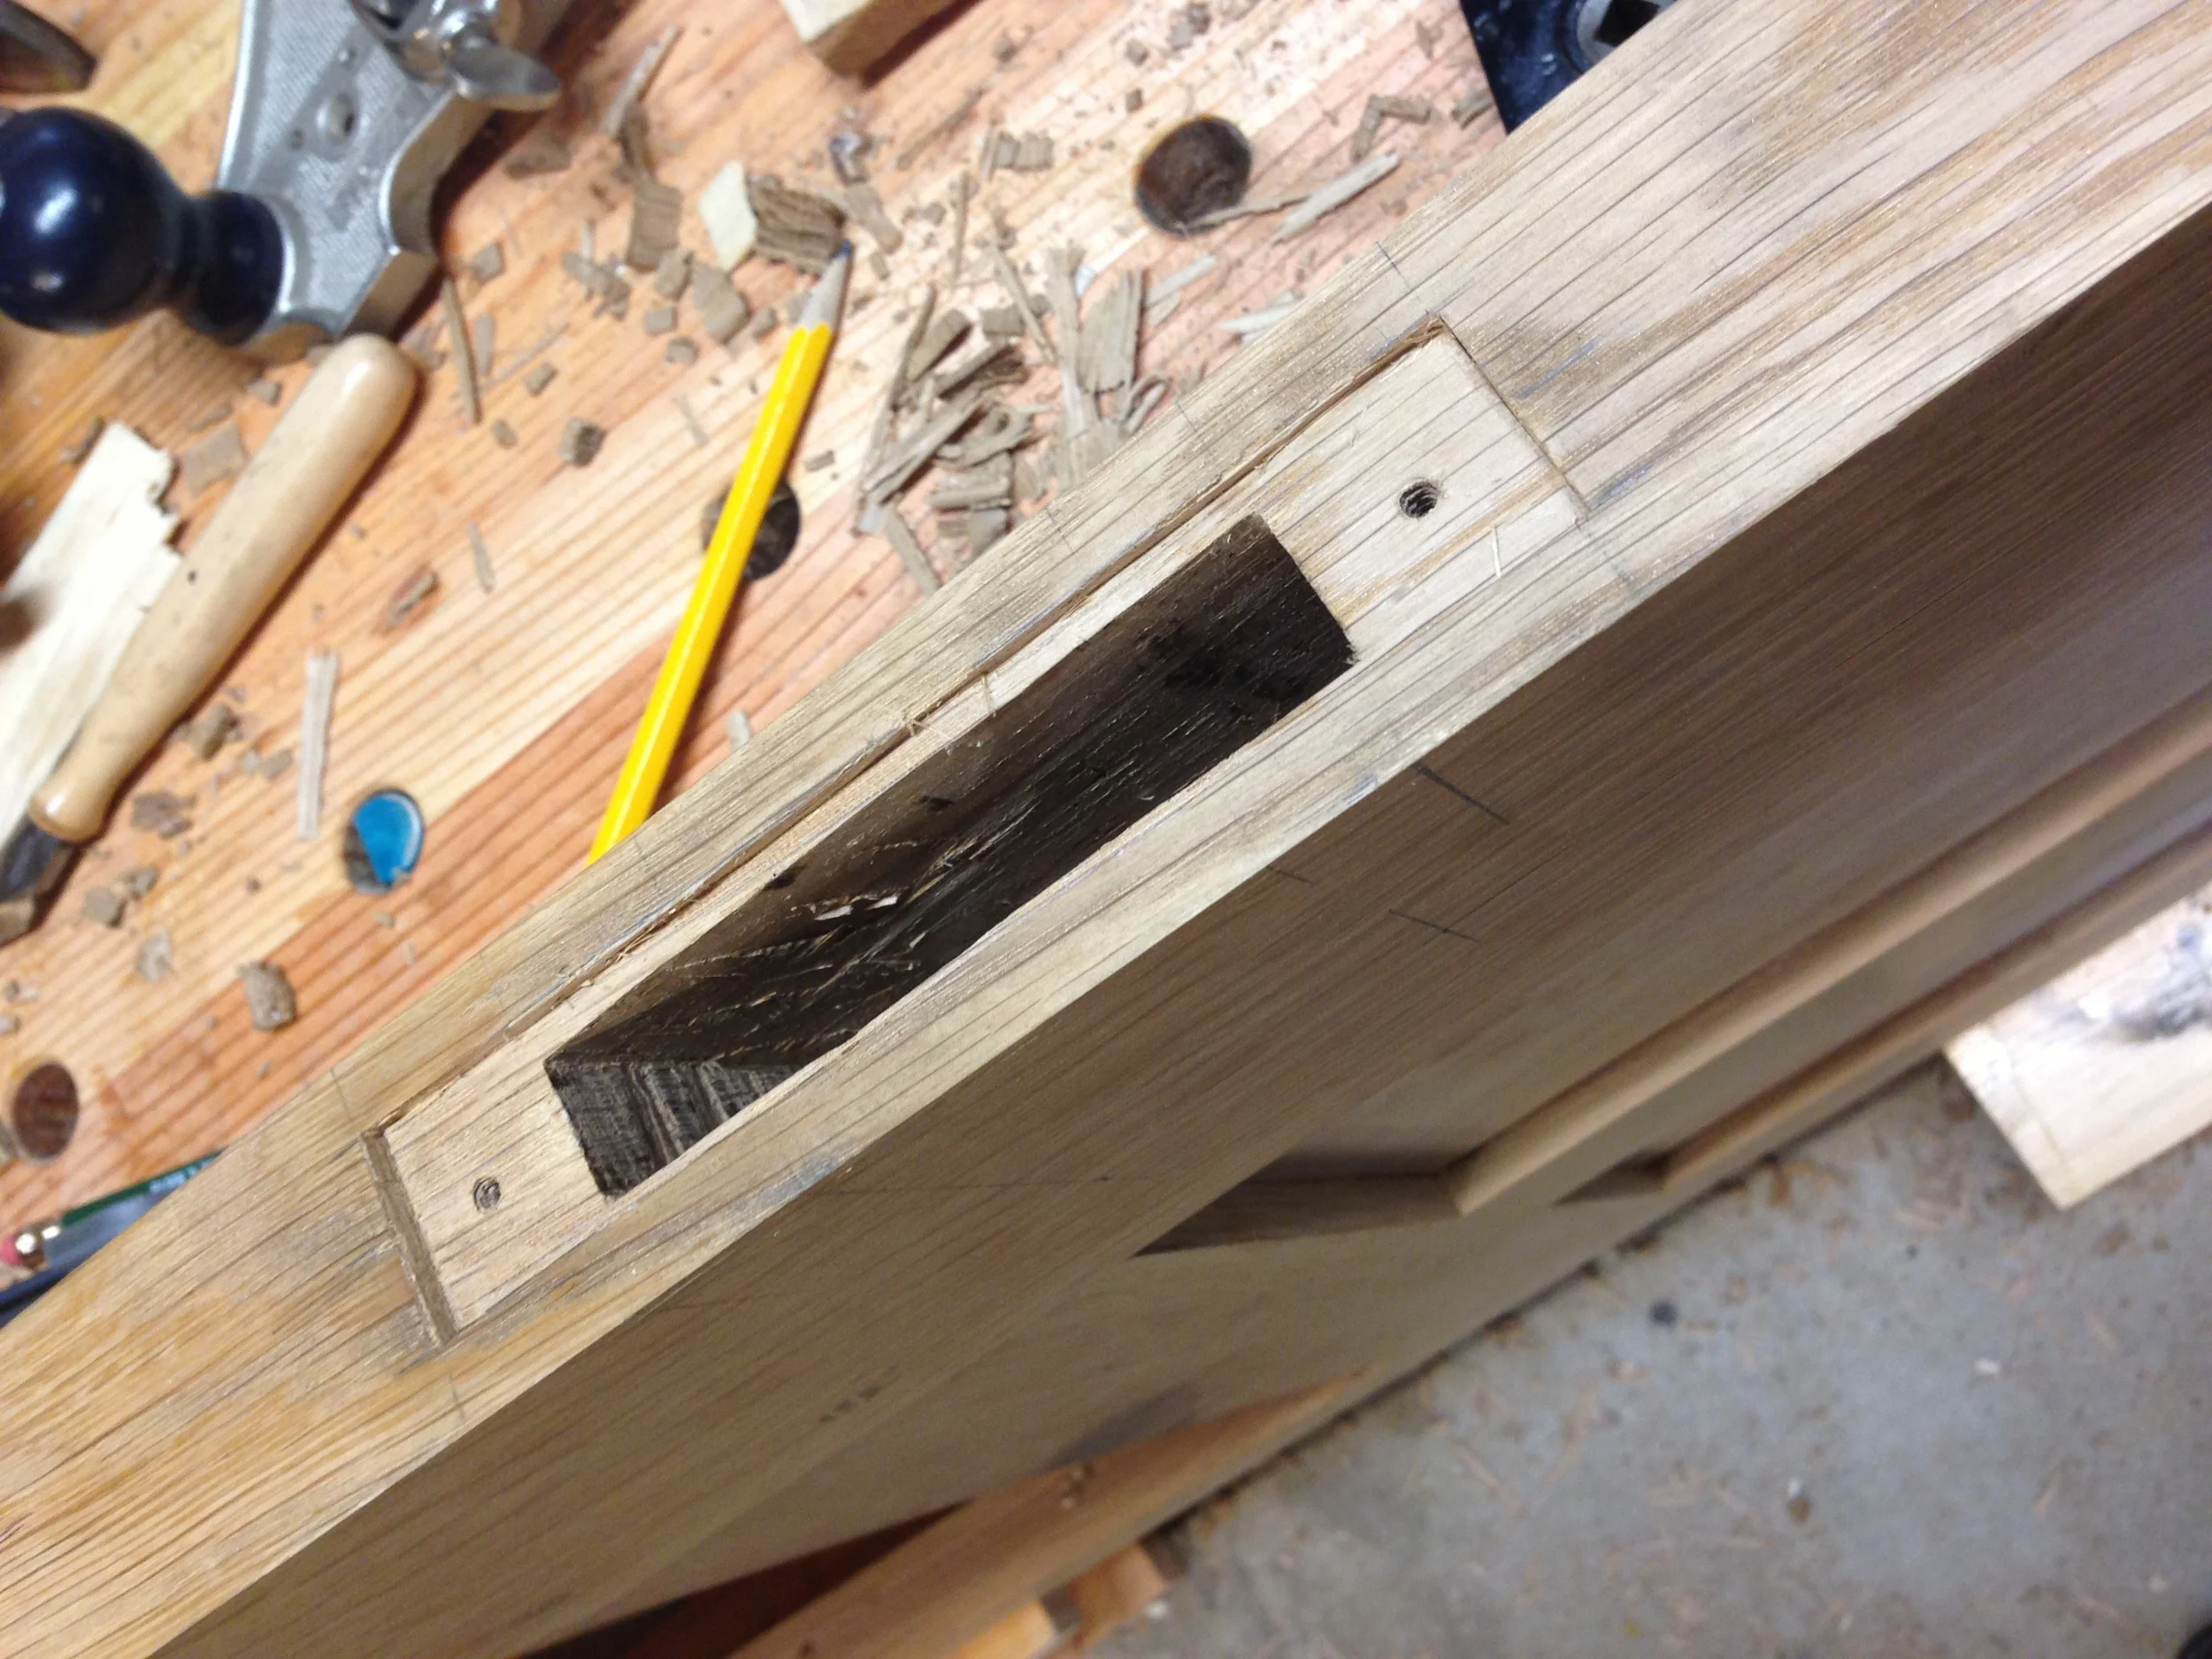
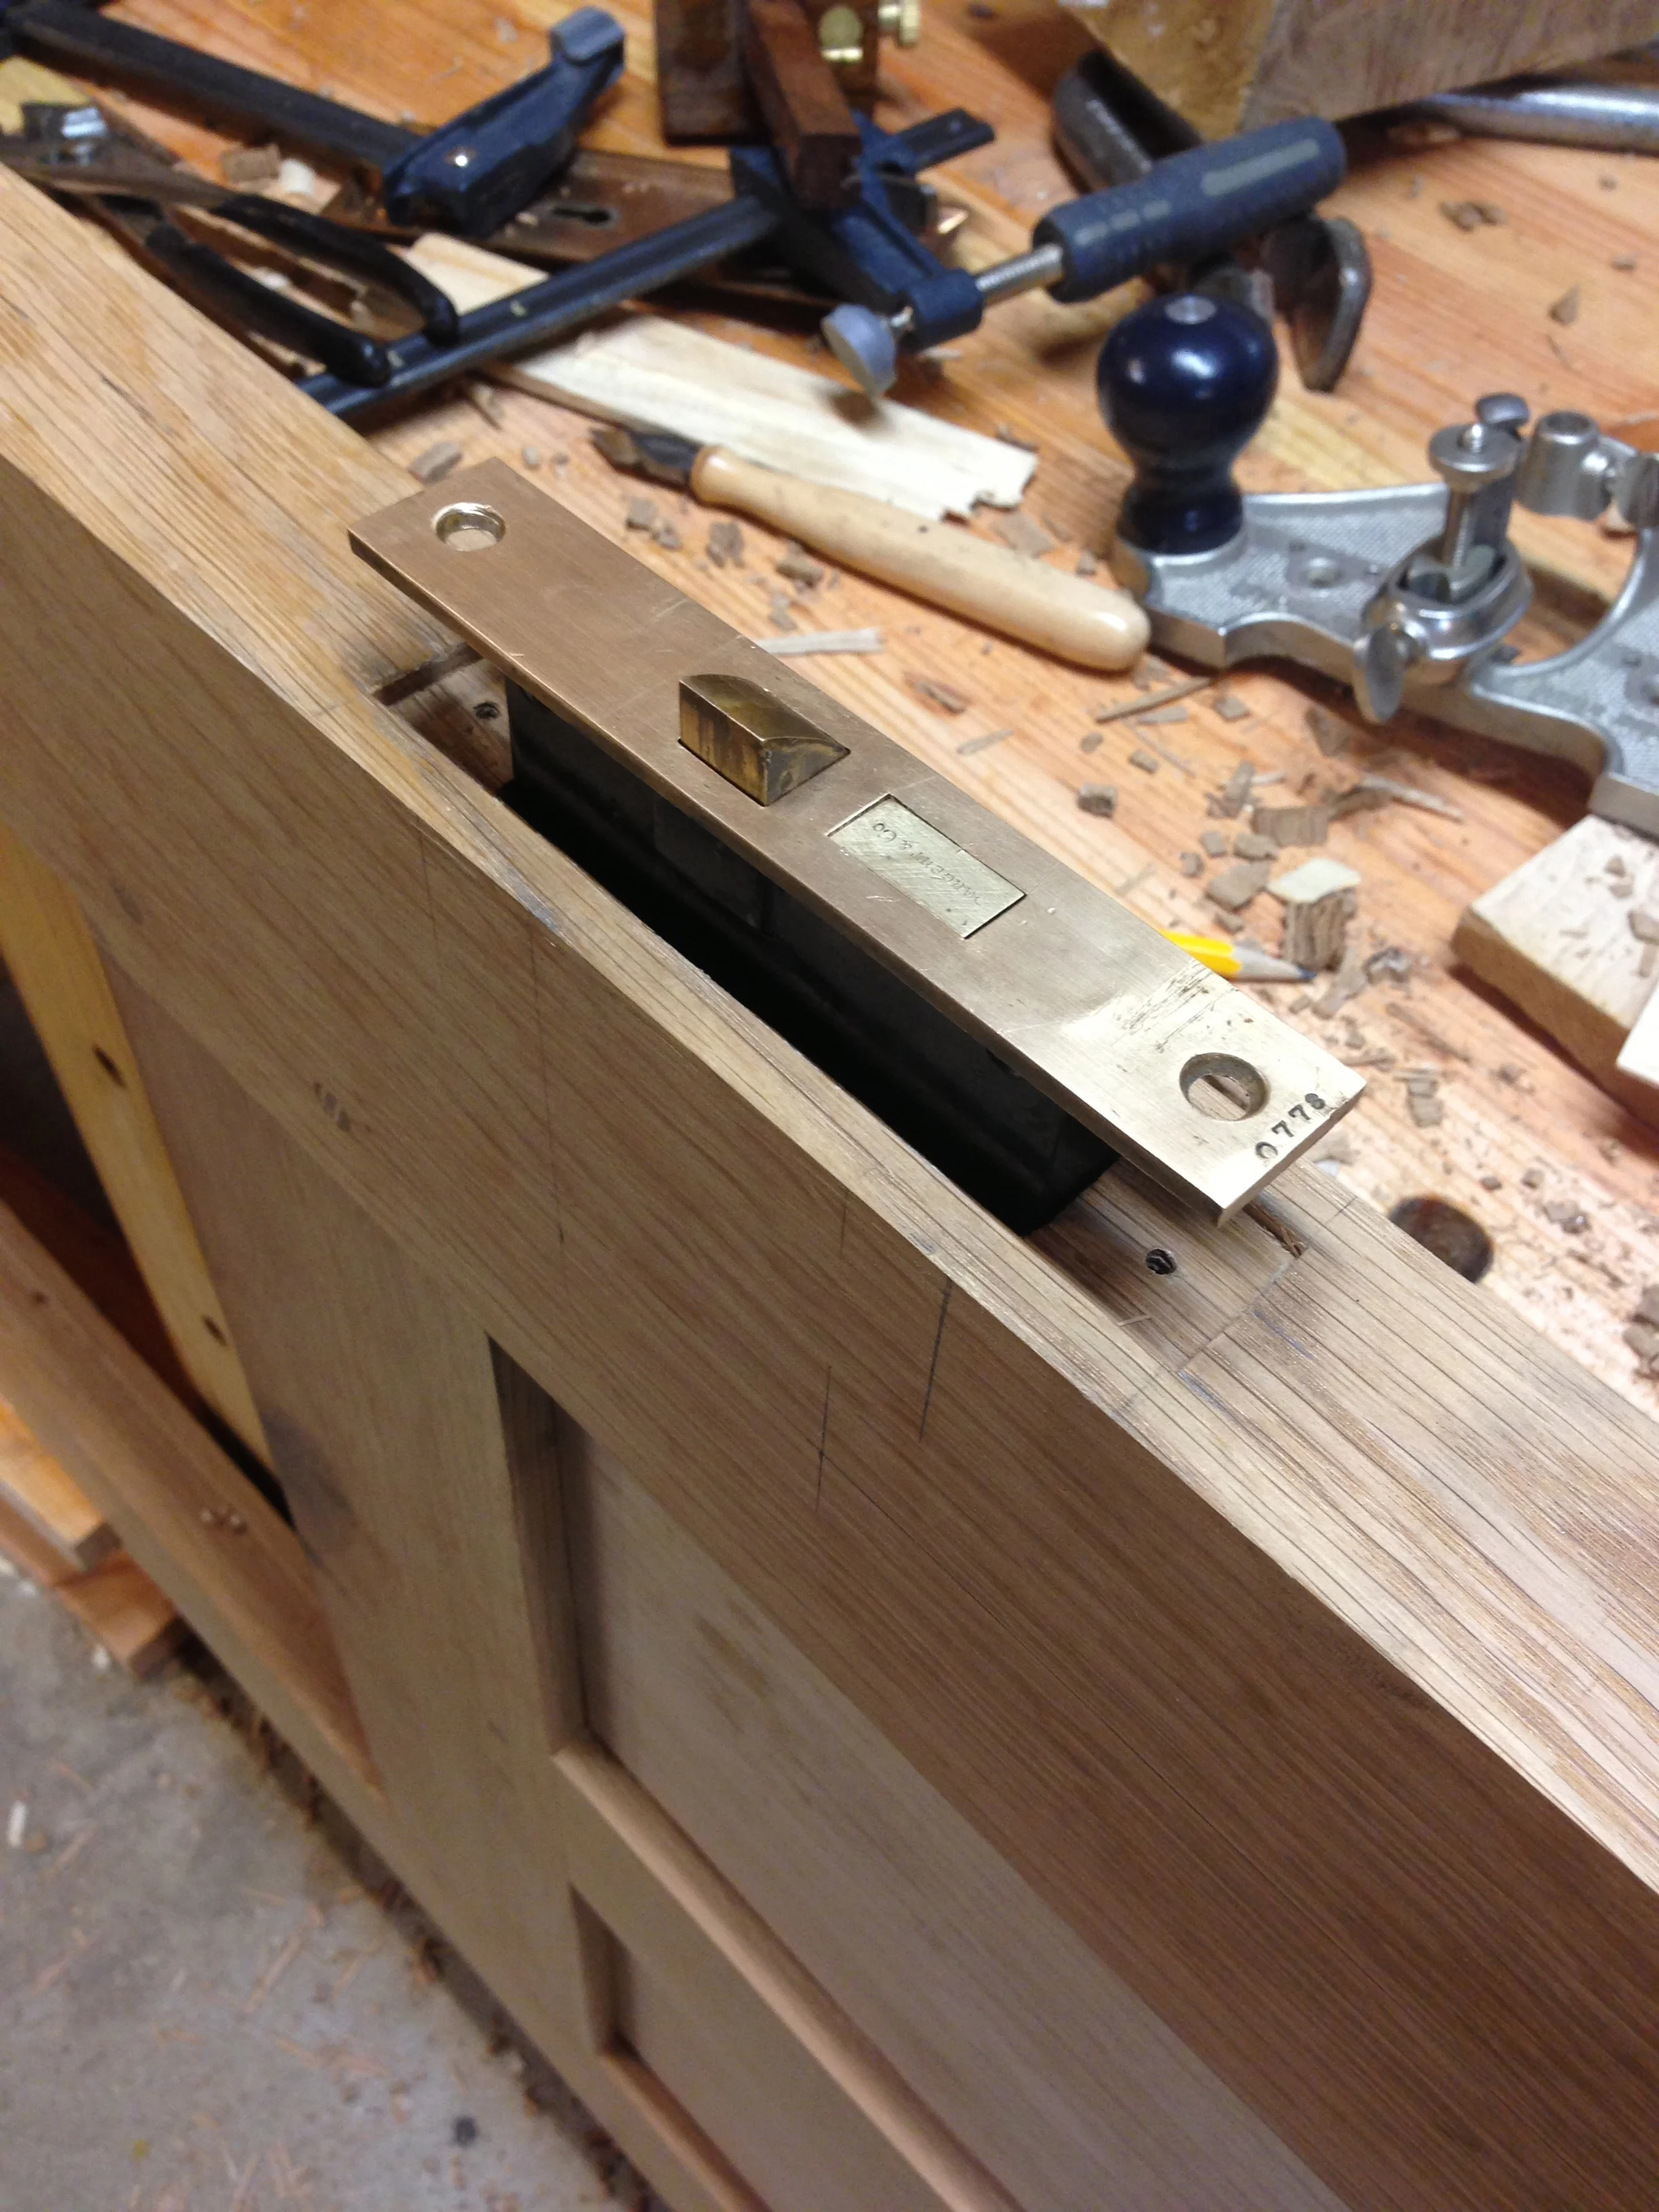
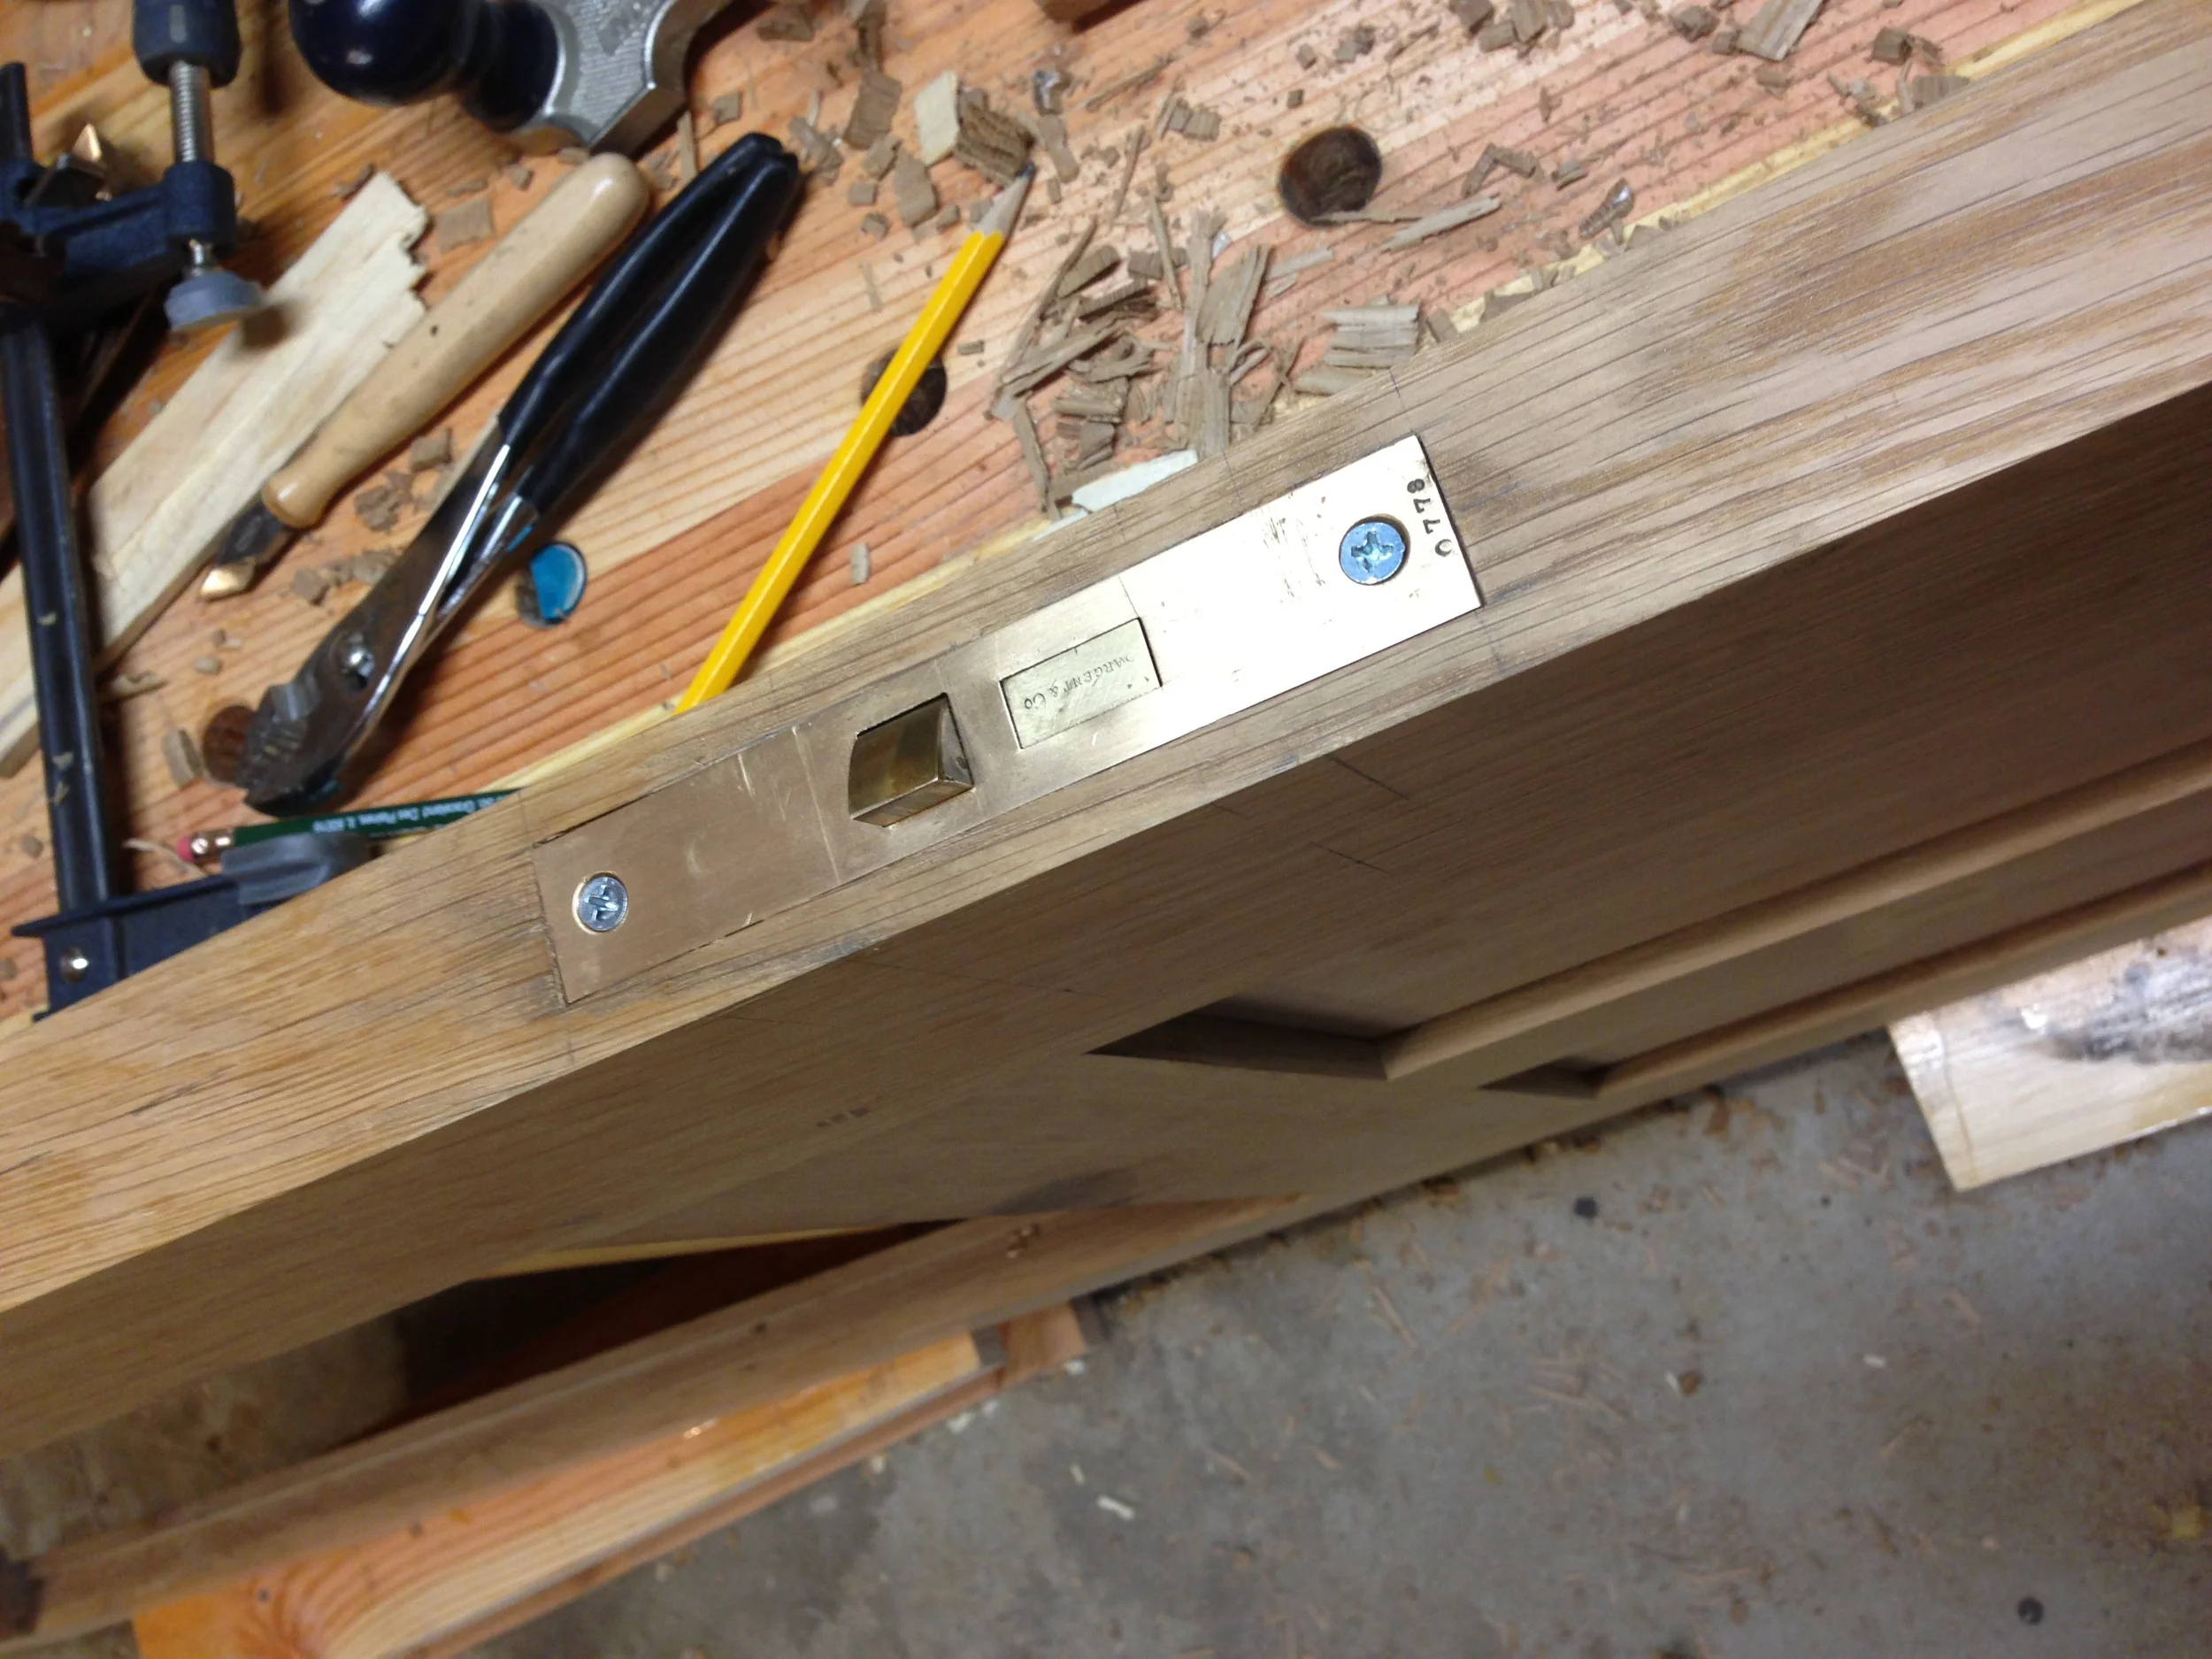
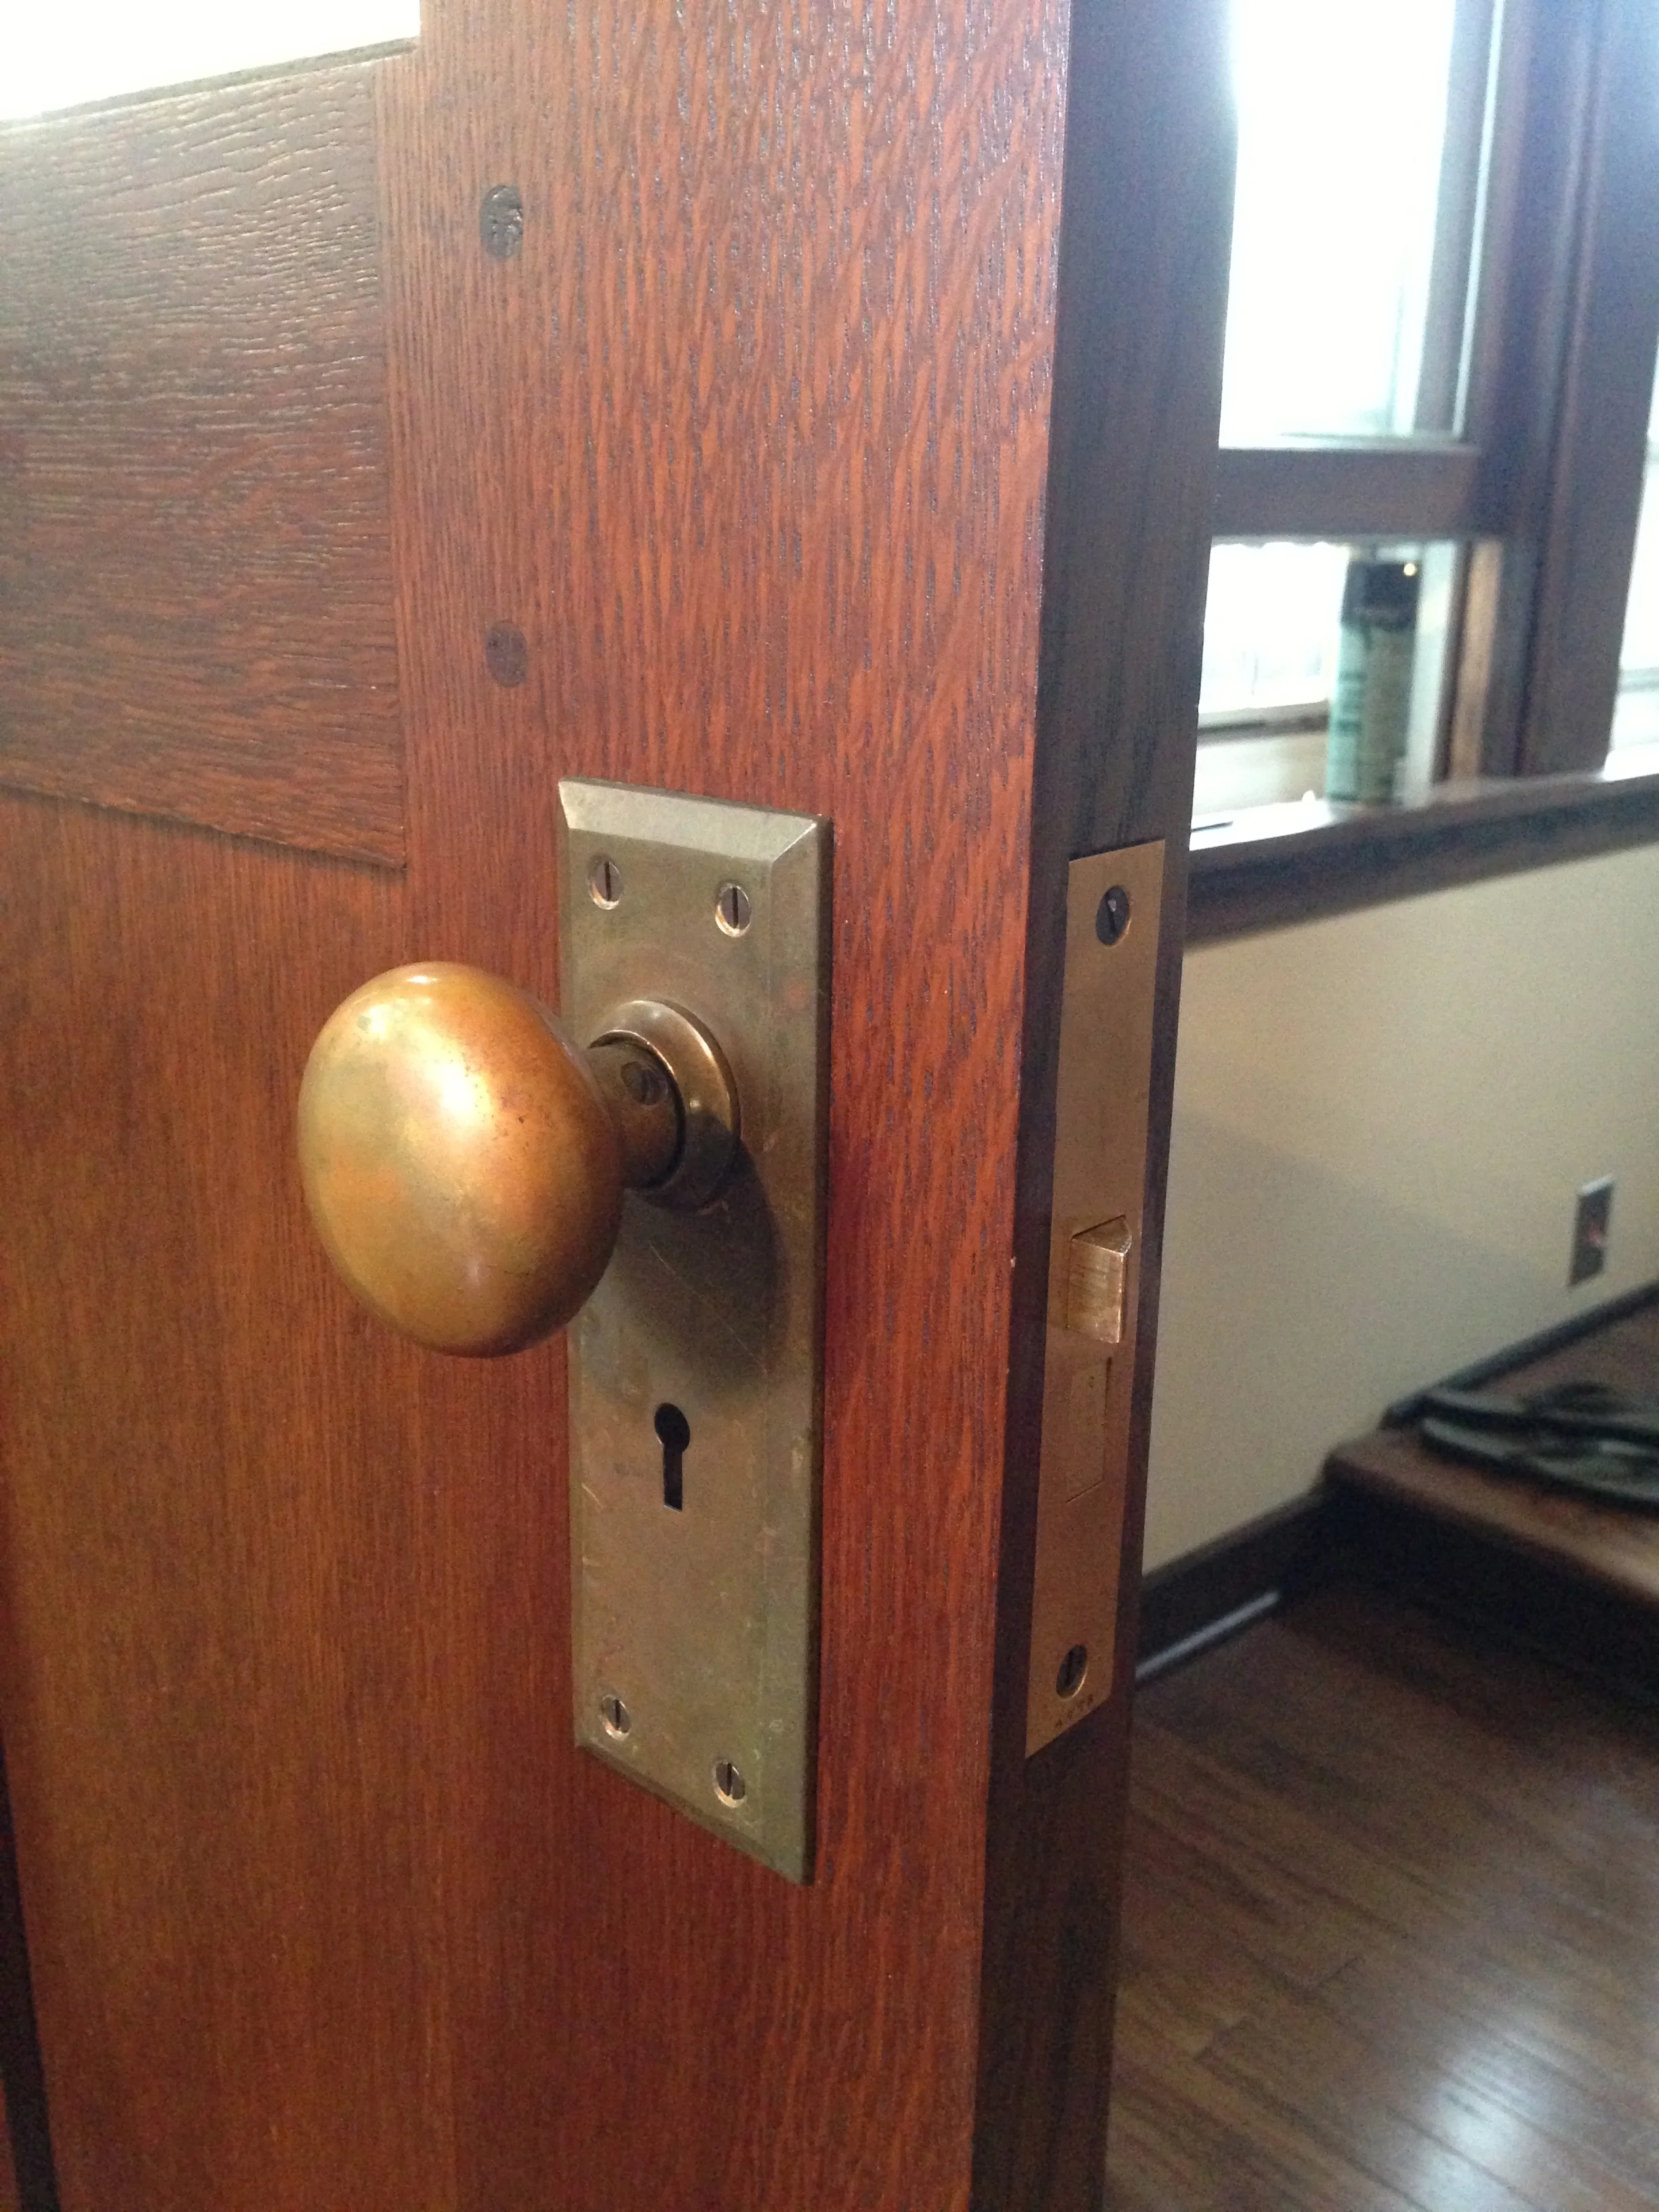
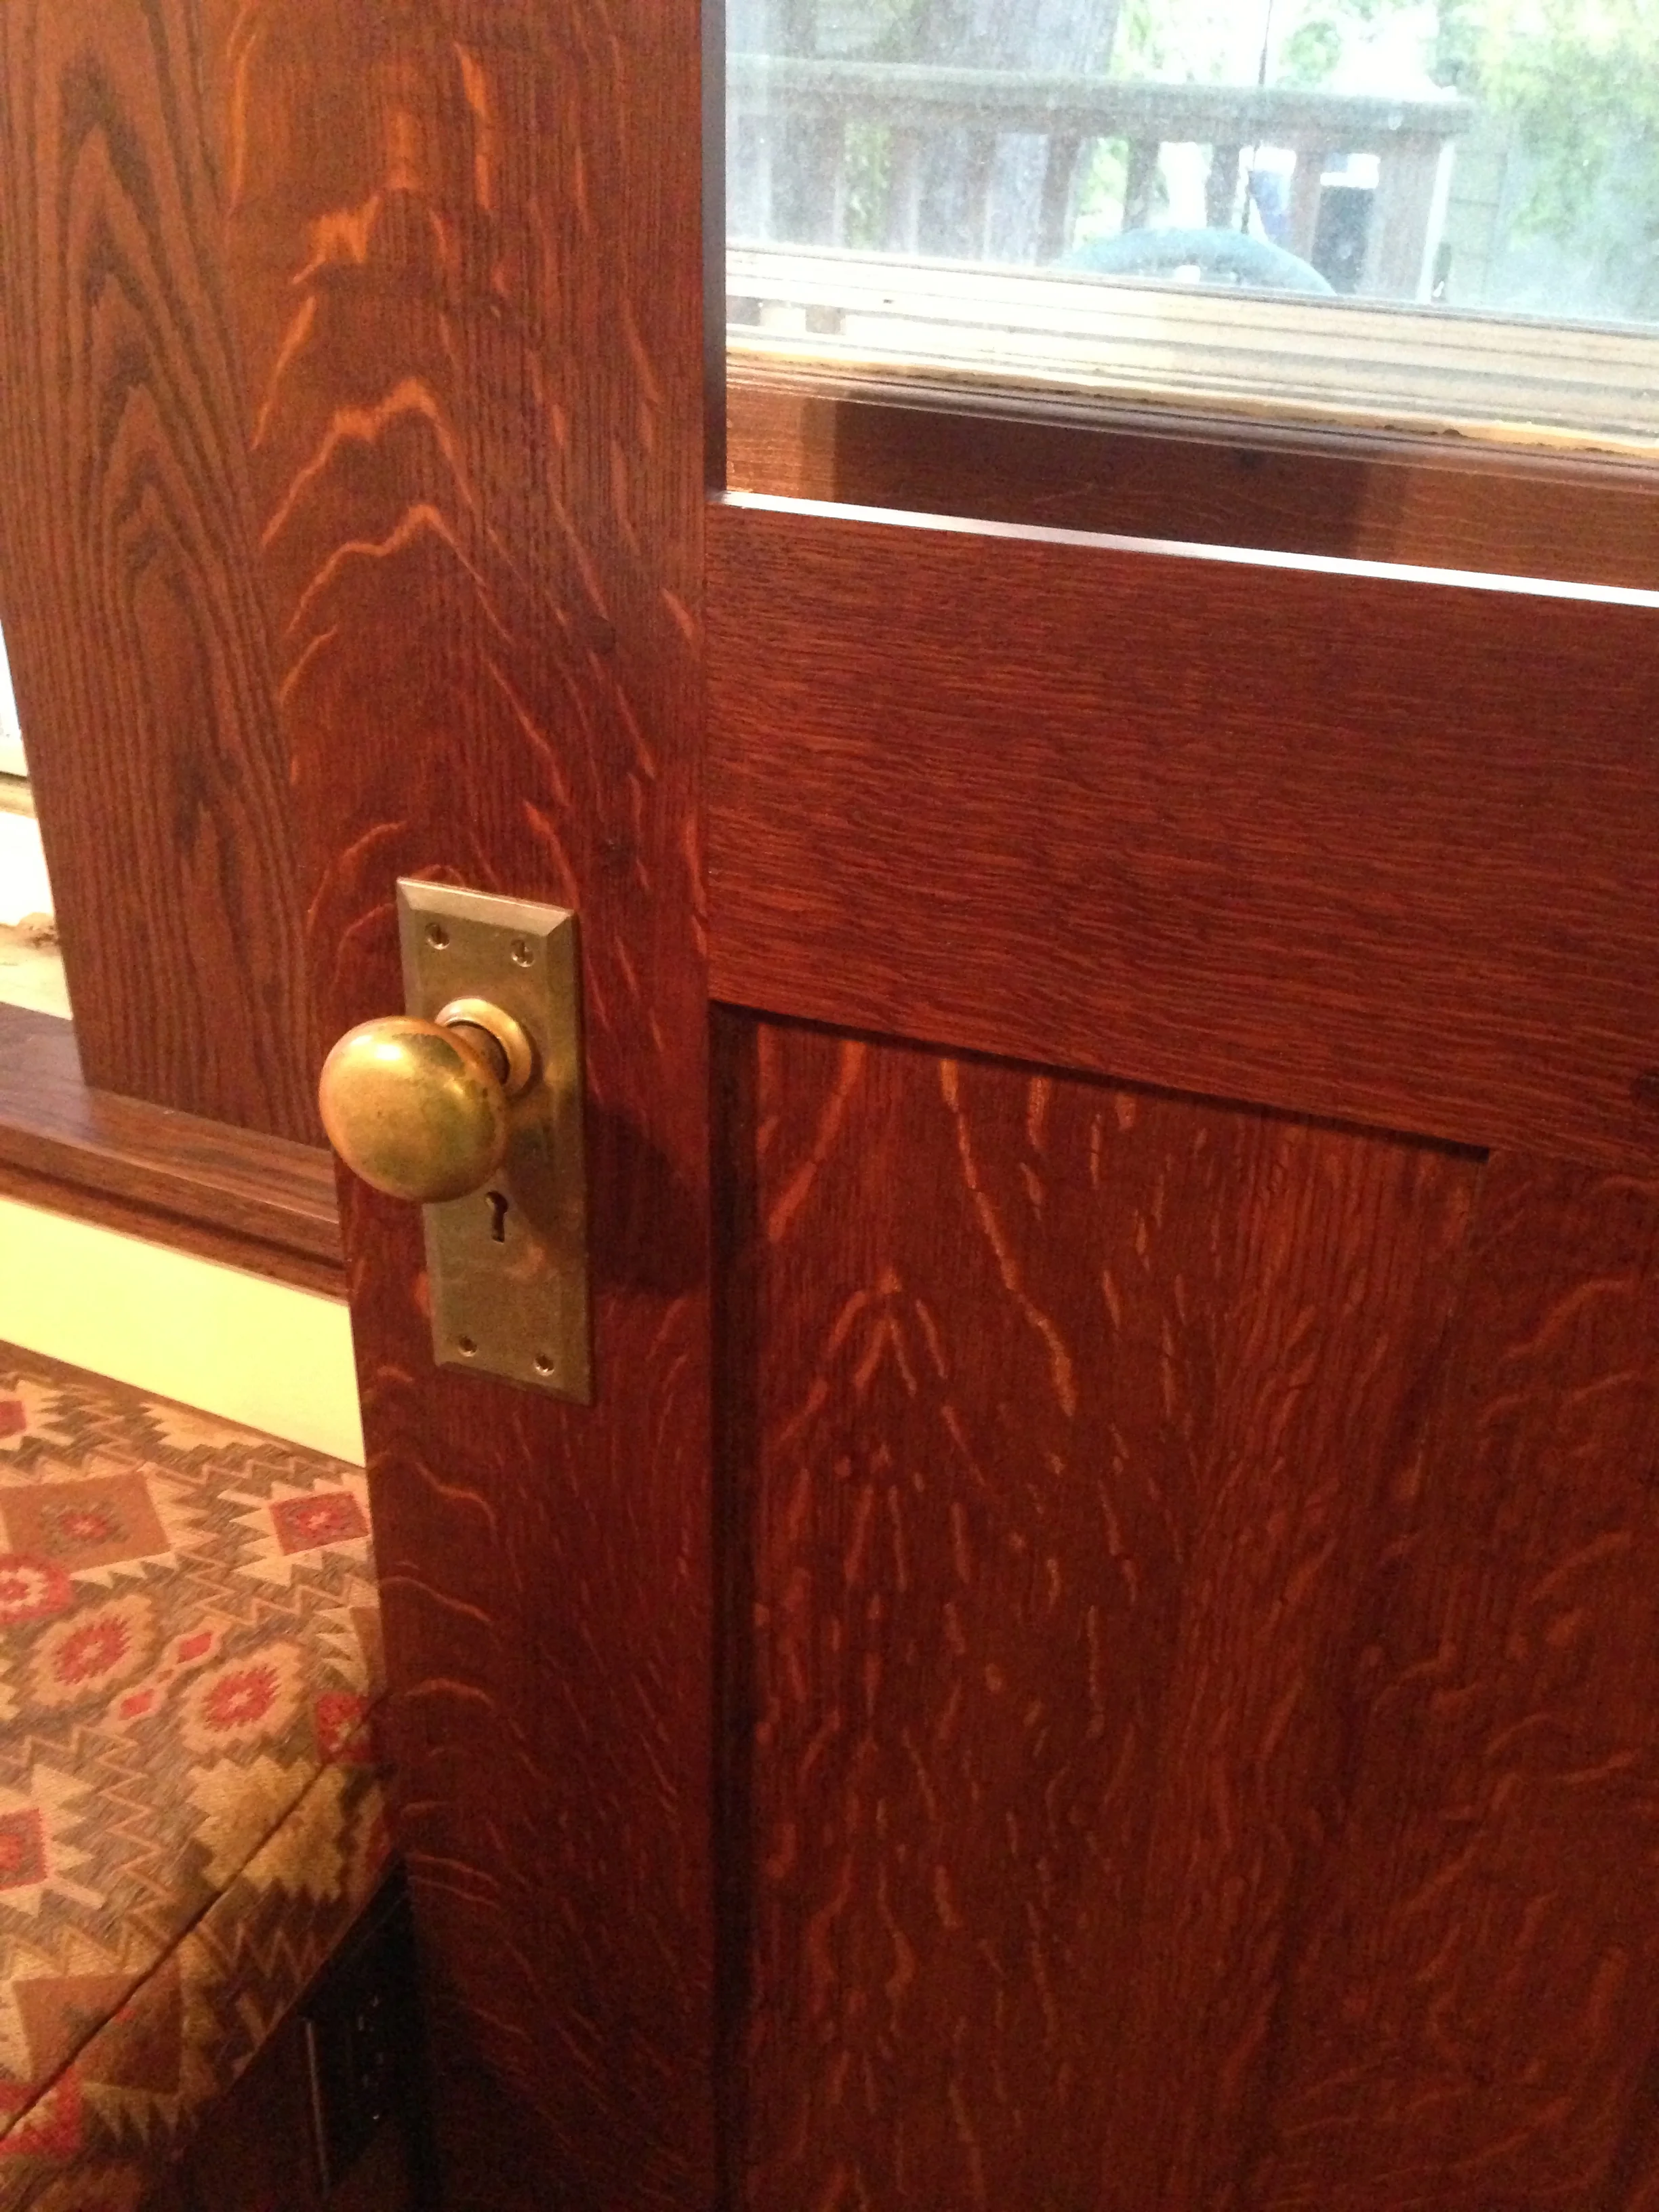
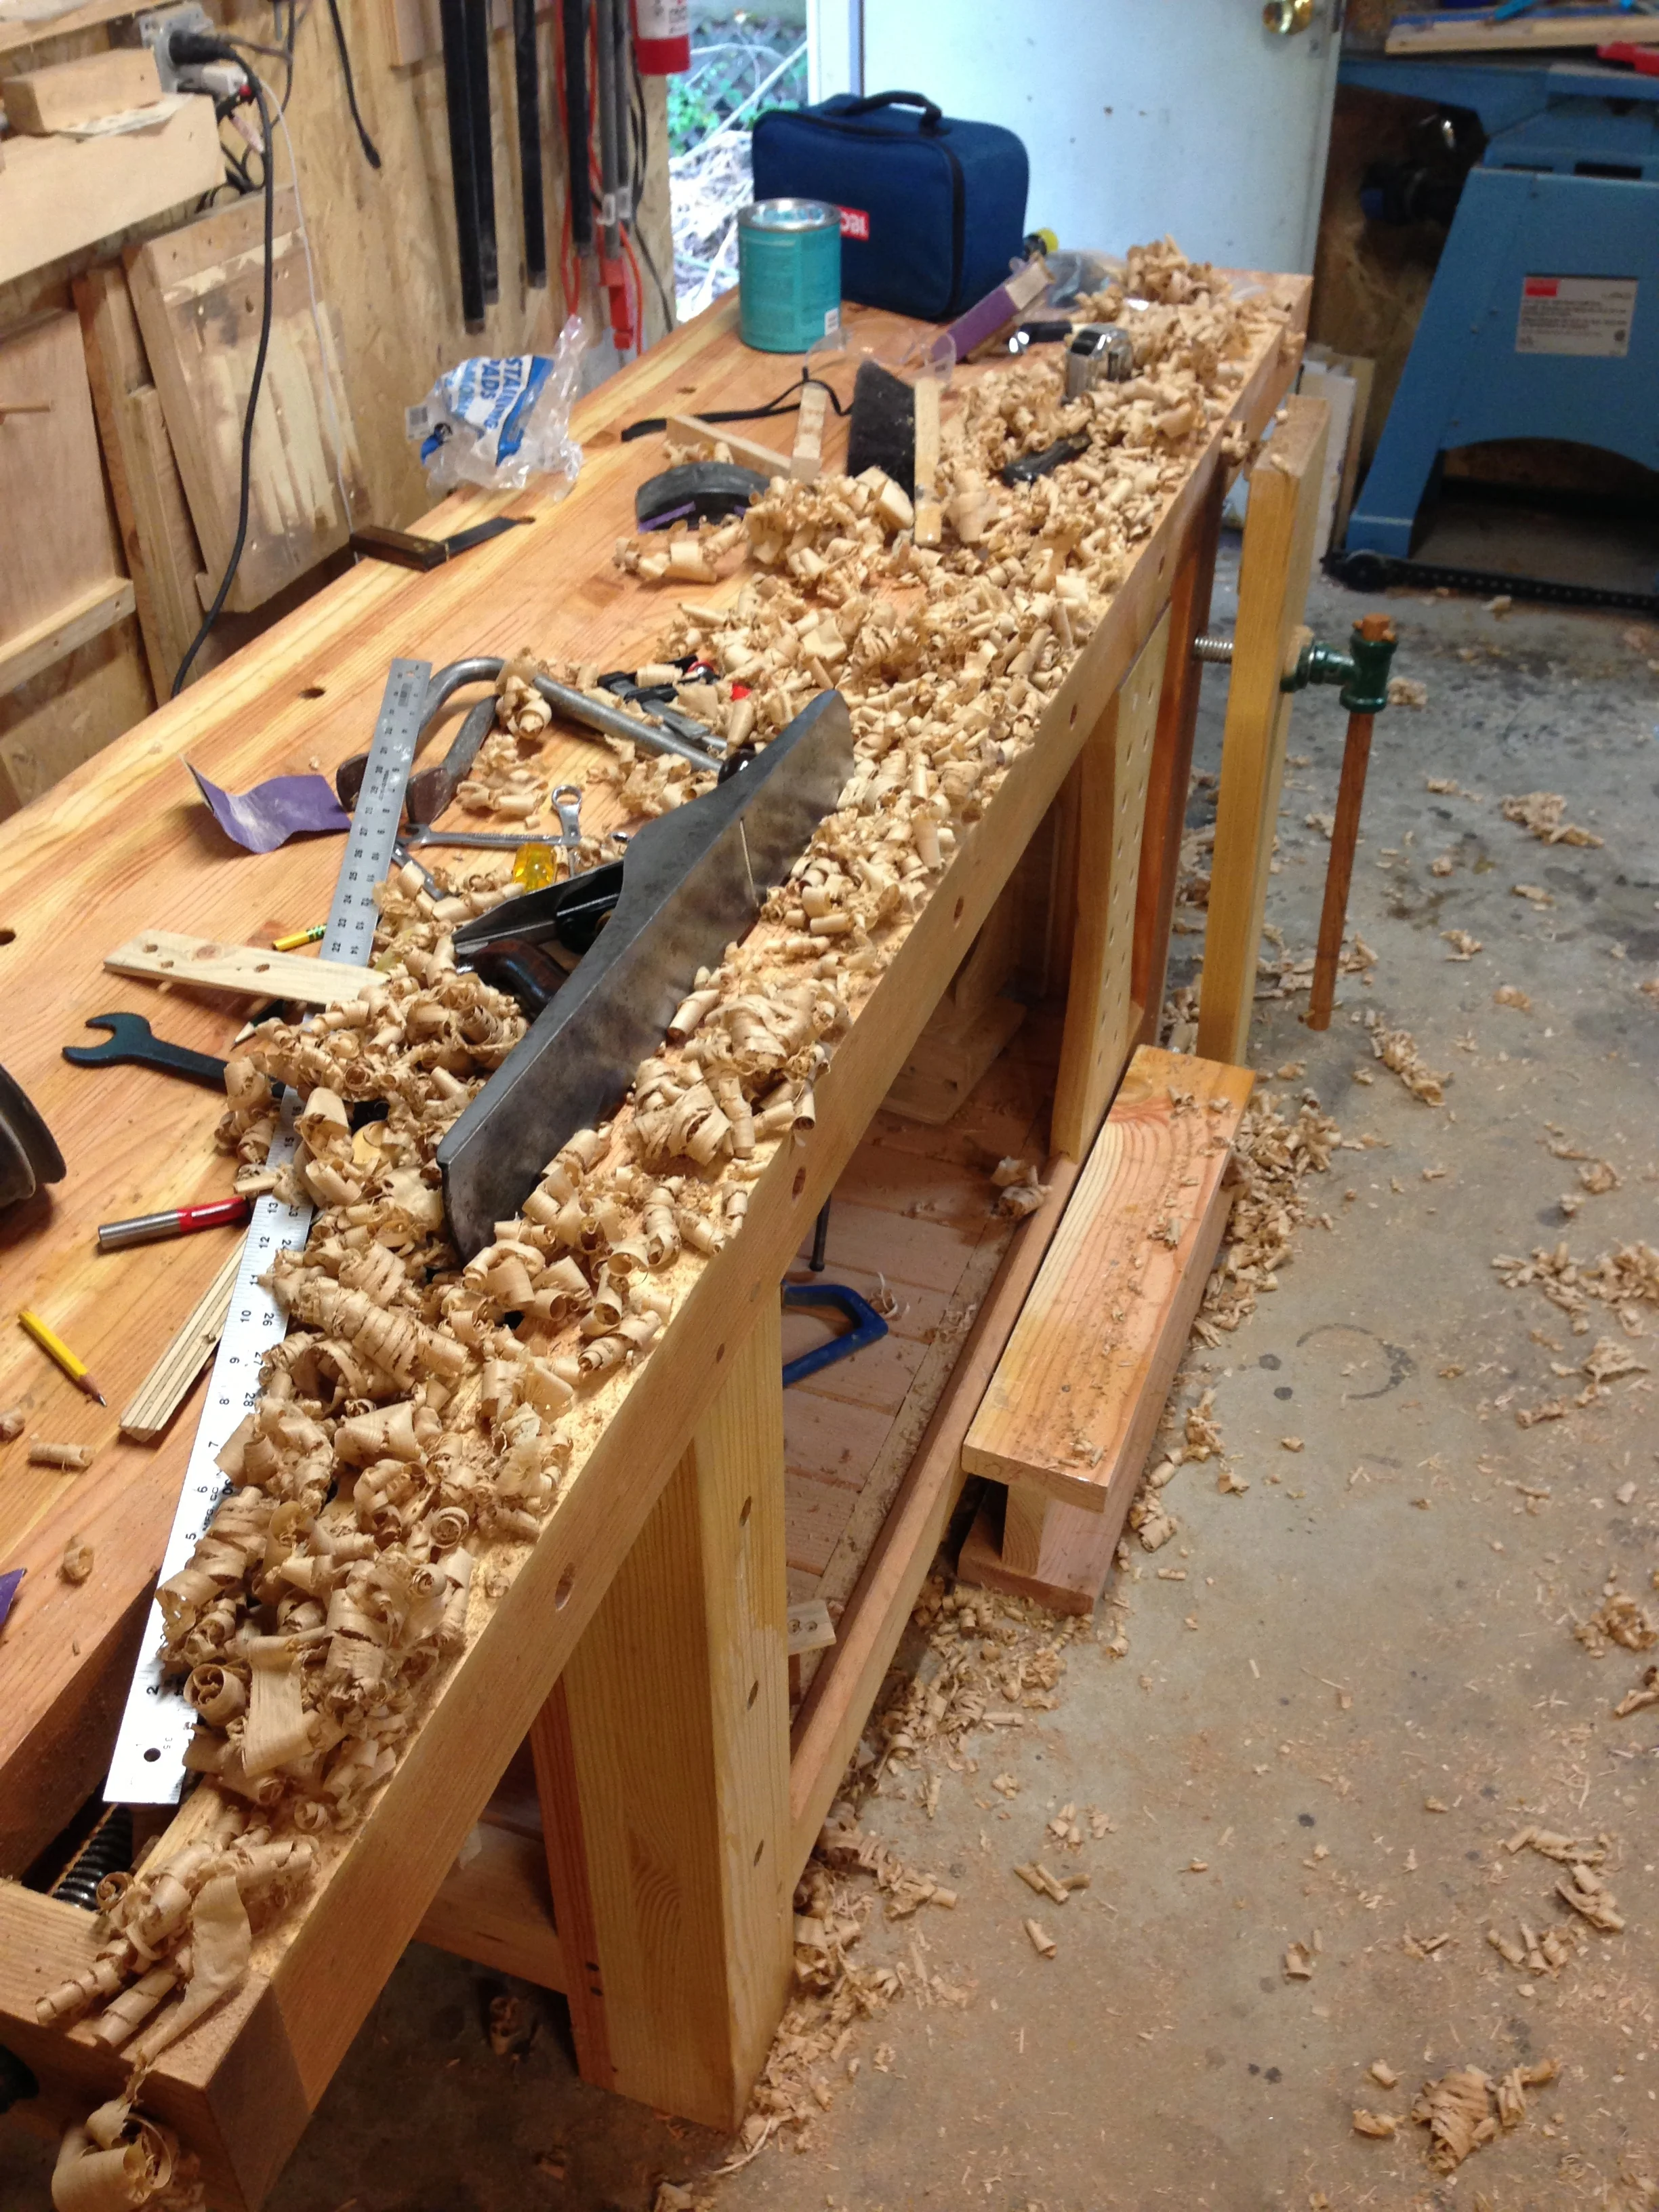
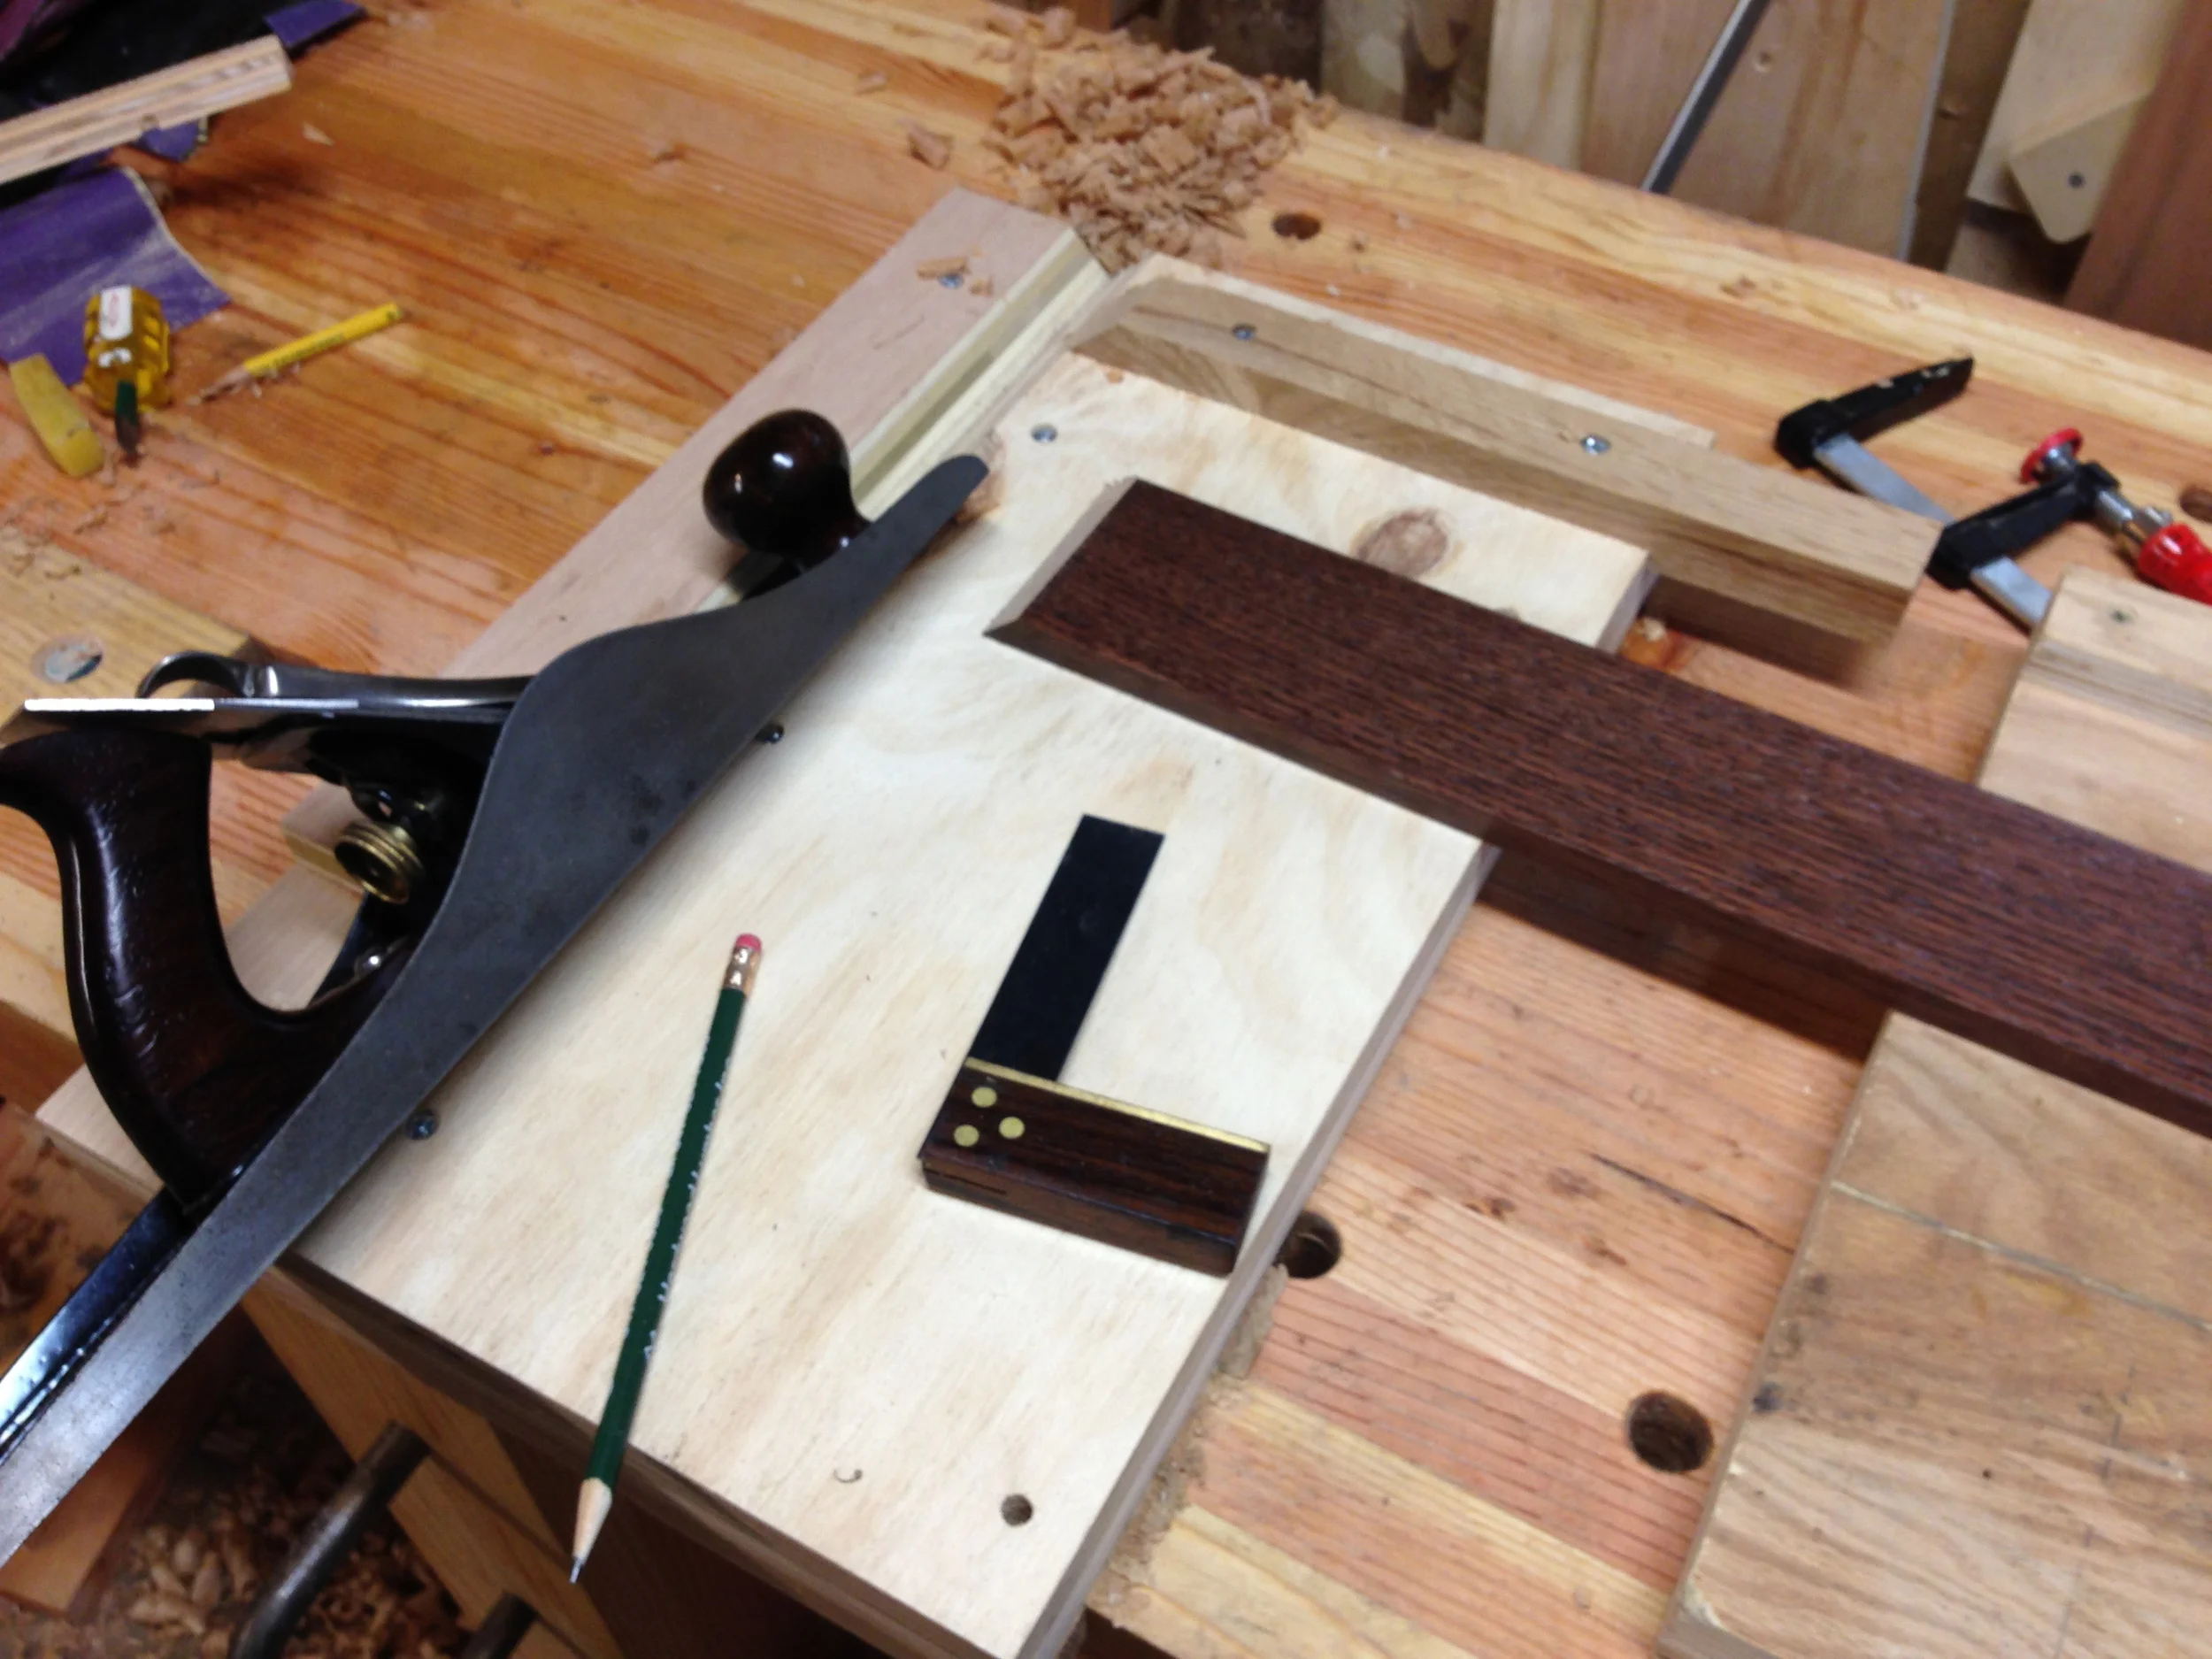
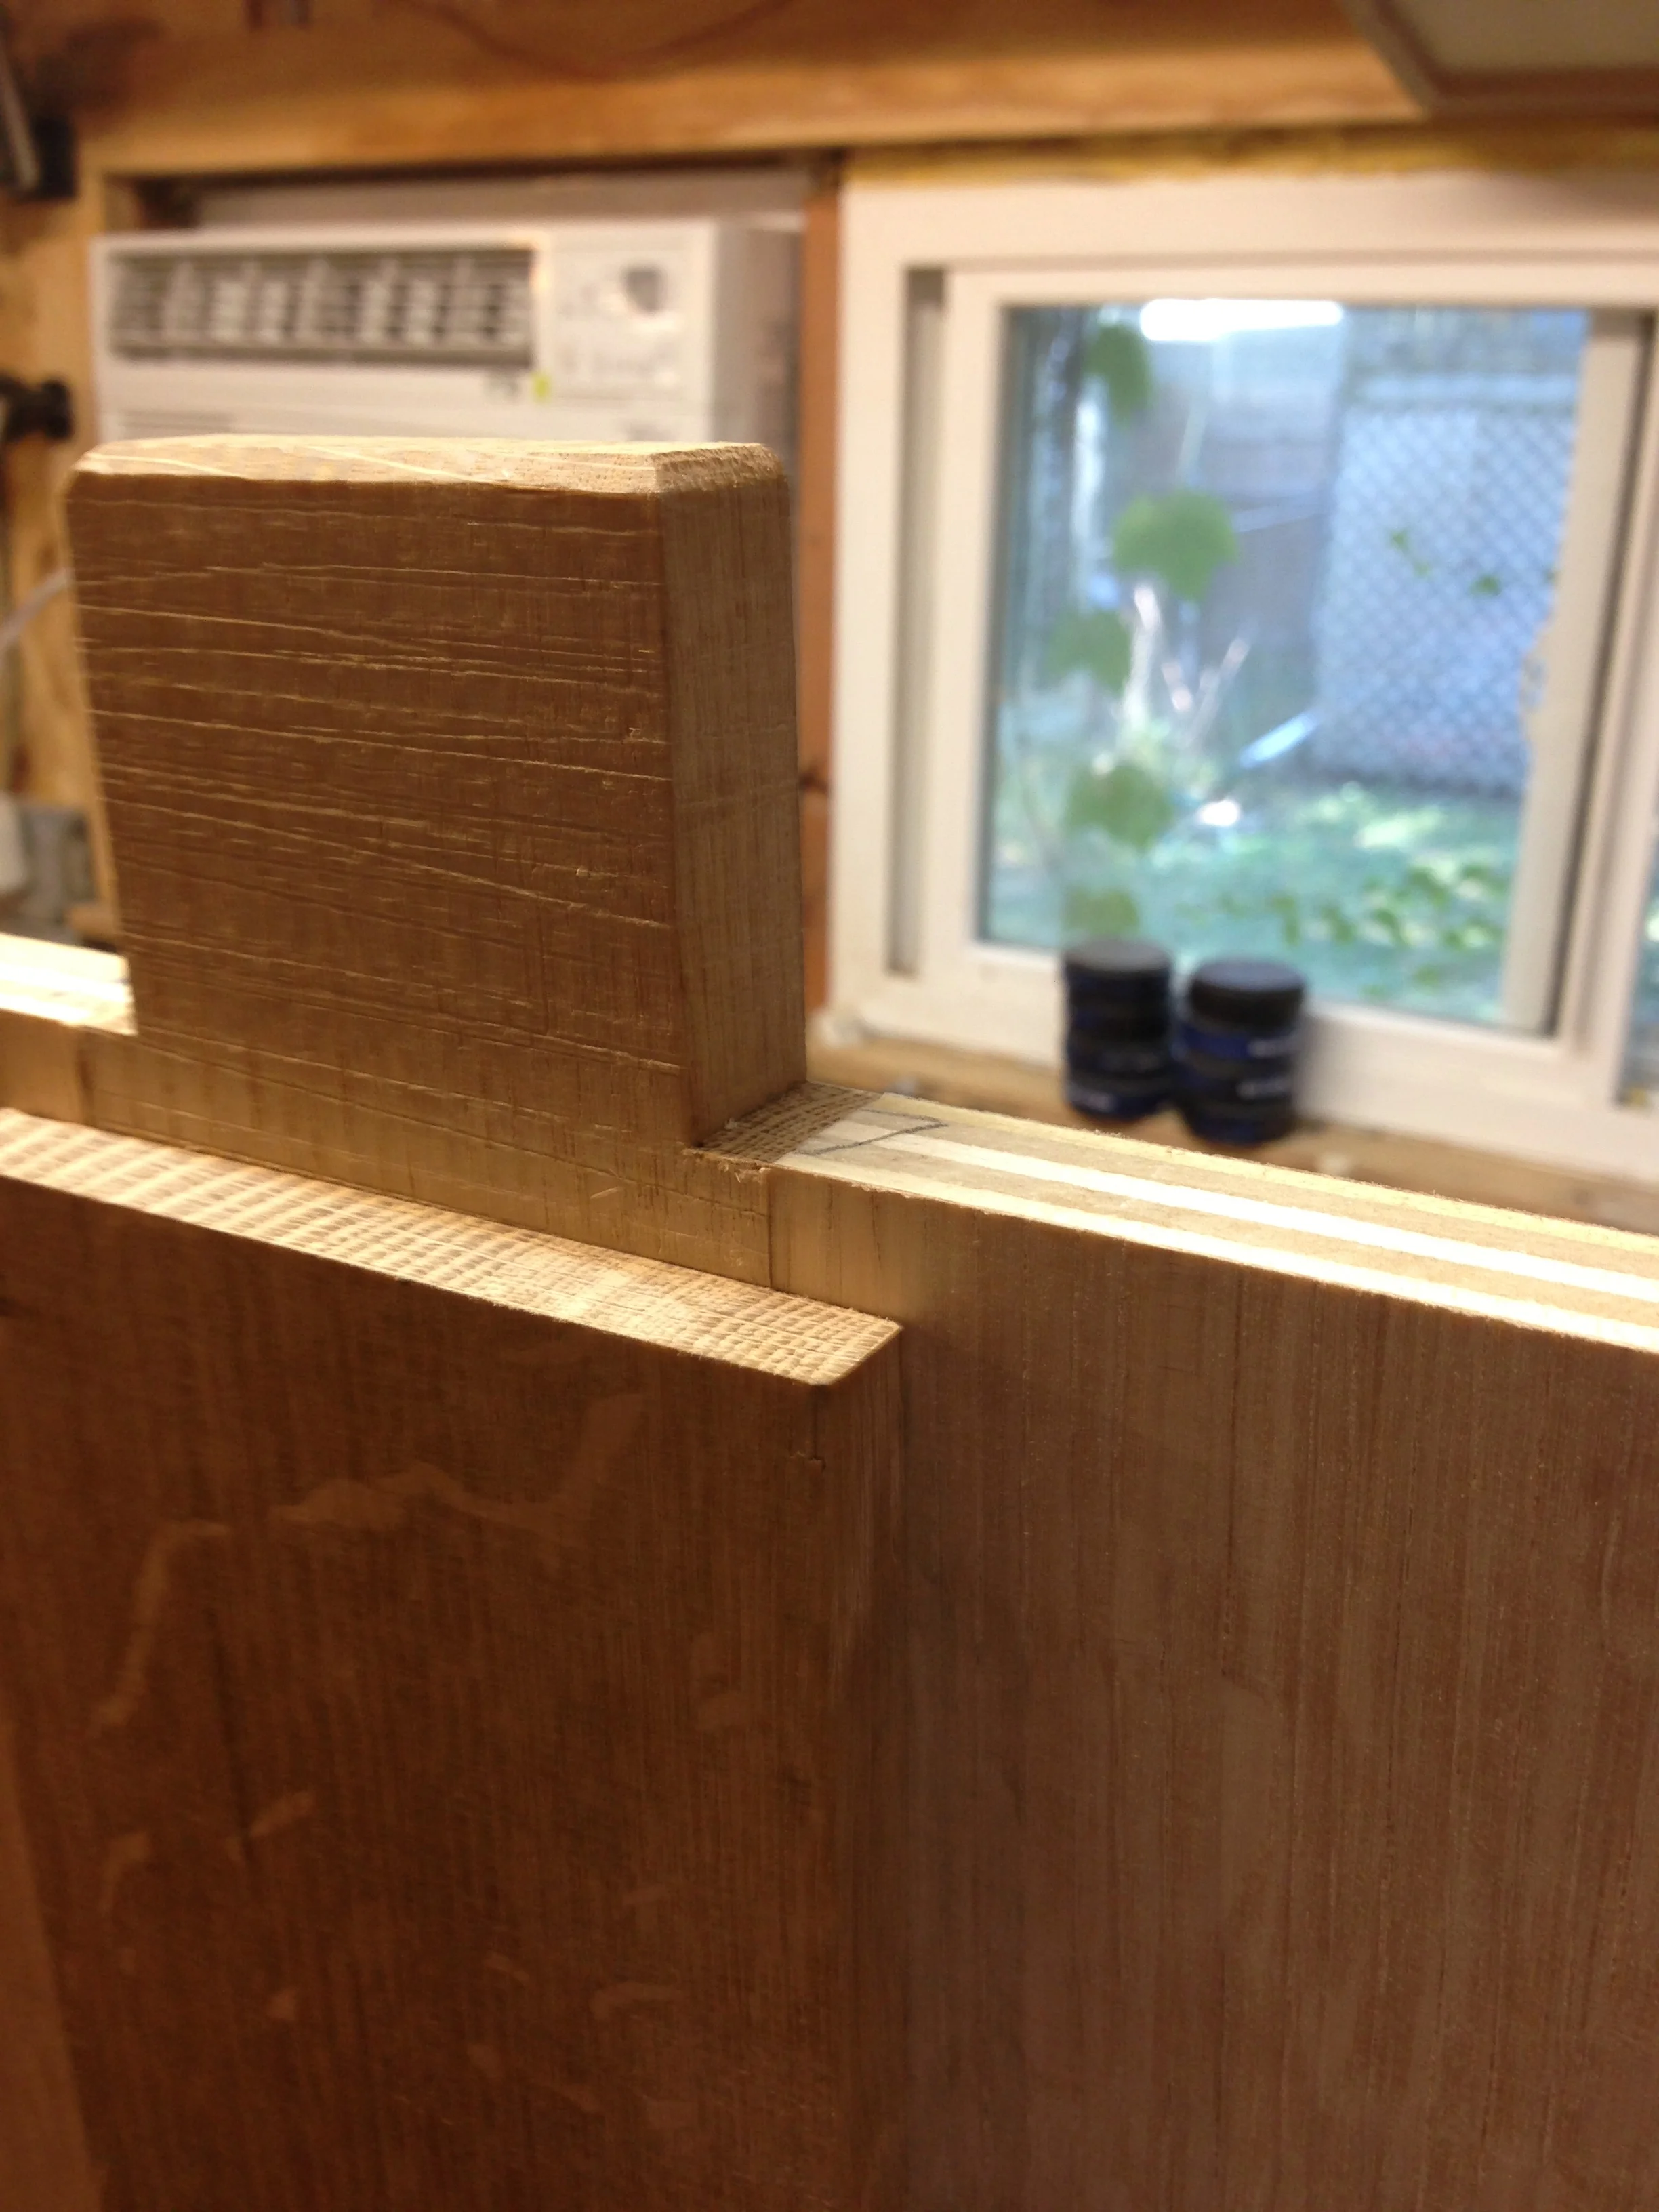
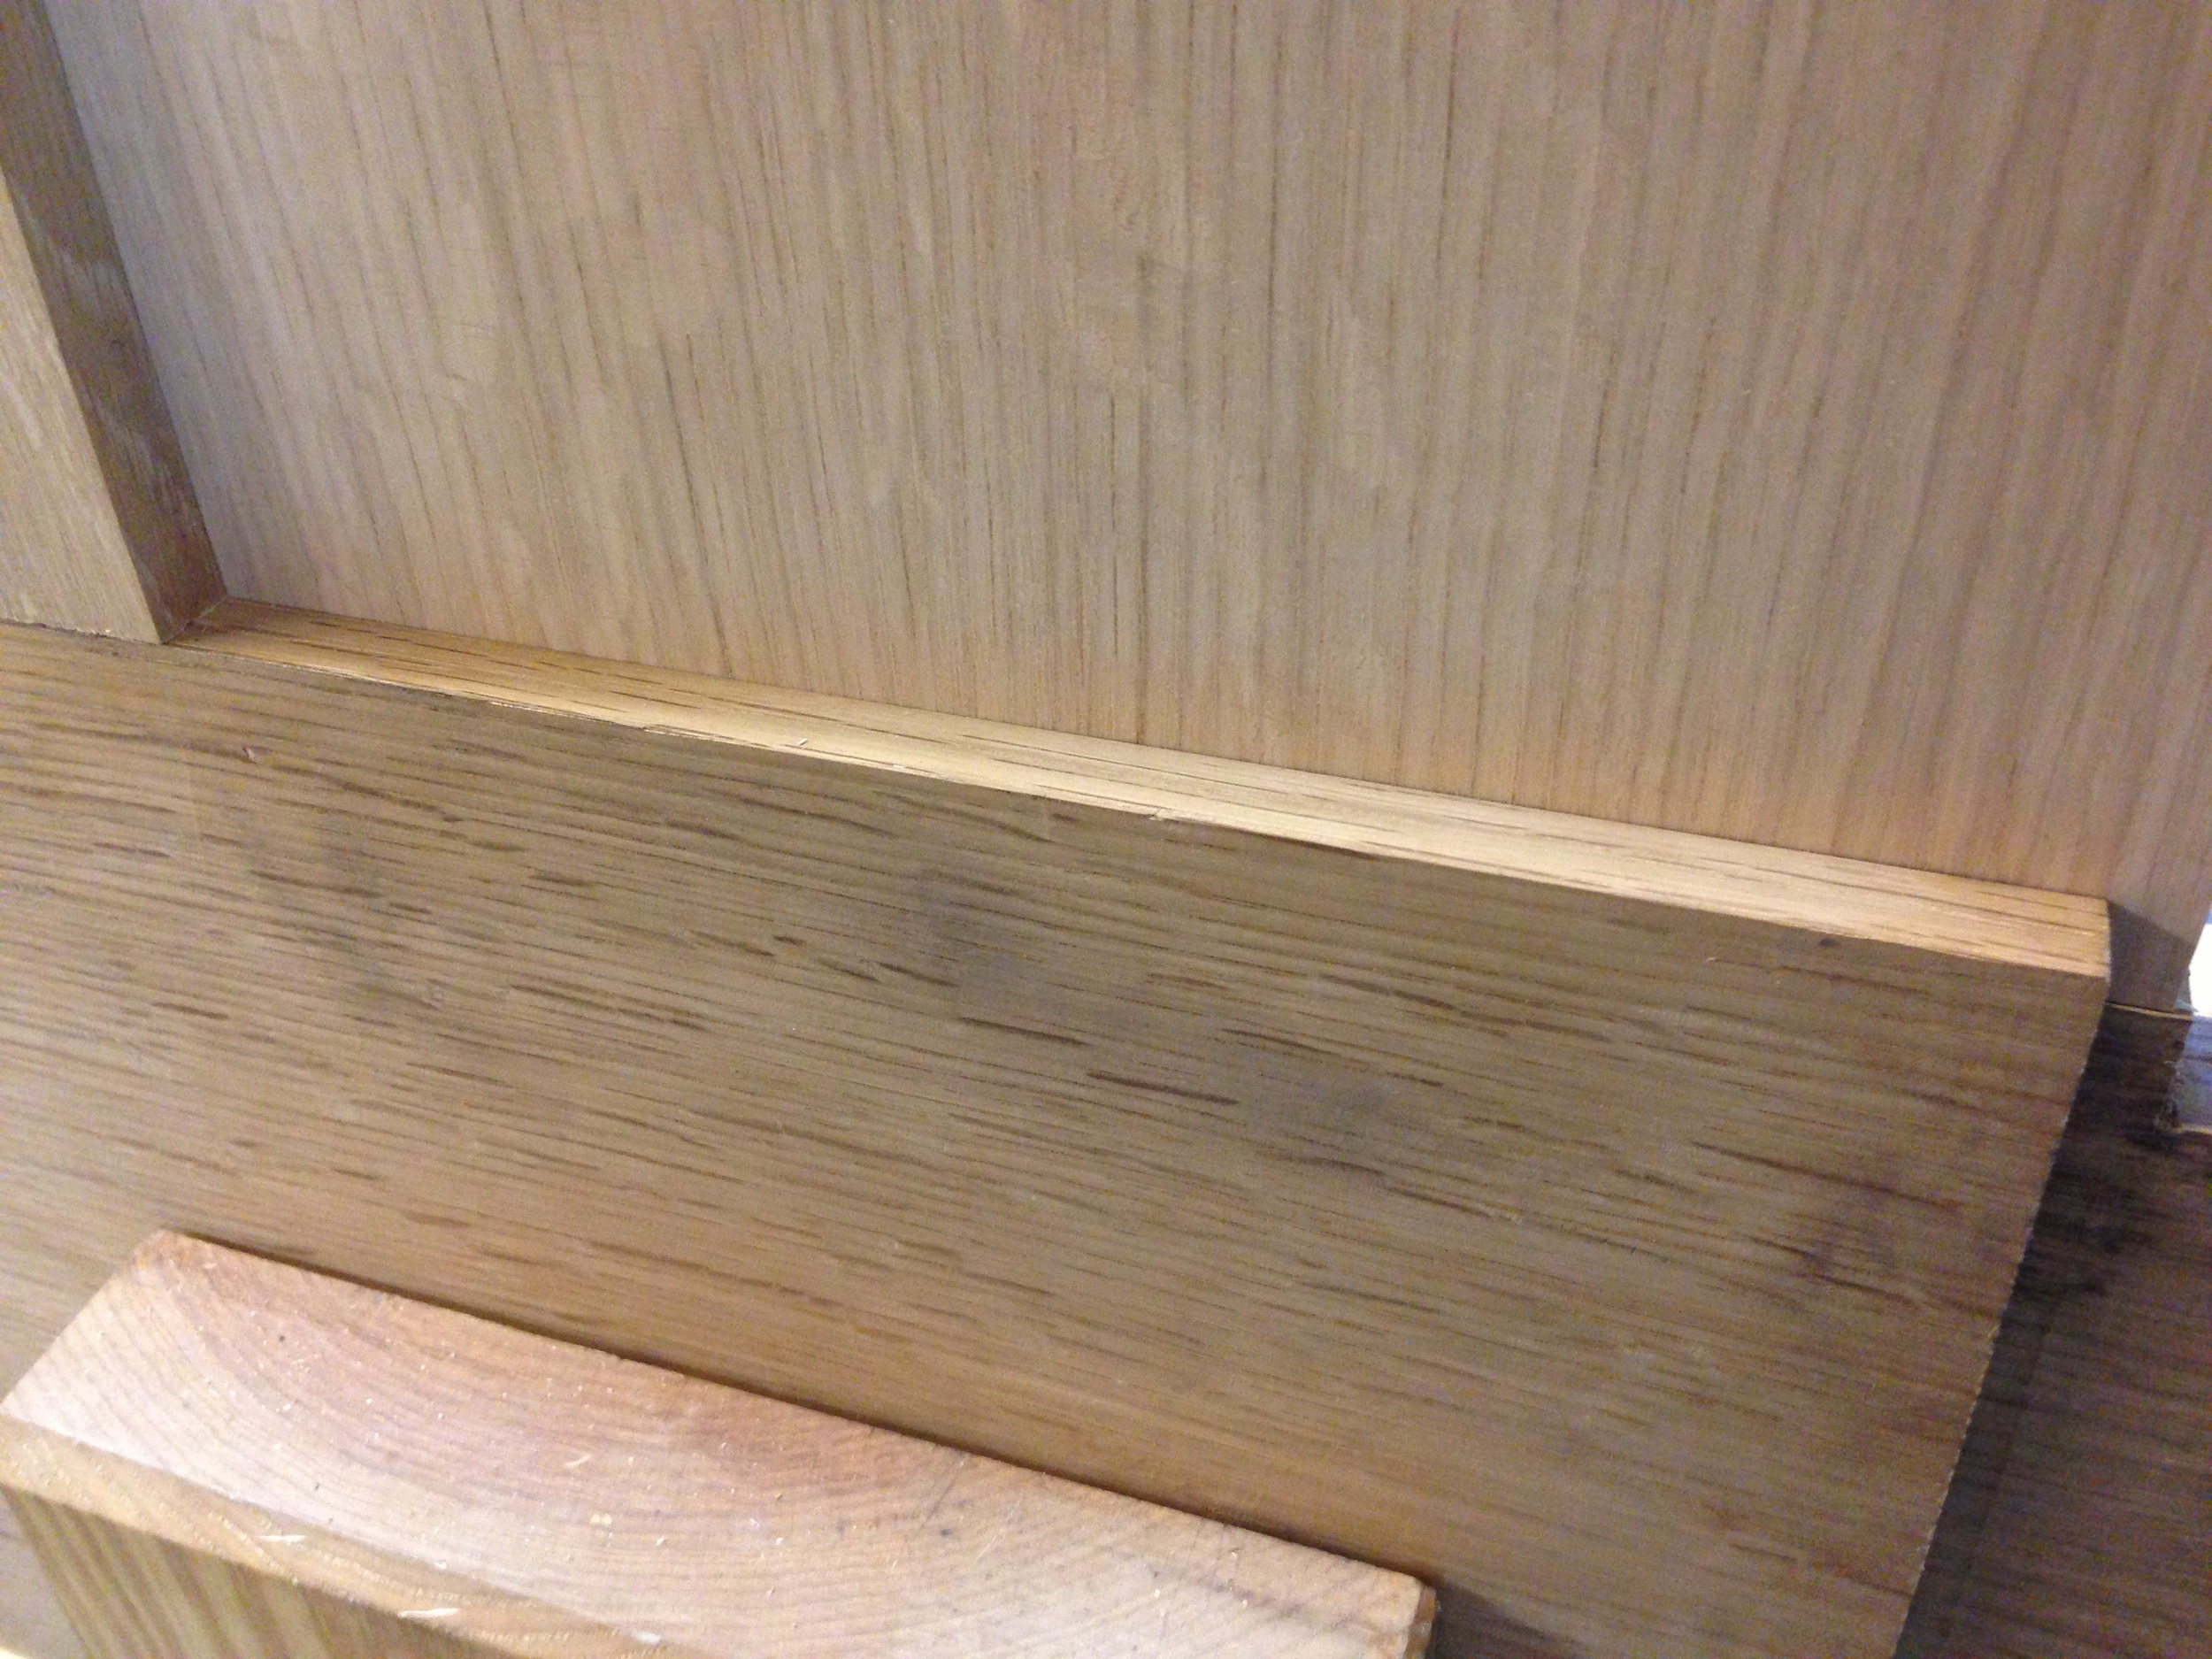
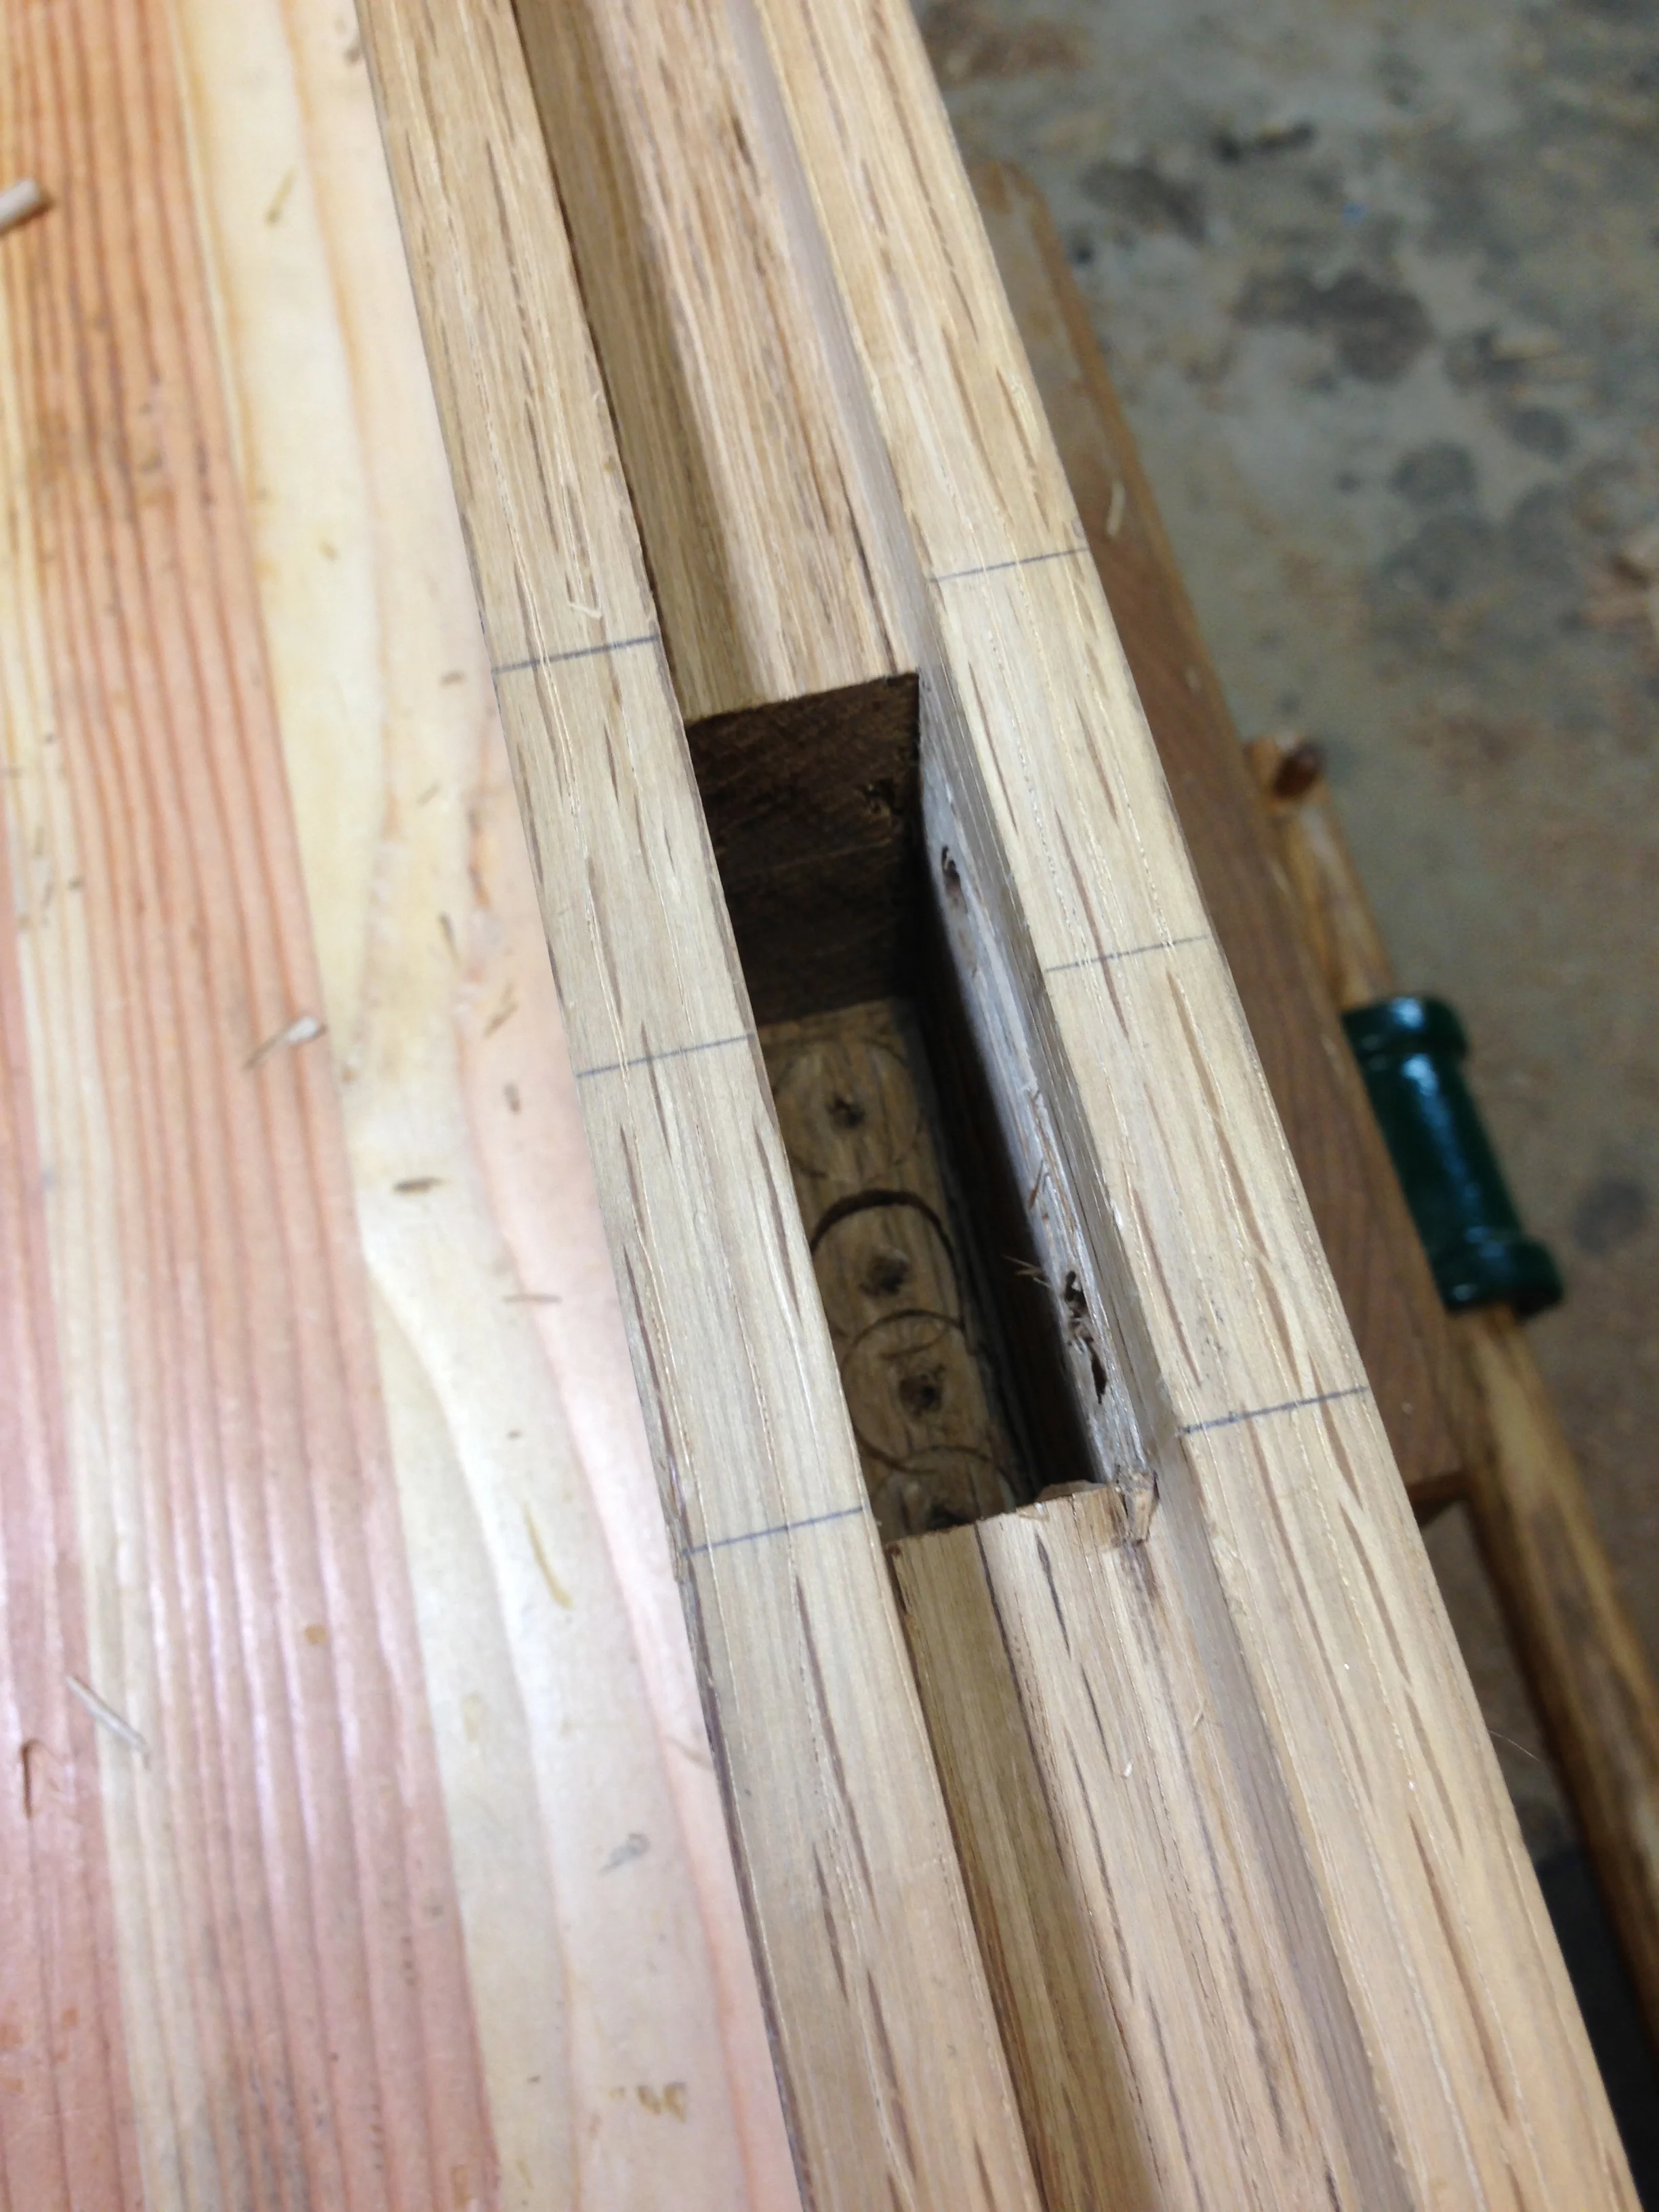
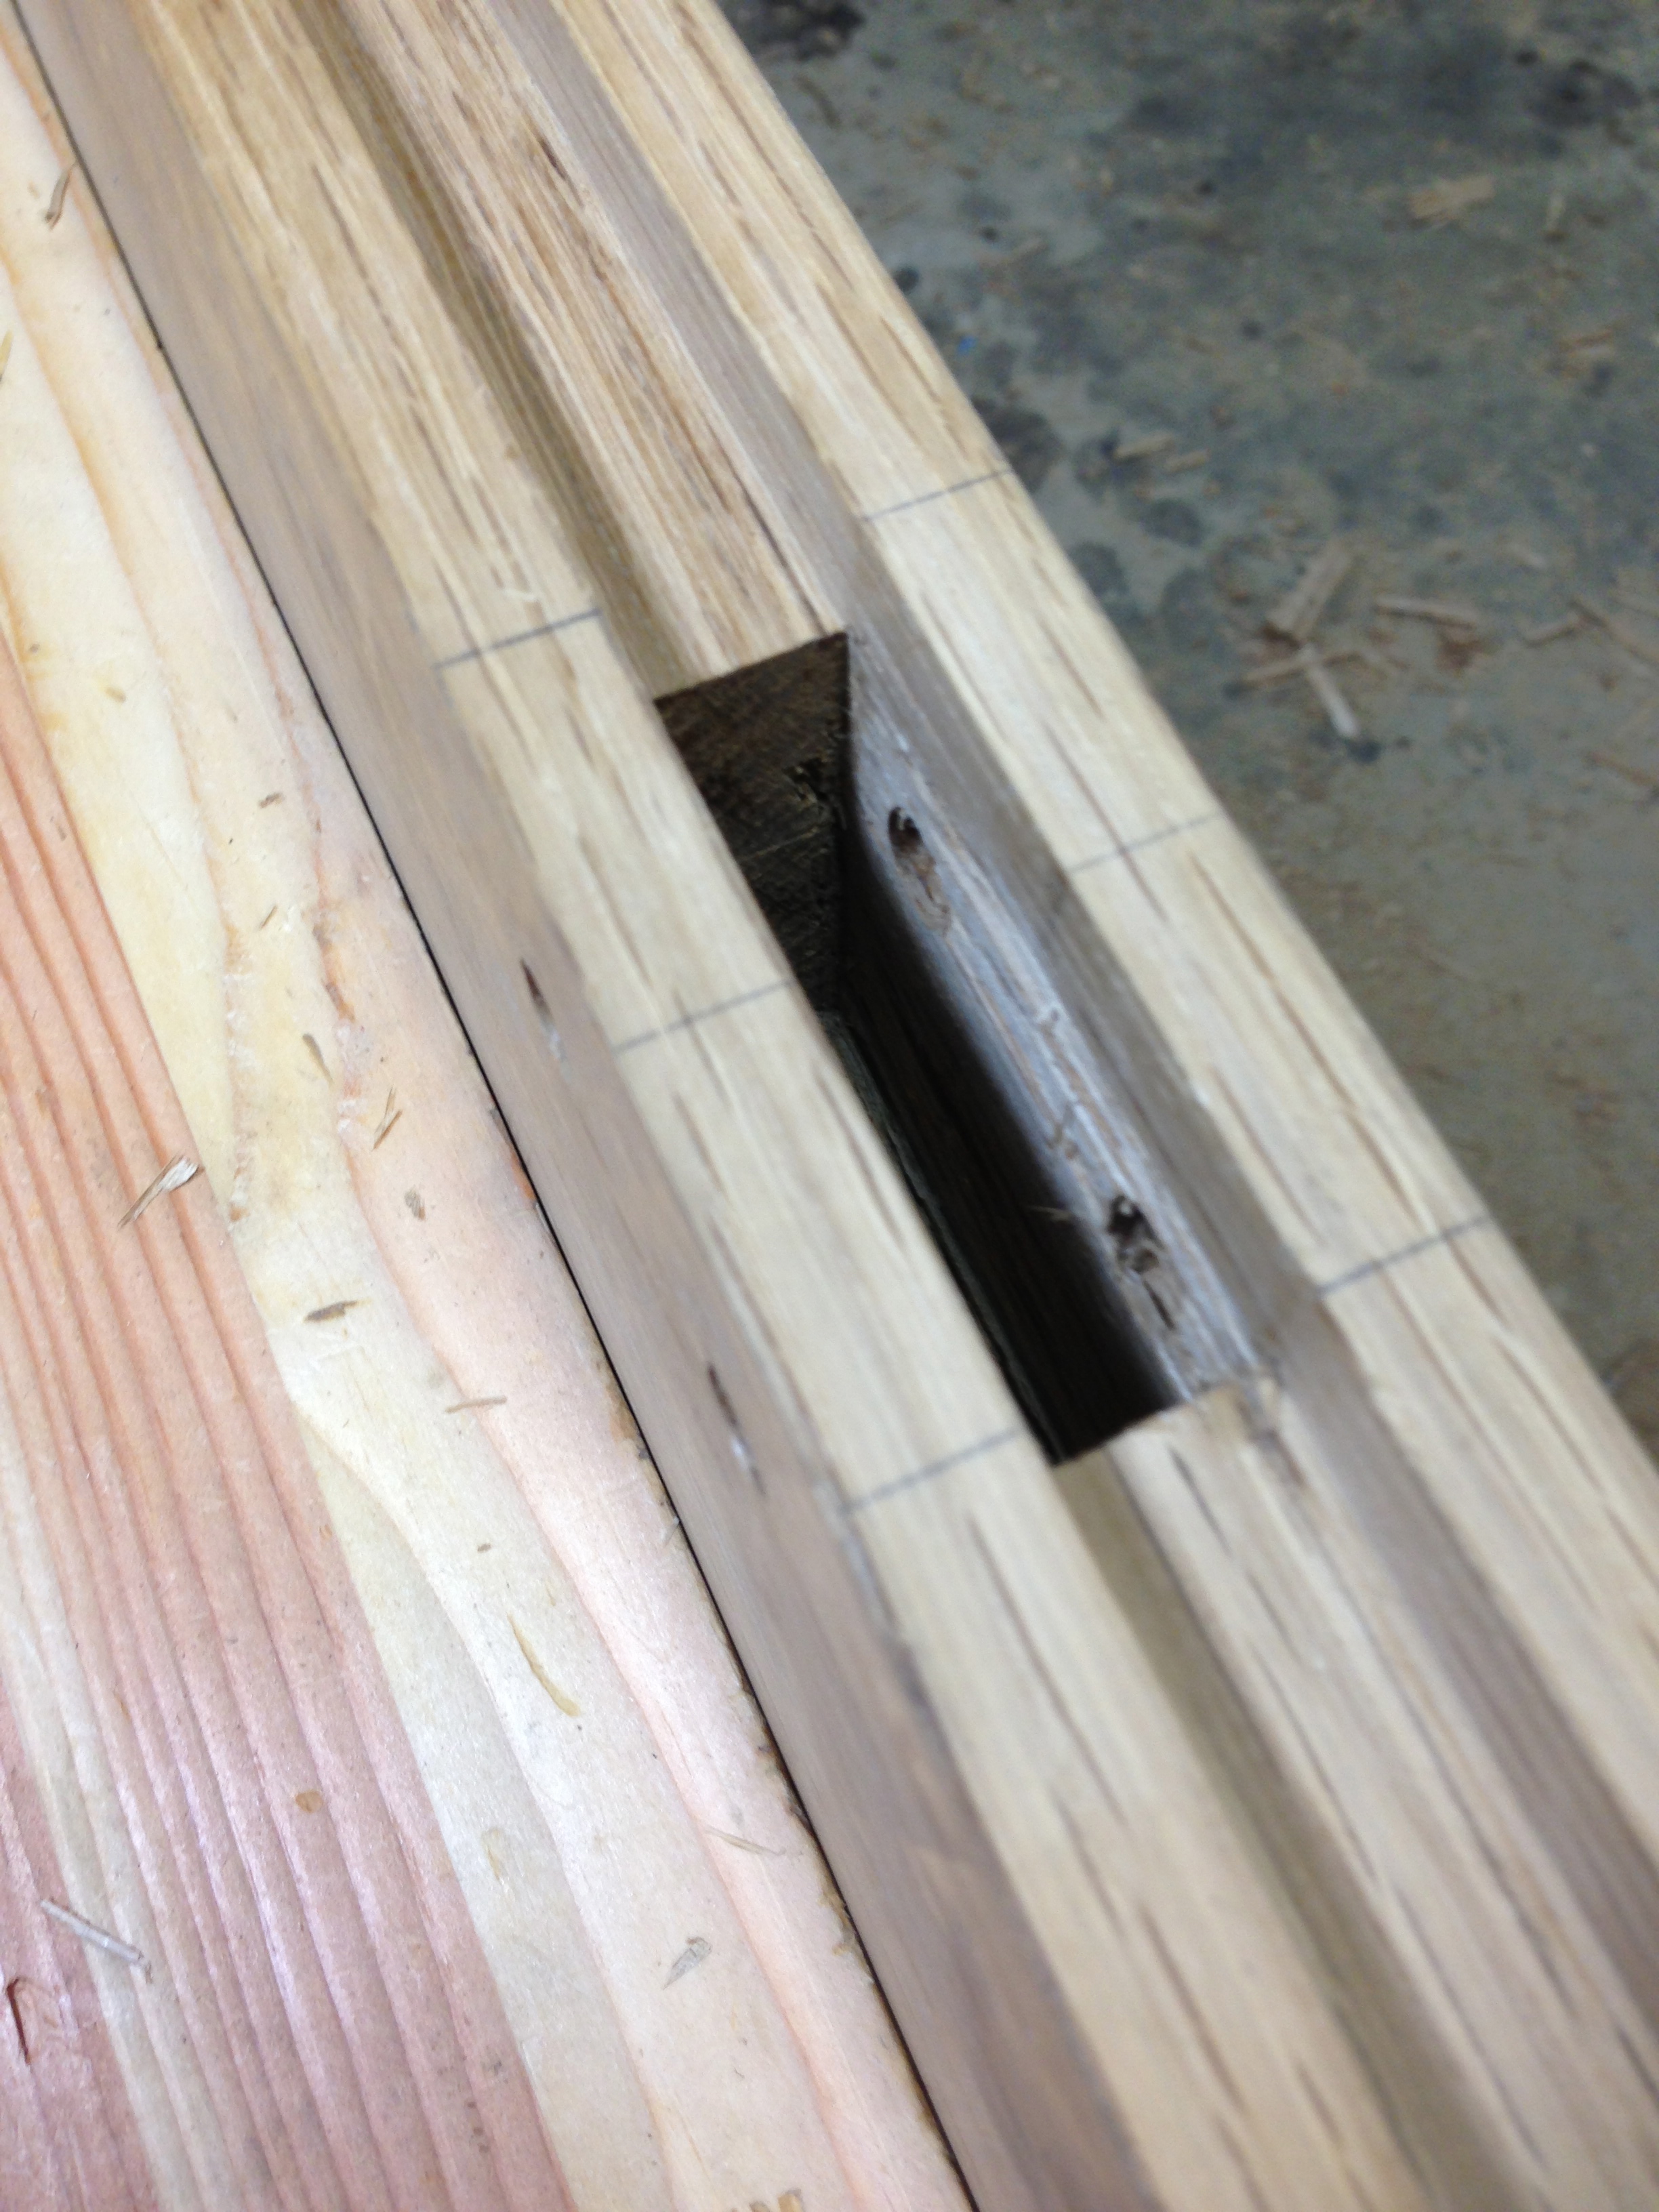
Almost done. Since part 2, the door was mortised for the vintage mortise lock. Yes, I'm going to be getting into and out of the house with a skeleton key (actually, two; the original mortise lock on the front door is getting skeleton keys made for it too). THe mortising went great, and I opted to do it by hand, as it was just easier that fiddling around with a router setup. Sharp chisels and a router plane made the work go smoothly and resulted in a perfect fit.

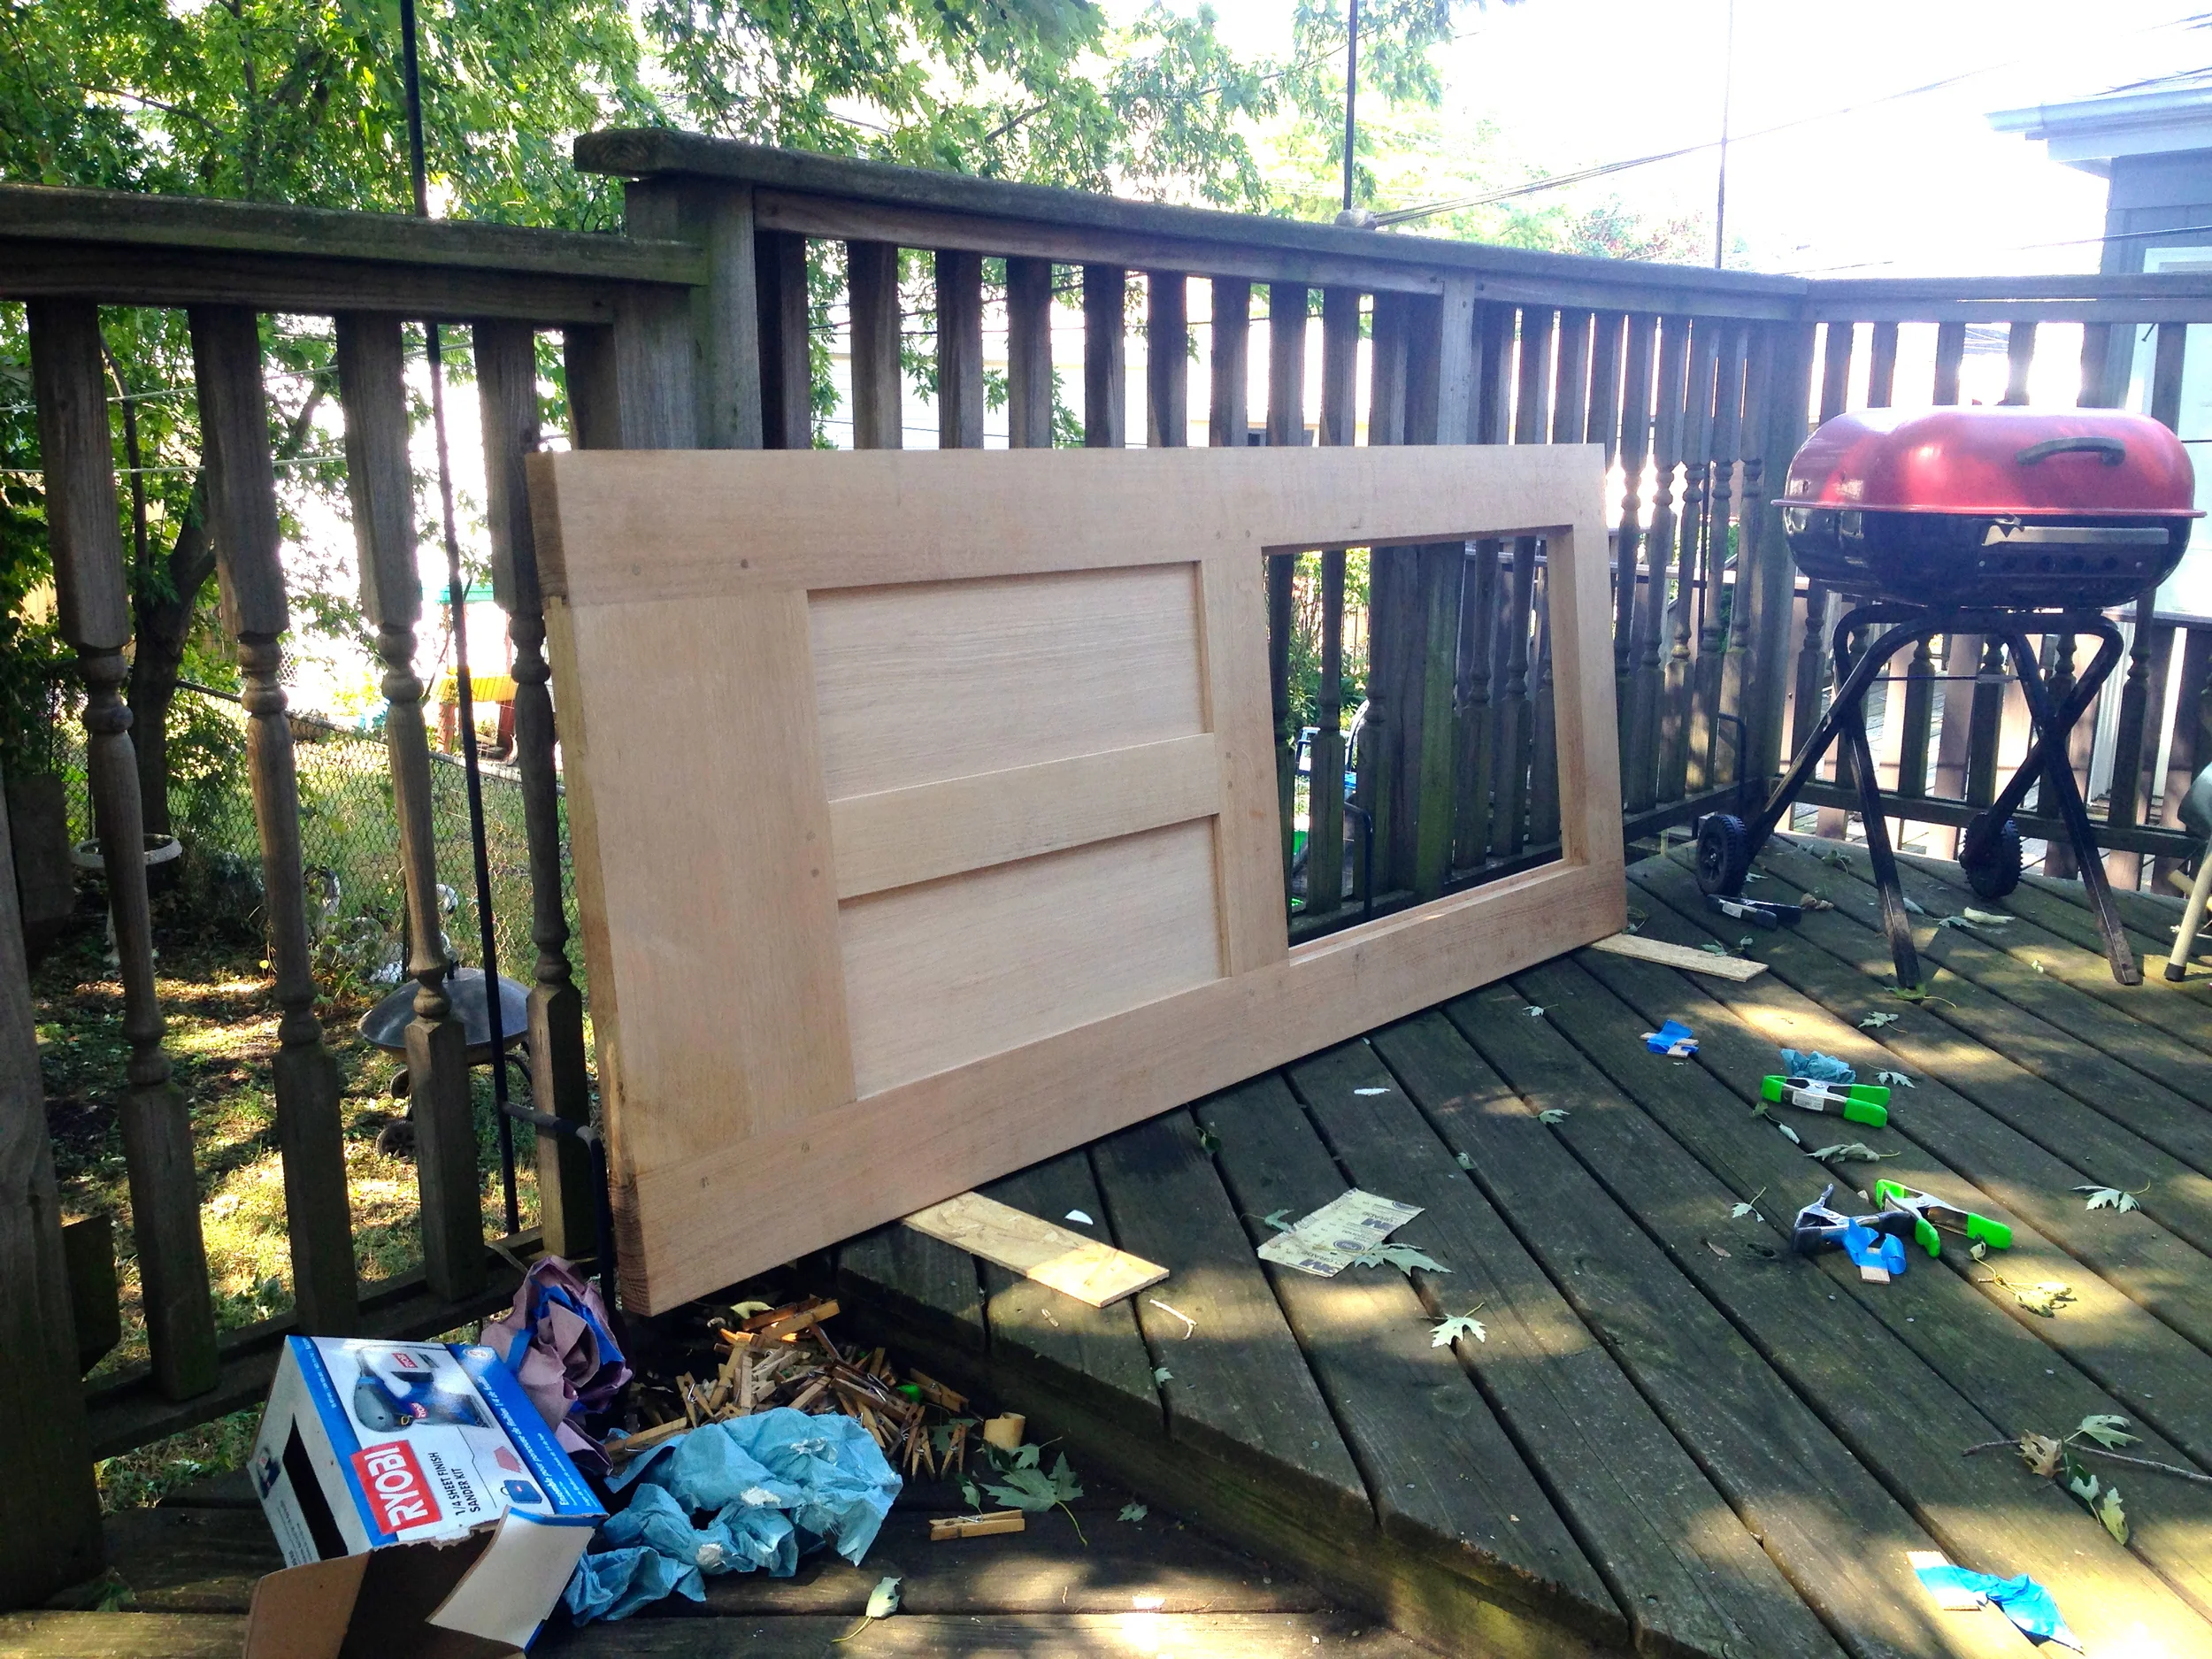
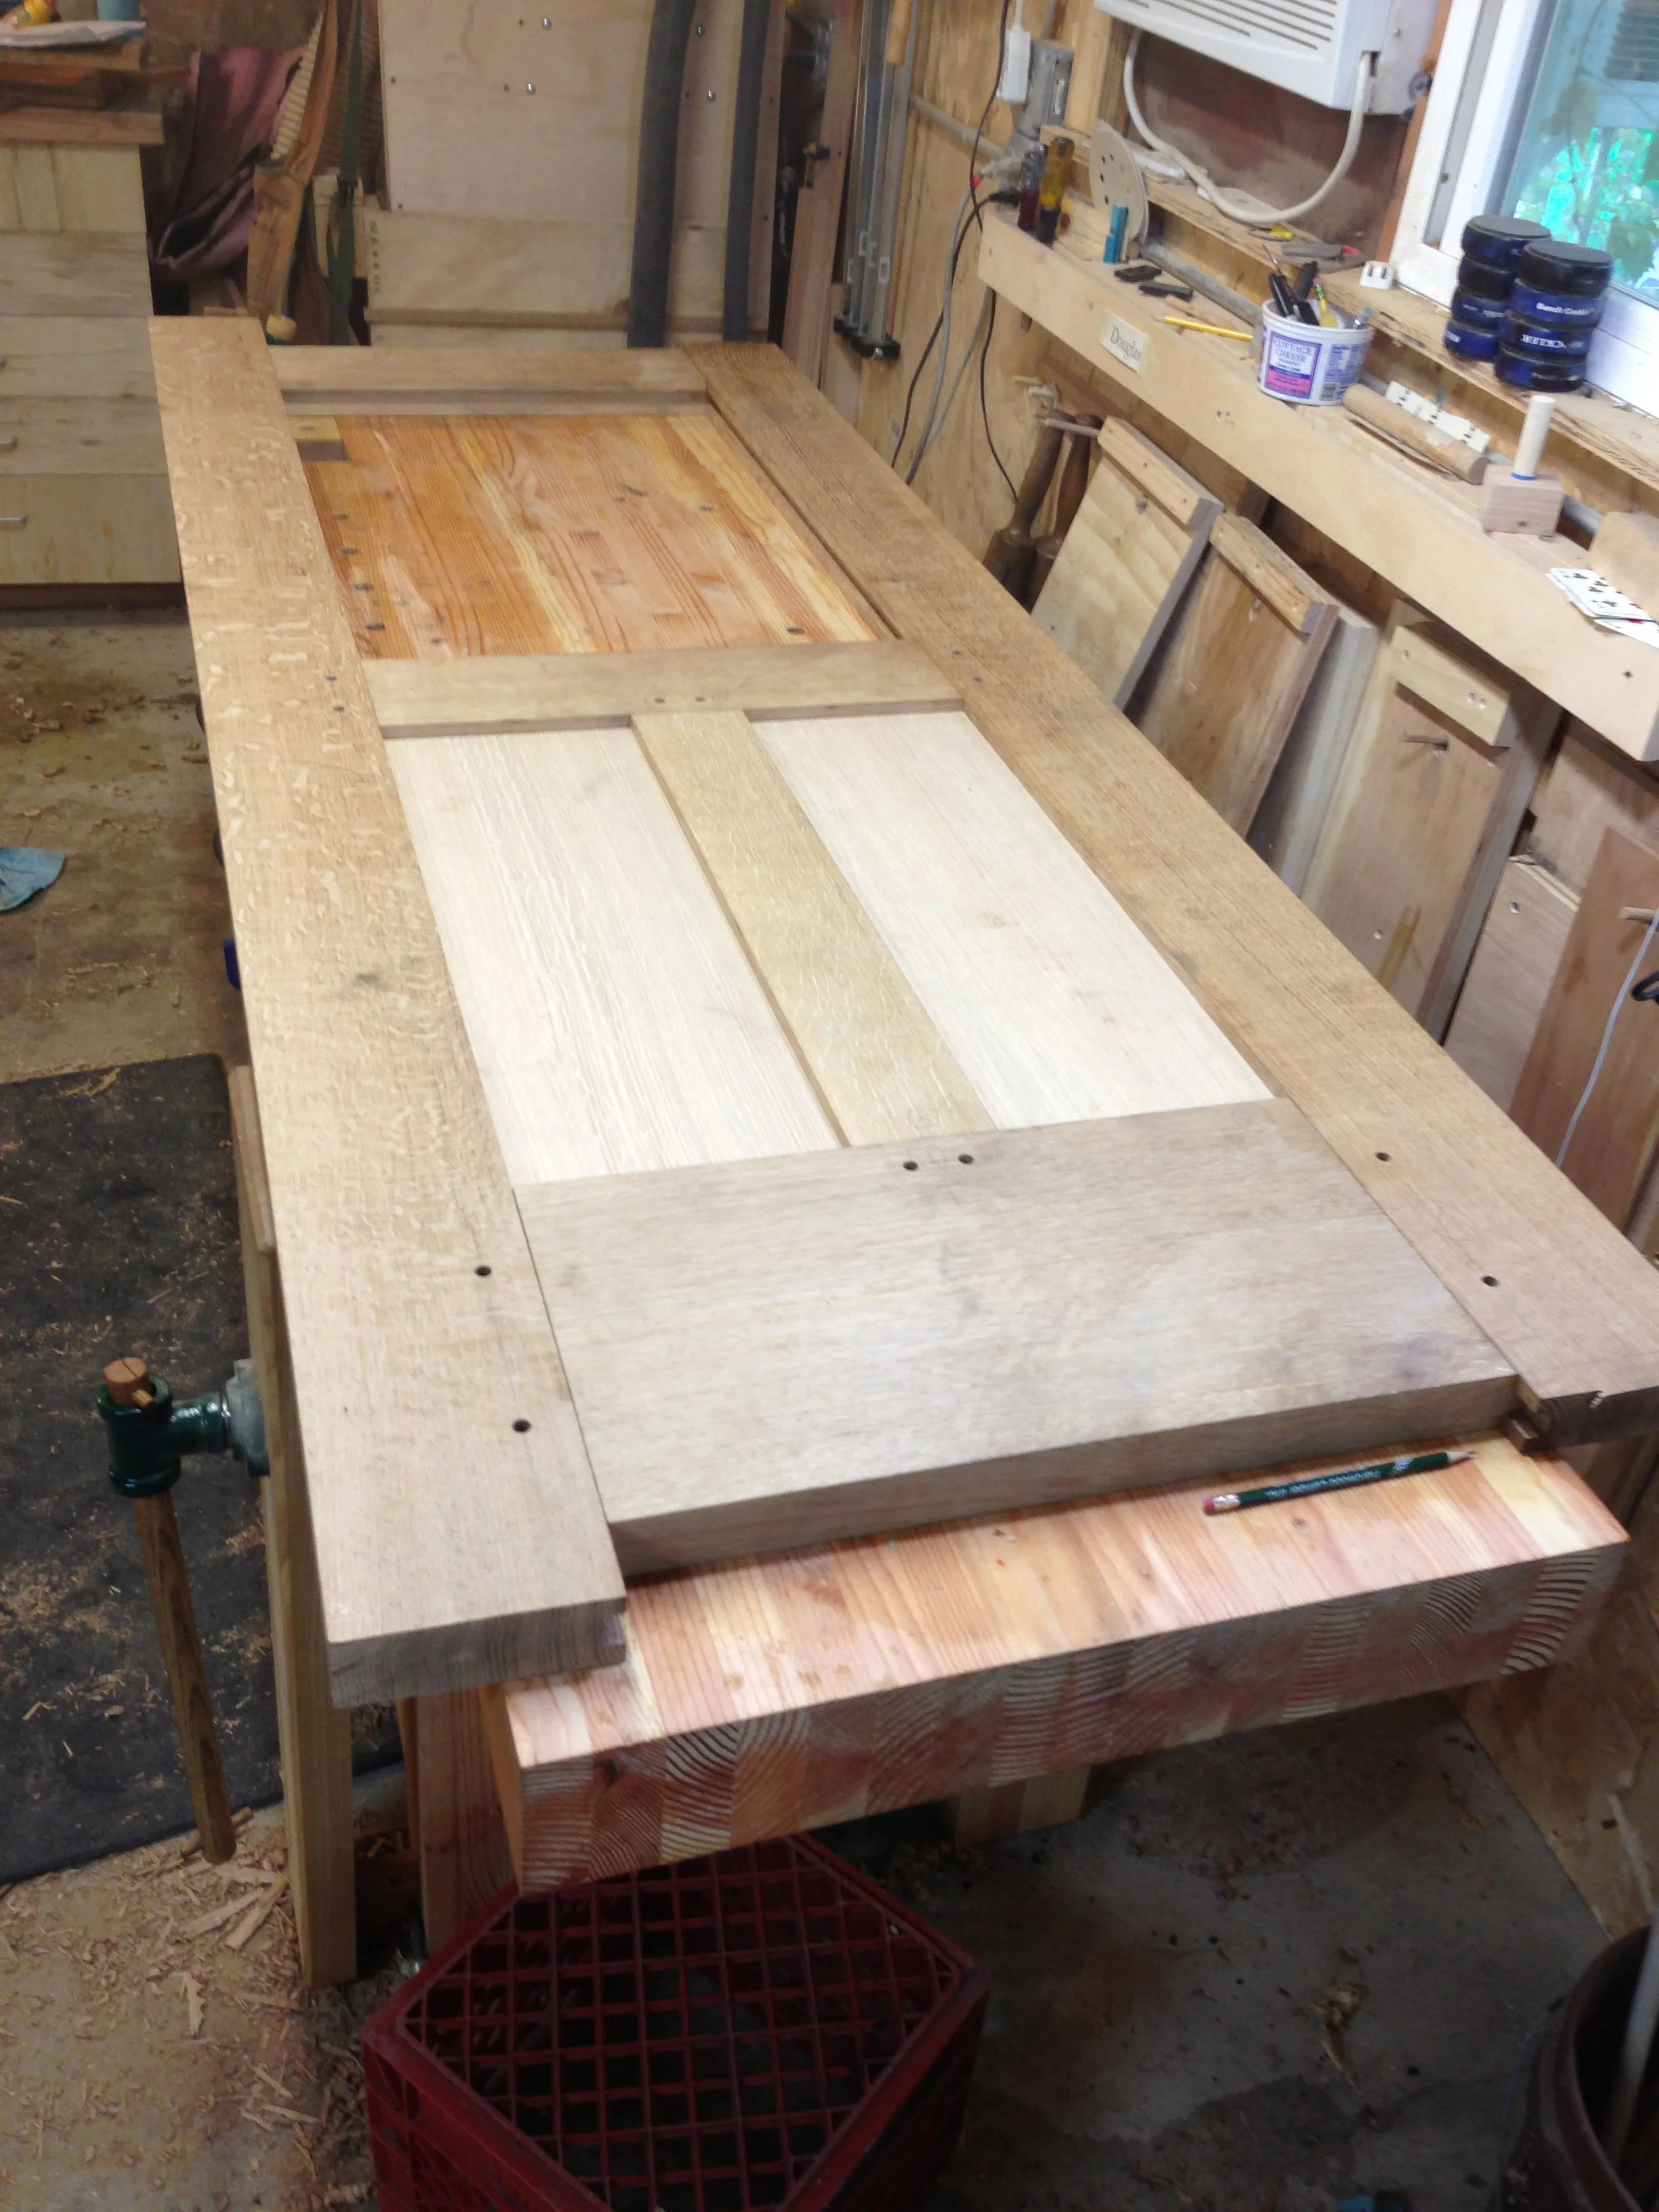
I then proceeded to the final sanding (I'd already sanded the parts up to 180 grit before assembly). Once the surface was prepped, I went through my craftsman finishing process:

  • dampen the surface to raise any grain, and sand that off.
  • flood with Transtint "mission brown" water based dye
  • HVLP spray amber shellac, sanding with increasingly finer grits between coats. About 4 coats overall
  • Spray water based polyurethane, sanding lightly between coats. About 3 coats total. 

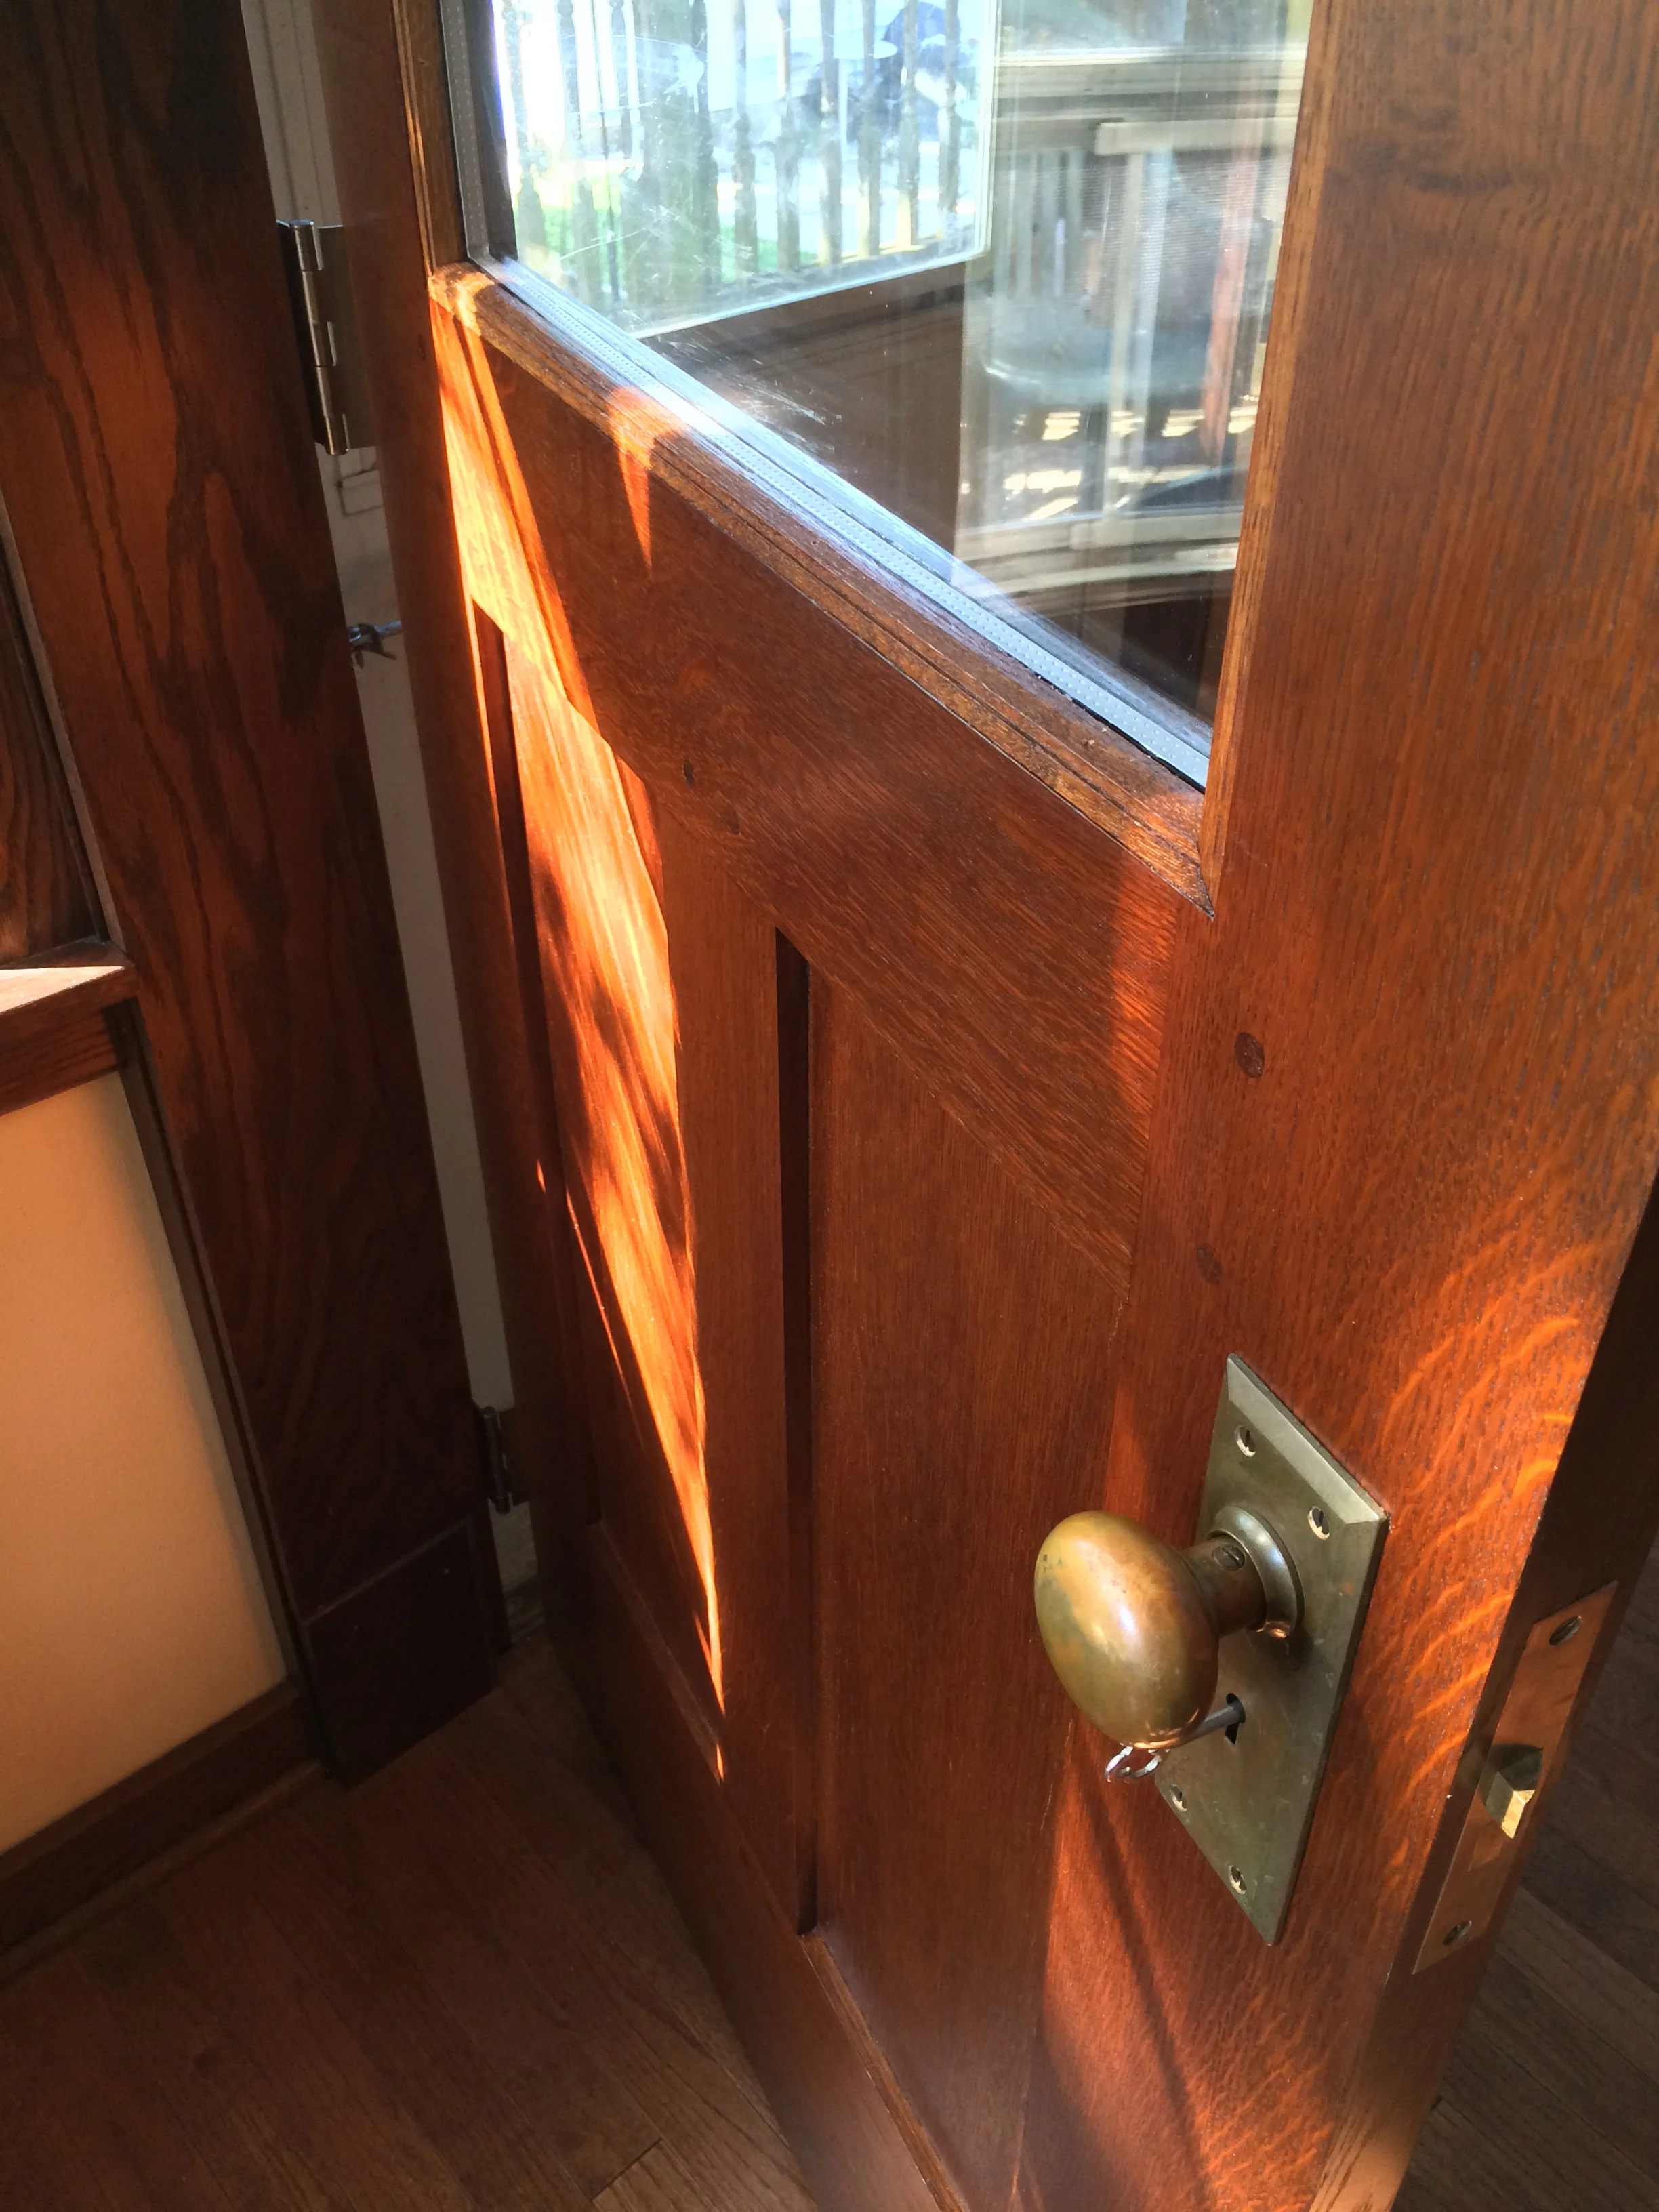
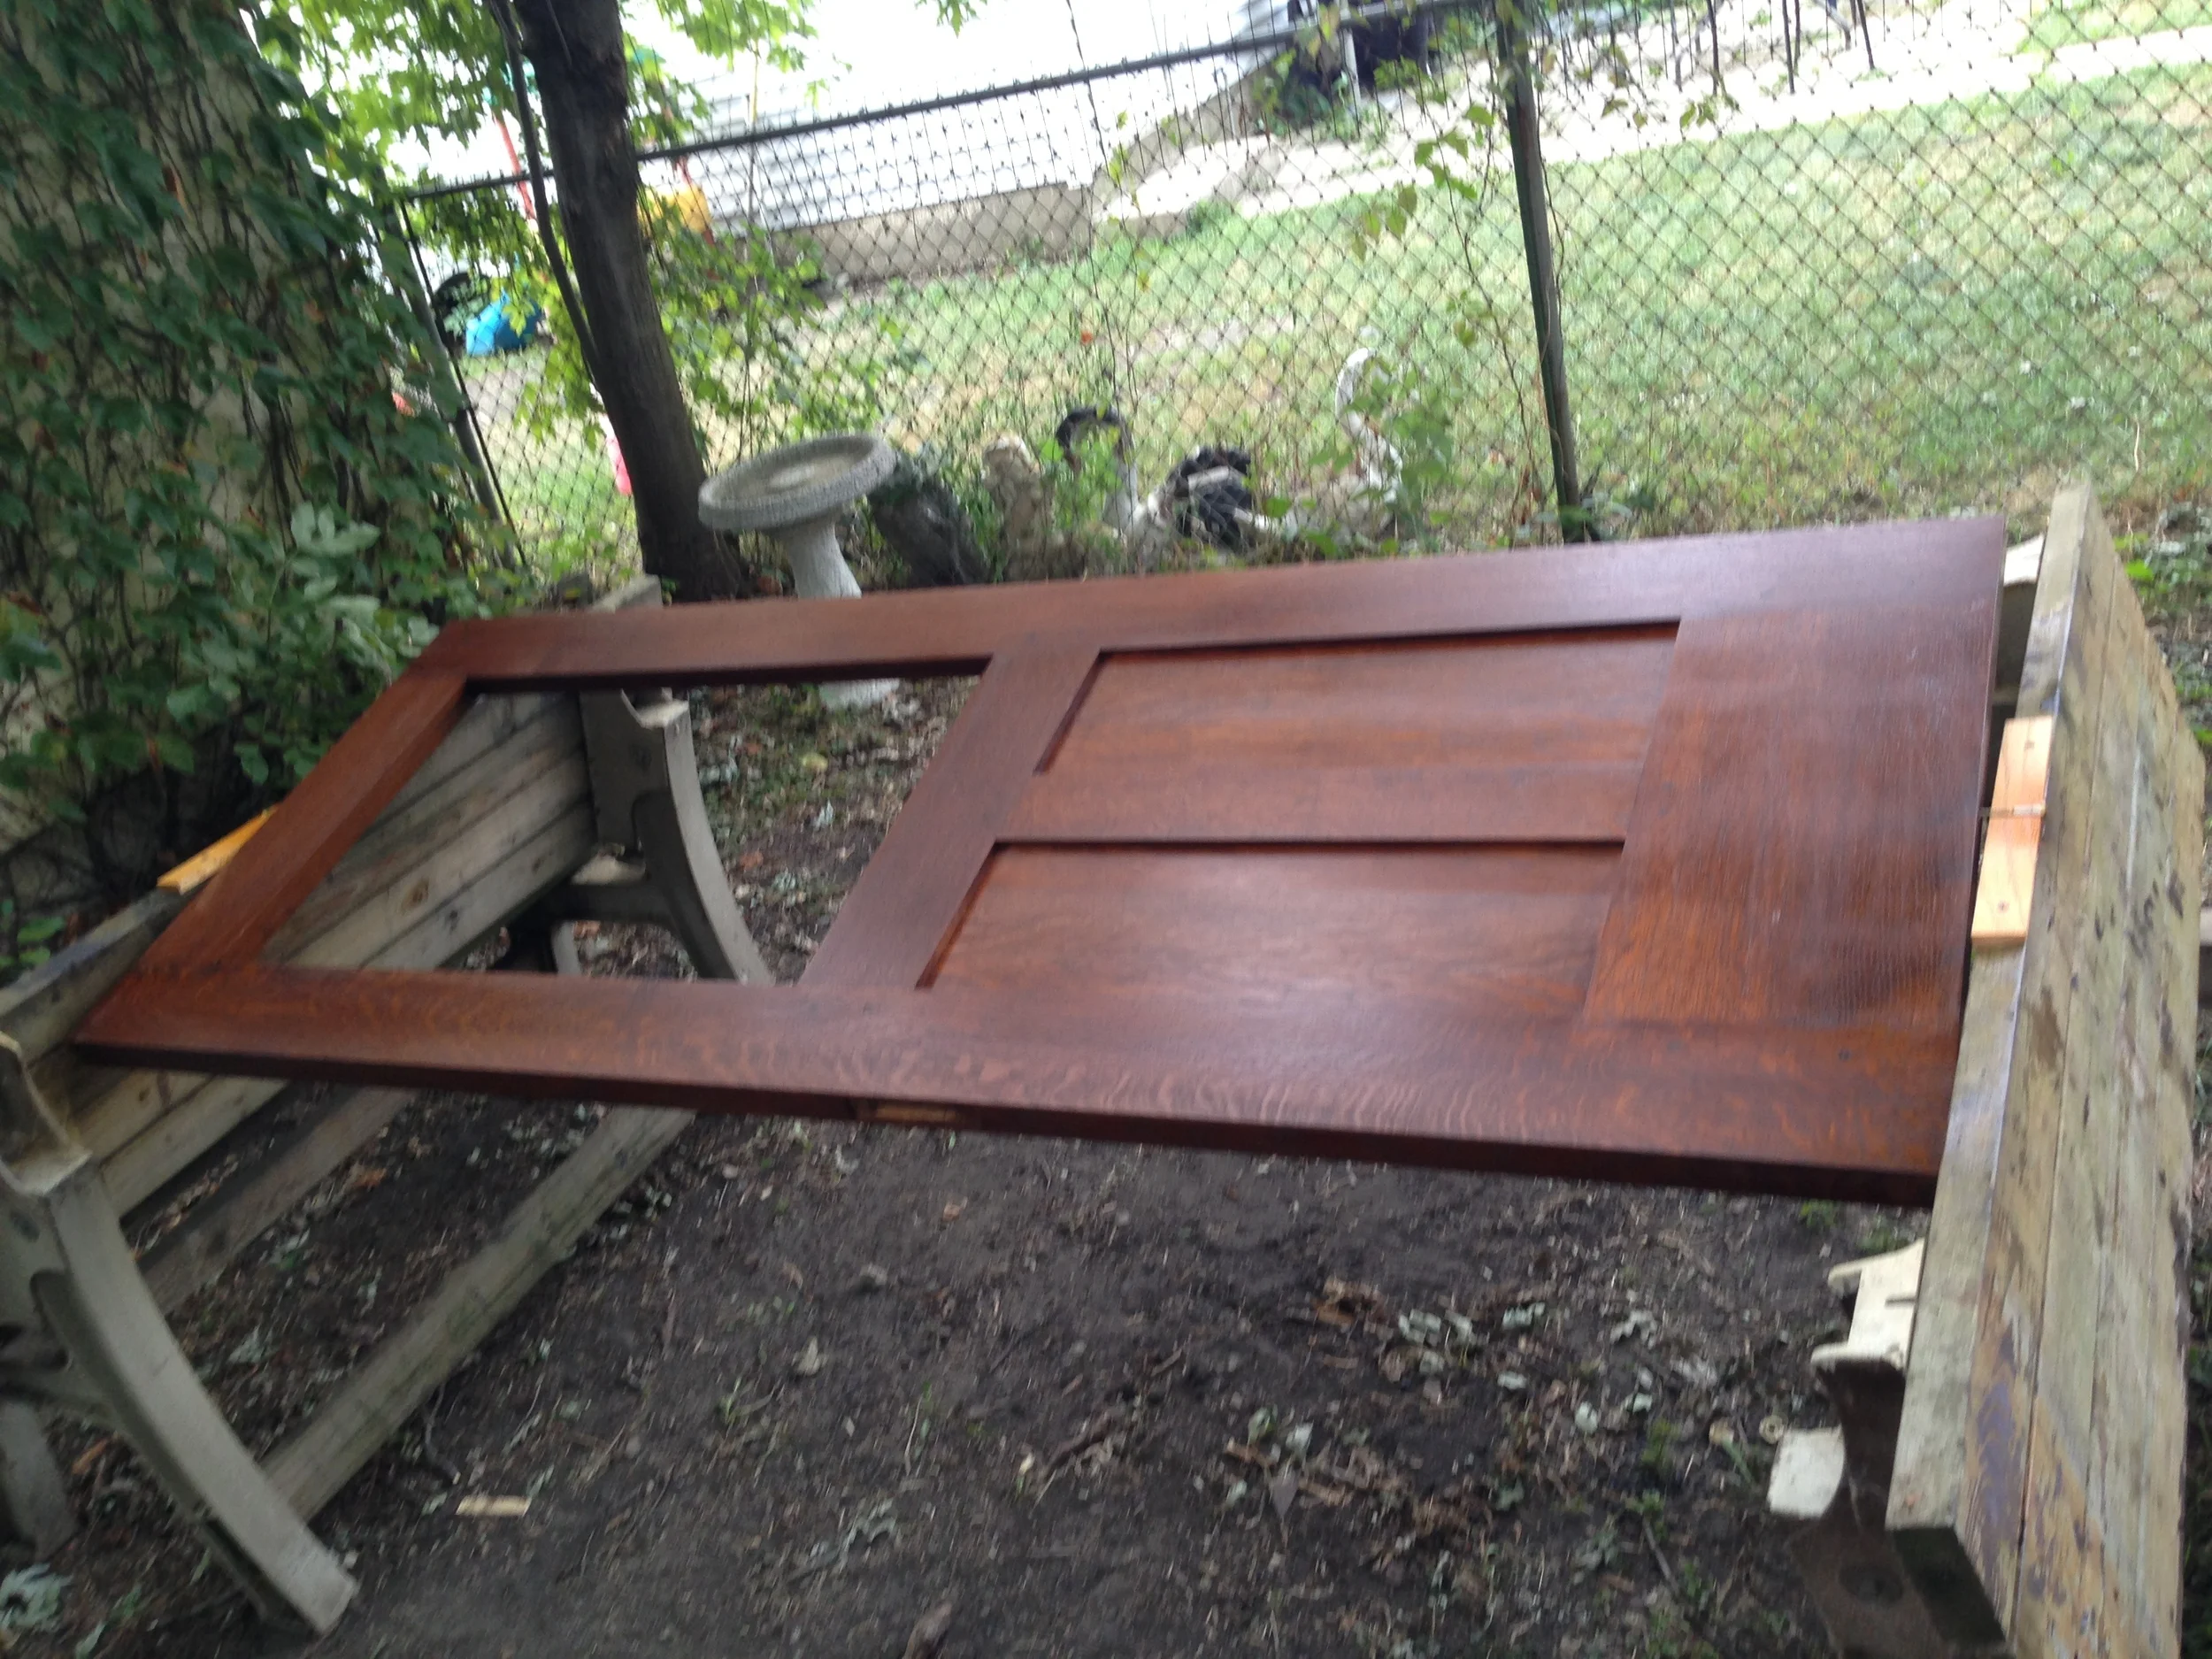
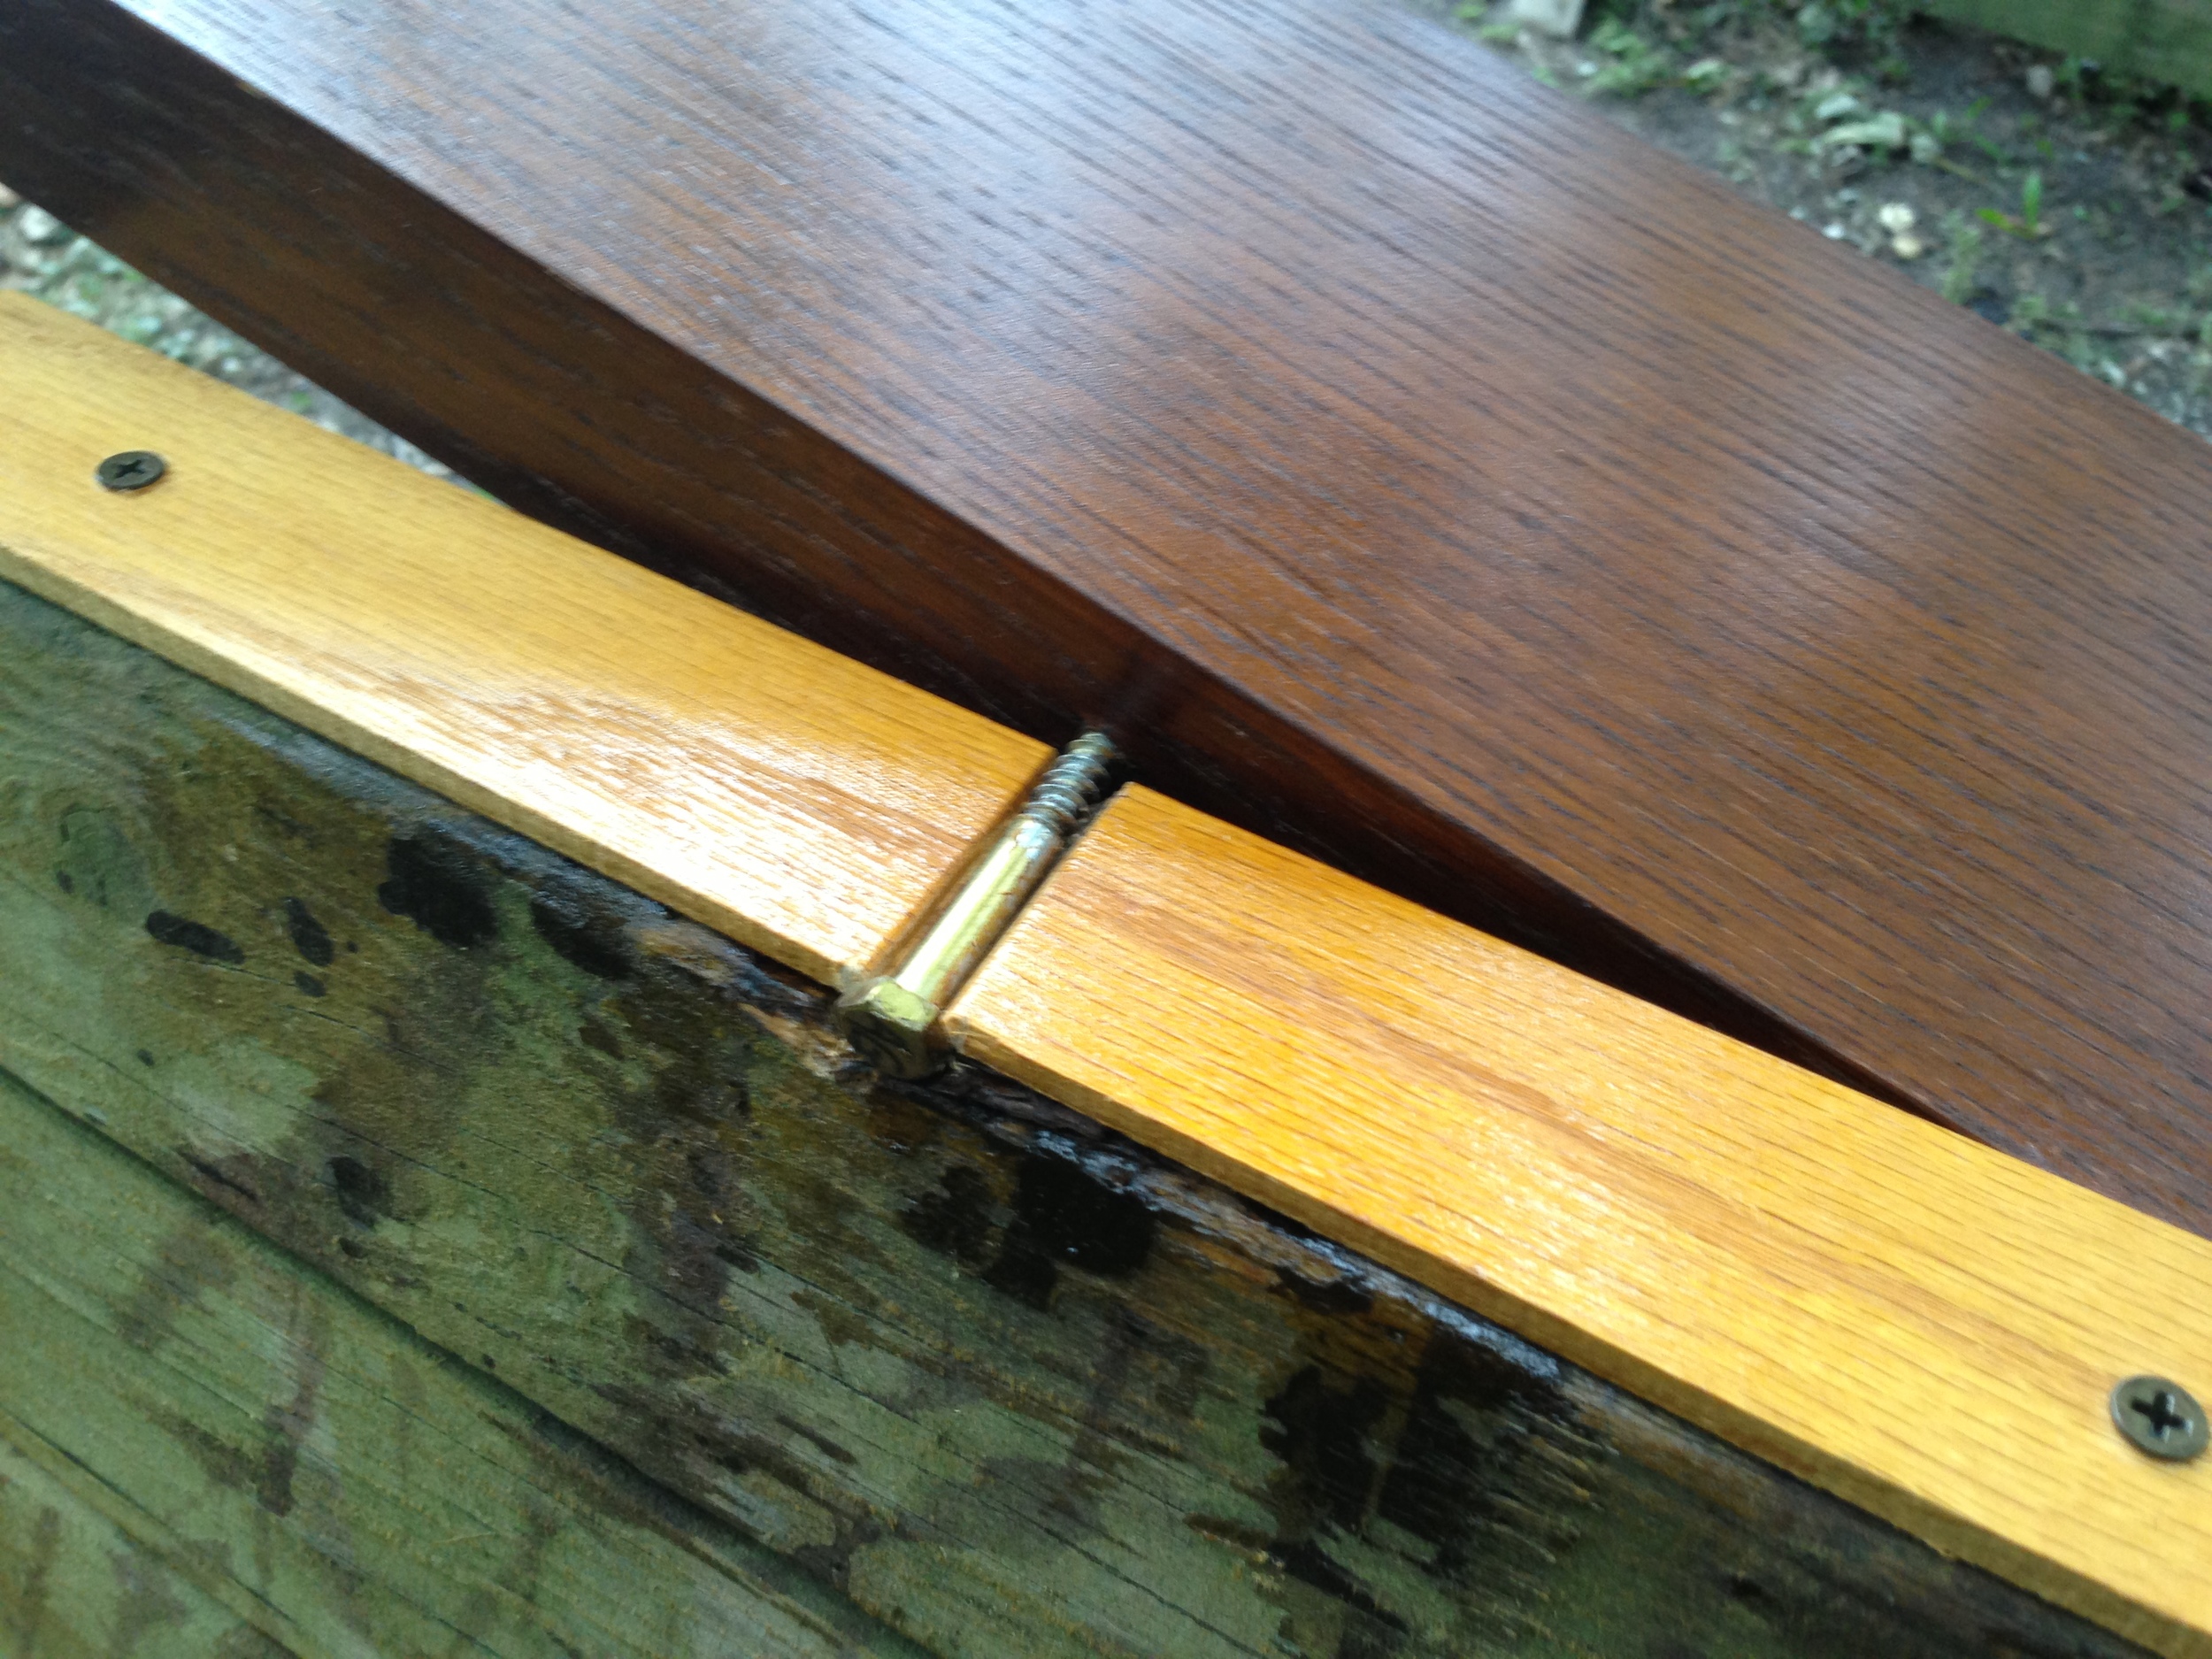
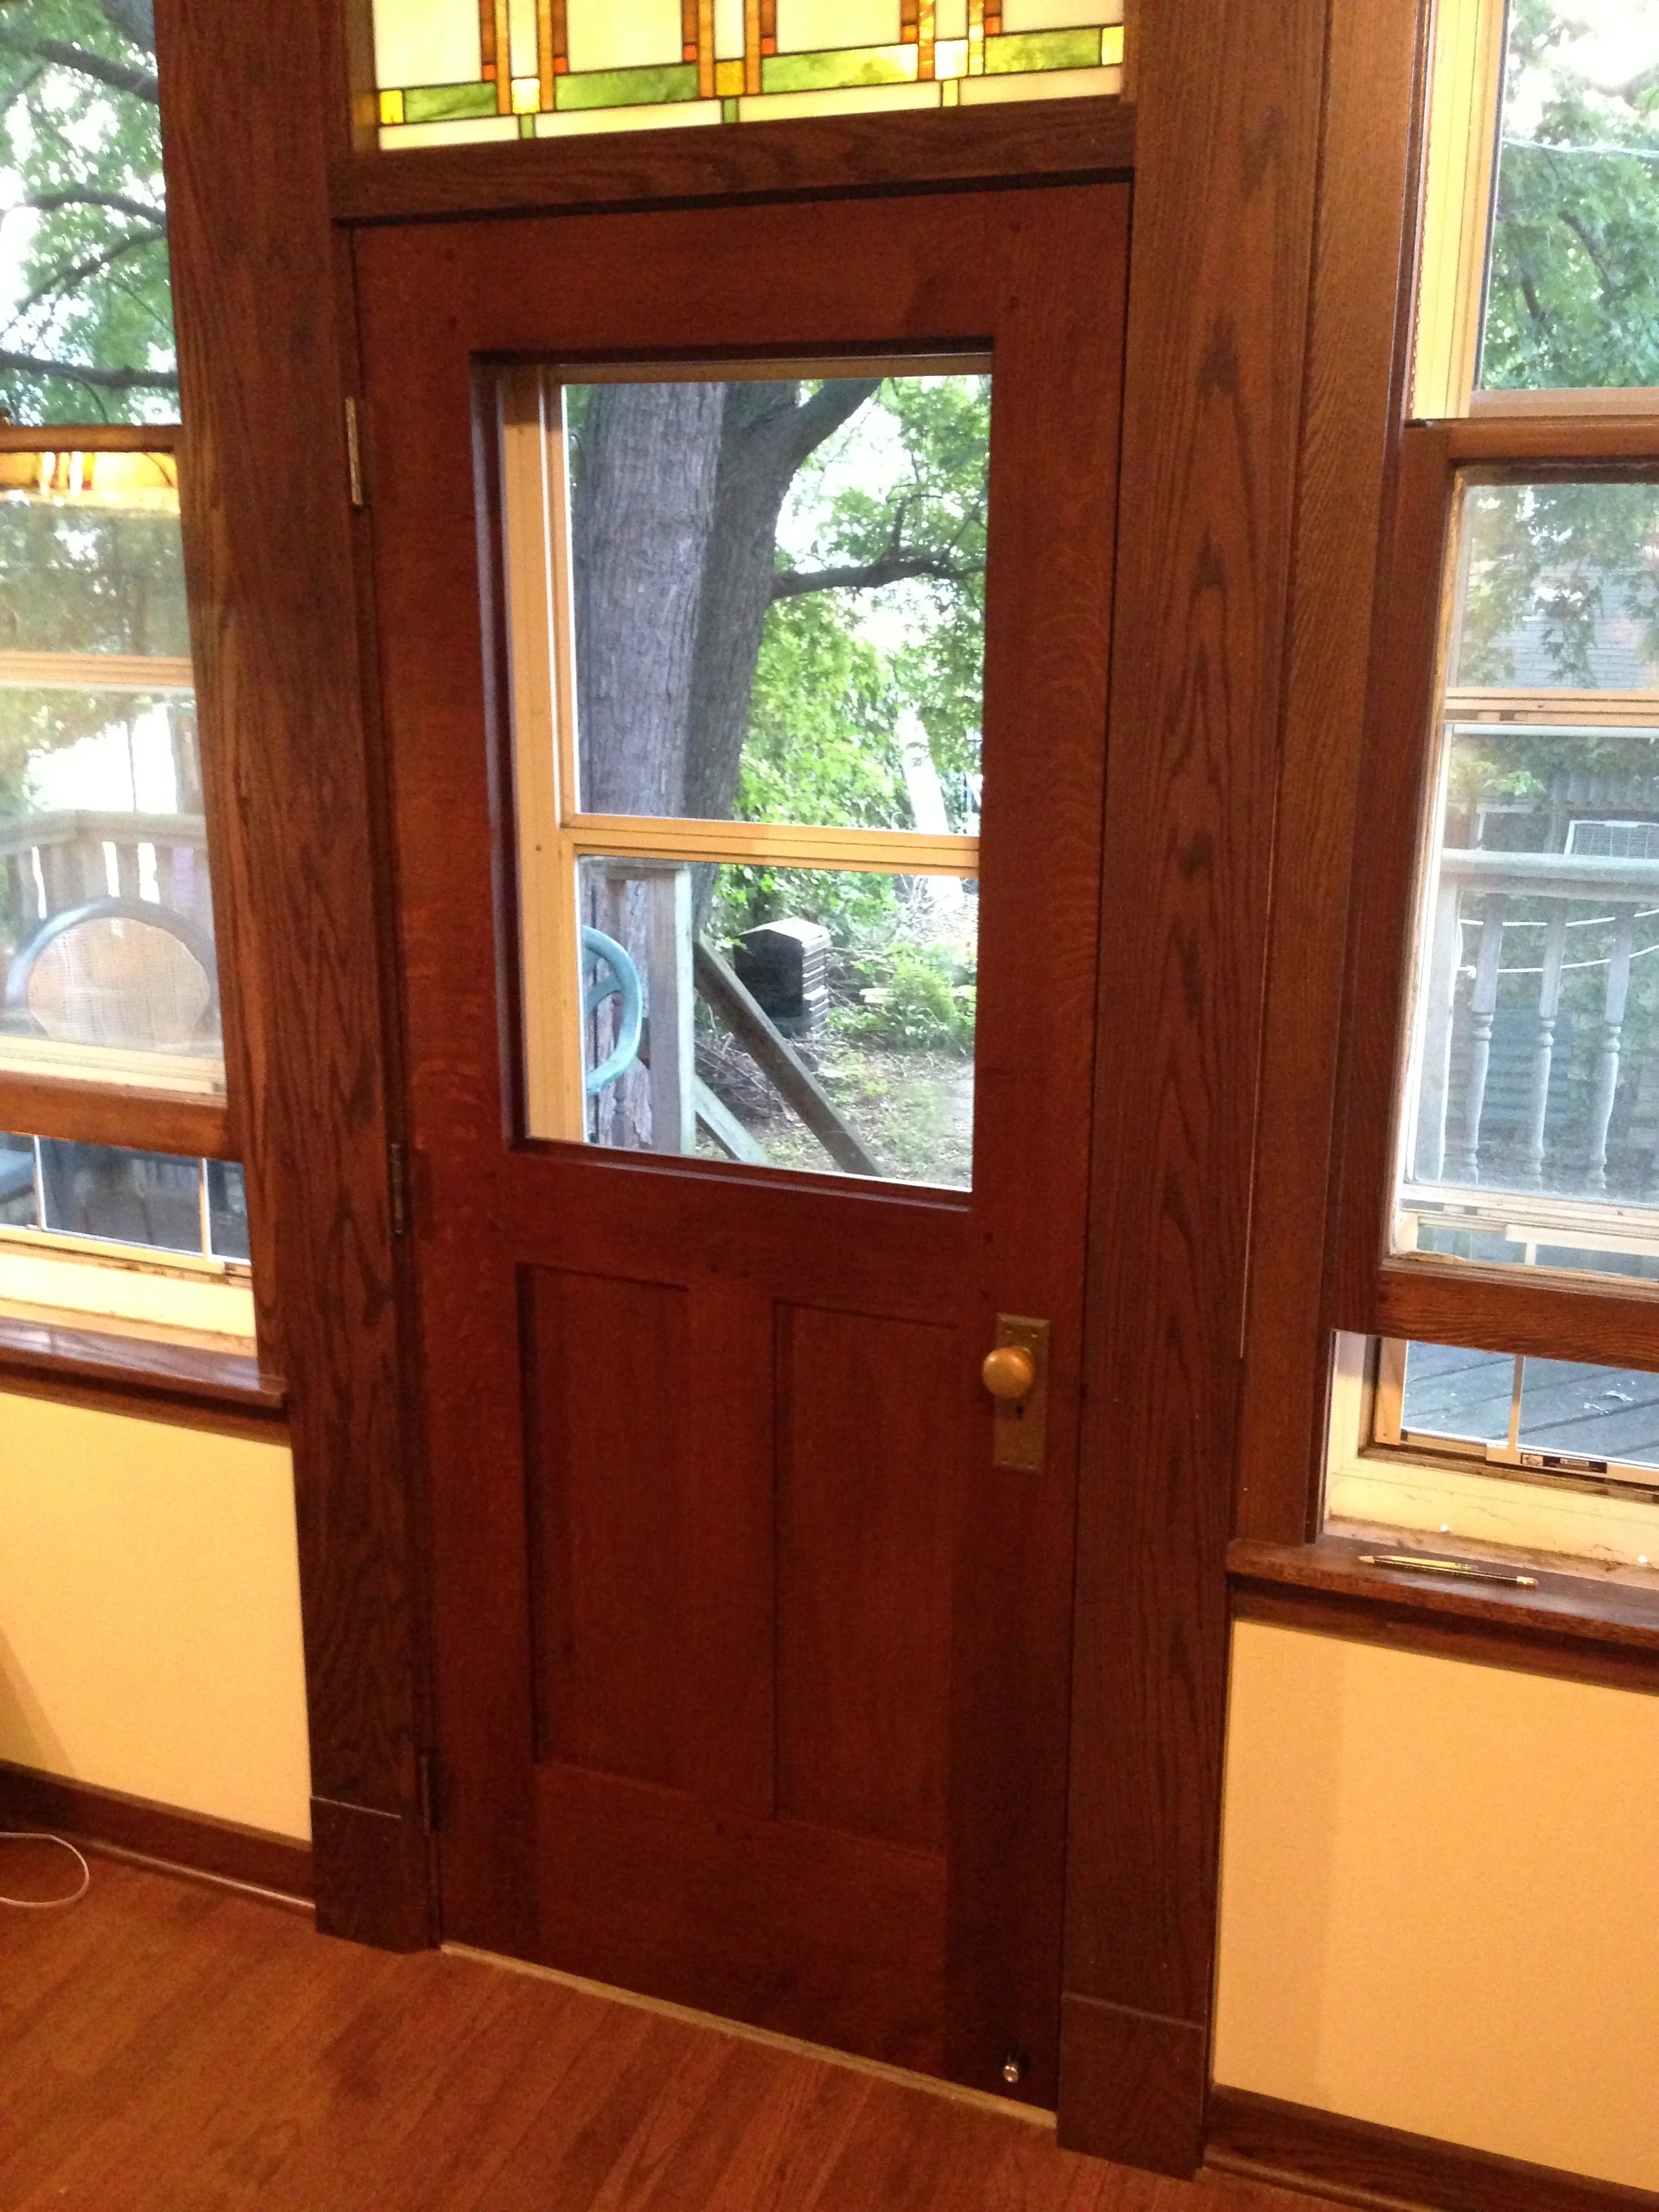
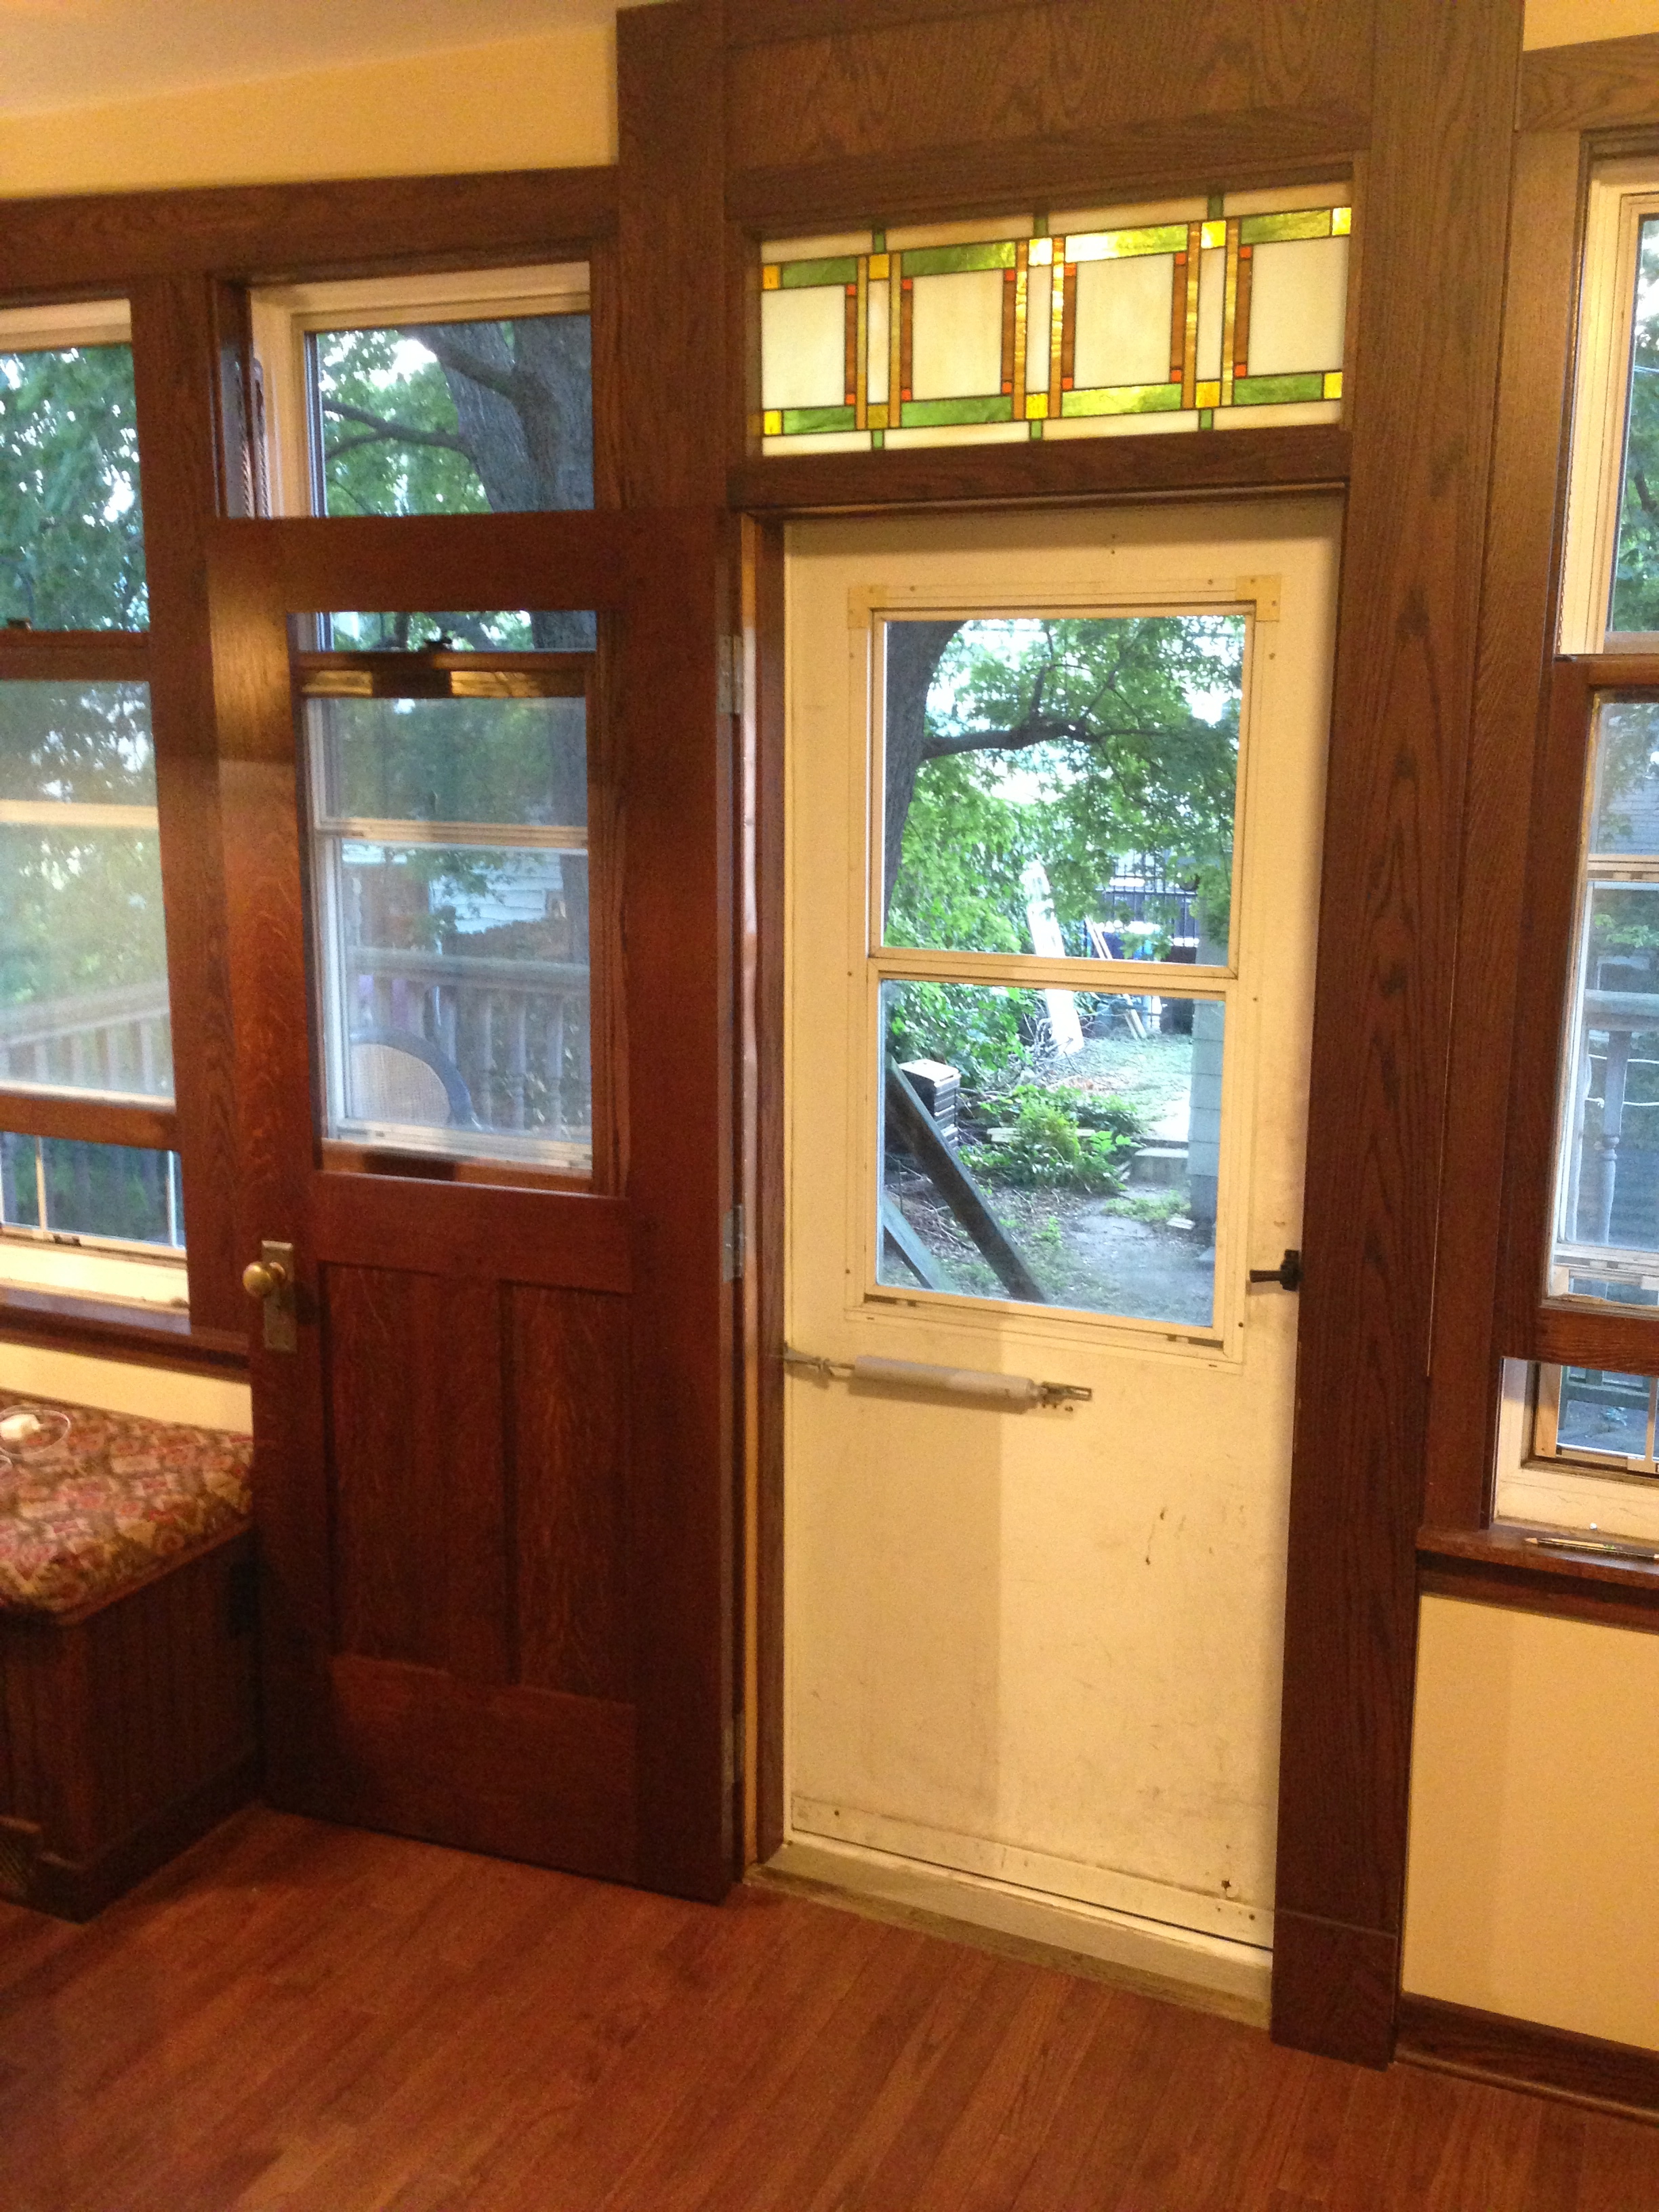
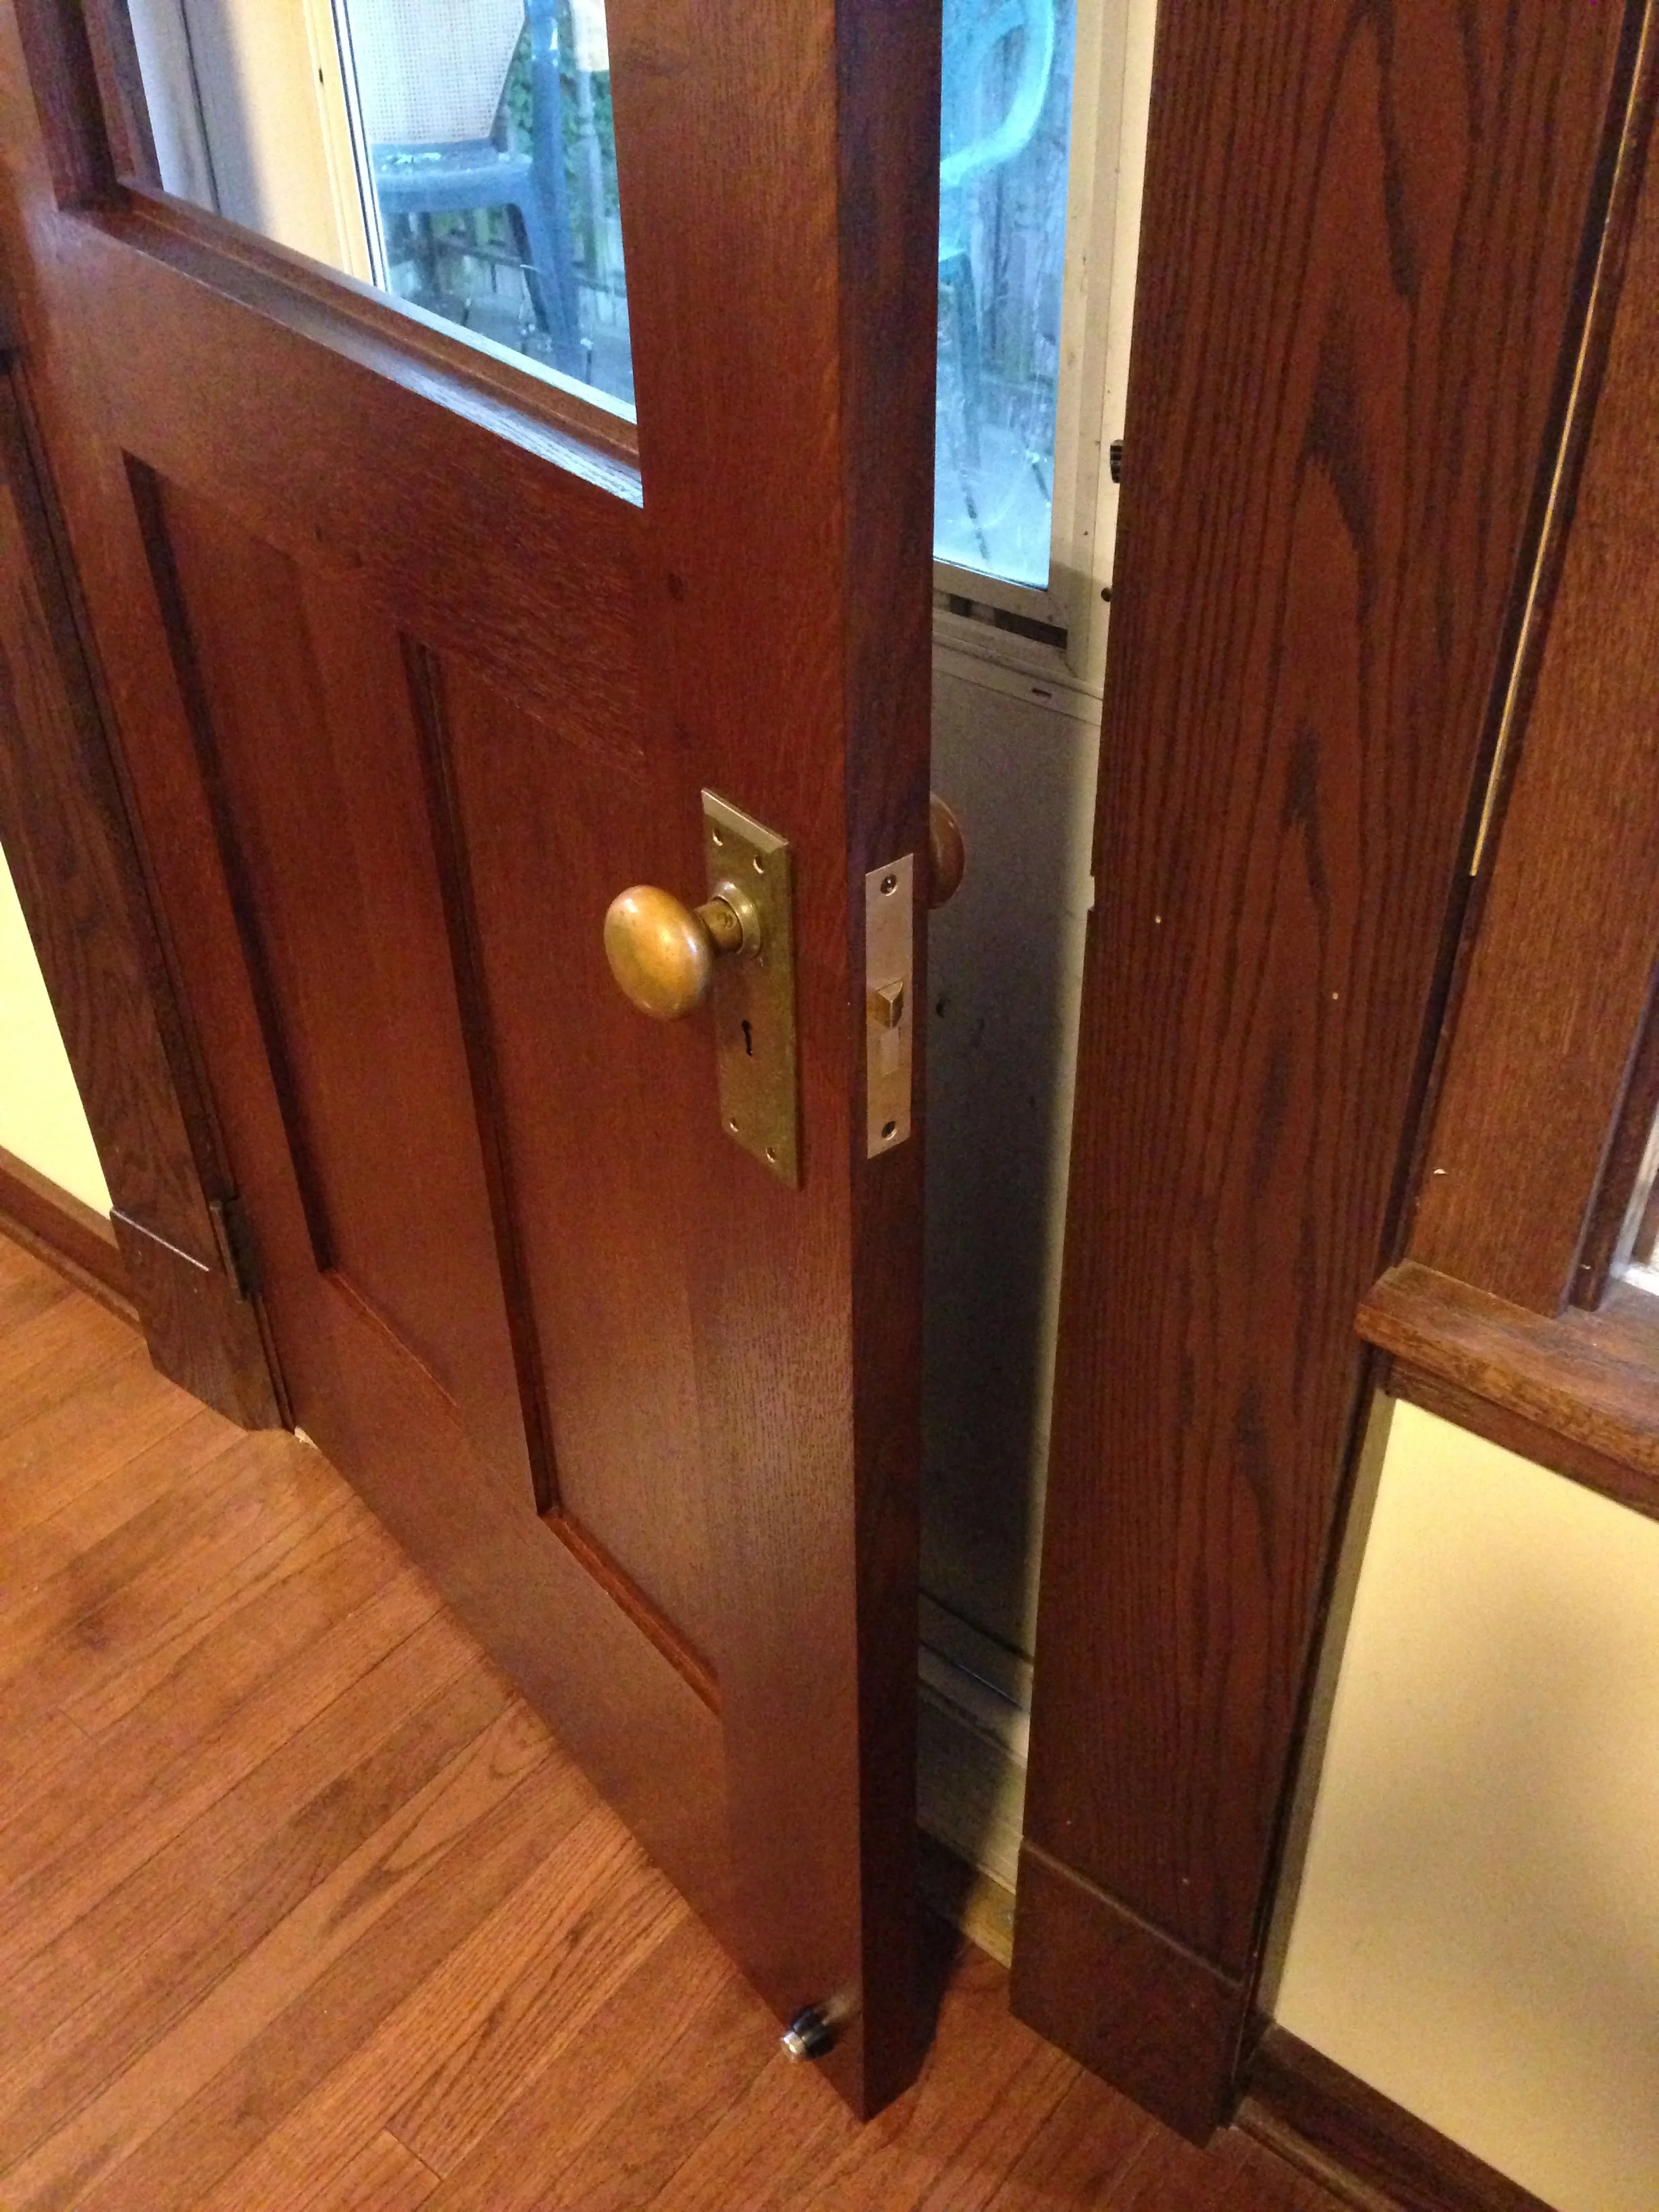
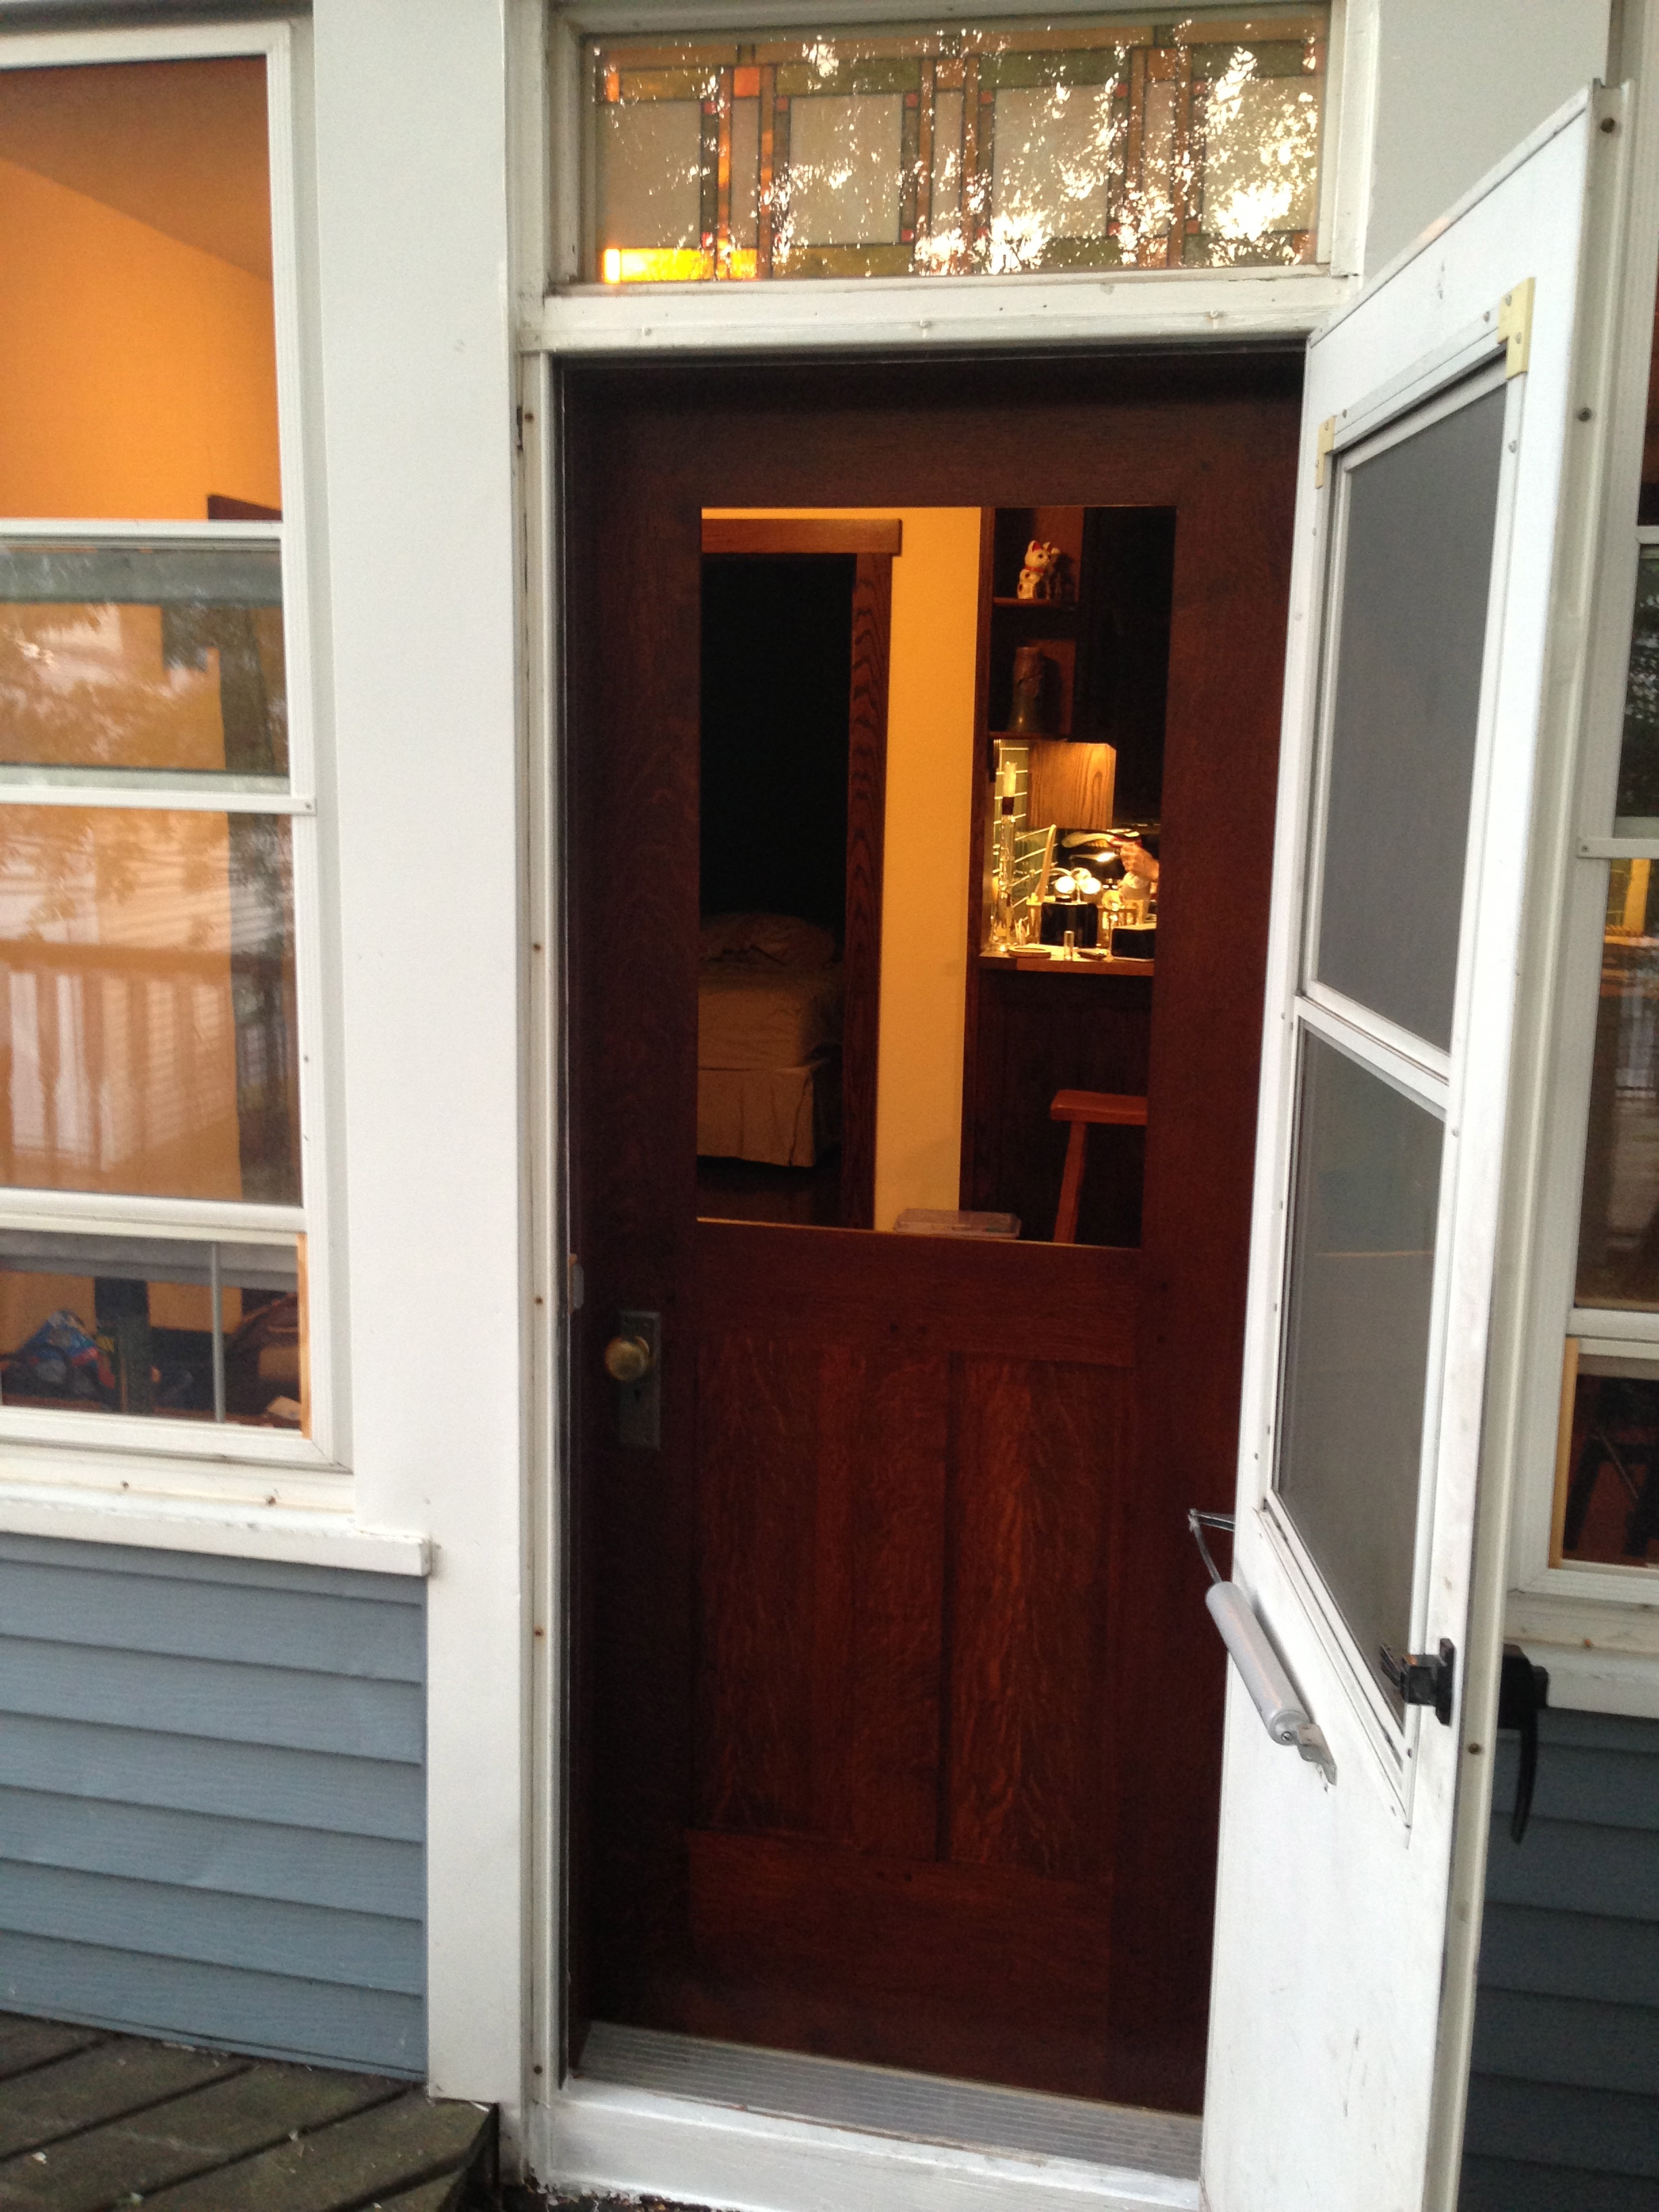
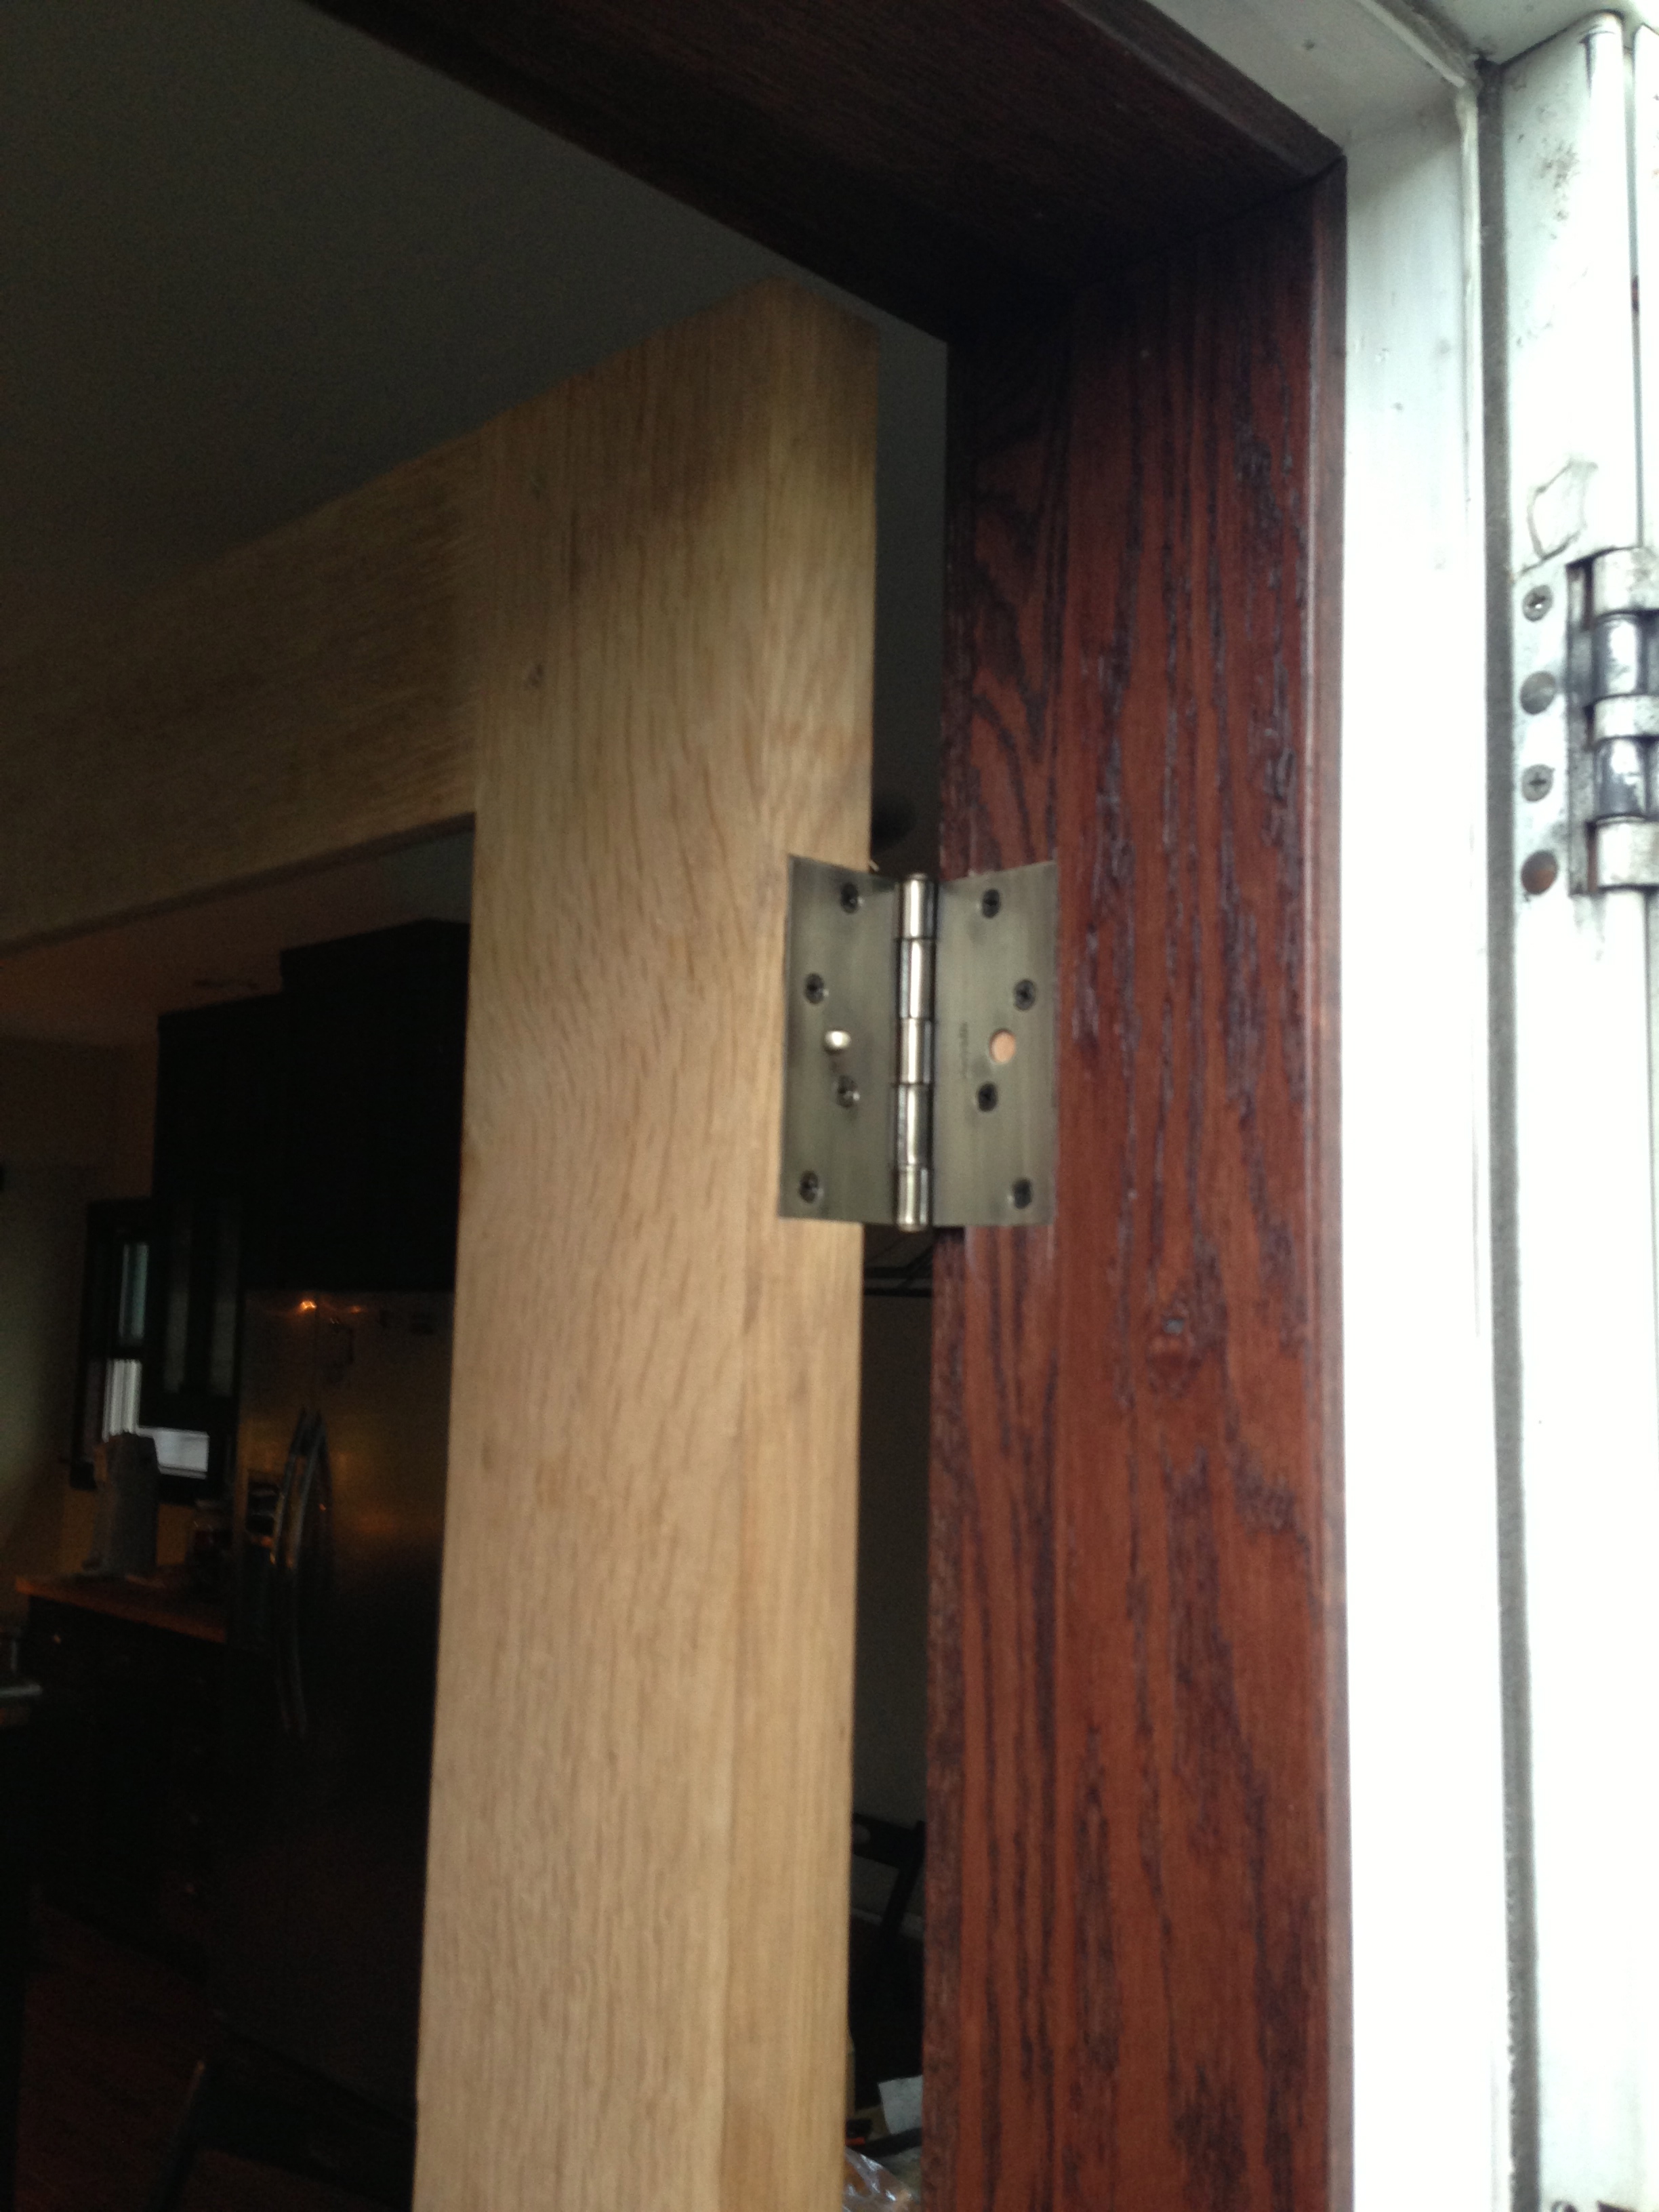
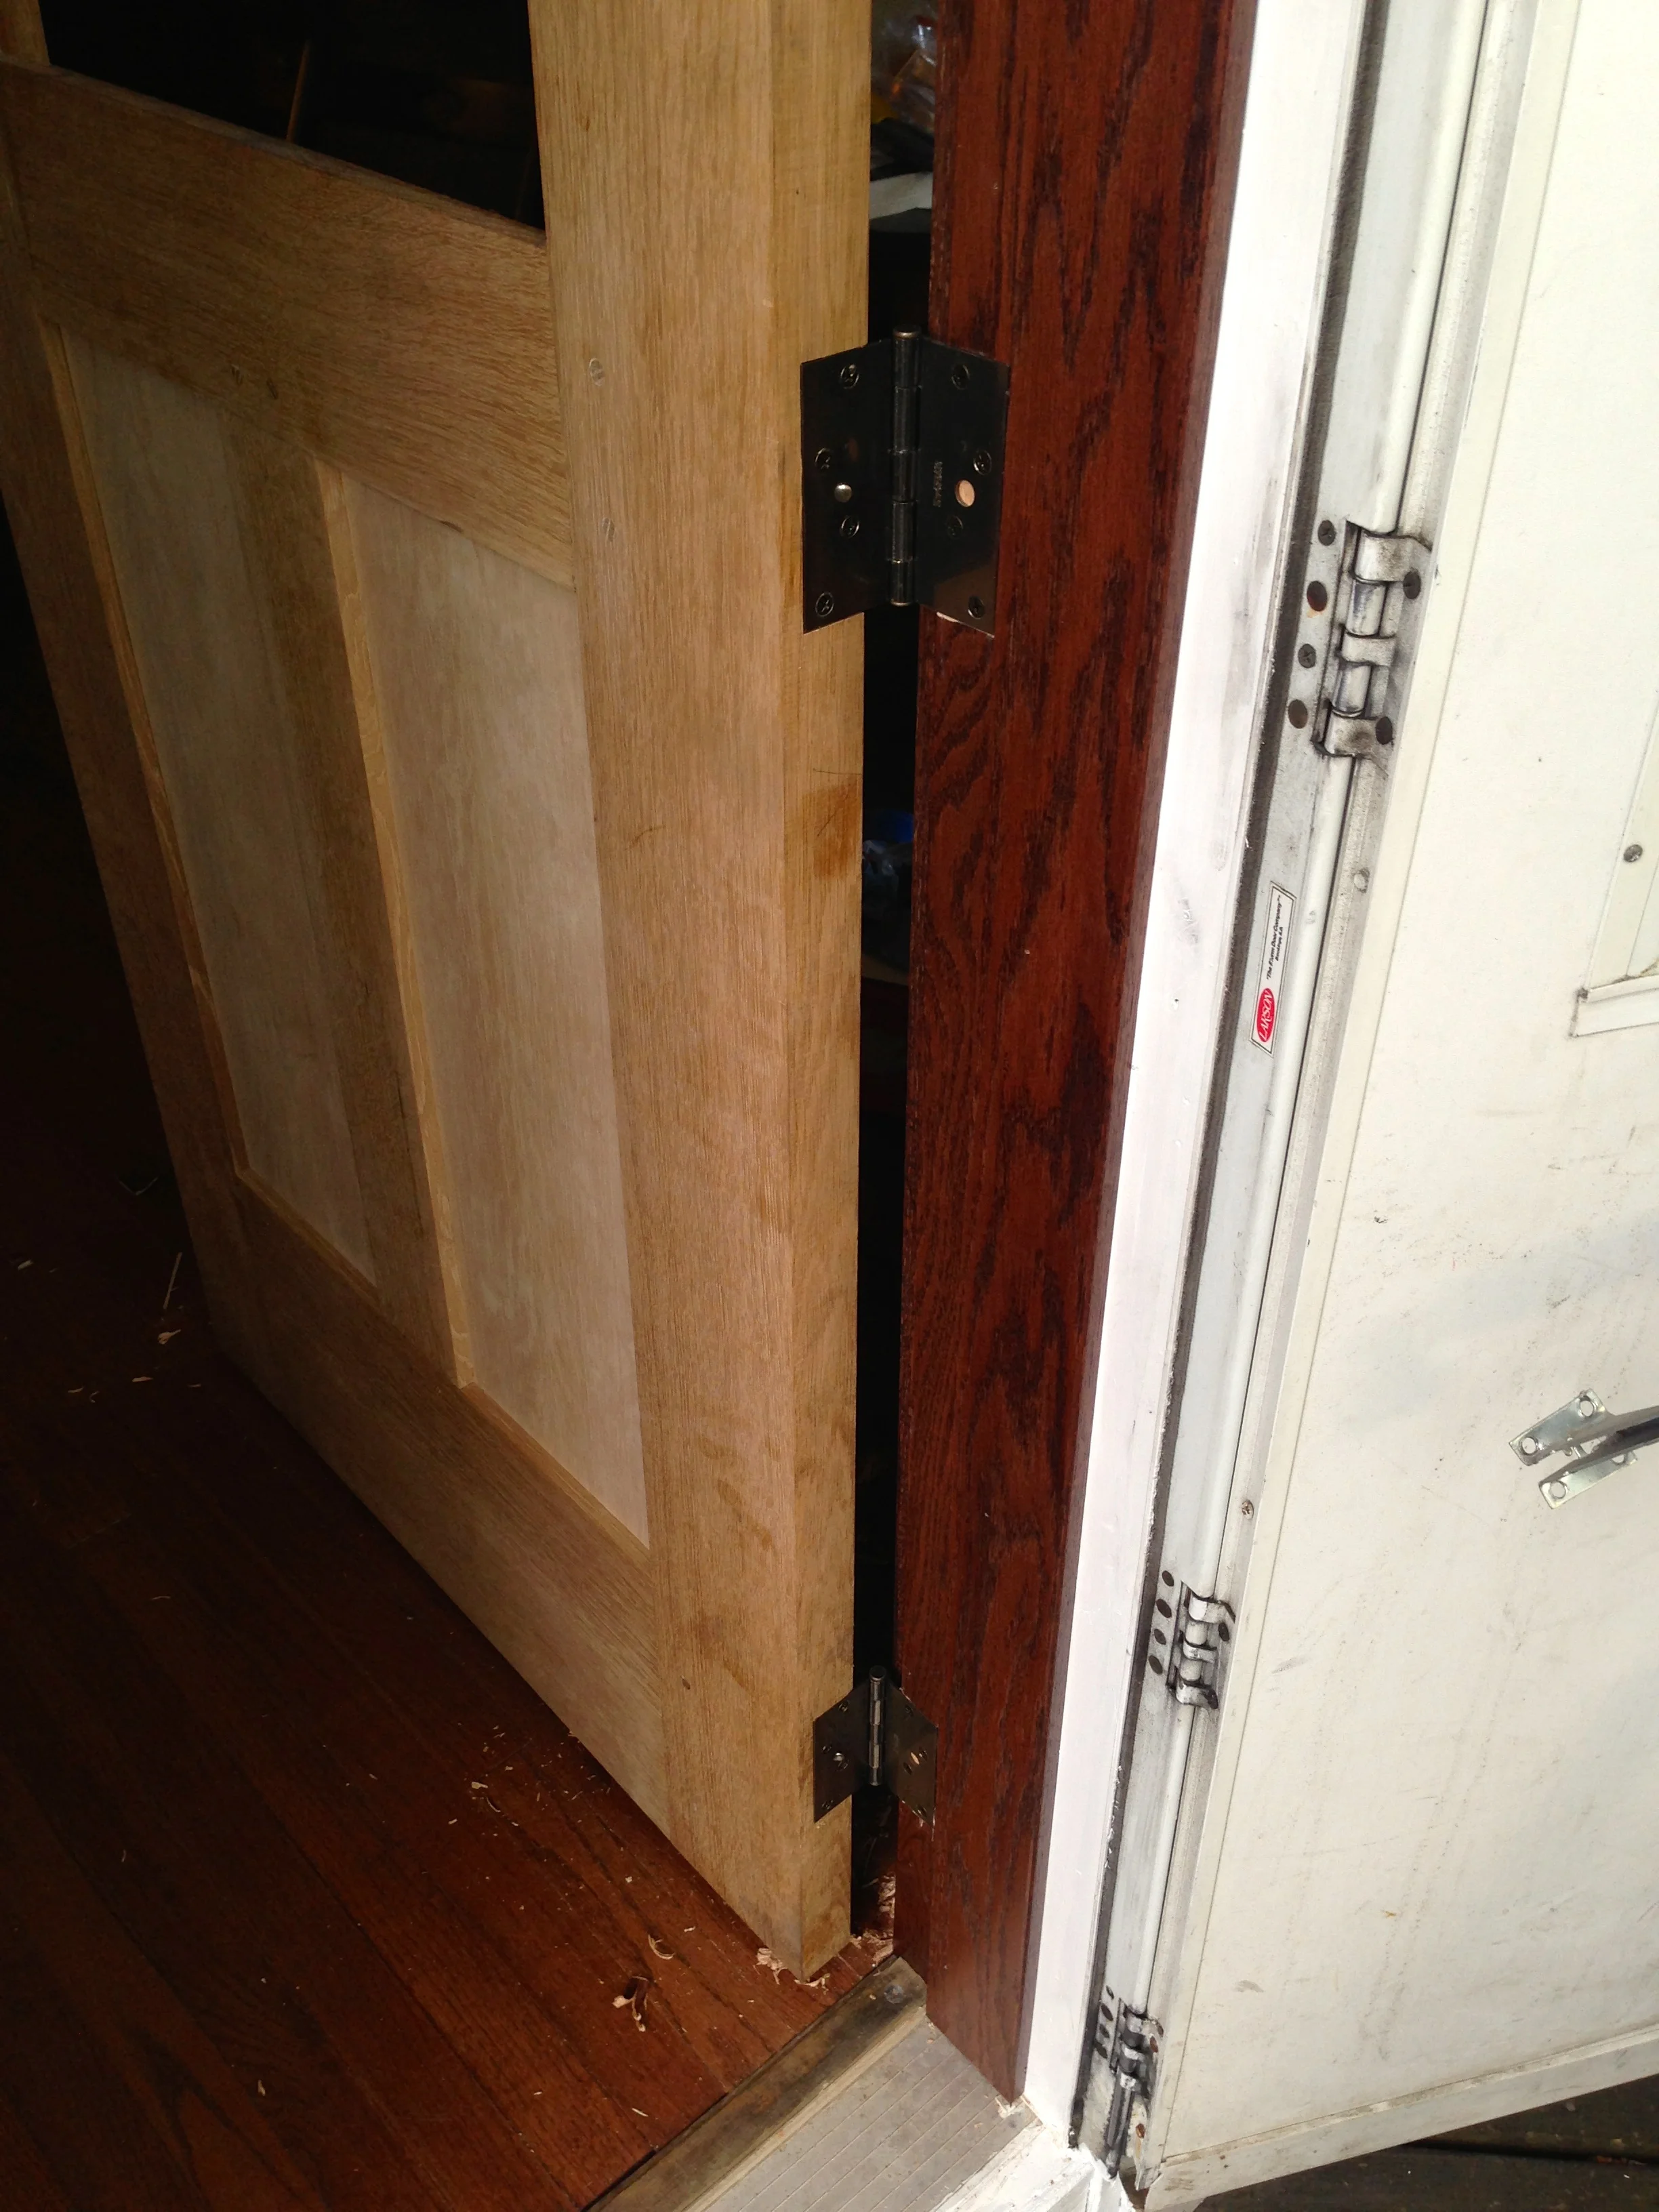
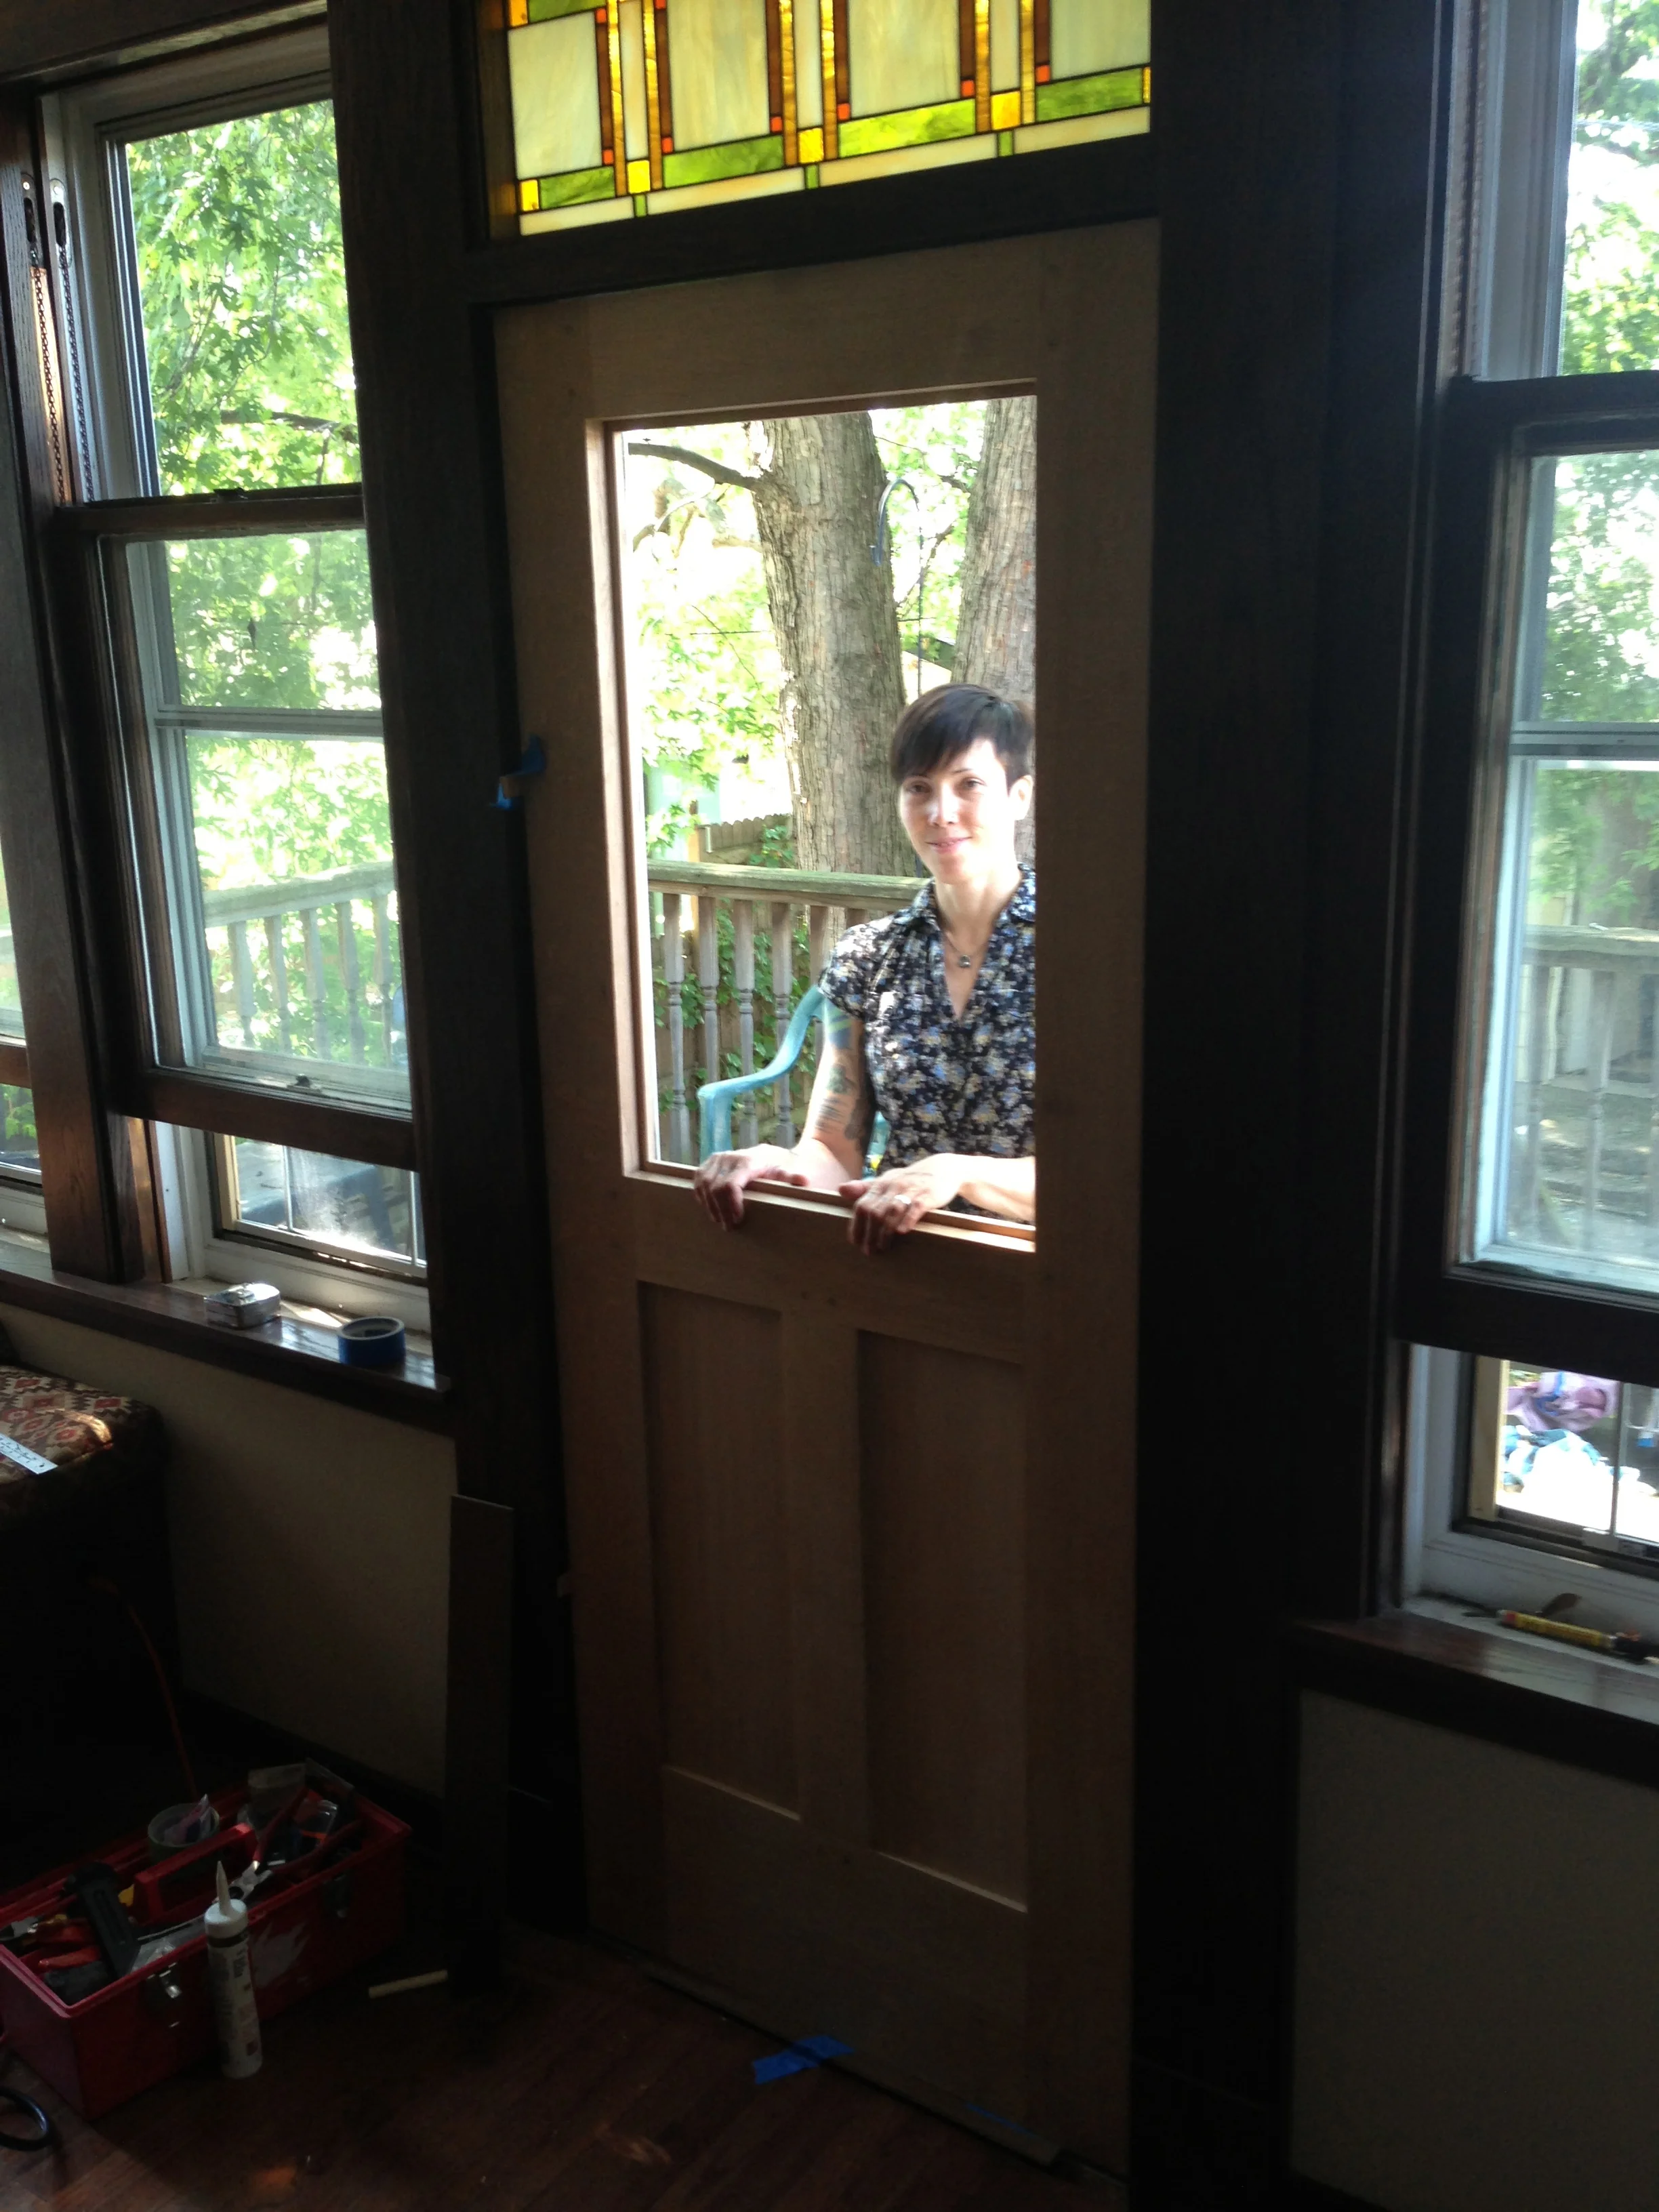
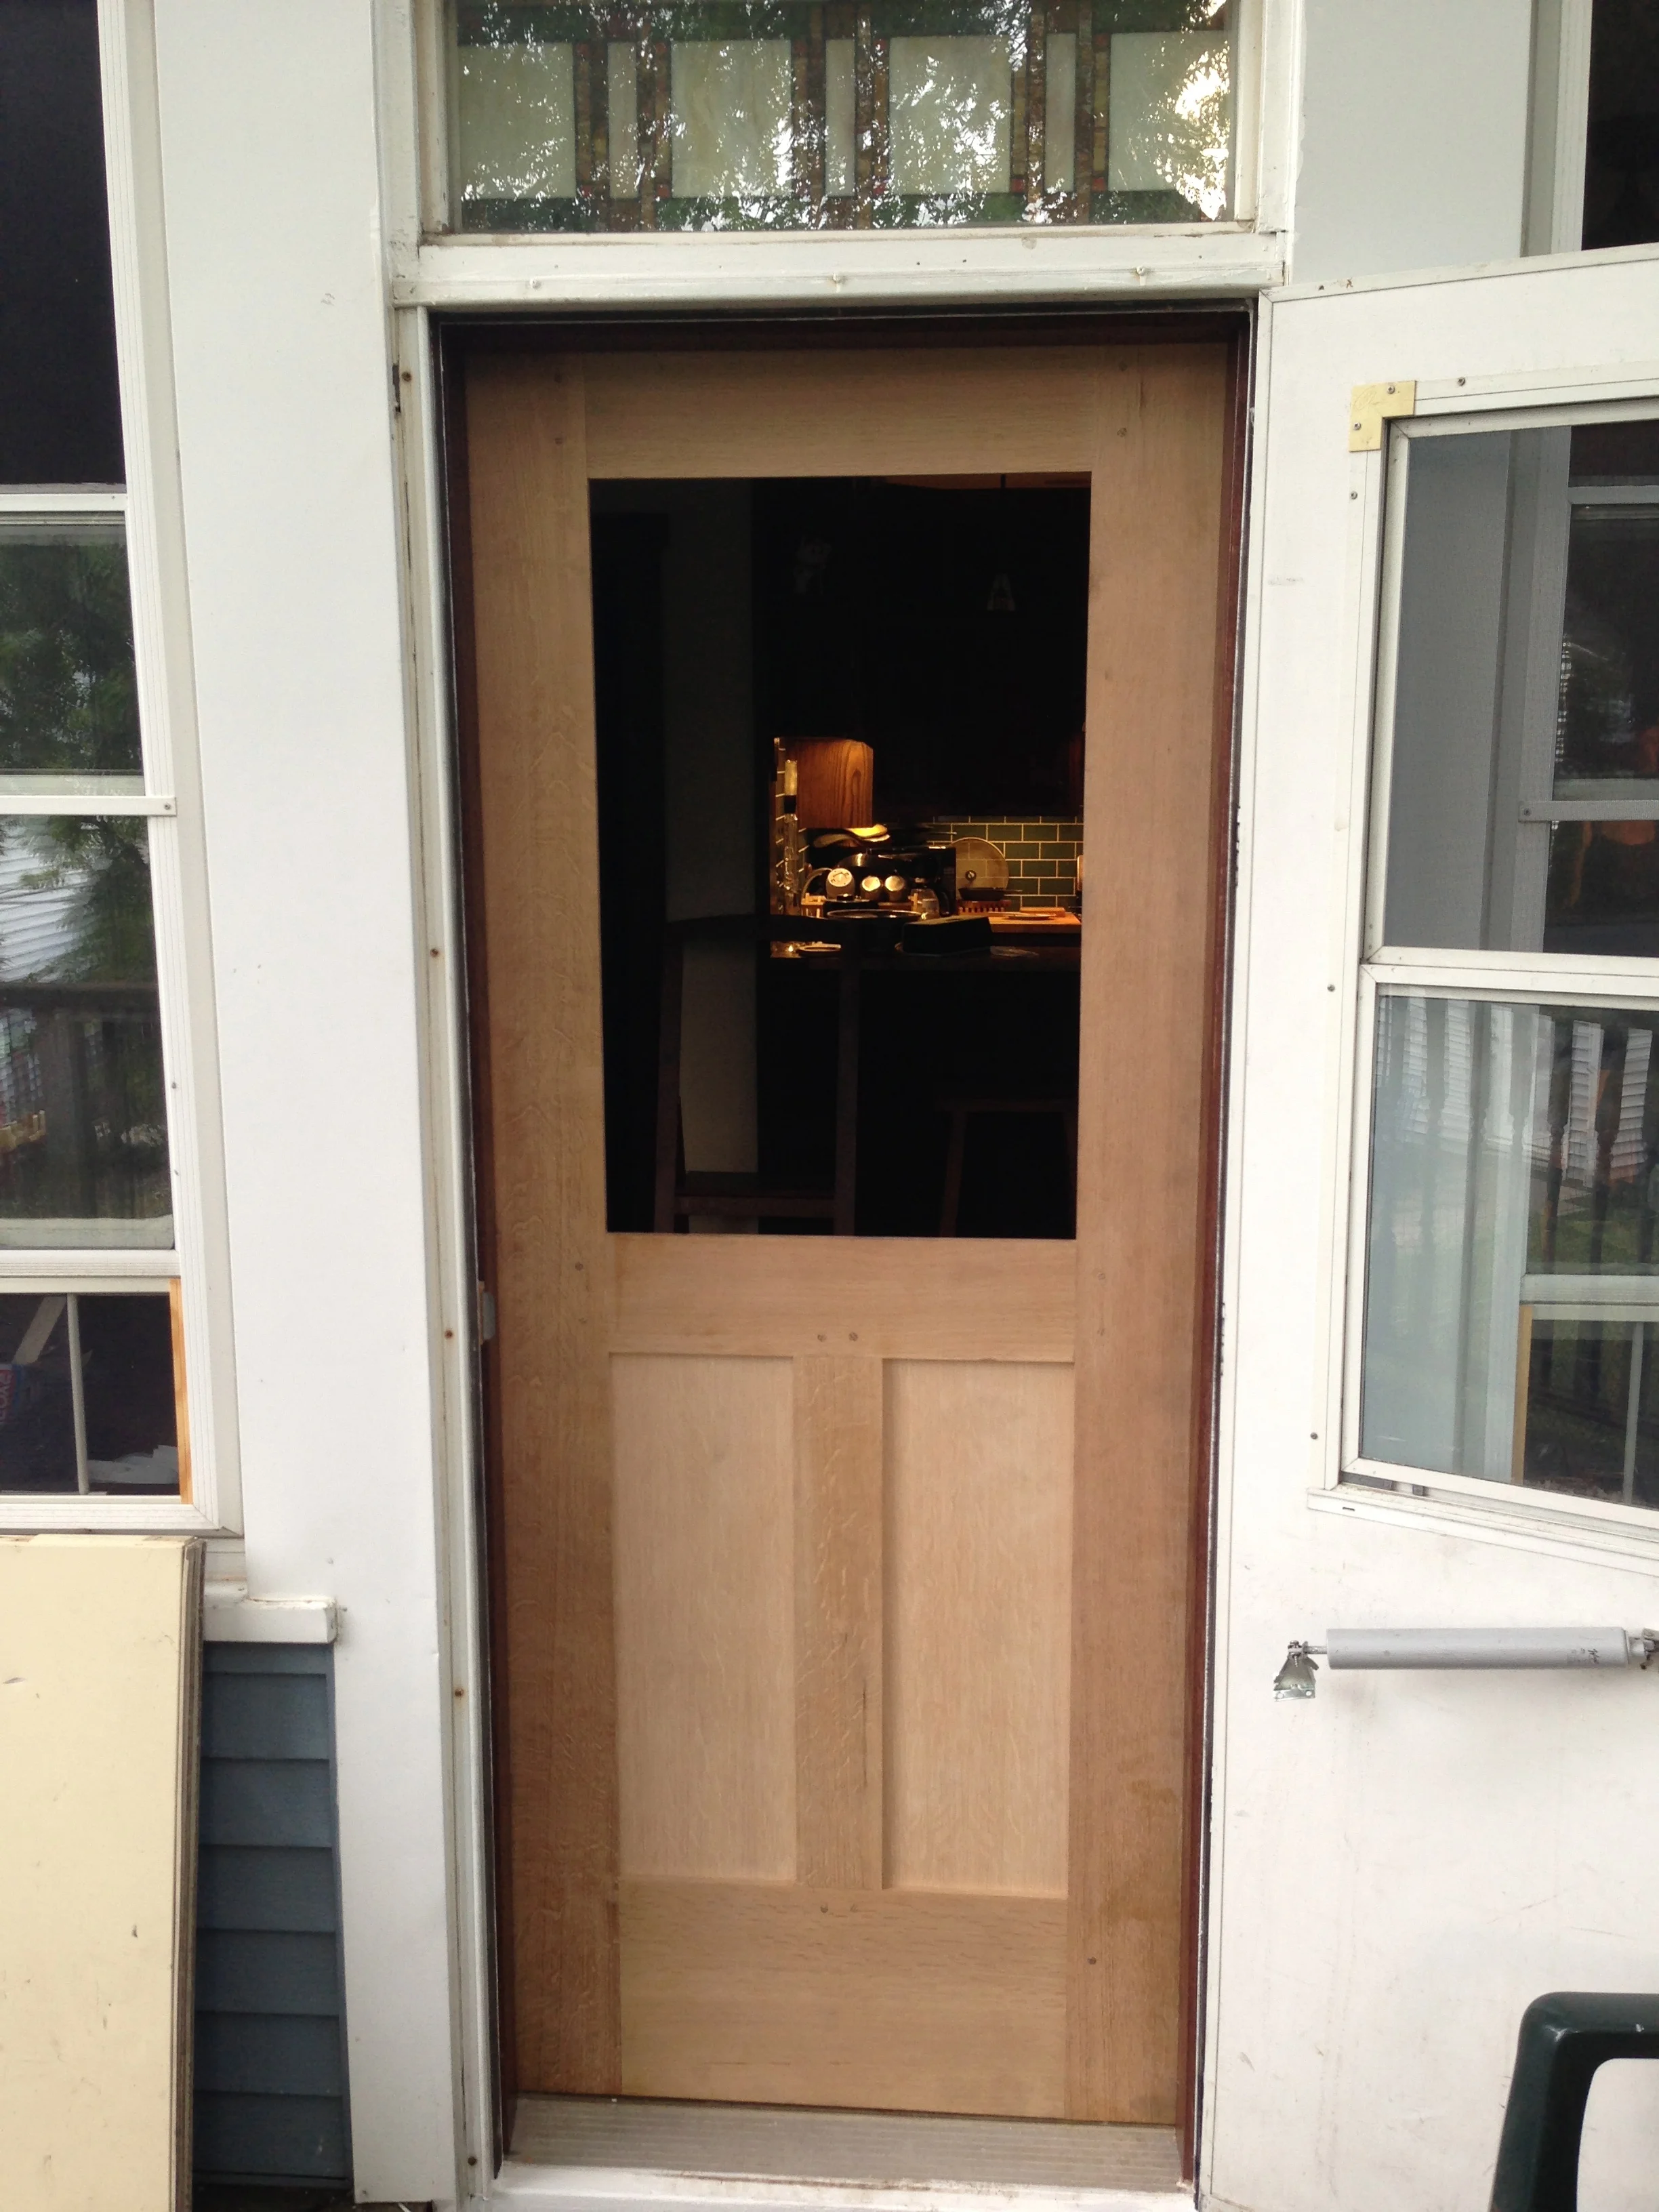
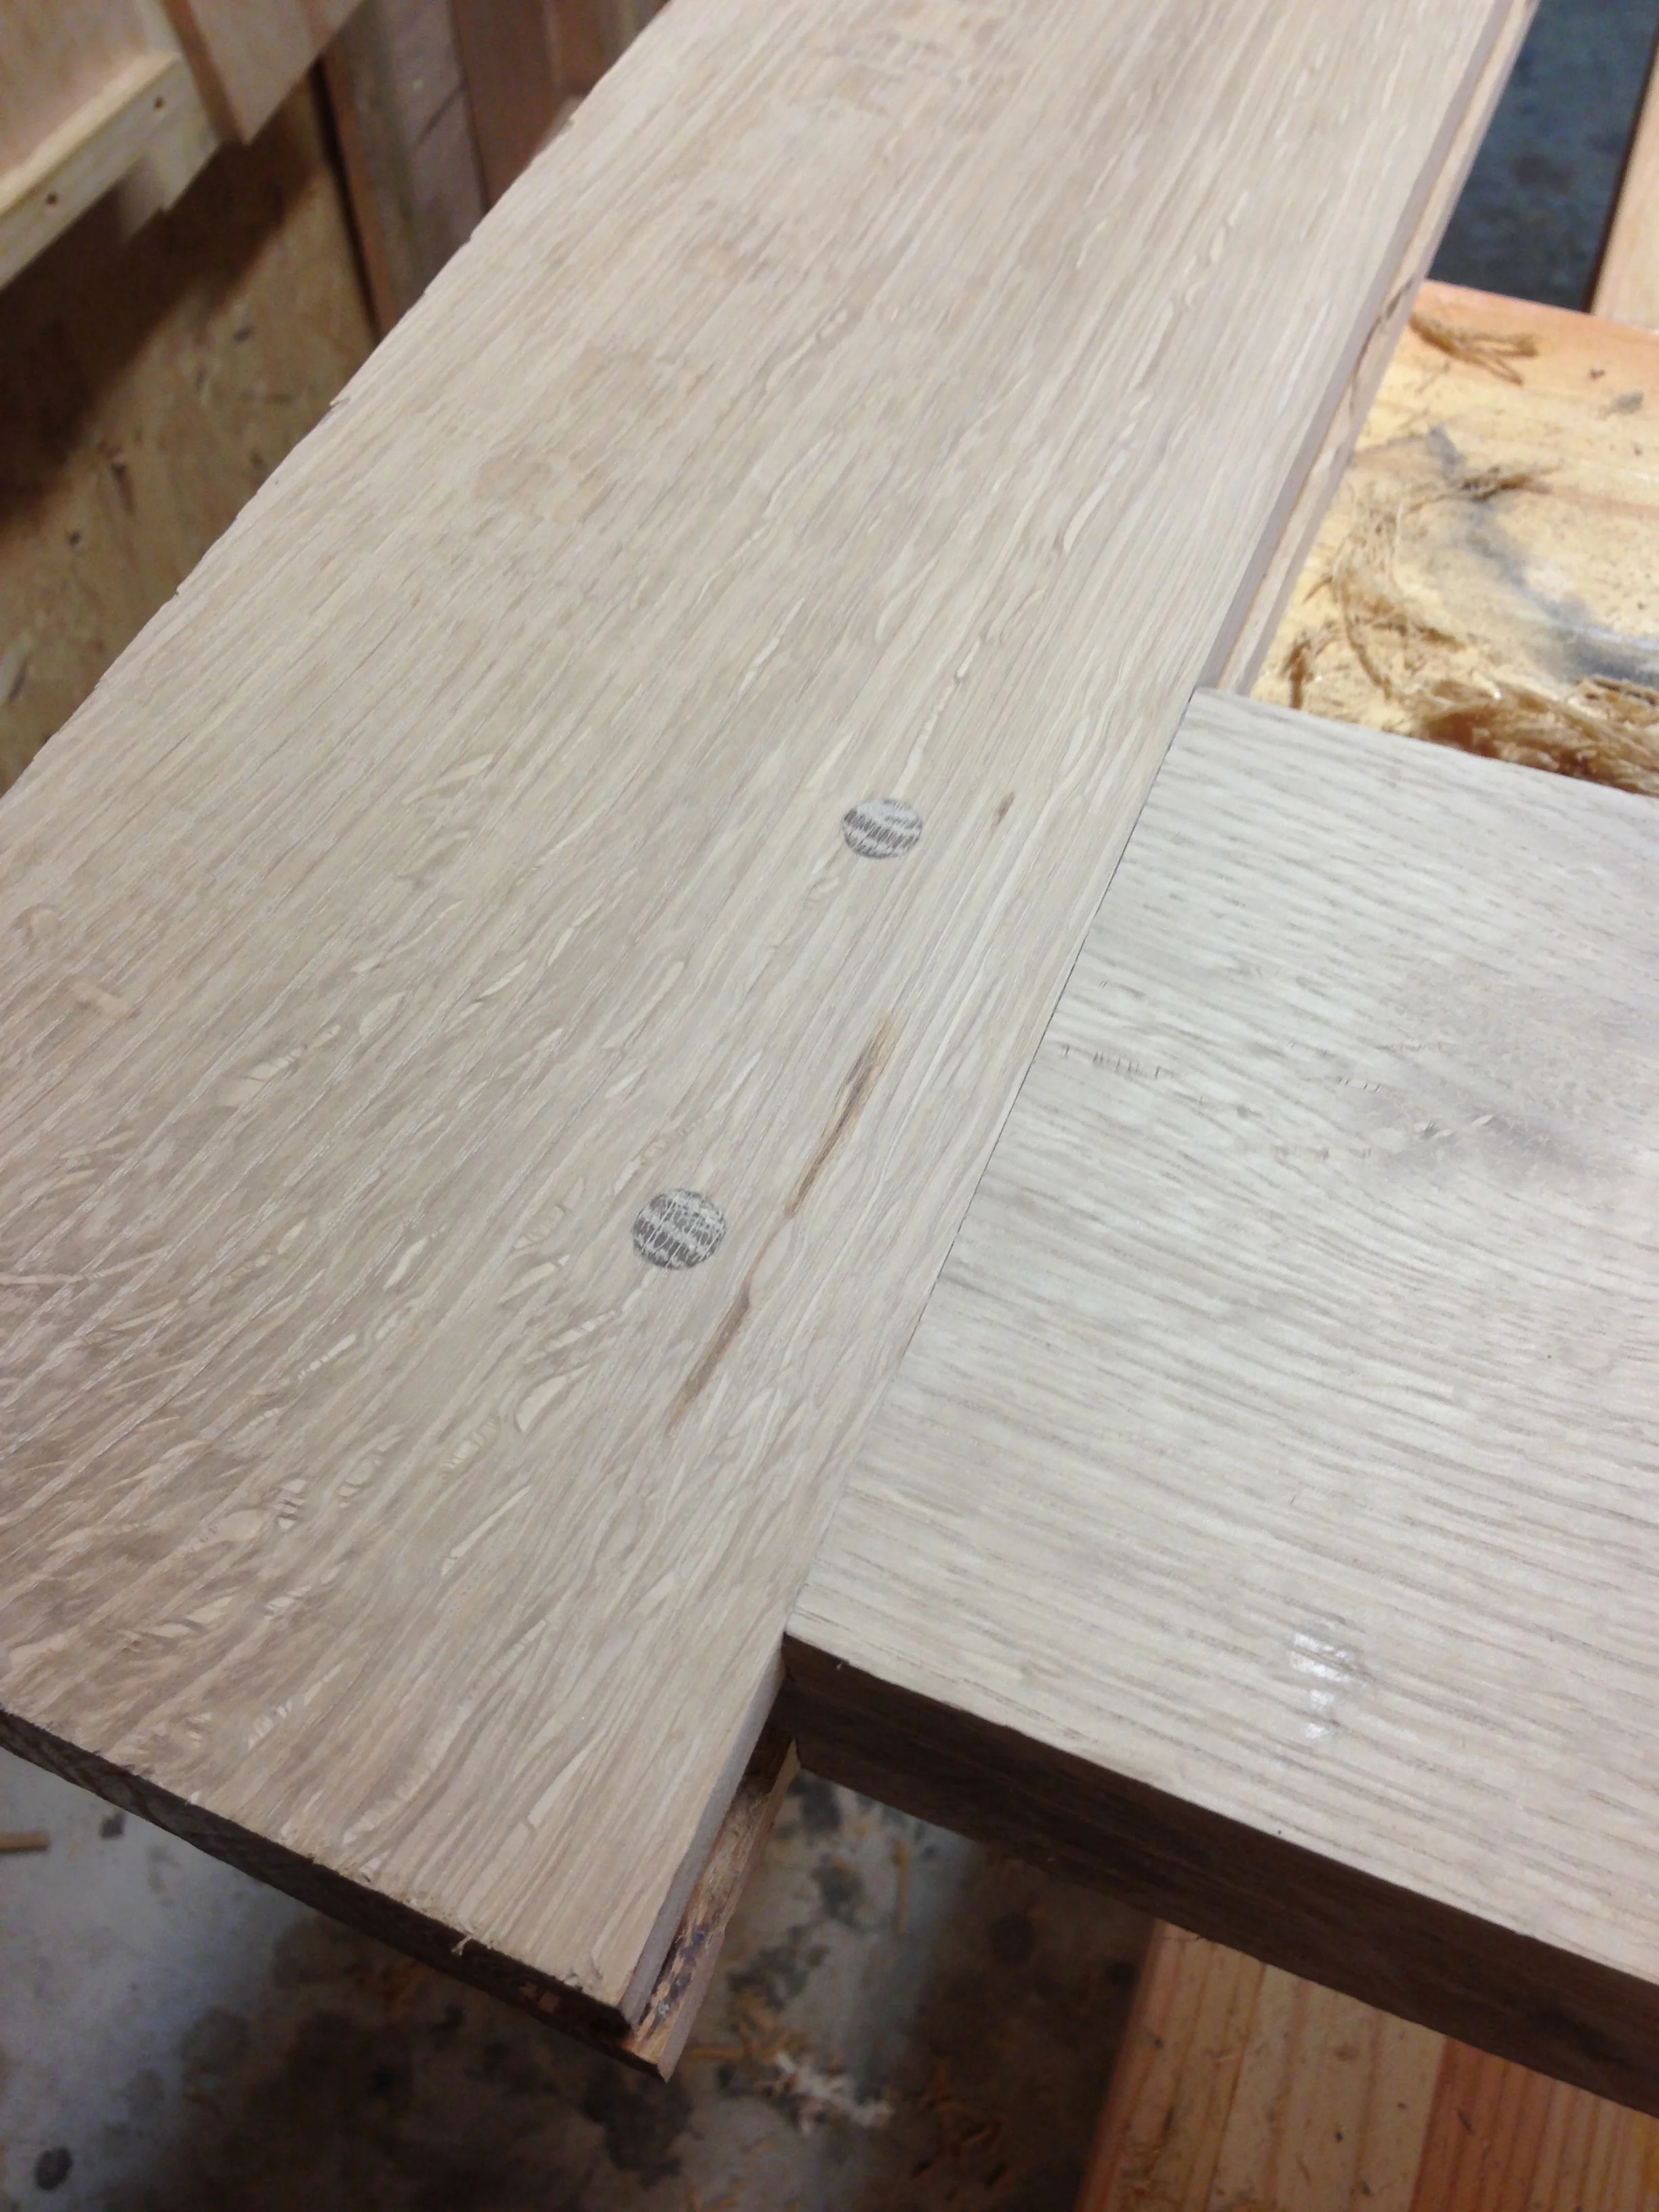
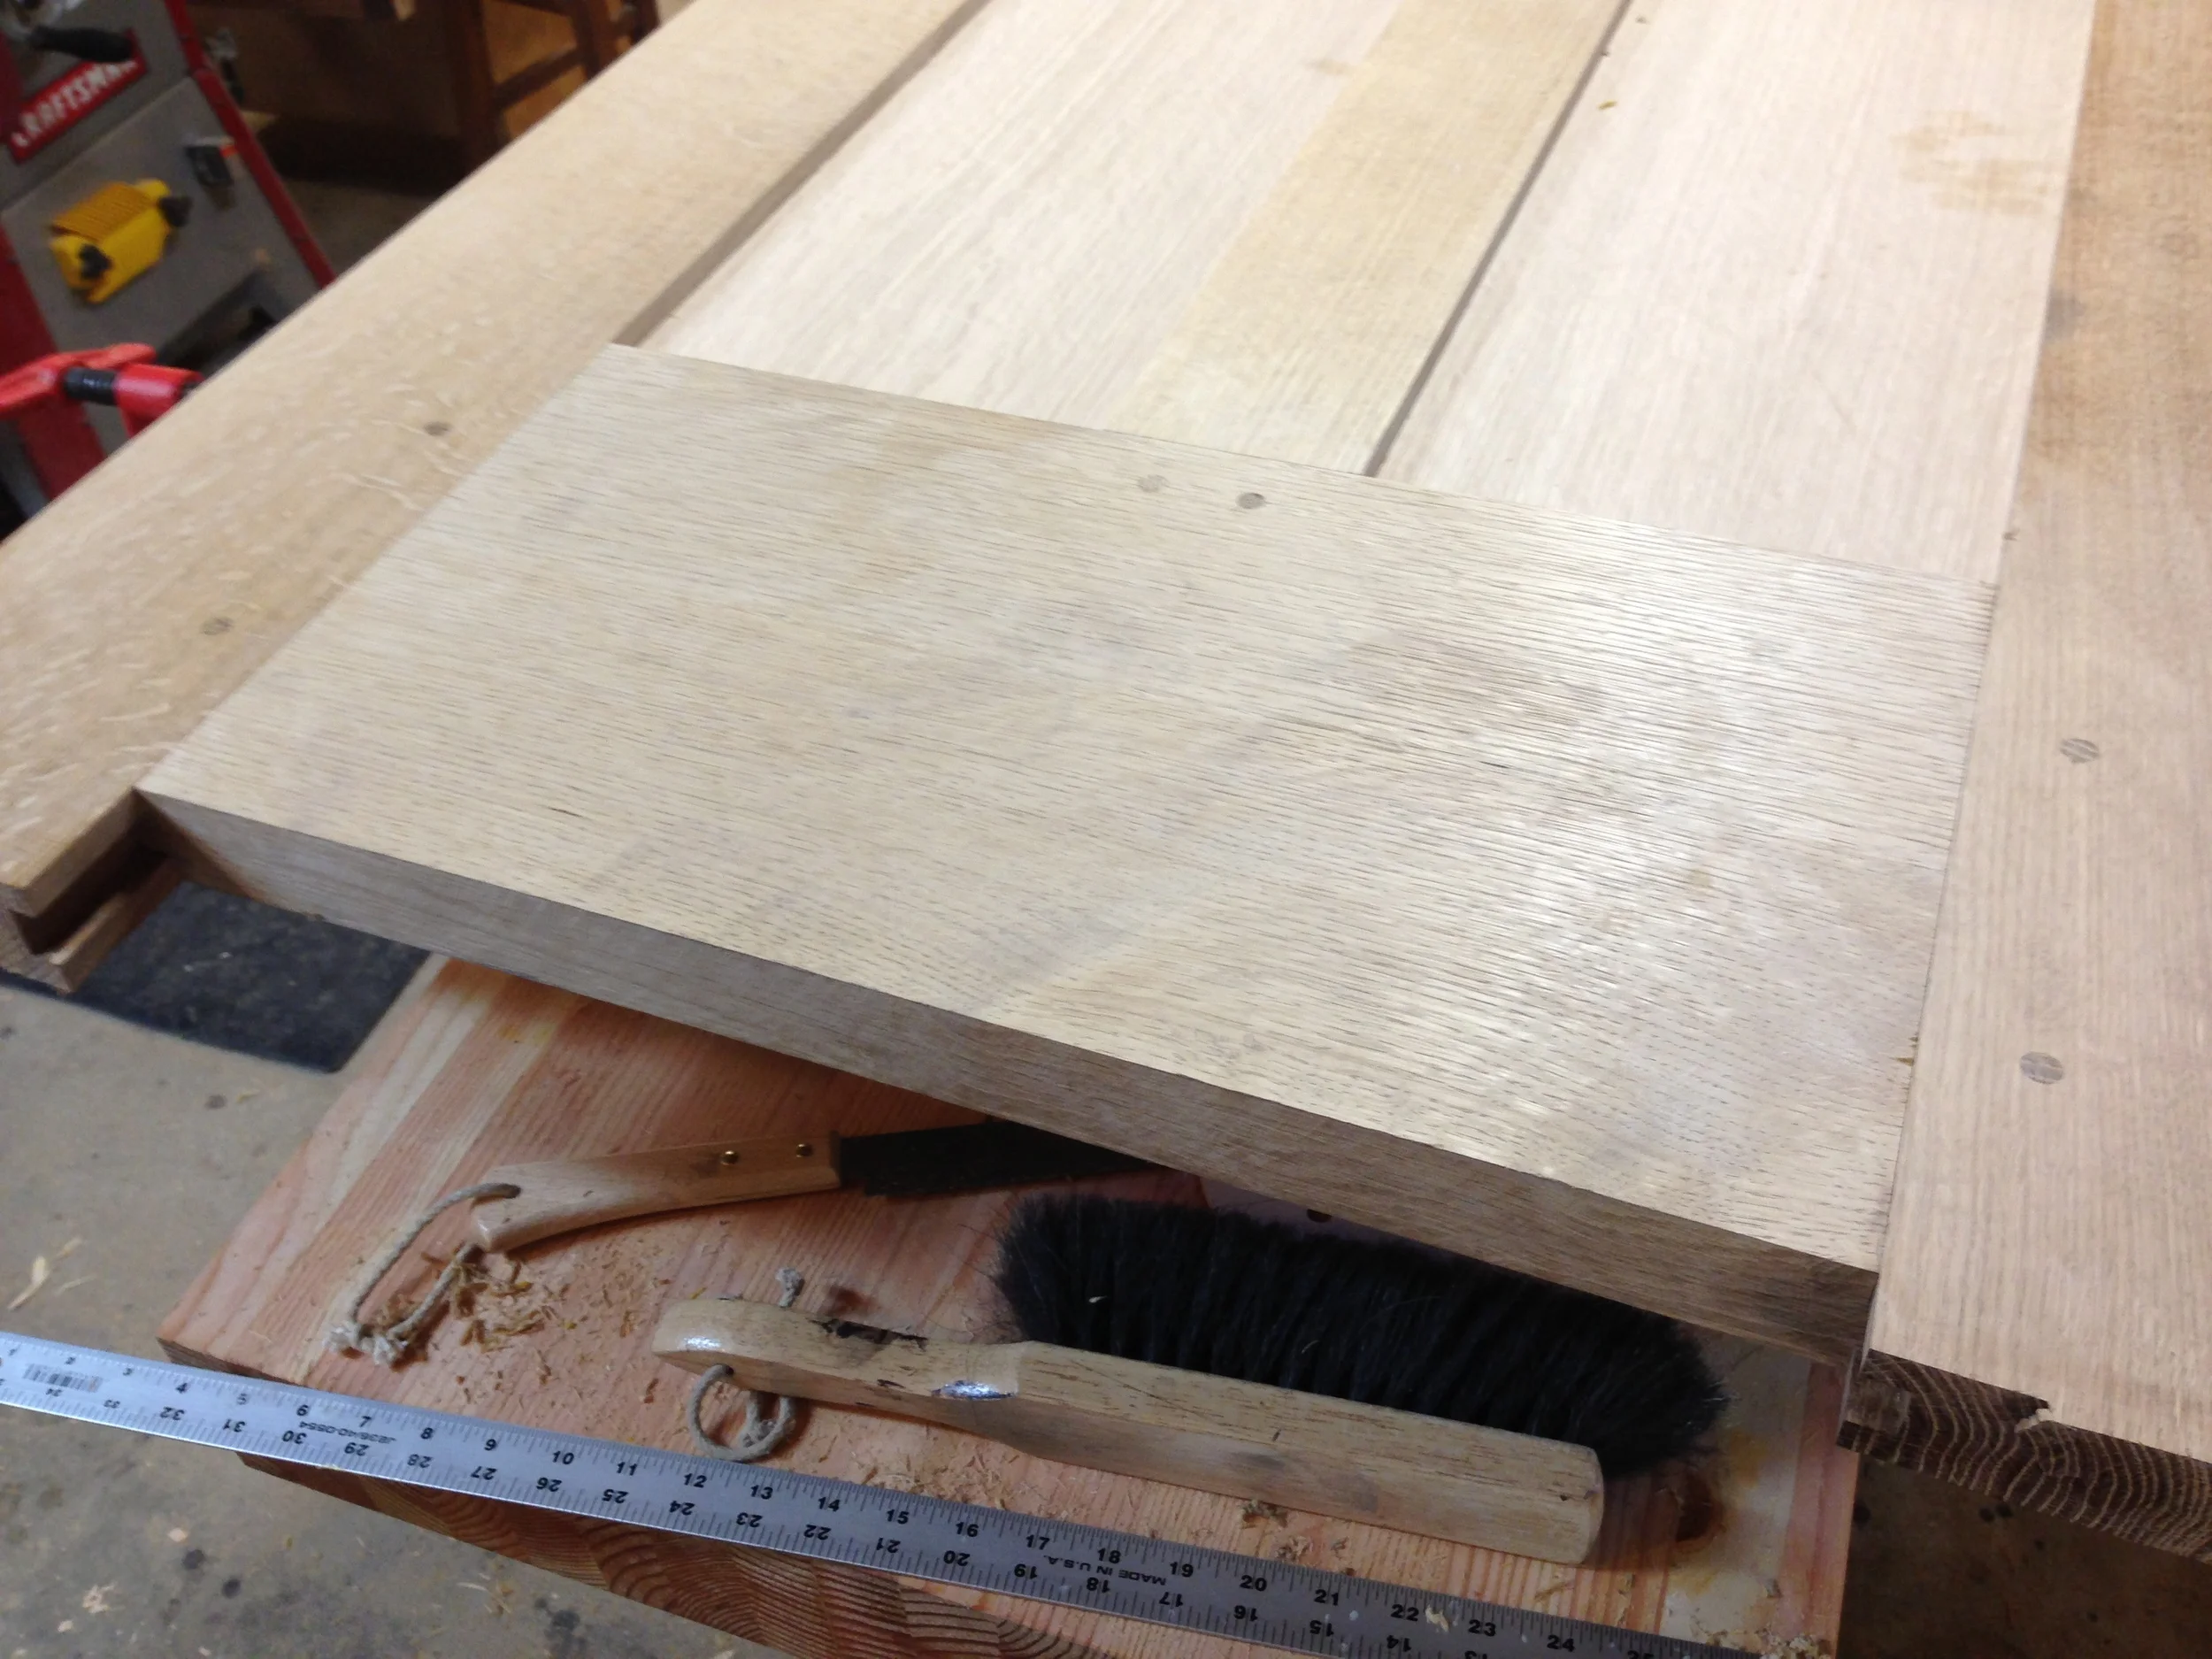
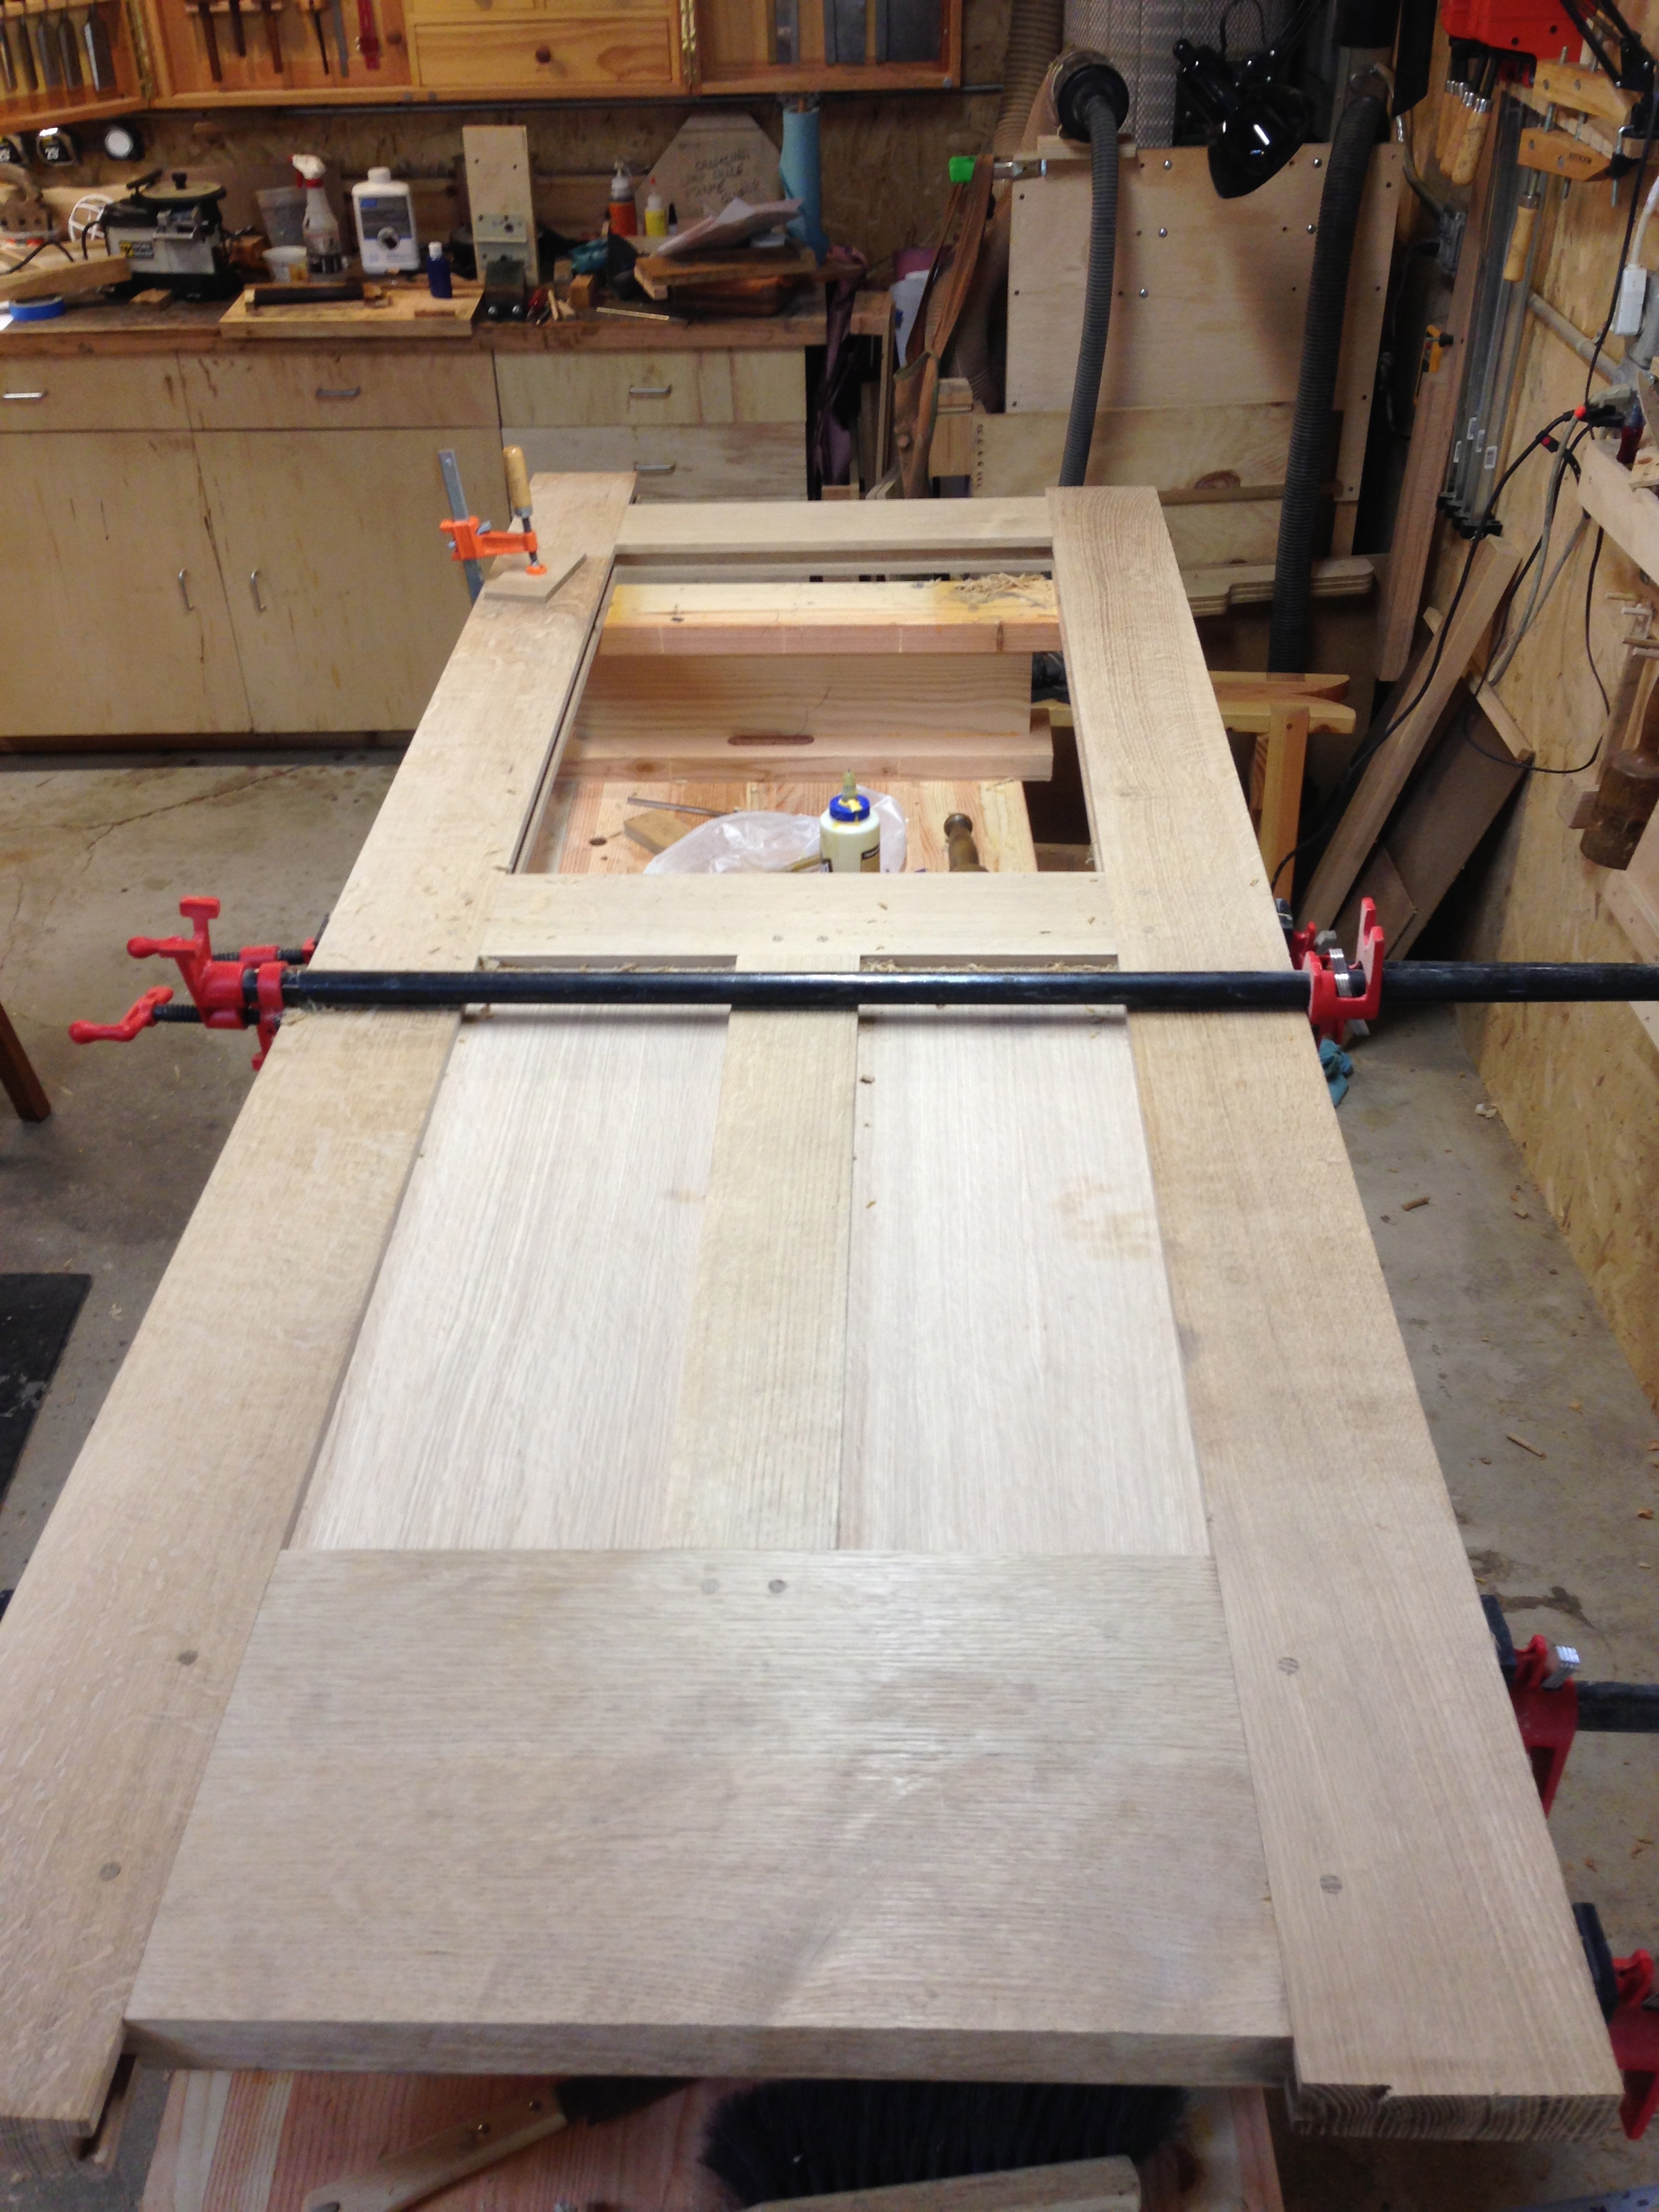
I used two lag bolts centered on the top and bottom to help me rotate the door while finishing. I could do all the sides at the same time, and it was a BIG help to the process. All the finishing took about a day and half, after which I was ready to cut the through holes for the handle rod and the keyholes. I did that with forstner bits and a chisel. The escutcheons were fitted and screwed in. and I was then able to finally mount the door.

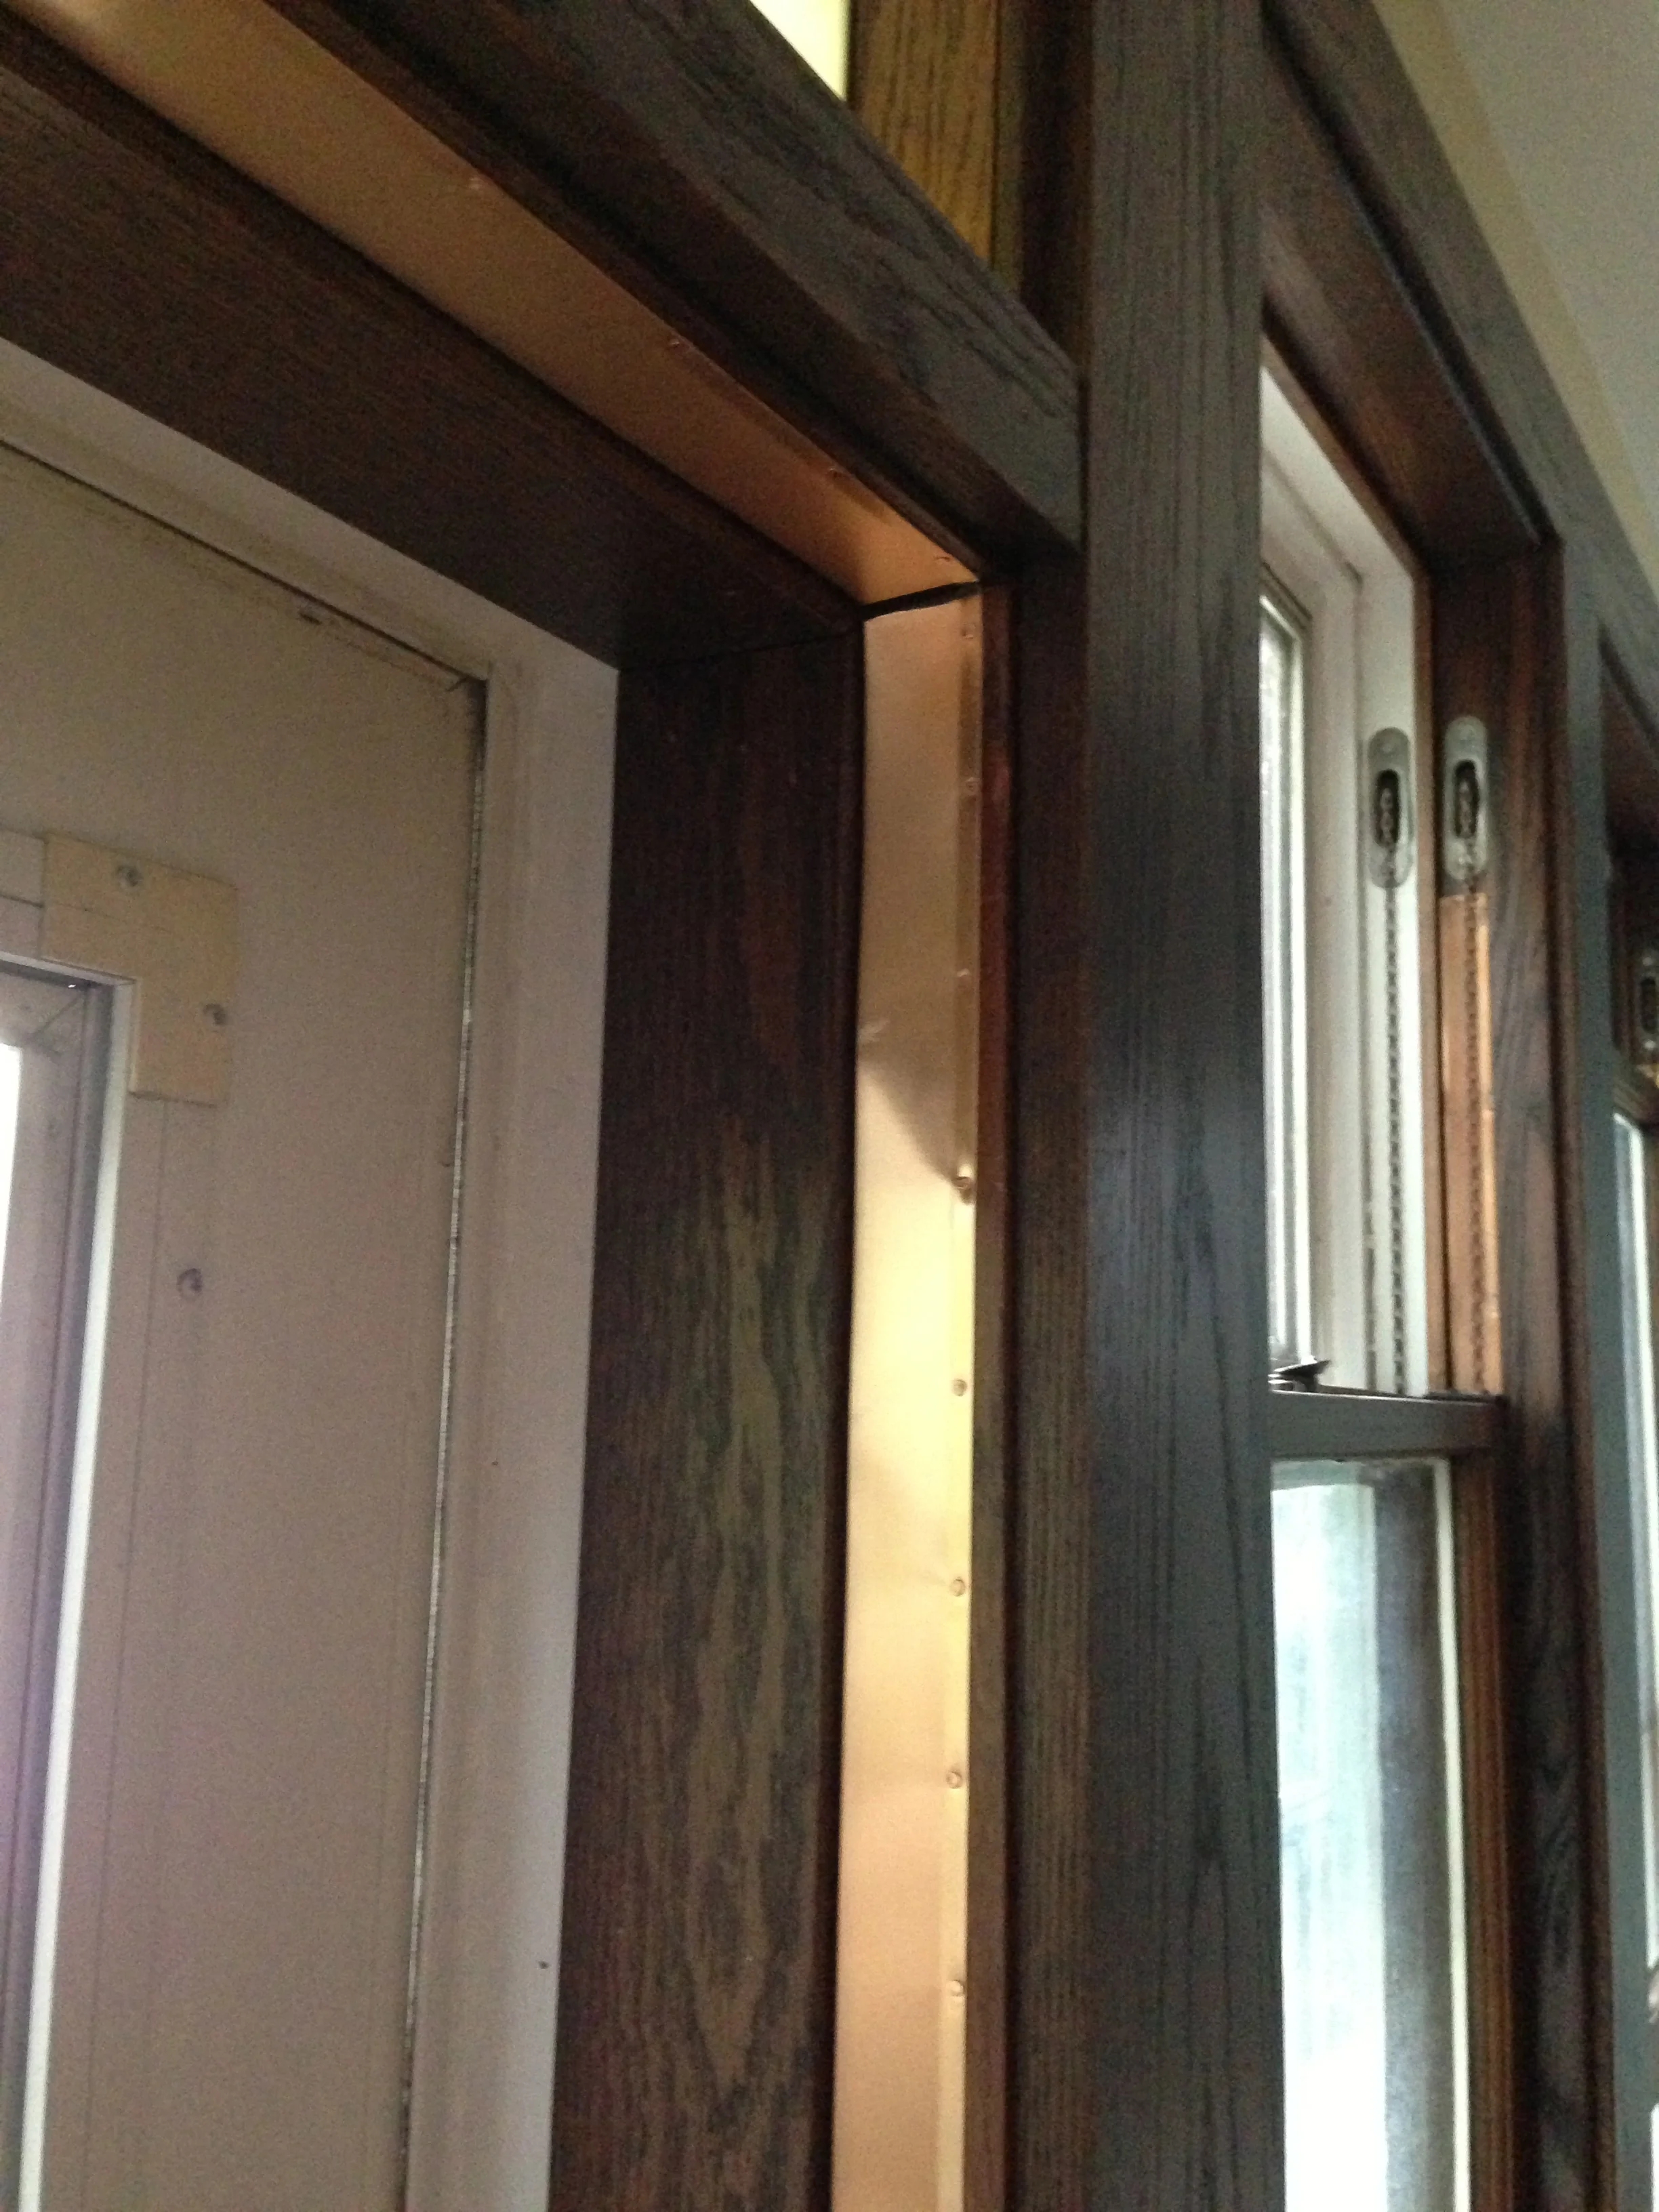
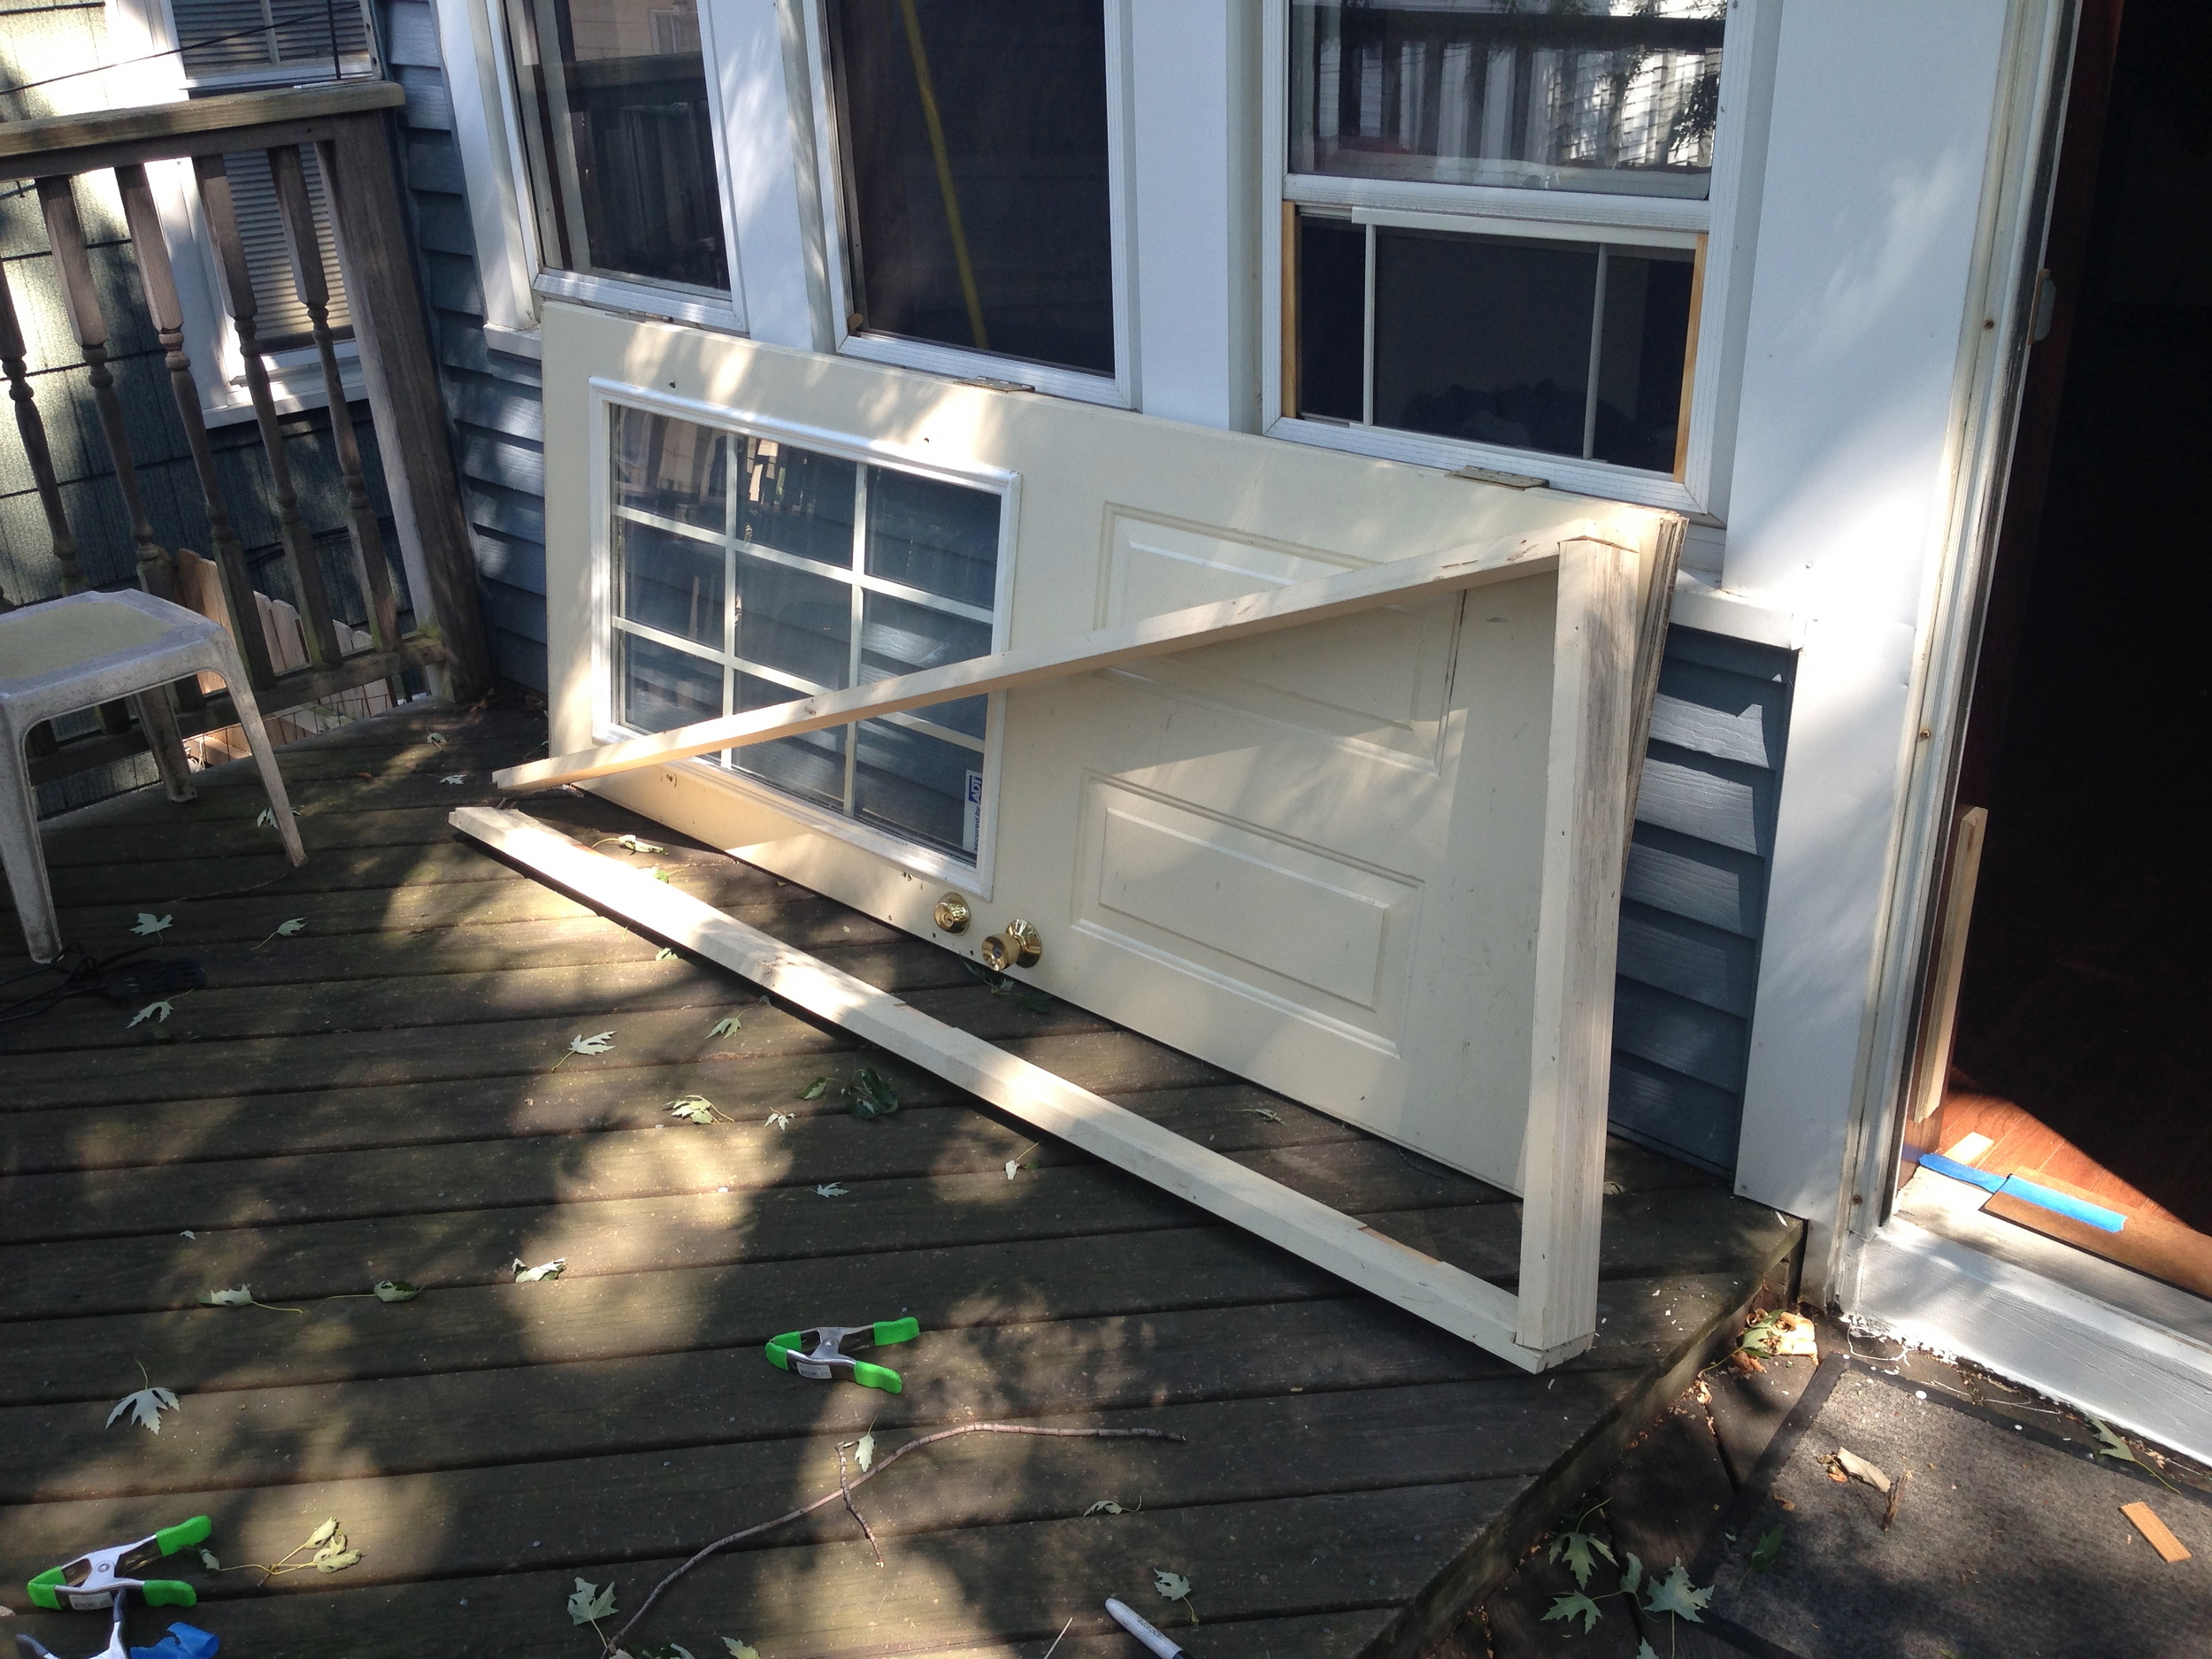
As the job required re-building the entire jamb, I had to mortise in the strike plate. But I din't have the original strike for that handle/lock set. I bought a brass strike at the big box store that was close enough in size, and that only required widening the main opening about 3/8" on each side of the existing strike opening -- easily accomplished with a hacksaw blade and mill file. I then mortised in the strike, tested for fit, and it operated like a dream. This is really "THE moment of truth" for a door project, because if the door doesn't close right or is somehow goofy, it will forever bee annoying. 

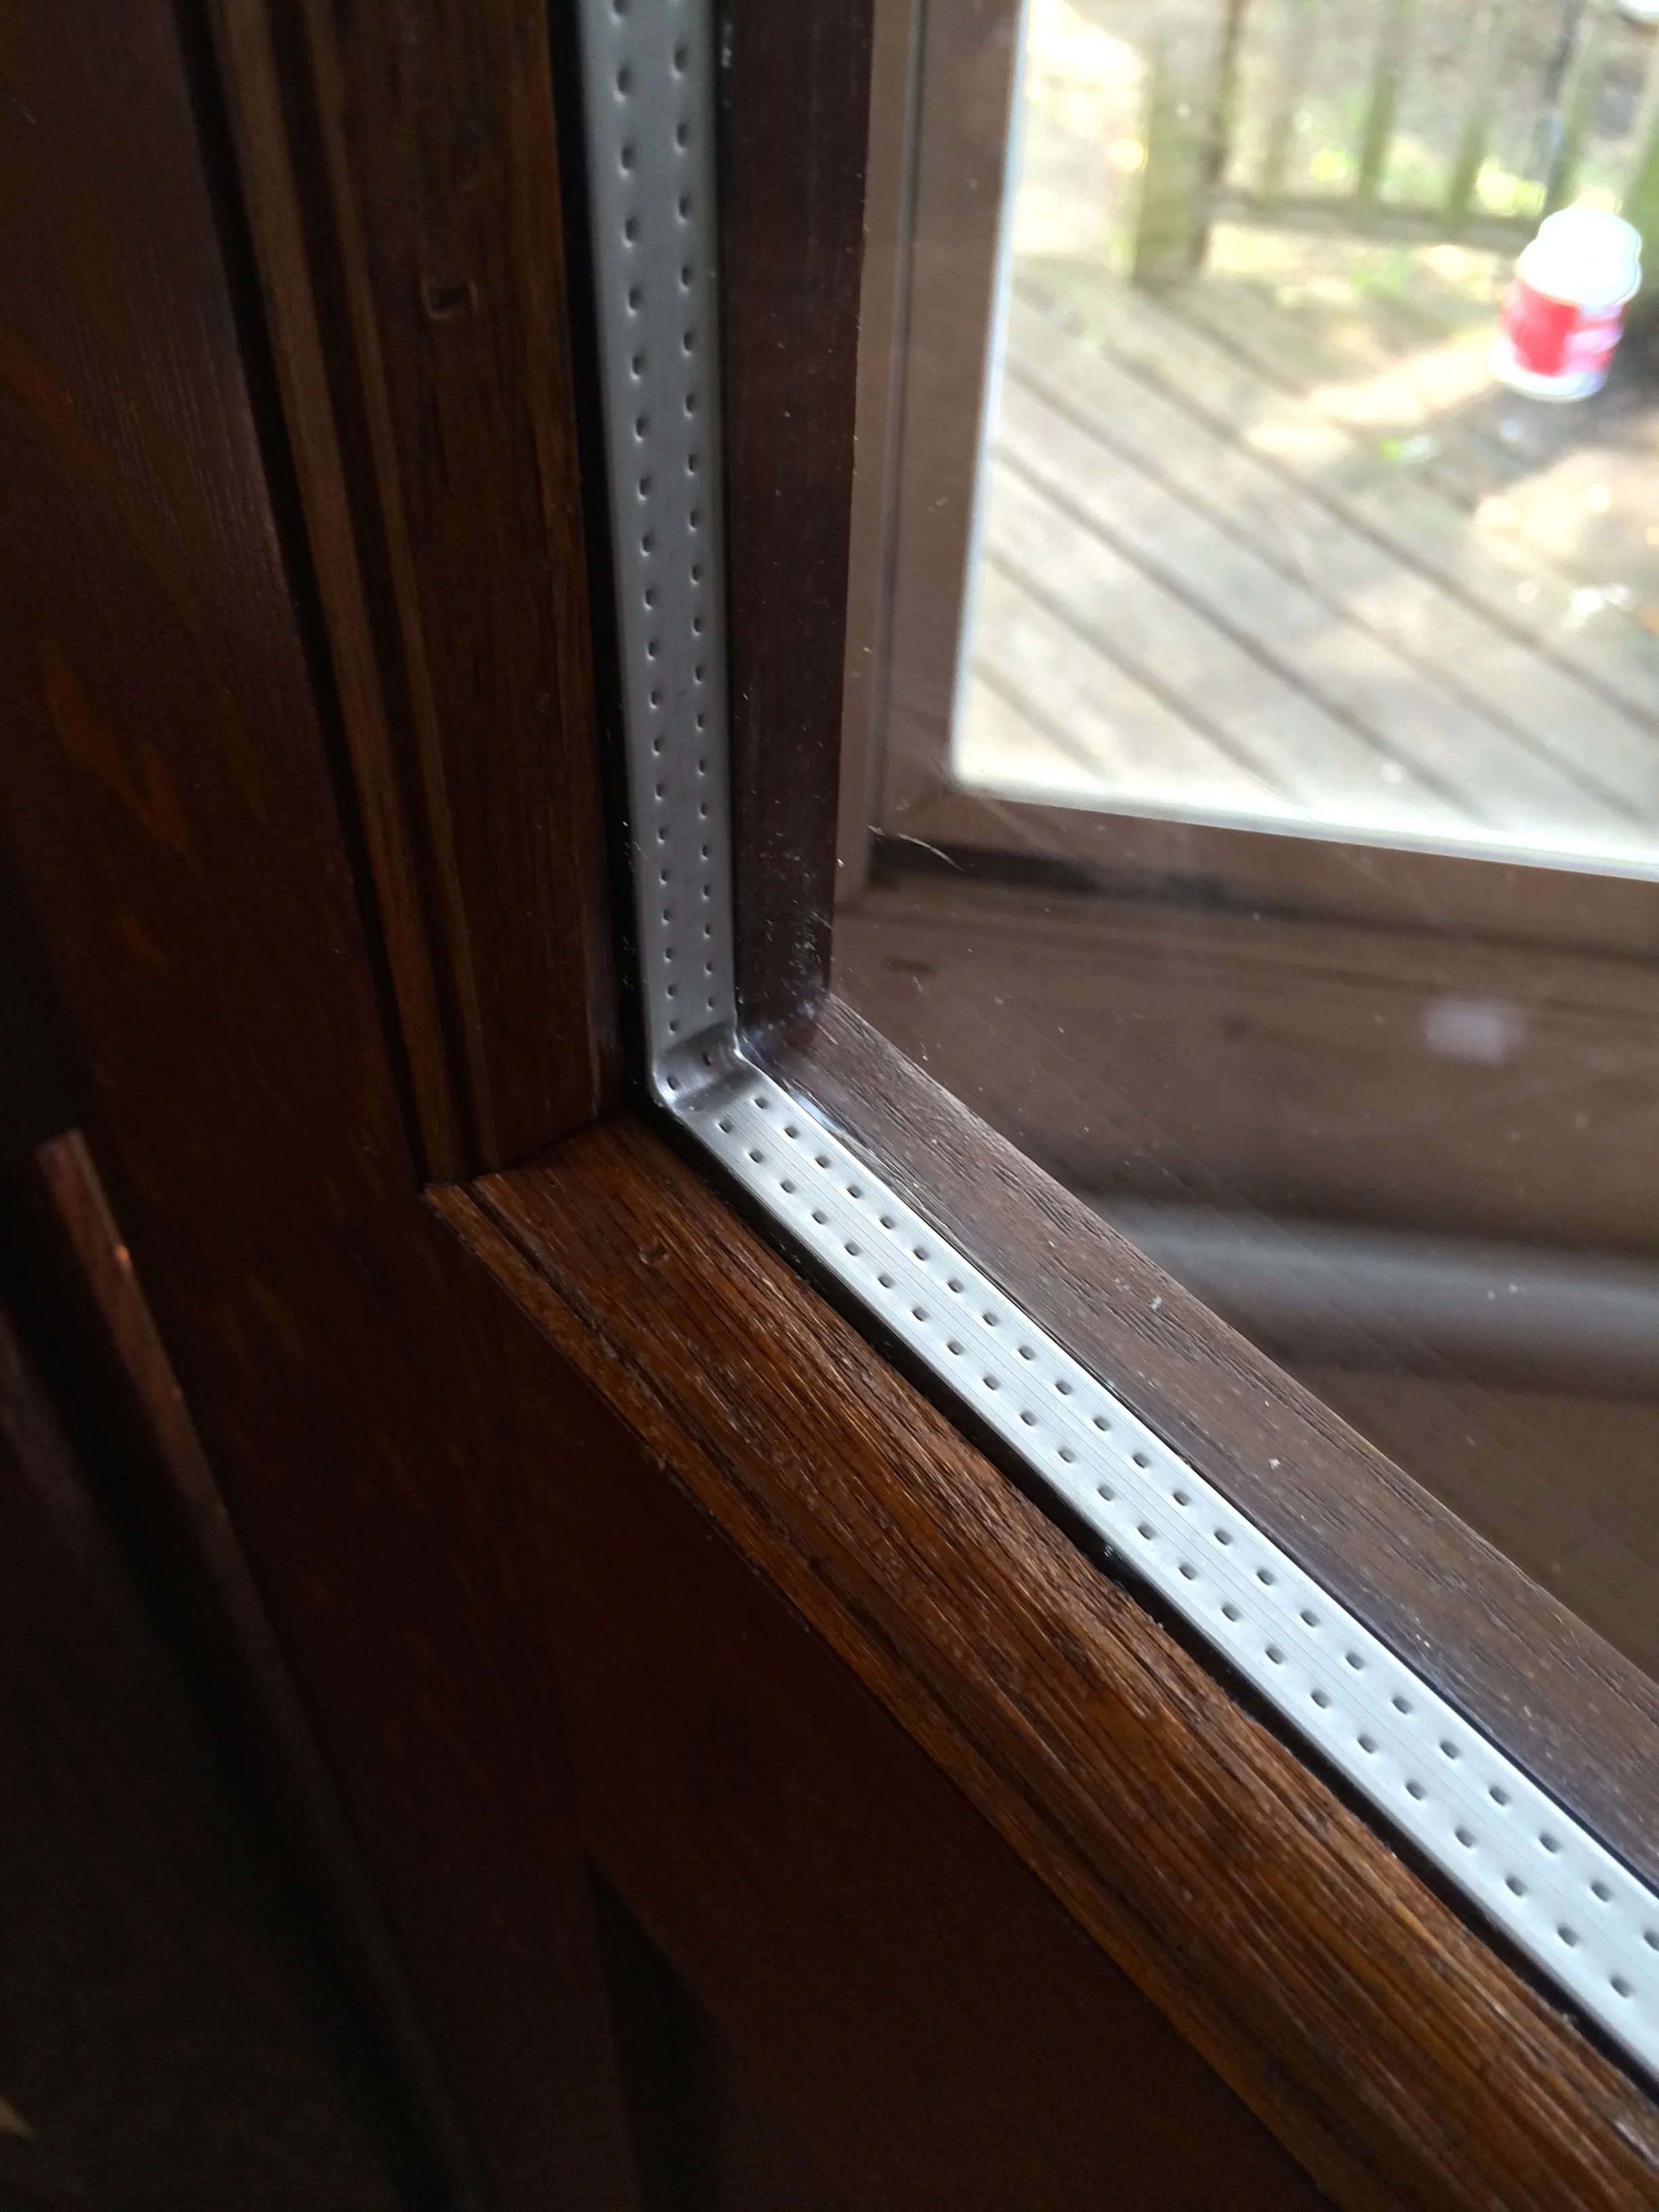
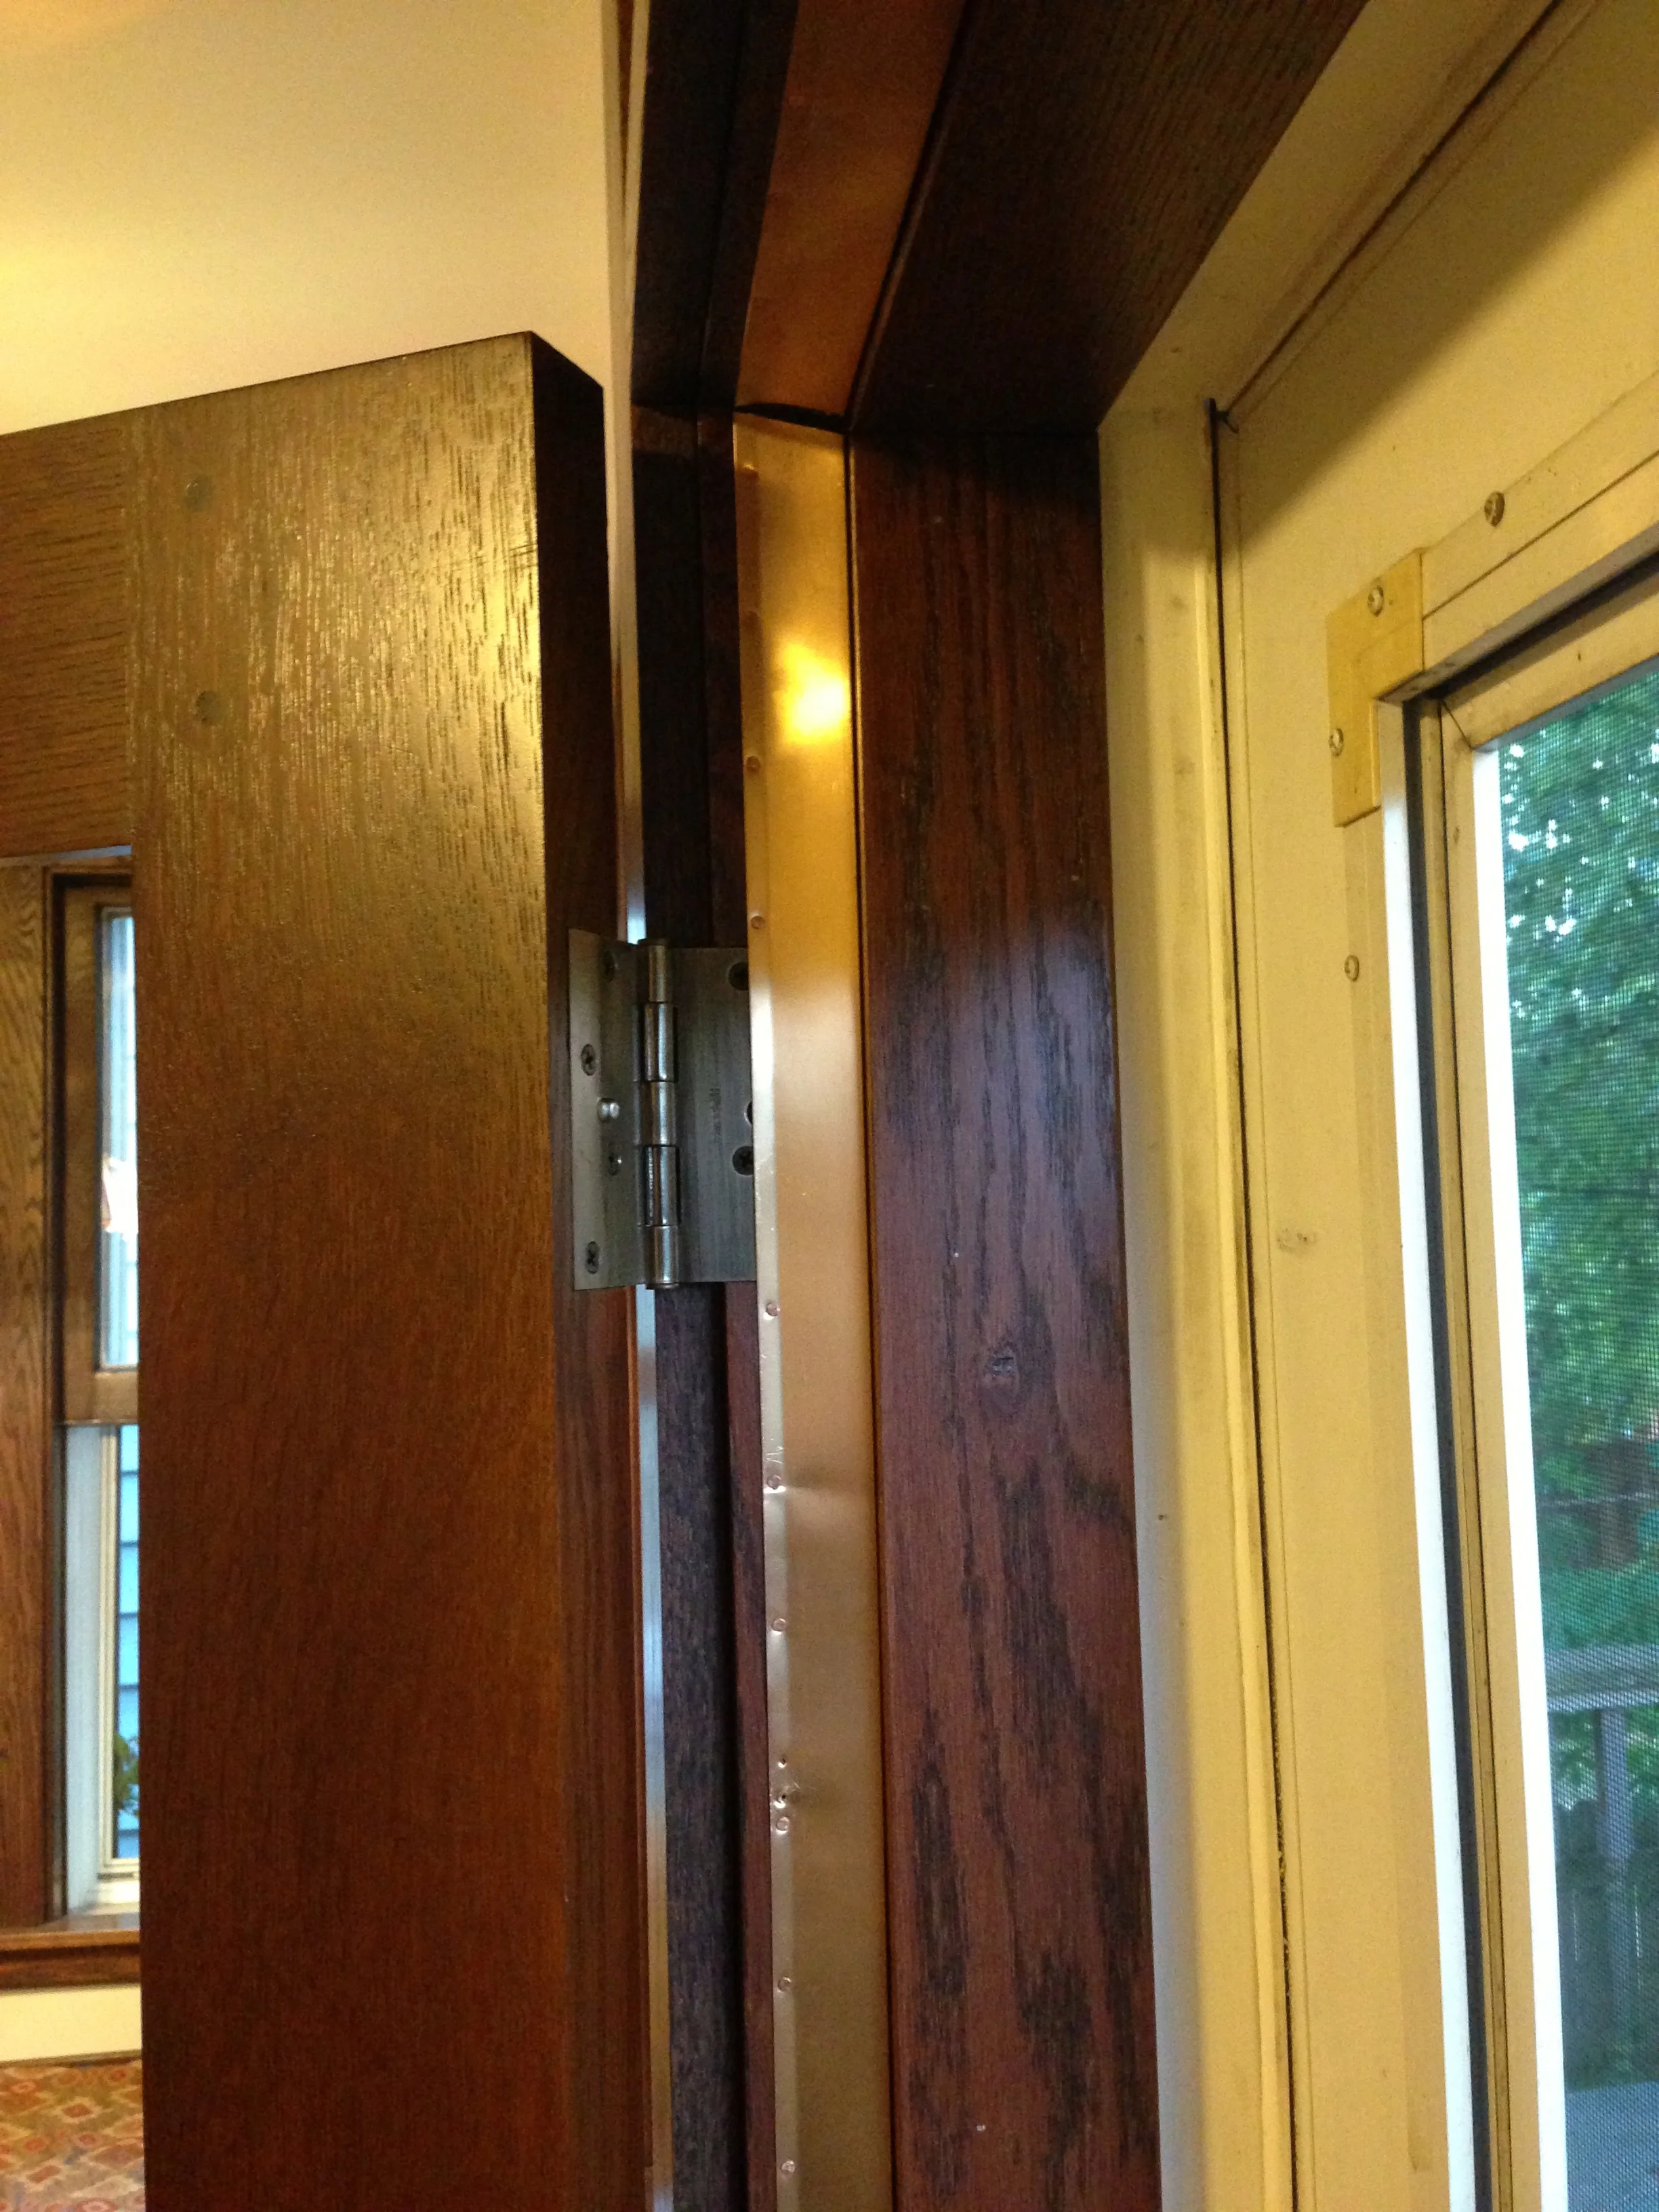
The last step of this part was the weather stripping. I opted for old-timey brass spring weather stripping. It's works great, is period appropriate, lasts for 100s of years, and is inexpensive. I got a single door kit (stripping, nails, and a lock strip) for about $20 from Kilain's Hardware of Philadelphia.

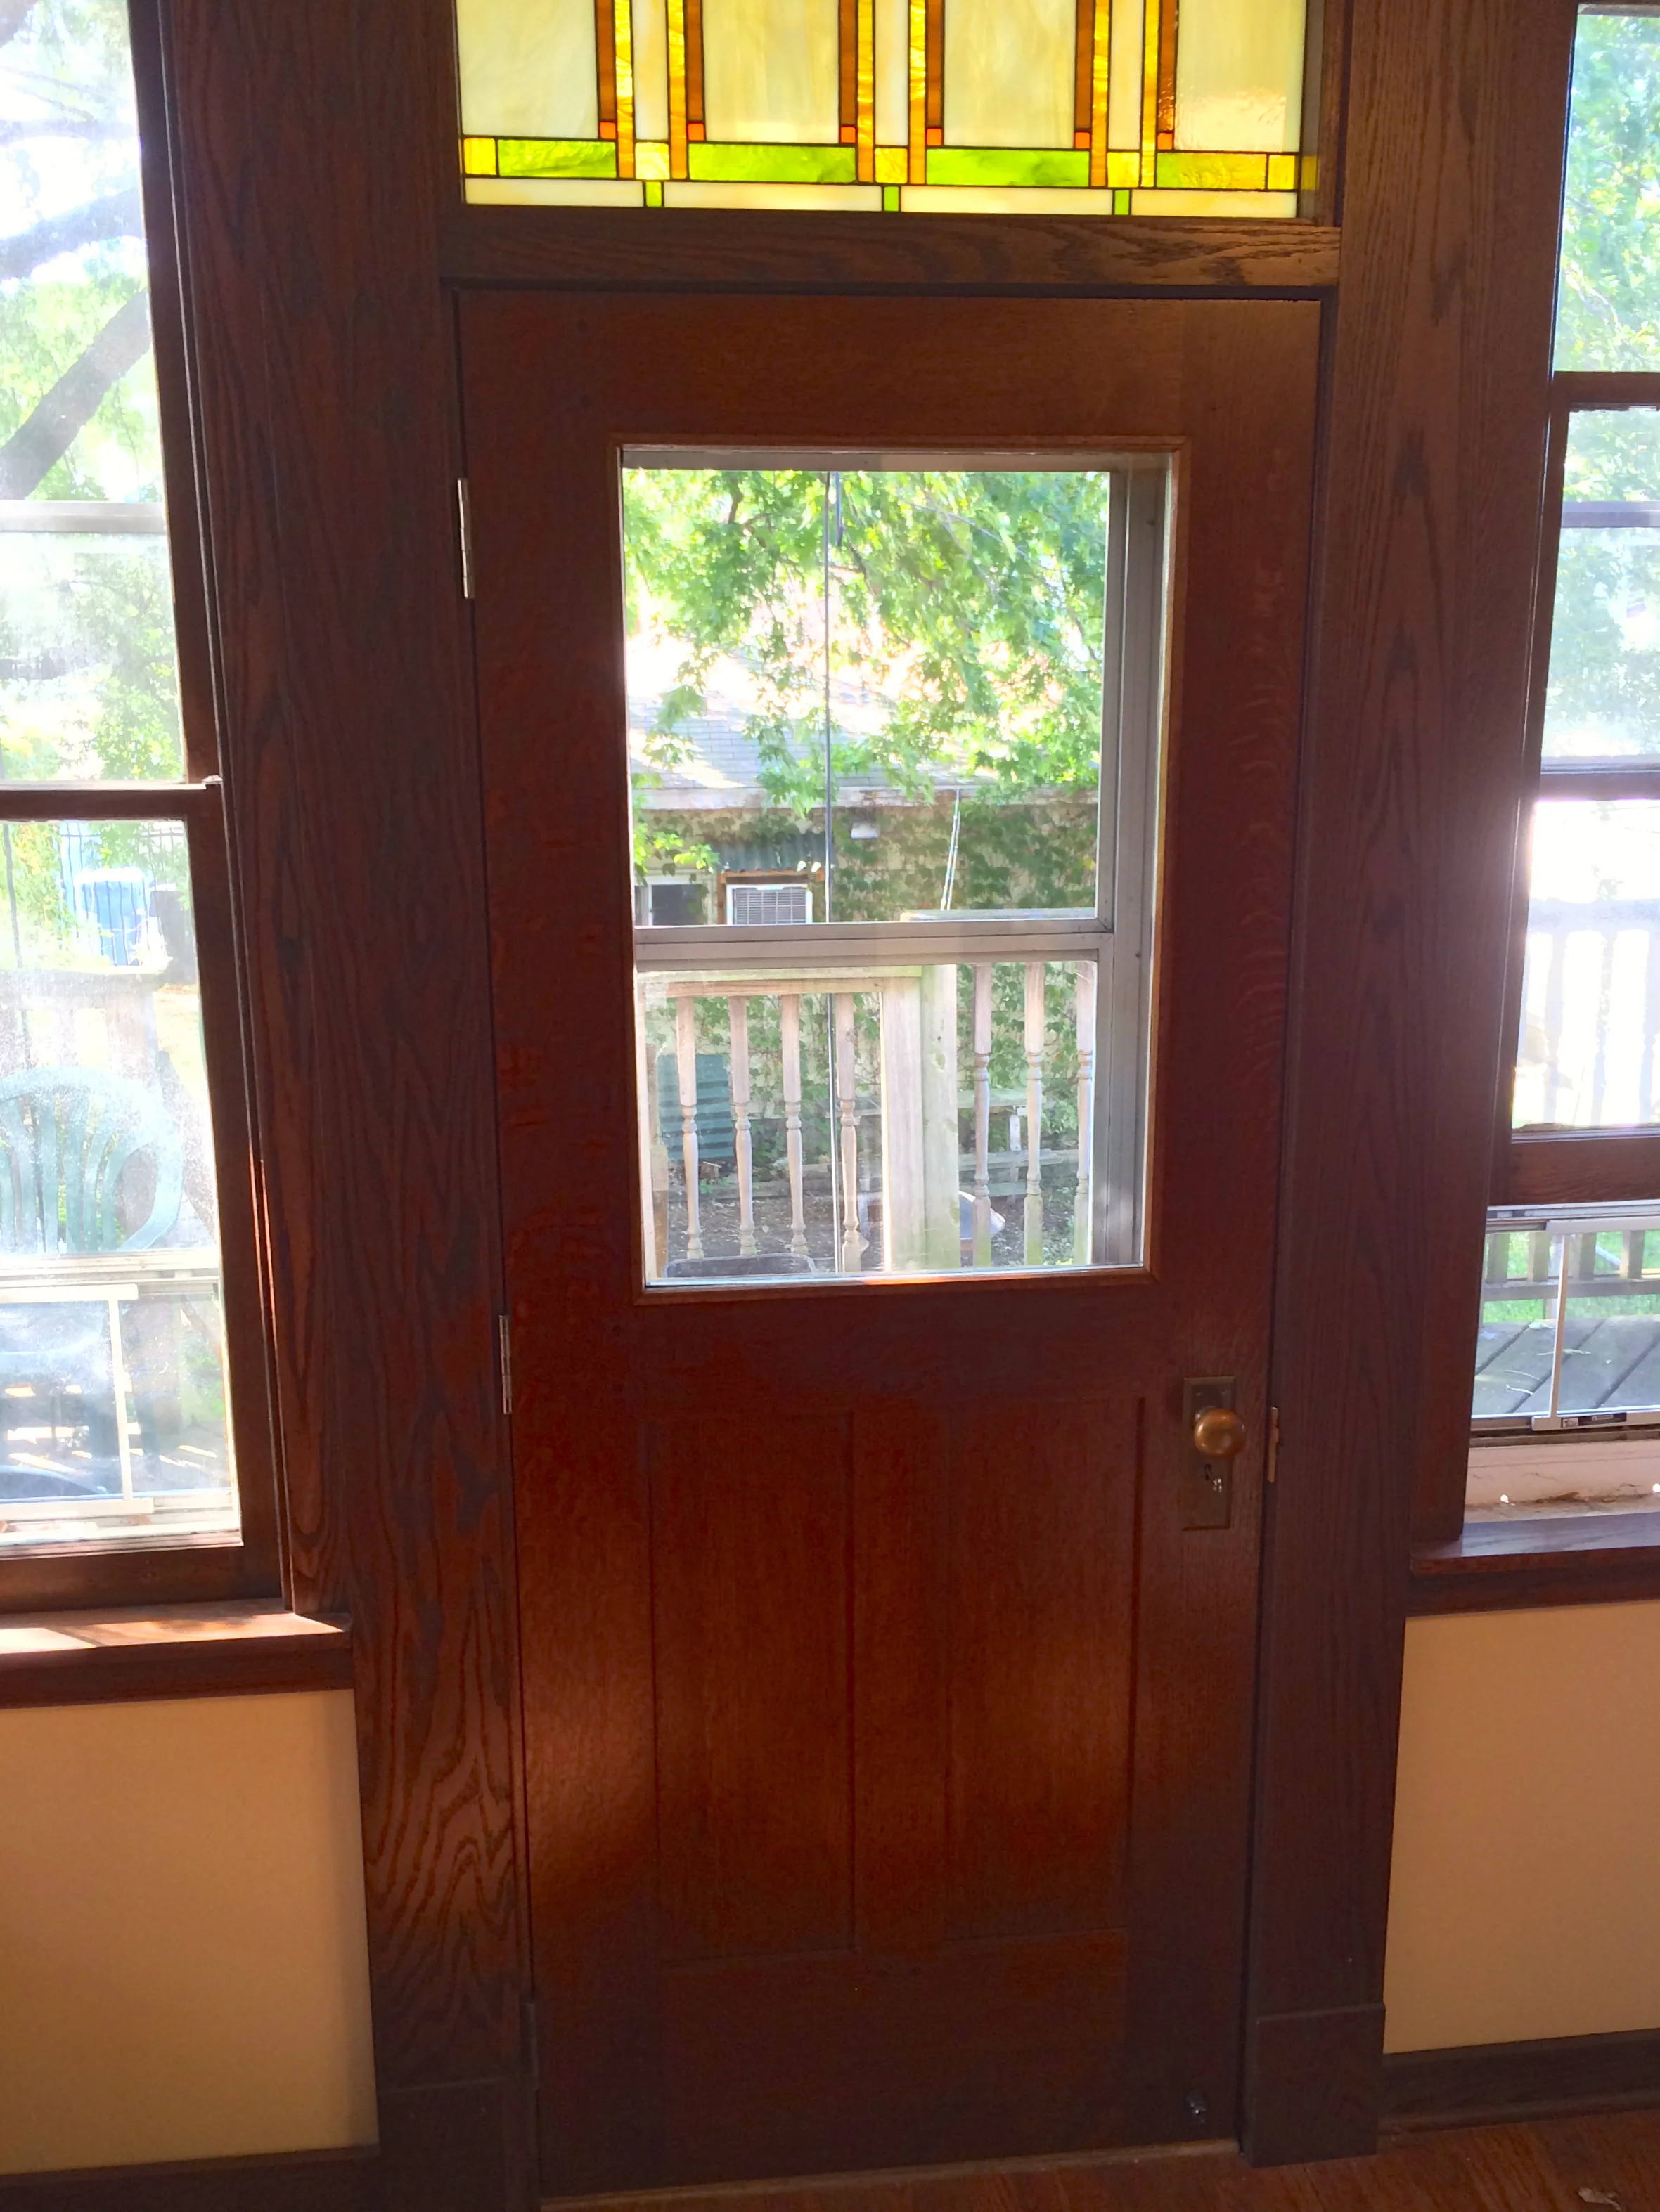
Now all I'm waiting on is the insulated glass sheet and the keys! 

Door Build pt 2

I'm in the home stretch of the door build. I realized that the existing jamb was not going to work, so I re-built one out of red oak. Luckily, the opening was very, very square, and there wasn't any shimming required. I then fit the door, mortised the hinges, and set the new stops in place. Next up is applying a finish, installing lock/handle hardware, and installing the glass.

Door Build pt 1

The final main part of my kitchen remodeling from last year has been staring me in the face for months. Make that years. The kitchen/back door. The current door is a metal/insulated beige thing with a stamped frame & panel pattern and faux muntin/mullions. It's been ugly since it was installed ten or so years ago, and its even uglier following the kitchen getting awesome. It's time has come.

The new door is going to match the kitchen - classic craftsman style quarter sawn white oak. I played around with several ideas for it: a 9-lite, a 6-lite, and finally settled on a simple 1-lite, as it seemed the best compromise between too much window (the 9-lite) and too much door (the 6-lite). Our front door has a 15° "Shaker" profile to it, and I was thinking of matching that, but went with the much simpler straight craftsman profile.


9-lite design

6-lite design

1-lite design - final

With that decided, I picked out some great lumber from my local hardwood dealer, marked out the cuts of the parts, and started in. I milled the parts to rough dimensions, and while I was at it, one of the rail pieces had grain that was a little "out of square". I had about 2" of extra width to play with, so I angled the cut to square up the grain direction better. It was still a little off, but well within acceptable limits. I pushed all the way through to the assembly (today), and am looking forward to the next steps. Here's a gallery of the build to date...