A tool cabinet, not a tool display case

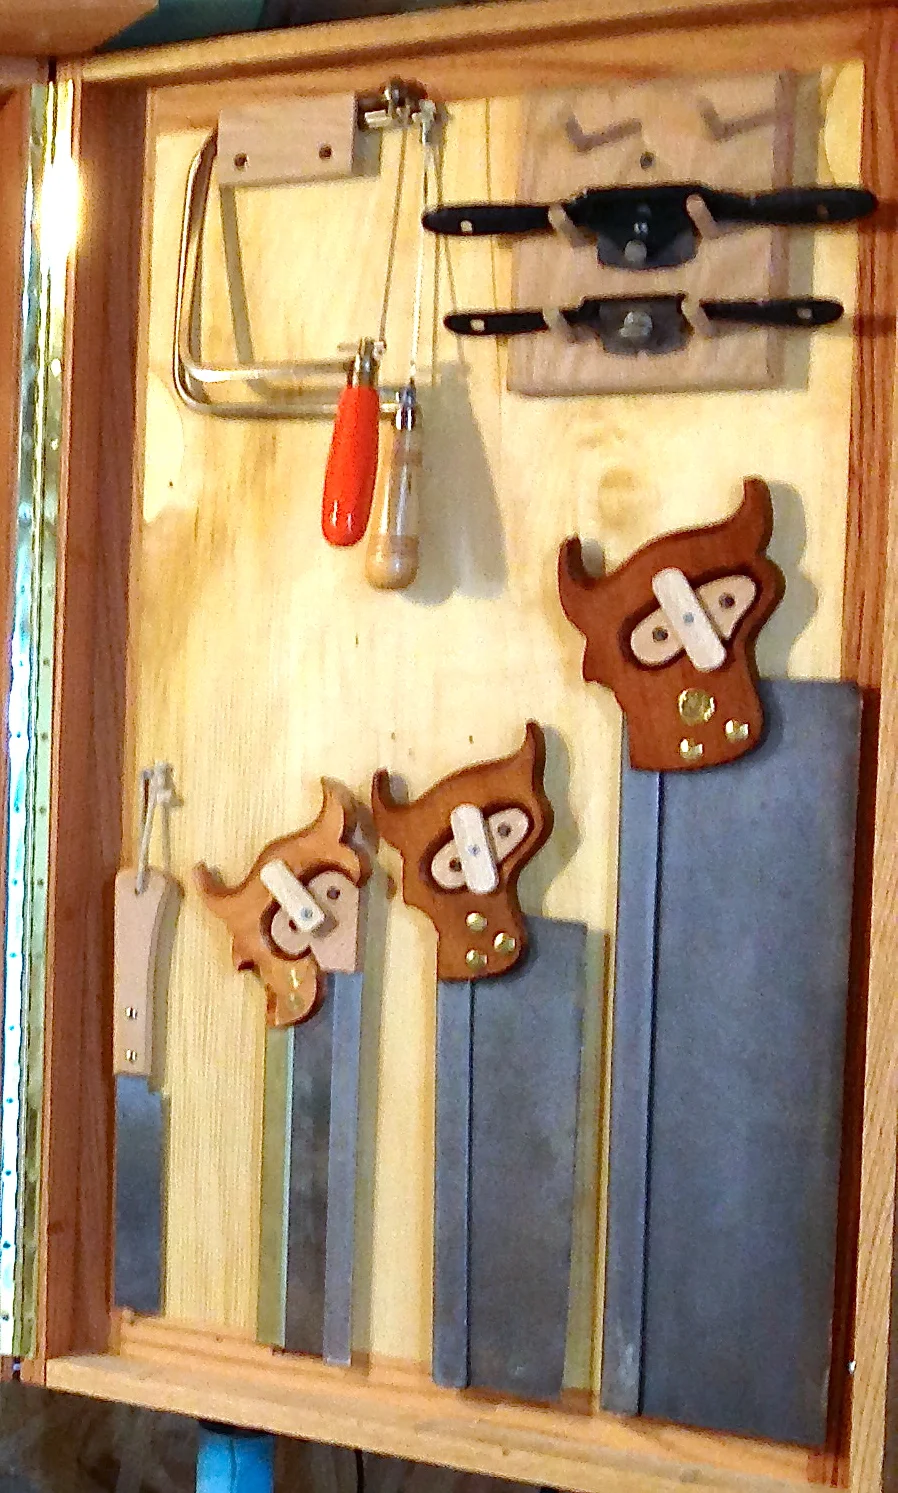
A couple of years ago, I got around to making a wall-hanging tool cabinet to store my hand tools. It was made from red oak, with birch plywood for the panels, and while not pretty, did a good job at holding my tools. The design came from the countless other wall hanging tool cabinets I'd seen posted here and there in the world of online woodworking, and I was pretty pleased with the result. Over the following months, I adjusted the tool holders, added more tools, moved other around, and fiddled with it until it became pretty full. More importantly, it became more useful, as I was more comfortable with where everything was stored, it was easy to reach for what I needed, sometimes without looking. It was also easy to know when I had forgotten to put a tool back into place.

But I screwed up on one of the most important things about a tool cabinet - closing the doors. I was so pleased with how the cabinet was set up, and seeing my modest but nice array of tools, that I left the doors open not only when I was working, but also when I was not. I liked walking into the shop for another session, and seeing my tools smiling back at me, all in their nice holders, all in order, ready to go. I felt fine about things. In fact, sometime last year, I'd even purchased one of those rust inhibitor stick-ups, the kind that releases a rust inhibiting vapor, and put it in the case. Of course, those only work in a closed space, and not sitting near my tools in an open cabinet.

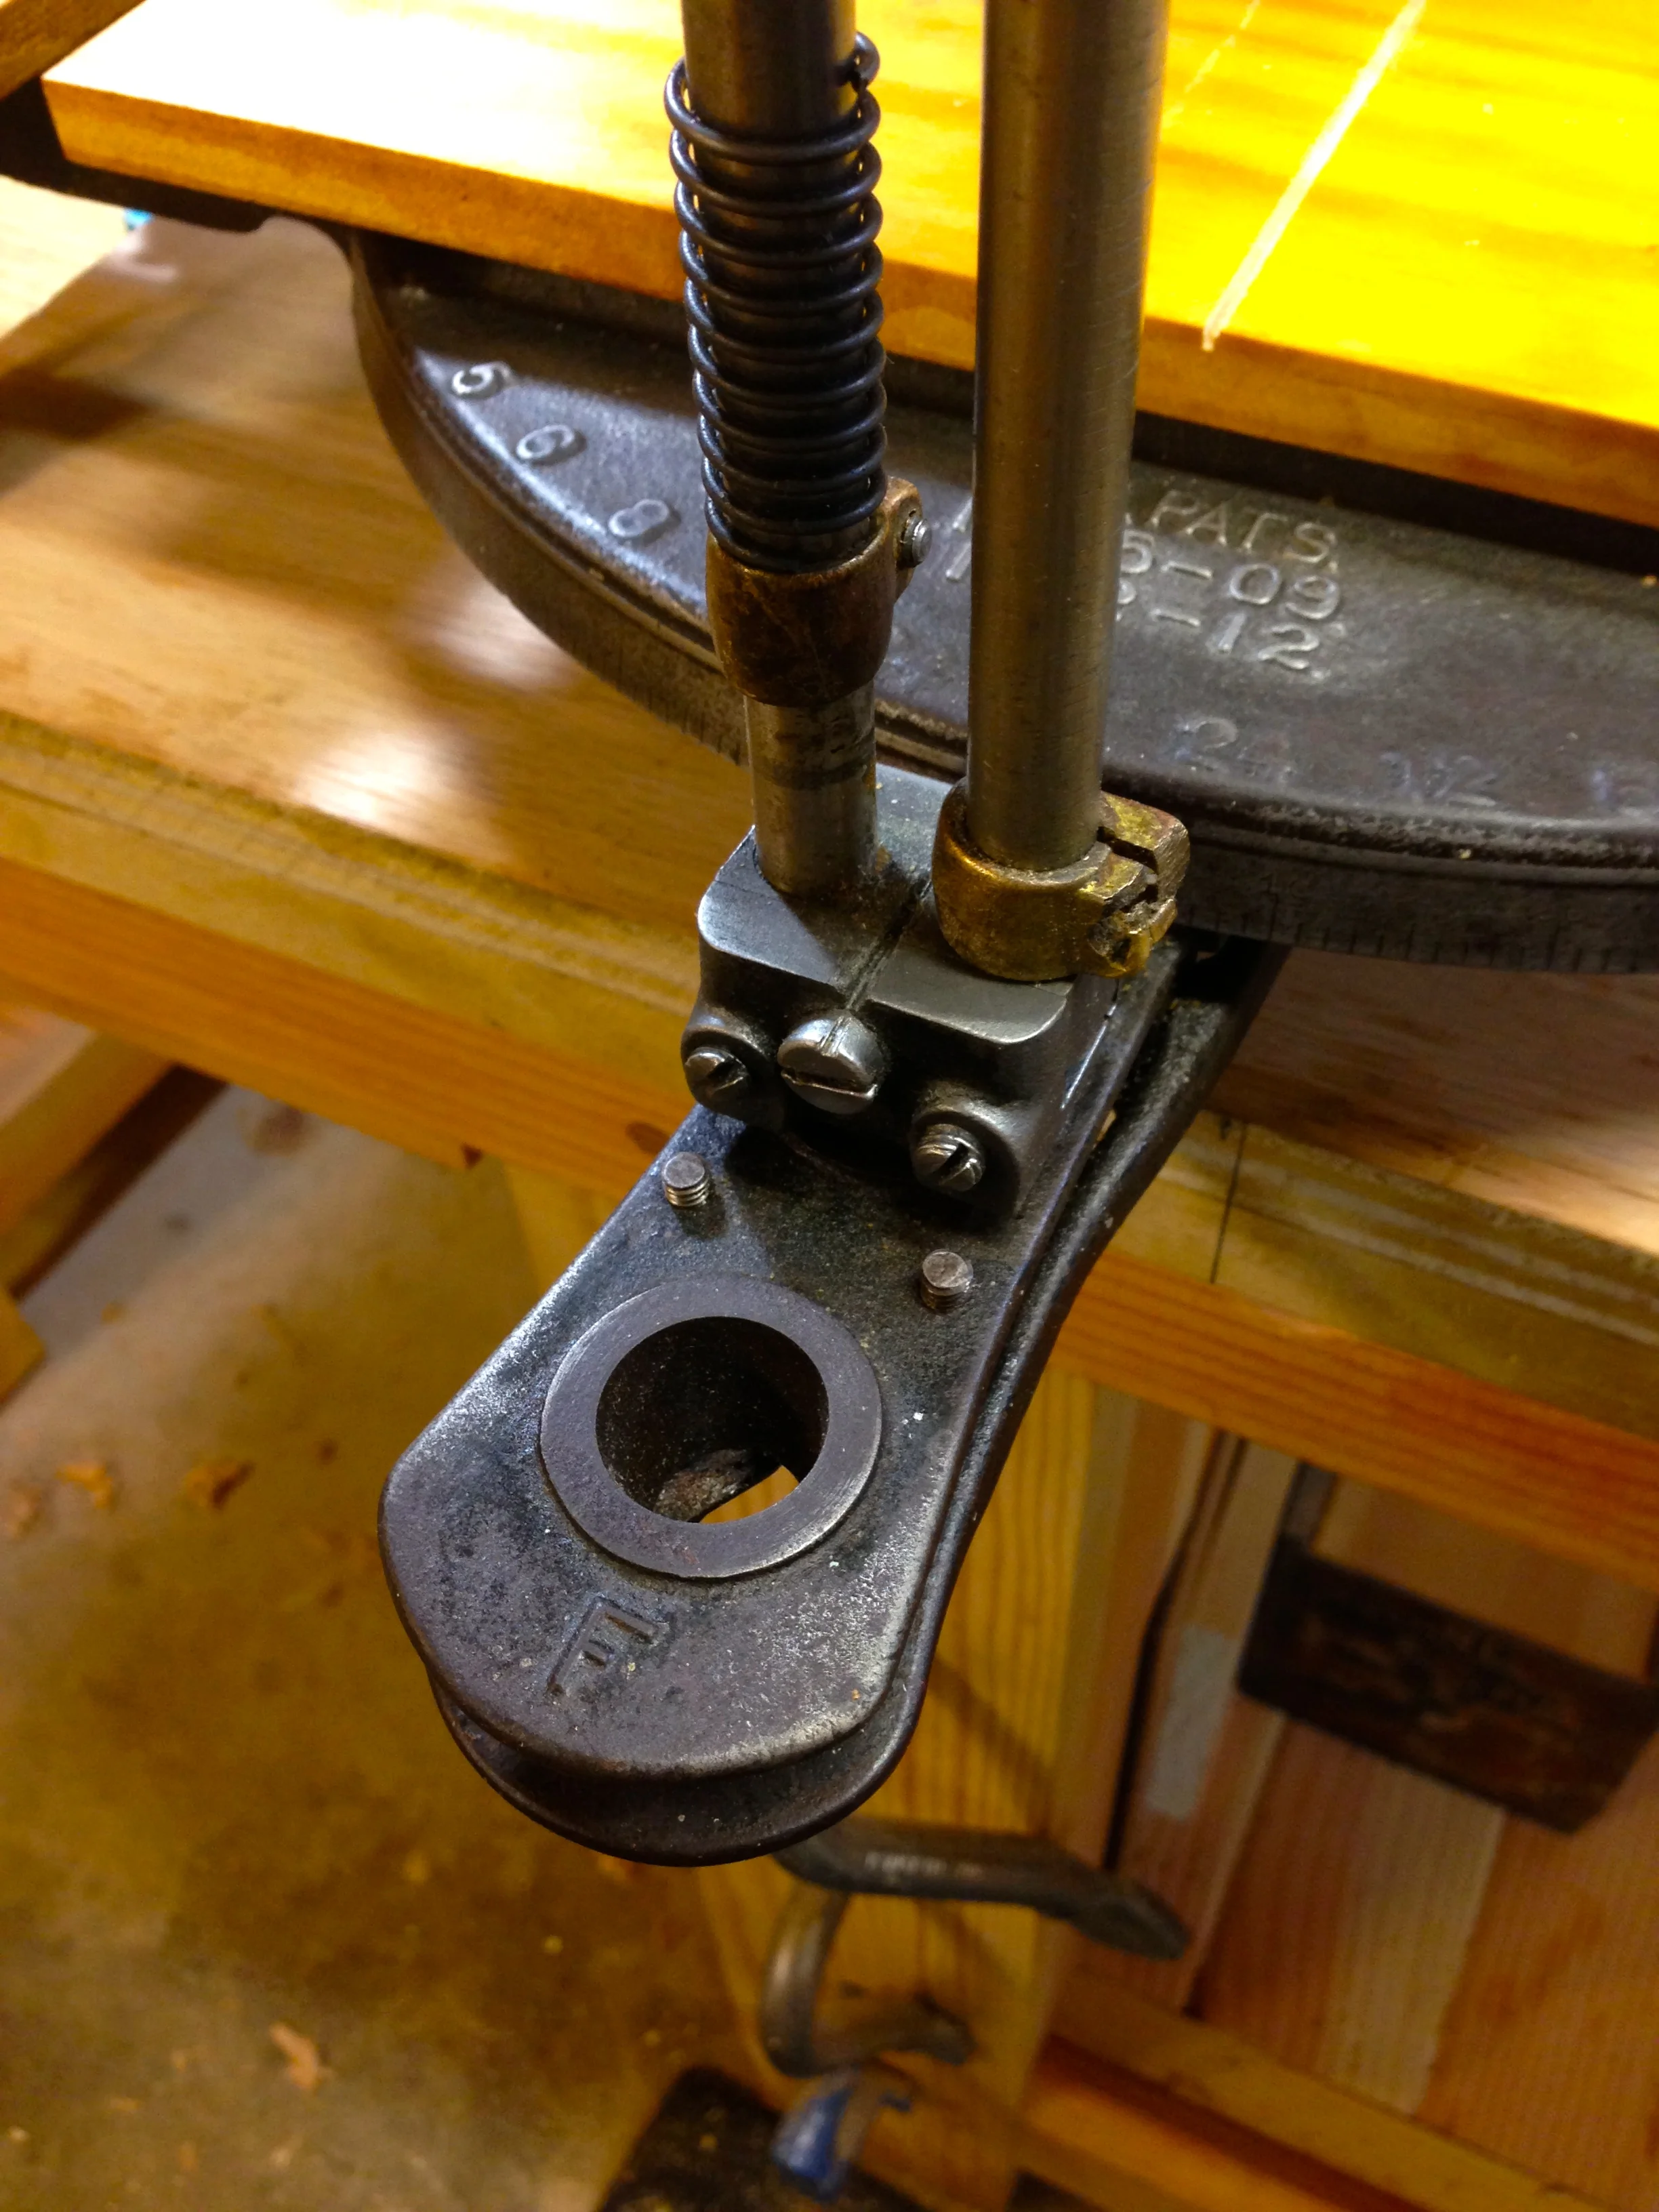
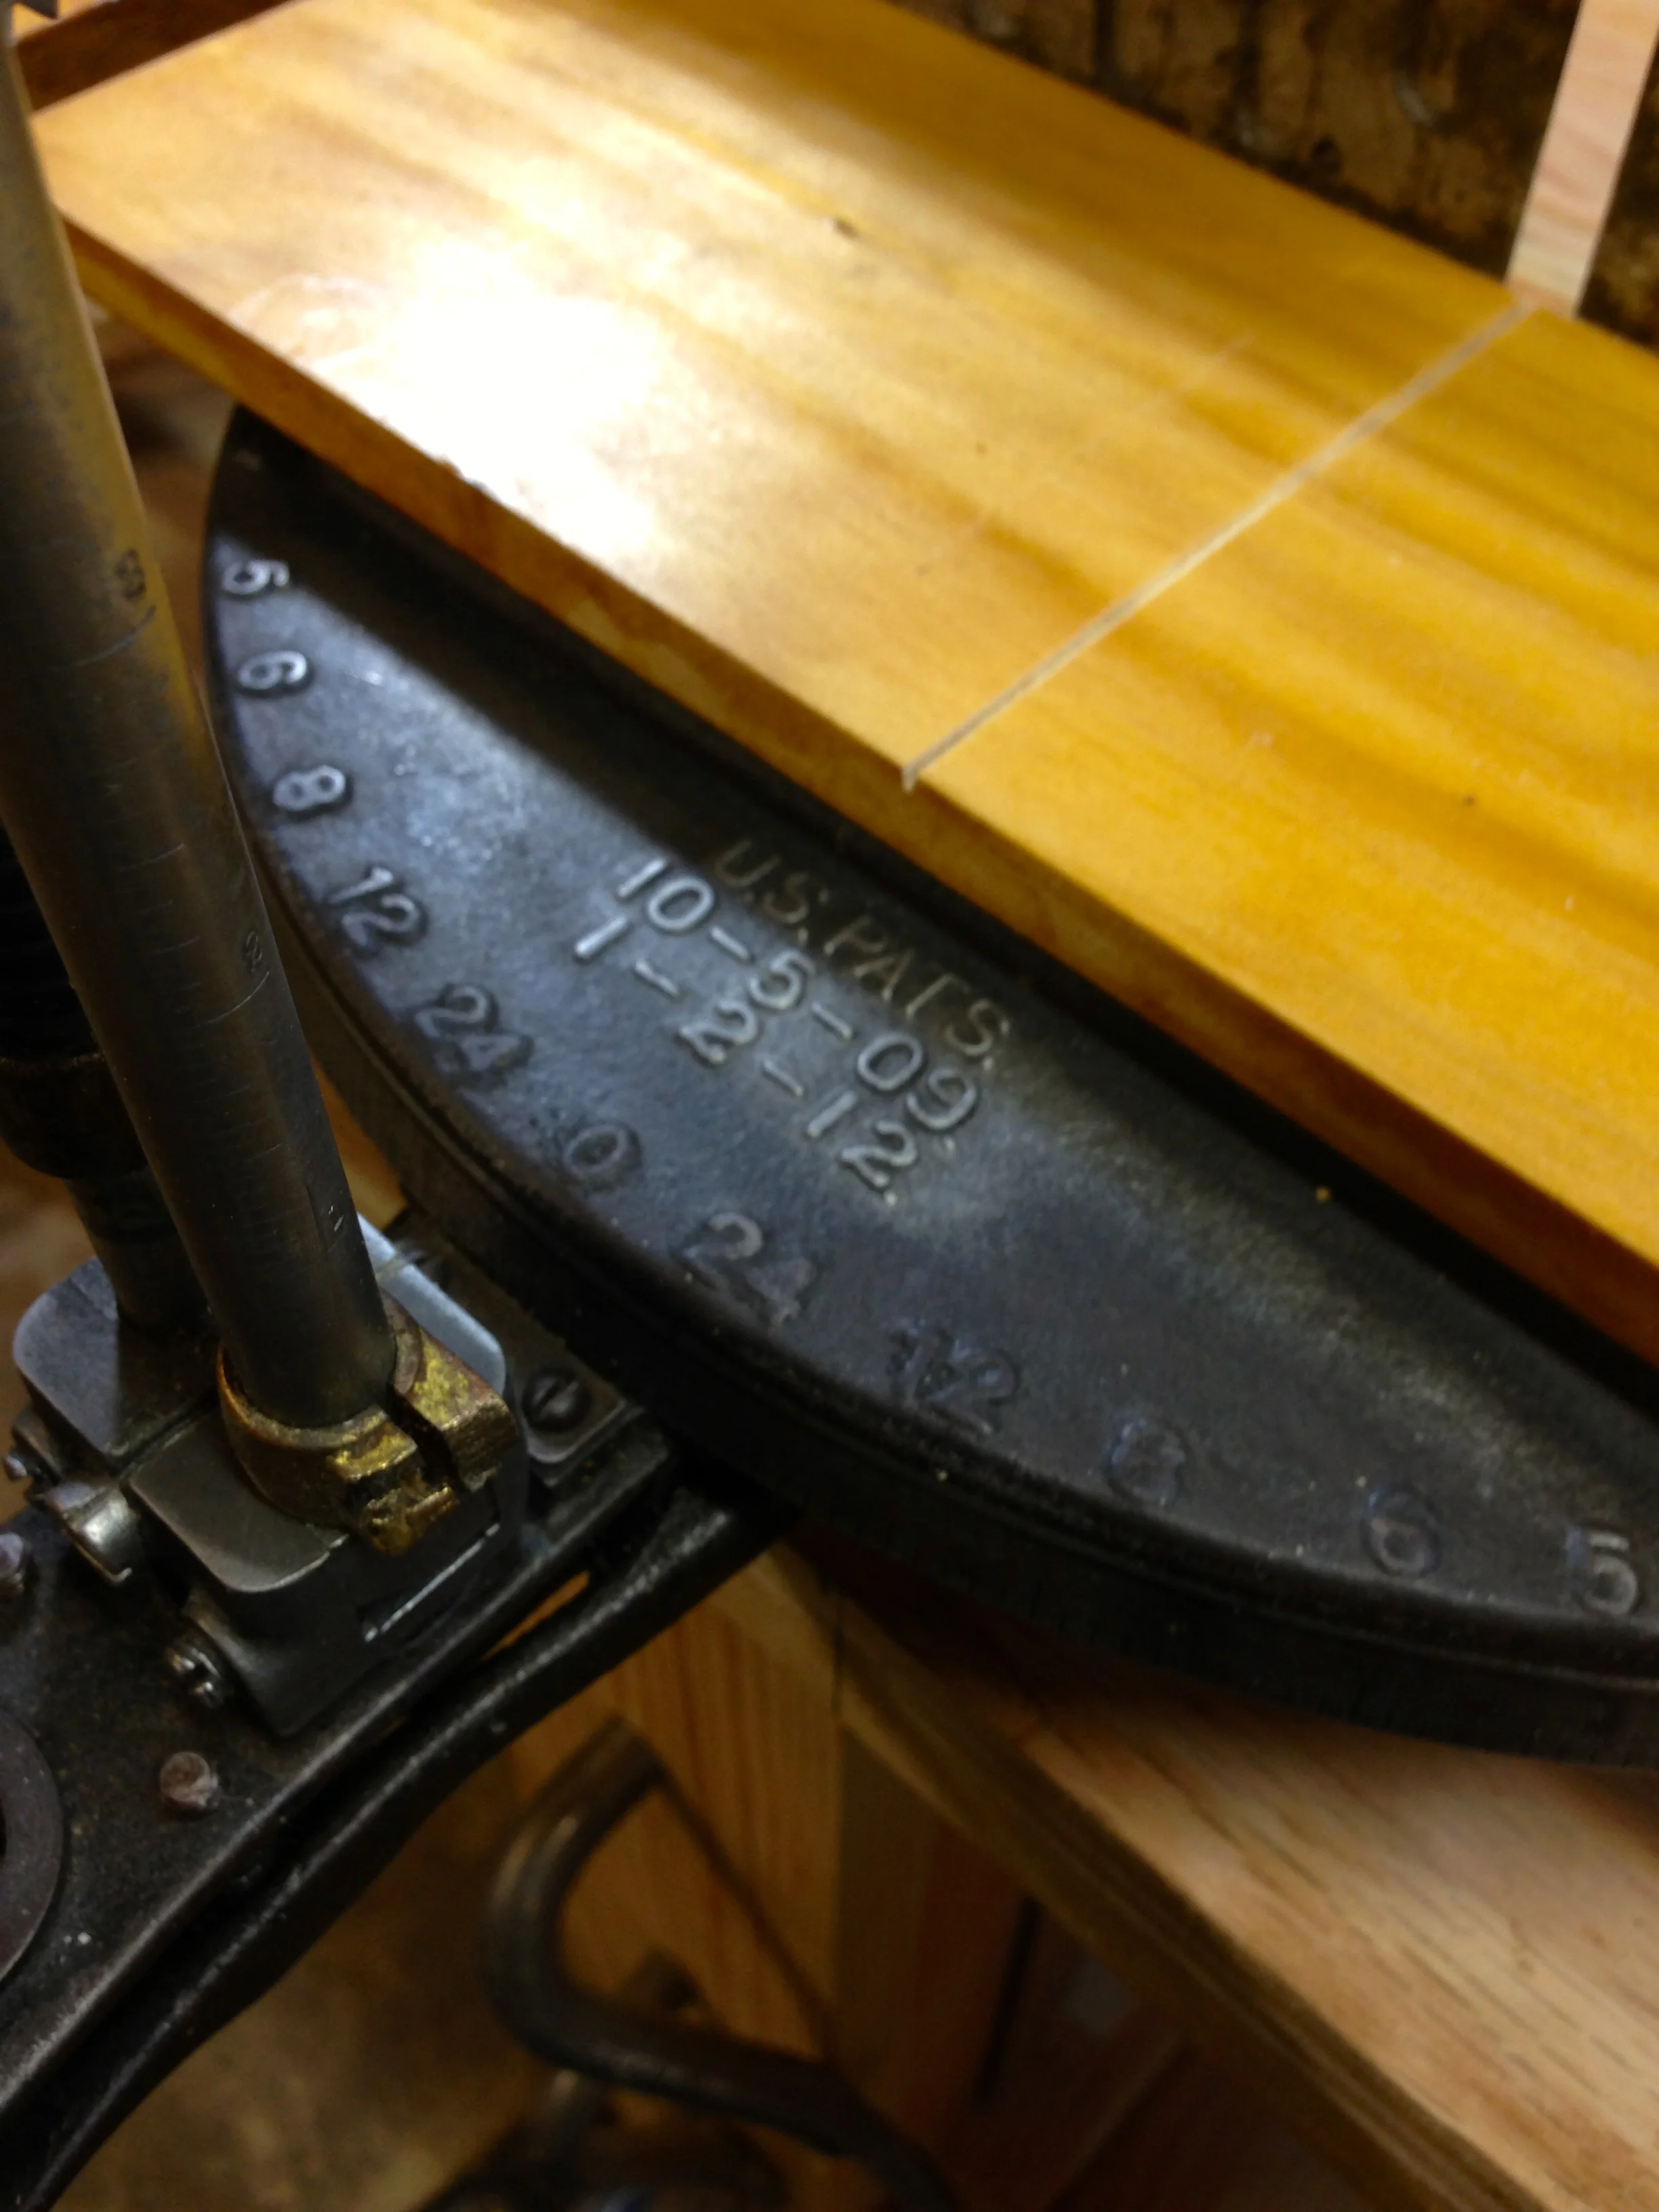
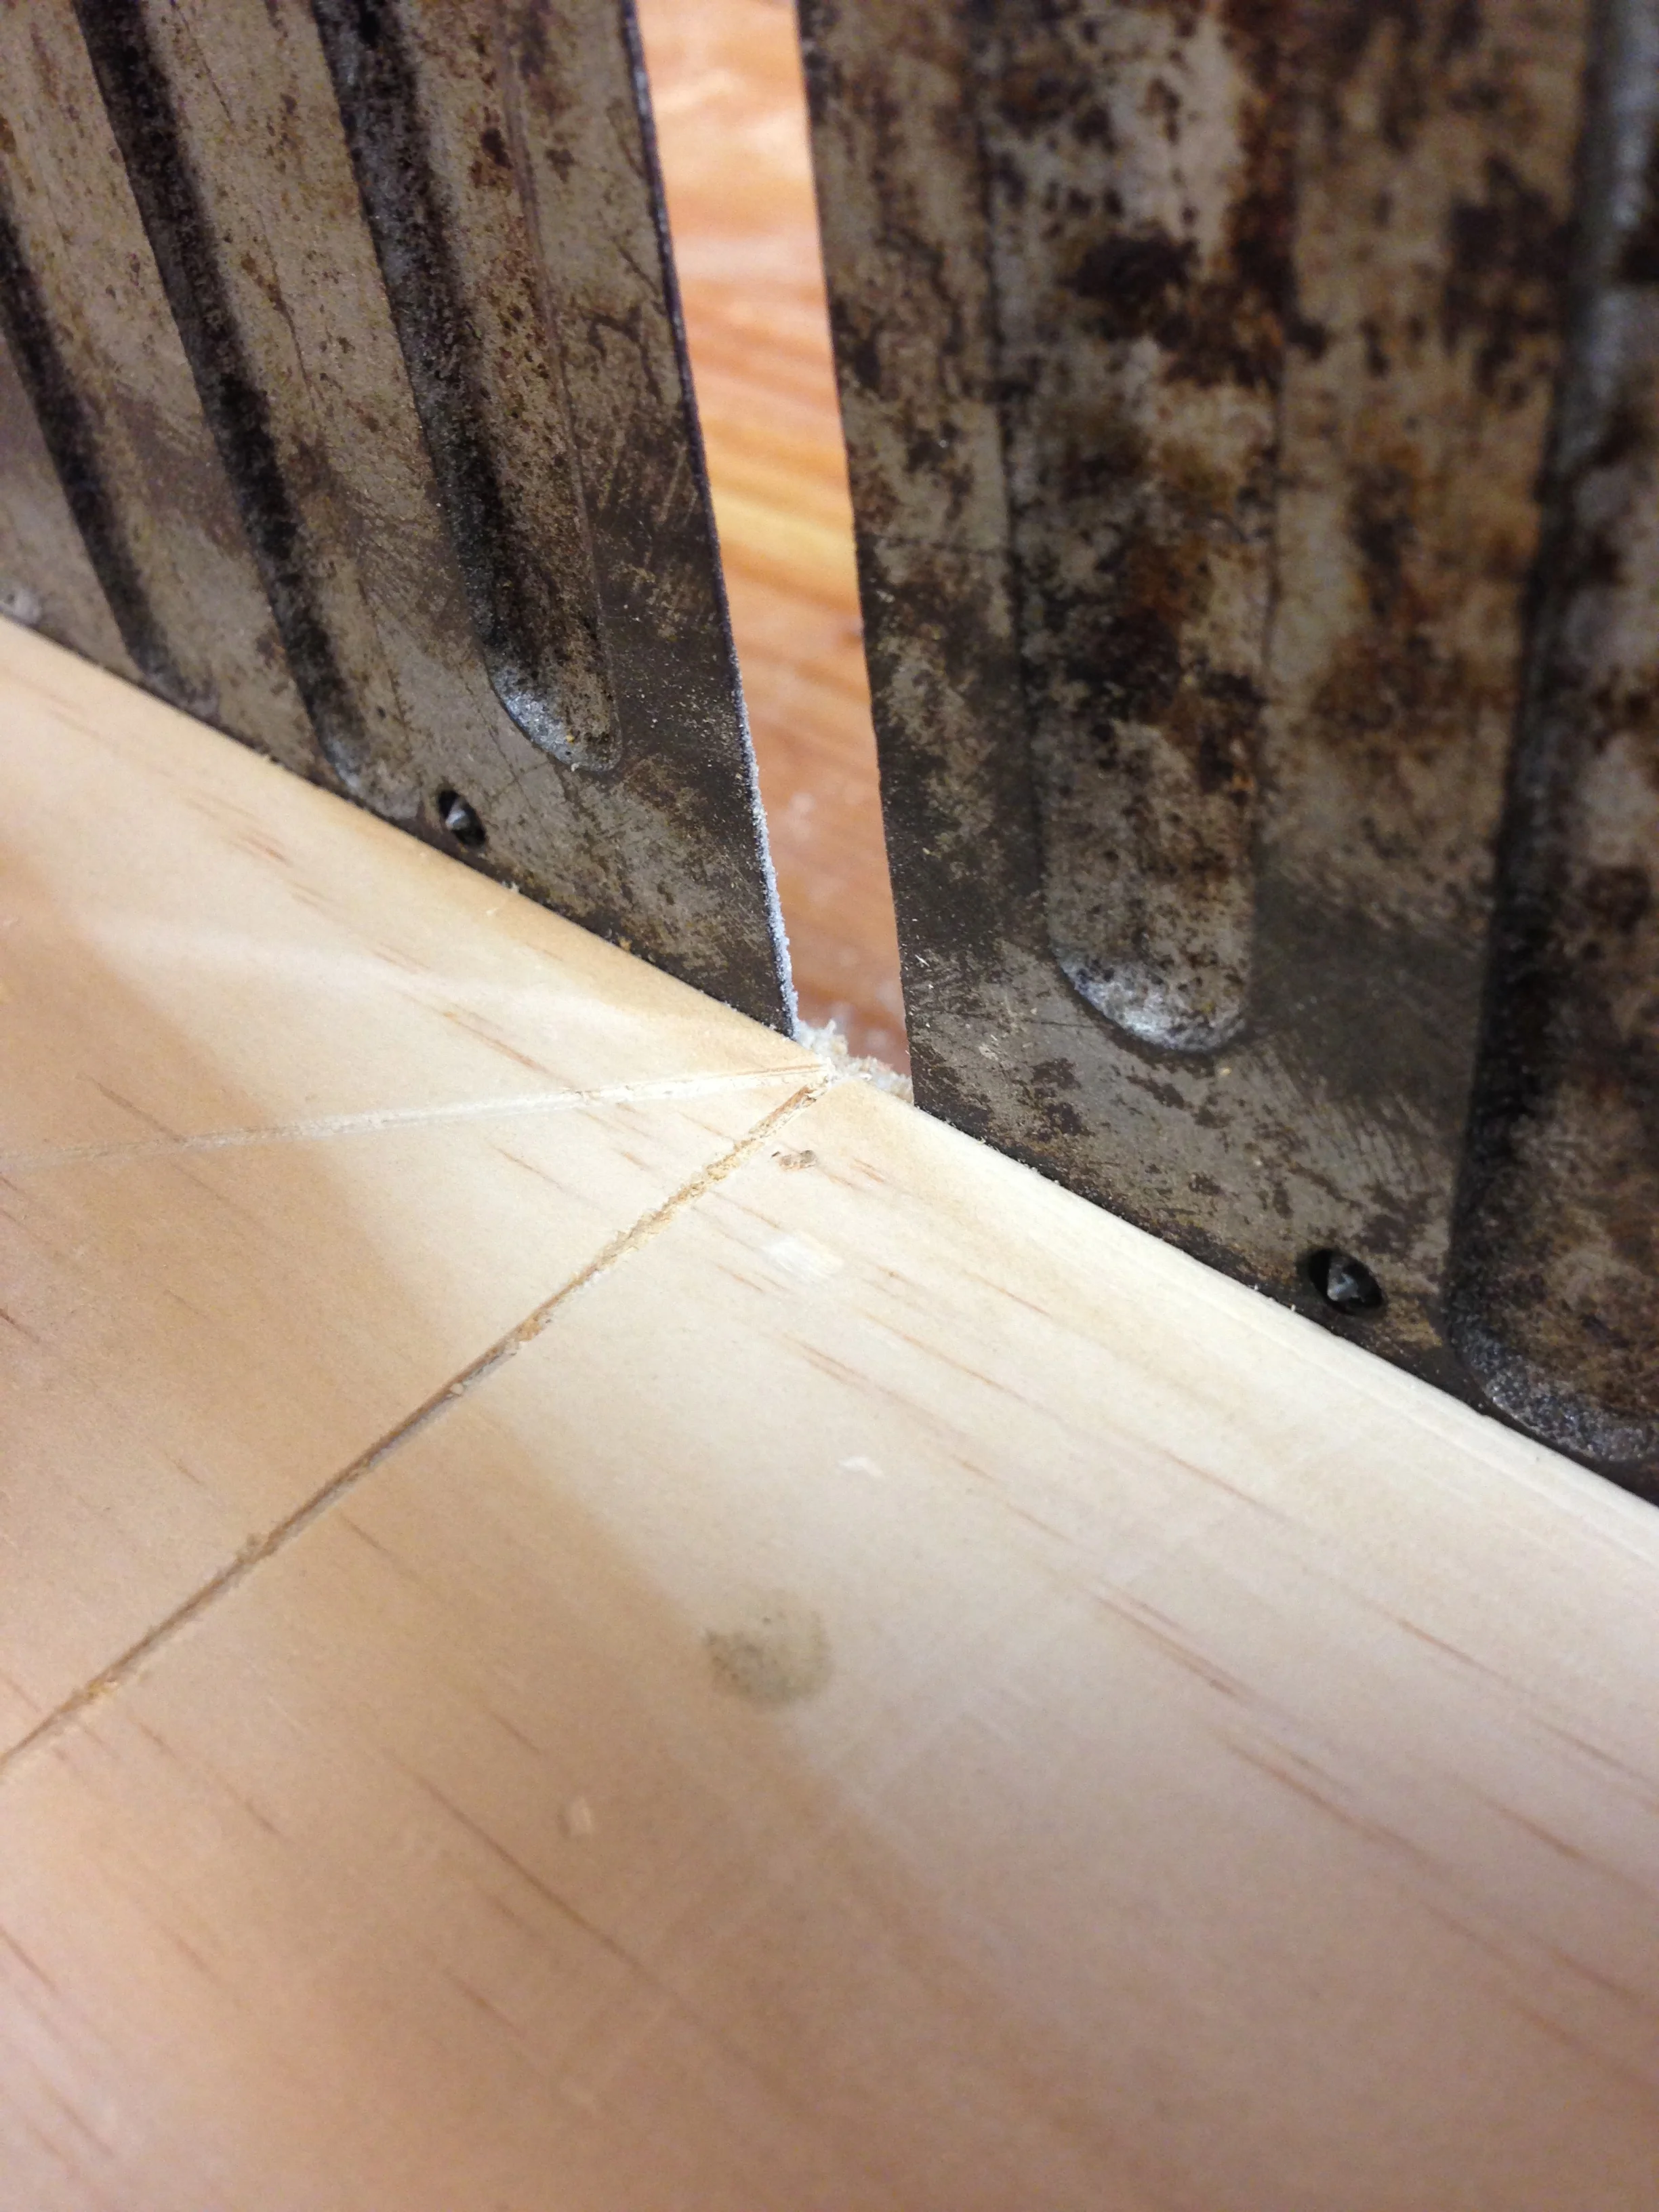
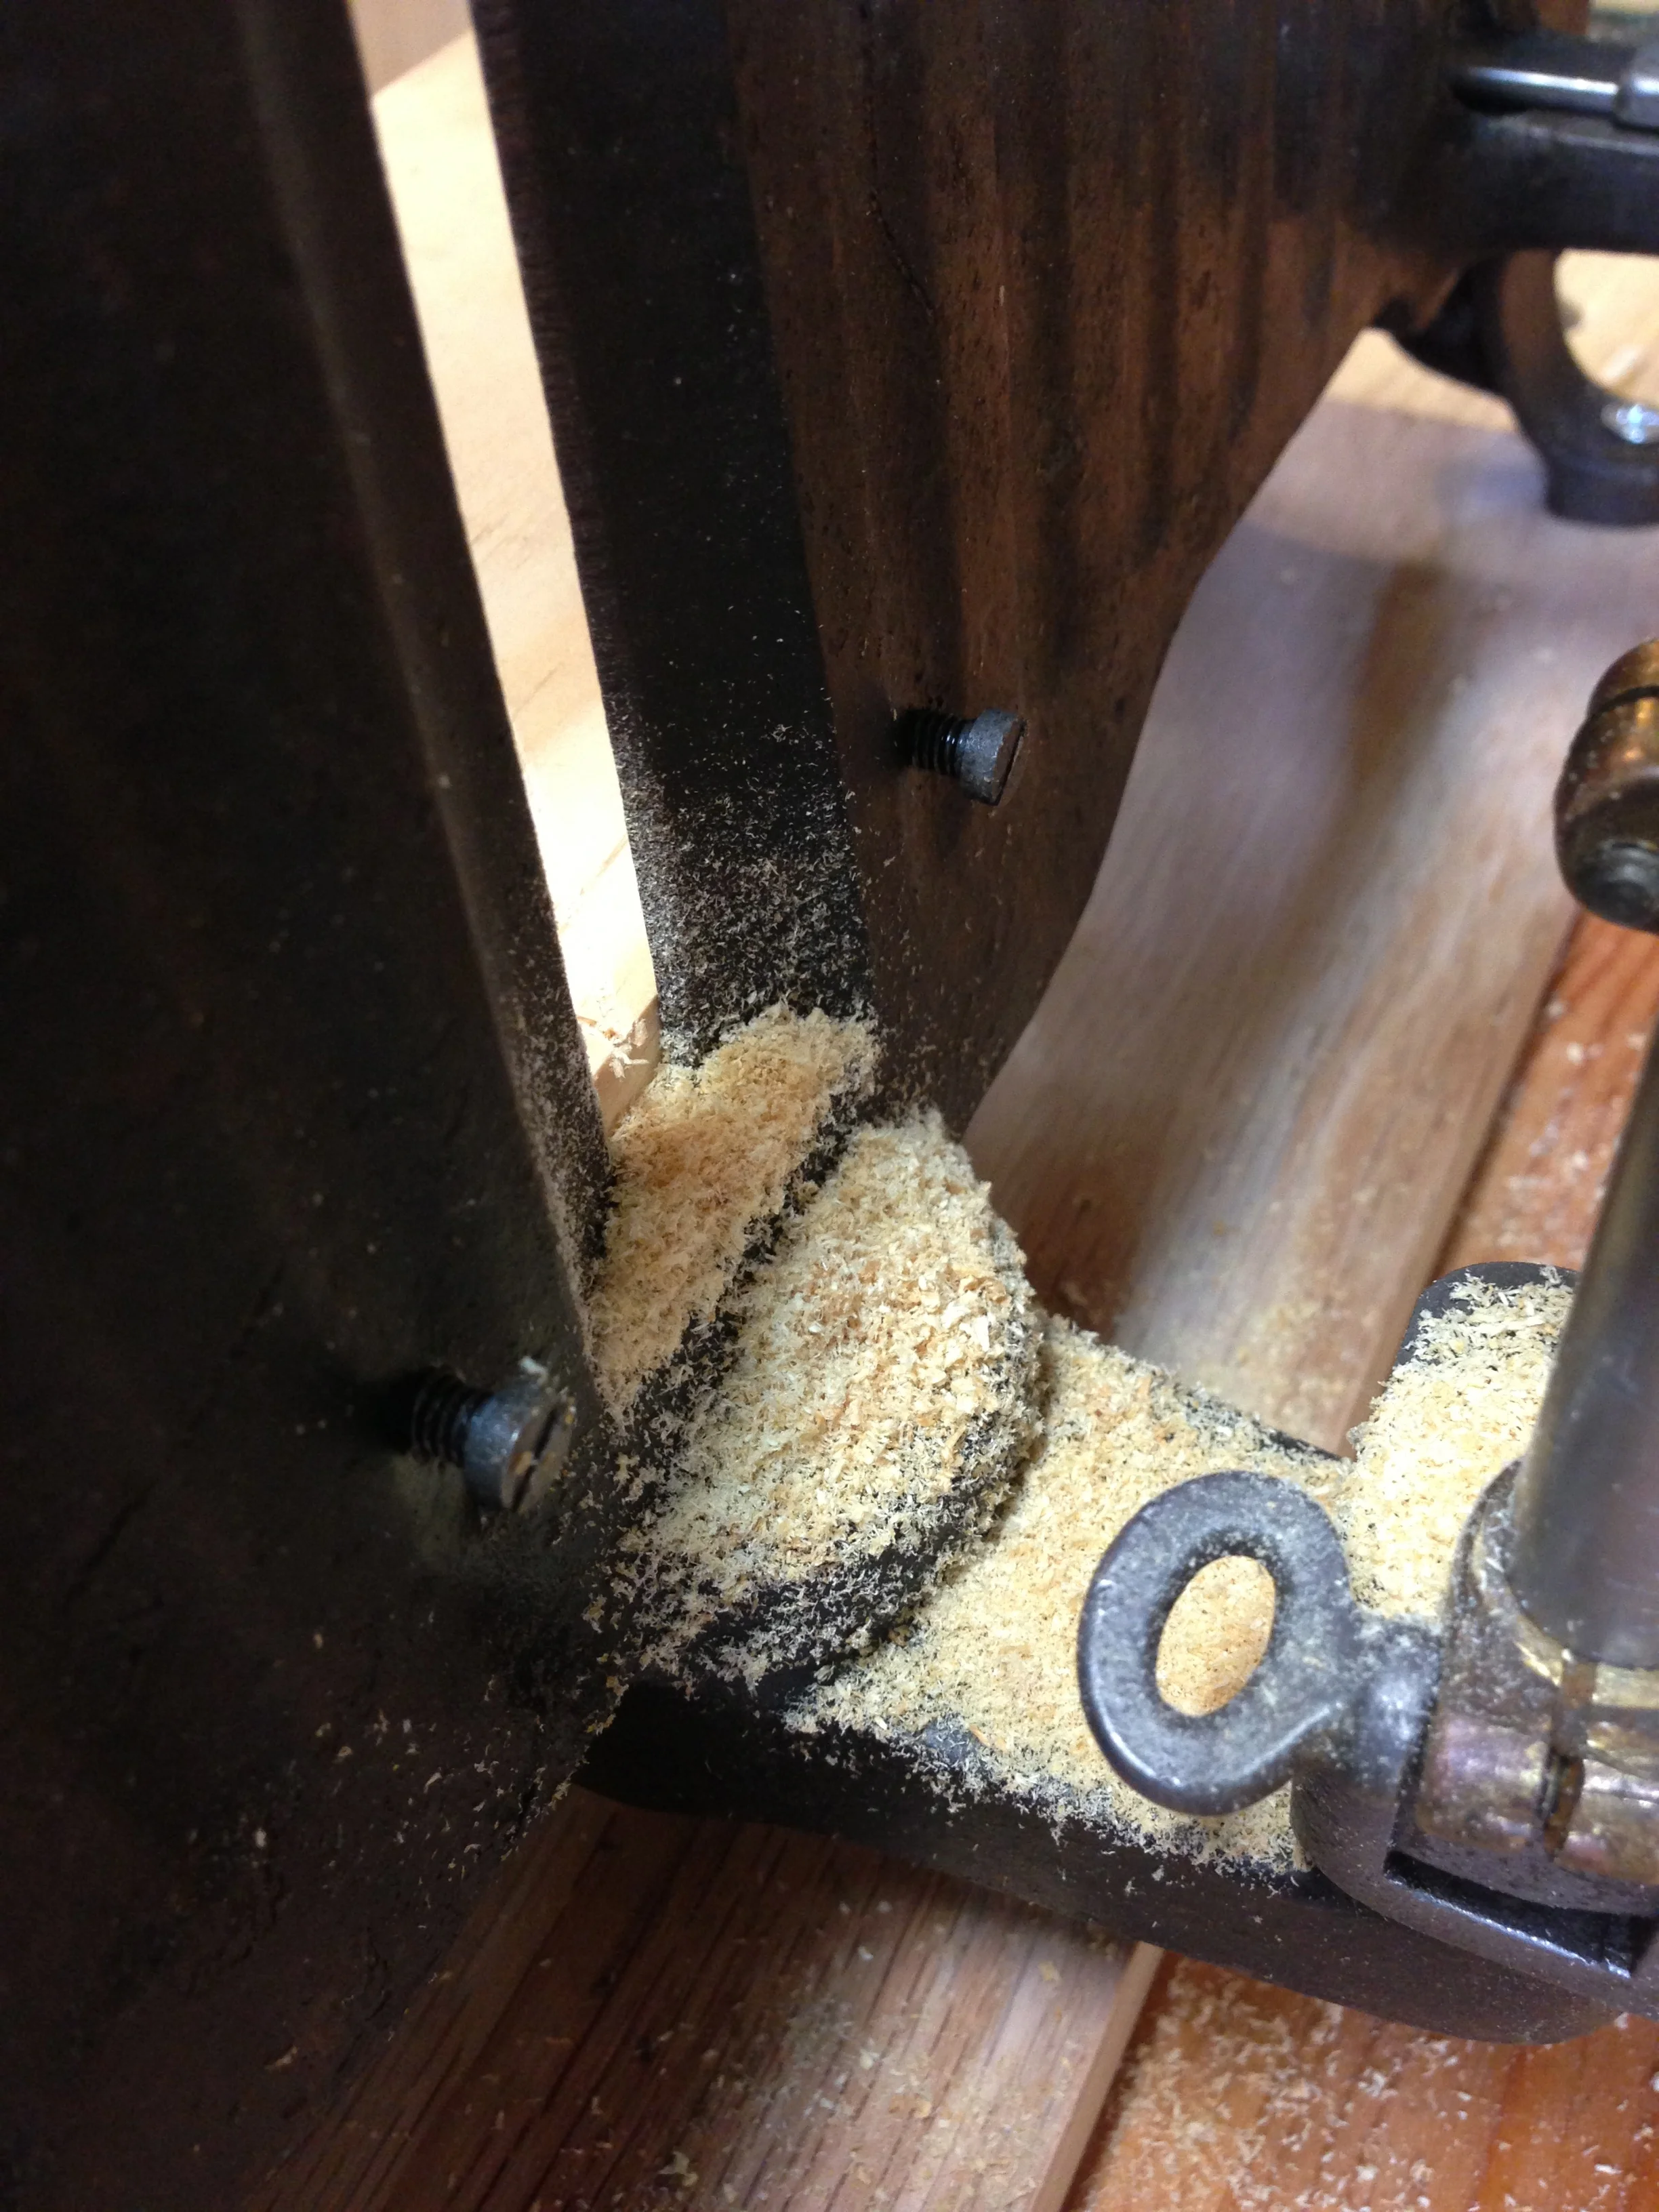
And then, recently, I started to see it: little black spots here and there on a chisel, or the sole of a plane, or the blade of a saw. Where there was once jew a few, after  while there were quite a few more, and I realized I was starting to have a rust problem. I knew about the theory of protecting my tools from rust, sure, but in the first several years of woodworking, I really hadn't seen it appear on any of my new tools, or on my used/vintage new-to-me tools, after cleaning the rust off them when first acquired.

Bullfrog vapor corrosion inhibitor

So, feeling like a fool, I resolved to slay the beast. I spent all of one afternoon going over every single tool in the cabinet, removing any rust spots, or soon-to-be rust spots, using an abrasive pad and WD-40, then cleaning the remaining parts of each tool, wiping them all over with a WD-40 covered rag. The proceeded to vacuum out the insides of the cabinet, wiping it down with a tack cloth until it was dust free. And finally, I proceeded to place everything back, and even replaced the long since uselessly depleted Bull Frog vapor corrosion inhibitor. And then I  CLOSED THE CABINET DOORS.

That evening, with dirty hands, some messy rags, and feeling stupid, I vowed to not be such and idiot. Not only do I now keep those cabinet doors closed when I'm not using the tools, I also make a point to brush and blow any dust off each tool before I put it away, and wipe the metal surfaces it with an oiled rag - stuff I should have been doing all along. Airborne dust and salt settling on your tools attracts water, and that is where the rust comes in. Its pervasive, and one of the dustier places has to be a woodshop. So, yeah, finally, I'm serious about establishing good habits to keep the rust monster at bay. And I can get by without seeing the spread of nice tools all in a row, knowing they're well protected.

After all, its a tool cabinet, not a tool display case. 

Not pretty, and that one door hangs a little crooked, but at least they're closed.

Post Drill, uh, post

Last weekend, I had the pleasure of attending ArnFest, the annual real world gathering of members of the Old Wood Working Machines forum. Although it ran for 4 days total, I only went on Saturday, for the swap meet, and there was a lot of good stuff to trade and sell, and great people to meet. One of the items that caught my eye was a 1910s-ish era ACME post drill. 

What's a post drill? This site is glad you asked; in short, its a hand cranked drill press designed to be mounted on a post. It was never designed as a precision tool, more of a rough utility tool for a barn or small shop. One distinctive feature is that they have a weird offset chuck that required special drill bits with uniform shanks with a flat on the side. I had been curious about them, when one popped up right there in front of me at ArnFest. For some short money I thought I'd give it try. On the plus side, it was parts complete, and more dirty than rusty, and very thankfully, someone had already converted the chuck to a modern 3-jaw centered chuck,  allowing me to use modern, normal shank drill bits. 

So, it went home with me, and over the next few days, I went through the clean up process...  clean off the gunk, dirt & grime; disassemble everything (thankfully, every piece could be taken apart without much work - no parts were fused together or seized up); take all the rust off; re-paint the appropriate areas; build a "post" to mount it to; reassemble it all and lubricate it; and finally, hang it on the wall and try it out.

It was a lot of work, here's a few pictures of the process...


Finally, its was time to try it out. And, well, it worked, but for a variety of reasons, it just wasn't going to become my new "upgrade to the past" alcohol powered drill press, replacing my electric one. For one, with the modified chuck, there just isn't enough clearance for work taller than 3" or so, depending on the bit you use, even with the table all the way down. Second, it is self advancing, and even at the fastest adjustment, it advances SLOWLY. Really, really slowly. Finally, it has some runout issues (wobbly bit, due to a slight bend in the shaft/quill) that would always be annoying. So, while it won't end up being a useful tool in the shop, I did have a lot of fun restoring it, getting it to work, and learning about it. I just need to find it a good home.

Here's a short video so you could see the drill in action. I apologize for the "upright iPhone" aspect ratio: it seemed to frame the subject well. 

I am demonstrating the operation, and some issues, with a 1910's era ACME post drill.

I couldn't resist - another plane

Tool addiction is a real problem for some. I see the appeal, and am aware of the danger. I'm still in control, and managing to keep it at bay. At least that's what I'm telling myself. 

With that in mind, a few weeks ago I found myself with a few hours to kill in a little town, and wandered into a 2nd hand store. I found a box of old rusty tools, and saved this little hand plane. It was all rust, with a broken tote. $5.

After an afternoon of cleaning it up (Evapo-rust bath, re-glued the tote, sanded and shellacked, scoured and re-painted the painted parts, honed, sharpened, and set the iron) and posting some pics on Lumberjocks.com to let the community help me identify it, I present my Ohio Tool Company Savage #3. Apparently, "Savage" was Ohio's discount line. This one is a size I didn't have, and a handy little narrow smoother now.


with my Stanley #4 for comparison

New Tool: Stanley 246 Mitre Box

I just added a new (old) tool to my collection, a Stanley model 246 mitre box. I became interested in these types of tools for several reasons. I had a chance to use ones like this during my recent class at the Woodwright's School, and really enjoyed them; I have been getting more interested in hand saws in general and have been learning about sharpening them; and I hate using my 7 1/4" Mikita power chop saw.

A mitre box, and the modern power equivalent, the chop saw, is a great tool for making cross cuts, and angled, or miter cuts. Right angle cross cuts are hard to do on a band saw for work over 14" in length. They can be done by hand with a crosscut backsaw and a bench hook, with fair accuracy. And with a bit of setup, they can be done very accurately on the table saw, with a special shop made crosscut sled. But nothing beats a mitre box or power chop saw for fast, convenient, and (with a stop blocl or guide) repeatable cross cuts that involve little setup.

But my powered chop saw is unpleasant due to the noise, dust, and difficulty of calibrating it. It's just not that accurate. Without being able to reply on it for precise cuts, I used to use to for rough cuts, and then cleaned those up with one of the other methods described (or a shooting board on the bench). If I stared with that saw, I'd spend time cutting/trimming everything twice. It was a $100 or so saw when I got it several years ago, and while it does the basics, it just isn't a very good tool. The upgrade from the one I have is a good to high quality $500-$800 sliding compound miter saw. One like that would be much more precise, have a wide depth and range of cut, and would do a lot, like... actual compound cuts. But it would still be noisy, spew dust all over, require a pretty big footprint in the shop, and its a lot of money I'd rather spend on other things.

The old-timey hand powered mitre box is super precise, quiet, doesn't spew sawdust everywhere, and has a rather small footprint. It can easily be set under a bench when not in use. And it just looks cool. After learning about what to look for in mitre saws in a podcast by Bill Schenher at Billy's Little Bench, I saw one listed for a good price on eBay, and won the auction for about $80 shipped. It arrived a few days ago, and spent some time this weekend cleaning it up.

Restoring an old is a lot of fun for me, for some weird reason. I like taking something that someone else has discarded or thinks is useless, and giving it new life. I'd like to think that the original owner or owners would fell good that their old trusty tool is getting another chance to do useful work. I'n not a preservationist or crazy "restore to like new condition" type of guy, but I like to clean of the dirt and crud, get rid of the rust, polish the brass, finish the wood, and make it work like it was new. This went pretty well, and with the help of the original manual and parts list, I was able to take it apart, put it back together, and adjust it to perfection.

As far as I can figure it, this mitre box dates to the 1920s or so. These mitre boxes were sold by Stanley, and Disston supplied the saw. My saw, oddly enough, has a Disston medallion on the handle, a Disston stamp on the back bar, but the etch on the saw plate itself says "Langdon Mitre Box, Millers Falls". EDIT: The saw was made by Disston for a Millers Falls box, and ended up with this Stanley box. Also on this box, there is one minor part broken that I can replace, and some stock guides that are missing, but easily replaced with a shop made solution. The handle had been repaired badly with two screws and failed glue, but I re-glued it, and sanded the join to match. The saw's blade was either sharpened recently, or had hardly been used as the teeth were in great condition and very sharp. It's now both a real worker, and a looker.

I have a project that needs a lot of angled cuts, and can't wait to put this to the task. The chop is getting yanks out of the shop, and I'll keep it in the basement if I find I have a need for it. Here's some photos of the restored box, and some "before" pictures too...


Addendum: 

I was looking over other examples of the Stanley 246 online, and saw how the stock guides interacted with the sacrificial board with a dado, not a full through cut as mine was. So I decided to fabricate my own stock guides, and re-do the board. I acquired some 1/2" steel stock from the bog box store, and simply cut, bent, and smoothed it to fit. I them made a new sacrificial board with dadoes, and like the result much better. The stock guides look like they should be flimsy and unhelpful, but really do help hold the work. They are even better with the assistance of the two little pointed set screws that can be extended into the work near the cut opening in the fence, providing the tiniest point of "grip" to the work. 


Sharp Saws

I recently acquired two old back saws on eBay, to fill out my western saw collection. One was a steel backed carcass saw with no visible makers marks, and the other was a 1920s era Disston tenon saw.

​the saws after a little brass, blade, and handle clean up.

But the condition of the carcass saw's teeth were lousy, and needed jointing. The tenon saw wasn't so bad, but needed some TLC. So I decided to send them off to a saw filing pro, Bob Rozaieski of Logan Cabinet Shoppe and the excellent Hand Tools & Techniques podcast. I've enjoyed learning from his podcast and blog, and seeing as he offers a reasonable sharpening service, I thought I would get these started out on the right foot. My saw filing skills are pretty new (everything I've learned to date is from this site, and trial and error), and I feel better touching up saws that I know are configured correctly, rather than trying to bang my head against saws that started out way out of whack.

Bob turned them around right away, took time to answer at length several questions I had. A really great experience over all. I'm anxiously awaiting their return.​


IMG_1296.jpg

Update: The saws came back in, and were in awesome shape. Thanks Bob!