After I completed the build of the prairie style sofa and love seat, we needed a coffee table. For the fancy photo shoot of the sofa & love seat, we temporarily drafted an antique Korean sea chest as a coffee table stand-in. You can see the original table's matching pieces as the end tables. The old coffee table was a hand me down from my parents, from a set they bought used in 1964. But it was worn out, had done it's service, didn't match, and this 50's factory set was way beyond retirement age.
At first, I thought the design of the new table was obvious; some variation on the ubiquitous "mission coffee table". I'd imagined one of those in my living room for quite some time. But with the sofa and love seat in place, that design bothered me. It seemed clear that putting another rectalinear piece with square side spindles next to the sofa and love seat was style overkill. That form is what makes the sofa and love seat so strong, and piling it on with another piece in front of them would diminish it. So I was stumped.
But after thinking about it, and seeing some nice material at my local hardwood dealer, I settled on the idea of contrasting the rectalinear prairie style with a very organic live edge table. With a live edge top, the form is 180° in the other direction from the sofas, with the look of finished wood tying them together. But I wanted to tie them together even more. I knew I wanted a live edge top, but that needs a base. It would be easy to make a very modern base for the slab, and the result would be 100% contemporary piece (the table) next to two 100% traditional pieces (the sofas). The base was the place where I could connect the two styles, literally and stylistically.
At first, I tried to design a very mission style base, with square ends and long stretcher and through tenons. But the form didn't flow, and I was trying to design the base before seeing selecting the top slab I was going to use. So I stopped designing, and went out to get the actual slab.
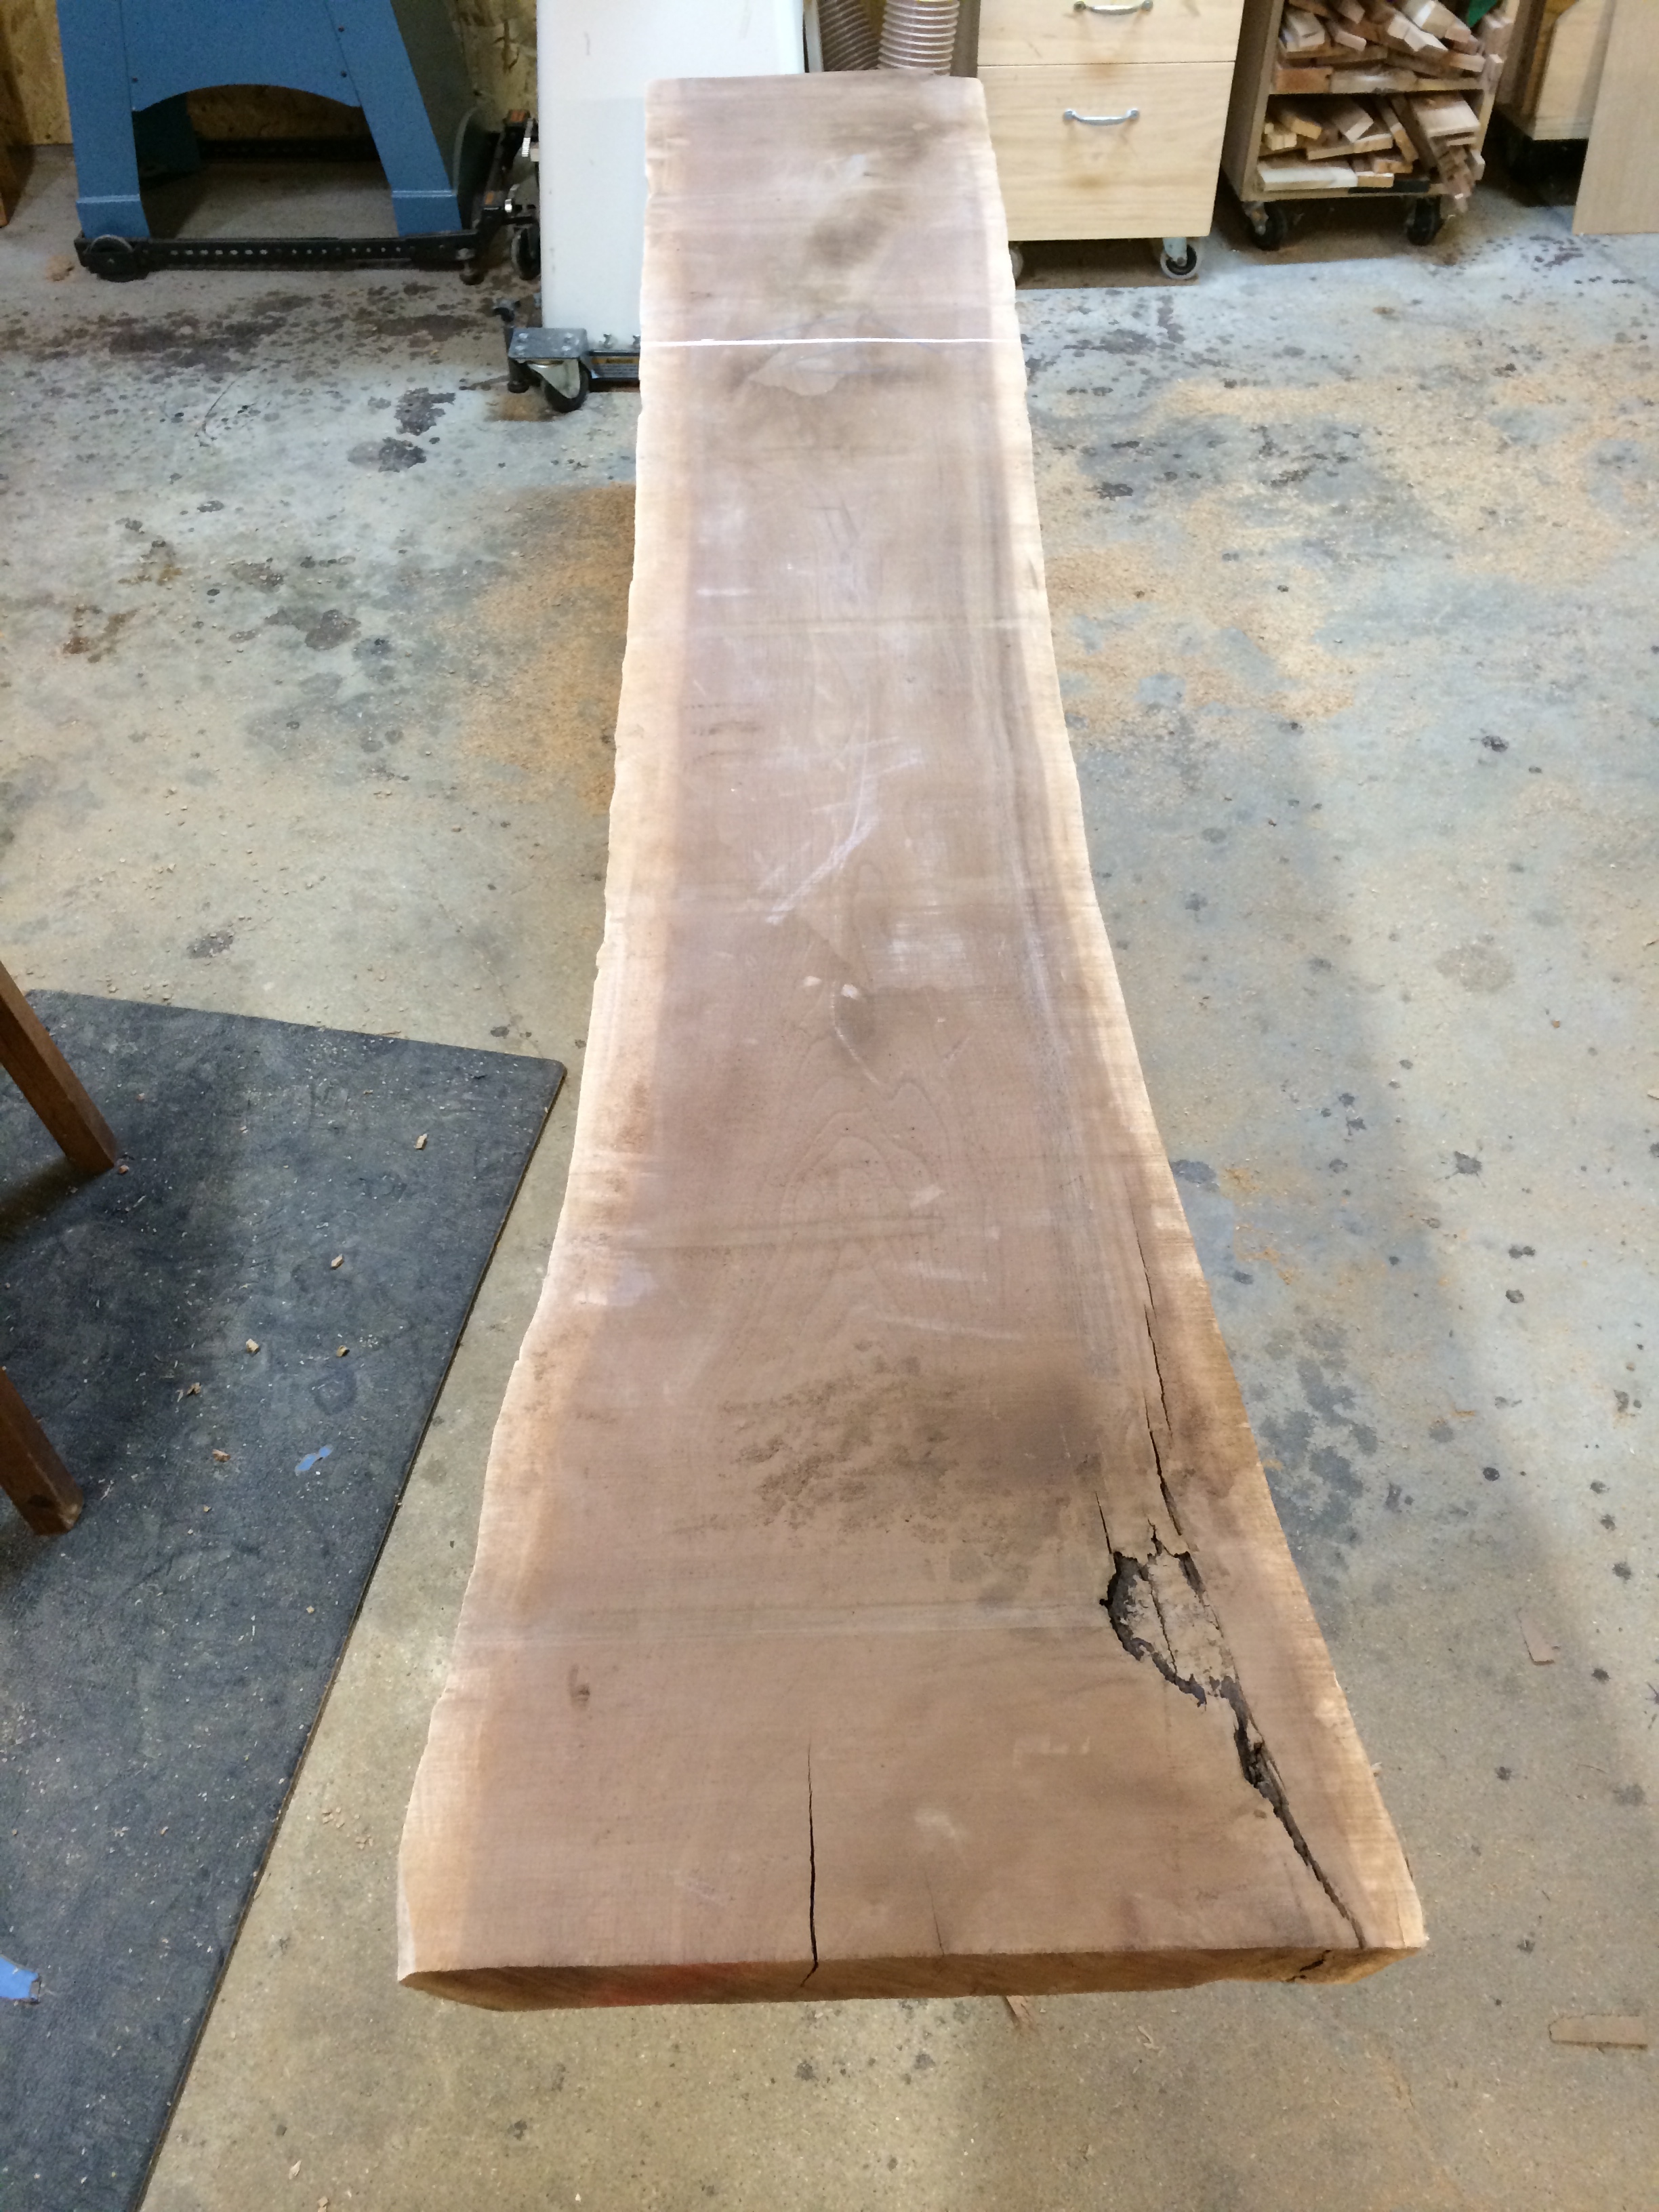
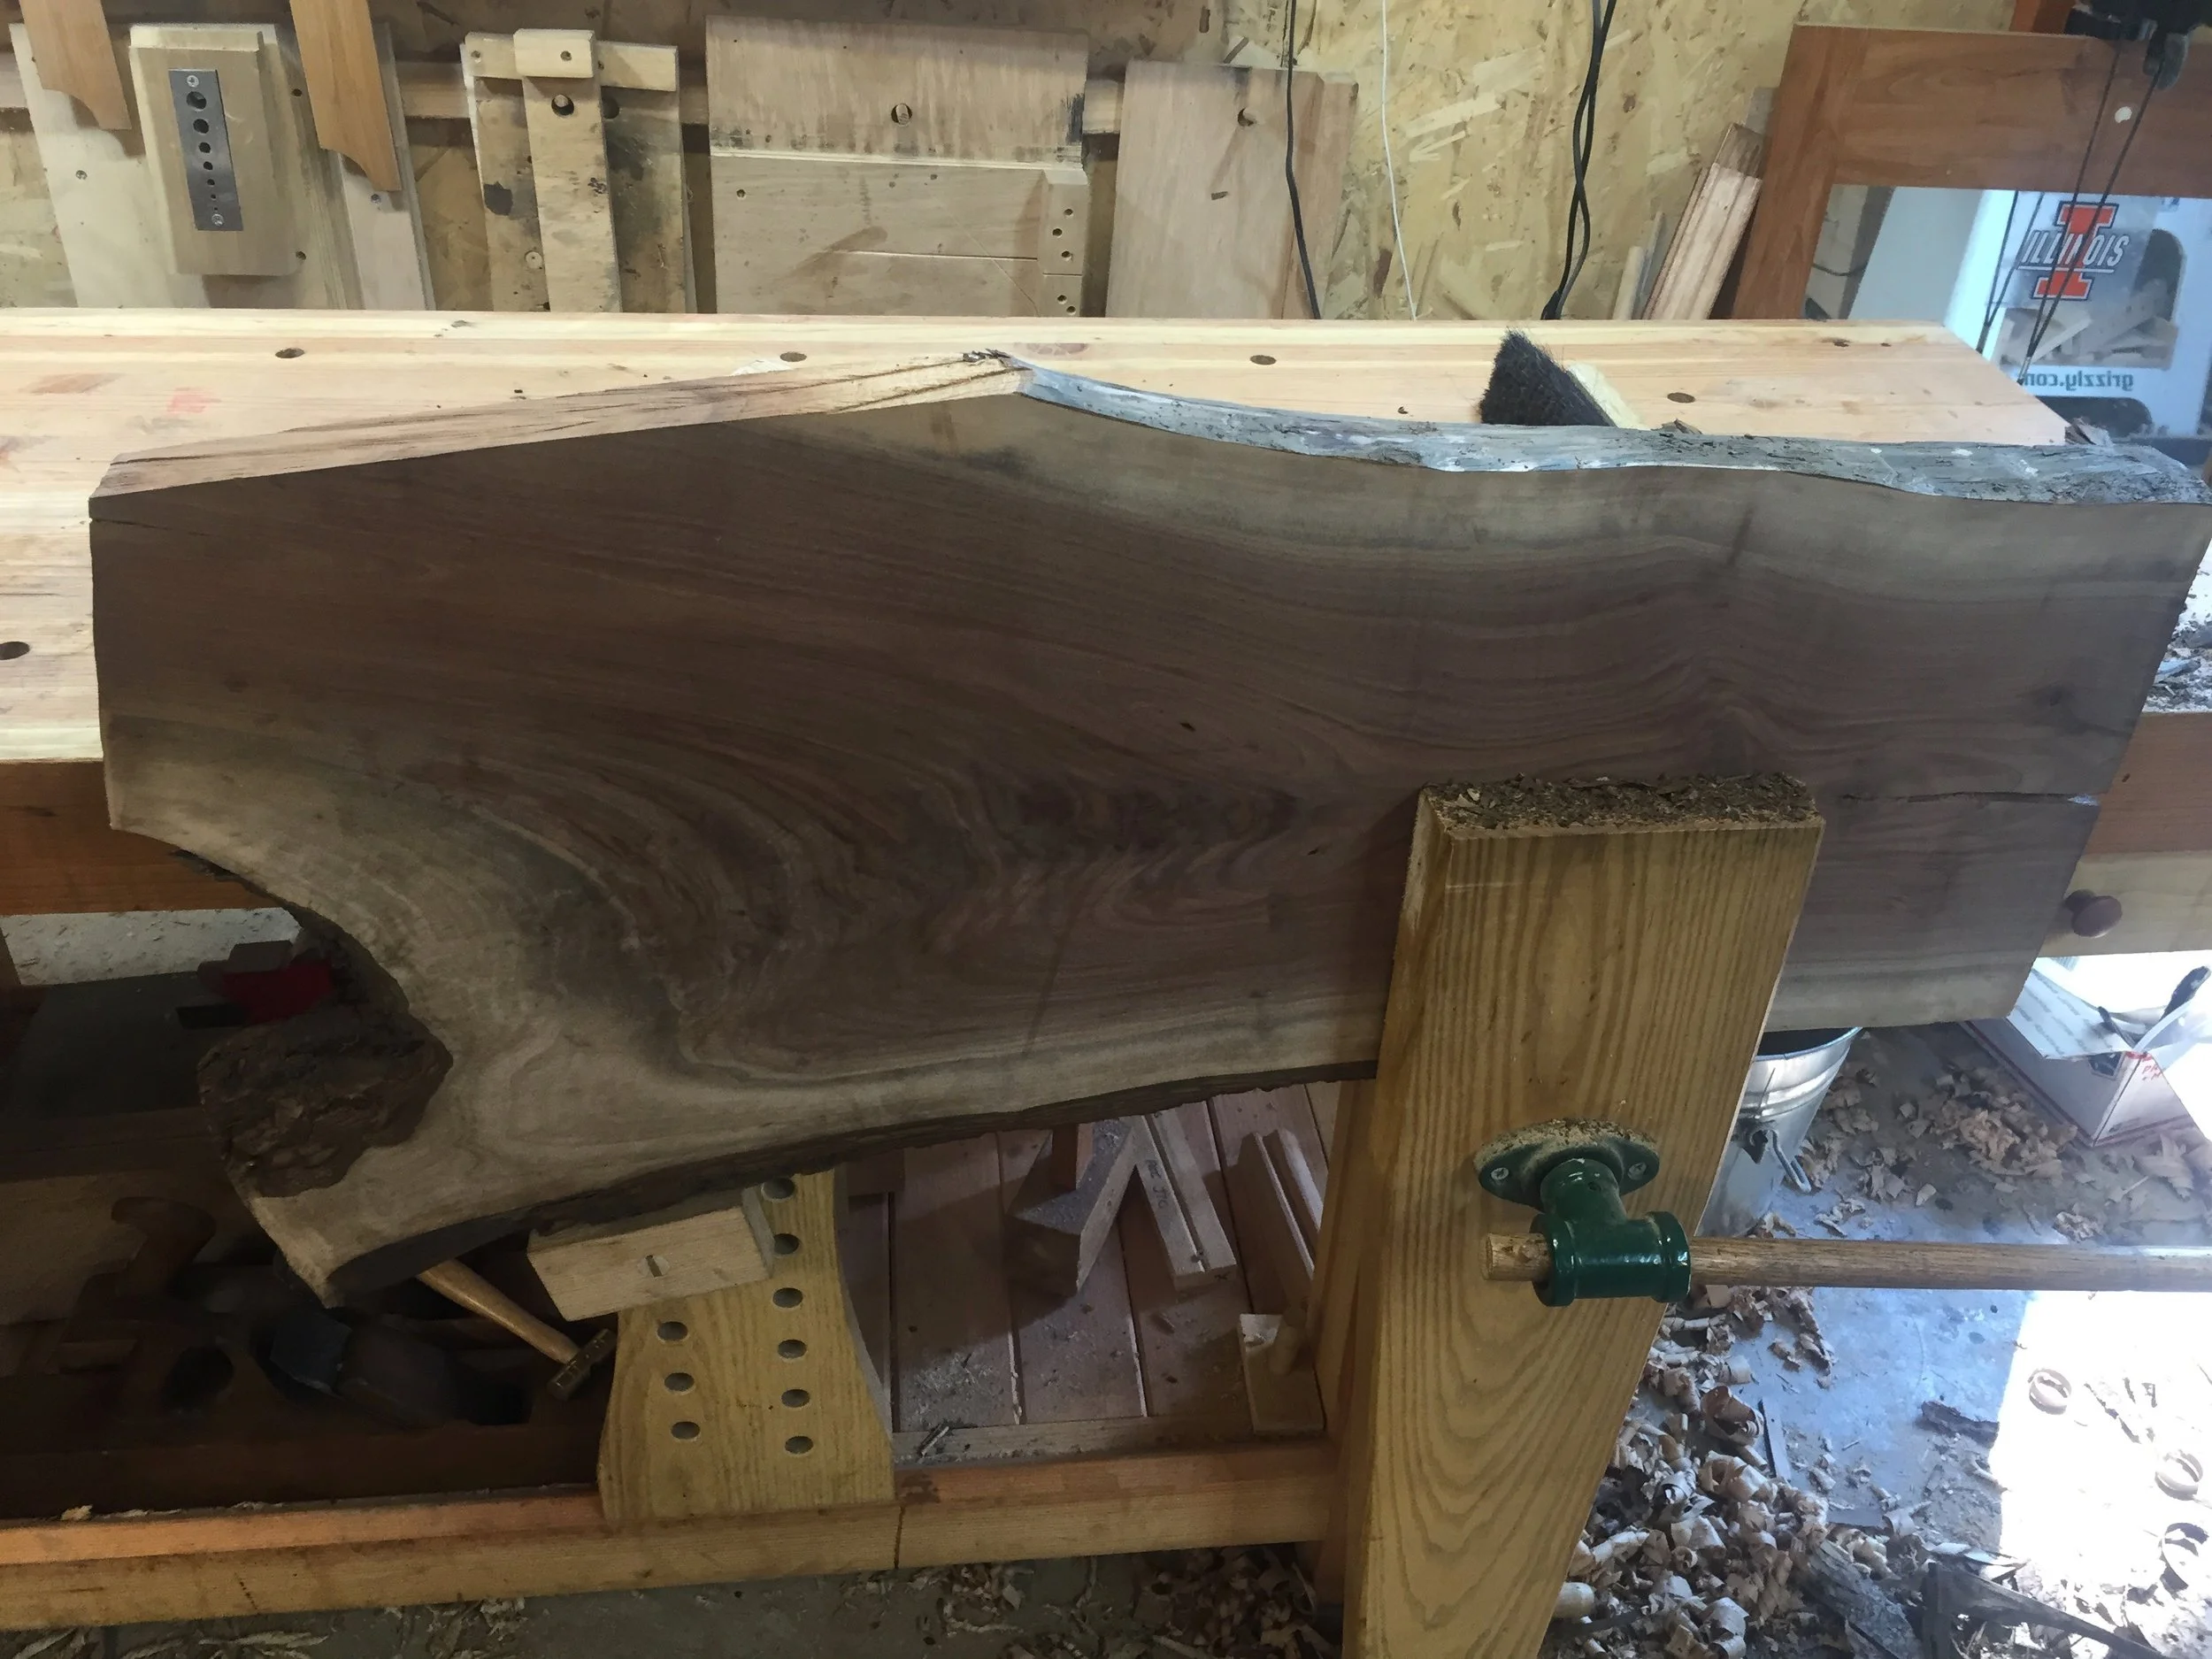
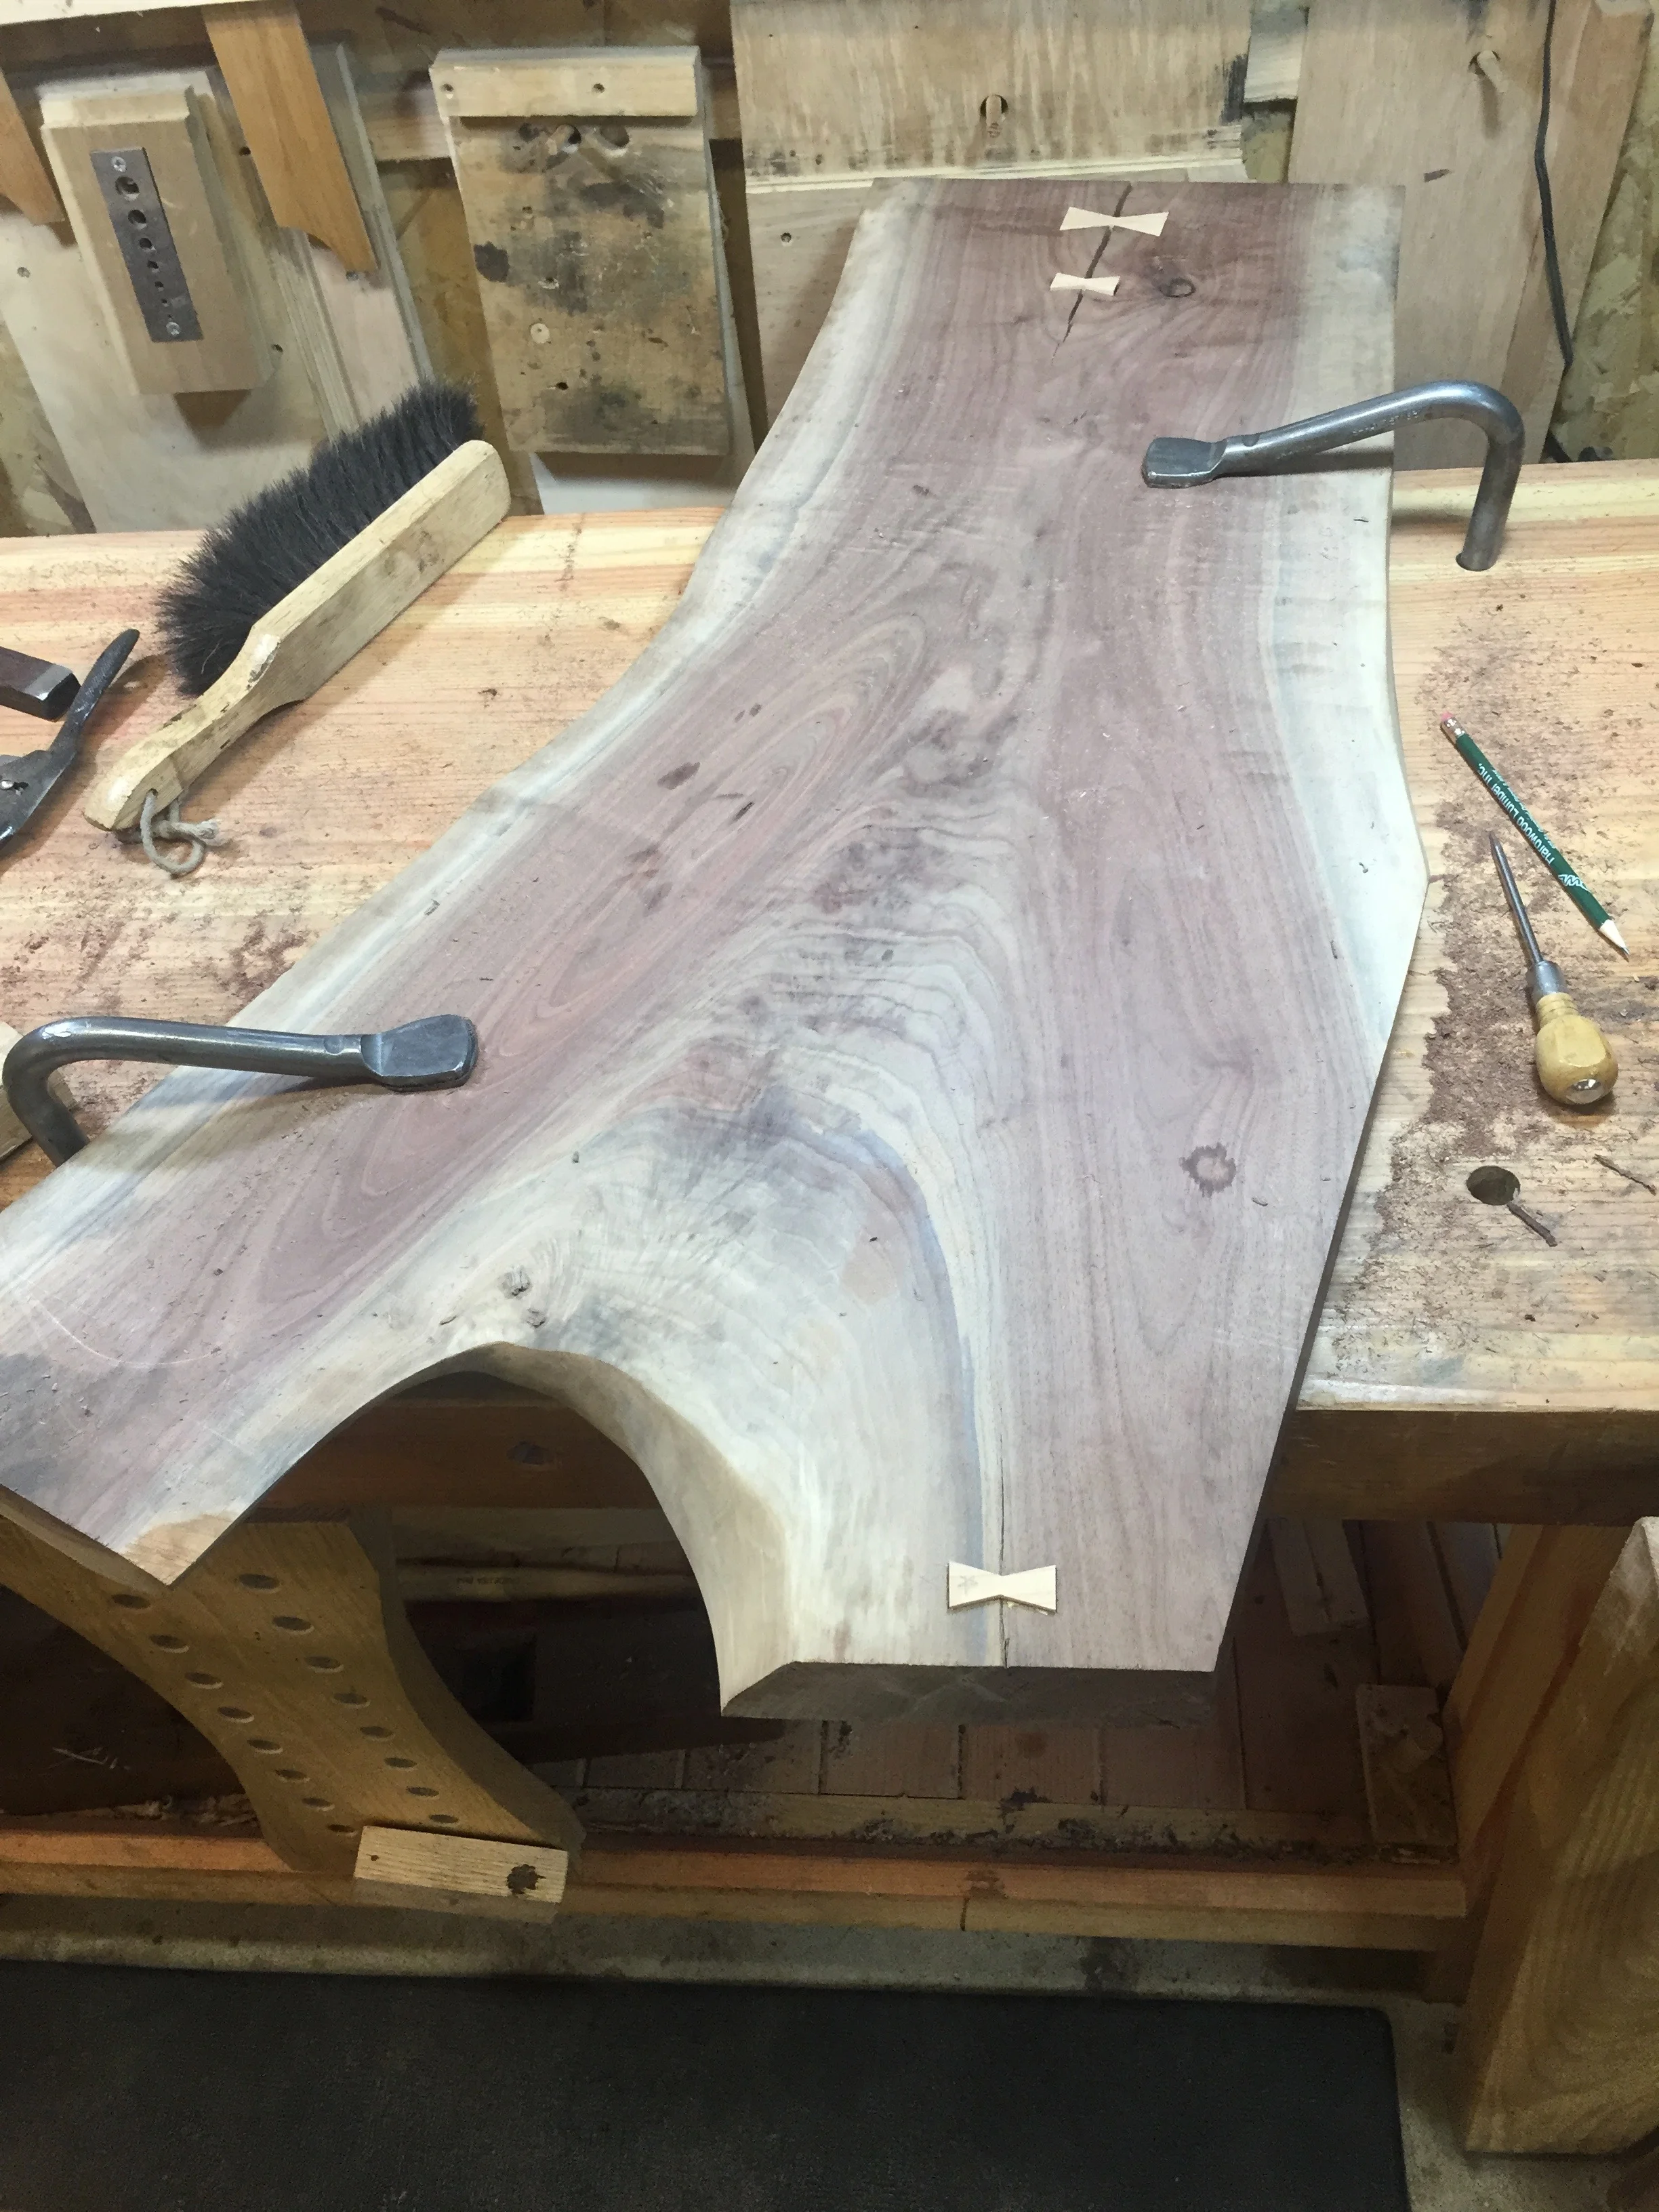
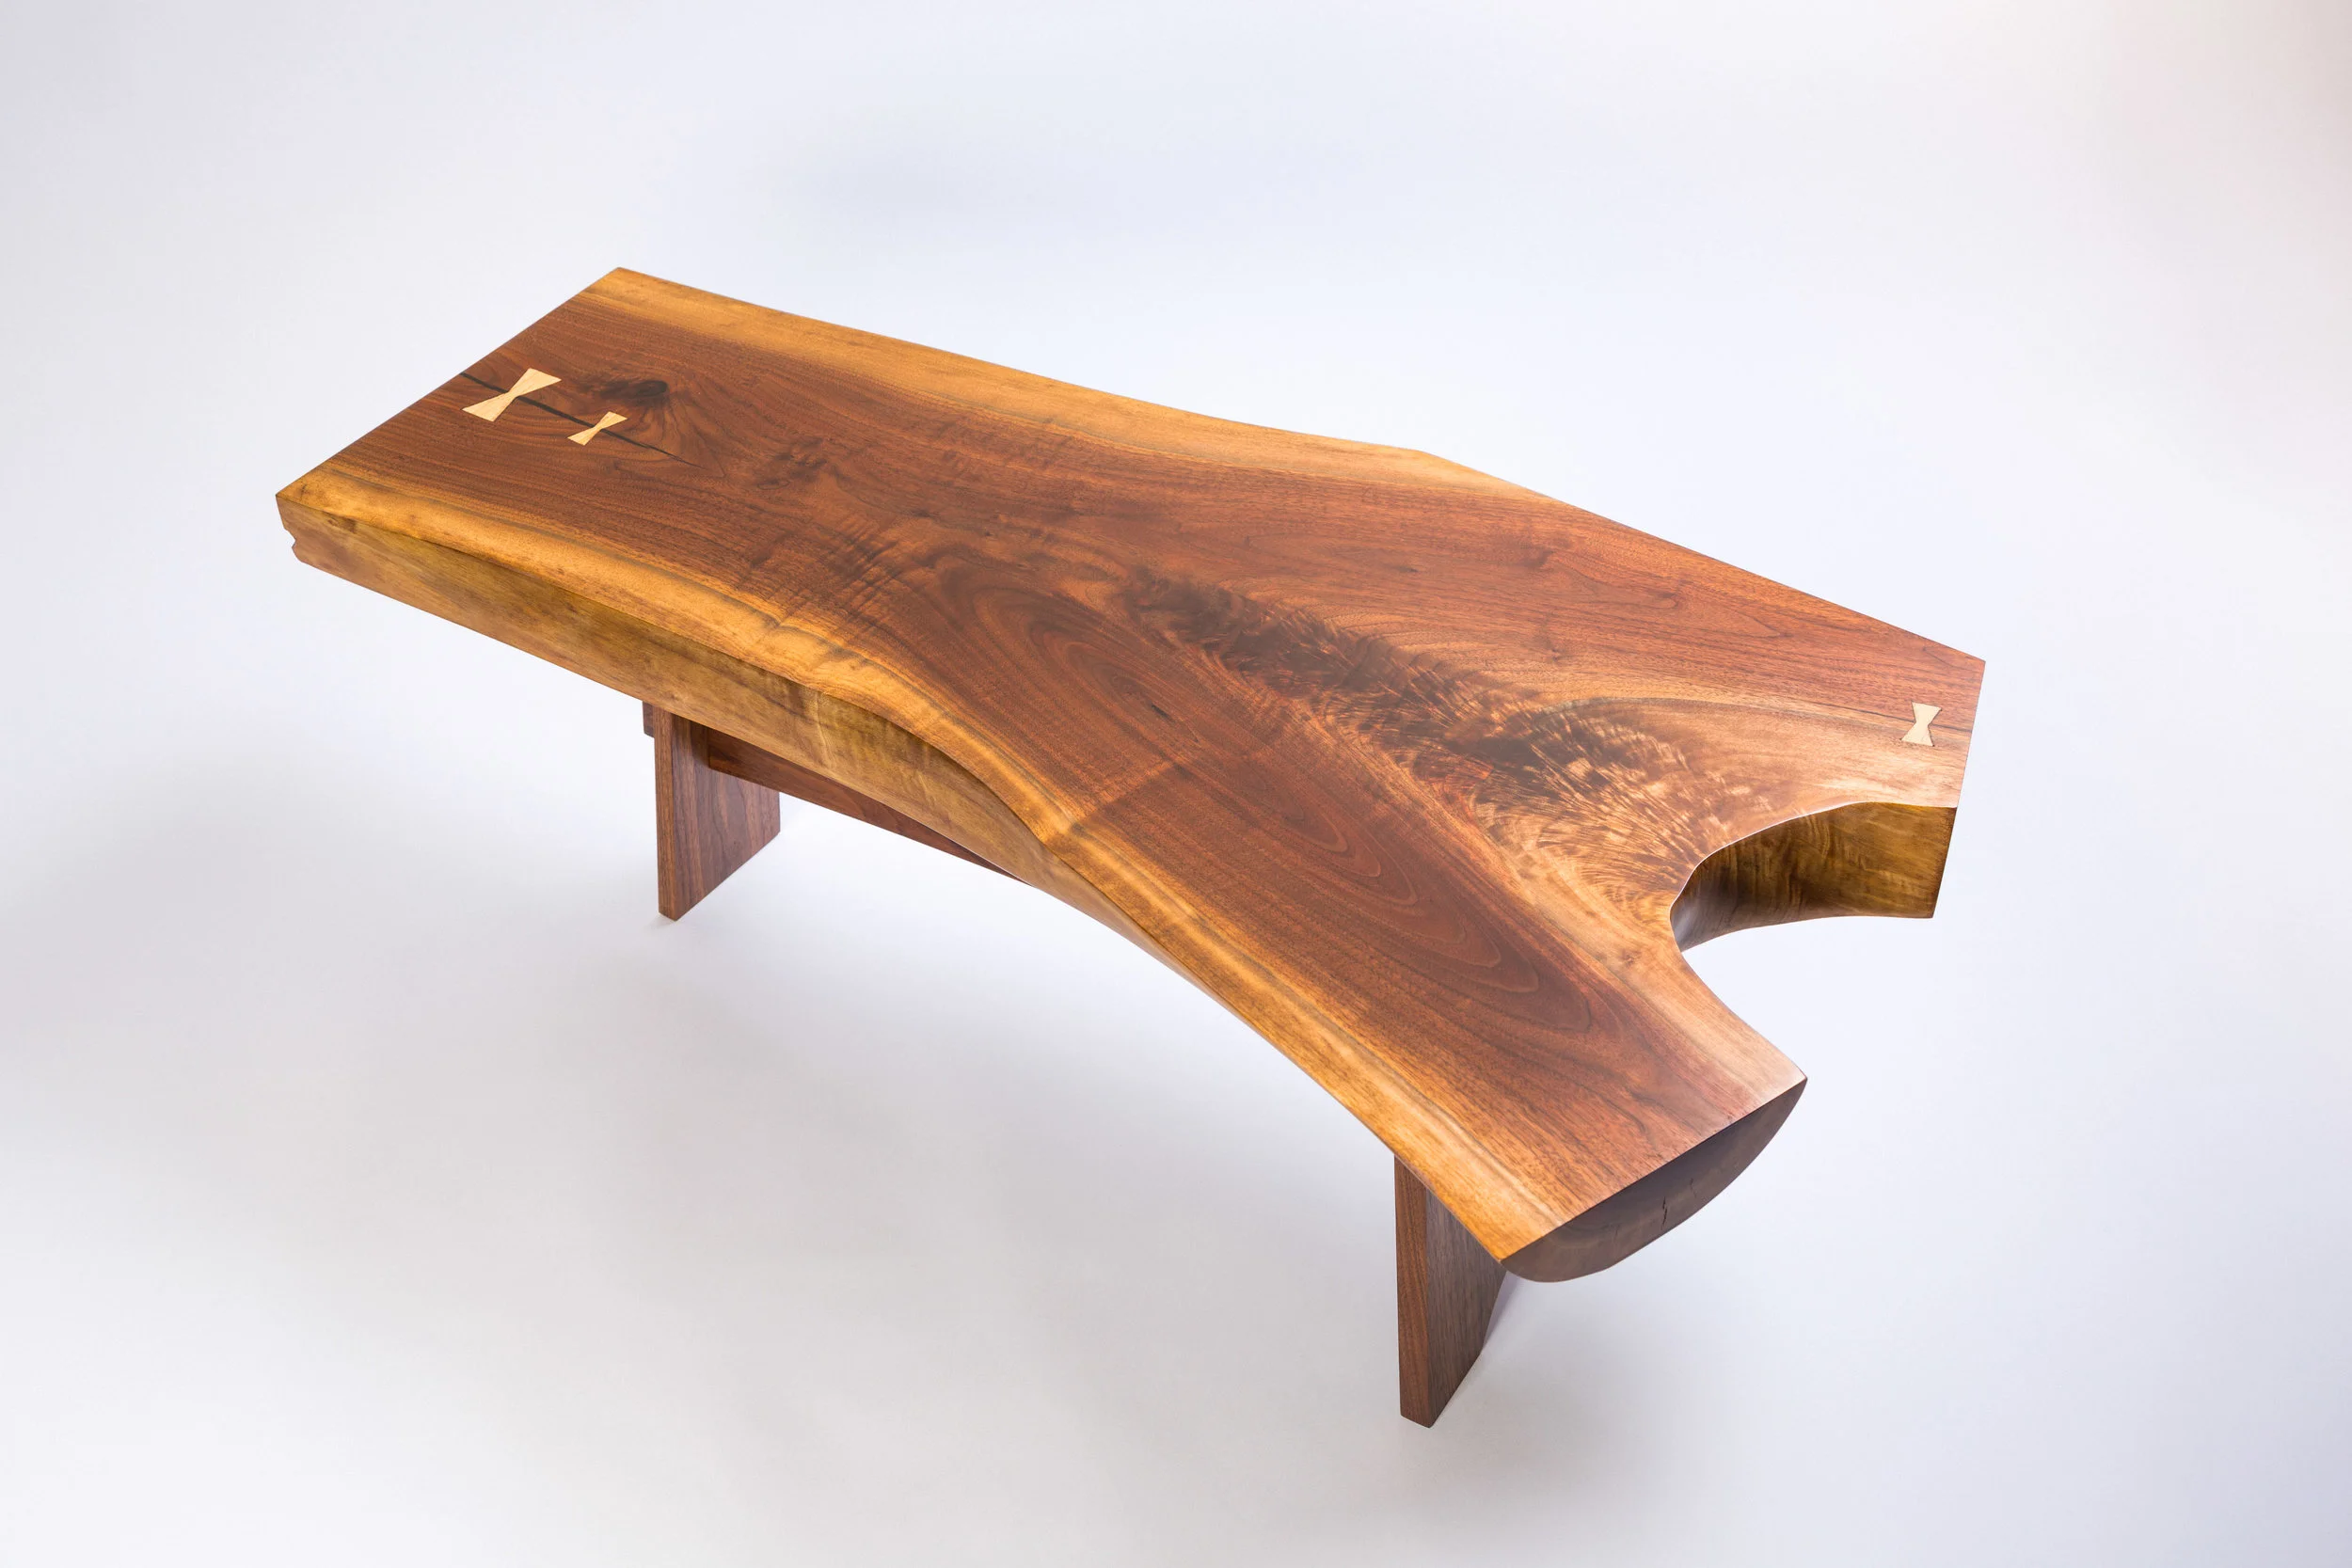
I ended up with a nice little walnut live edge slab. At first, I felt it was a little small, but soon realized it was just about perfect. It was only after looking at the slab that the design began to reveal itself. The slab I got was a crotch, so it had a stubby "Y" shape to it.
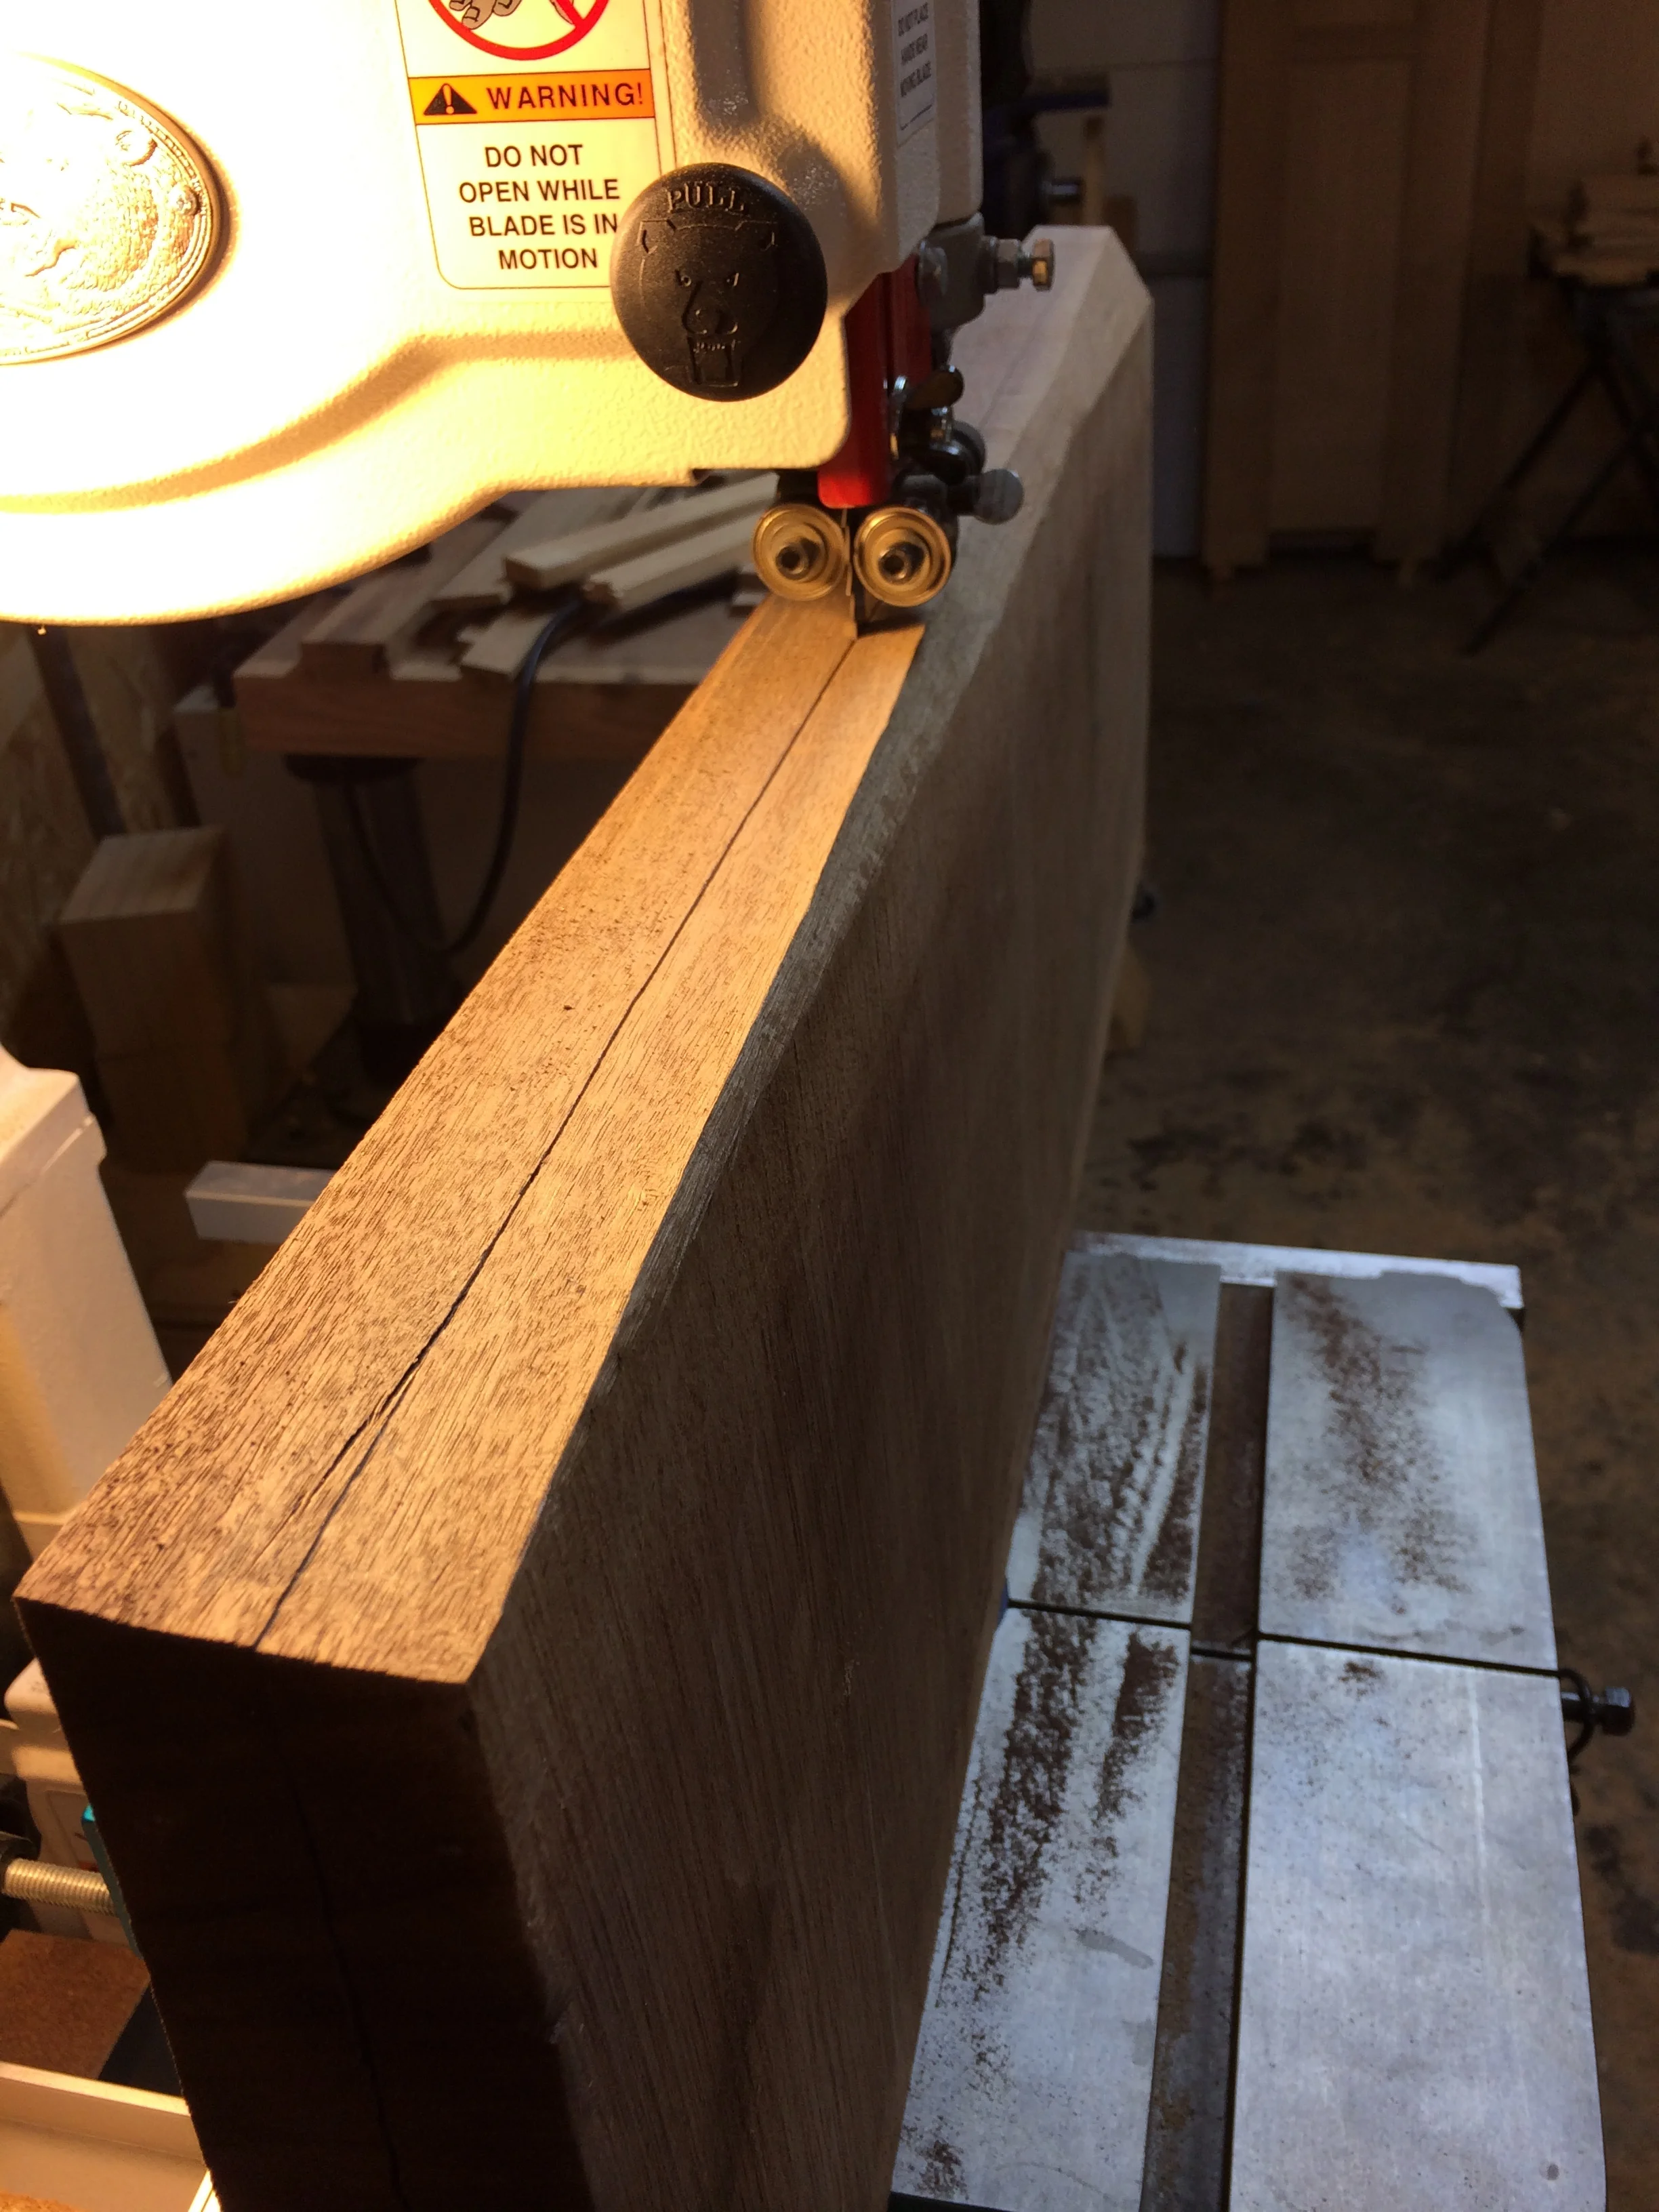
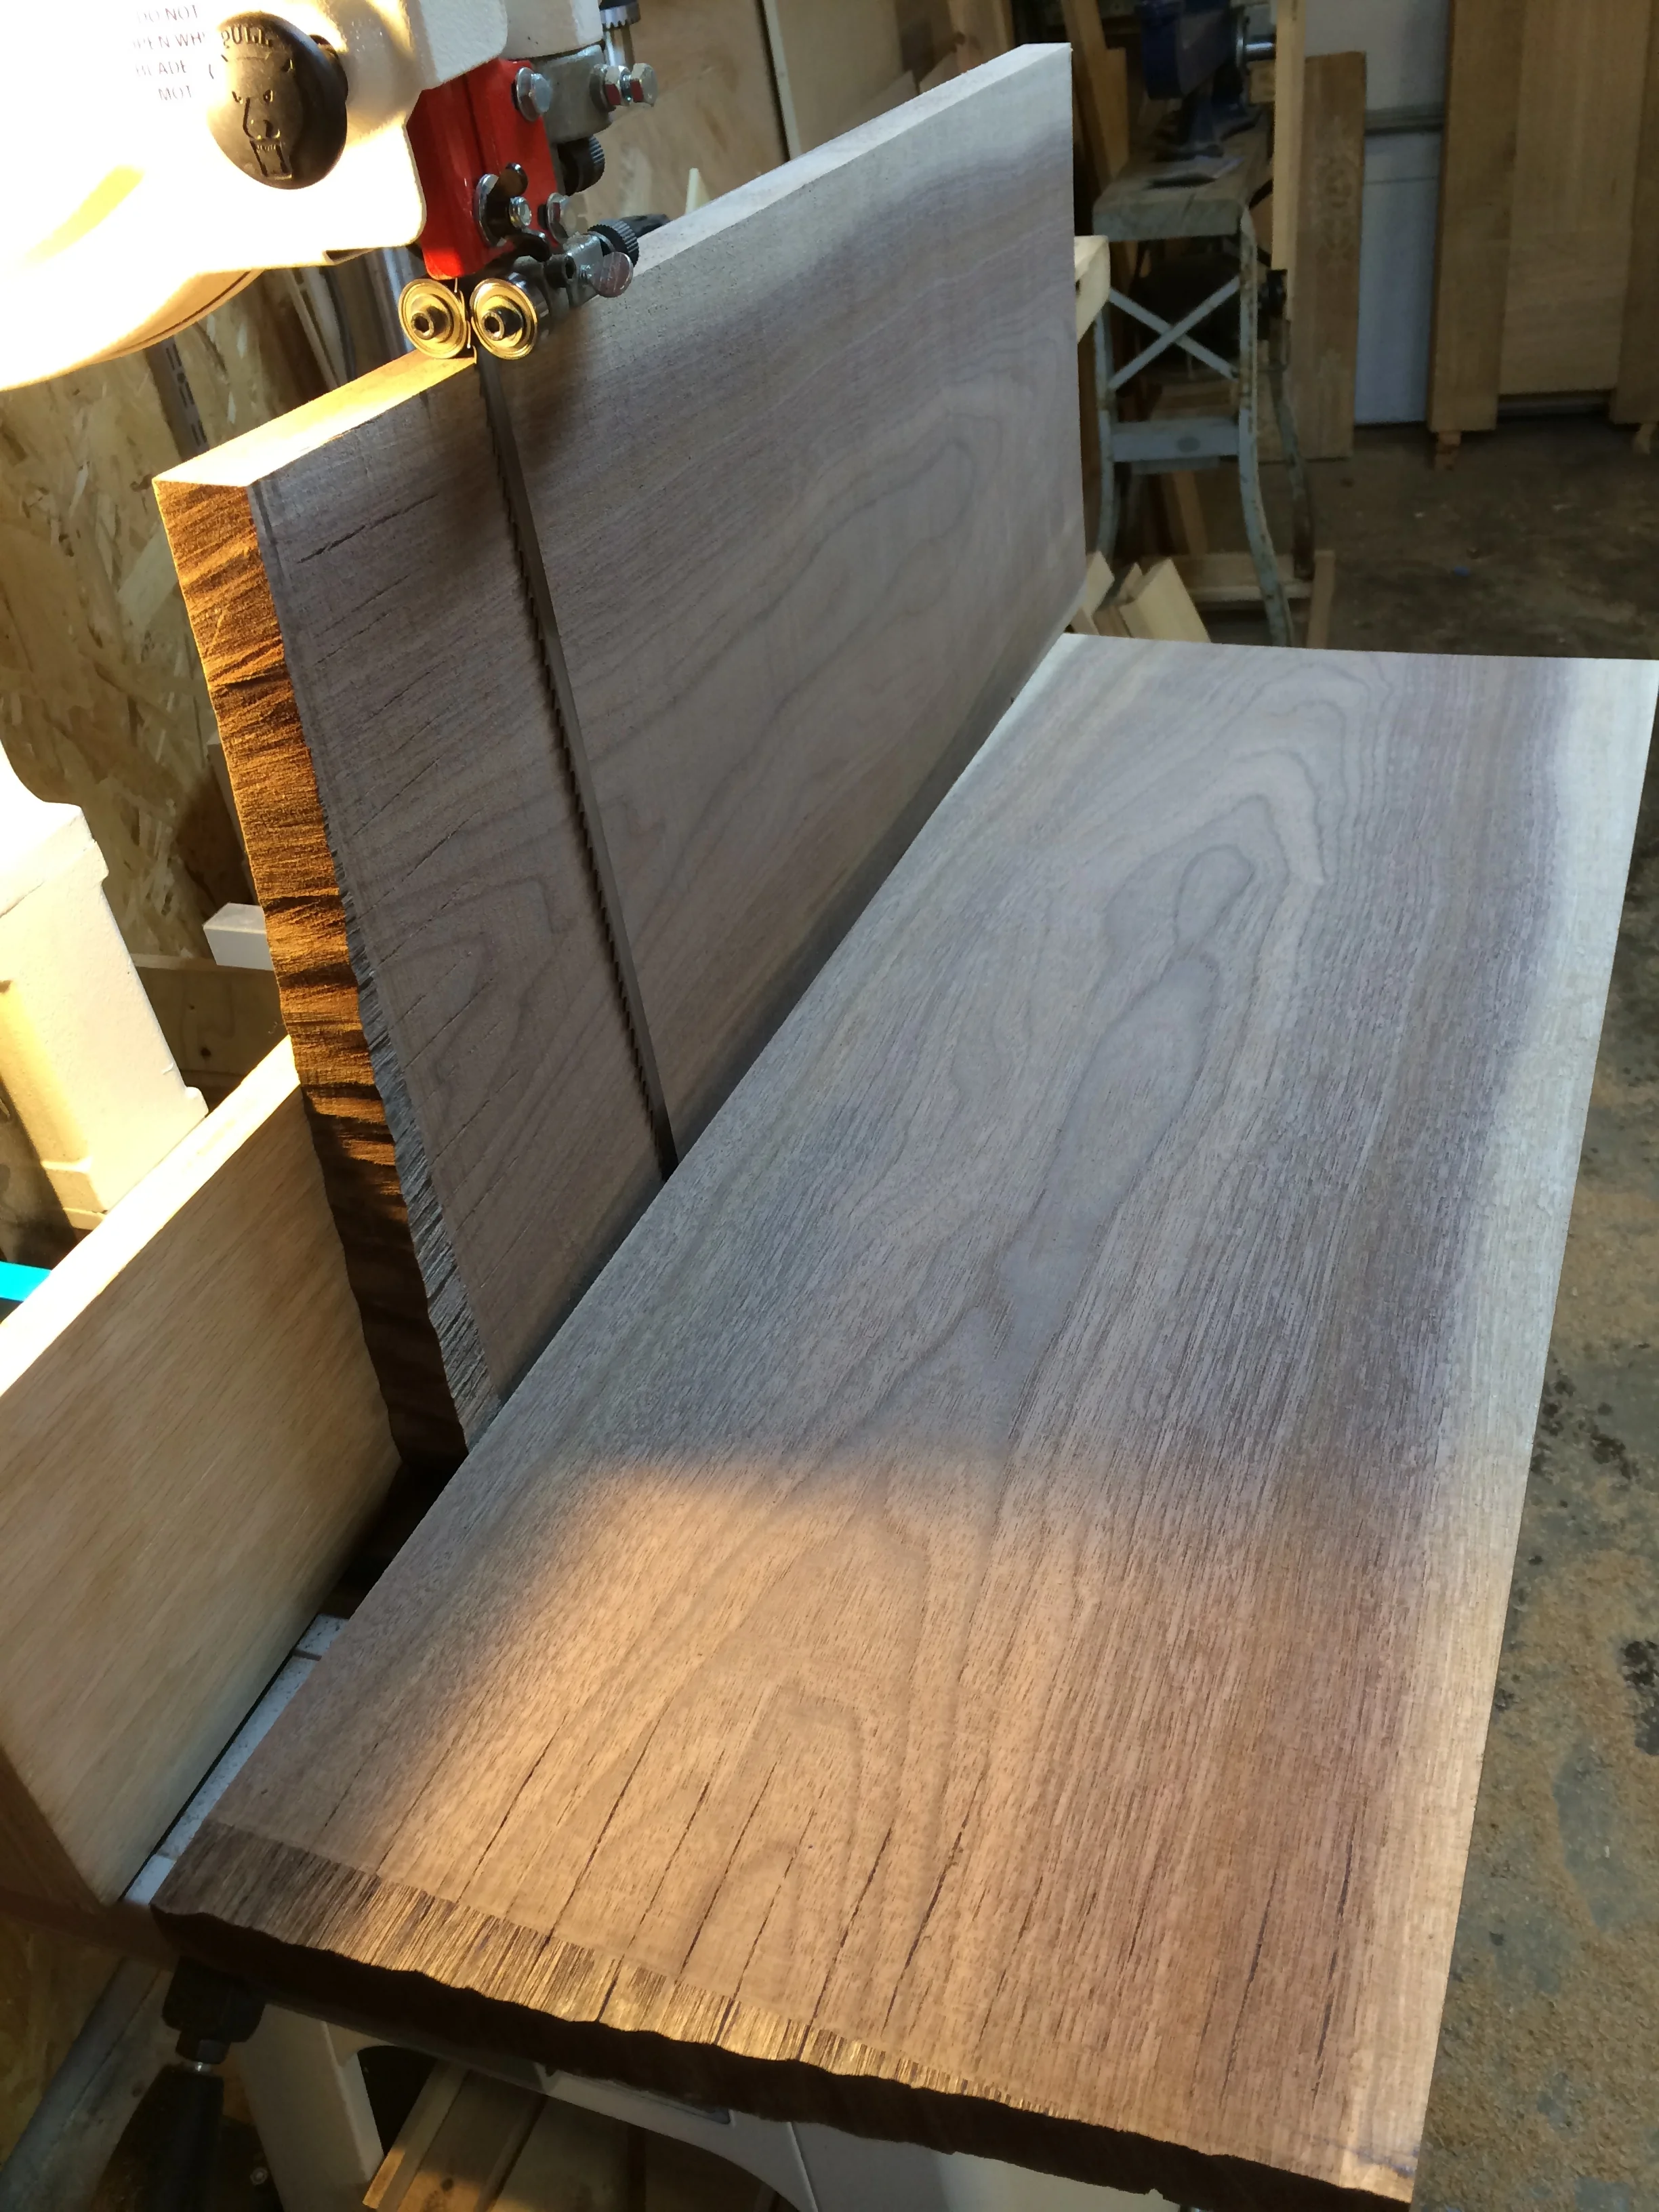
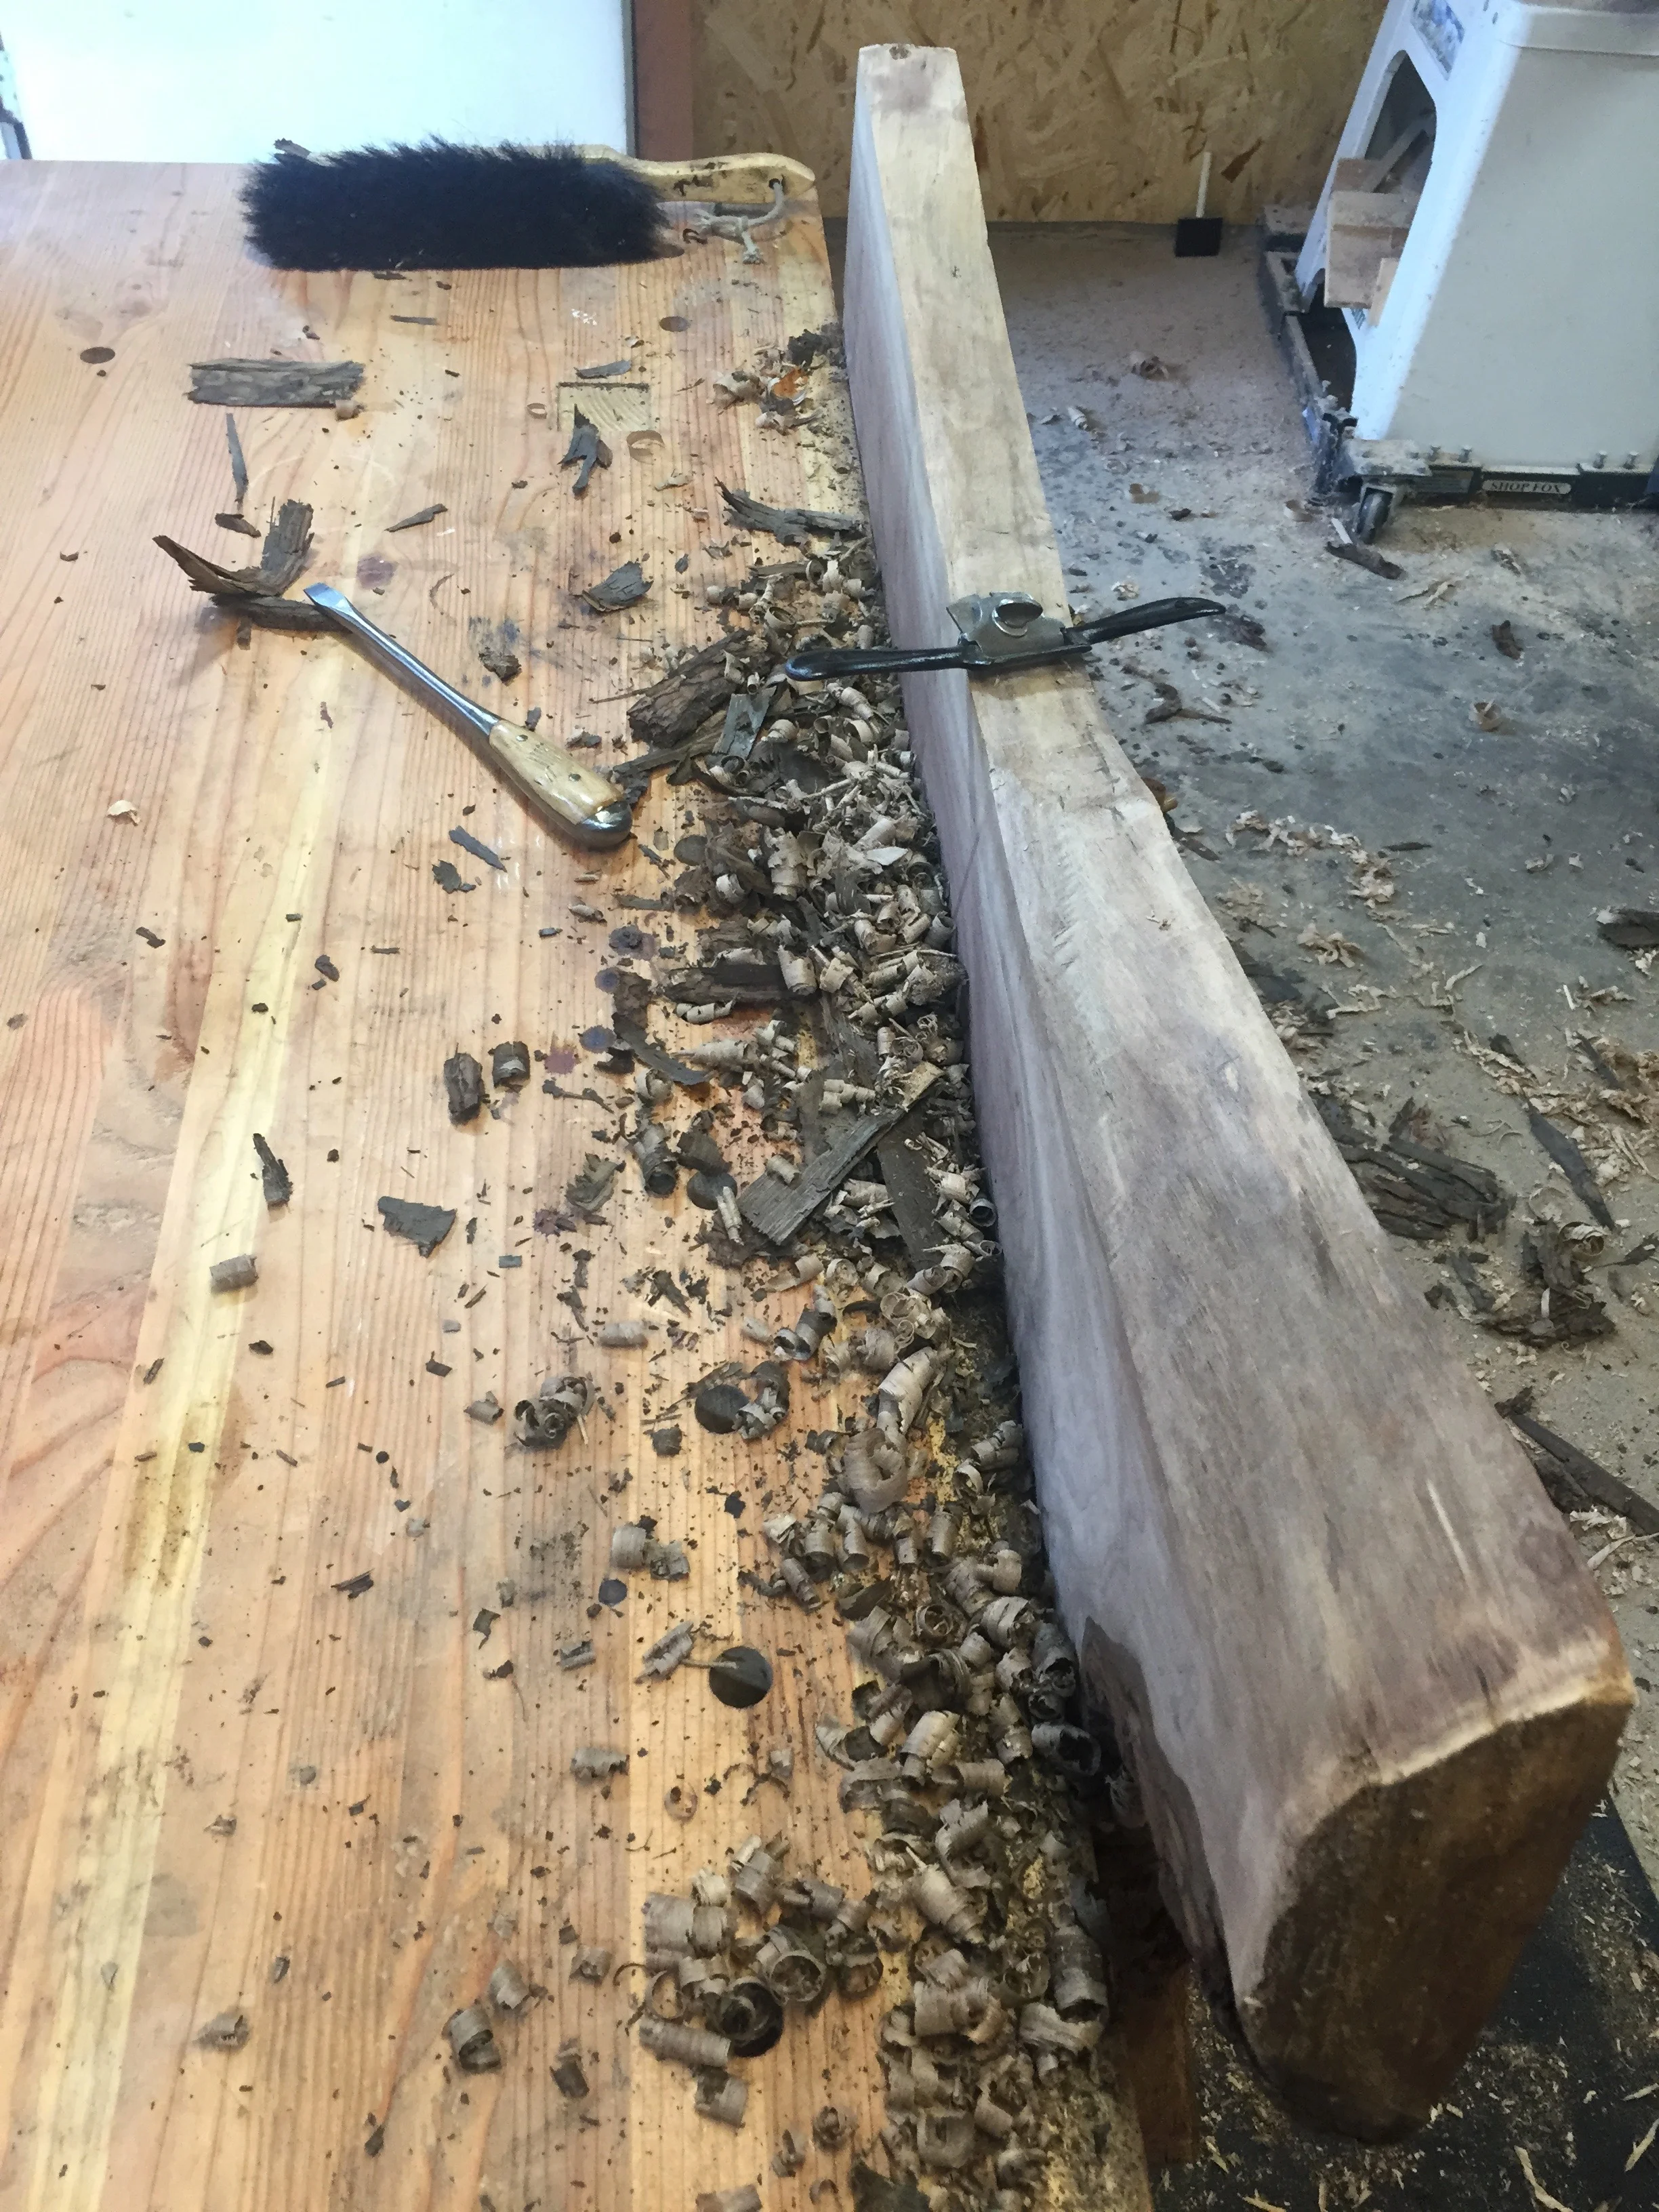
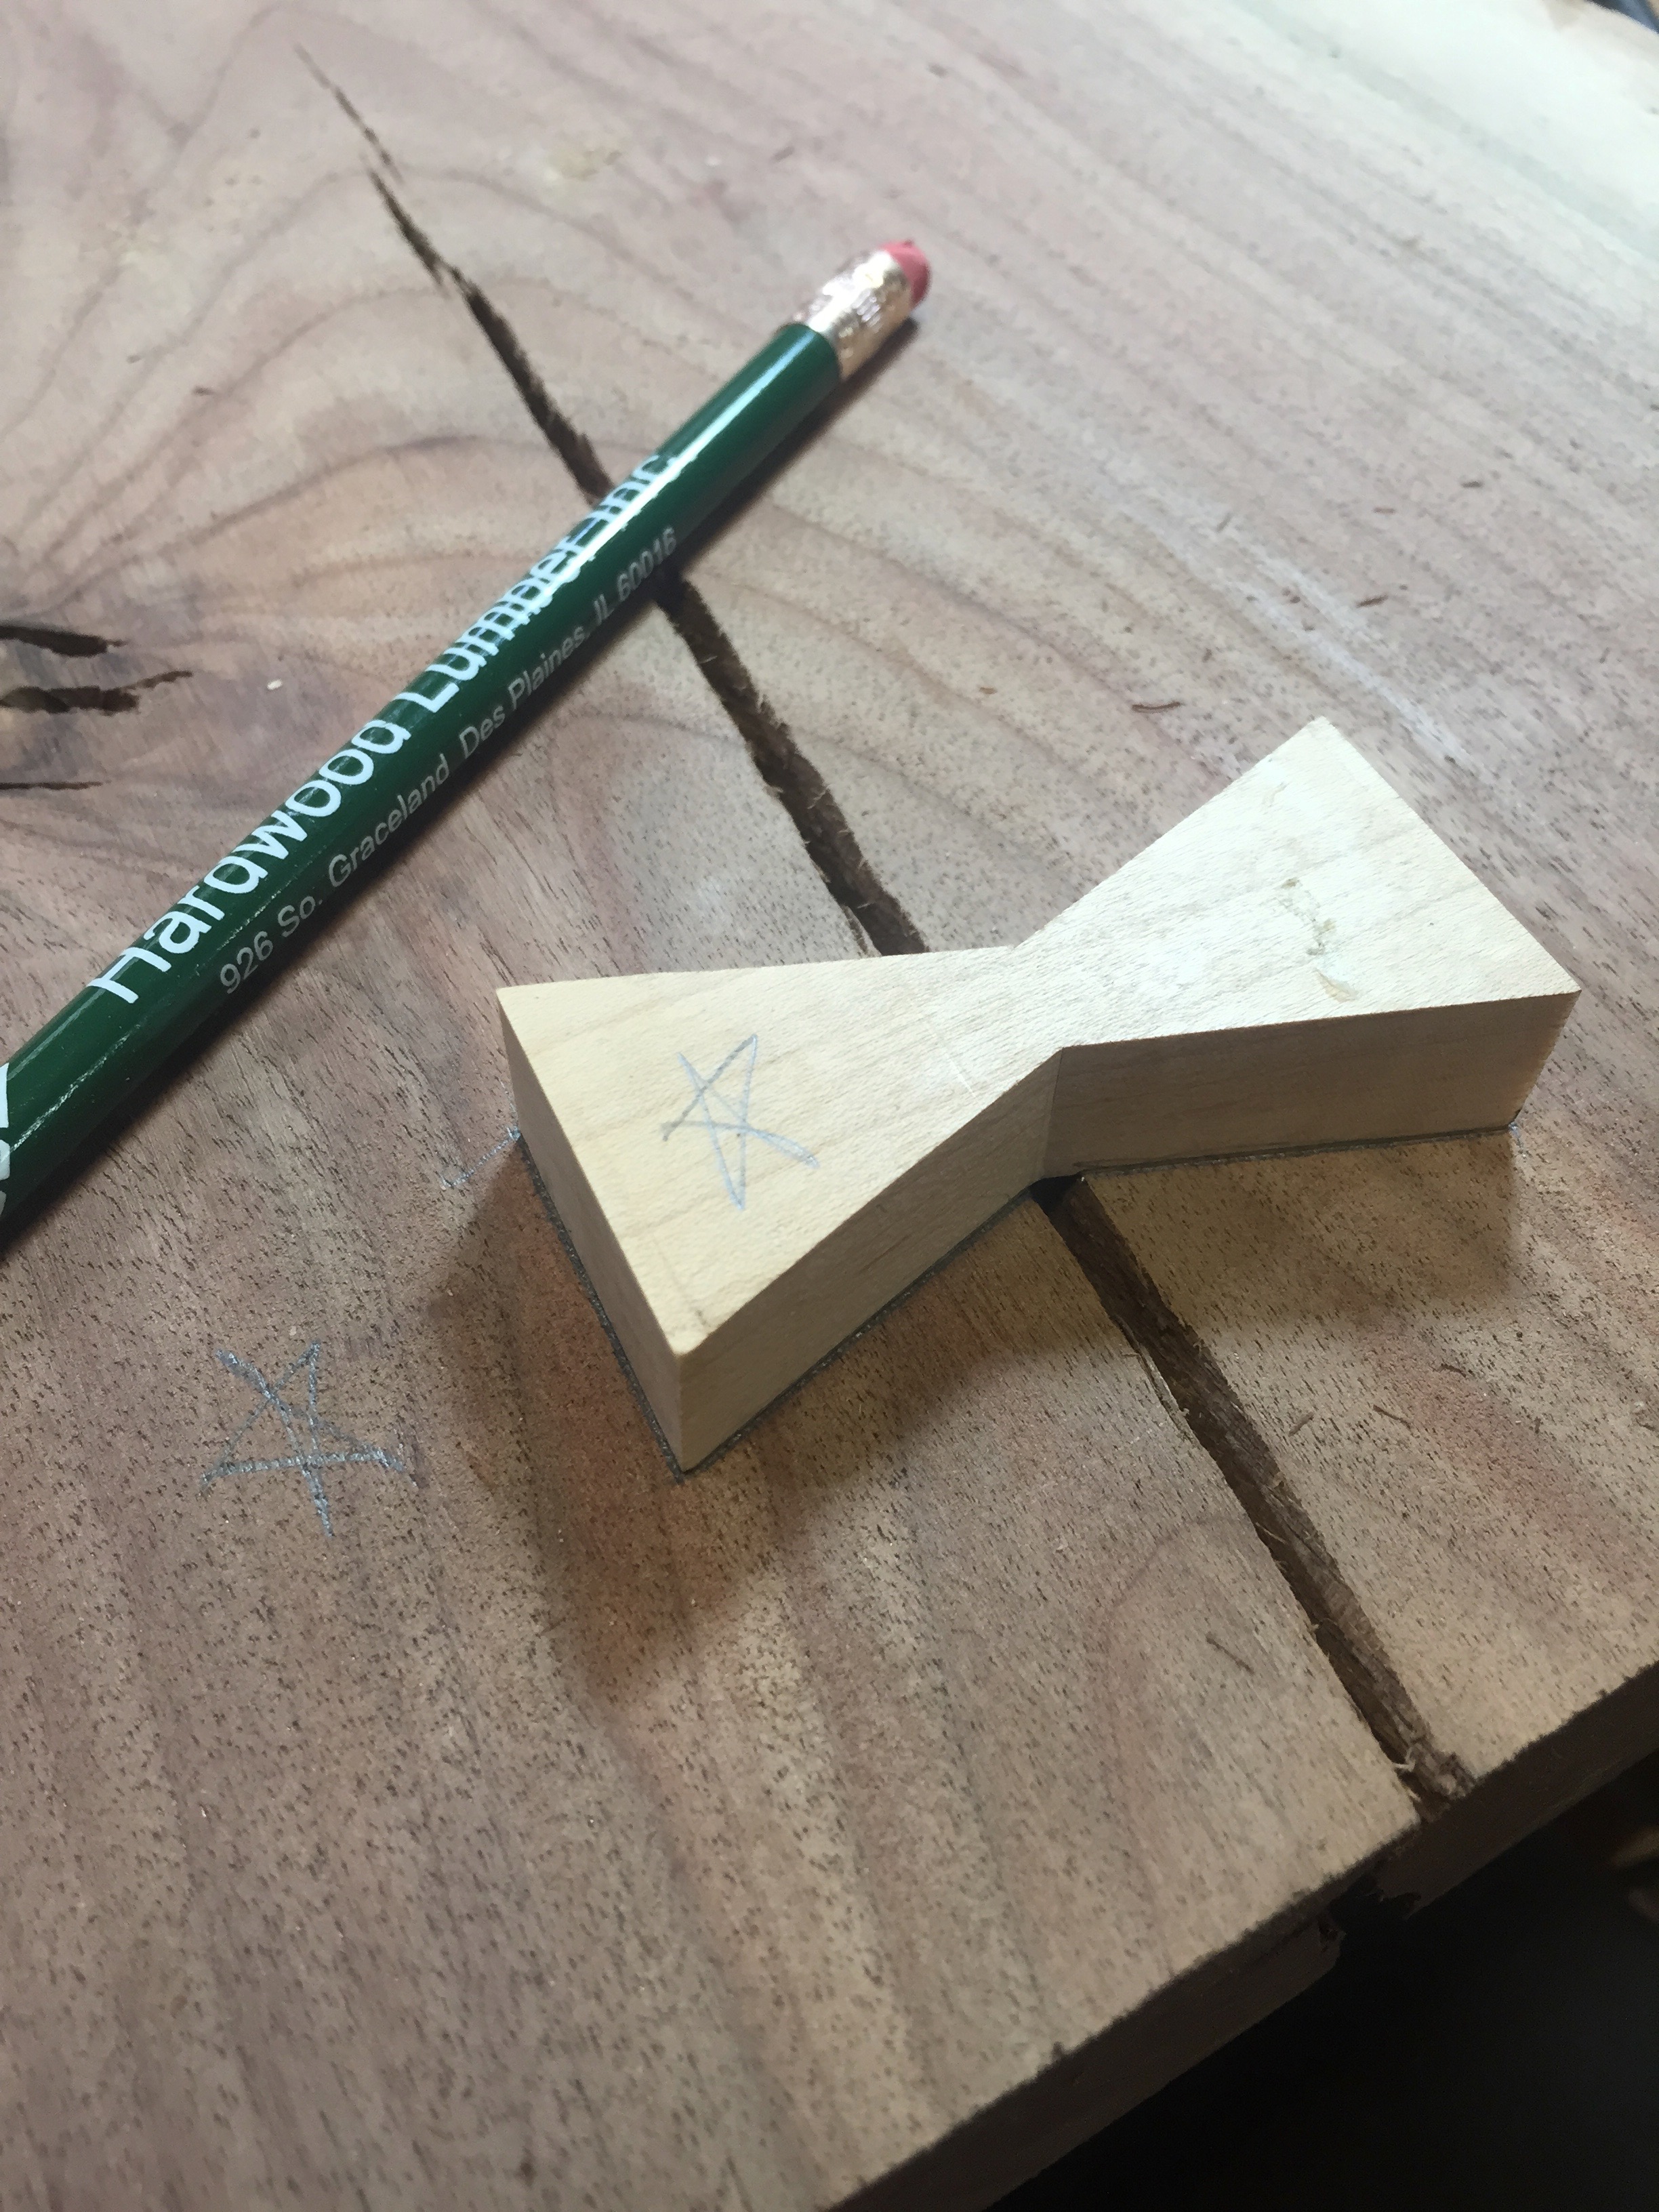
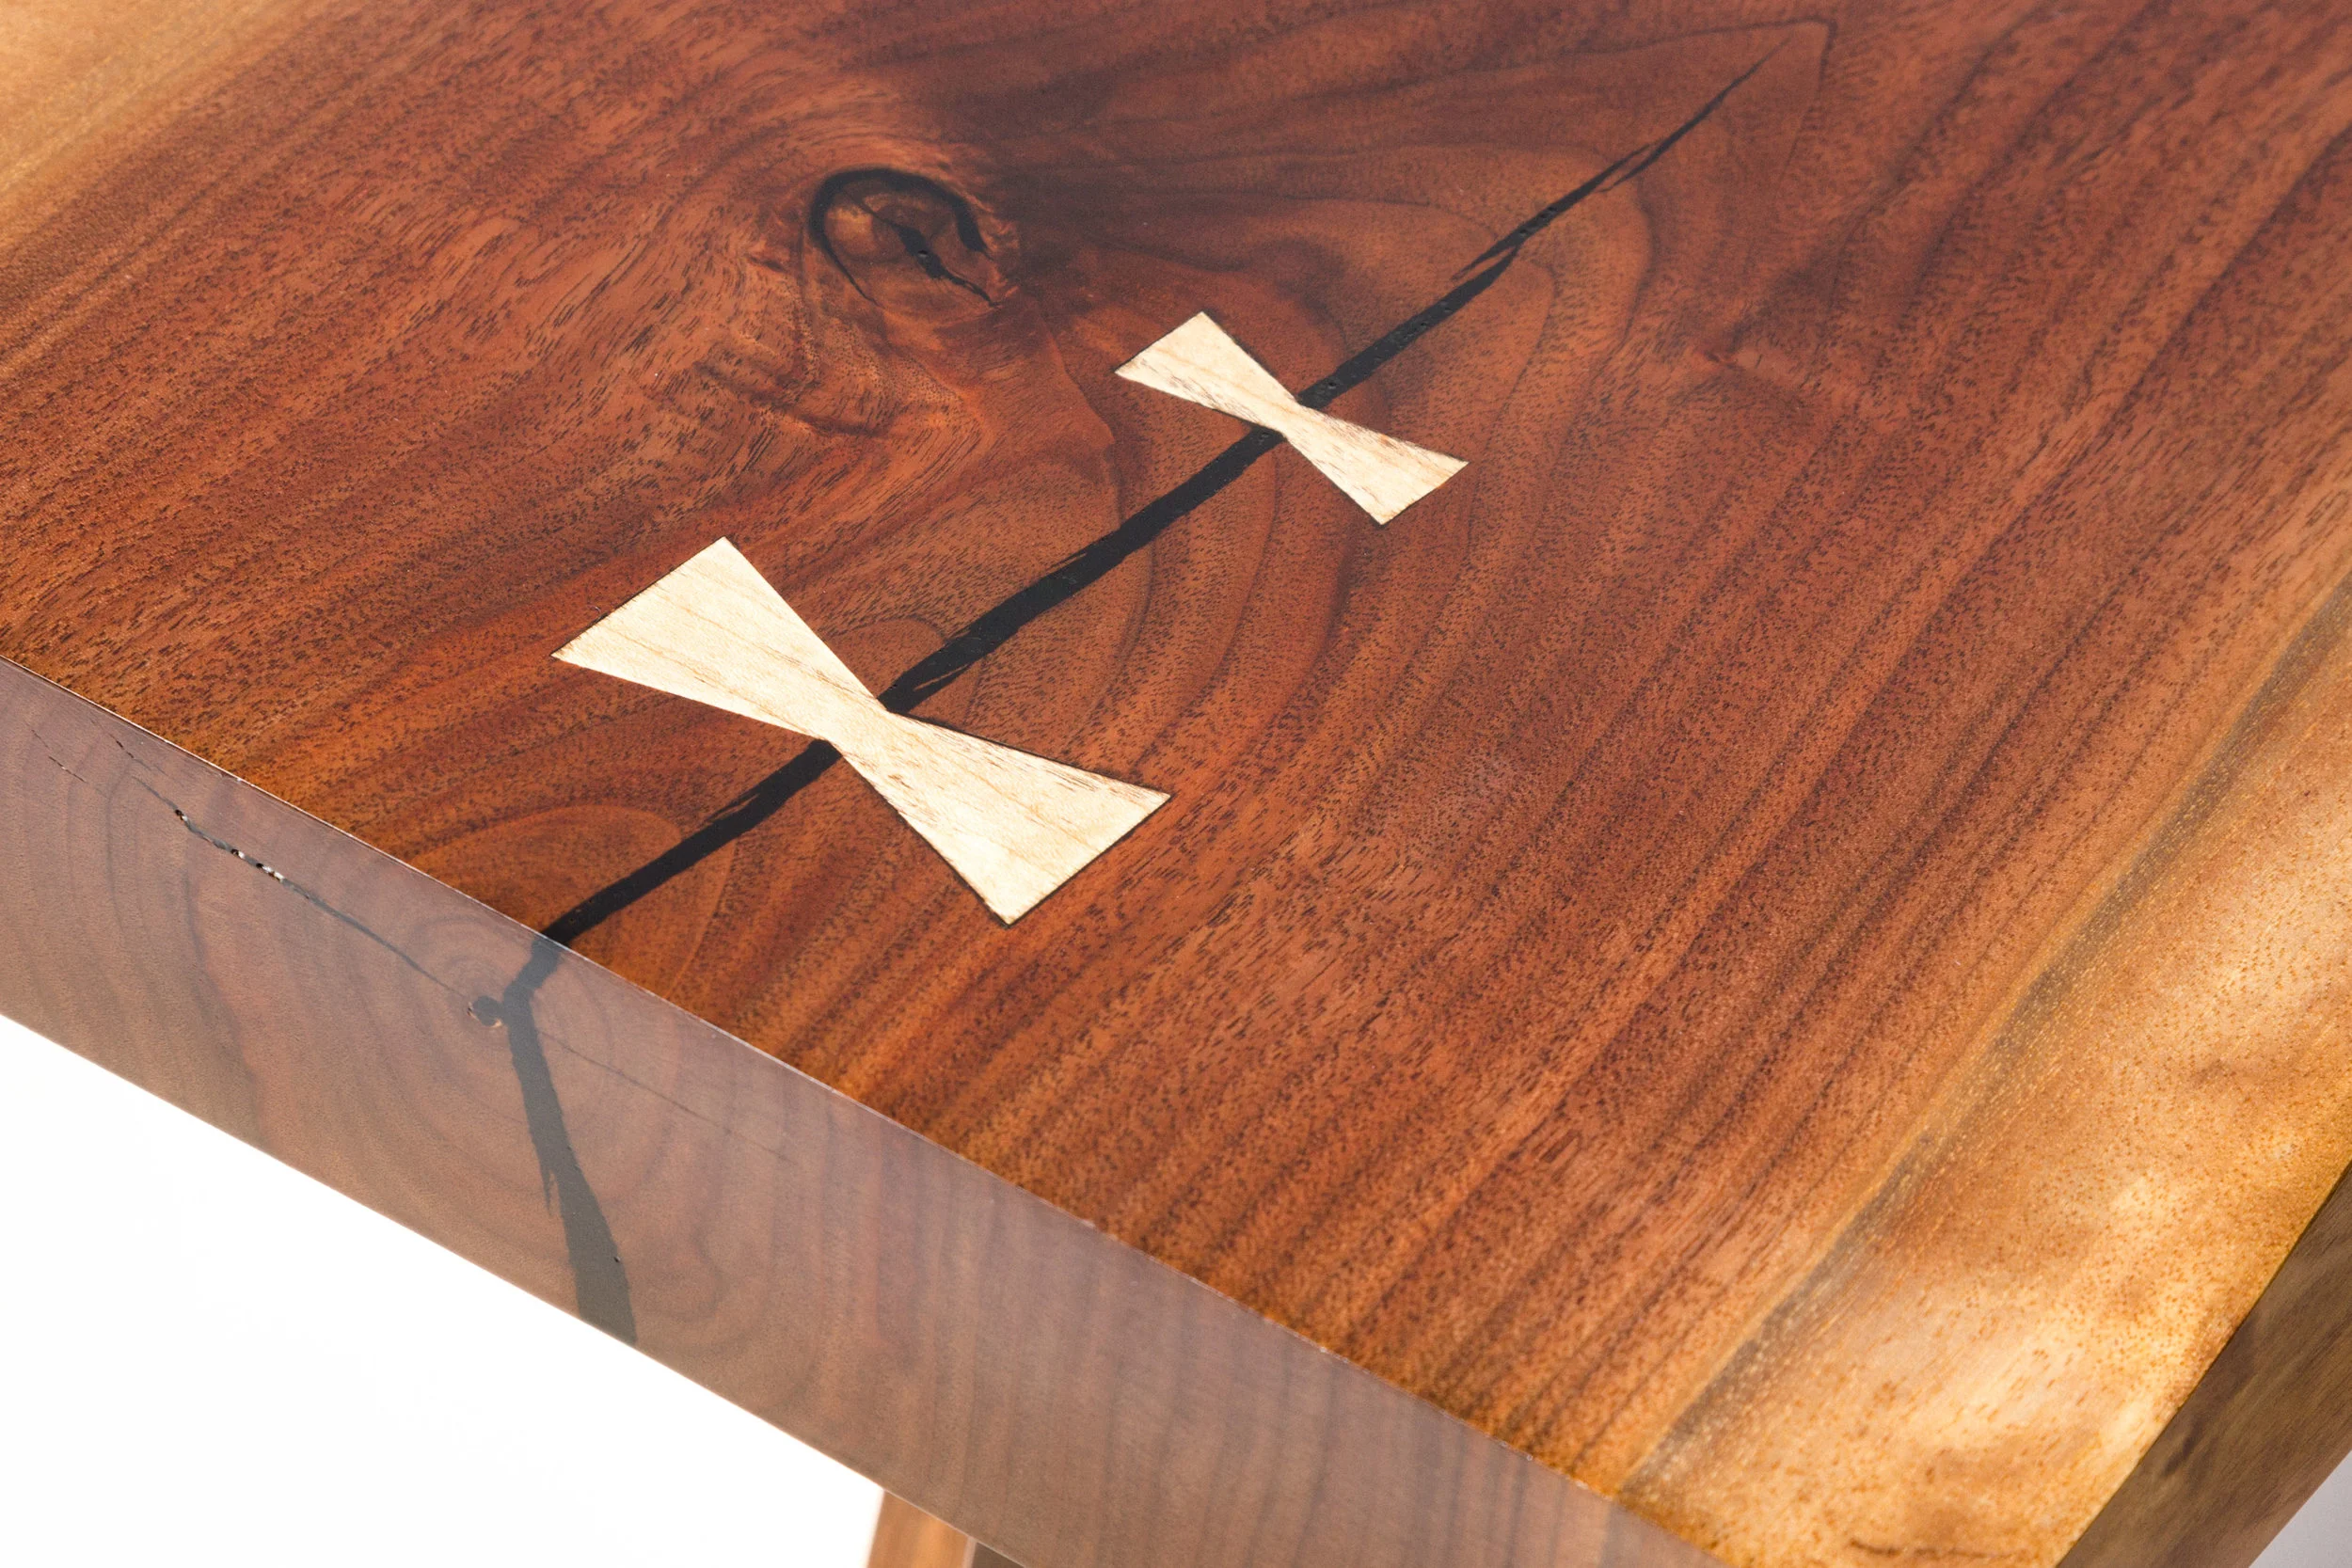
There were a few checks (cracks) as is normal for these slabs, but it was largest on the underside, and wasn't going to be a problem. It was an opportunity to use butterfly keys/dutchmen/bow ties, and epoxy. One thing that was nice about this slab is that it needed almost no flattening, other than a few passes with a plane here and there.
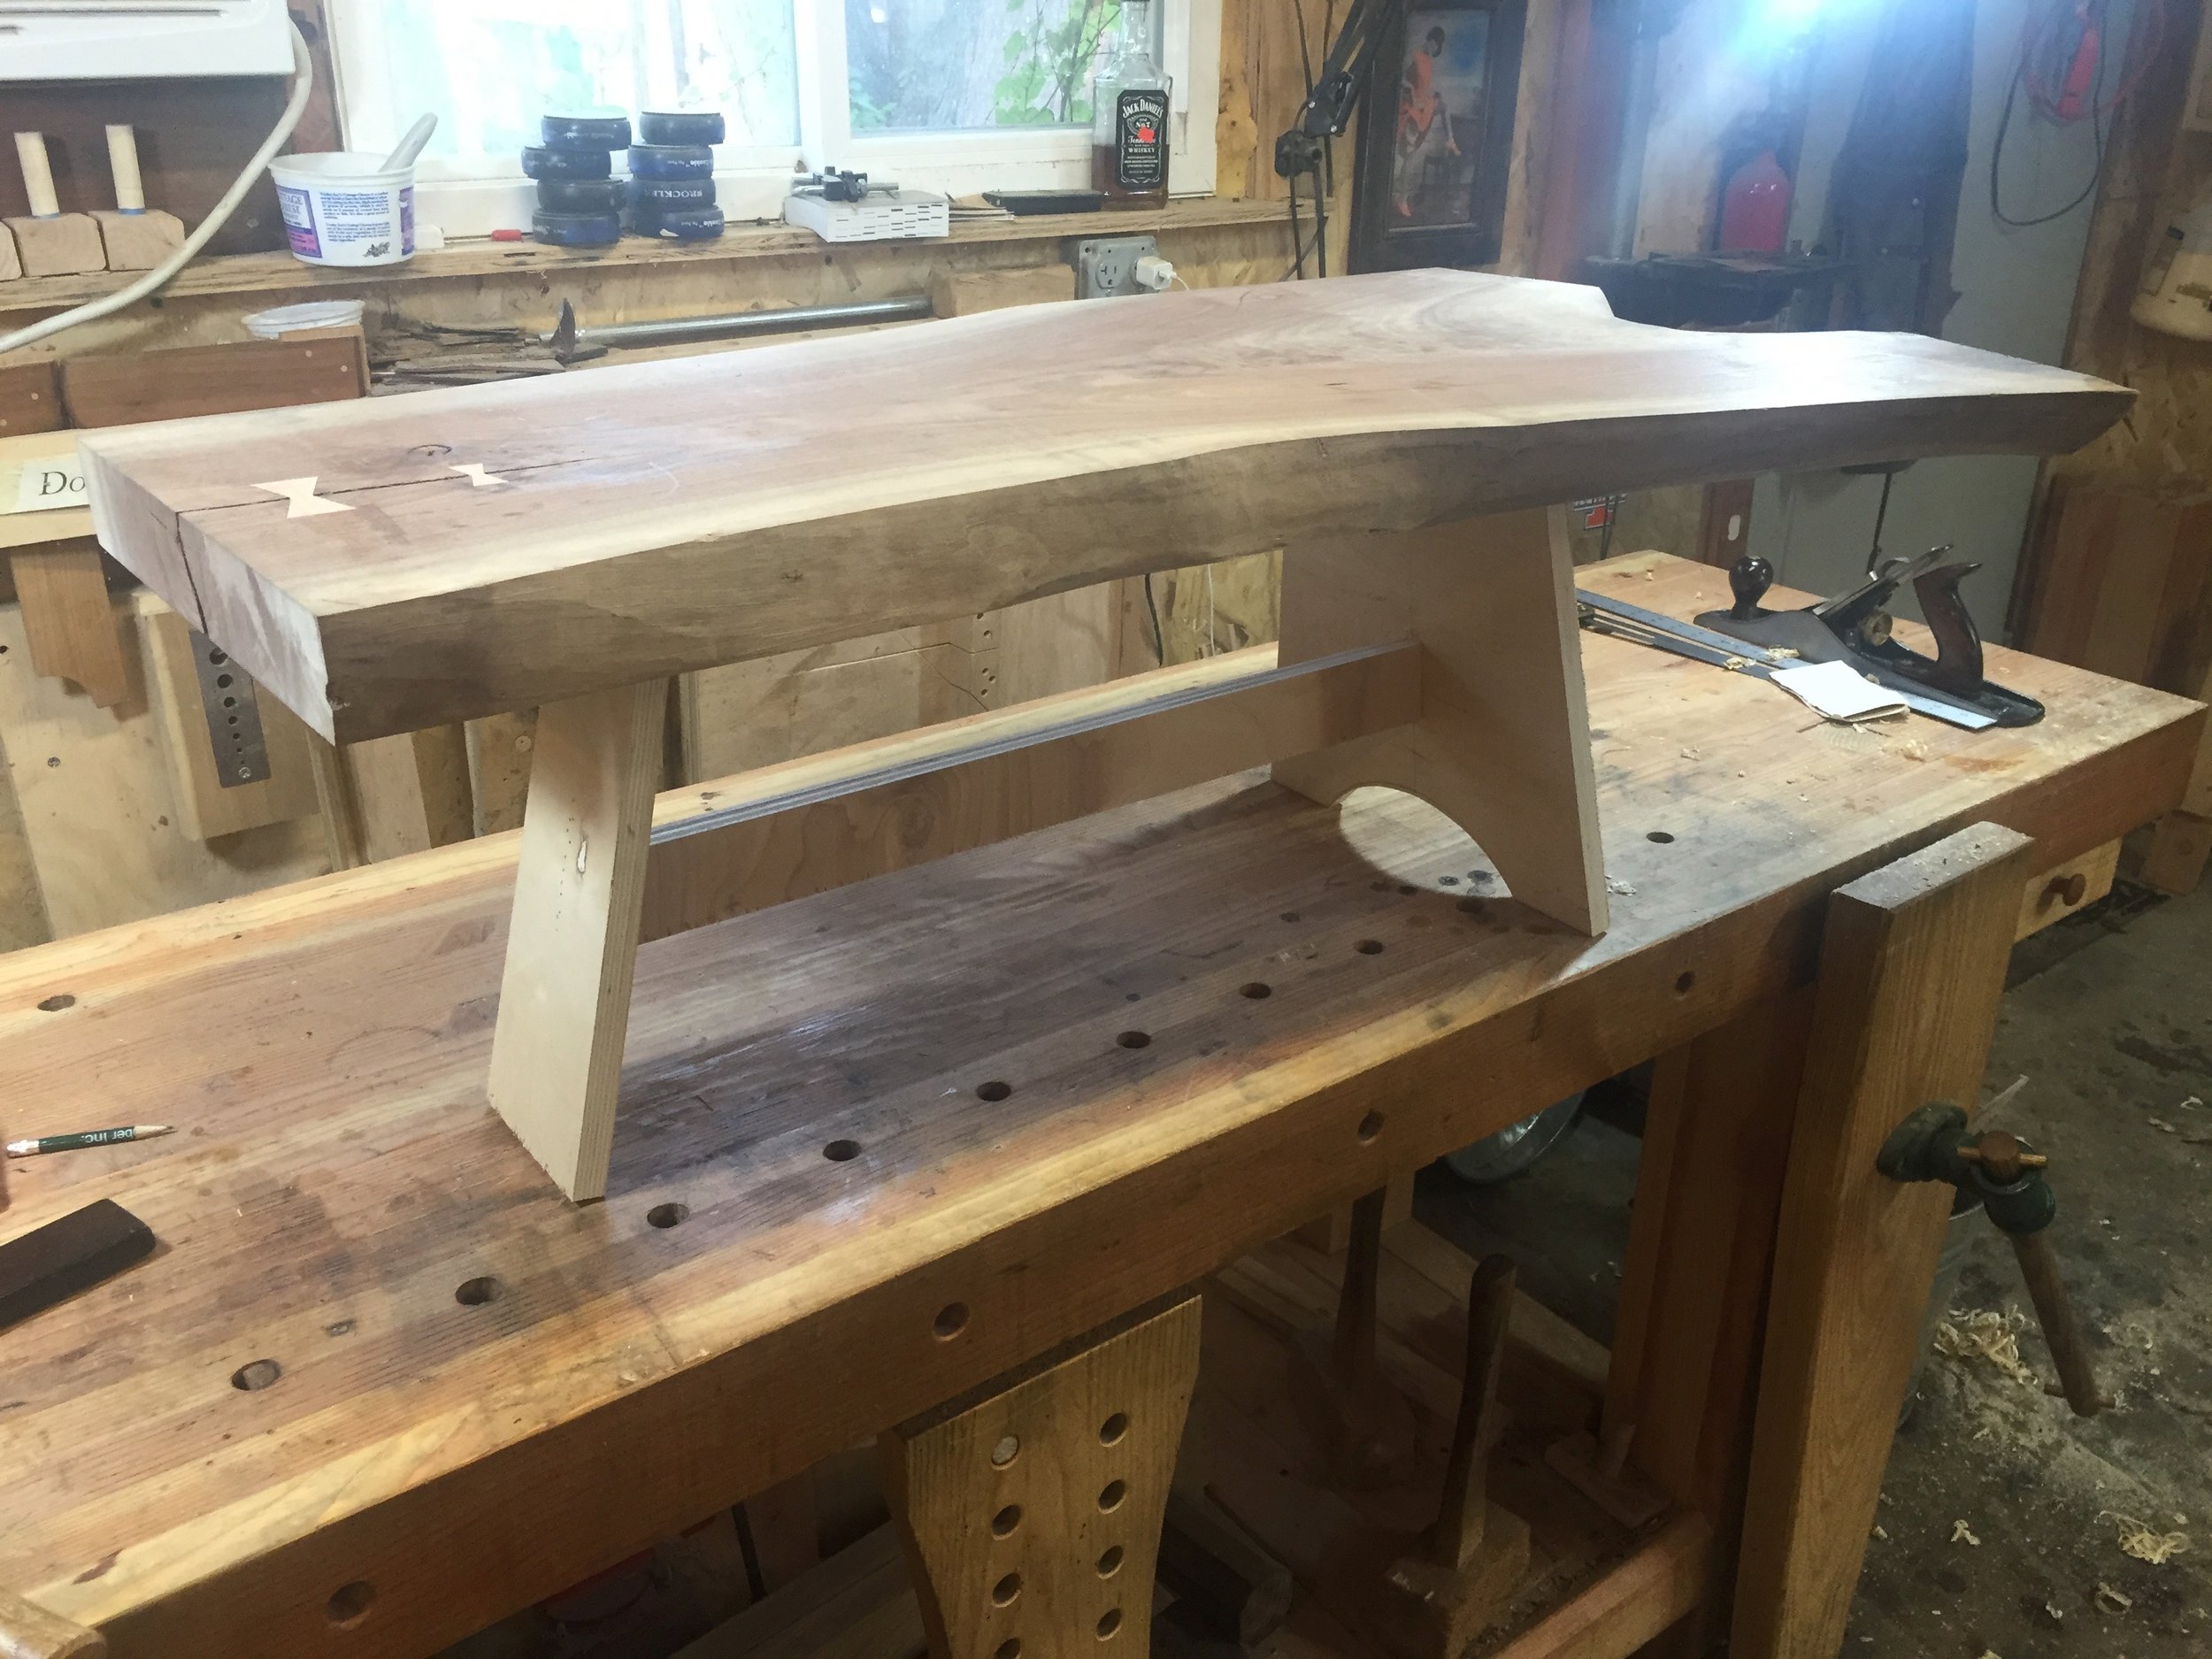
I went through the steps of removing the bark, and refining the shape. I had to remove a bit from one of the branches of the "Y" to get a more pleasing shape, and then I fit the maple butterfly keys to control the checking.
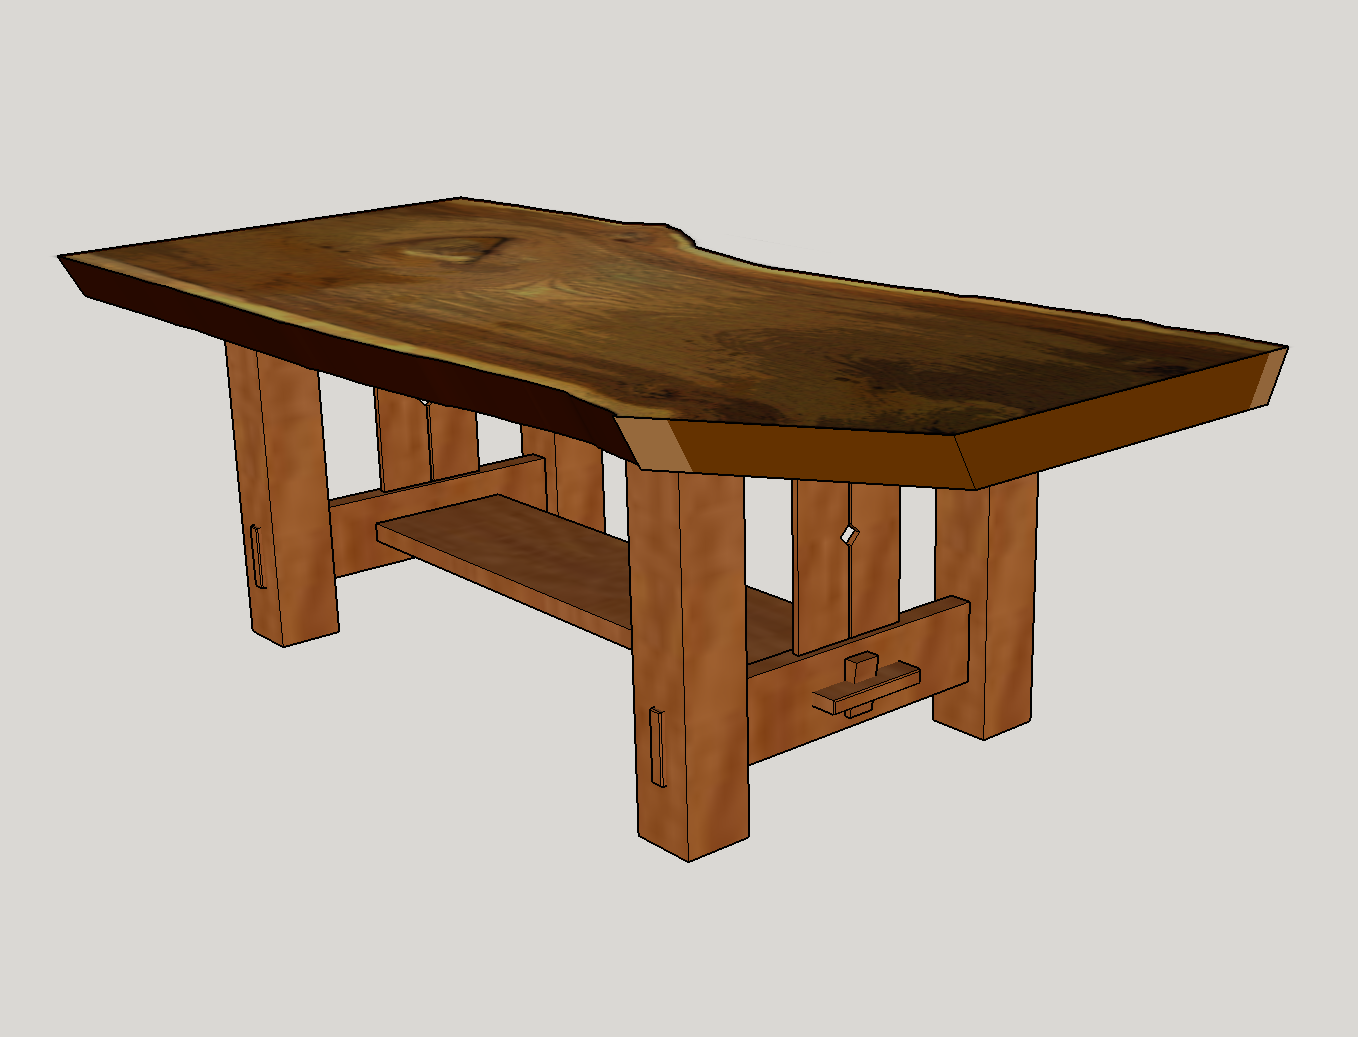
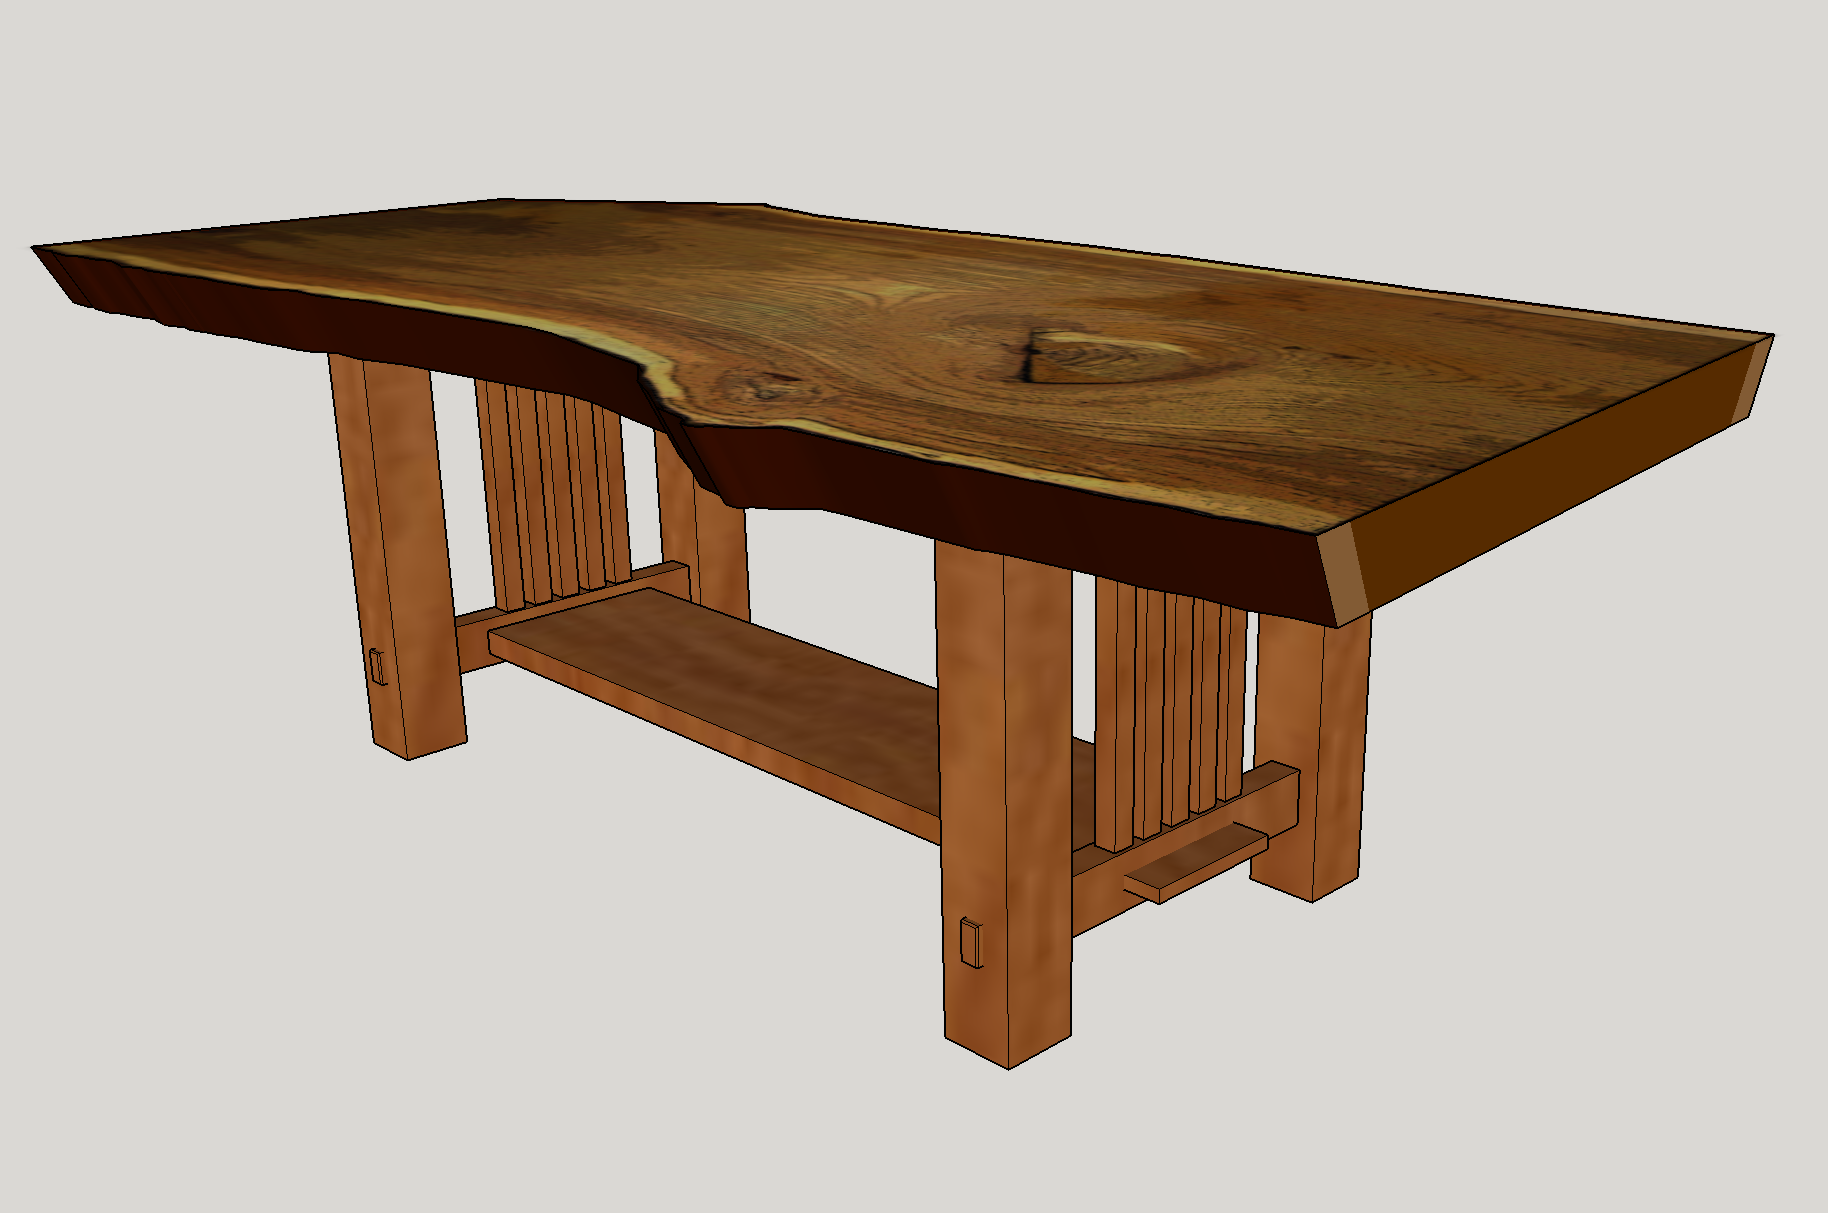
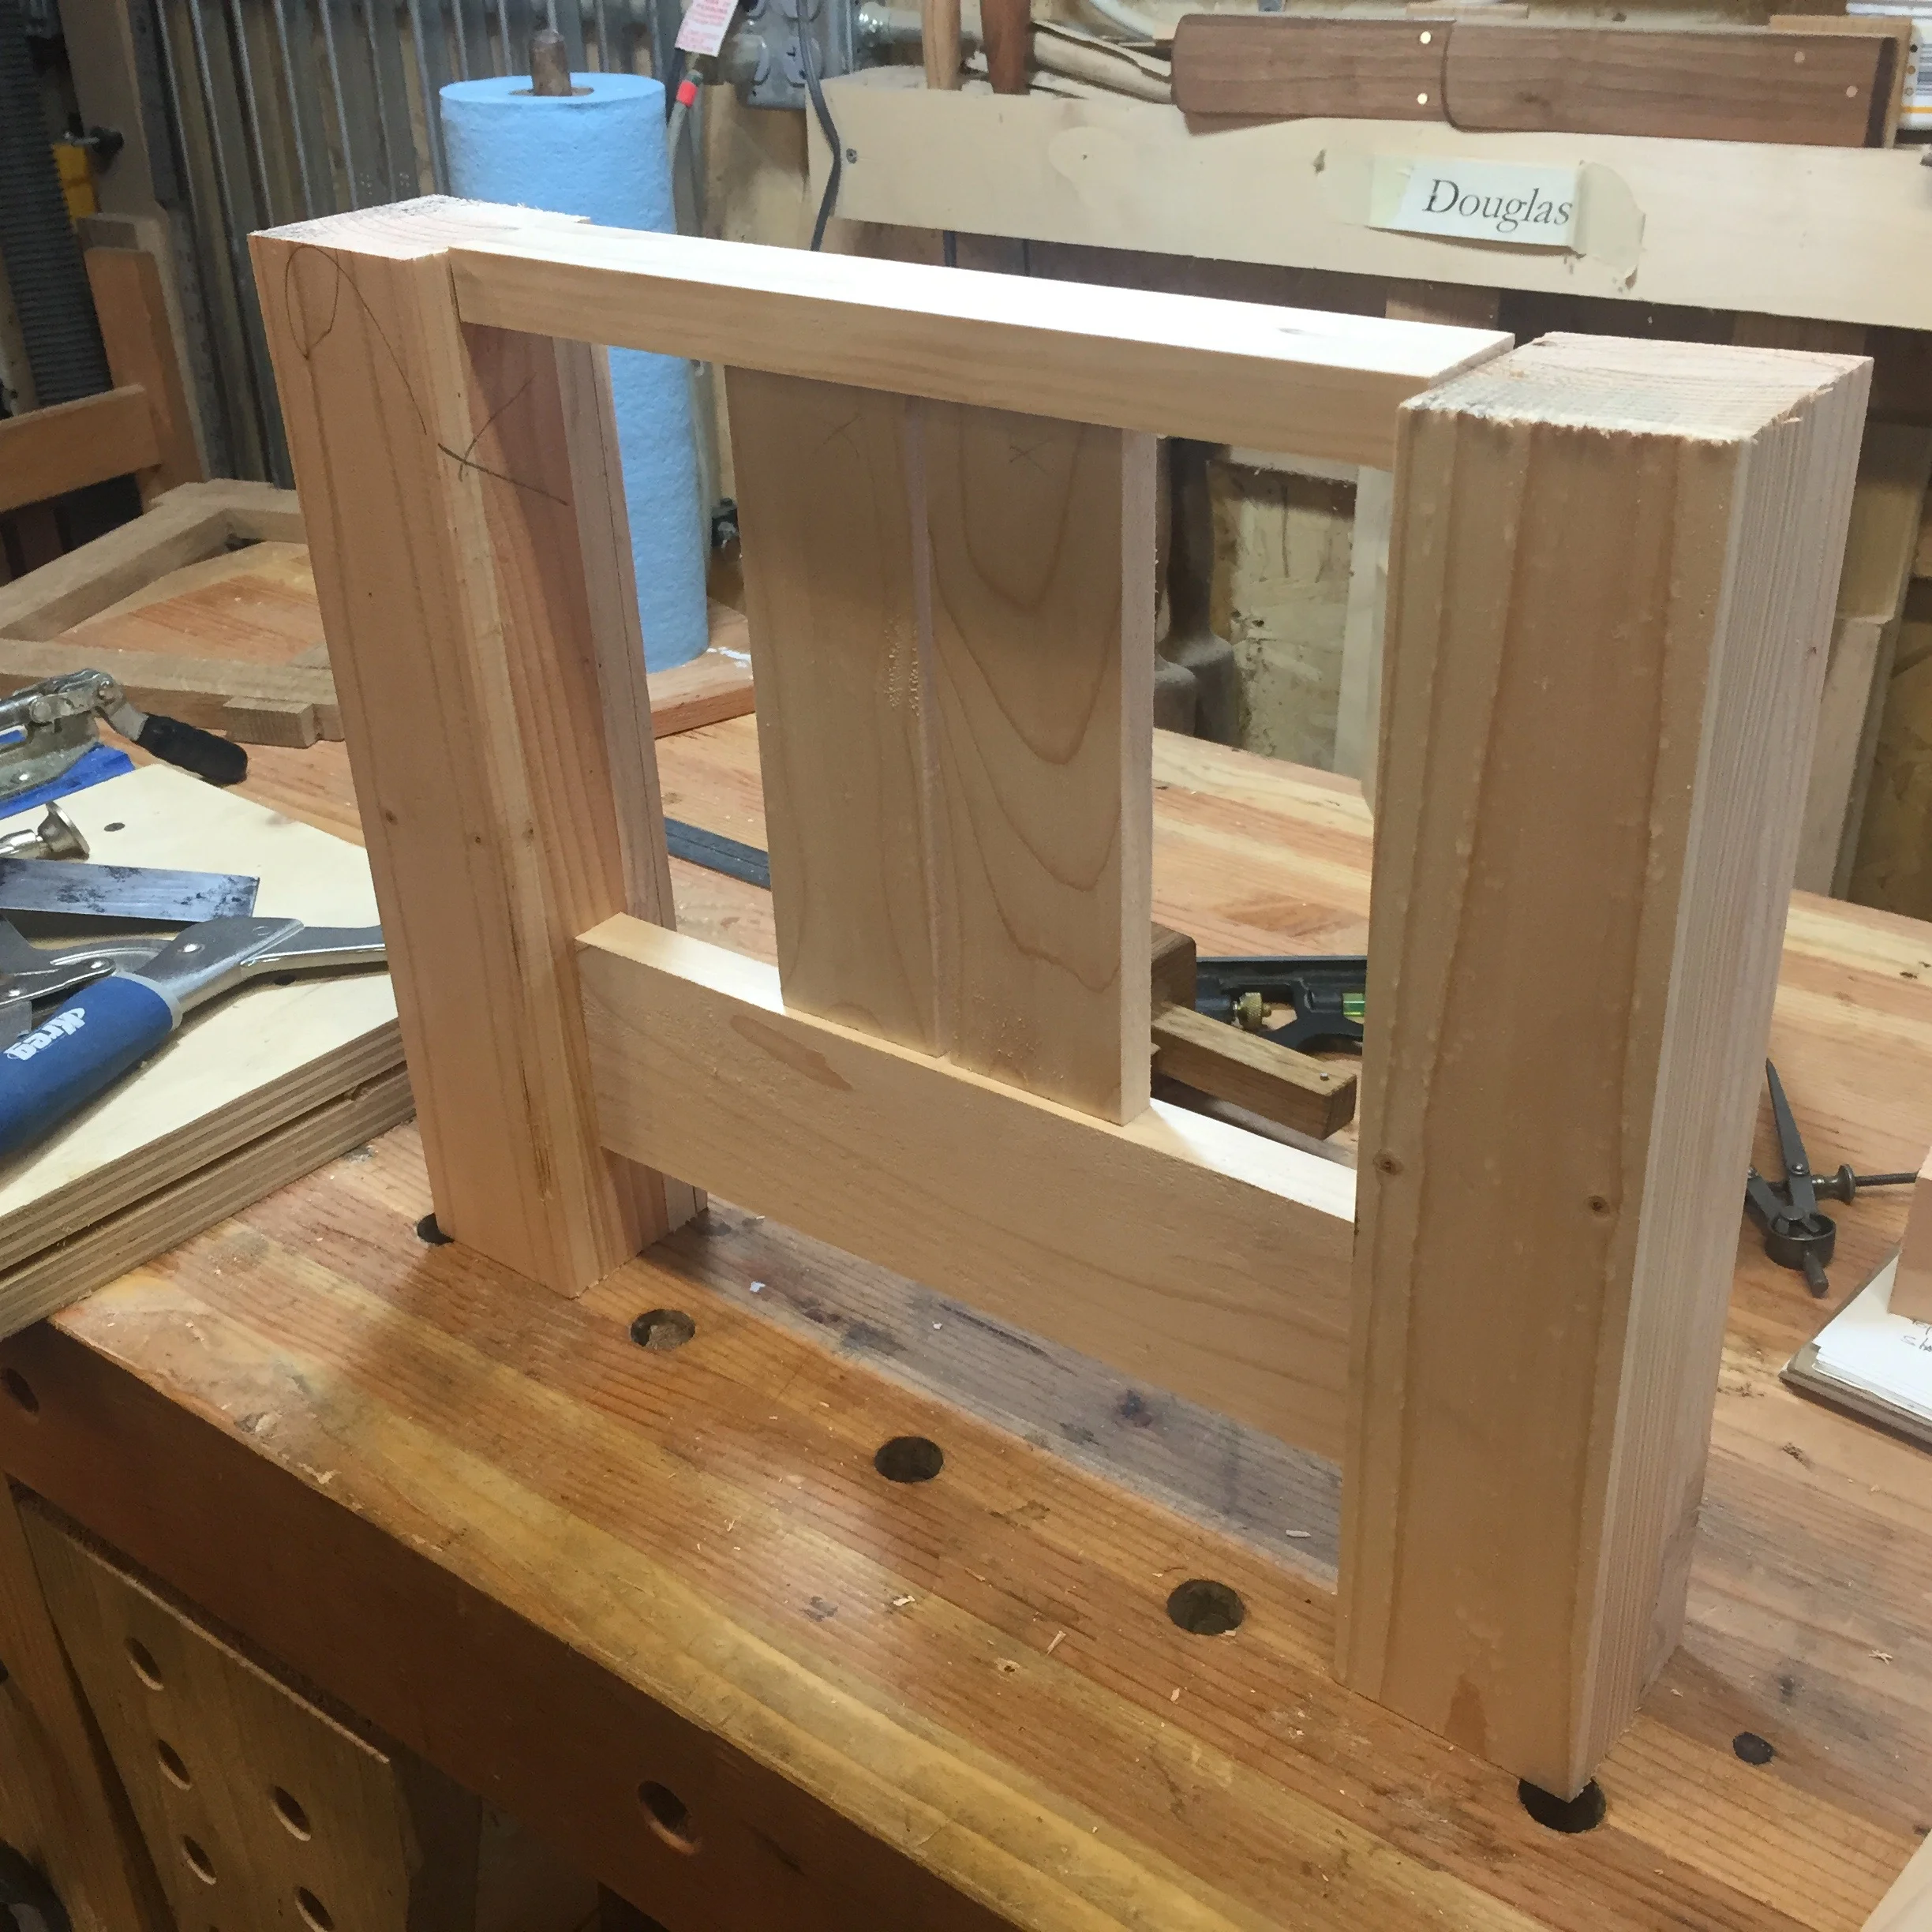
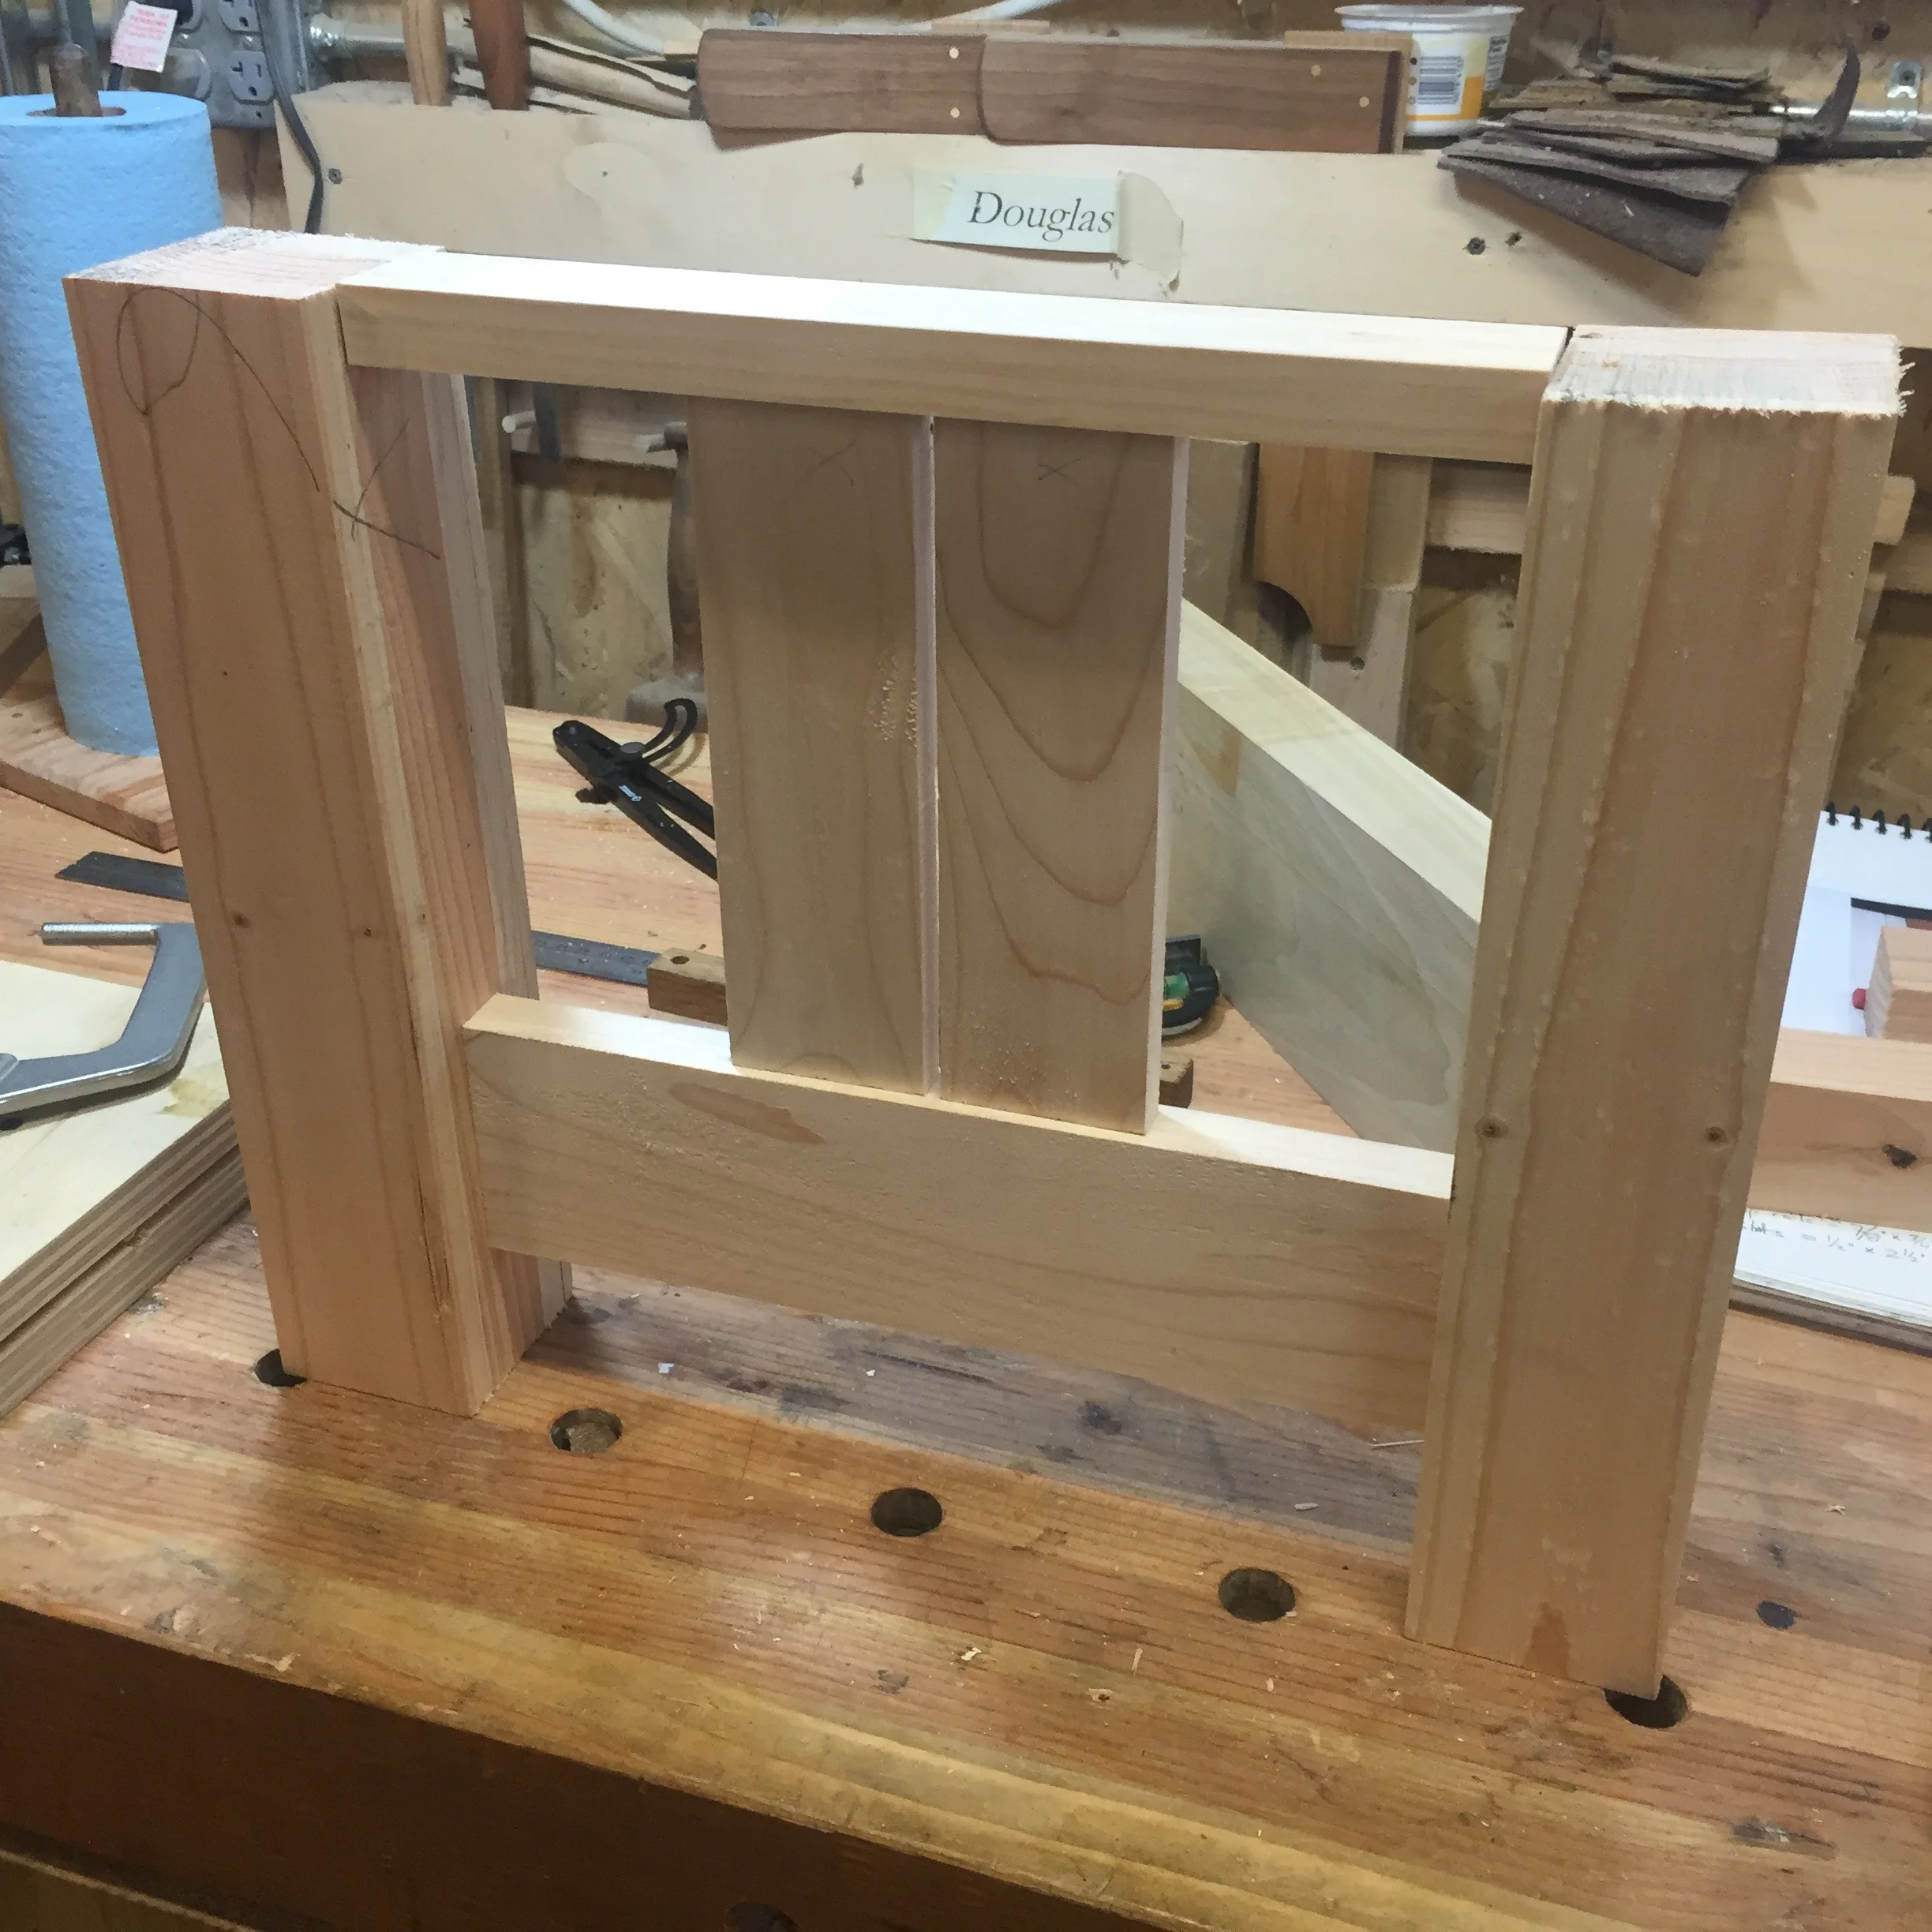
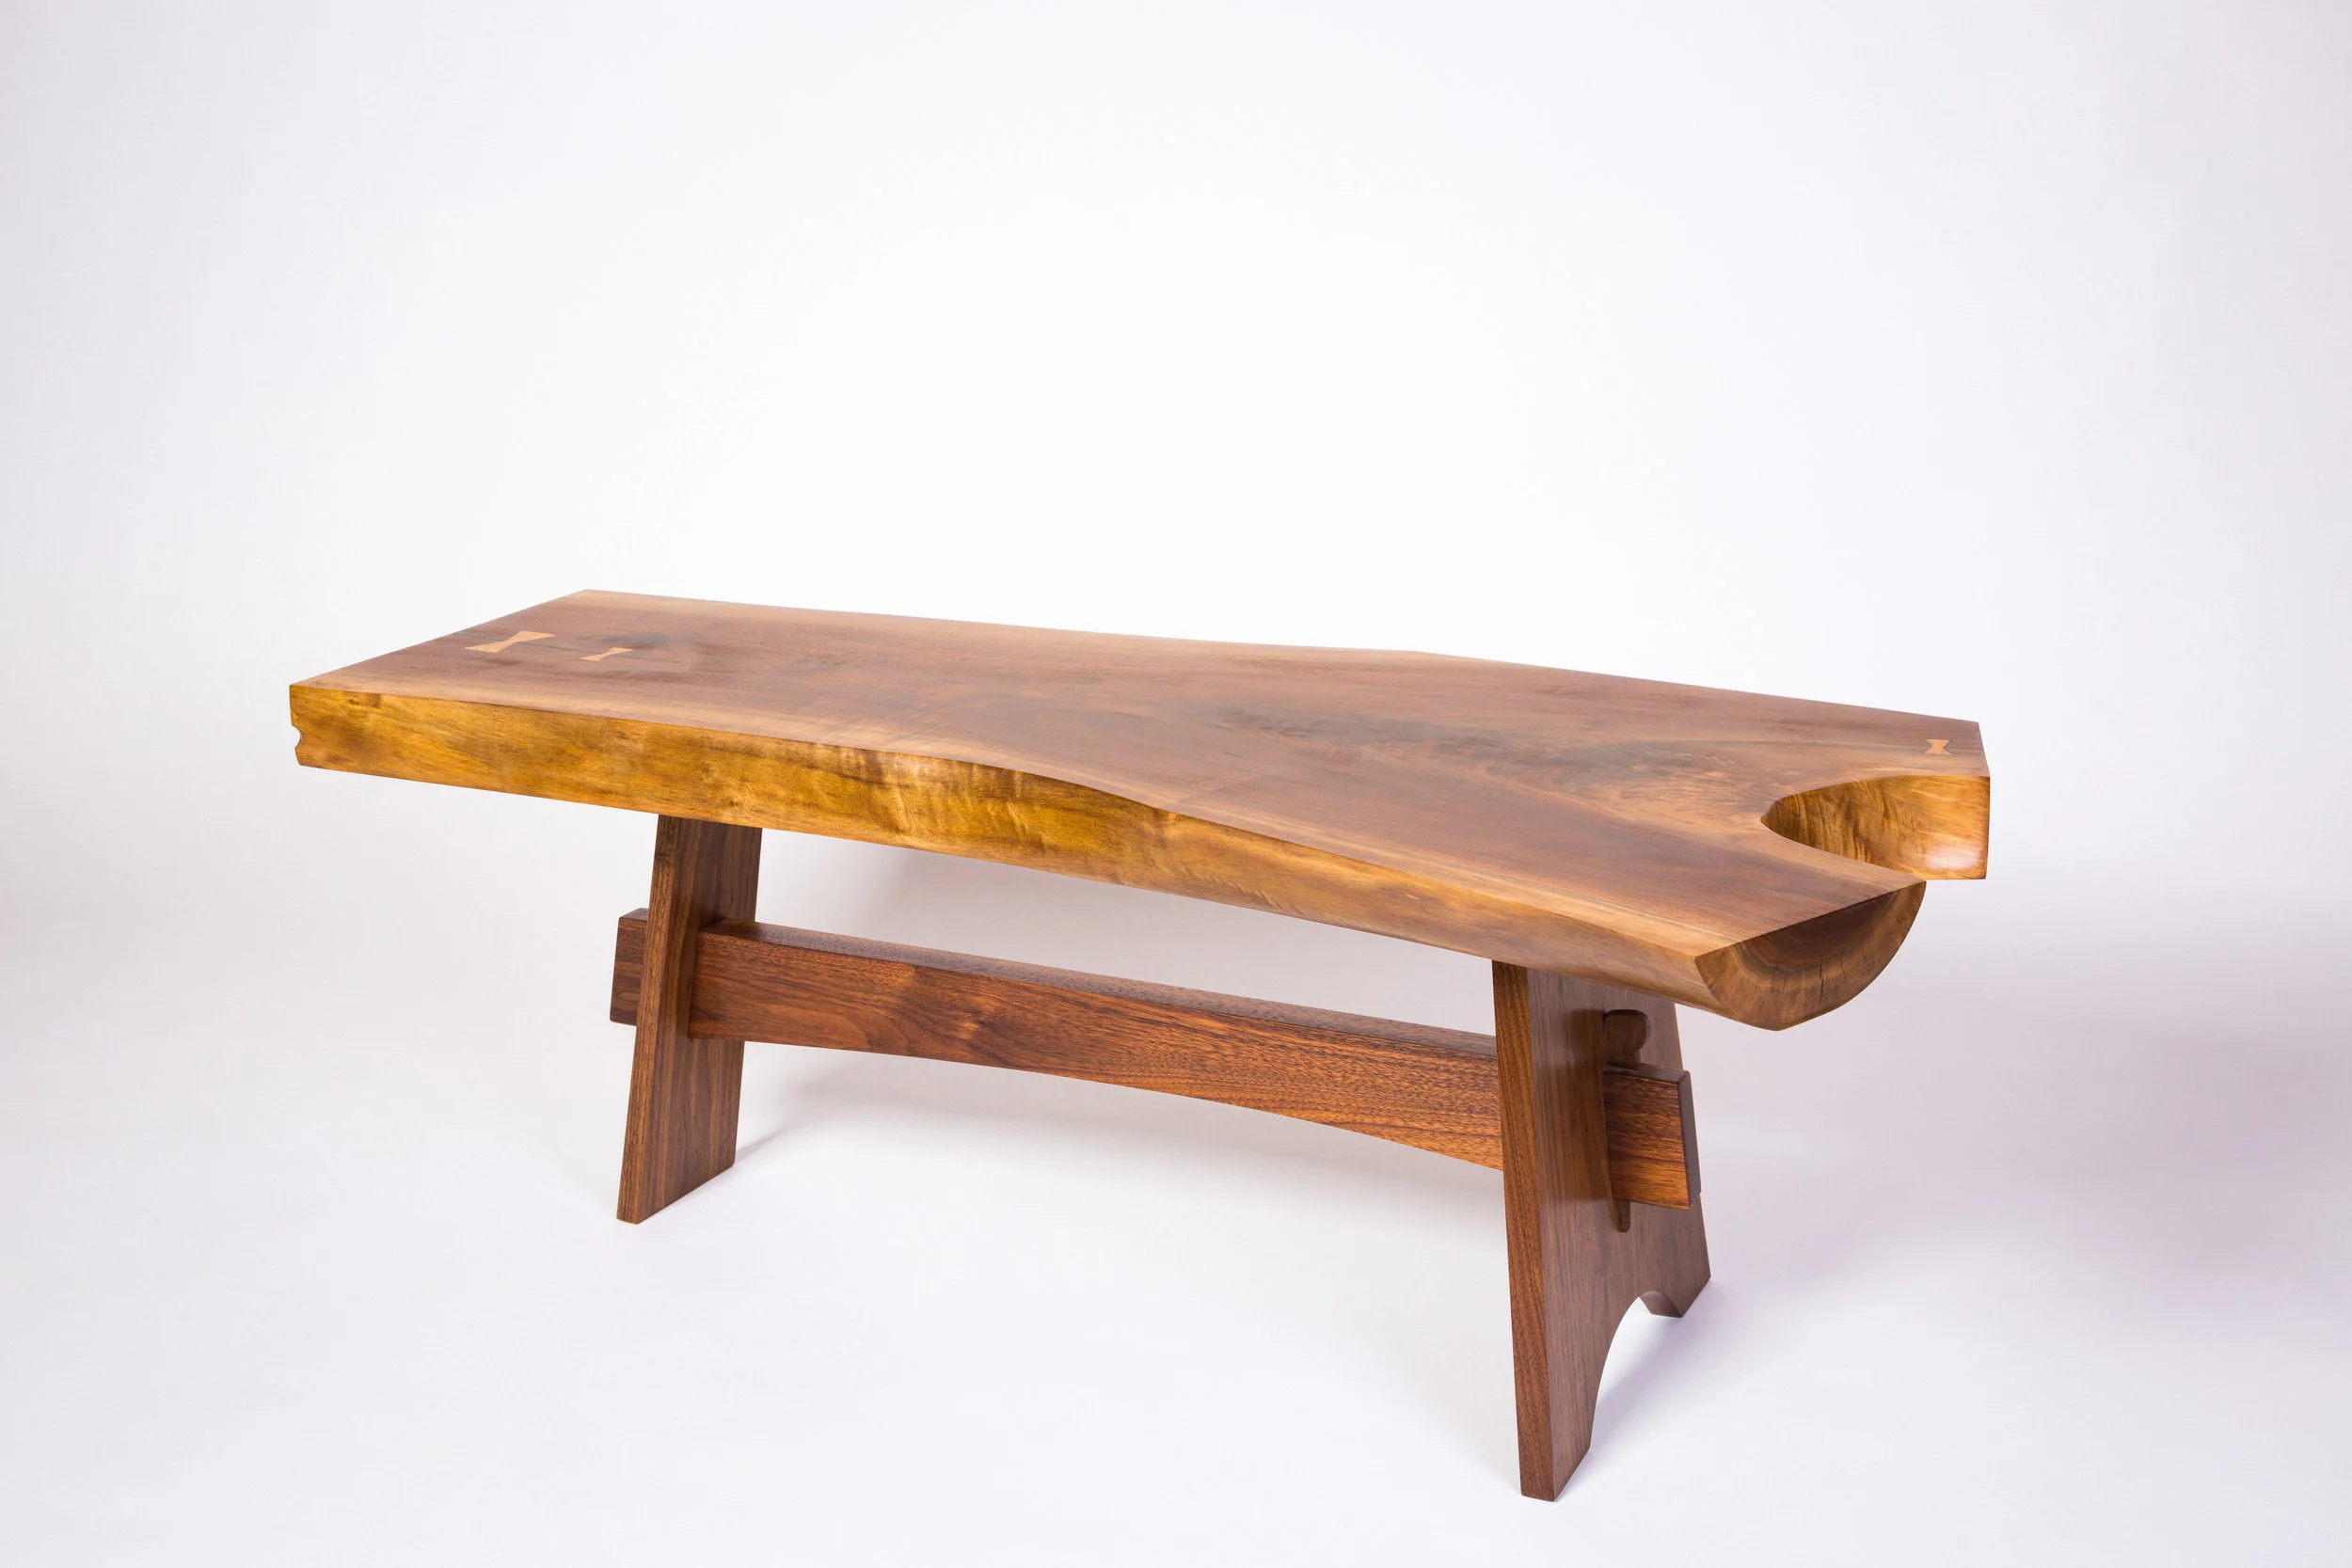
At last, I could see the final shape of the slab, and was able to get on with the base design. Right away, I was drawn to the "3-points" aspect of the top, and started playing around with a three-legged base. After several variations, I hit upon a two legged, three "foot" design. I added a cant (slope) to the legs, and an arch for the stretcher. This was starting to look pretty good, so I tried out some plywood and nail gun mockups to really see it in 3D. I took a lot pictures from a lot of angles, and thought about it for a while longer.
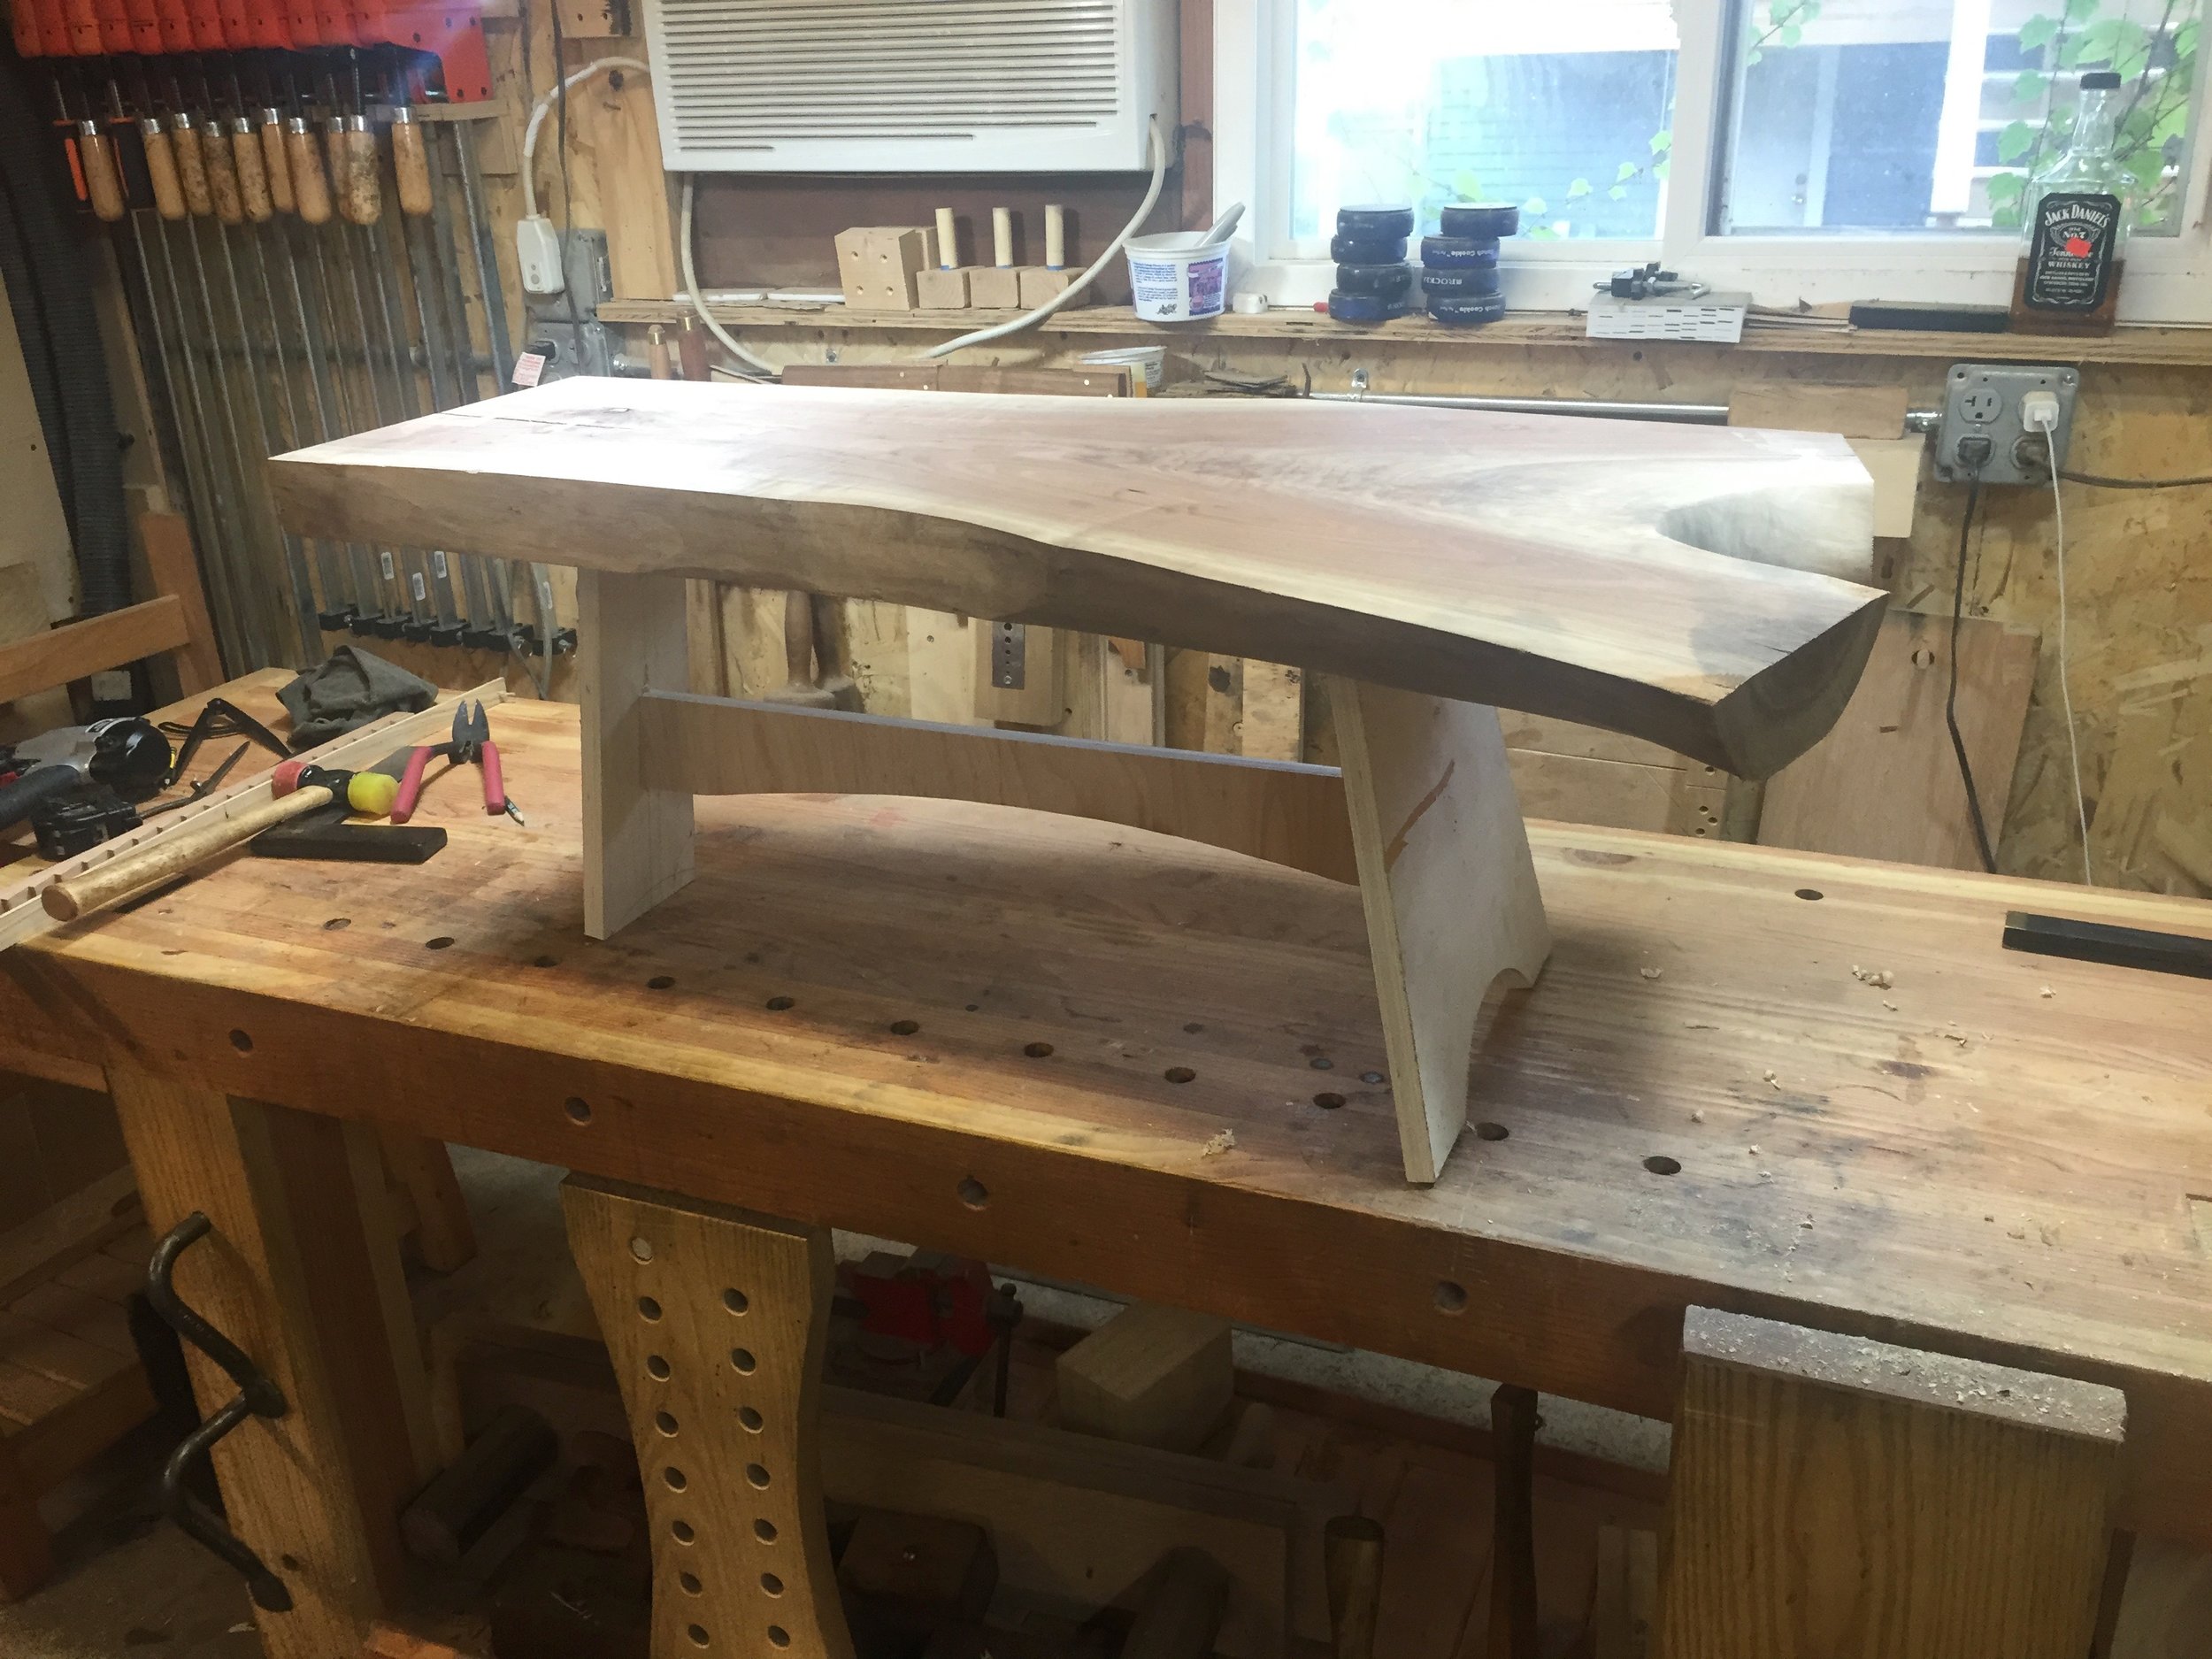

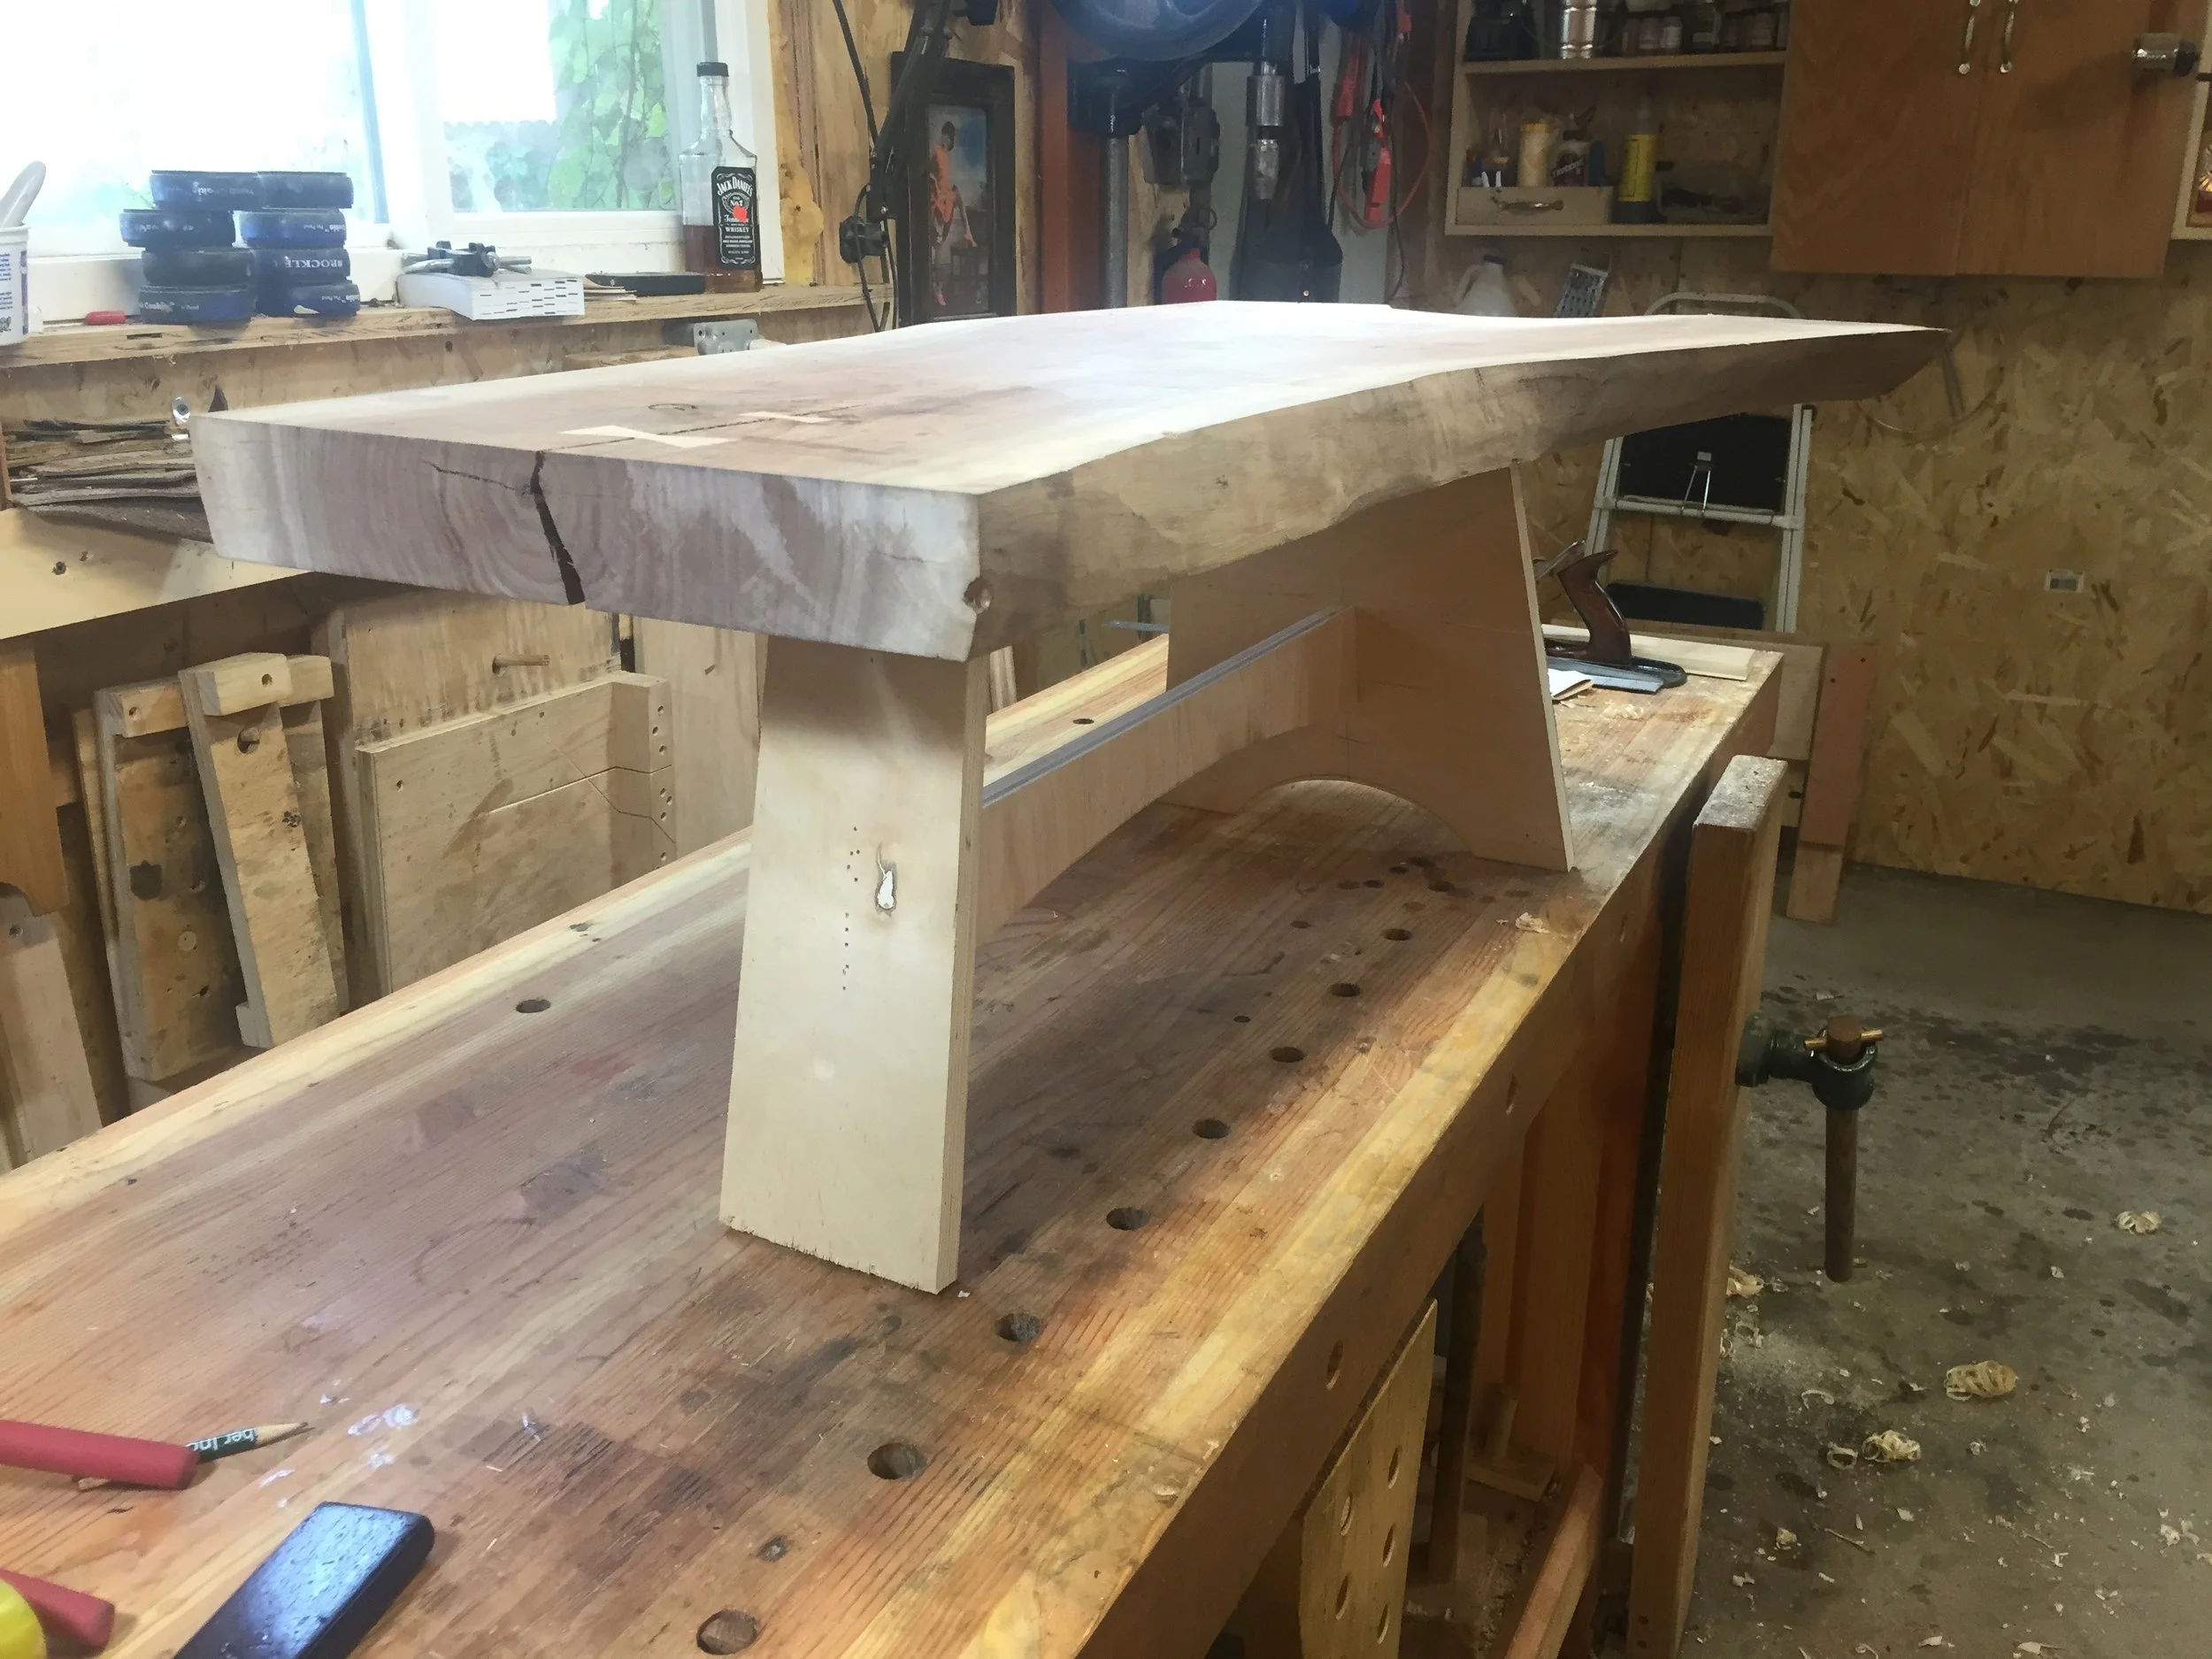
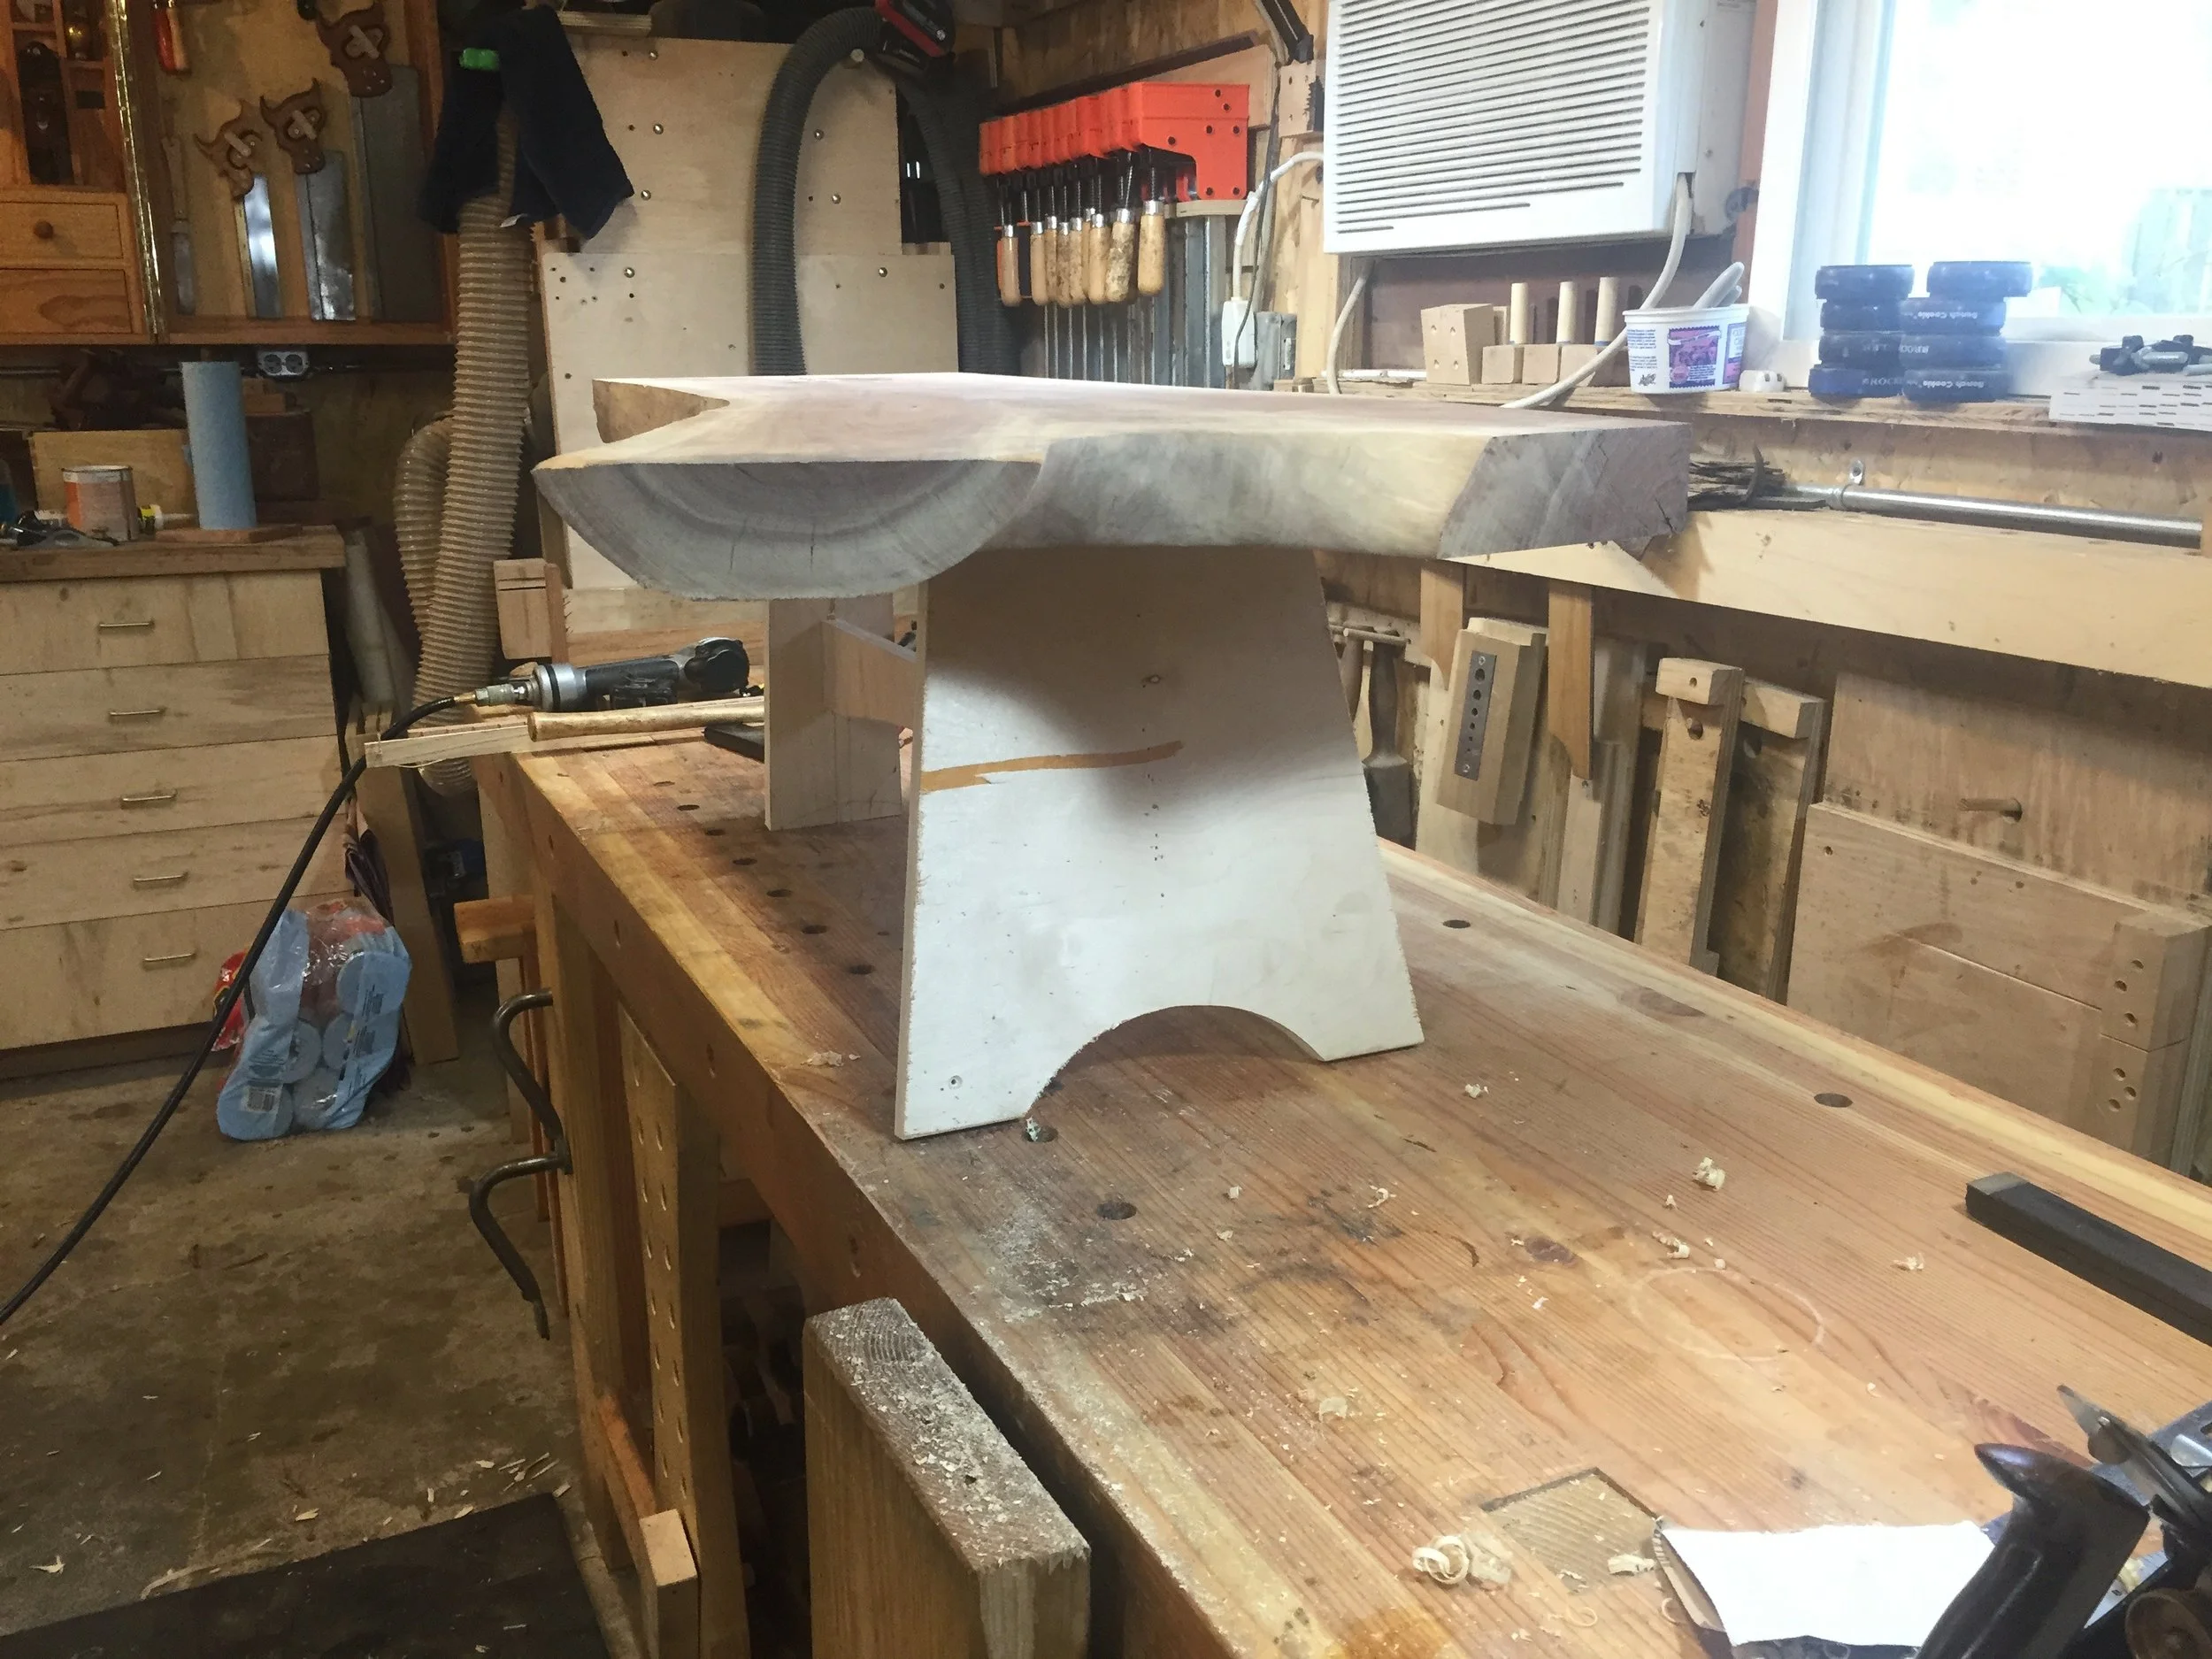
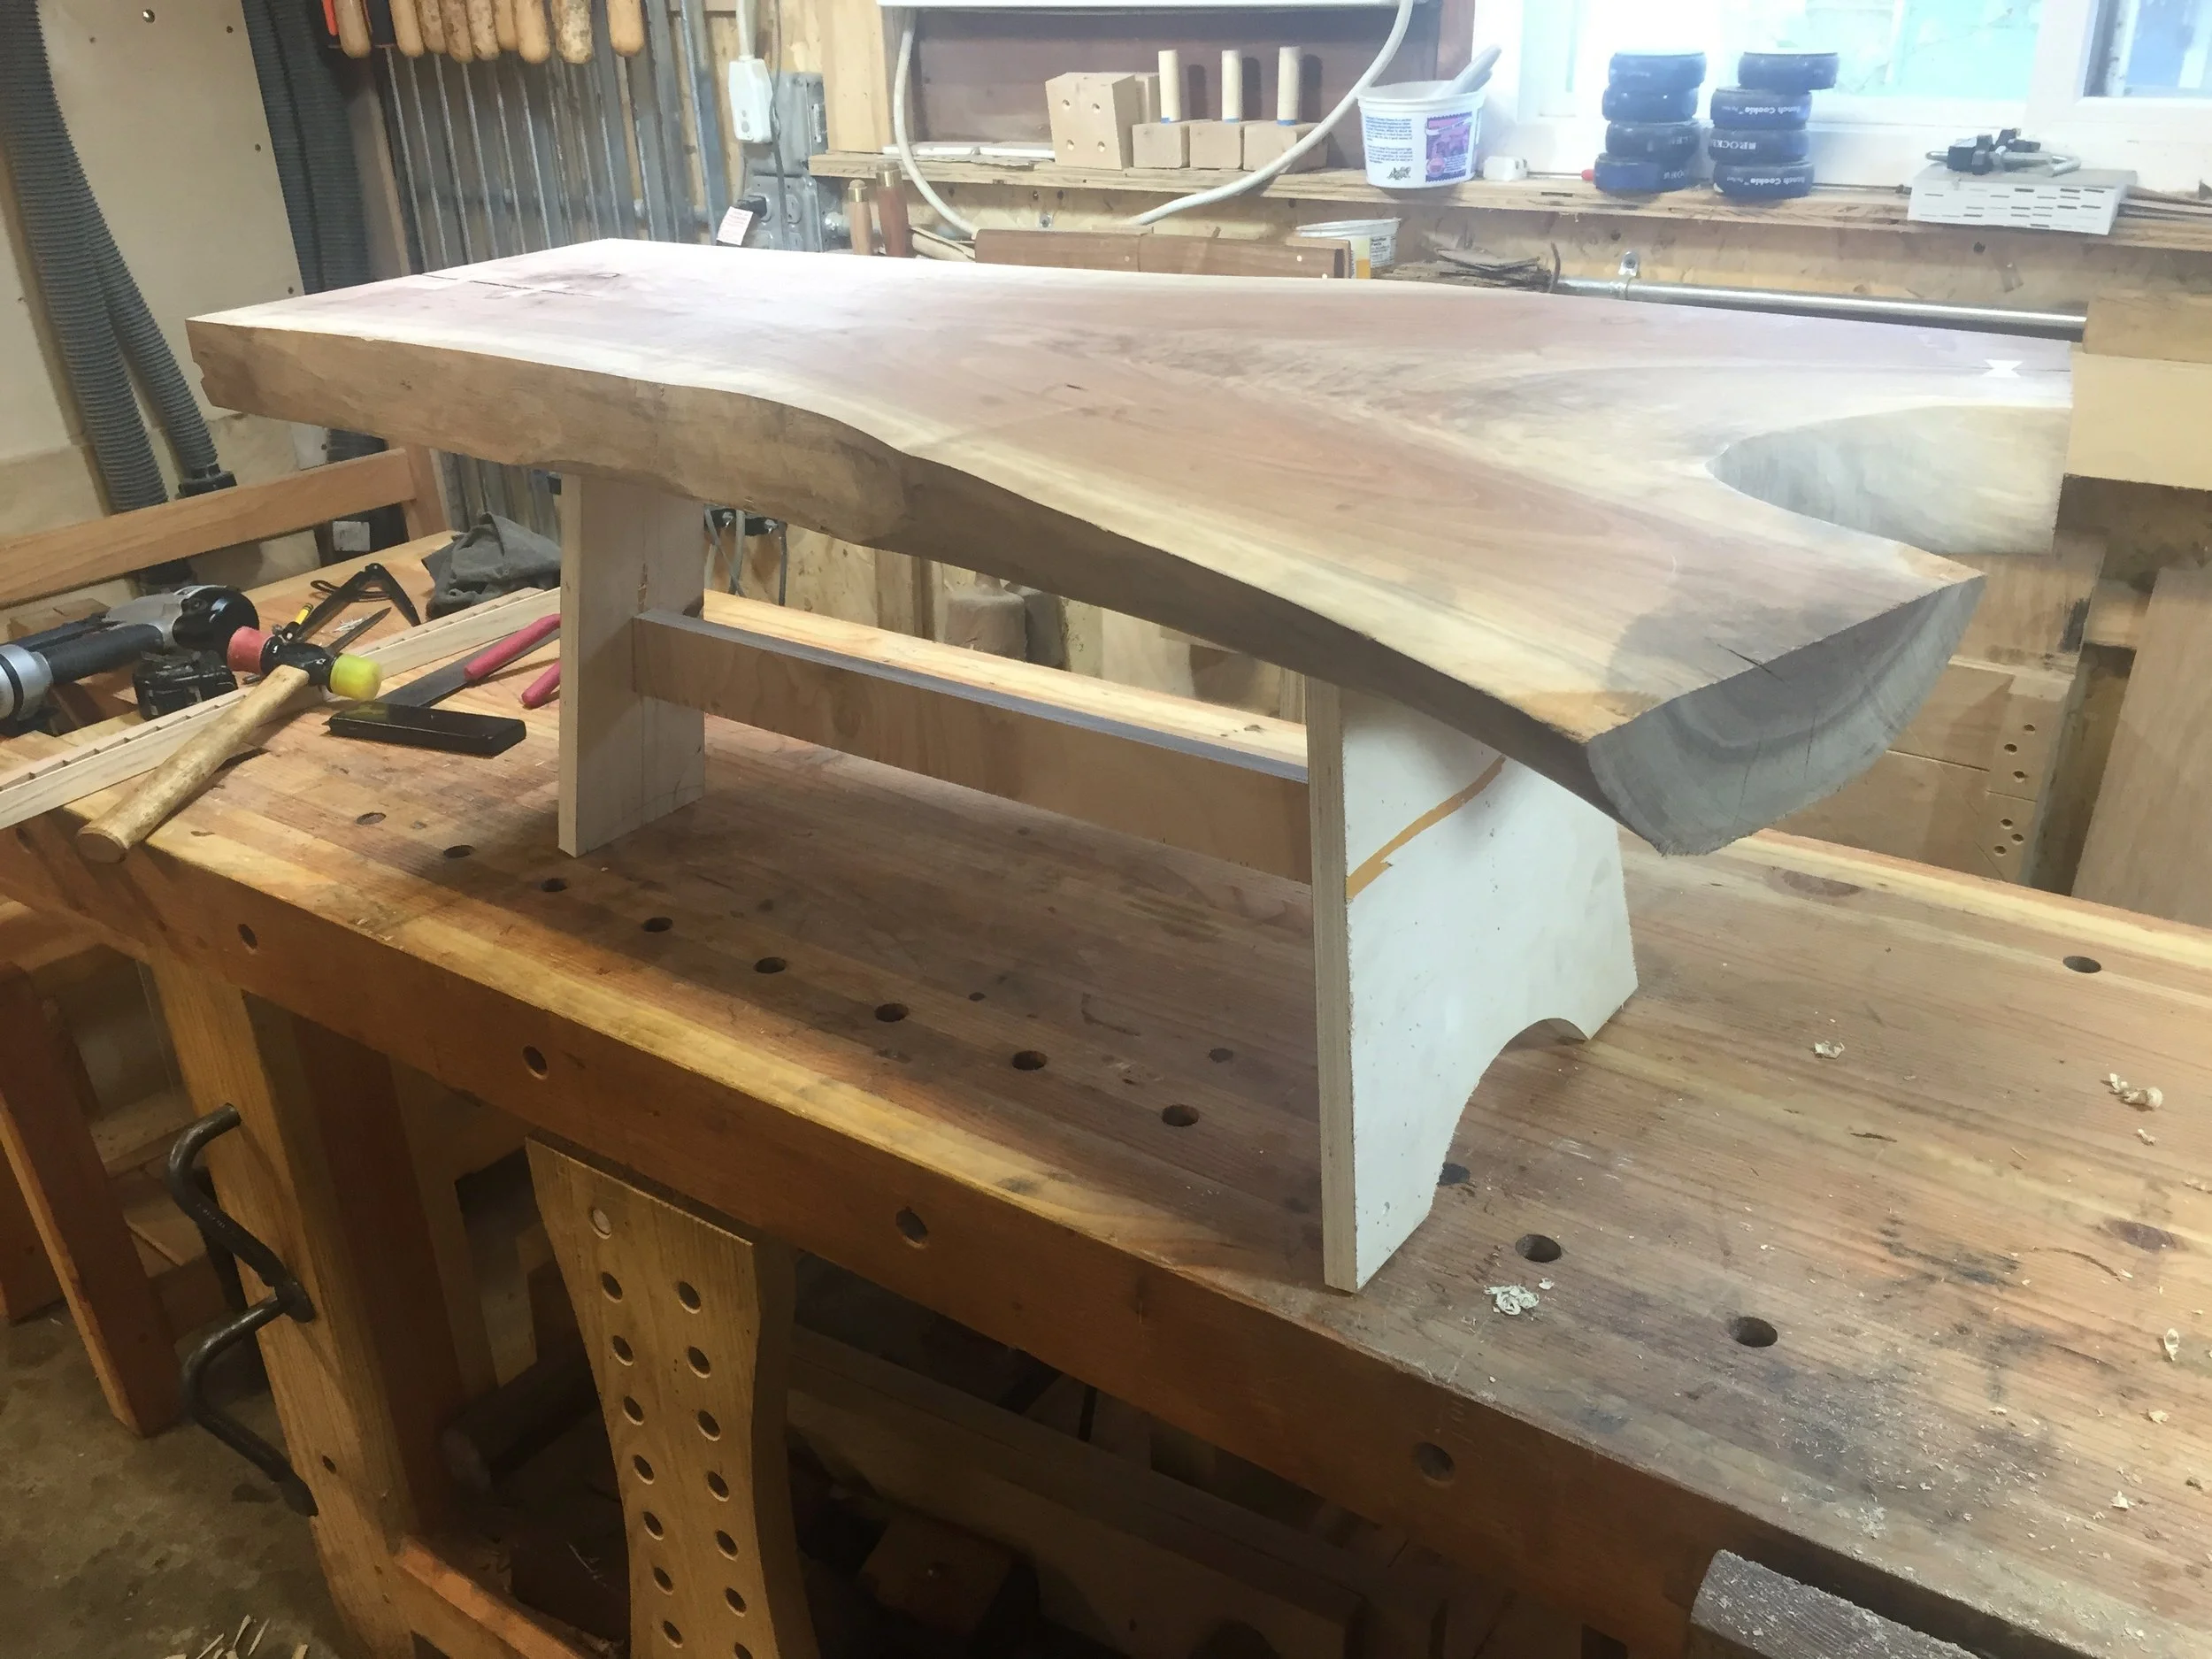
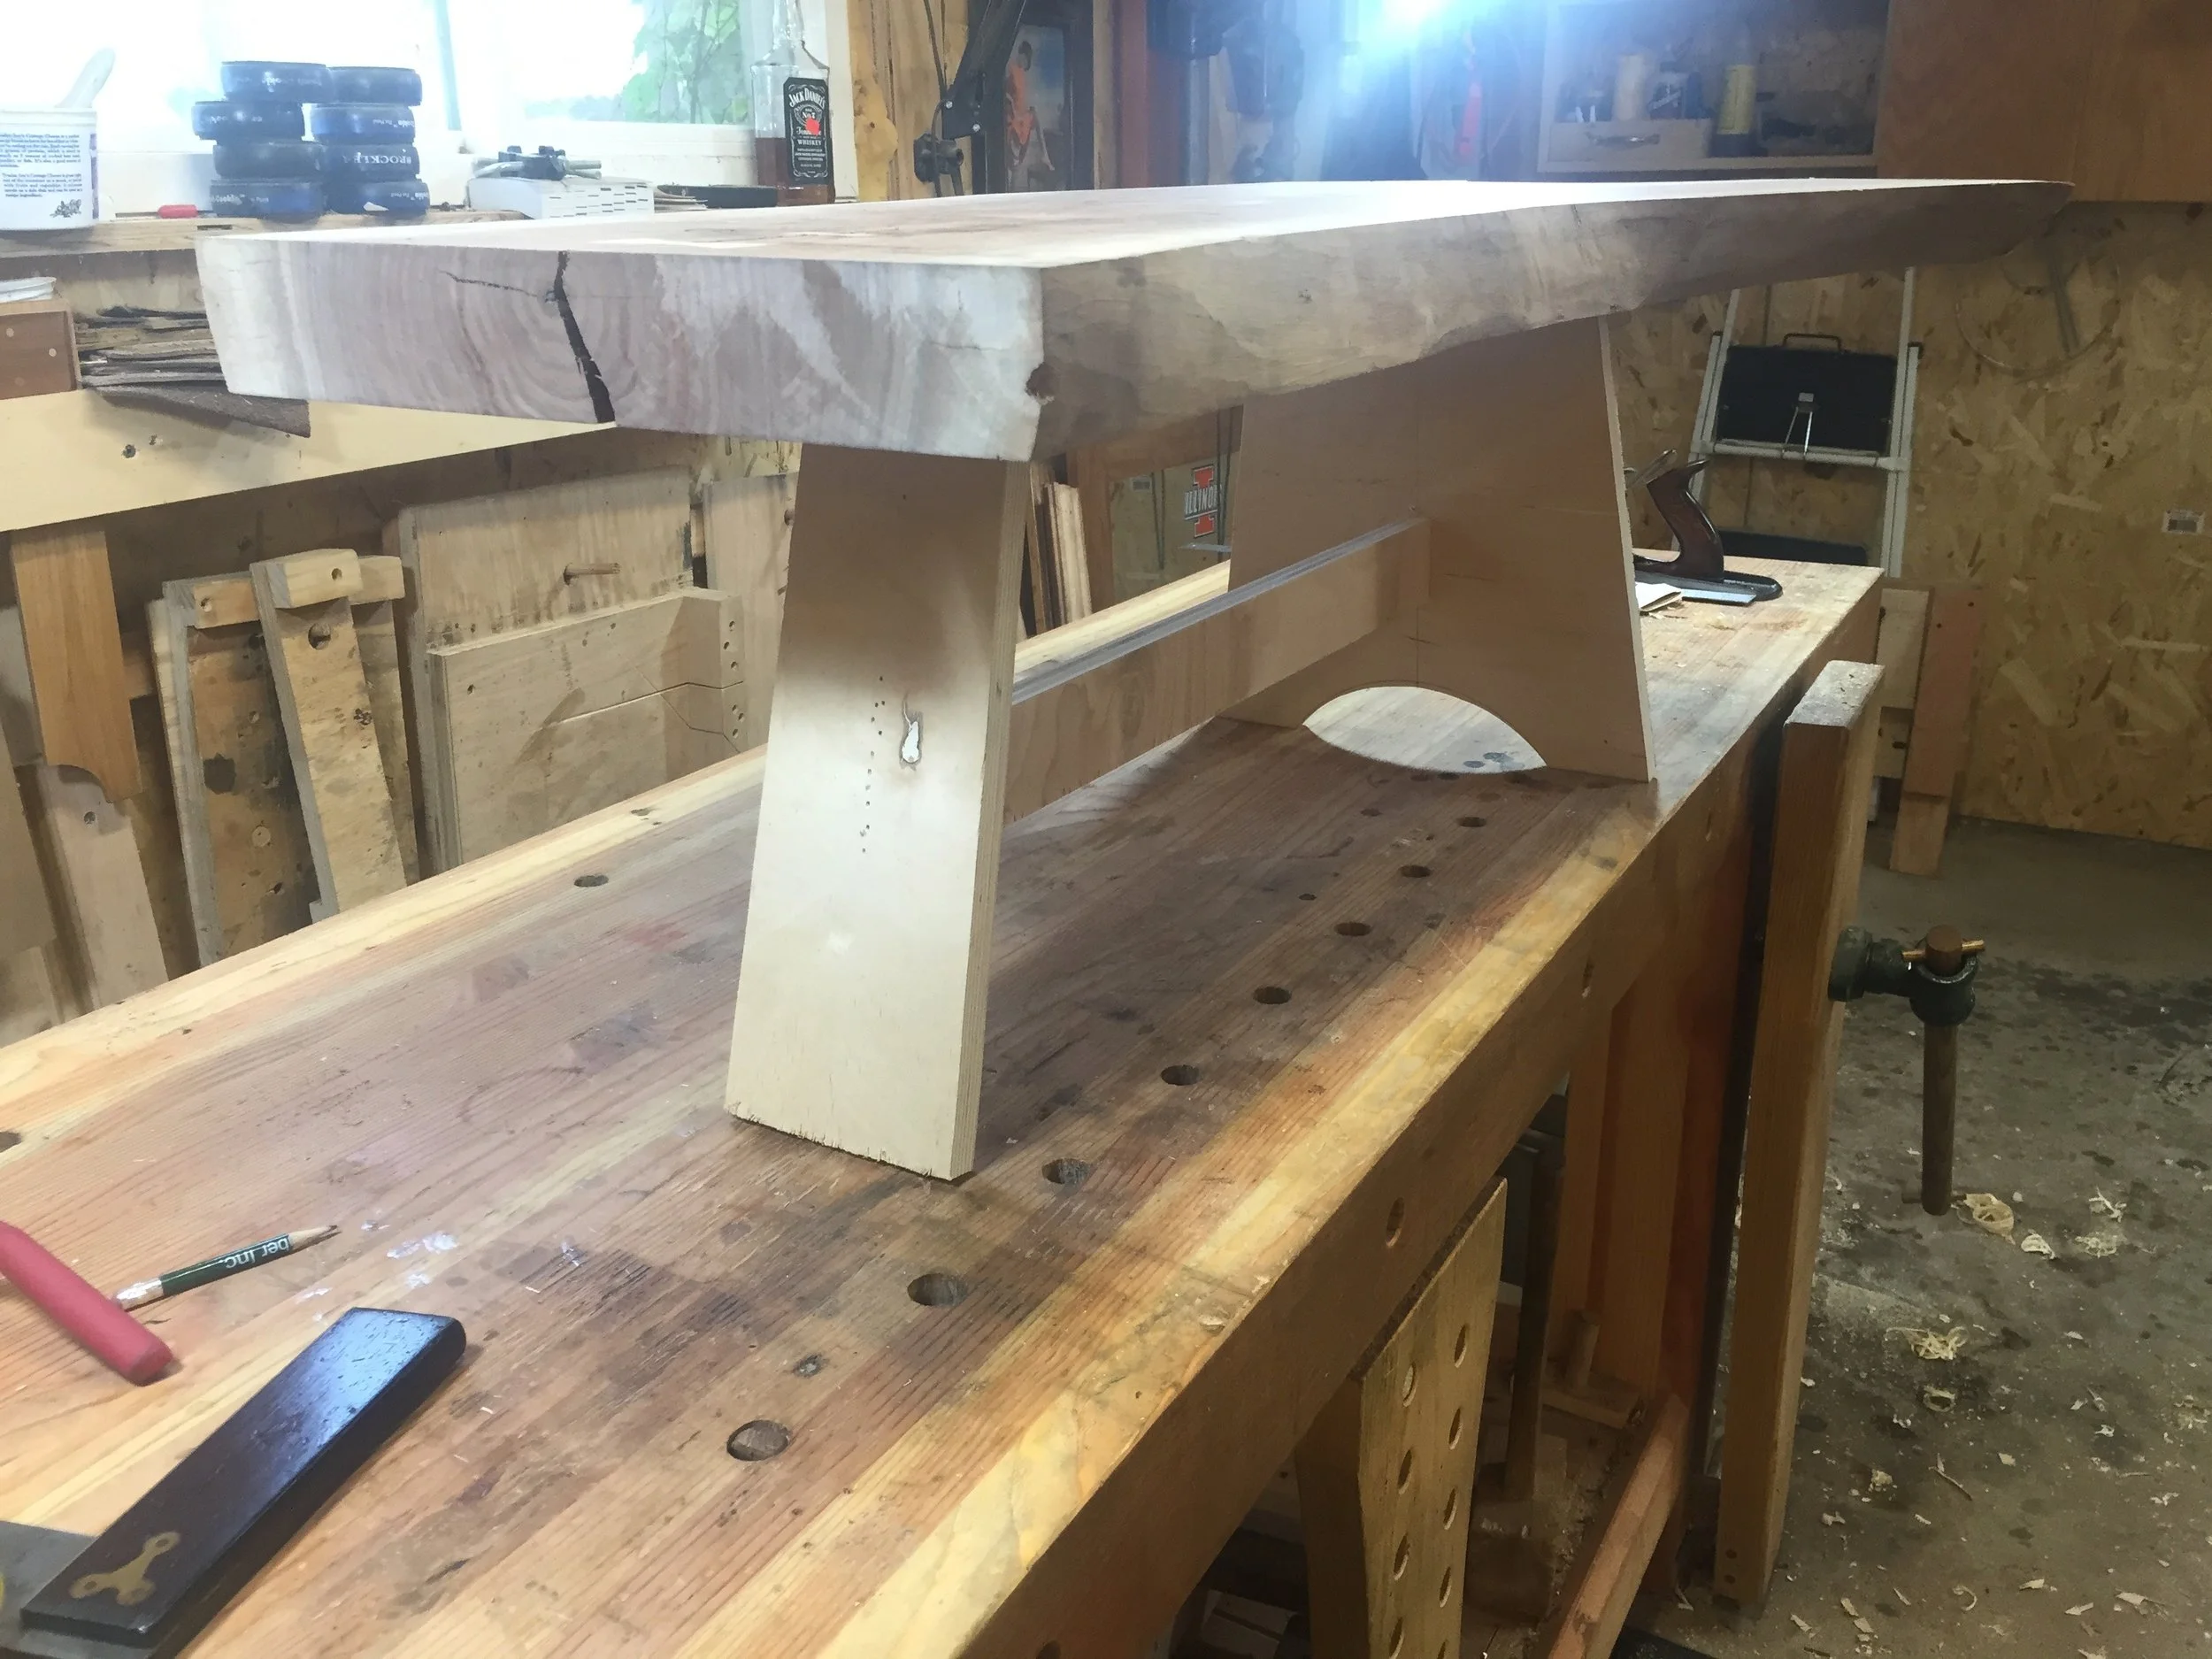
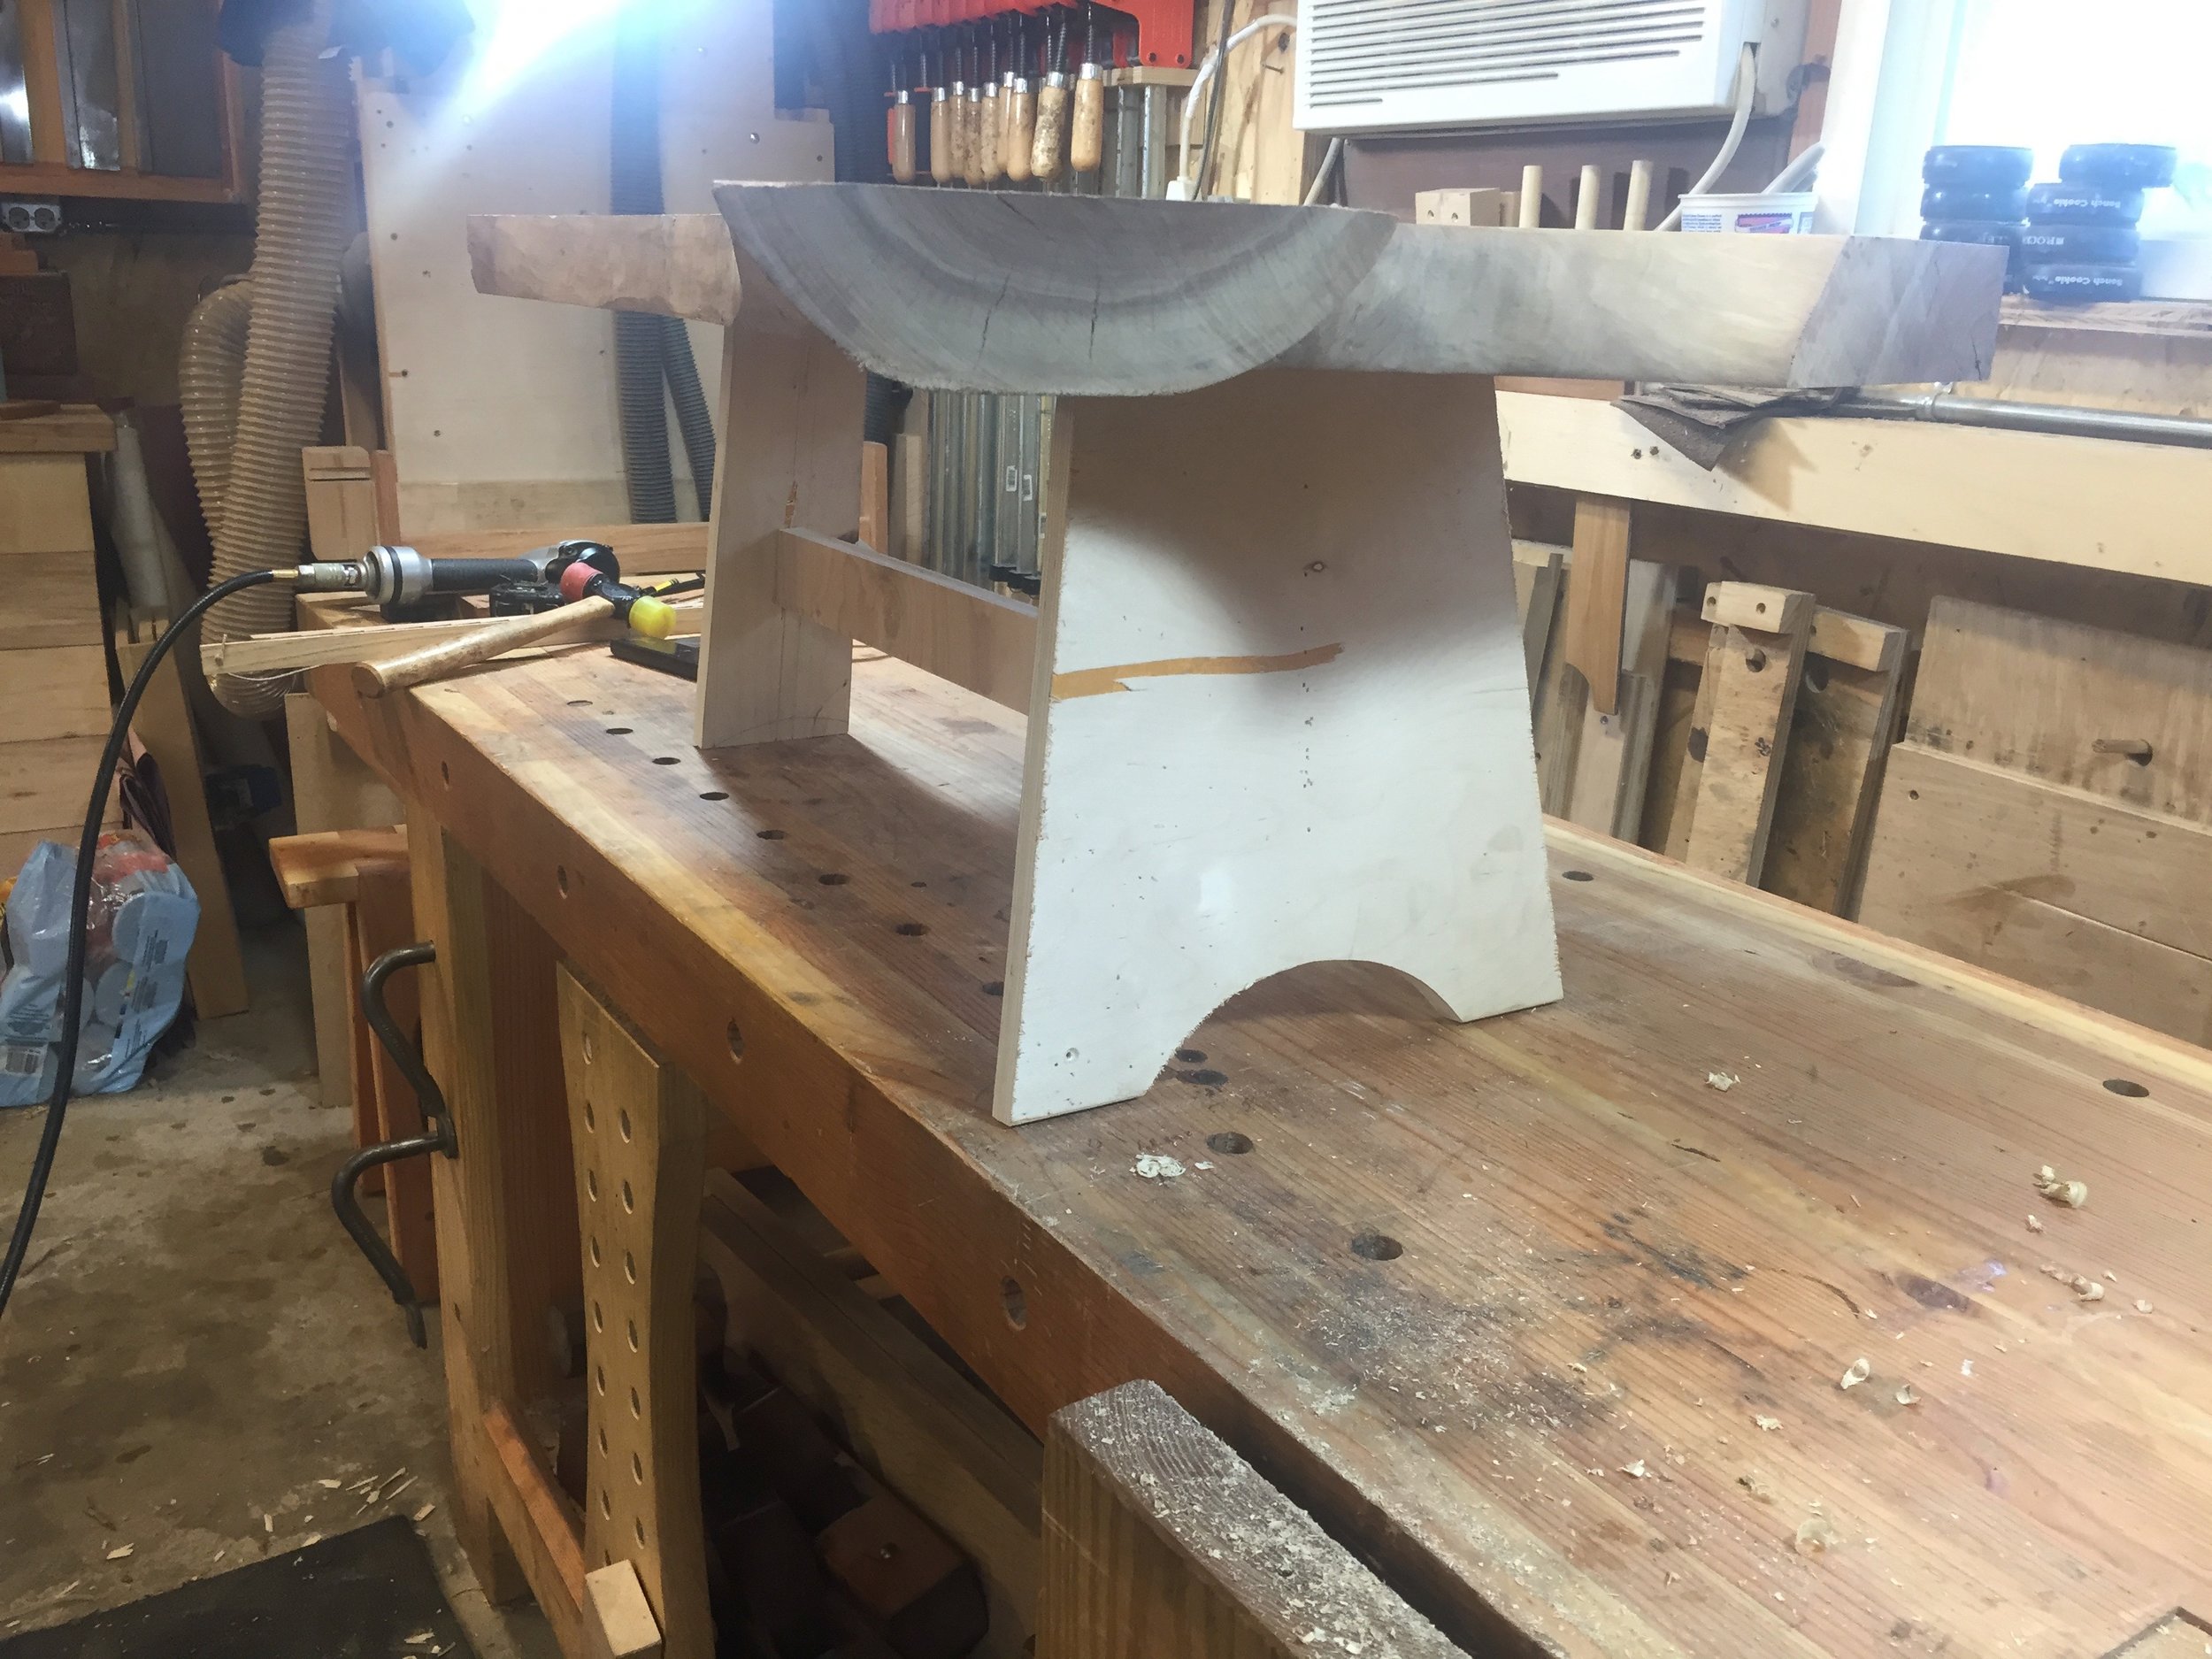
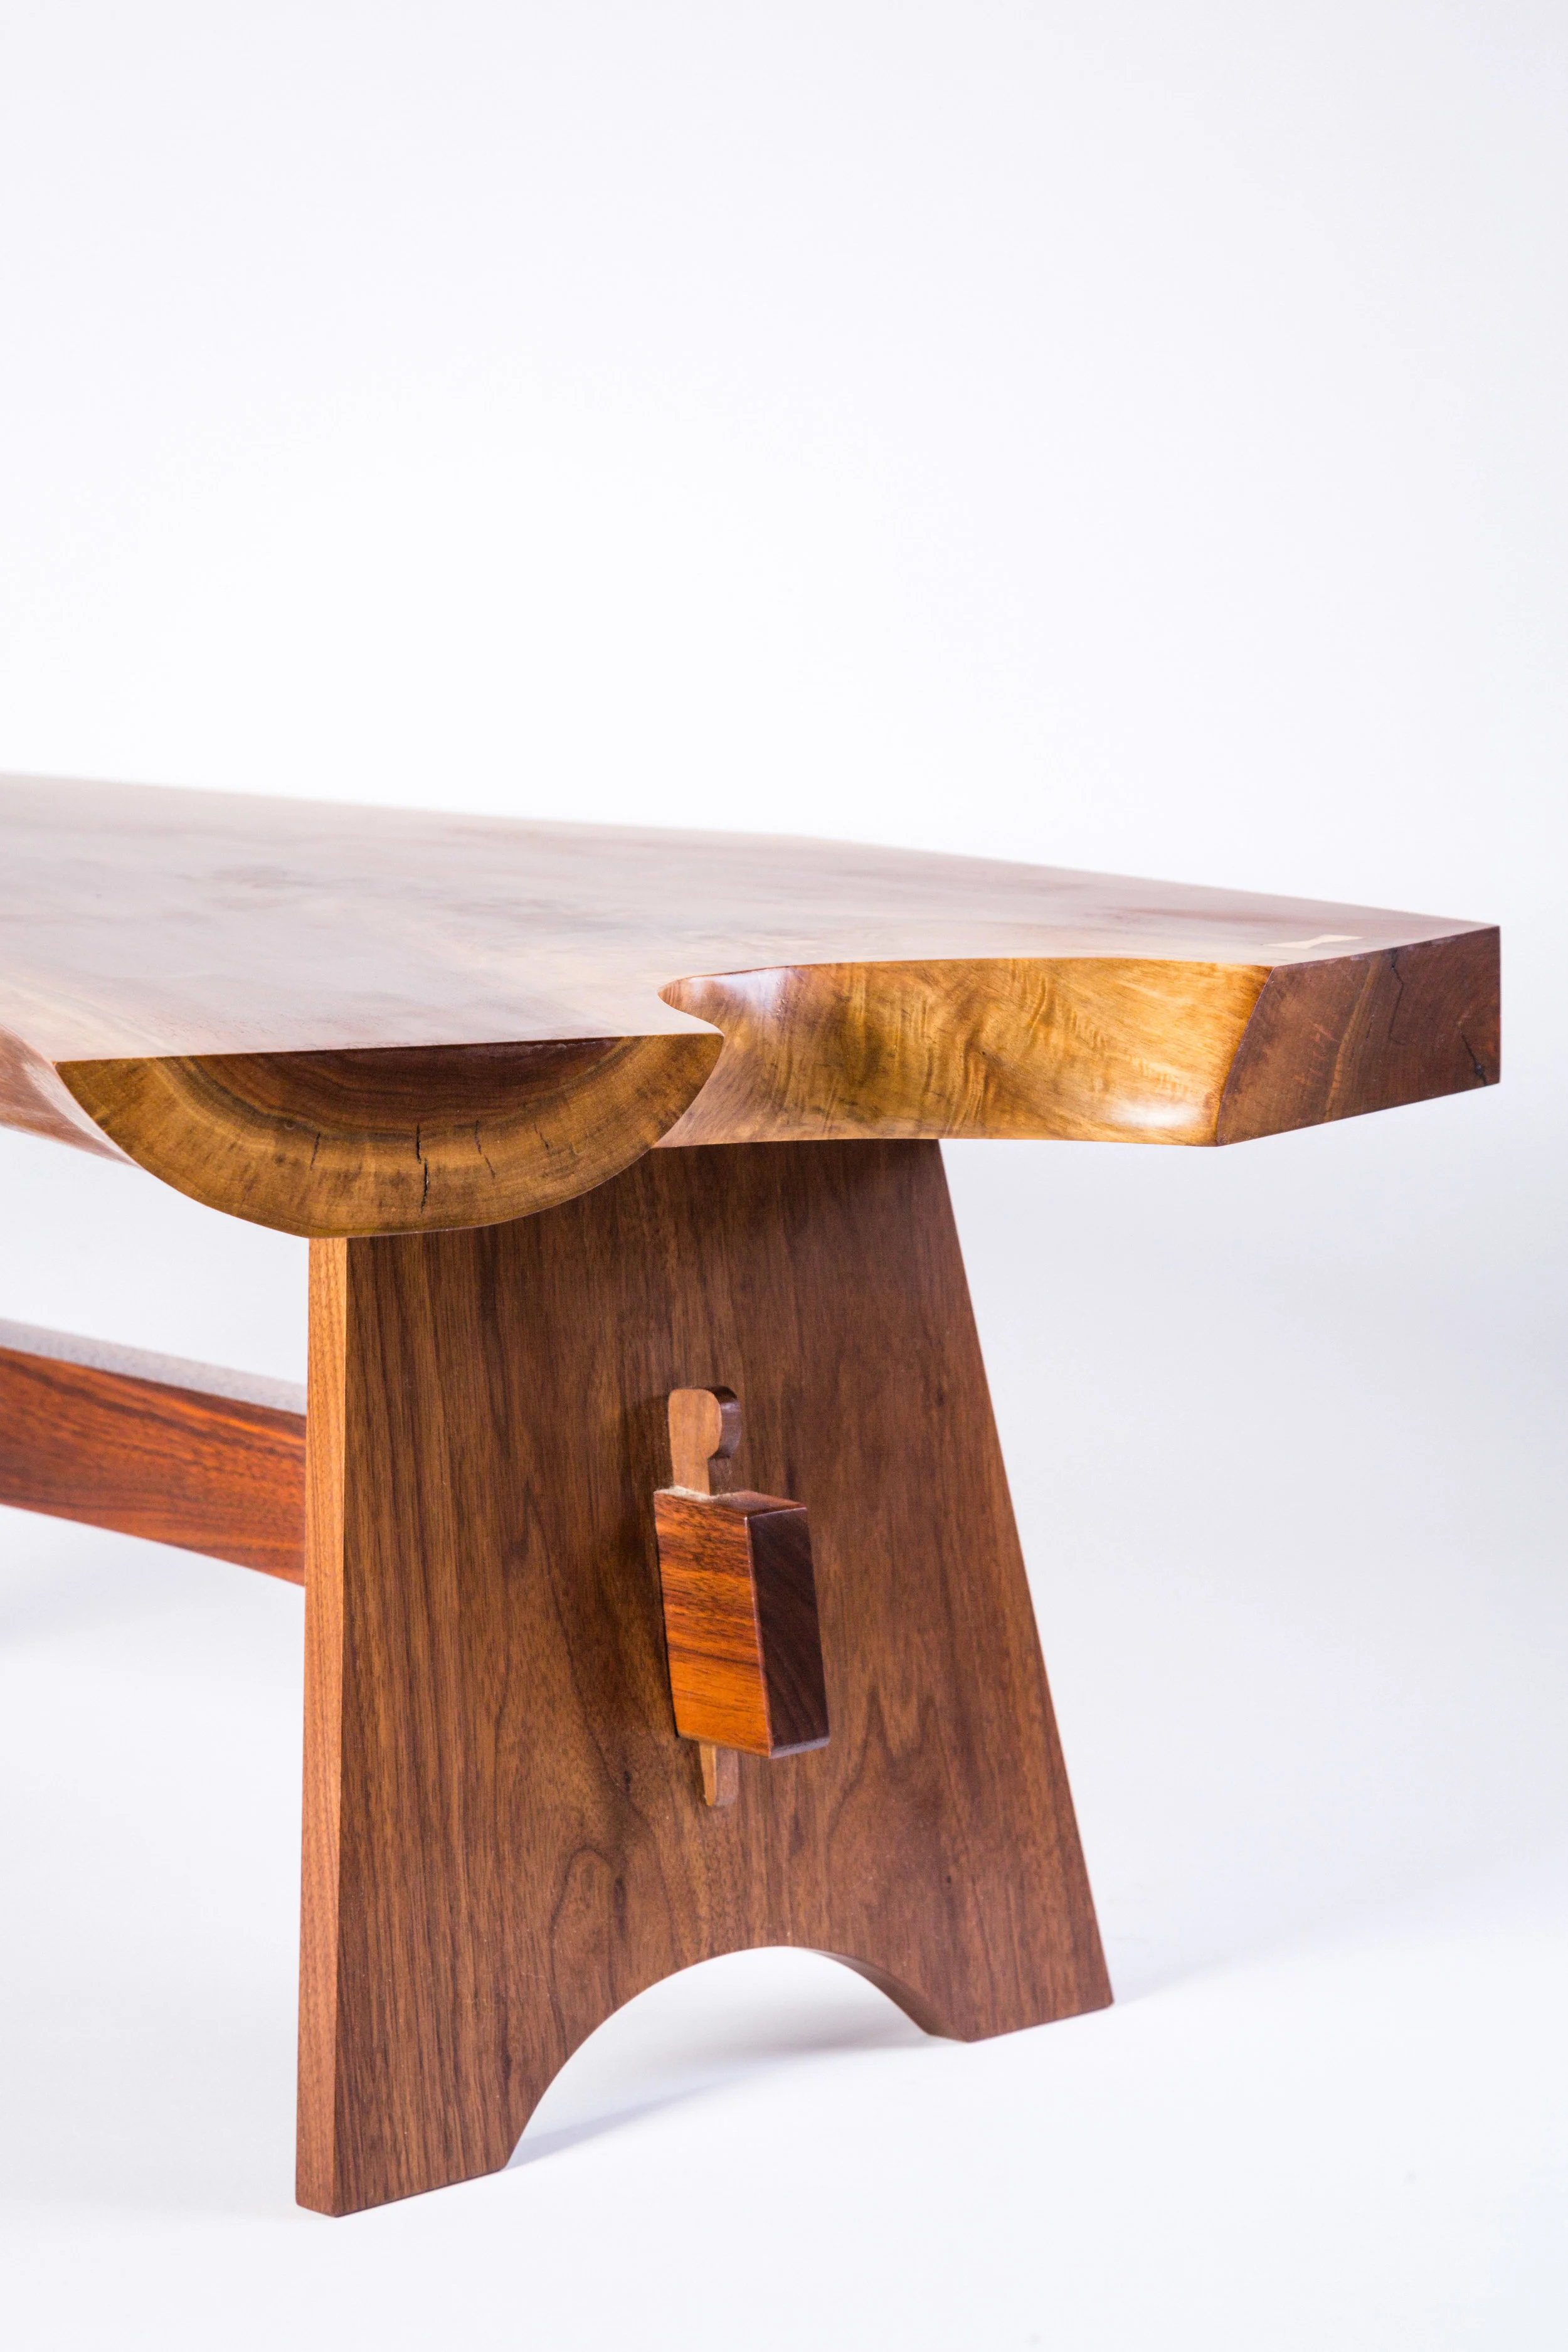
I was mostly on target, and except for a few proportion changes, that was the more or less the final design. The largest change was extending the stretcher to have through tenons, secured with wedges. What I liked about this design is that is had some classically arts & crafts styling to it: the wedged through tenons, the gentle arch of the stretcher, and the steeper arch for the wide foot, while still talking to the organic shape of the slab crotch. Maybe not earth-shatteringly profound, but a nice solution.
I was then free to build the base, and finish the top. I did an epoxy fill of the cracks, and only had a few epoxy bubbles to deal with before smoothing the whole thing out. The base was a simple build, which I attached to the slab with cleats. The whole table was finished with a wipe on polyurethane.


And in practice, the design works great in place with the contrast to the other pieces in the room. This was my first live edge project, and it was a lot of fun.