What a Waste

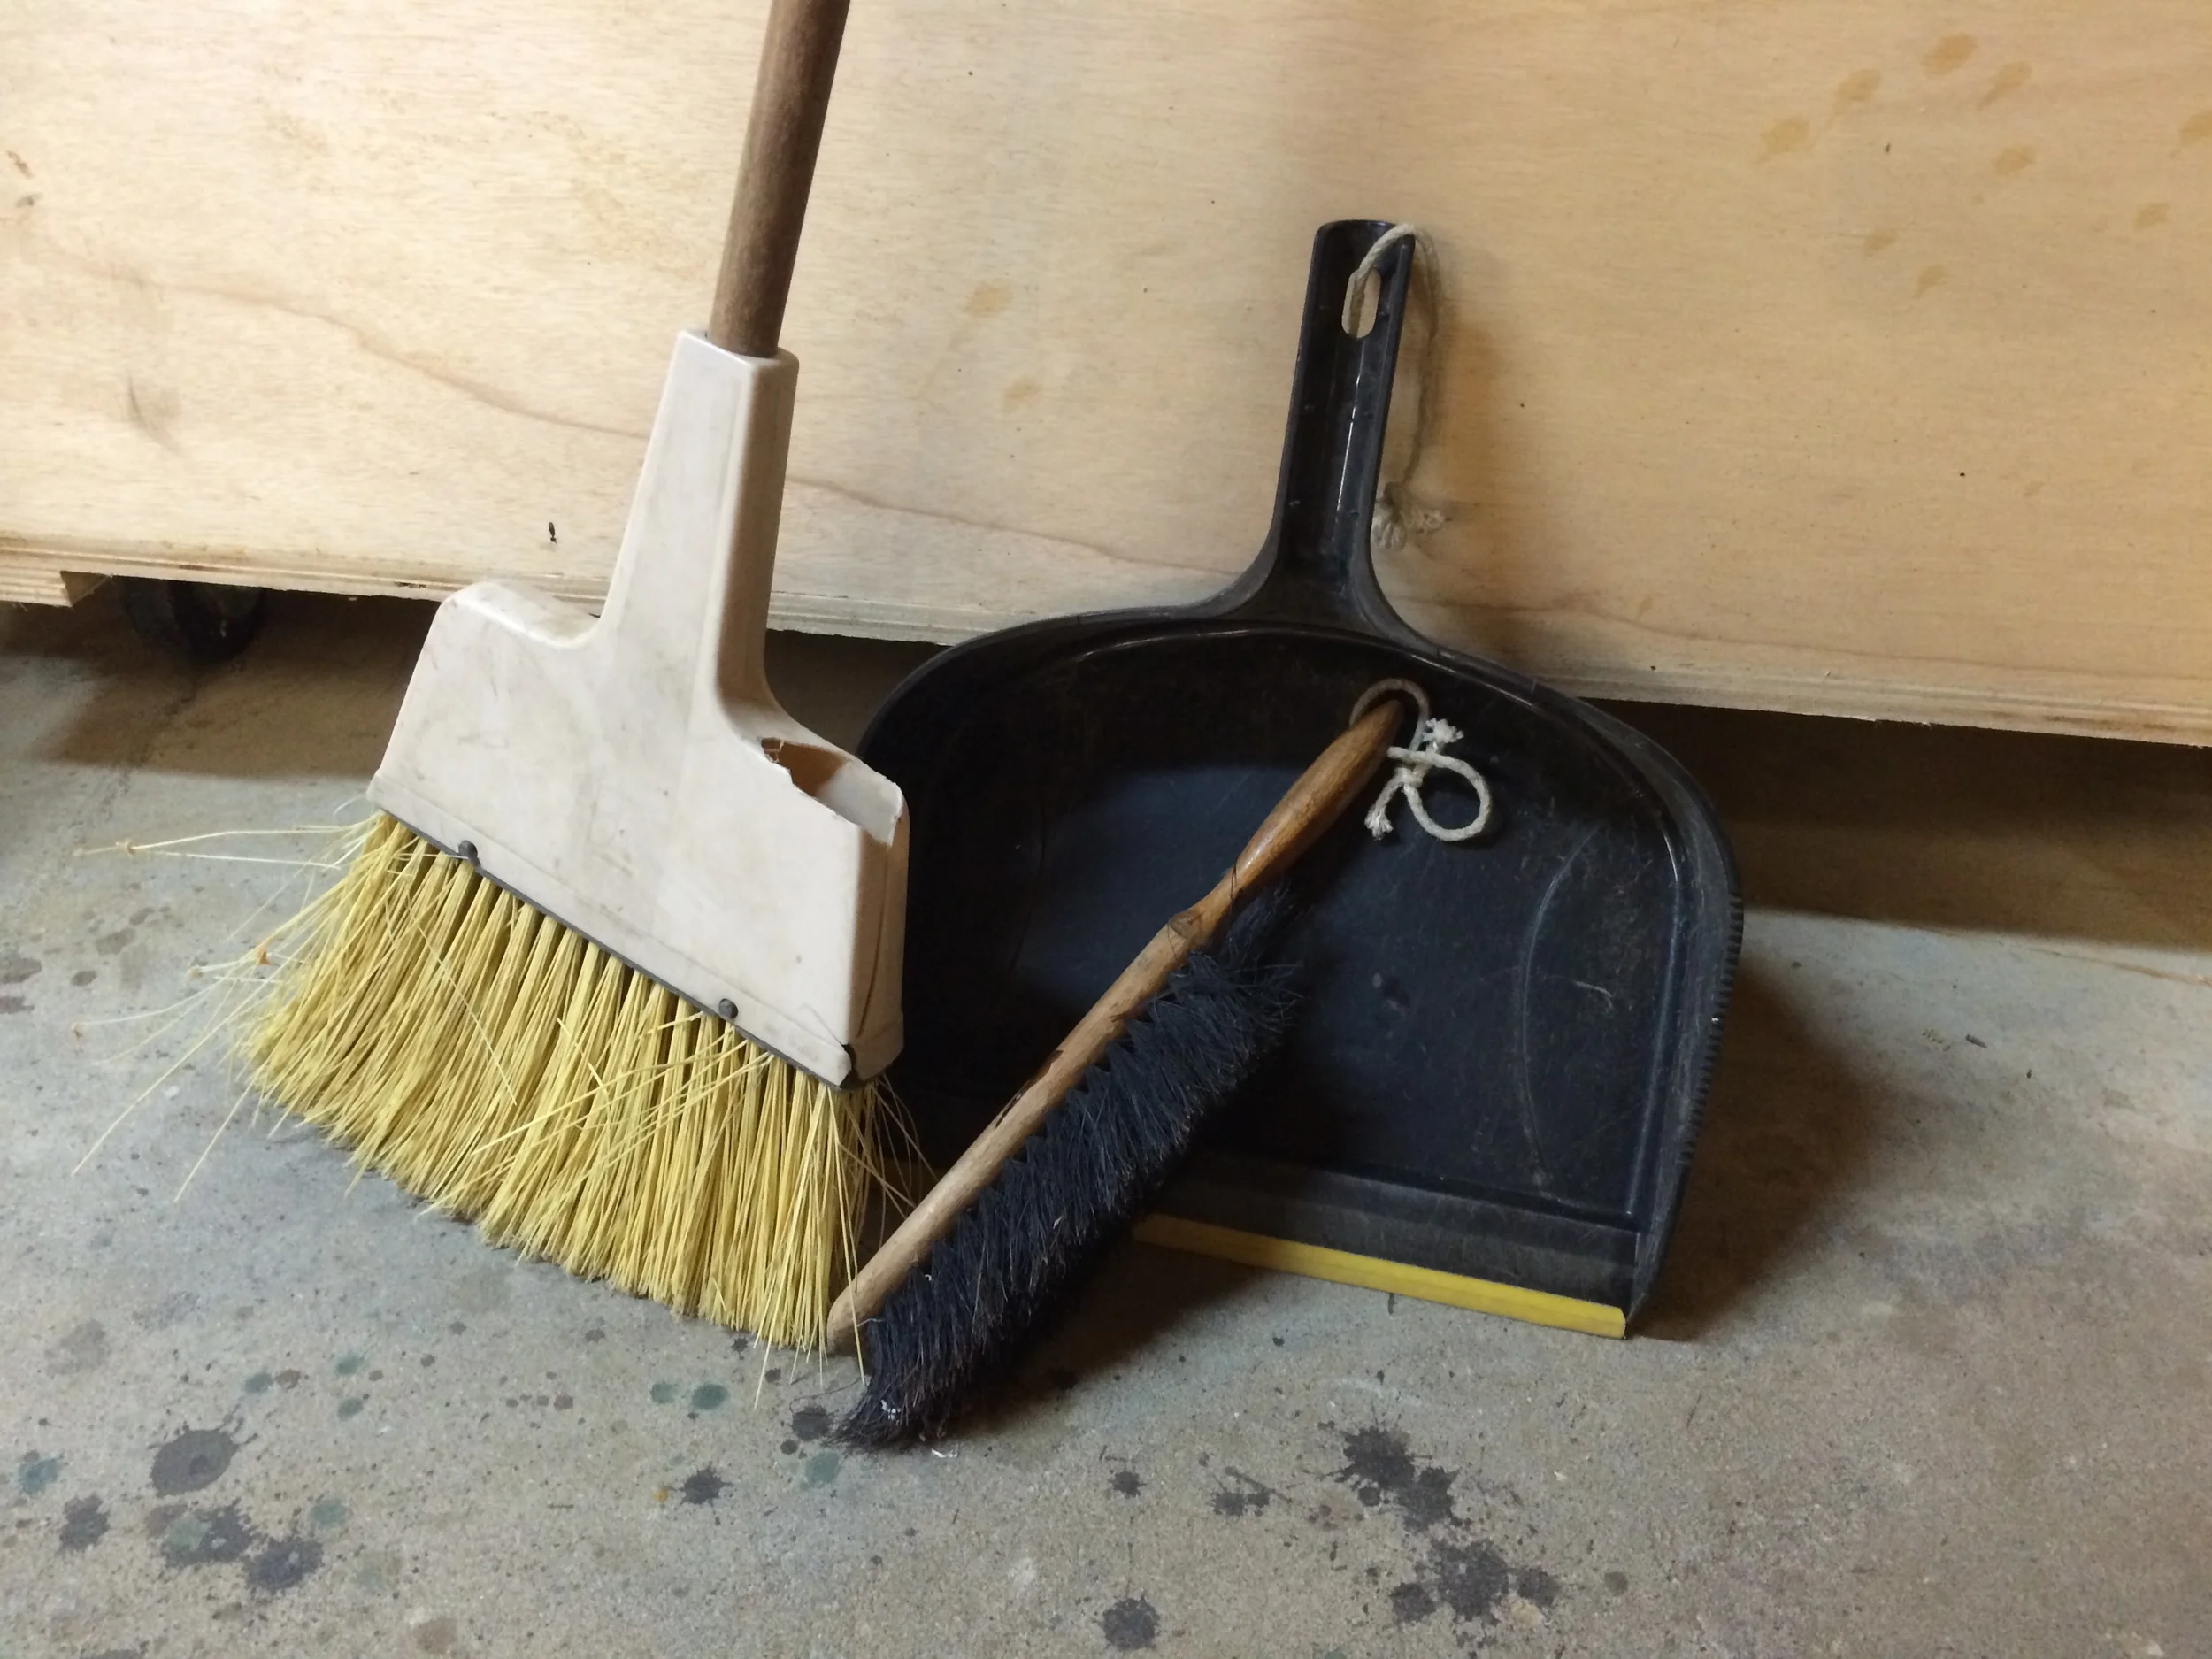
As I get further along the path of making things for my home, I've found that the things that aren't made by me, and especially the ones that are made of ugly plastic or are otherwise crappy, beg to be dealt with. Specifically, they beg to be replaced by something hand made, or at least by some natural material.

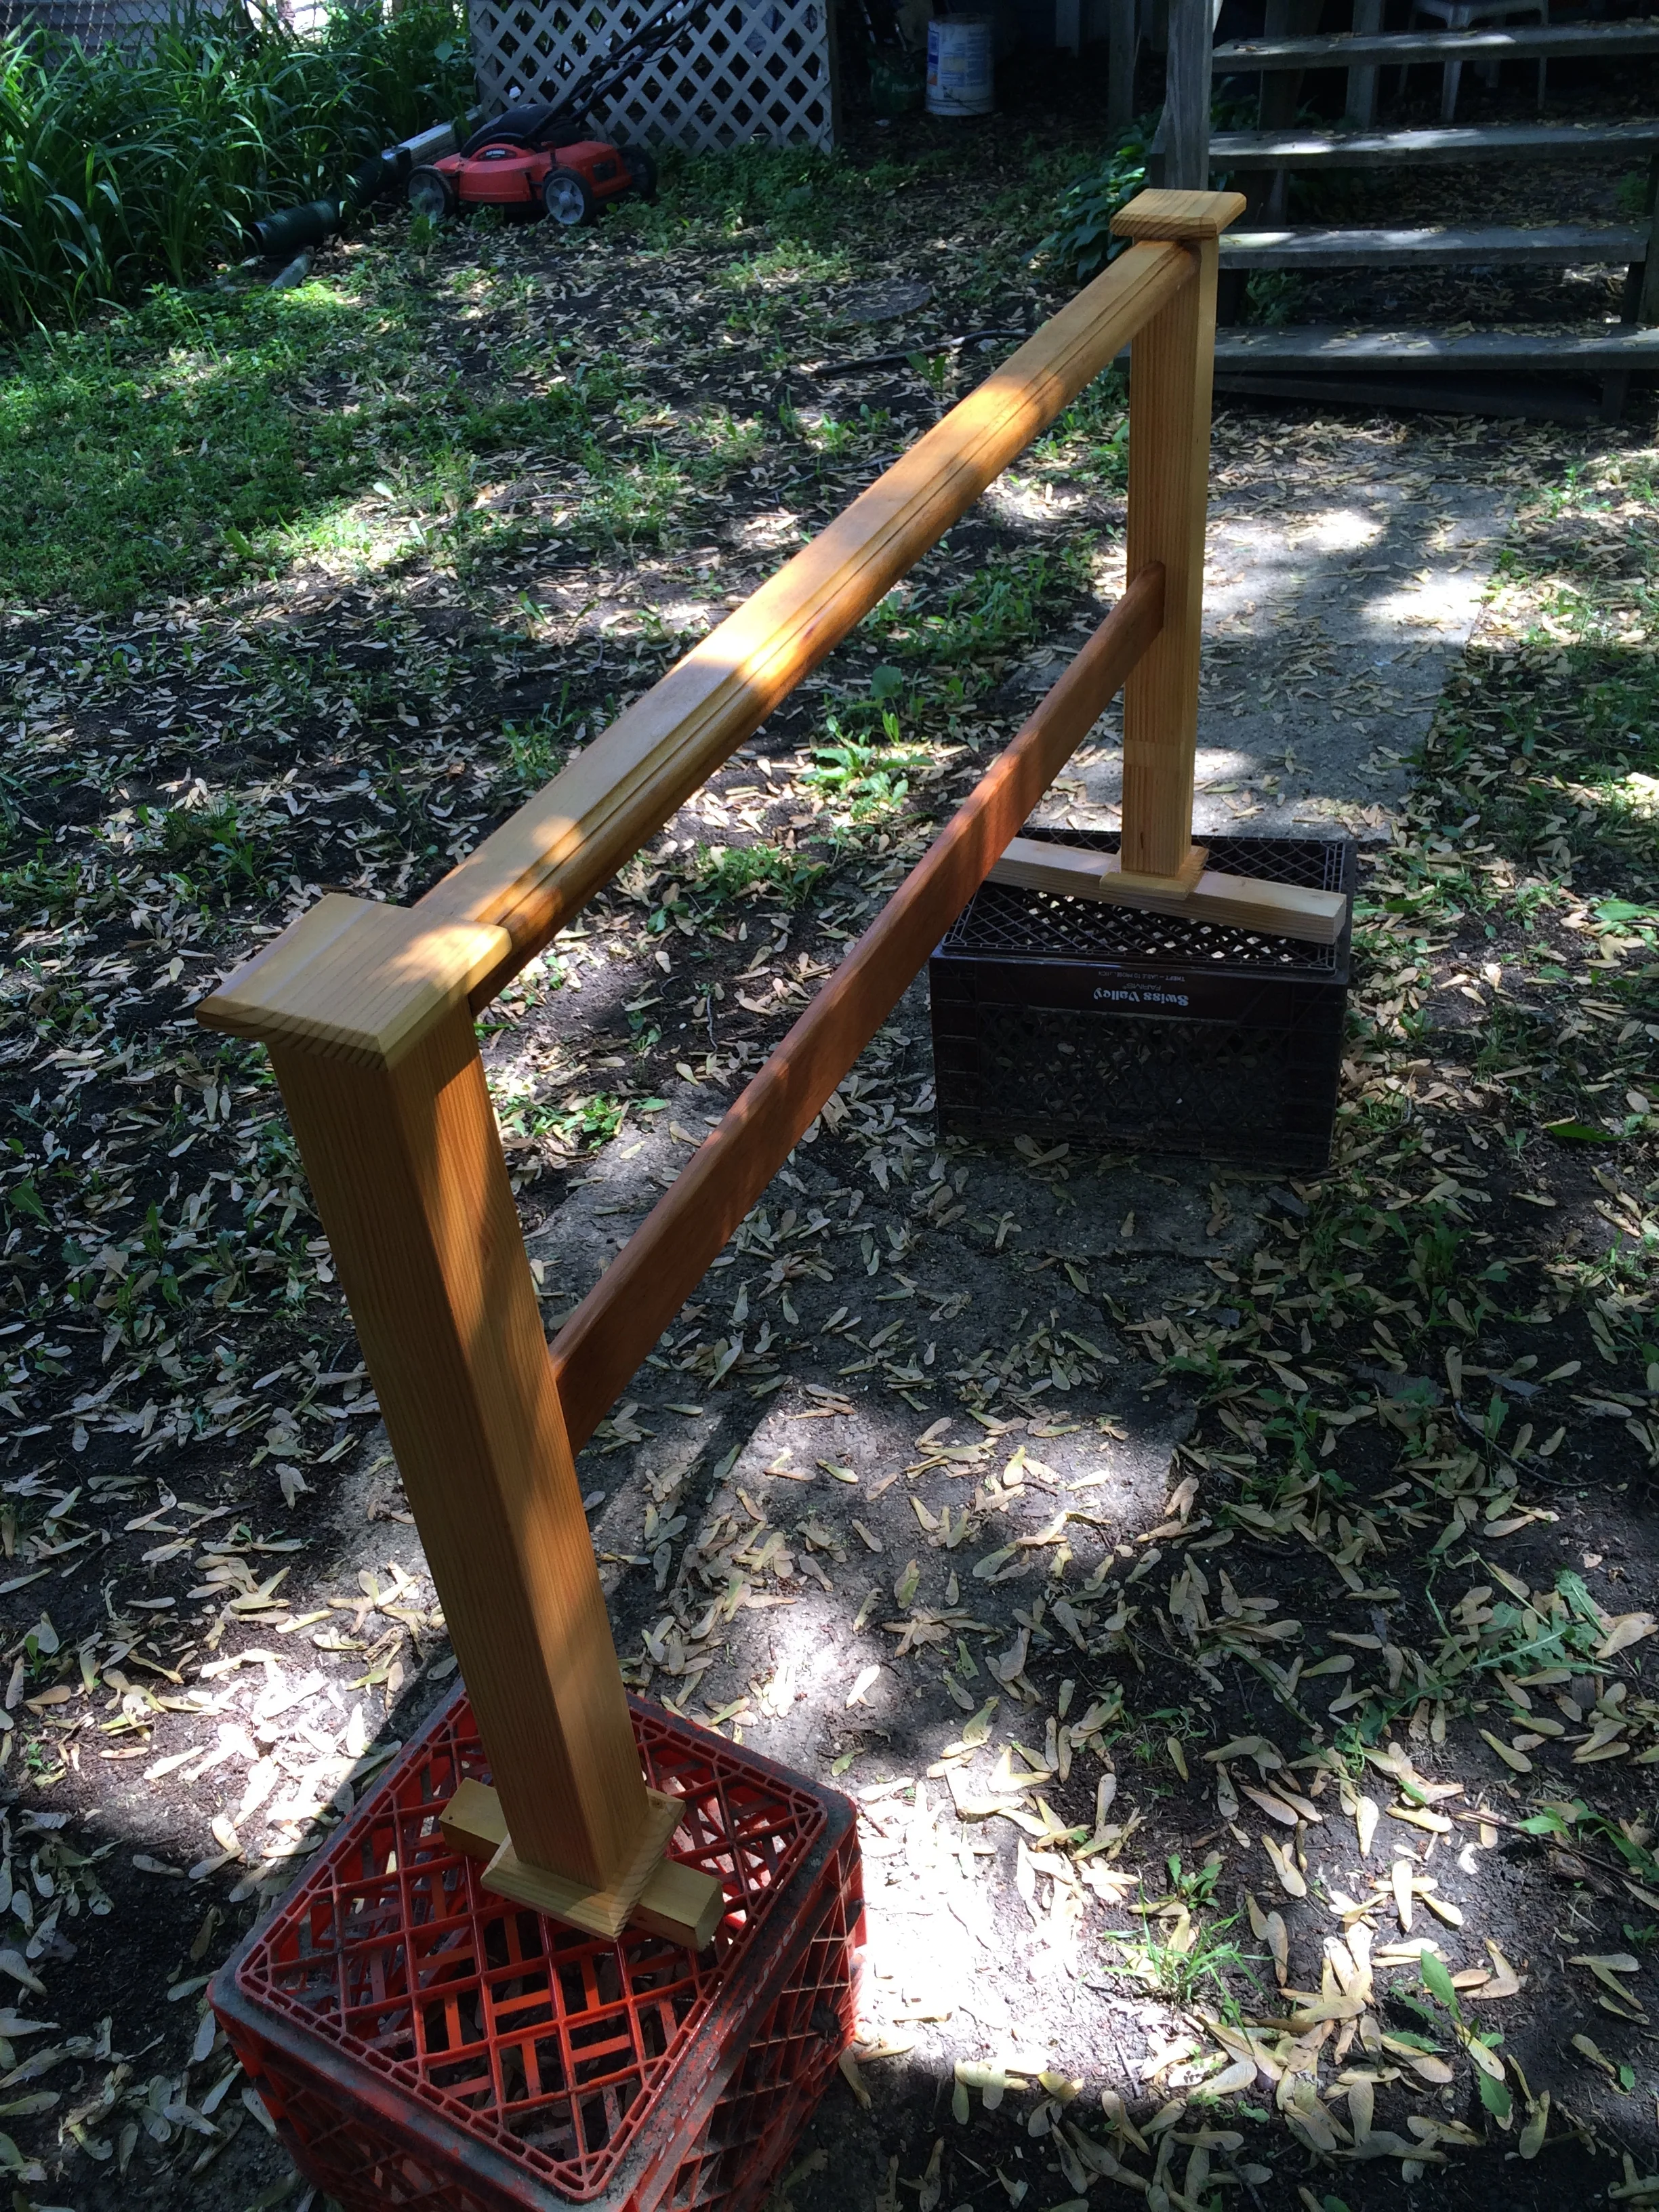
planning with sketches

There's also the perpetual discussion among woodworkers about dealing with all the scrap wood and cutoffs that woodworking creates. On one side, there are the fanatical, I'm-thriftier-than-thou zealots who loudly proclaim "Scrap wood?!?! There's no such thing!", and go on to explain how they went from using the 200 year old trees on their property to build their house, then all furniture in it, then scores of picture frames and cutting boards, then turned a bunch of pens, and now pick their teeth with the remainder. On the other side, there are the "I only have what I need for my current project" types, with the rest heading right into the "burn pile" (those people usually have wood burning stoves), or even the trash. Most of us woodworkers are somewhere in between, and deal with the scrap wood problem like most people (and us too) deal with being overweight: we do our best, we could do better, and we're always just a little big heavier than we want to be.
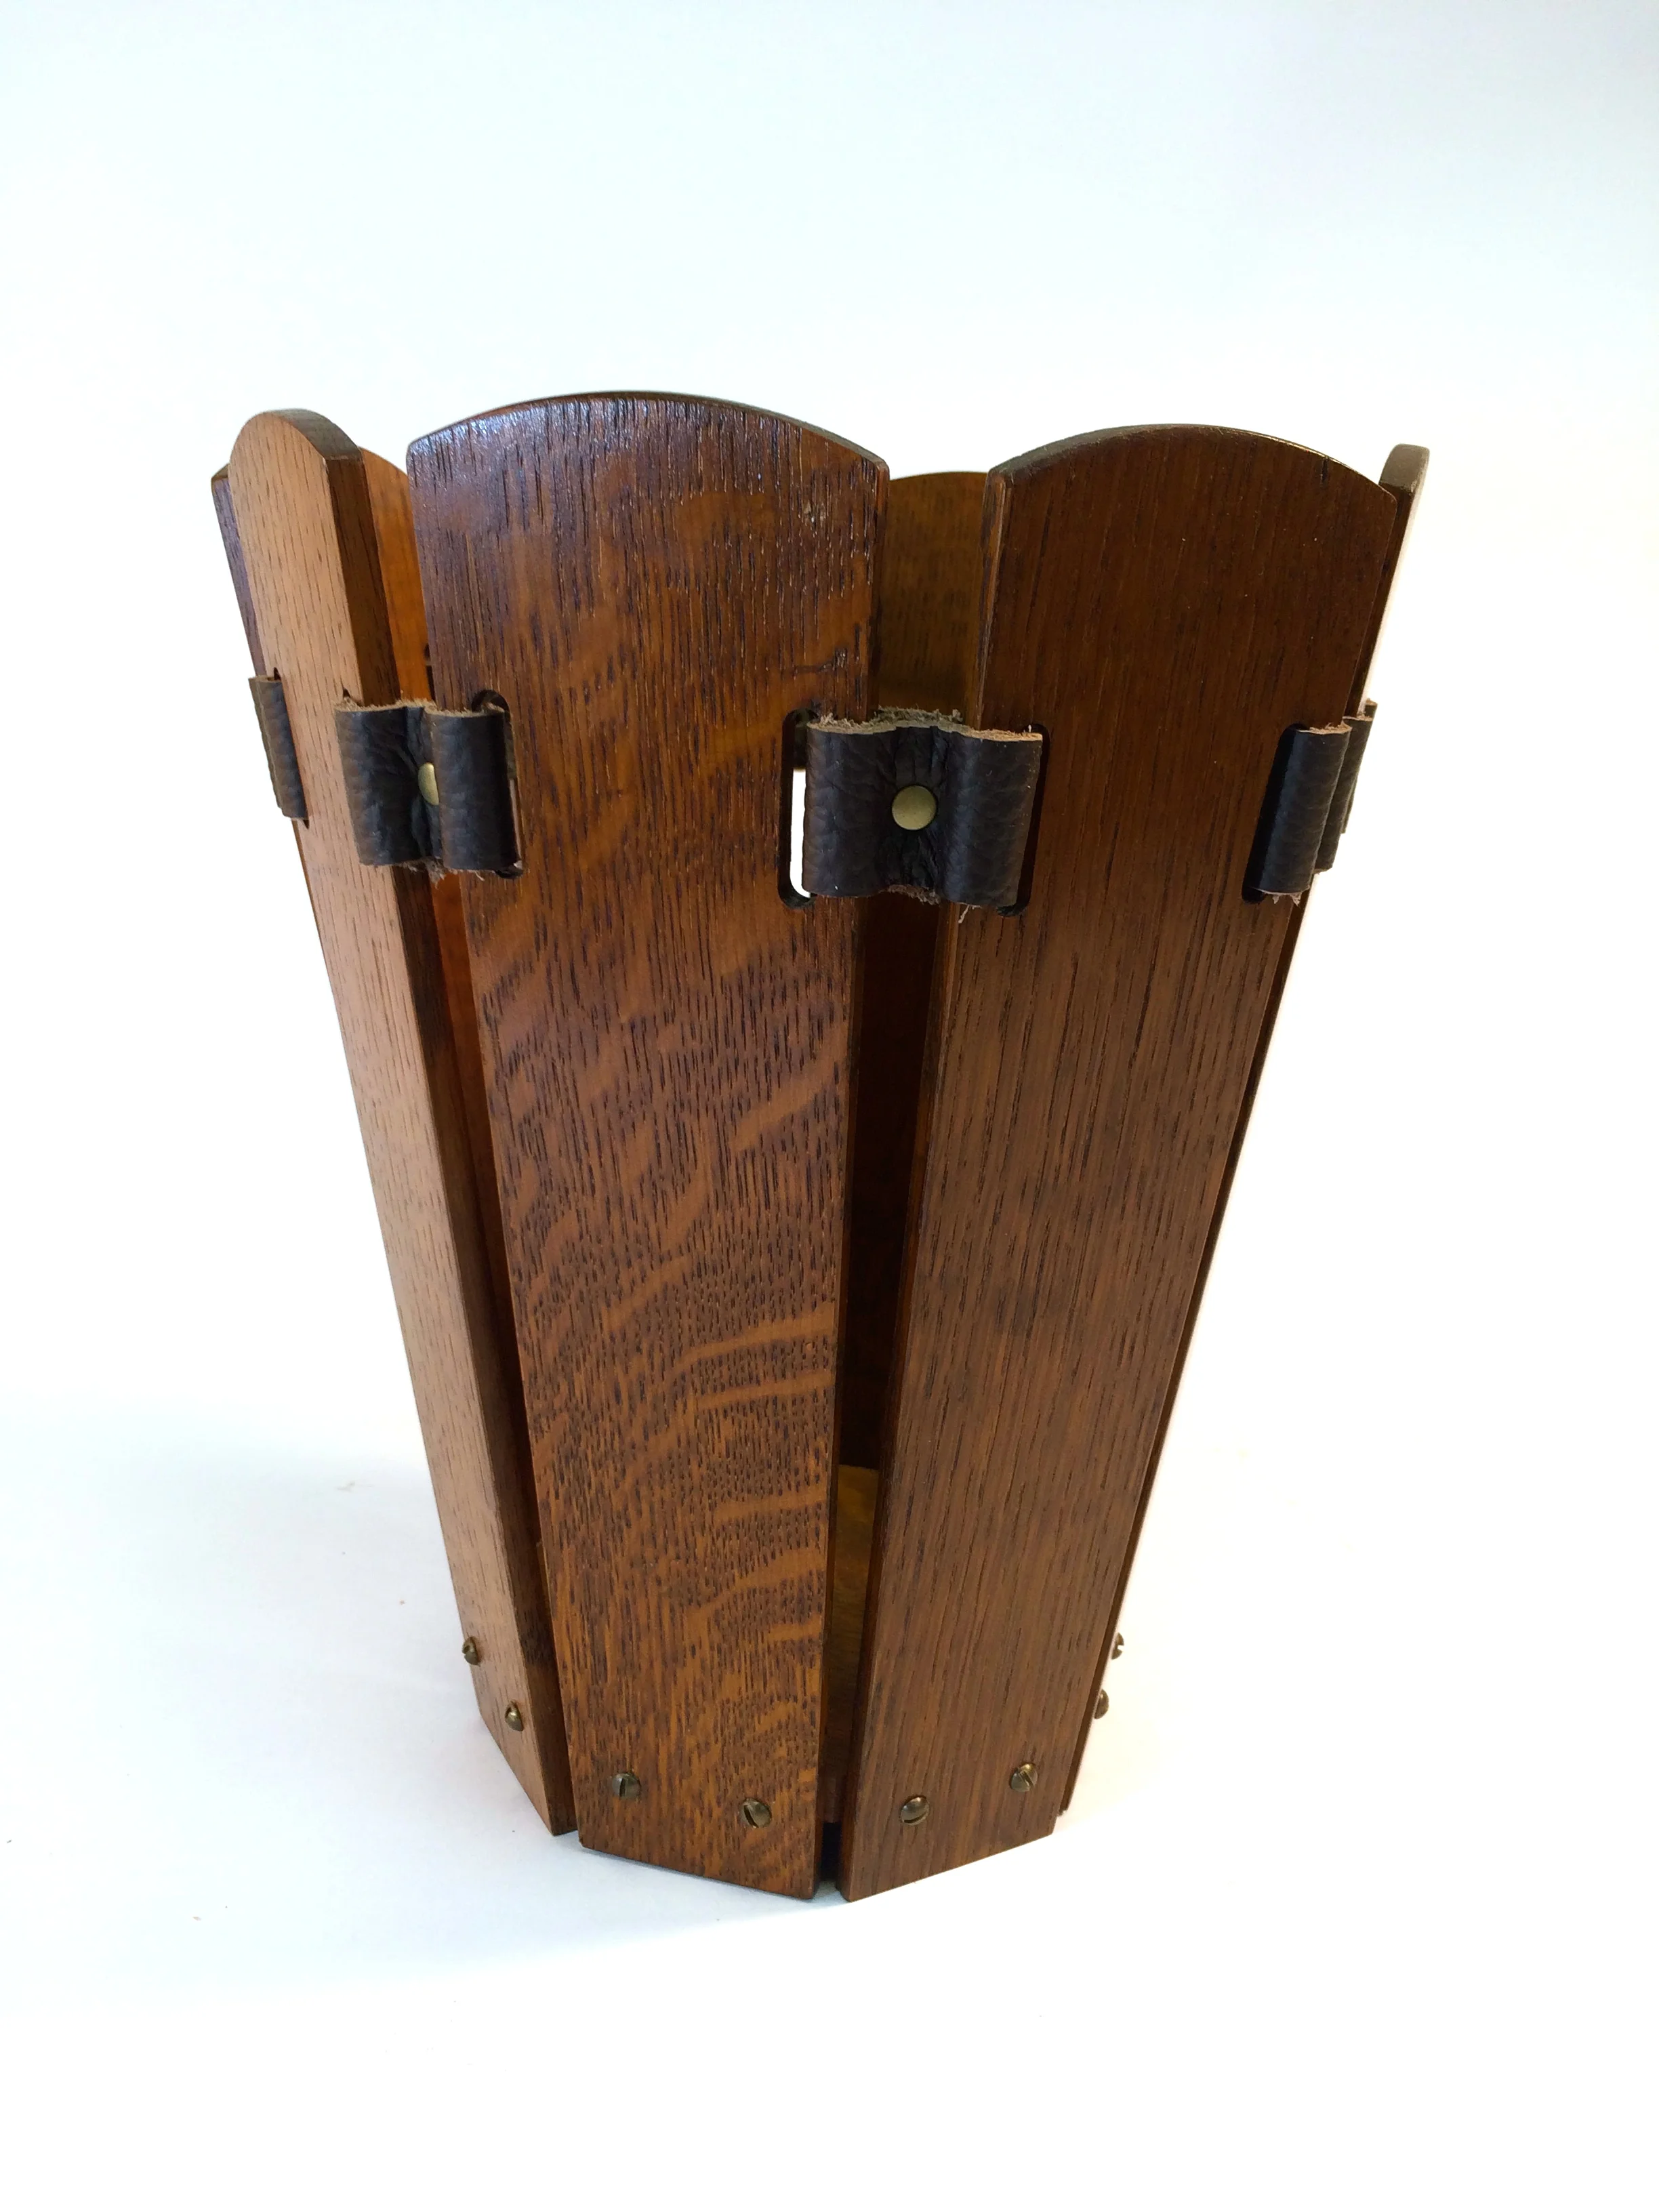
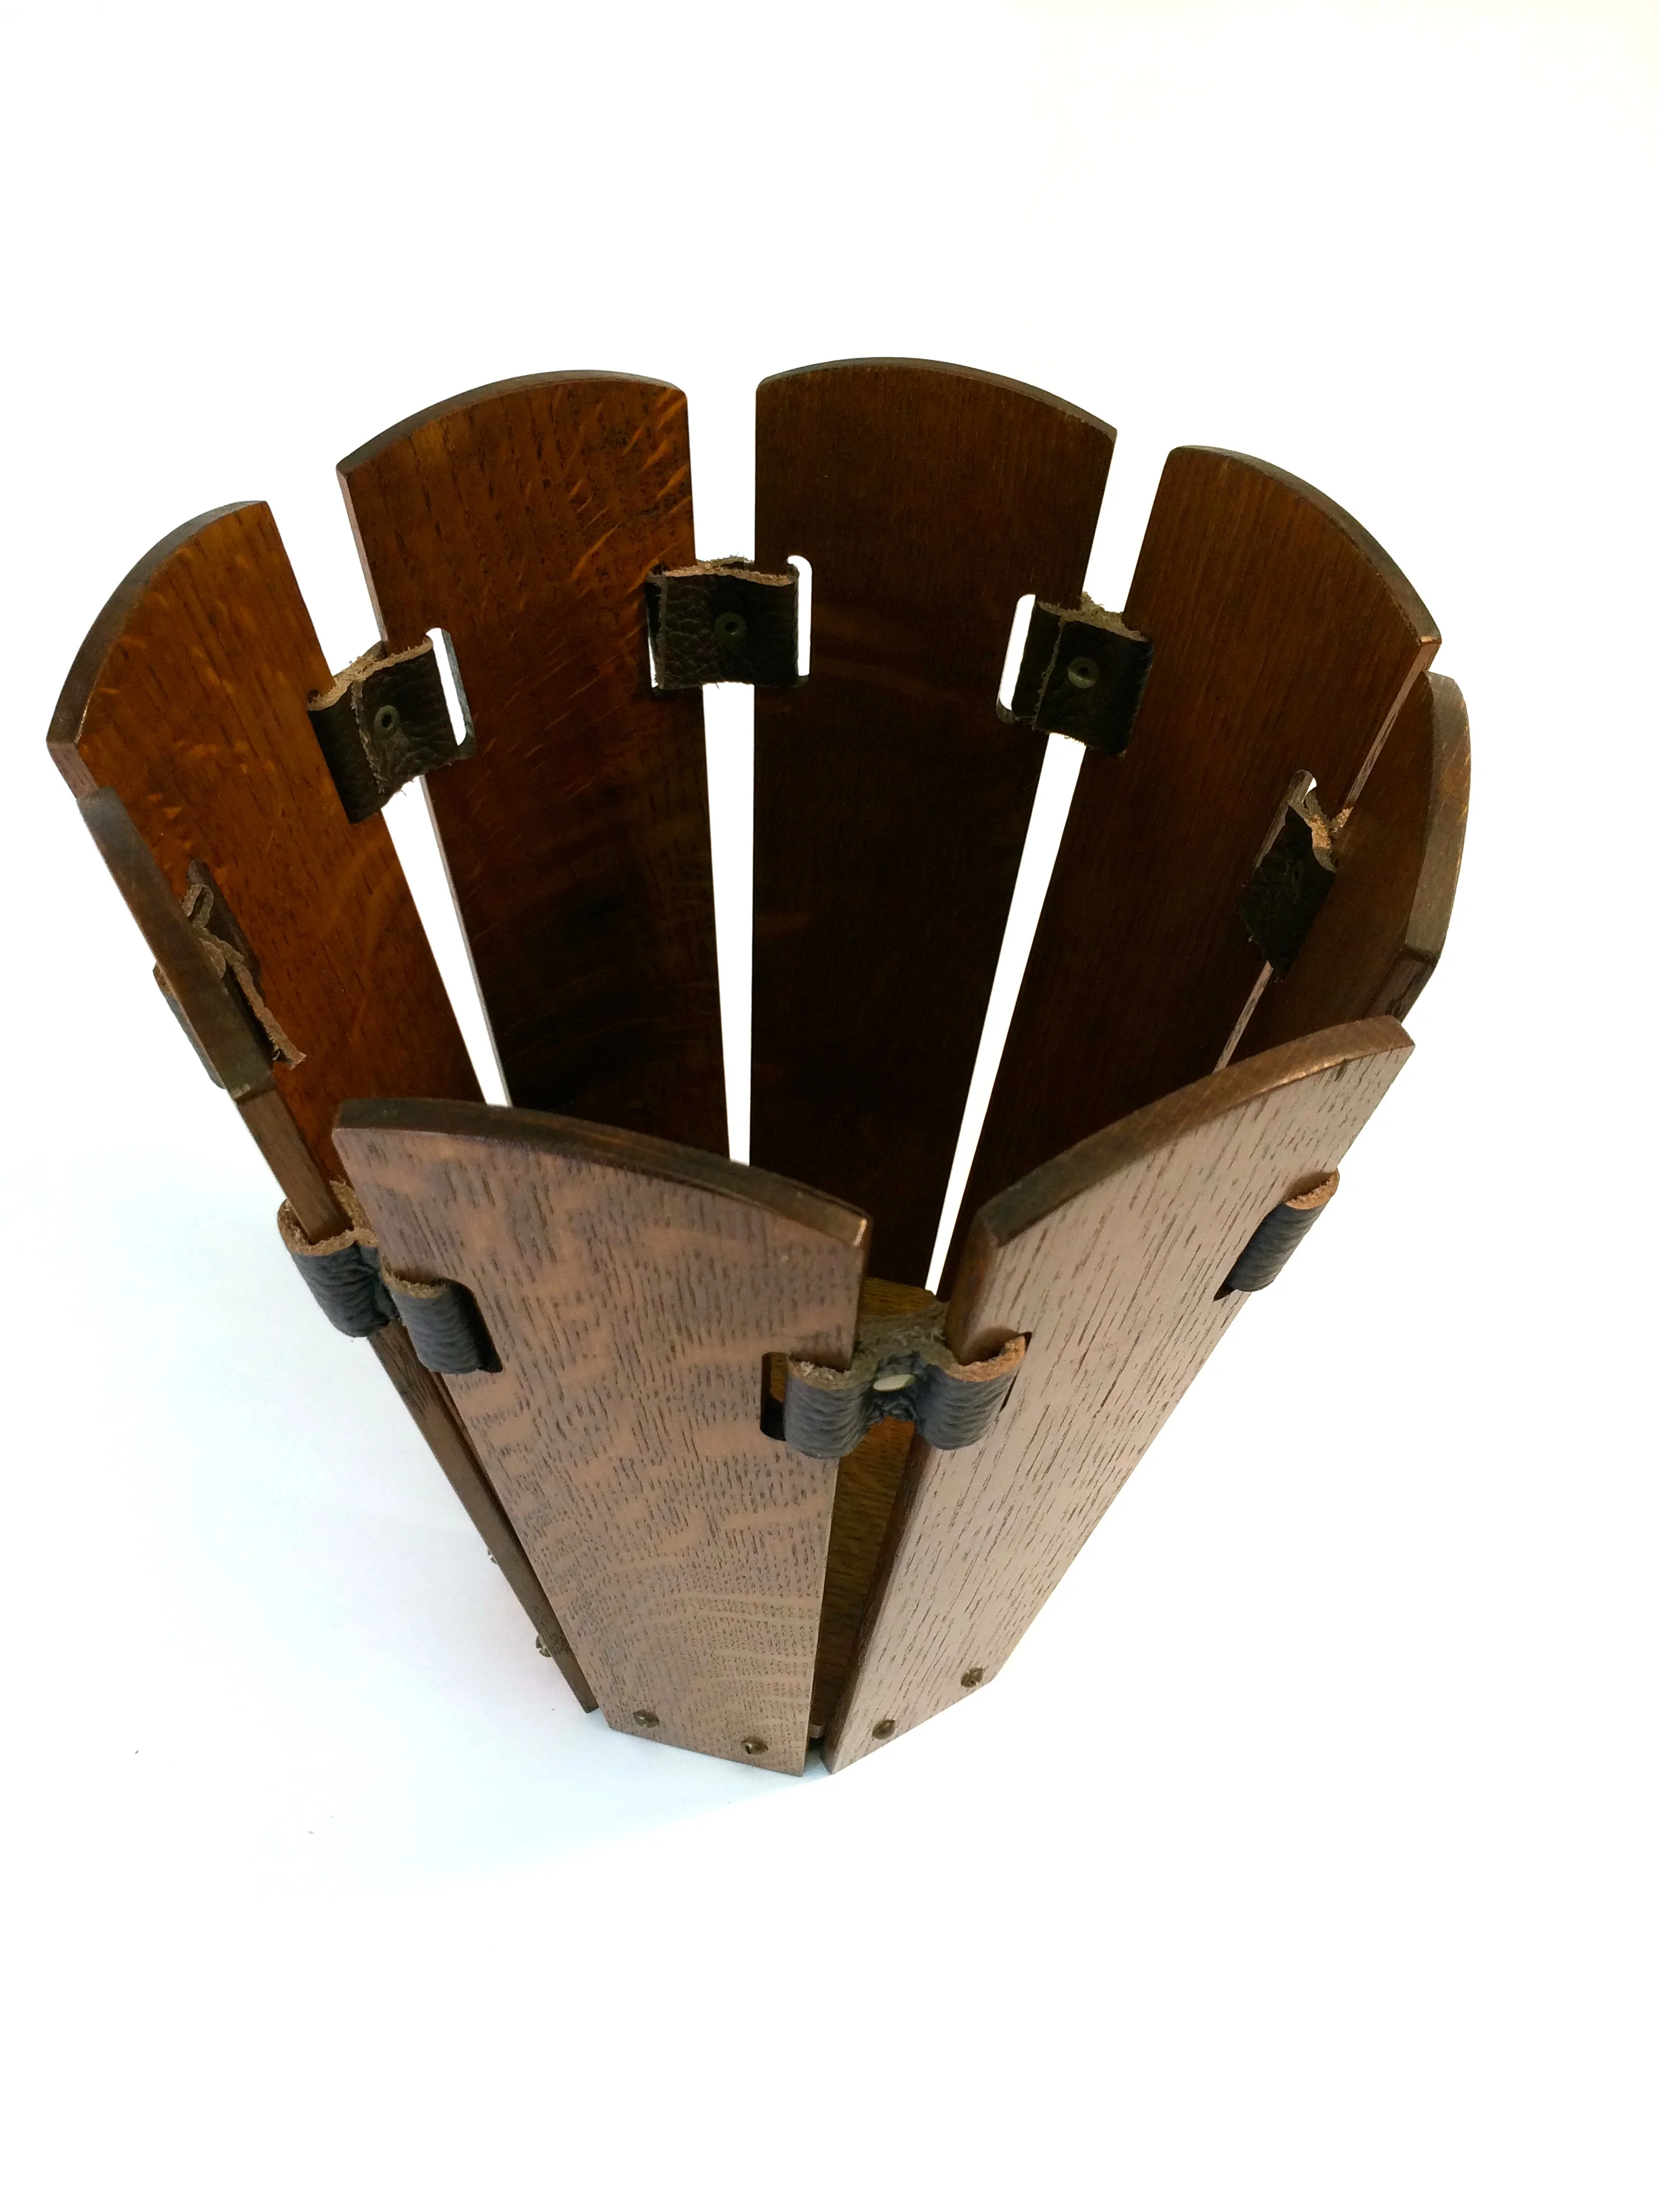
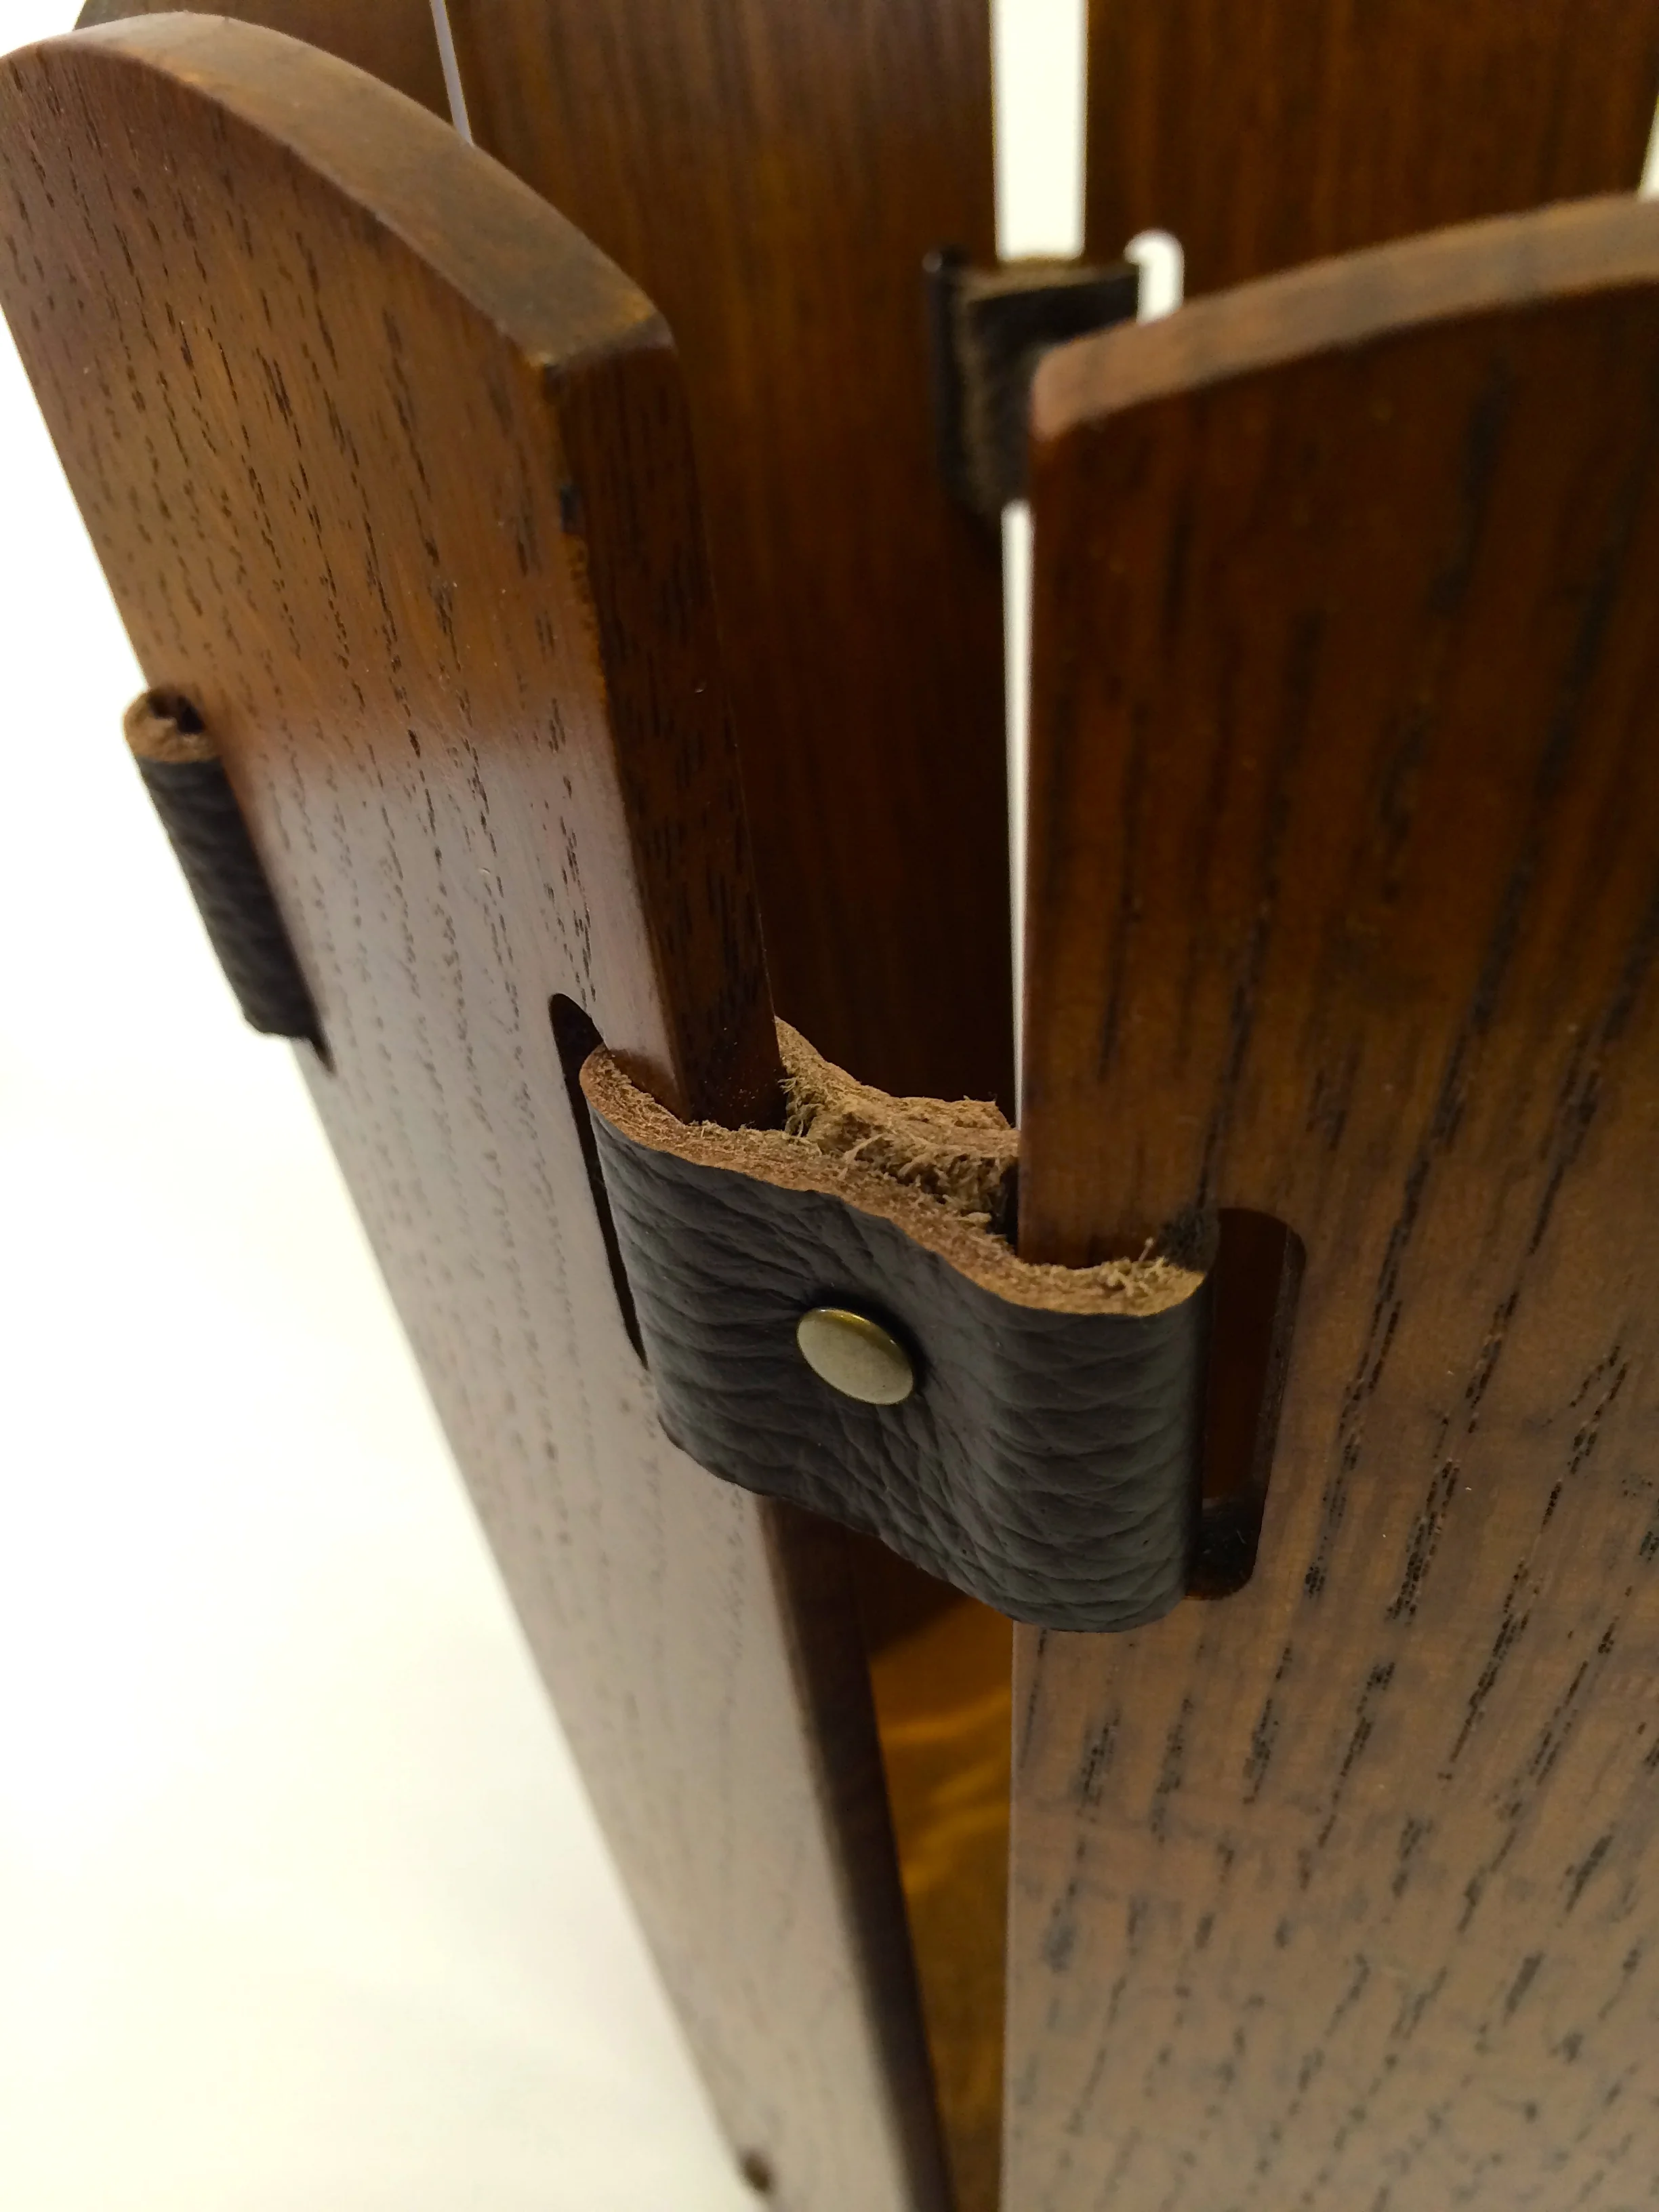
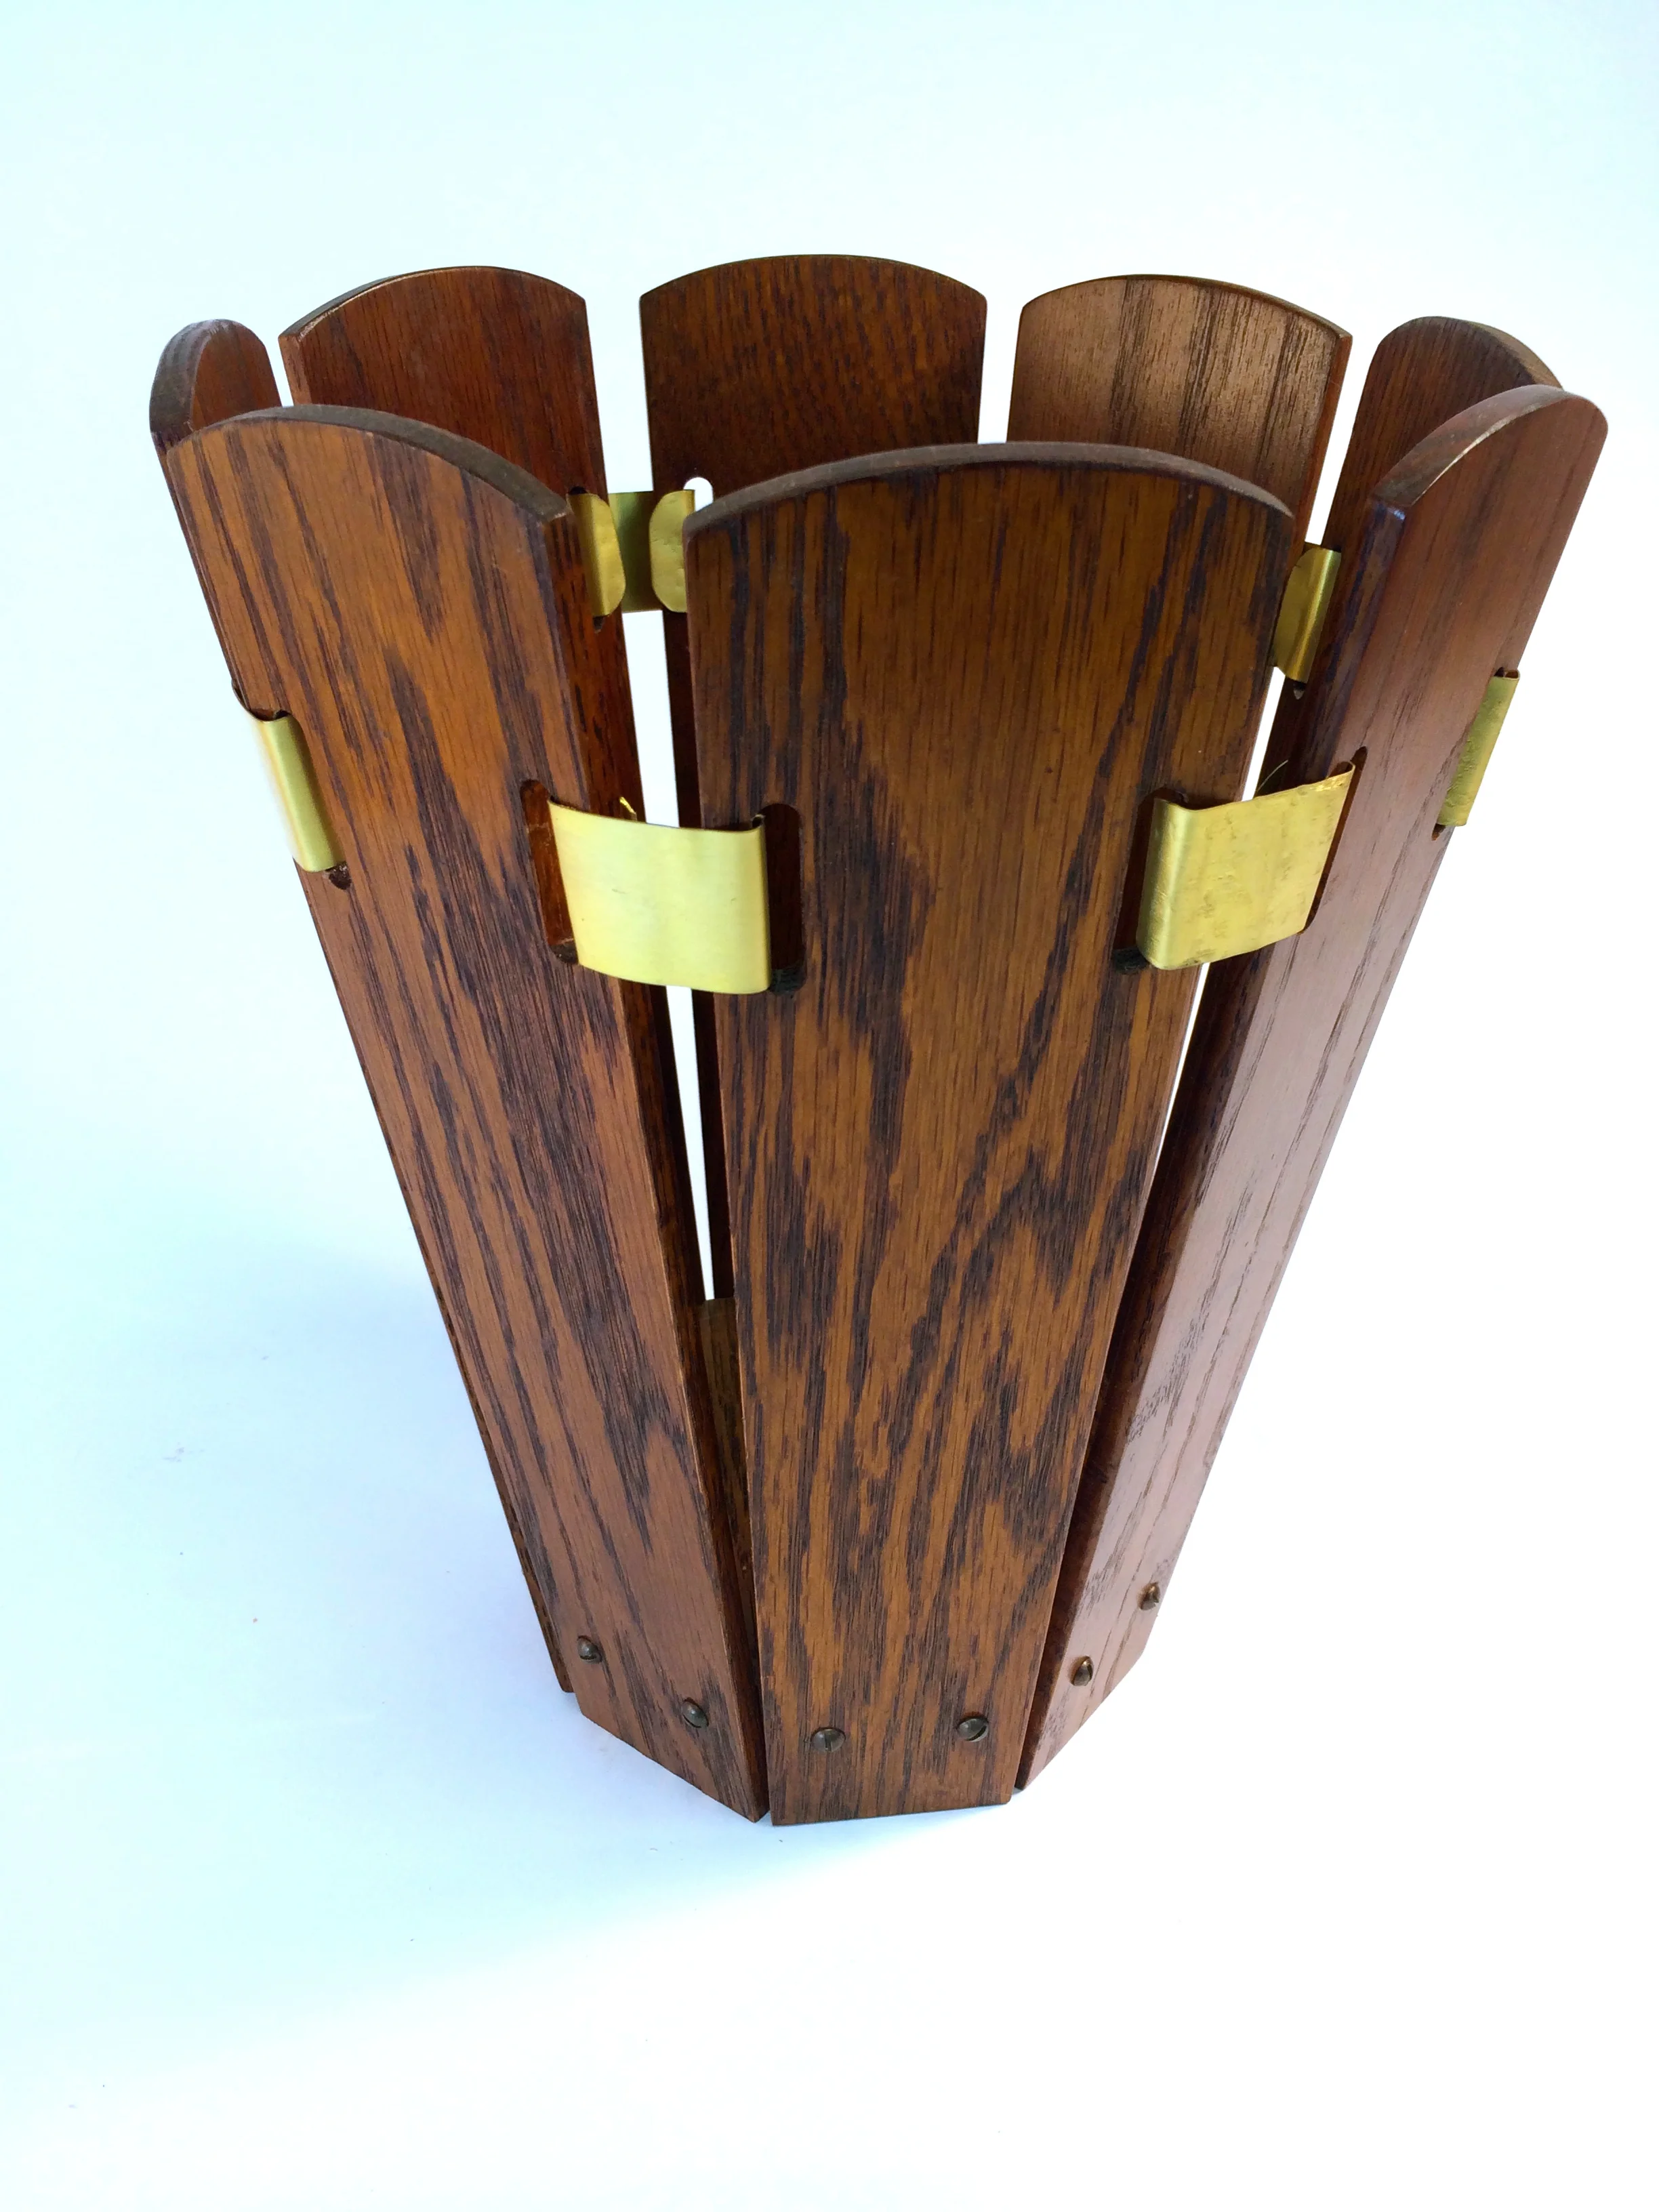
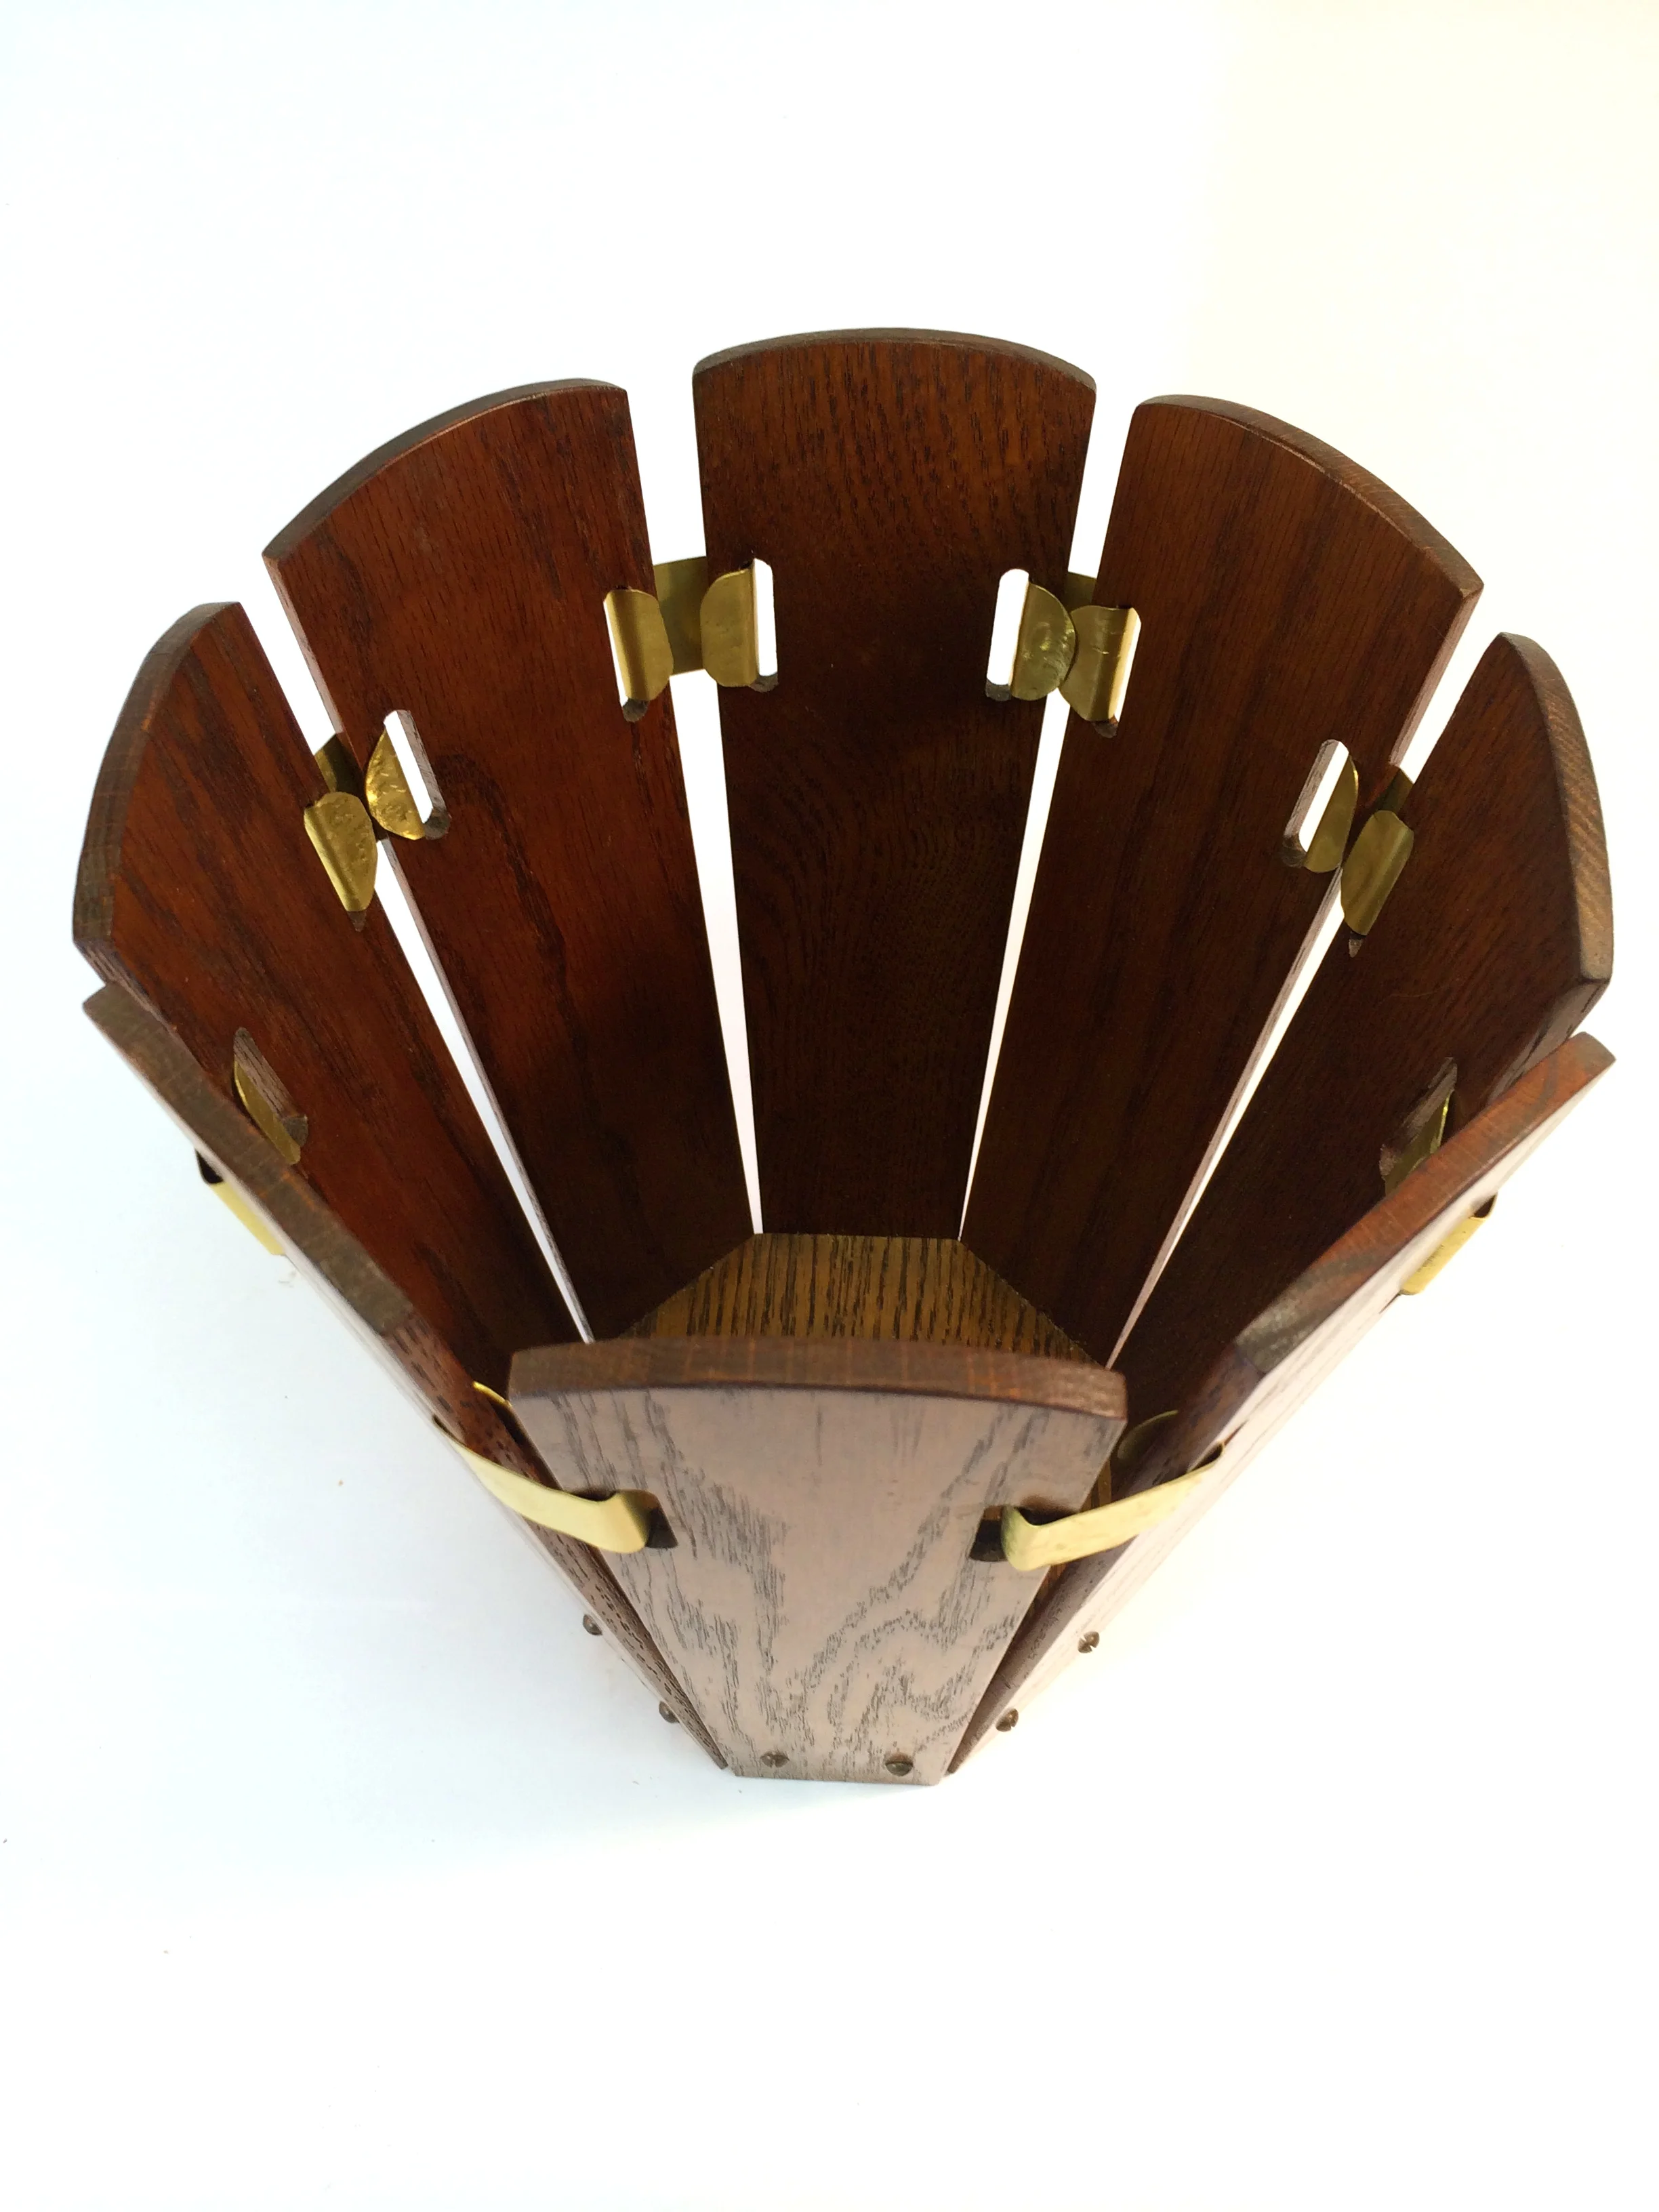
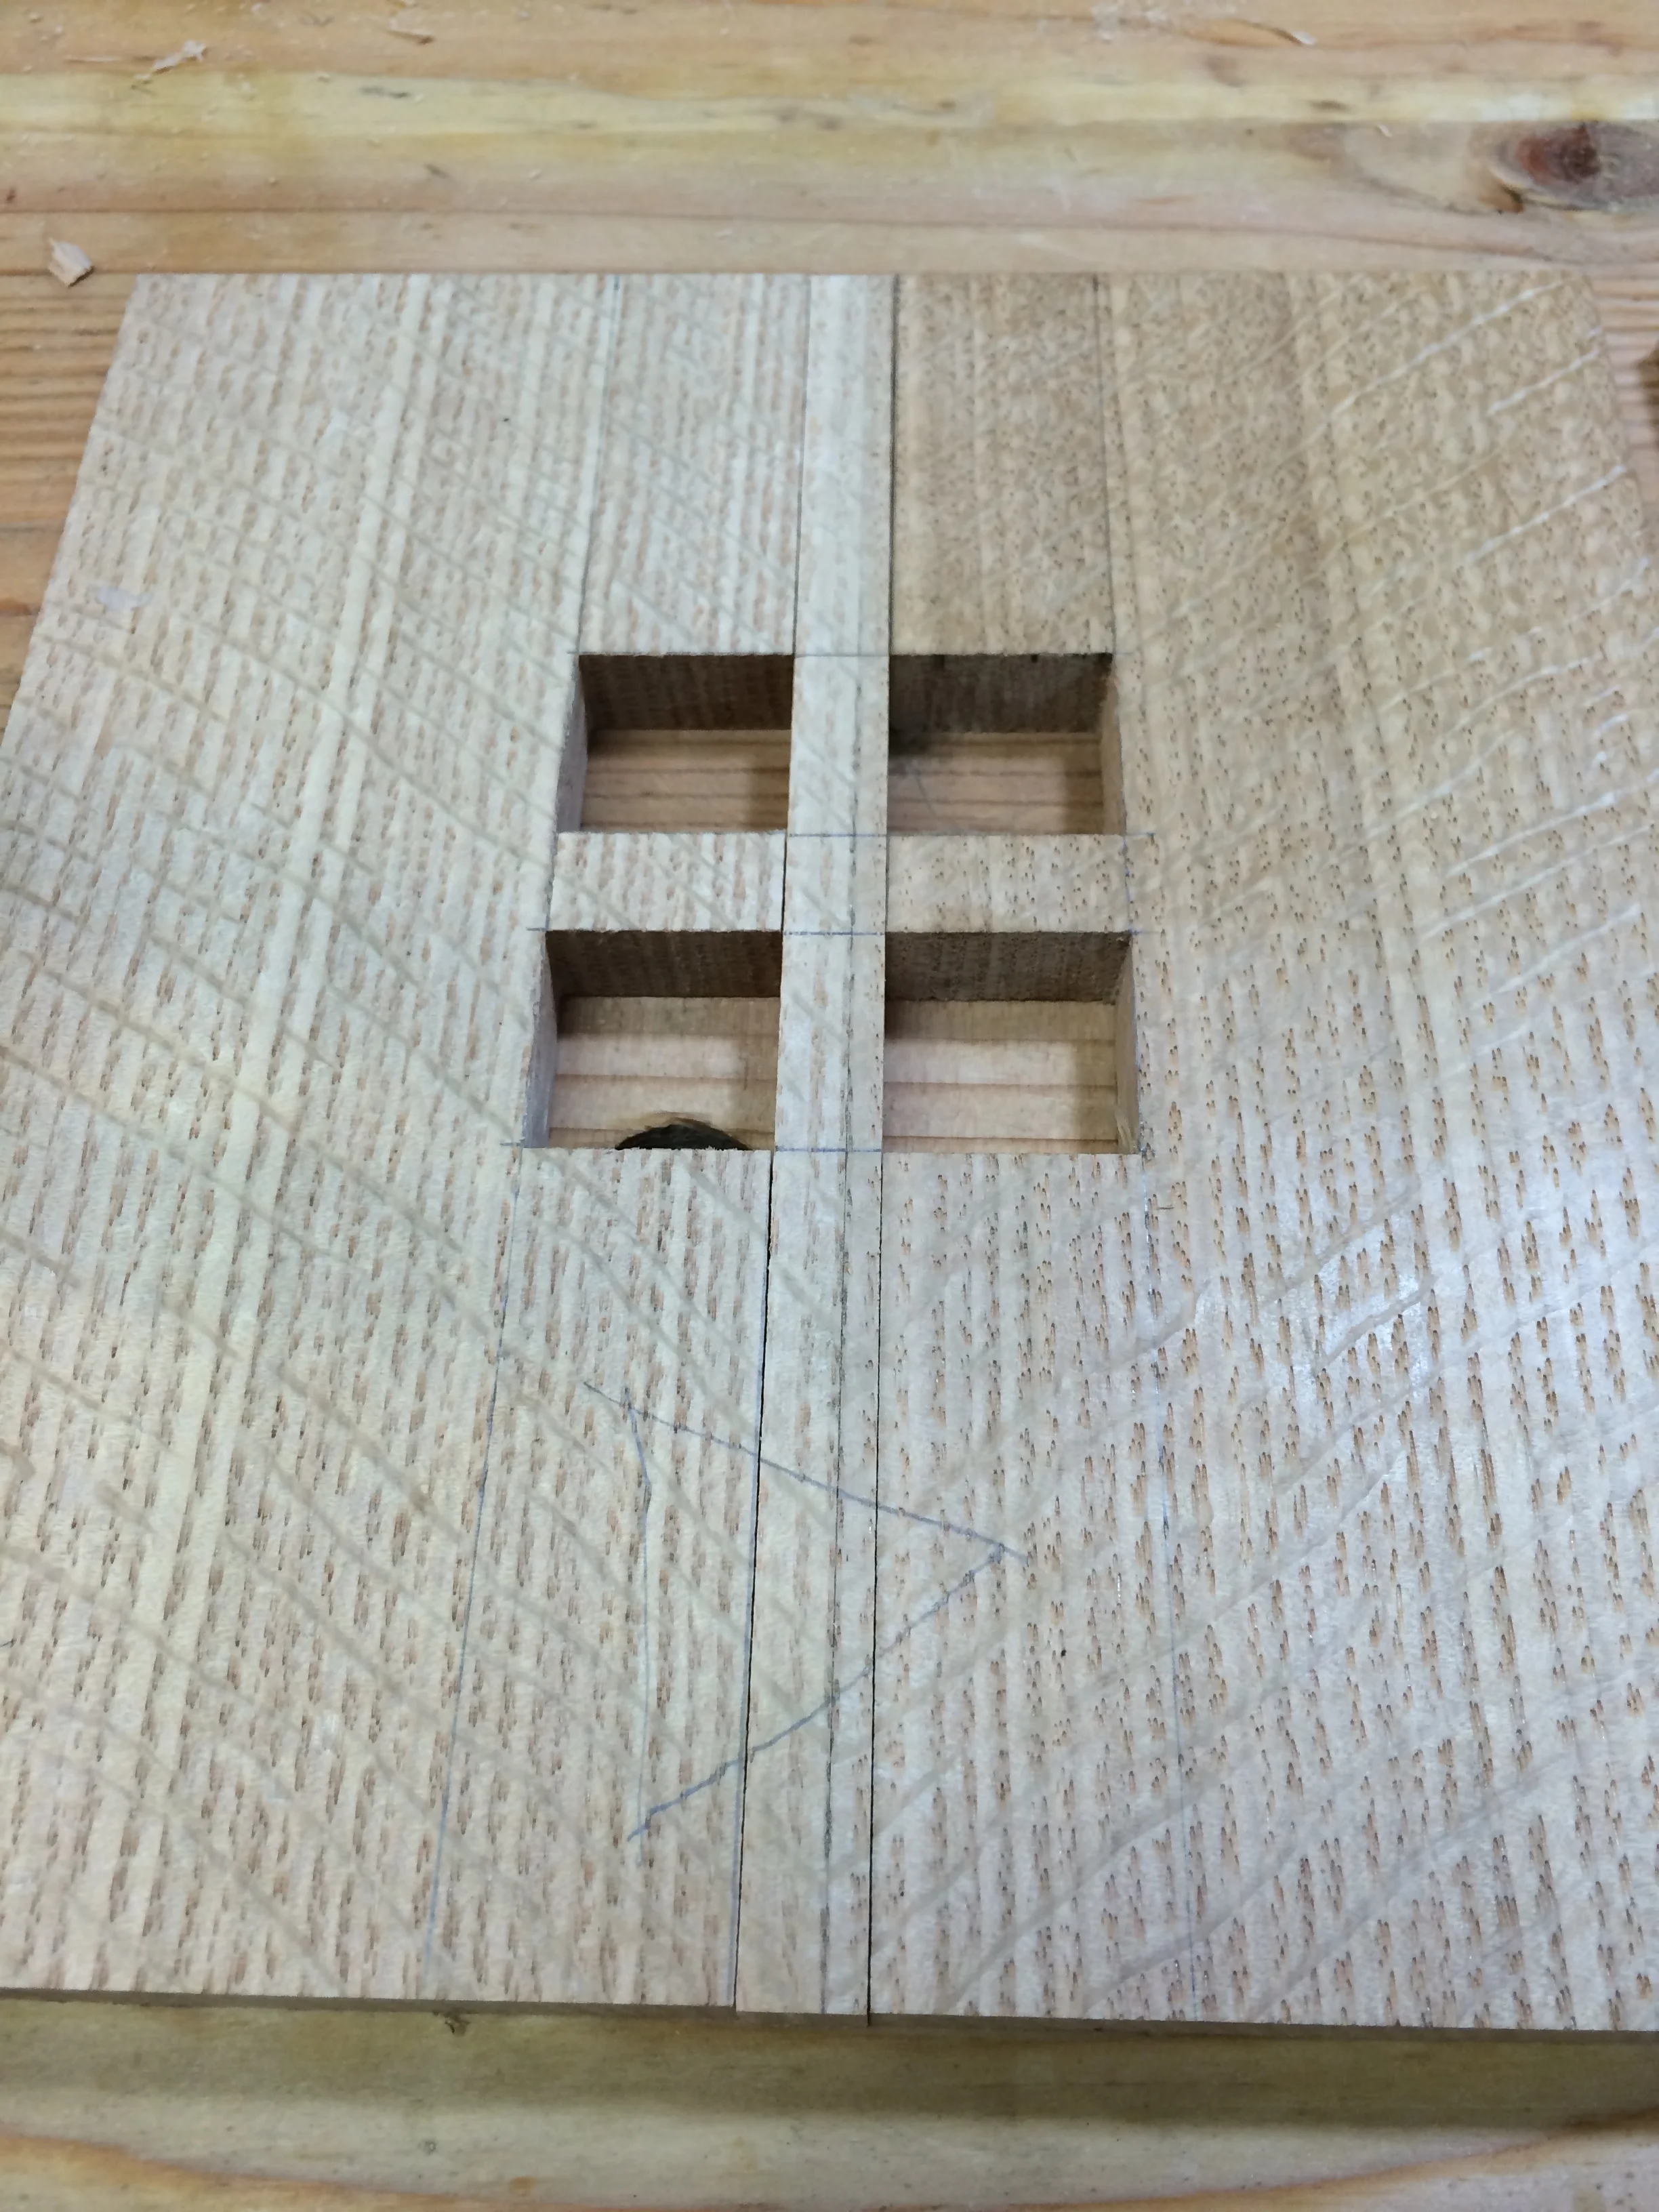
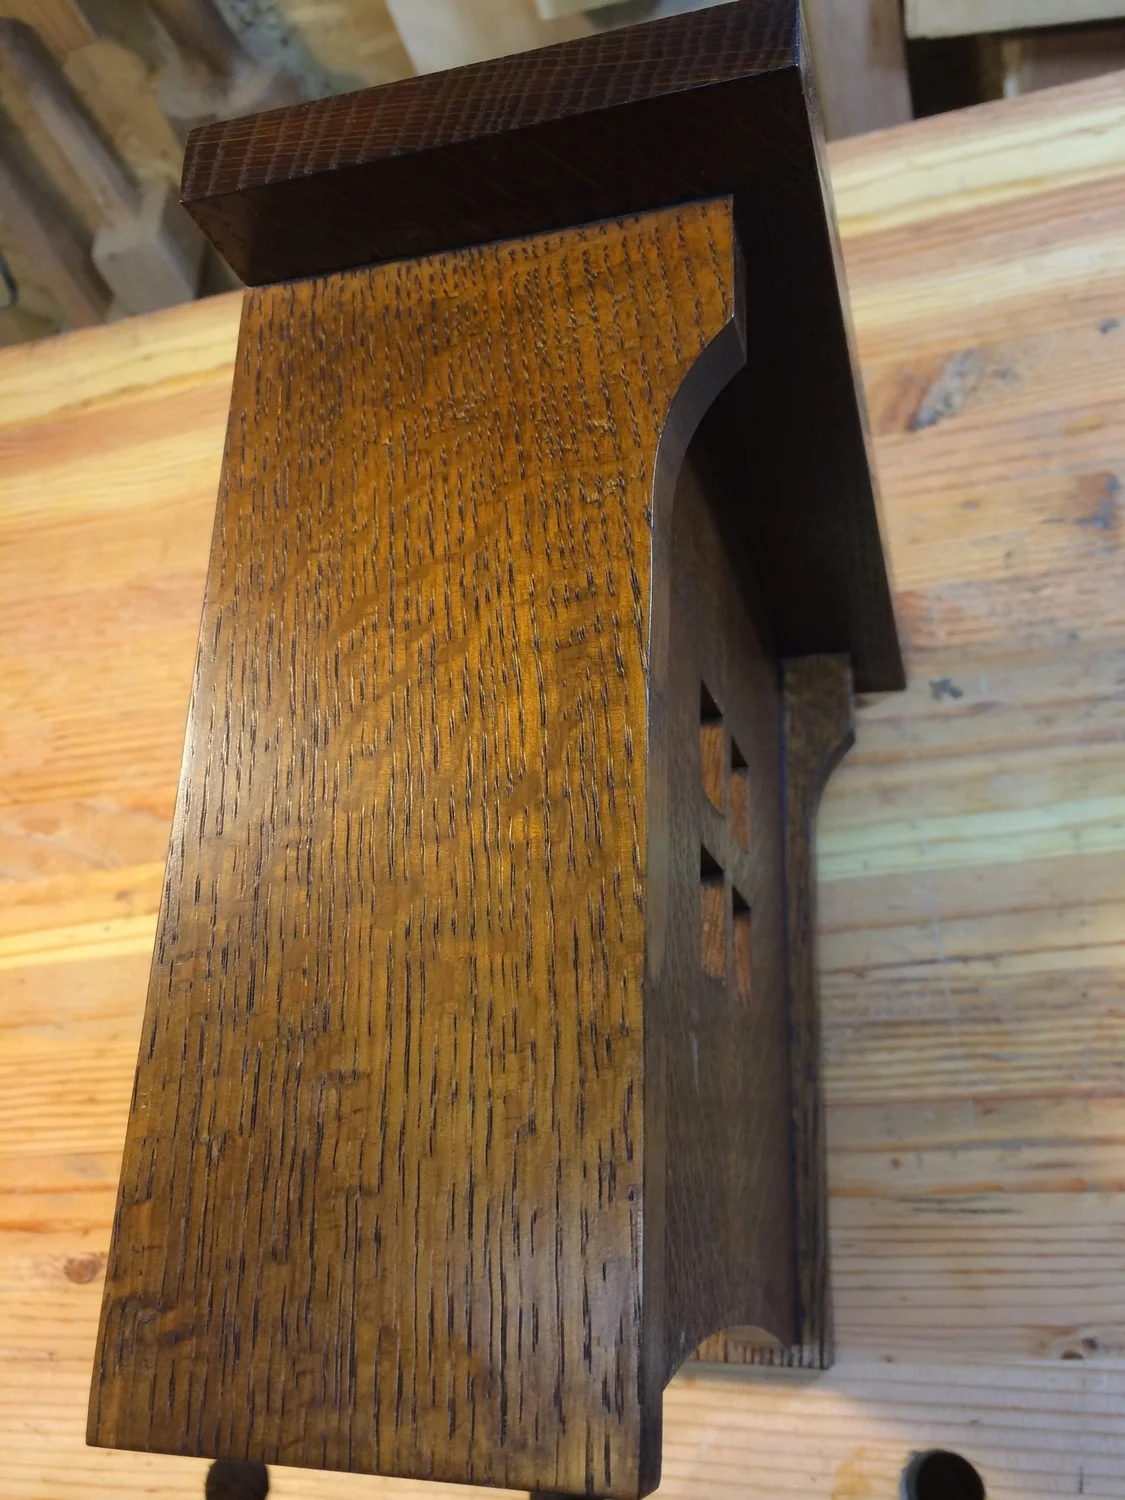
the "leaves" design

My own scrap wood coping technique is to have both a large lumber cart, for sheet and large flat things, a small cart for long & narrow things, and several lumber shelves for the very long boards. When those are full, the rest goes into my burn pile. Yup, that's the RULE. I try to be strict, I really do. But, when a cutoff is just so damn gorgeous, or when the sting of the cost of the lumber is still fairly fresh in my mind, it is hard to follow the RULE. Sometimes I'll swap out the new, better scraps for older, less useful scraps. And then, sometimes, you just get a good pile of too-good-to-toss stuff built up.

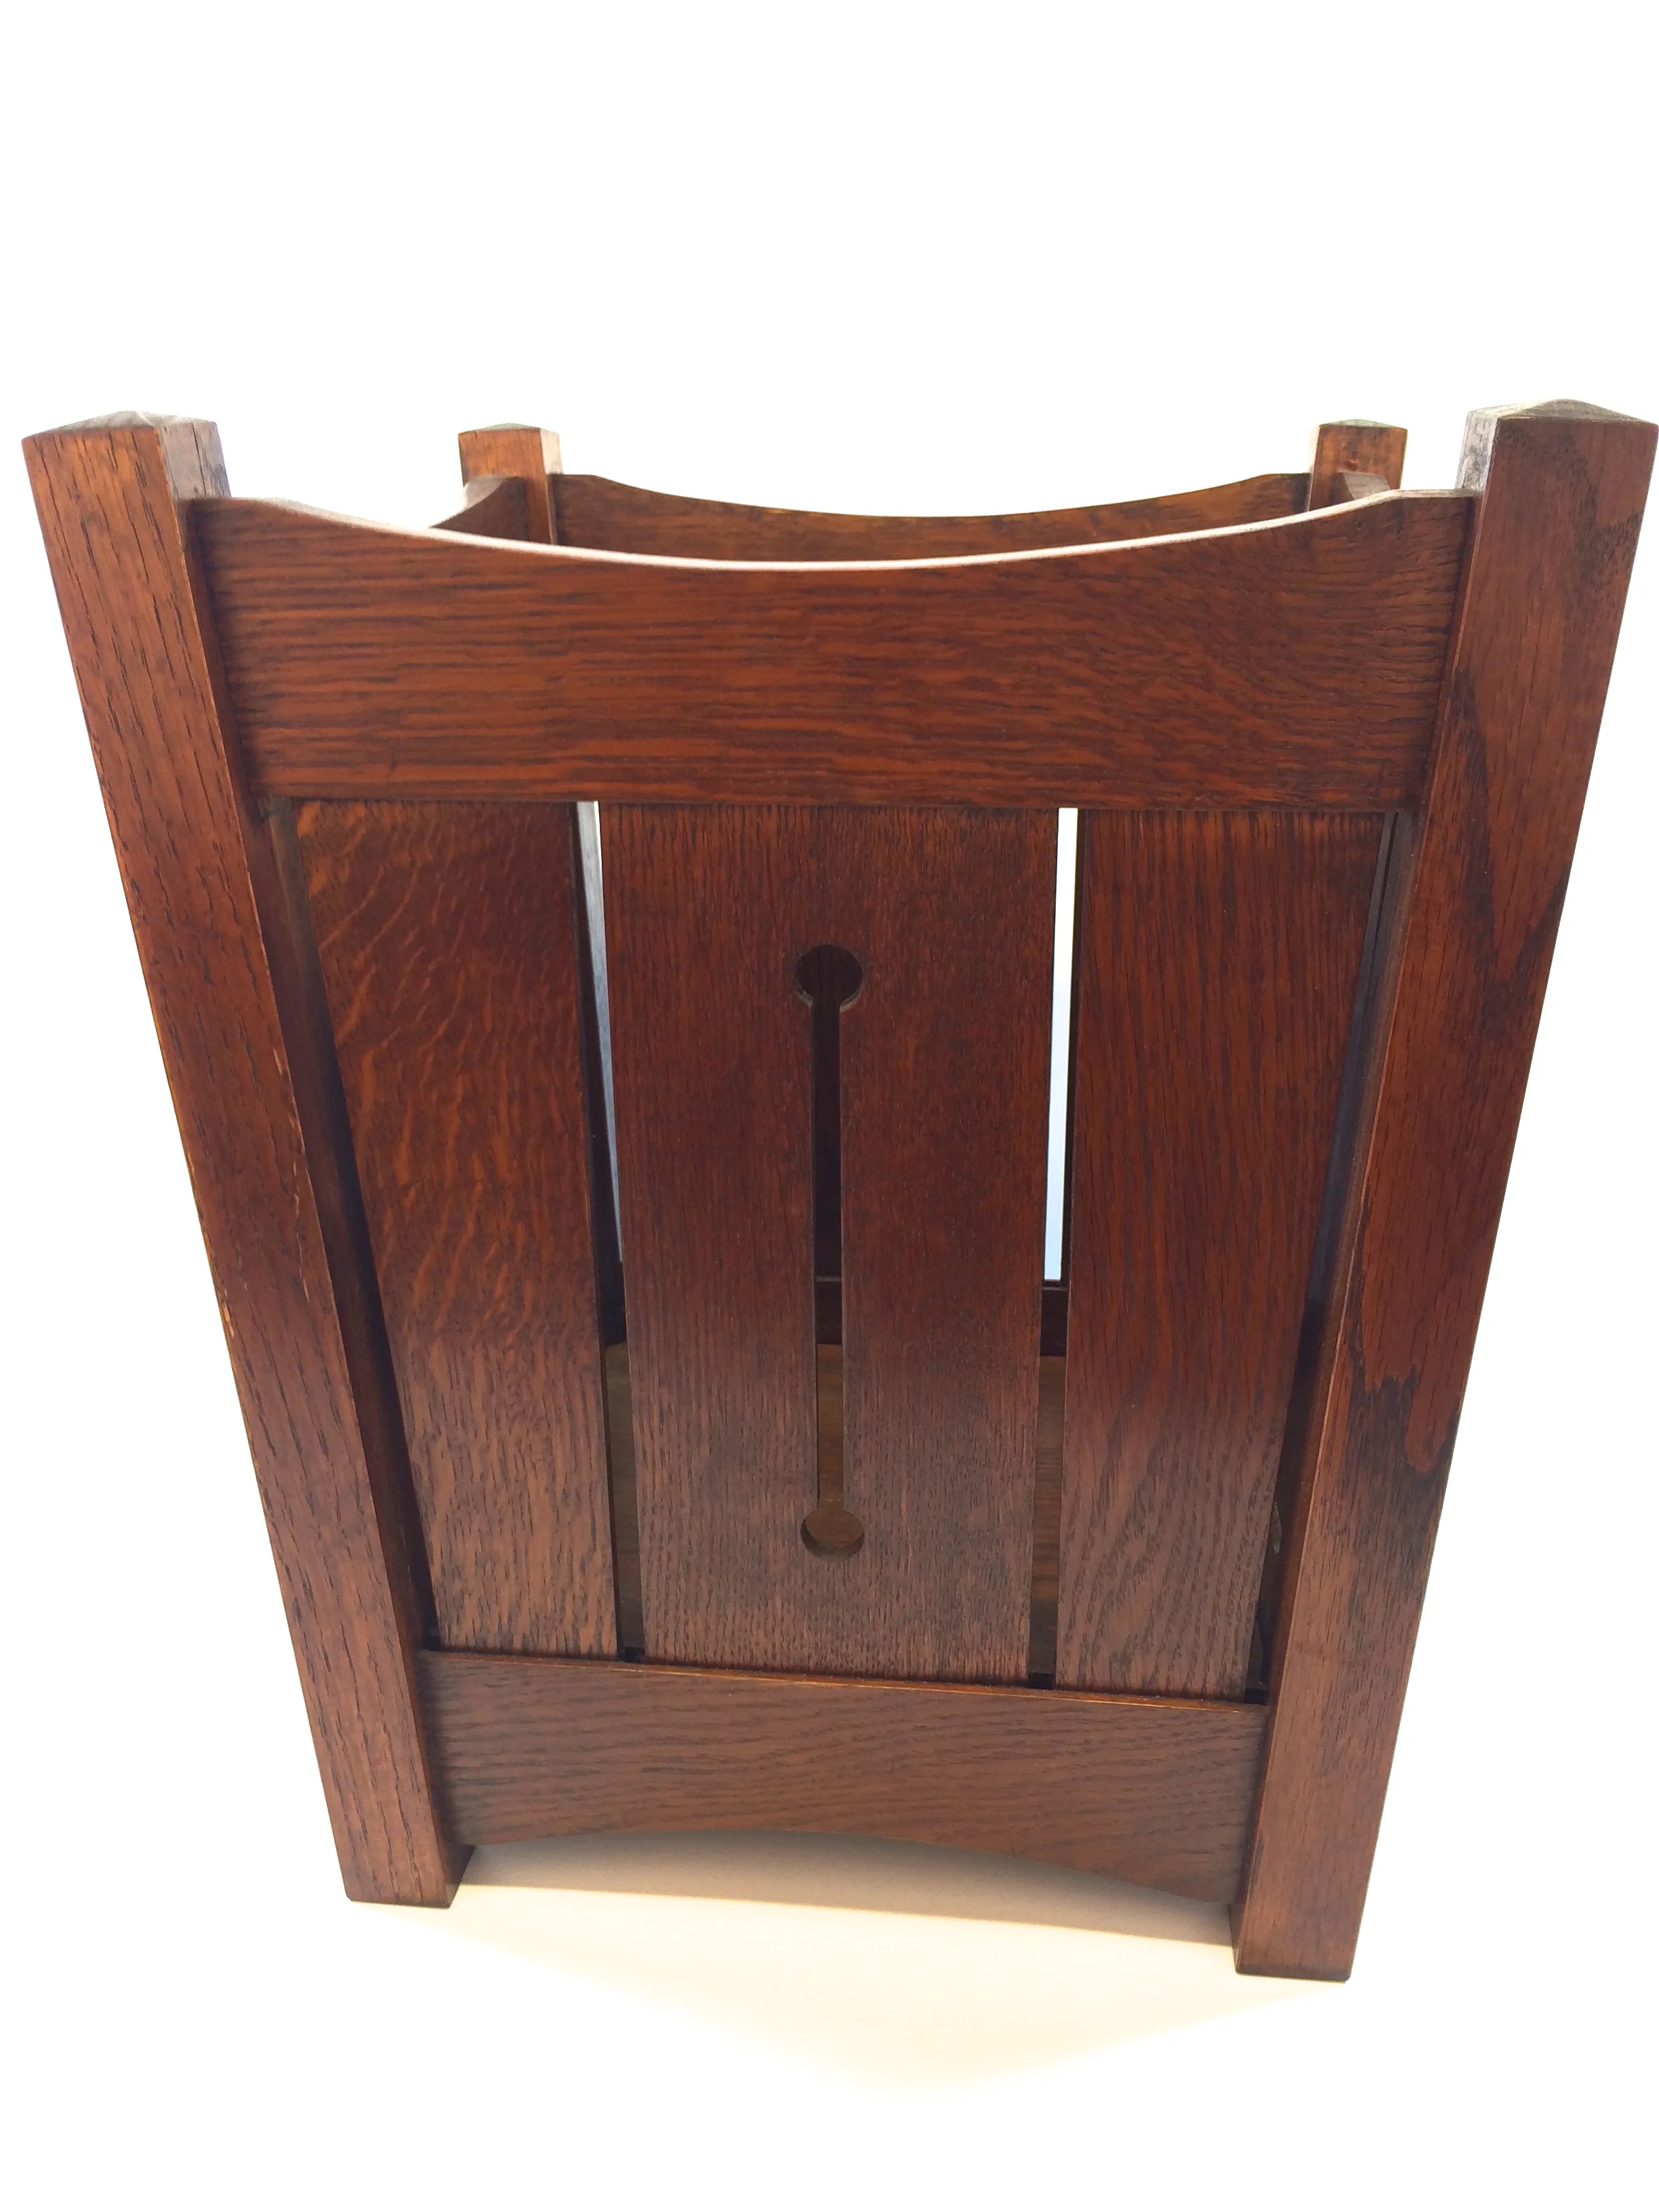
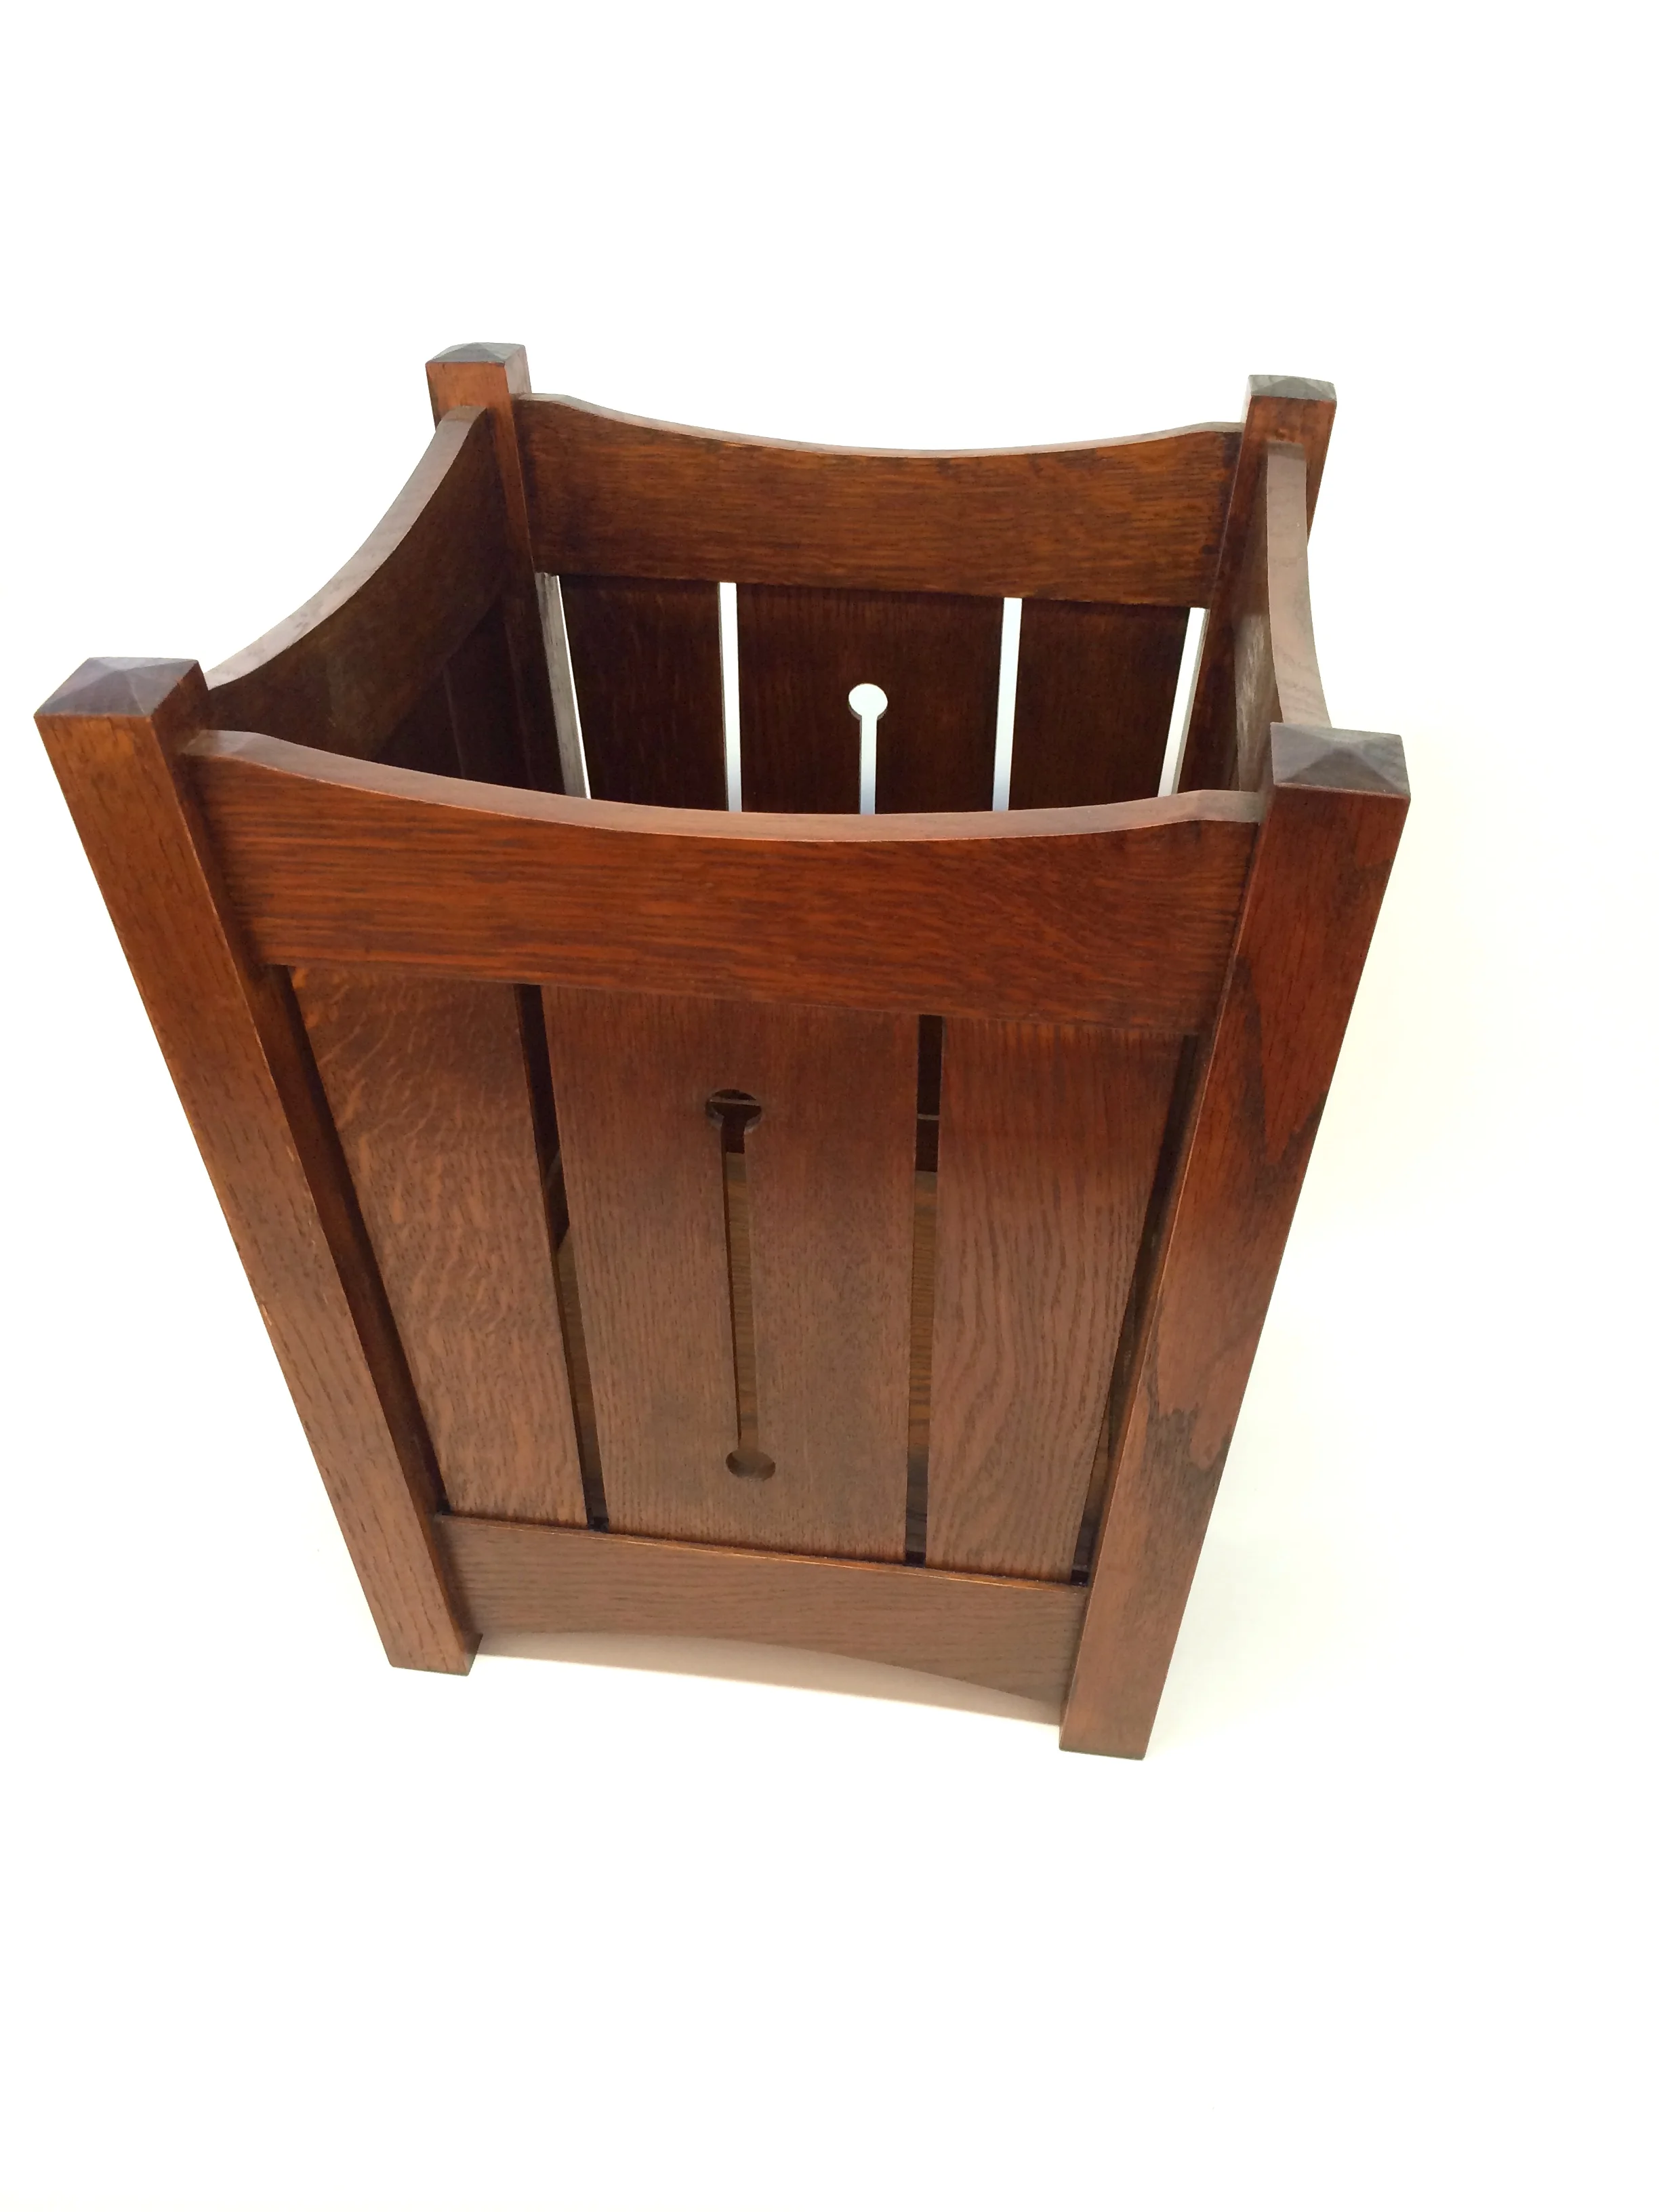
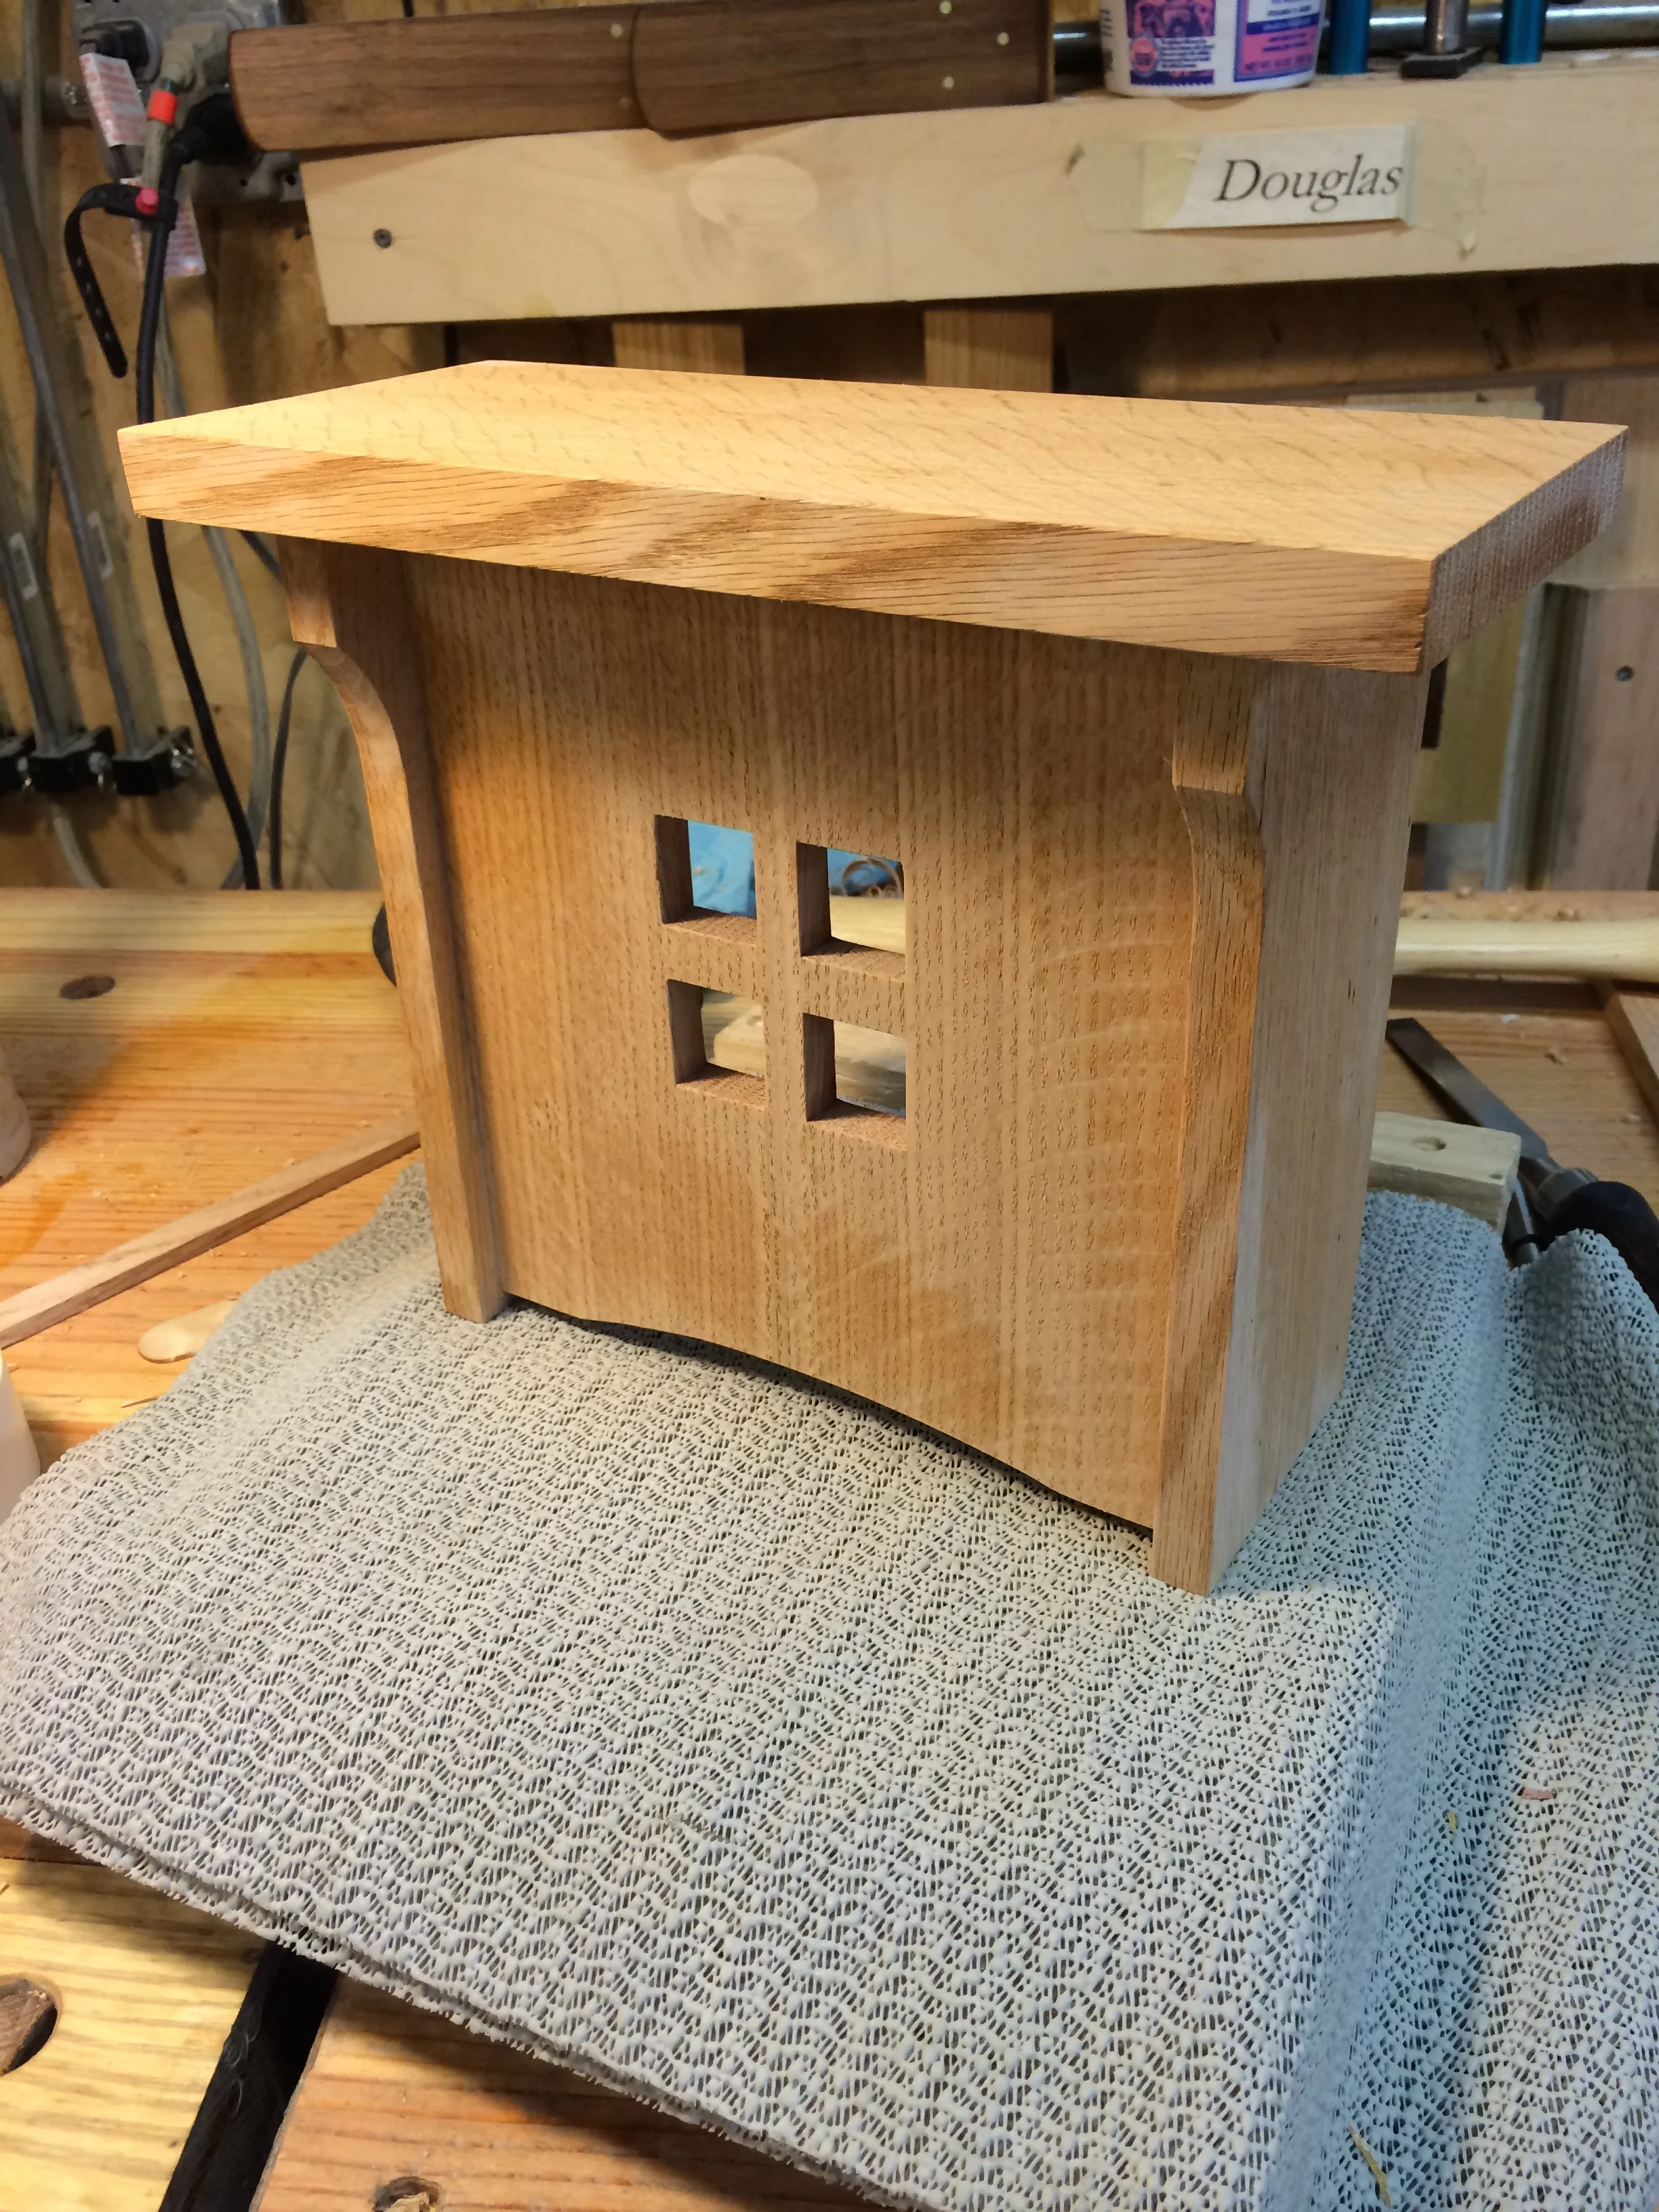
That was me a while ago with some red & white oak. Too good to toss, and it was overflowing my system. Around that time, I happened upon an image online of a great craftsman style wastepaper basket. As I looked at it, peaking around the corner of my desk, just in the corner of my eye, was an ugly grey plastic Office Depot garbage can that sits in my office, and another one around the corner in my kitchen...

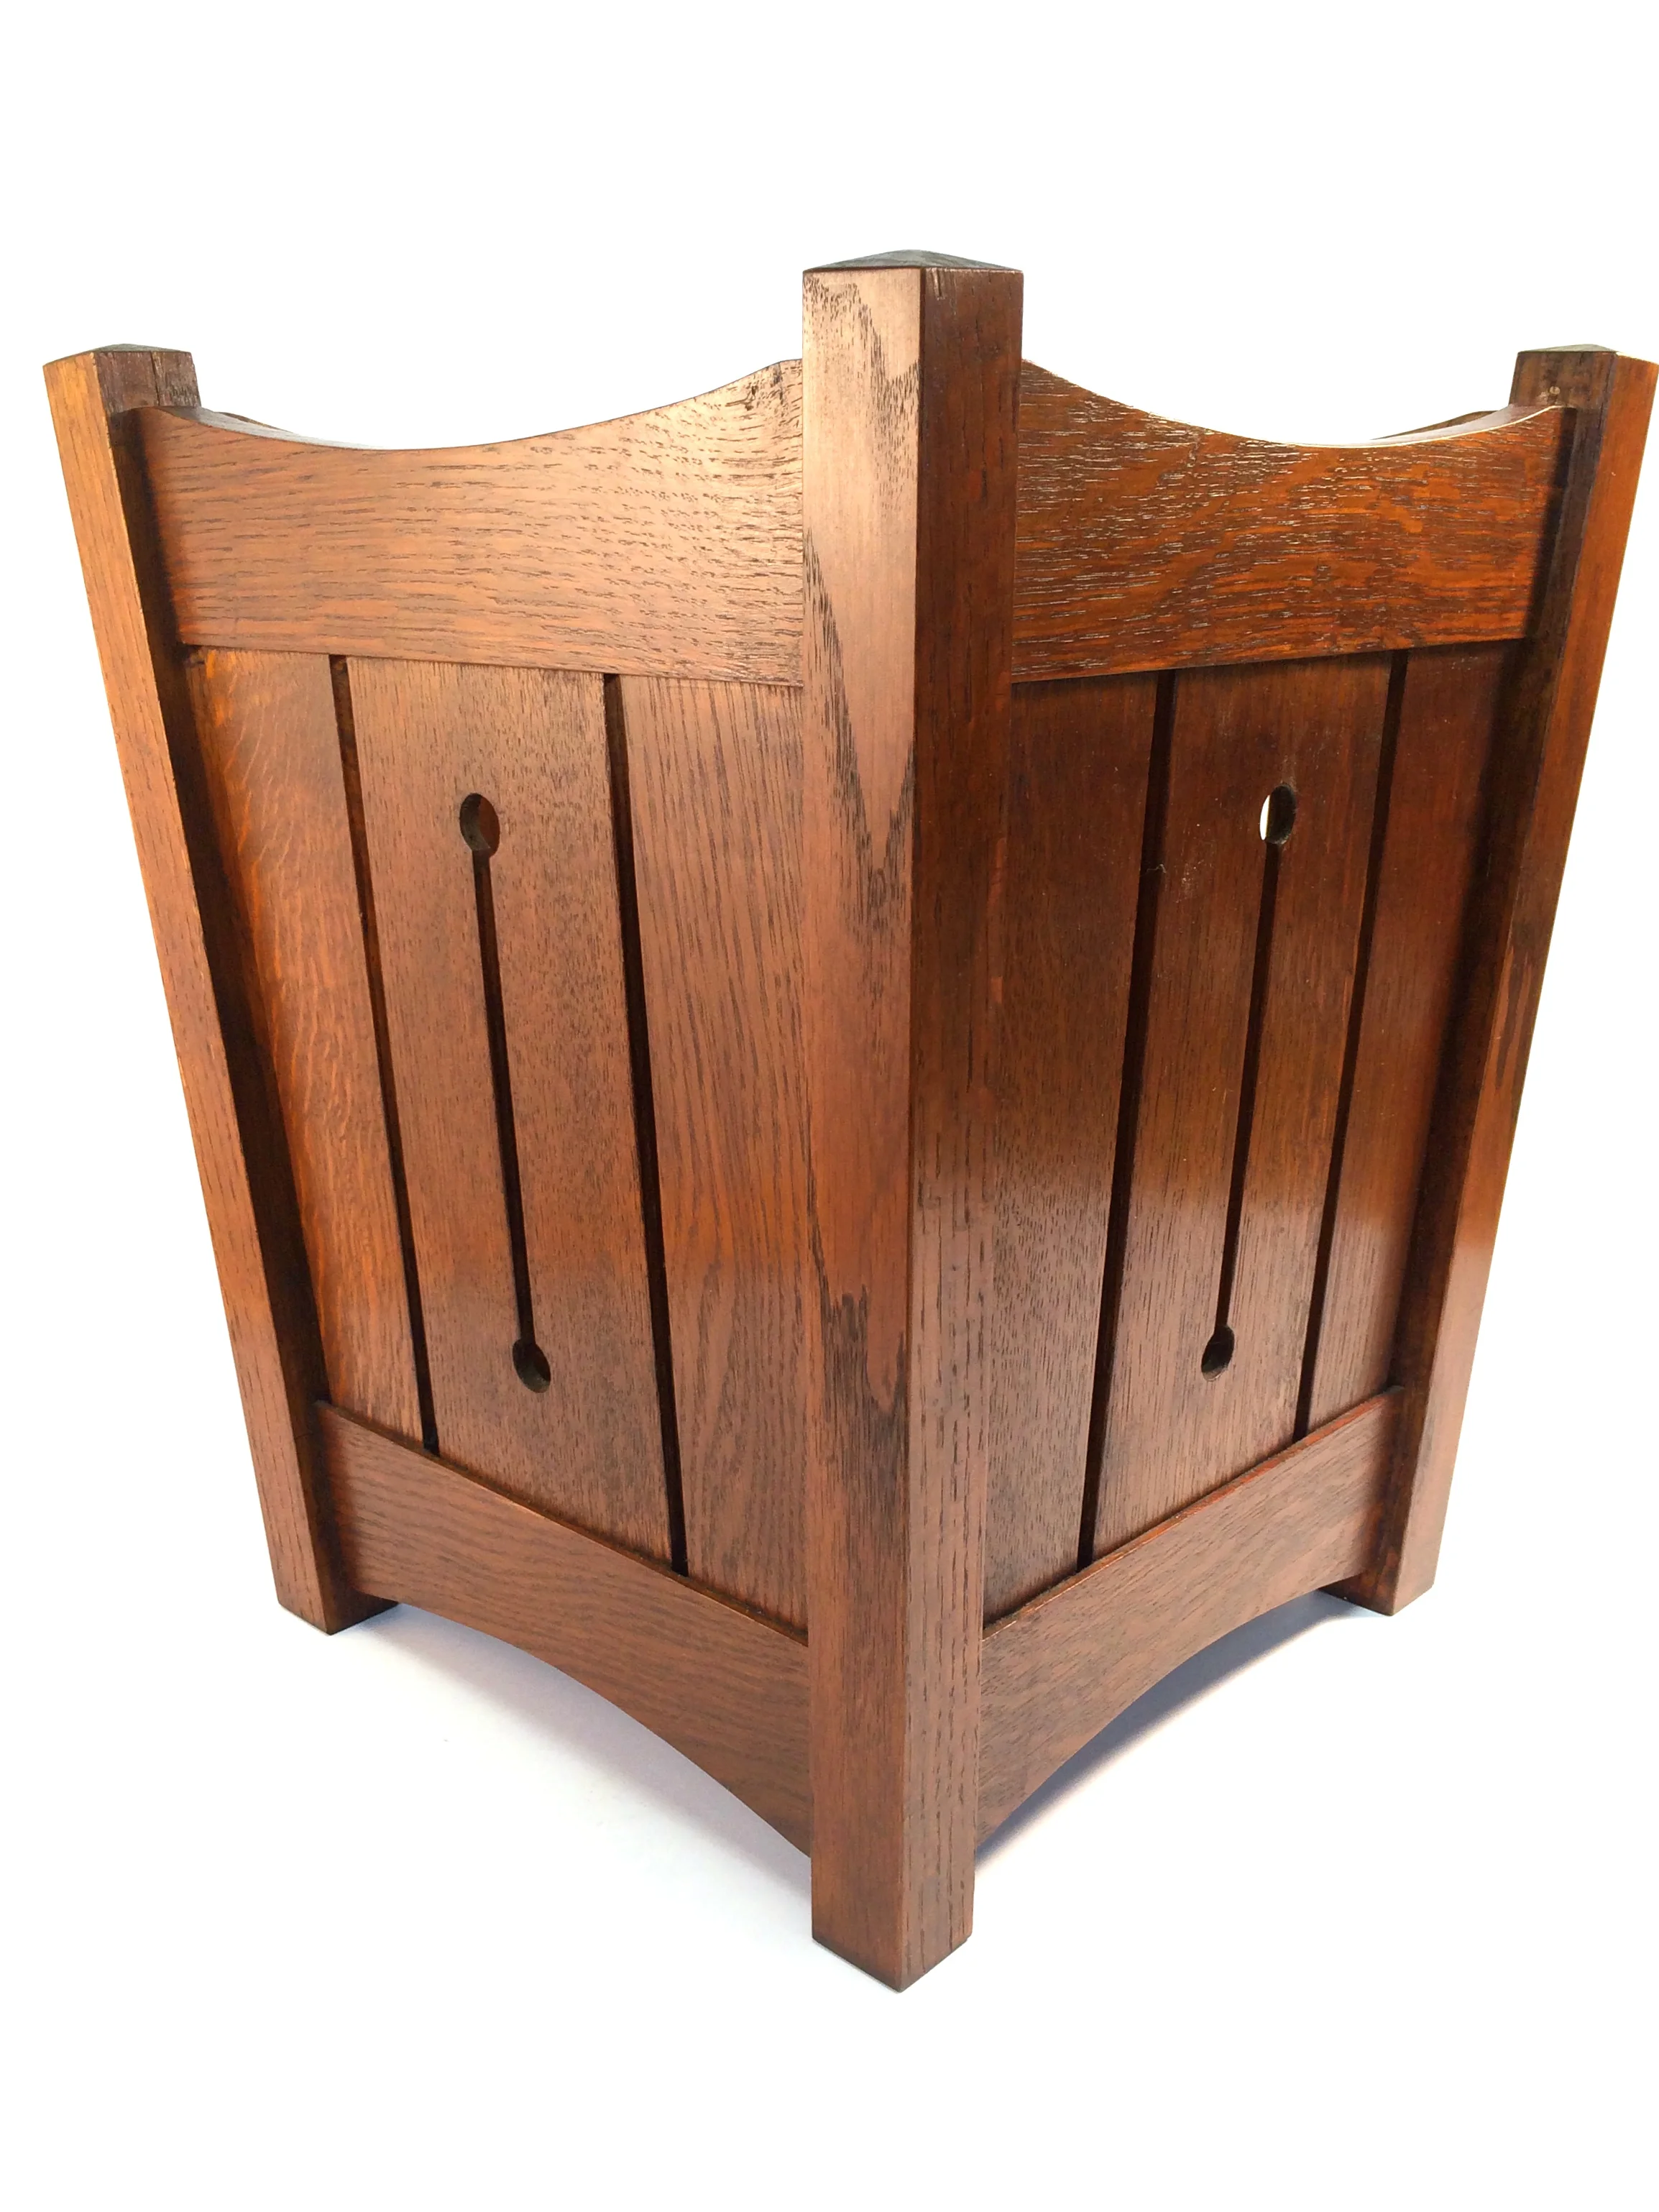
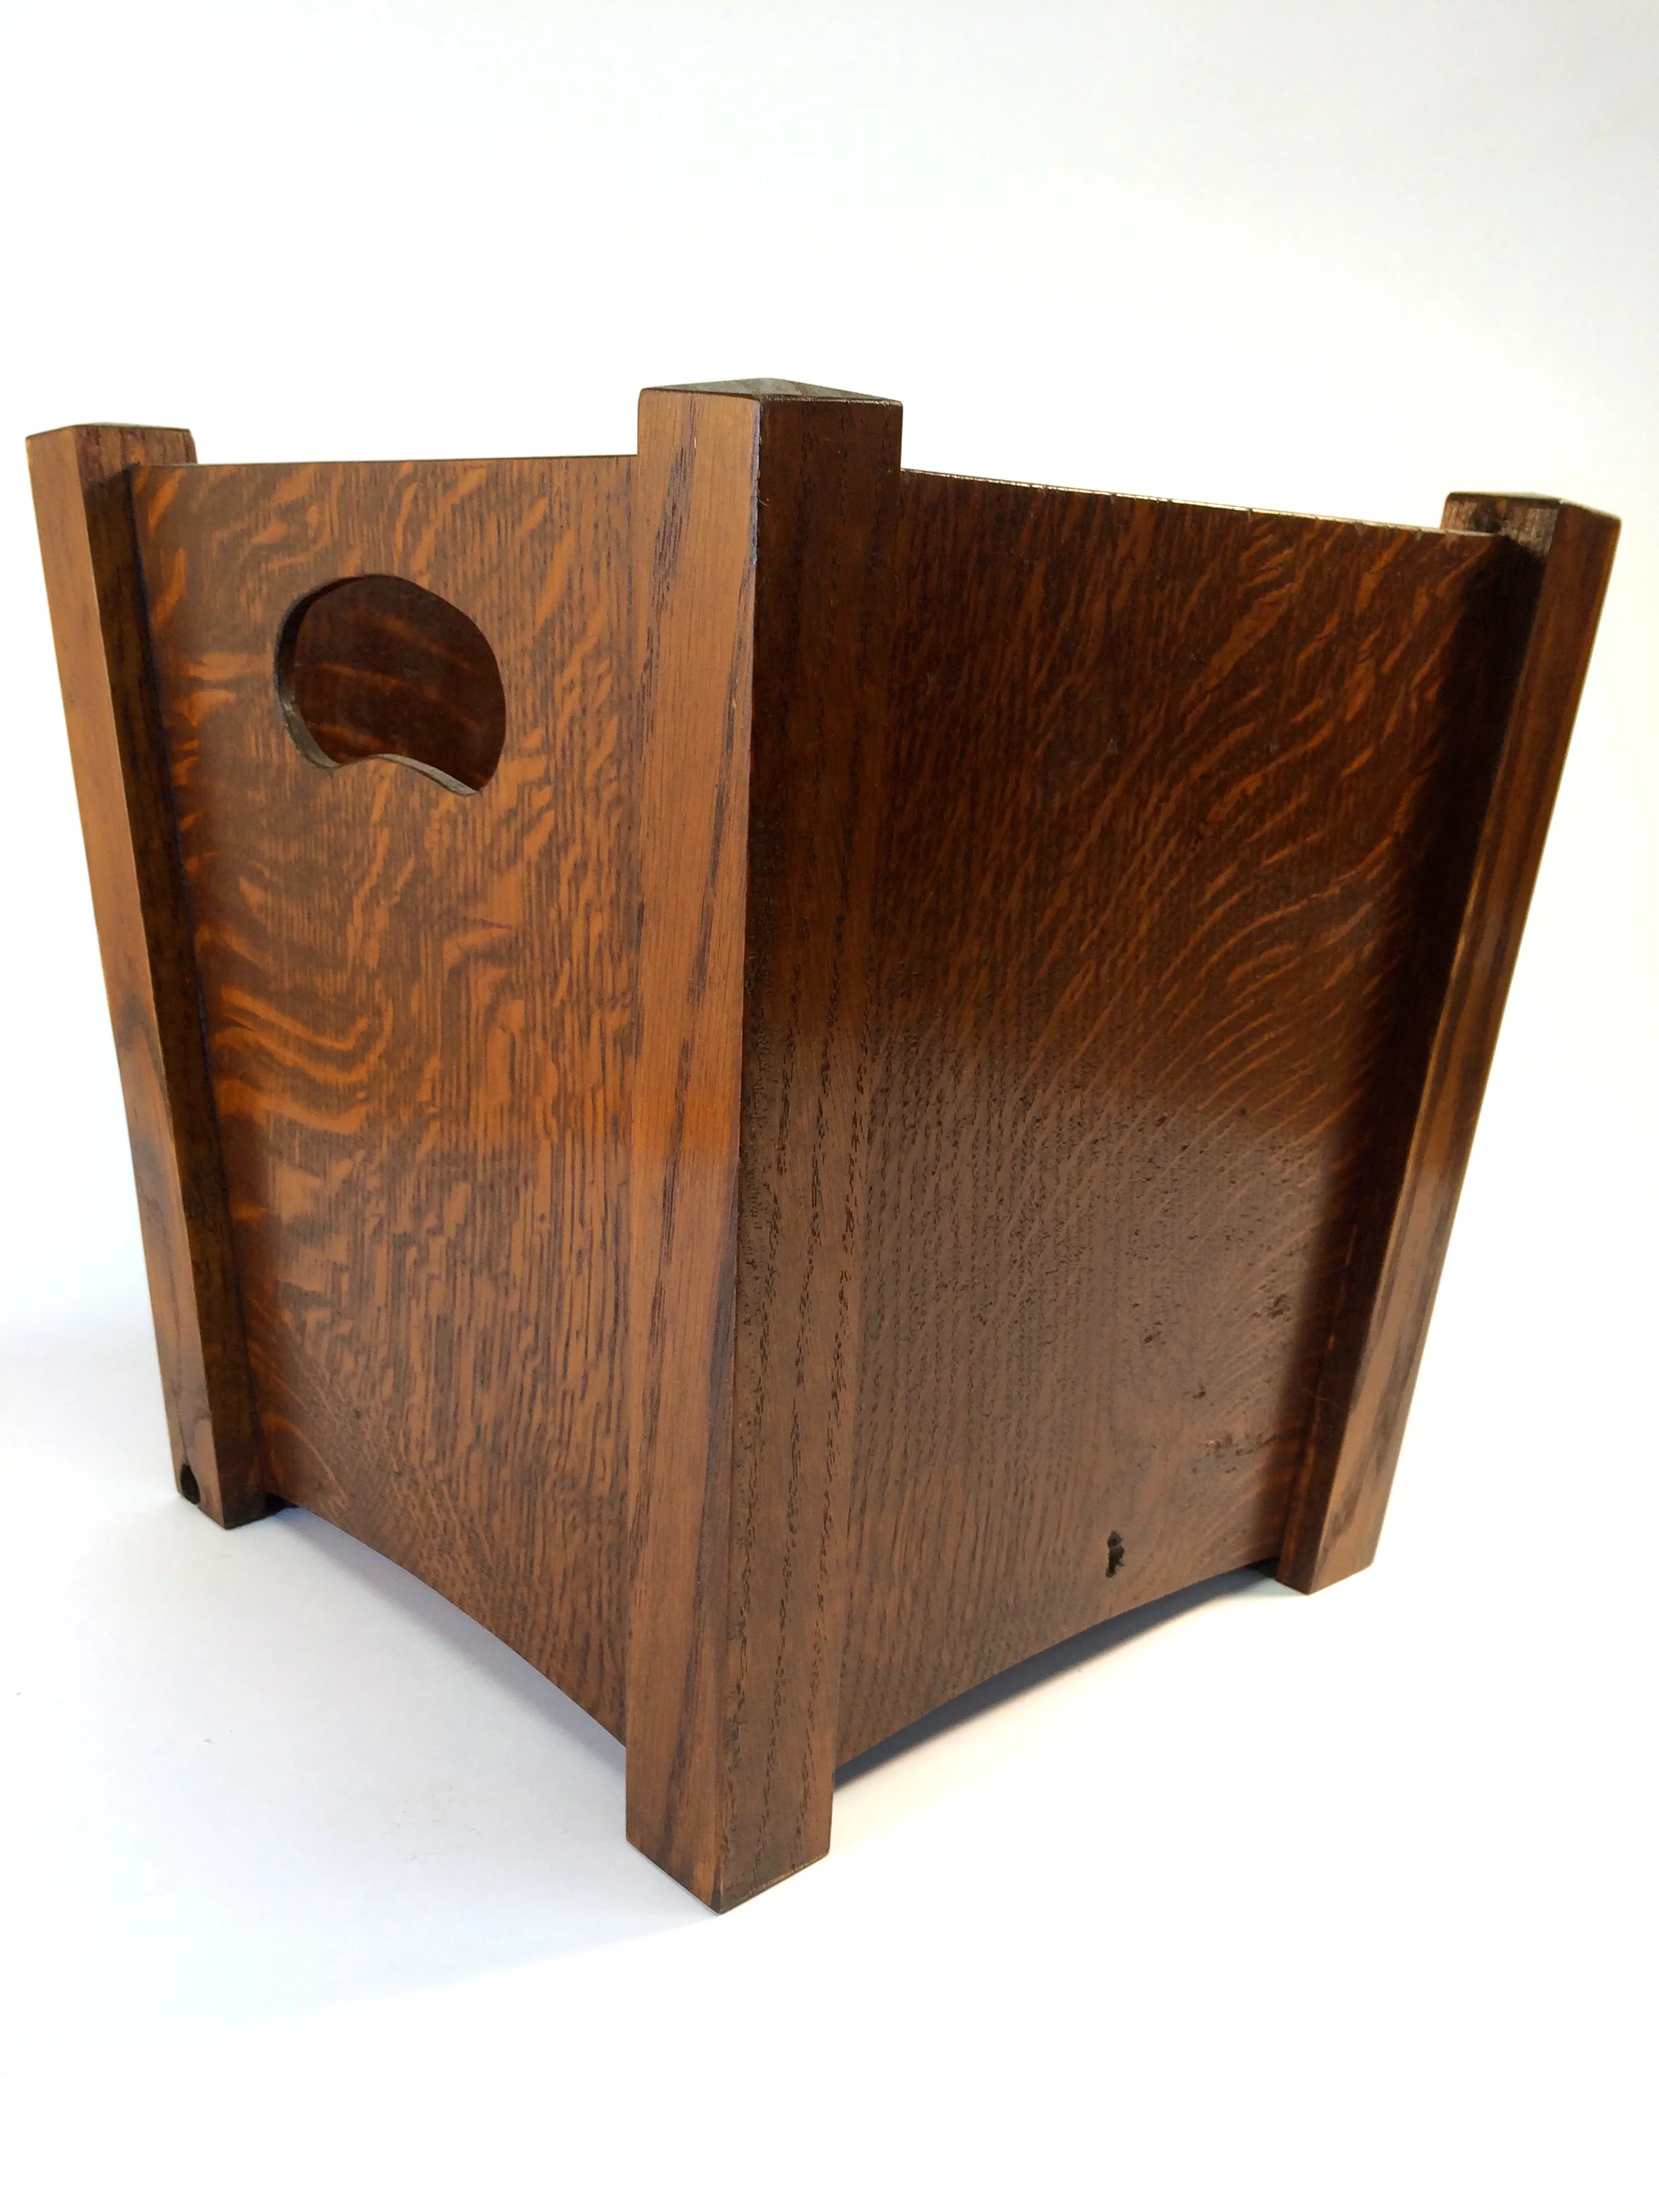
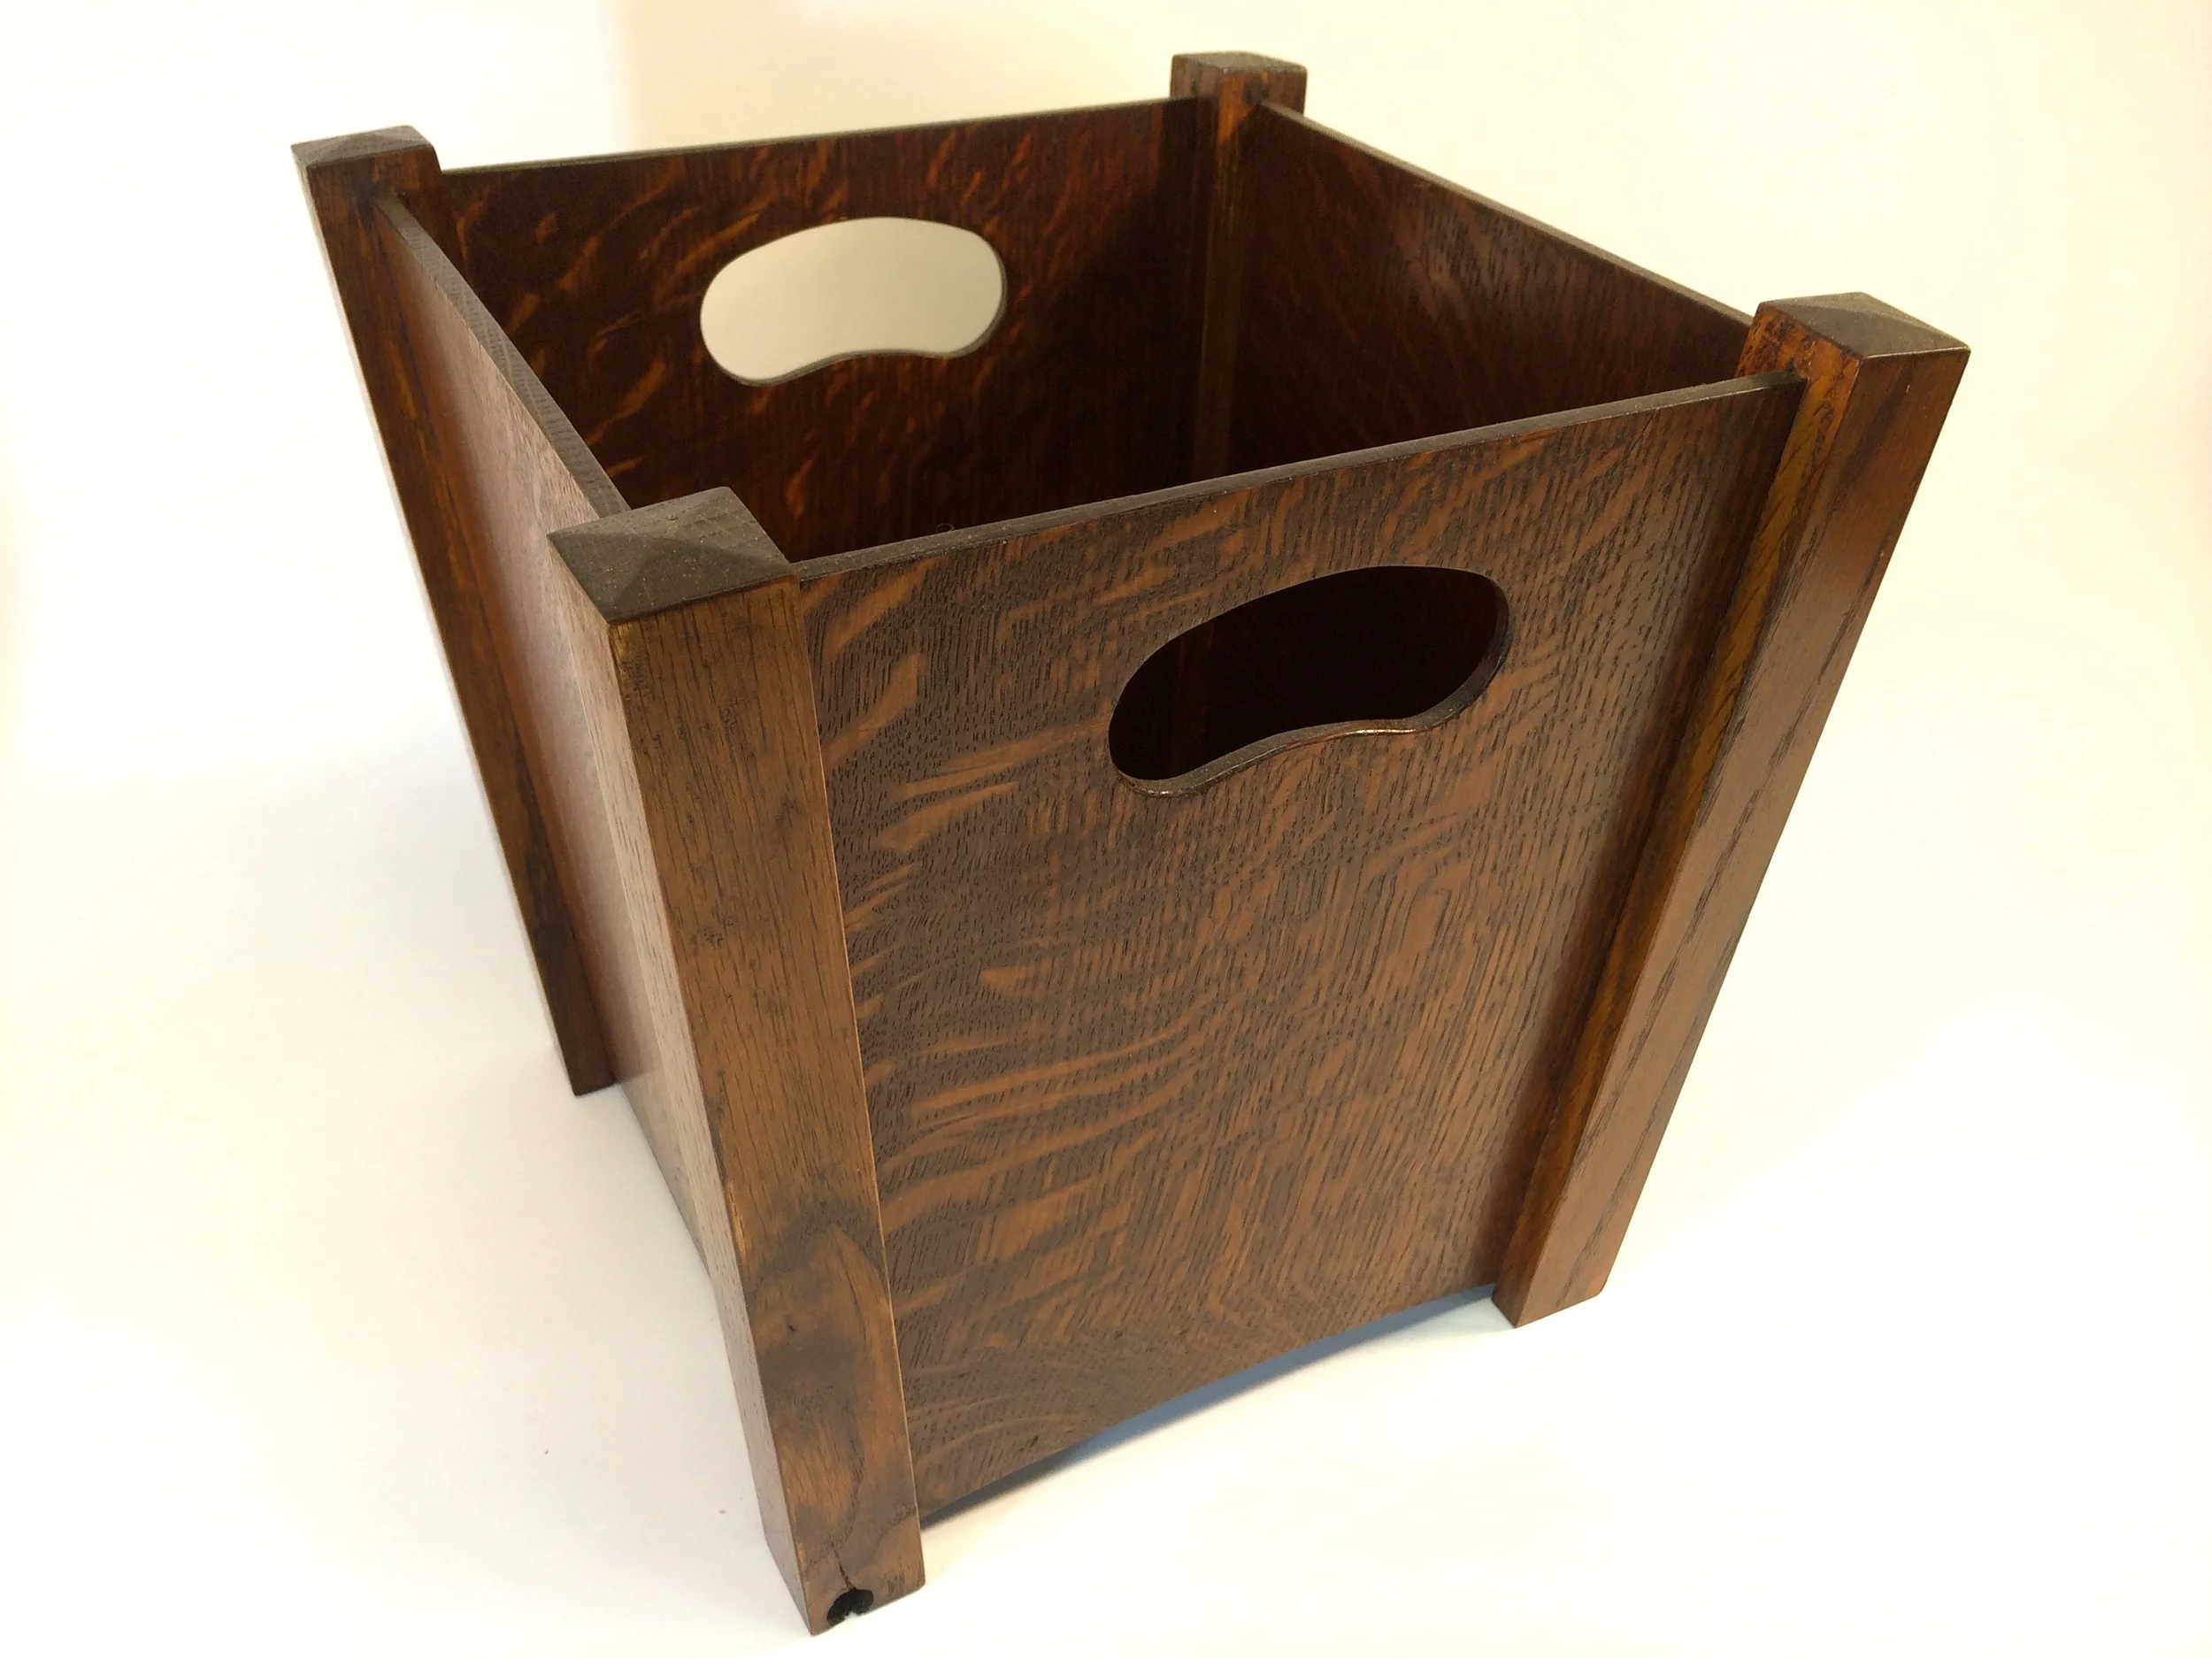
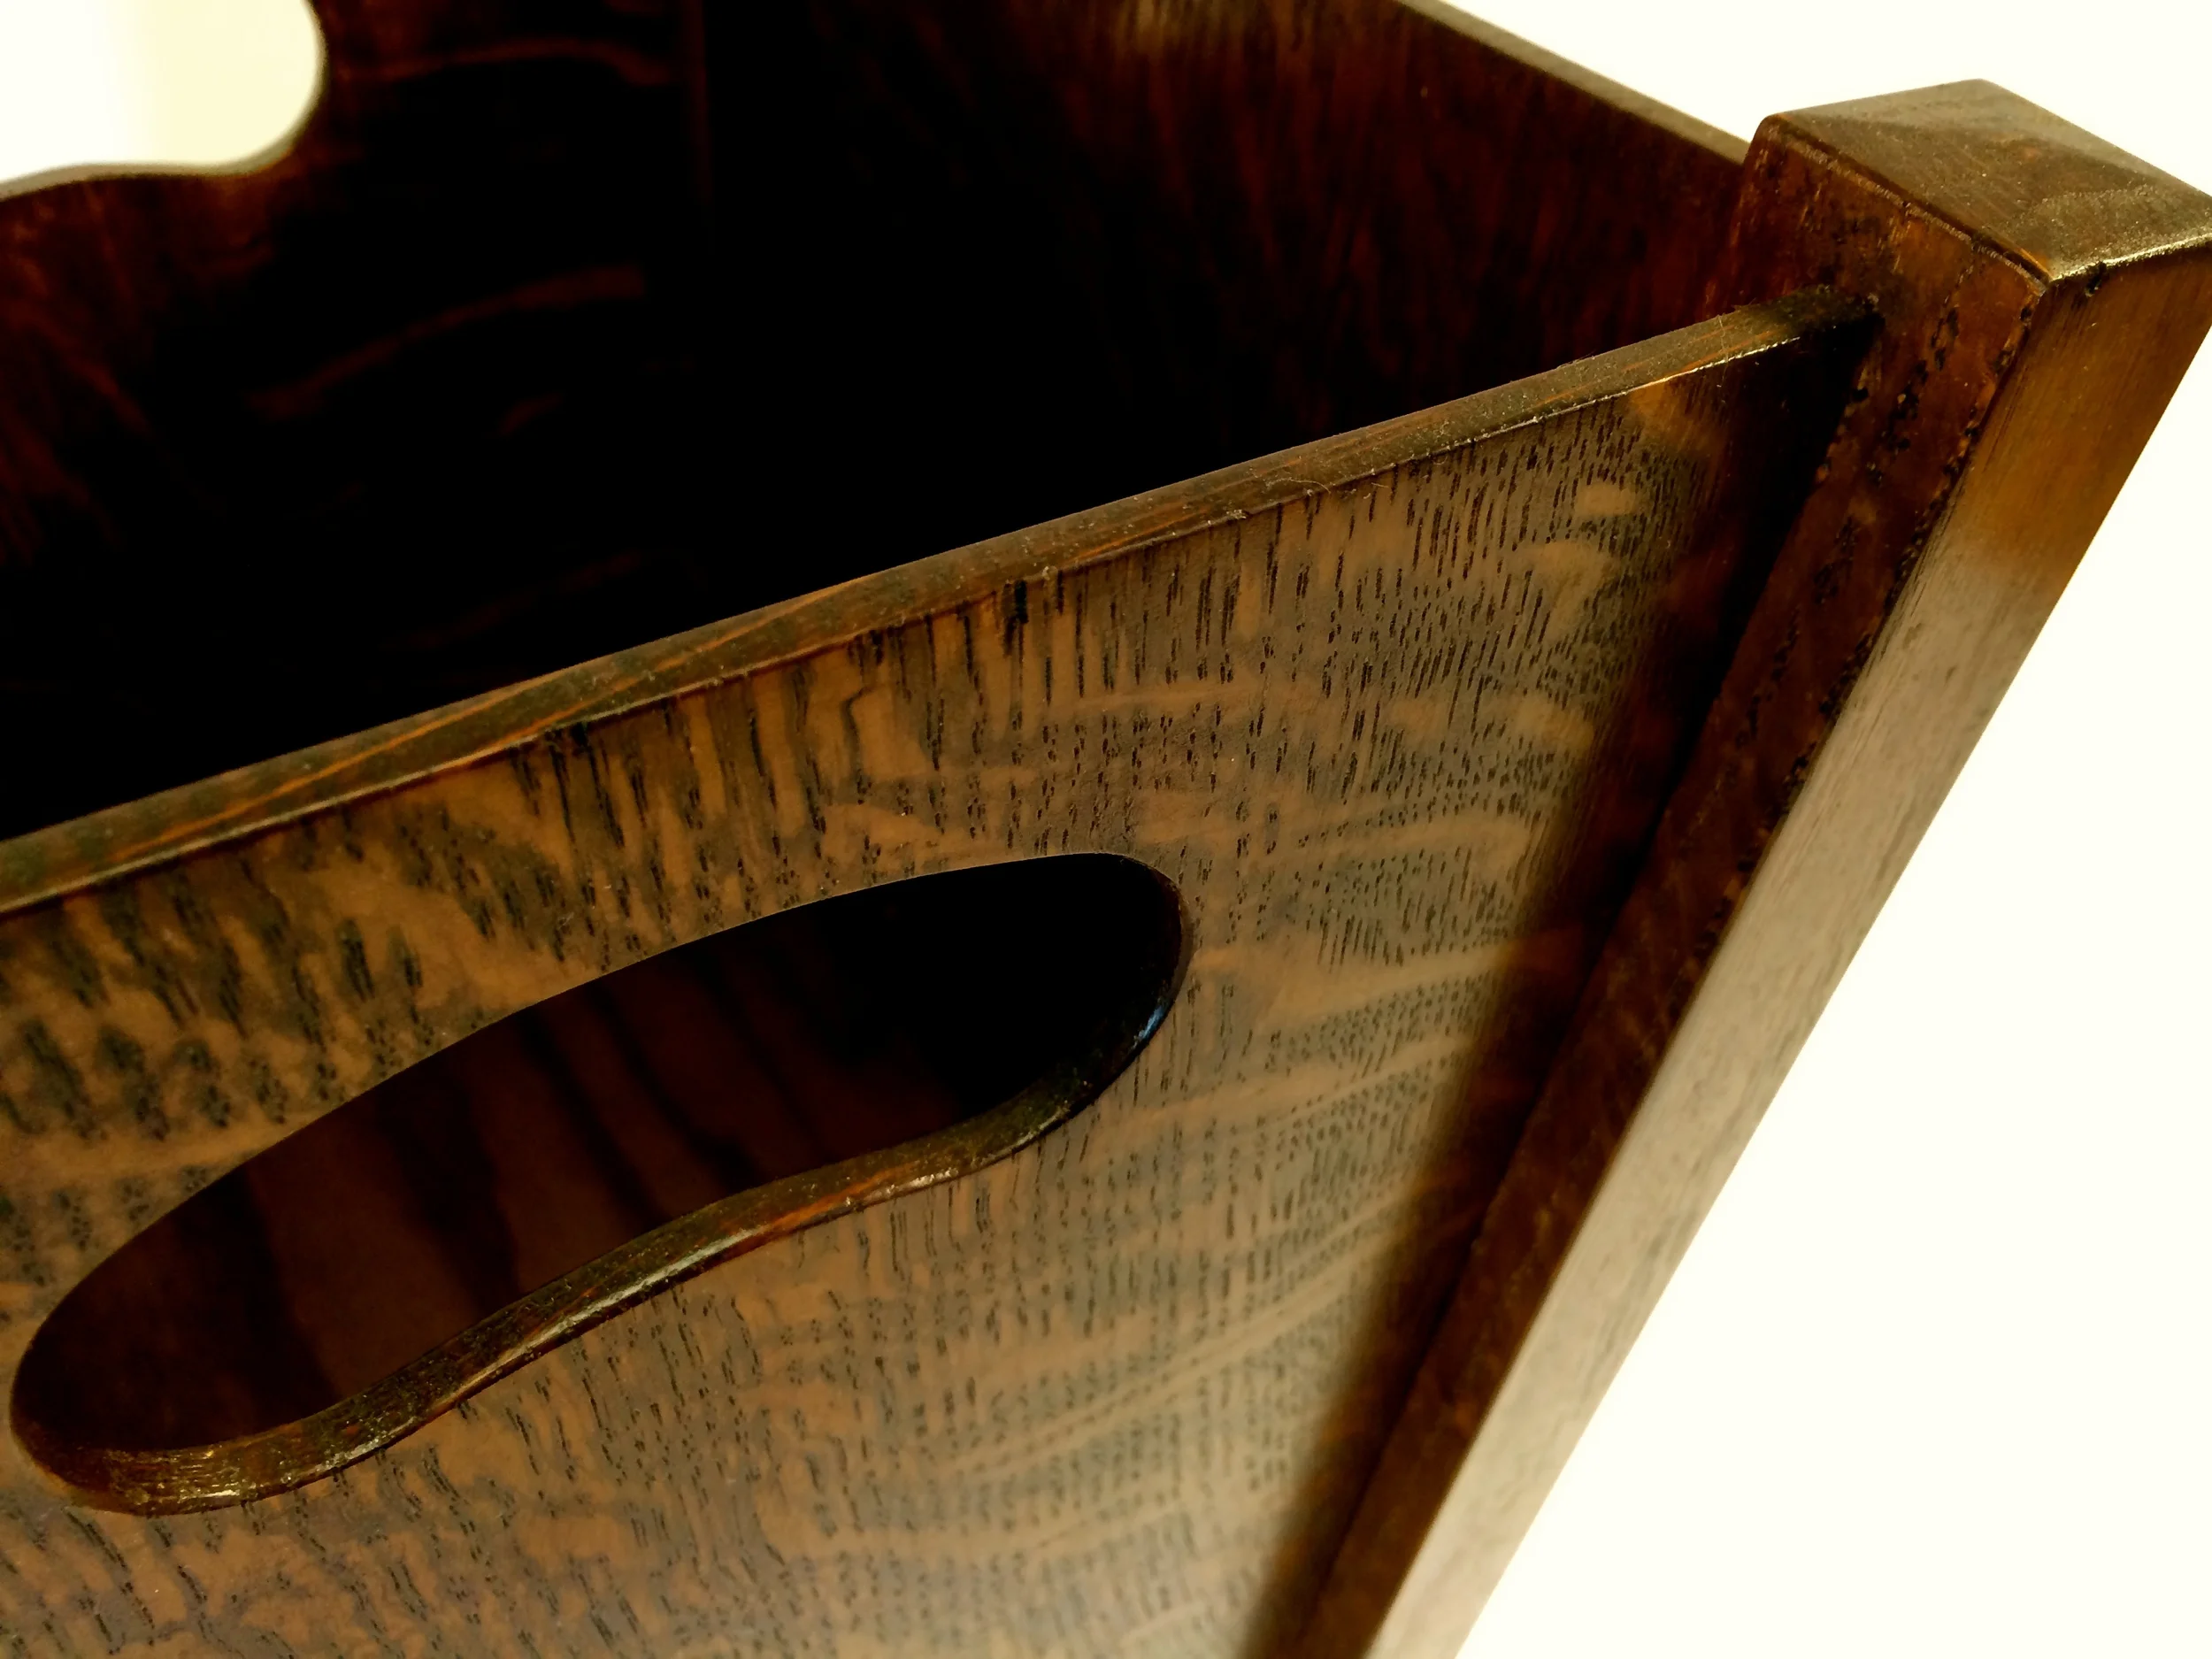
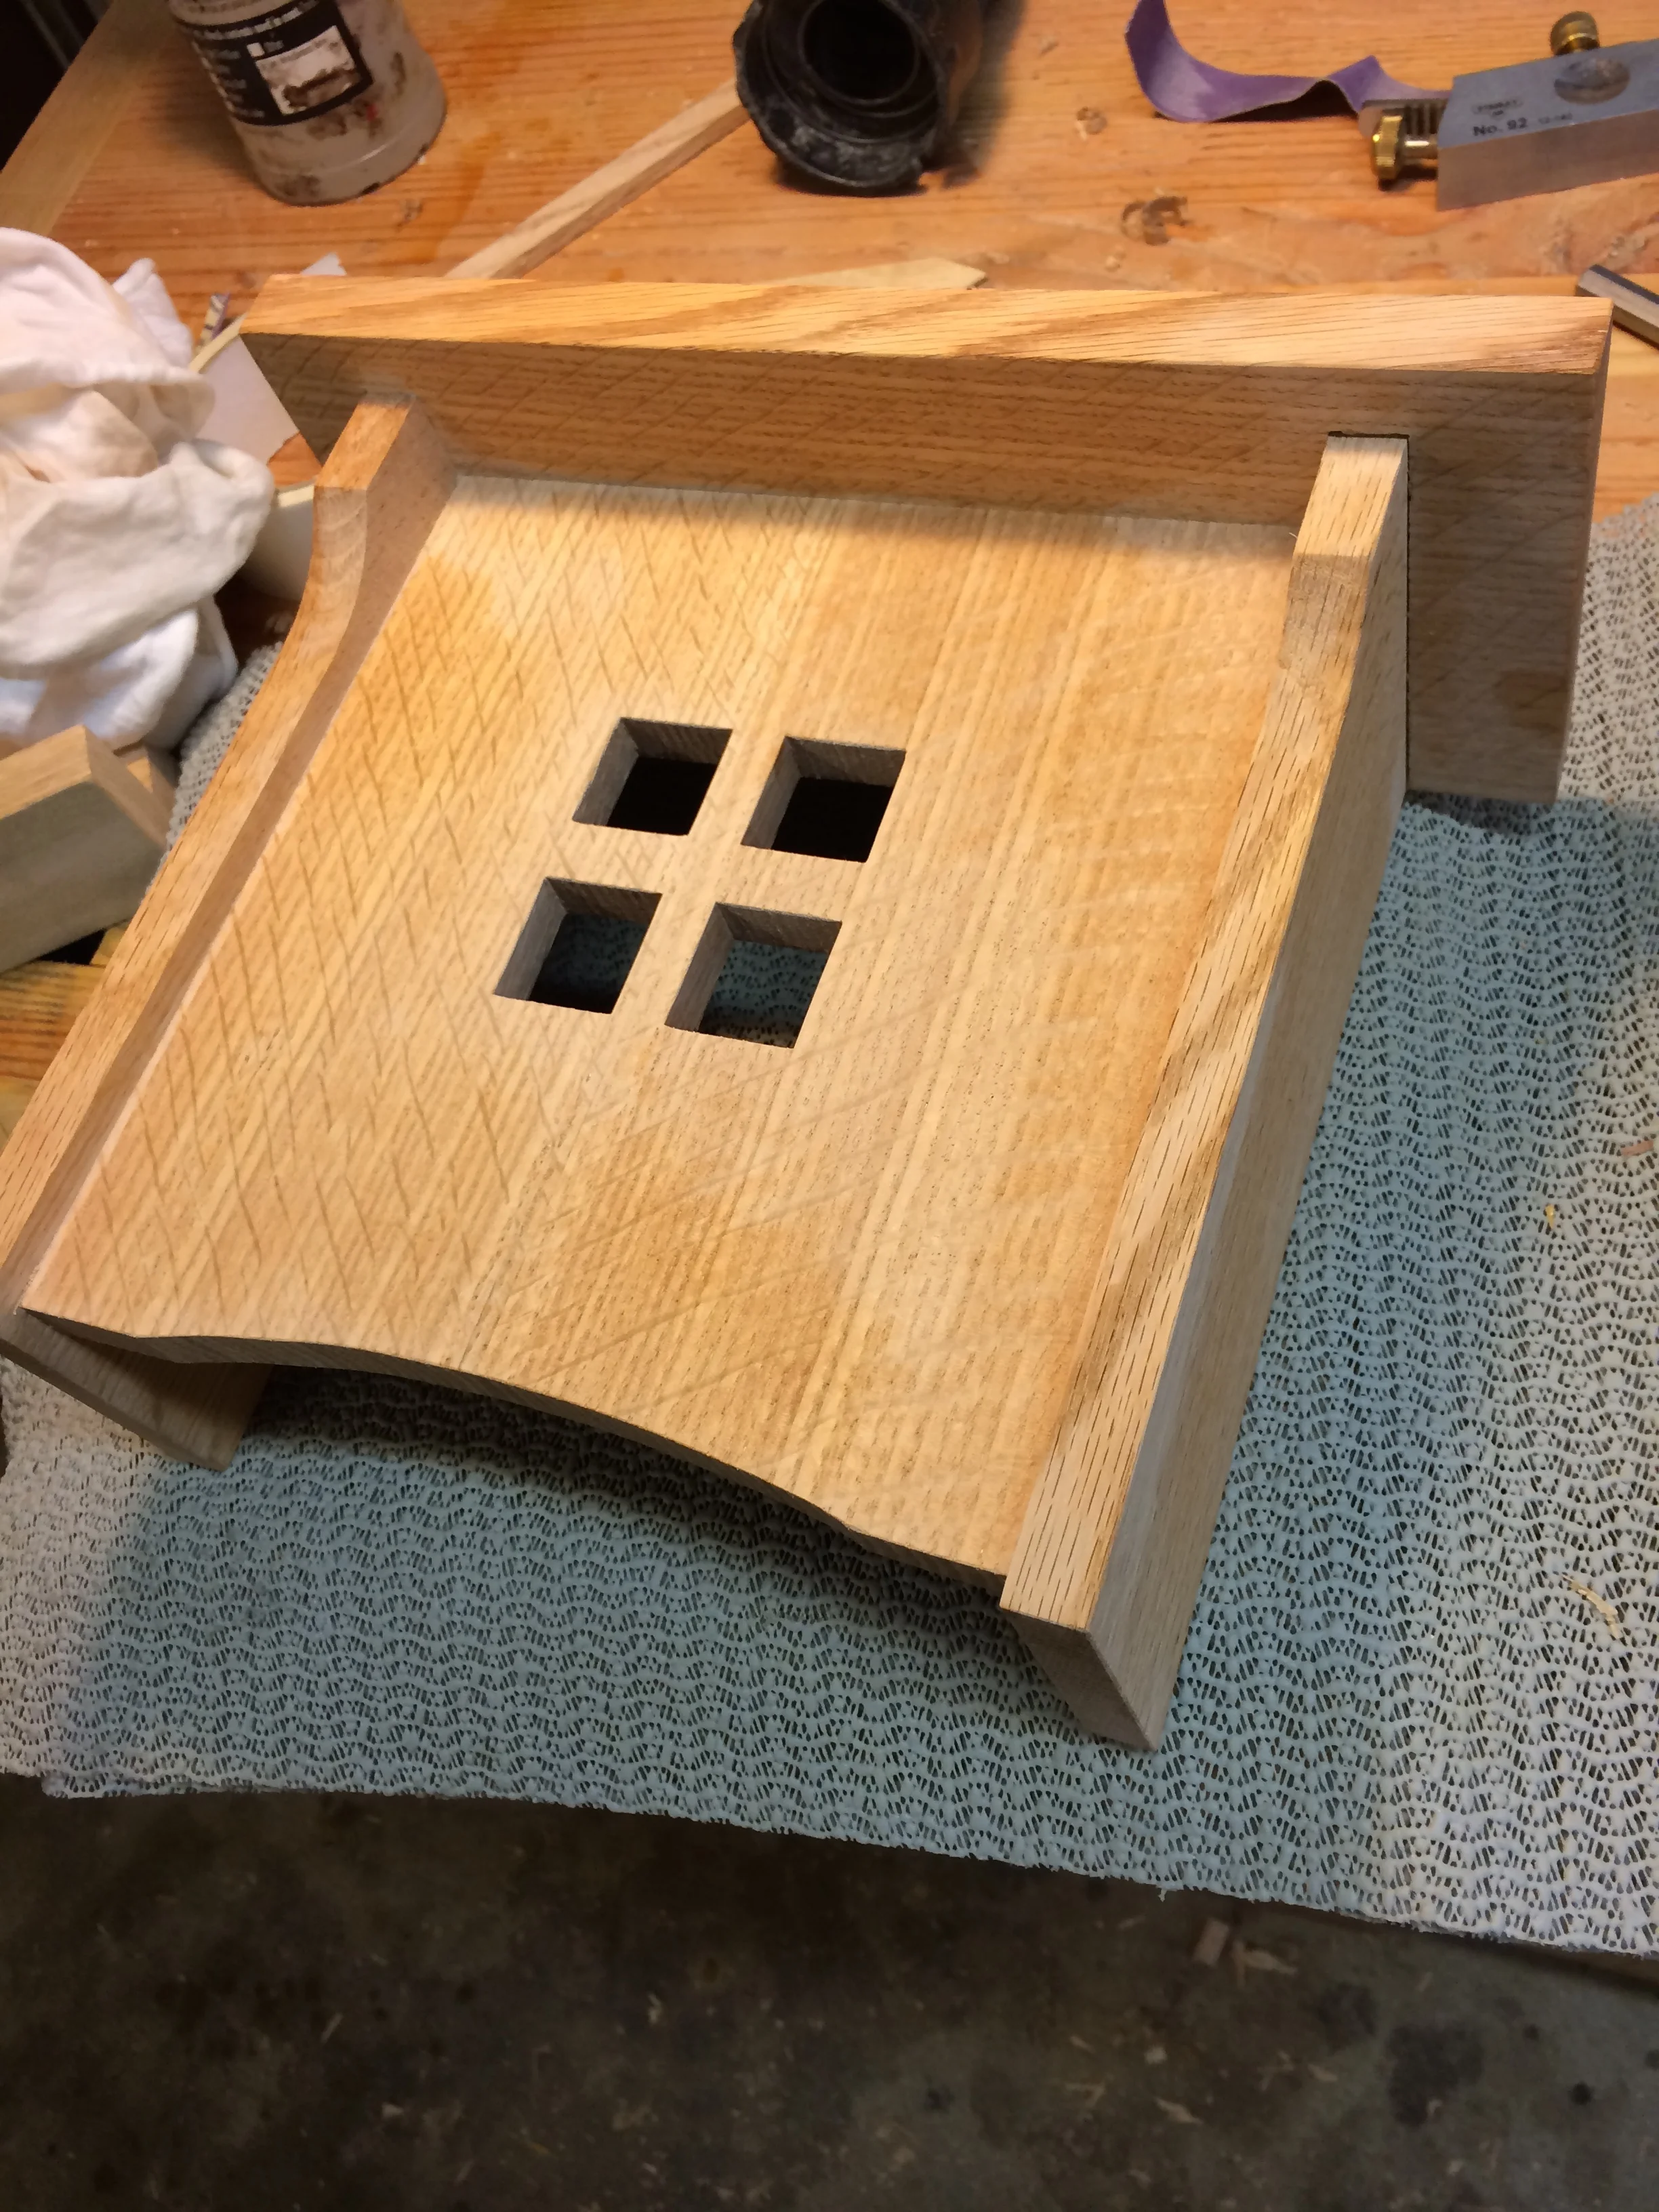
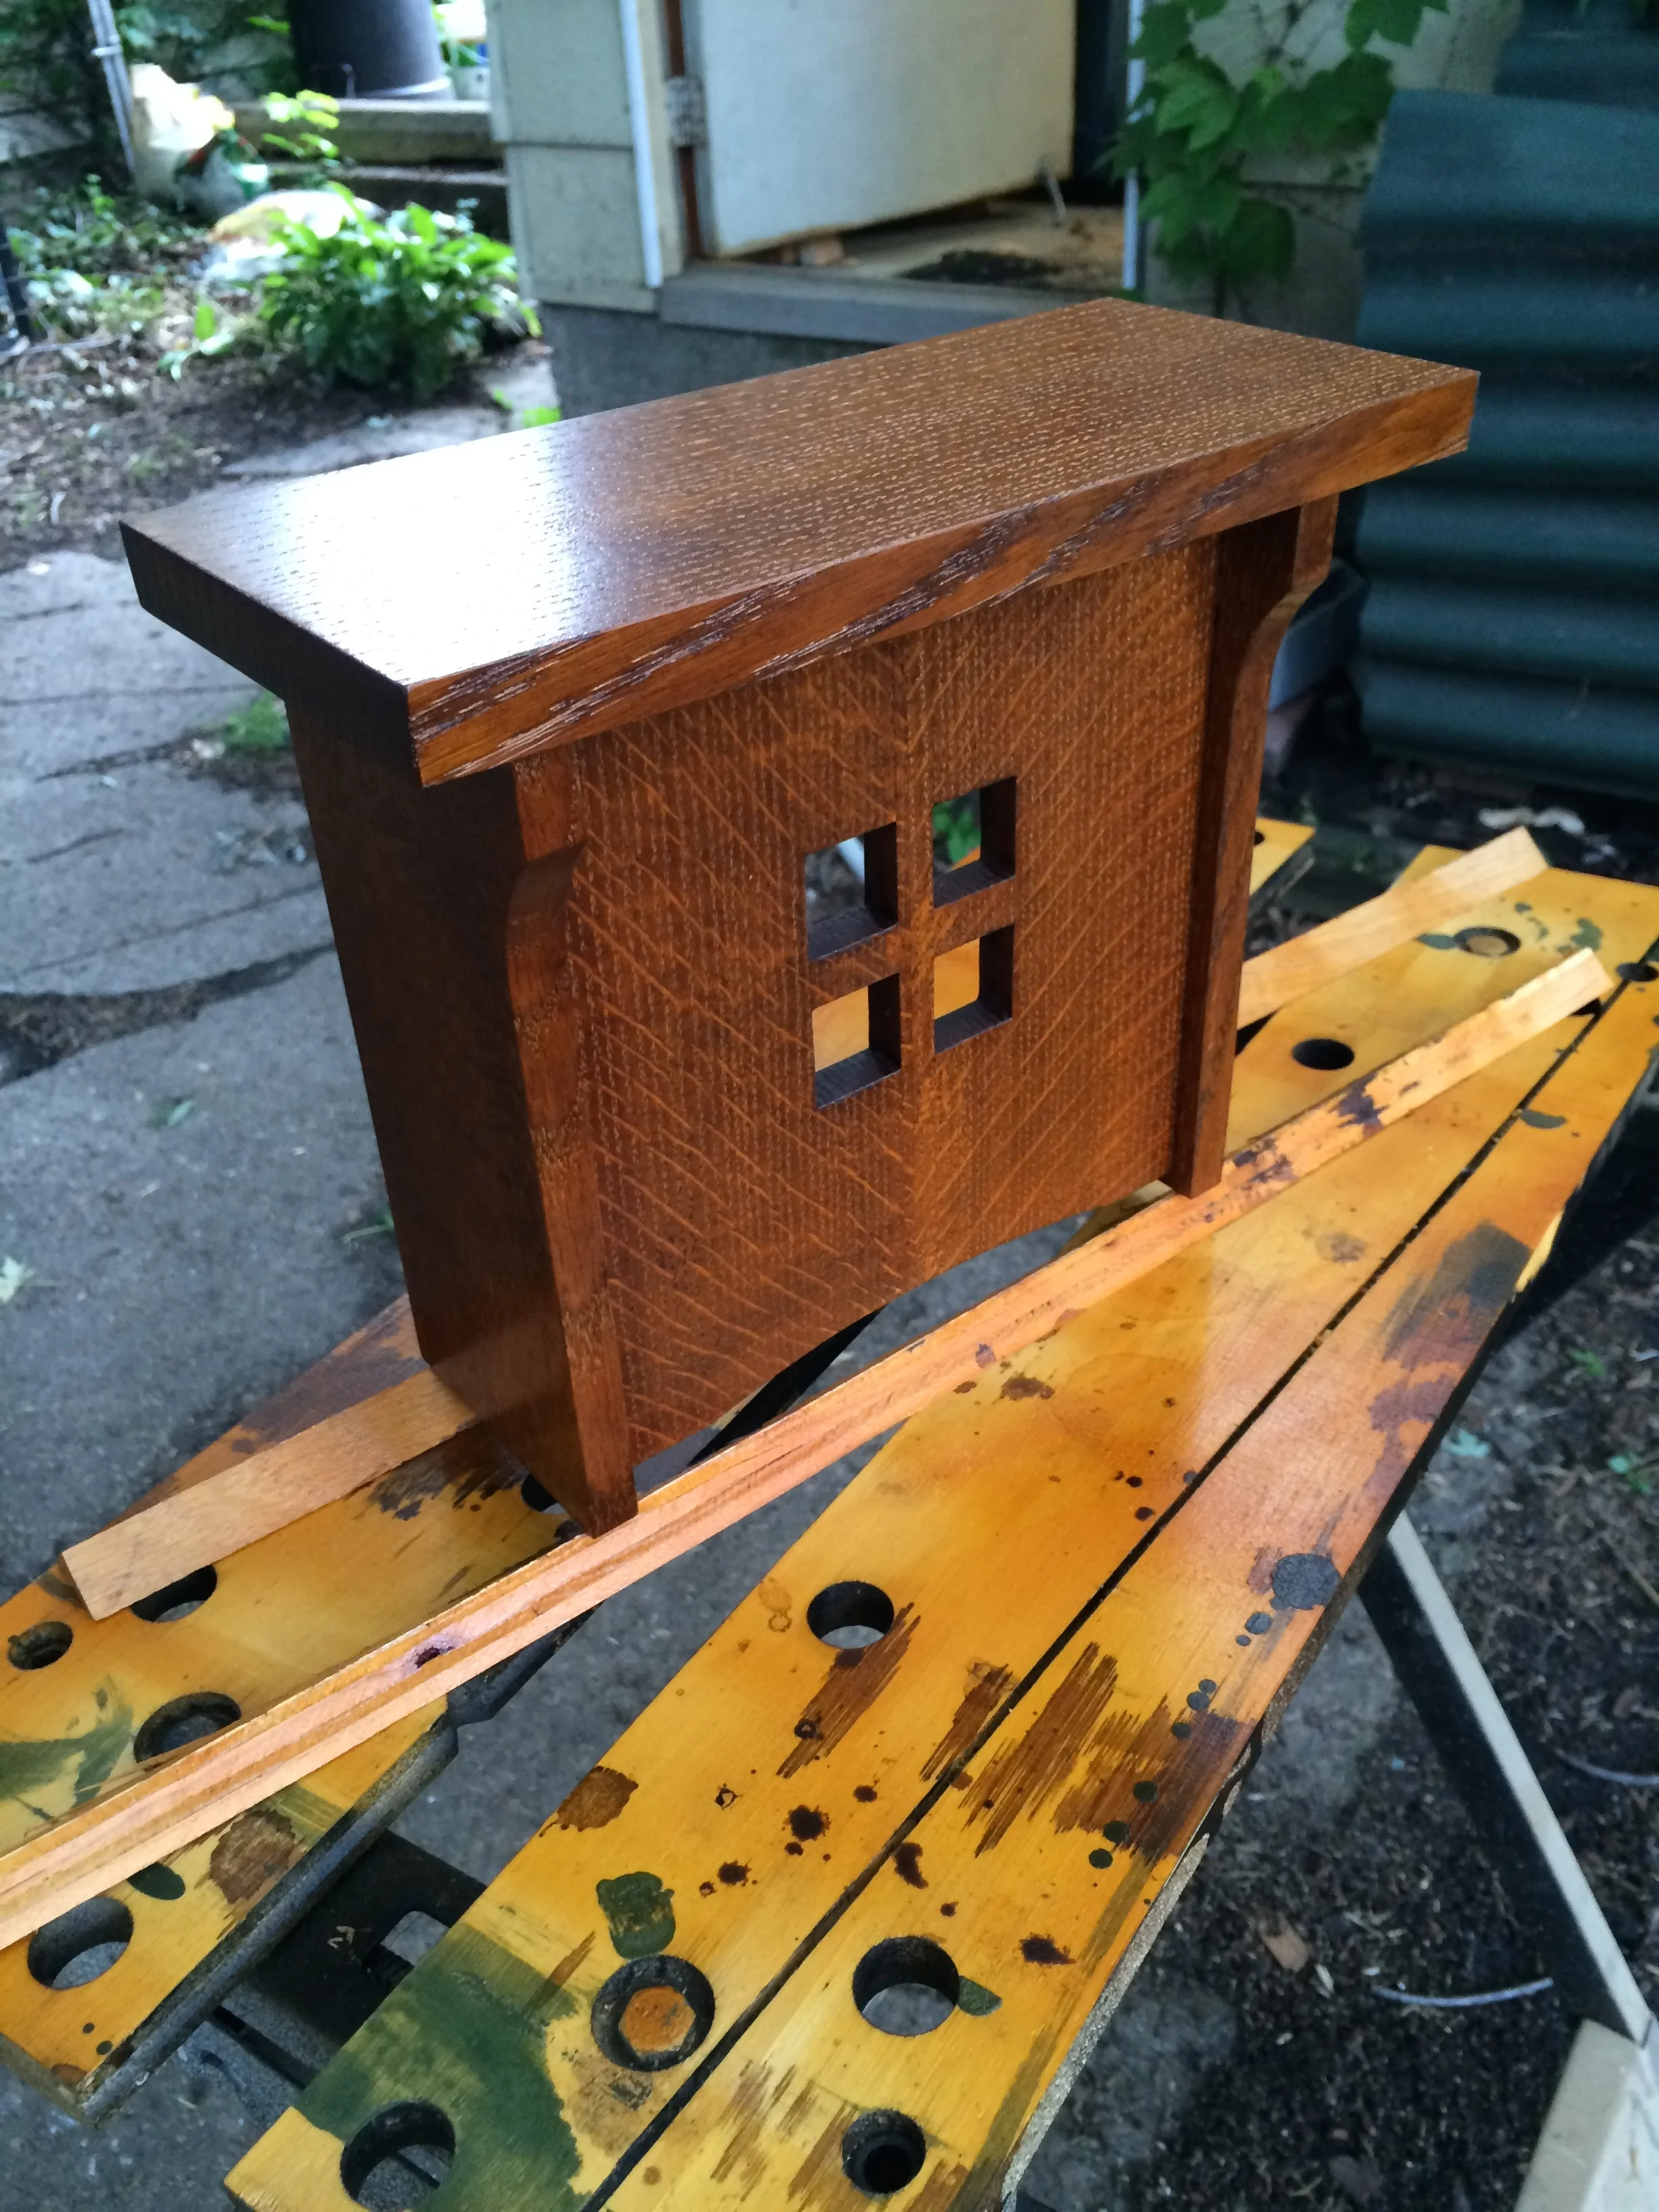
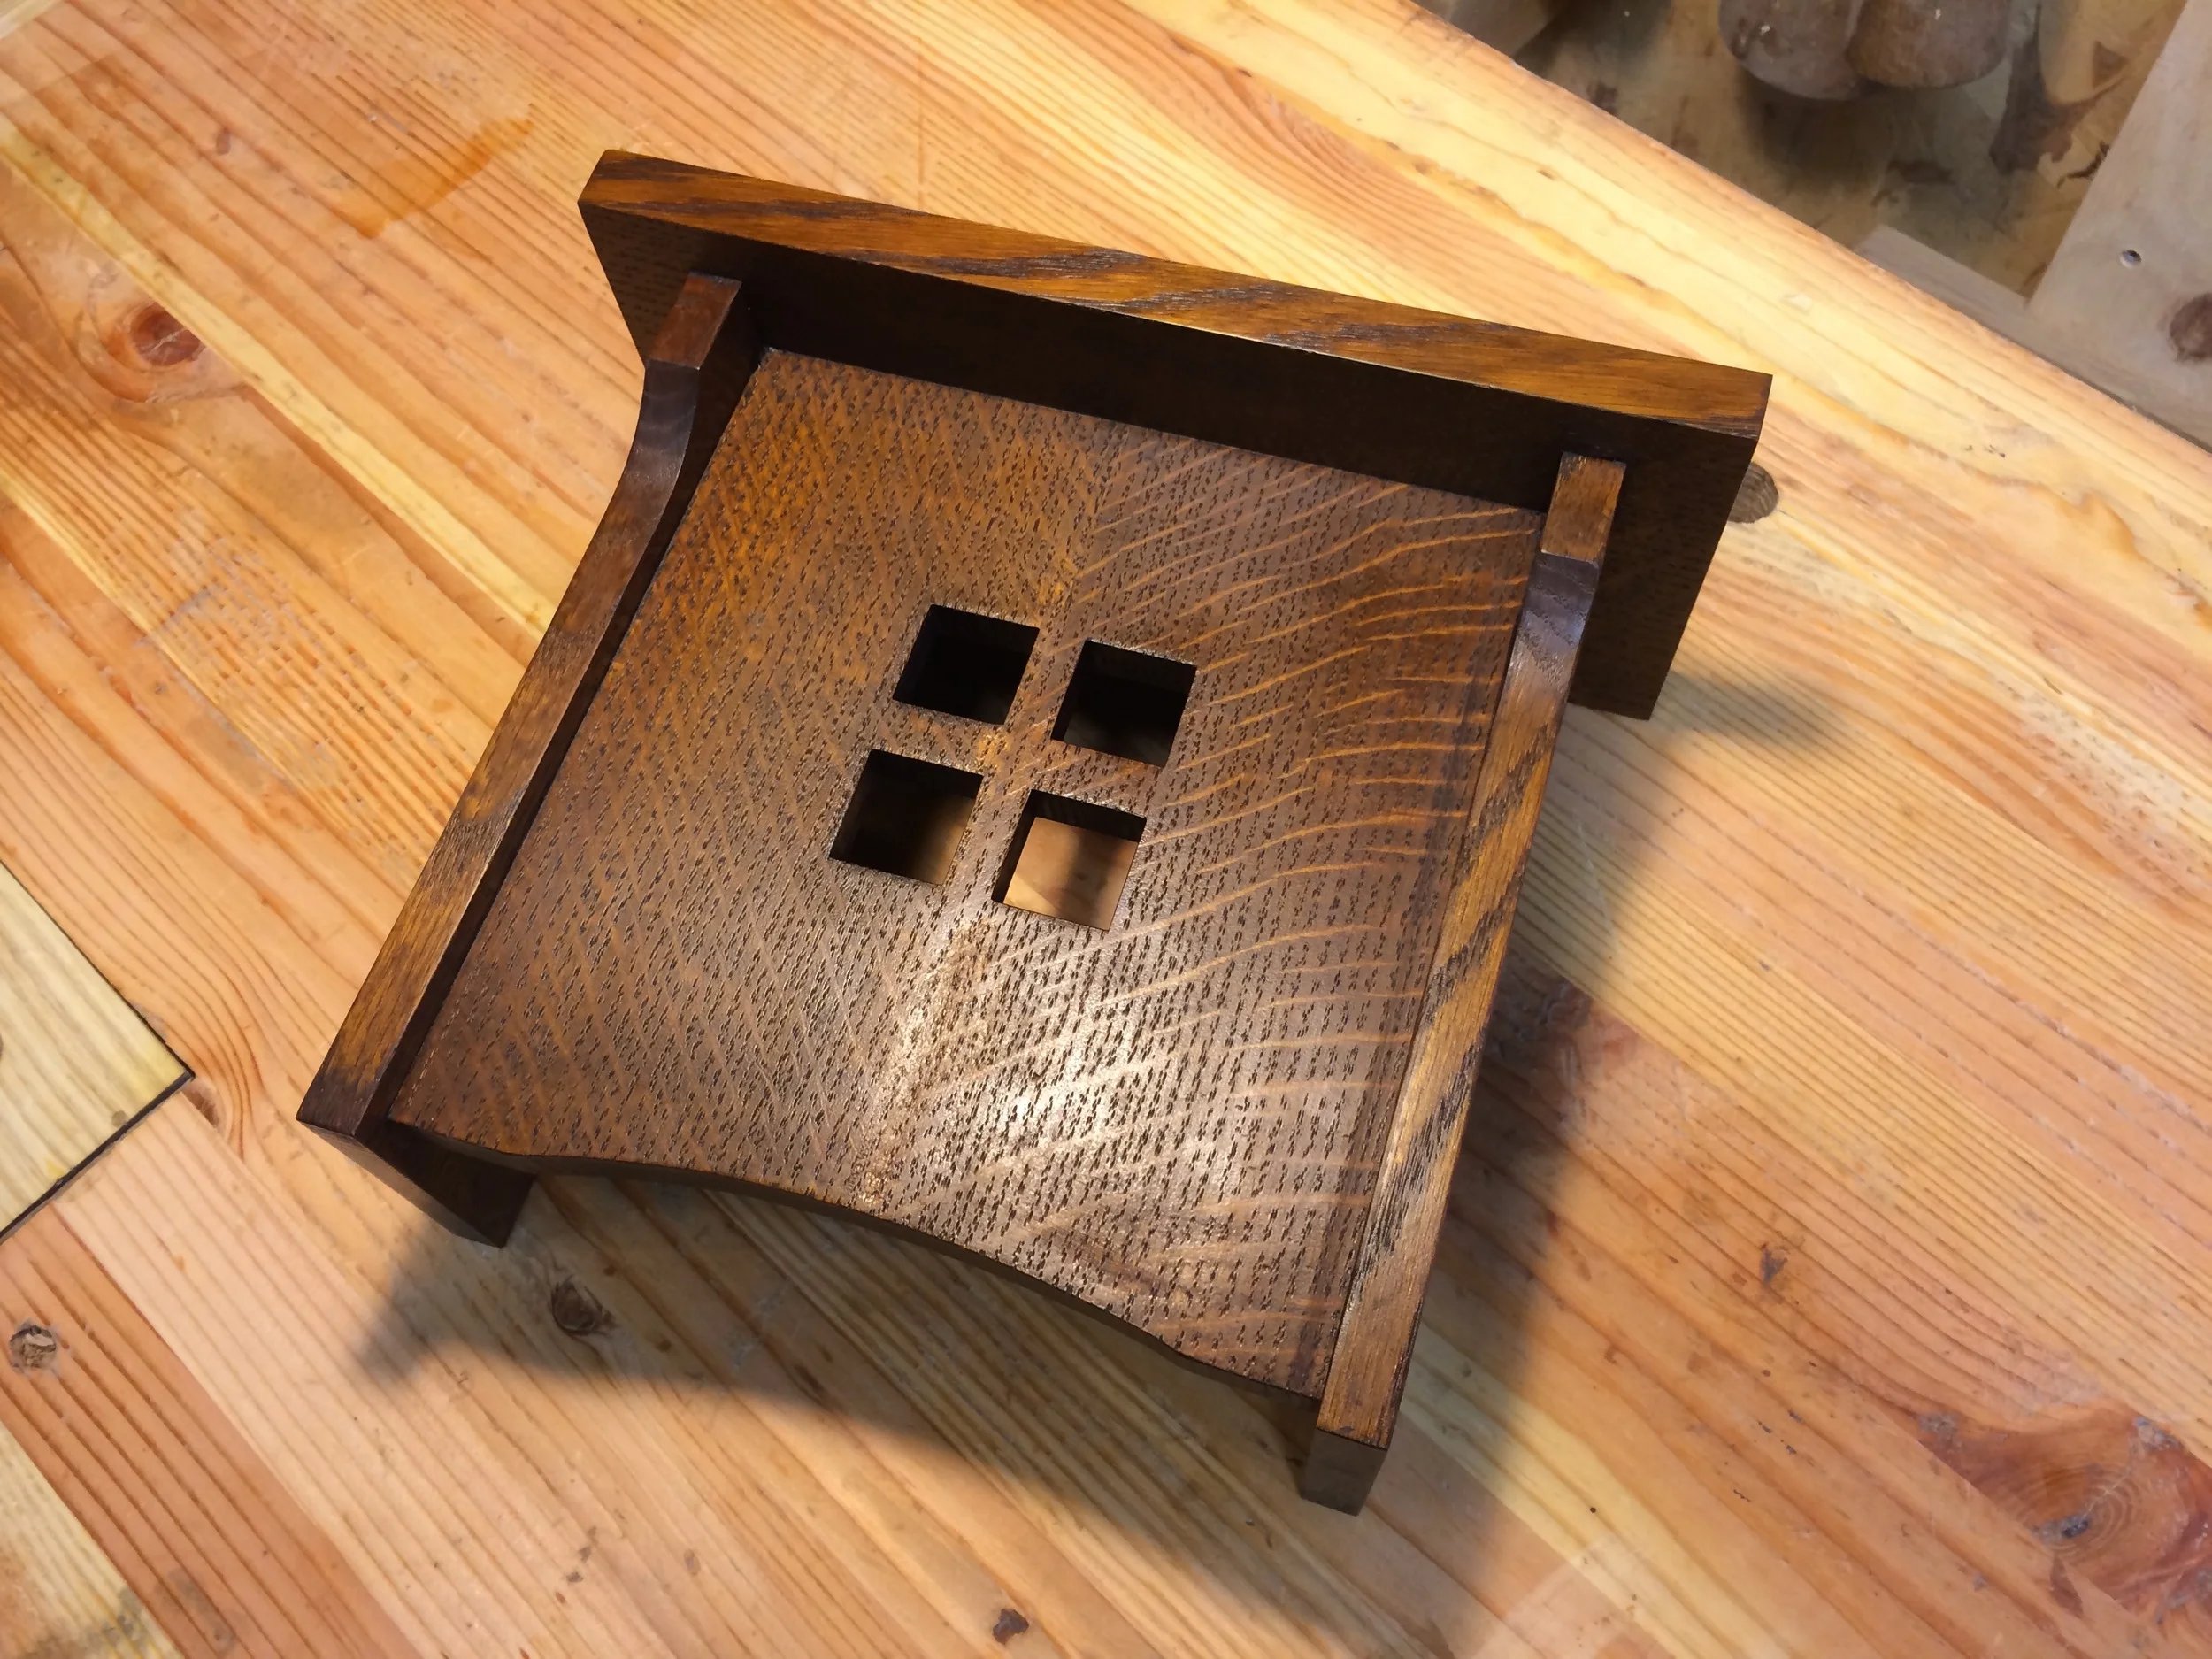
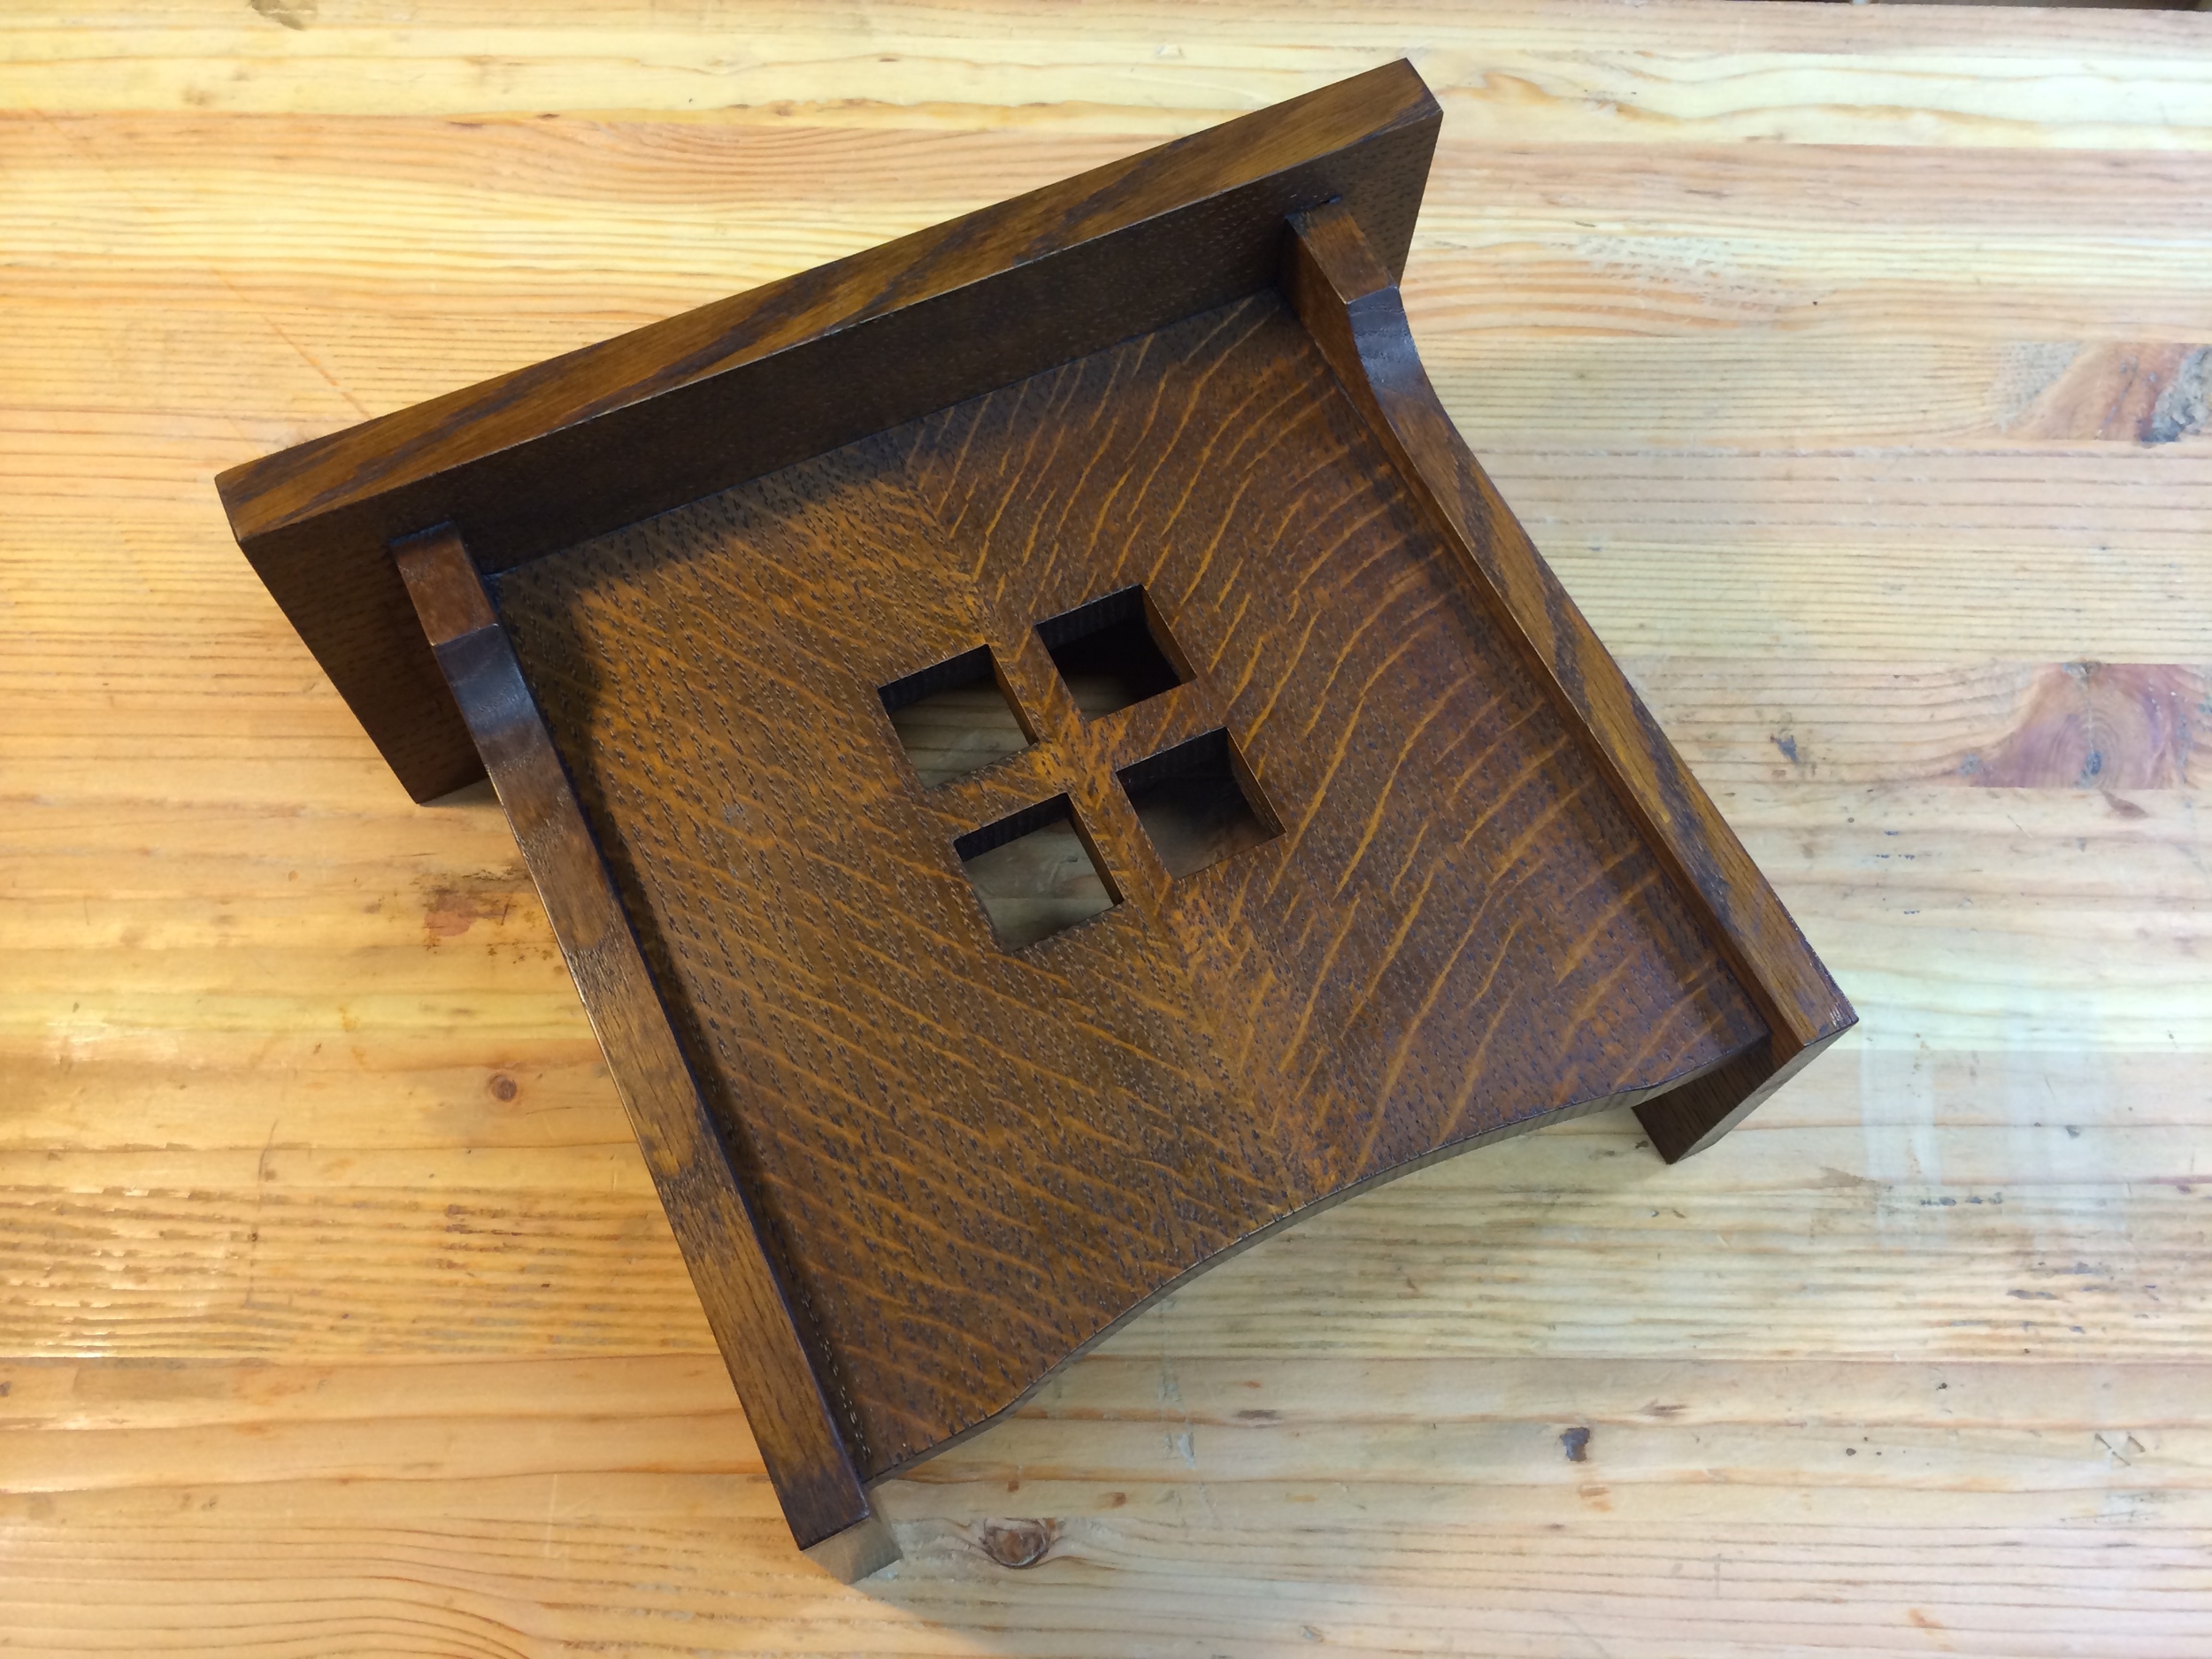
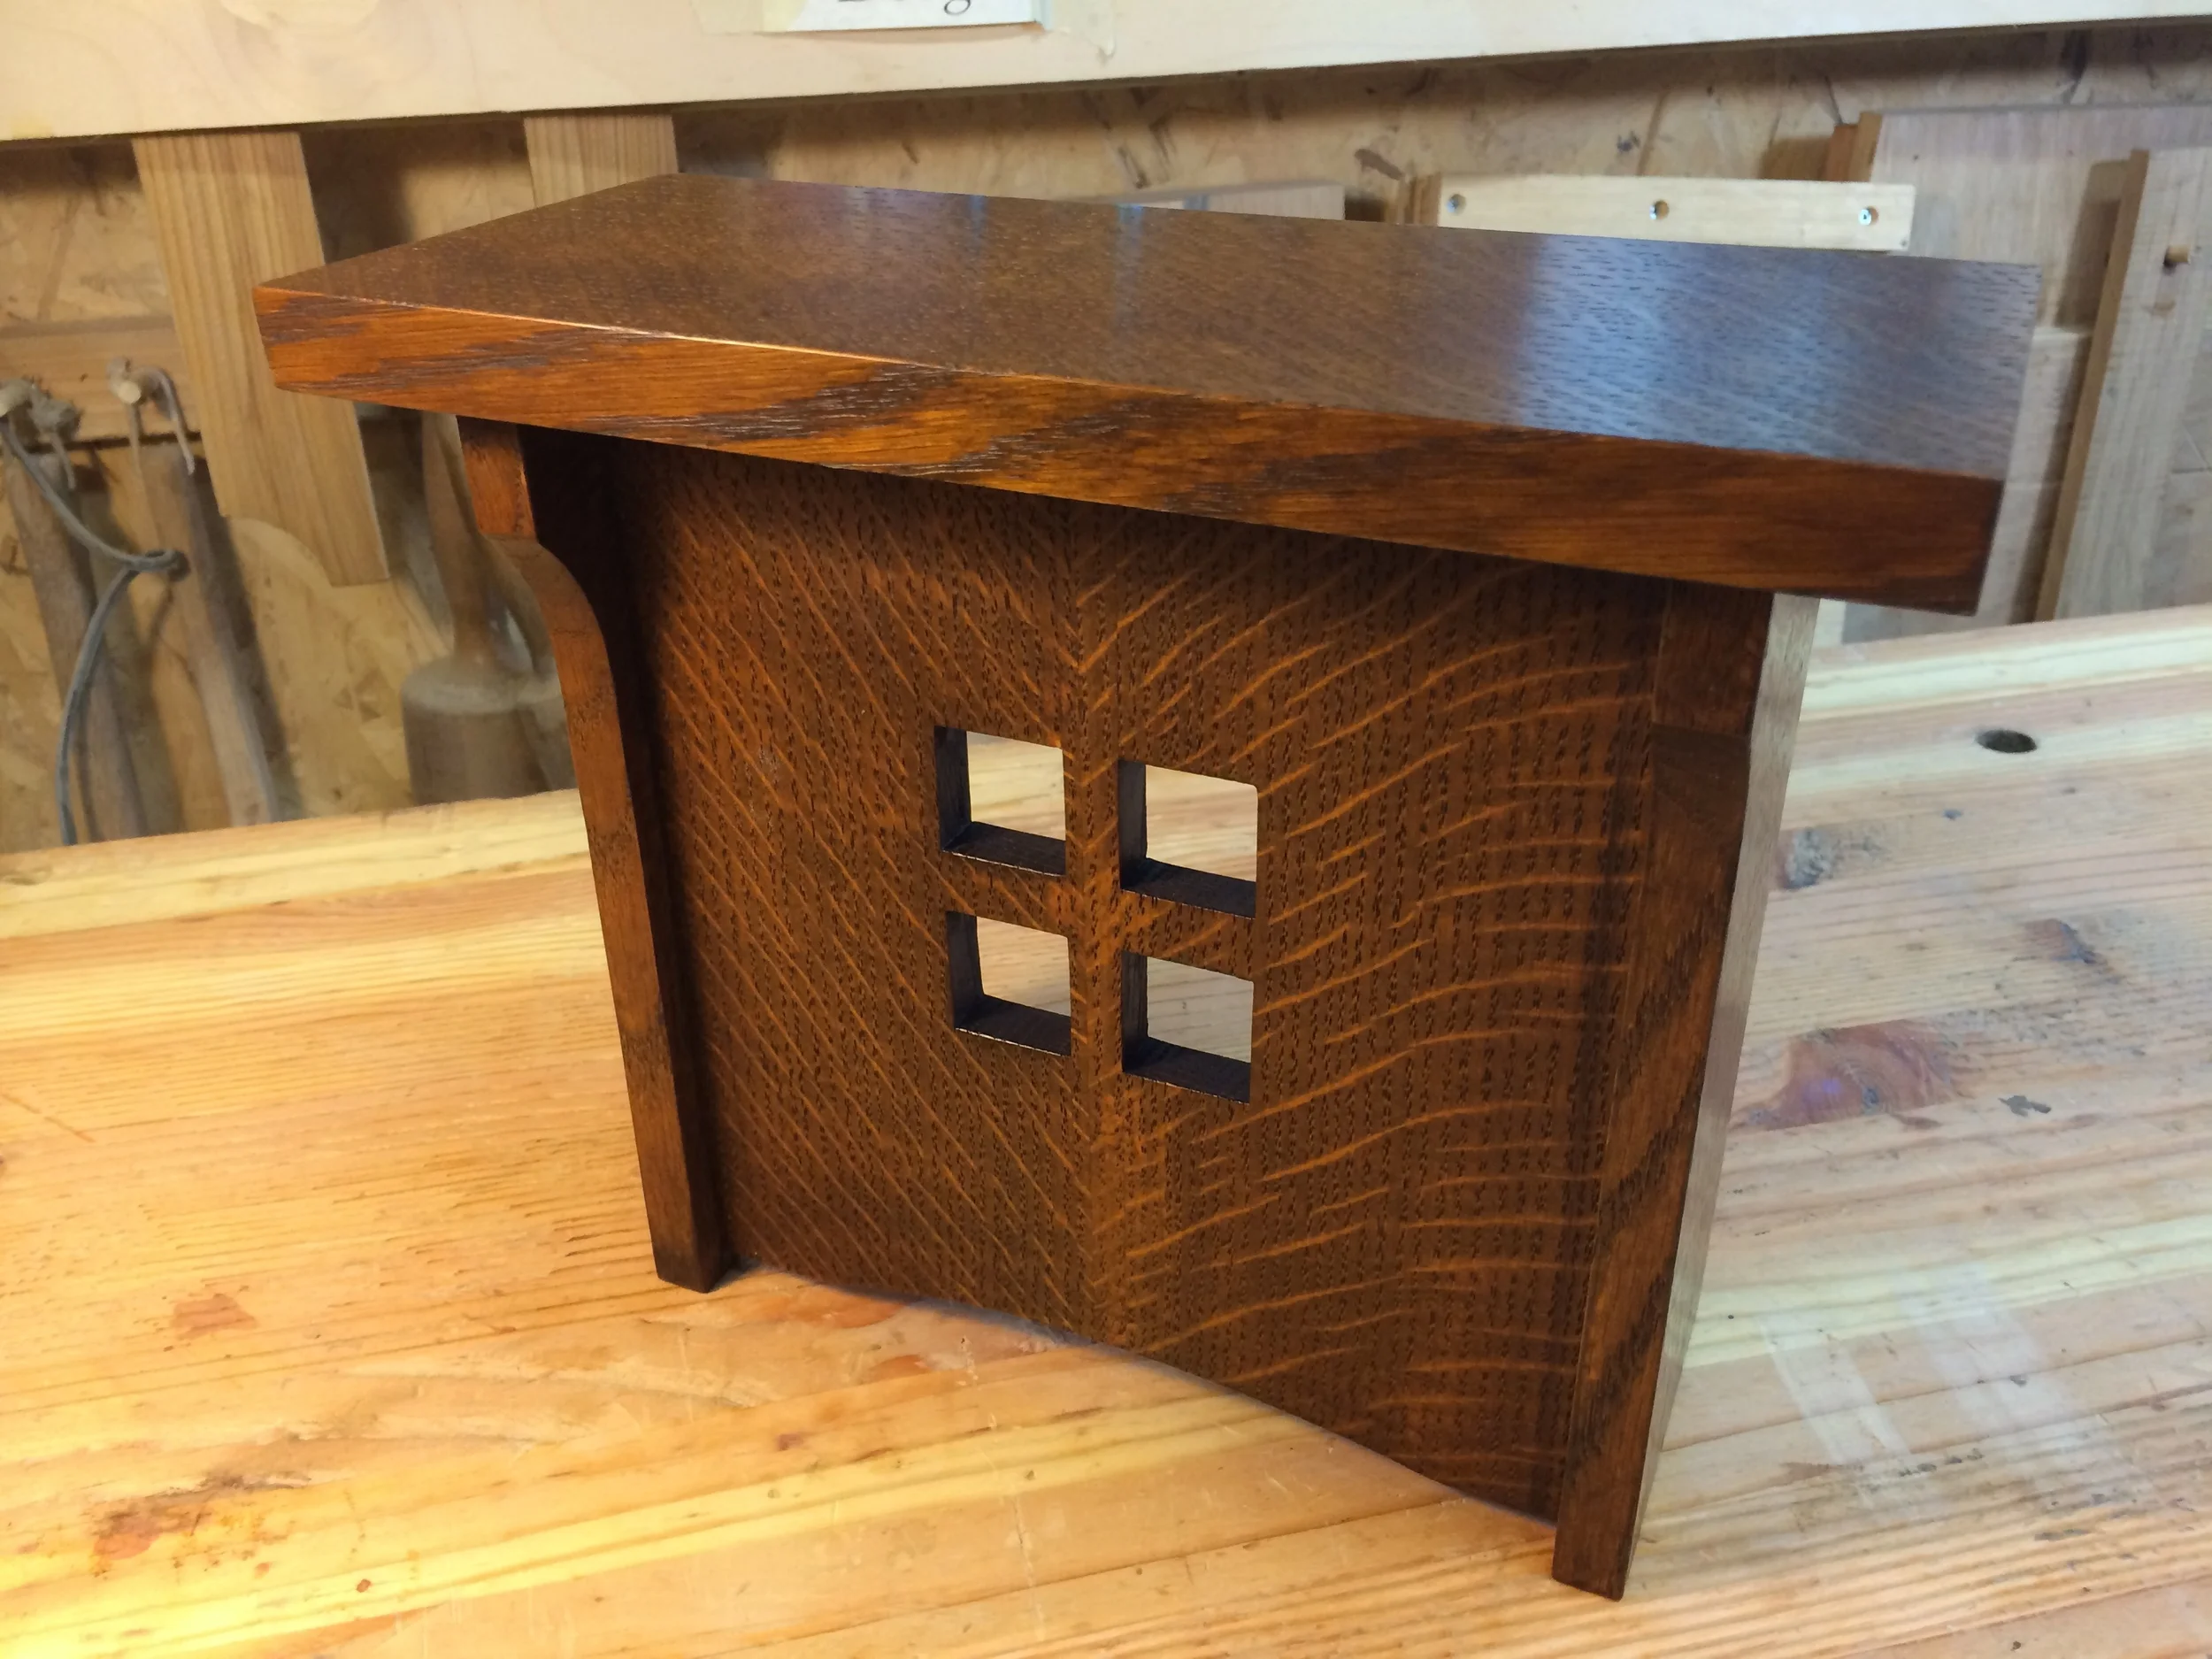
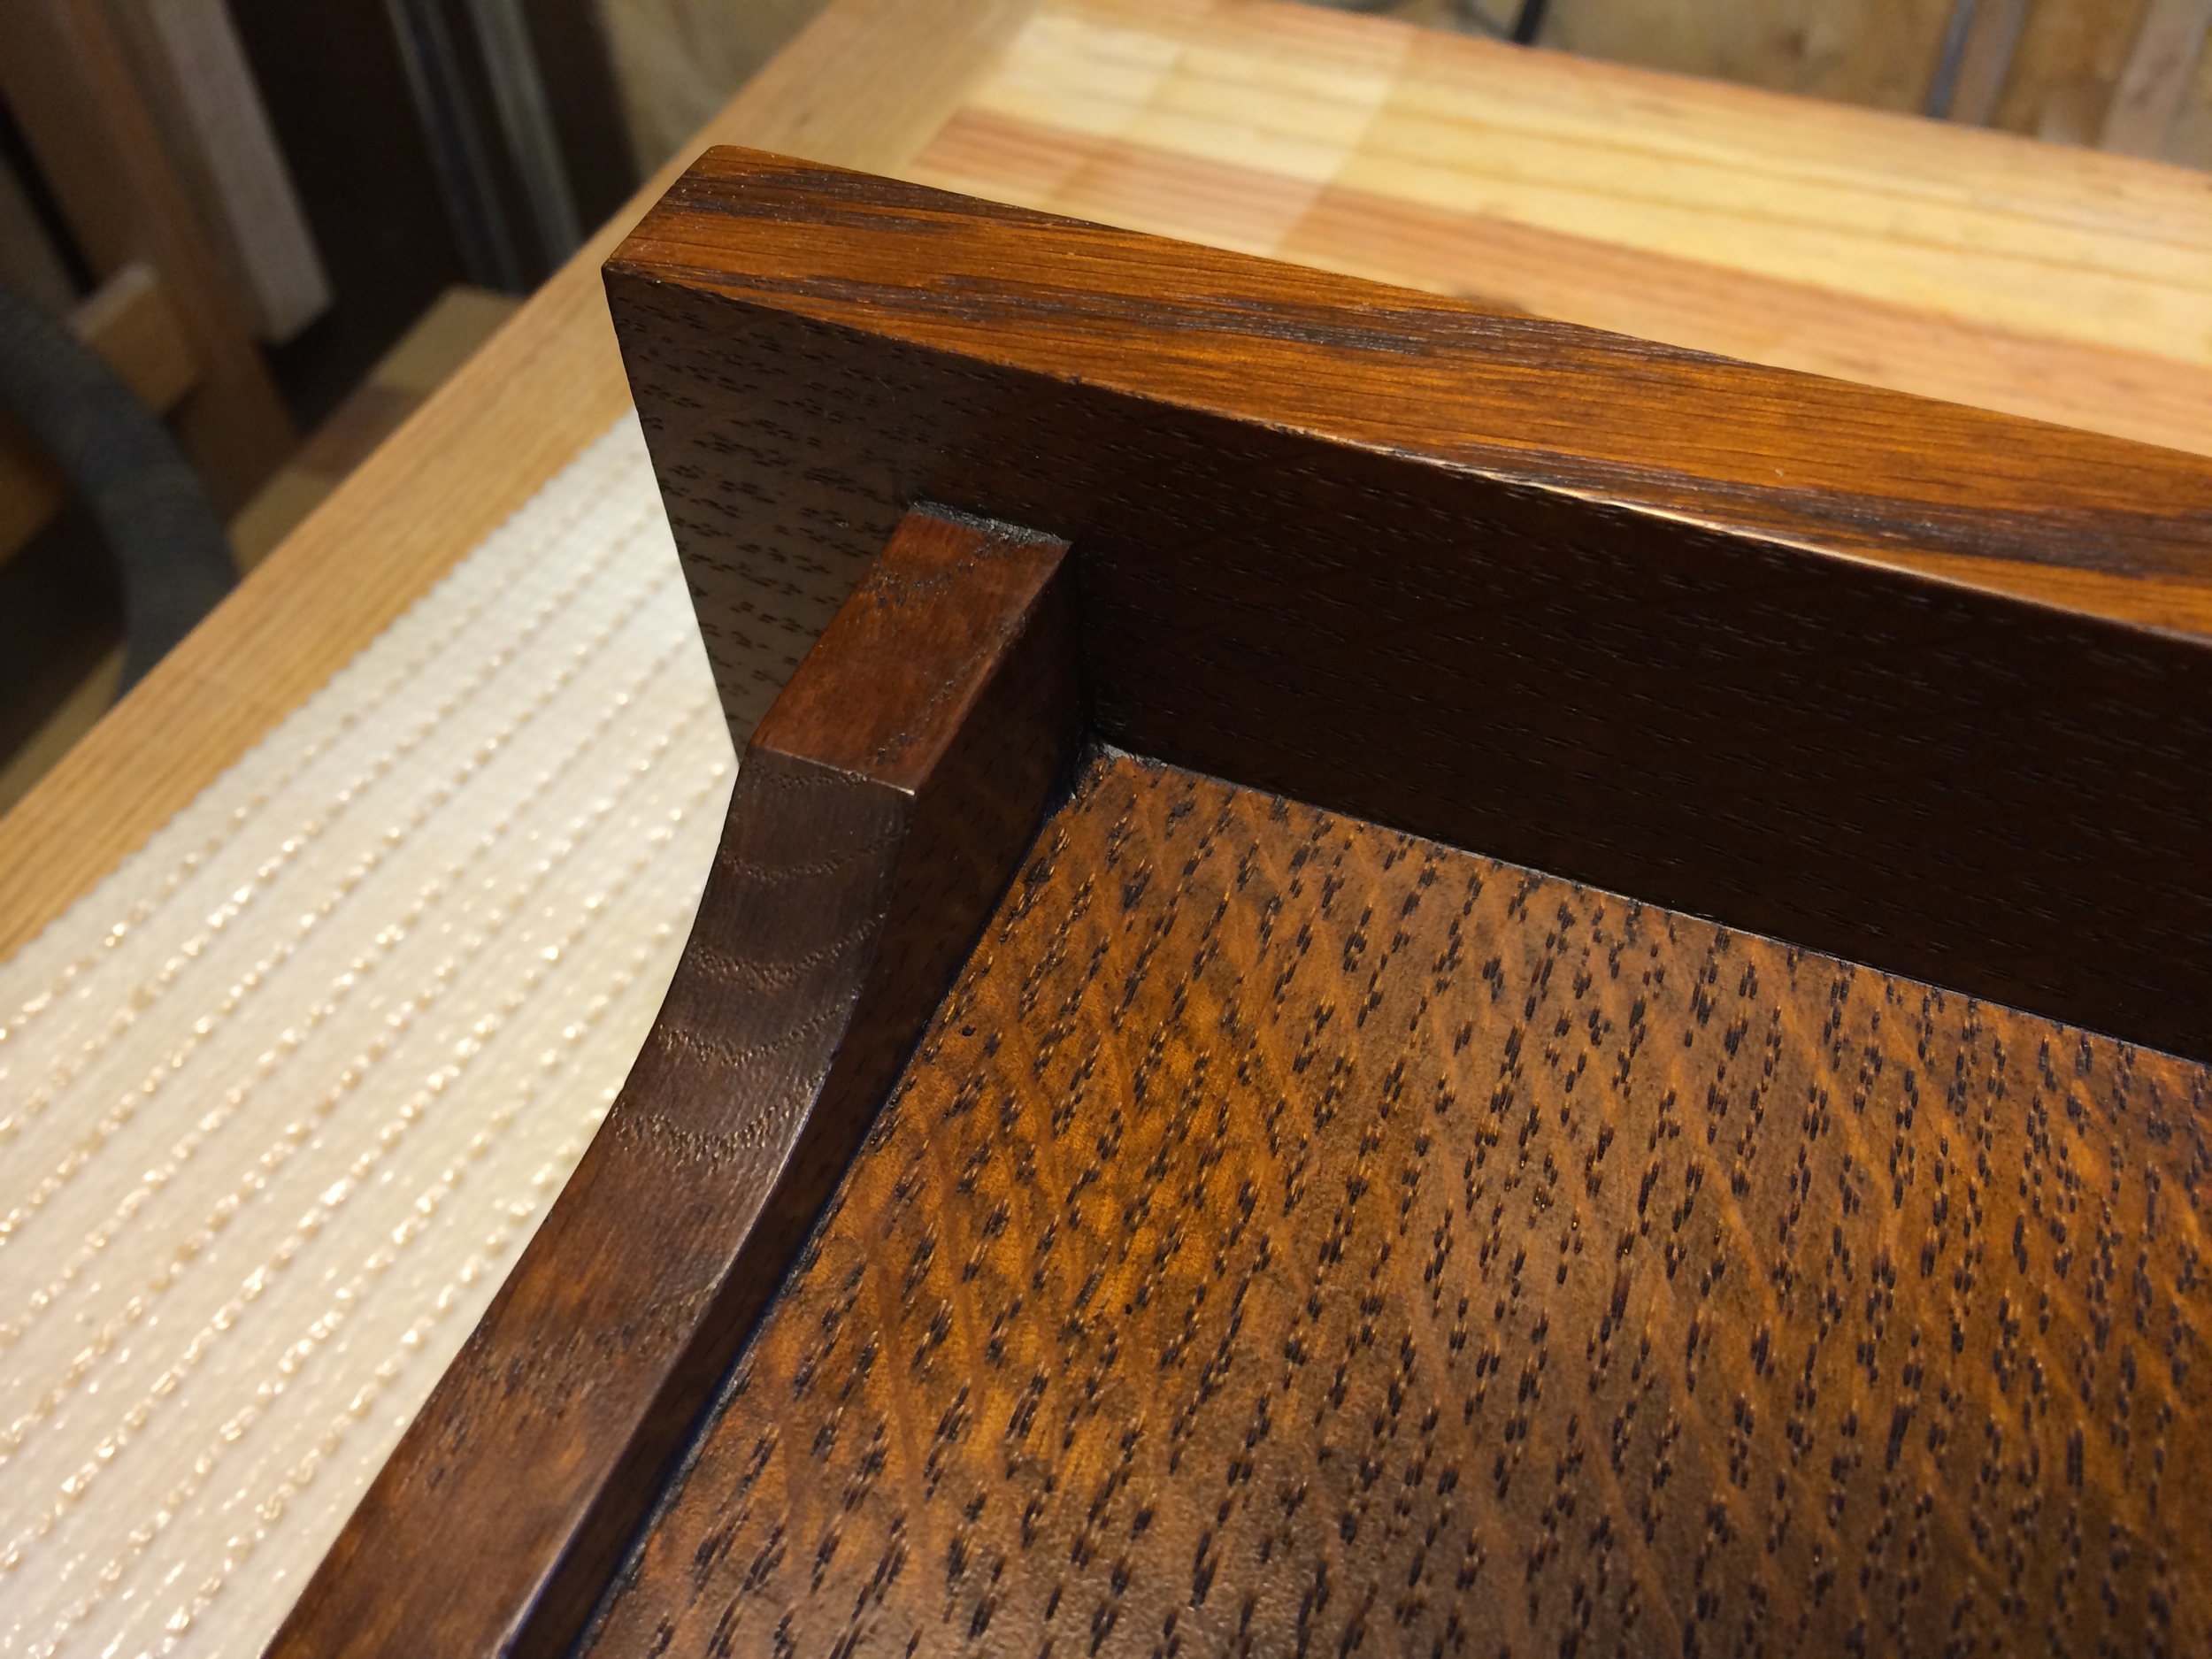
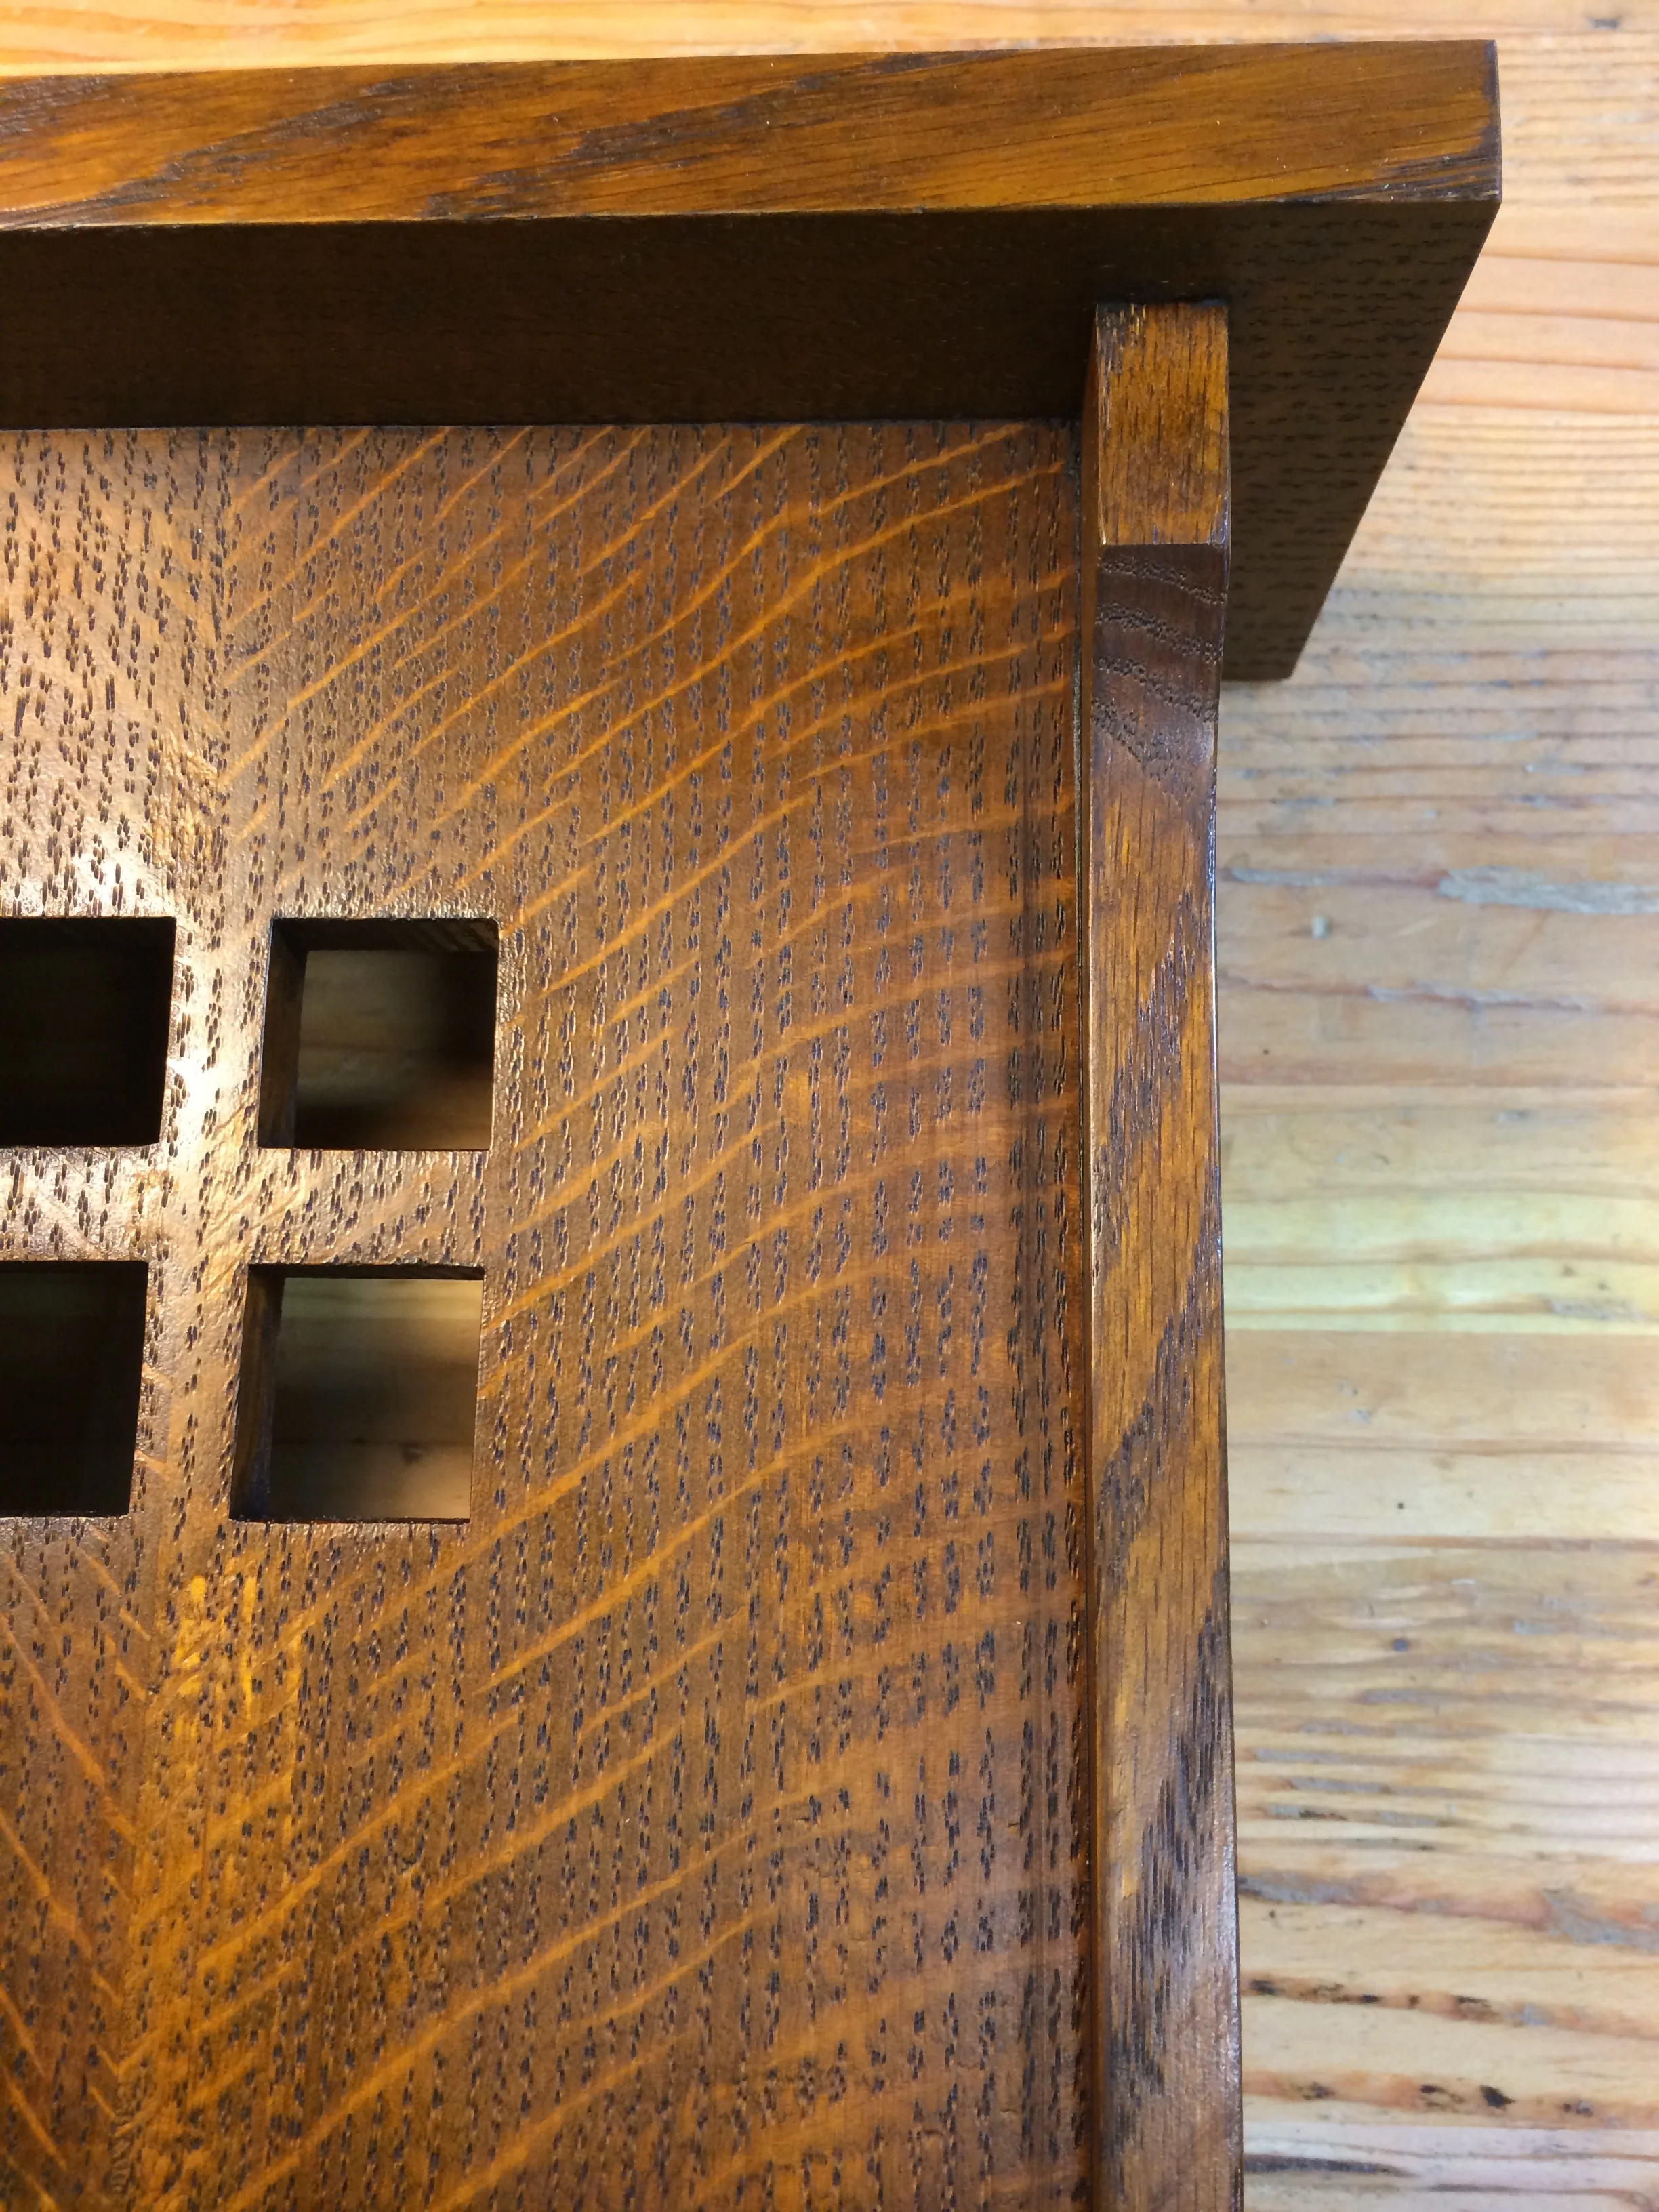
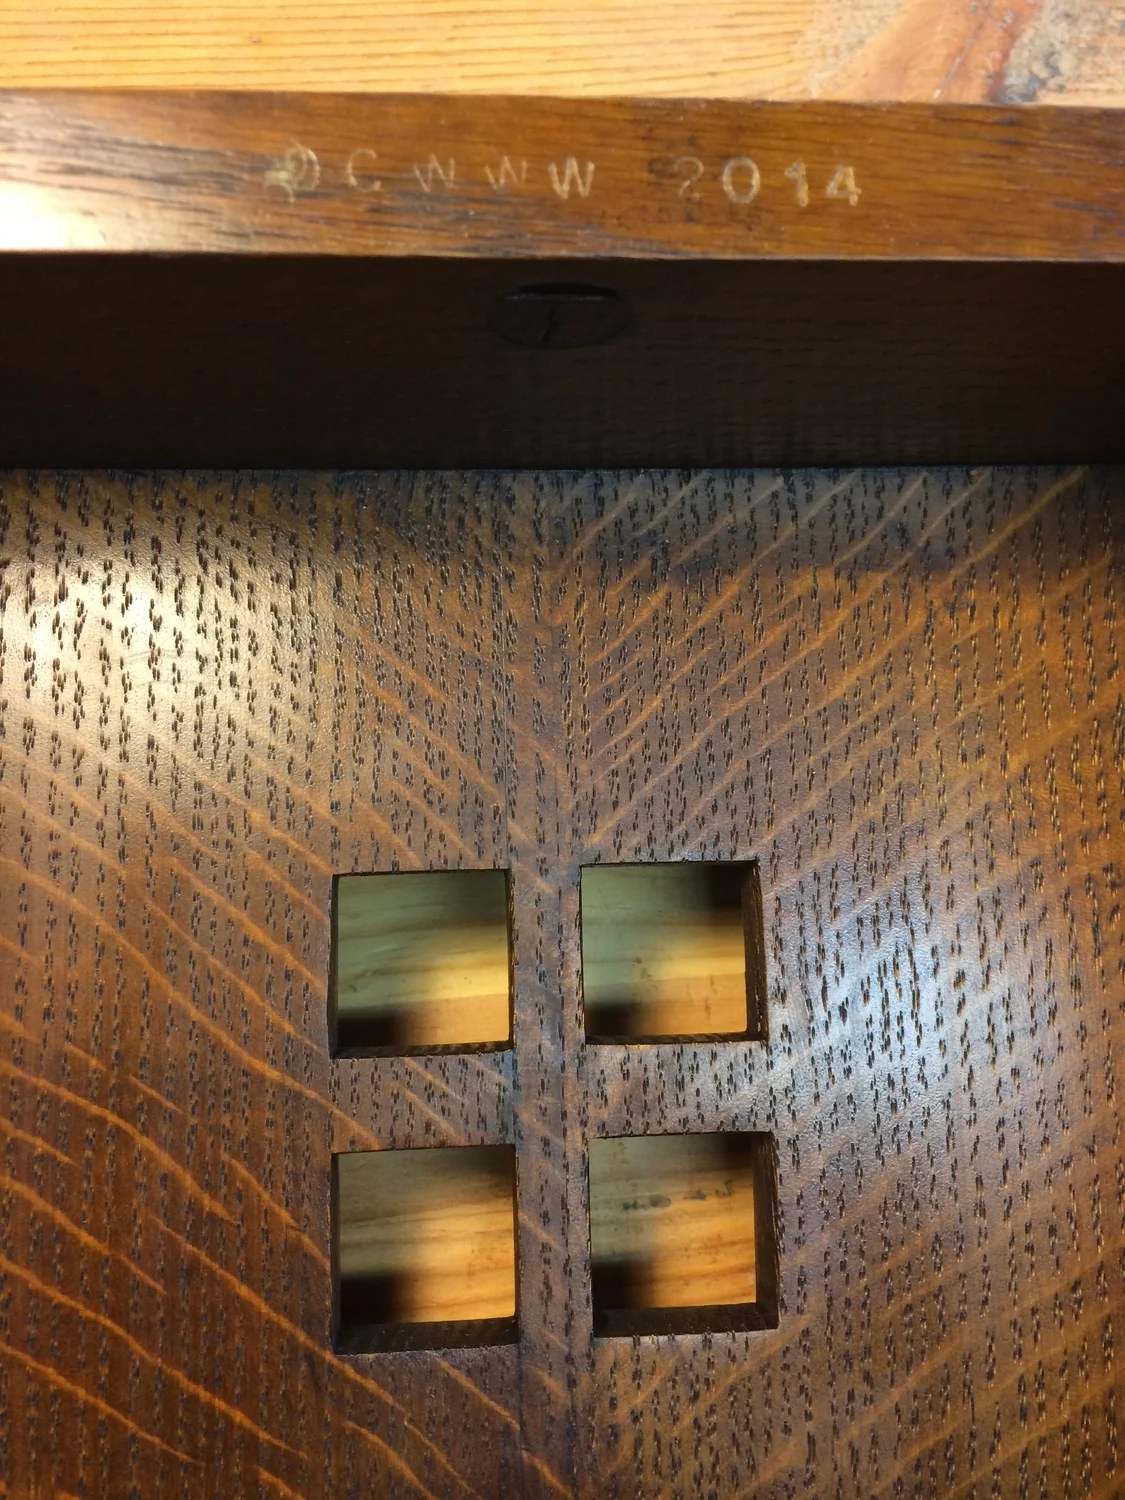
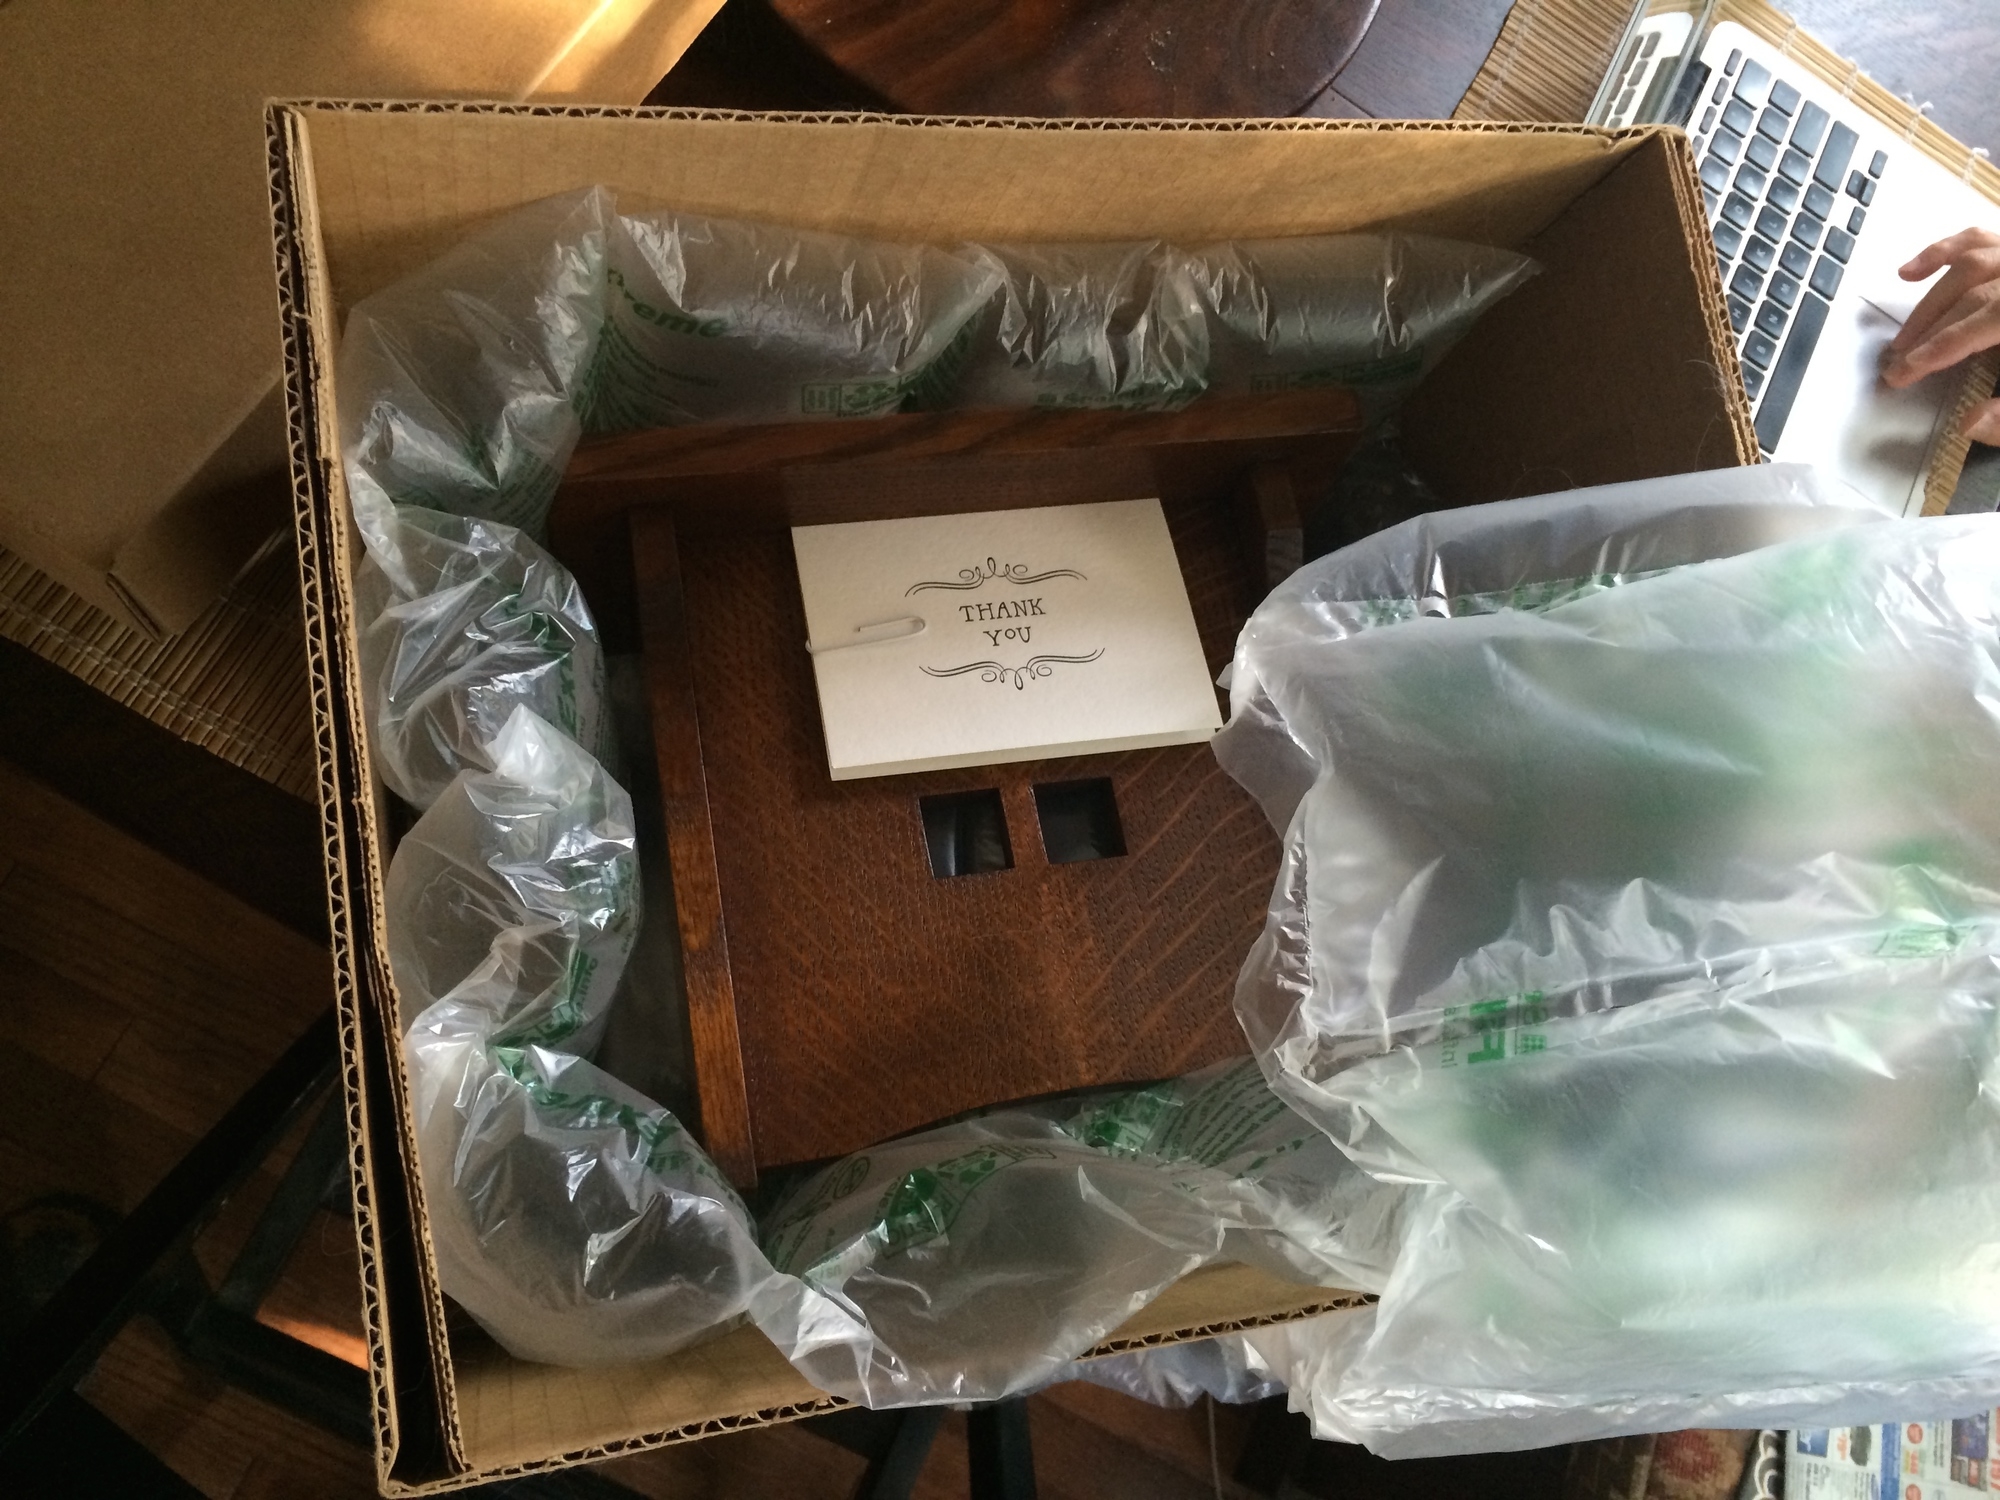
So, it all clicked. Ugly stuff + some great un-tossable scrap = project, and I made these four wastepaper baskets - they're much too nice to be called "garbage cans".

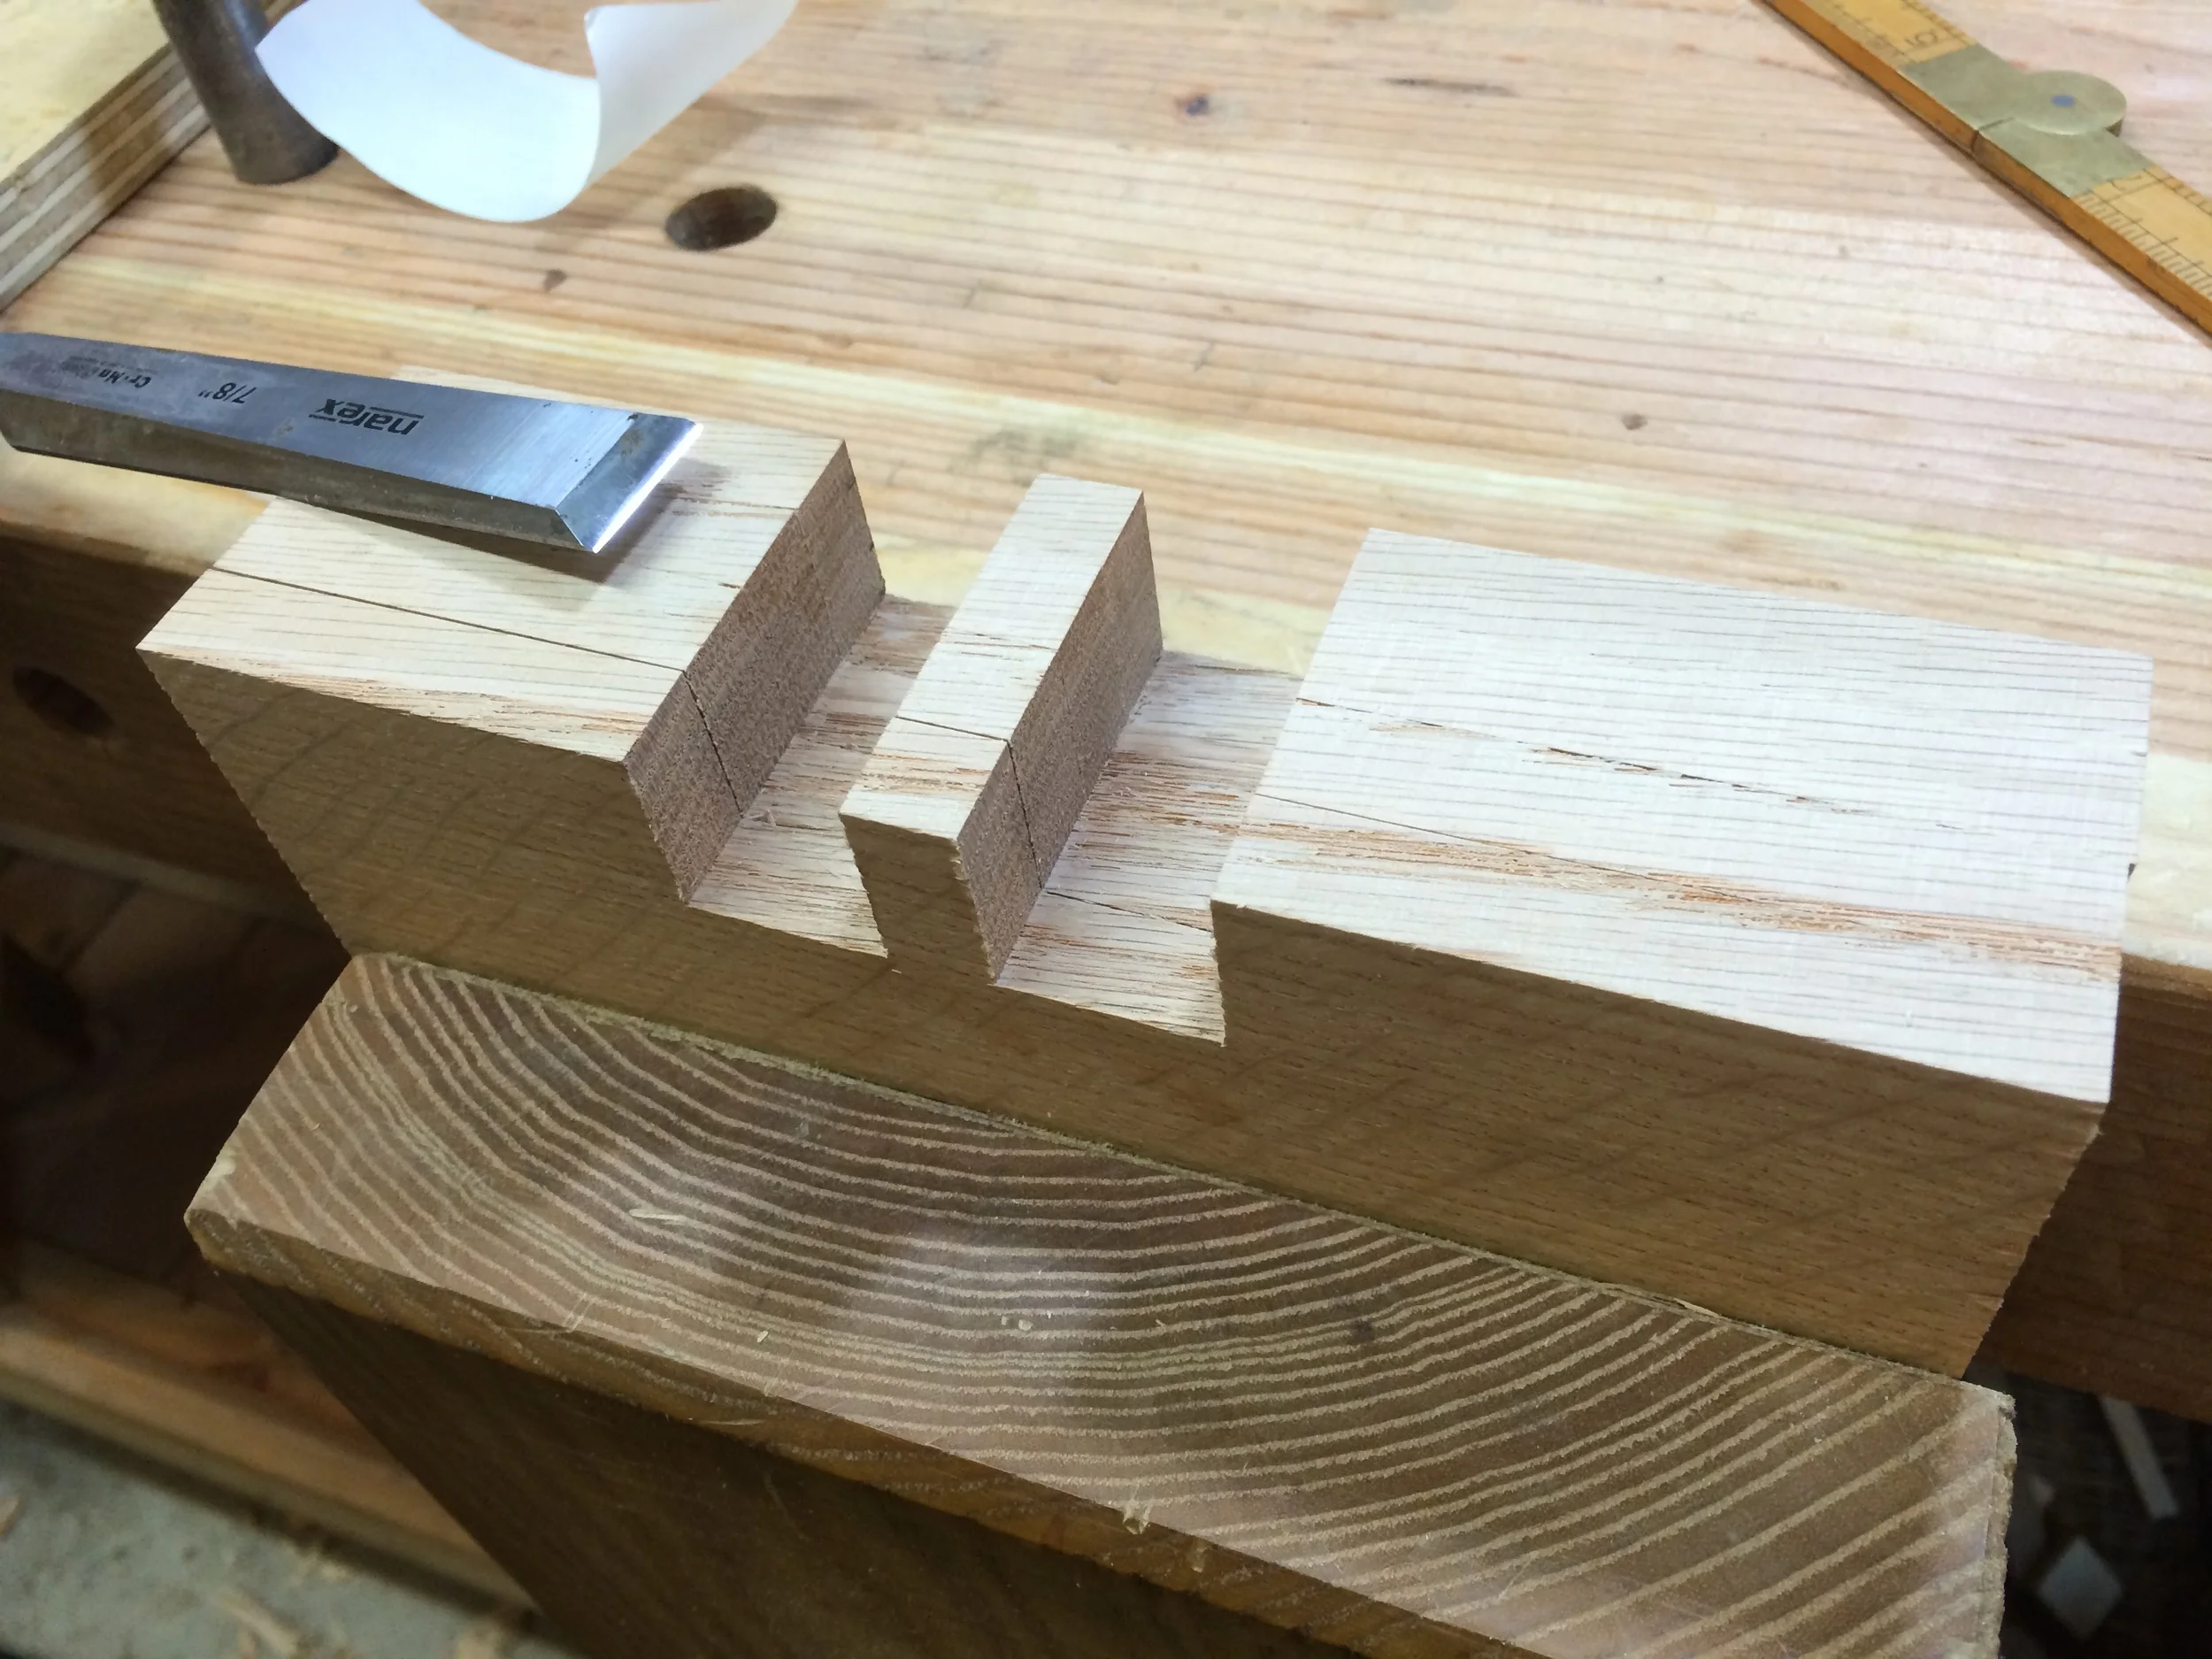
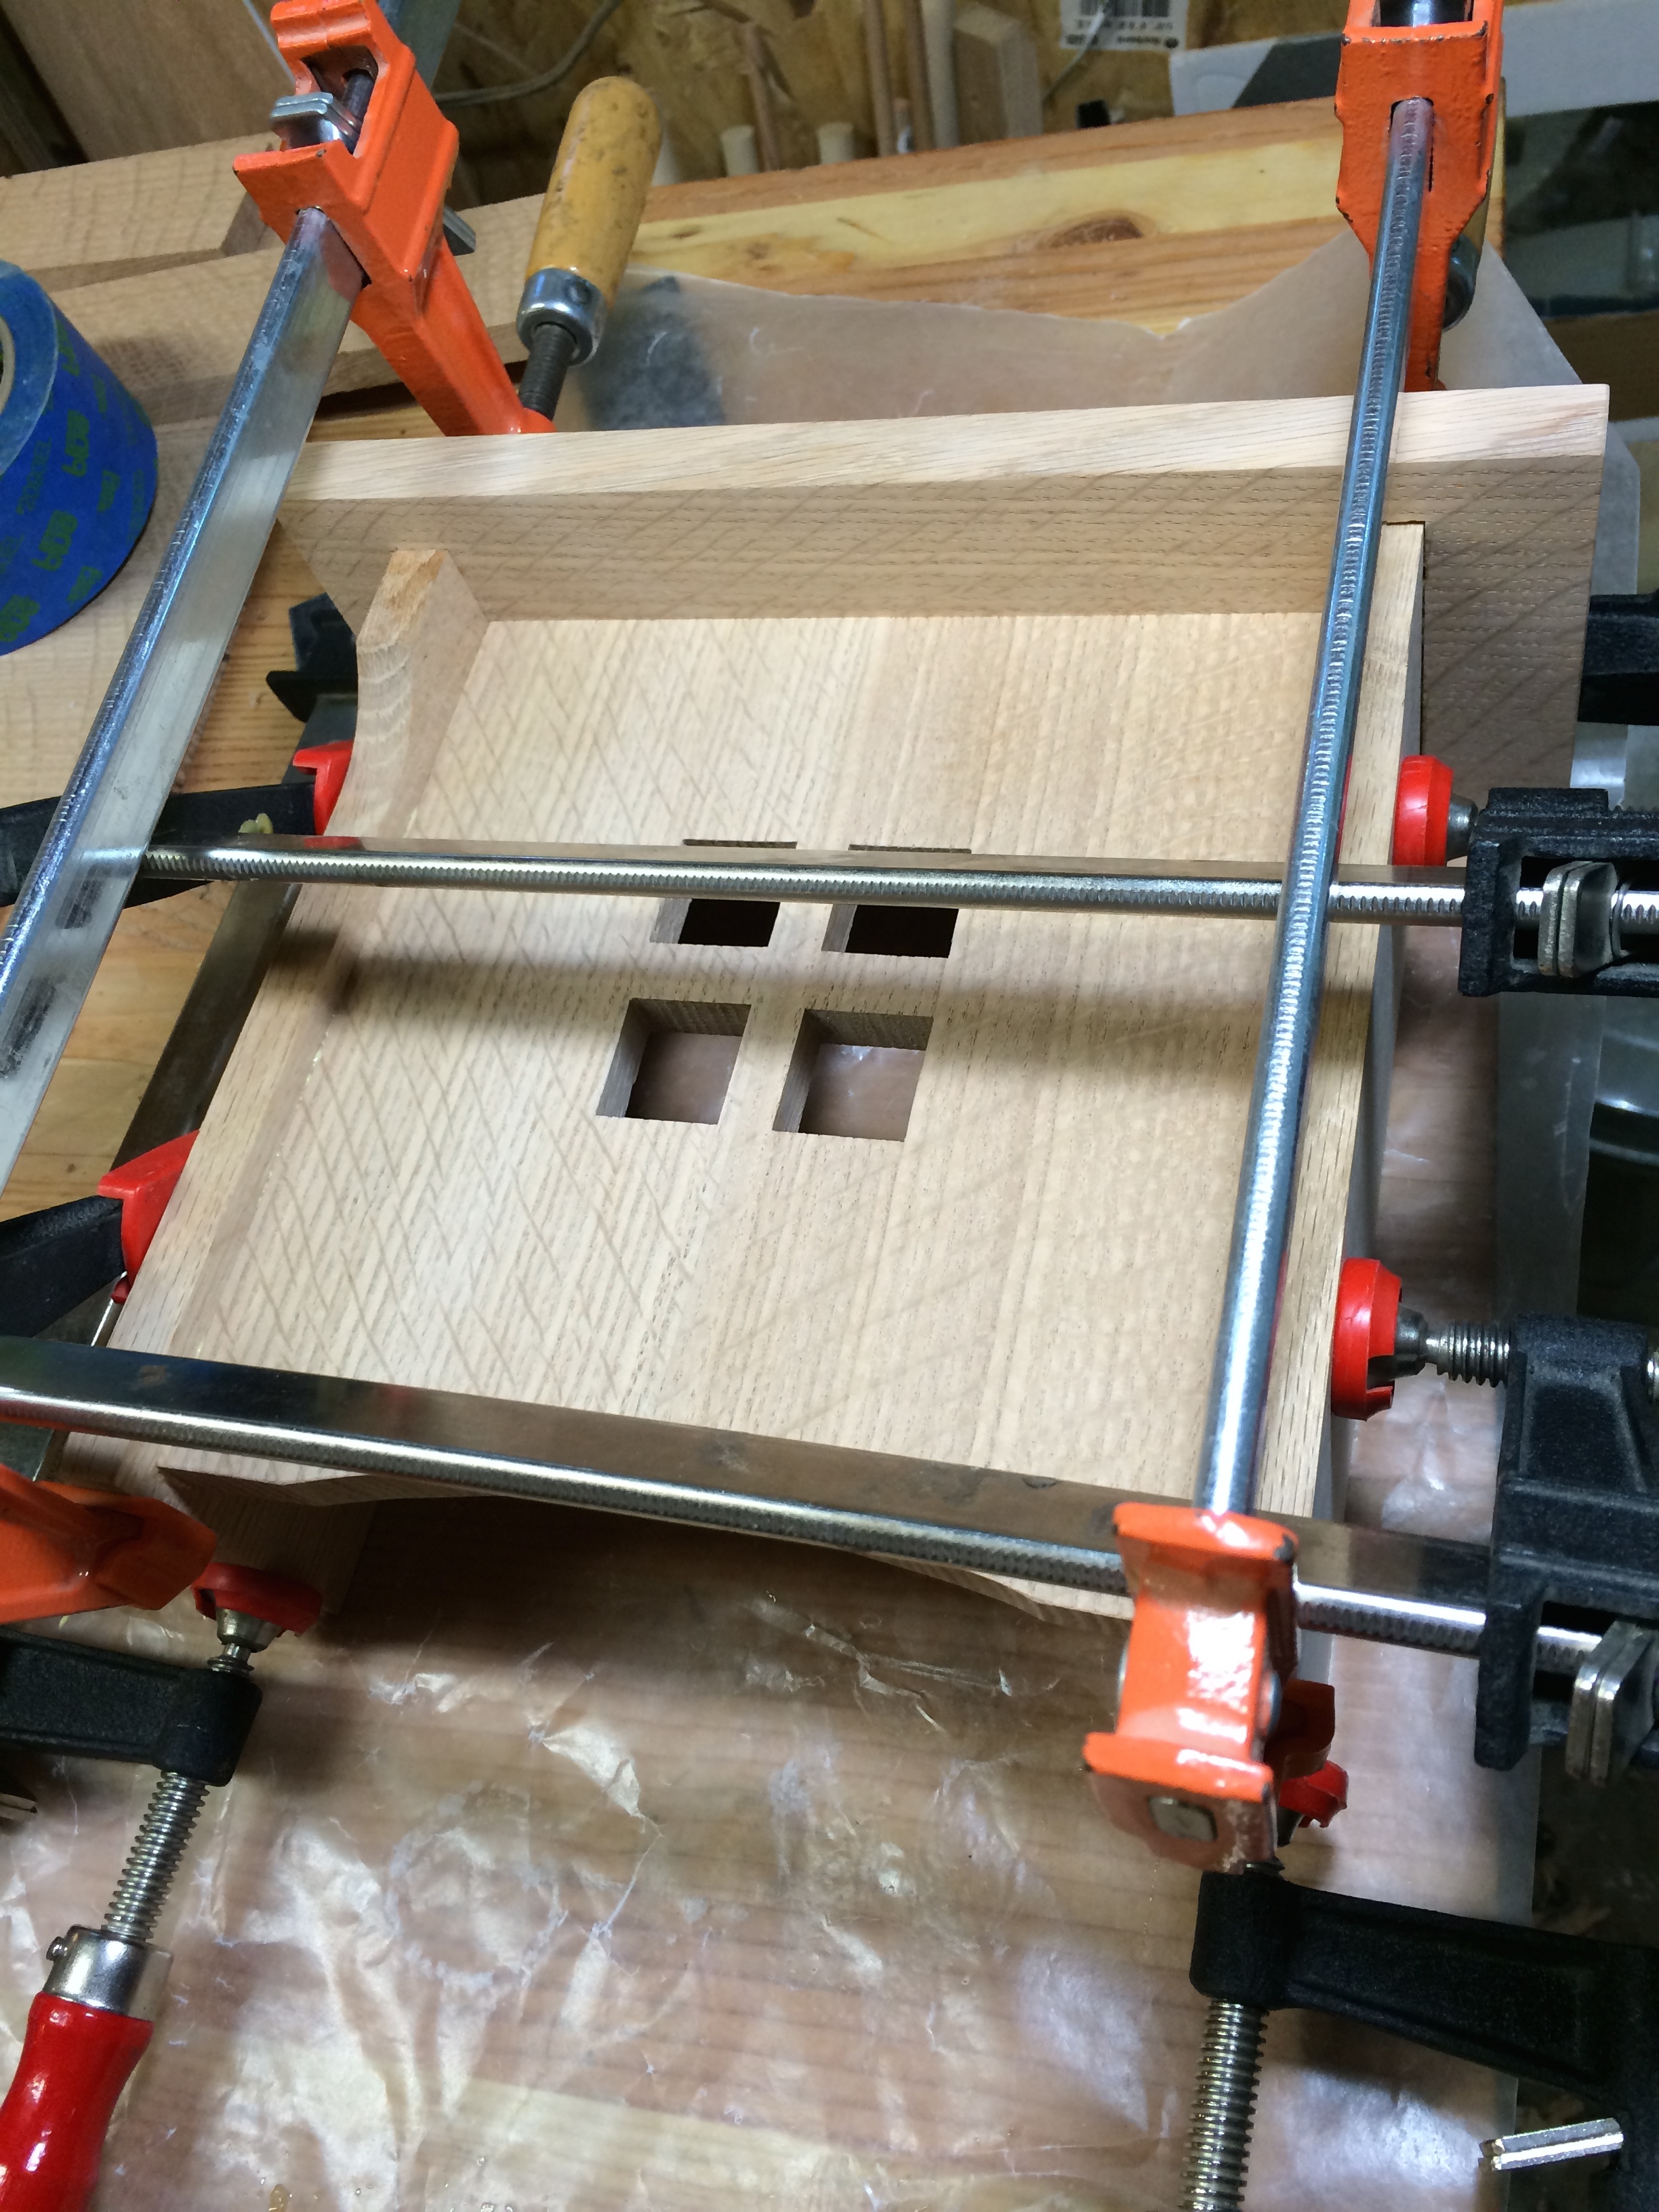
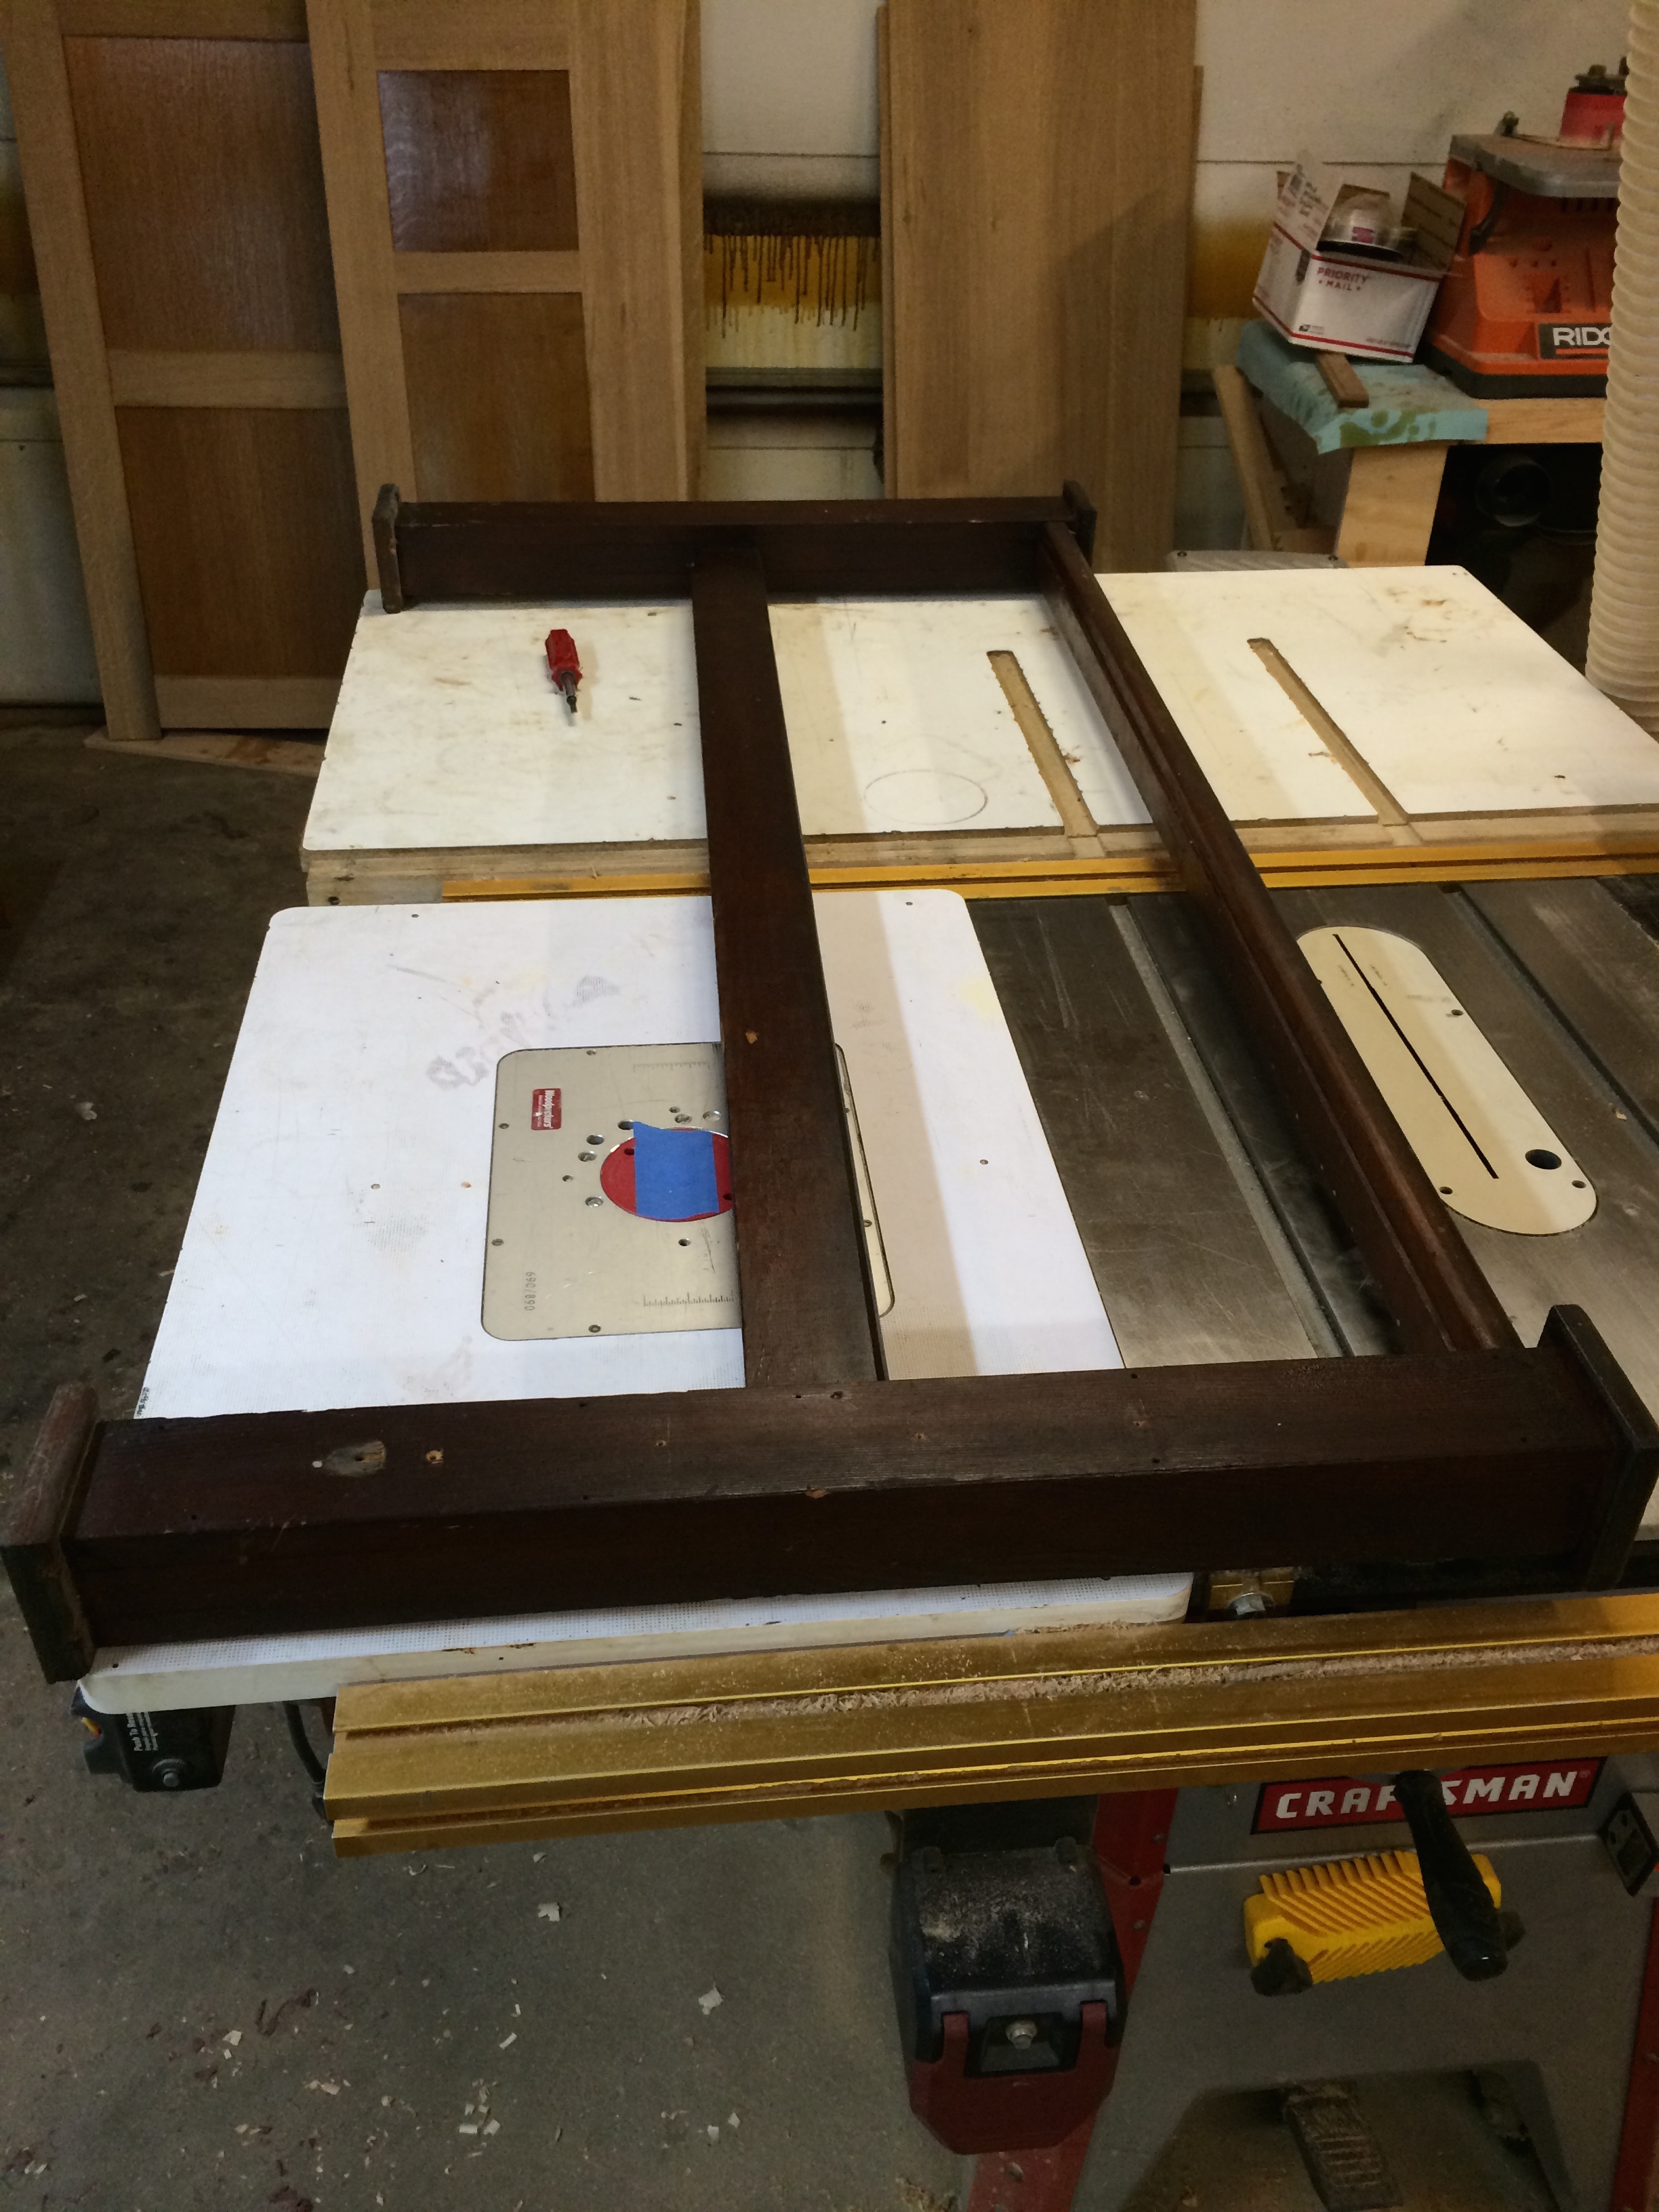
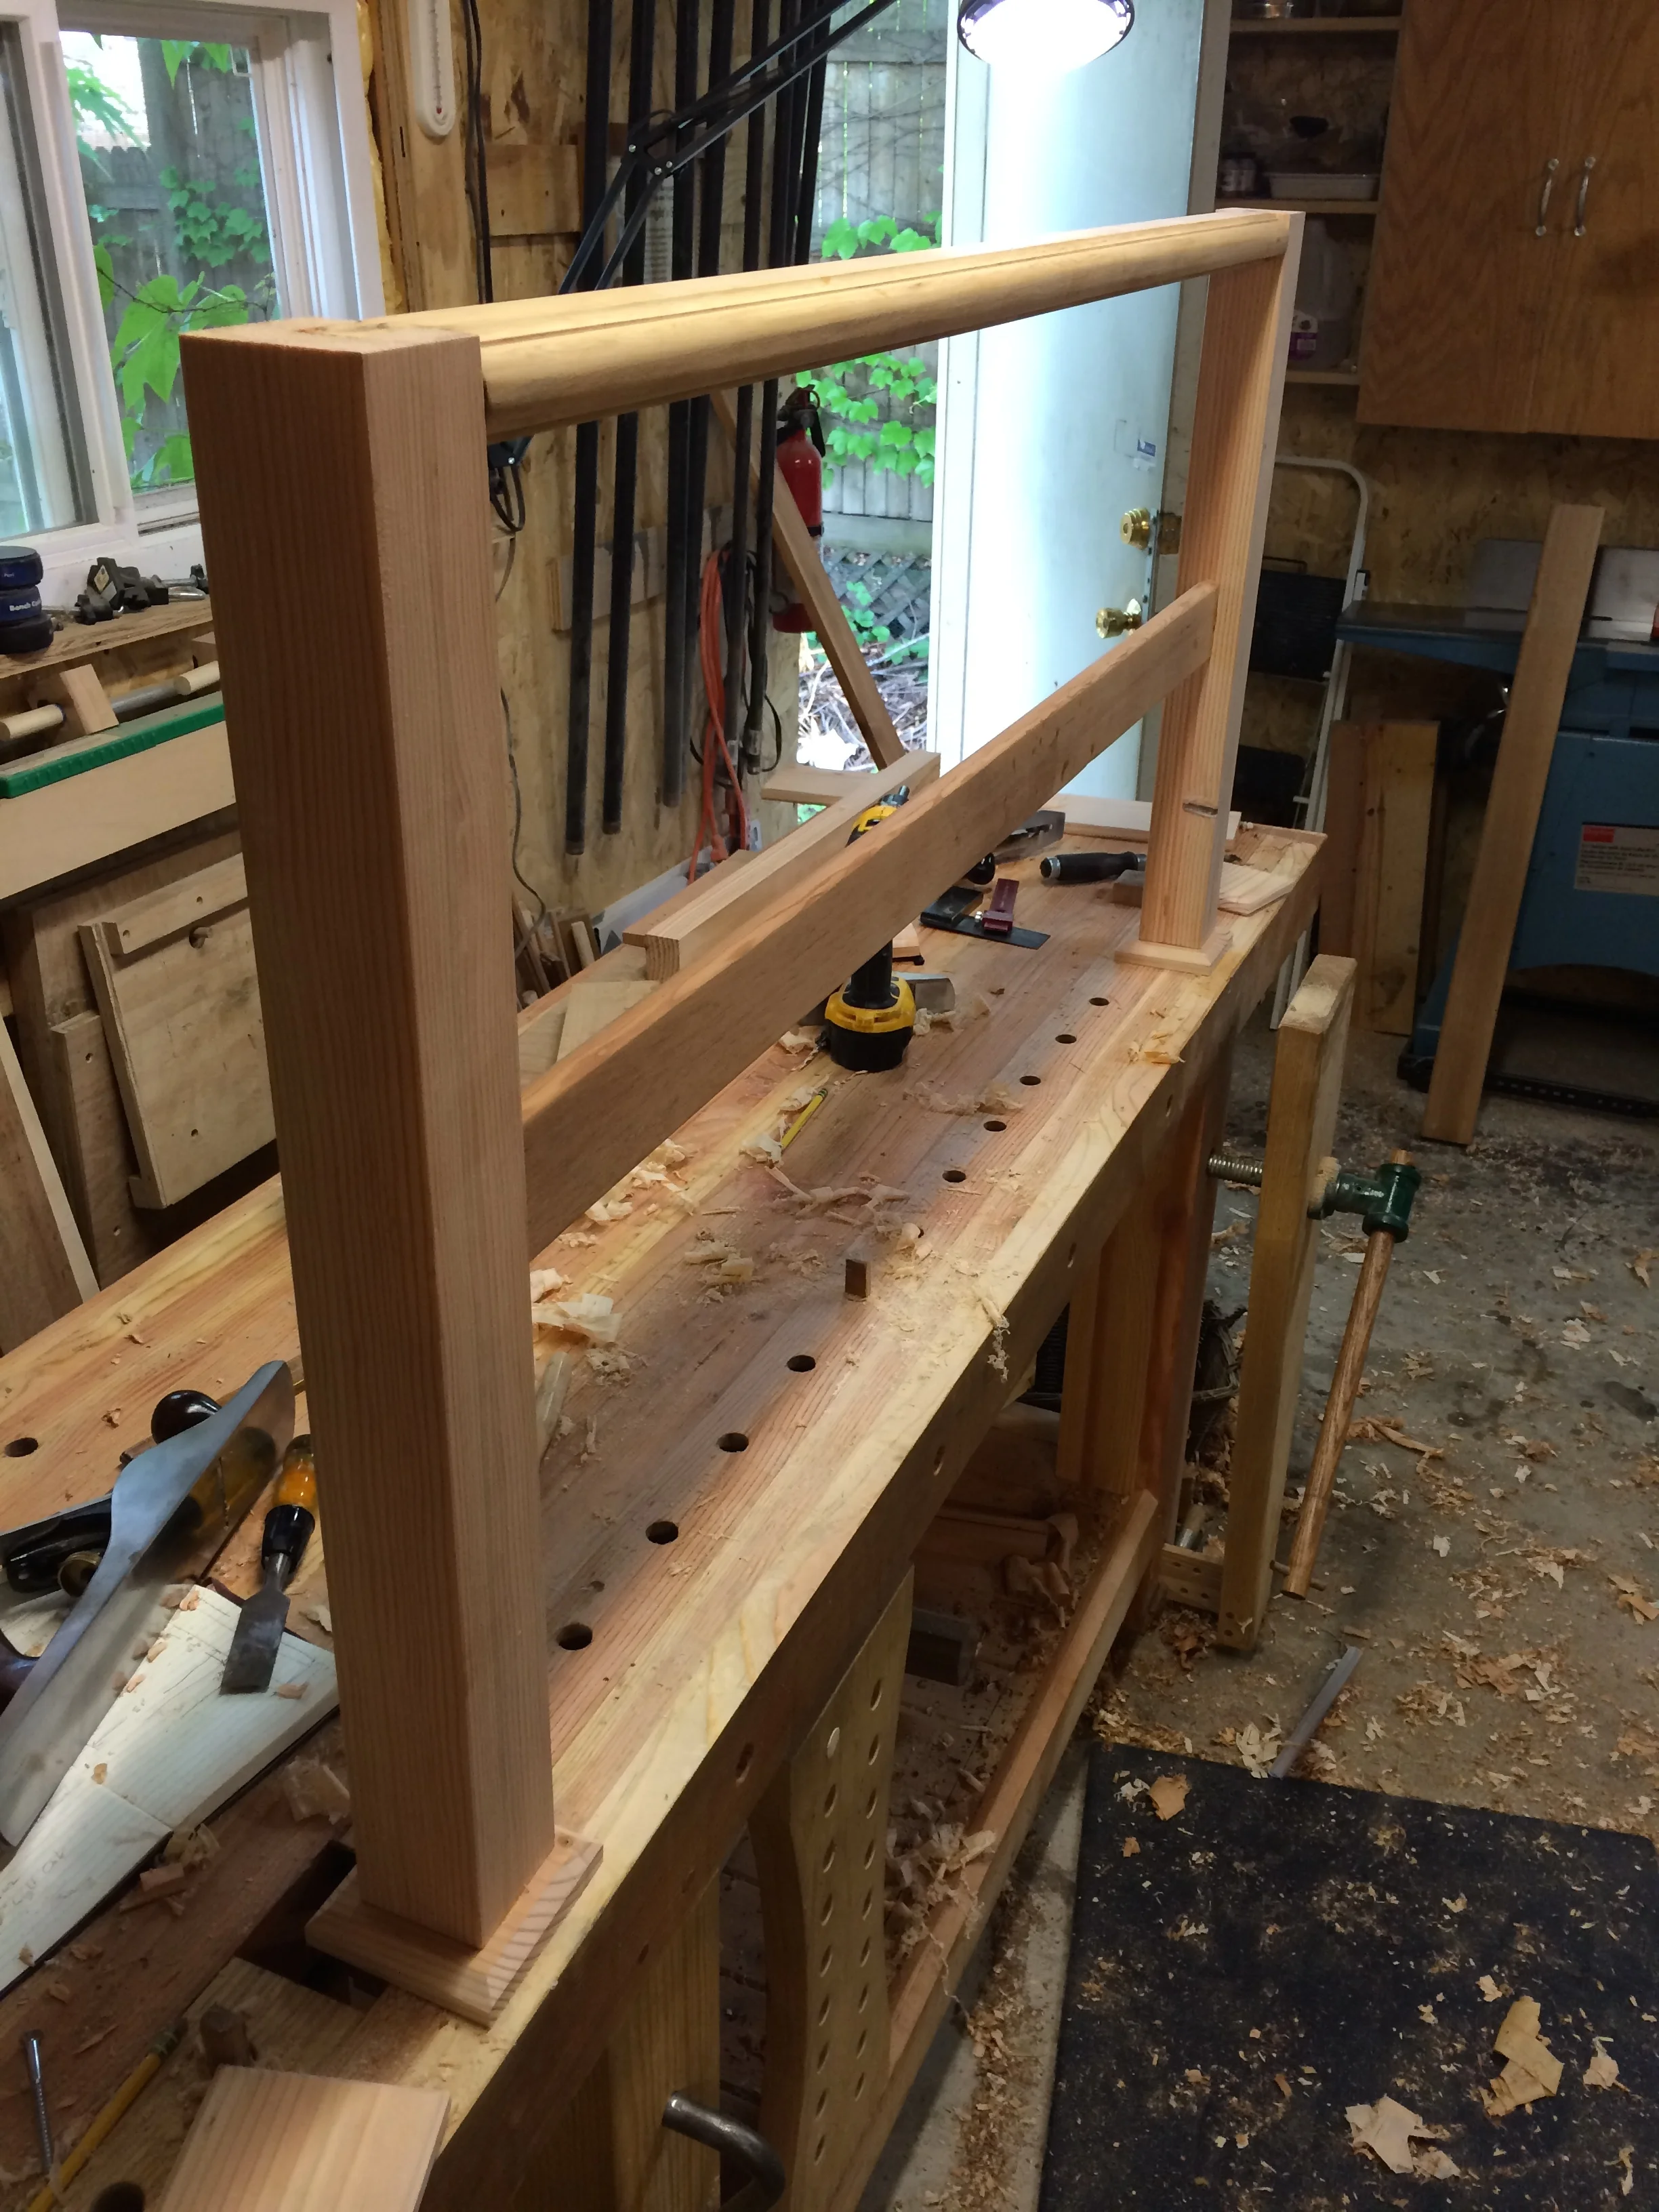
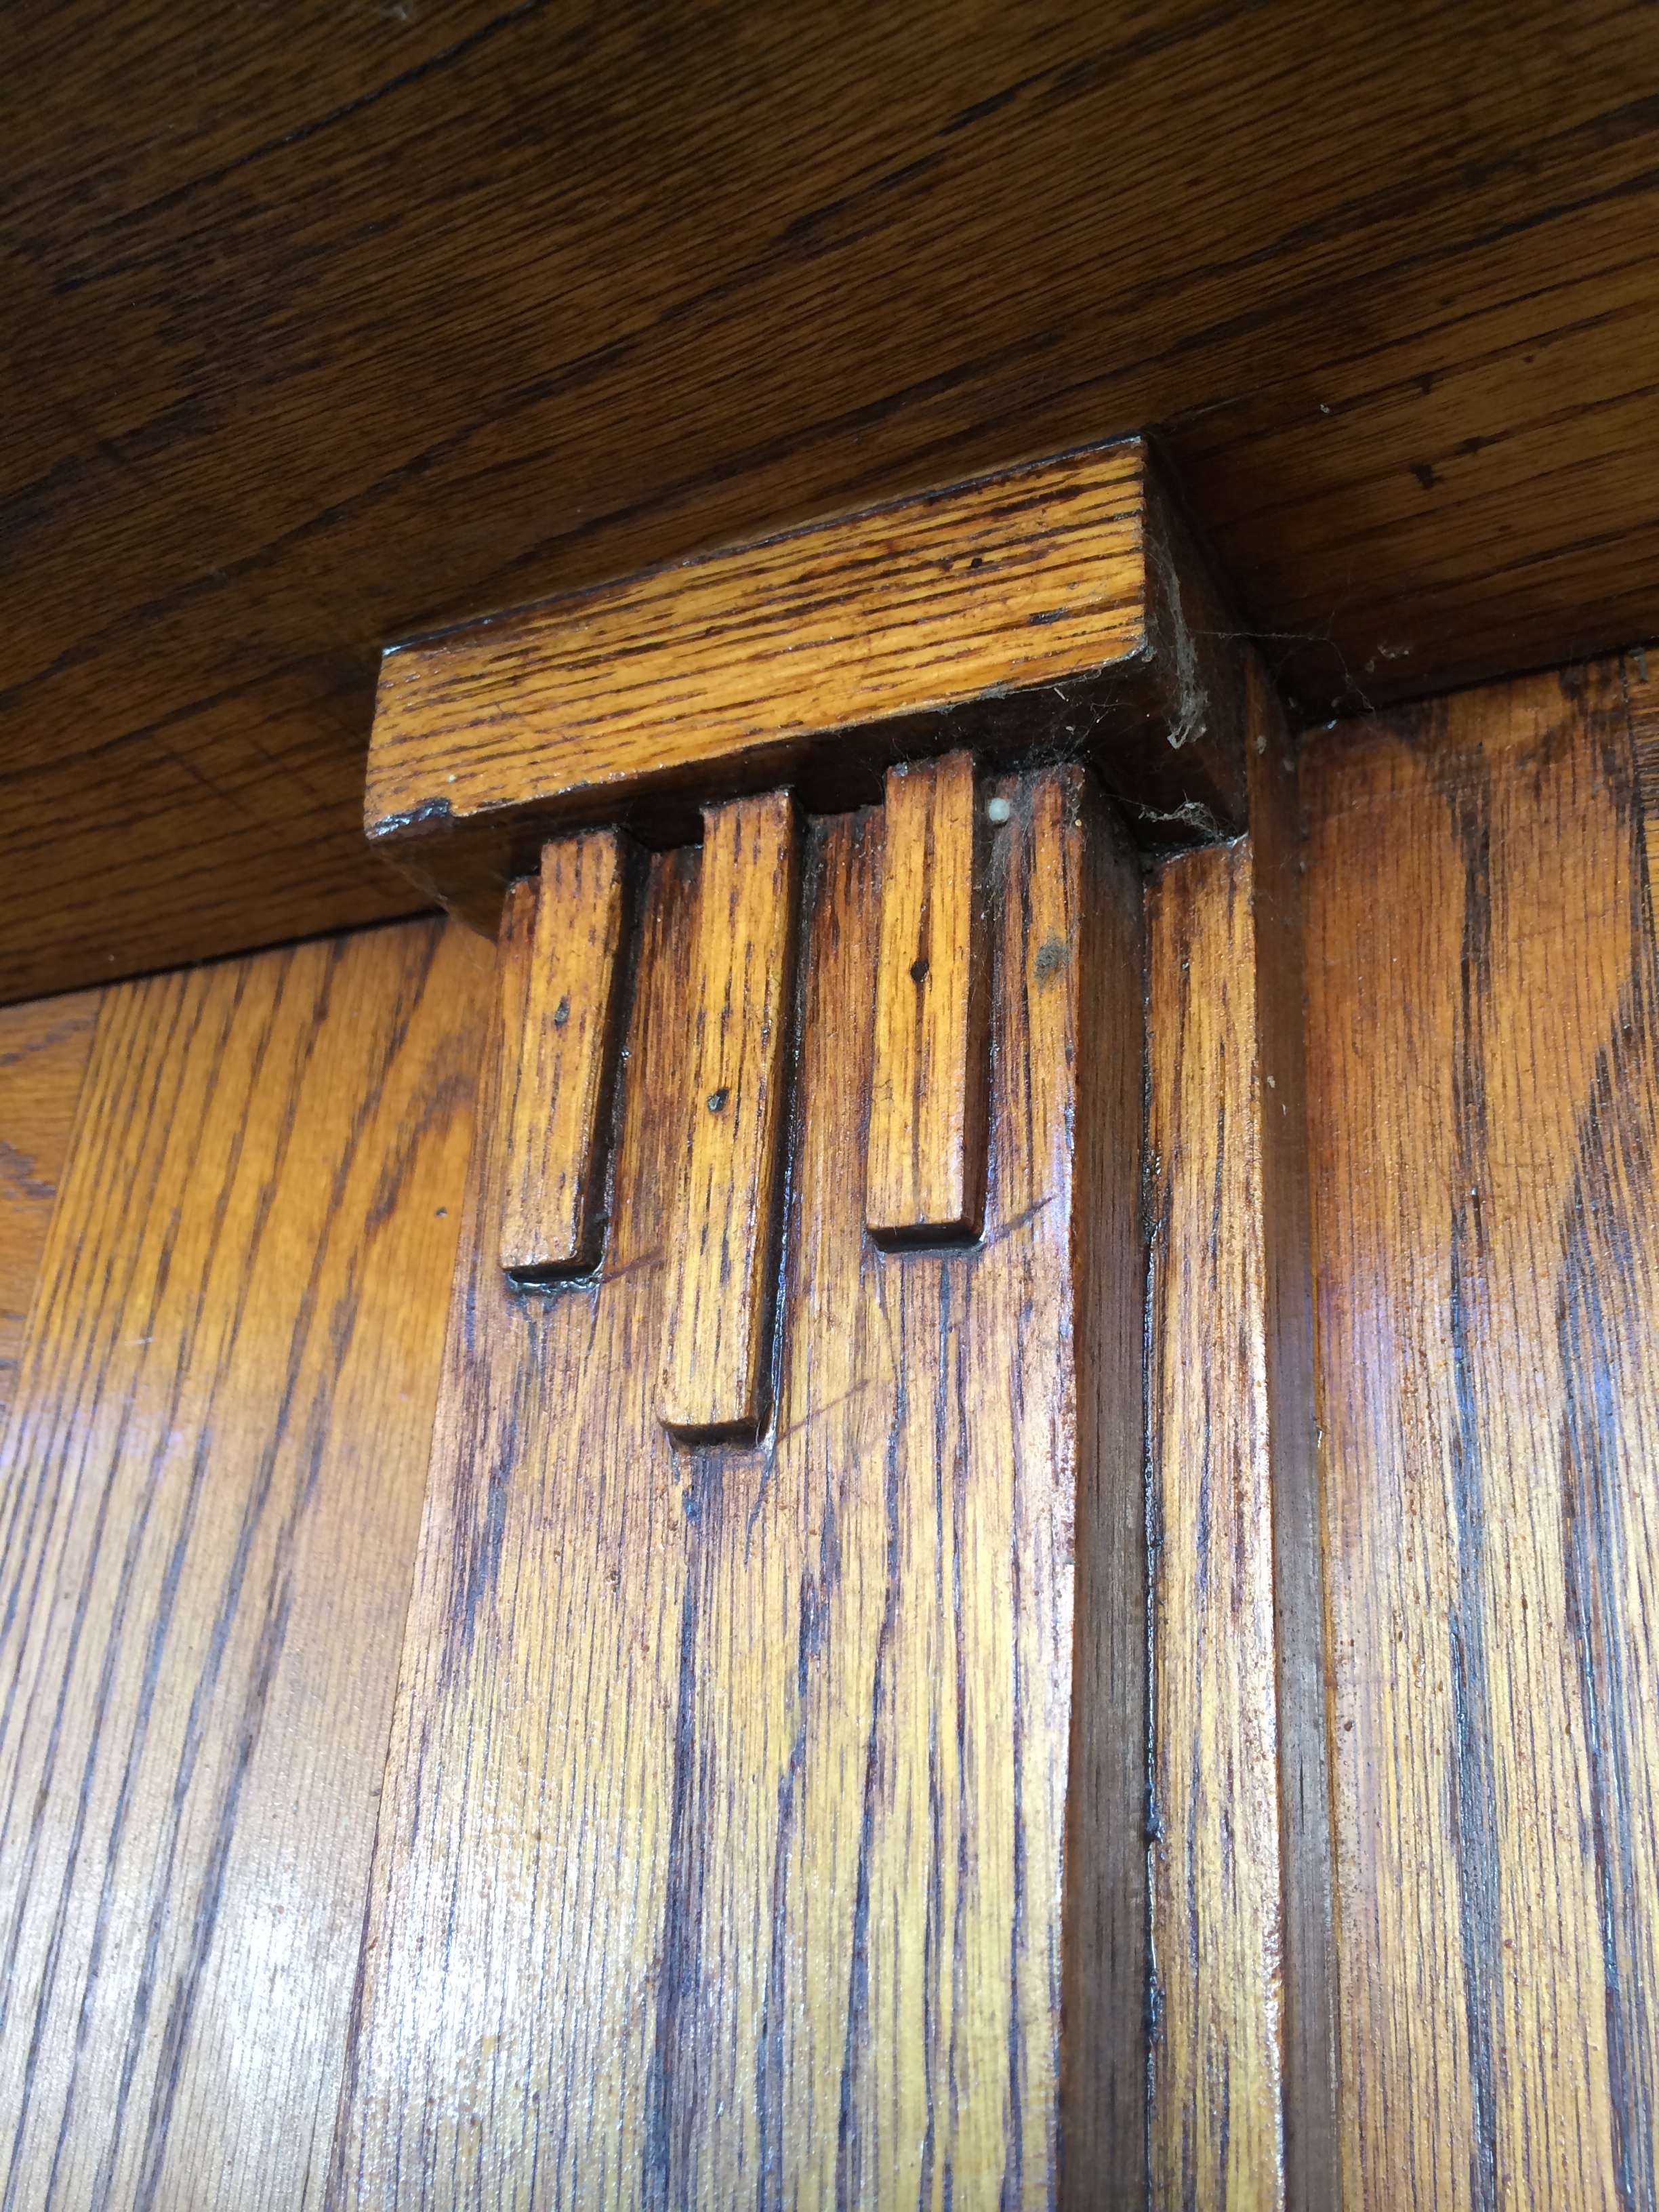
sizing and dry fitting

I tried three different main designs, variations on ones I saw online, and two variations of the "leaves" design. On the "leaves" design, I got a chance to try working with some different materials; brass clips on one, and leather loops fastened with copper rivets on the other. I think the brass clips idea was good, but I couldn't get a clean bend on them, and the way they look on the back isn't very satisfying. The leather loops idea came out much better, and were easier to do as well.

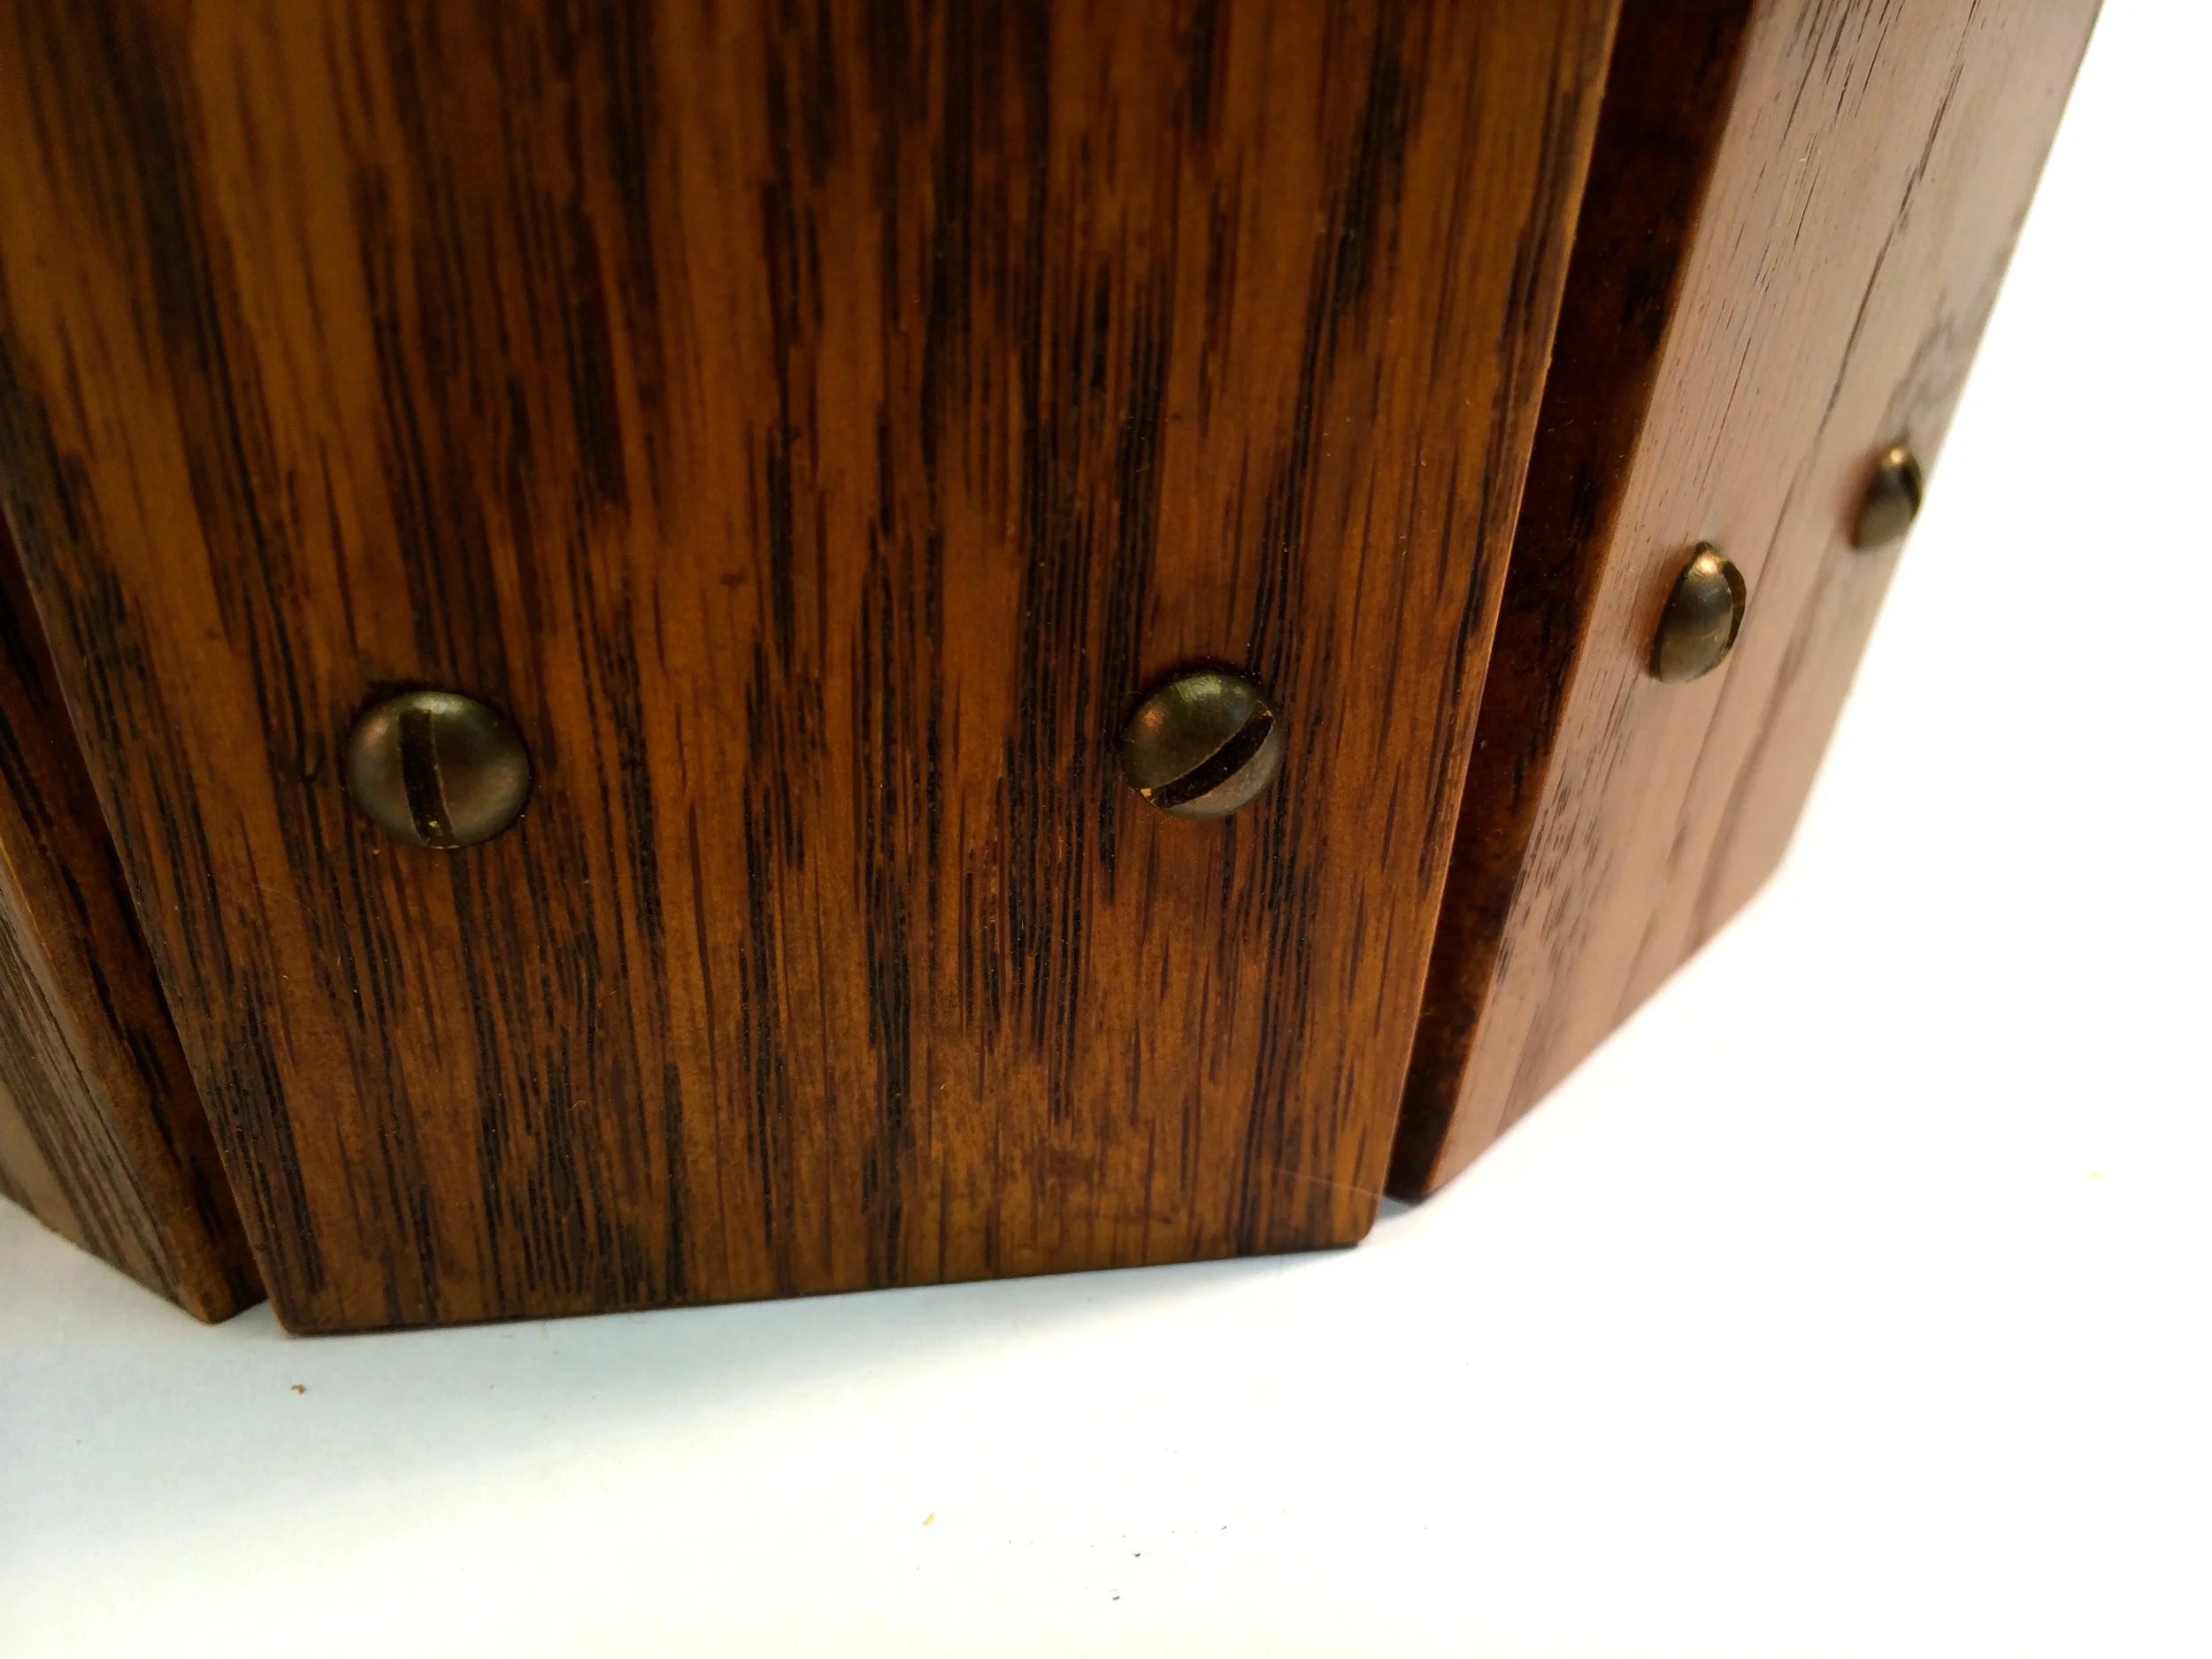
After the build, and with much pleasure, I relegated the plastic garbage cans to the basement, and placed the four news ones throughout the house. The brass clip version of the "leaves" one is in my office, where I don't mind the flaws very much. The only thing I might add to these, especially to the large "slats" one, is a copper liner, so that a) messier things could be put in it, and b) one would only have to empty the liner, rather than picking up the whole thing. I'd like to try making the liner with folded sheets of copper (copper roof flashing?) and a soldered weld. I've never done that before, but I look forward to figuring that out.

Doorbell Cover 2

I recently received a commission for another version of my doorbell cover. Of course, it had to be custom sized to the customer's doorbell chime mechanism, so we exchanged photos and measurements. It was nice to get a chance to revisit a project, as it provides an opportunity to improve on the original. Although this project is small and fairly simple, there were one efficiencies I was able to add to the construction this time around.

In the first build, to make the four square cutouts, I did the following:

(obviously, I did all this to just the face, when it was a stand alone piece, before it was glued up: I just used the final assembly sketch up for illustration here)

version 1

  • First, I made four rip cuts on the bandsaw in the material (red).
  • Then, I crosscut the waste away from the two side strips, again with the bandsaw (purple and yellow).
  • Finally, I glued it all back together, keeping the pieces and grain aligned.

This worked fine, but it made fiddling with the little "middle" pieces in-between the two squares a little fussy to get right.

So the second time around, I made less work for myself...

version 2

  • first, I made two rip cuts on the bandsaw to separate the middle strip from the sides (red).
  • then I cut away the "holes", using the bandsaw for the tops & bottoms, a chisel for the side (yellow).
  • finally, re-glued everything in position.

Obviously, the second approach is much easier. Not only are the fewer cuts, but the pieces stay aligned better, especially the two little middle pieces, which tended to slide around during a glue-up. Also, there are two fewer kerfs, leaving more original width.

Why didn't I do it that way the first time? It does seem obvious when its explained. But these are to the sorts of things you pick up and learn as you go, and especially as you revisit the same, or similar items, again and again. My first attempt at this was my... first attempt, and the way I came up with to execute it was fine. But there's nothing as powerful as learning by doing. I'm sure that by doorbell cover #50, I'll be humming along, running Ding-Dong Covers, Inc. I'll just throw a board at the wall the voila!, a perfect doorbell cover will appear.

.

Here's the final piece. The customer wanted the same finish and wood (red oak) as the original. I had used some flat-sawn red oak before, but as I was hunting for materials, came across some leftover quarter-sawn red oak that was gorgeous, so I used that instead. I book matched the main front panel to give it that nice figure.

Cleaning up the shop is shop time too

My time in the shop is precious. When I'm occupied doing other things, I often dream about getting back in the shop and doing some woodworking. But sometimes, I spend a few hours in the shop not woodworking, but cleaning. But isn't that just plain boring? In many ways it is, but in many other ways, it is a chance to rejuvenate my energies and focus on my next projects.

Now, I'm not the type that minds a bit of clutter (in fact, I often tolerate obscene amounts of it on just about every horizontal surface). I like the pile of shavings that grow while I'm in the heat of working on dimensions of doing joinery. But when starting something new, stumbling over old cutoffs and shavings from the last project just feels like an energy drag. Getting those cleaned up and out of the way not only clears away the physical barriers of the last project, but the psychological baggage of it as well.

And cleaning is also great for getting back in touch with how the shop is set up. Getting a good flow going is essential to making good progress while woodworking; moving from task to task, shifting from one operation to another without having to stop and think "ok, now how the hell am I going to move things around to do this?" is paramount. So I find that during the between project clean up a good time to tweak and adjust those things that I put off because I was too busy in the middle of something.

For example, when I replaced my powered miter saw with my hand powered miter box last year, I set the level of the miter box's deck just a hair too low compared to the two countertops on either side that support longer stock. That meant that sometimes when I was at the bottom of a cut, the blade would start to bind as the two pieces pushed in on it. It wasn't bad enough to get me to fix it before, but today, when I was placing it back after cleaning around it, I took the time to set the level correctly. Shop improved. In another case, I had screwed on a holder for storing the 4" dust collector hose that serves my bandsaw and jointer, but I'd used short 3/8" screws, and of course, one day they pulled out. The holder had been sitting on a nearby shelf useless for a couple of months. During this cleaning, I took the time to re-attach it with deeper screws. Etc etc. Not earth shaking, but anything that improves my flow during a project means that much more time of focus on the woodworking, and less on fussing around with some little shop annoyance.

So, finally after a few hours of sweeping, vacuuming, dusting, sorting, storing, labeling, adjusting, moving, and clearing, the shop is back, and ready for new projects.

Rebuilding a railing

Our house is a 1 & 1/2 story 1903 frame house. Like many older homes, it has seen its share of changes and renovations over the years. When houses like this were built, the second story (the "1/2" story) was usually left unfinished, serving as a bare attic for storage. Eventually, many of those were finished, and expanded with gables and dormers and such. The second floor in our house seems to have been originally accessible only by an exterior stairway, off the back porch. When the back porch was enclosed, and made into an expanded kitchen many years ago, the roofline was extended, and it absorbed the formally exterior stairs. There was no gable or dormer expansion of the second floor, and that left a stairway that wound up onto what we nicknamed "the slanty room", due the slope of the roof on all sides. Today, that means that one has to lean towards the inside of the room when using the stairs, which is a little awkward. Also, anyone in the room would face a potentially long drop if they stepped off the edge into the stairwell. To make it all a little easier and safer to use, a four foot hand rail was made/installed sometime back in the past. The hand rail was made of pine, varnished, and then screwed into the floor. It was a nice detail, but over time, the base of the handrail split, loosened, and wobbled terribly.

Several weeks ago, I decided to rebuild it, keeping it as true to the original as possible. At first, I intended on just replacing the cracked bases, to give a fresh place for the screws to attach. But after pulling off the bases, I saw that the two upright posts were in pretty bad shape as well. They were not solid; merely four sided hollow boxes. Not only that, but the joinery on the whole piece was pretty basic: lots of nails. Lots, and lots of nails.

If I was going to rebuild the posts, that meant getting new material, and that nice aged patina on the rails was not going to match the new stuff. That meant I had to get the surface of the rails down to the bare wood, and finish both the old and new parts together. At first I tried sanding the old finish/patina off, but either the grime and dirt that had built up over the years, or the old varnish, (or a combo of both), made sanding it off impossible. Within a few strokes, the sandpaper would load up with a sticky wad, rendering the paper useless. So I got out my hand planes and card scrapers, and removed the least amount of material I could get away with. That went well, and soon I had clear, clean stock. 

I then glued up some douglas fir stock for the approximately 3"x3" posts, and milled those square. With the posts being solid wood, and to longer hollow, I could cut a proper mortise for the lower rail to sit in (in the original, the bottom rail's tenon went to the open space inside the post - pretty weak, and was nailed in - also pretty weak). I made a half dovetail to secure the top rail. I only did a half dovetail, because I afraid of weakening the "tails" by removing too much stock from both sides.

I milled up simple chamfered bases and caps, screwing and gluing the bottom bases into the posts, and then cowling and glueing the caps to the tops of the posts (I didn't want to screw down from the top for aesthetics). Then it was on to finishing, which was several layers of garnet shellac, sprayed via HVLP. I was hoping it would have turned out darker, but I think if I wait another 50 years, it will get there. It look great this way, and will will darken with time. I'm in no hurry.

Once the layers of shellac cured, I rubbed it with clear paste wax & steel wool, and installed it. Also, the original had these two homemade metal braces, for added stability, and I cleaned the rust and dirt off those as well, and re-used them.

So that's that. Yes, I know, the floor needs refinishing, and the whole room needs to be re-done. I'll get to it!

What I liked about this project is being able to use my woodworking skill in doing some home improvement stuff. This isn't fine furniture, nor is it restoration exactly. But using my skills to preserve and enhance an original, or at least pretty old, feature/fixture of my house is very satisfying.

Simple door details

I saw this doorway a few weeks ago while walking through a local neighborhood. It caught my eye for three reasons:

  1. It is original, and intact
  2. it is very simple, yet effective at adding an interesting detail
  3. its the same style/pattern that is used in the interior of my 1903 house, as well as that of a nearby neighbor's 2-flat.

I am always charmed by these sorts of things that are easy to execute, yet add great presence to a piece. Hooray for someone not painting over this nice red oak! However, the mottled opaque glass in the four corners has to go. It should be clear at least.