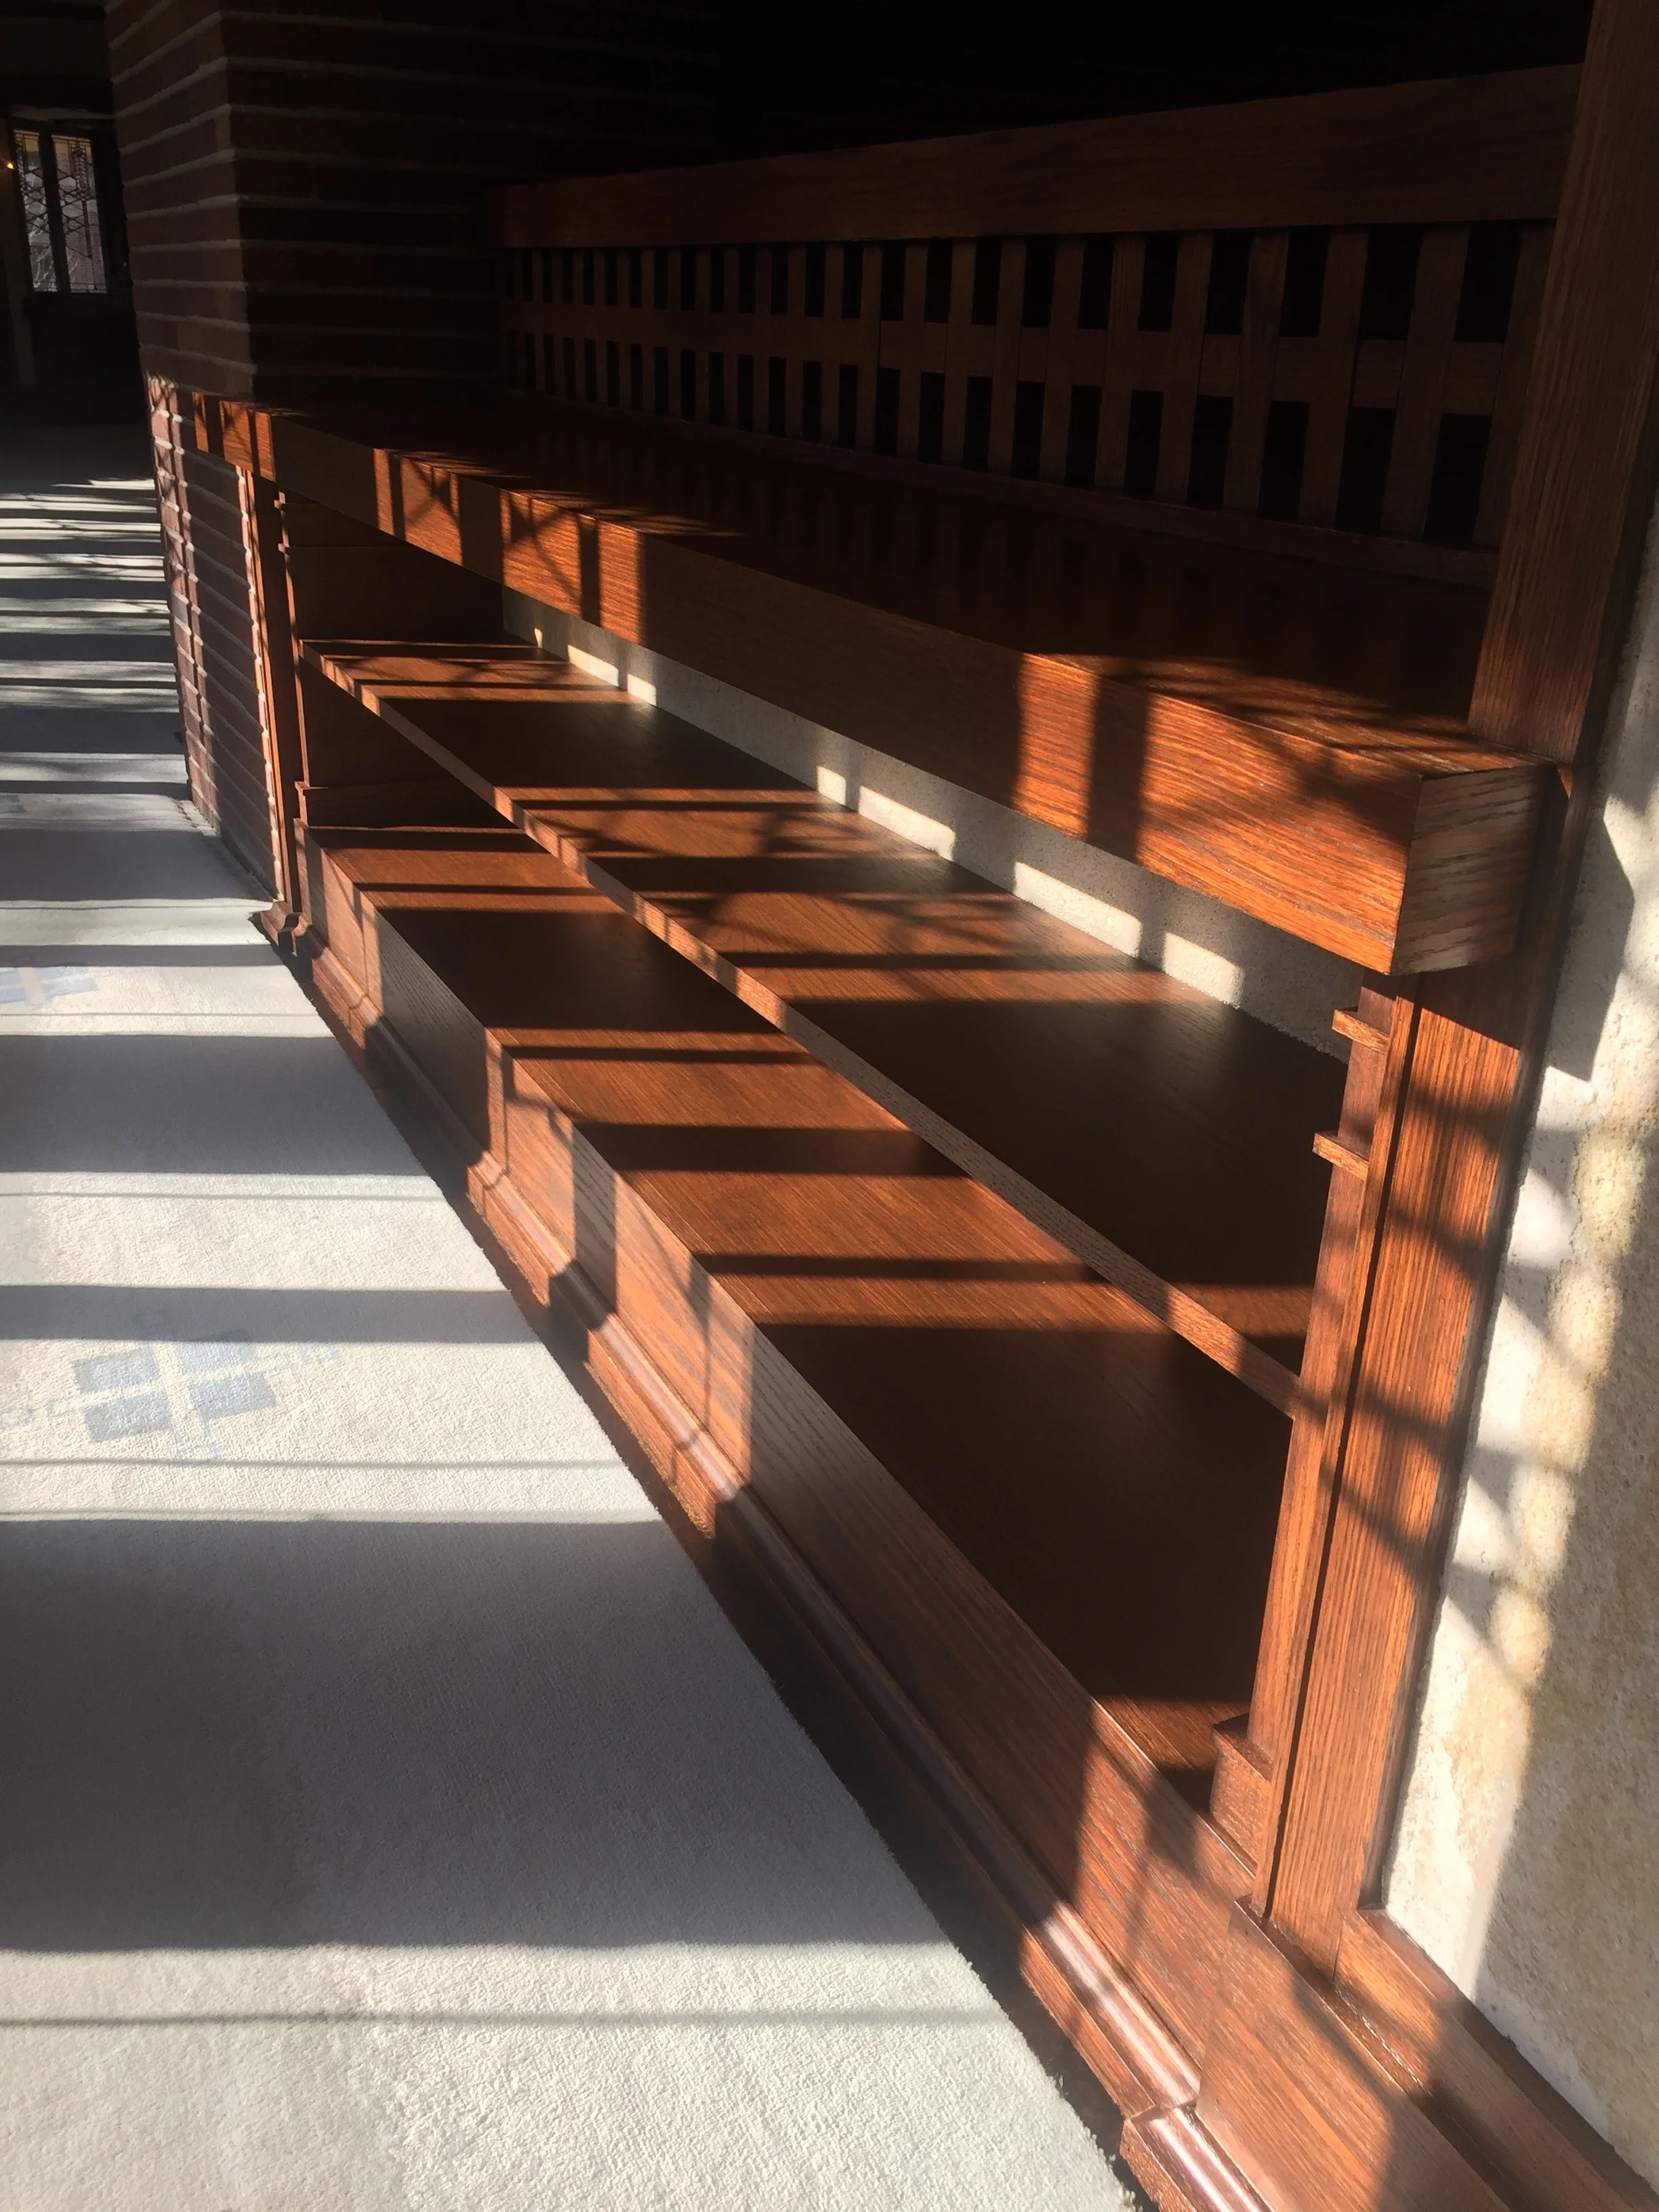
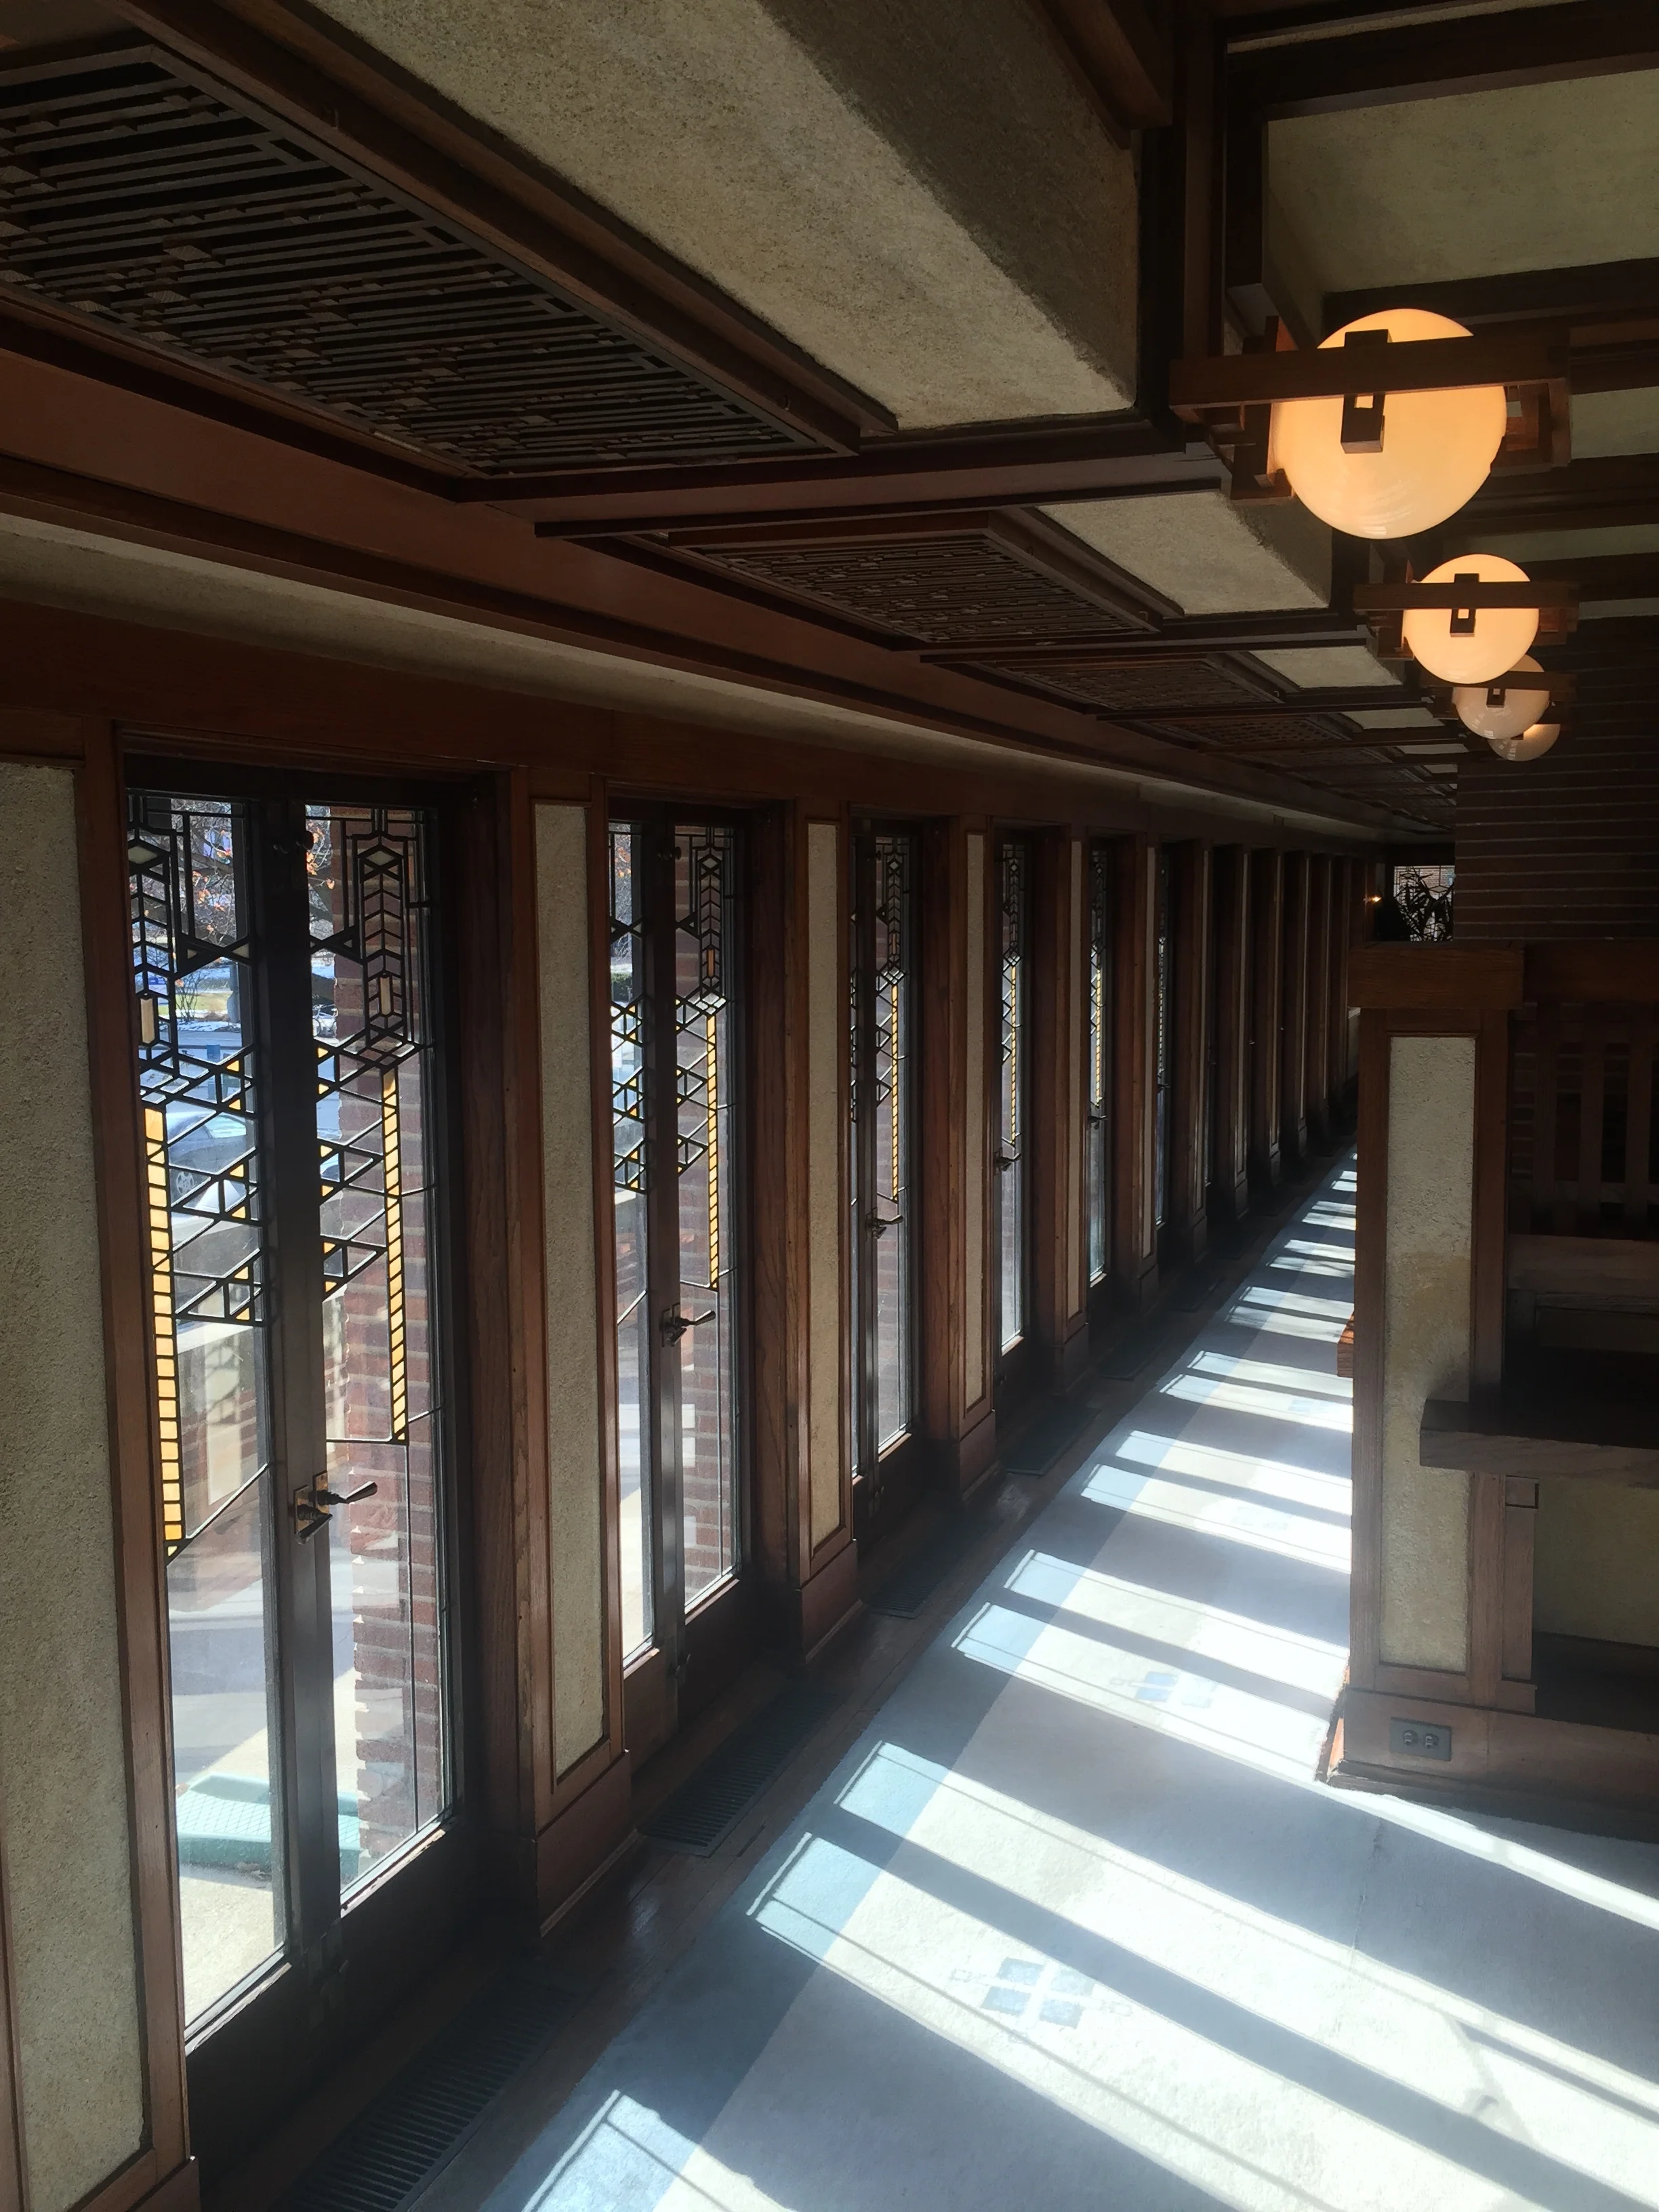
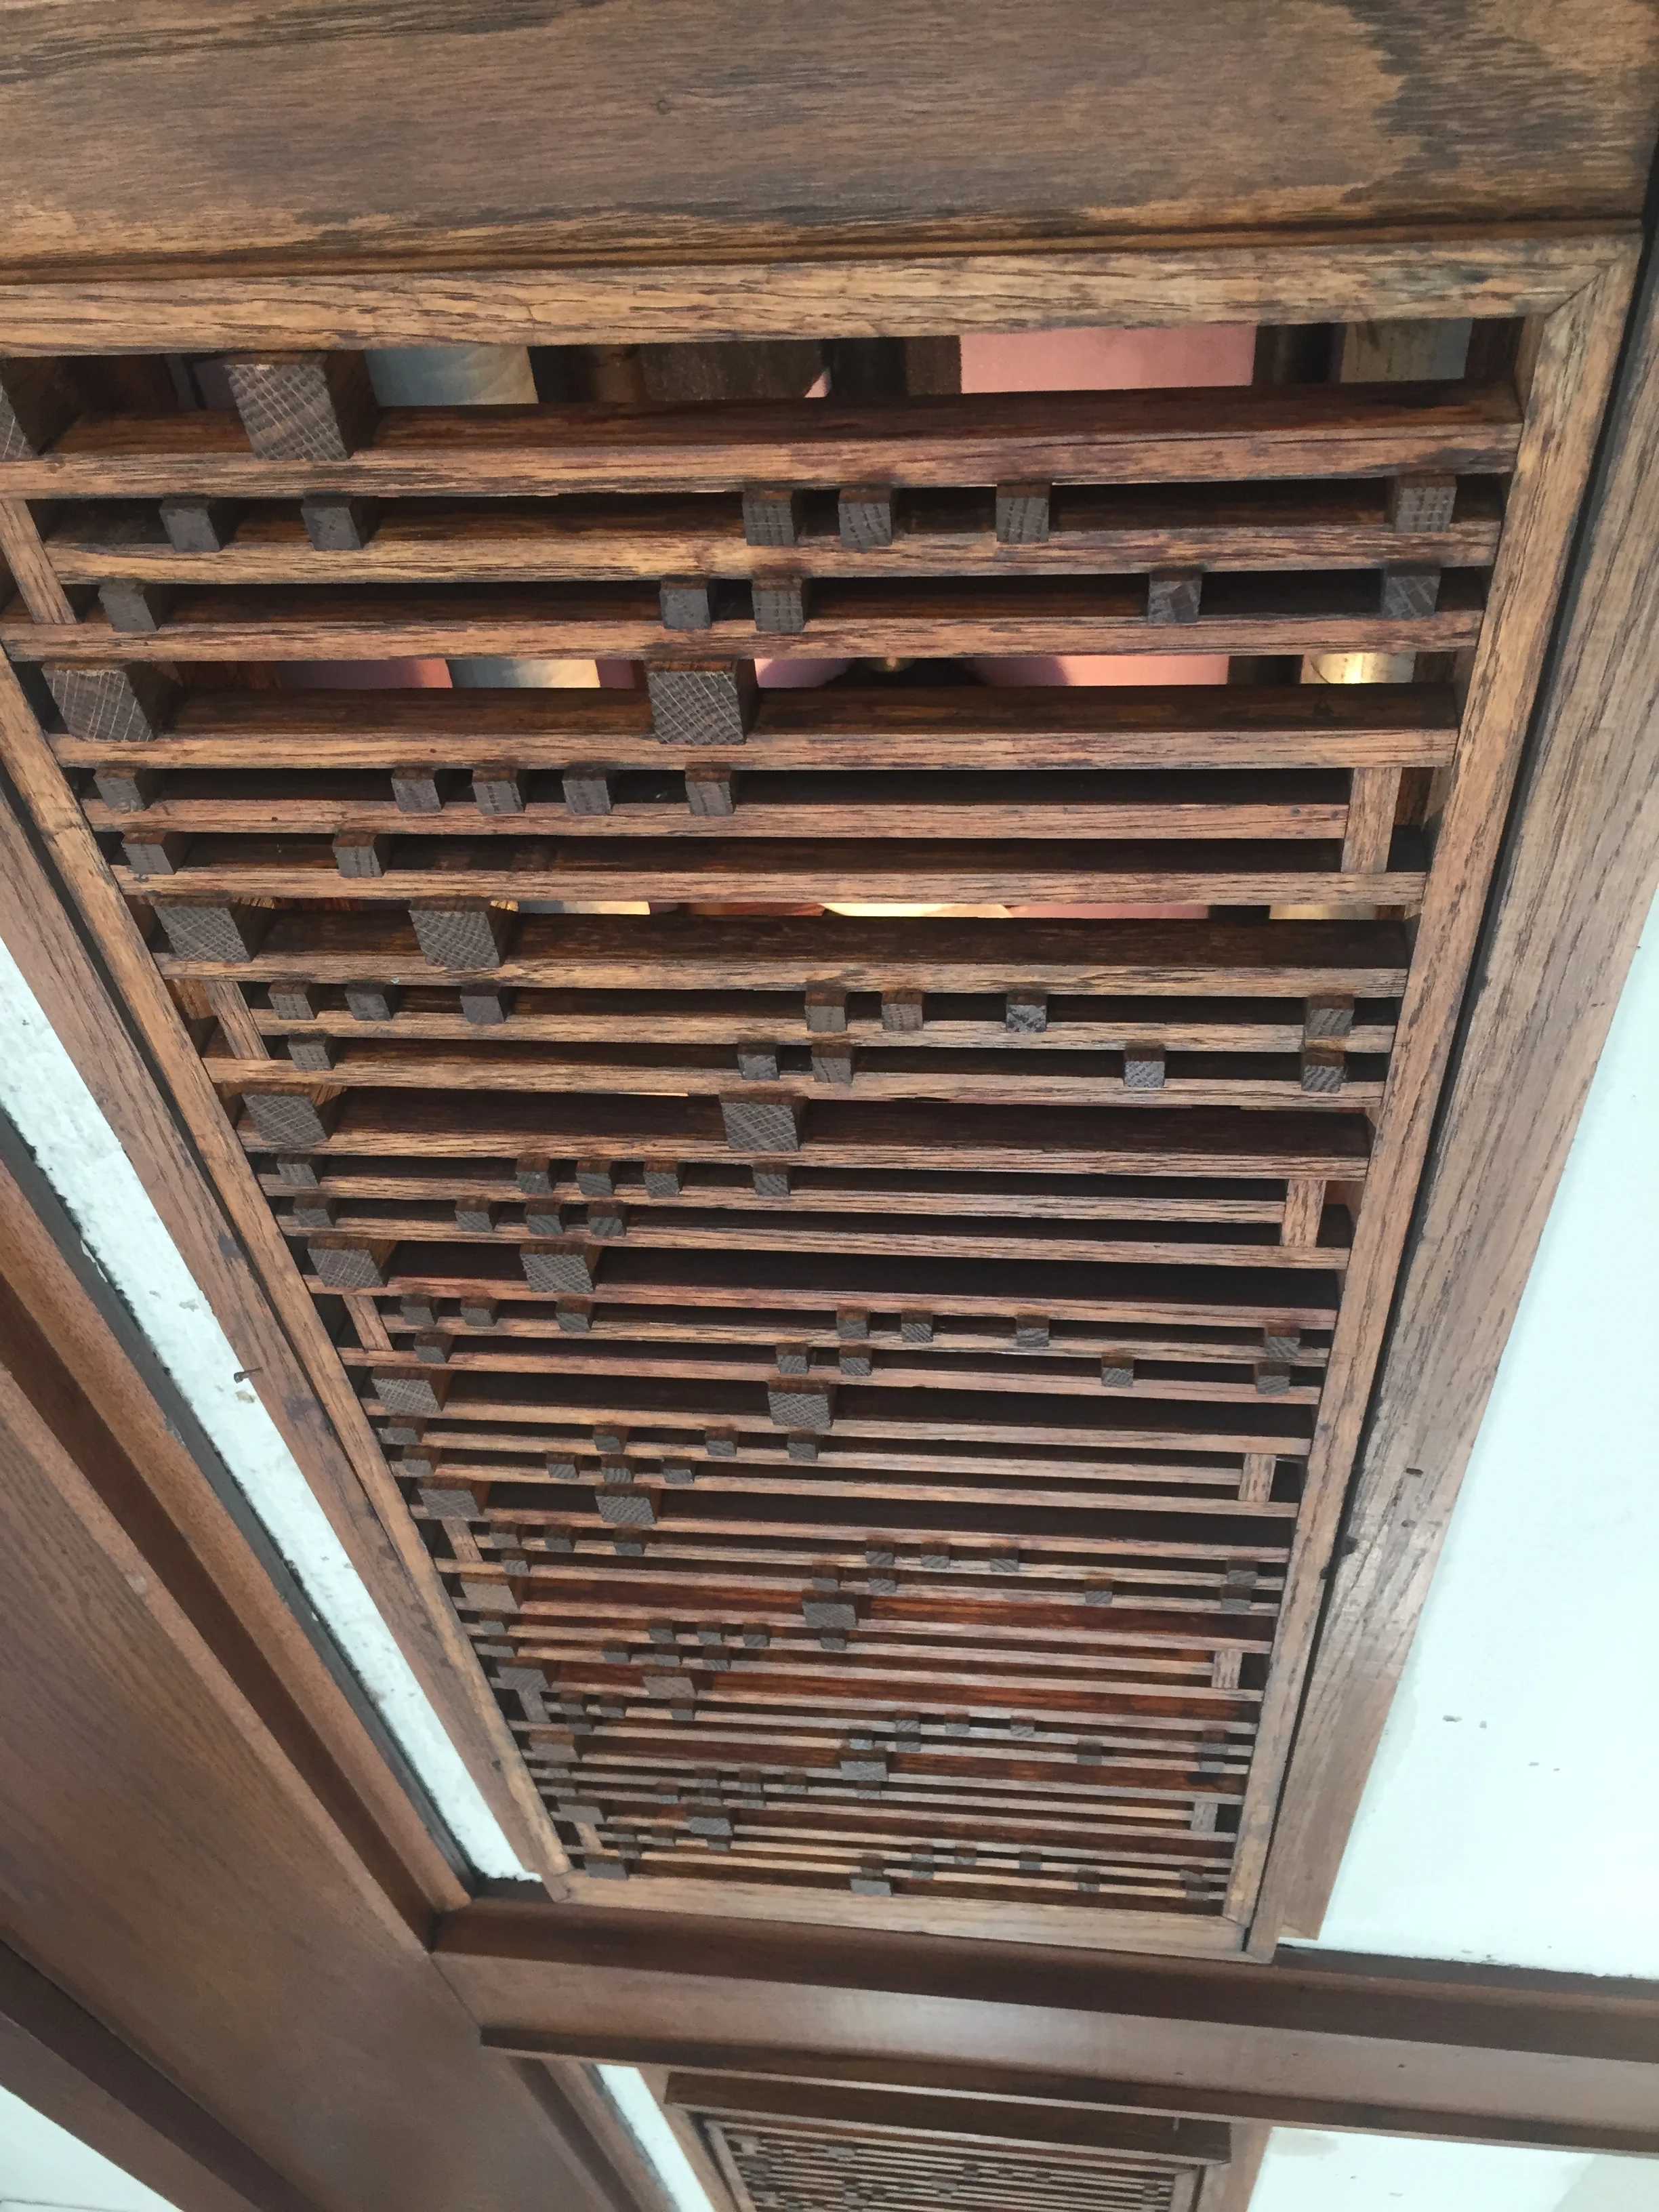
Most woodworkers experience their craft as a solitary endeavor. And overall, this seems just and fitting. A shop or workspace is highly personalized to the craftsperson: the layout, the choice of tools, where everything is placed, how it is kept up and arranged - all very personal. And it is the same for me and my shop. That made it all the more strange to not only have shared my shop for over a year, but to have discovered the loved it. And I was saddened by that period coming to an end.
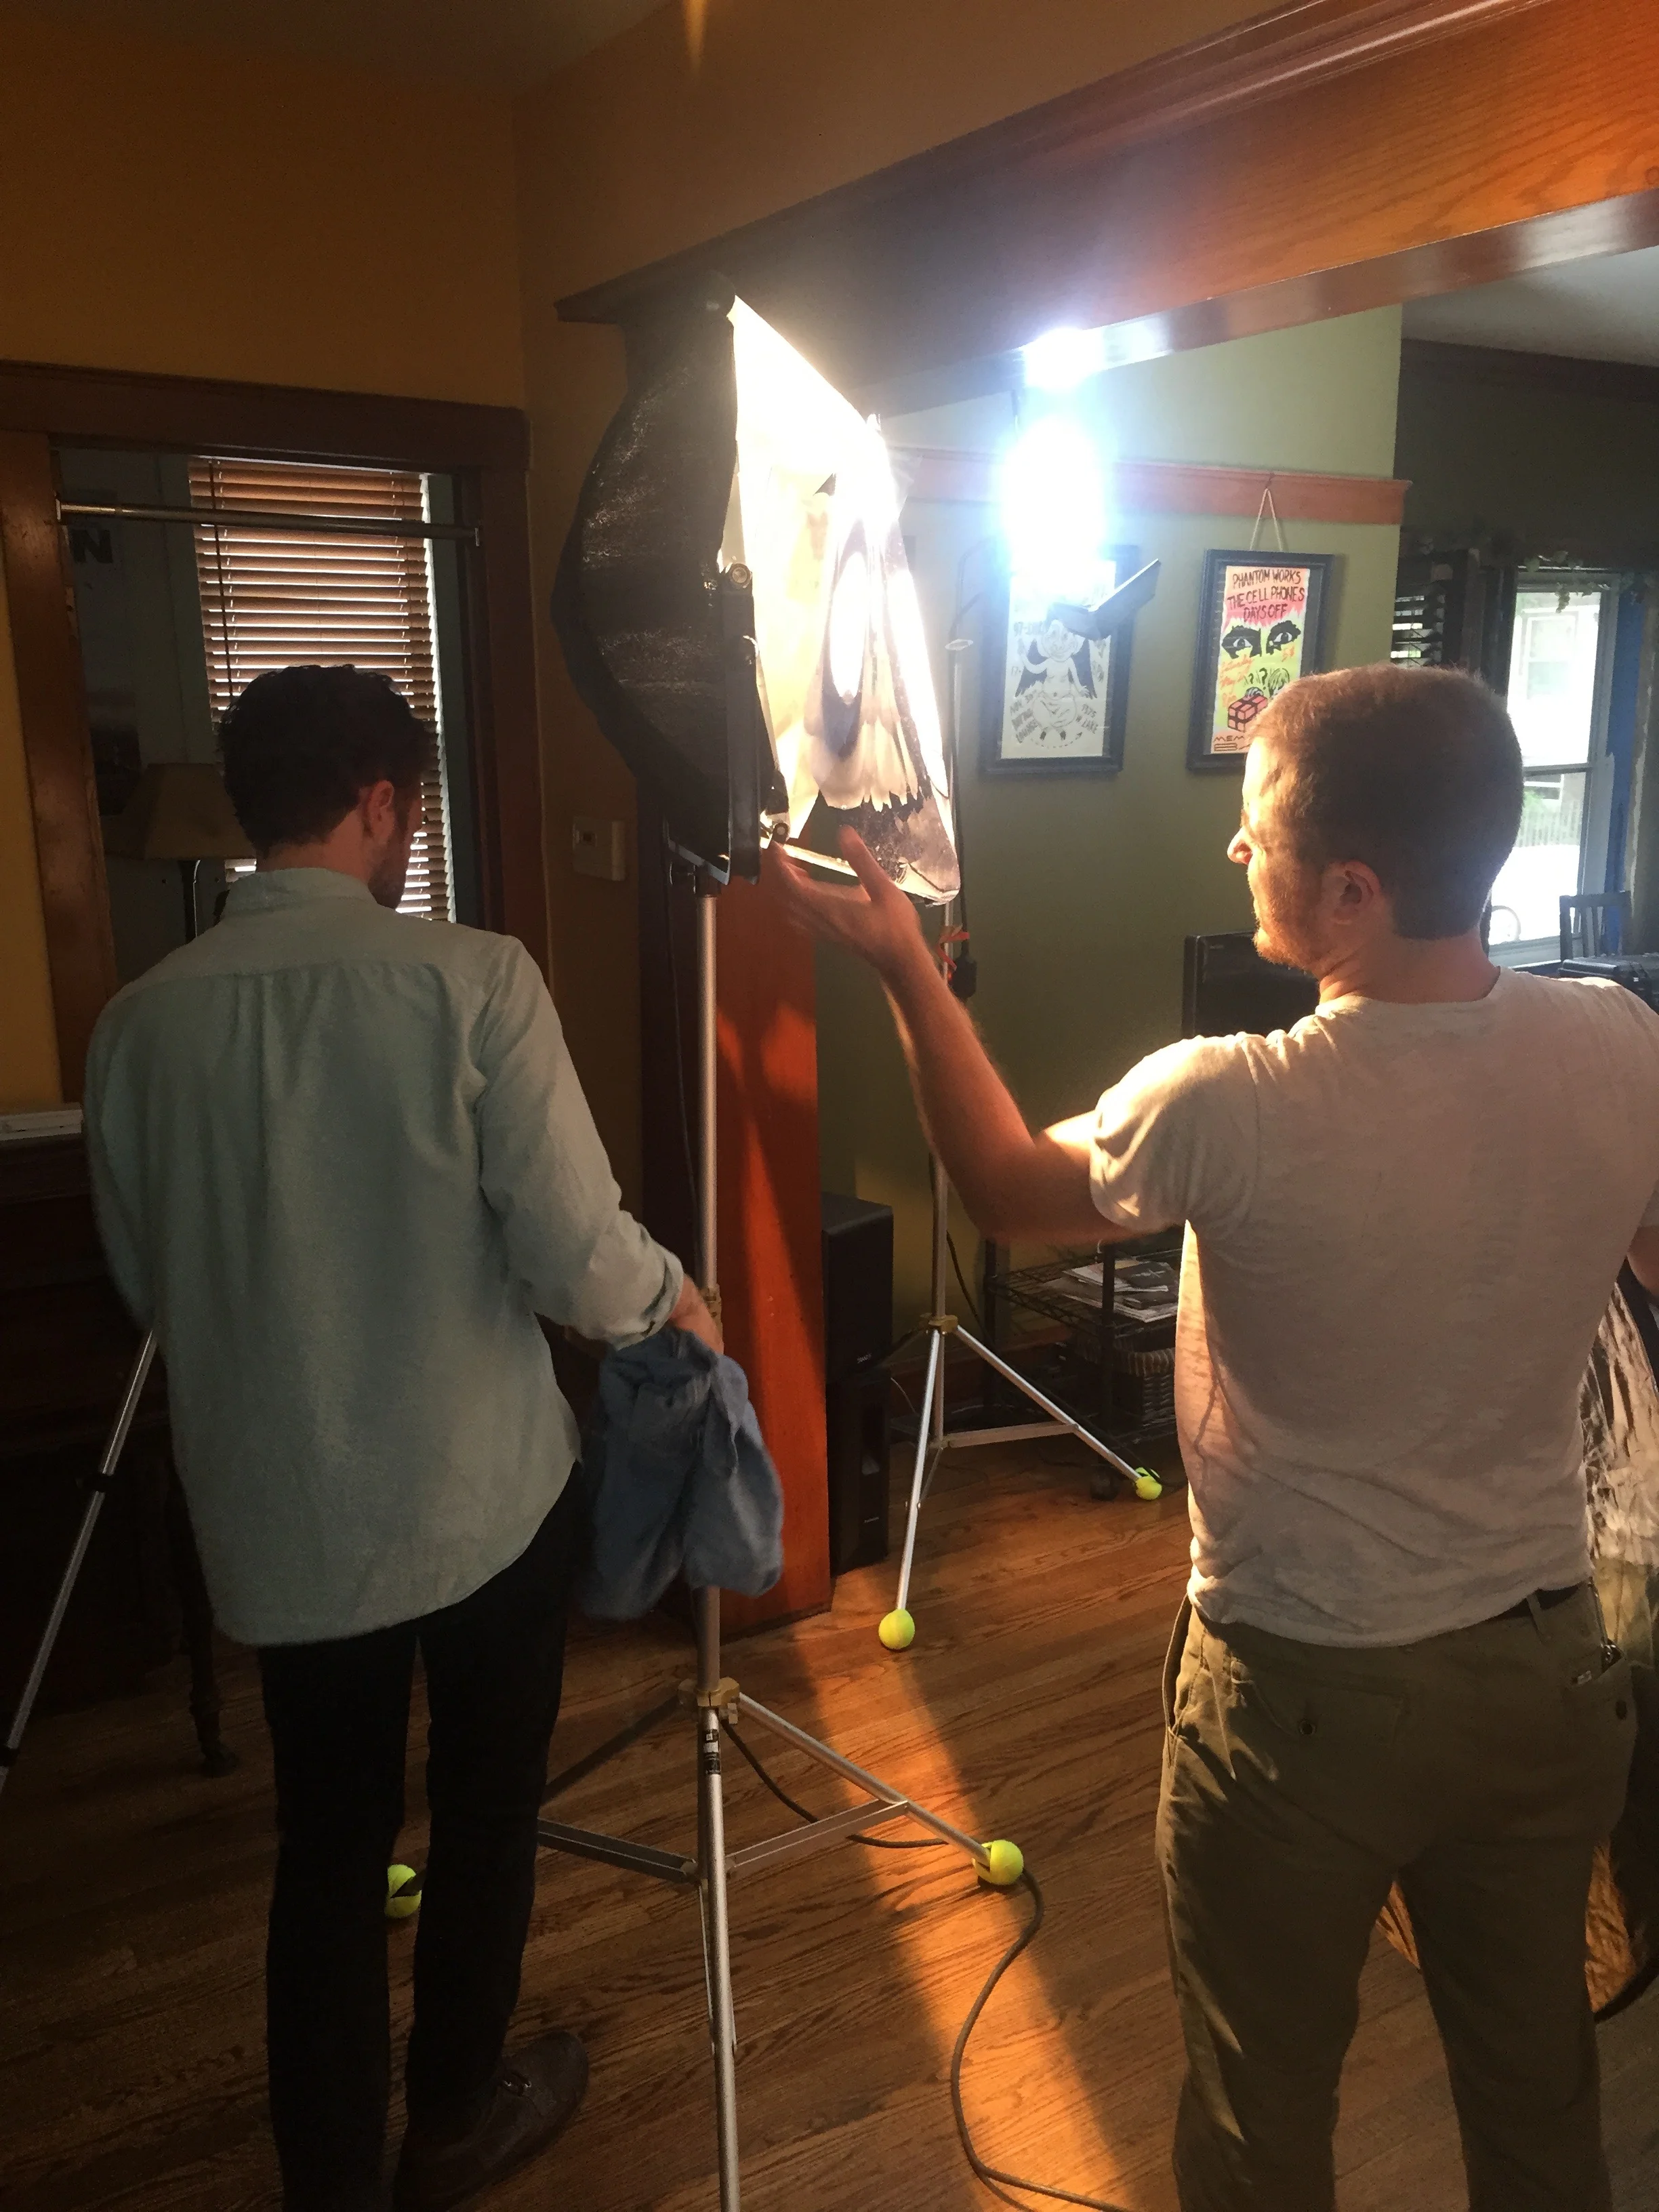
For the last year or so, my good friend and fellow woodworker Brett has been sharing my shop. As an apartment dweller with no shop of his own, he was struggling with setting up temporary shop in the backyard of his building, or in the laundry room in the basement, hauling his tools, sawhorses and mini workbench top up and down stairs each time he had to work. Sounded like hell to me. When he moved to a new apartment last summer (located a couple of blocks from my shop), he was still shop-space restricted. Both out of sheer pity for his situation, and a great excuse to spend some time with a friend, I offered him the use of my space. I gave him a set of keys, and he had the run of the place.
My first instinct, of course, was that it would be annoying; he'd put things in weird places where I couldn't find them, he'd leave his stuff around and it would be in my way, and maybe he'd make a mess. But although I'd only known him for a little while, something told me it wasn't going to be a problem. From the get-go, he learned where everything was, and how I liked it to be. He put all of his tools and projects away neatly. And much to my embarrassment, he took better care of cleaning up the shop than I did. No matter if he was in the shop for a half hour, or all day, when it was over, he didn't just walk out and lock up. His day wasn't done until he'd swept everything, emptied the trash, and dust-collector if it was needed. Once, early on in the shop sharing experience, he broke a zero clearance insert on the table saw (he was tilting the blade, and my former saw requires your remove the ZCI before tilting - he found out the hard way). He immediately bought a new one to replace it. He also took pains to replenish shop supplies as needed. (I'm not a slob, but when it's just me, I can sometimes walk out and tackle the mess until tomorrow. But not Brett.)
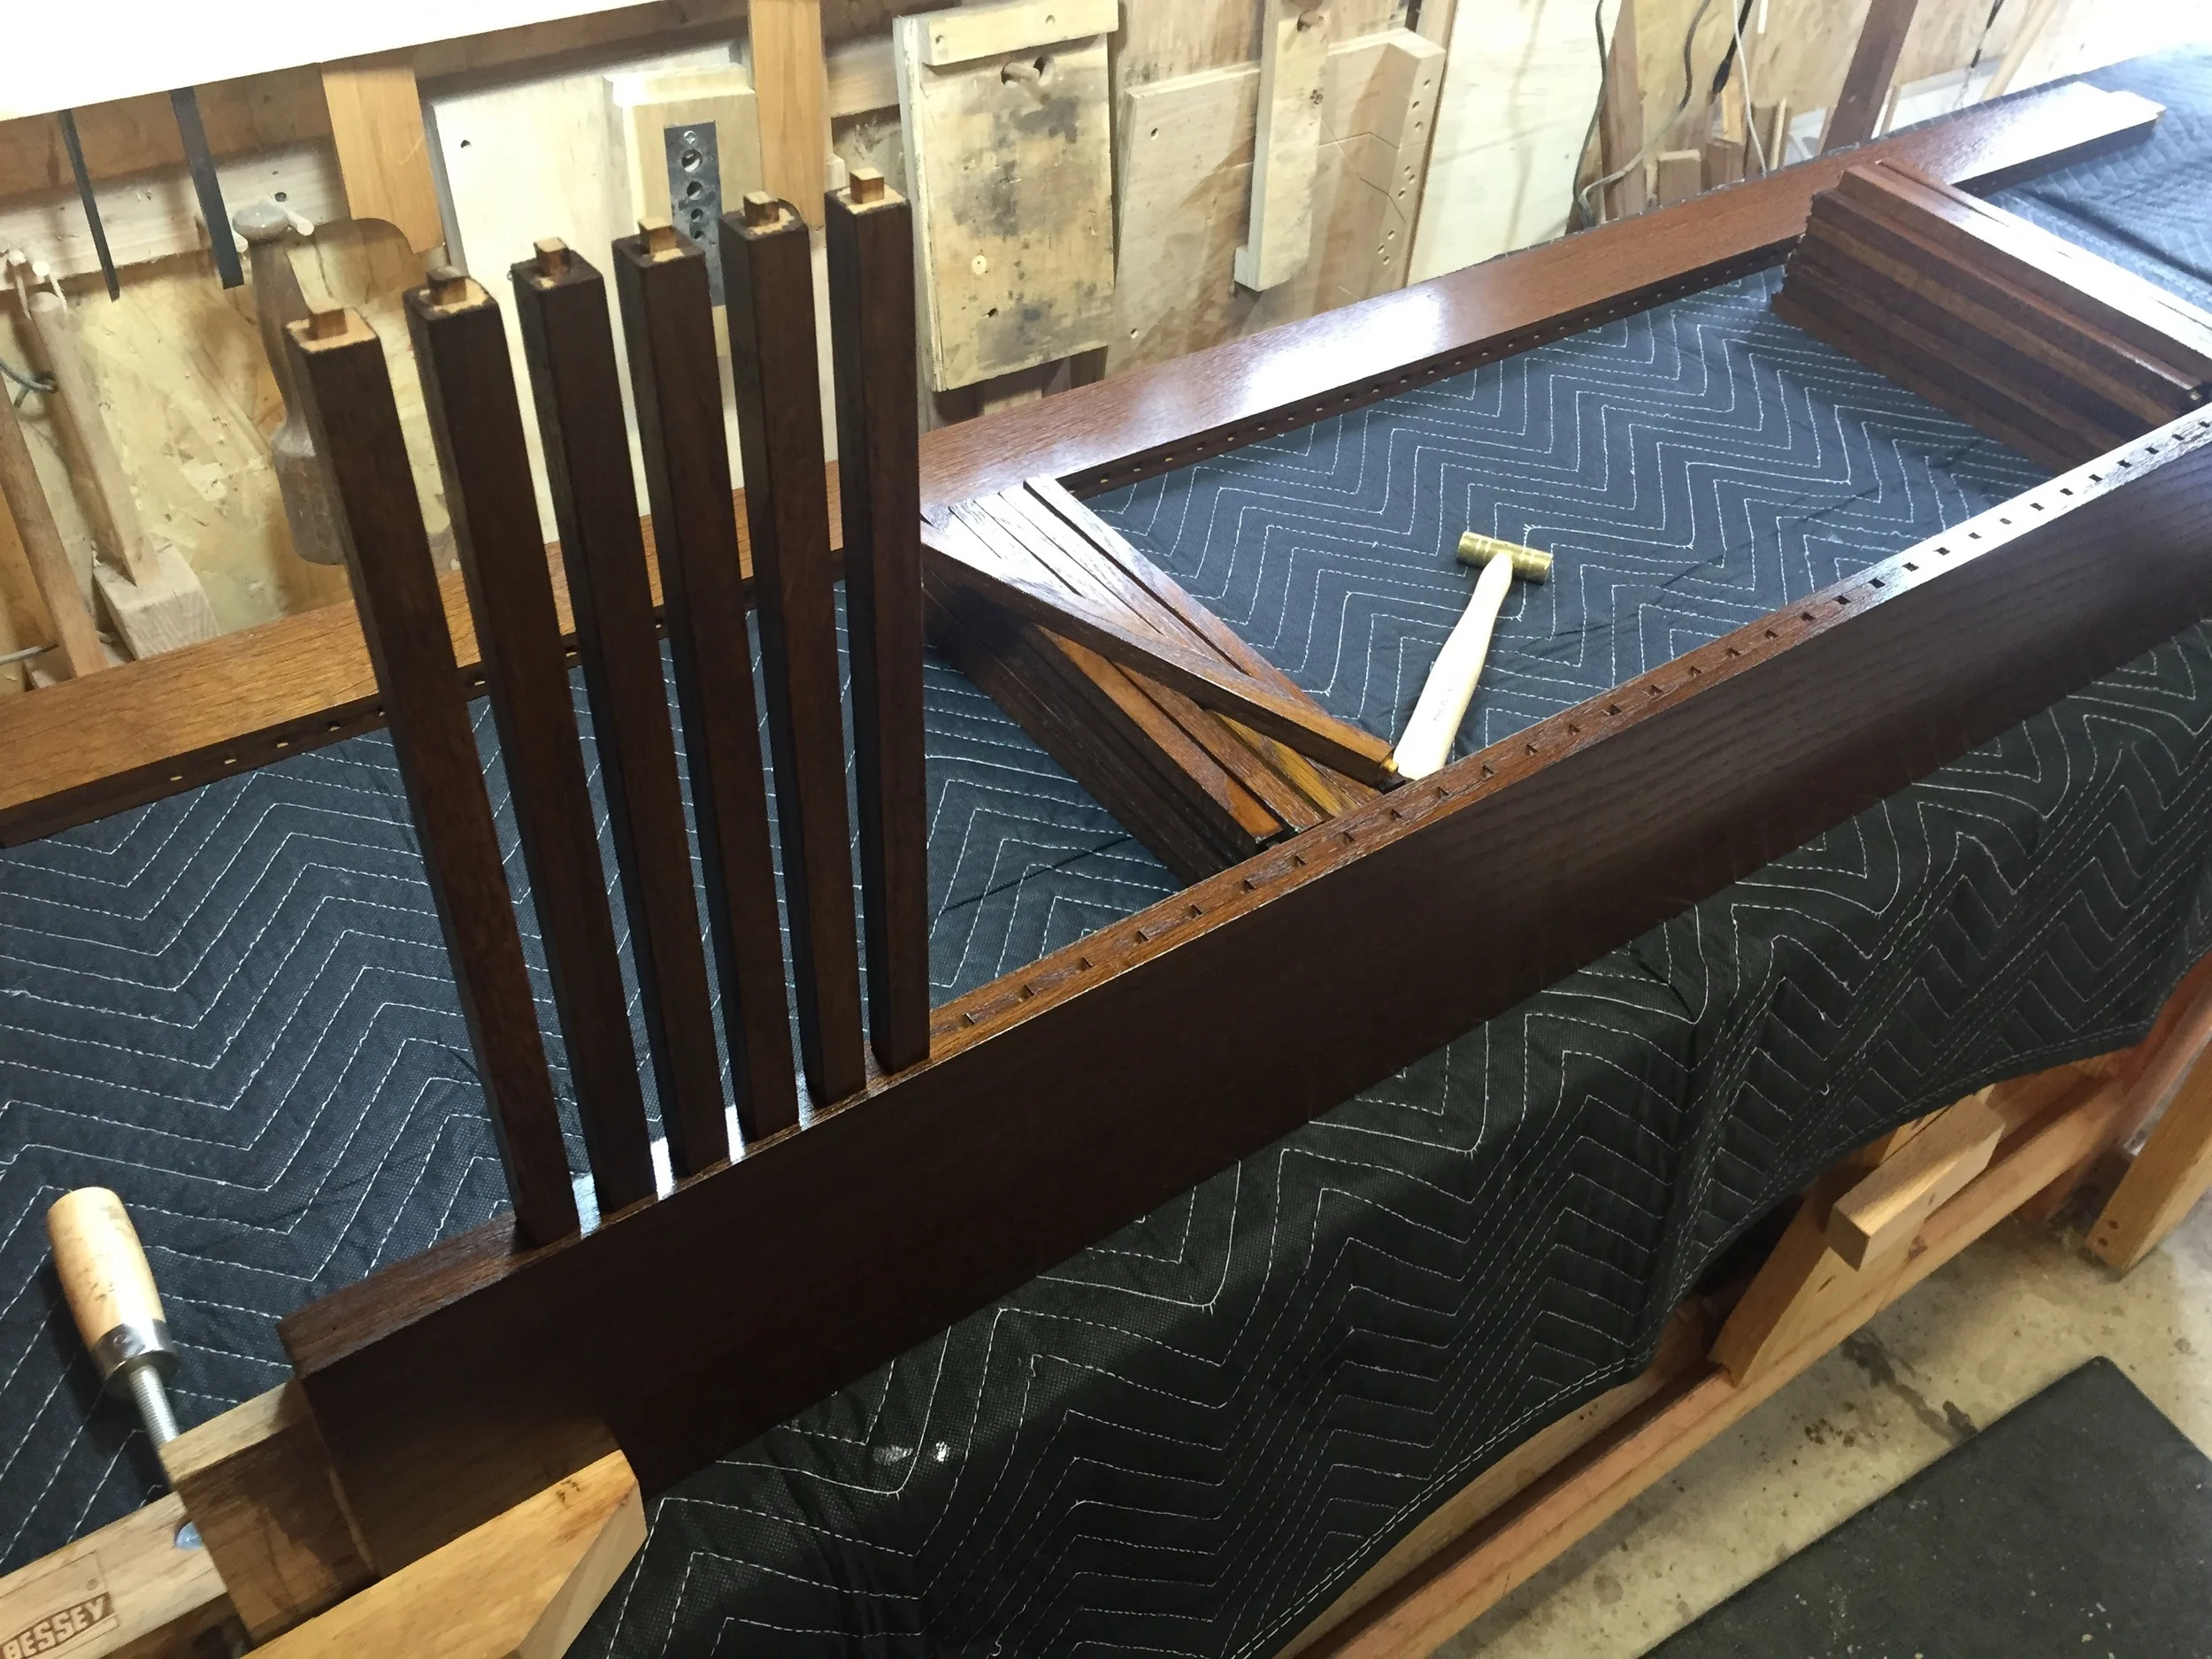
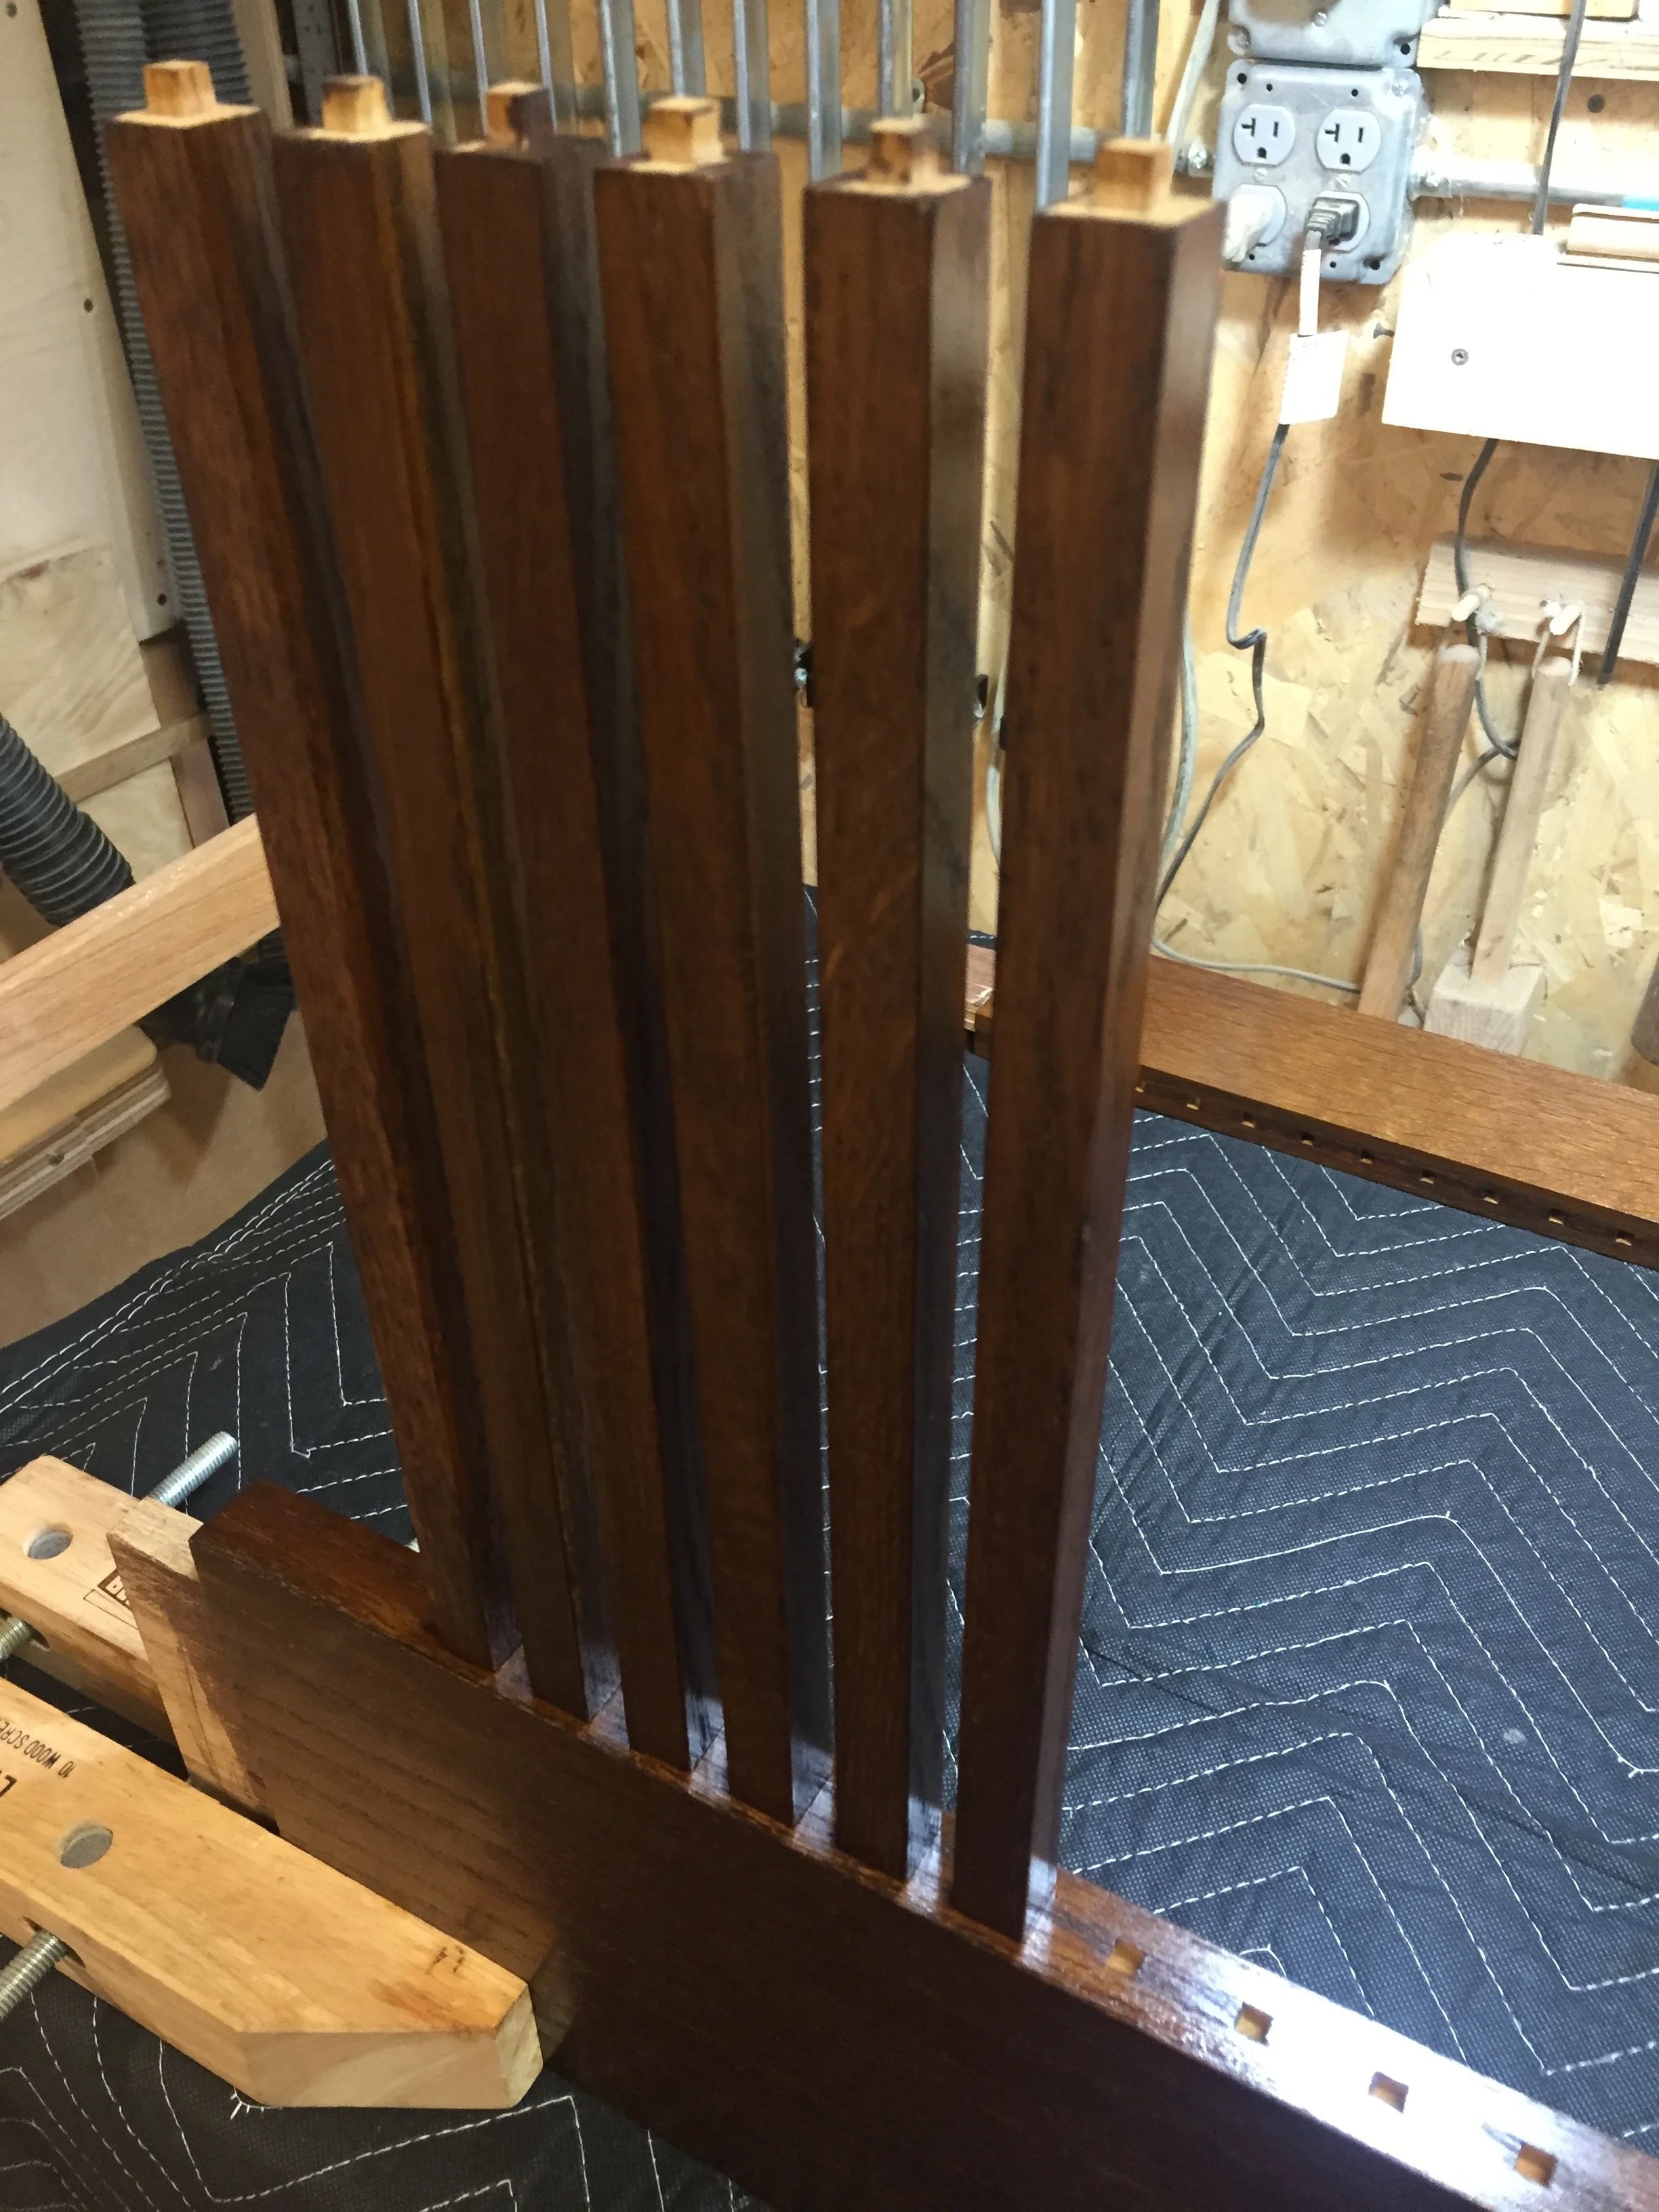
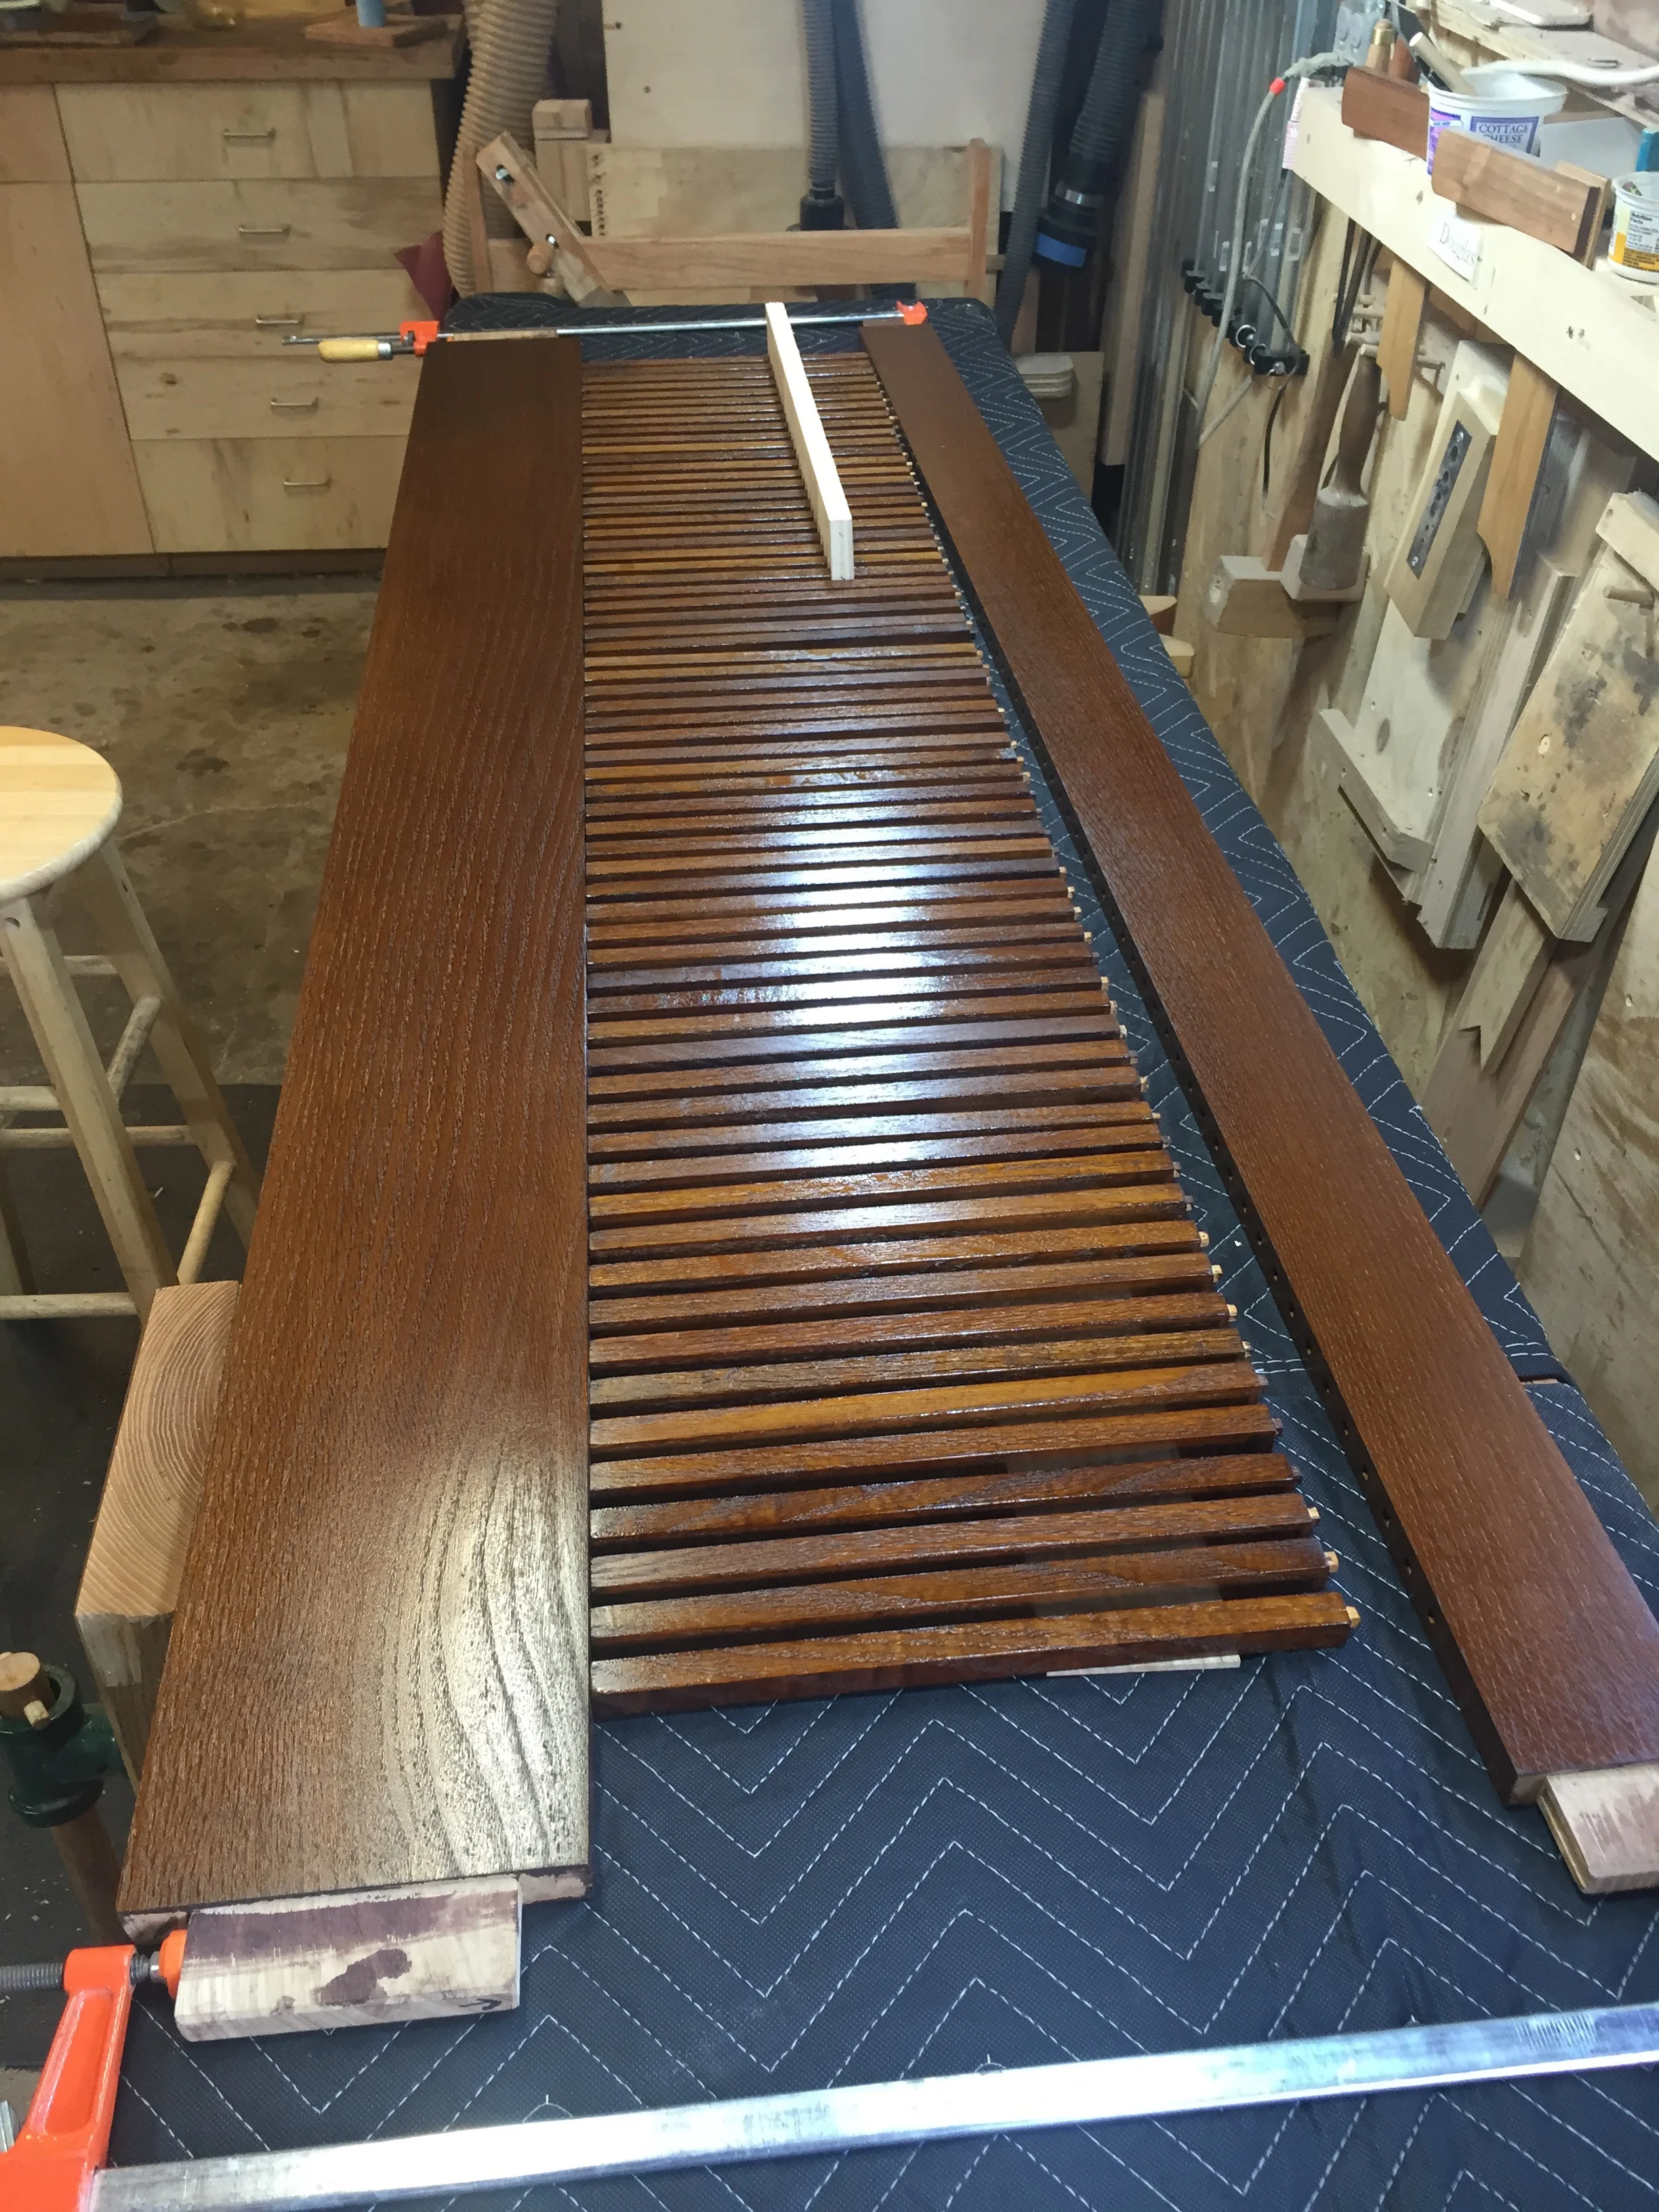
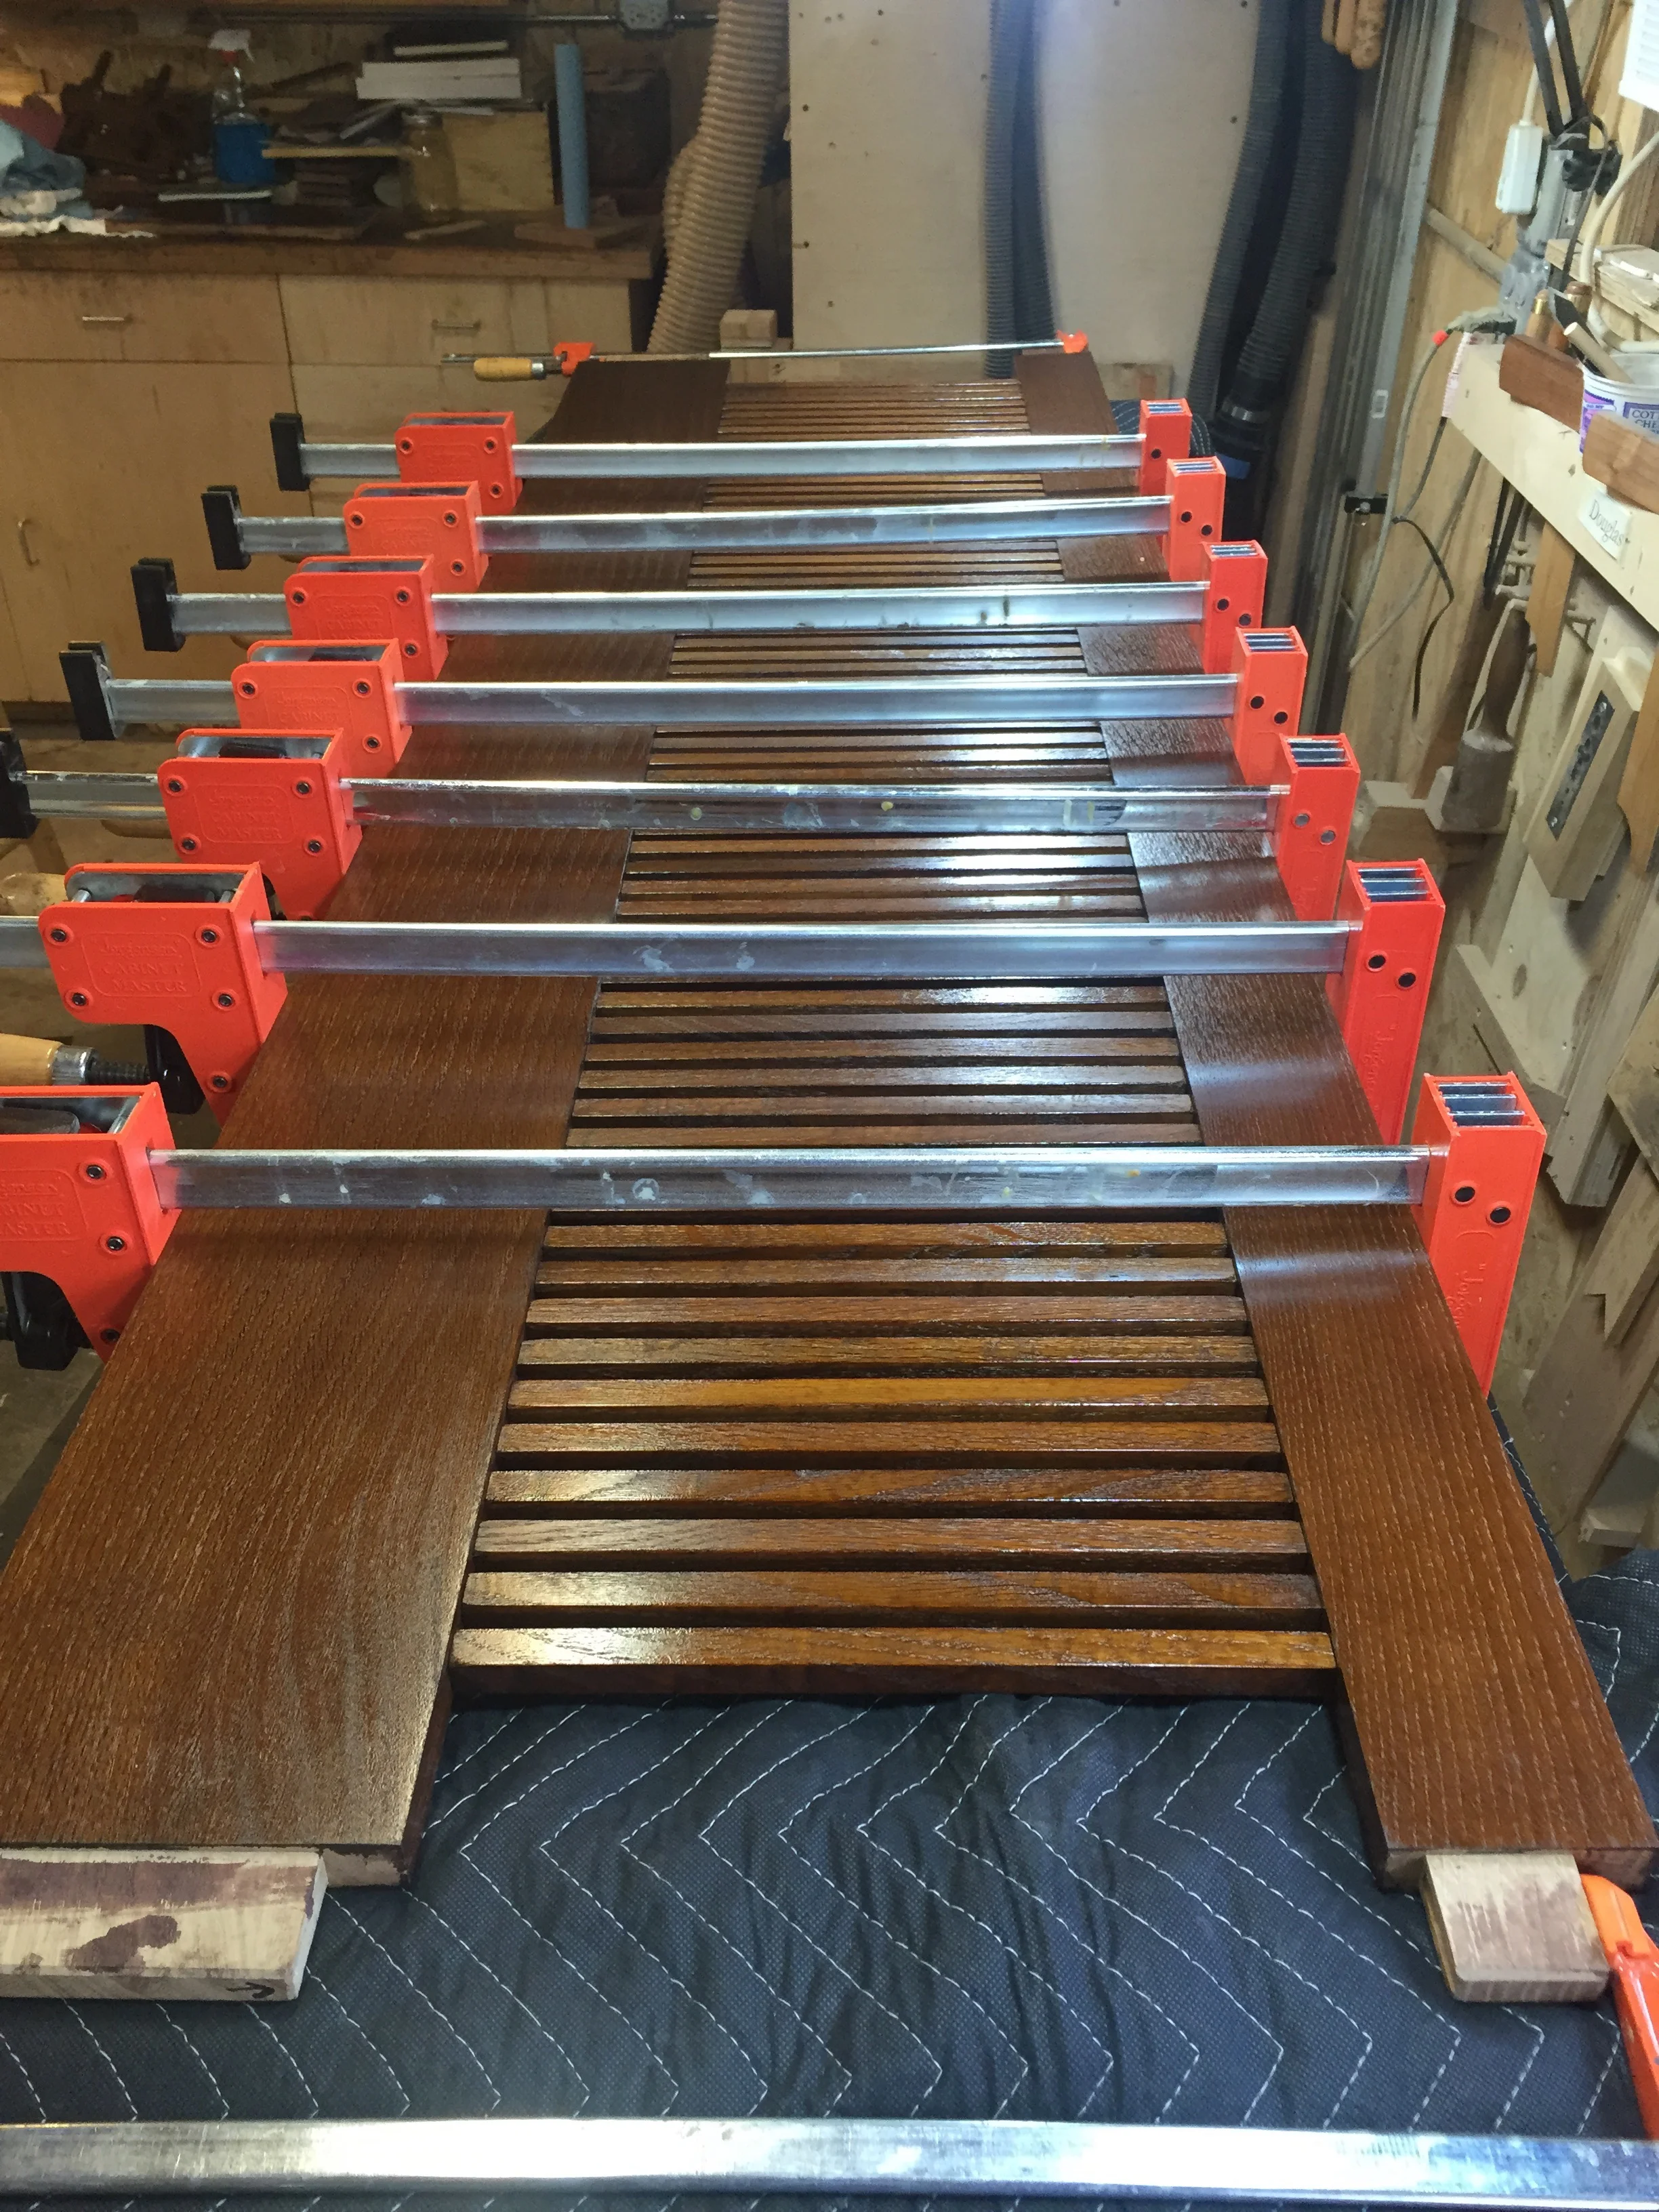
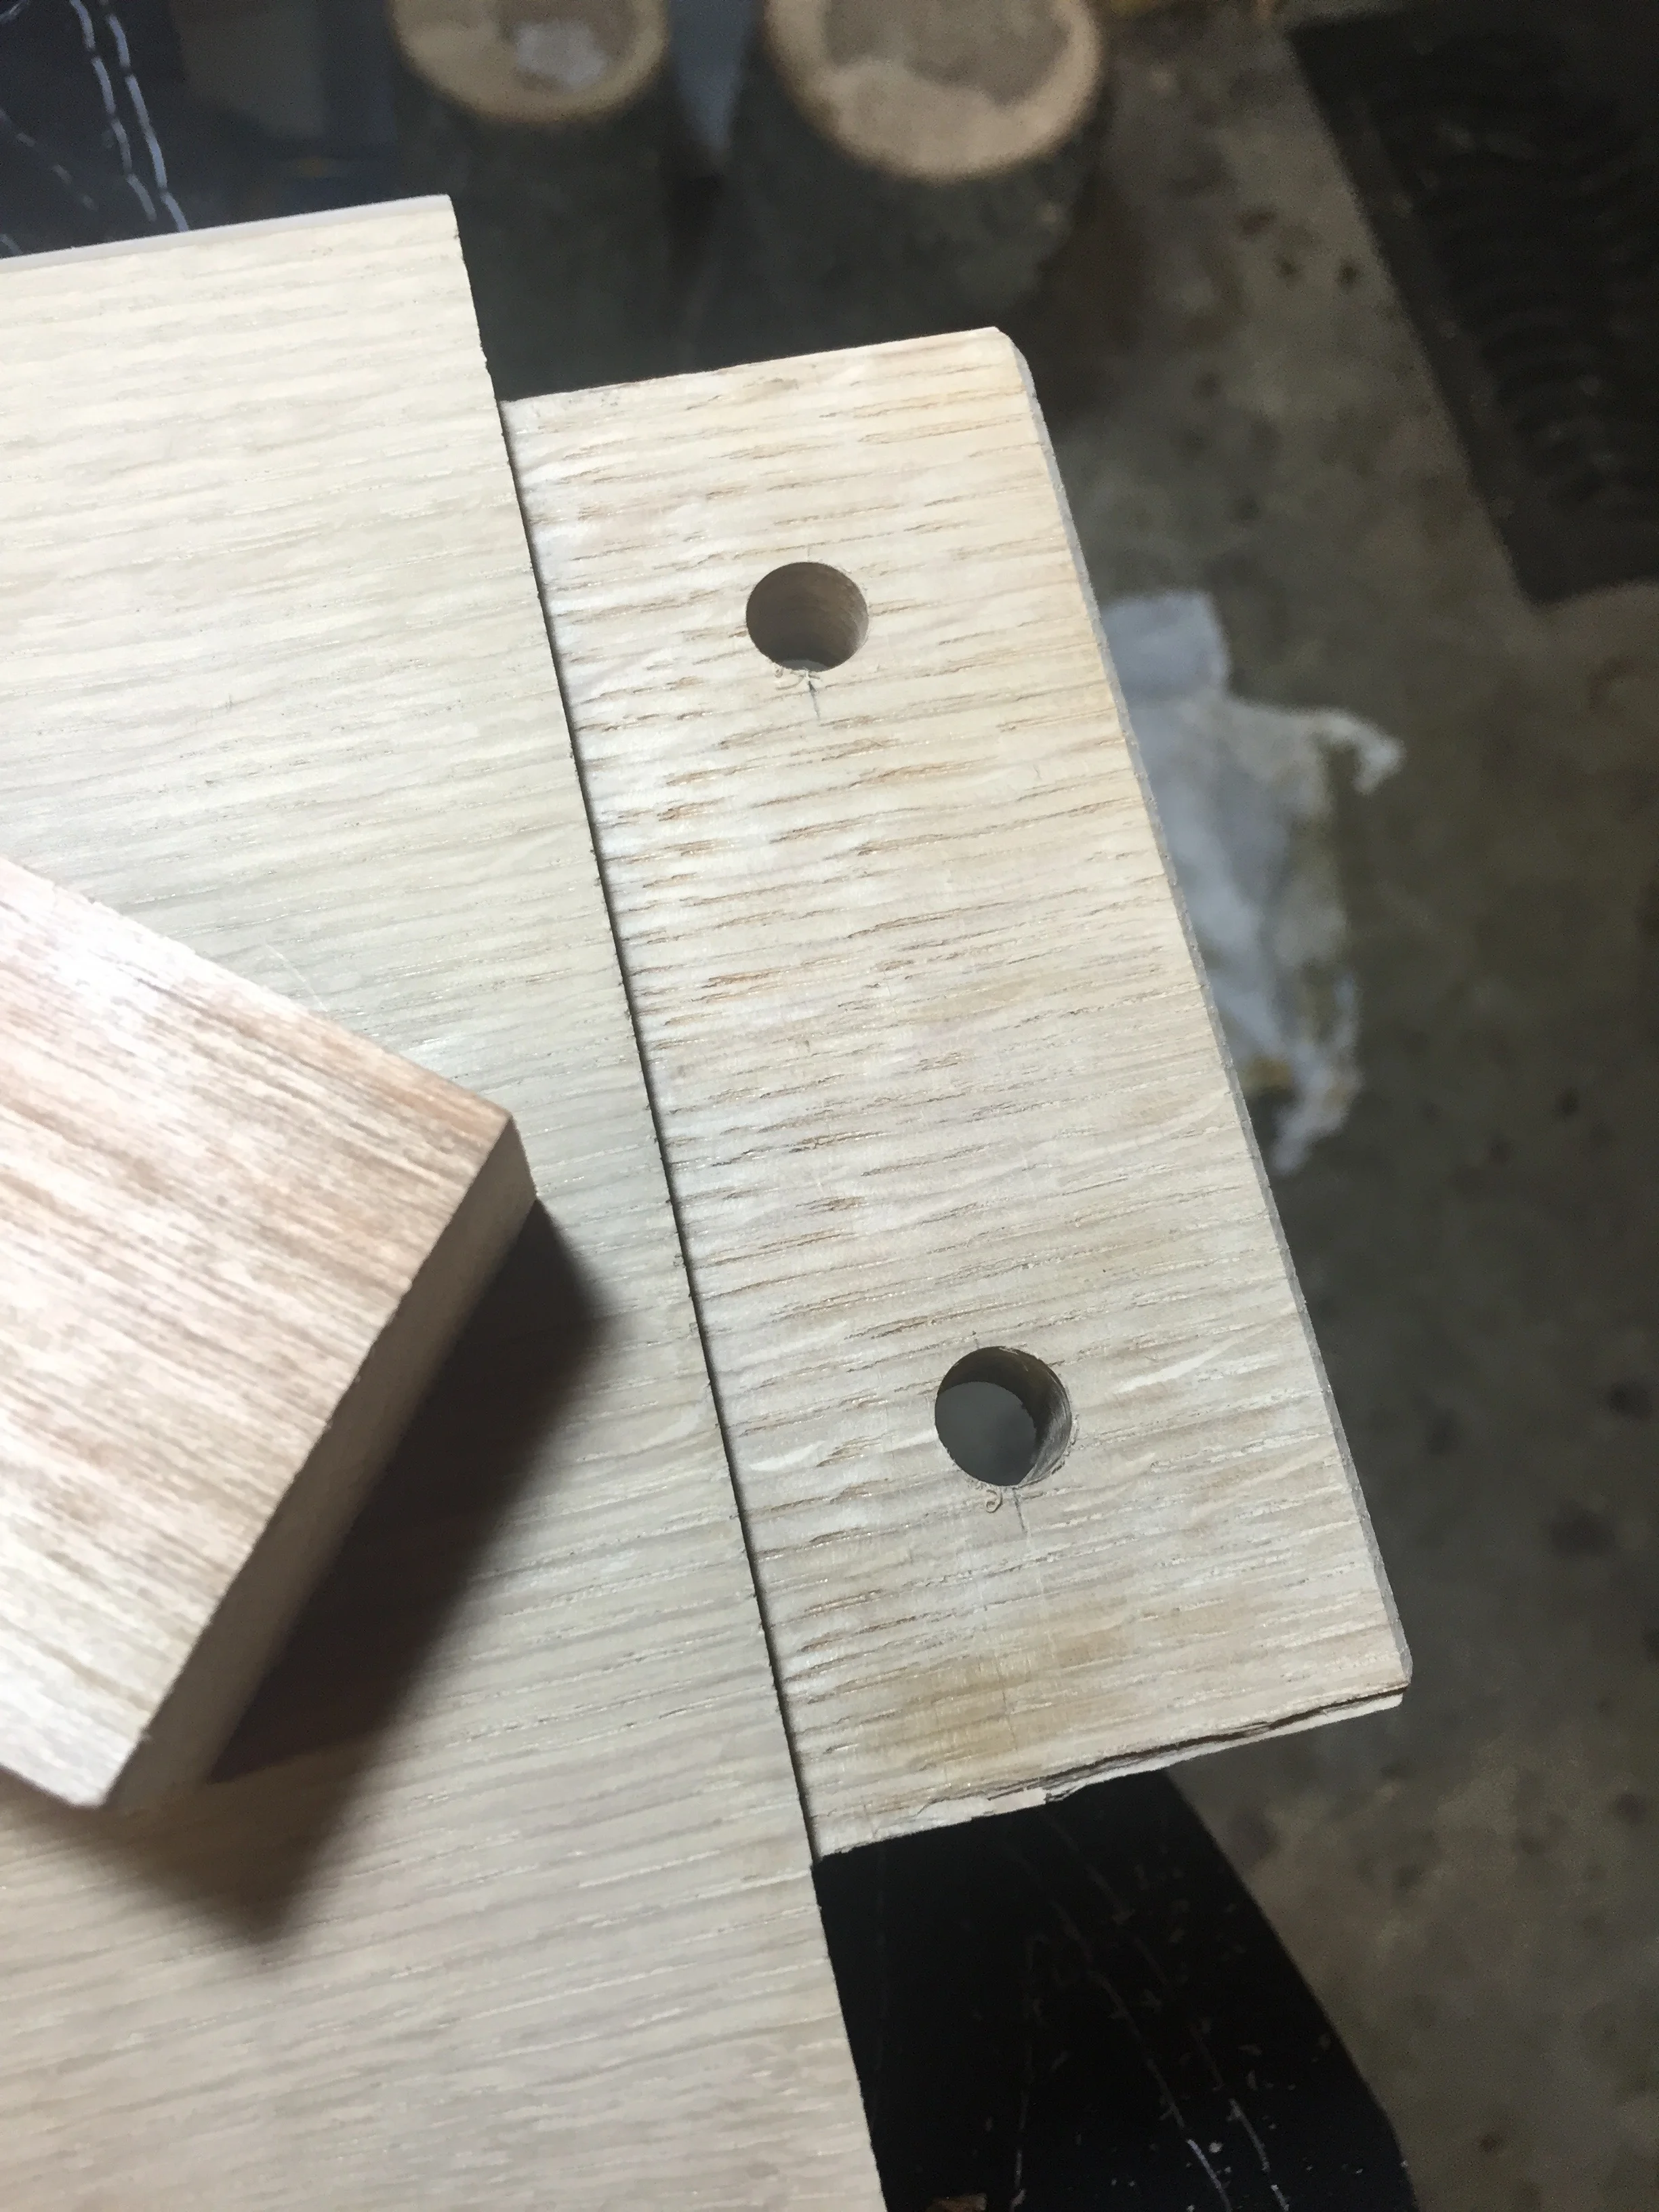
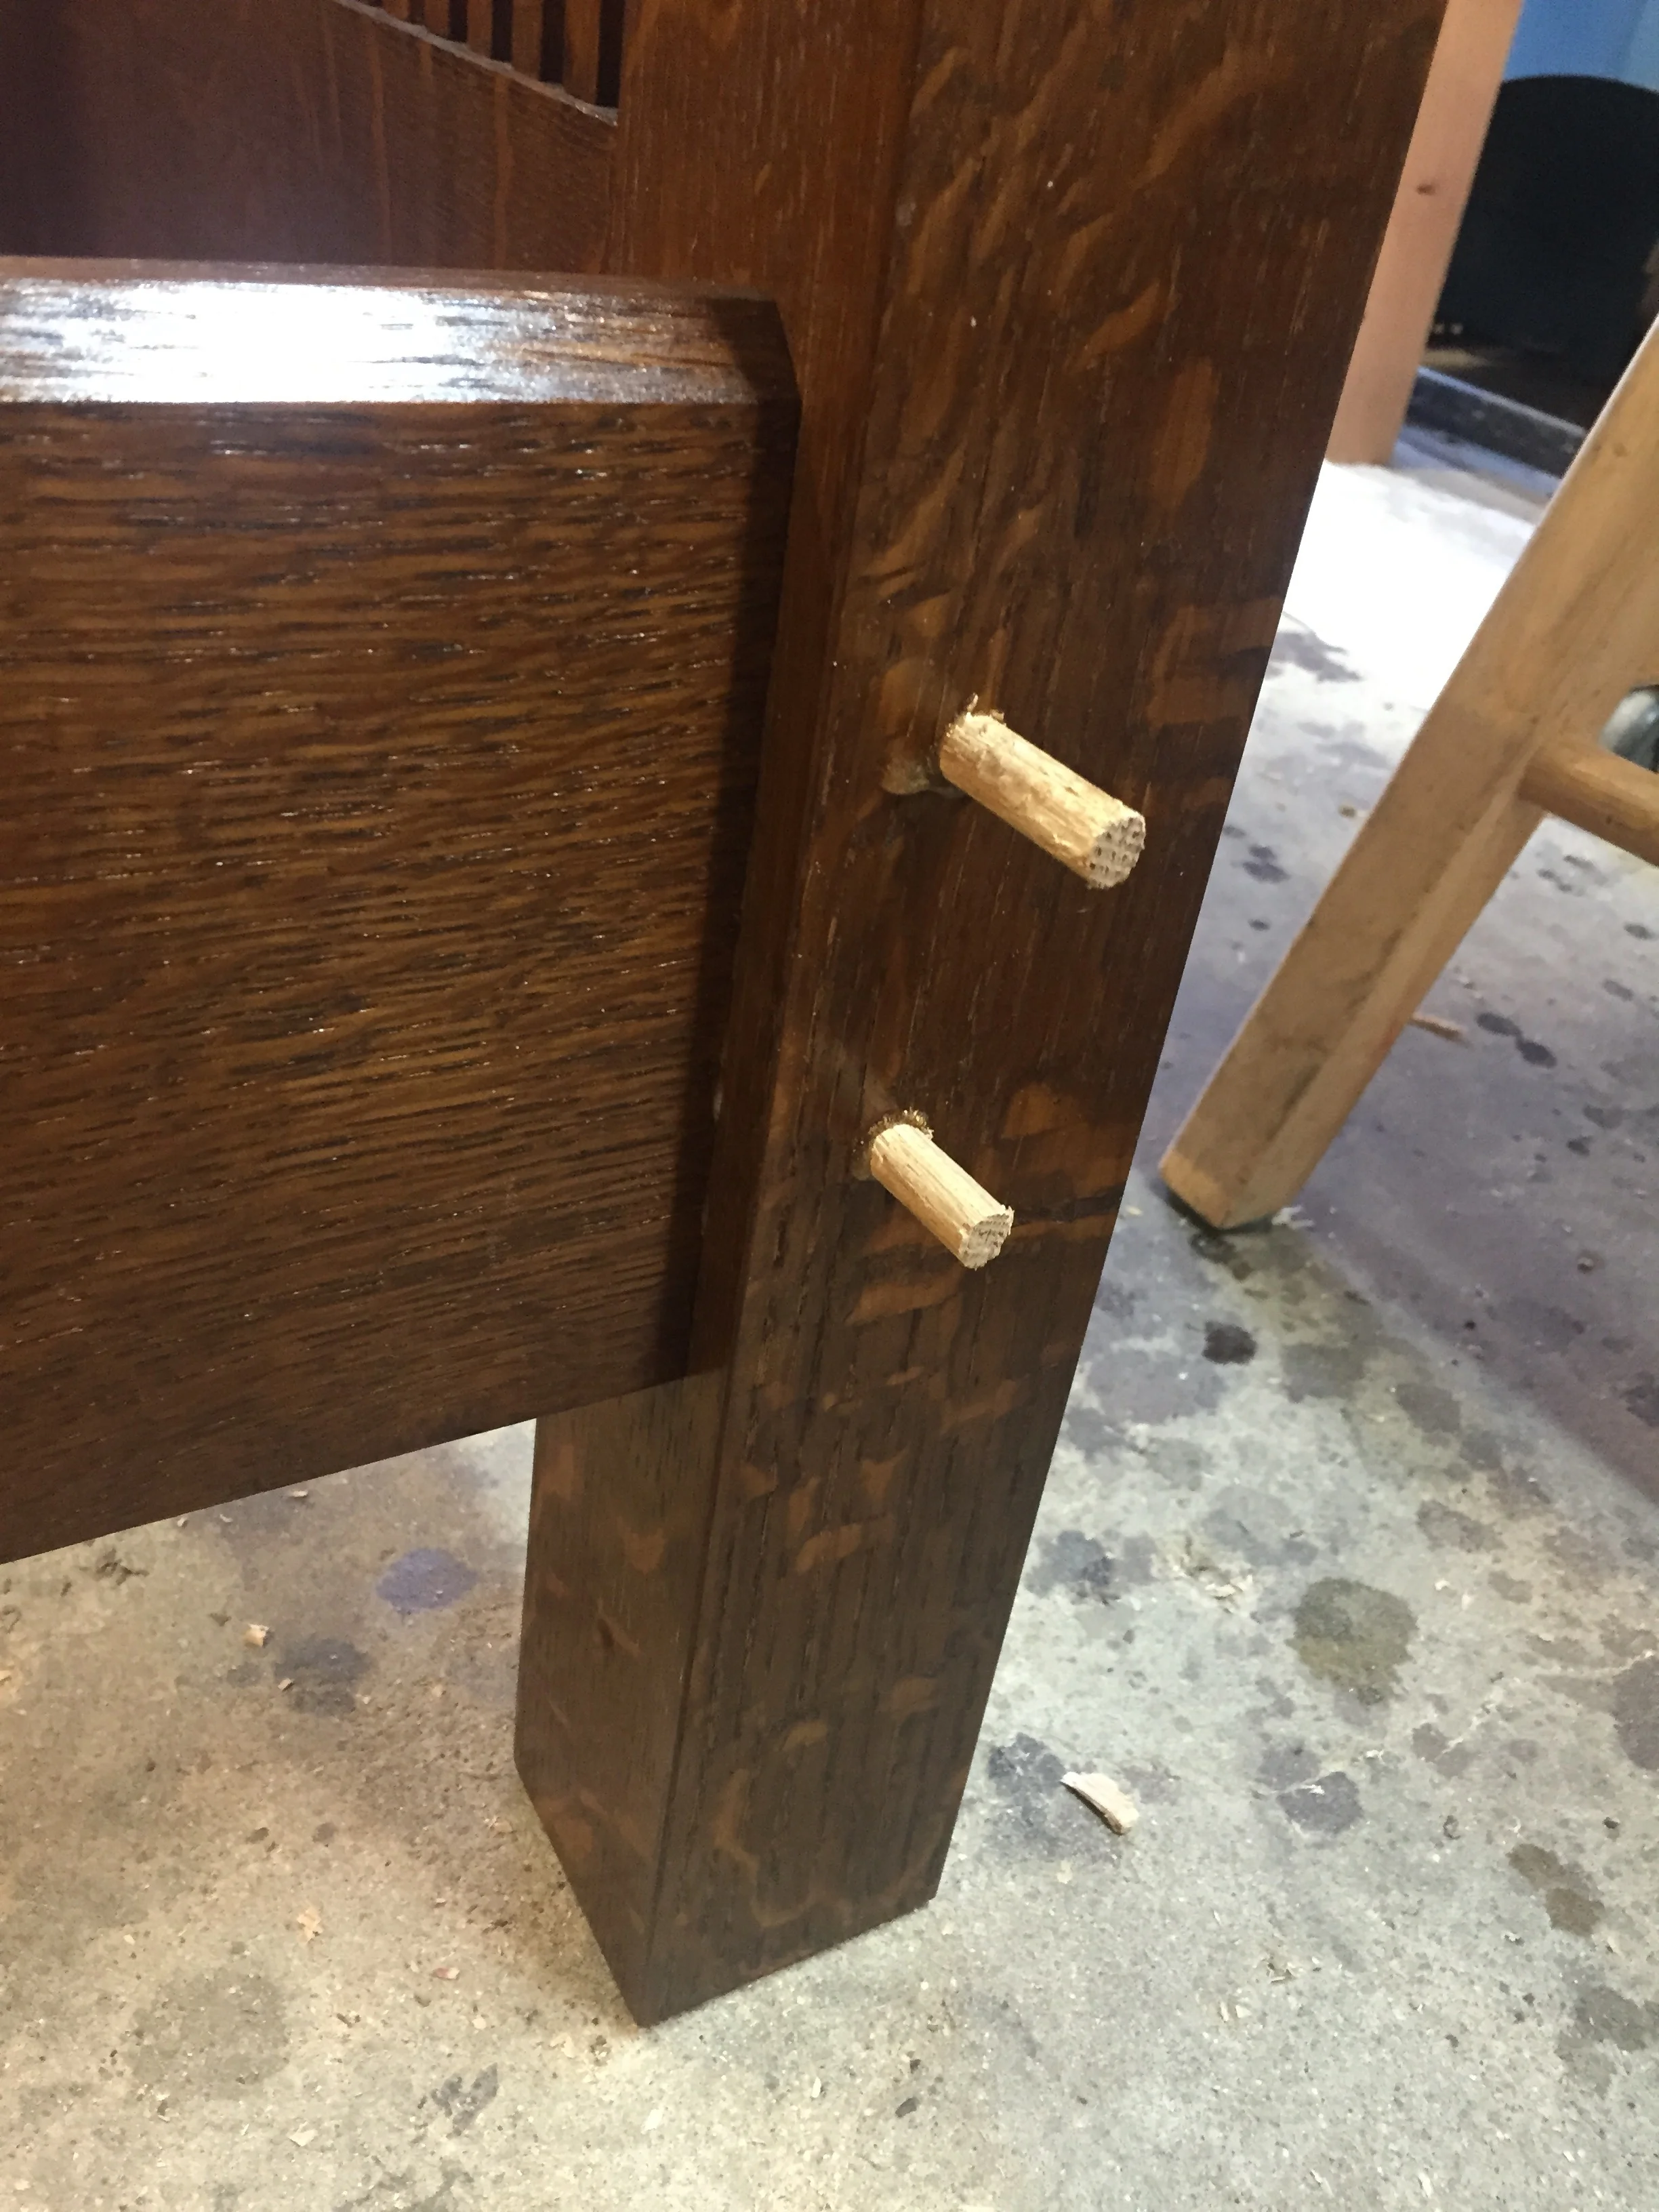
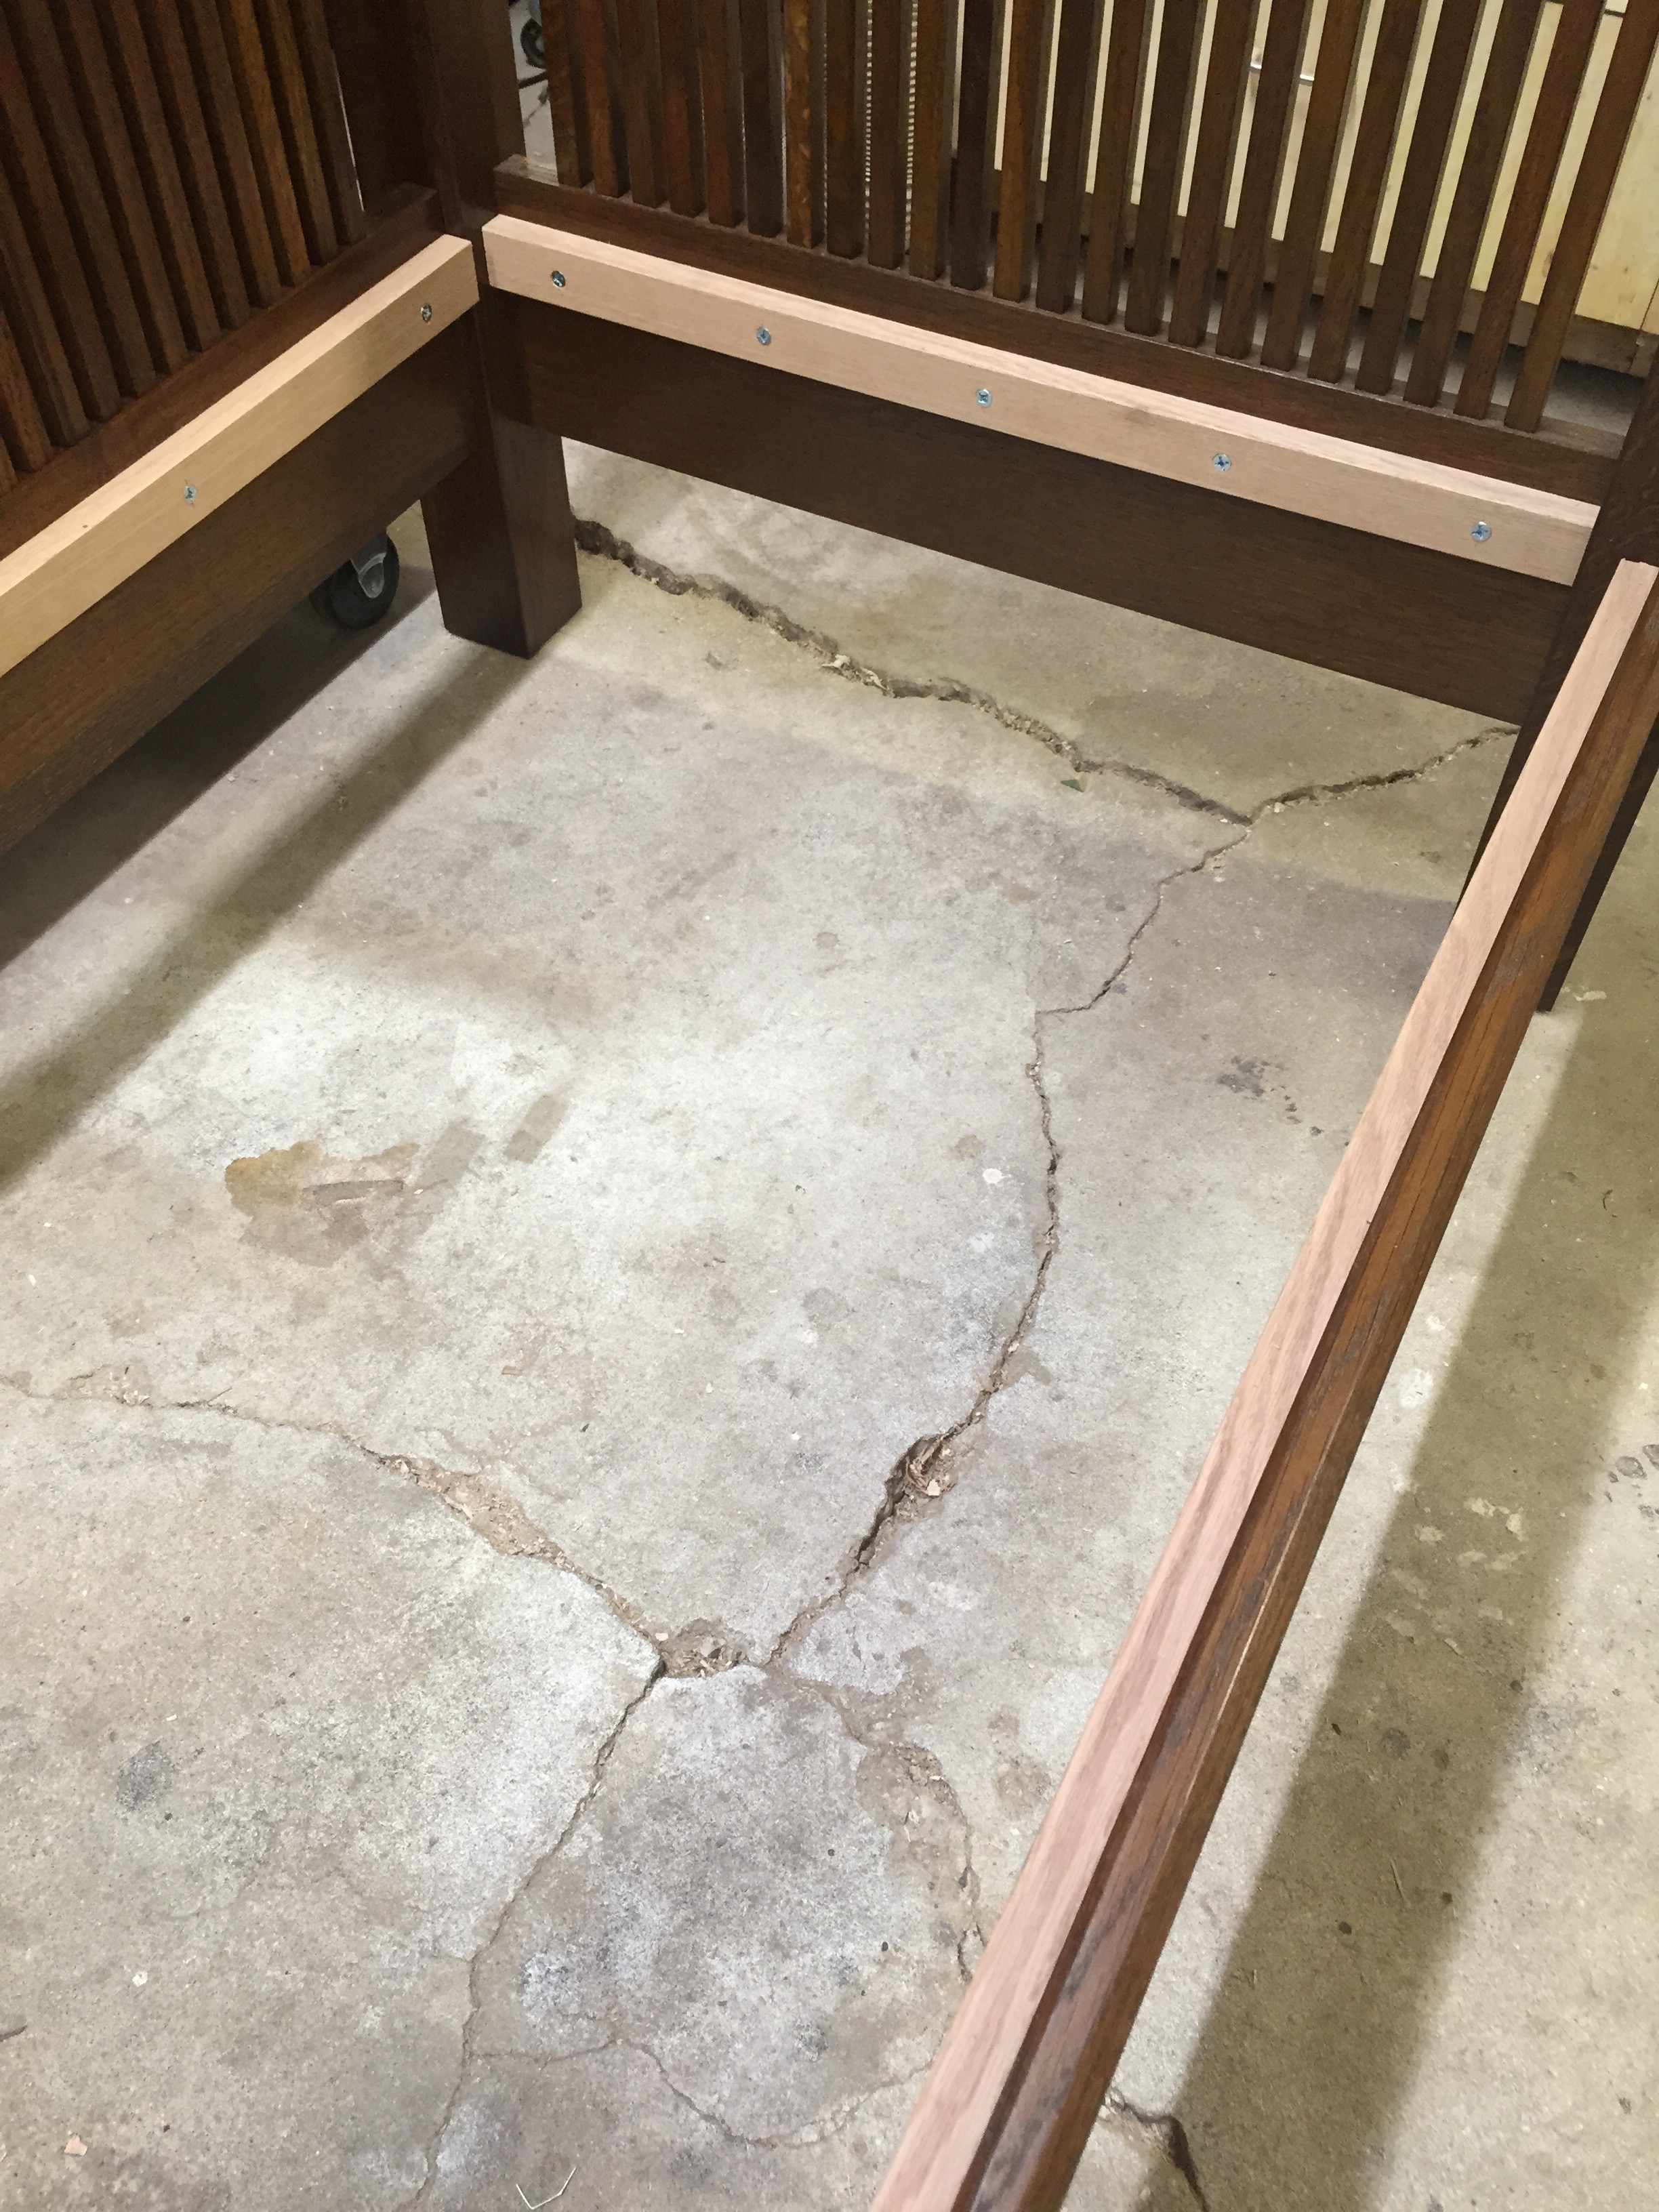
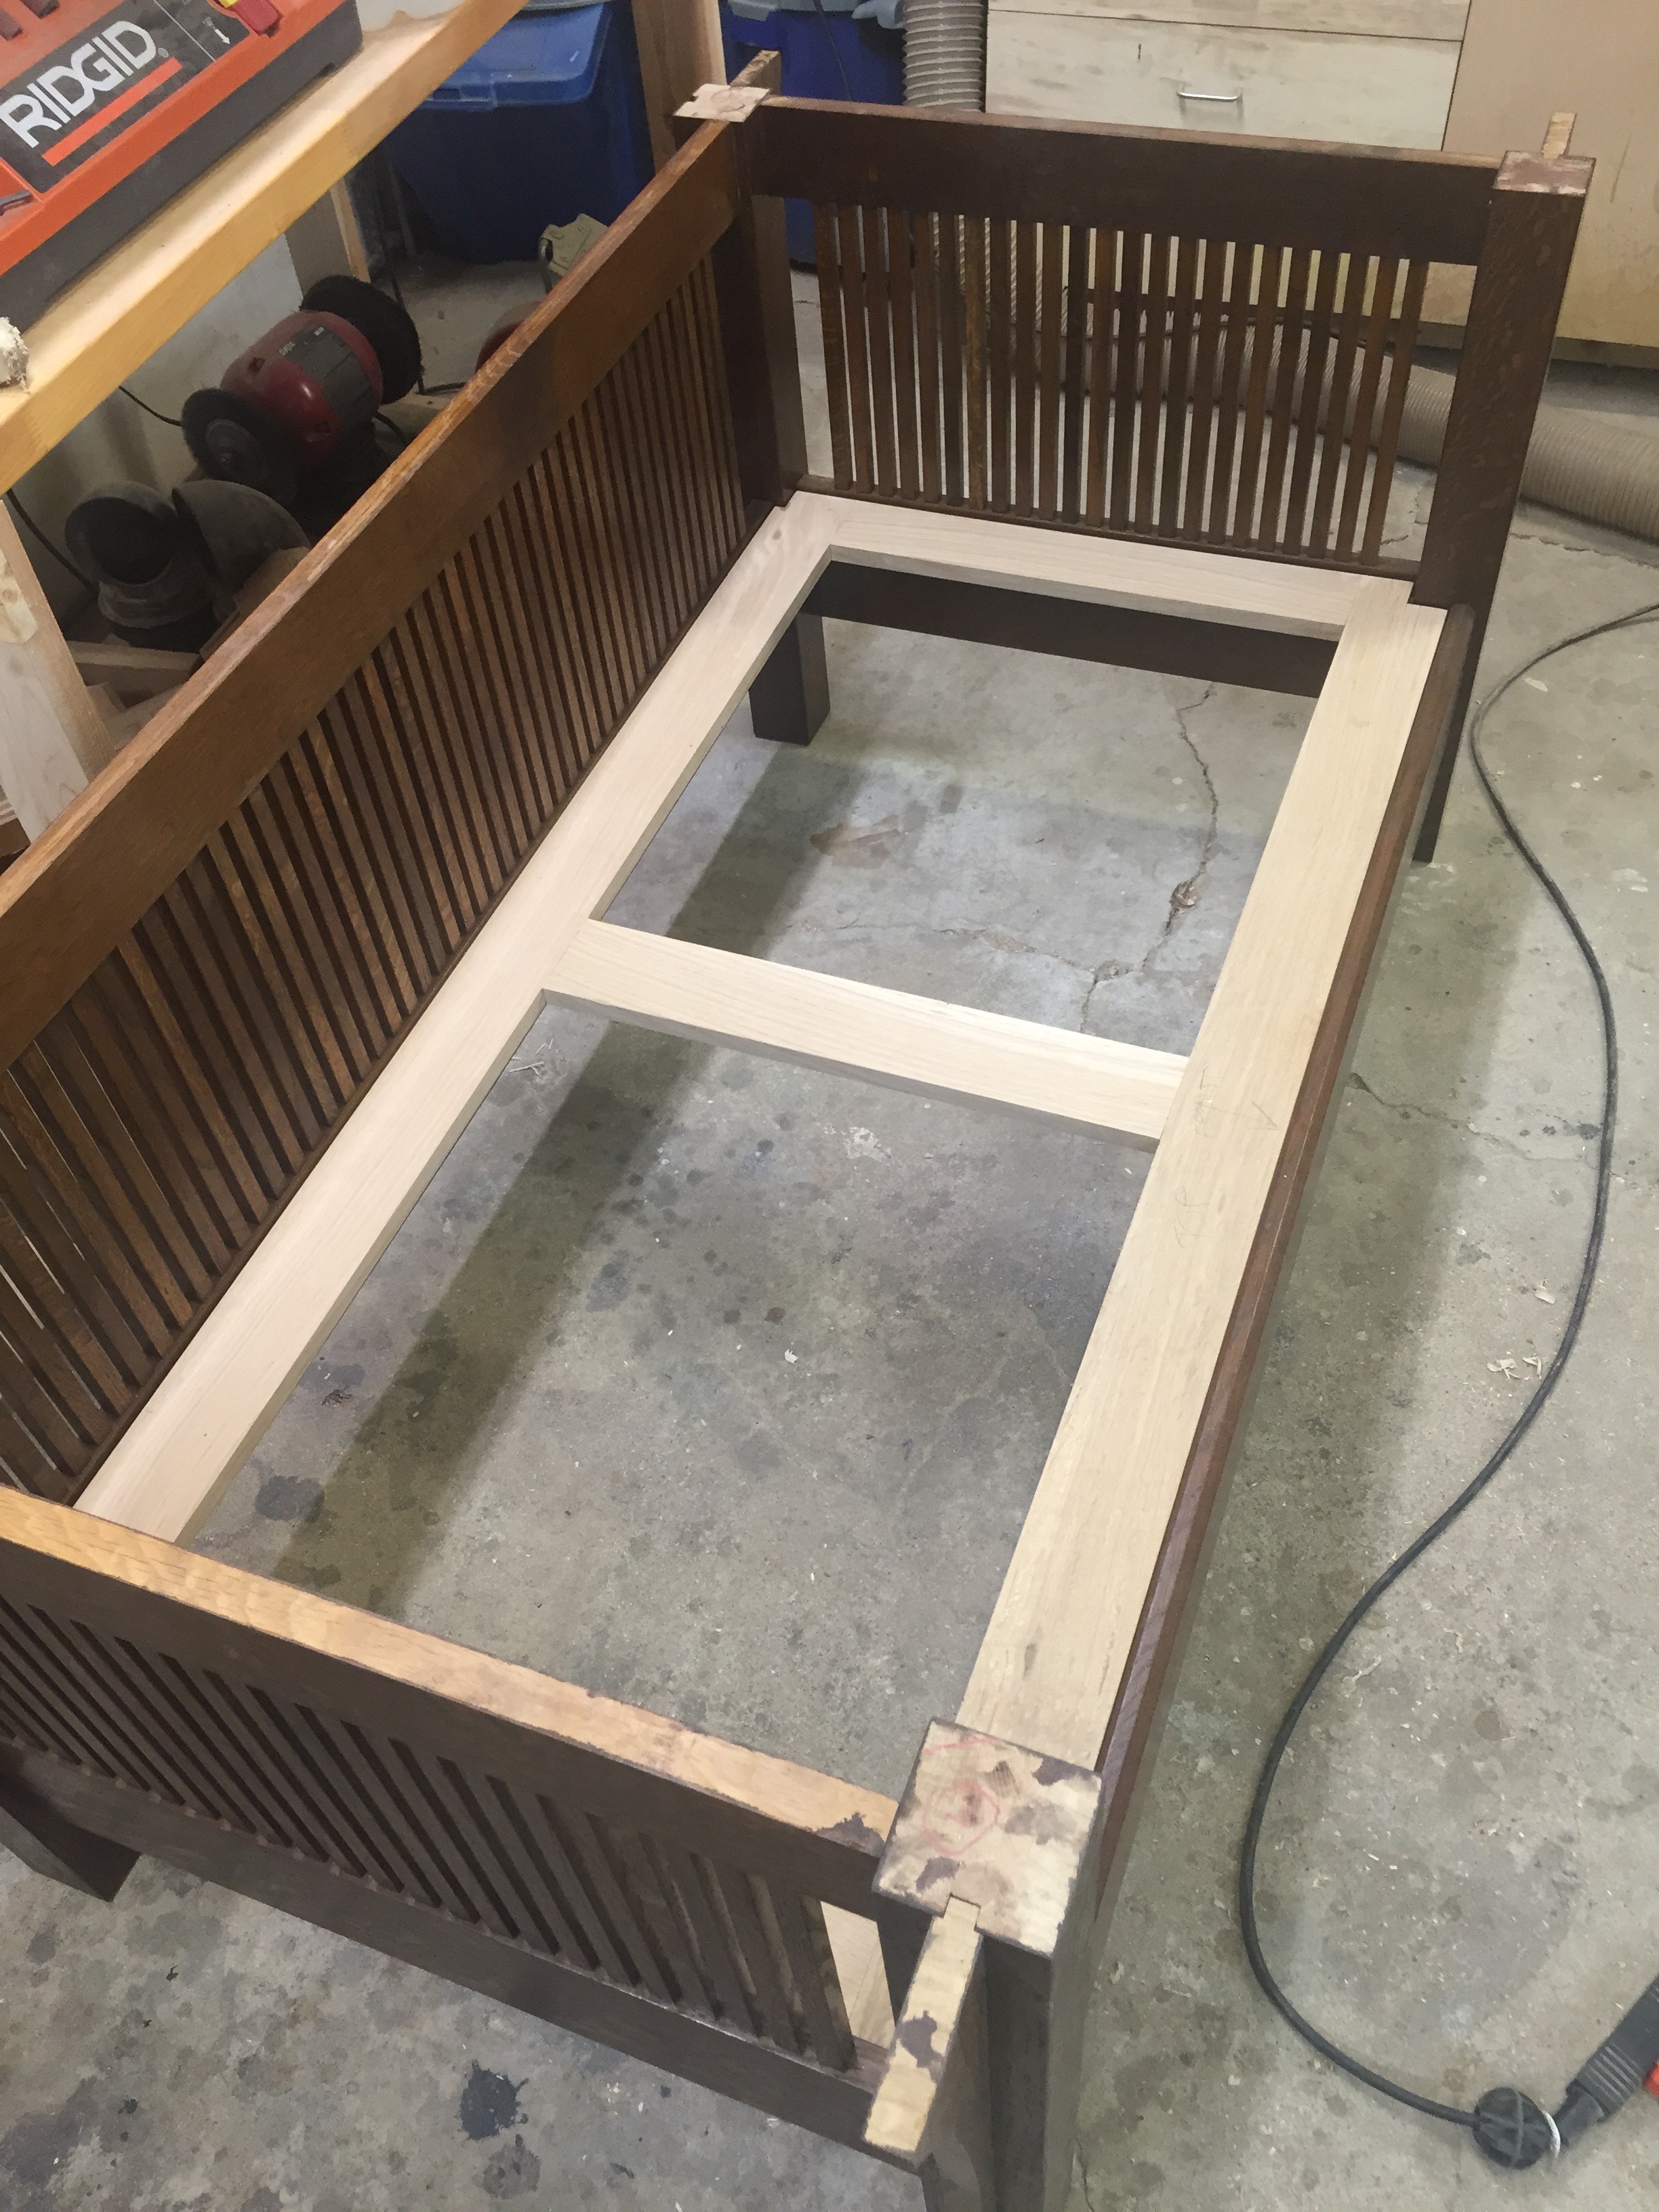
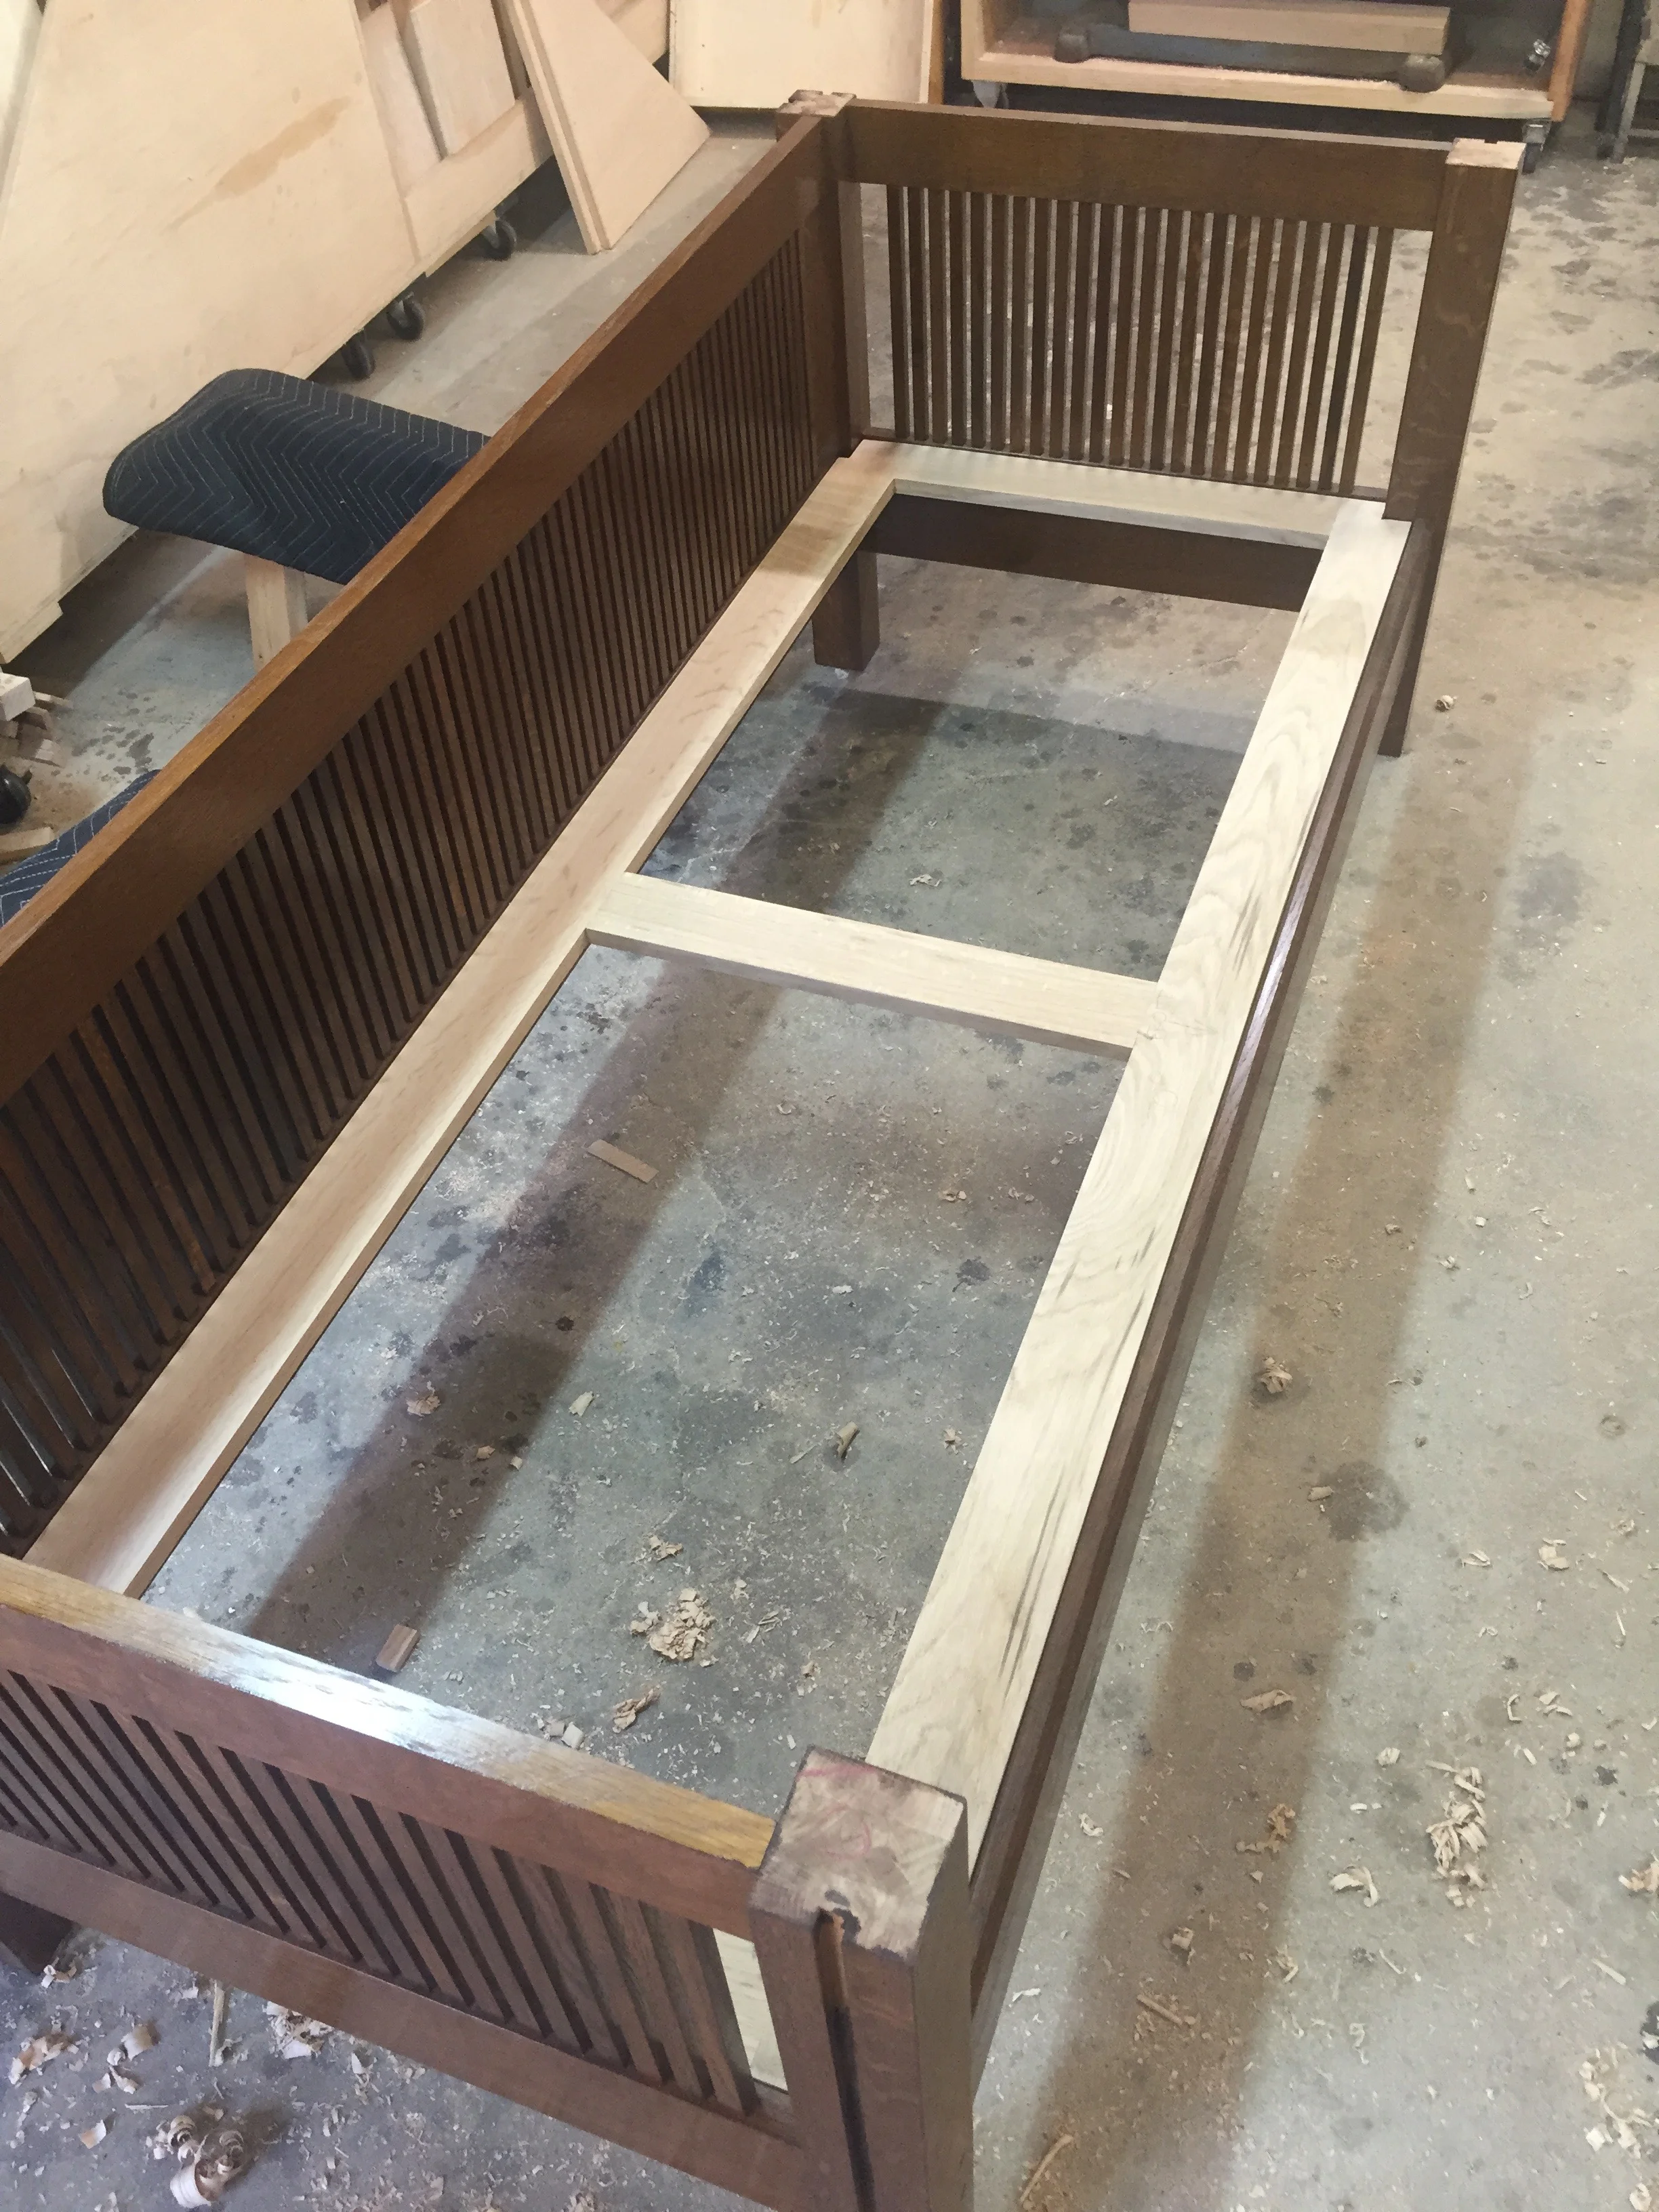
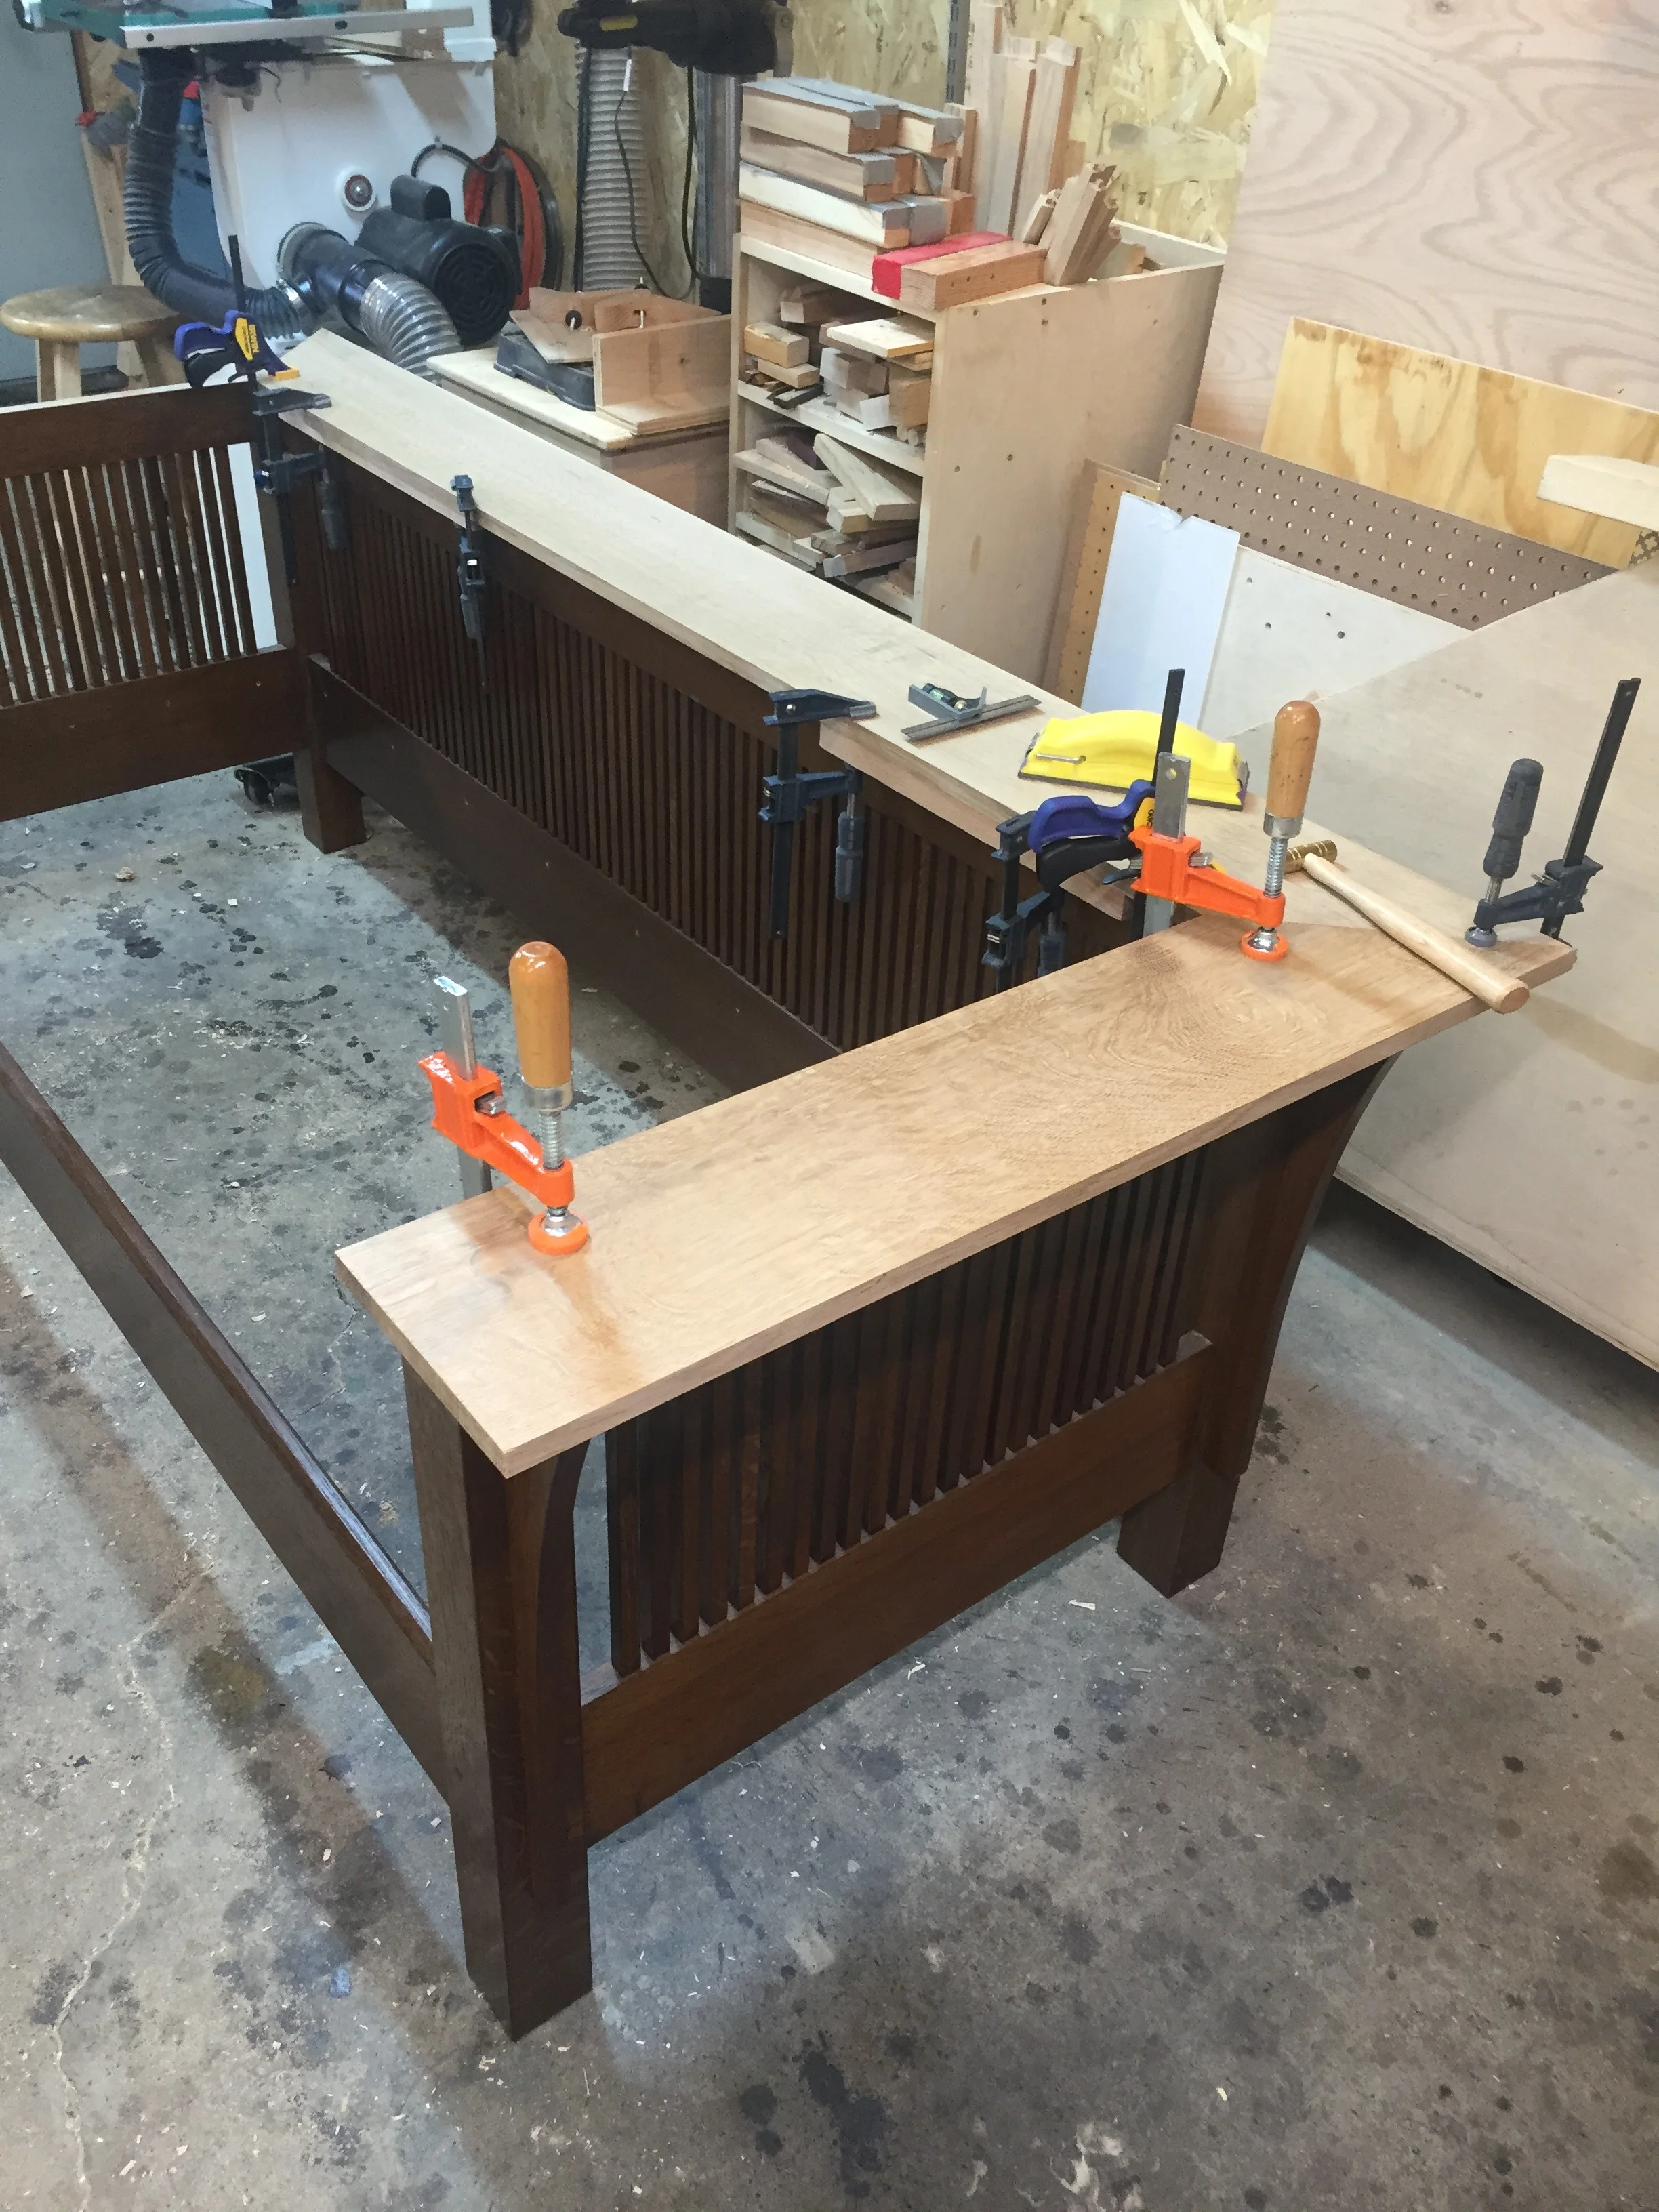
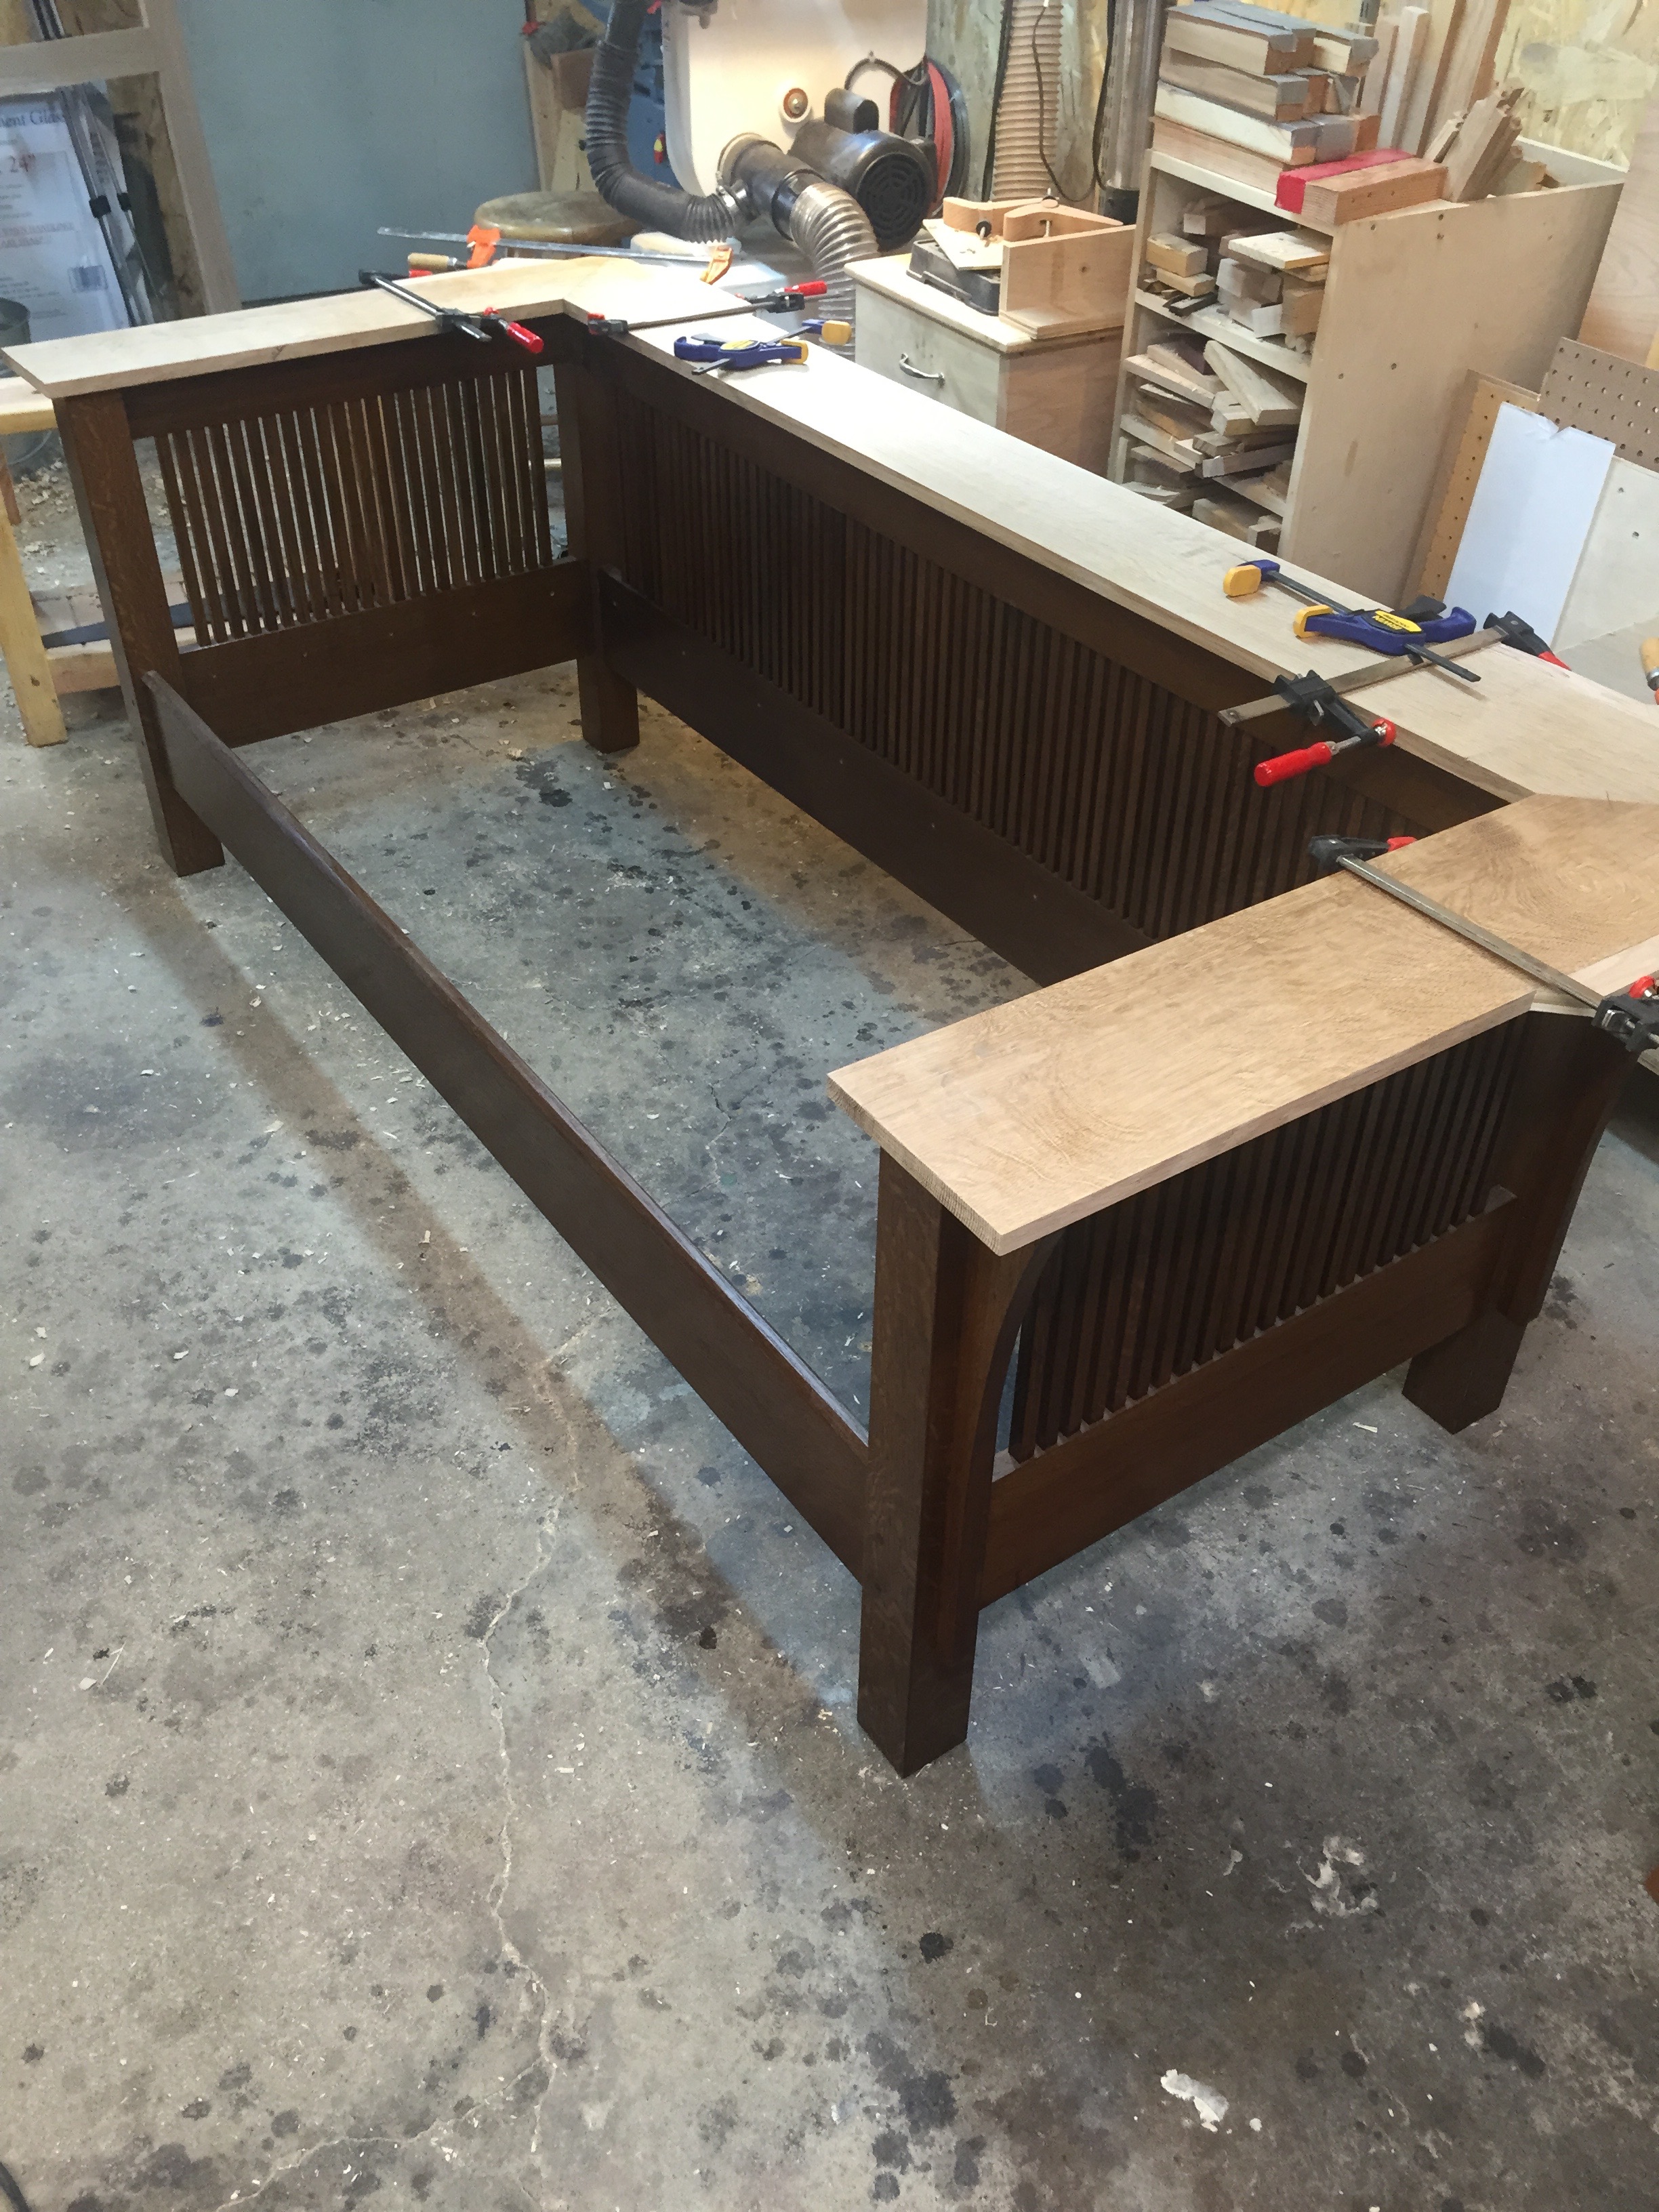
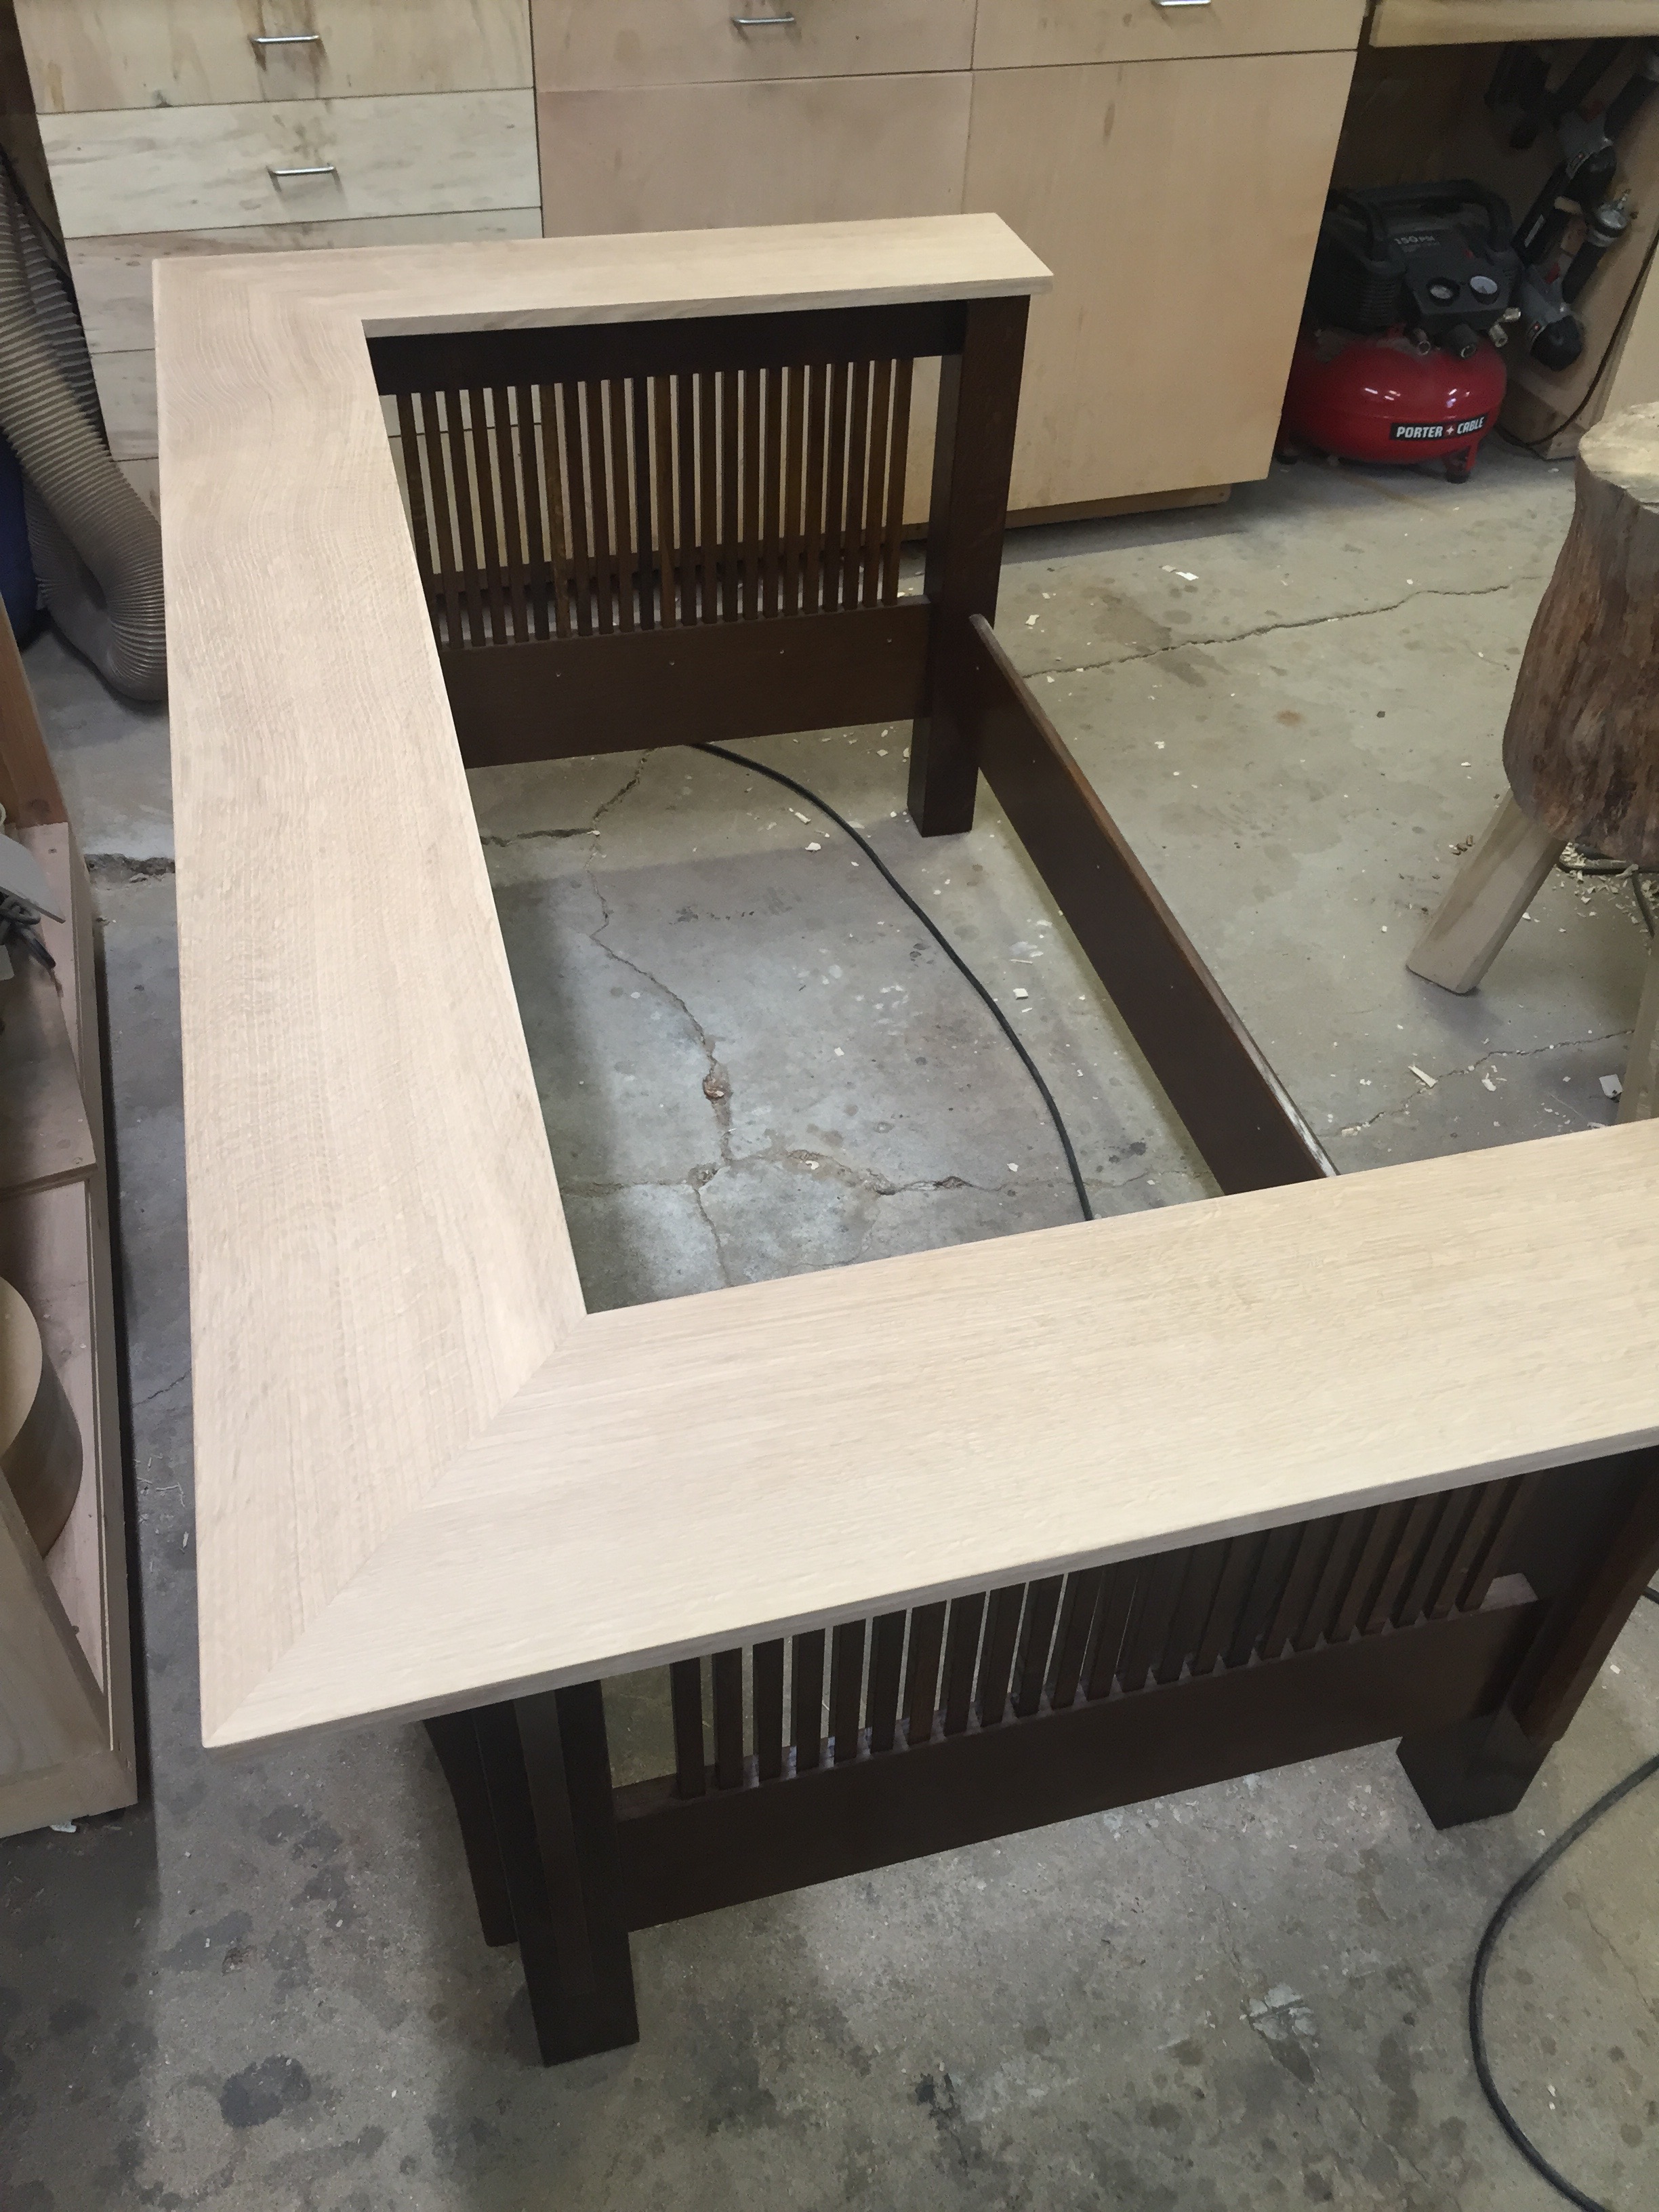
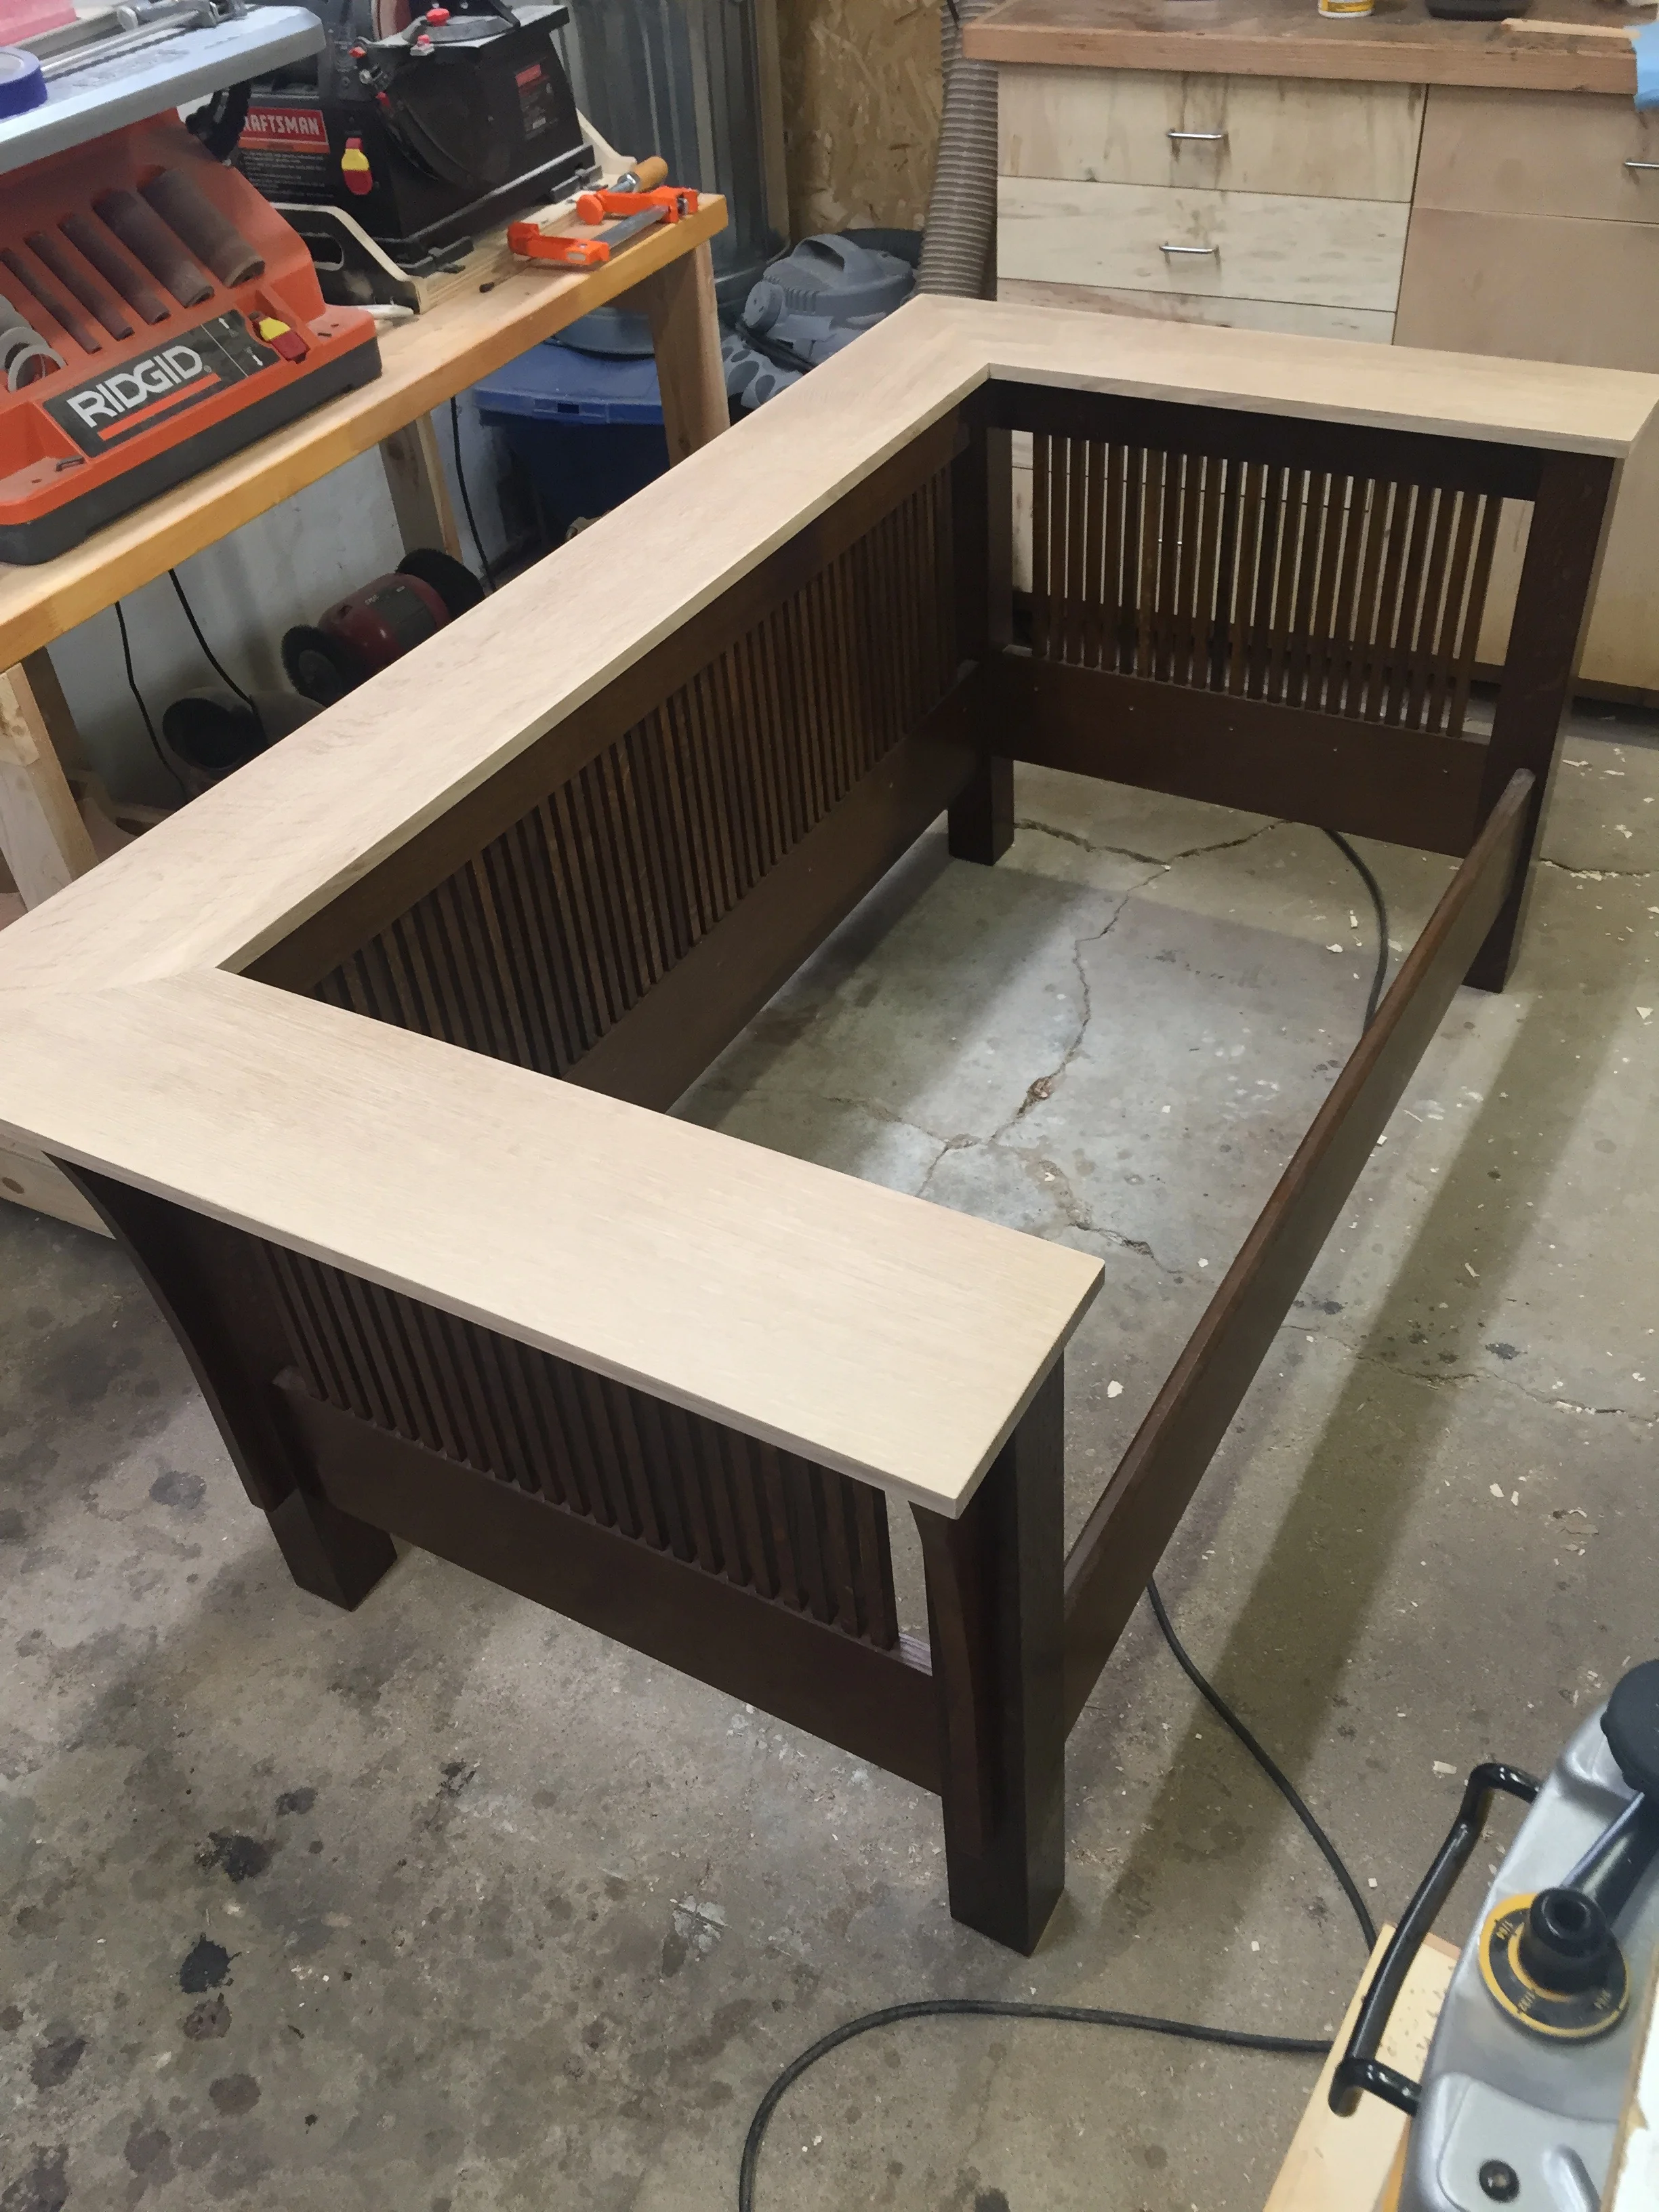
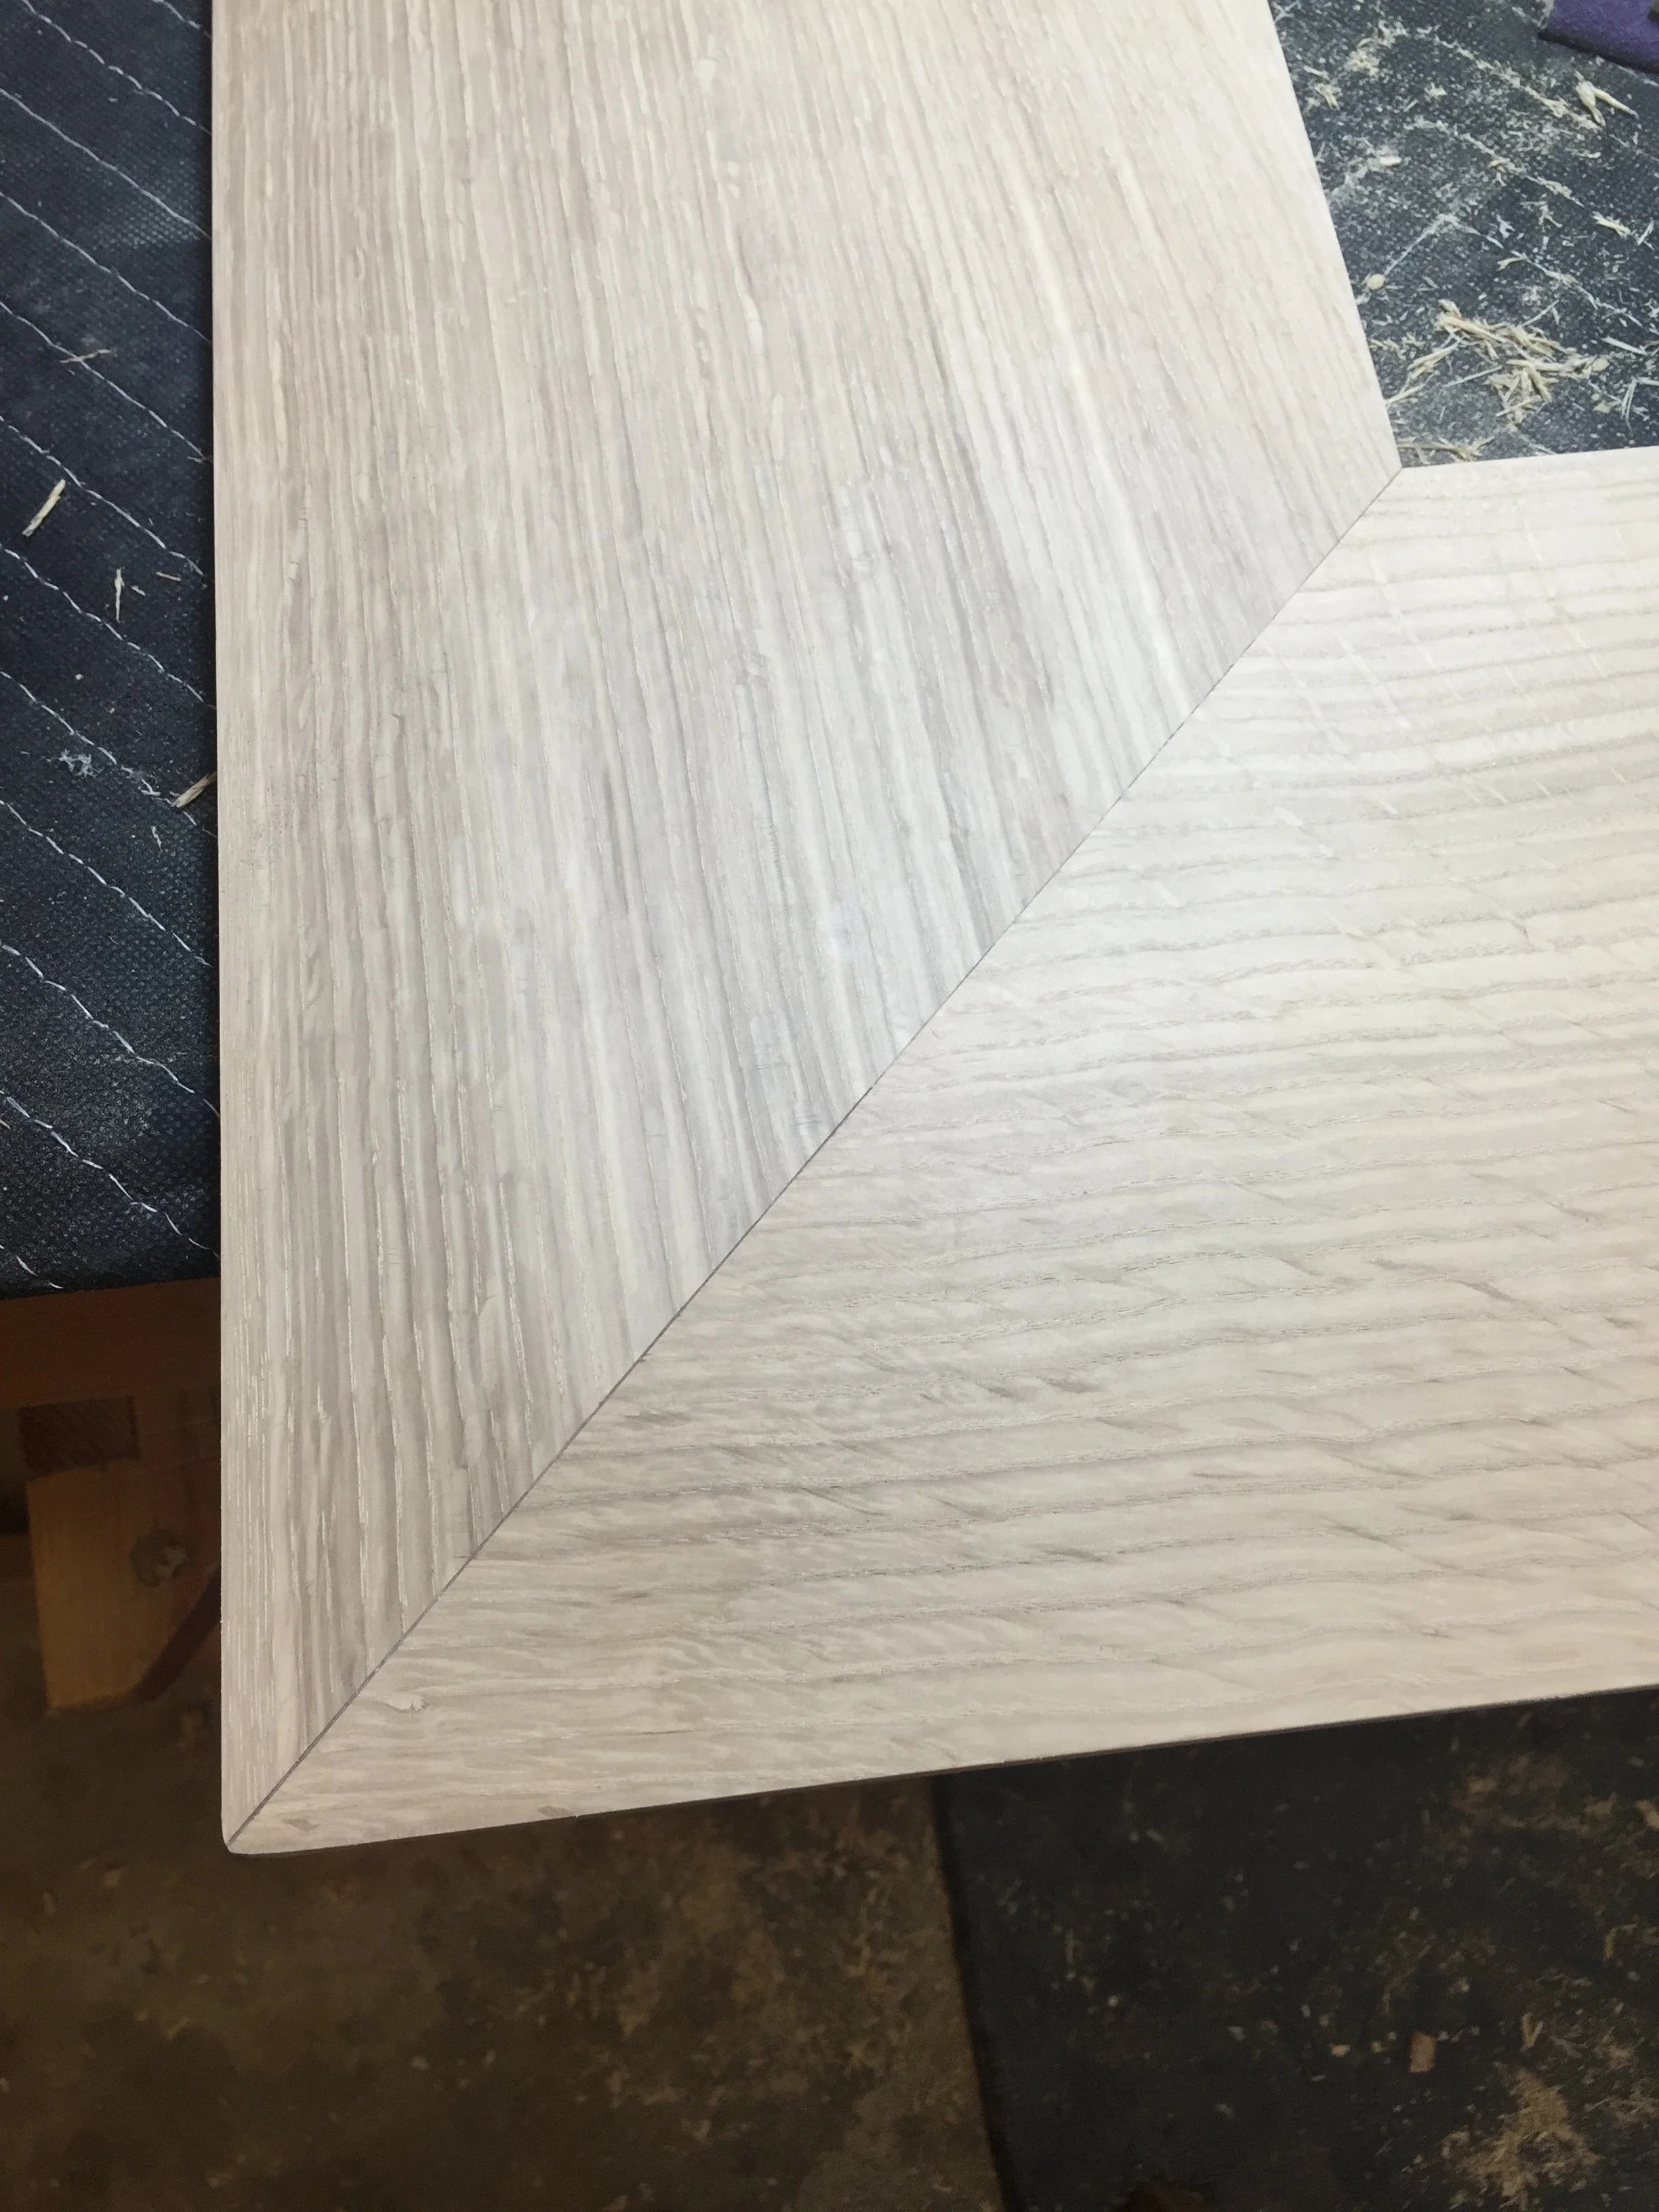
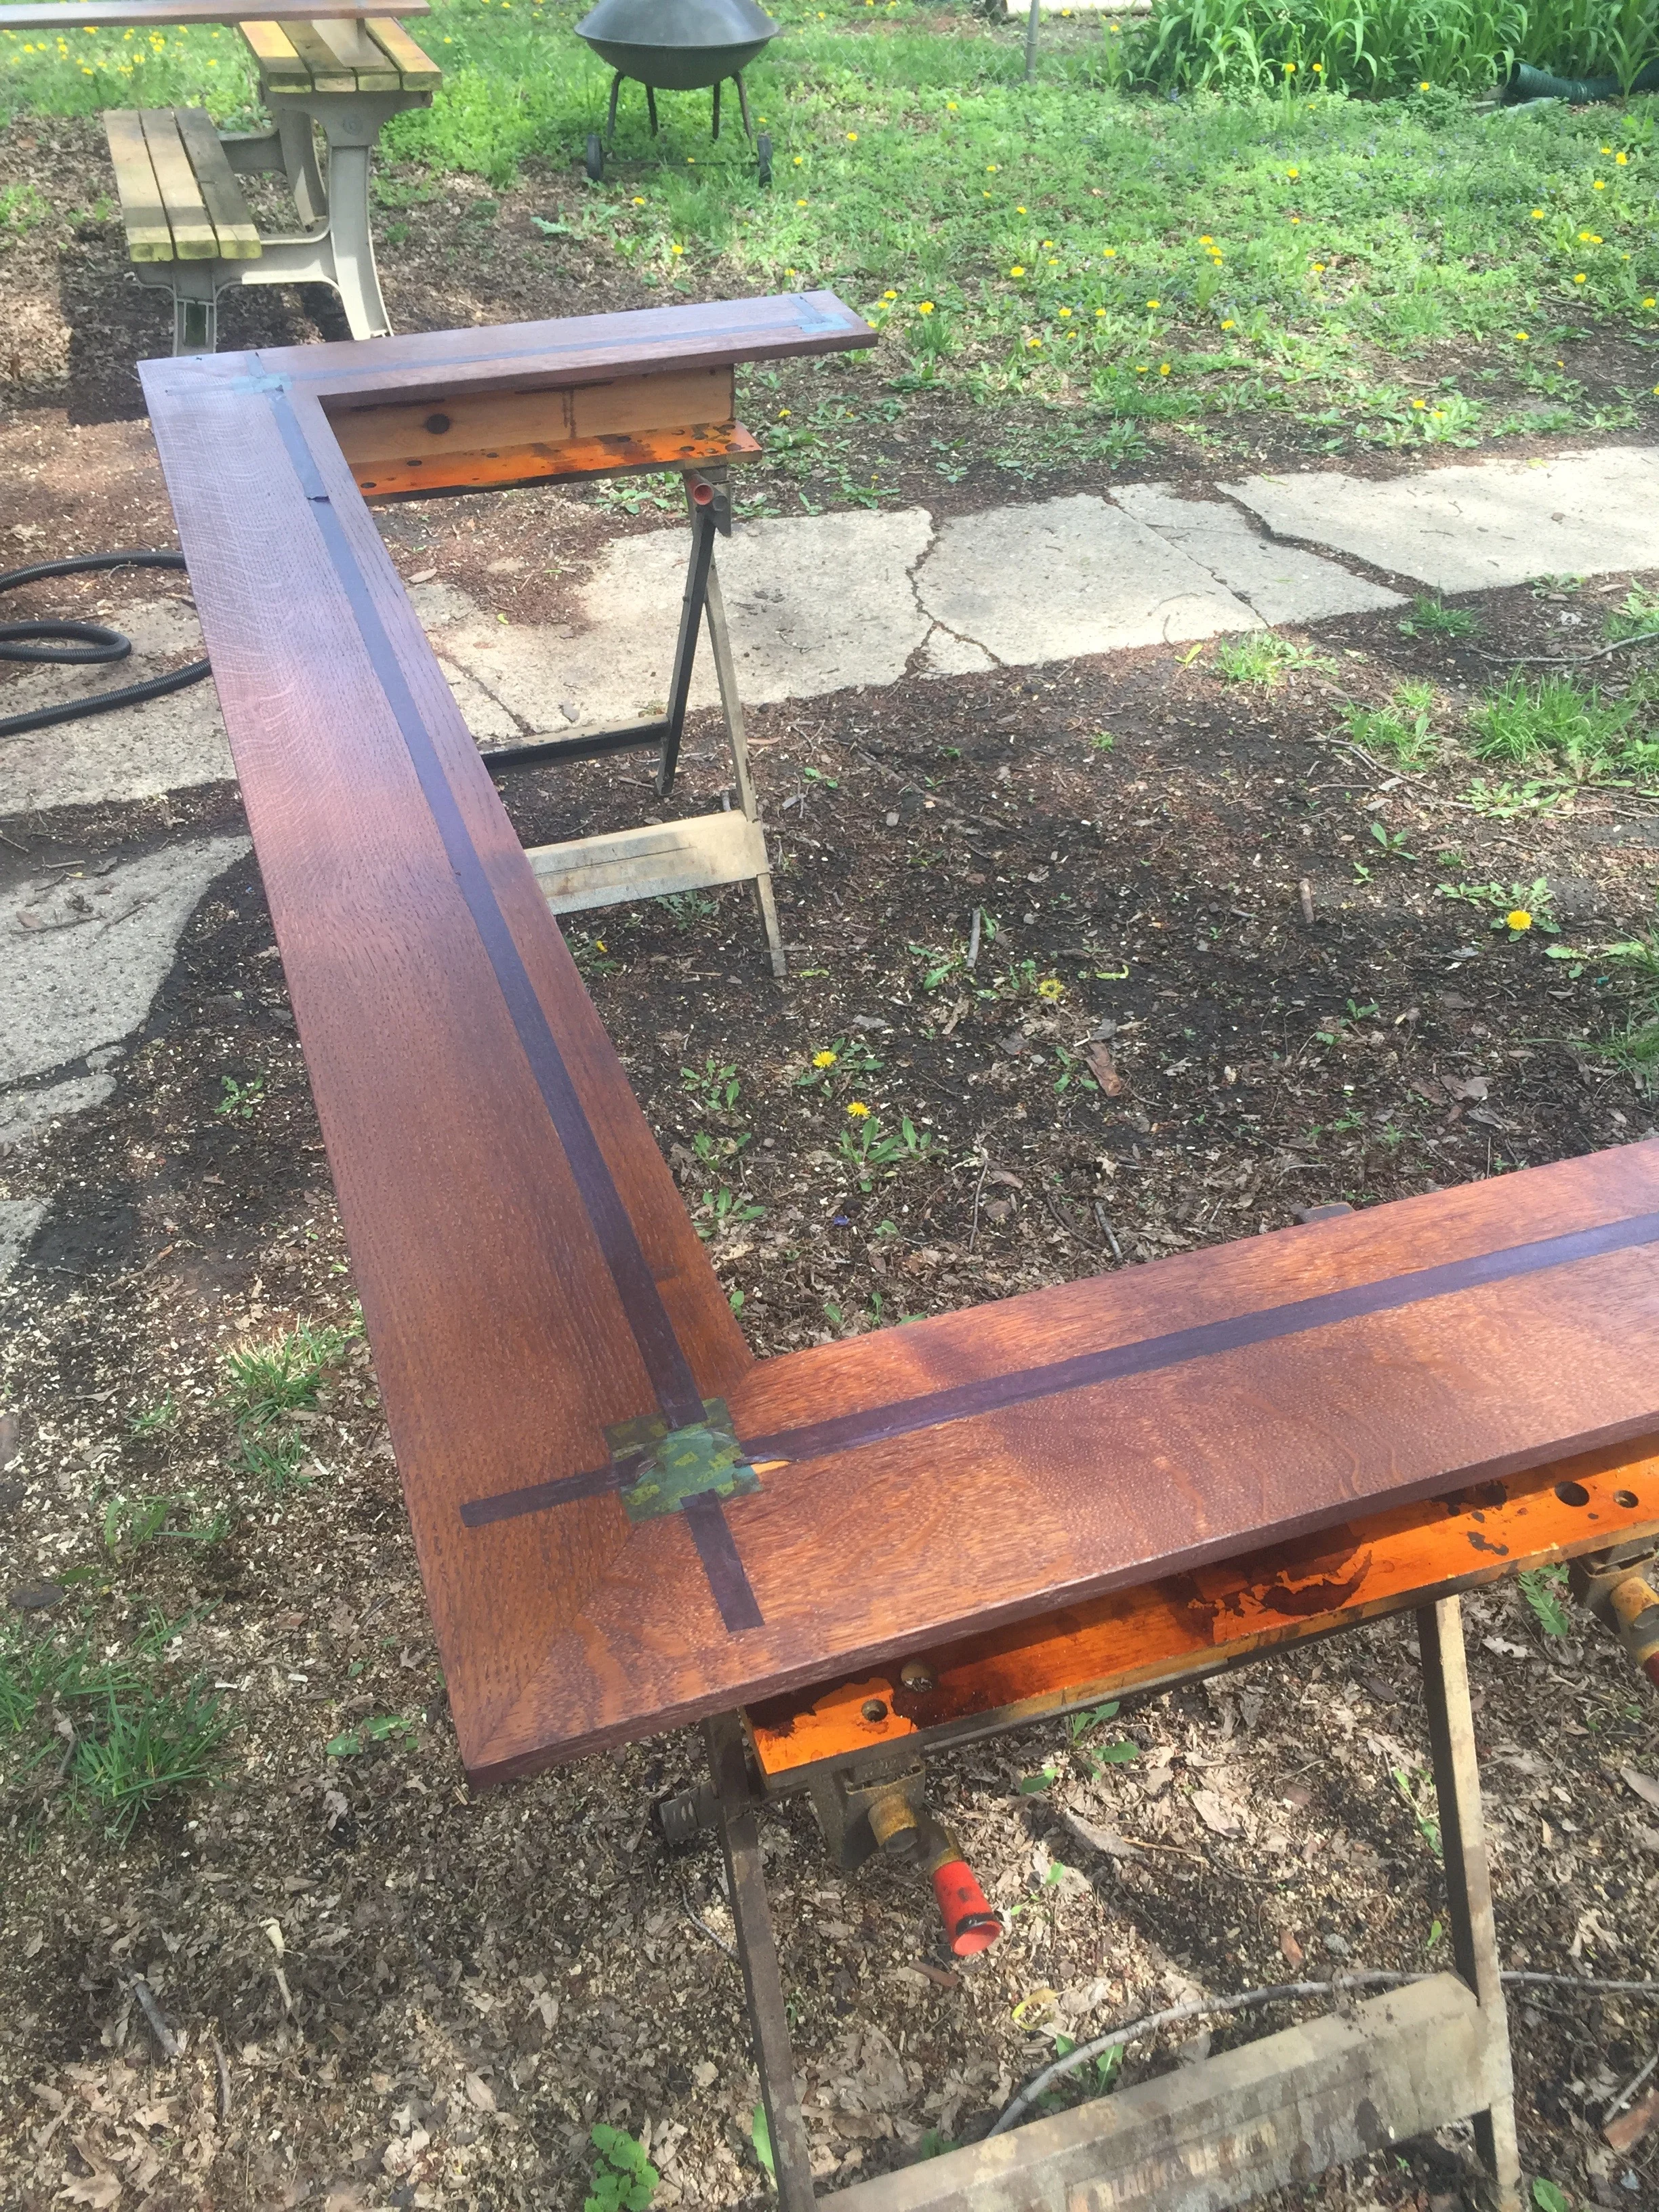
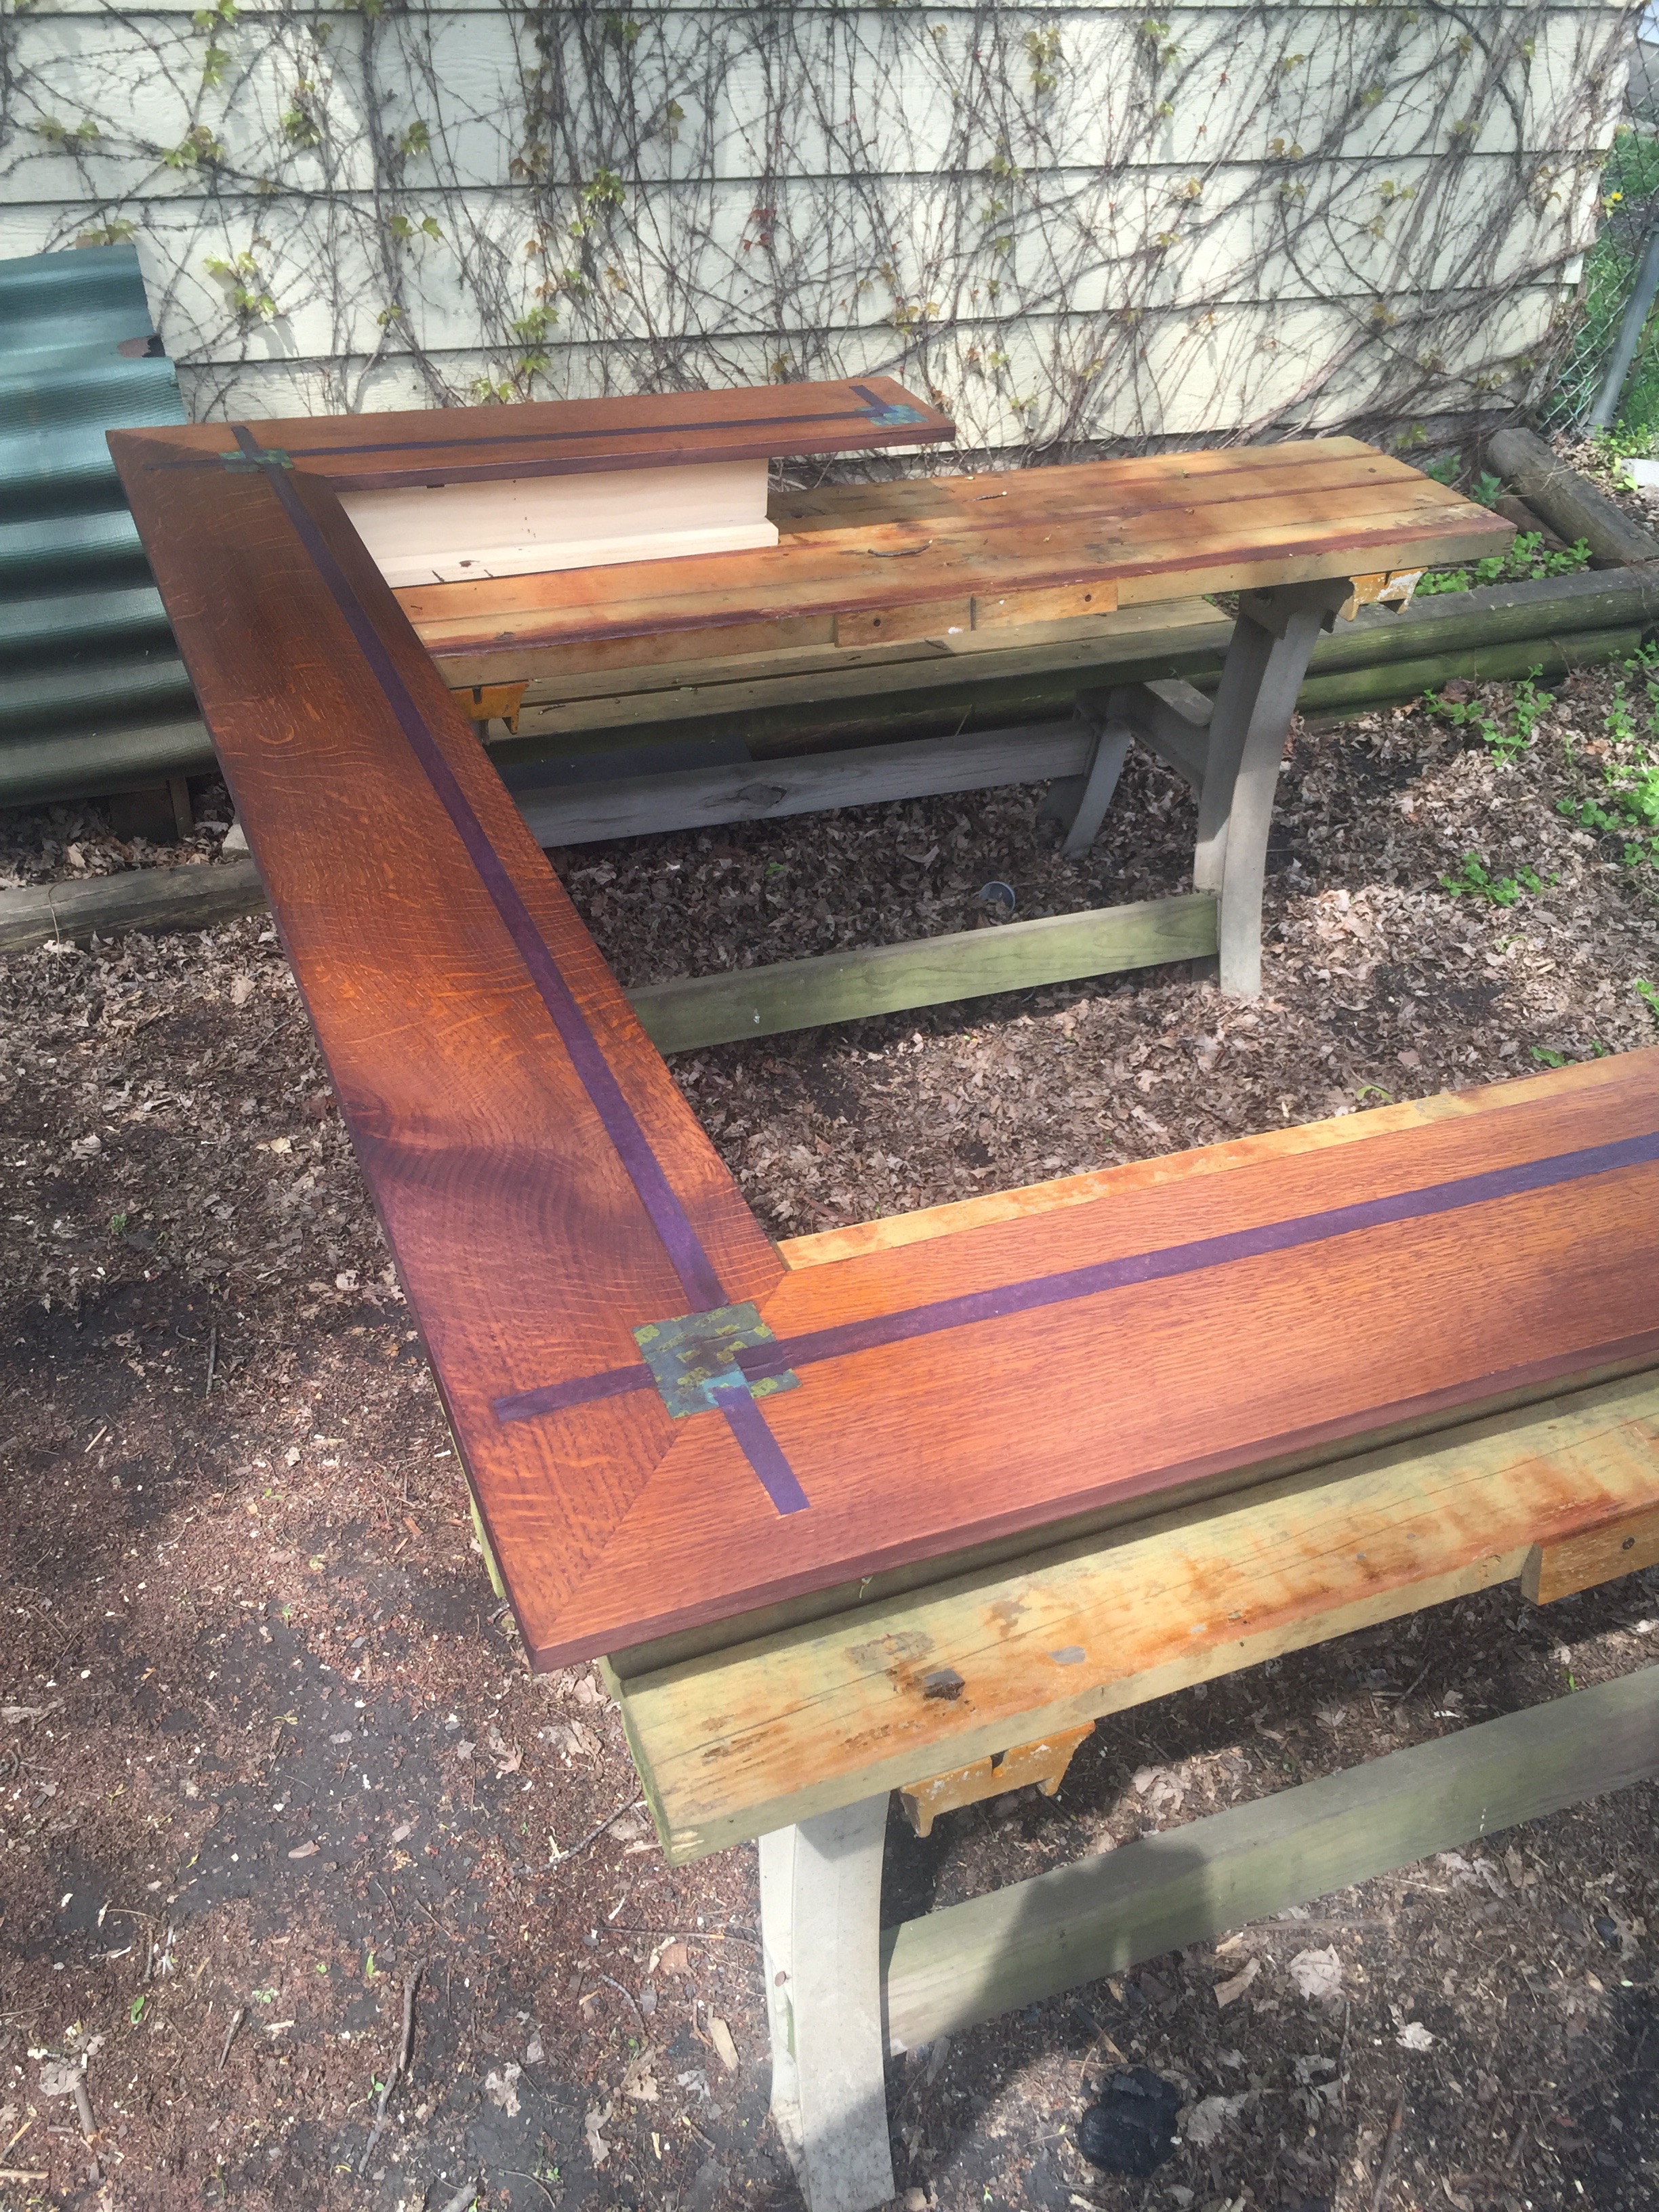
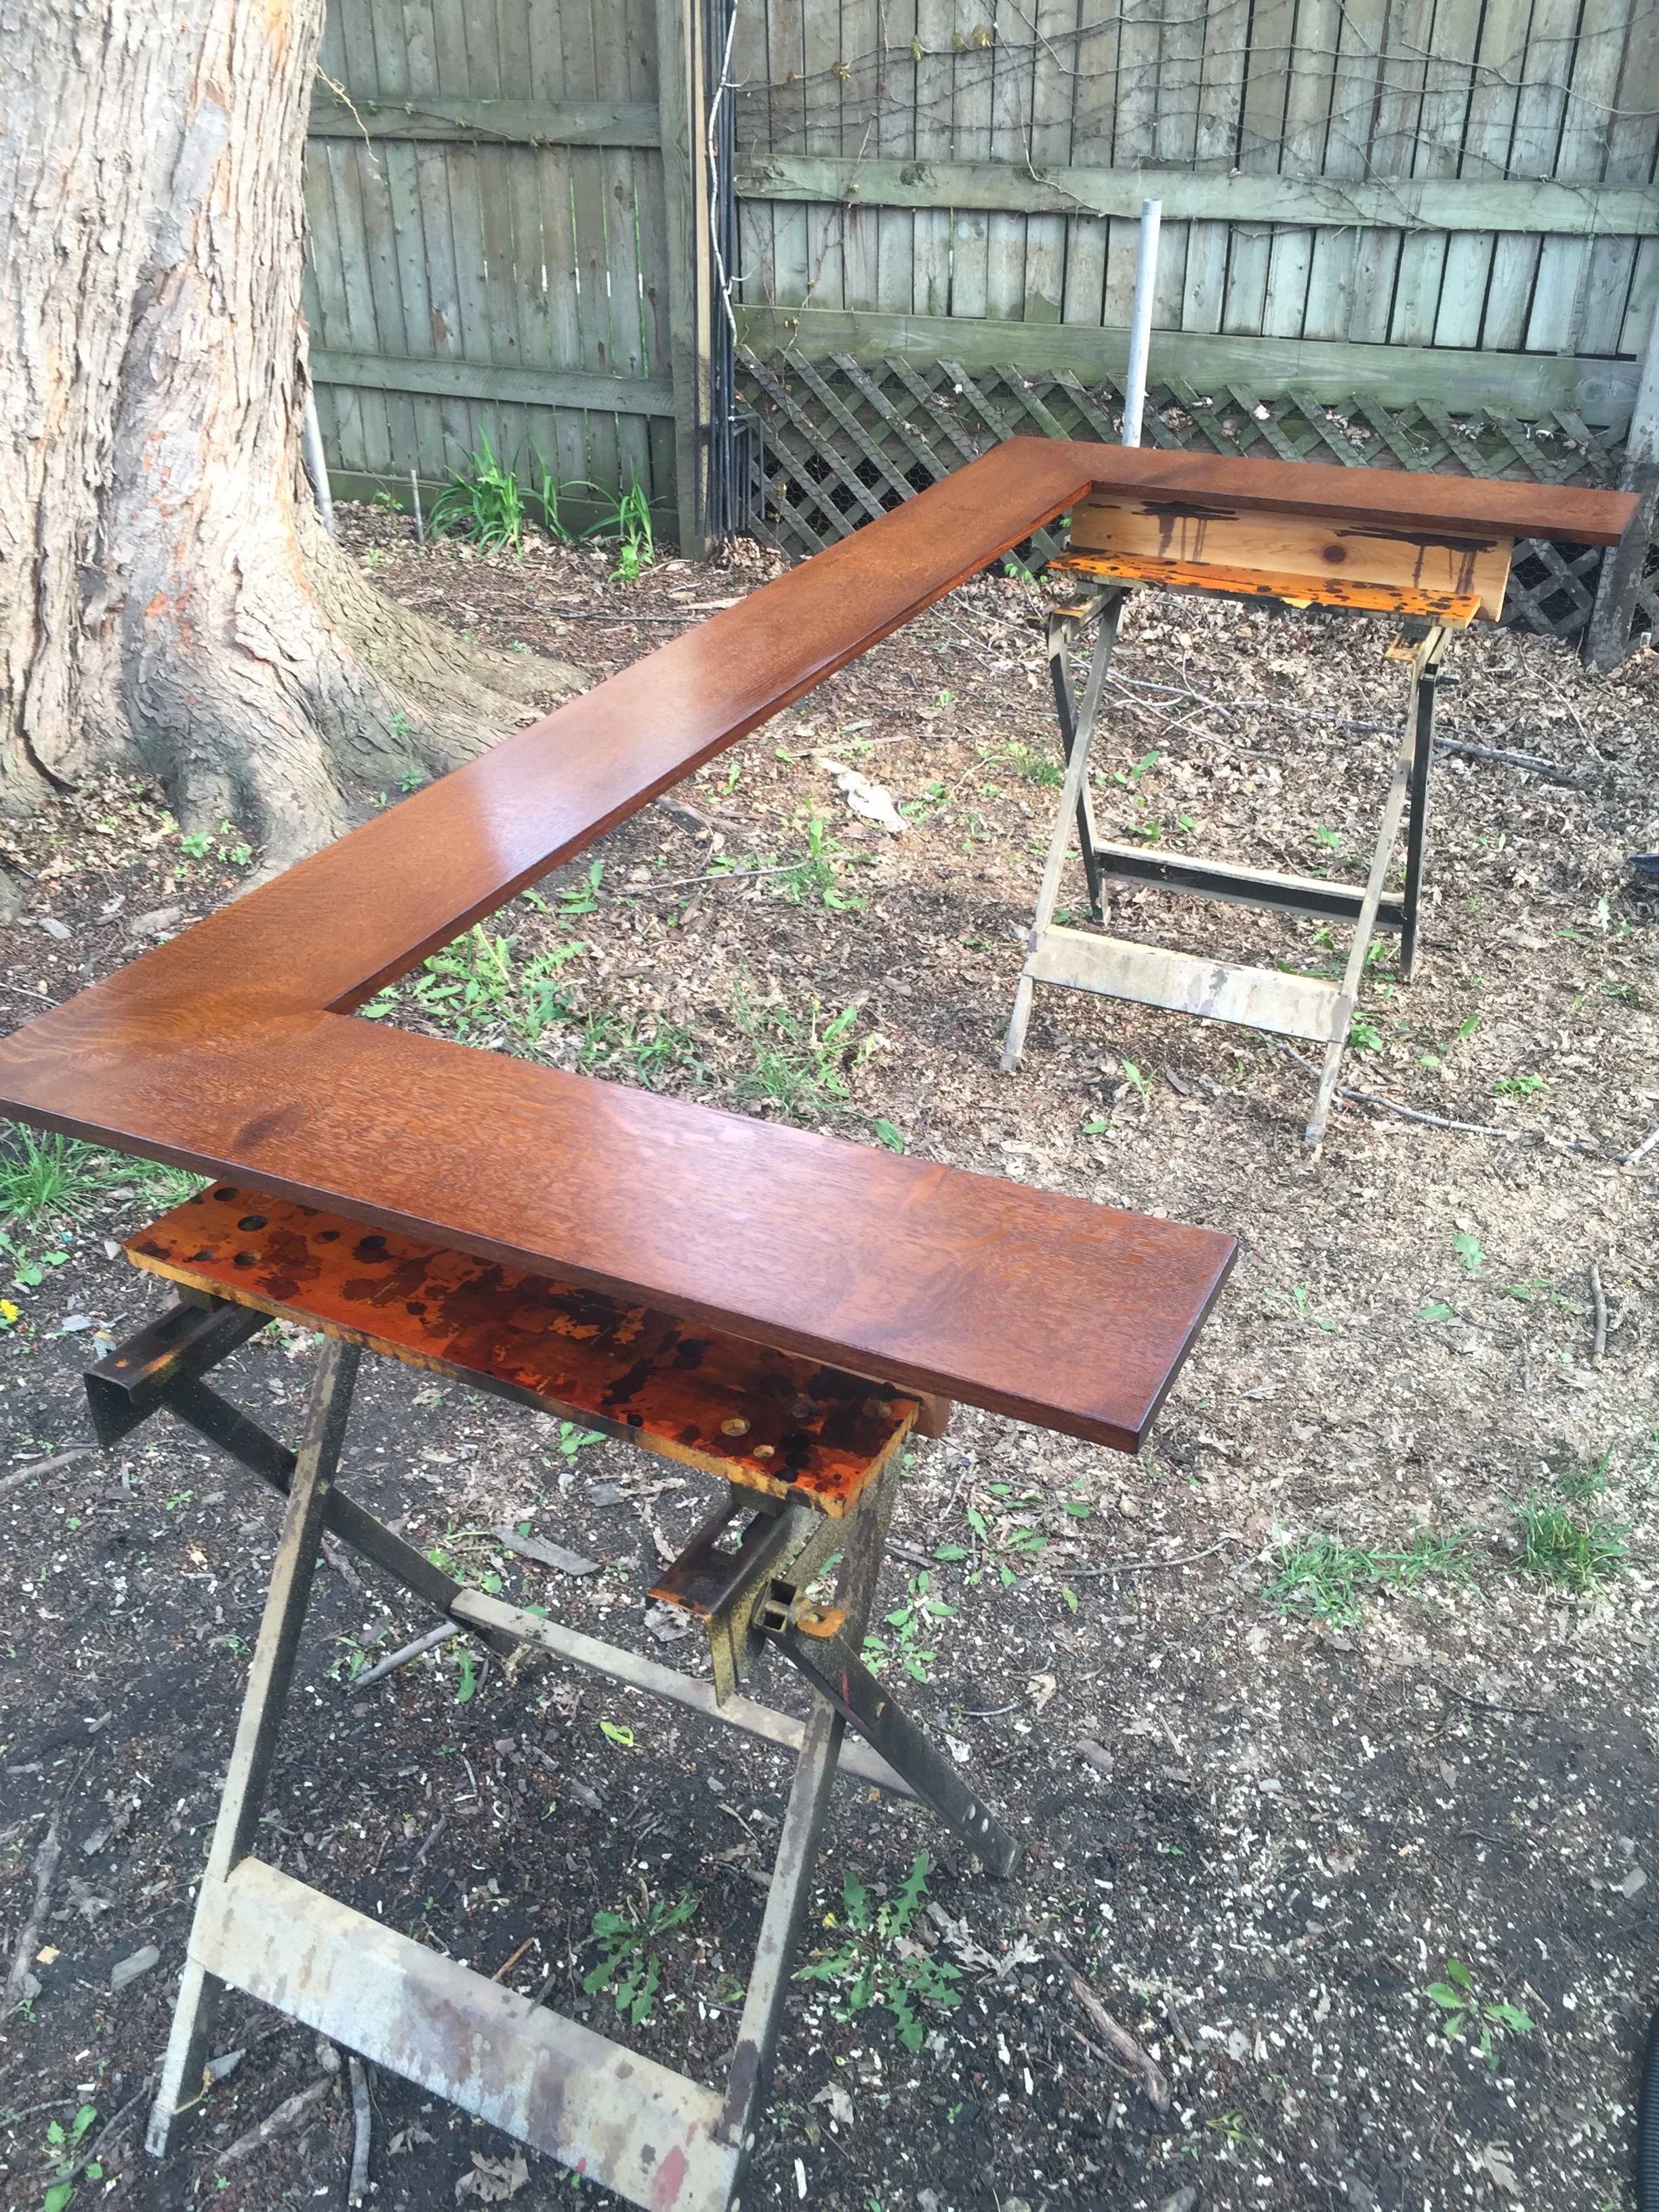
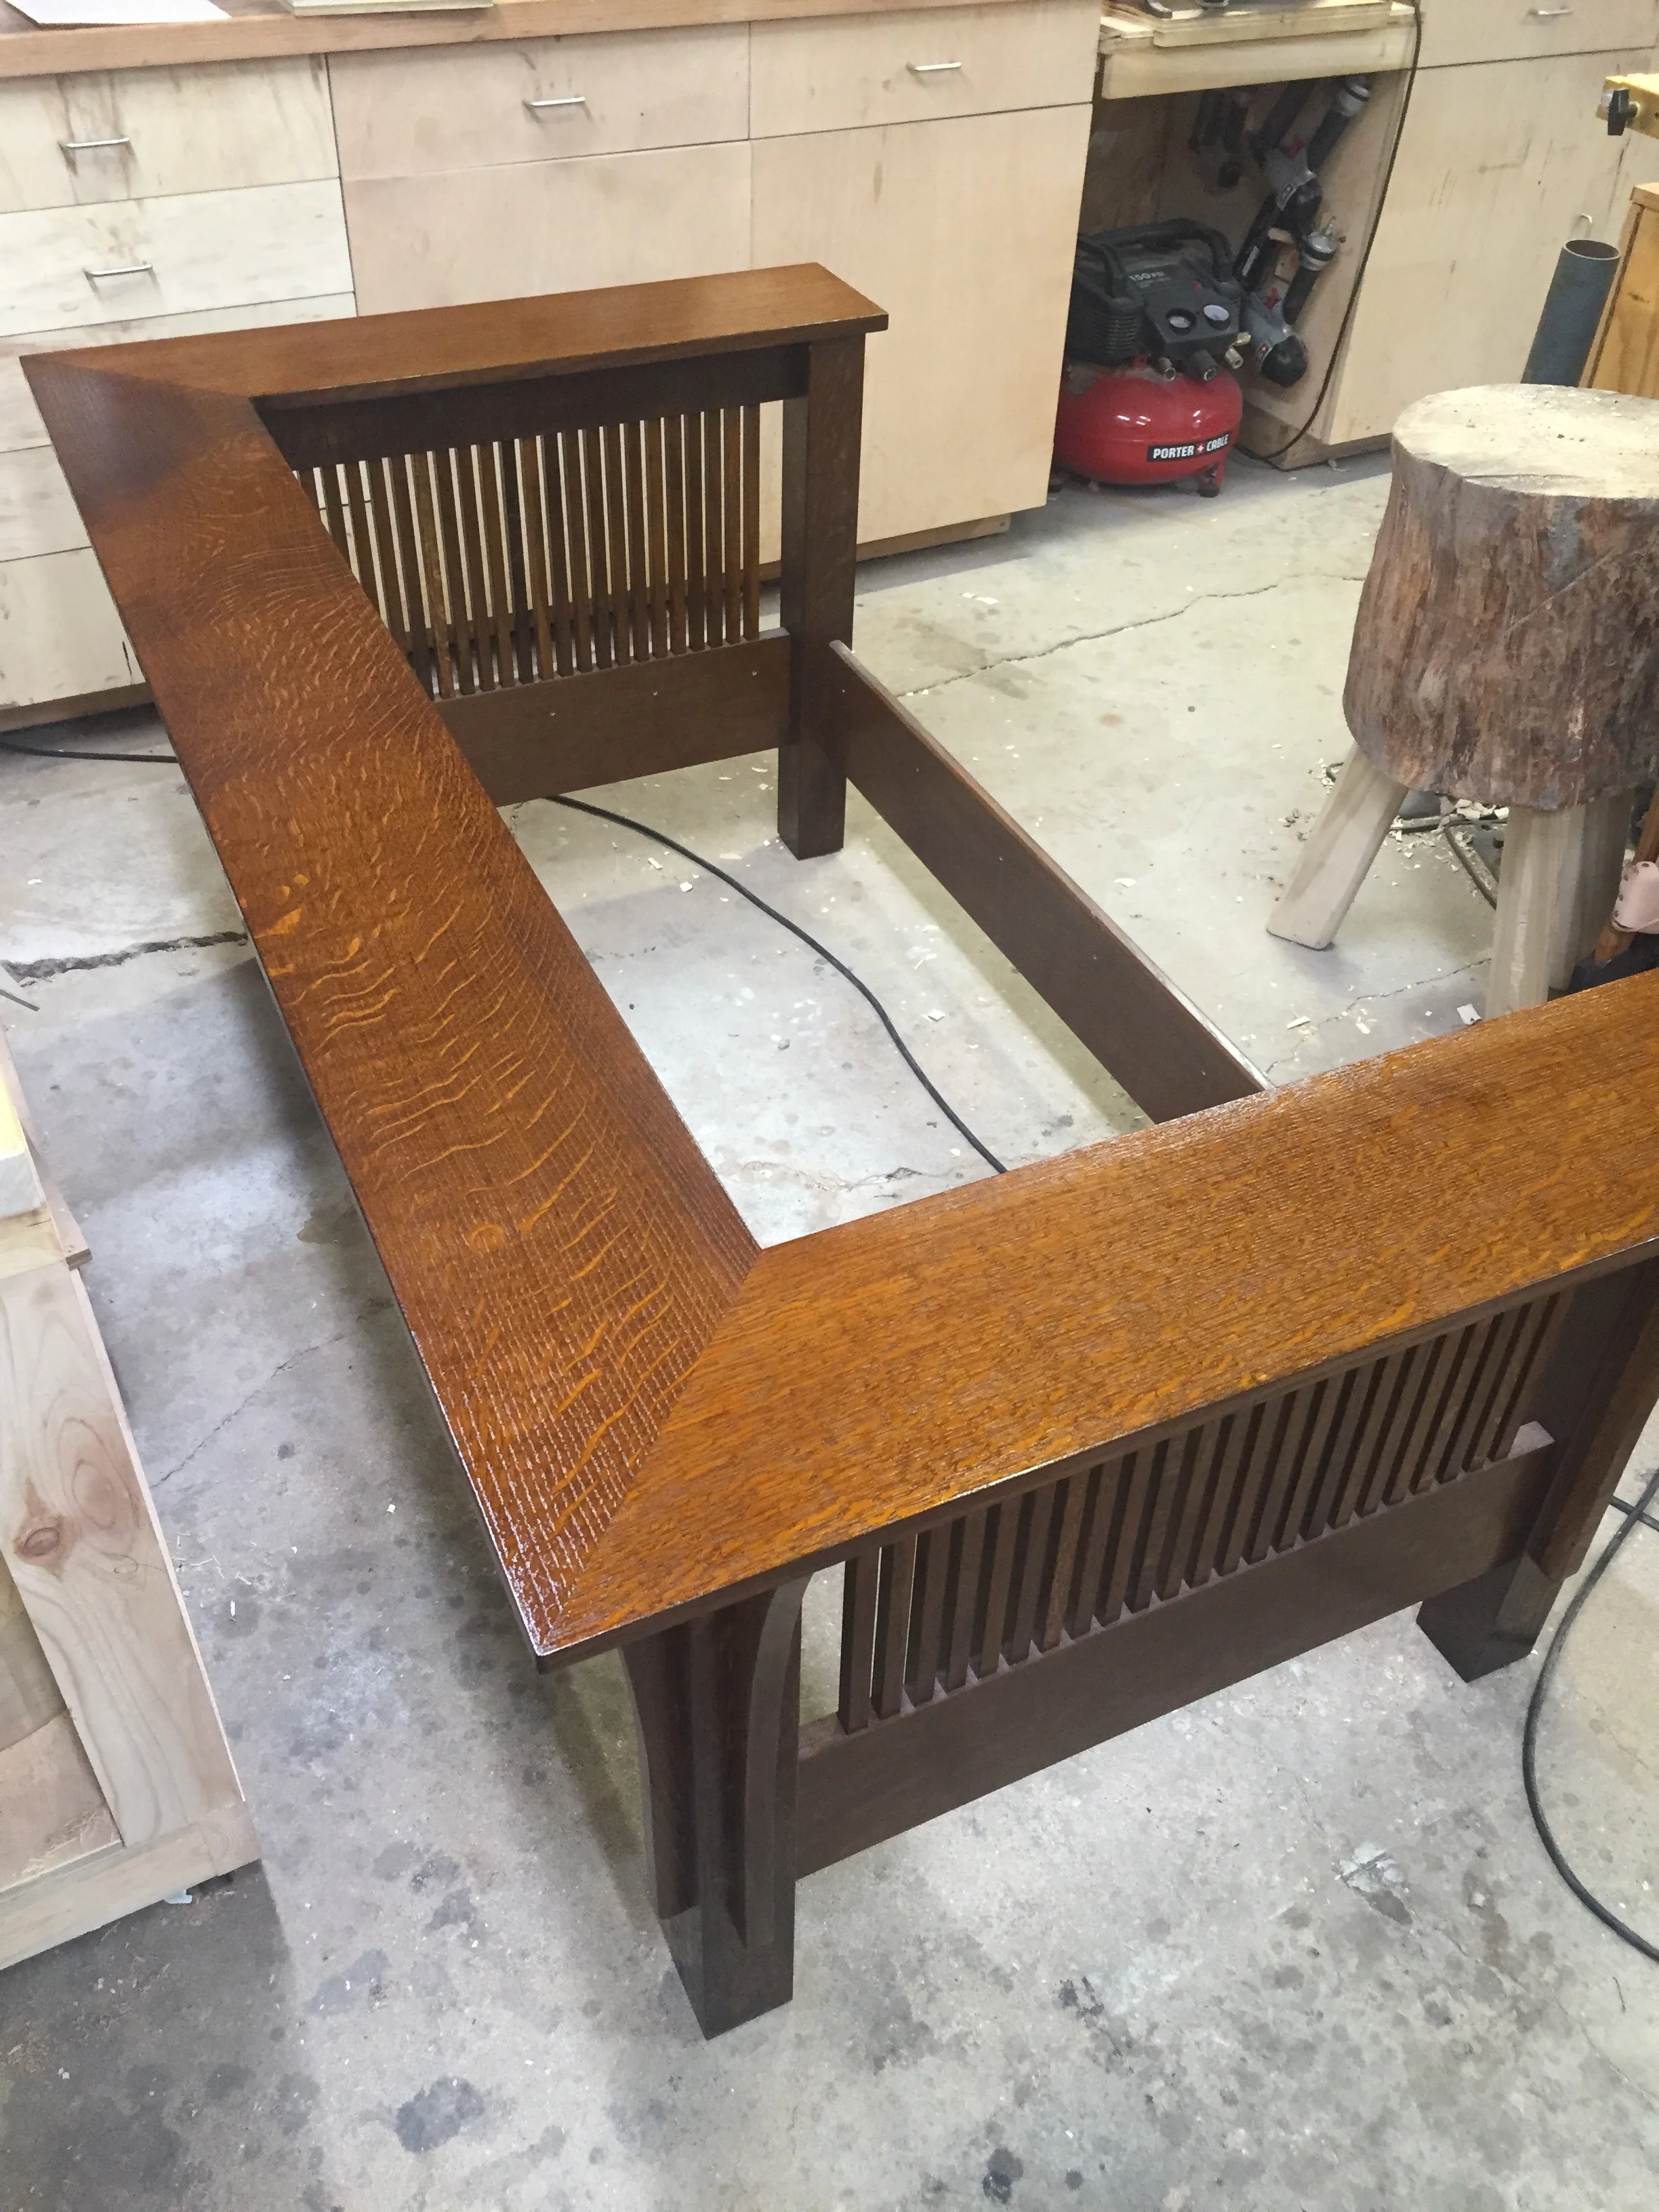
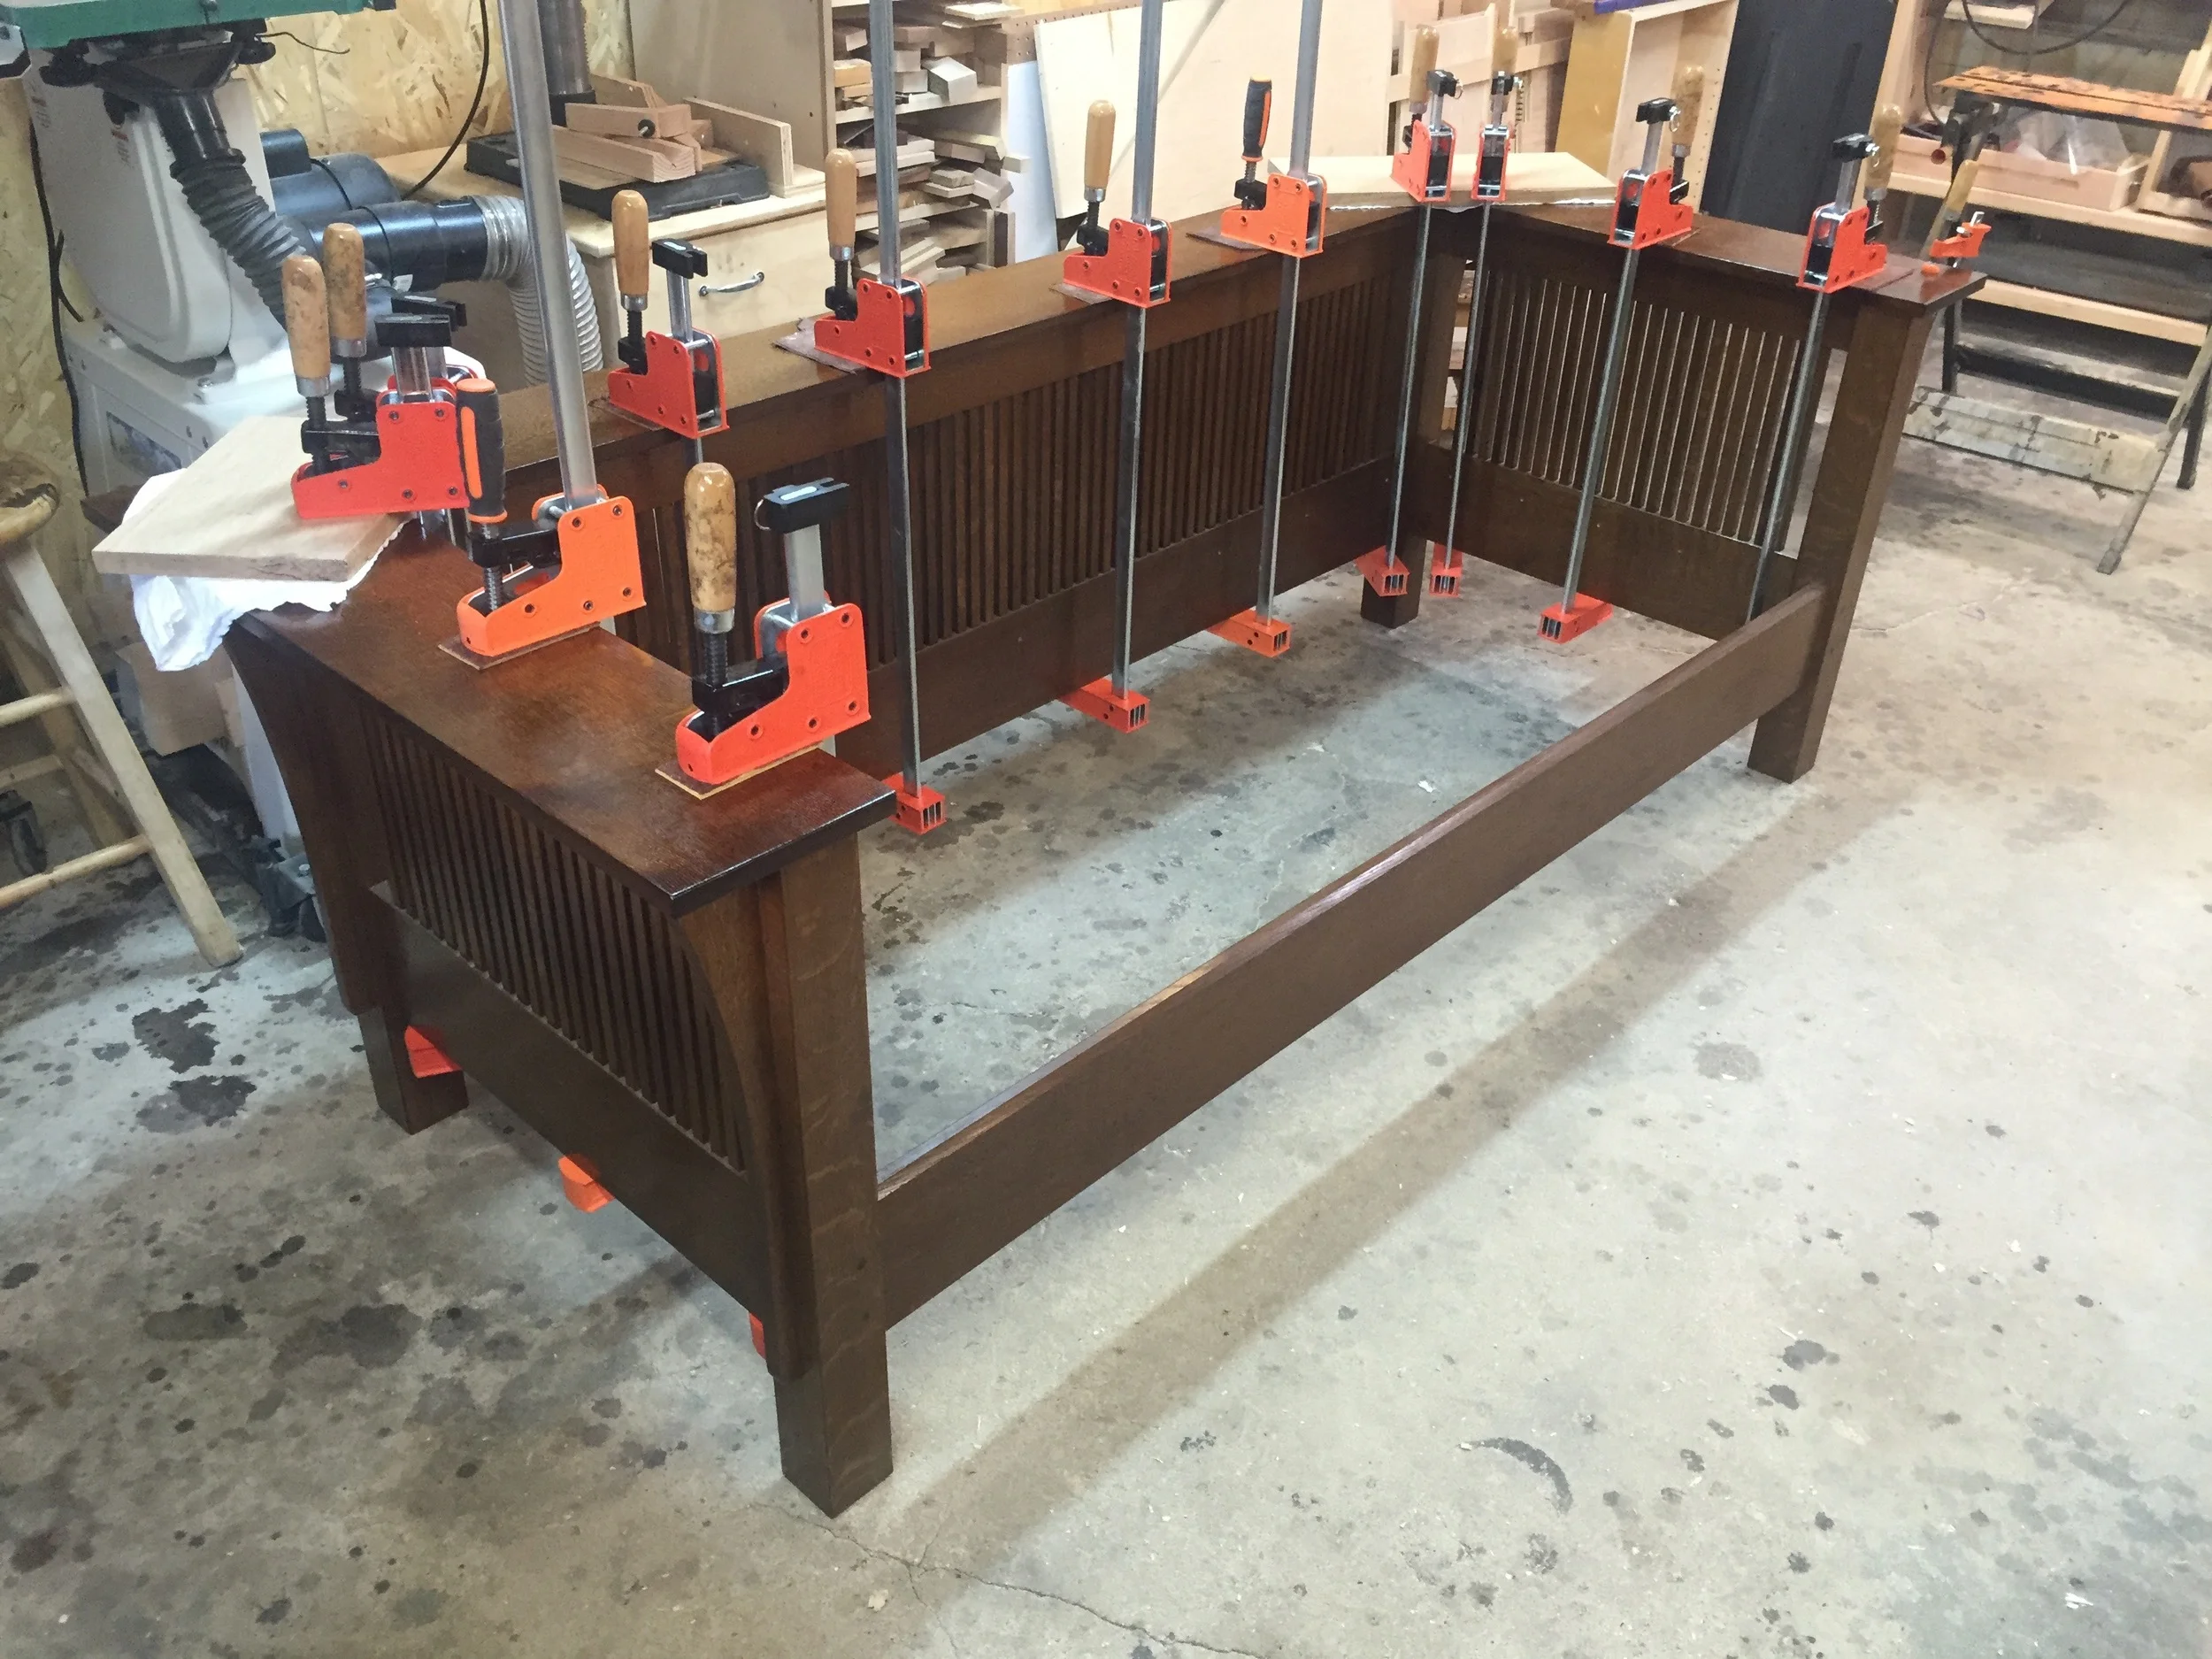
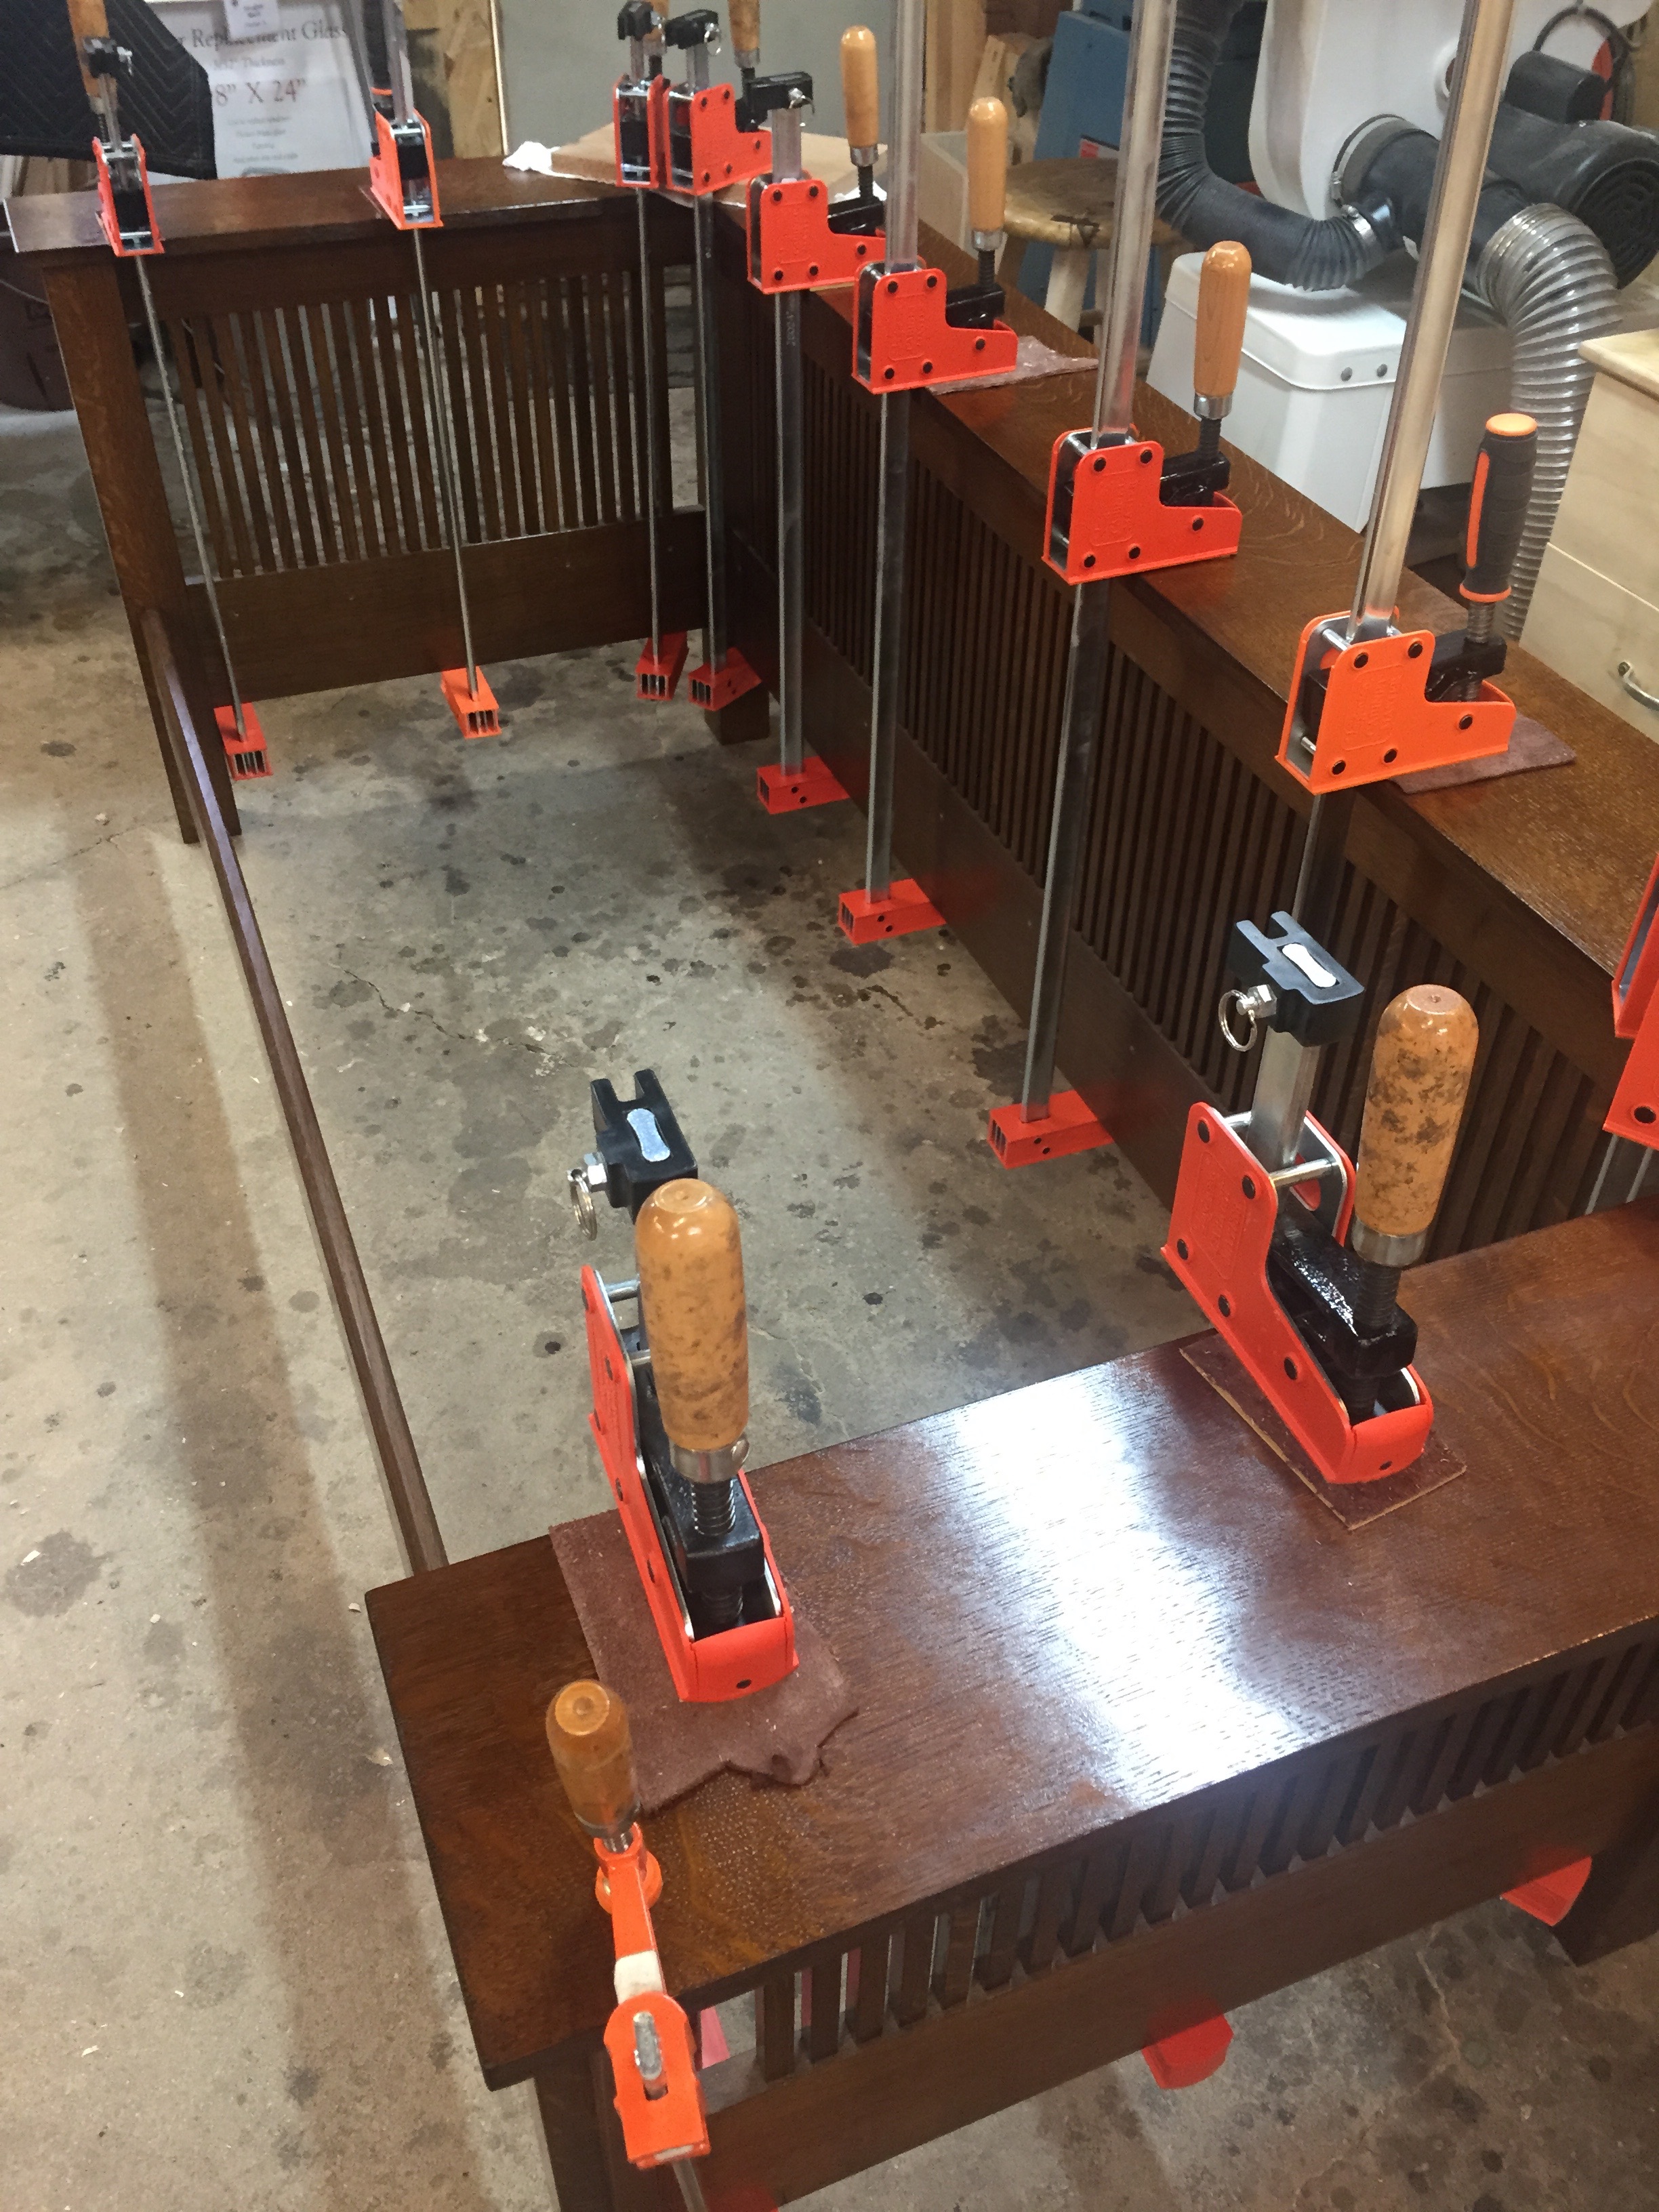
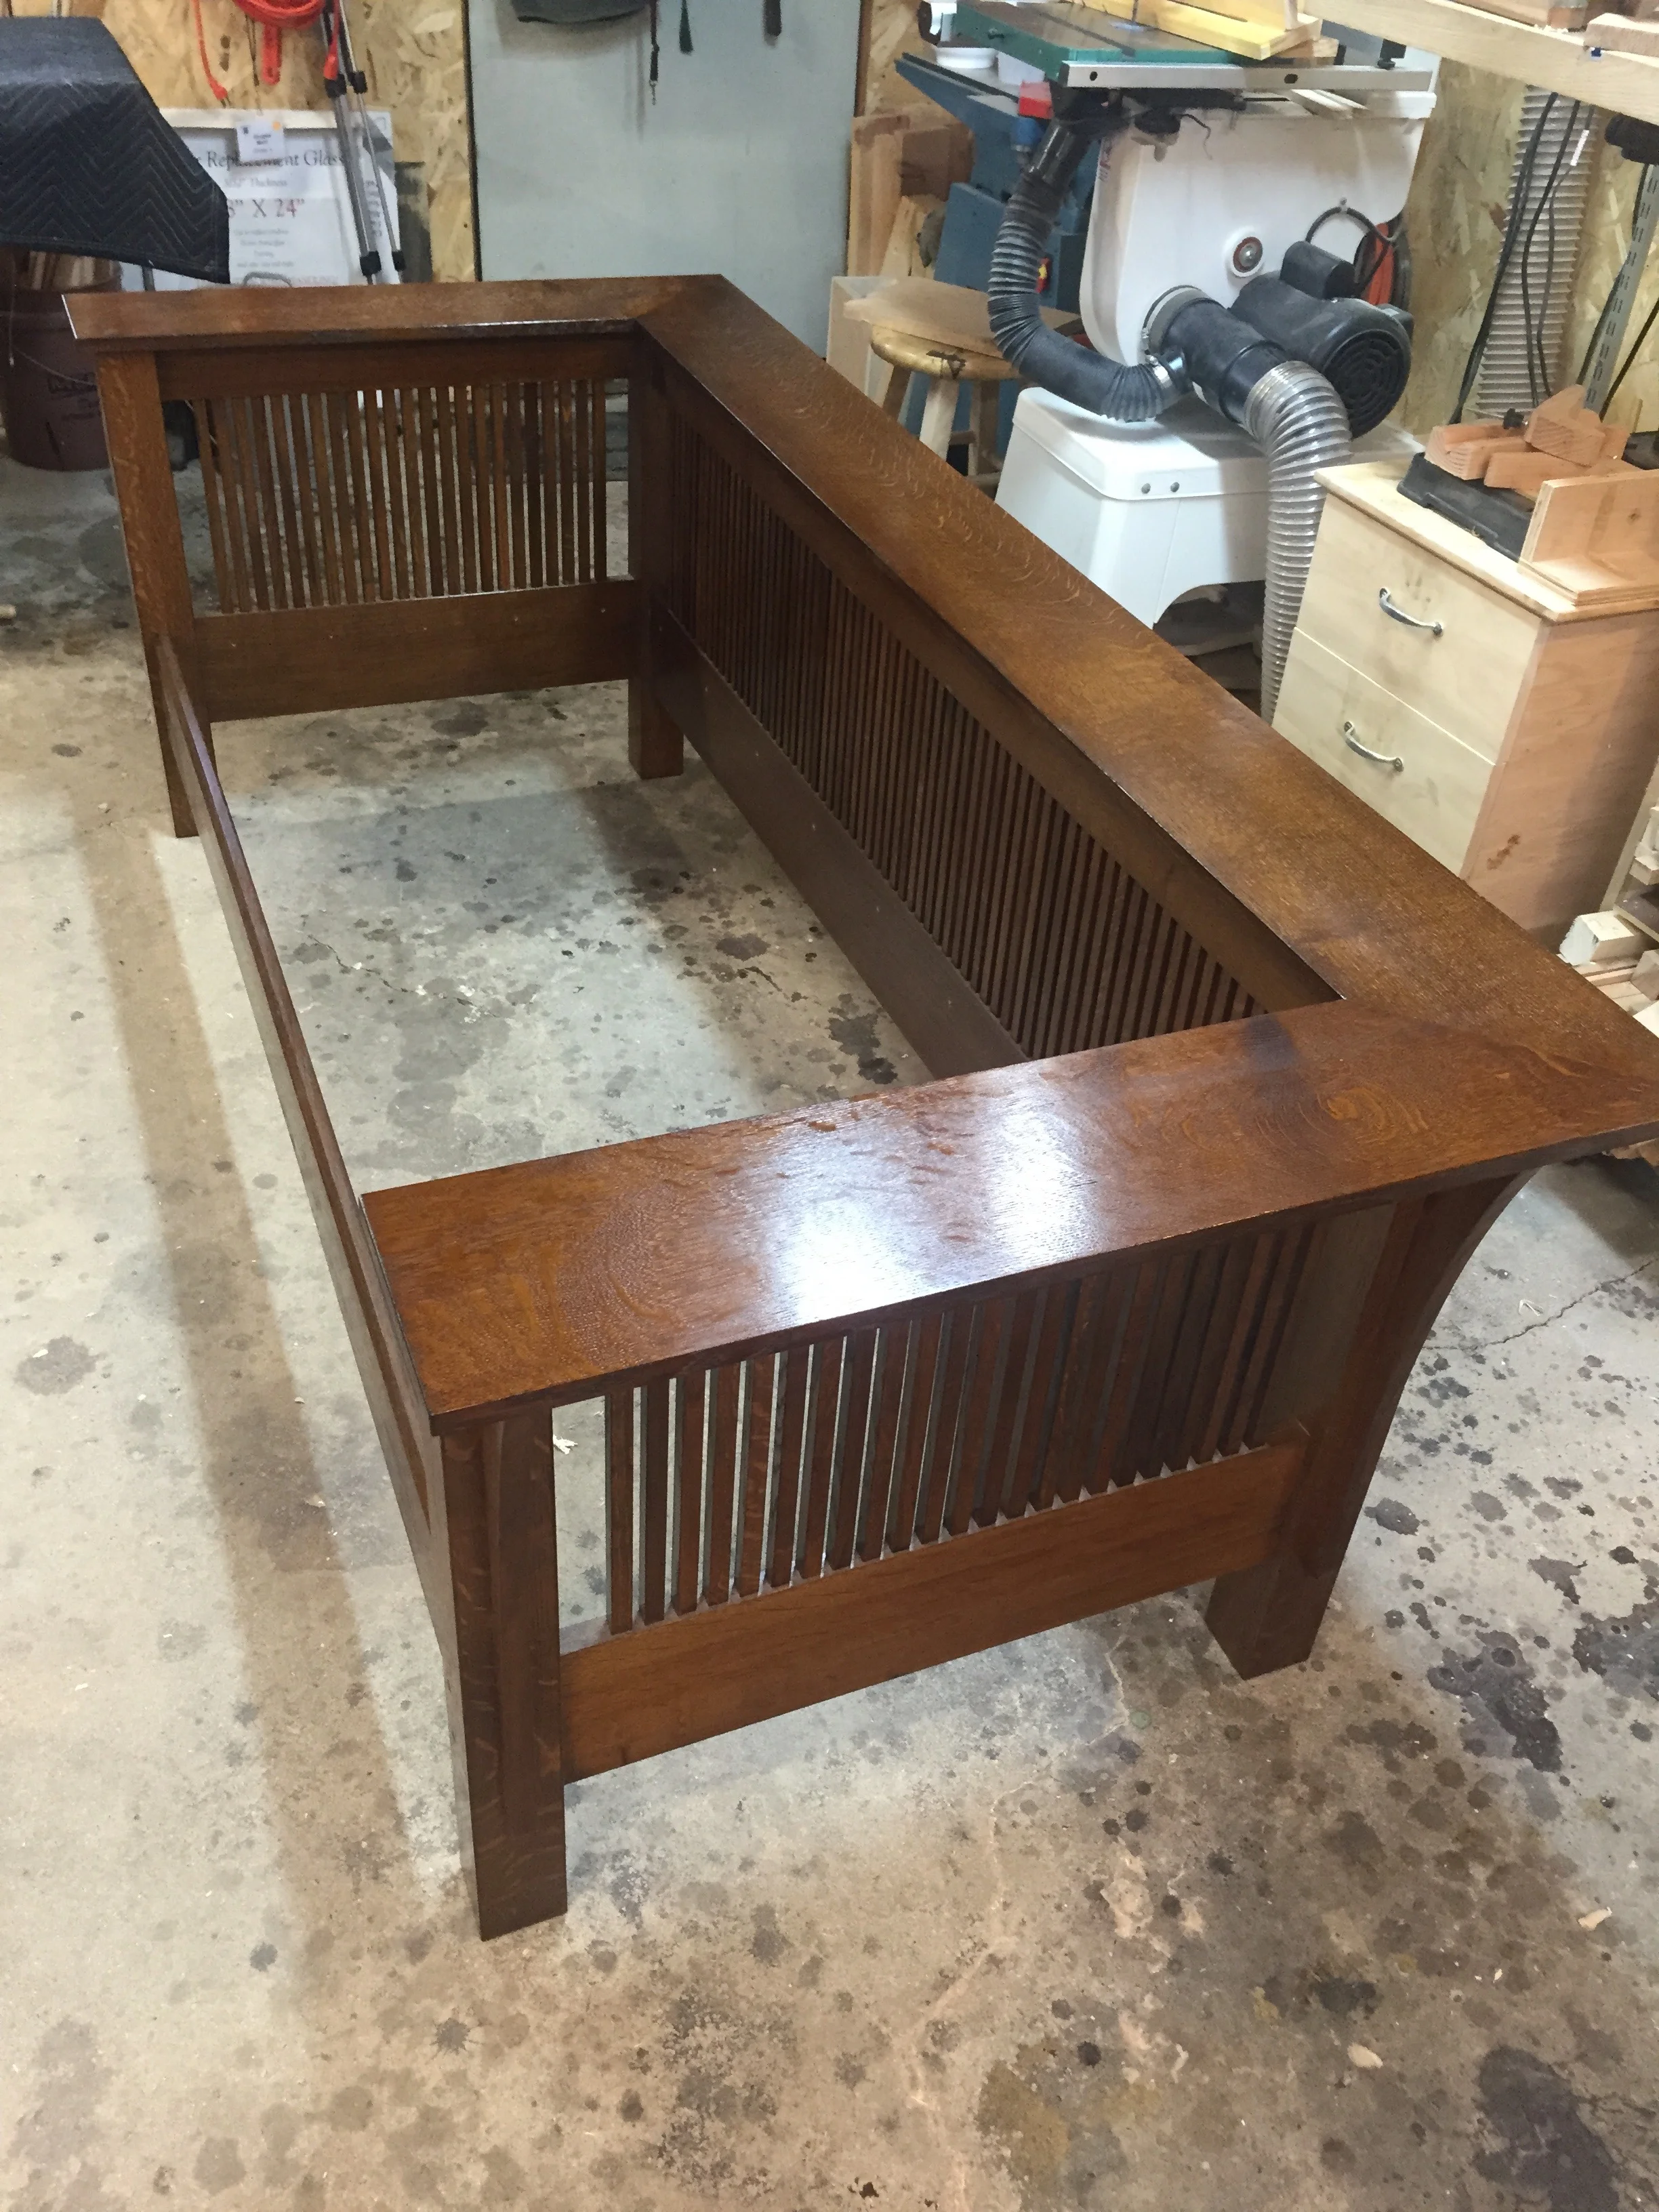
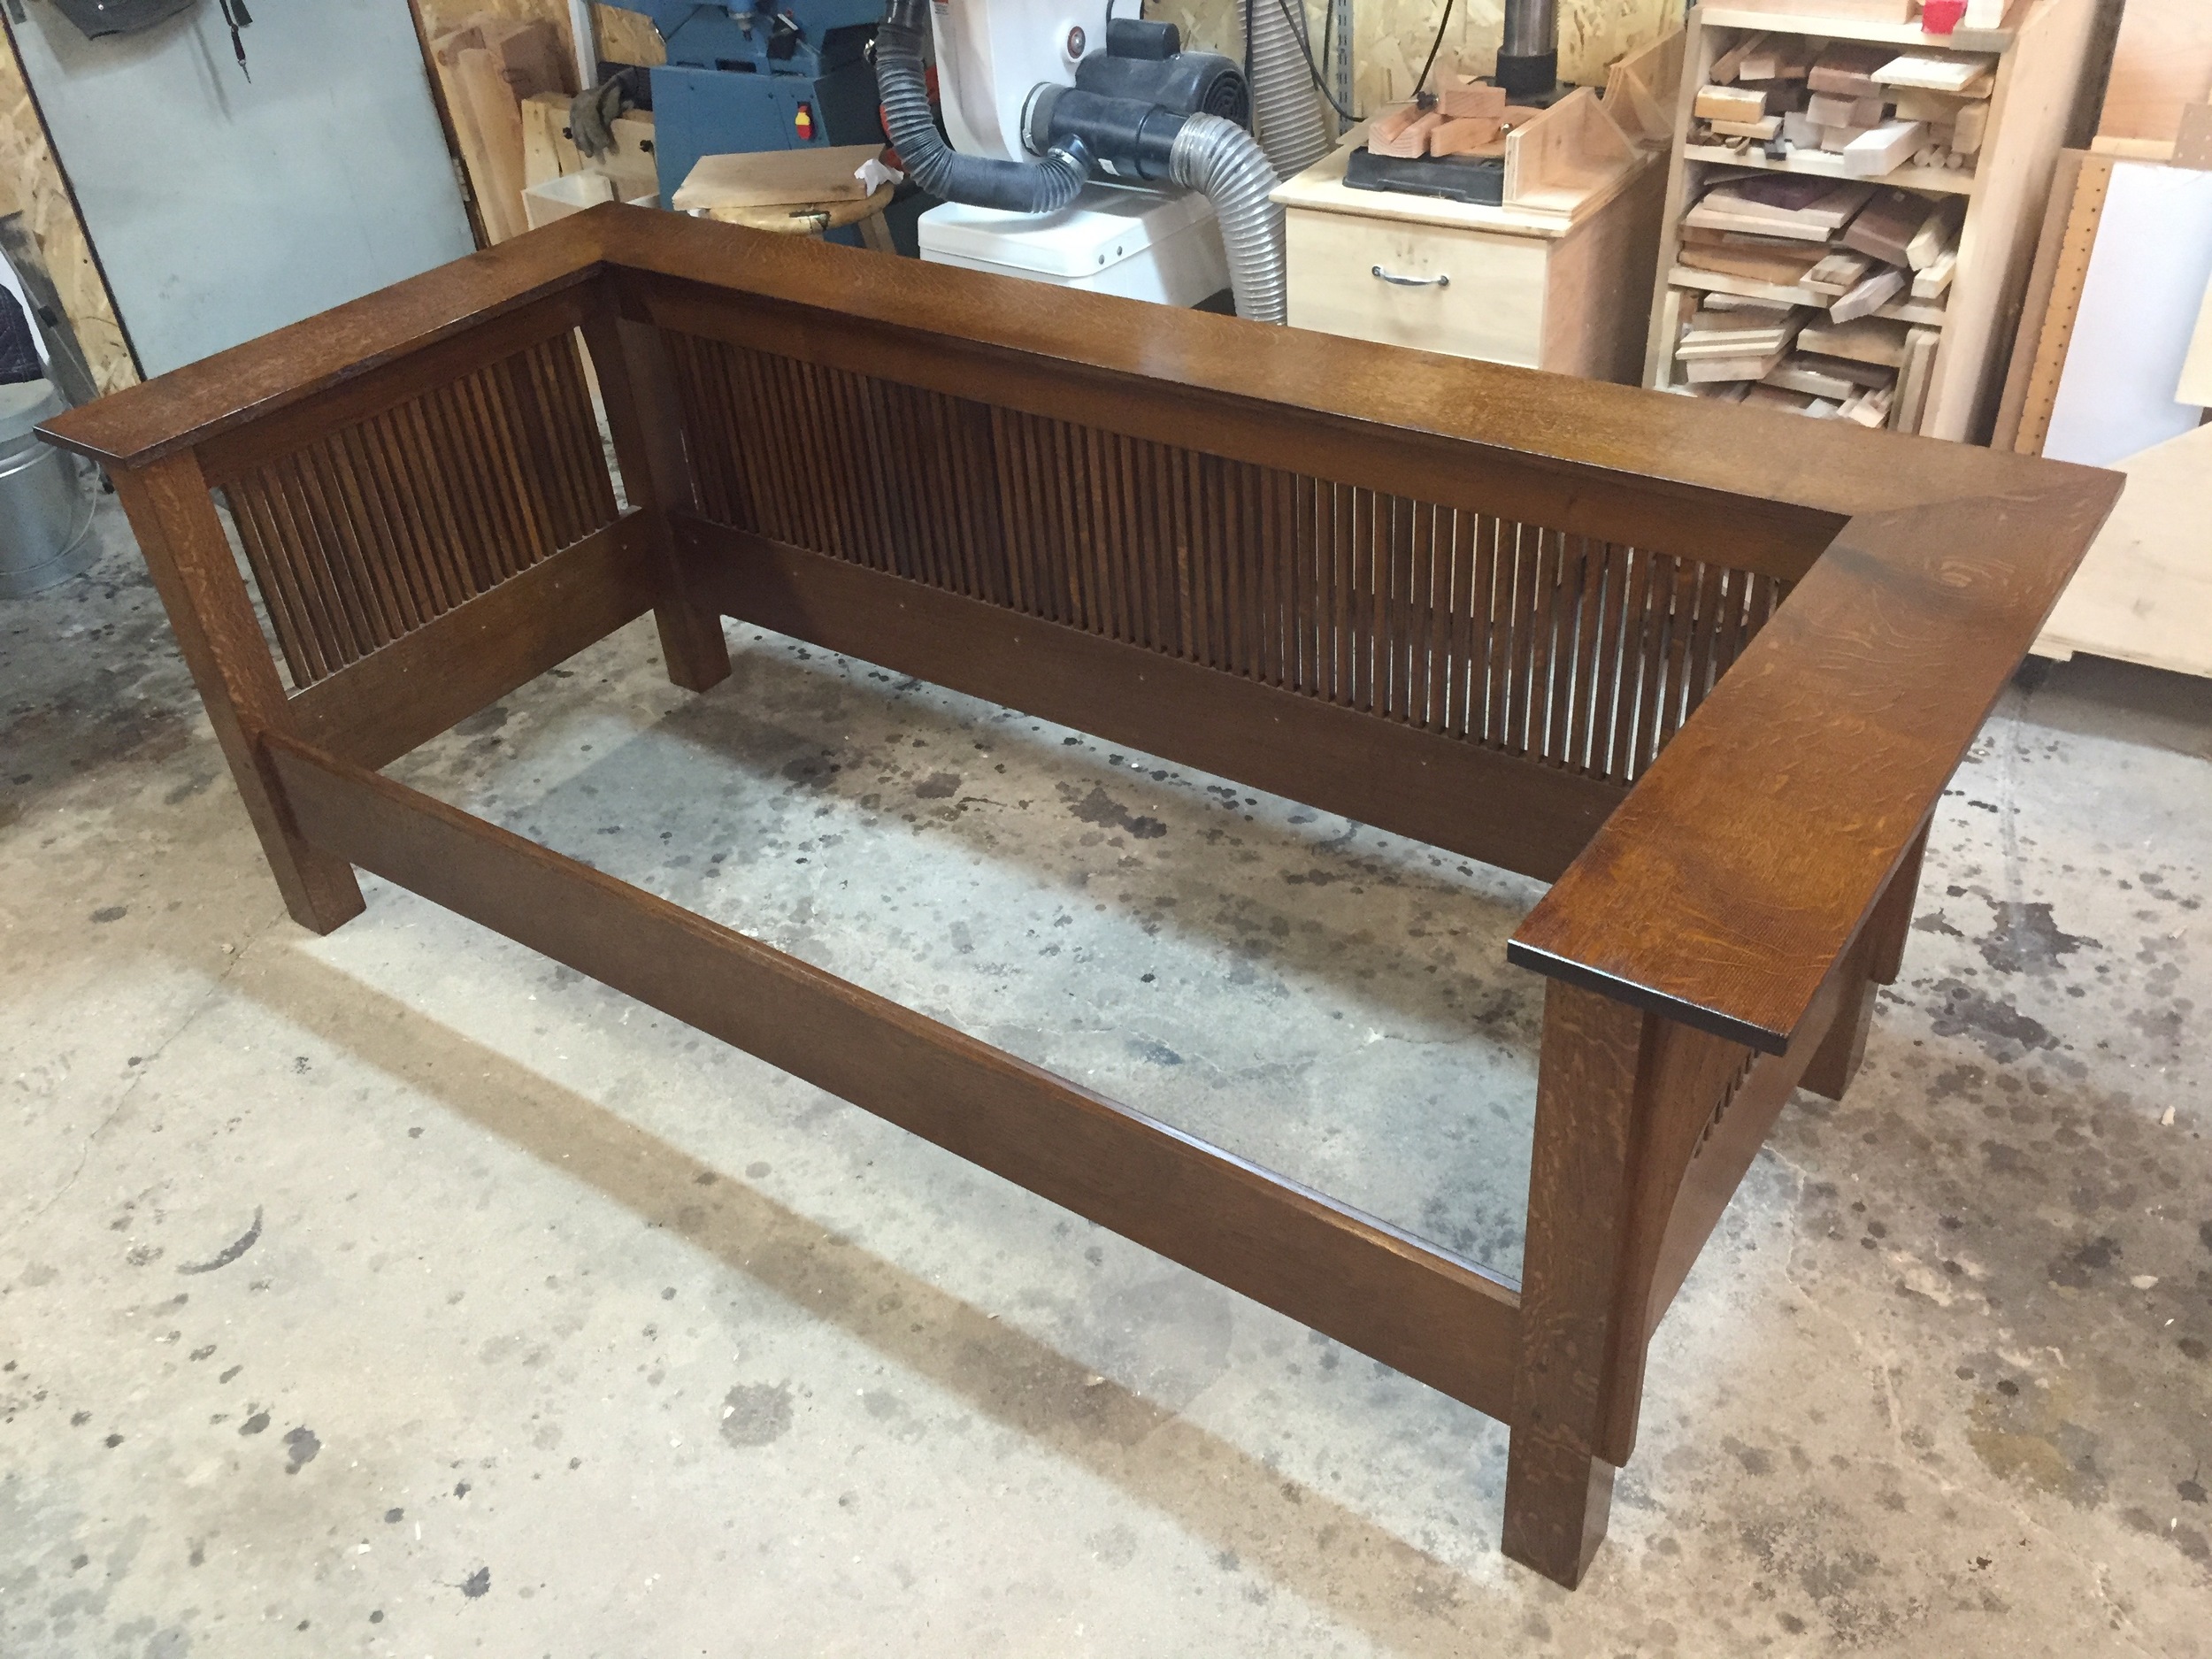
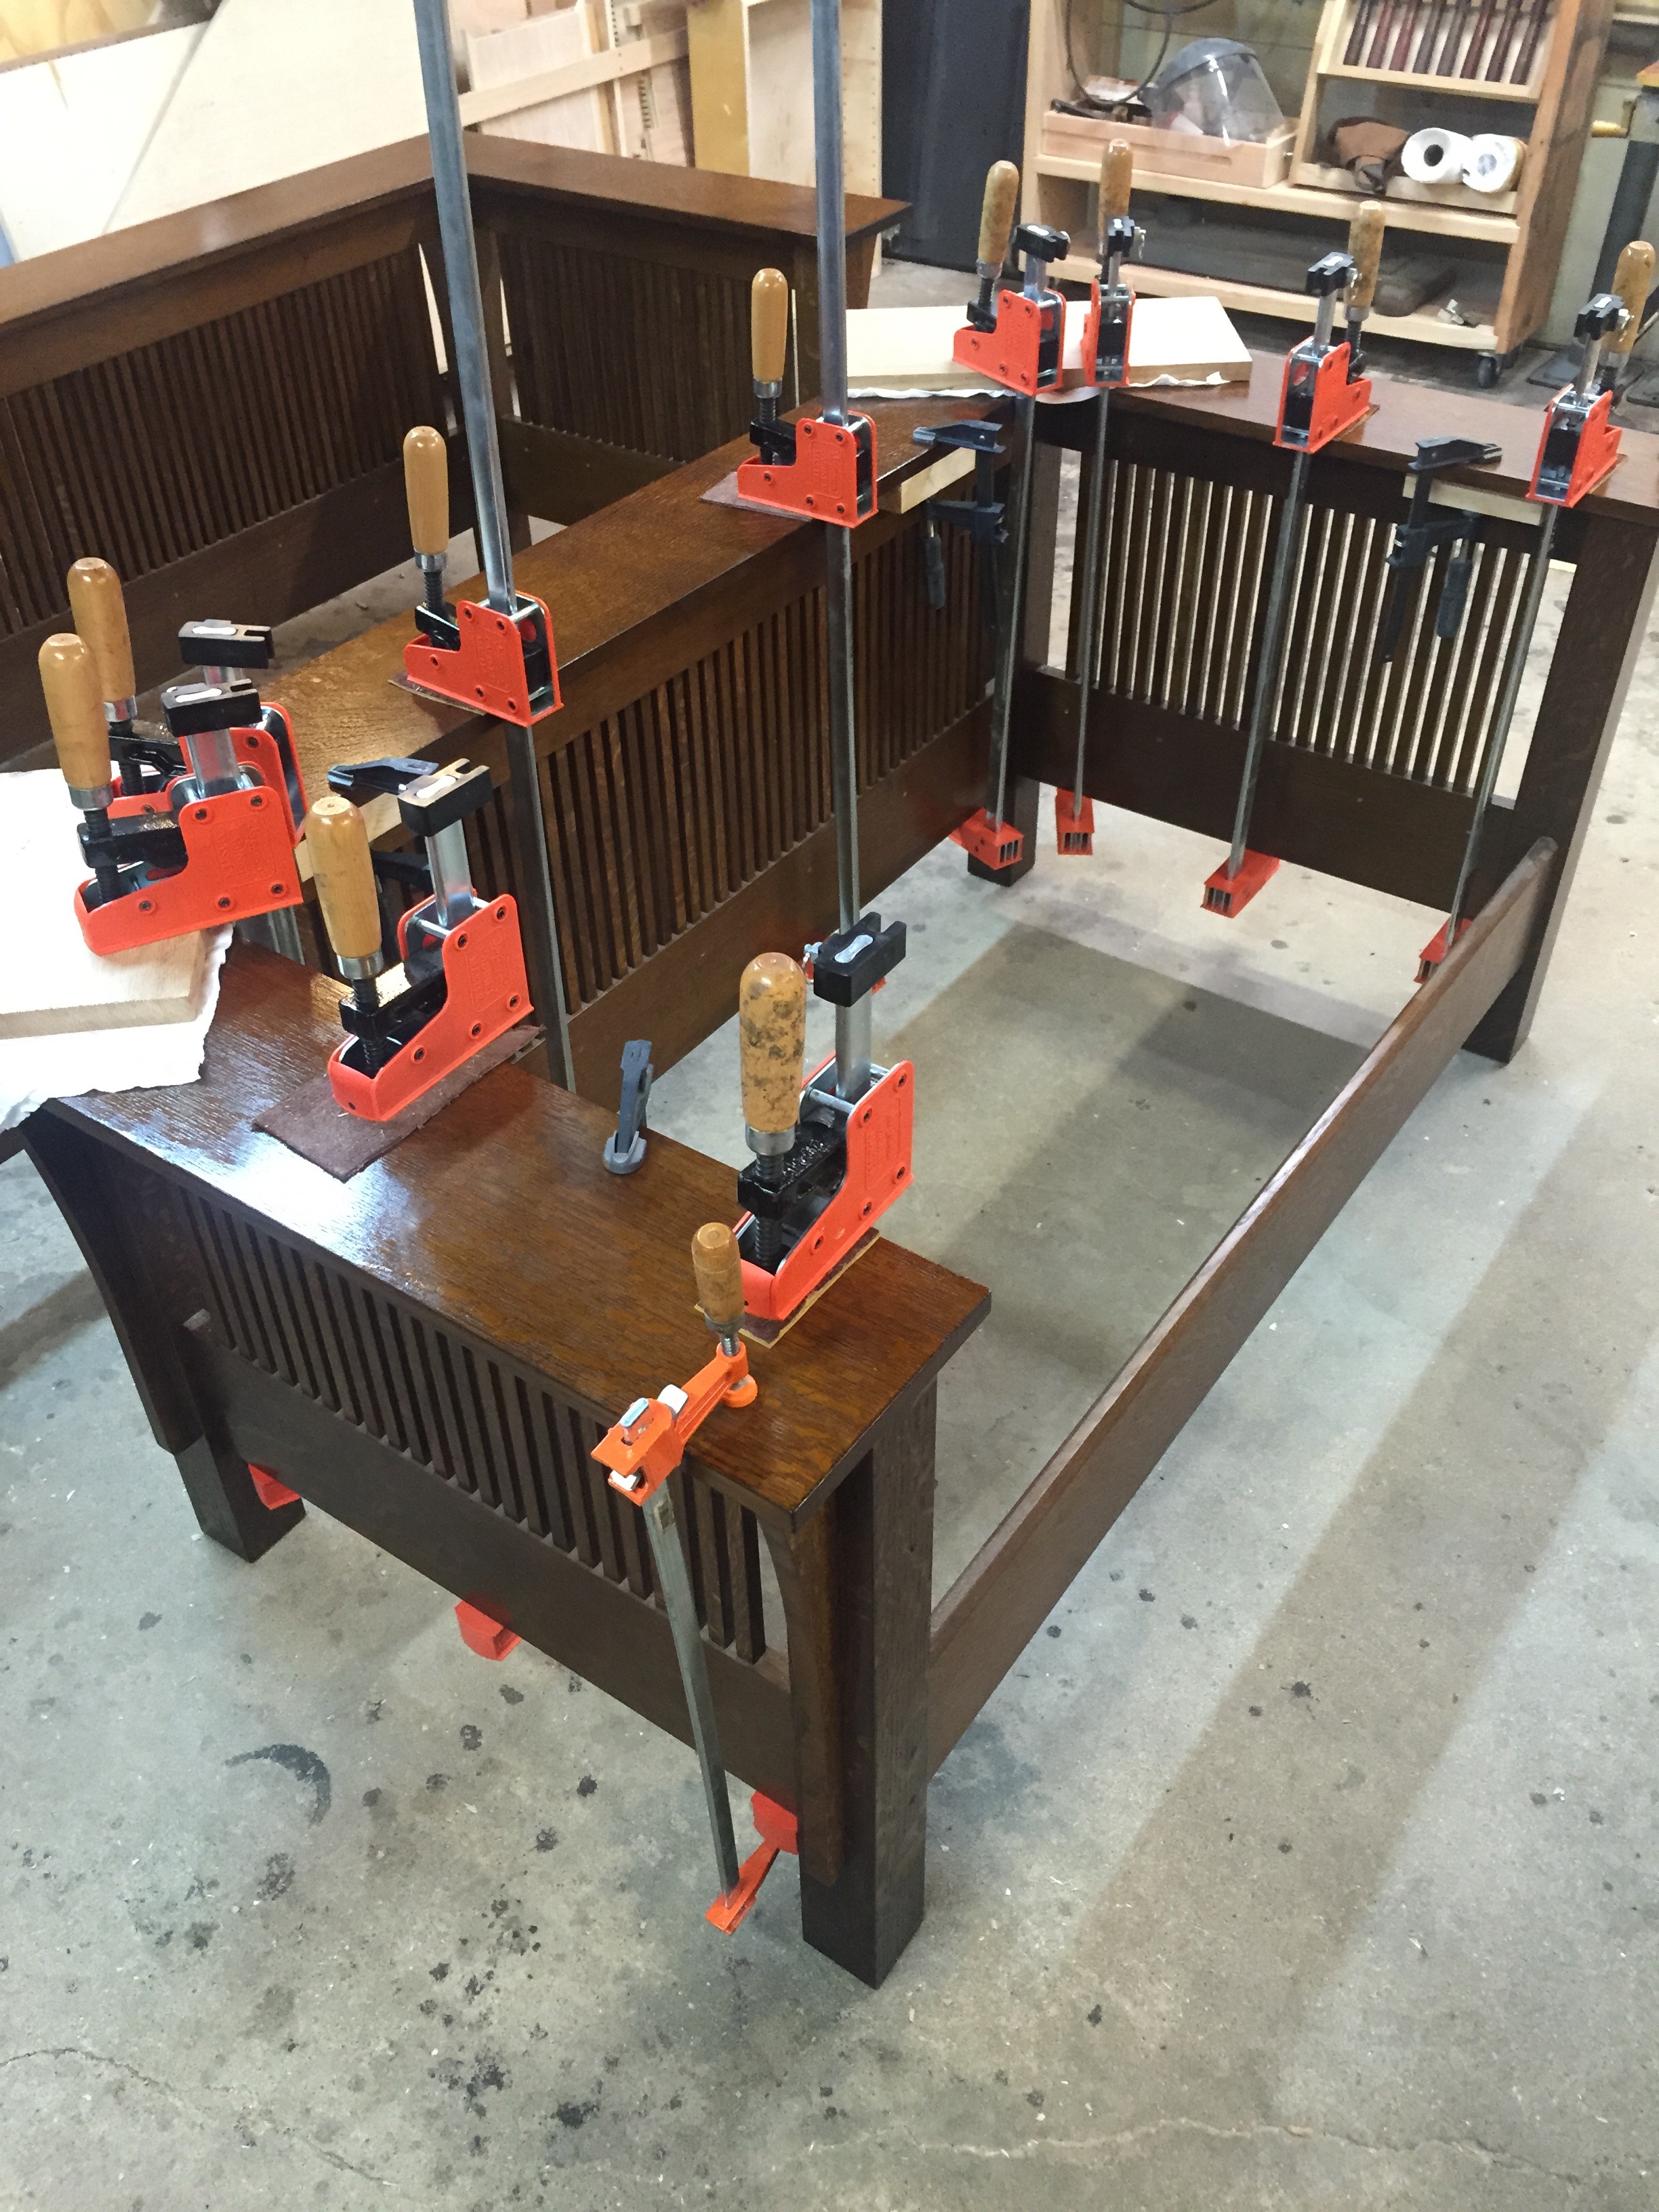
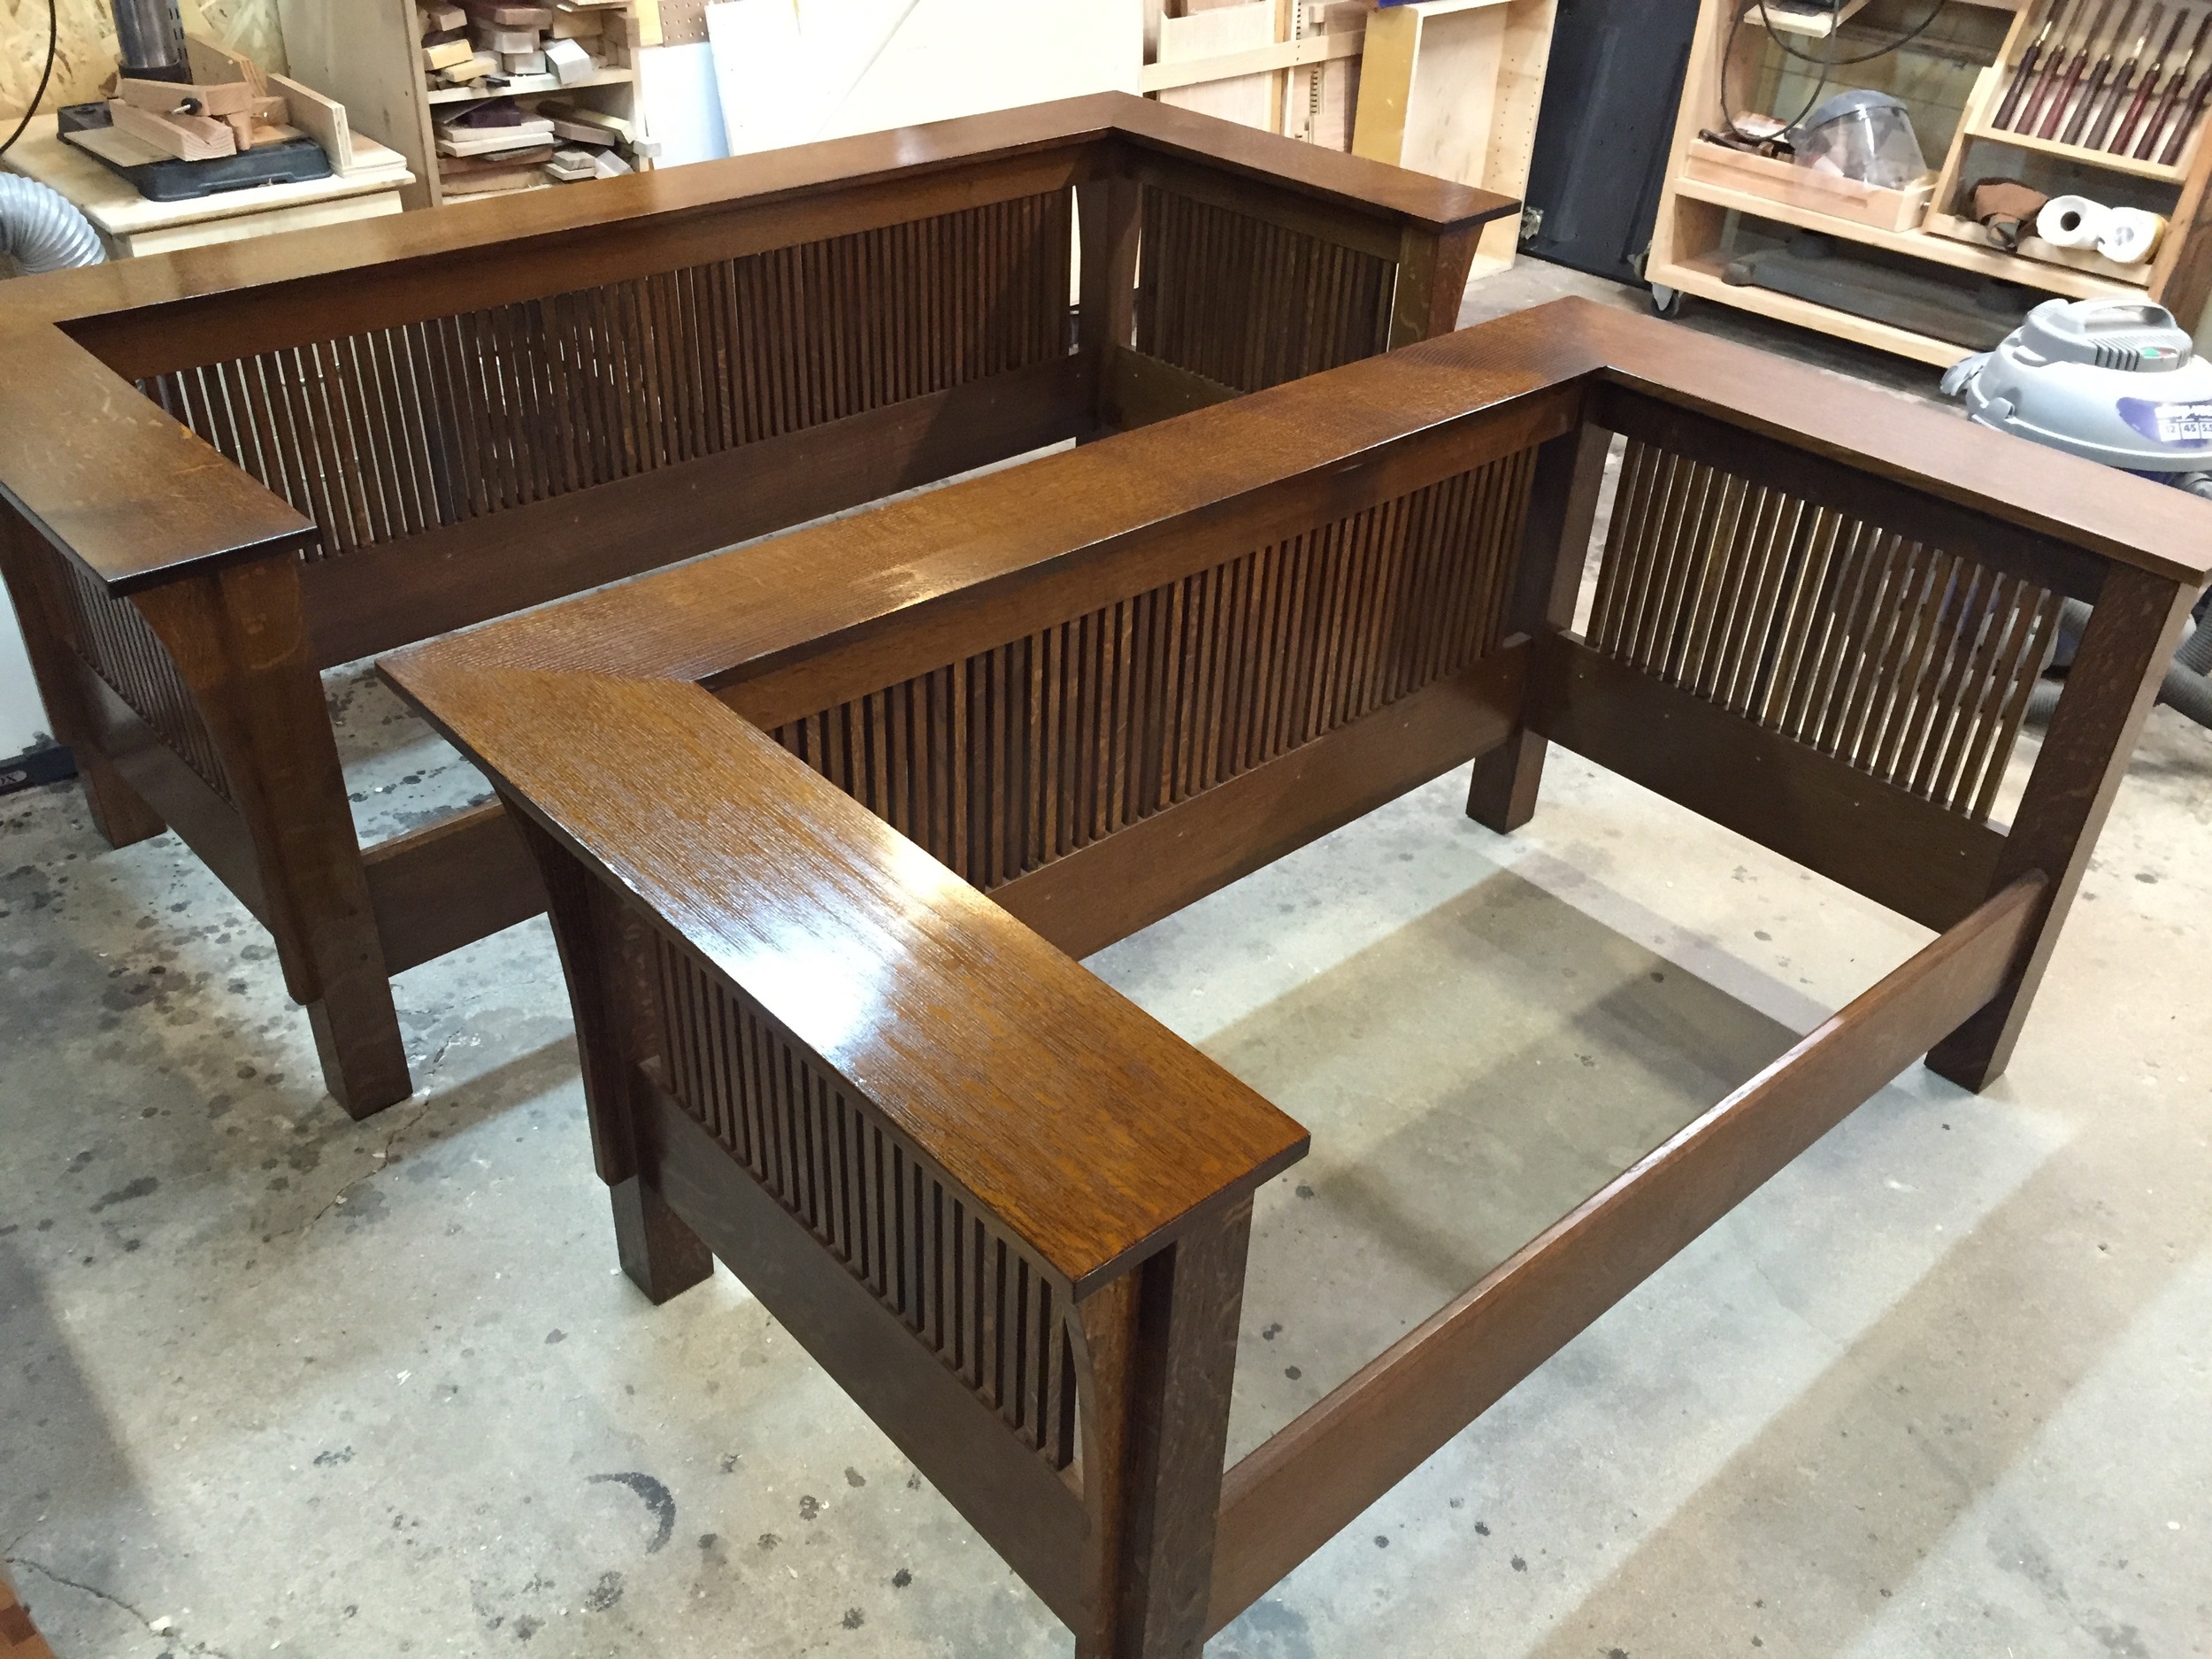
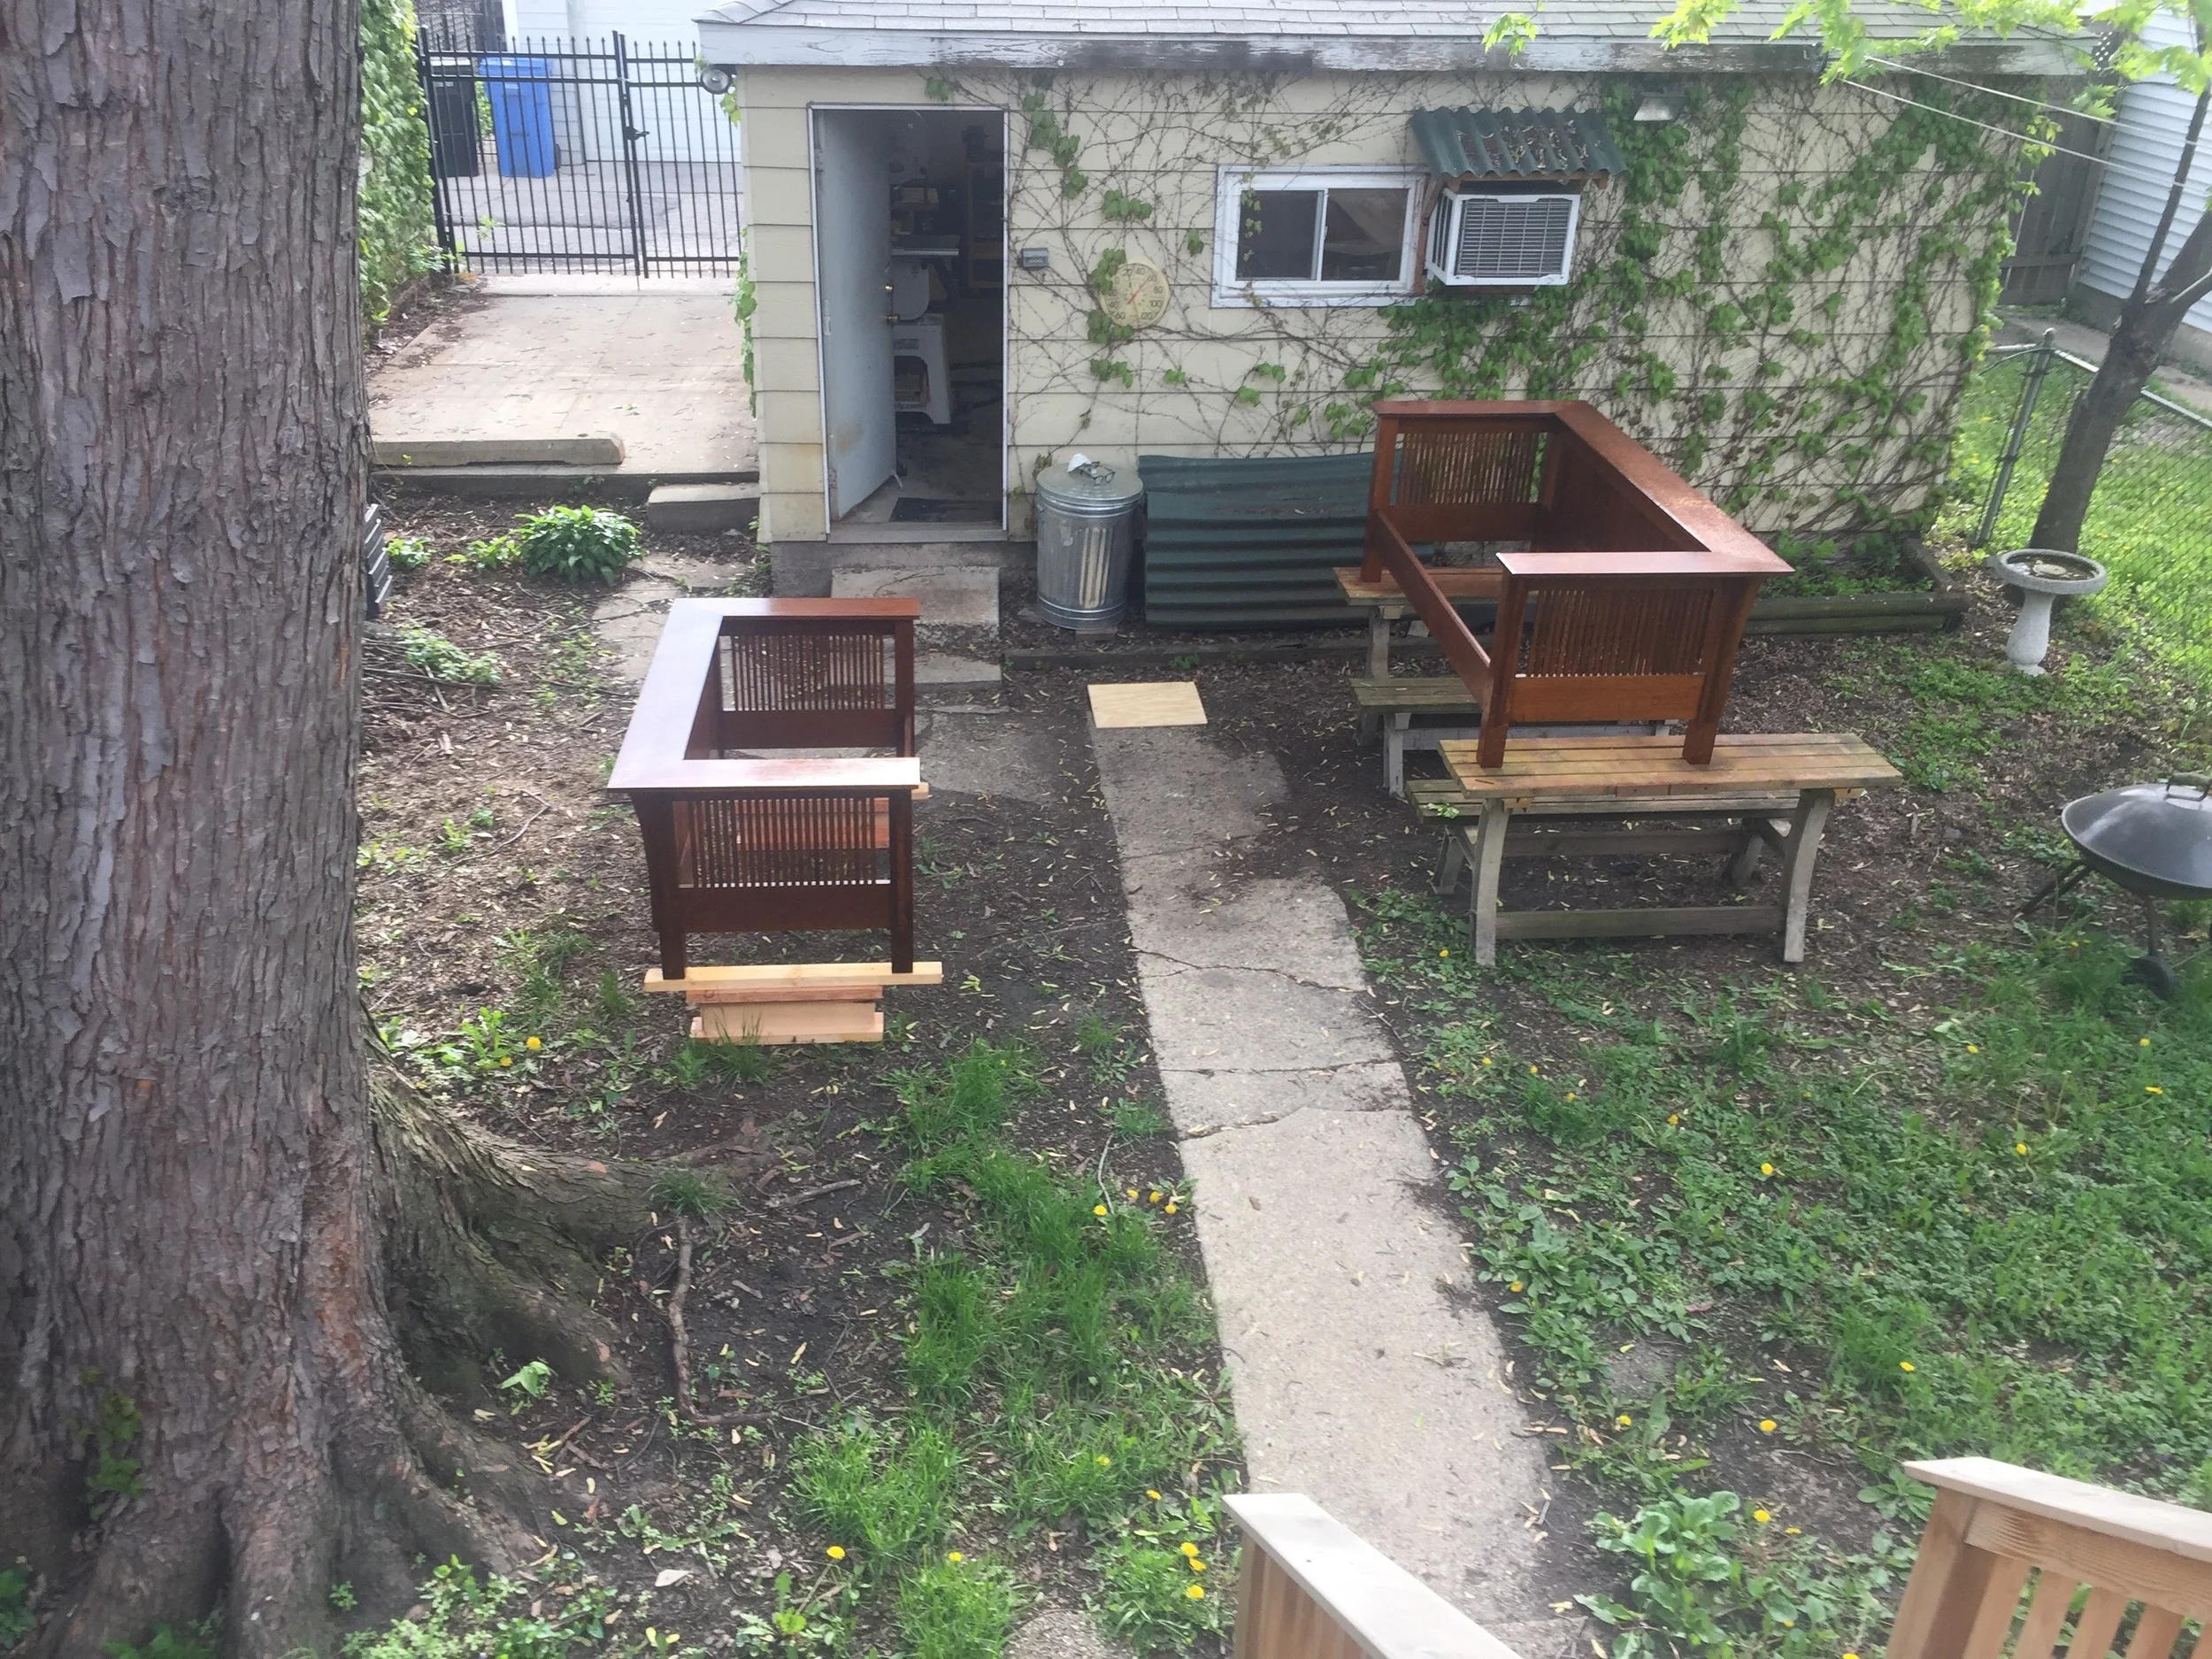
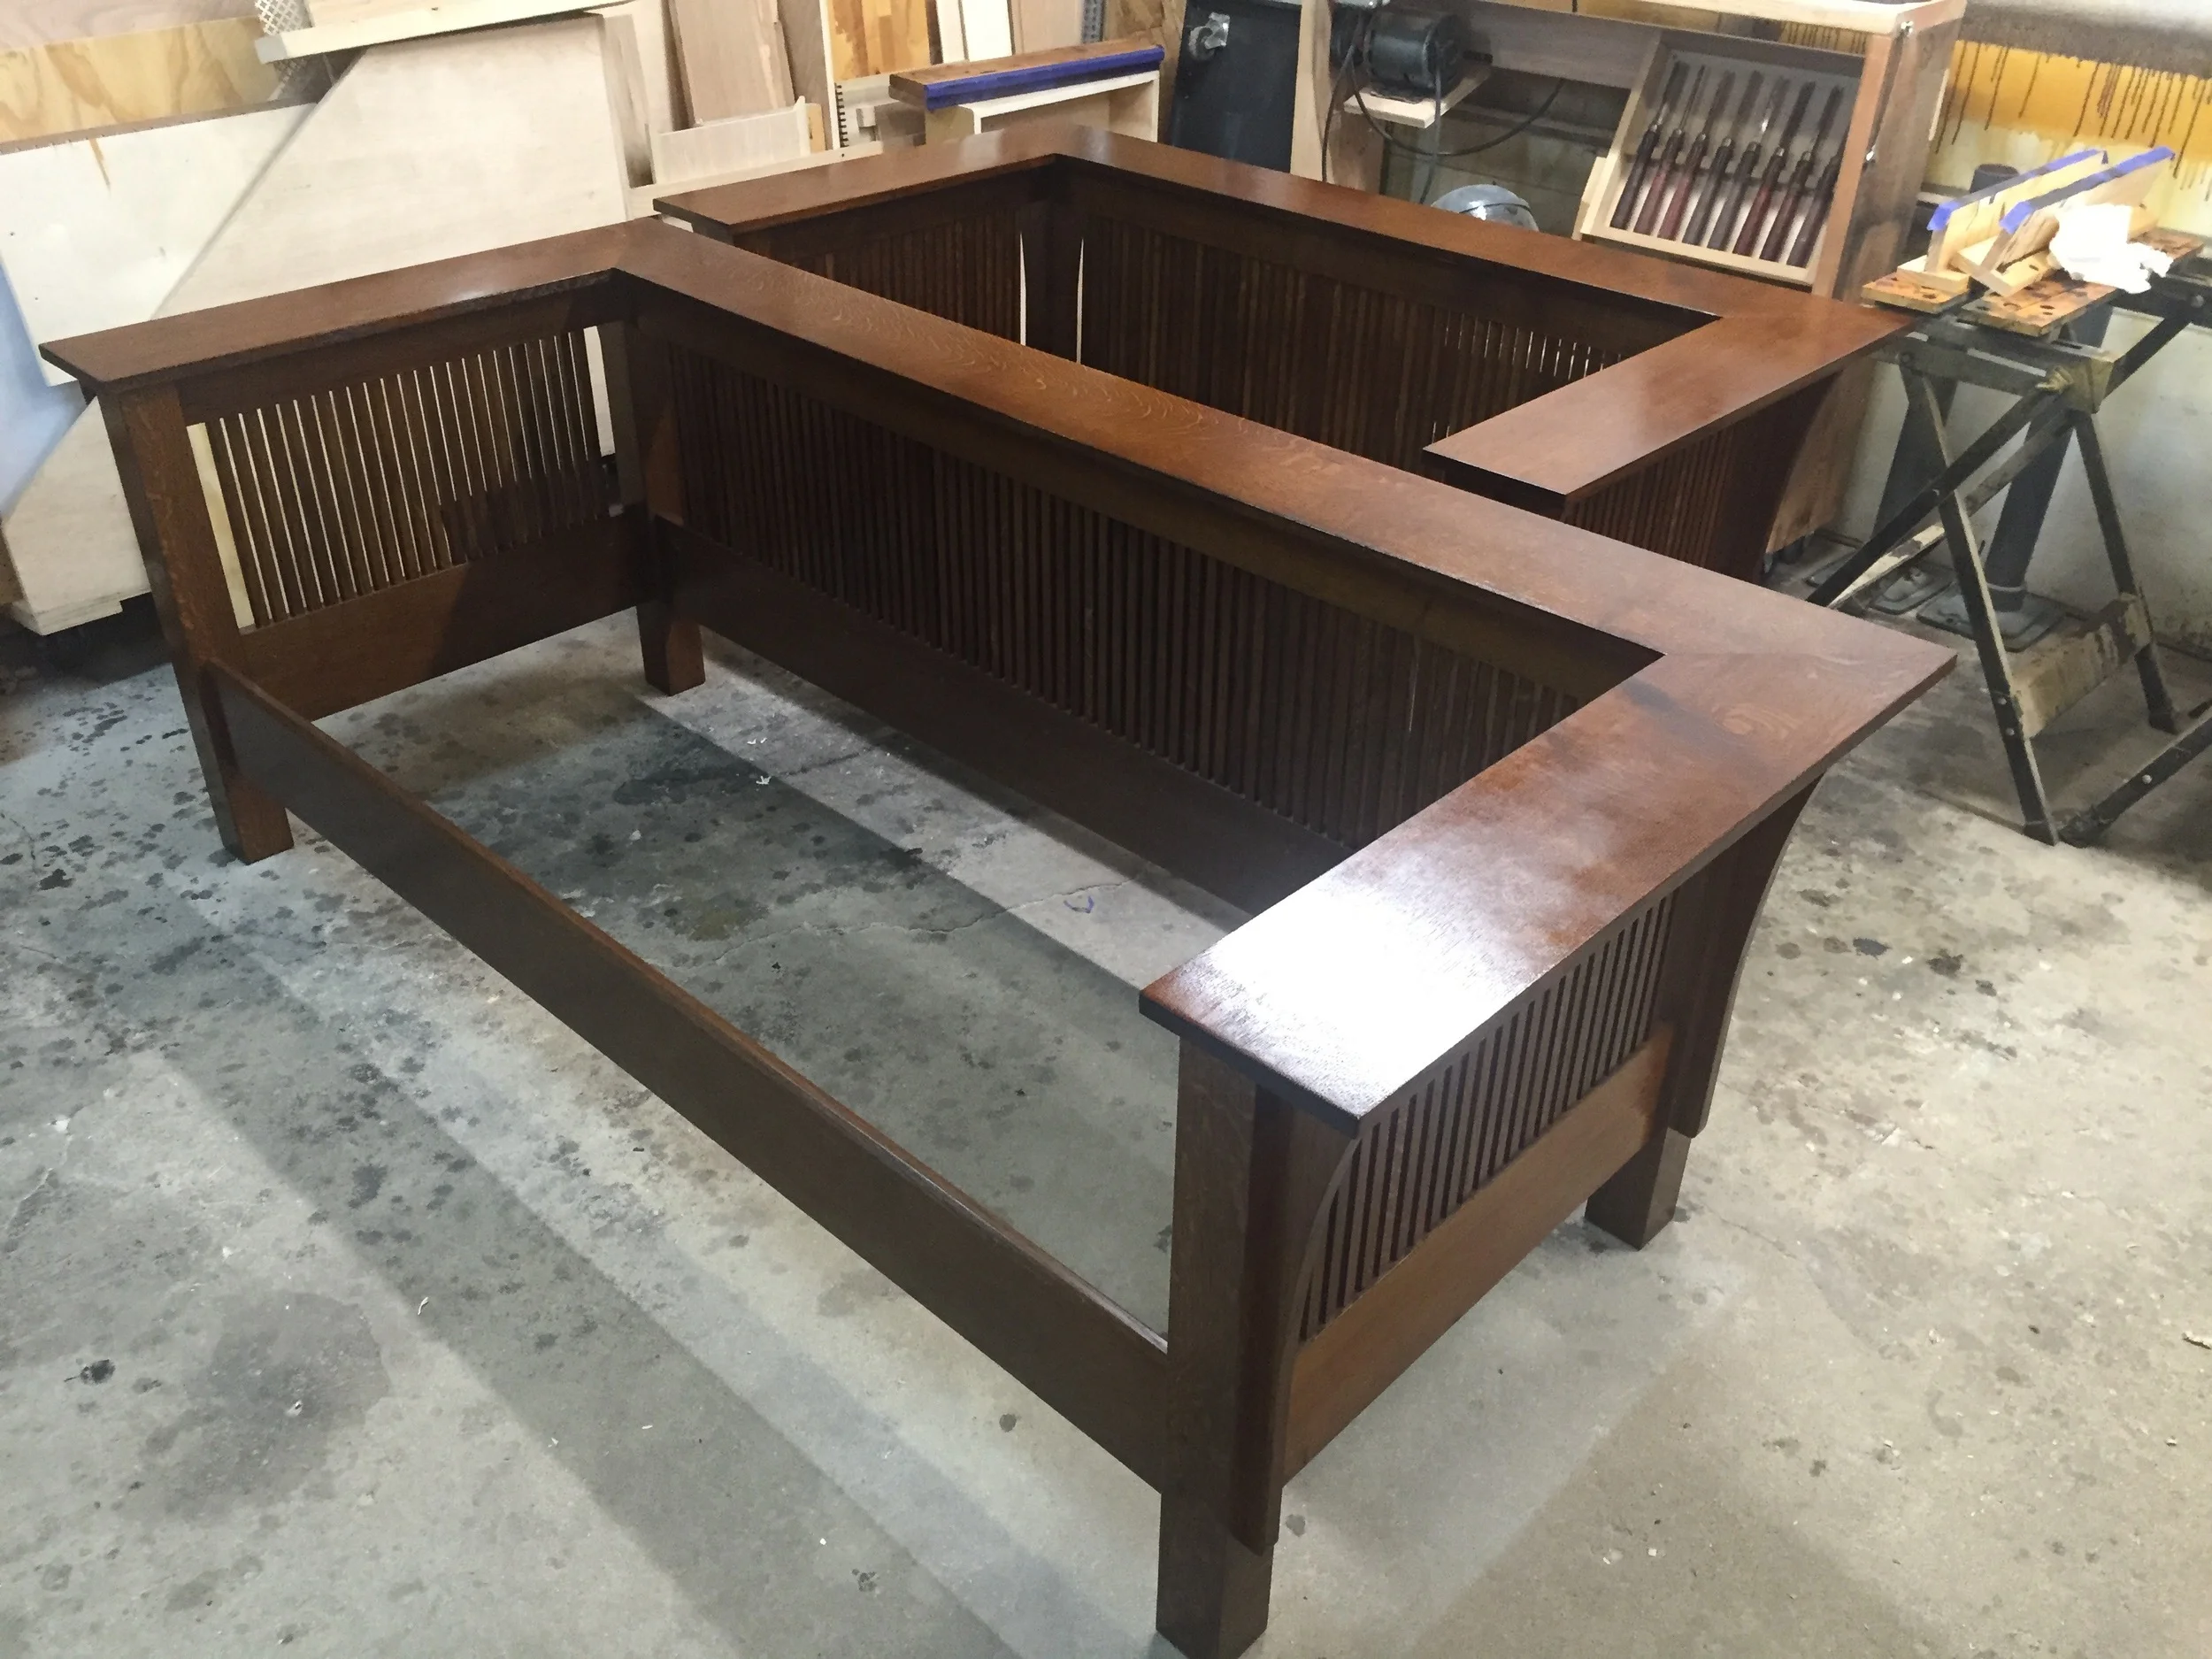
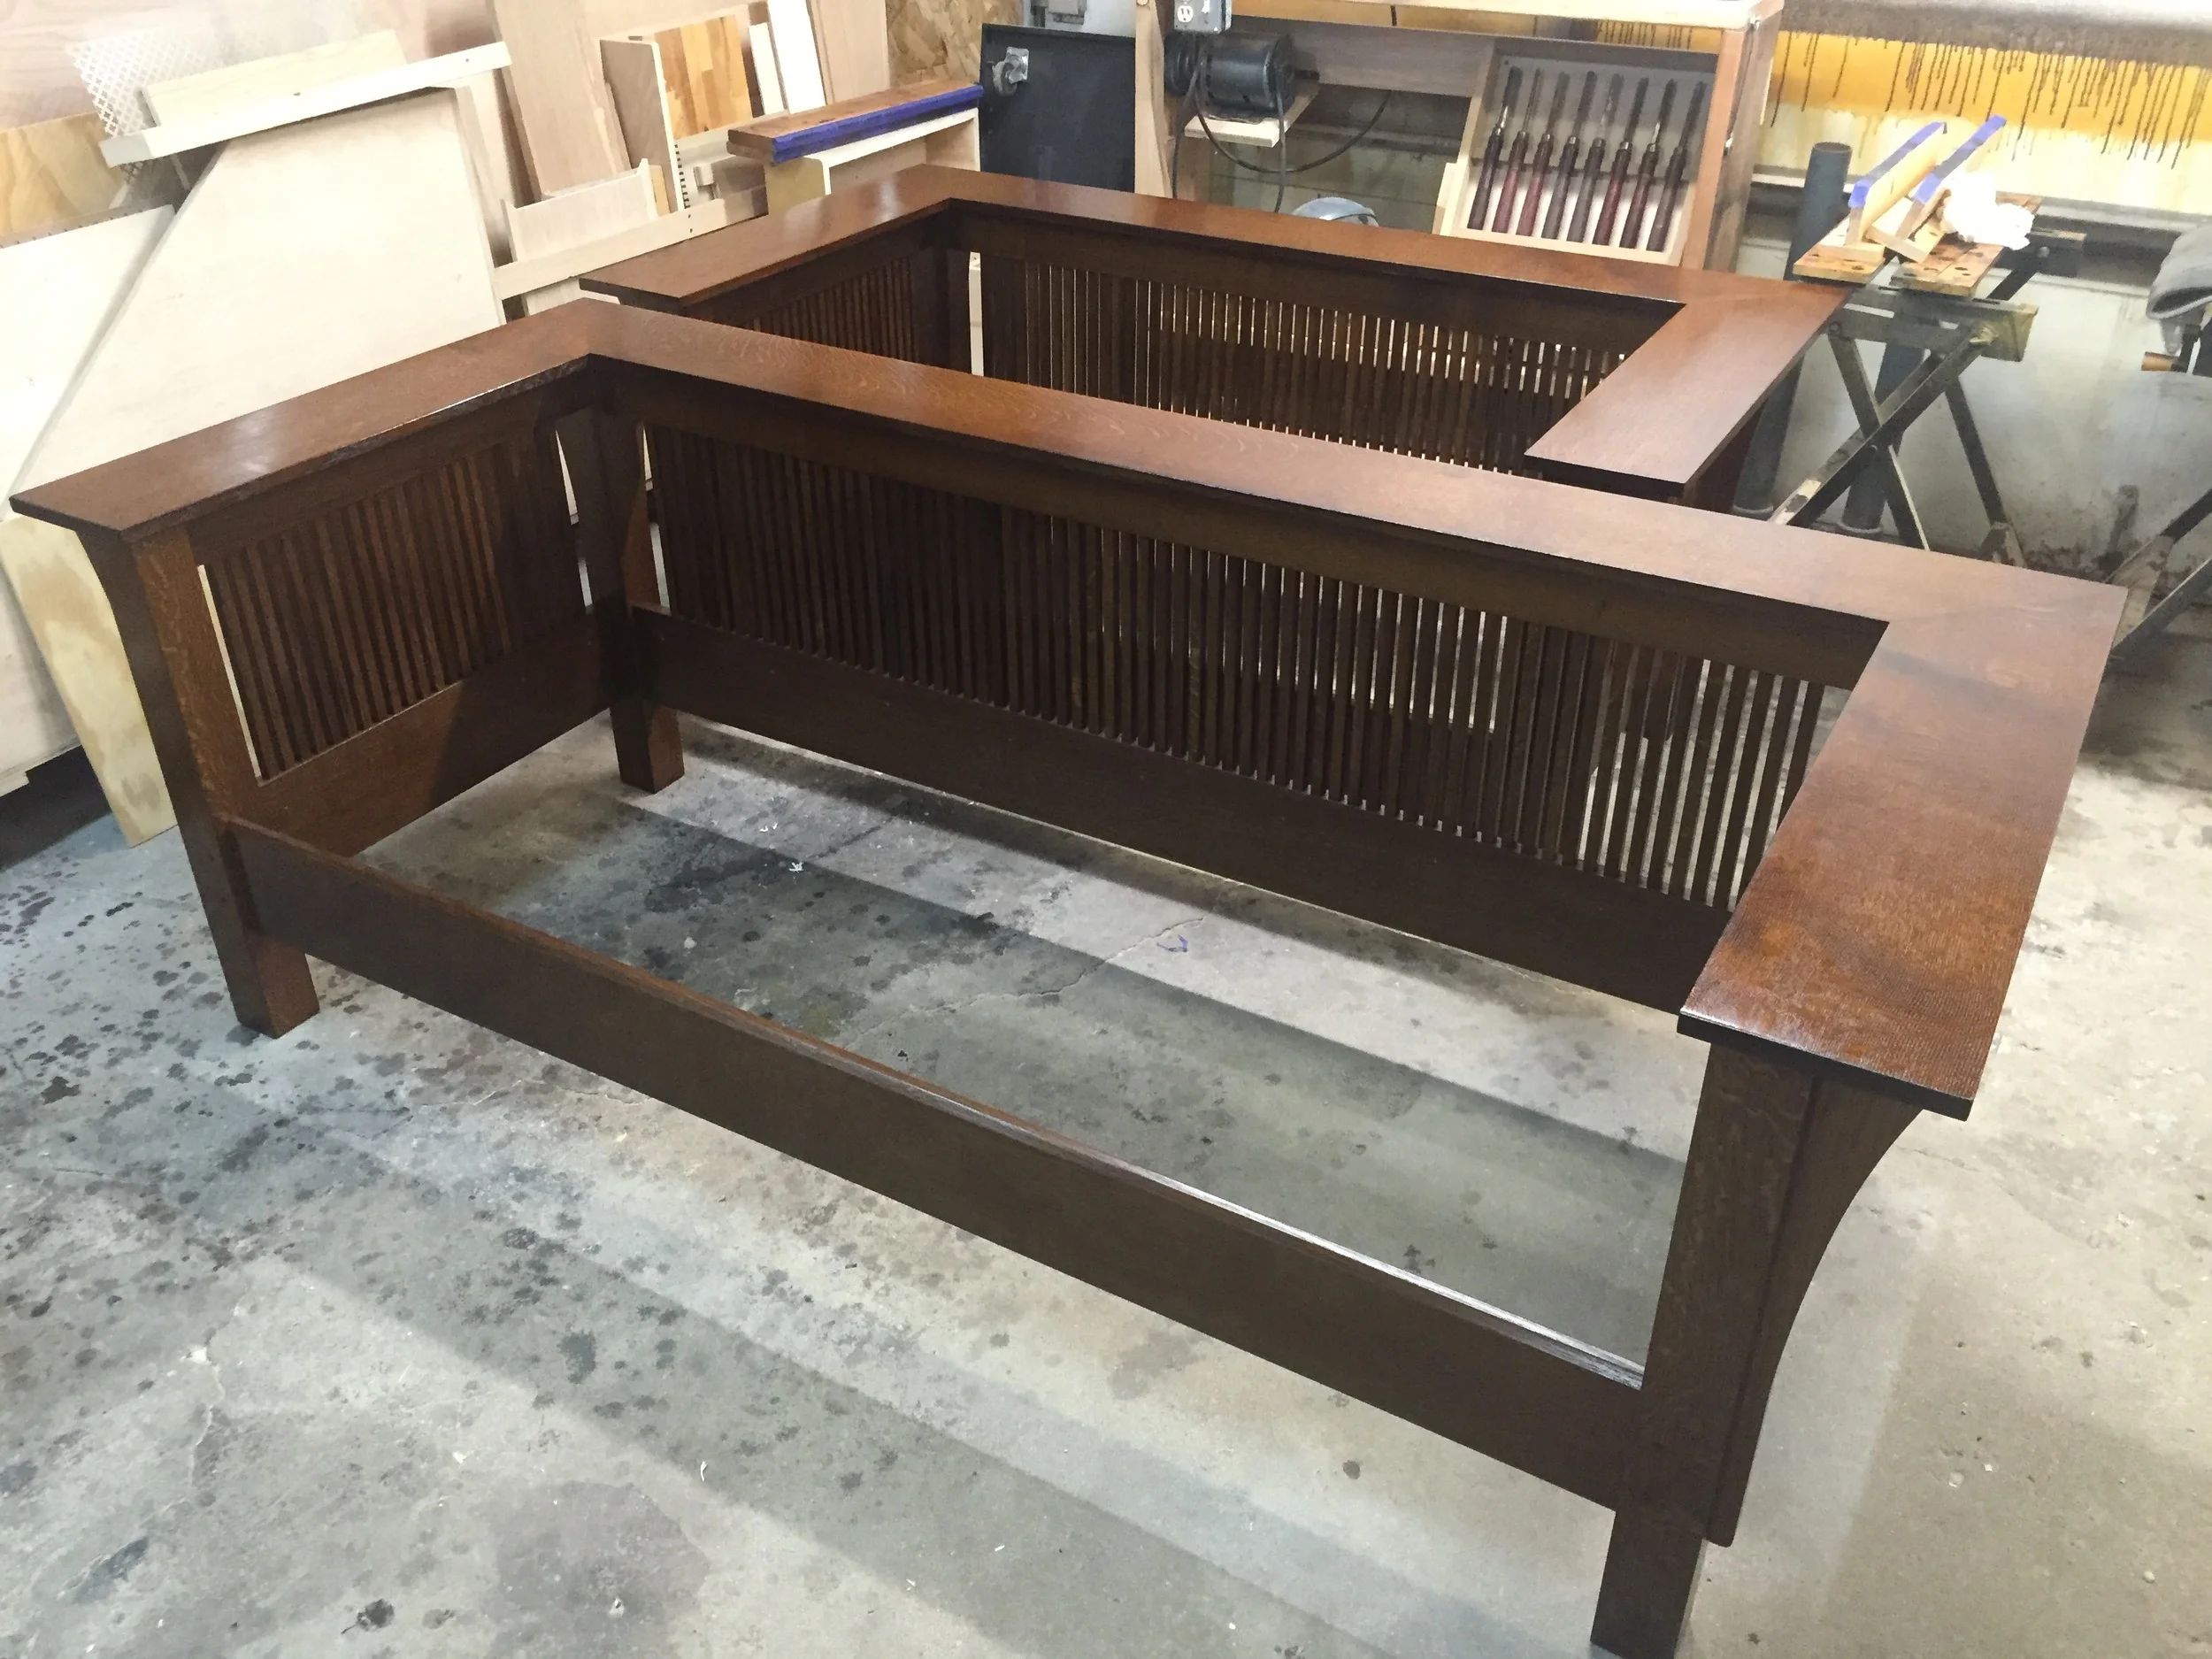
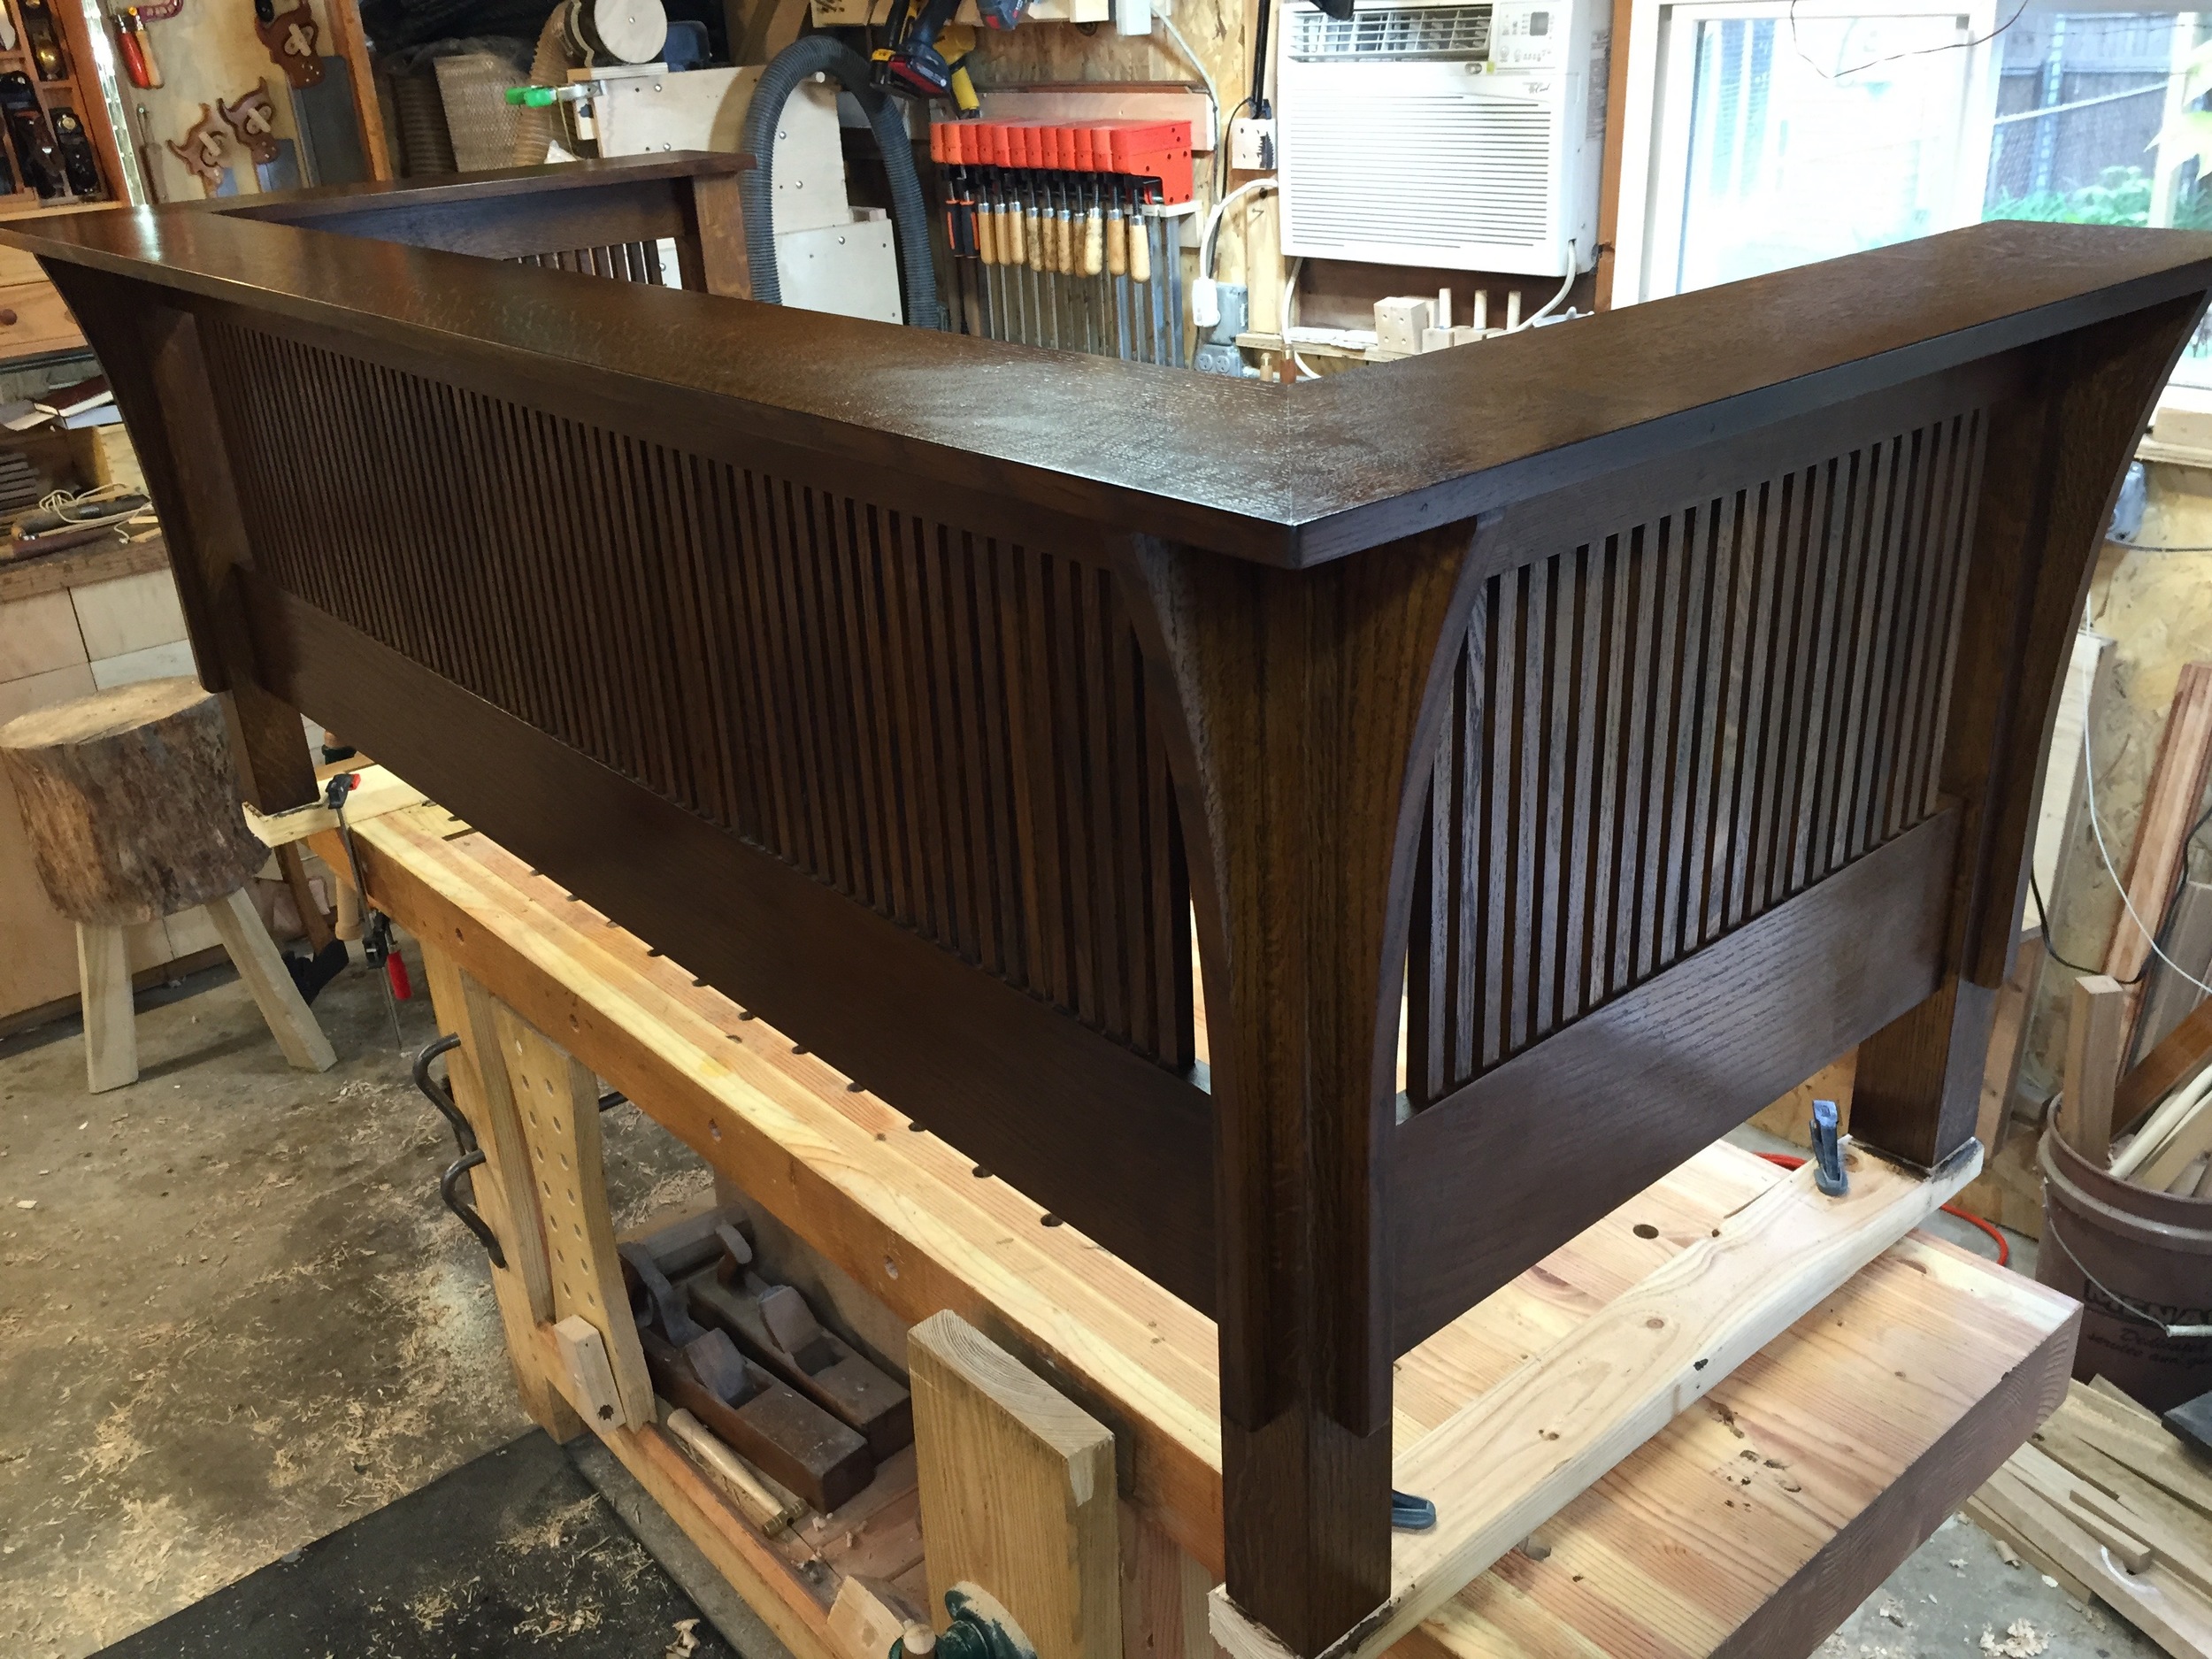
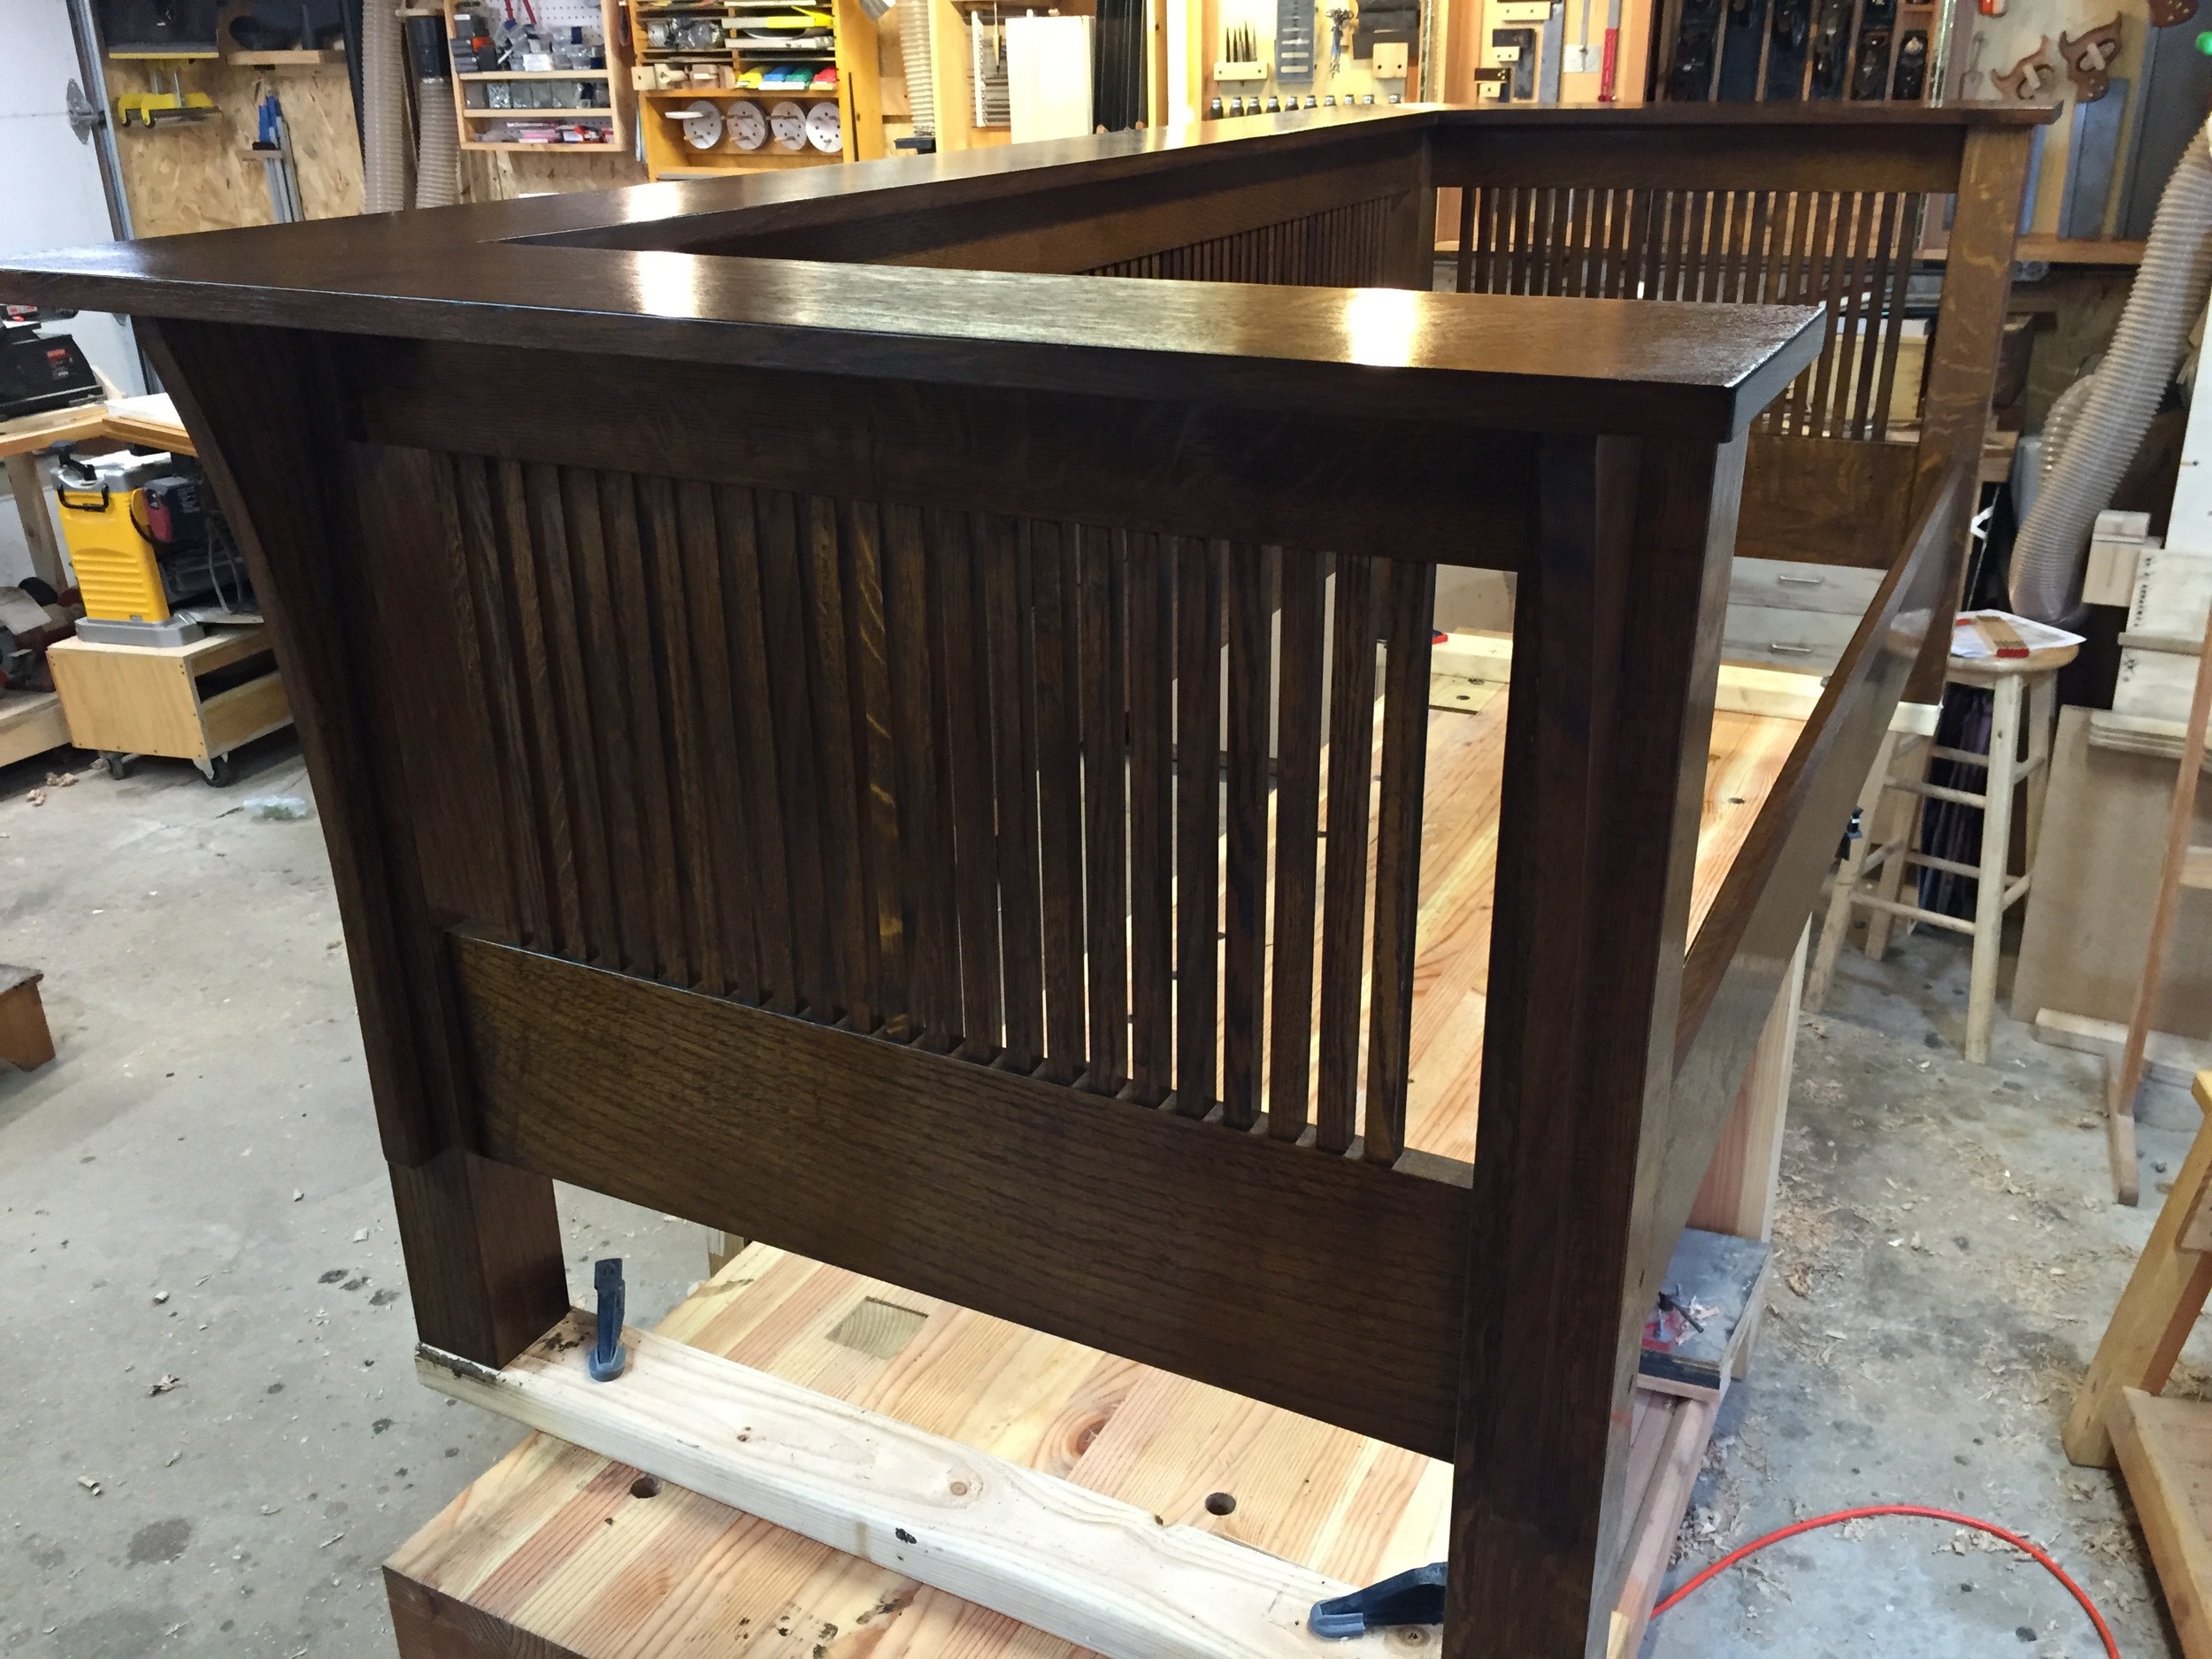
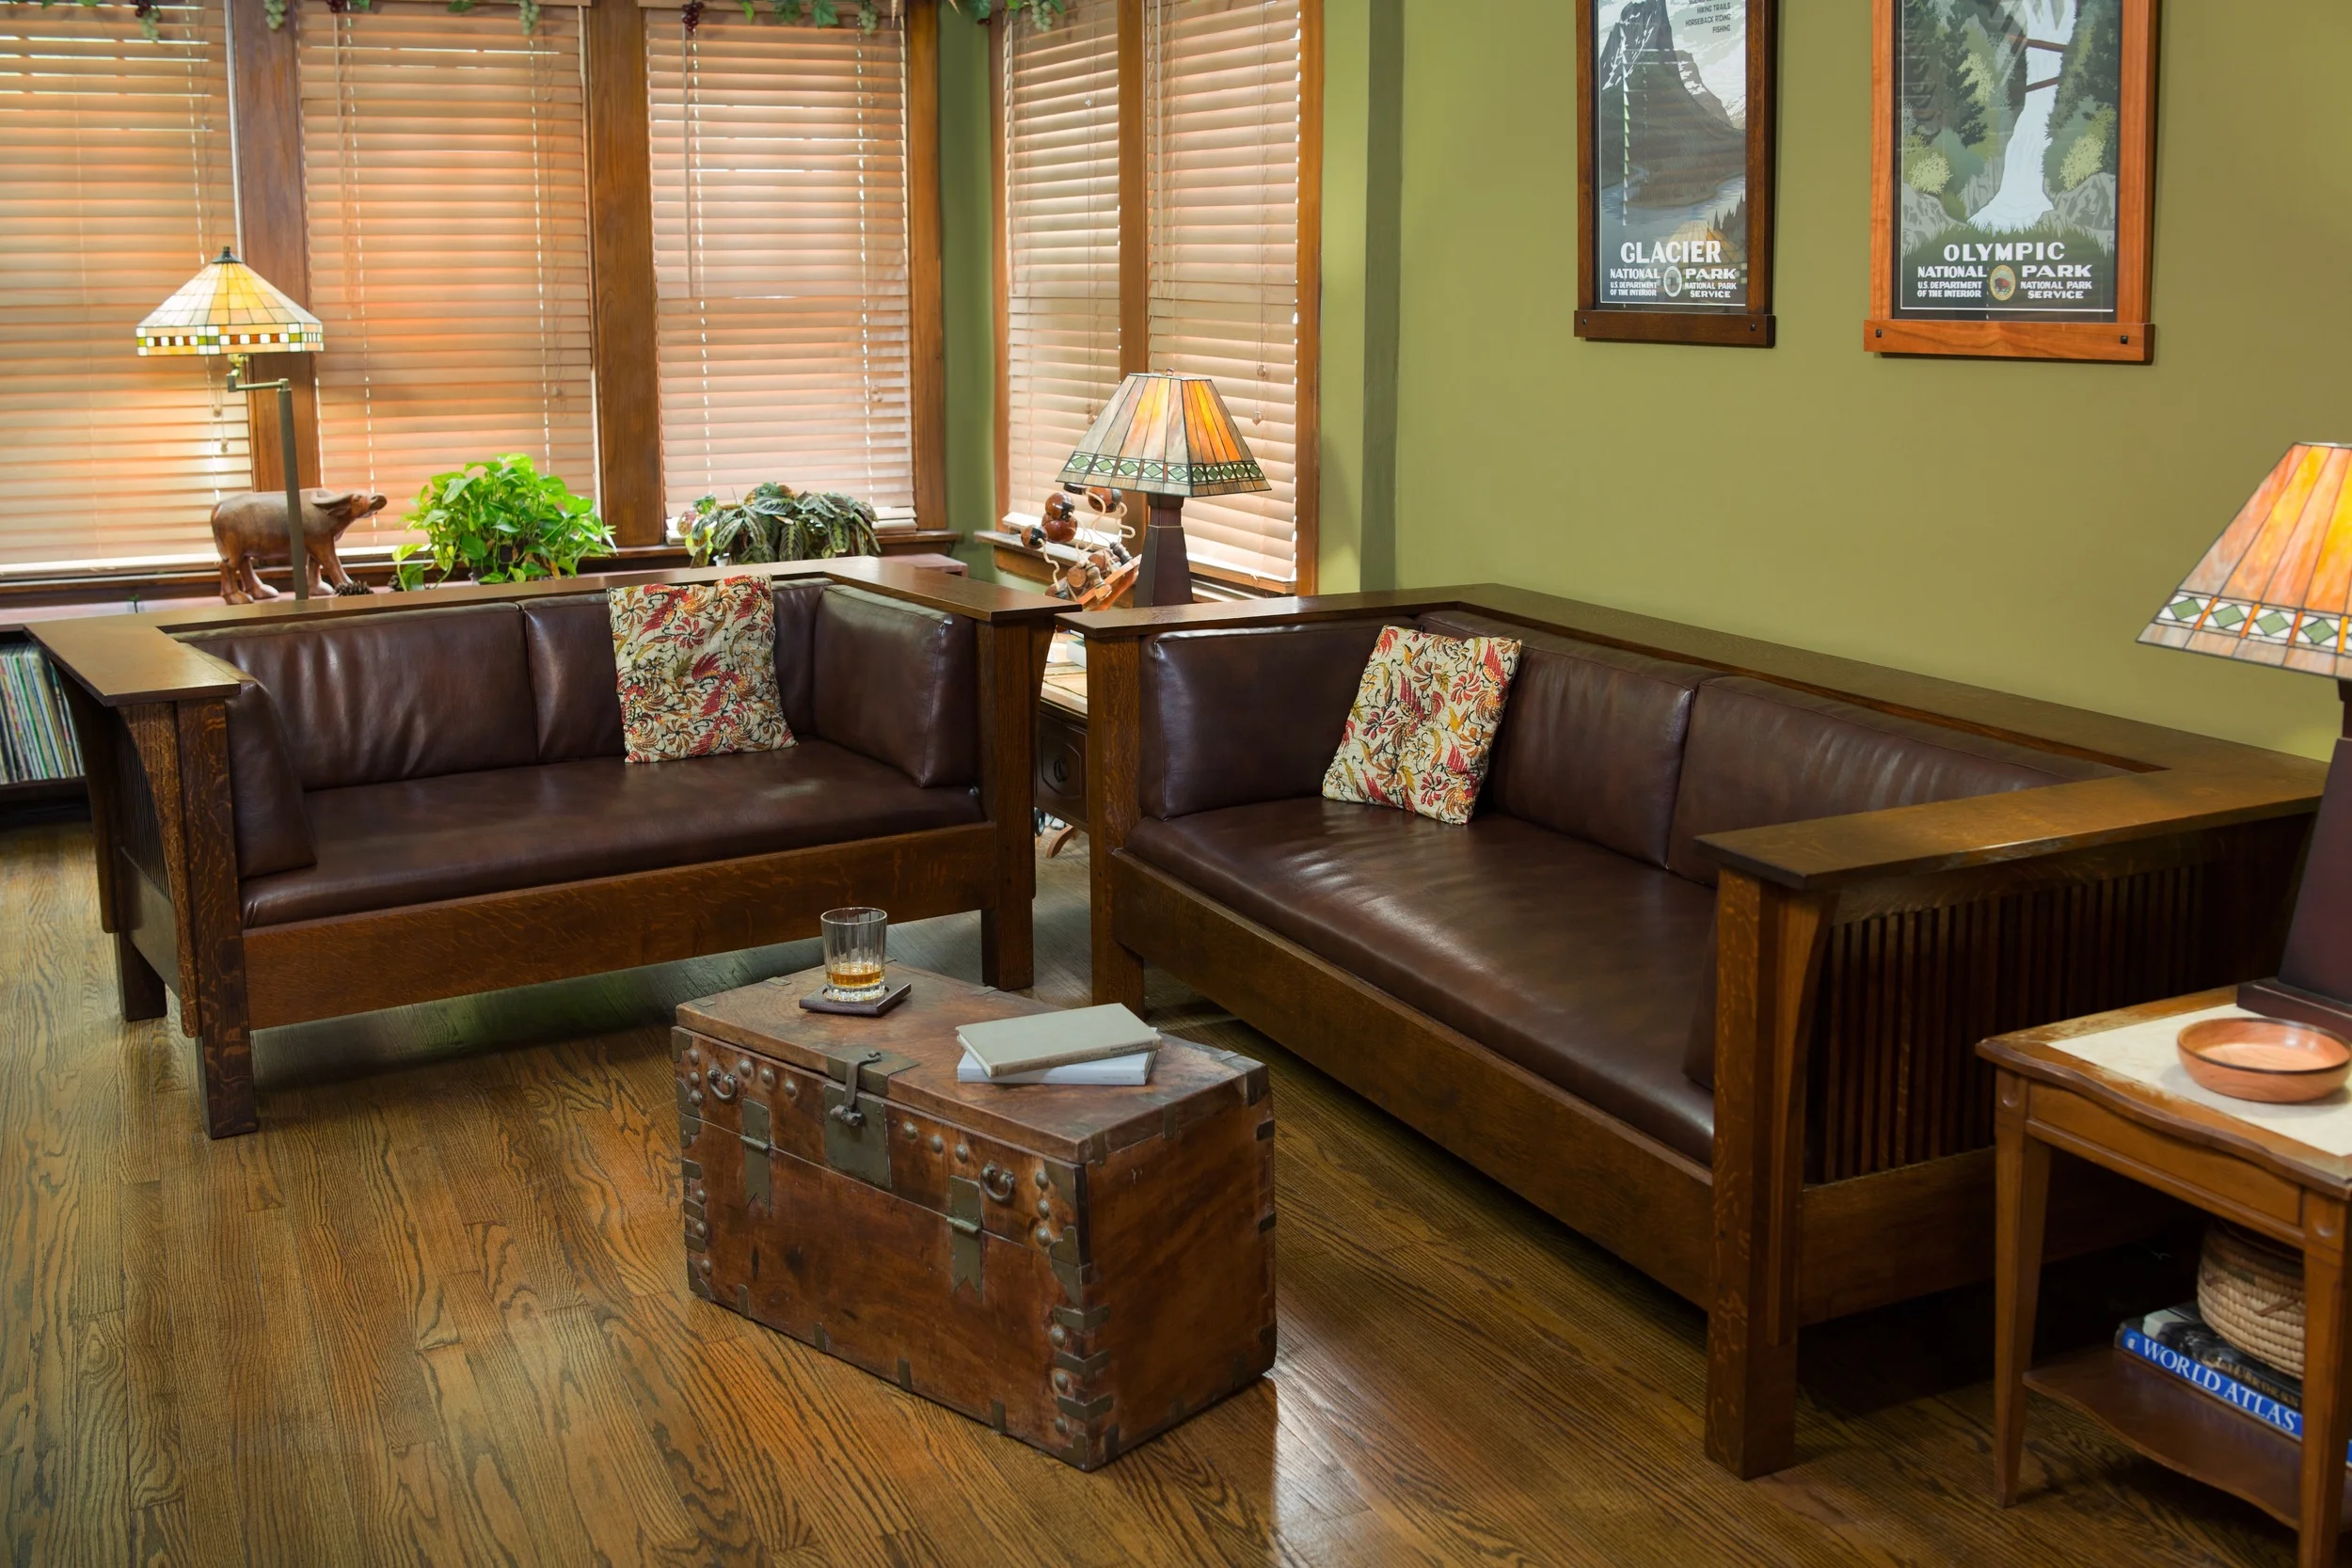
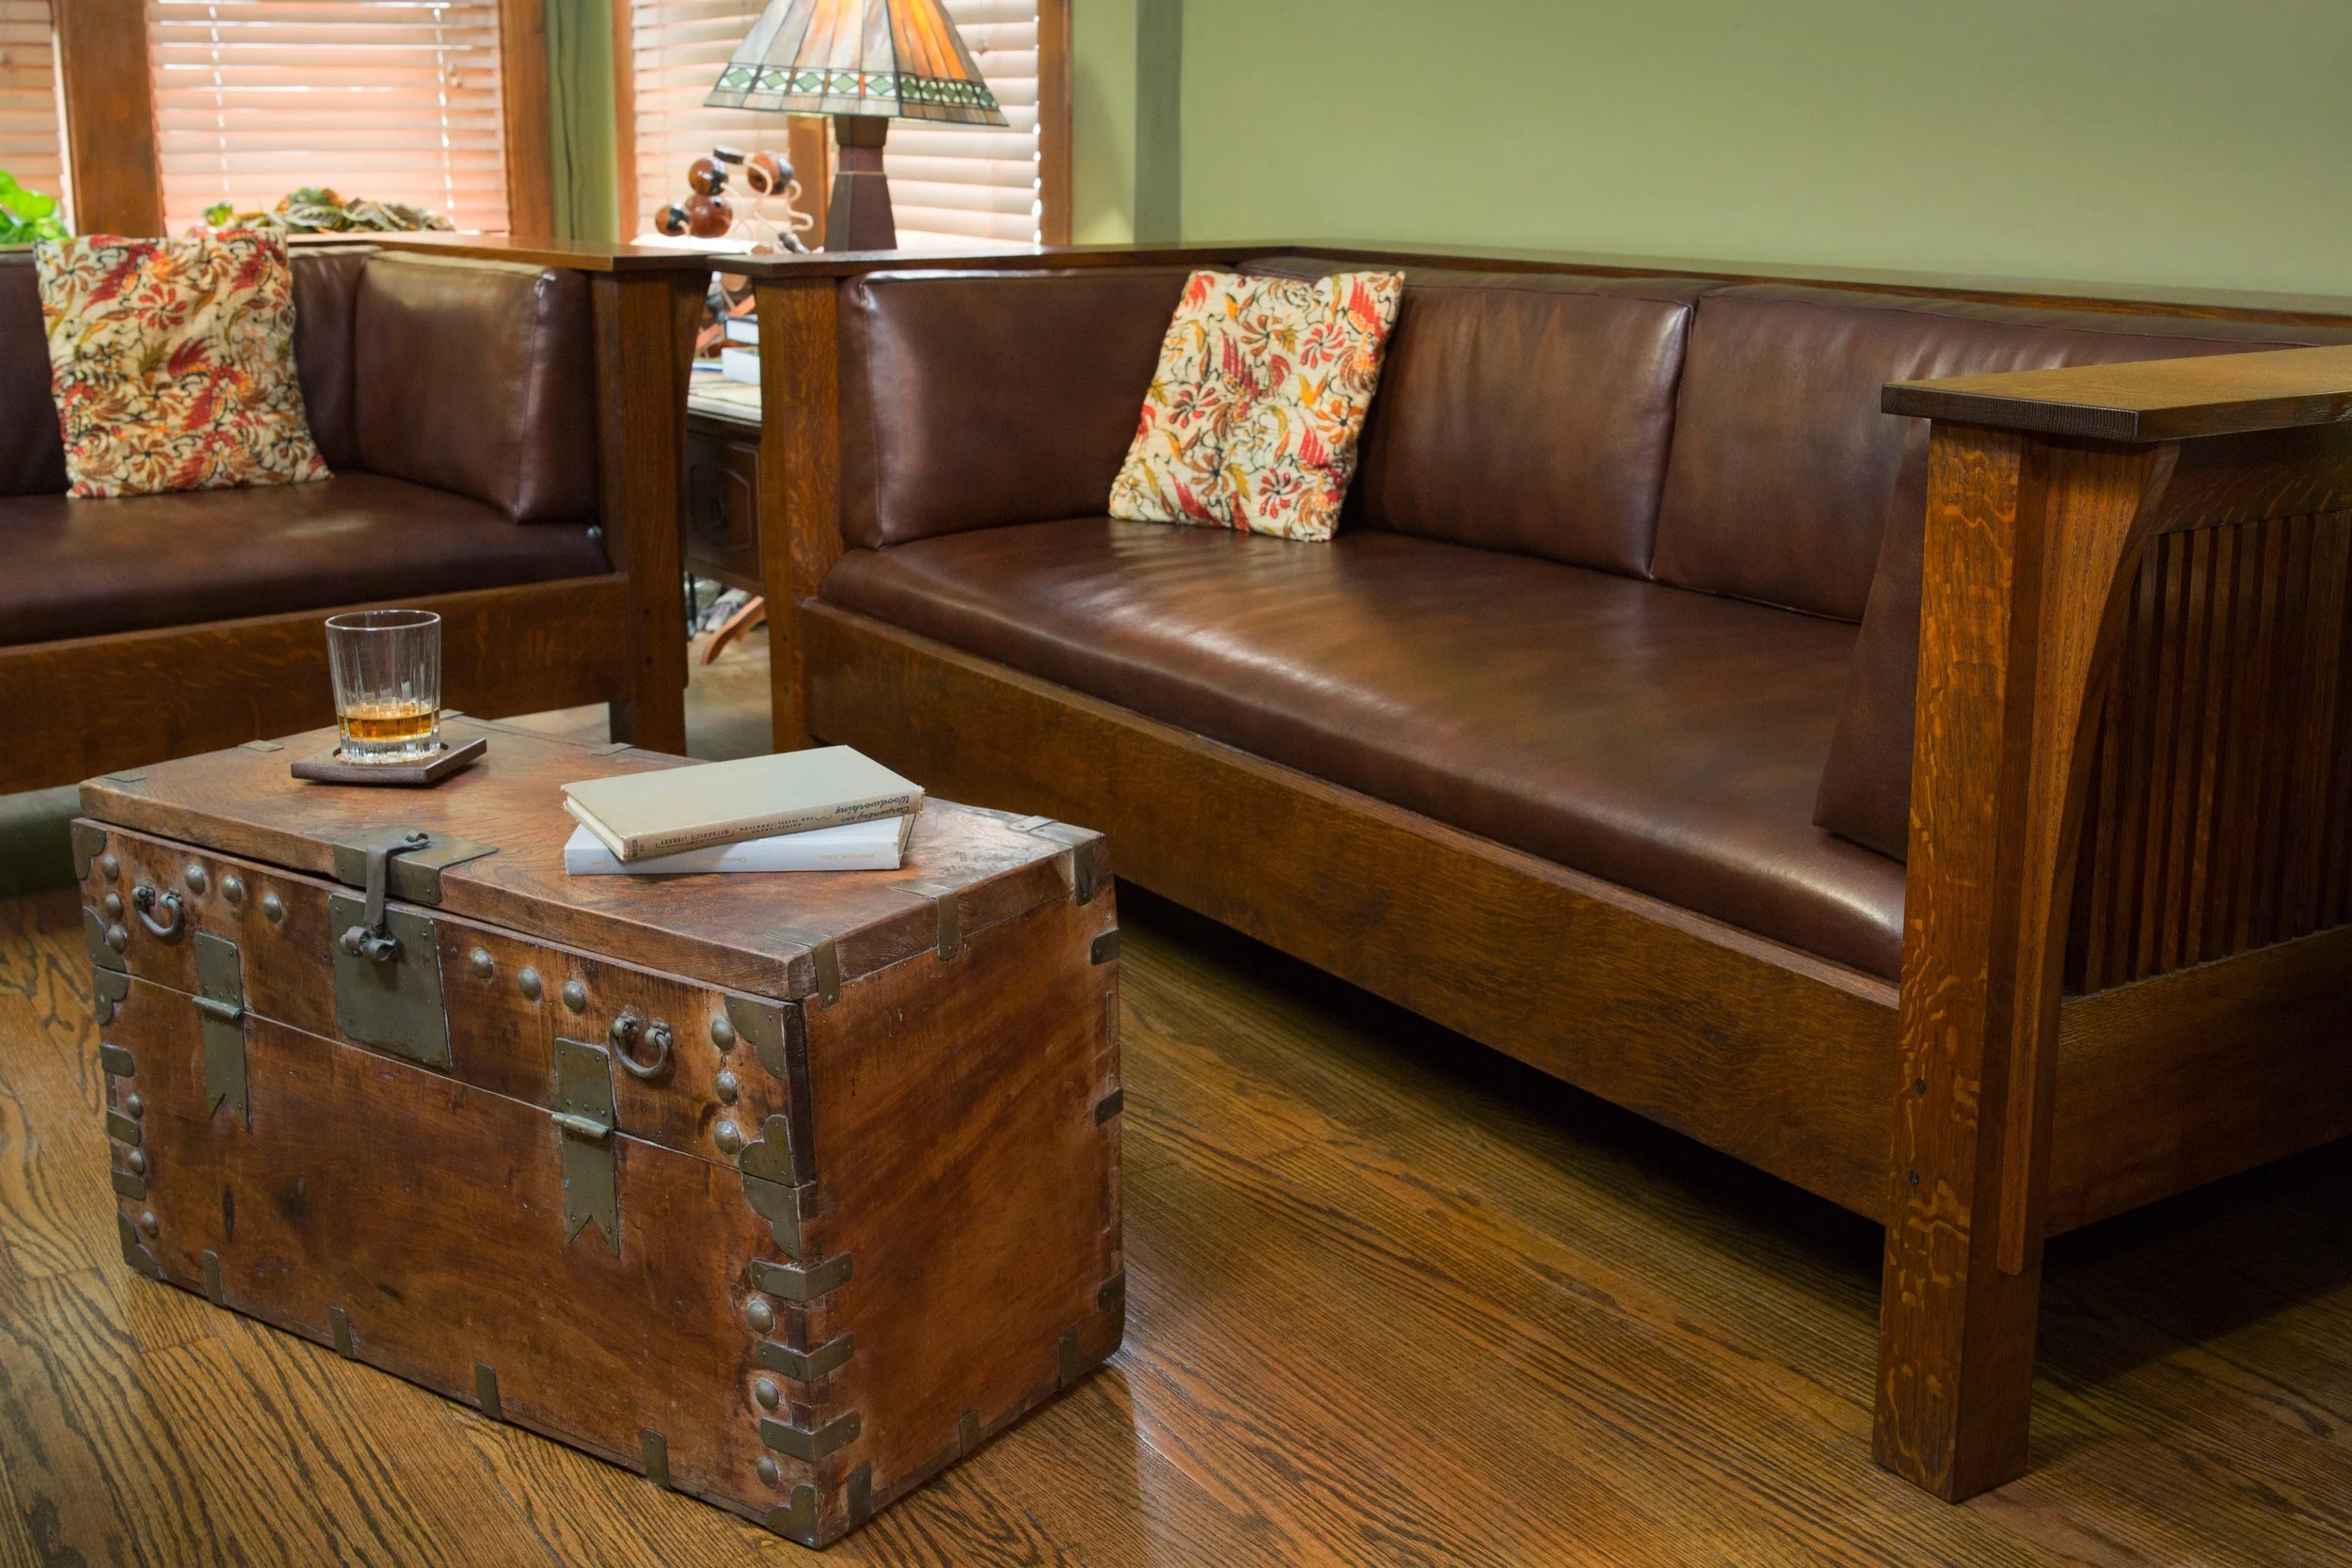
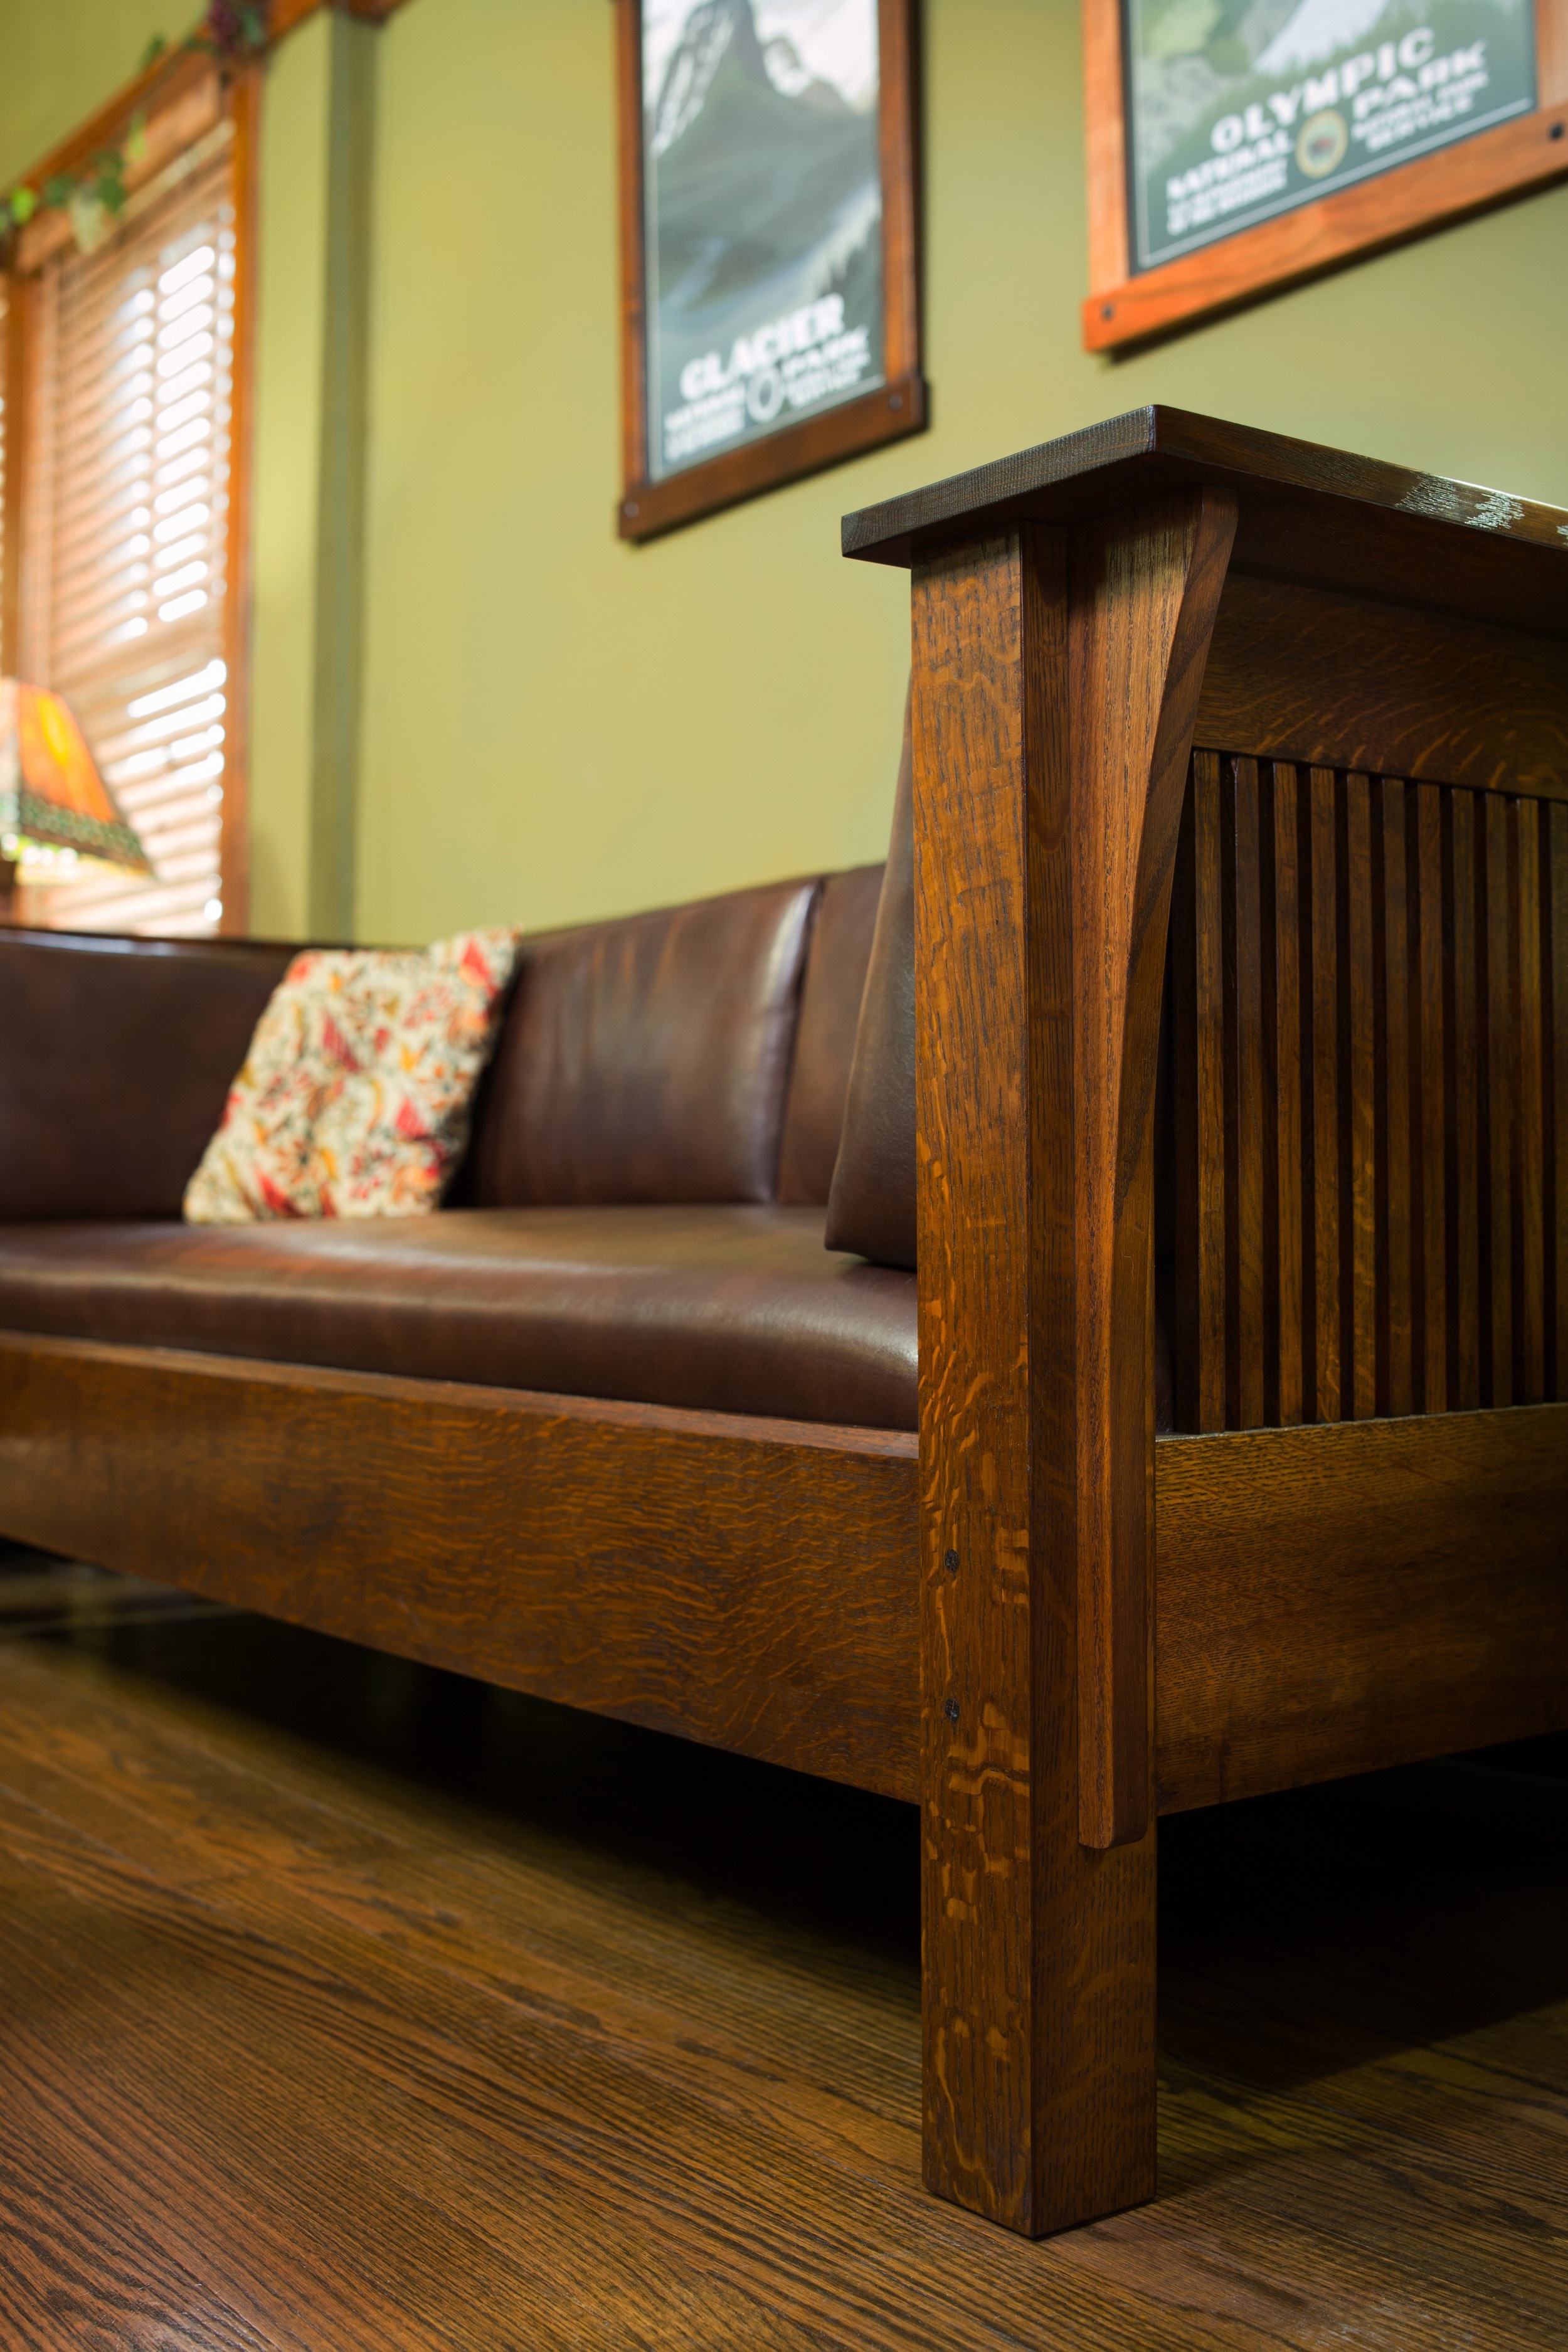
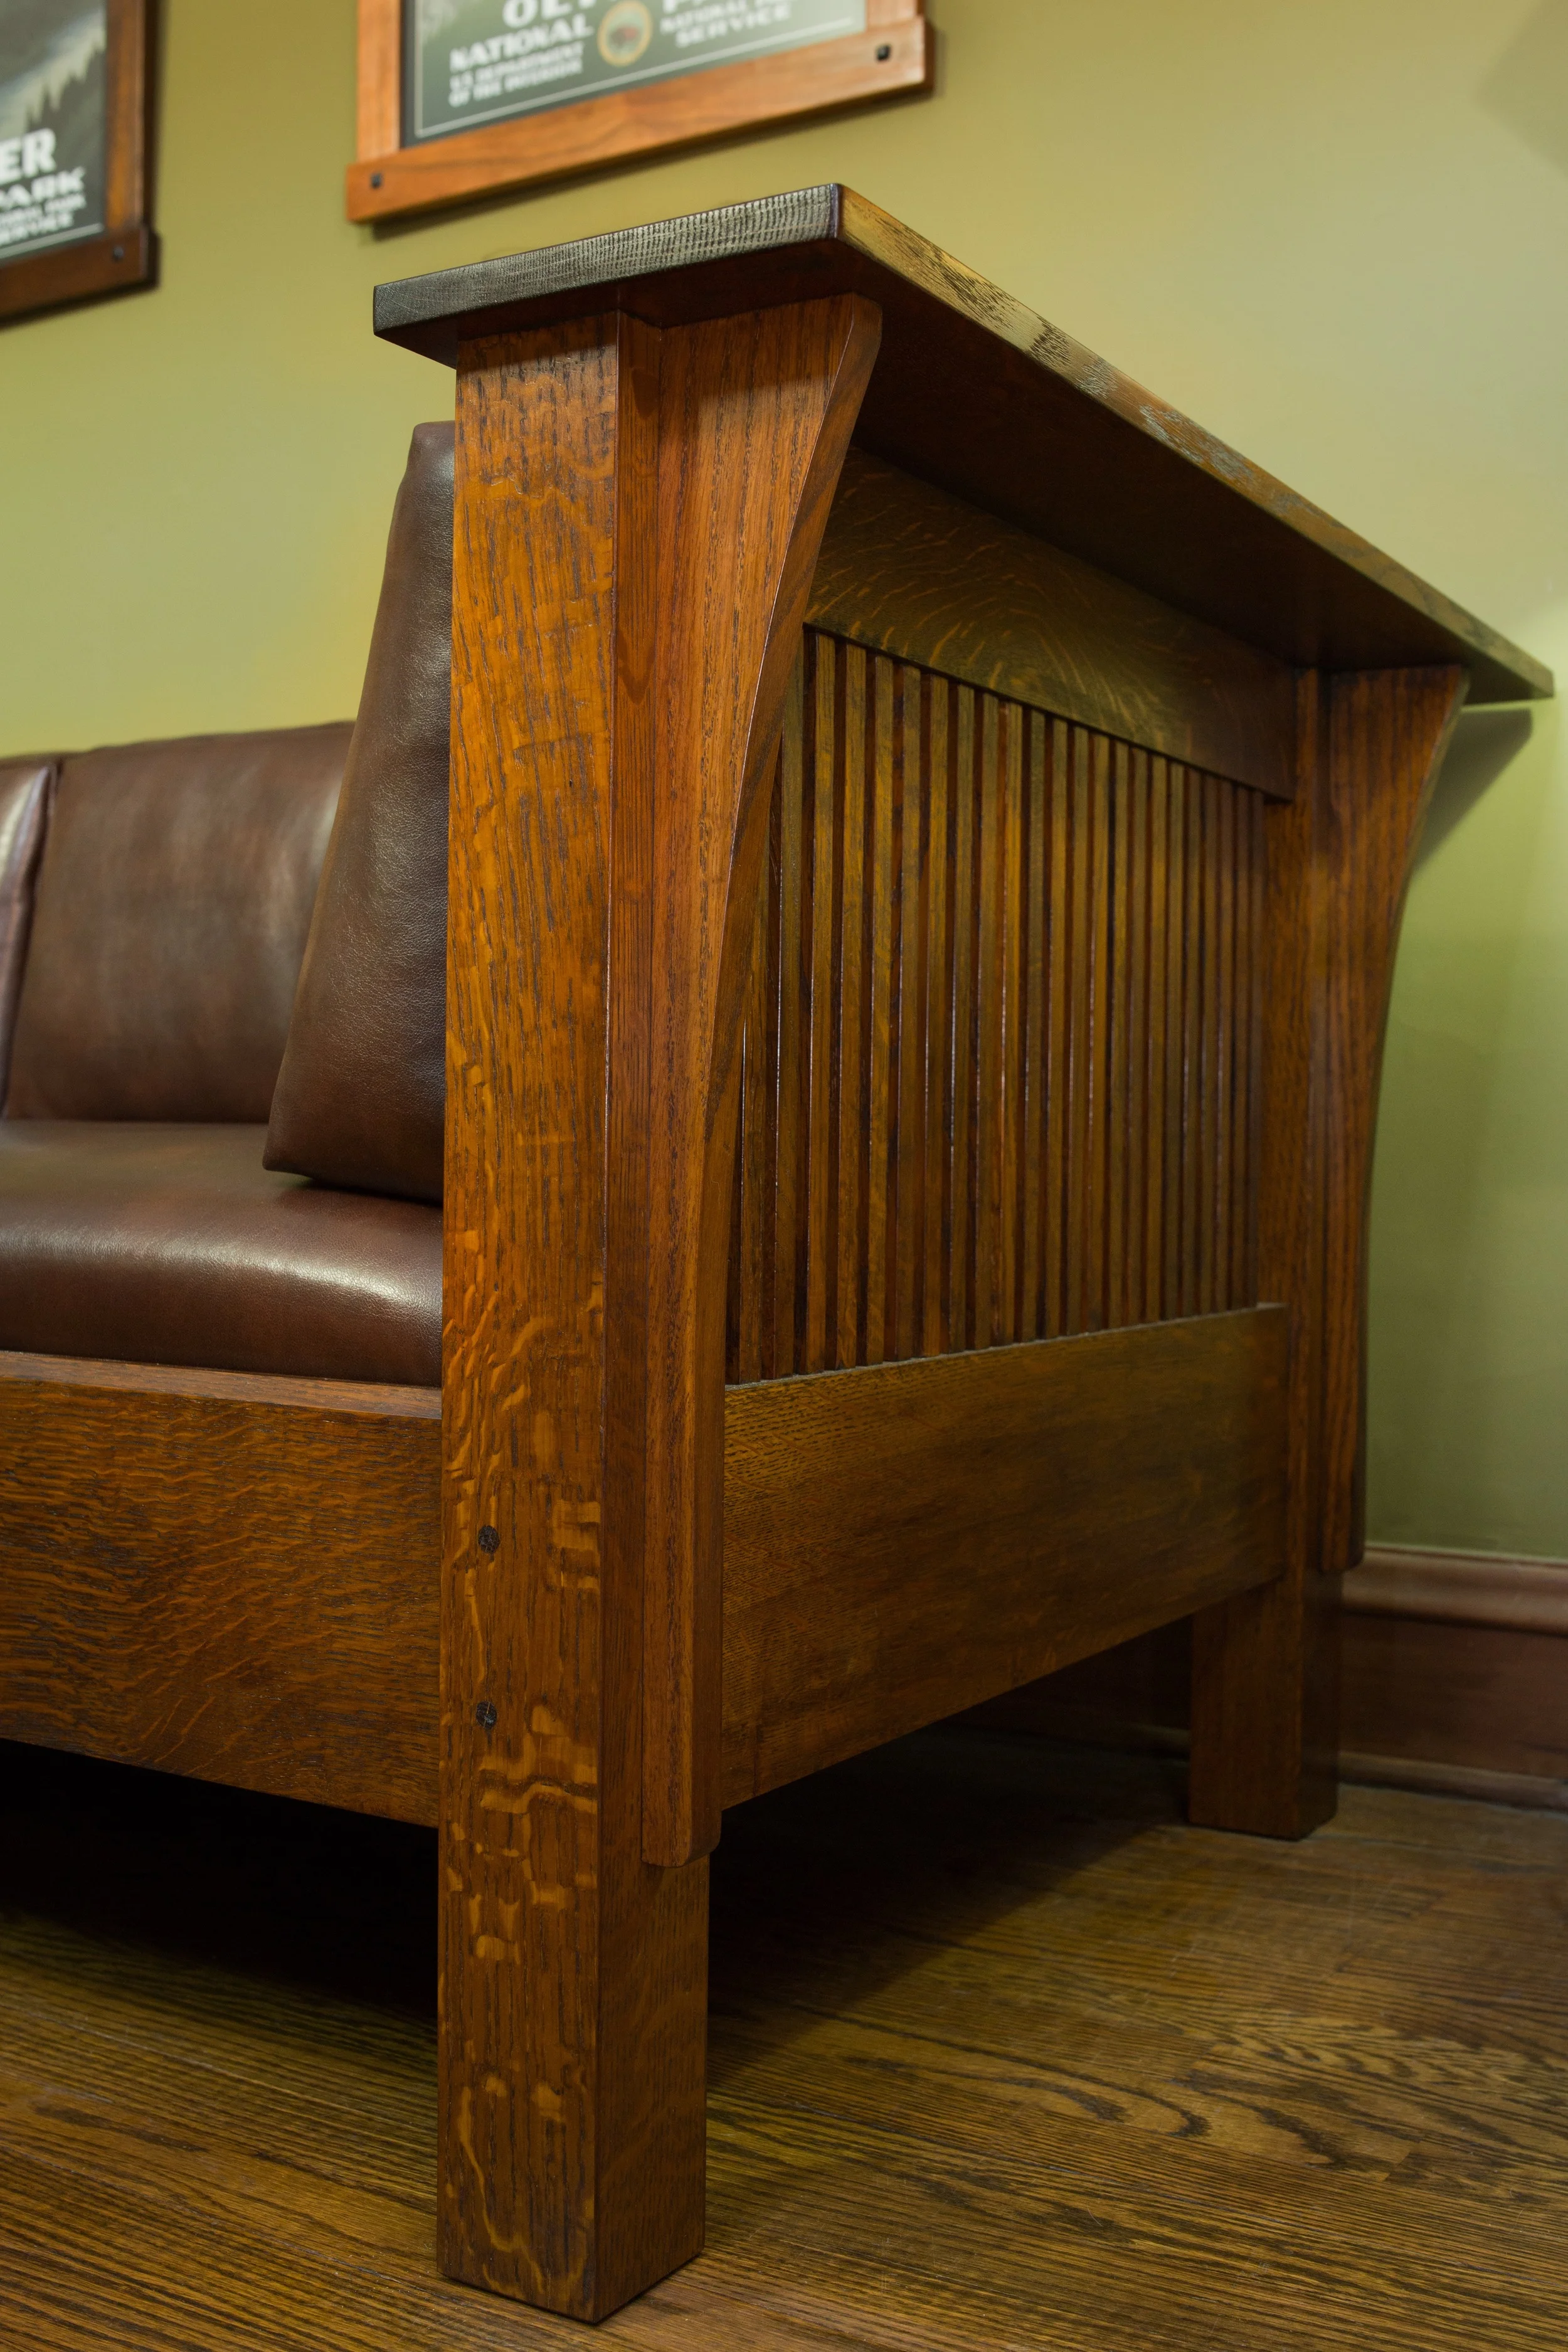
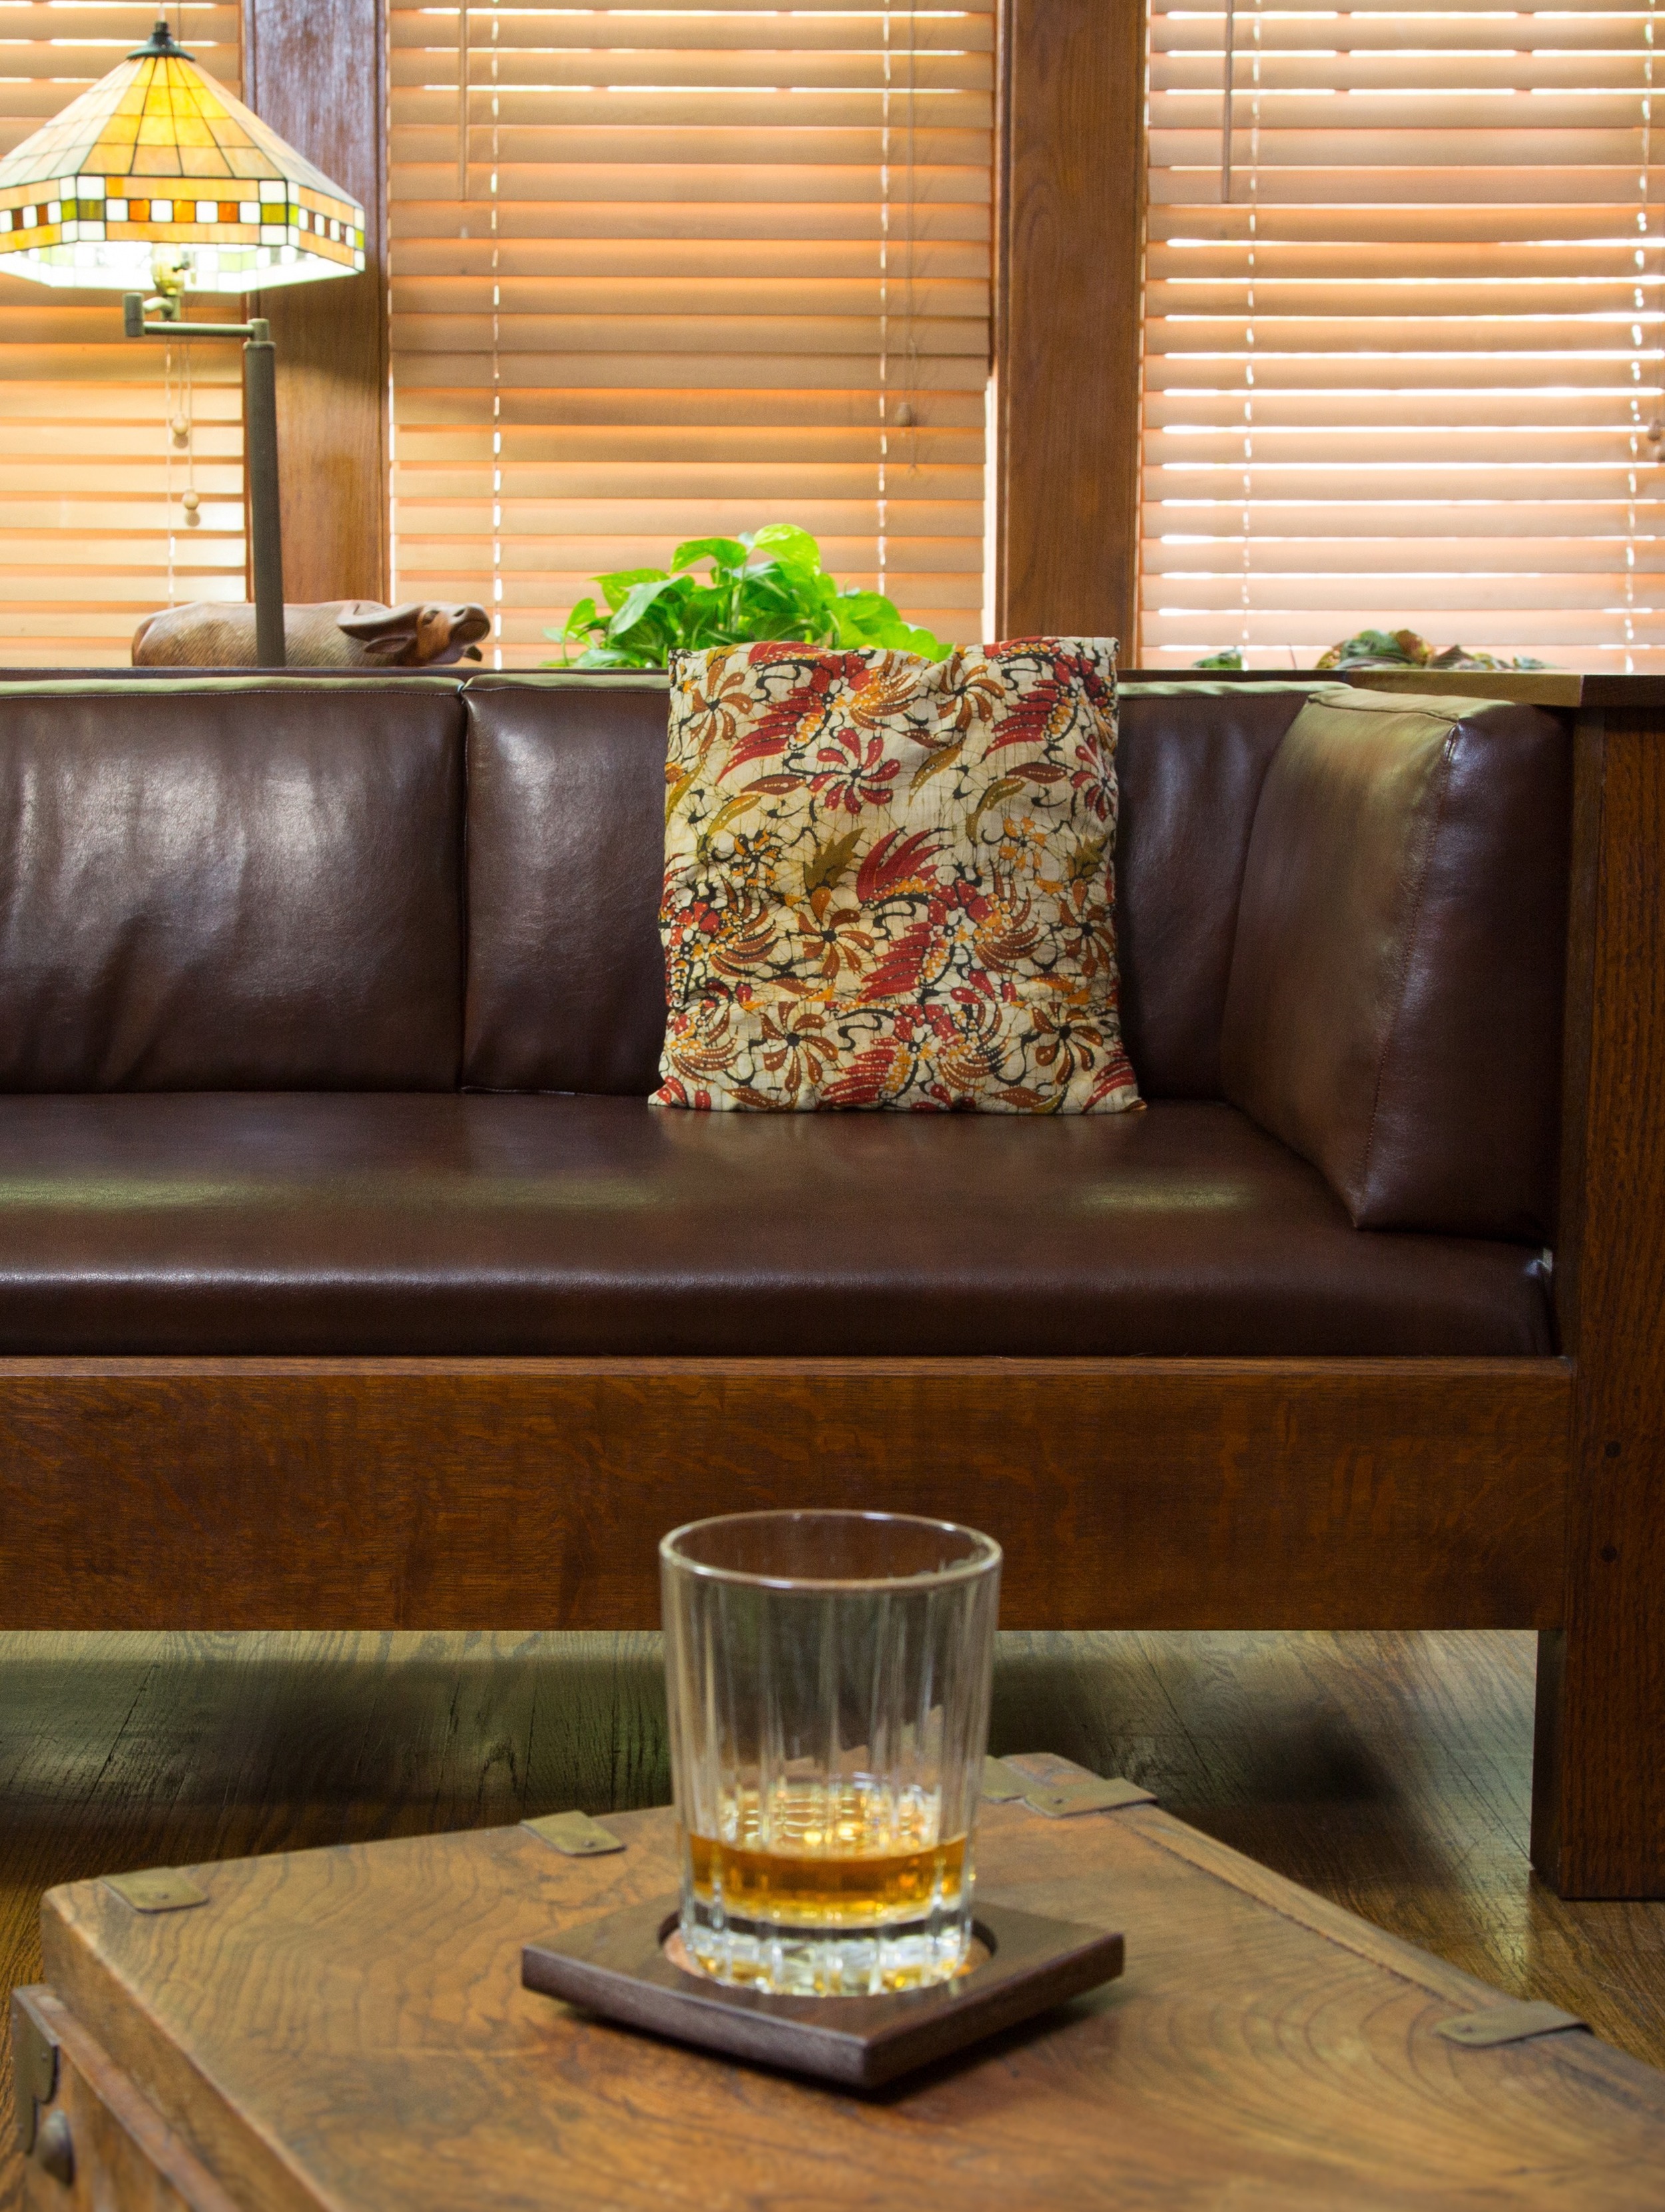
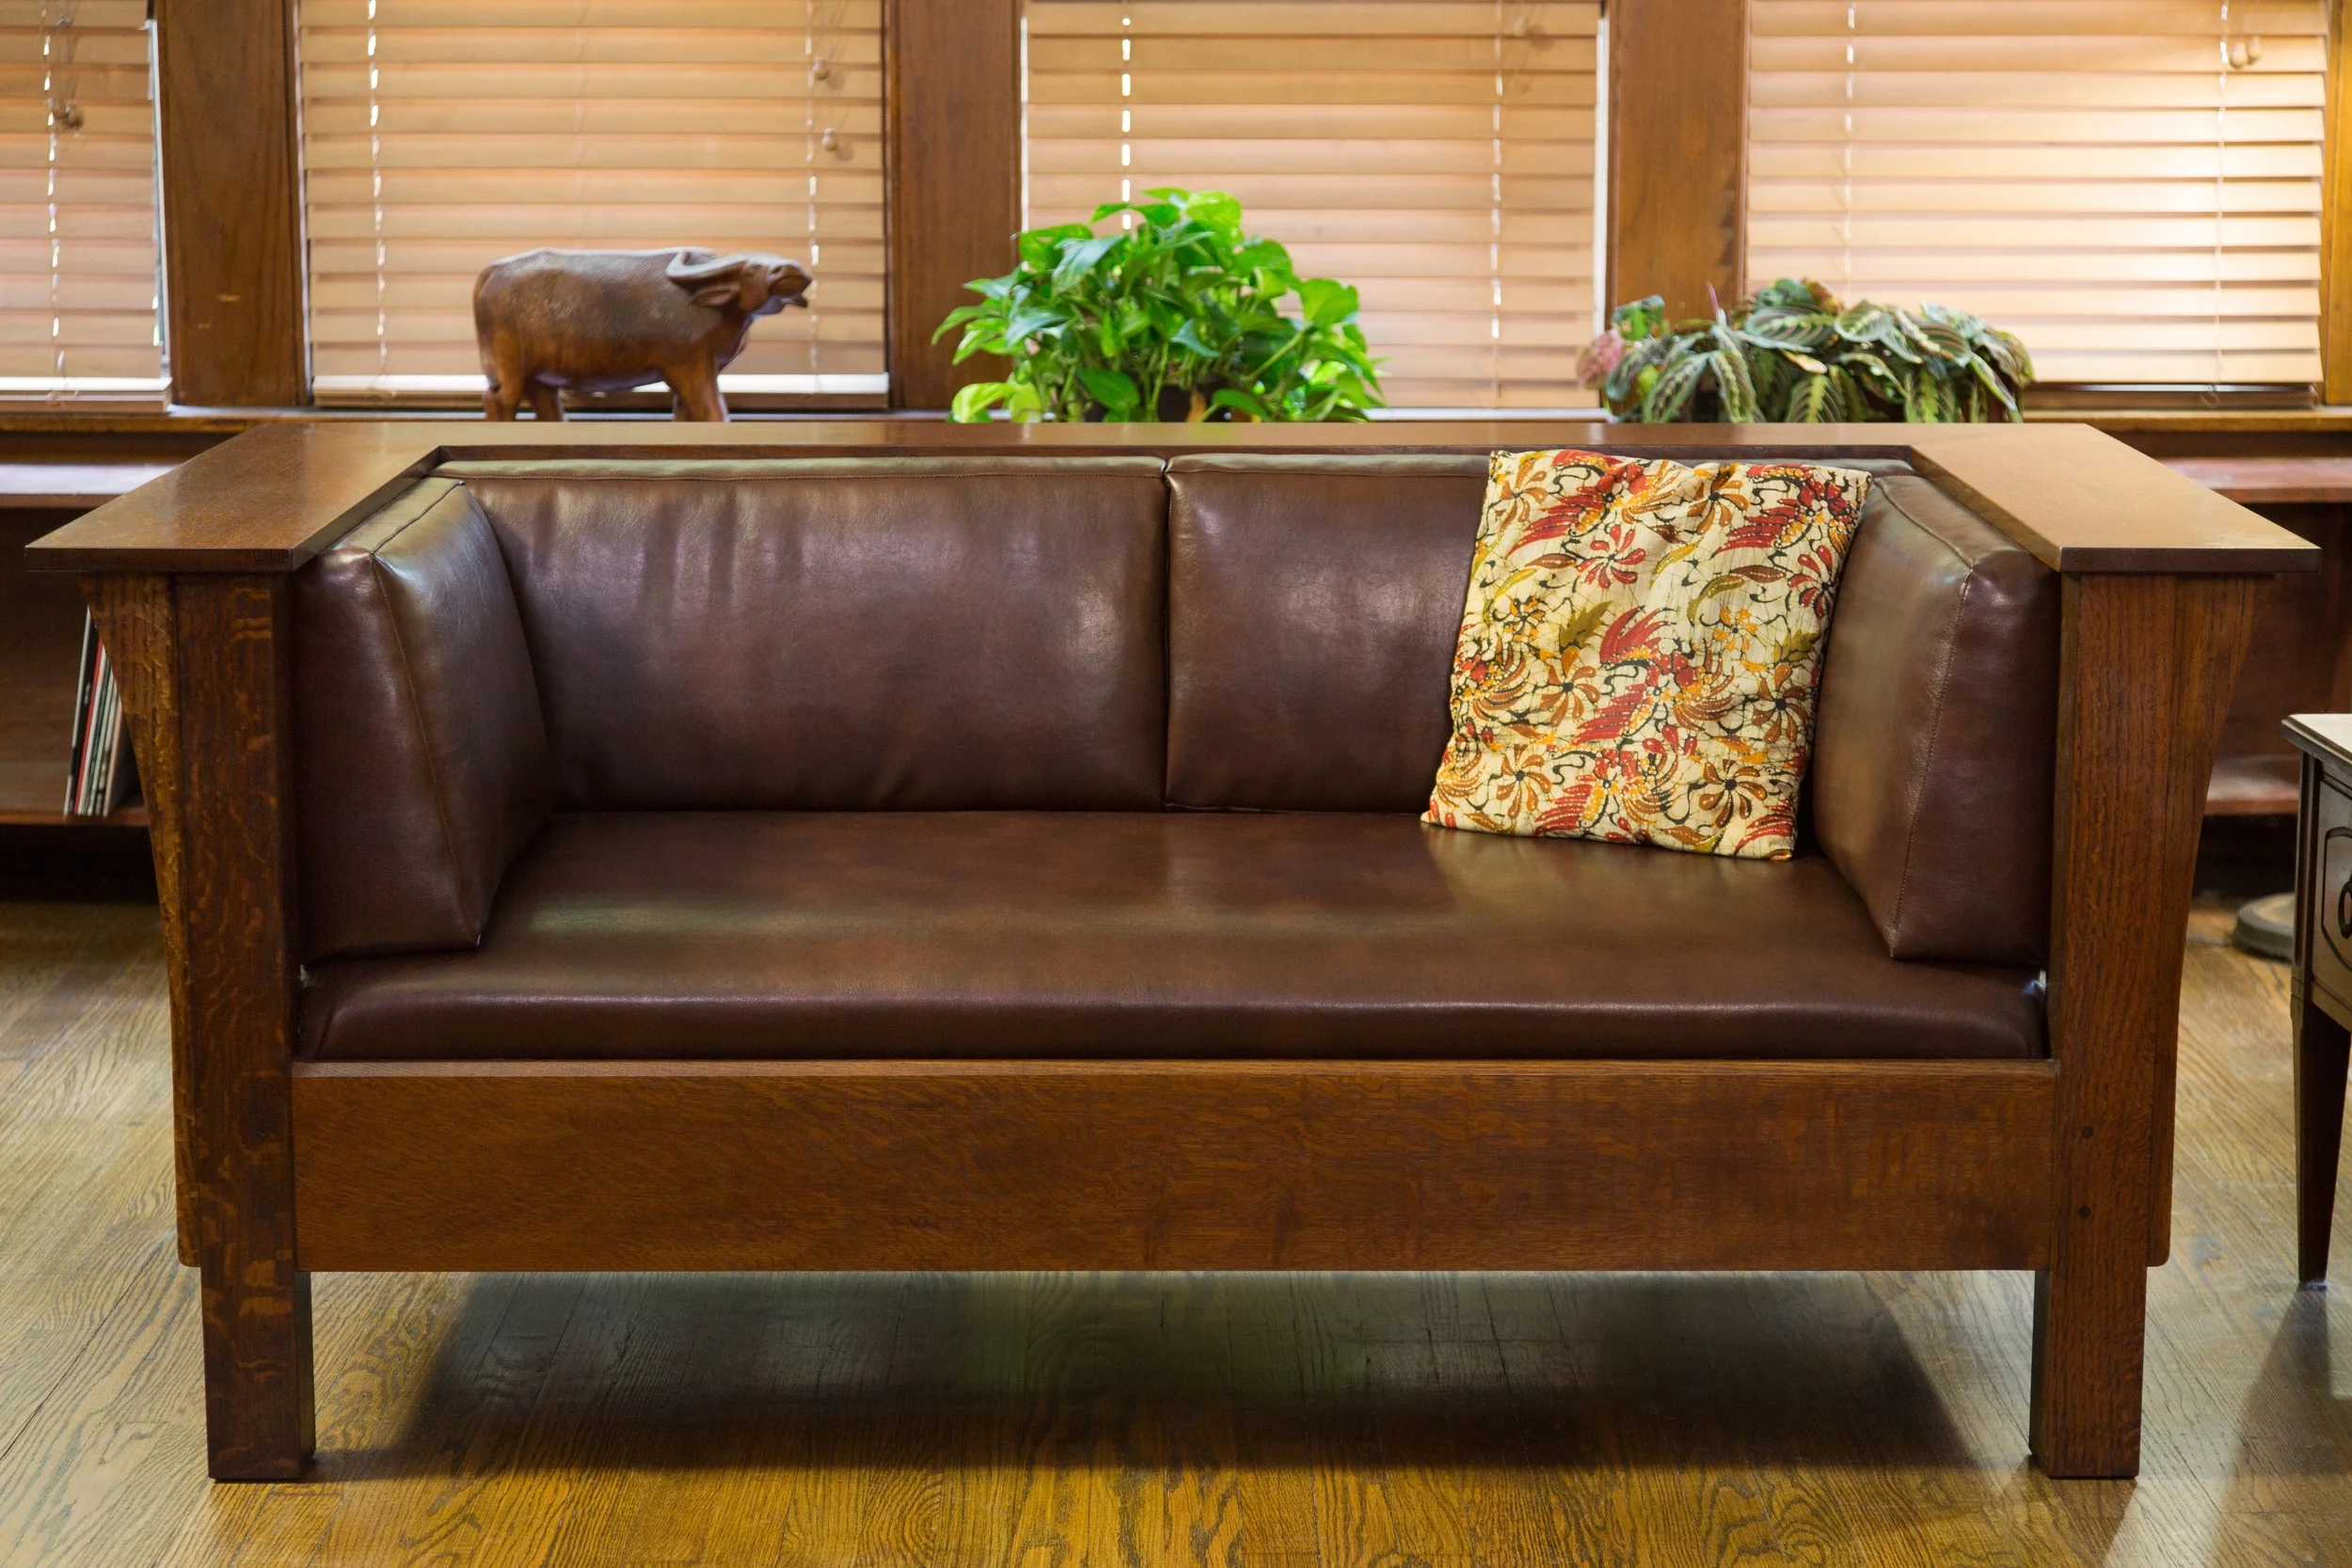
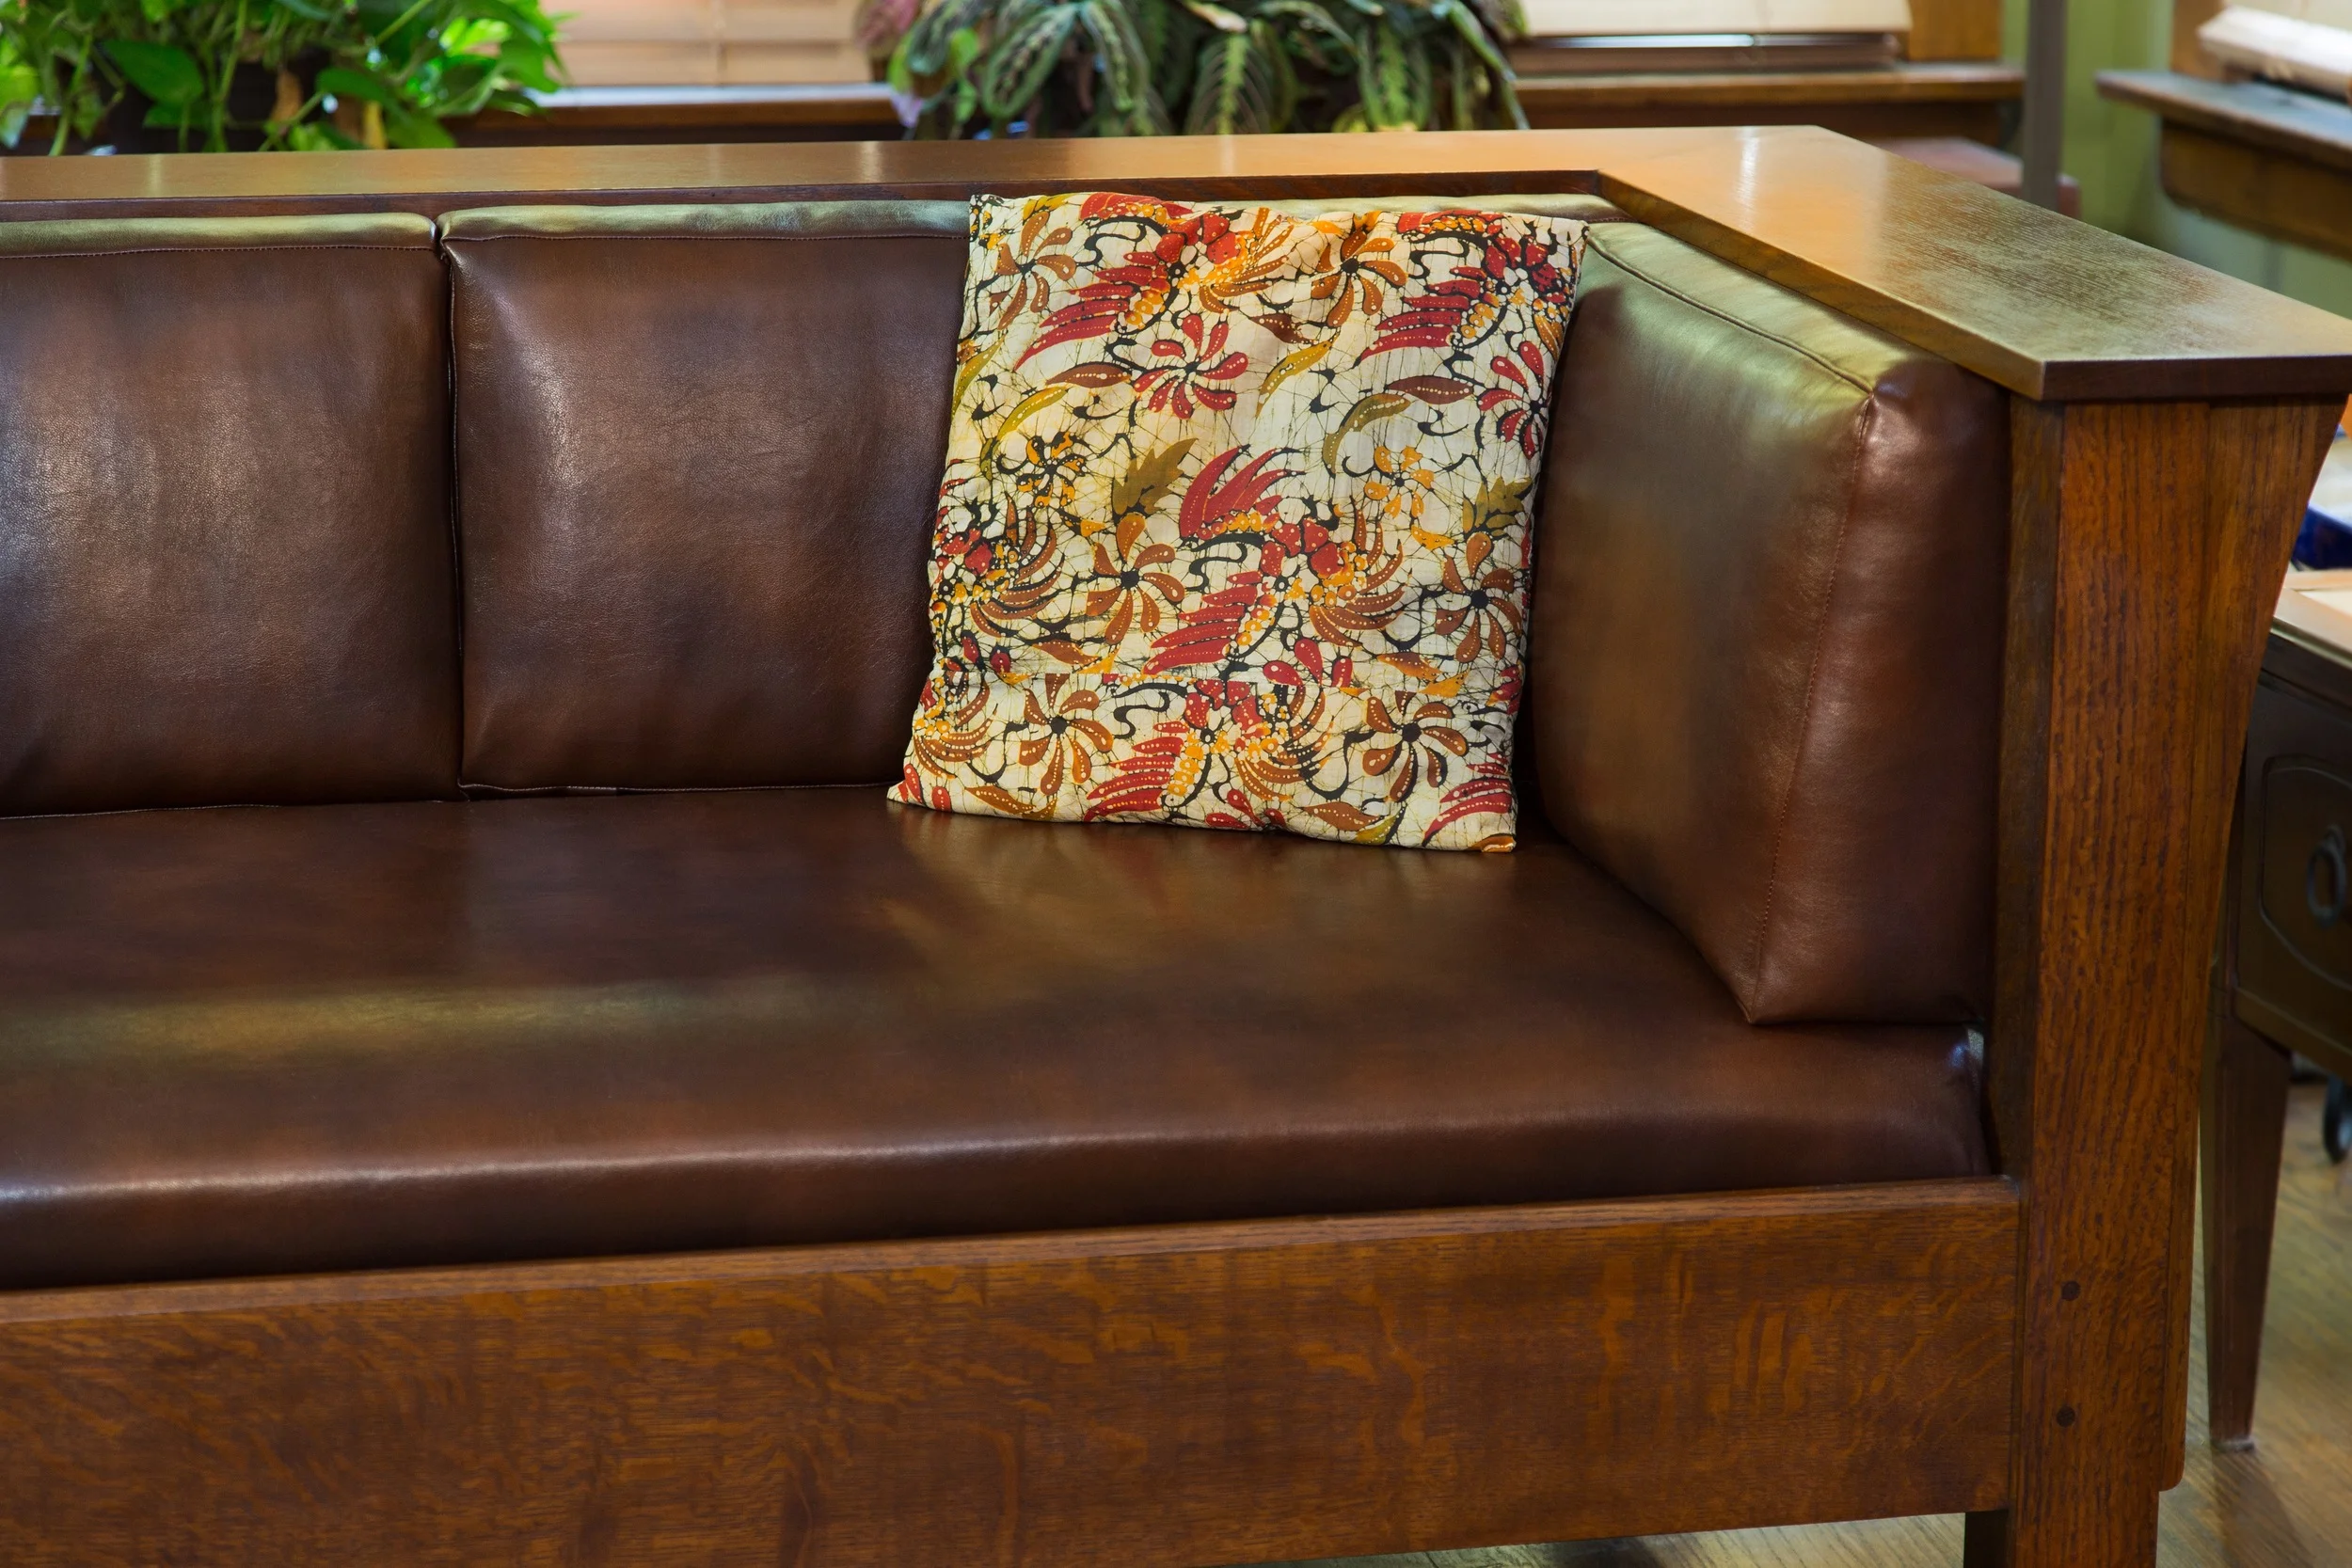
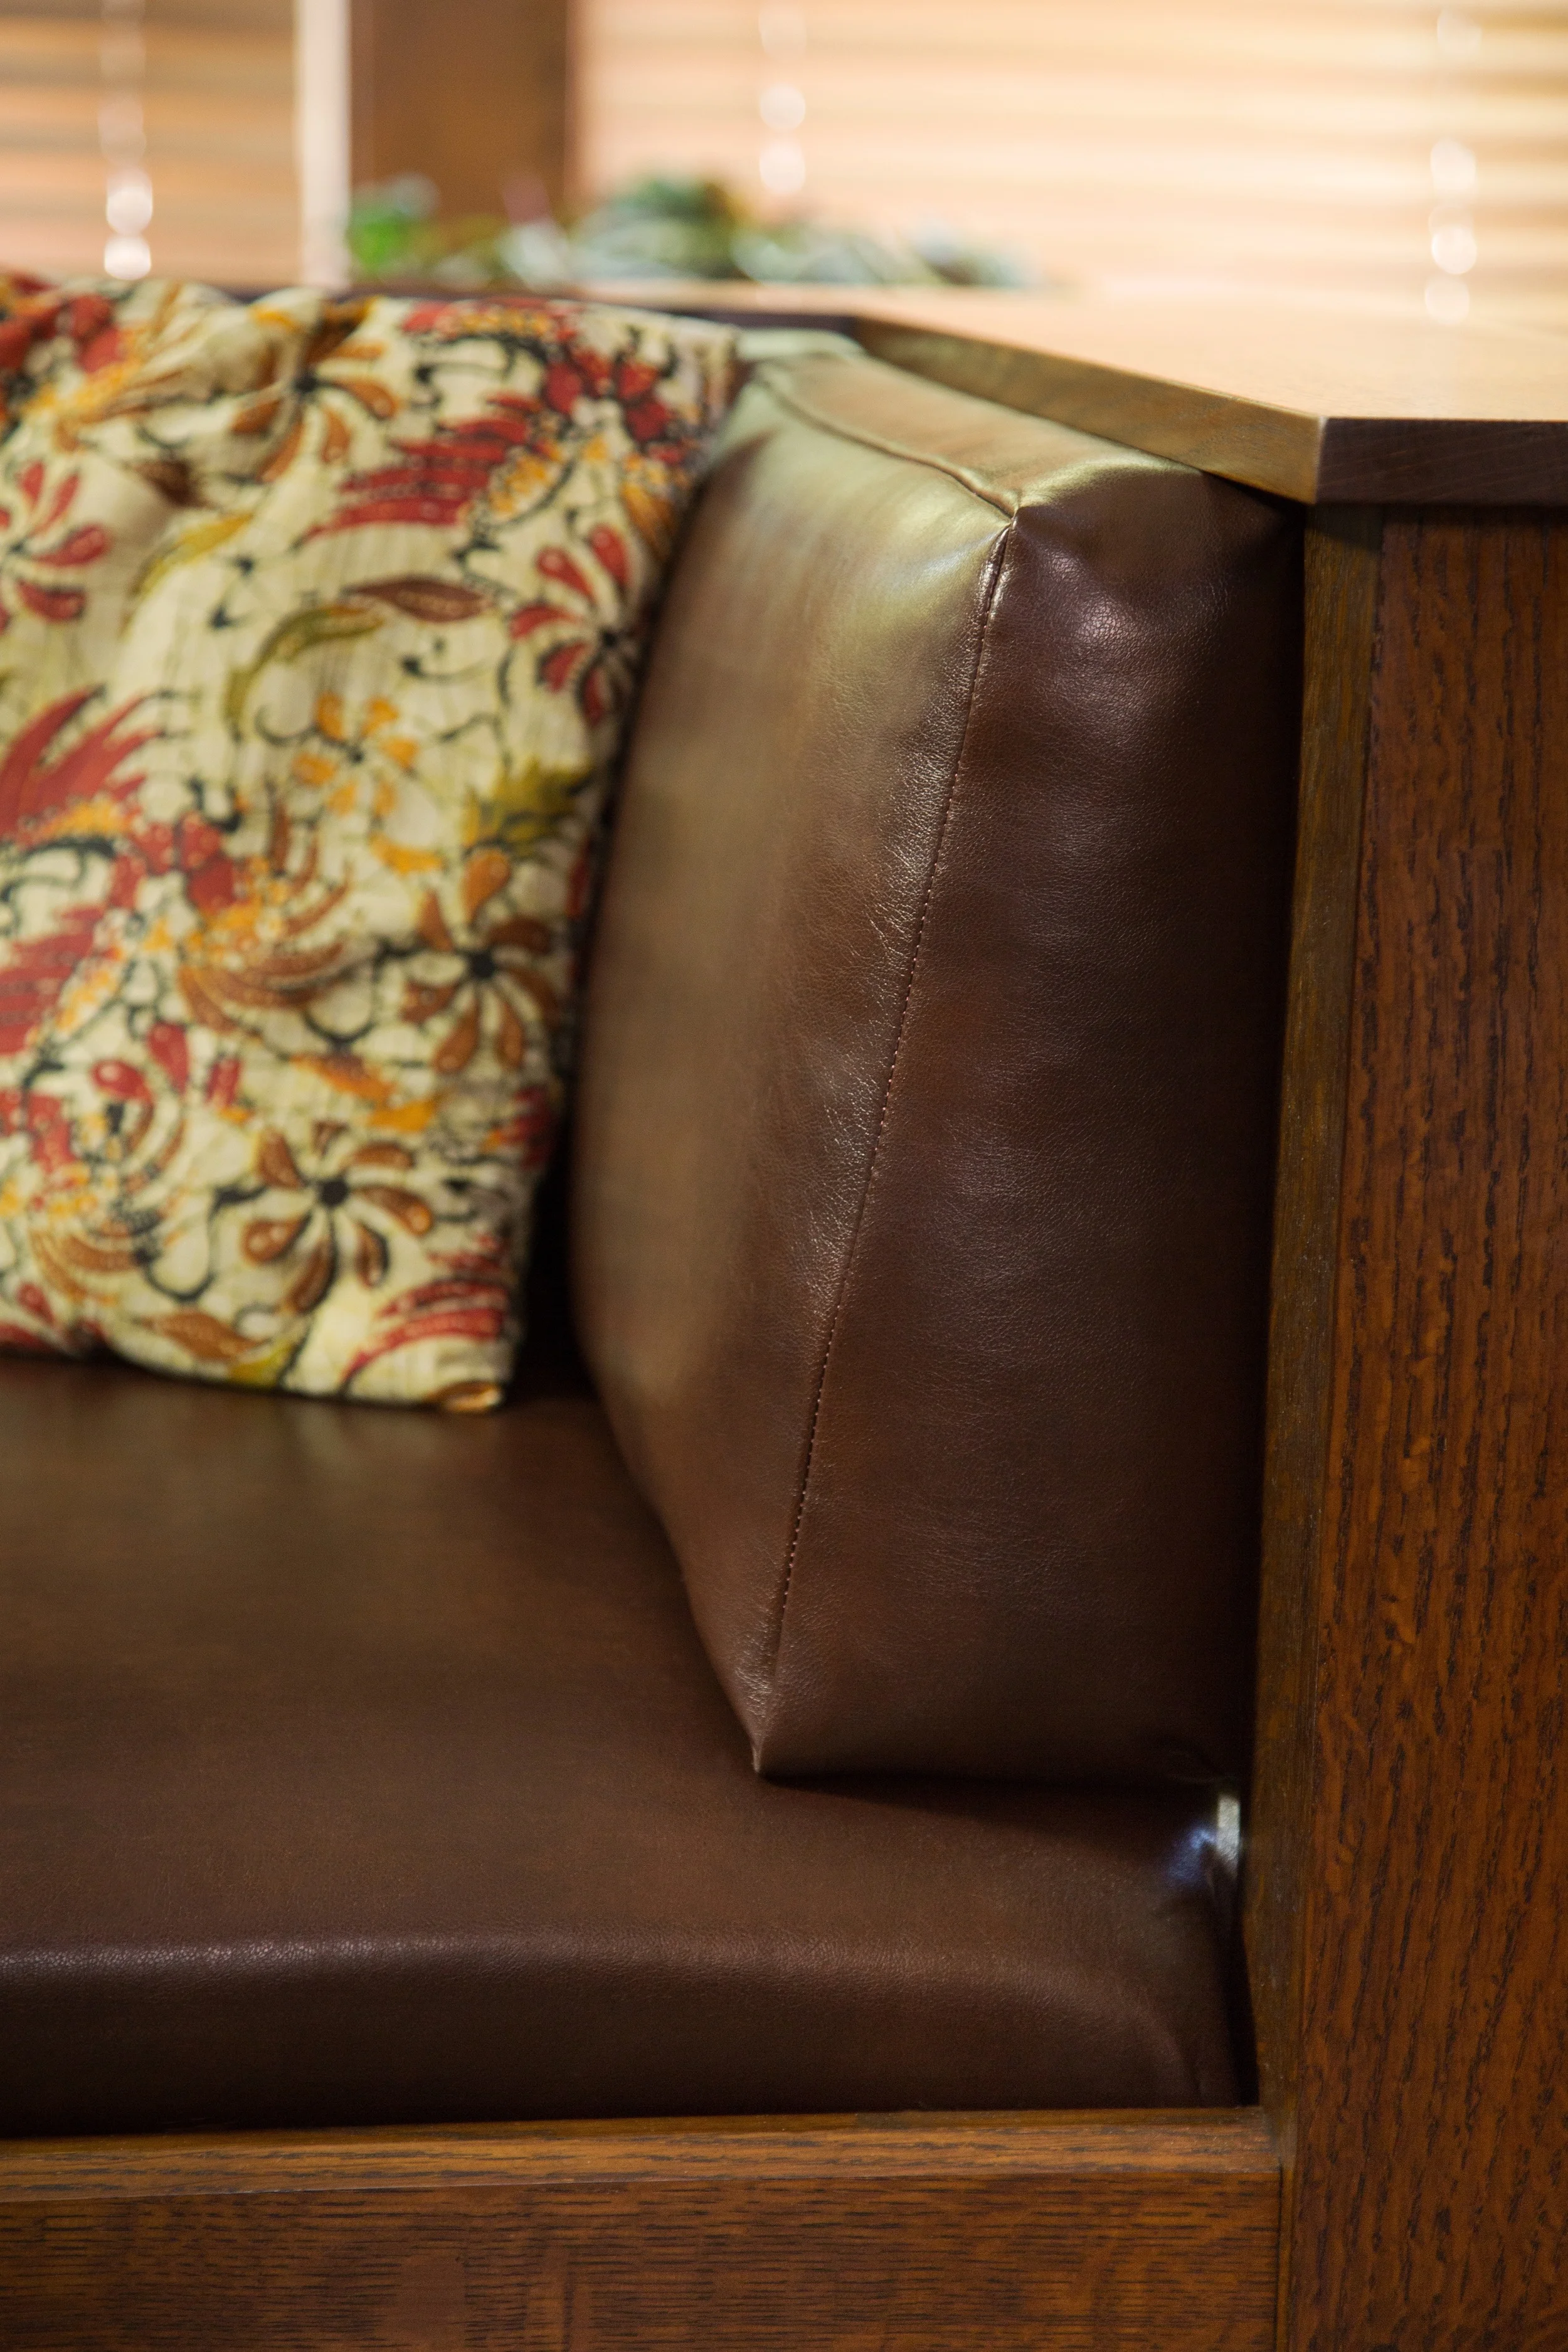
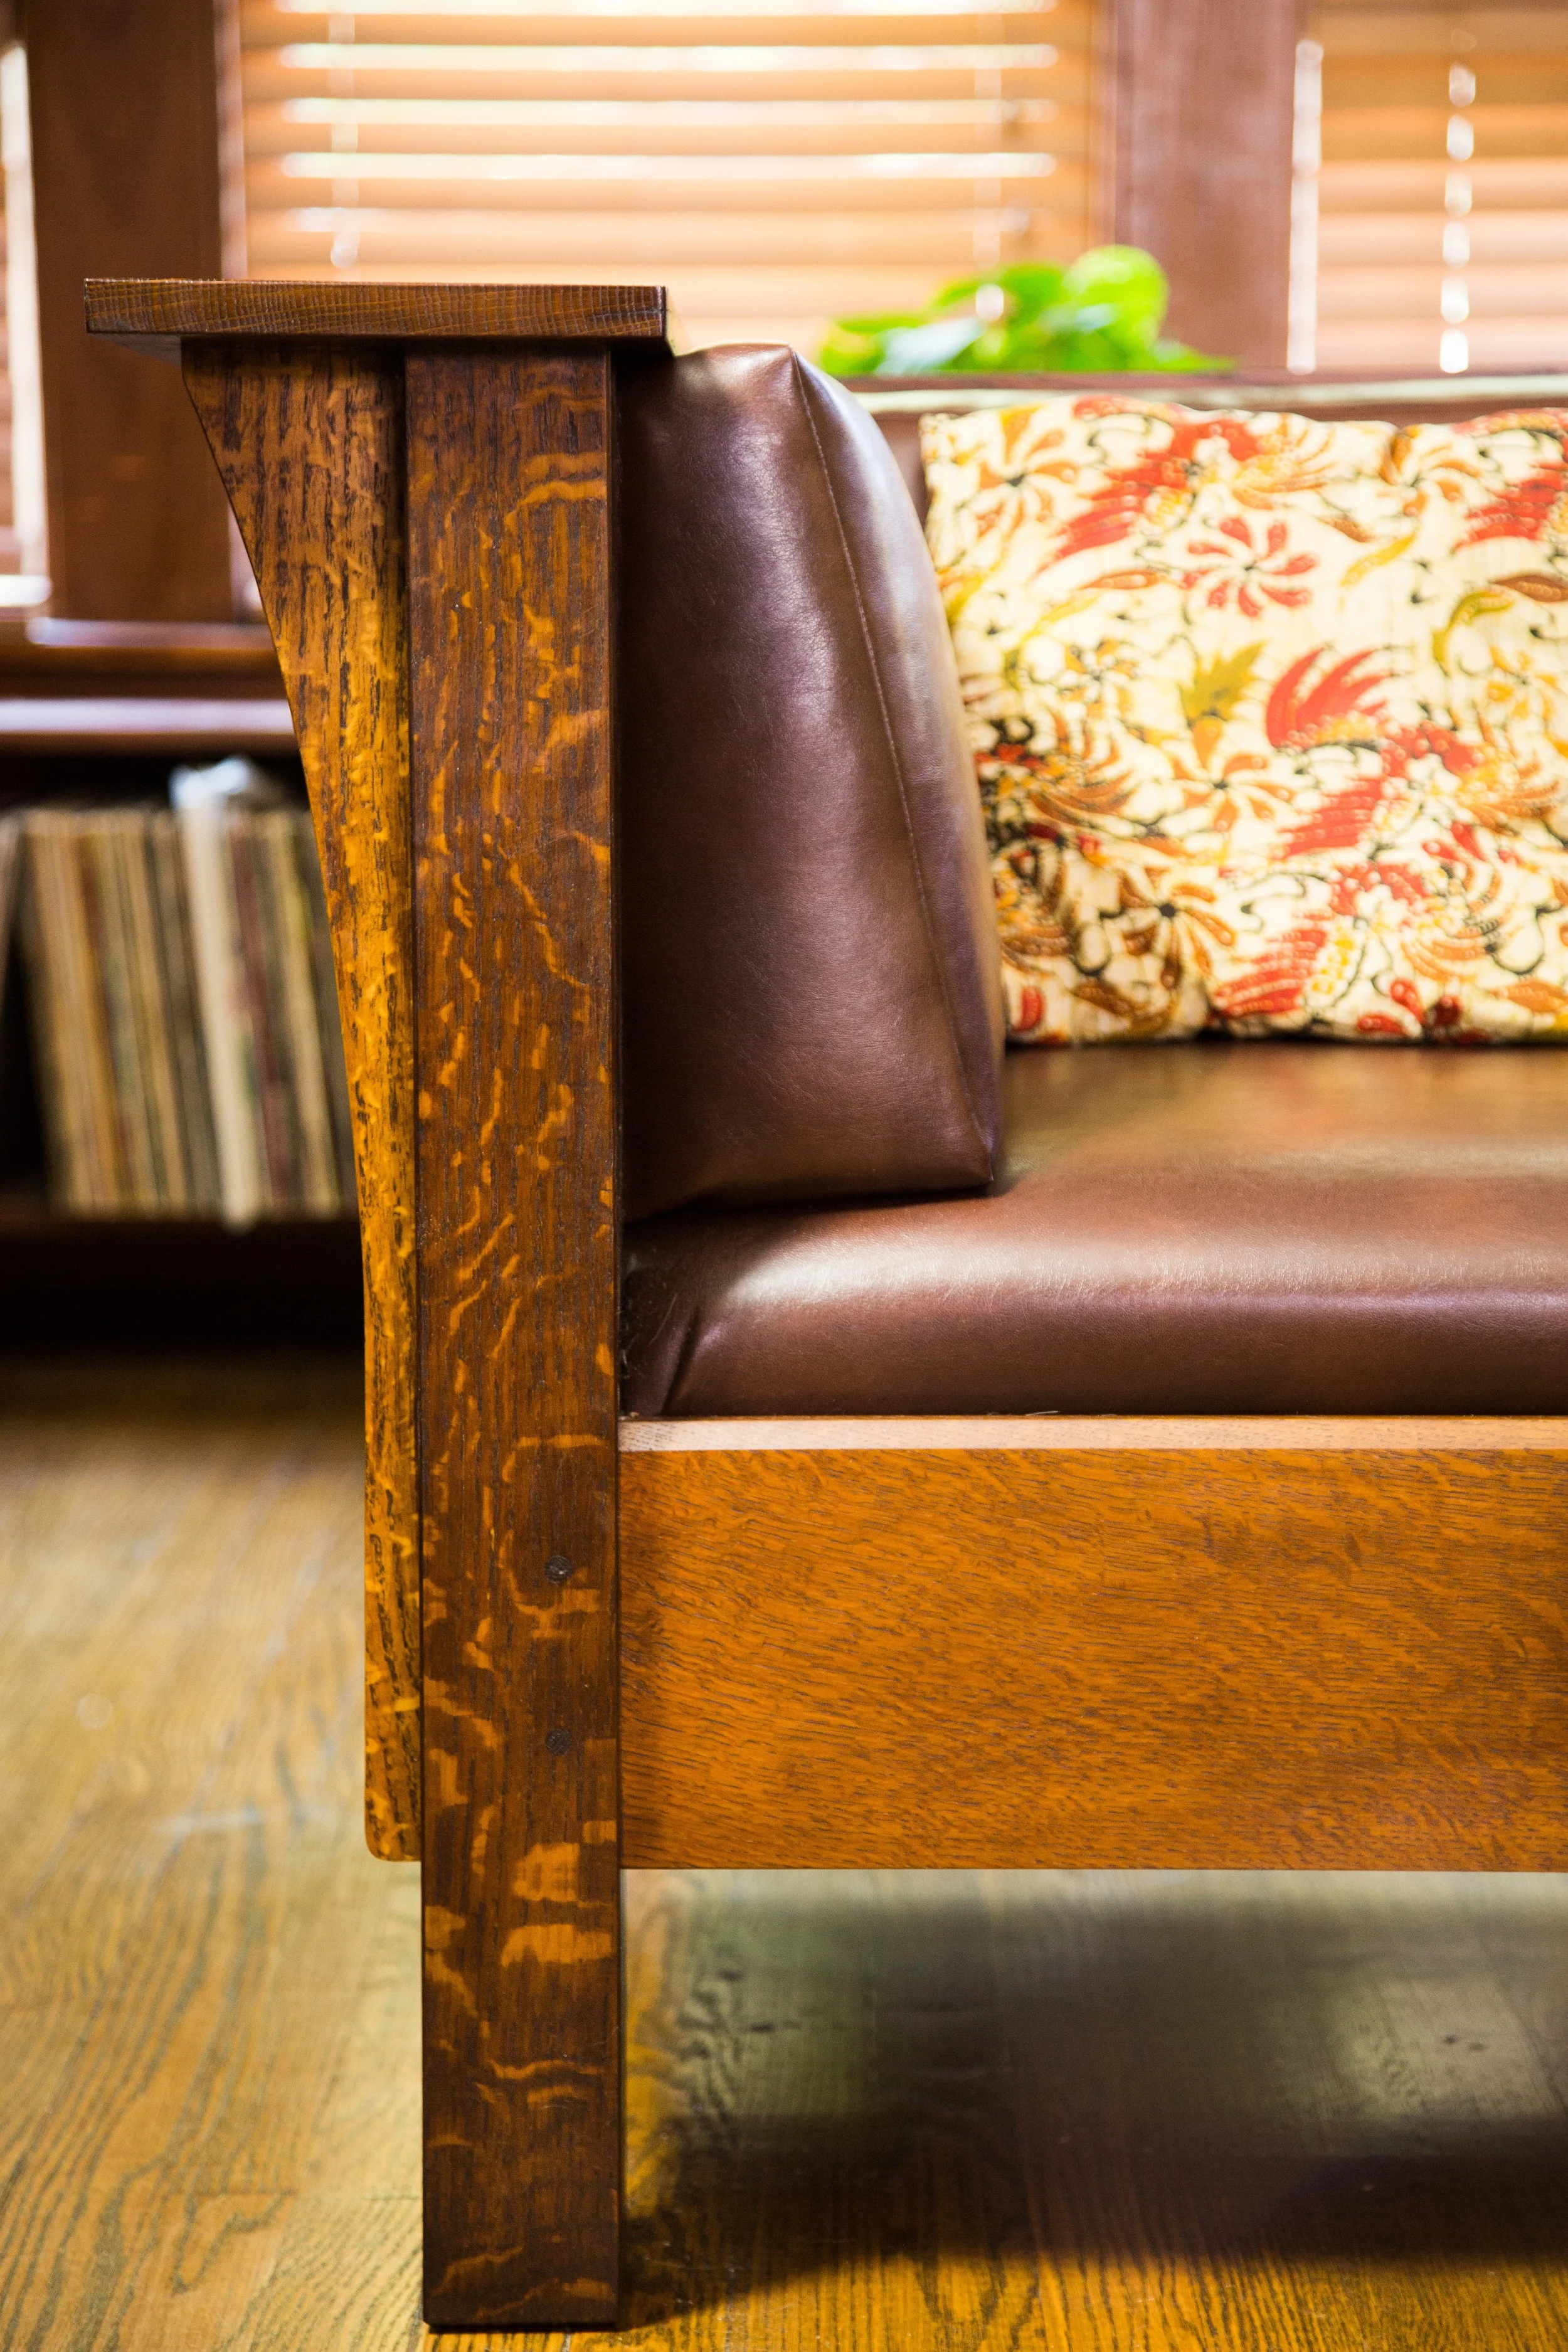
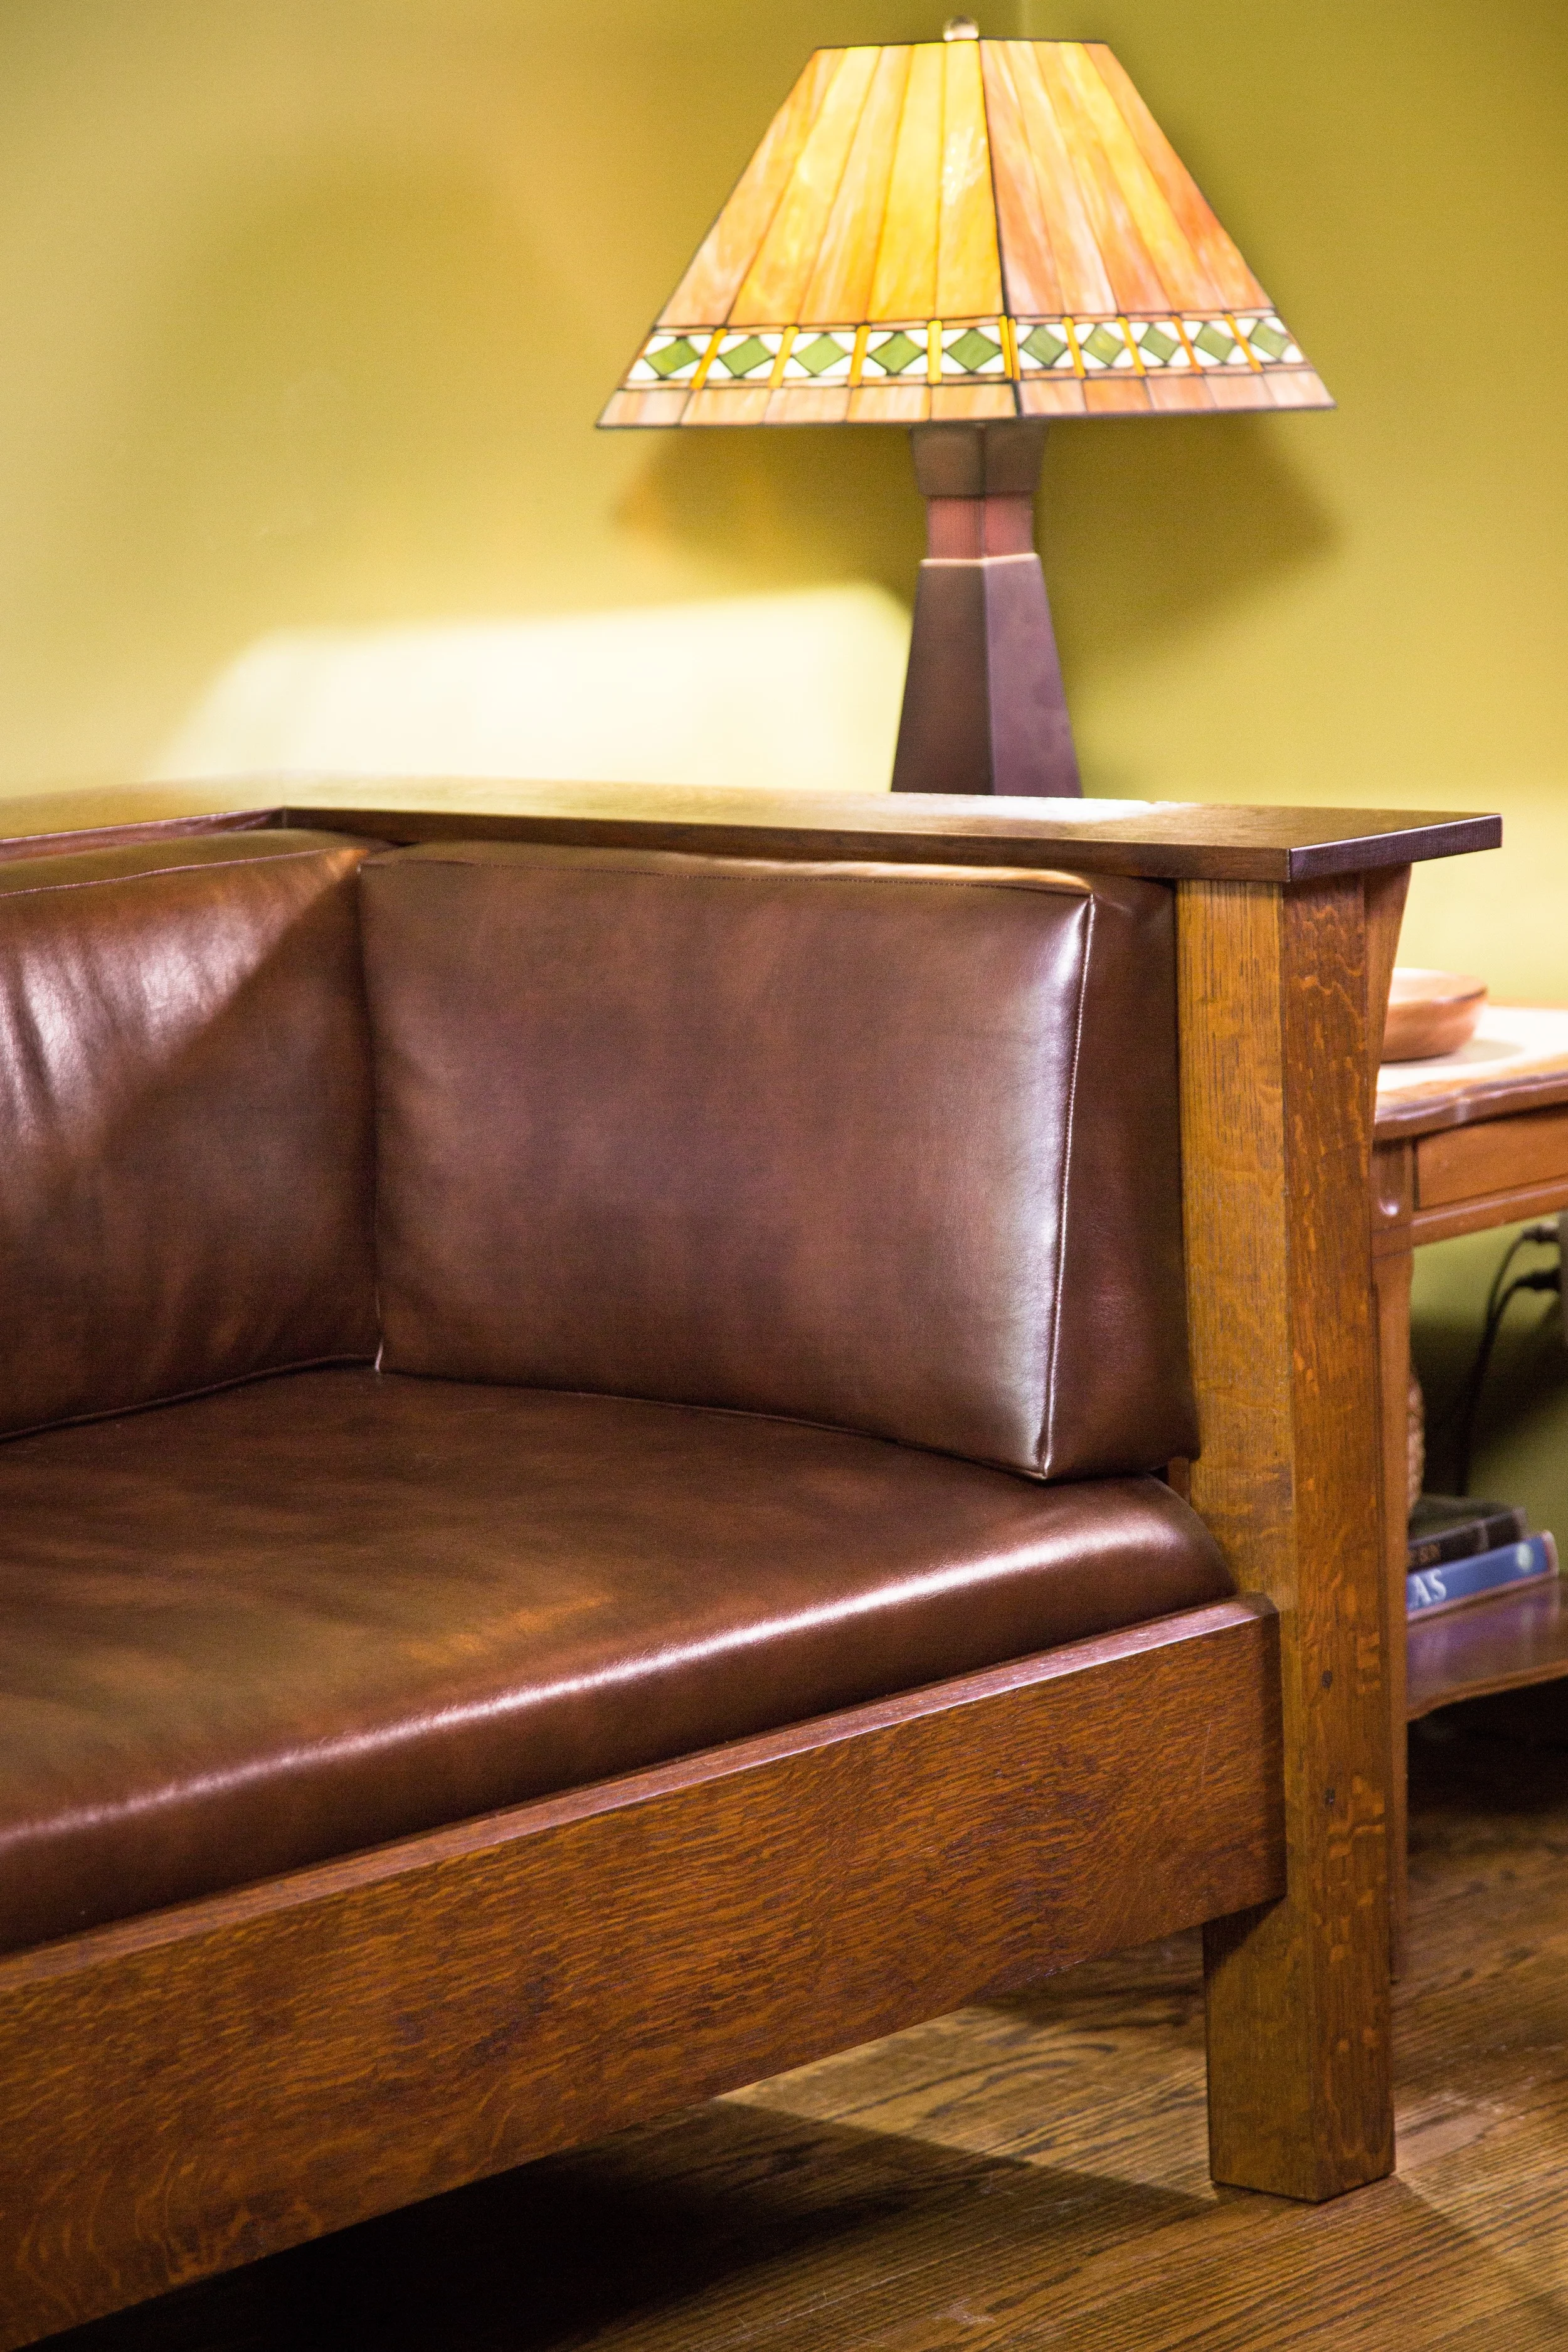
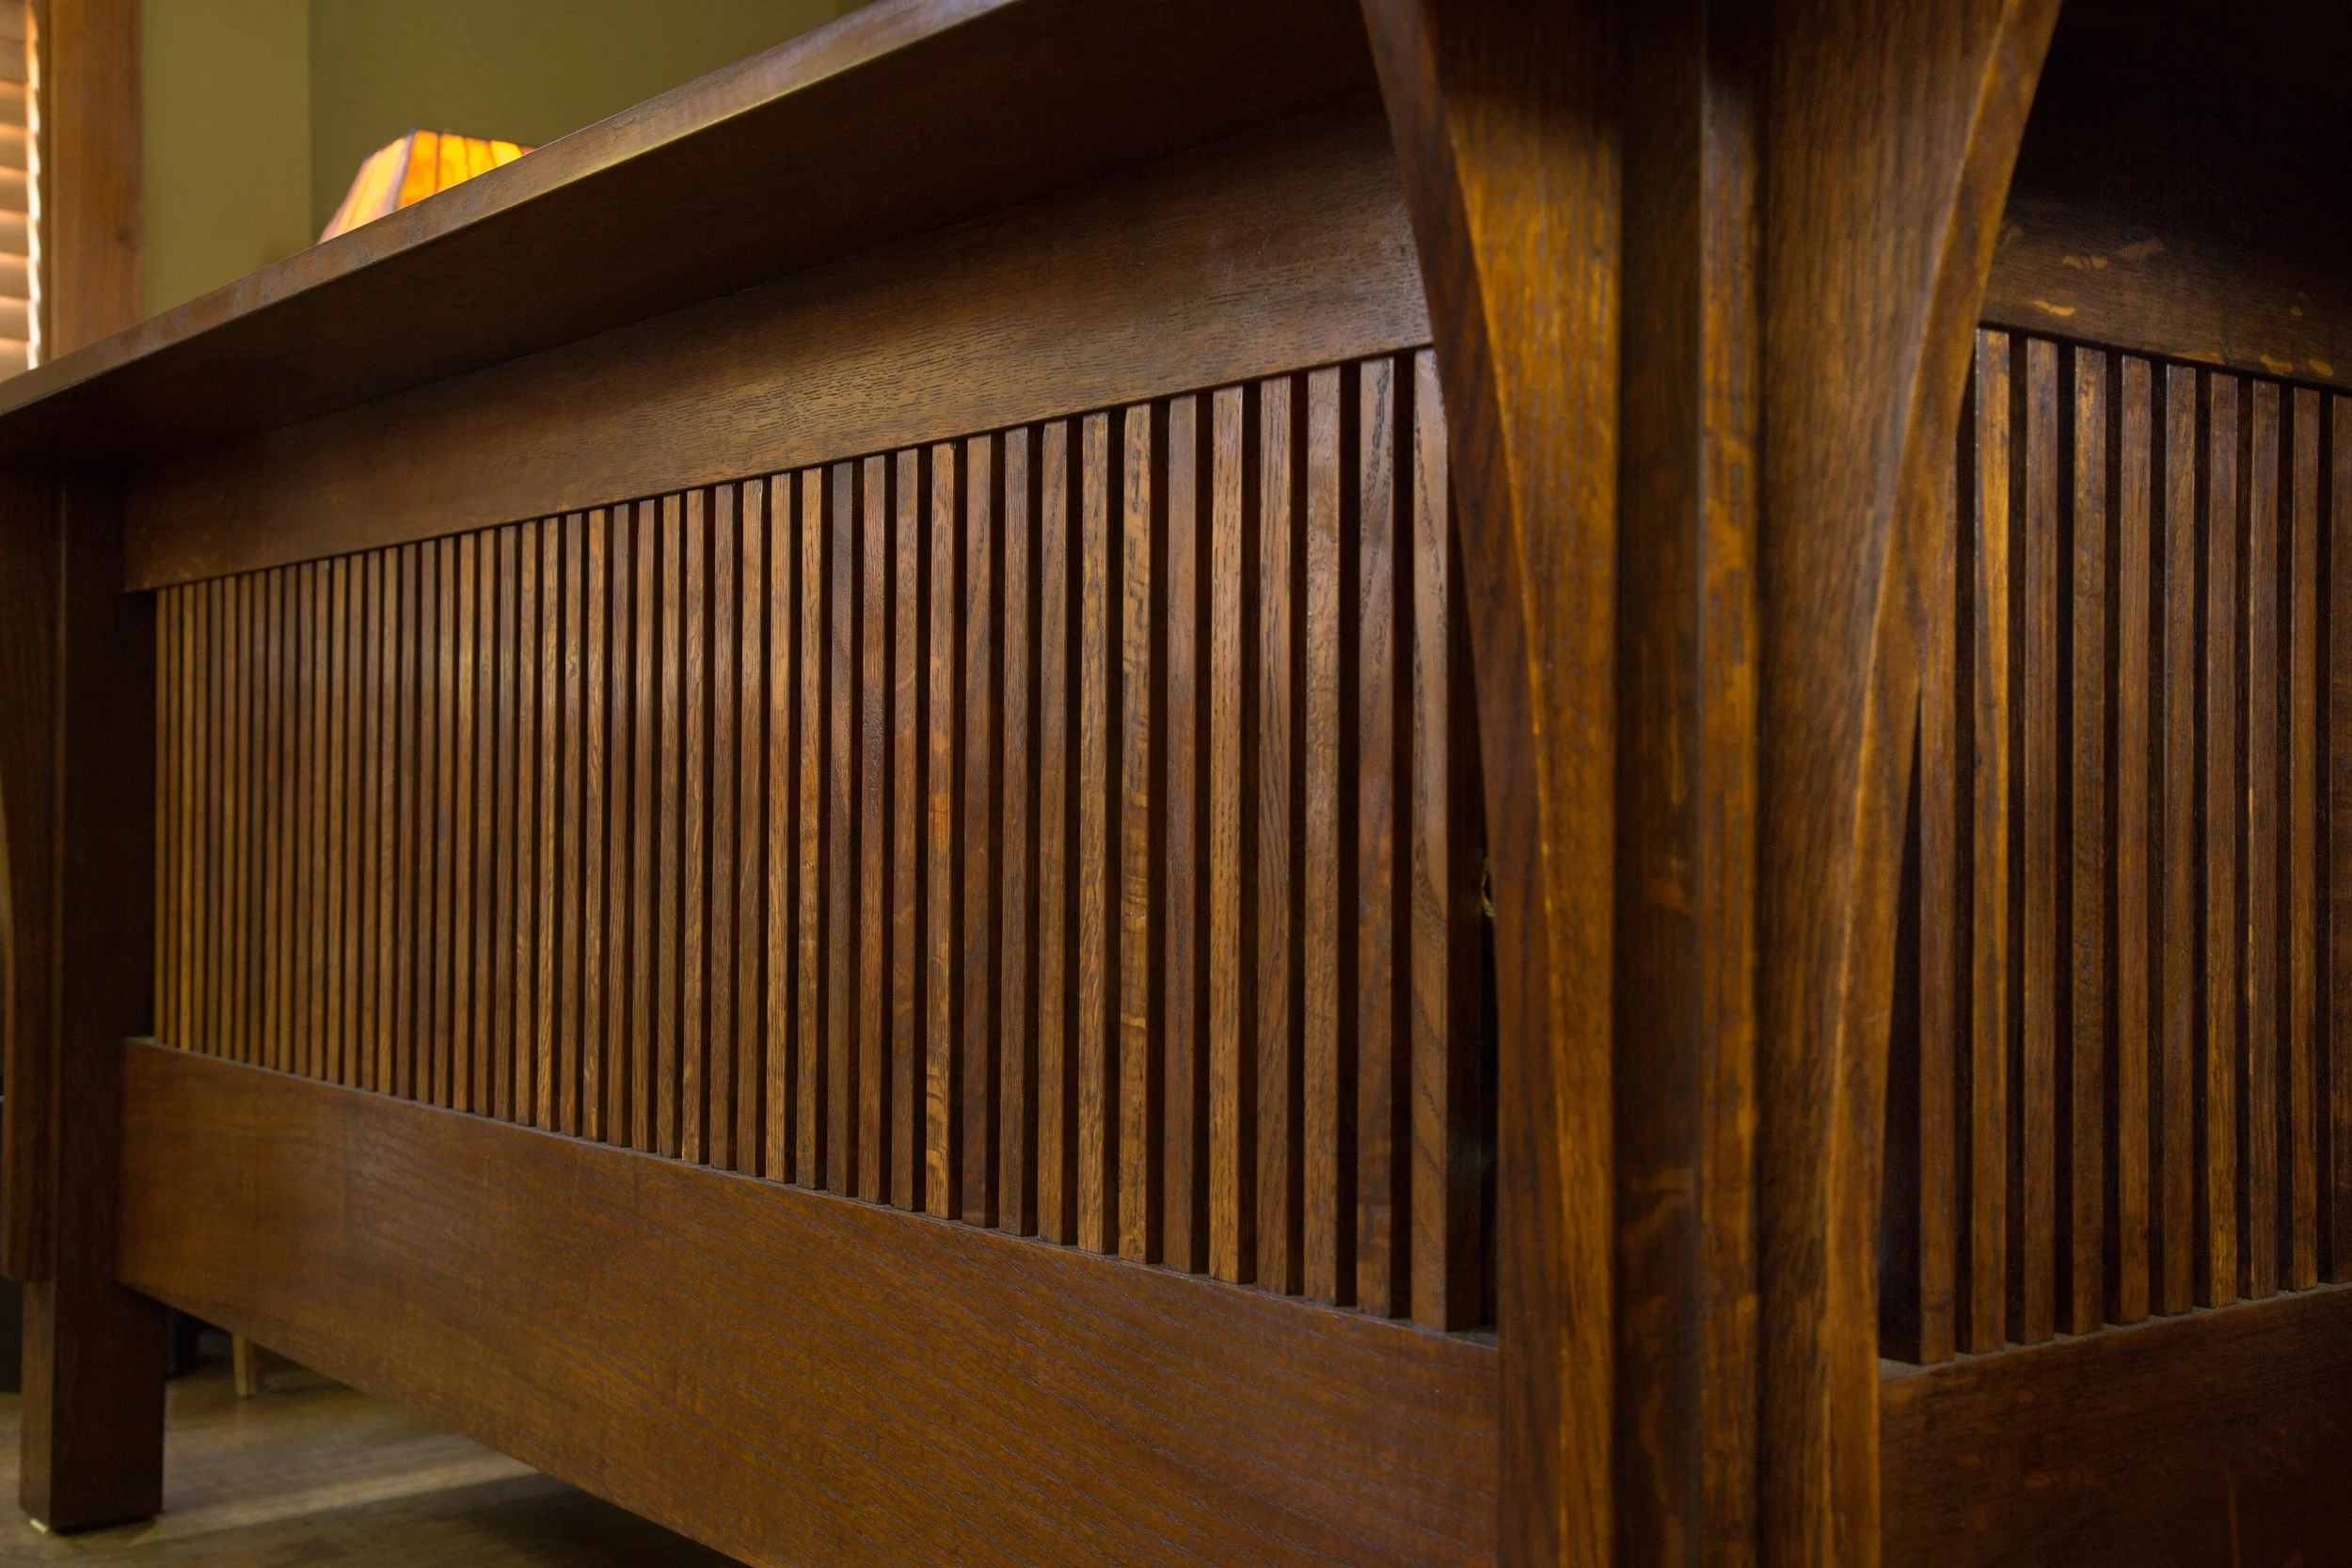
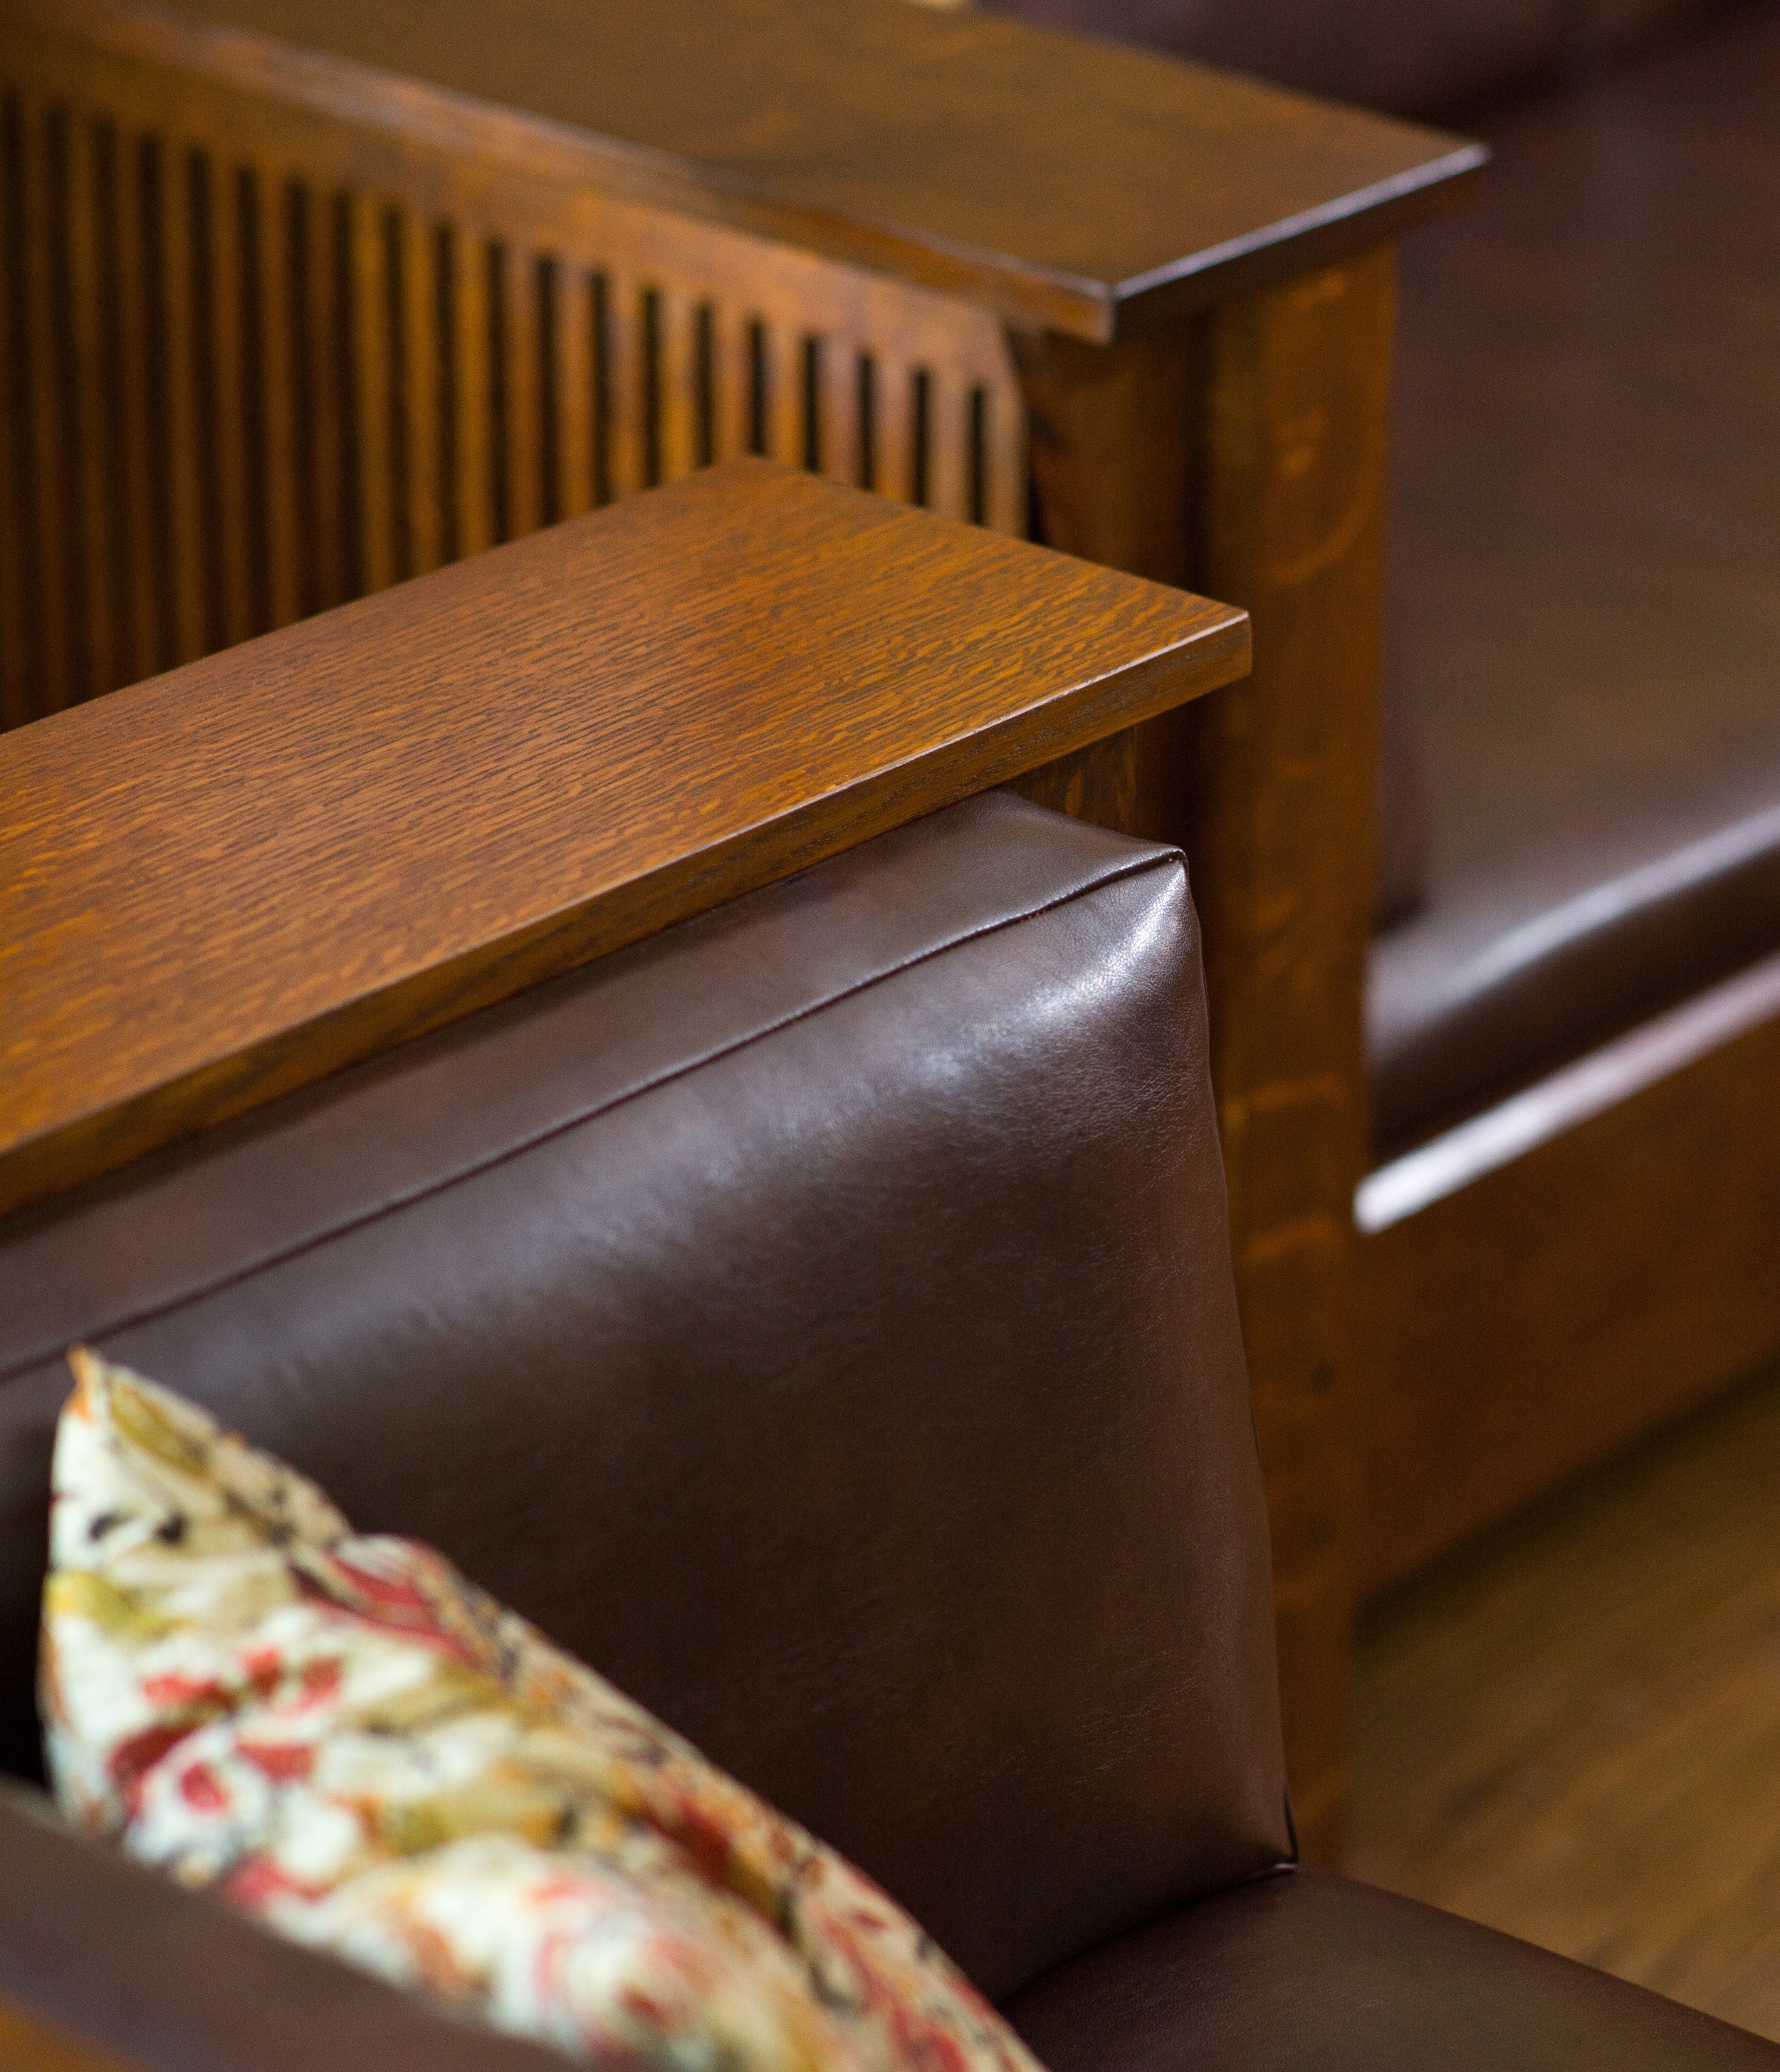
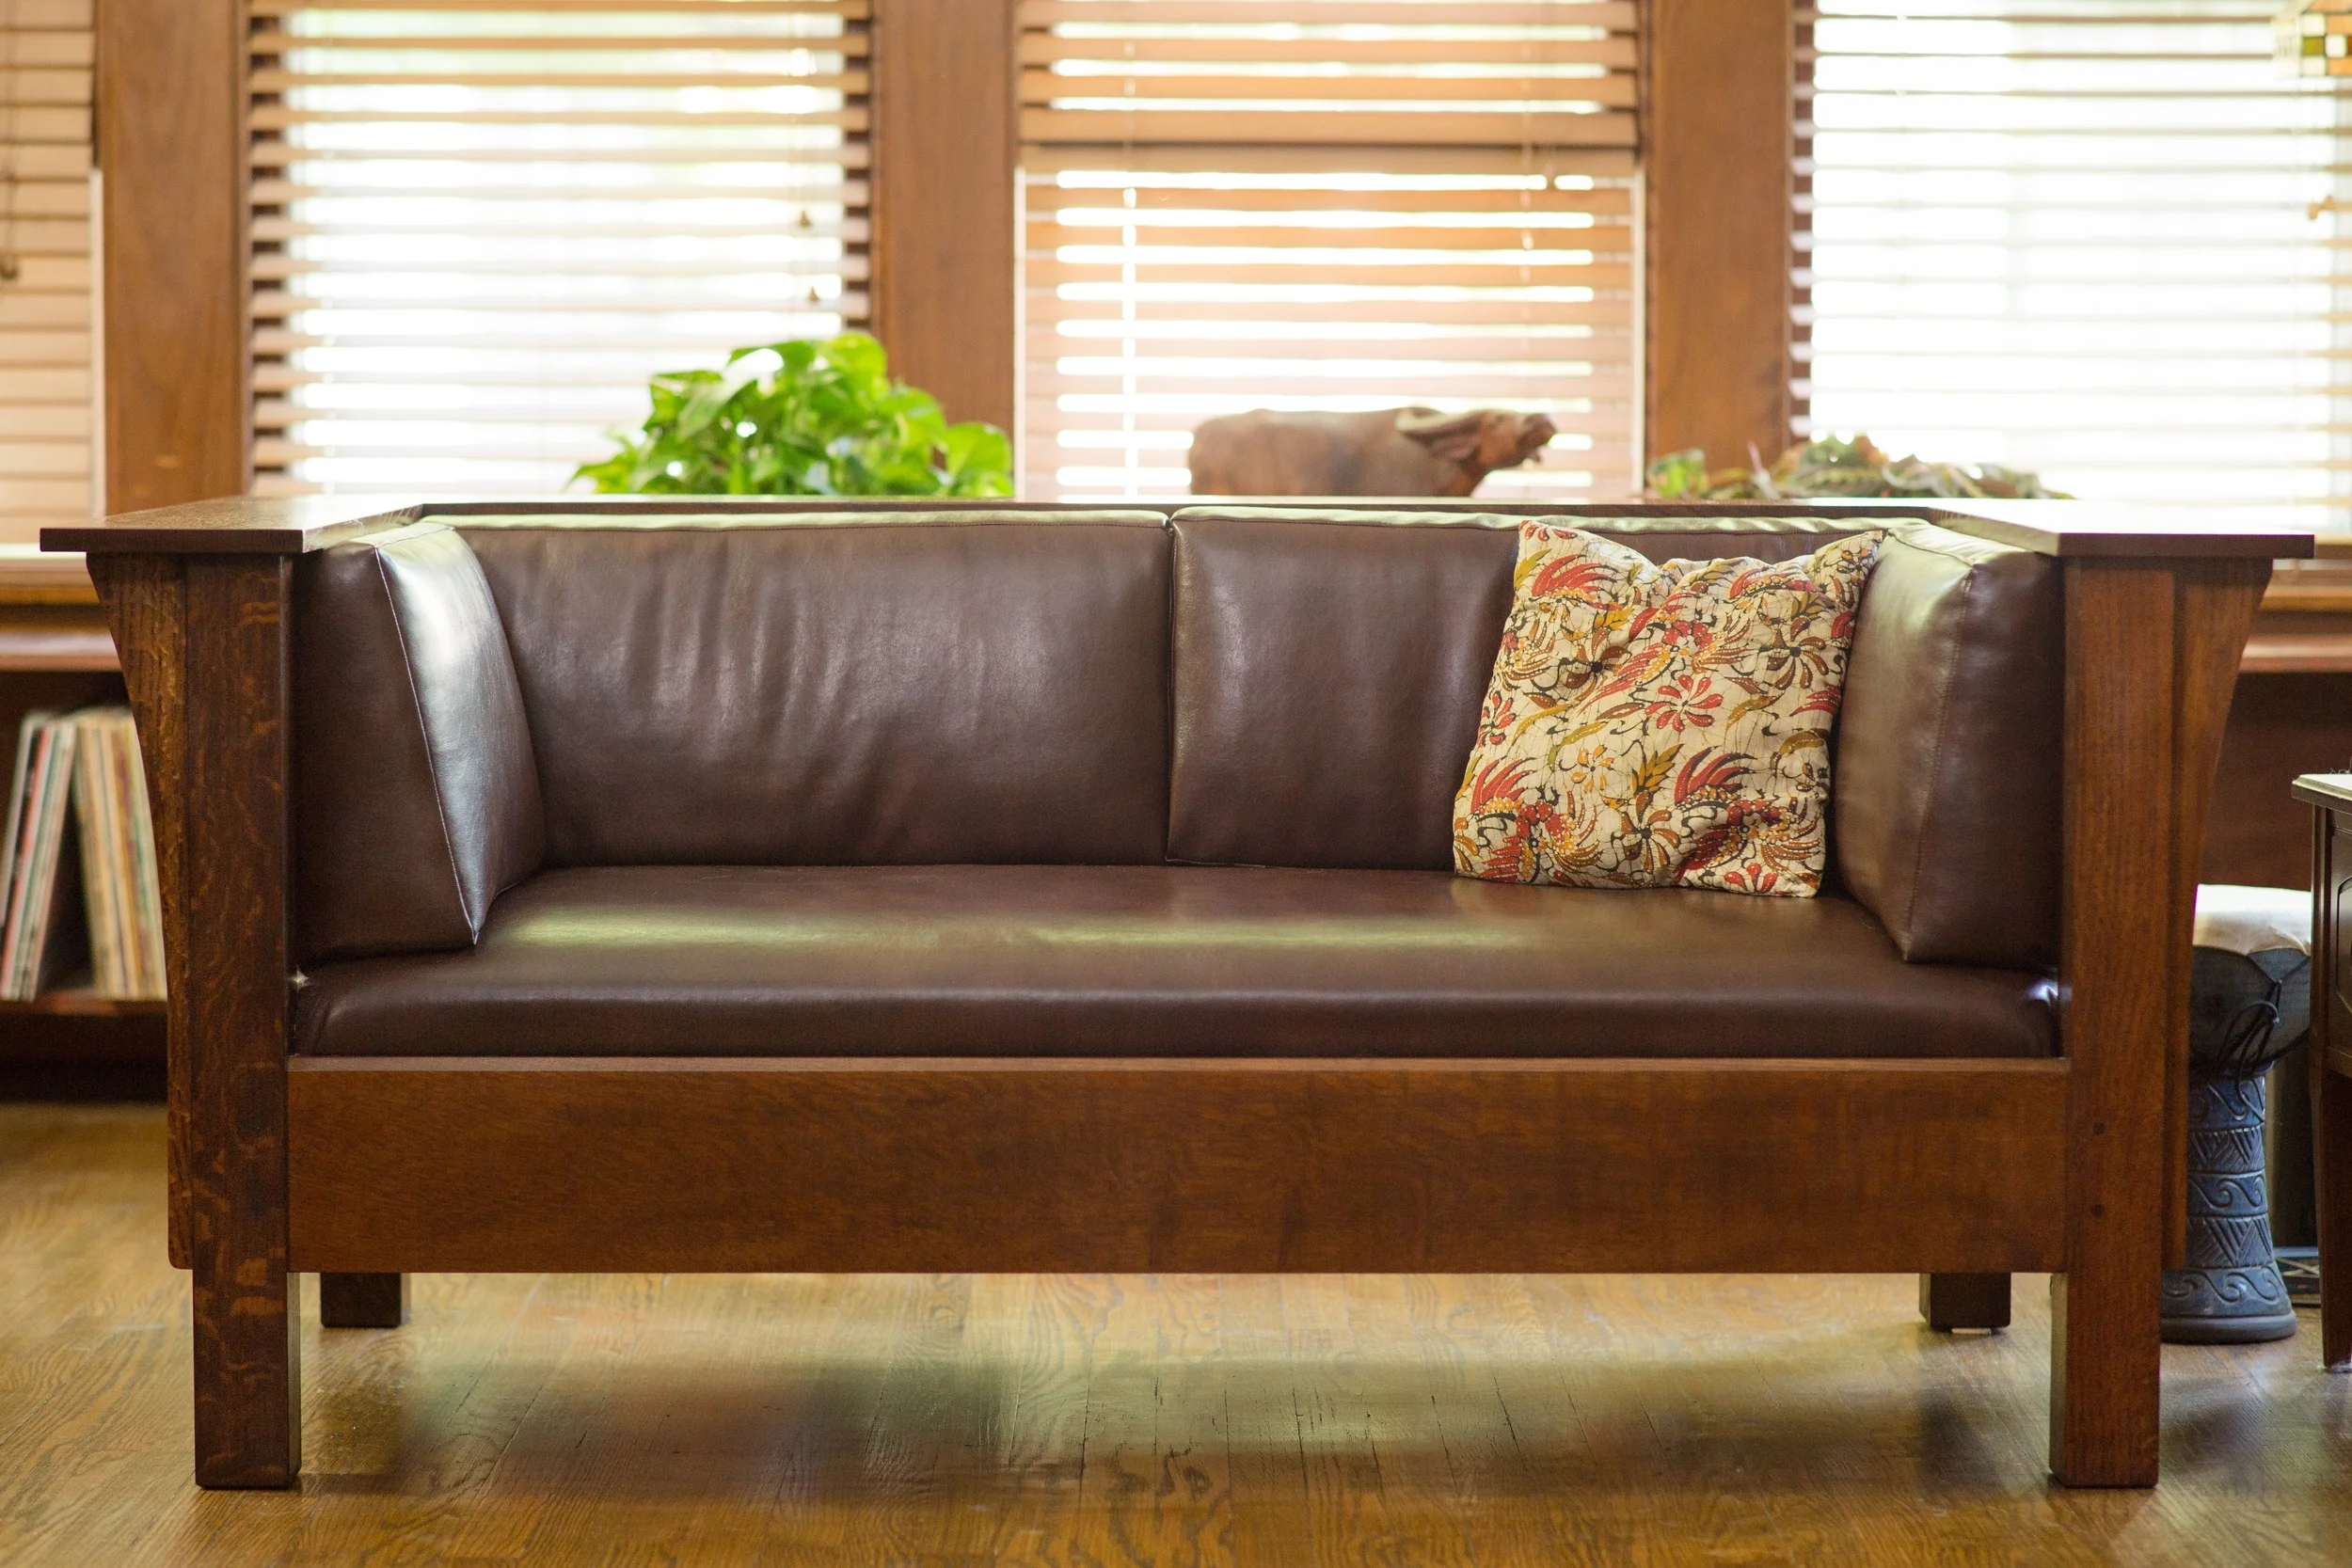
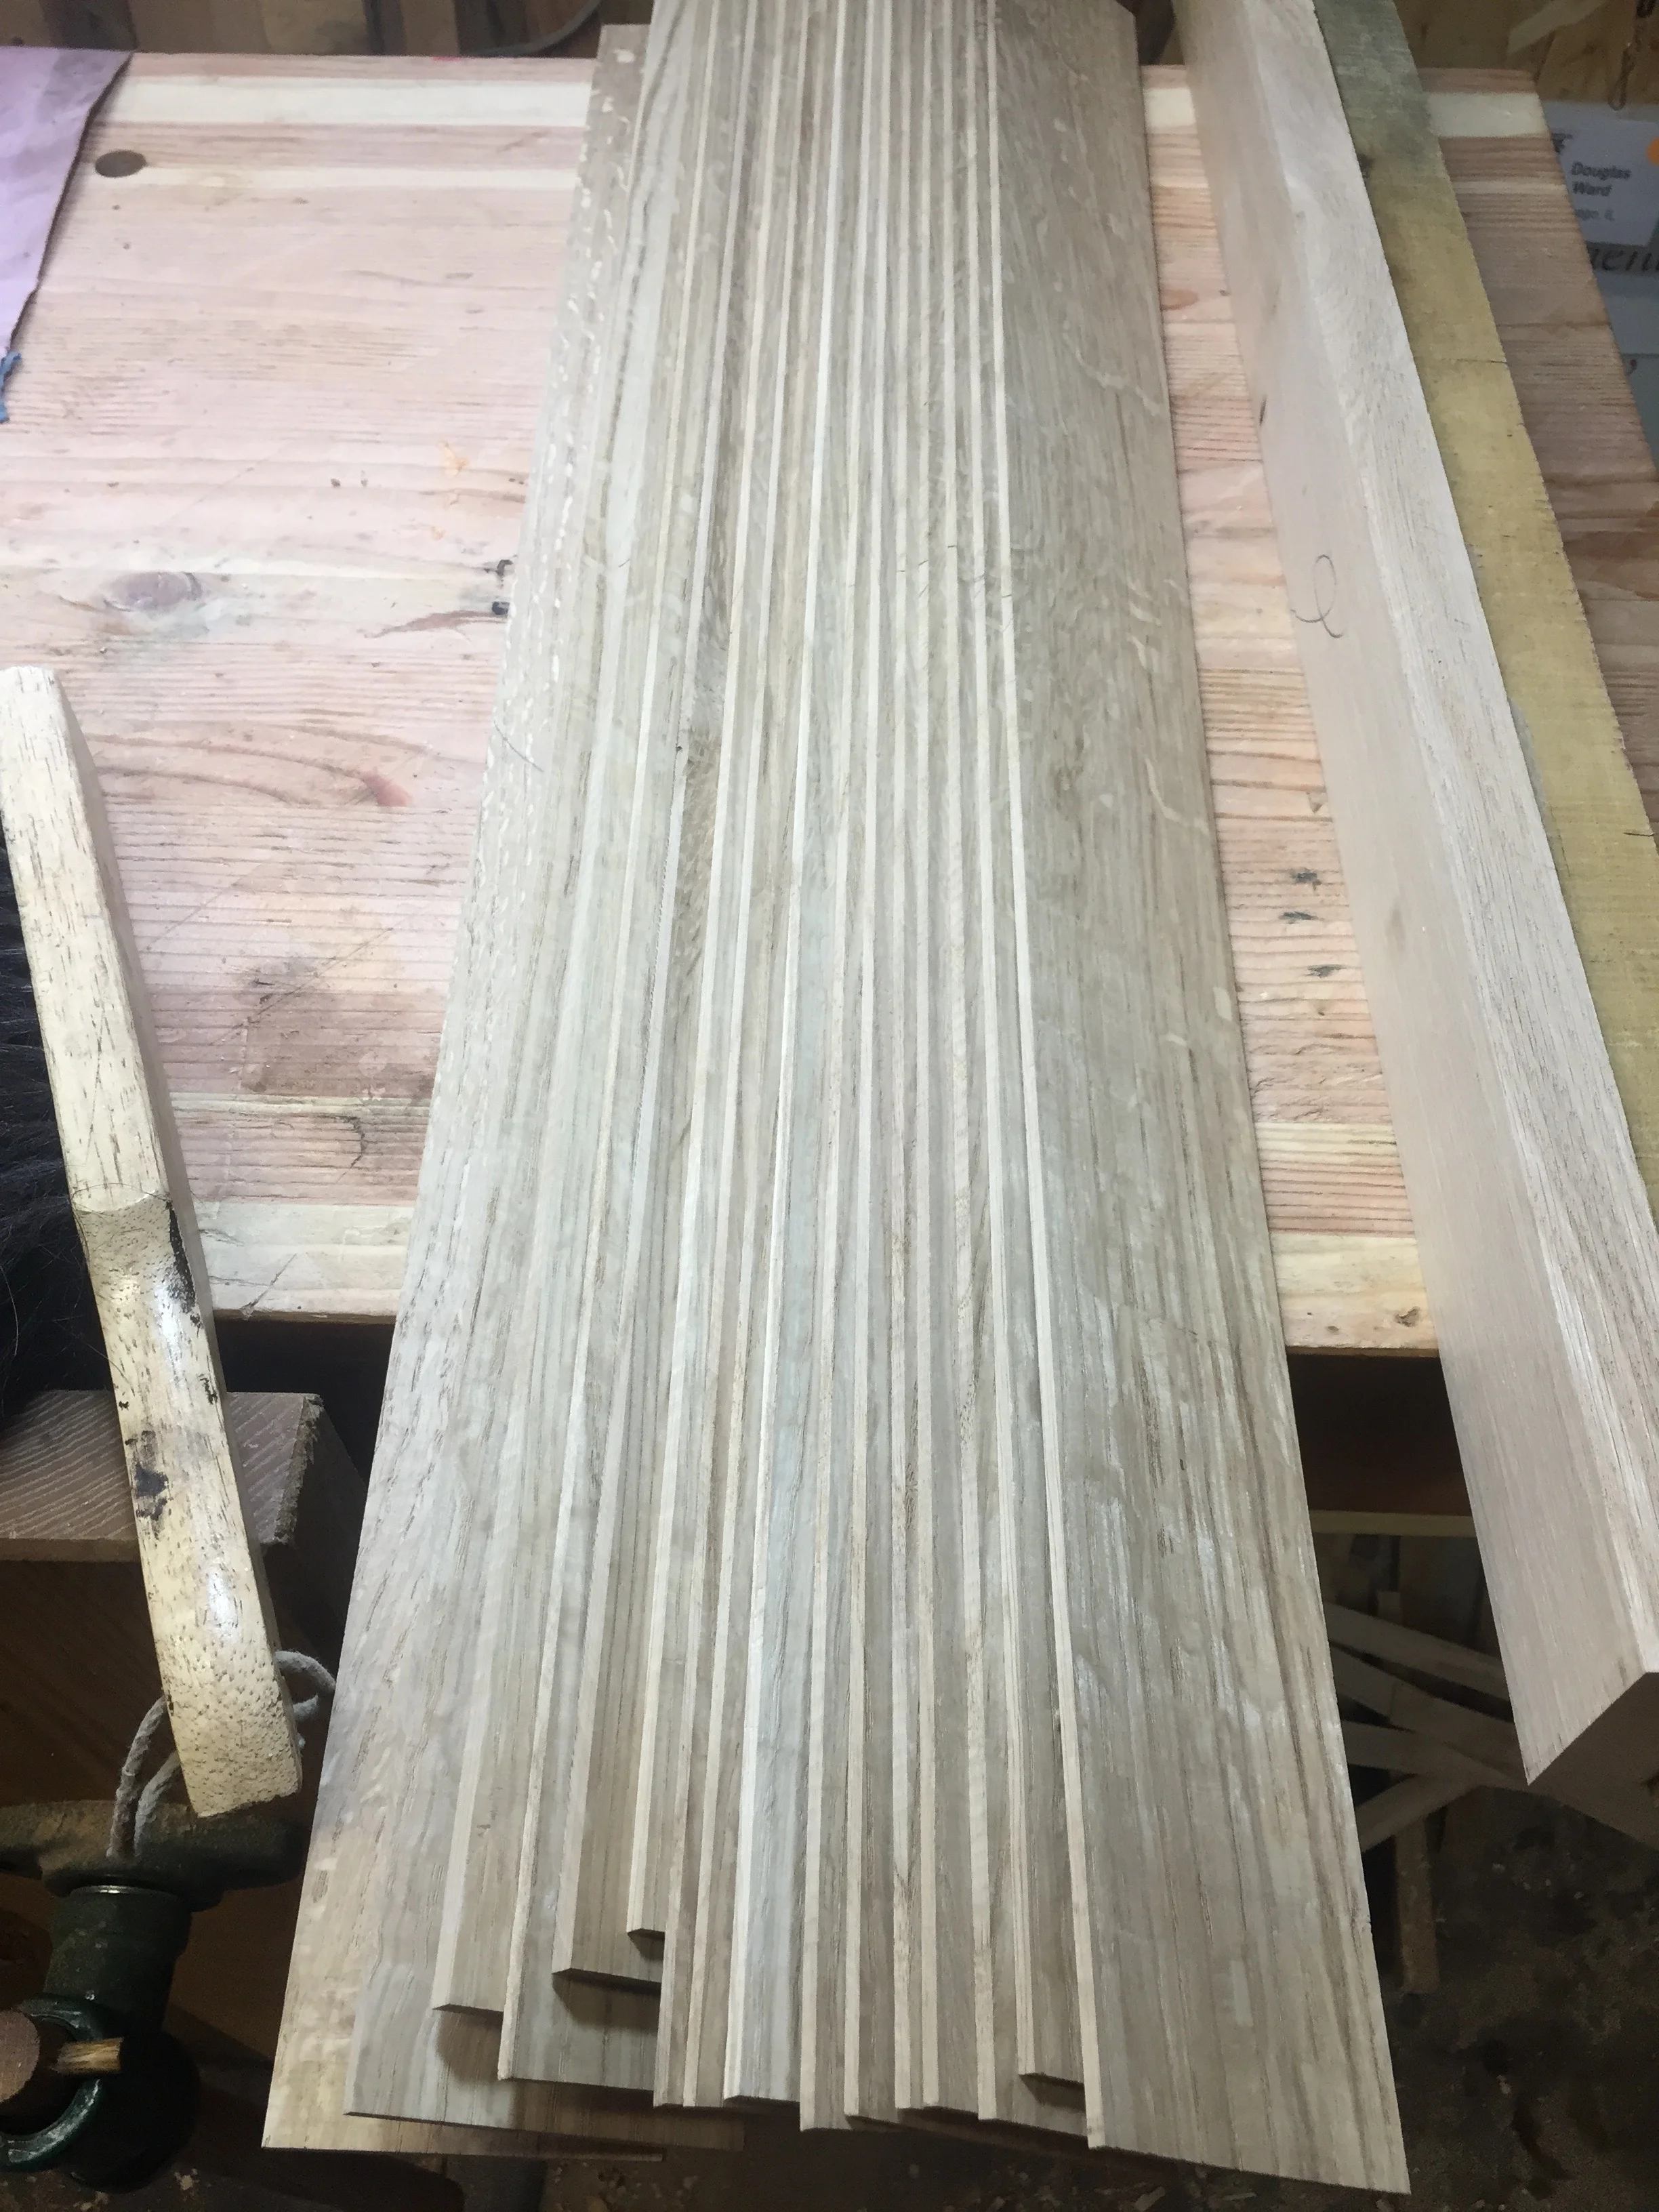
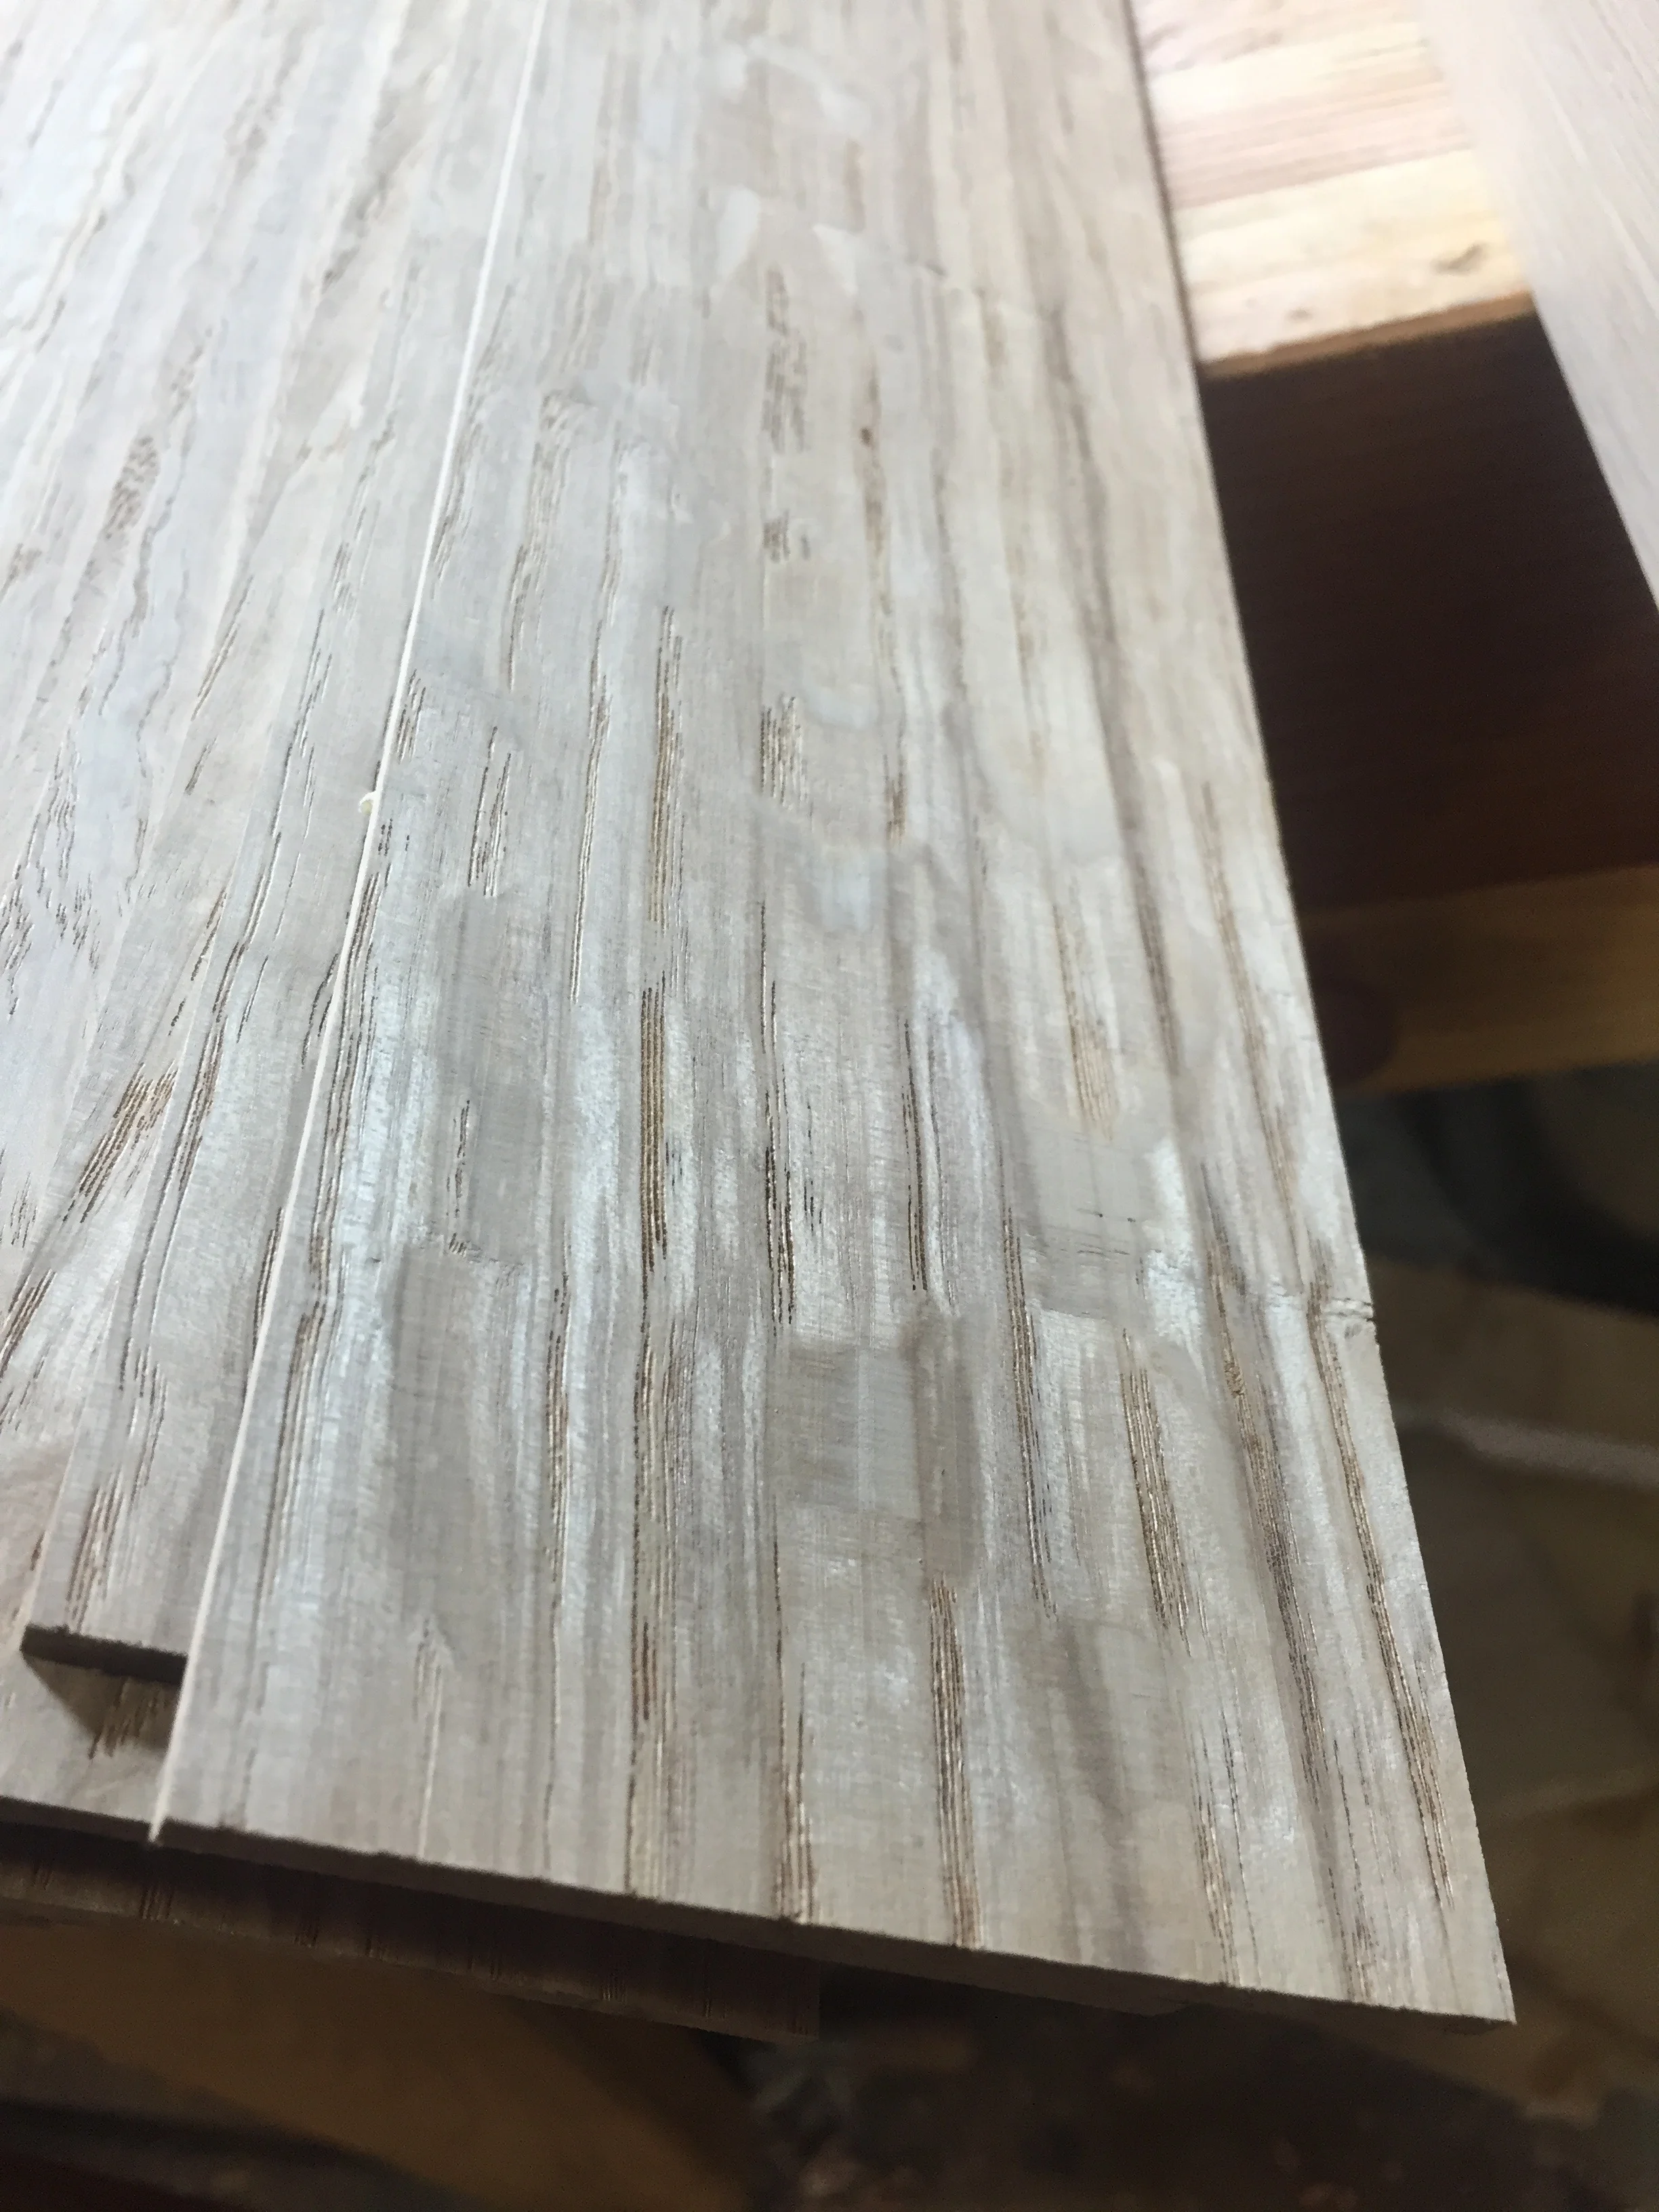
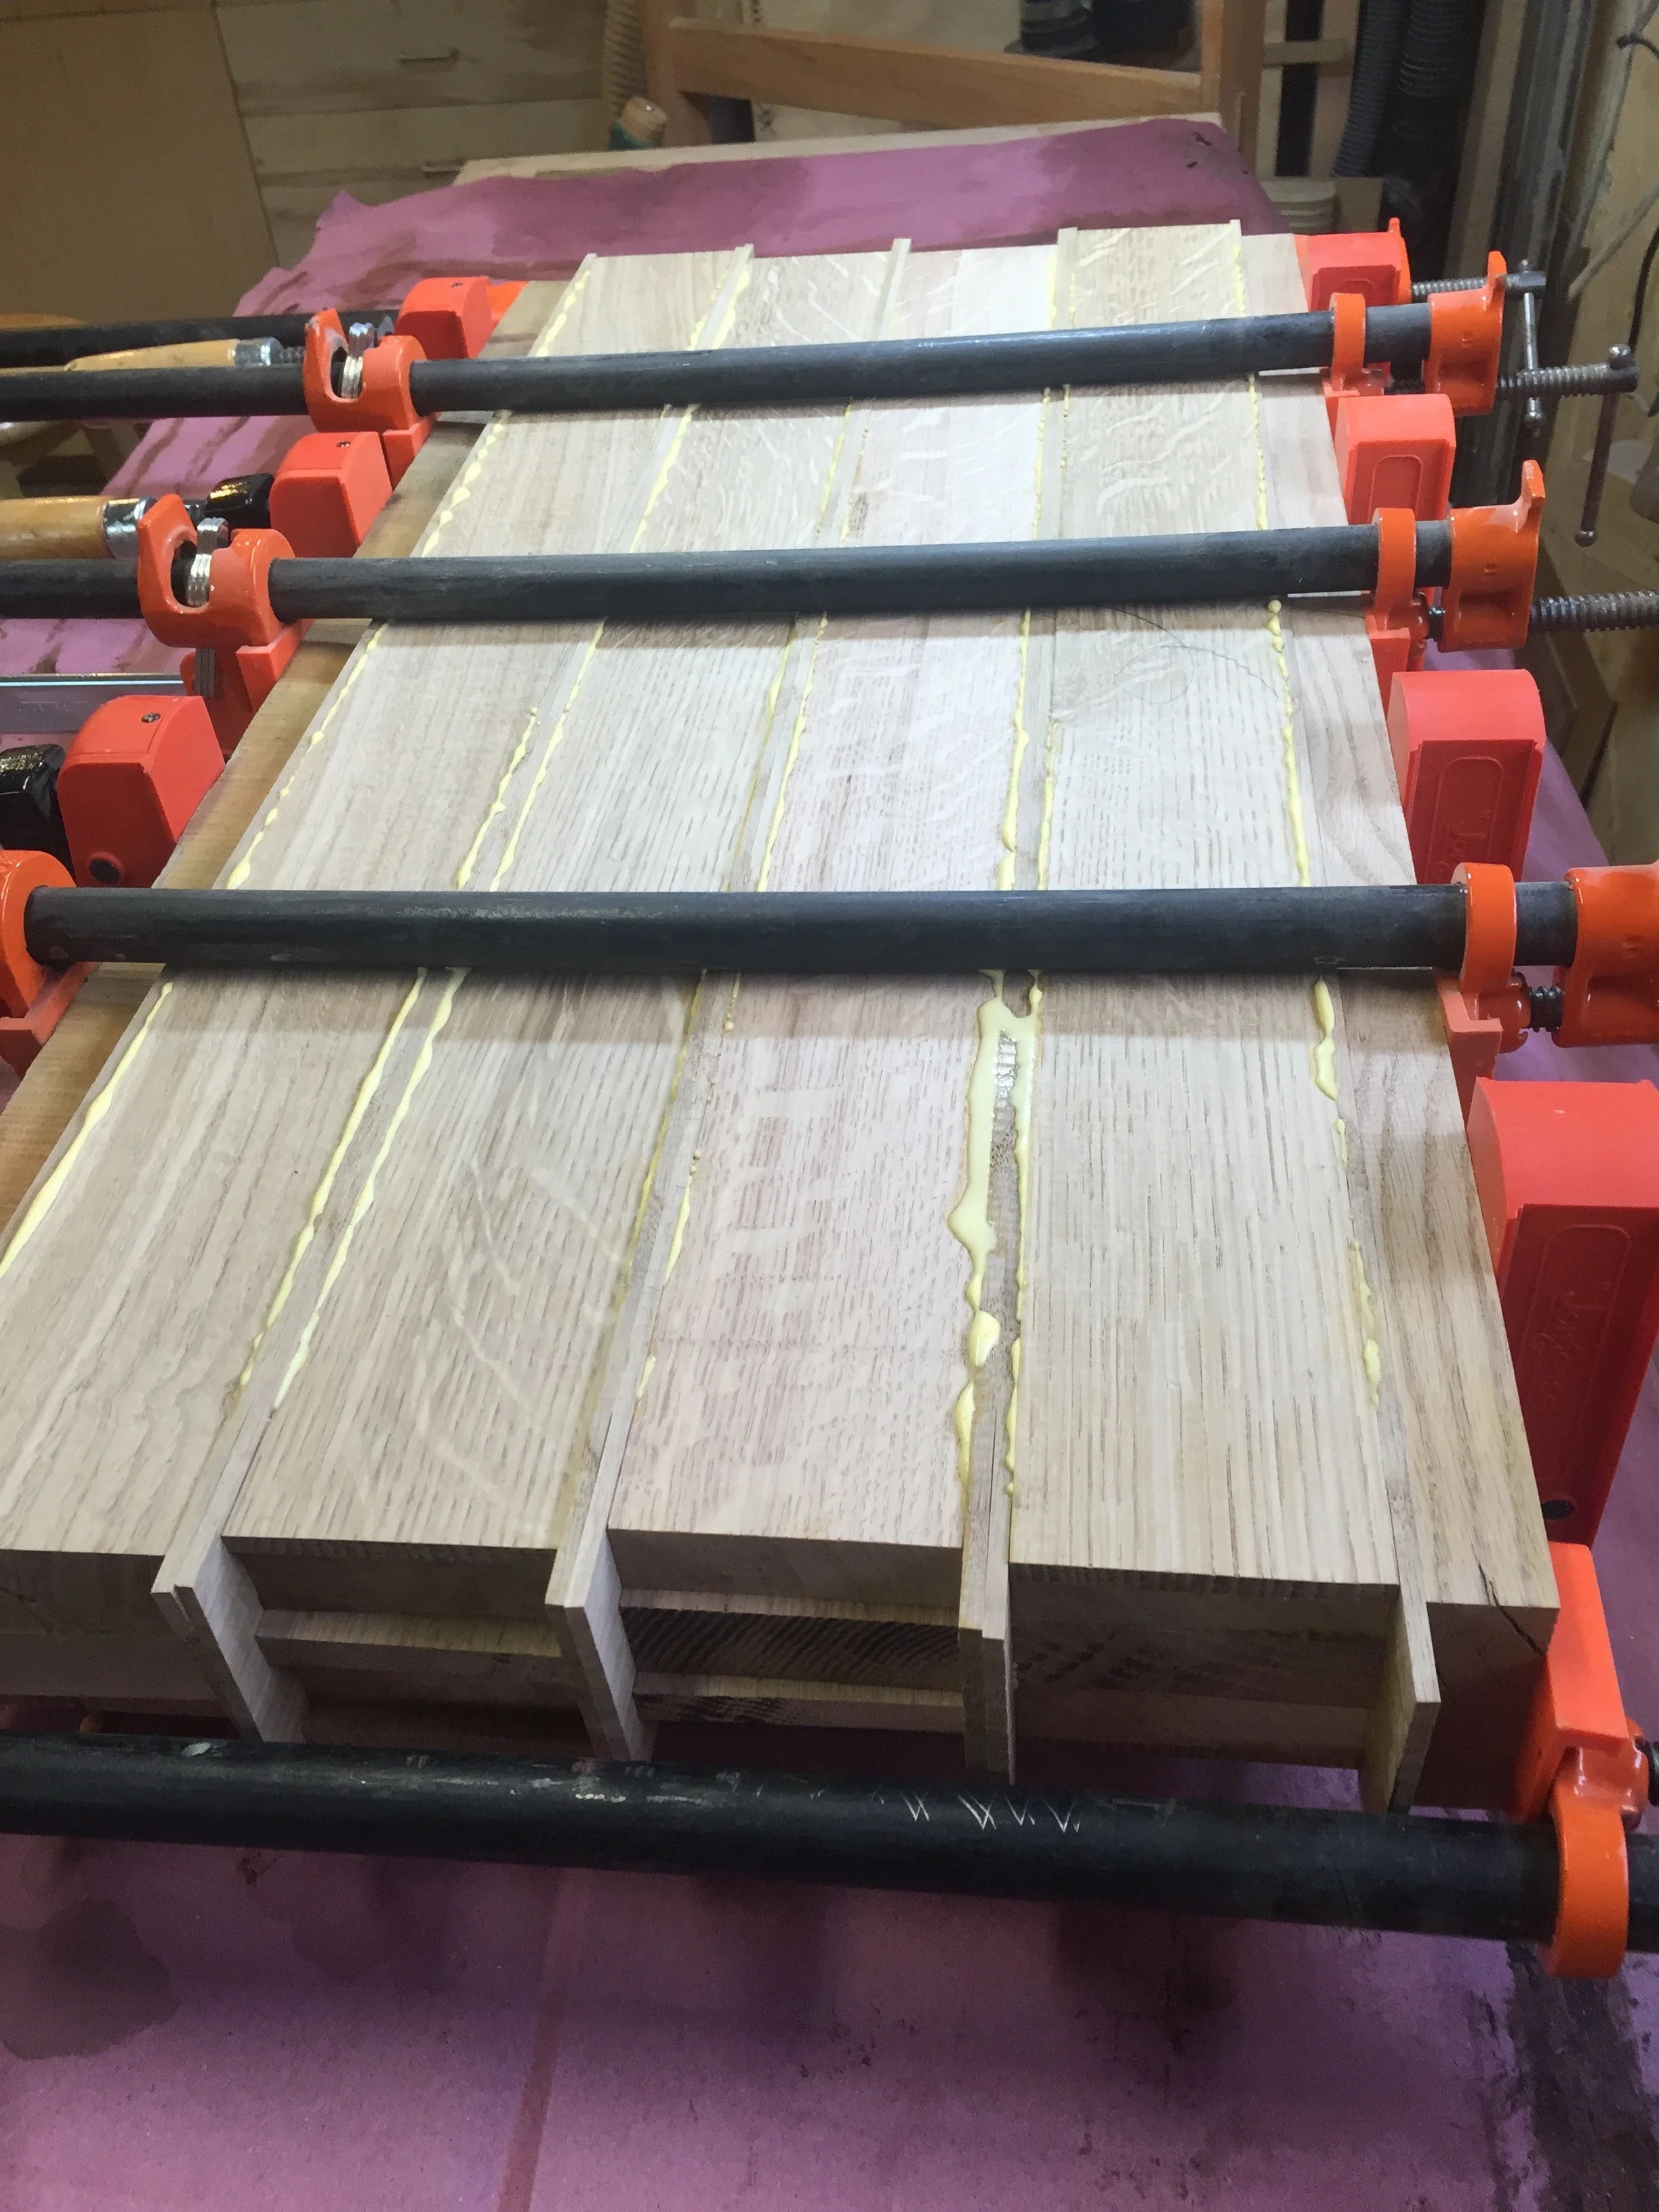
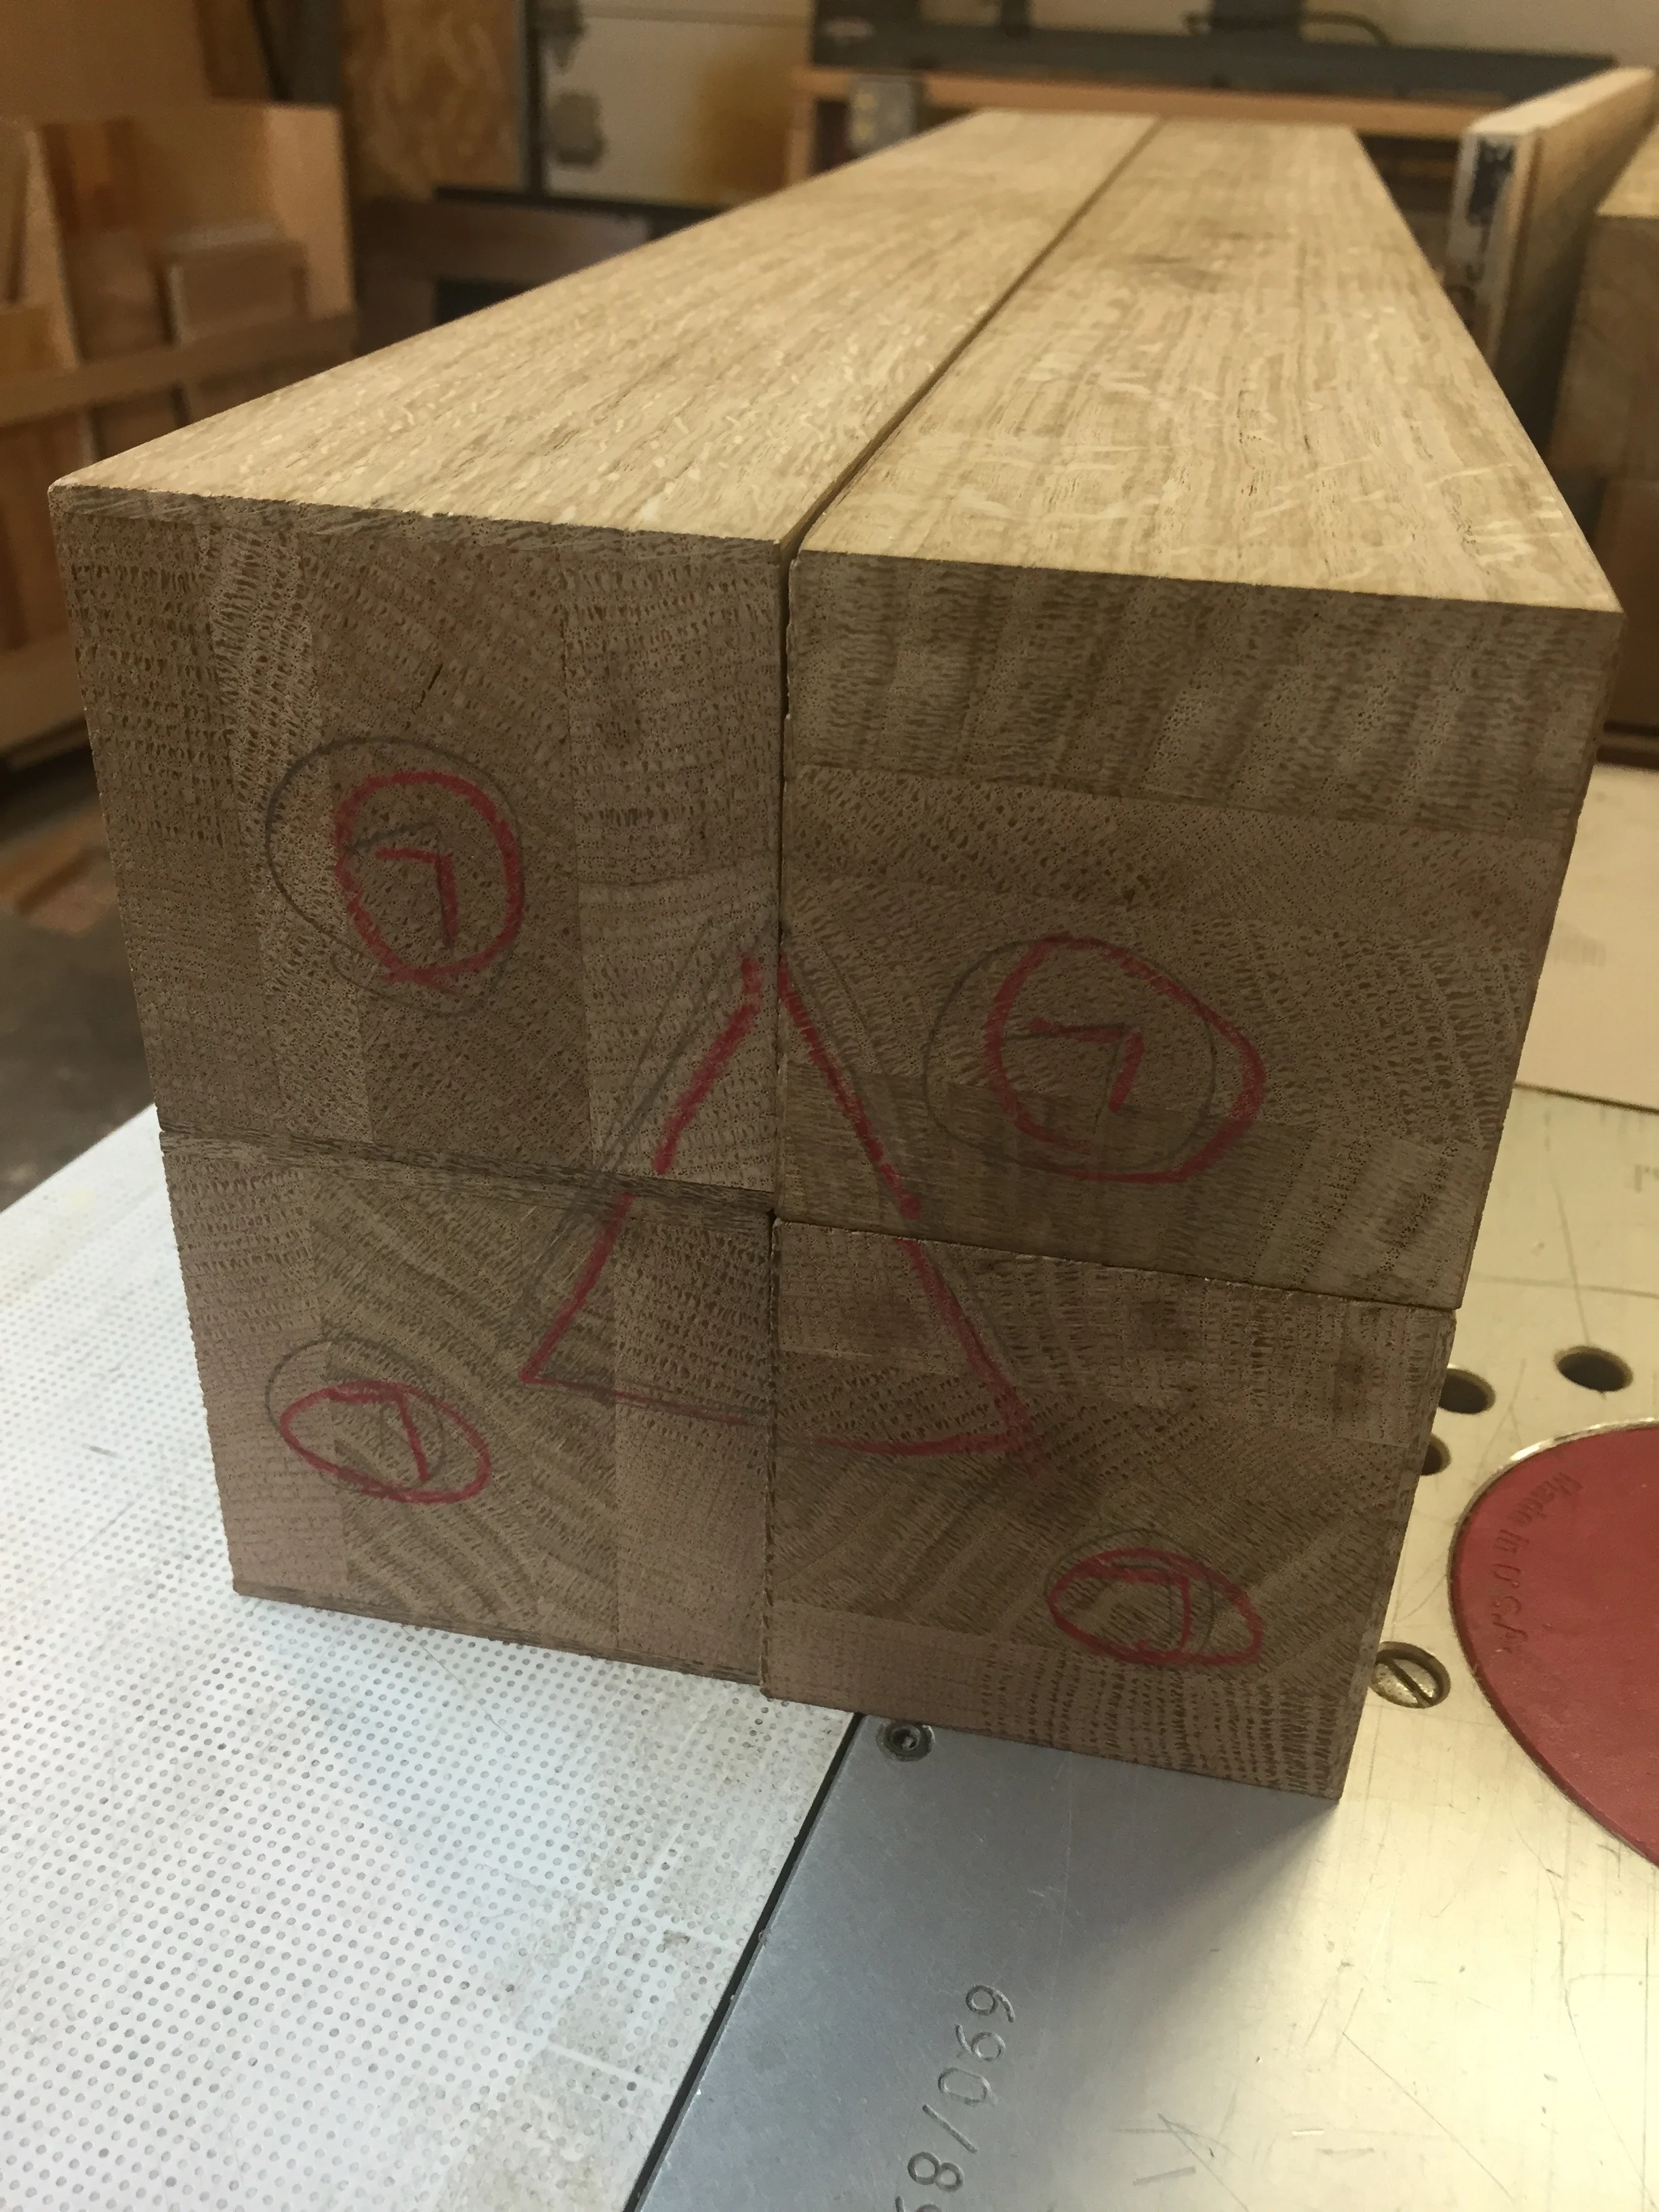
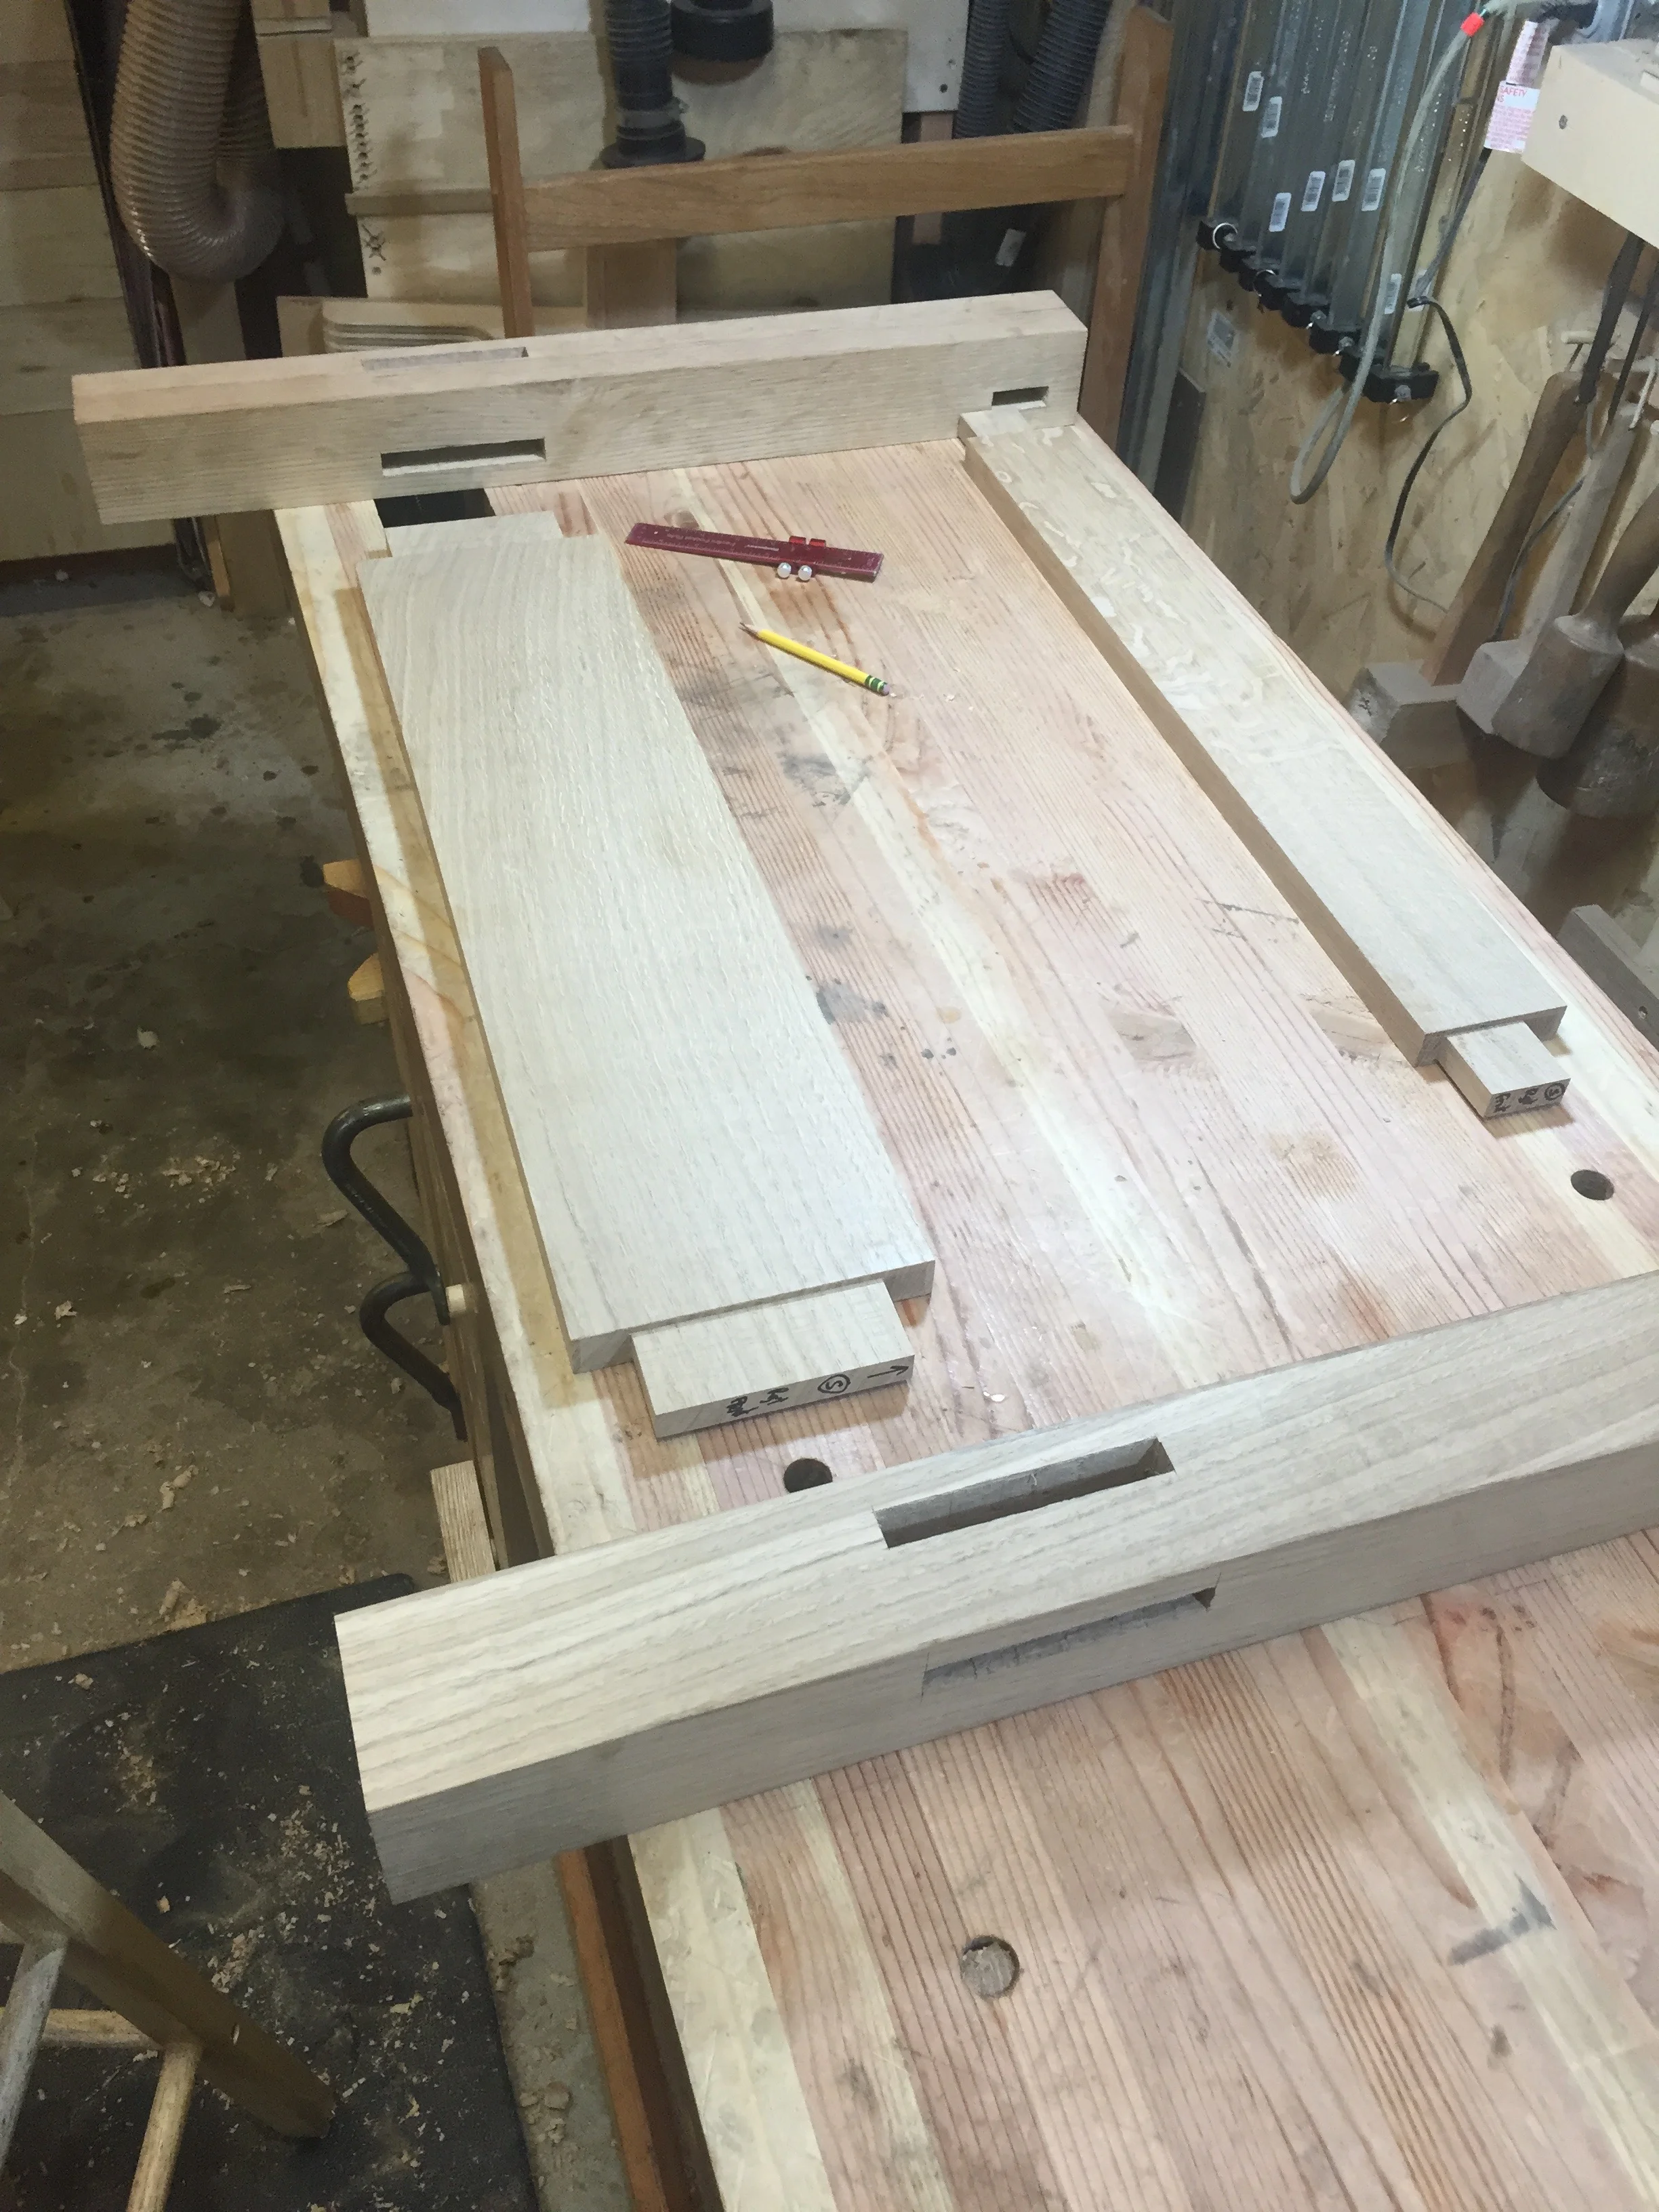
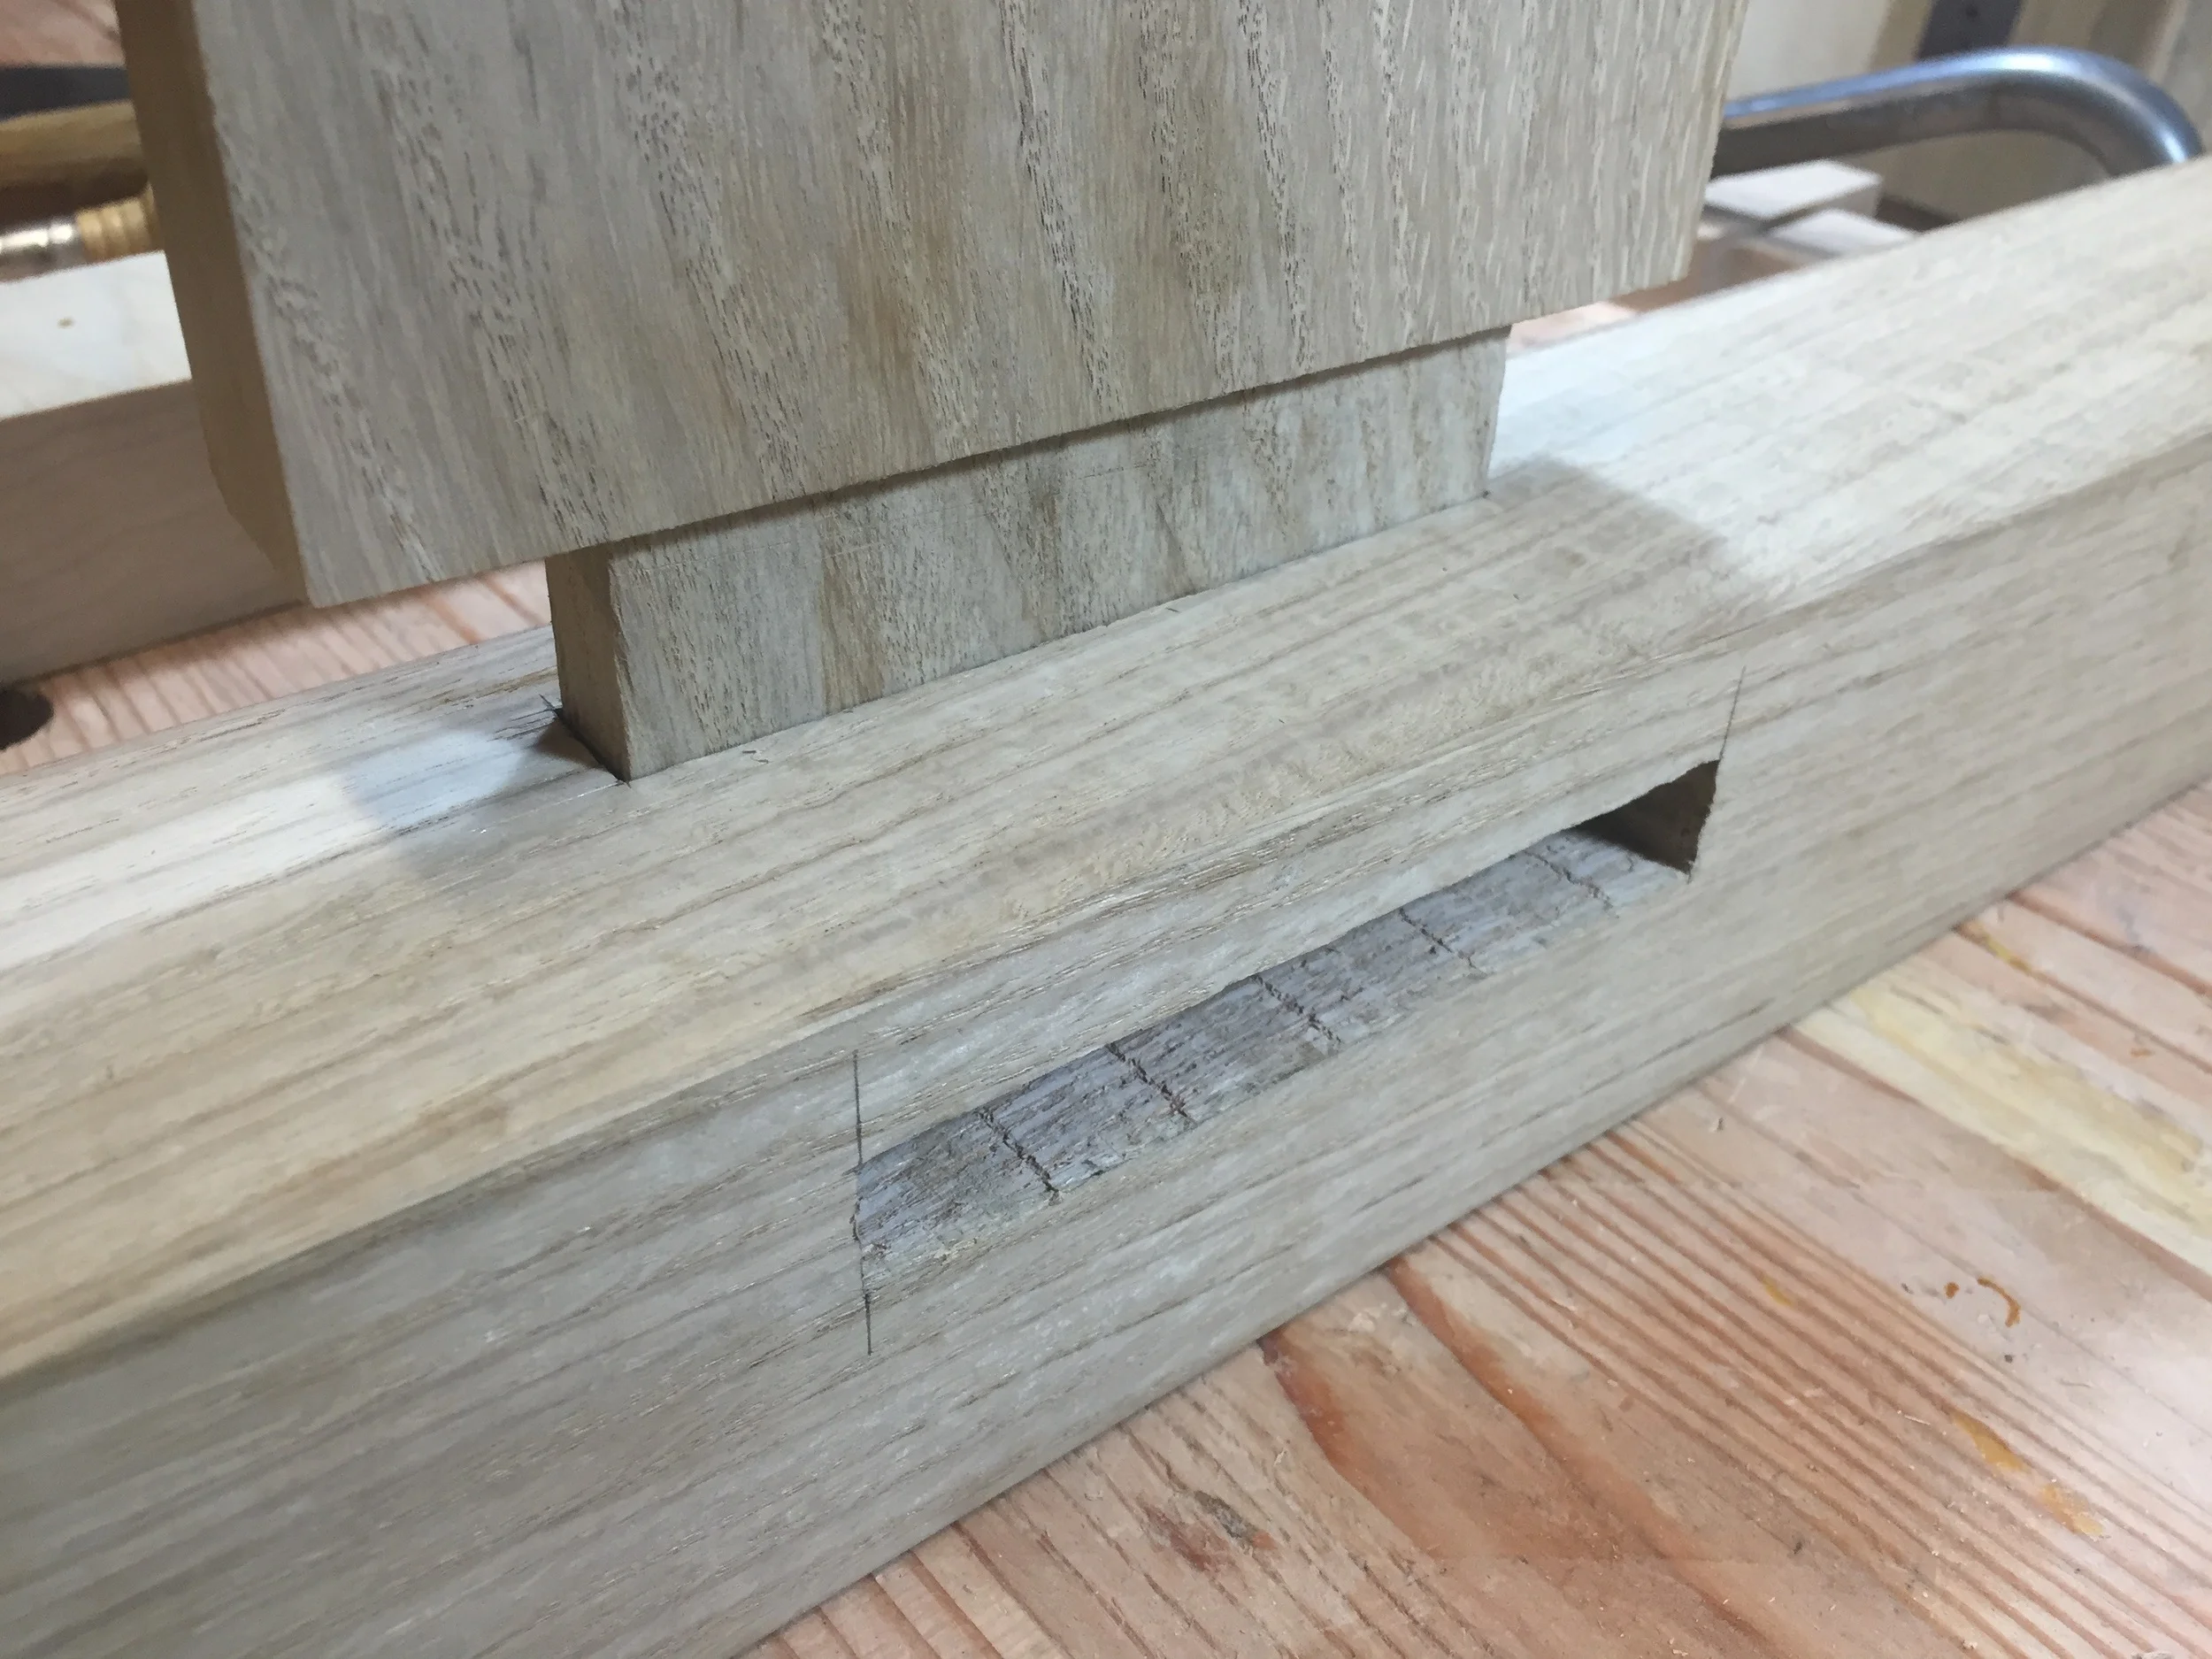
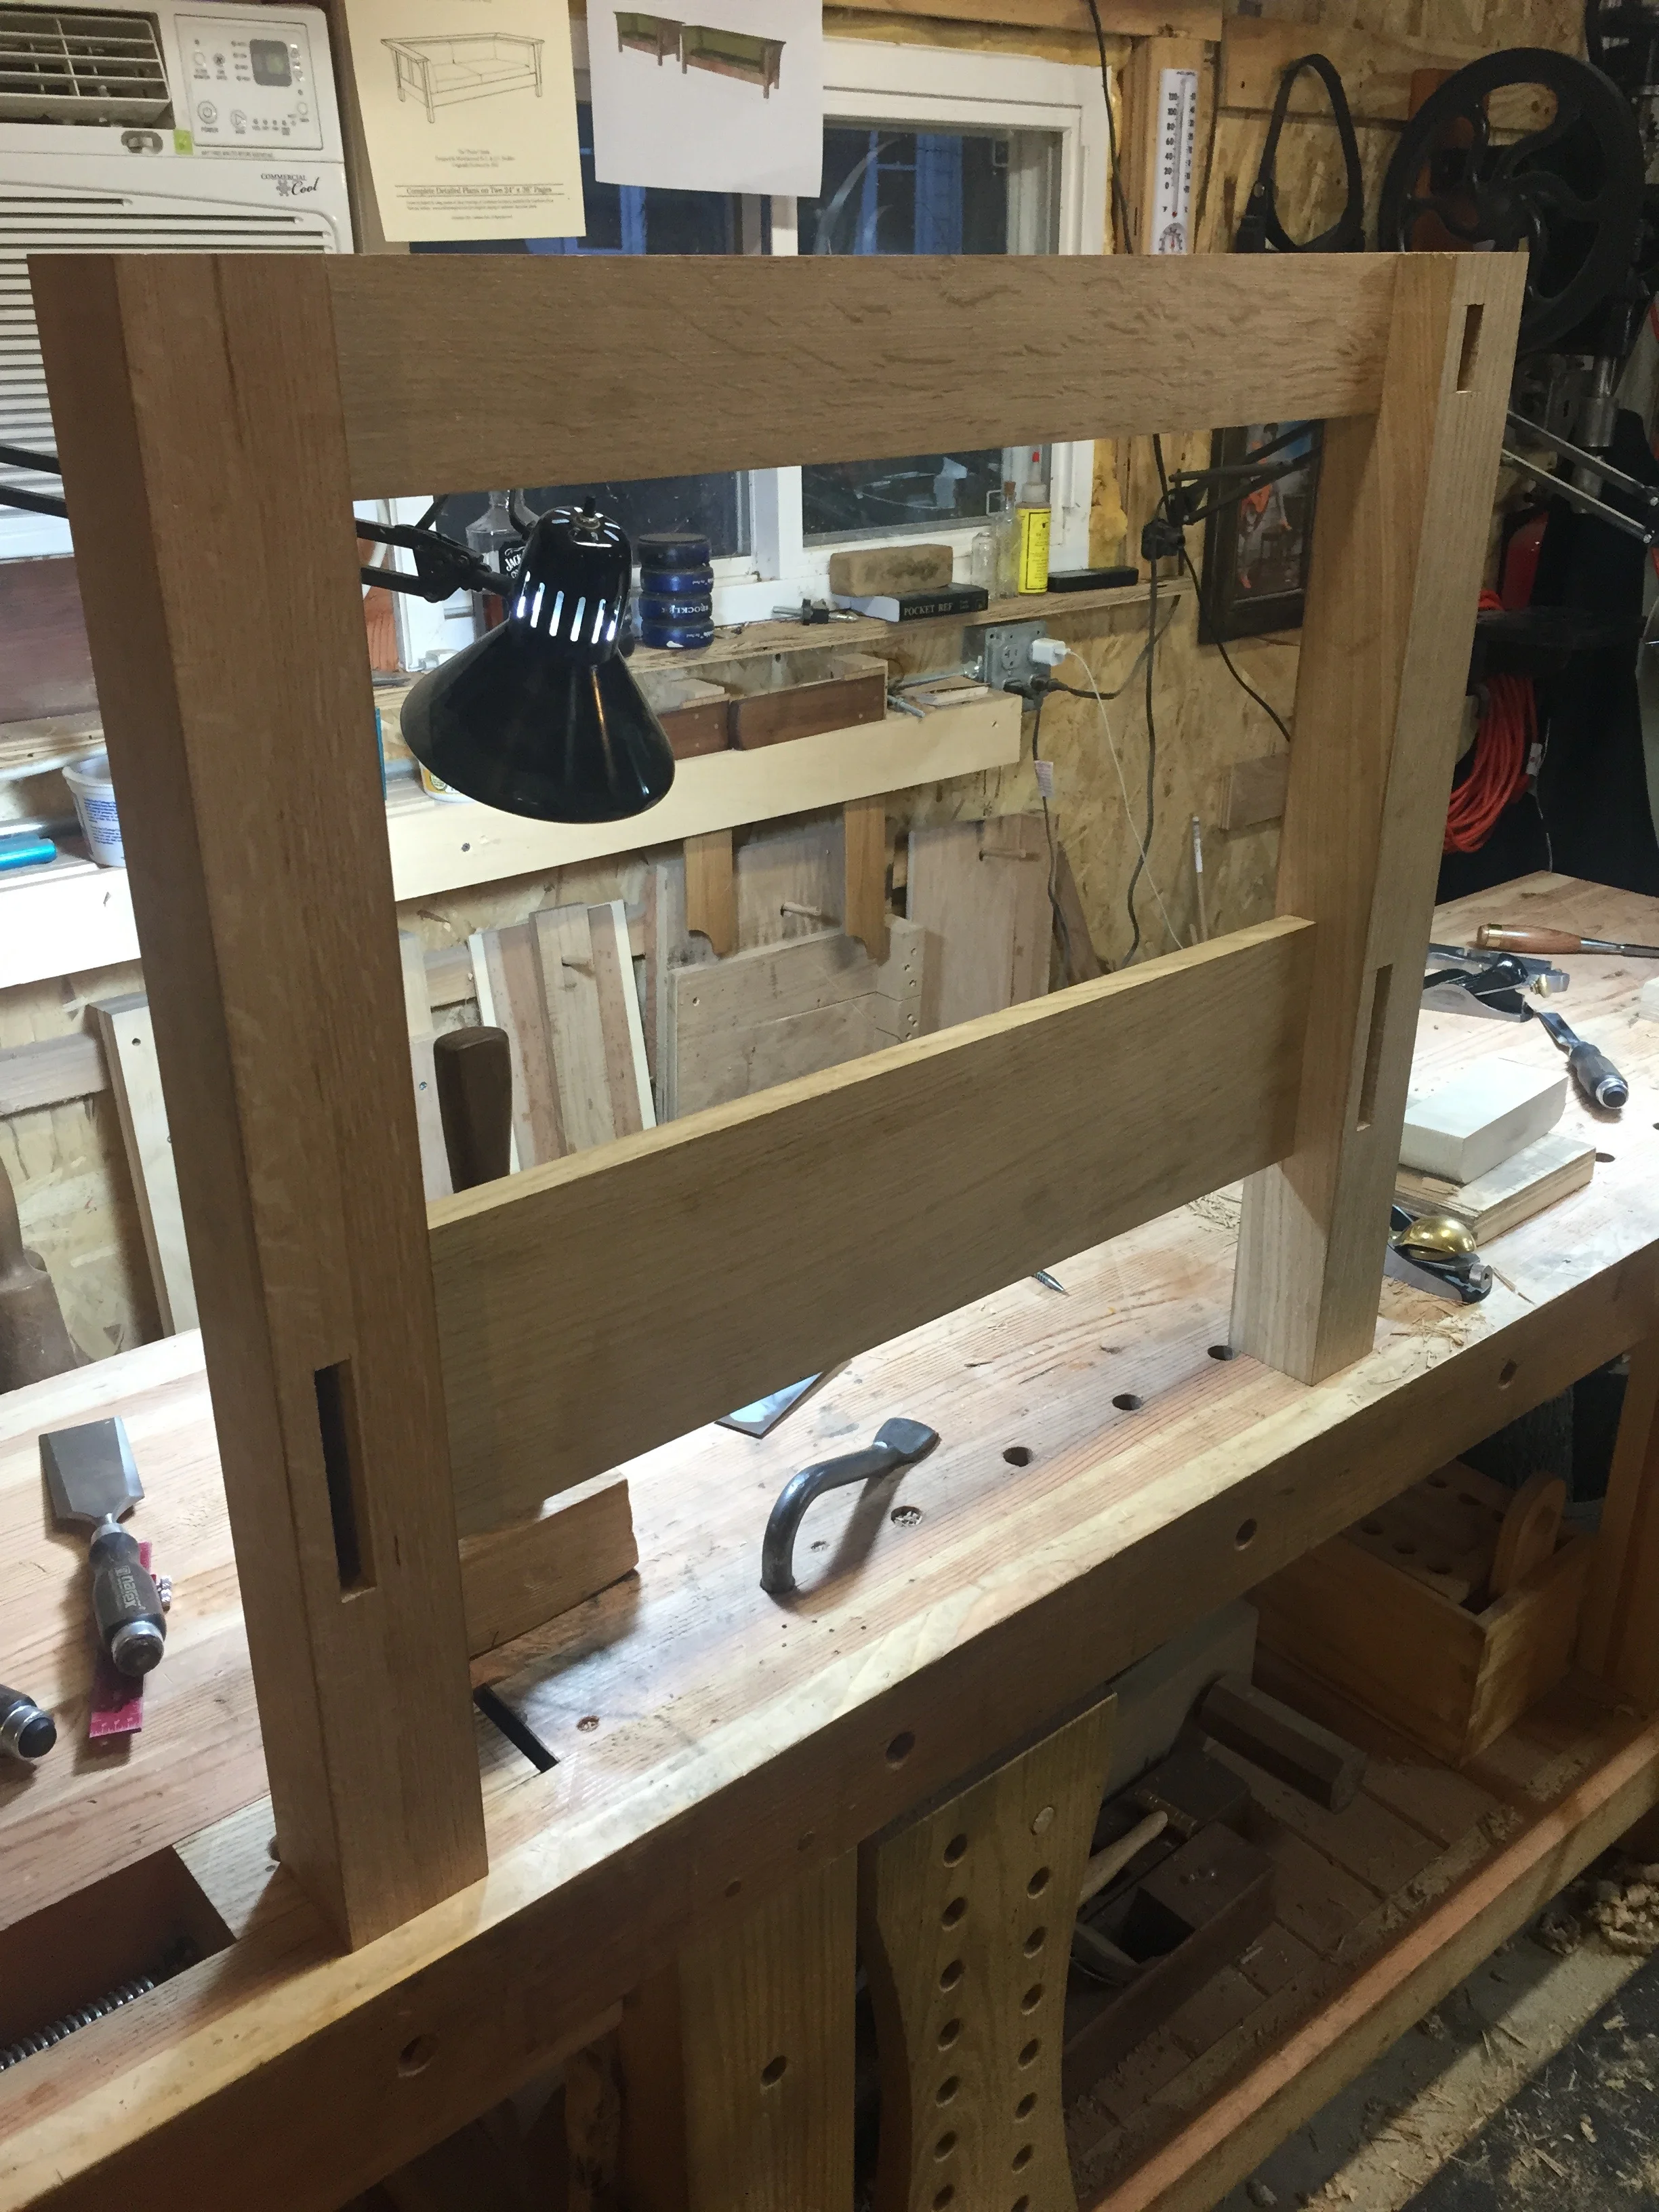
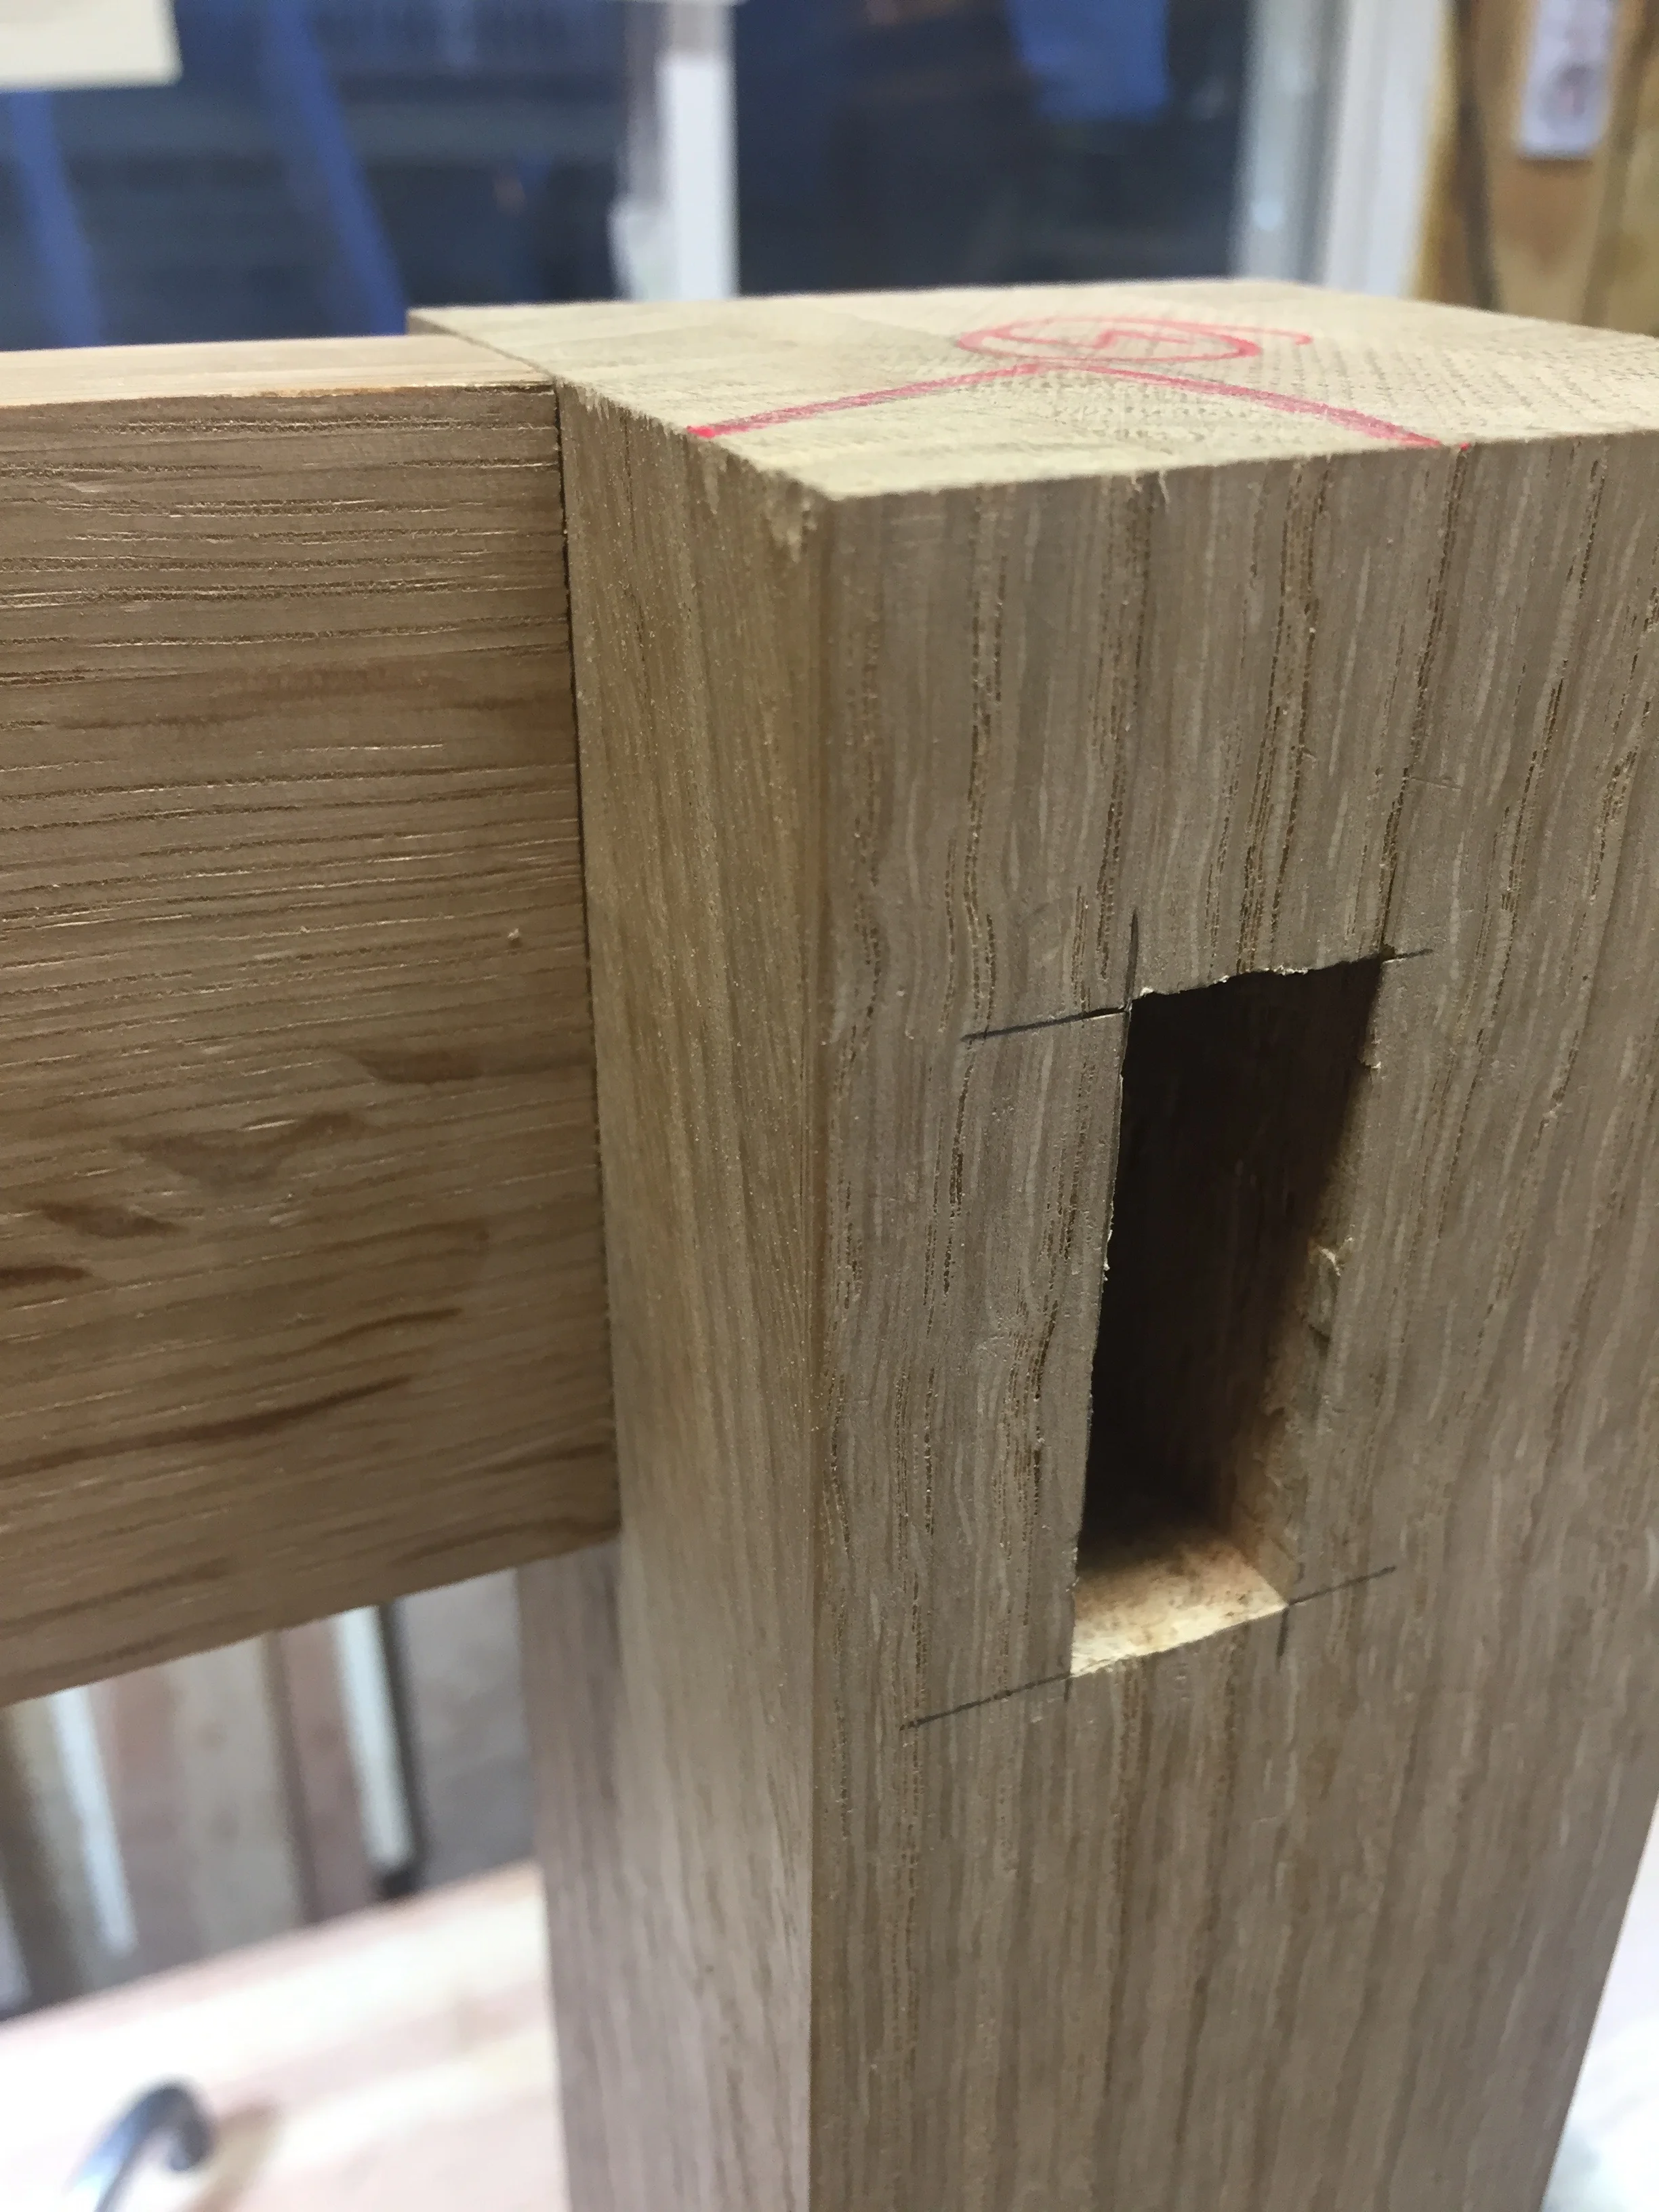
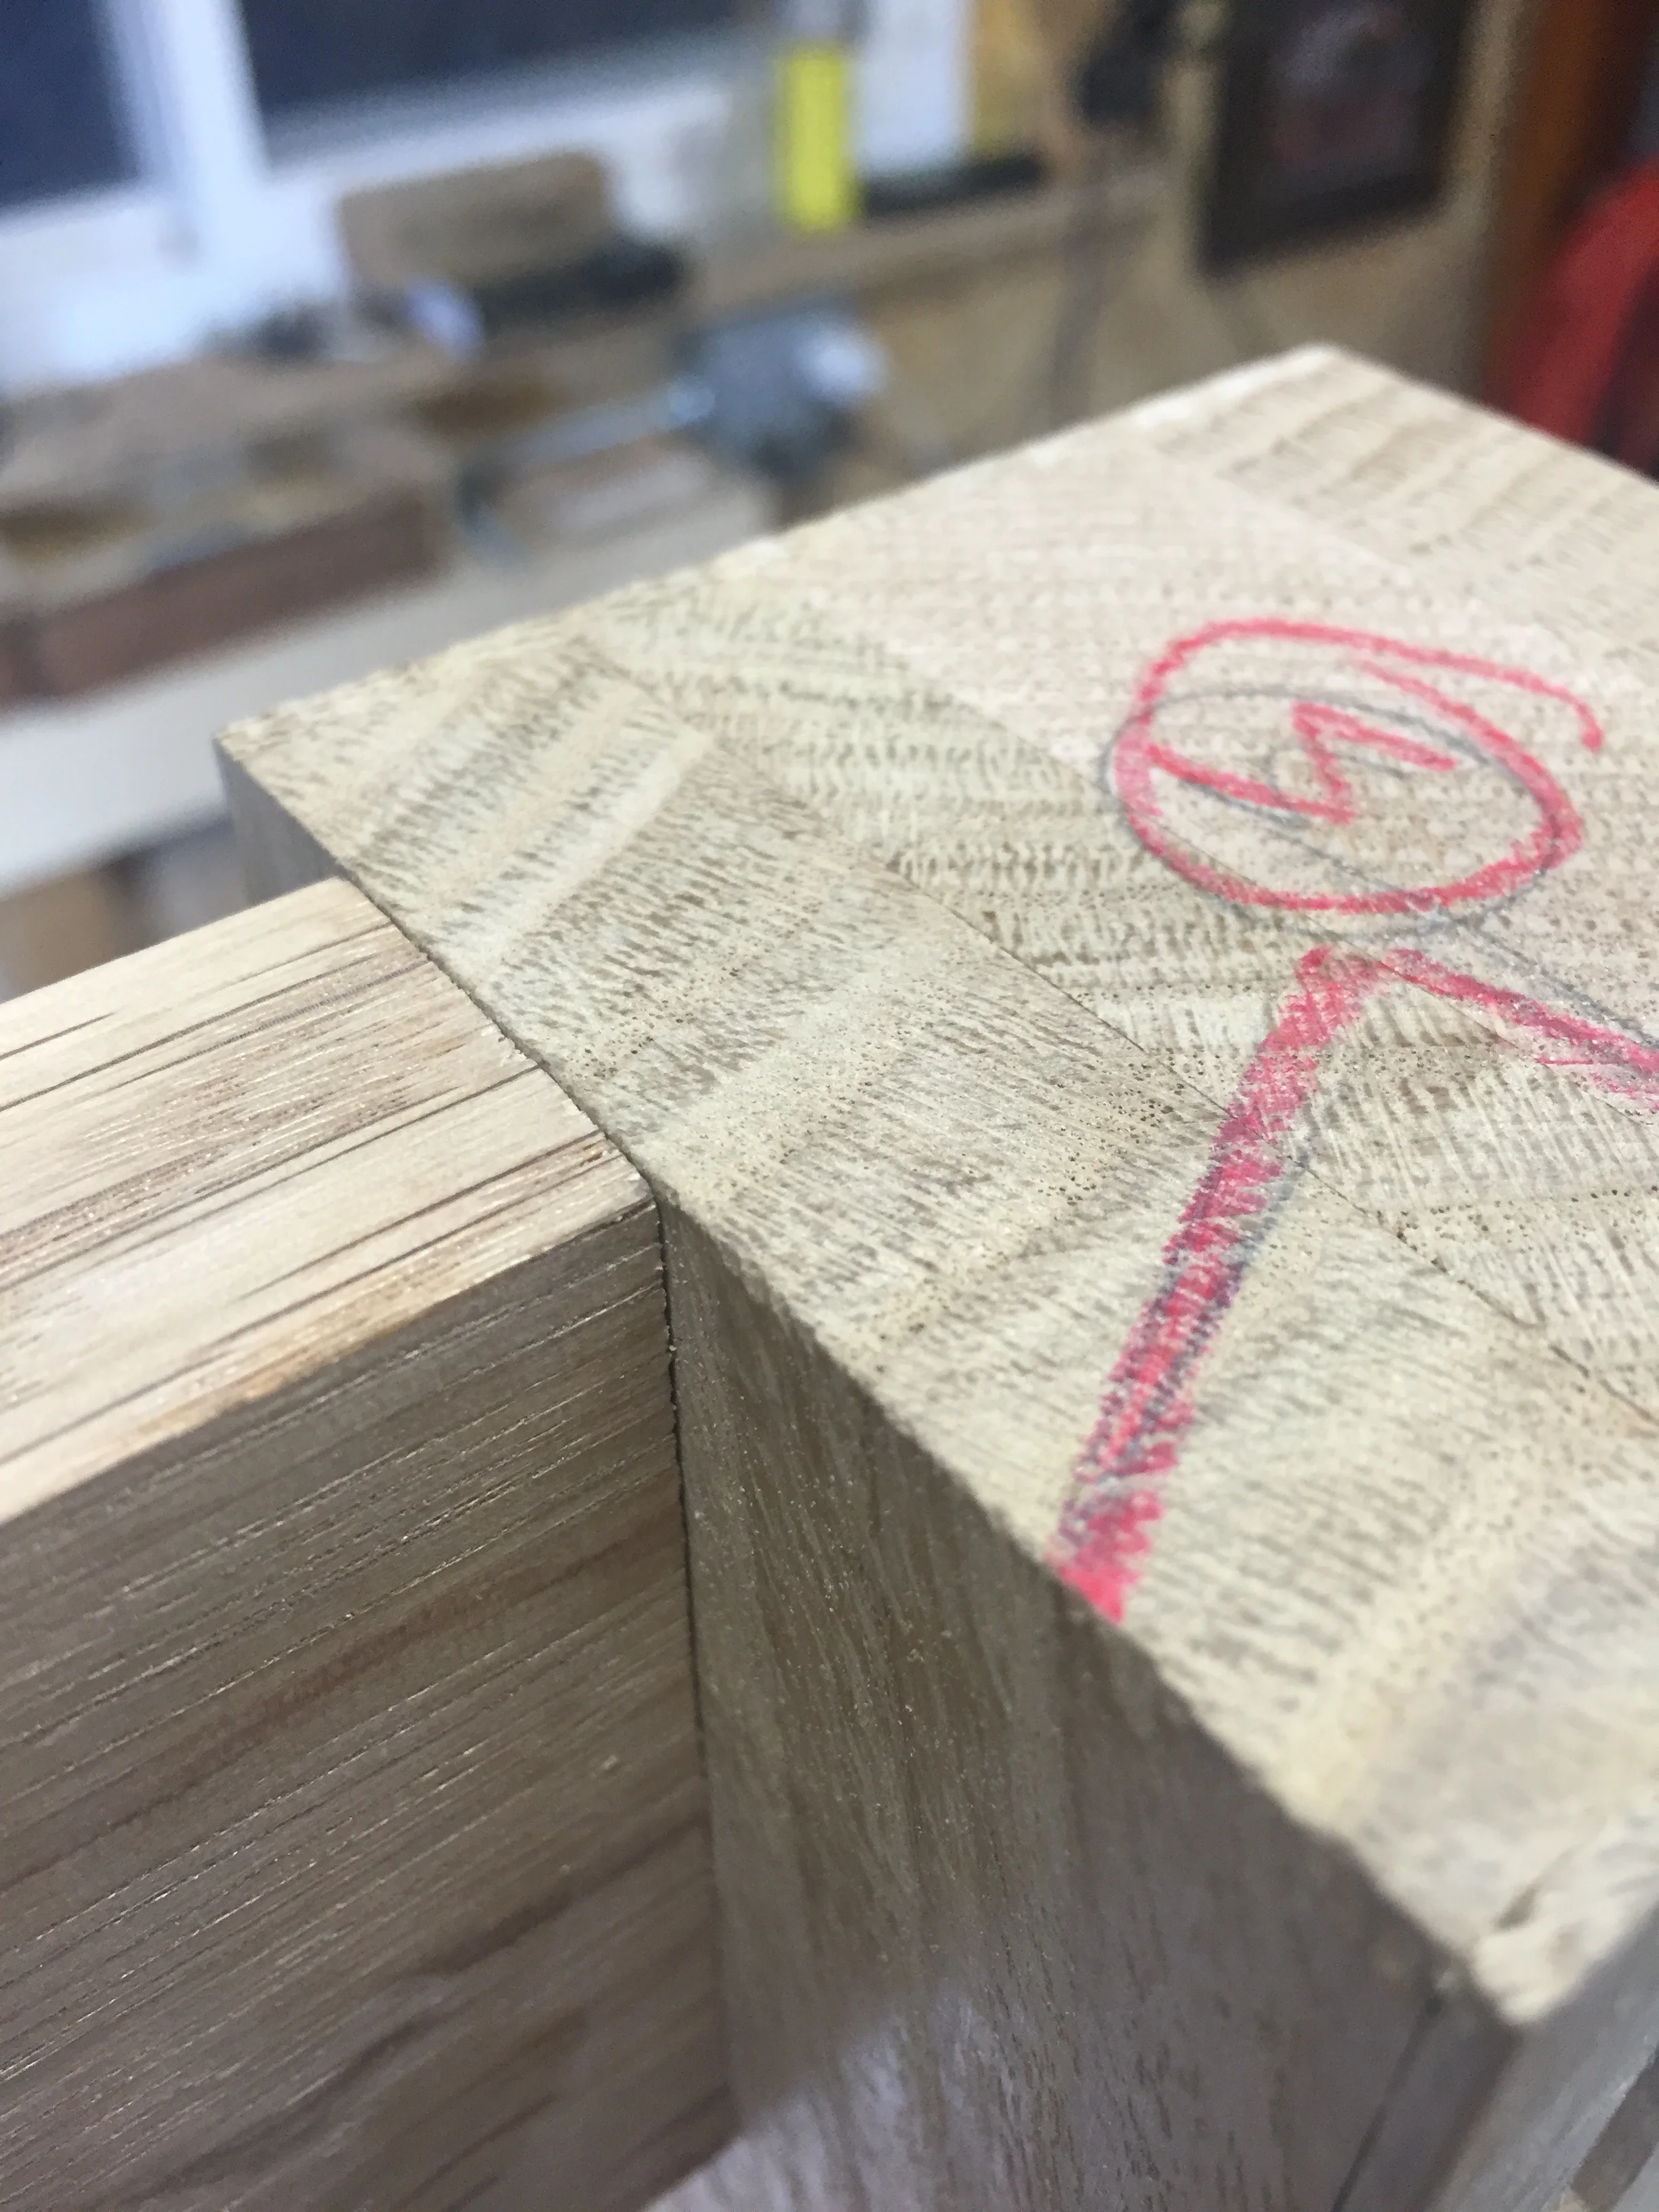
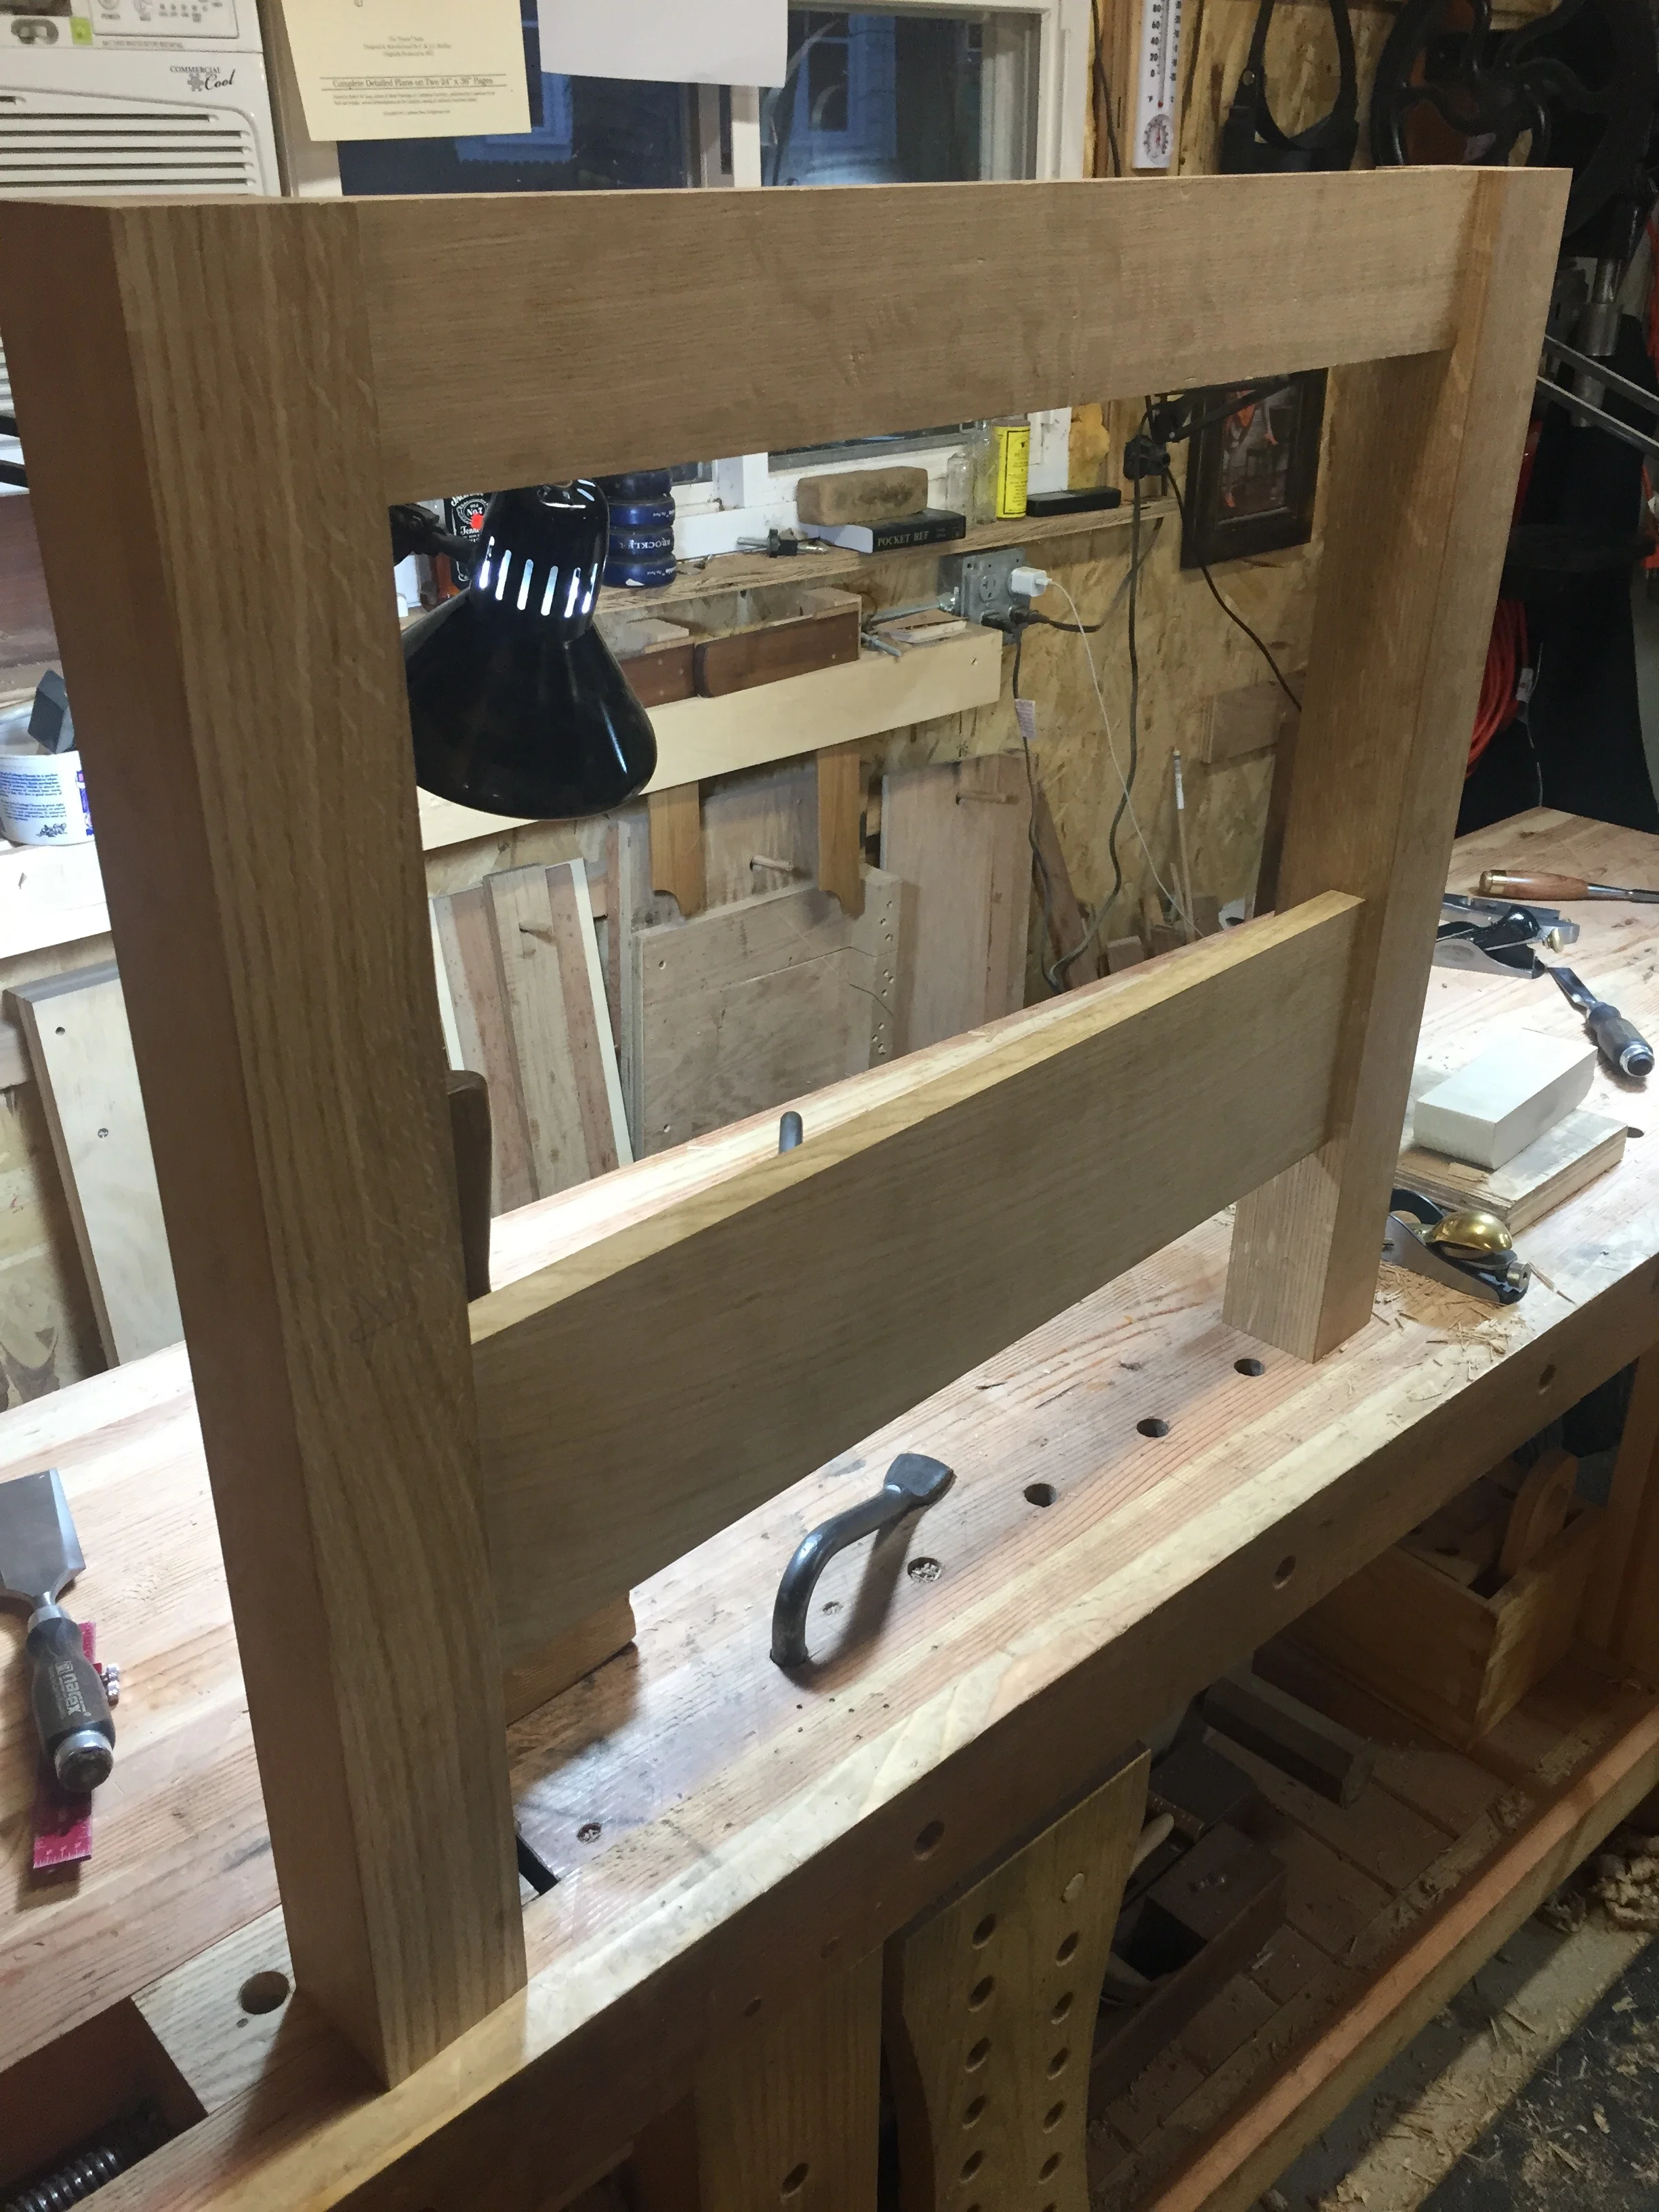
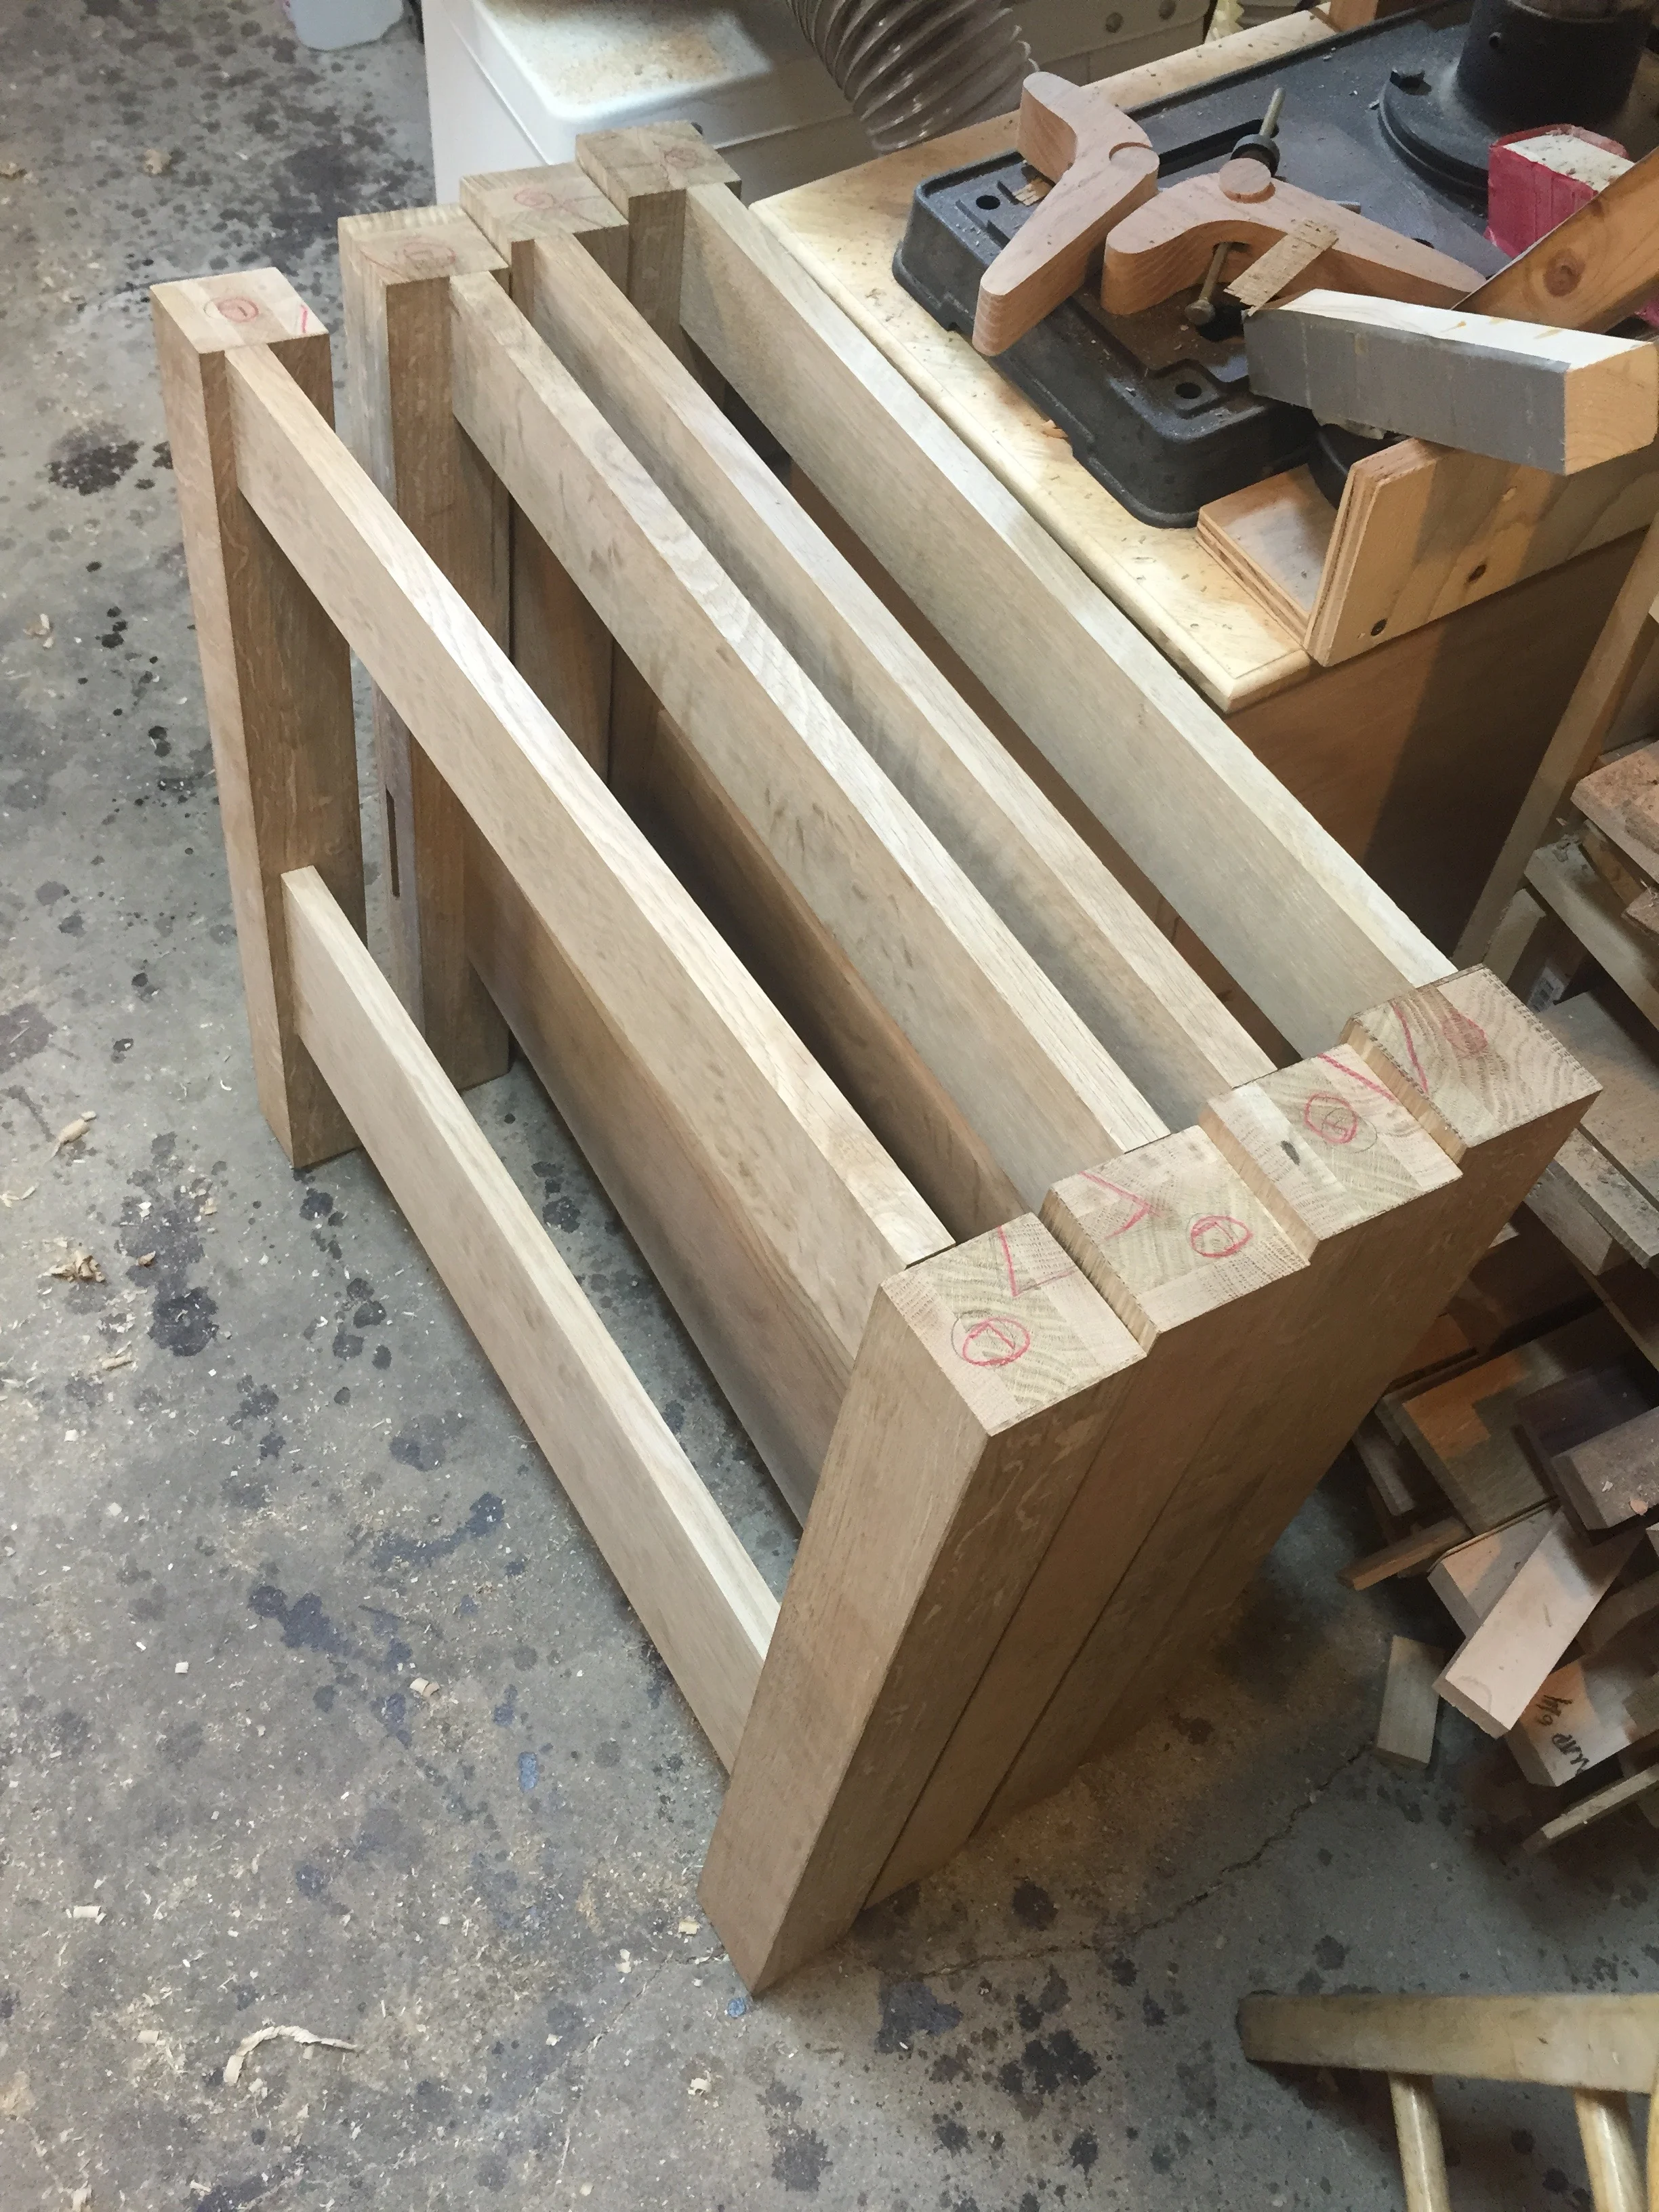
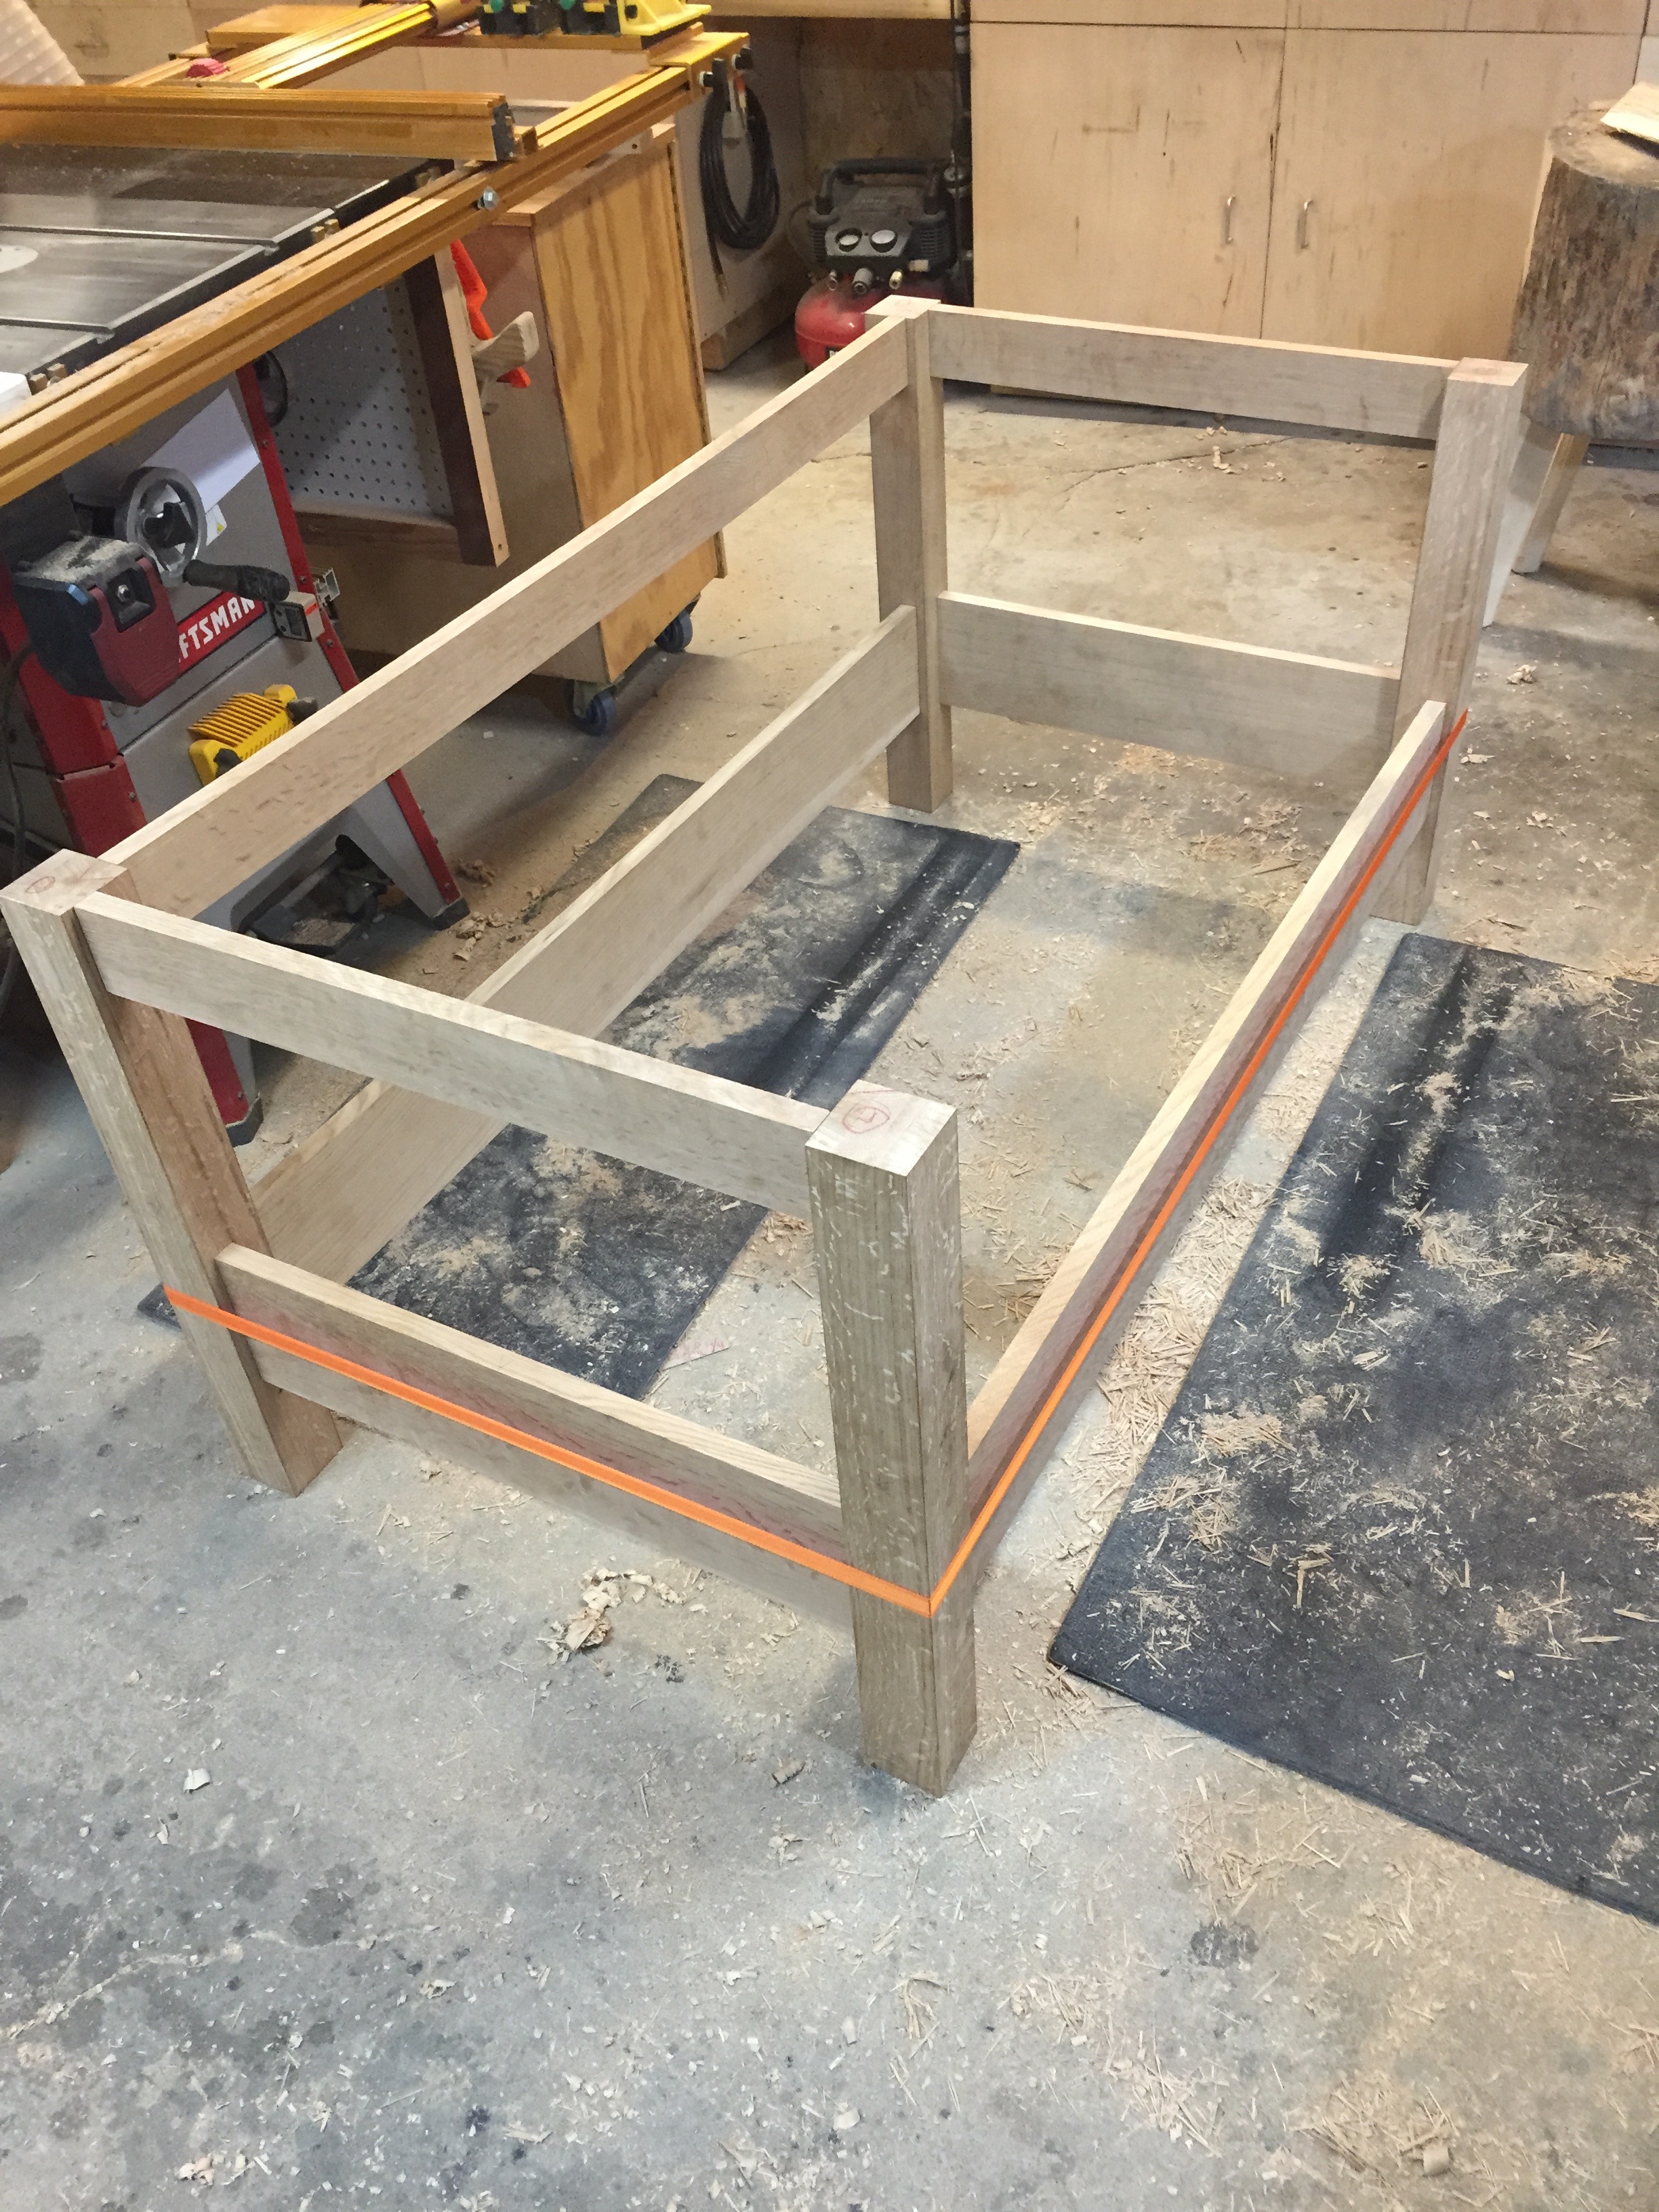
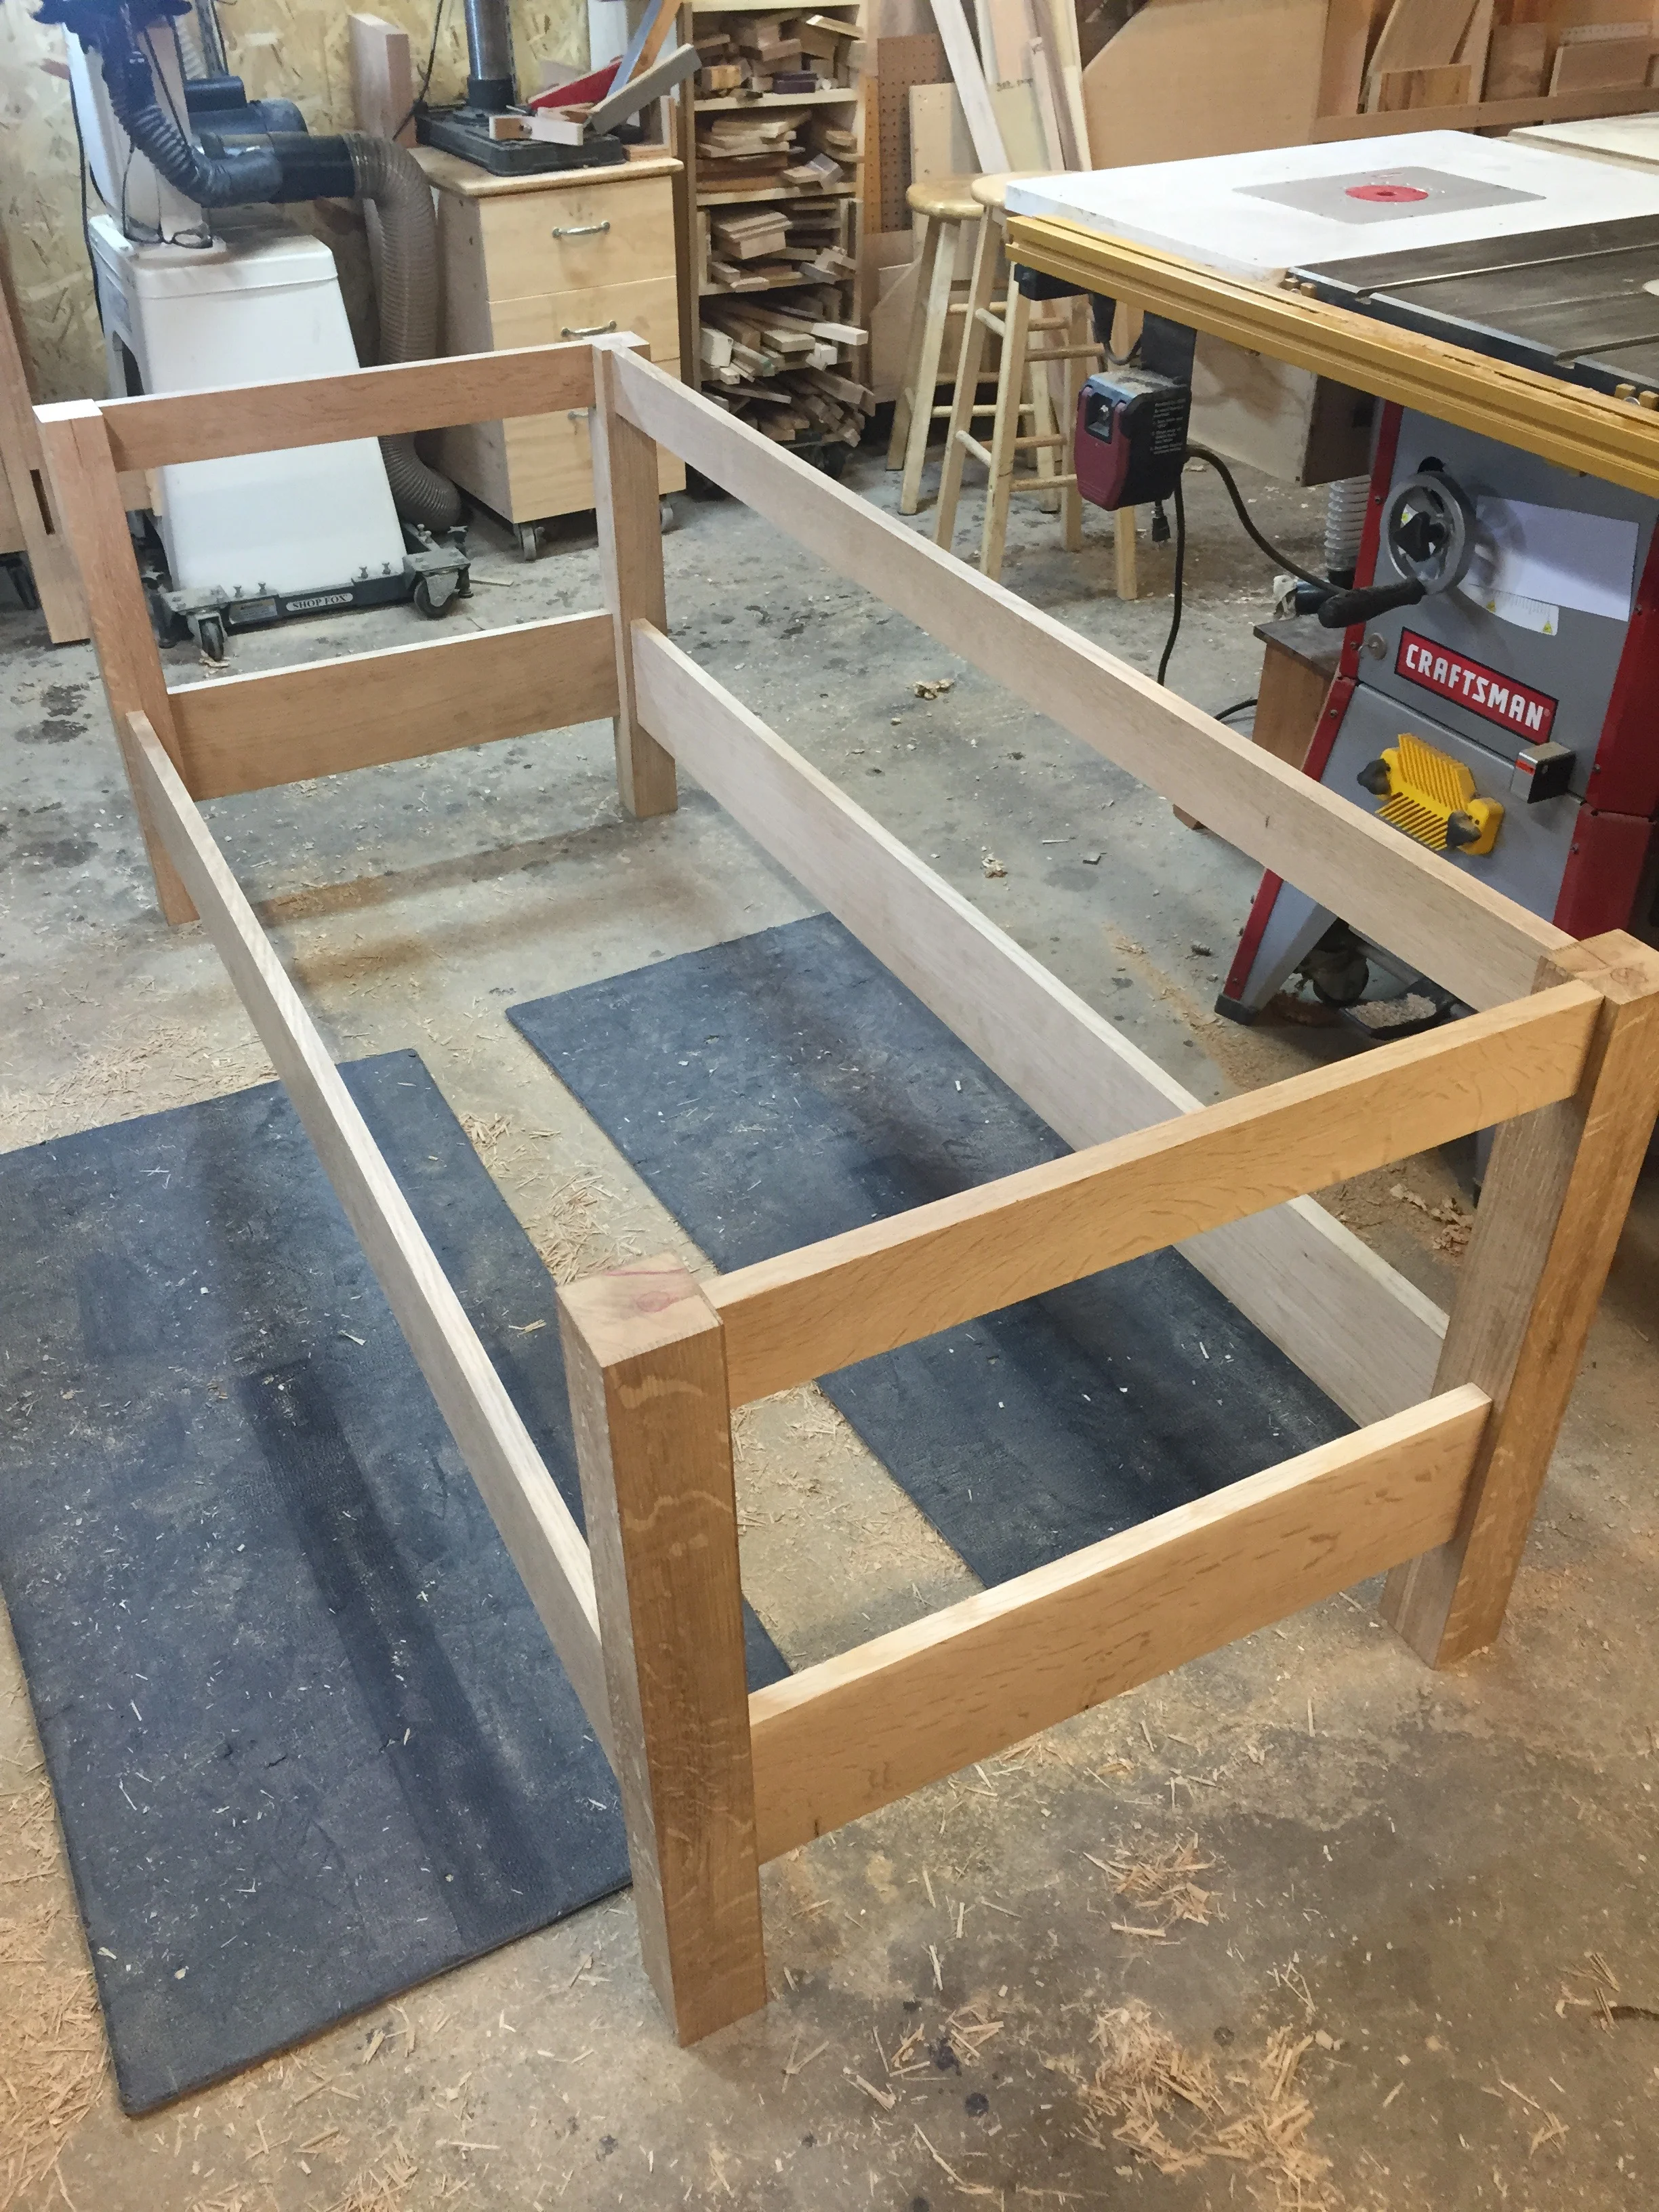
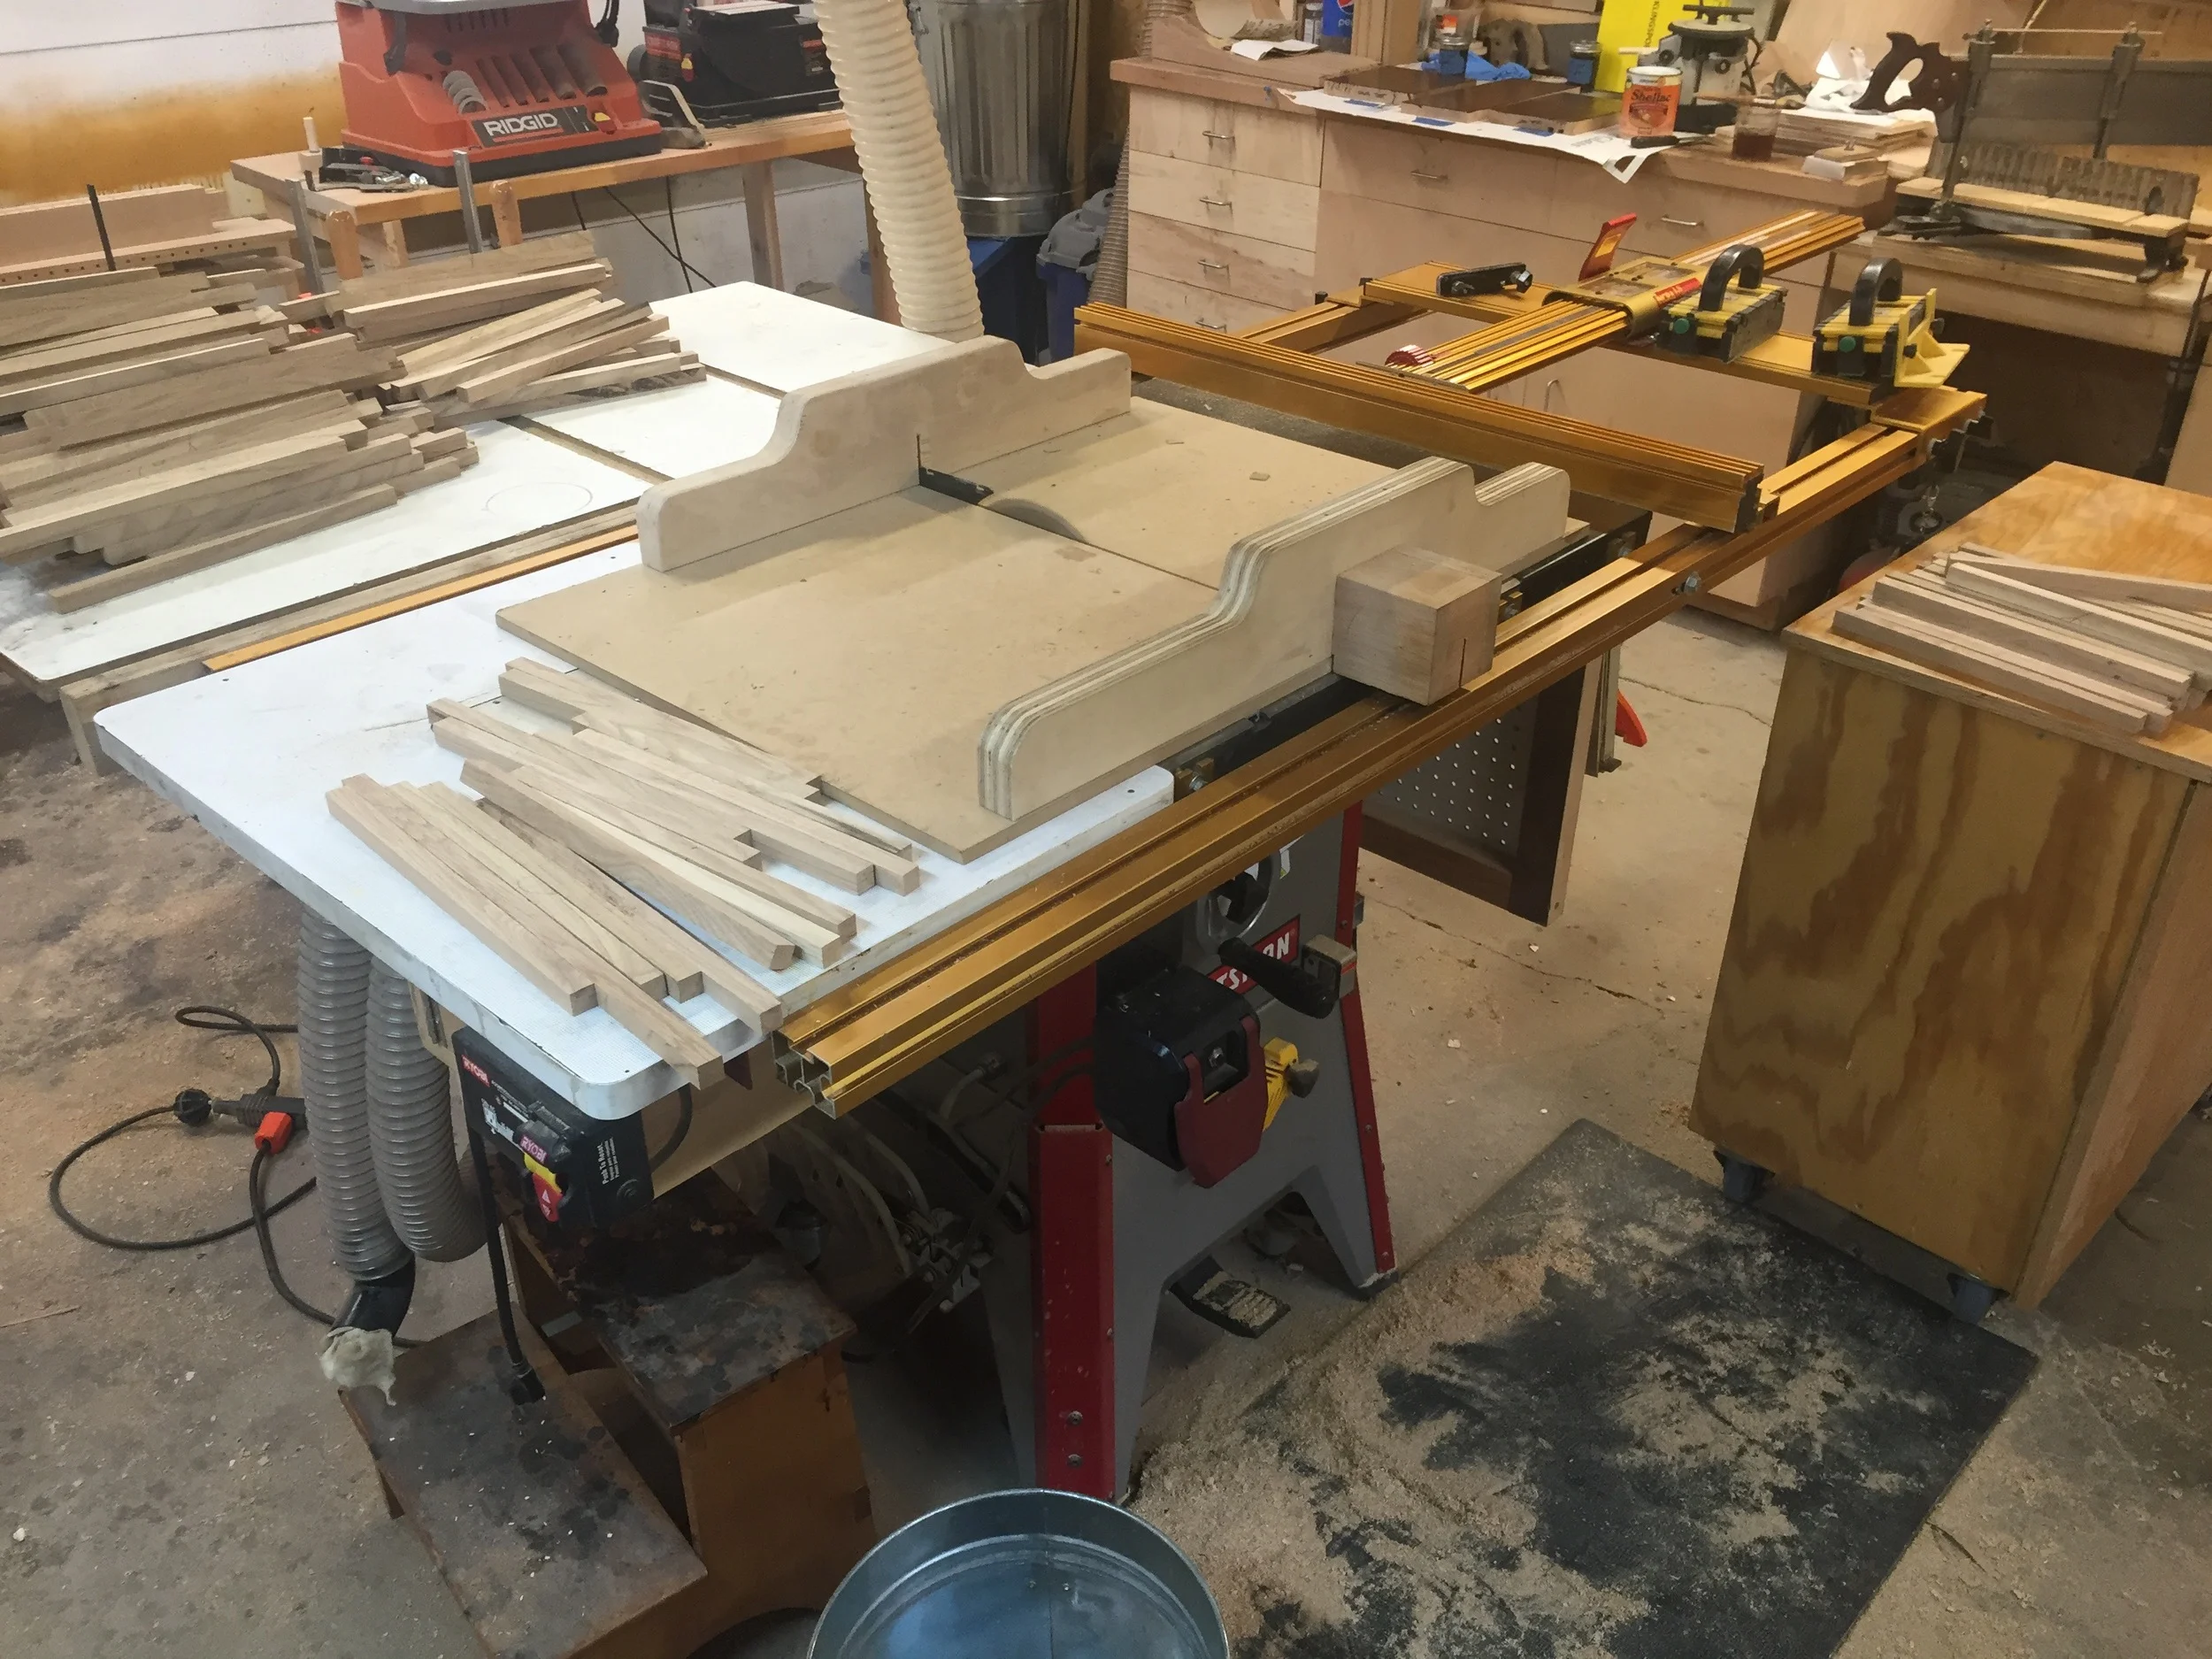
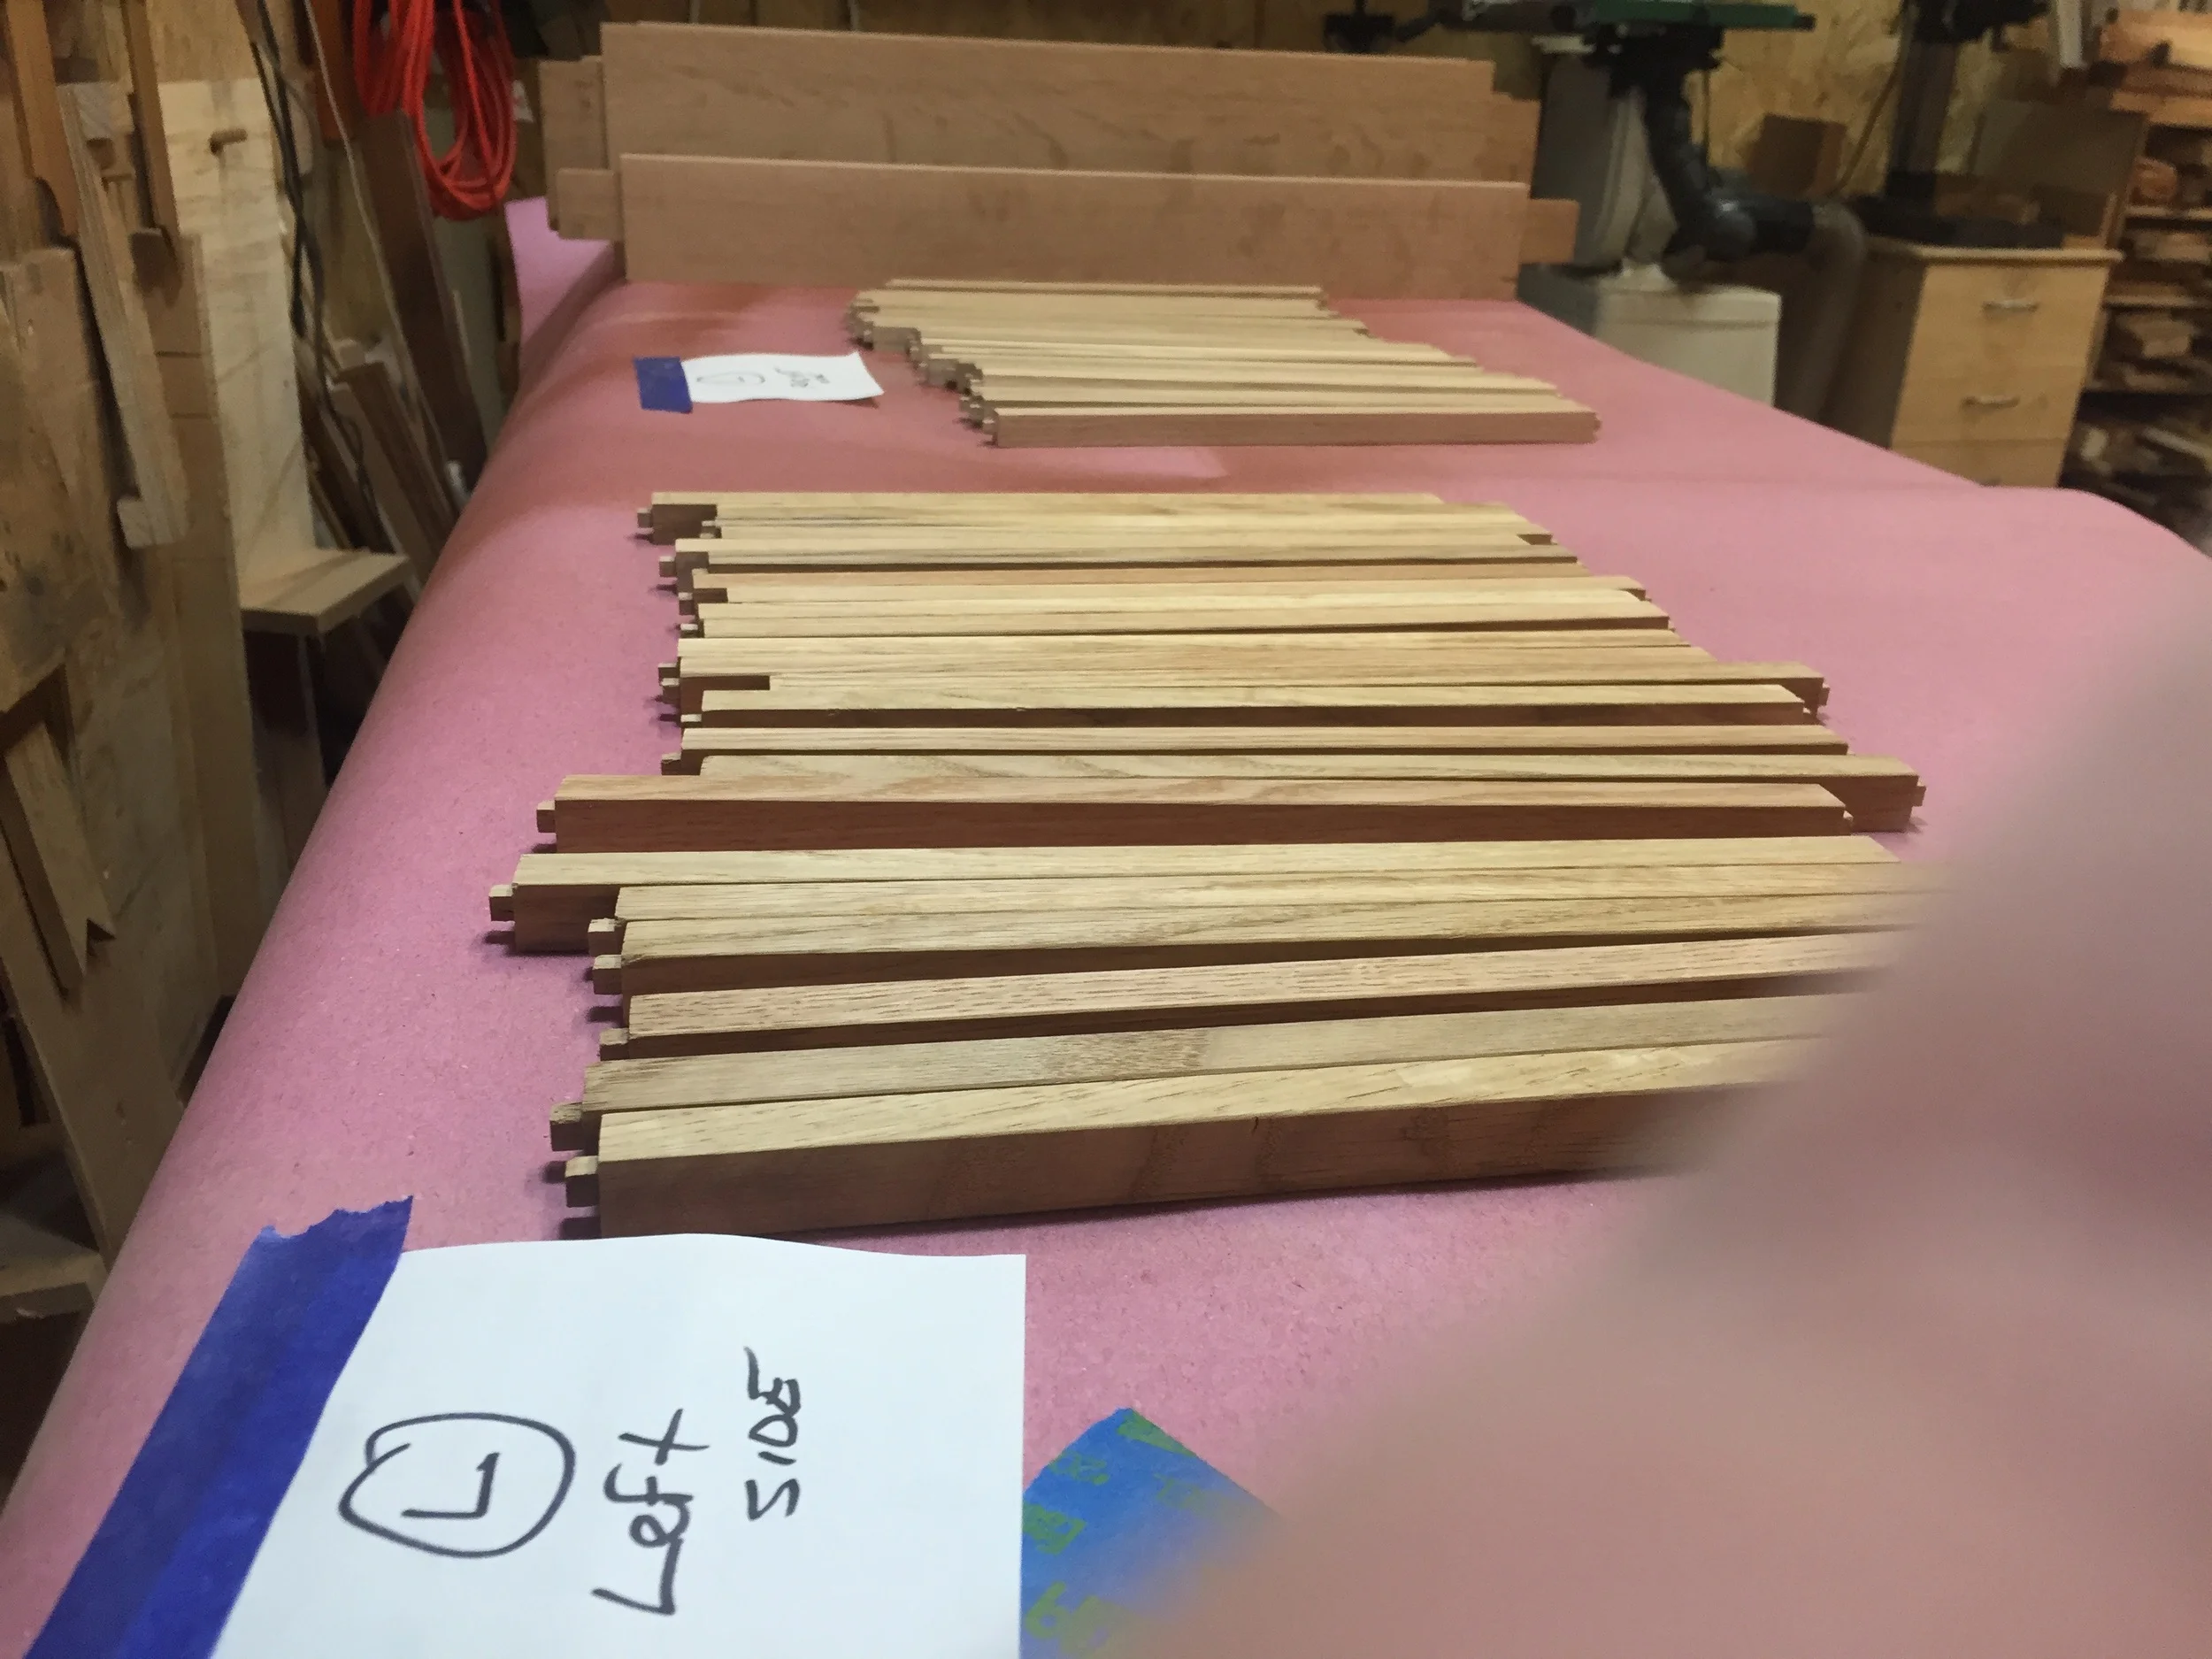
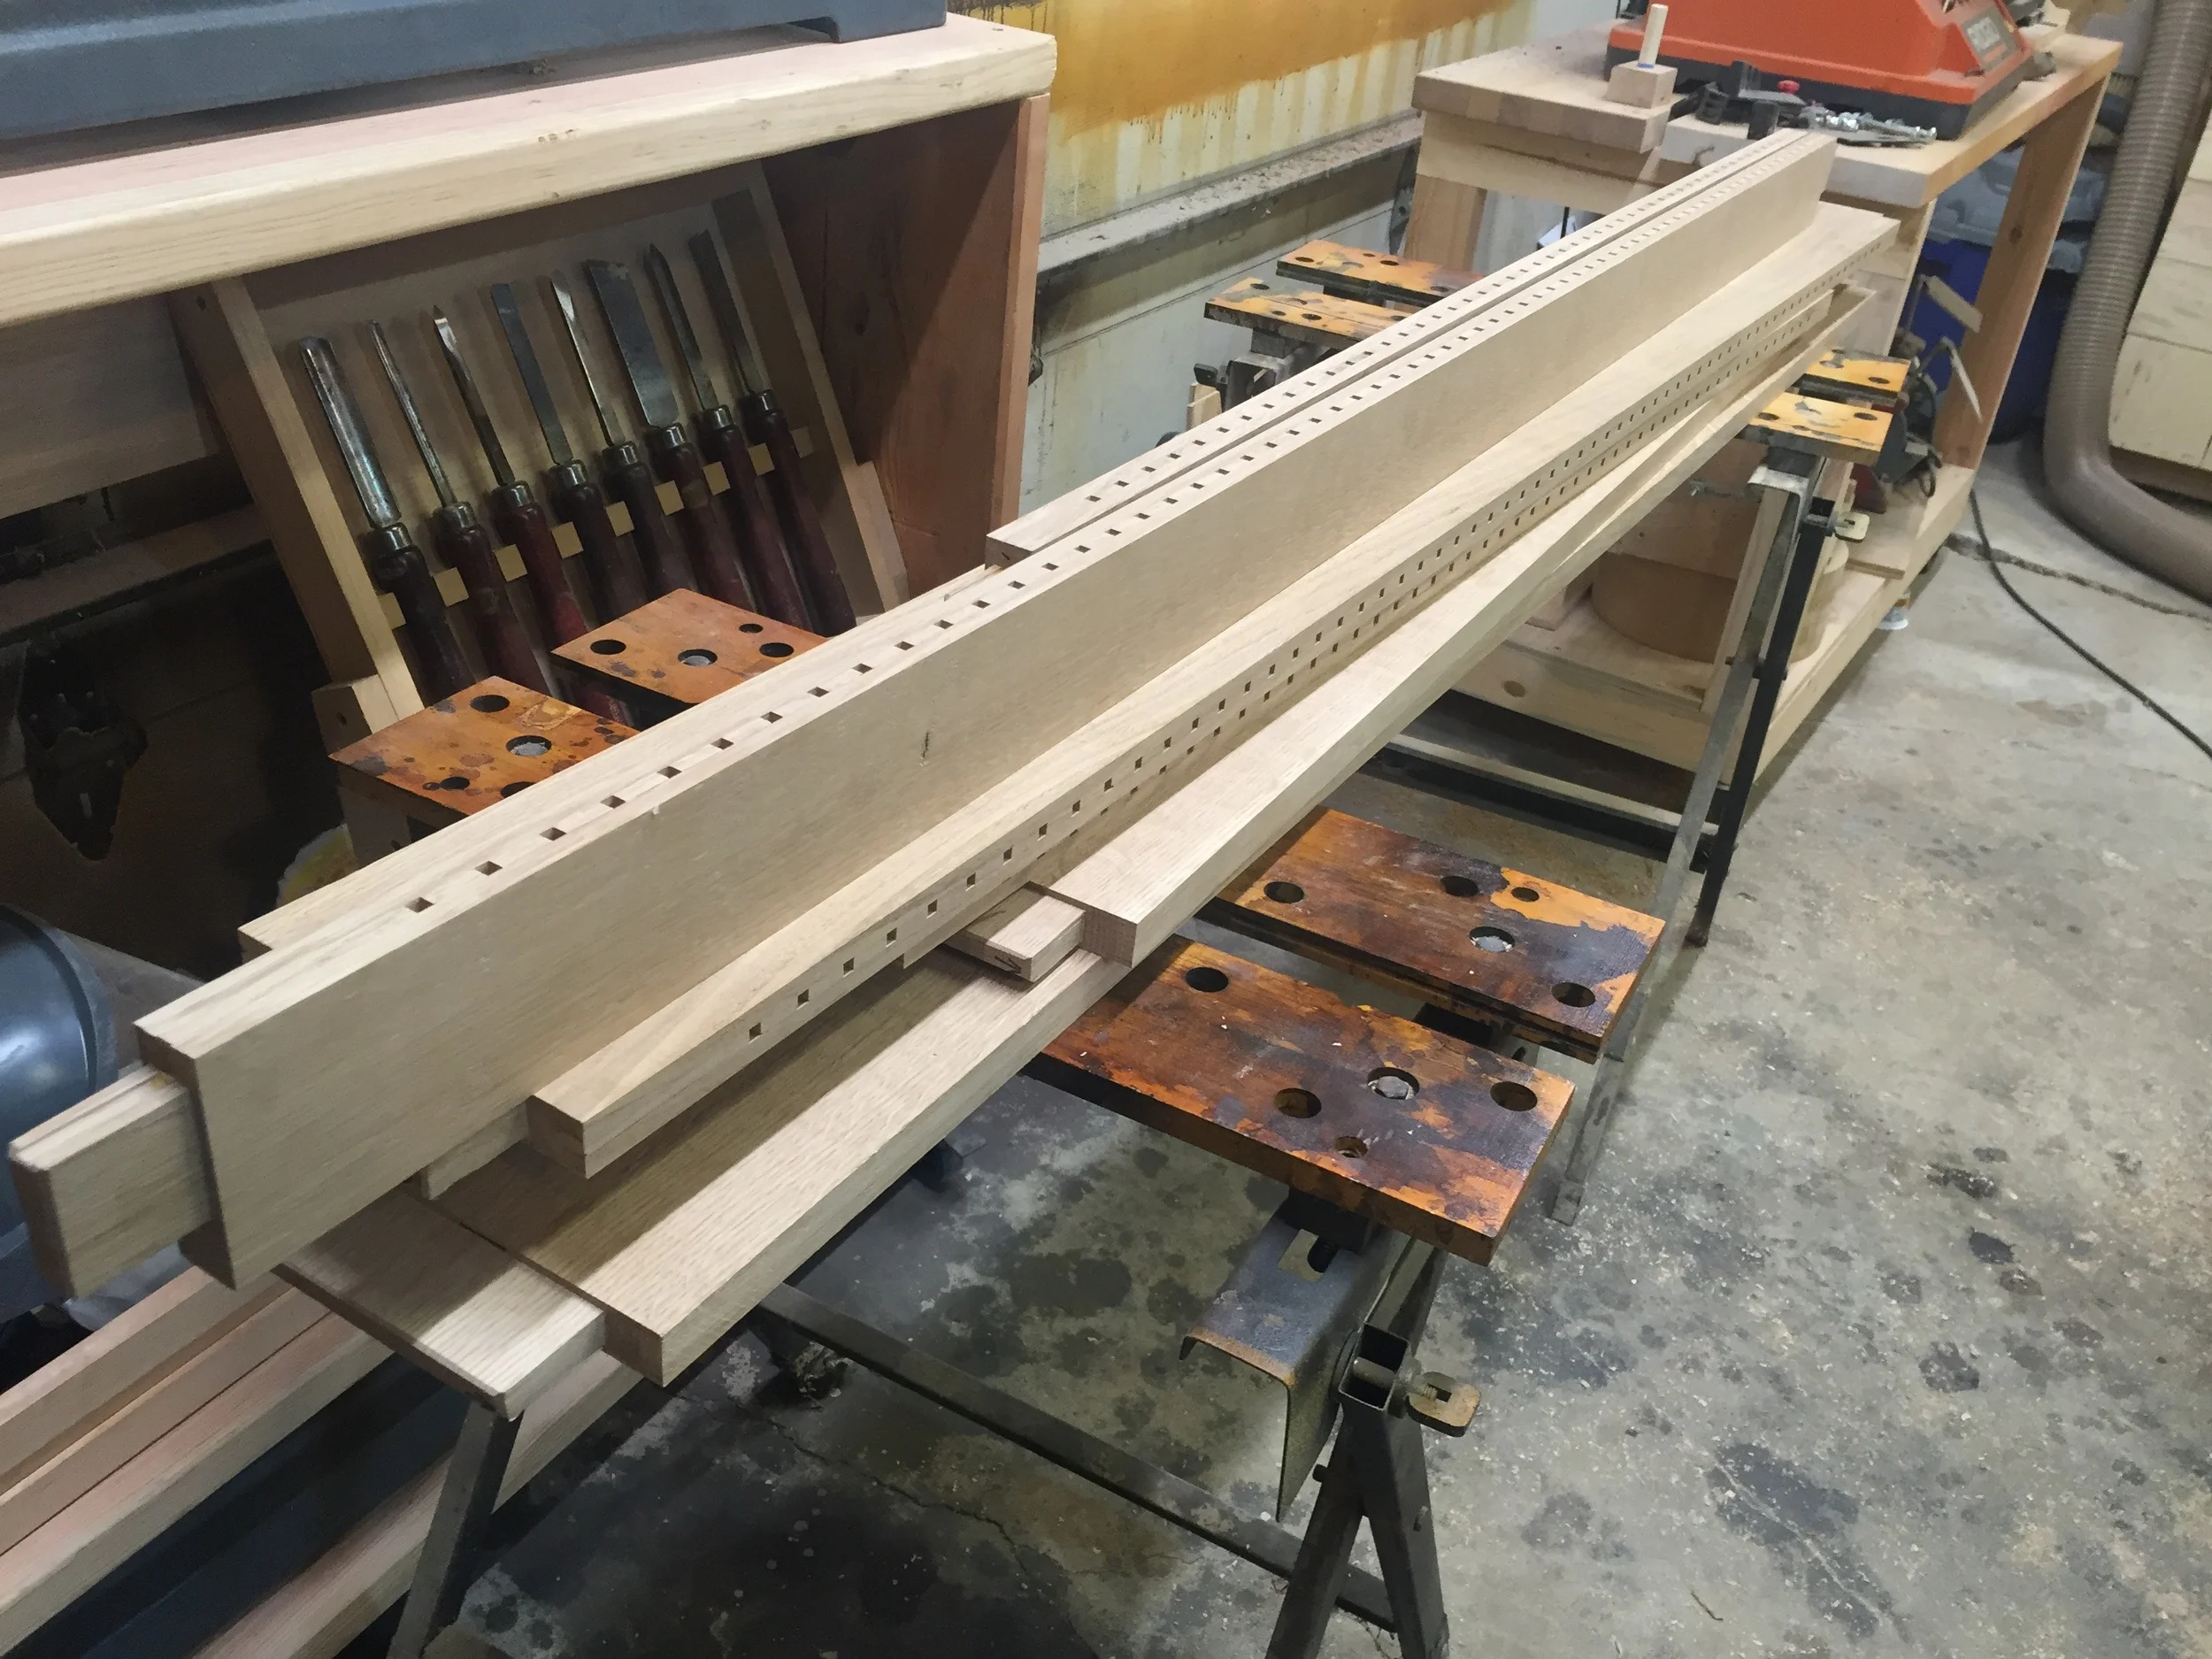
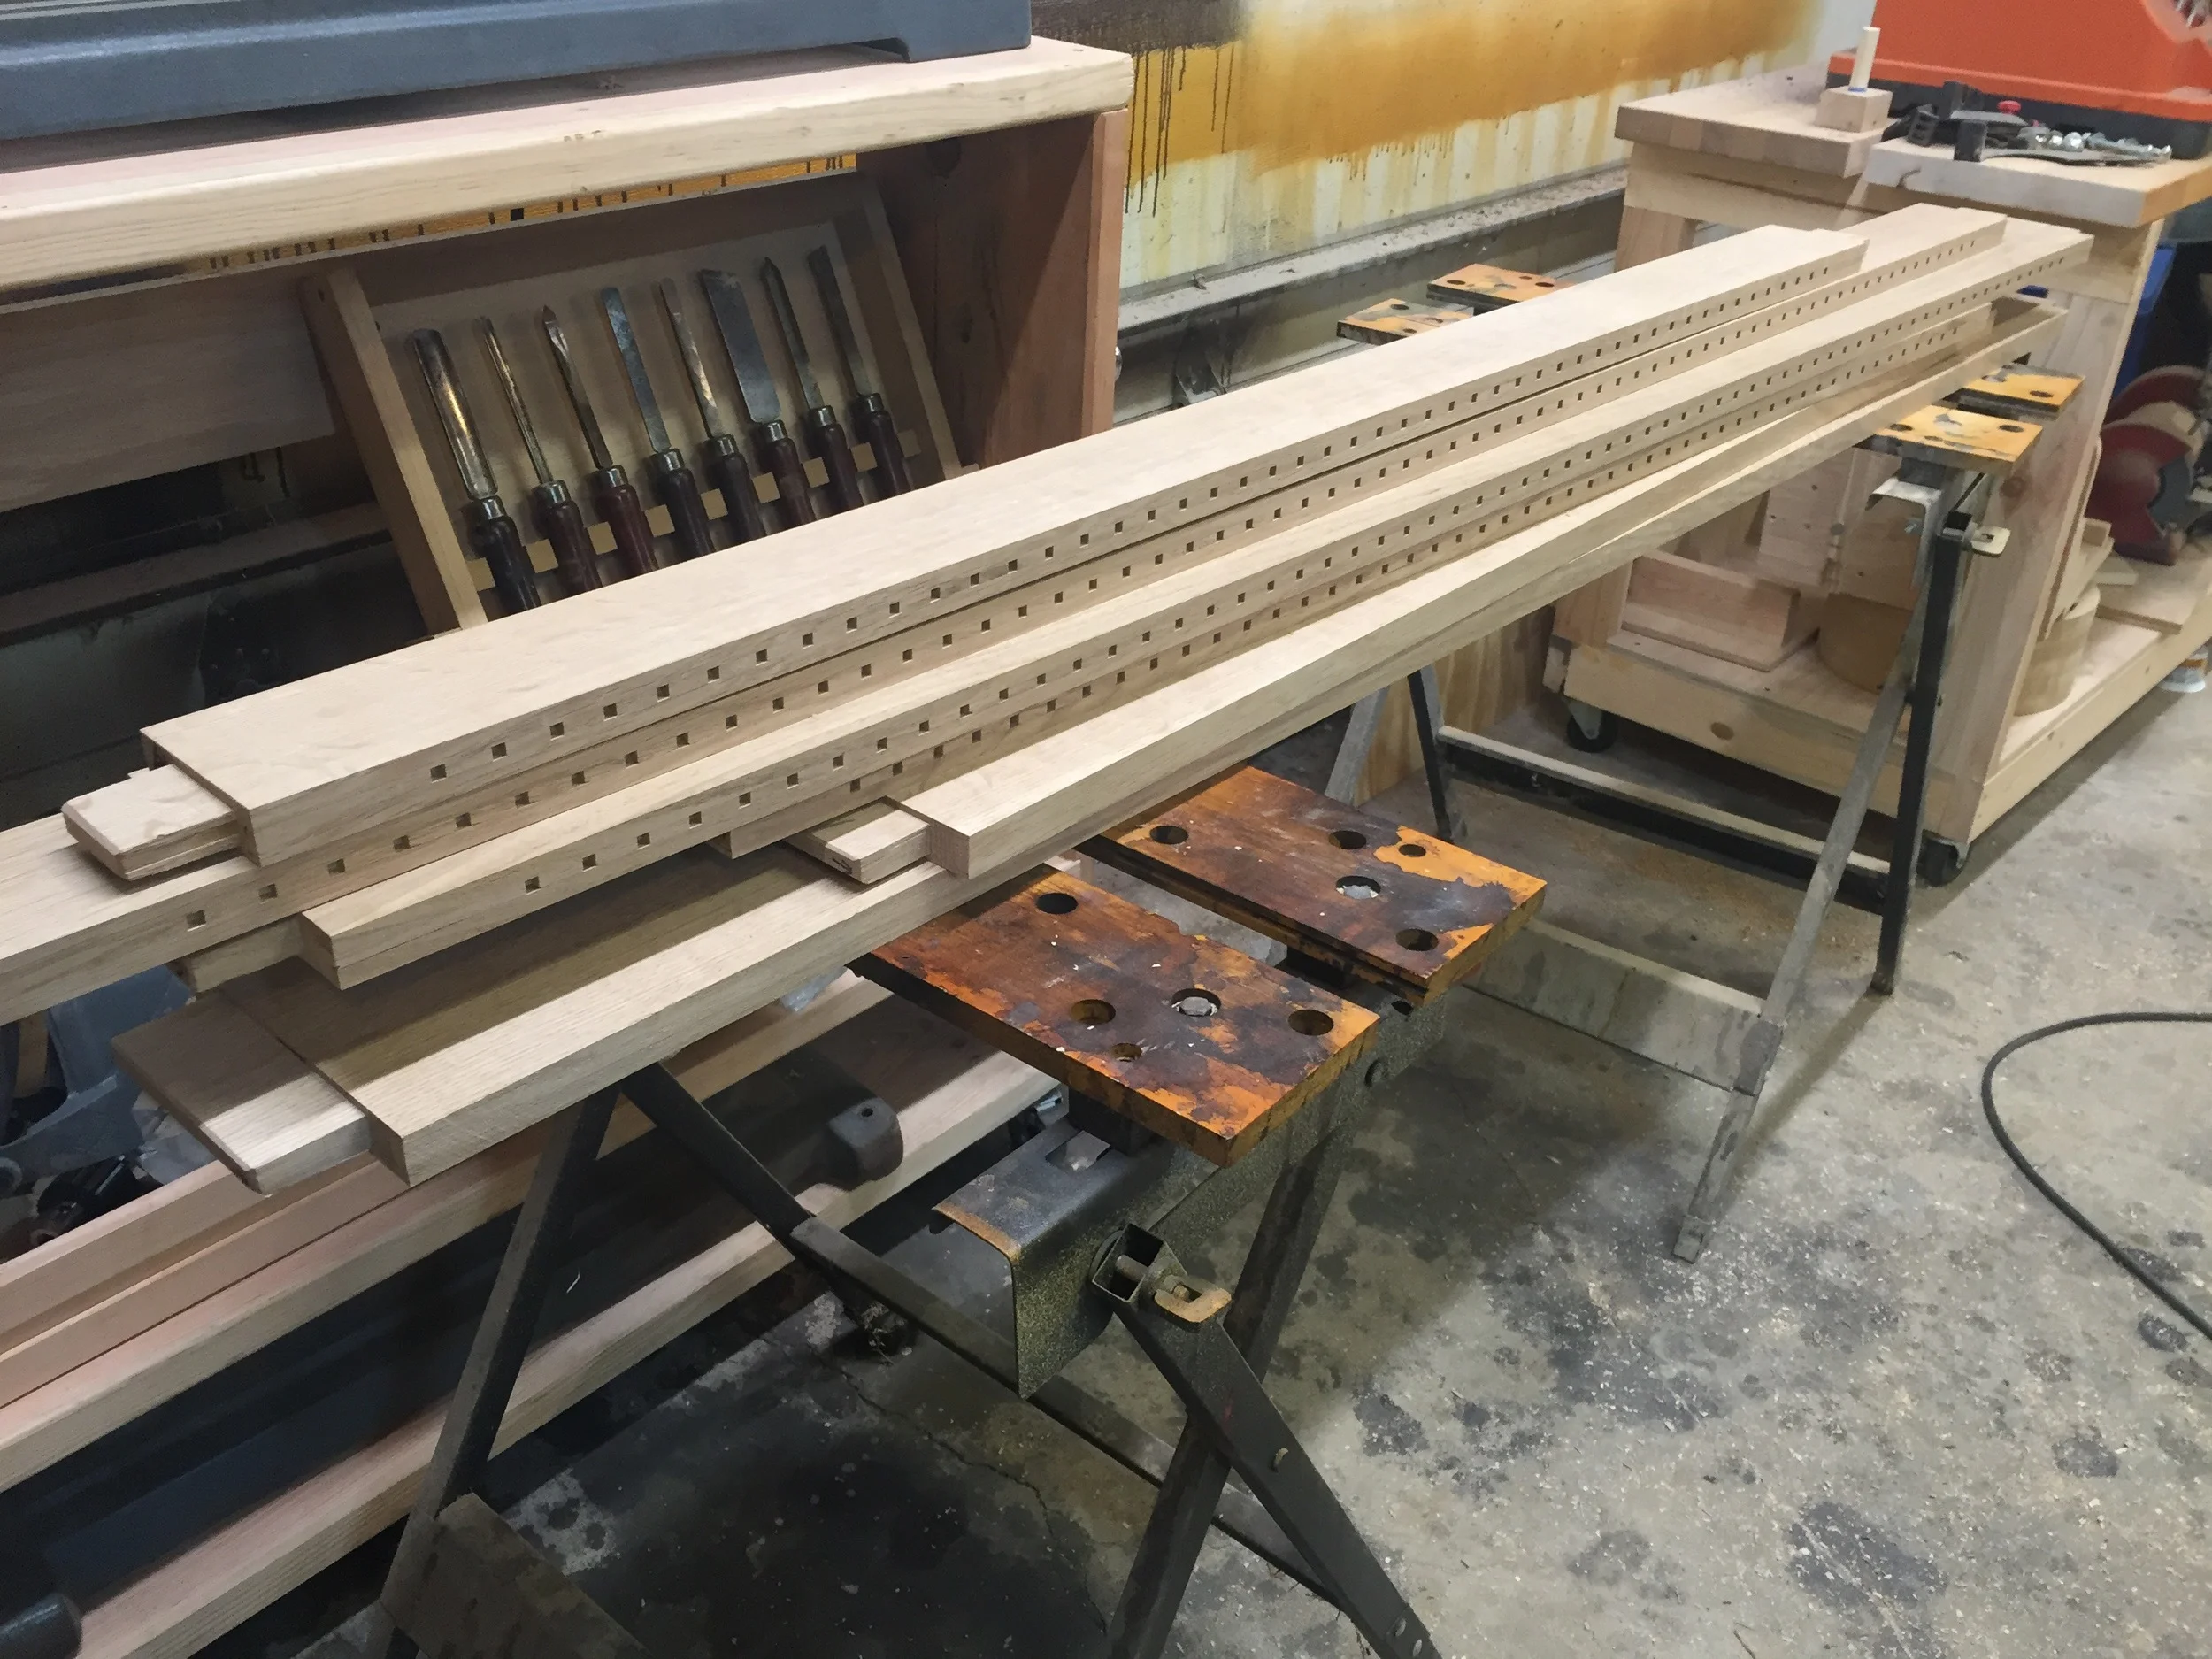
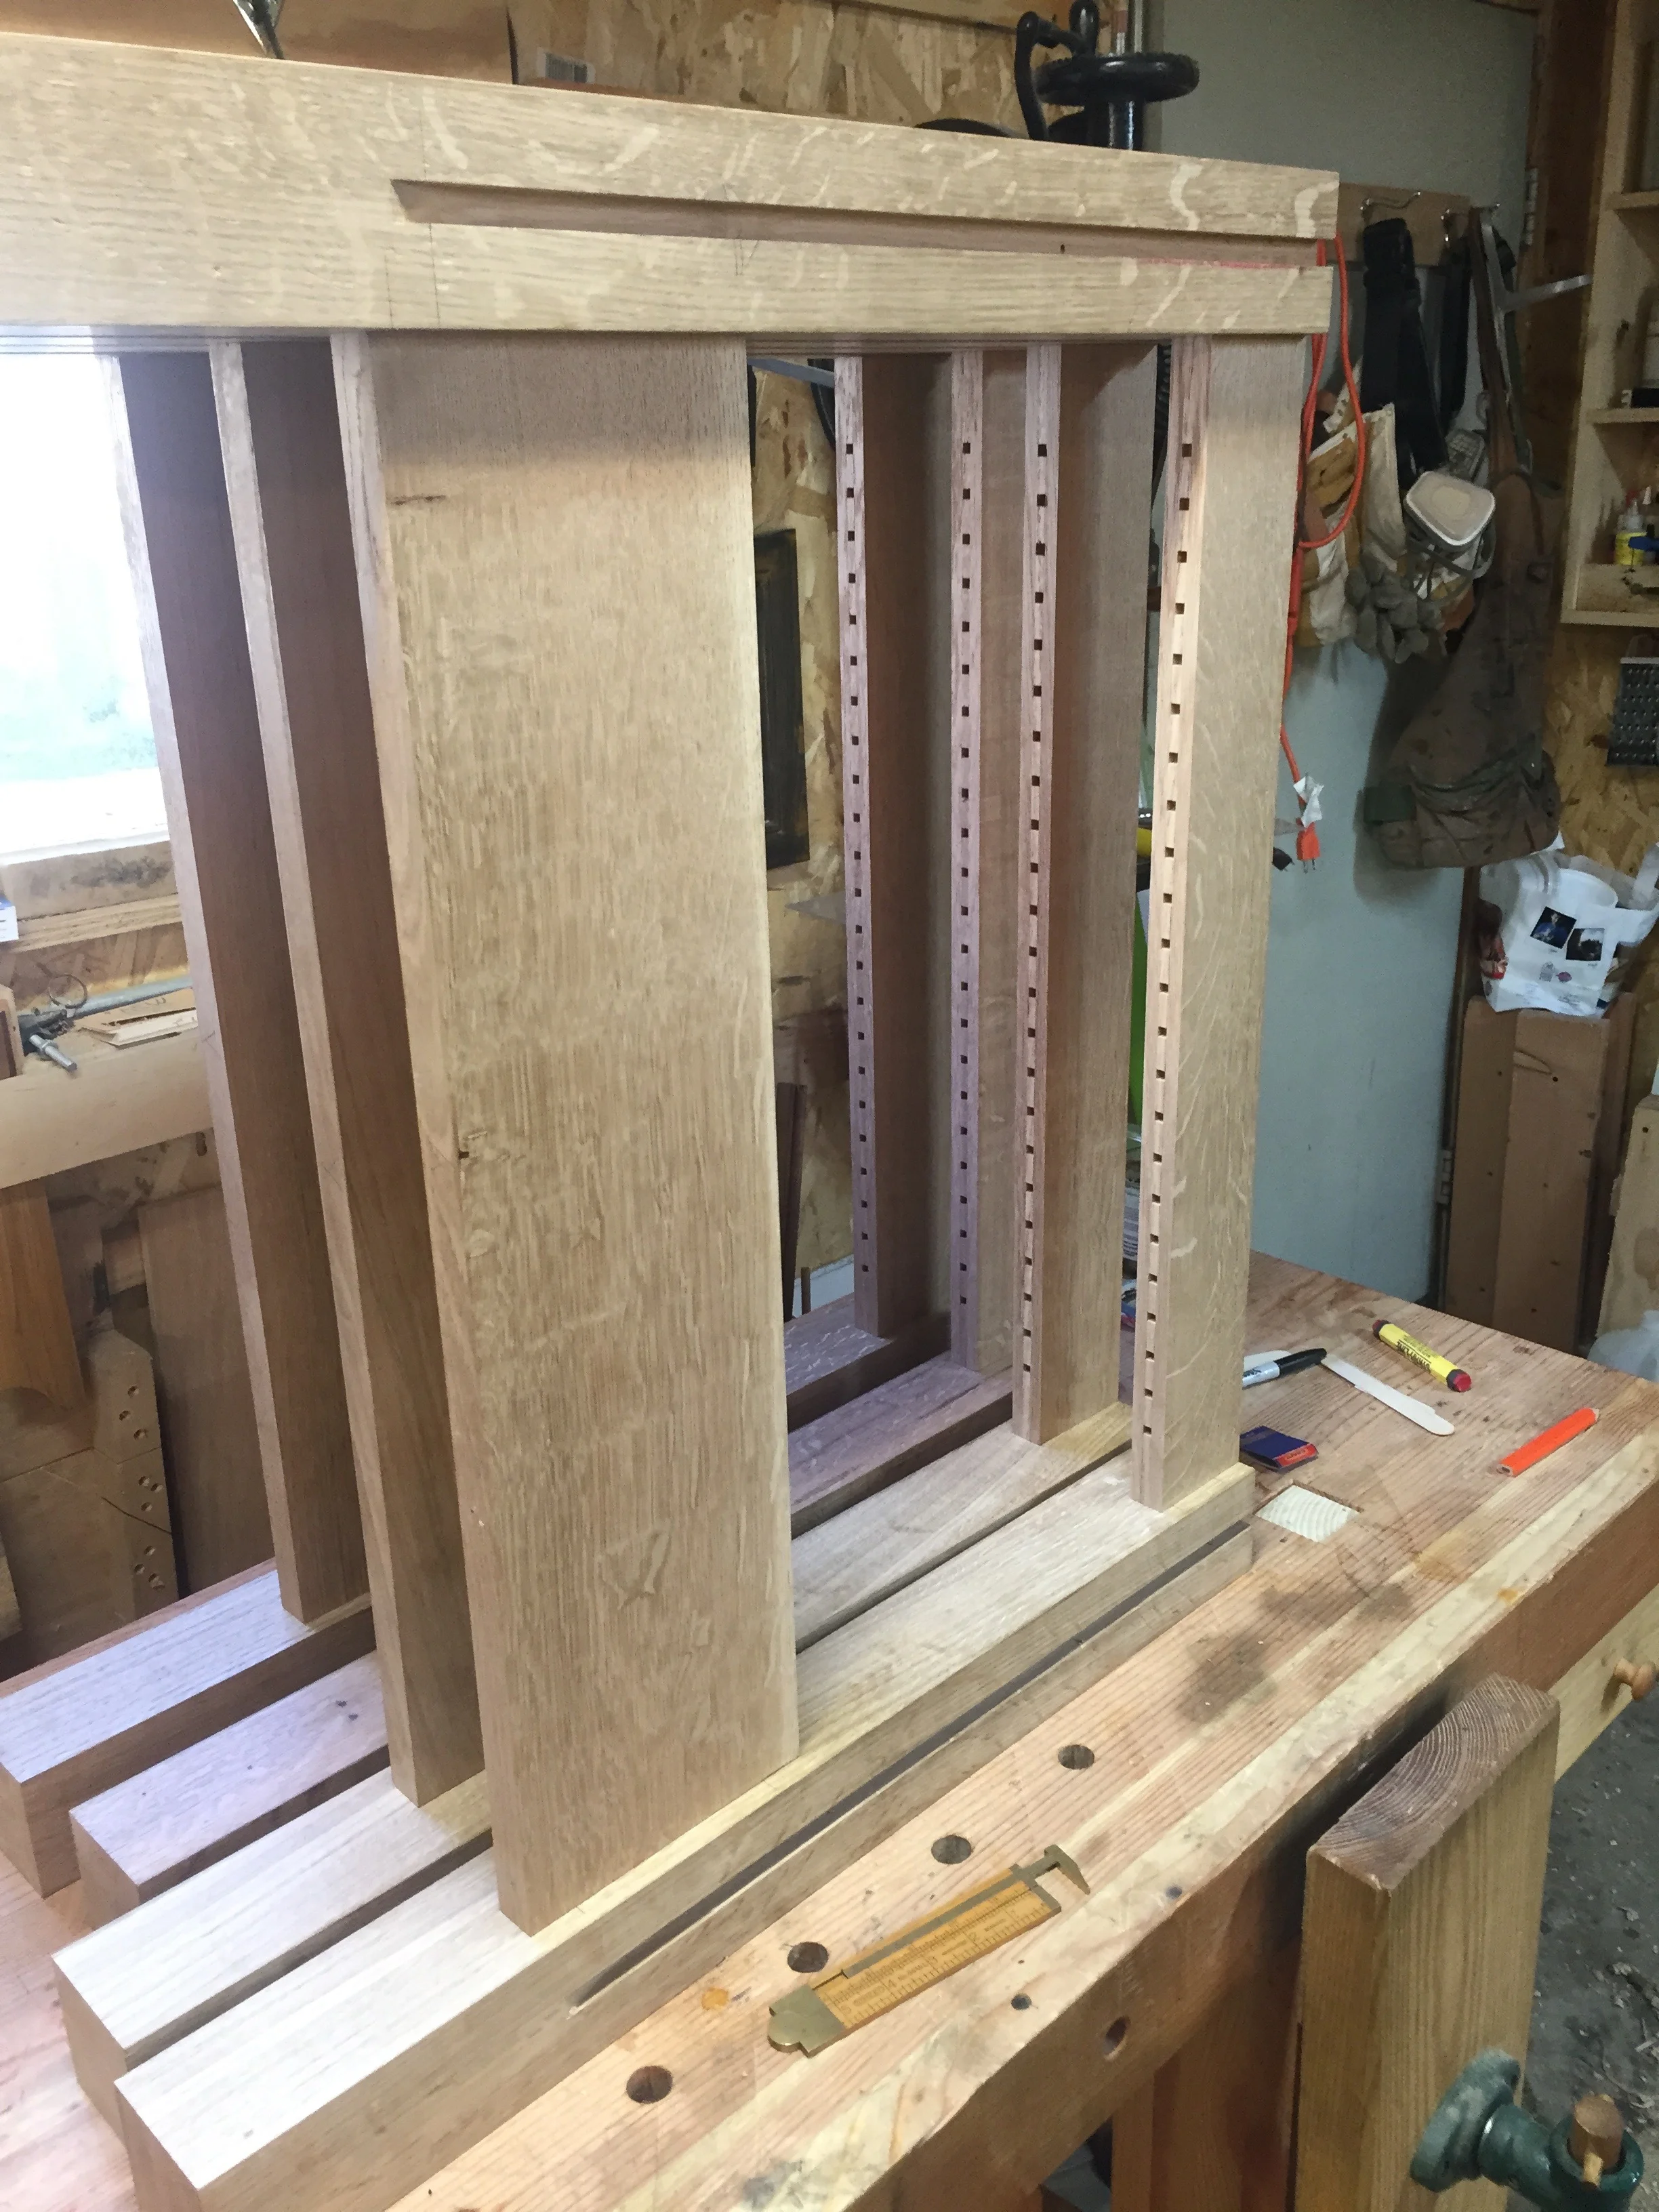
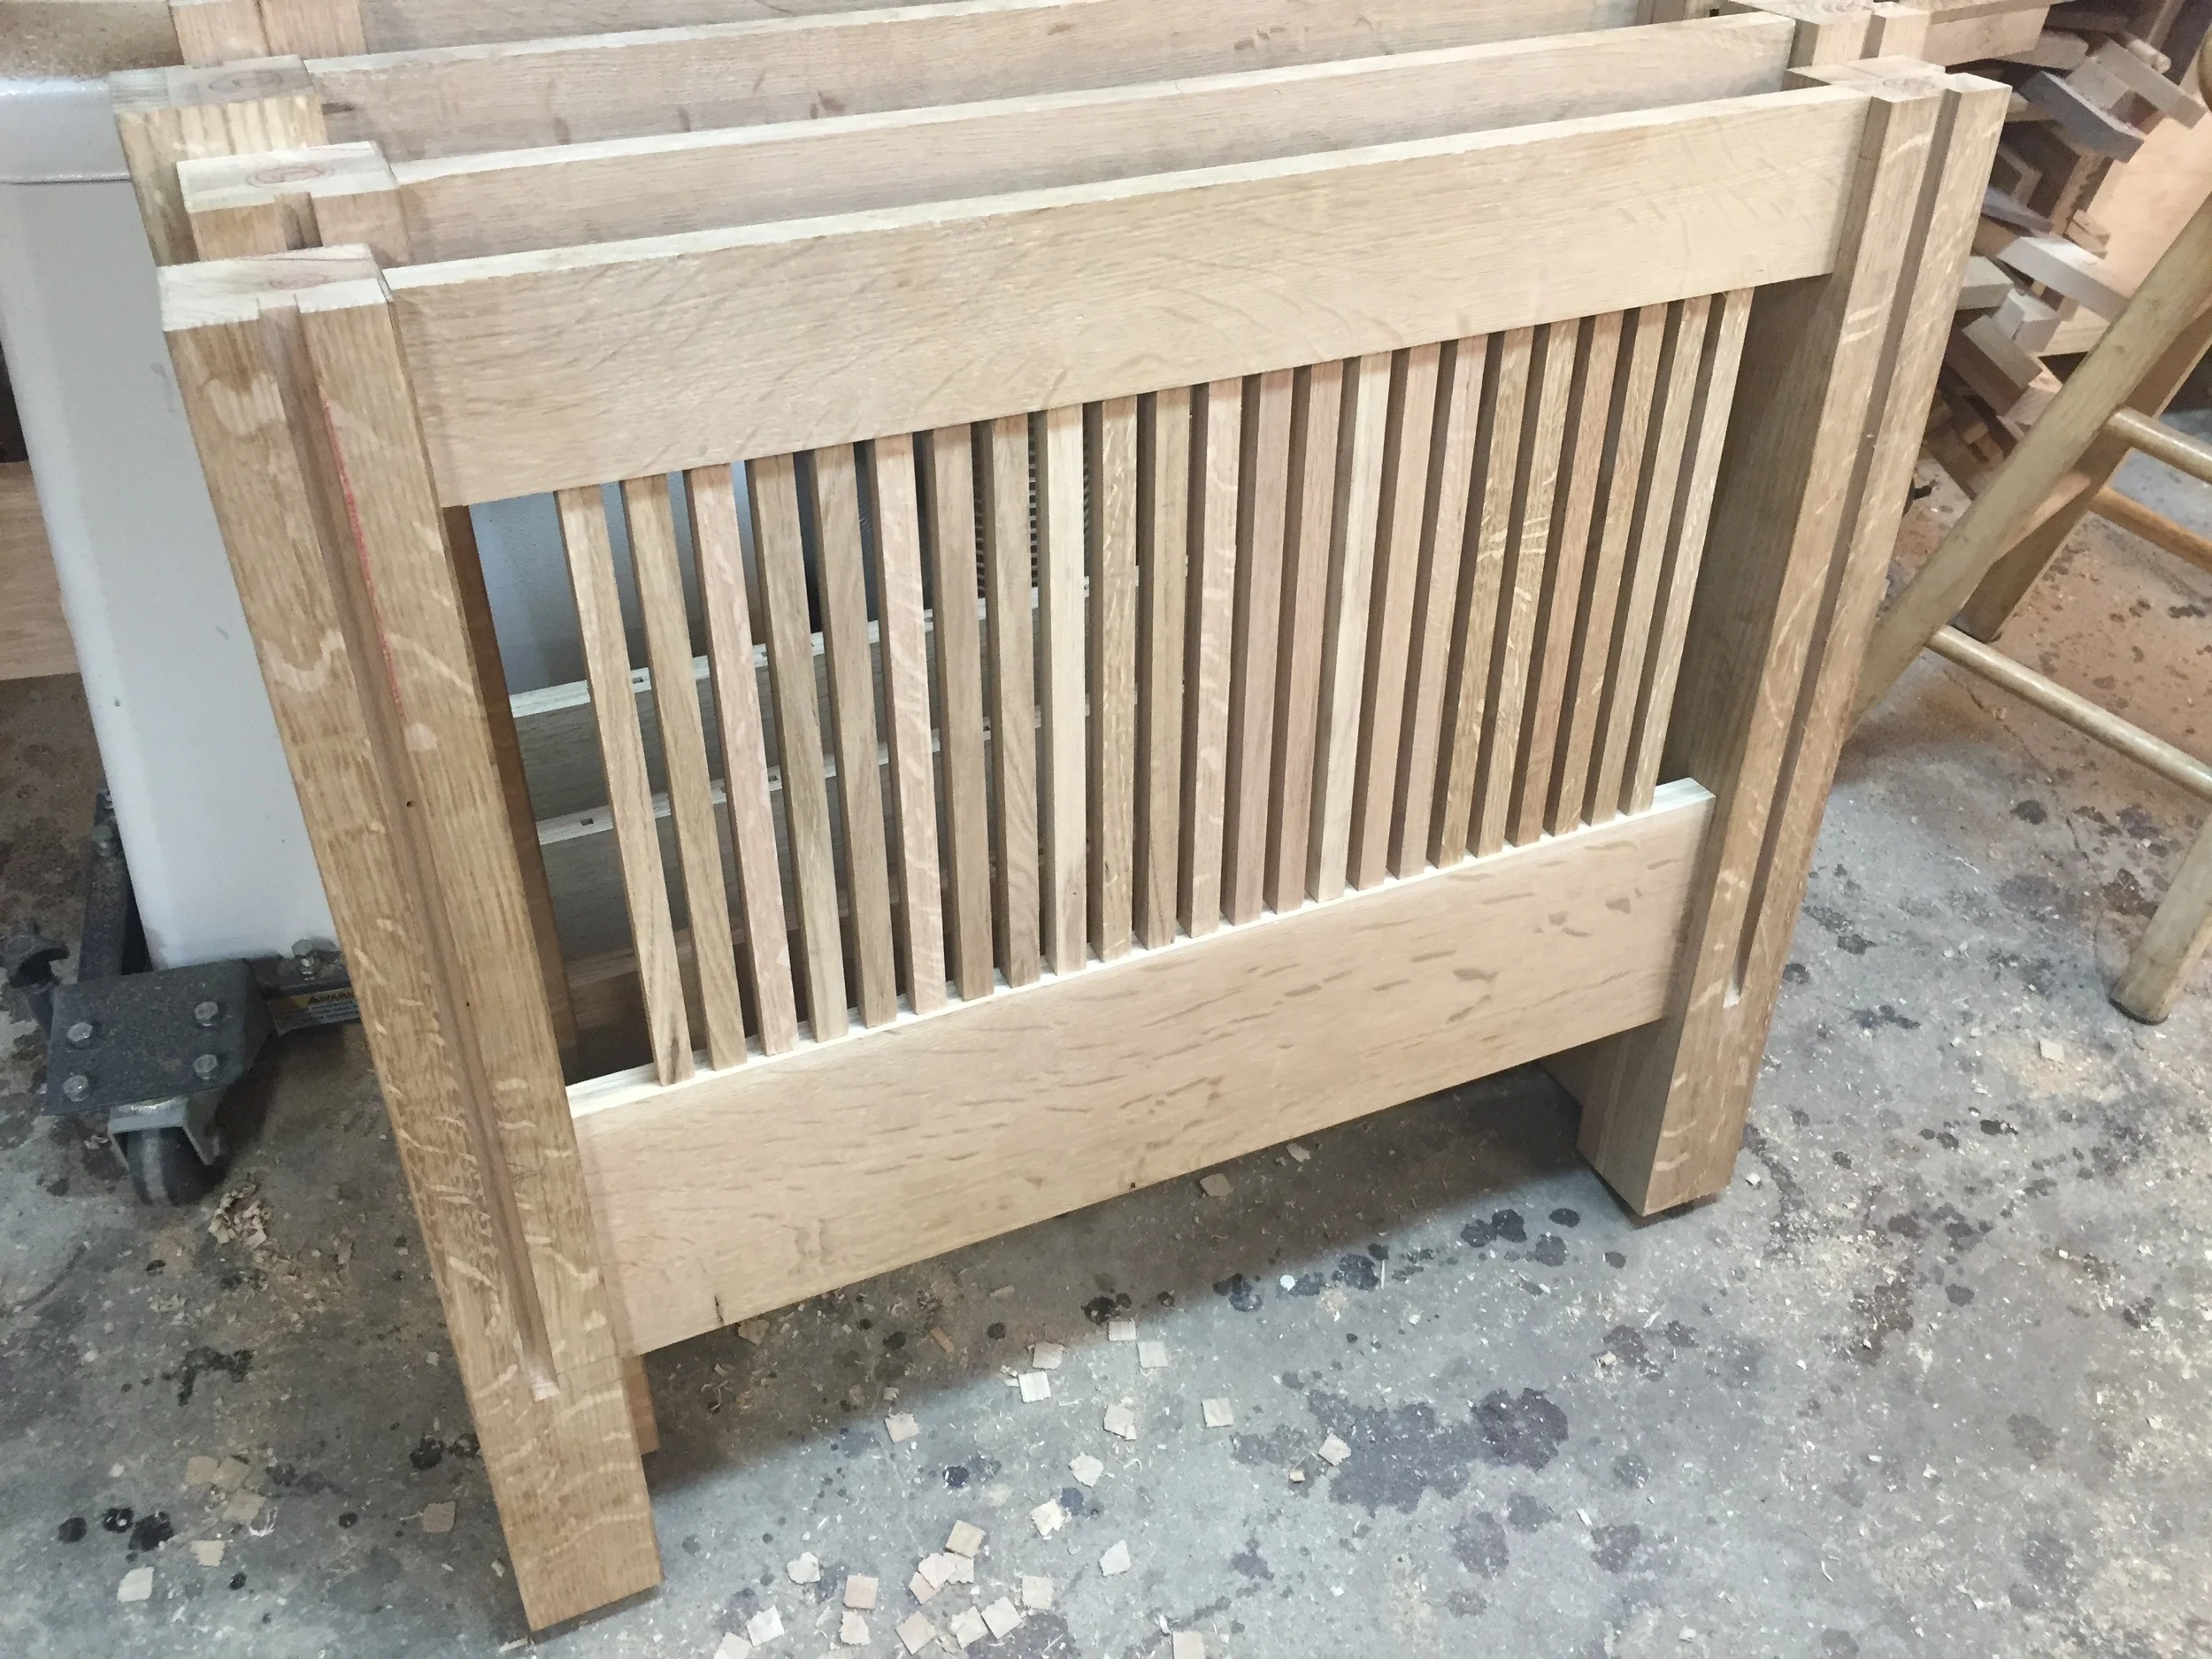
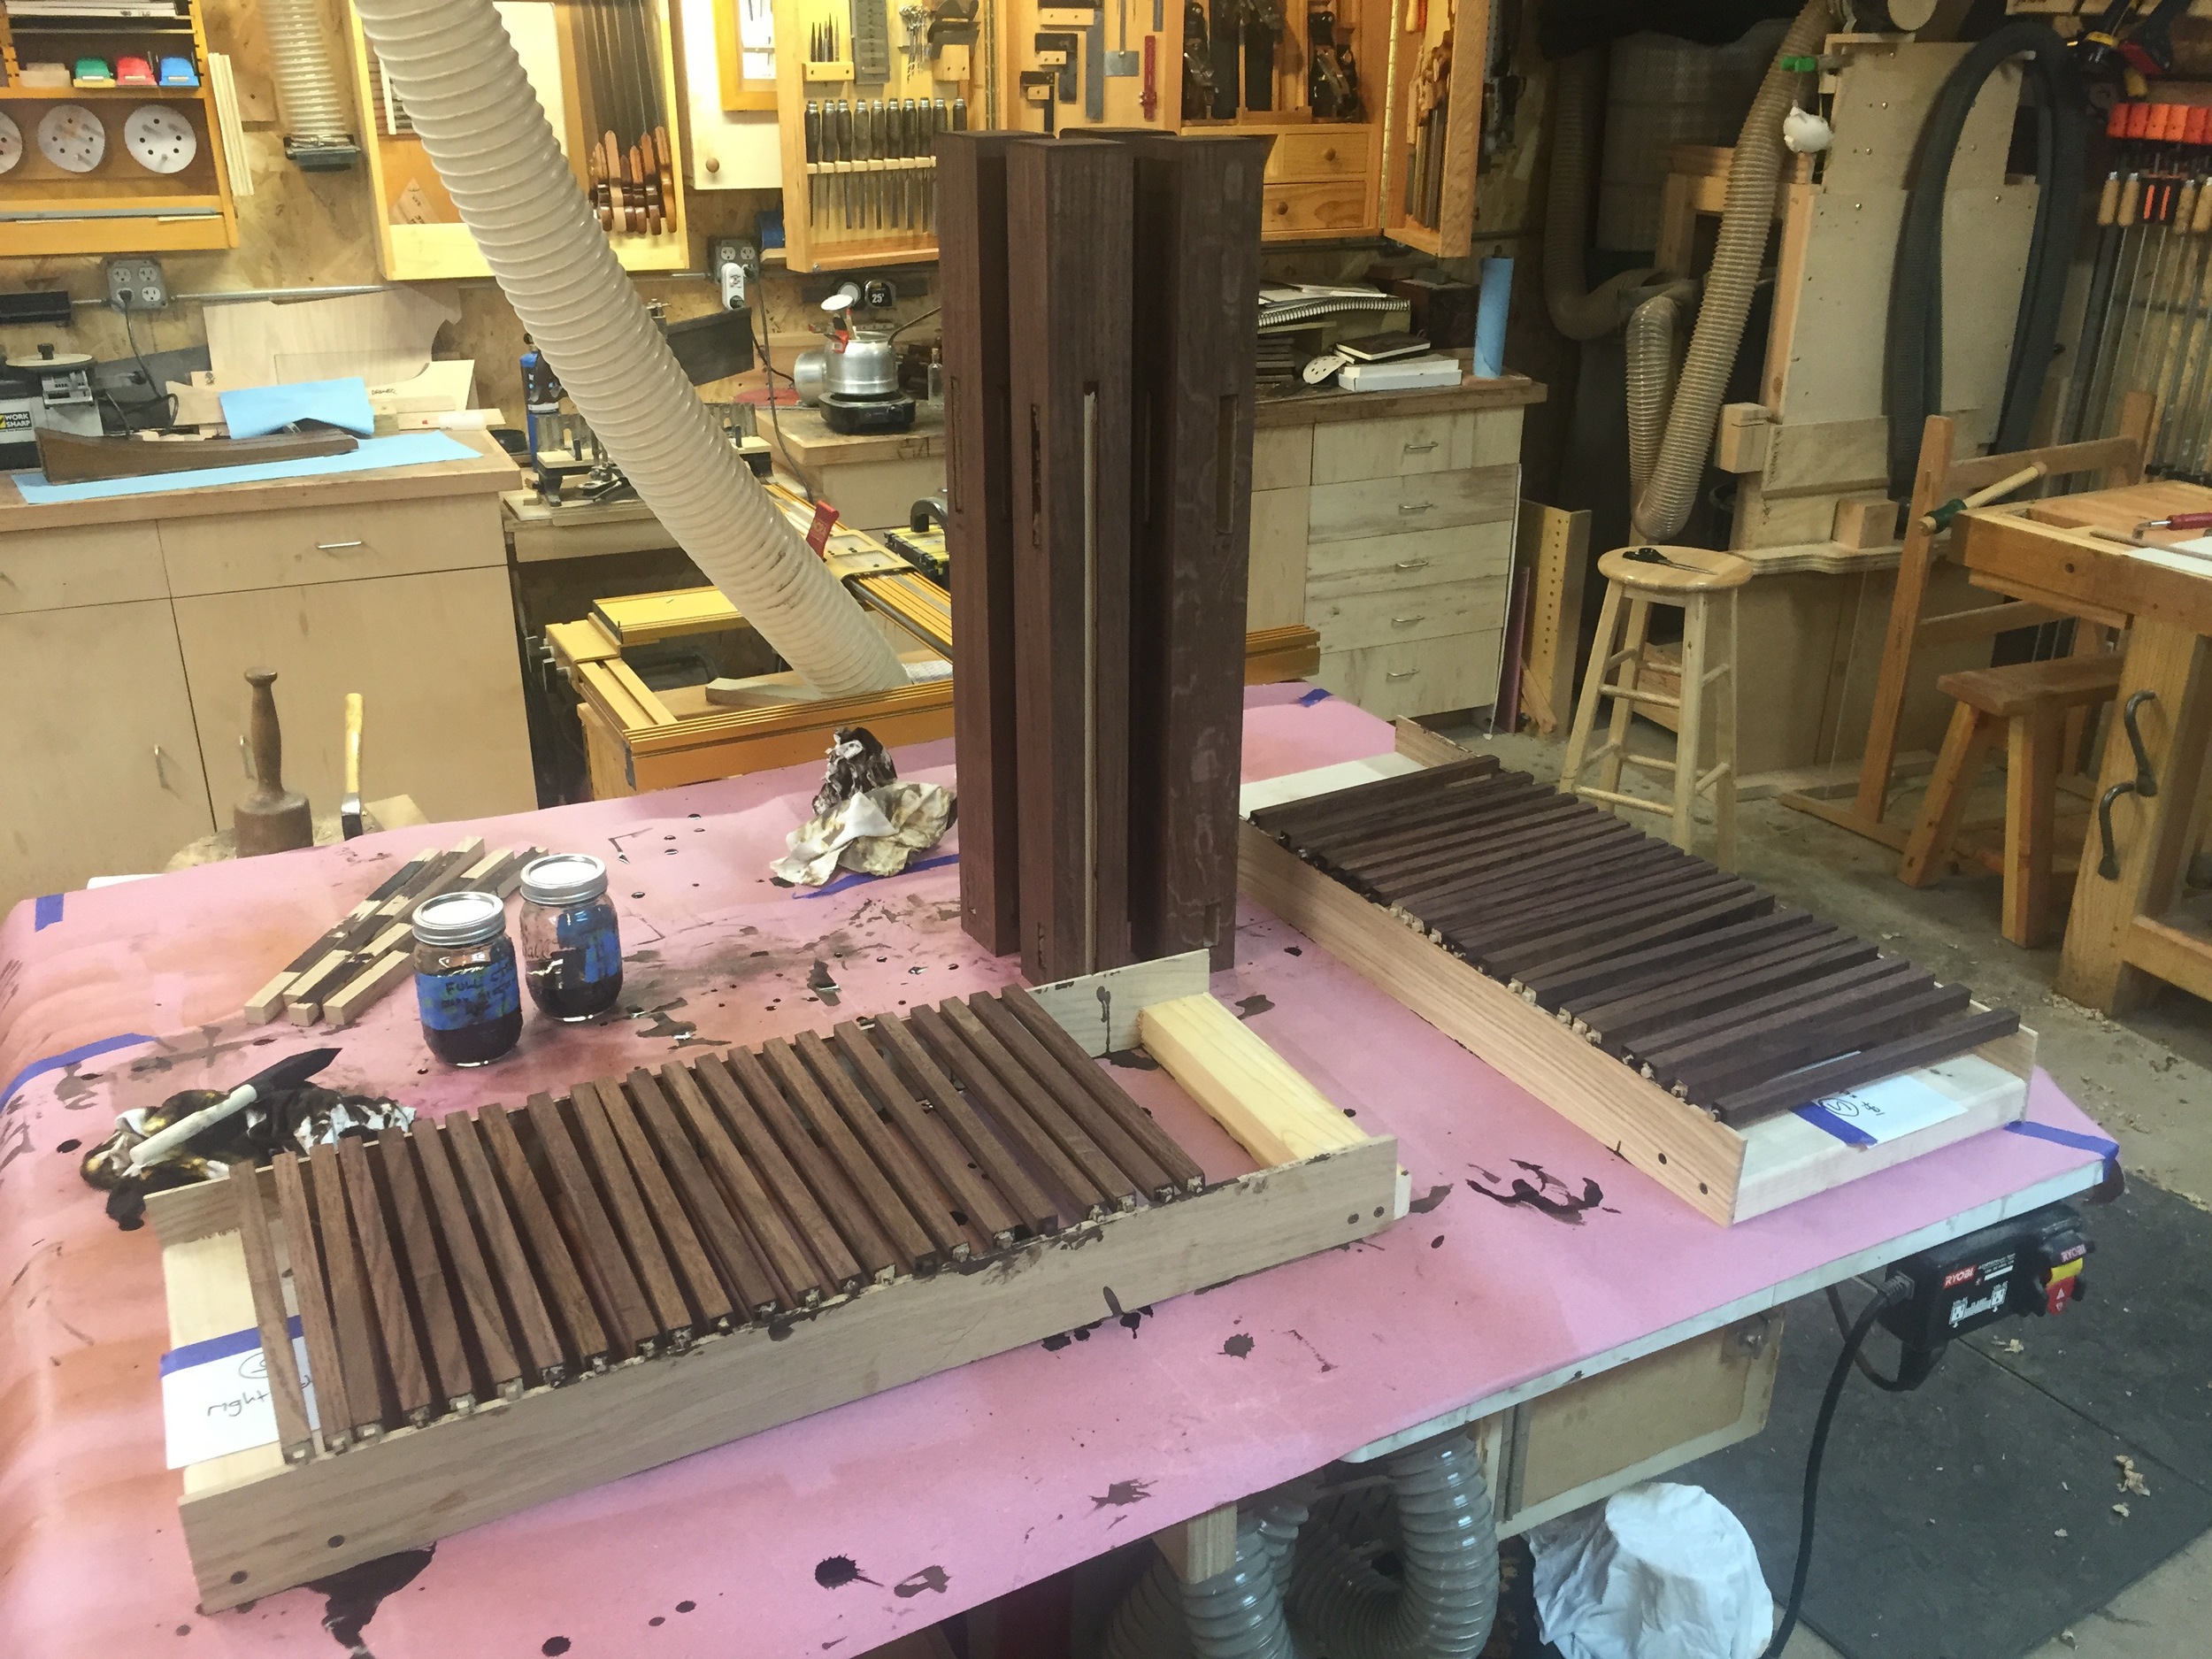
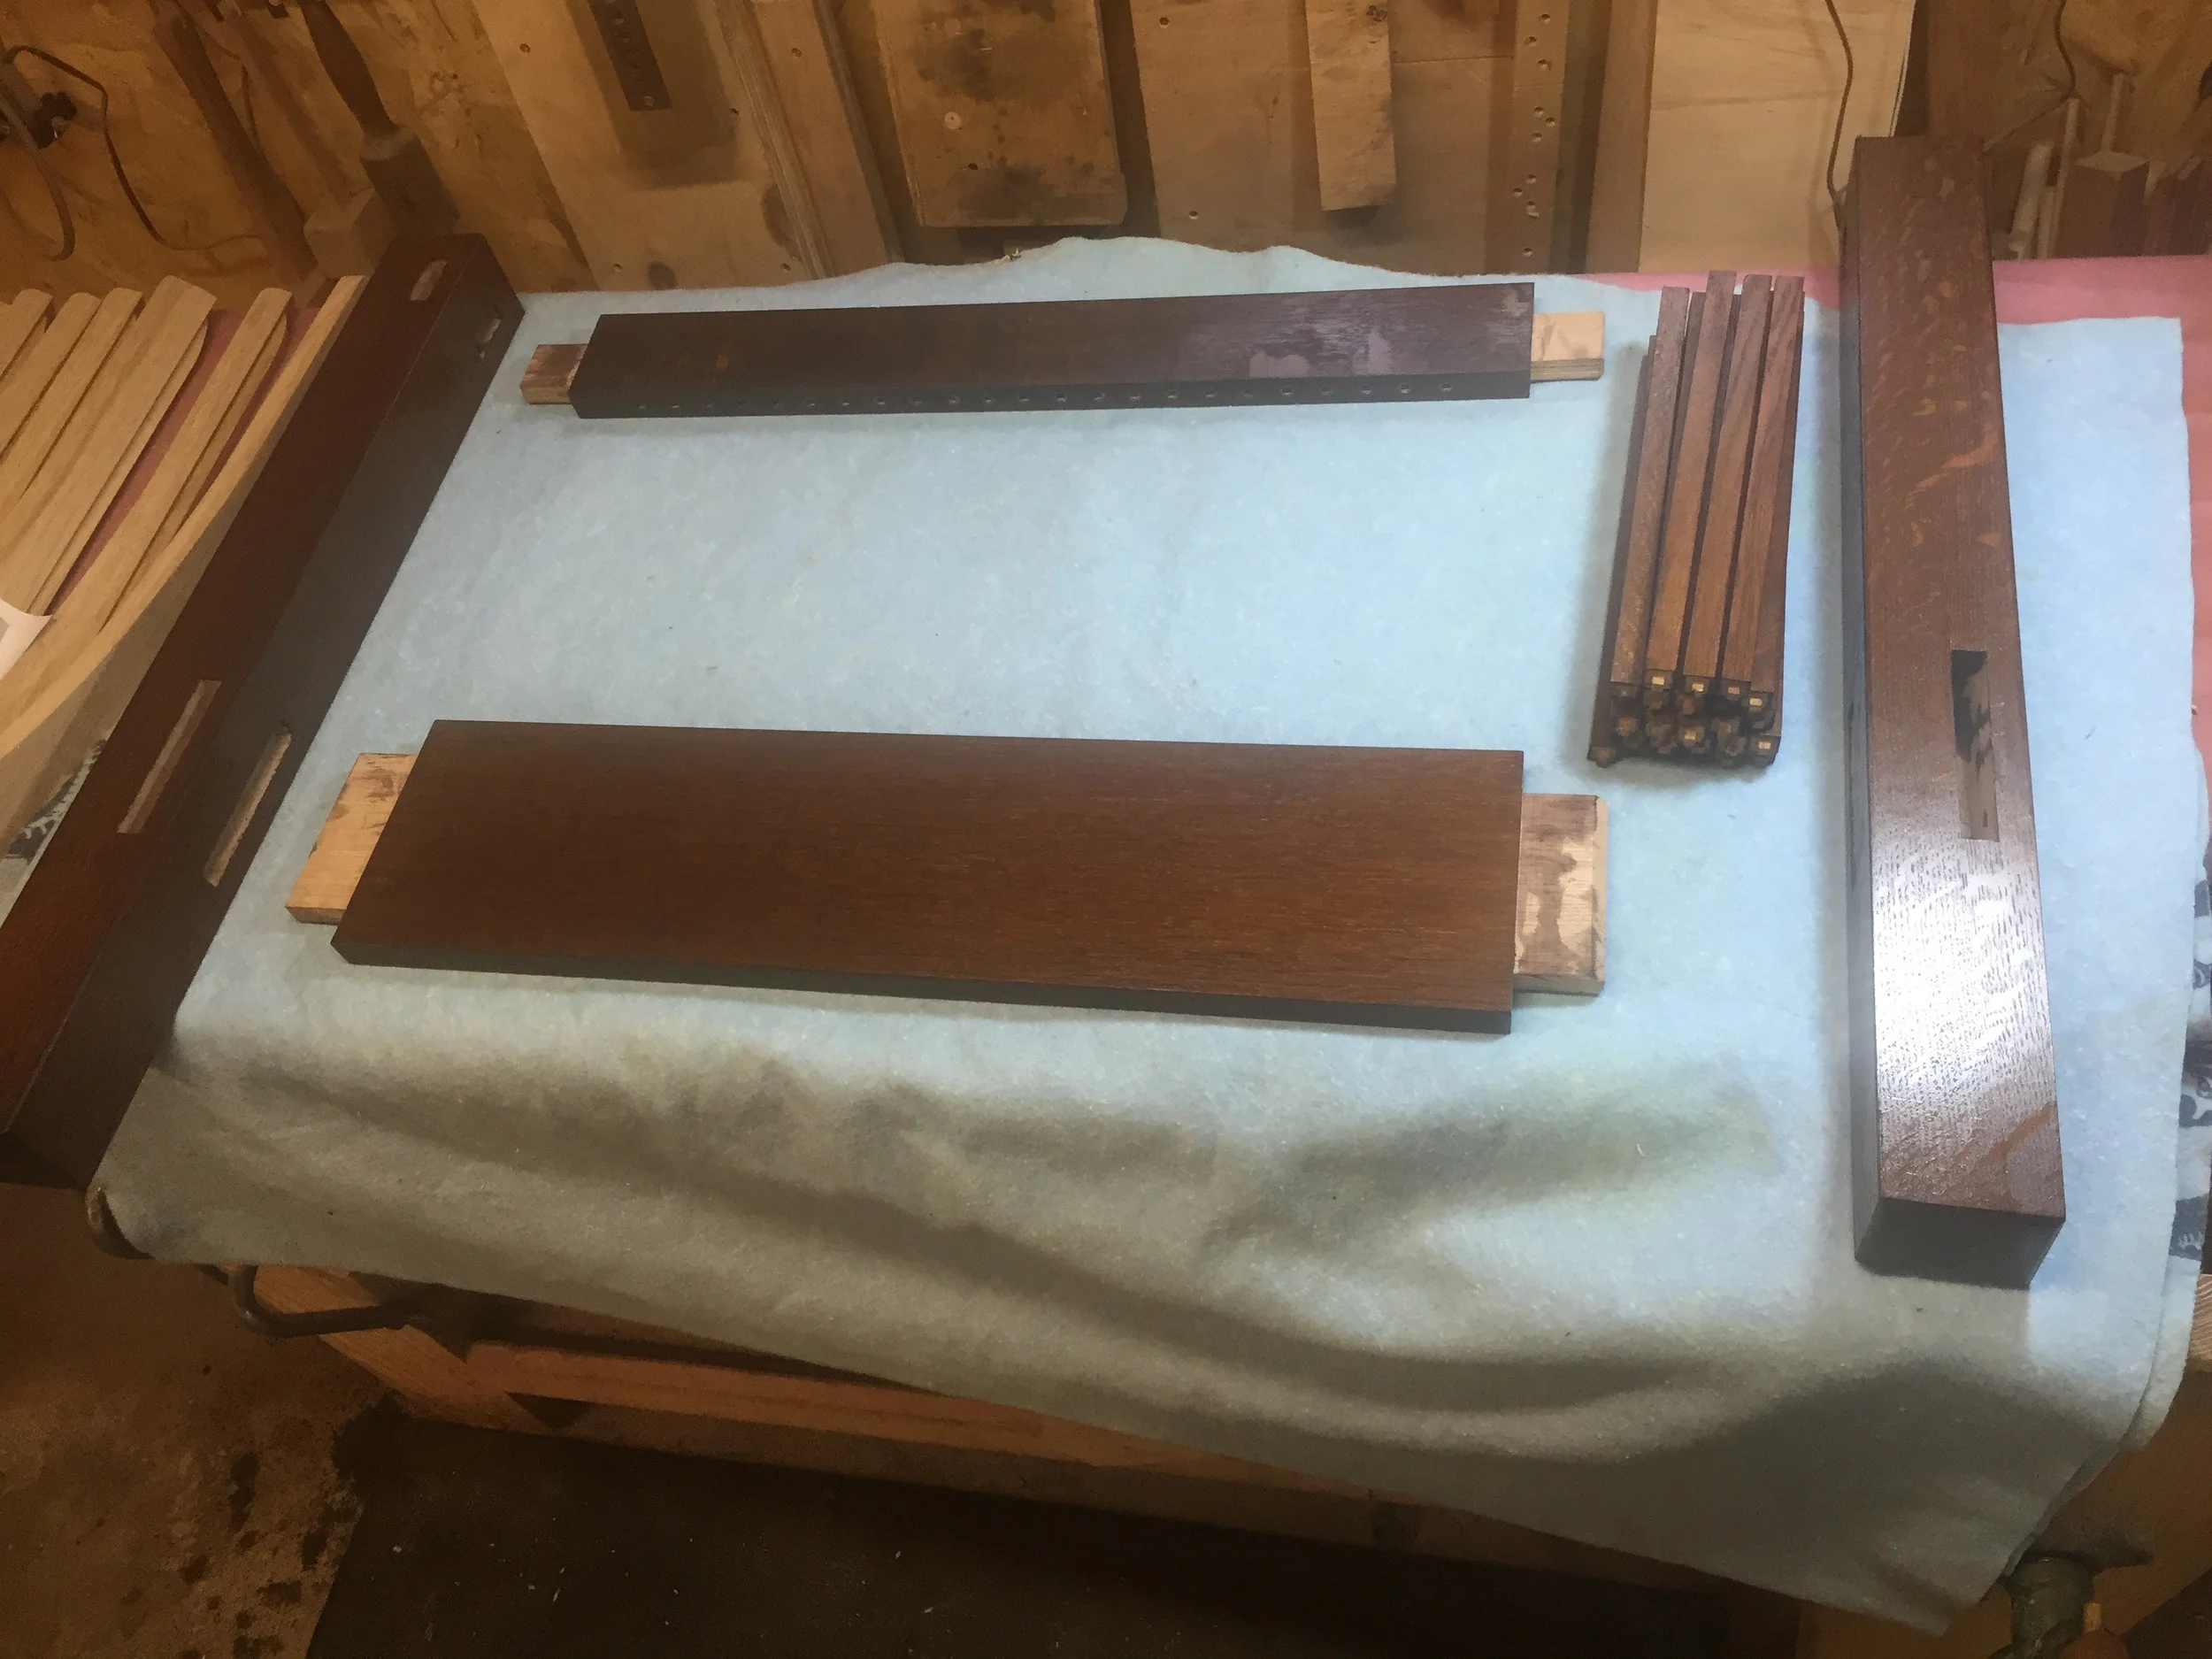
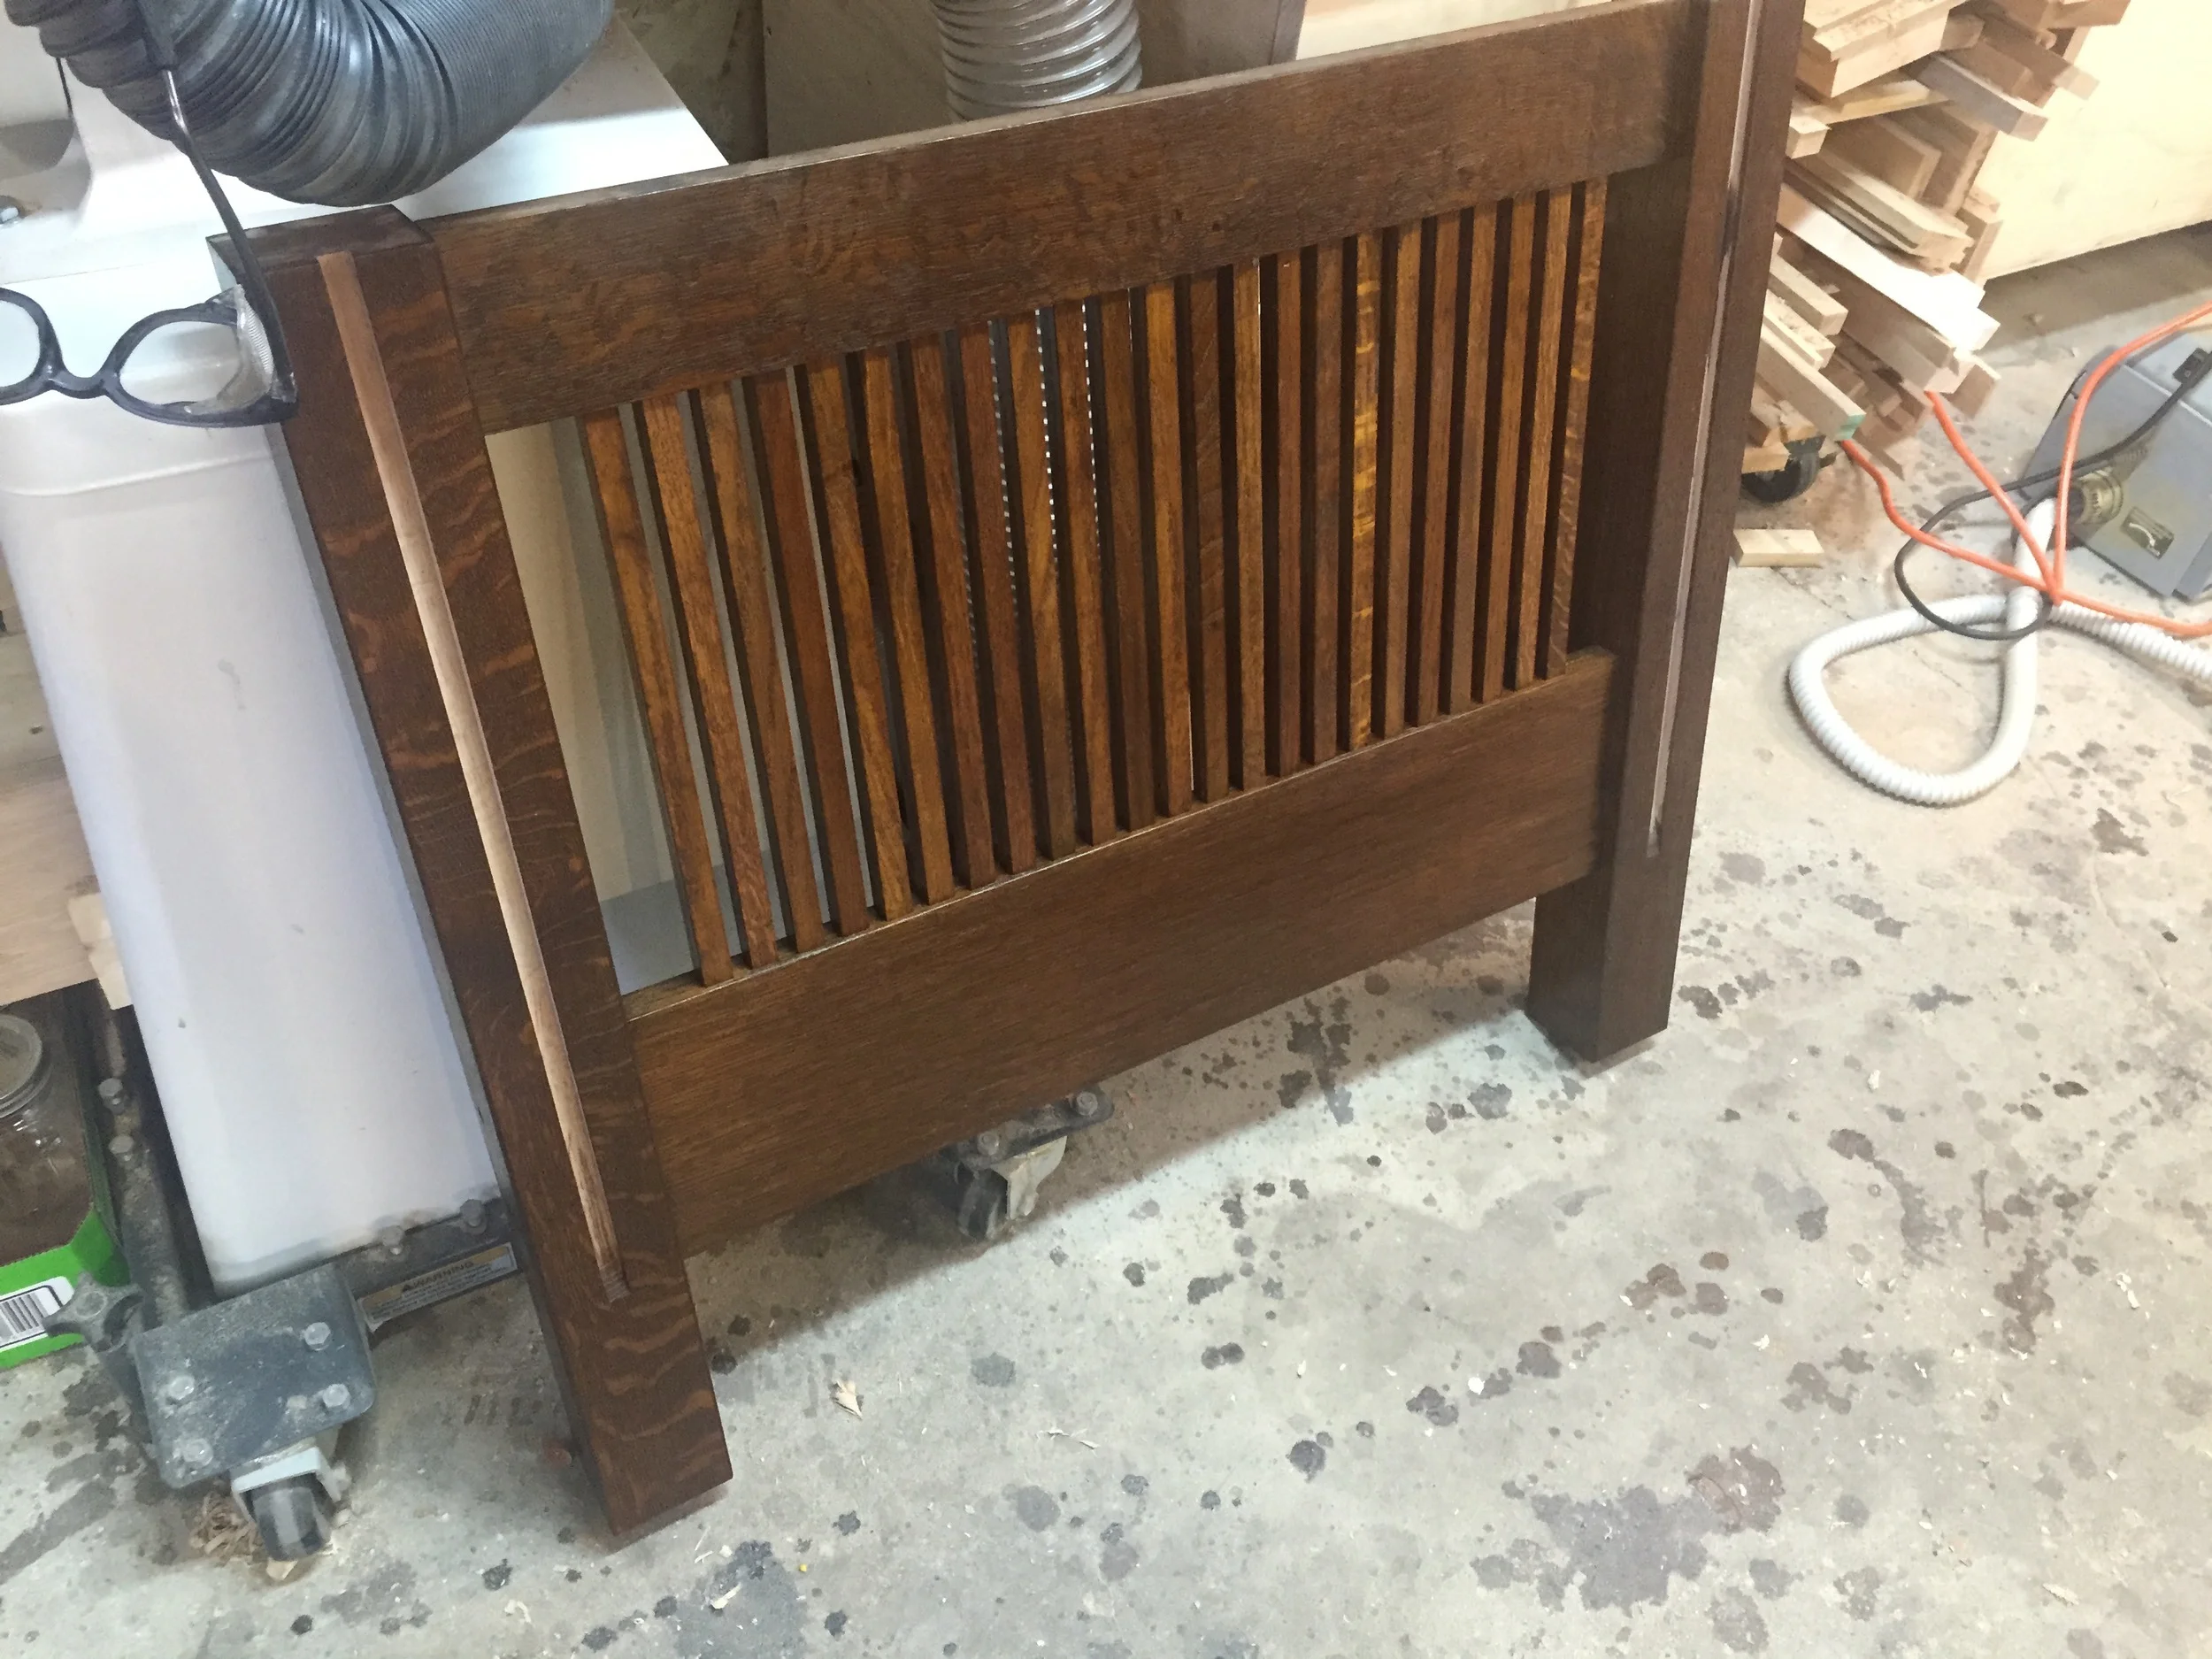
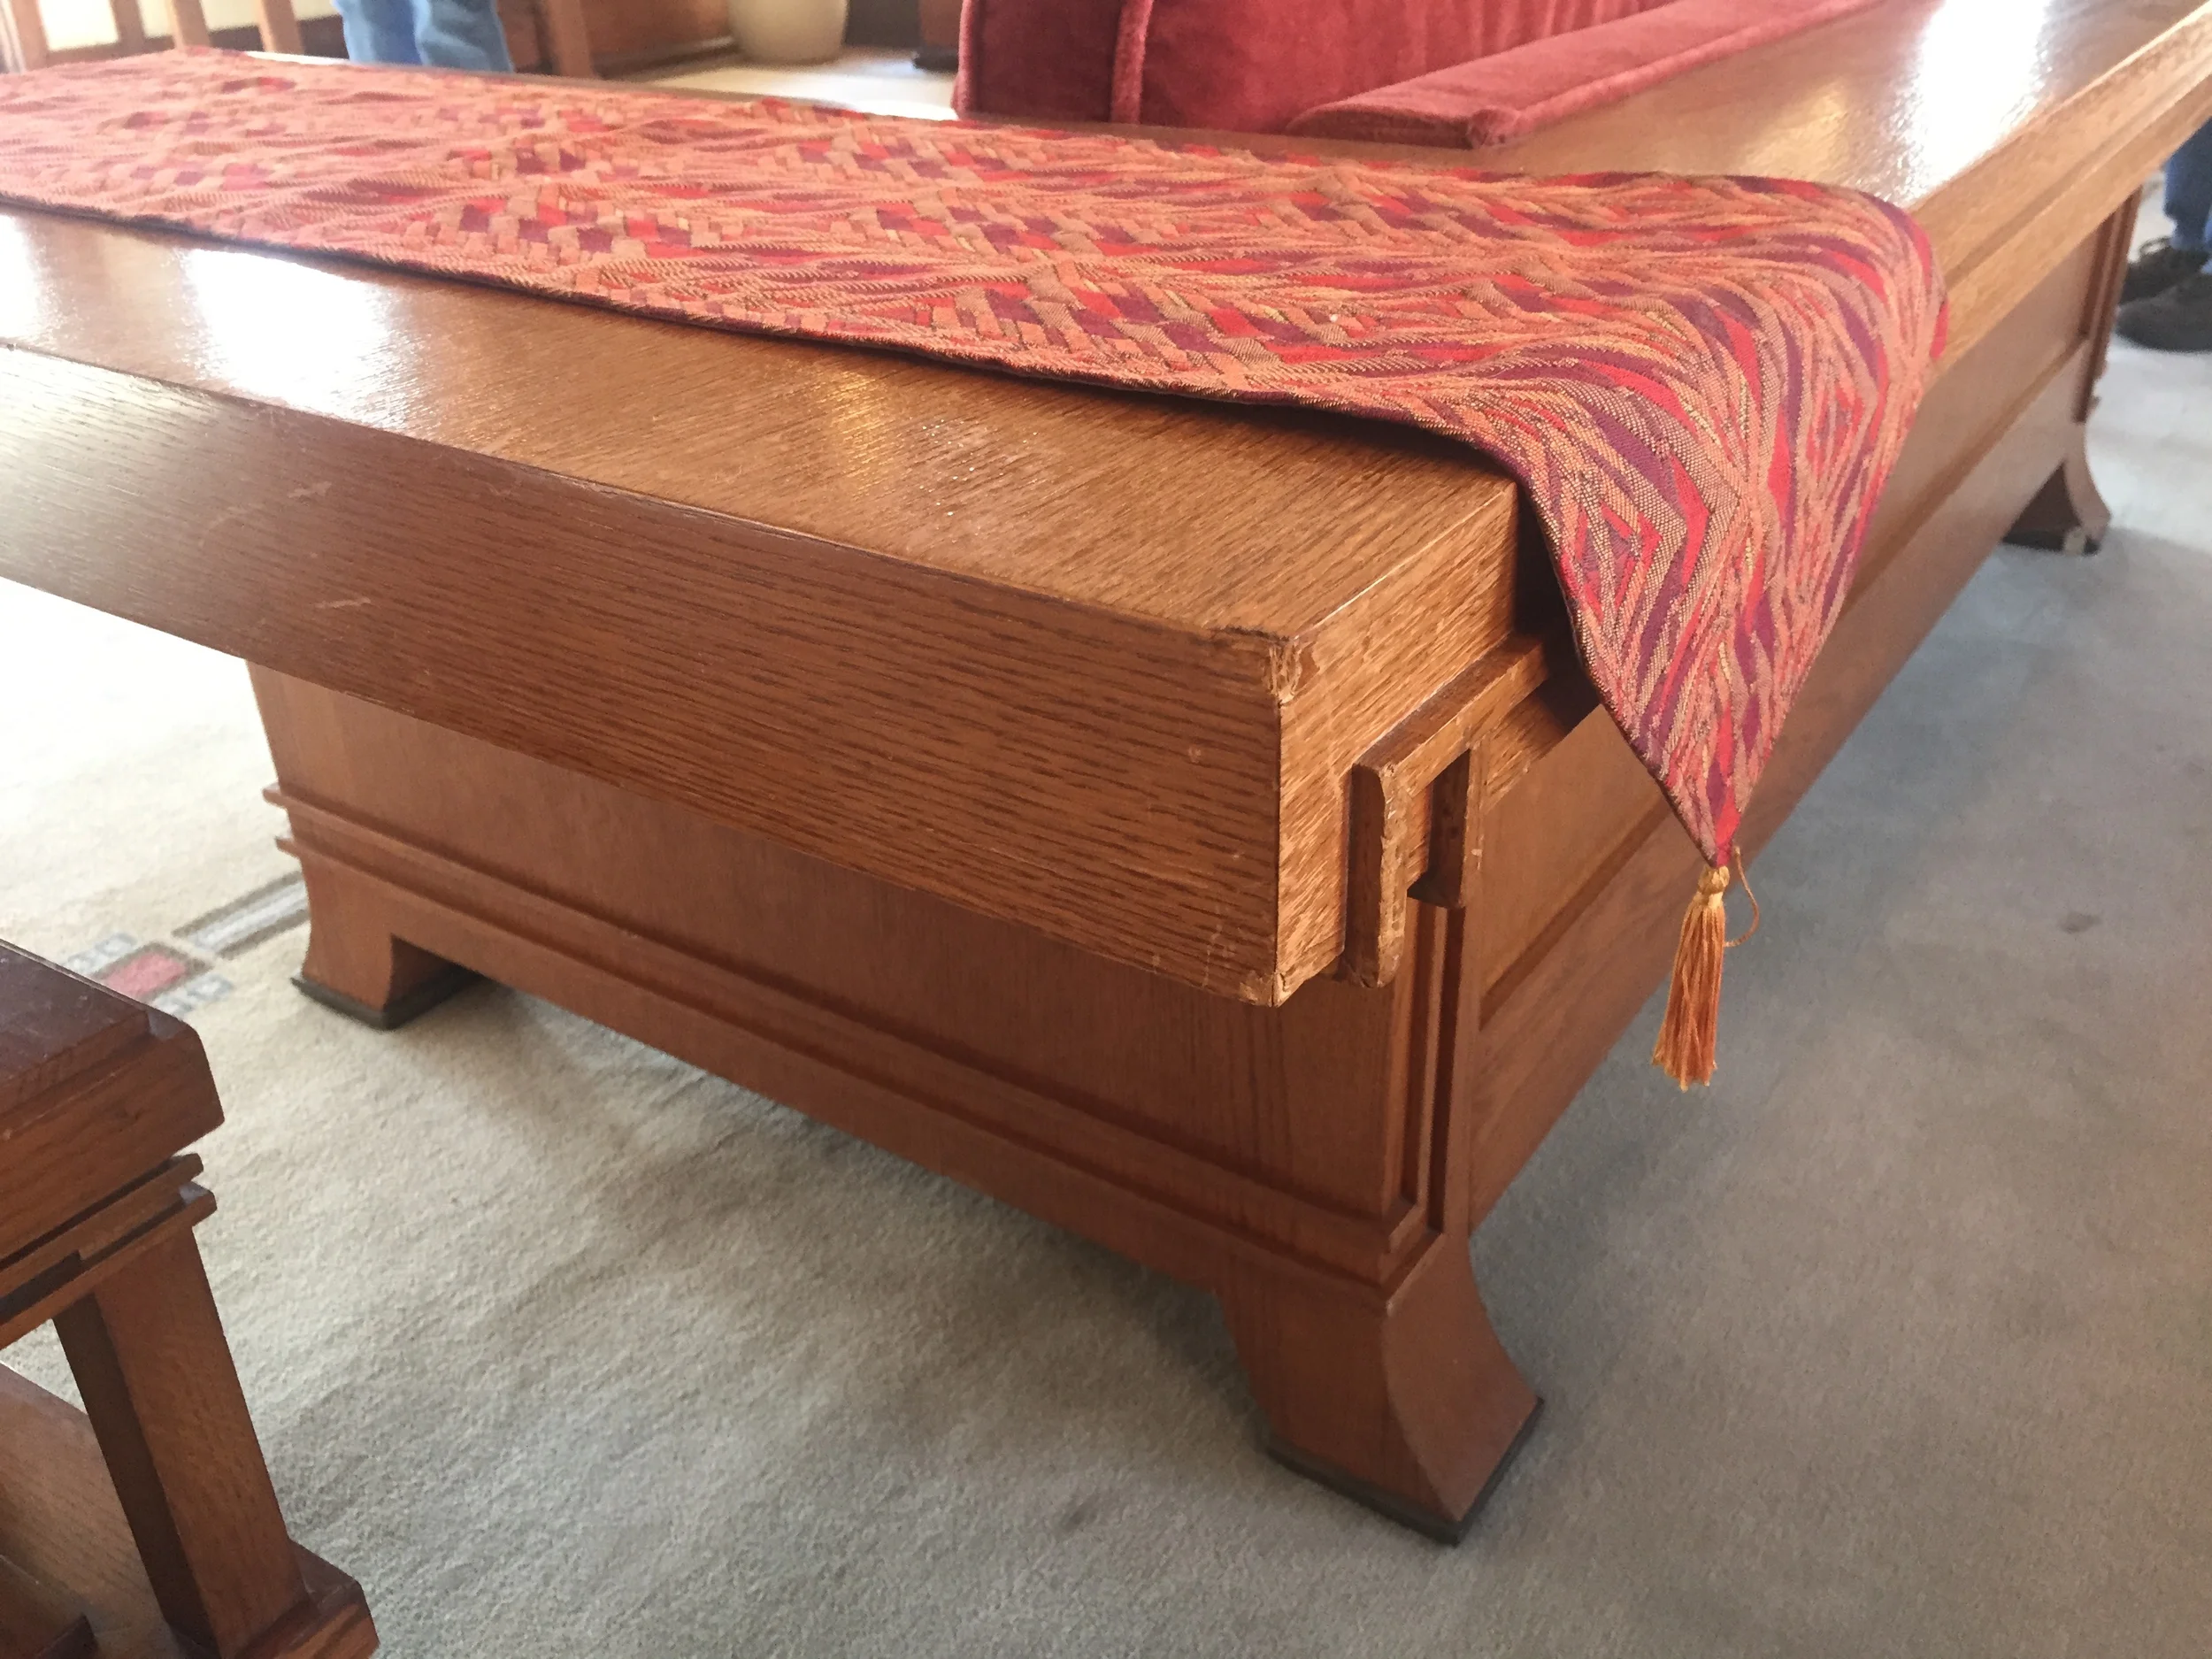
It also didn't hurt that we enjoyed each other's musical choices, and had fun playing records for each other while working. And despite having two people in a one-person shop, we were able to work along-side from time to time, even having two people on the workbench at once. this culminated in doing a big simultaneous Morris chair build. THAT should have been annoying, and crowded. But it turned out to be a boon to both of us. We were able to work out how to approach the build together, dealing with the challenges, and sharing the successes as we went. Without a doubt, my chair came out better because of it. And so did his.
Tool borrowers and shop sharers take note - this is how you do it. Brett not only didn't cause me any problems, he made sharing my shop a joy. He didn't have to tell me he appreciated my shop -- he showed it every time he was there through his actions. He could have been half as conscientious, and it would have been fine. But he's a class act, an A+ stand-up guy. And in addition to all the woodworking things we learned from each other while working in the shop together, he reminded me of how I need to act whenever I'm in someone else's workspace, as a student, or a co-worker, or even a visitor.
Brett and his wife moved from Chicago to St. Louis at the end of May to start a new chapter of their life, and I wish them the best of luck. I'll be heading down there to visit and see how his new shop is coming along, and he's always welcome to come back to work in mine. If you're in the St. Louis or southern Illinois area and need some furniture, be sure to look him up. You can find him on Instagram at brettt_haley (note the extra "t" in there).
Thanks Brett!